HomeDIY
This post may contain affiliate links:full affiliate disclosure.
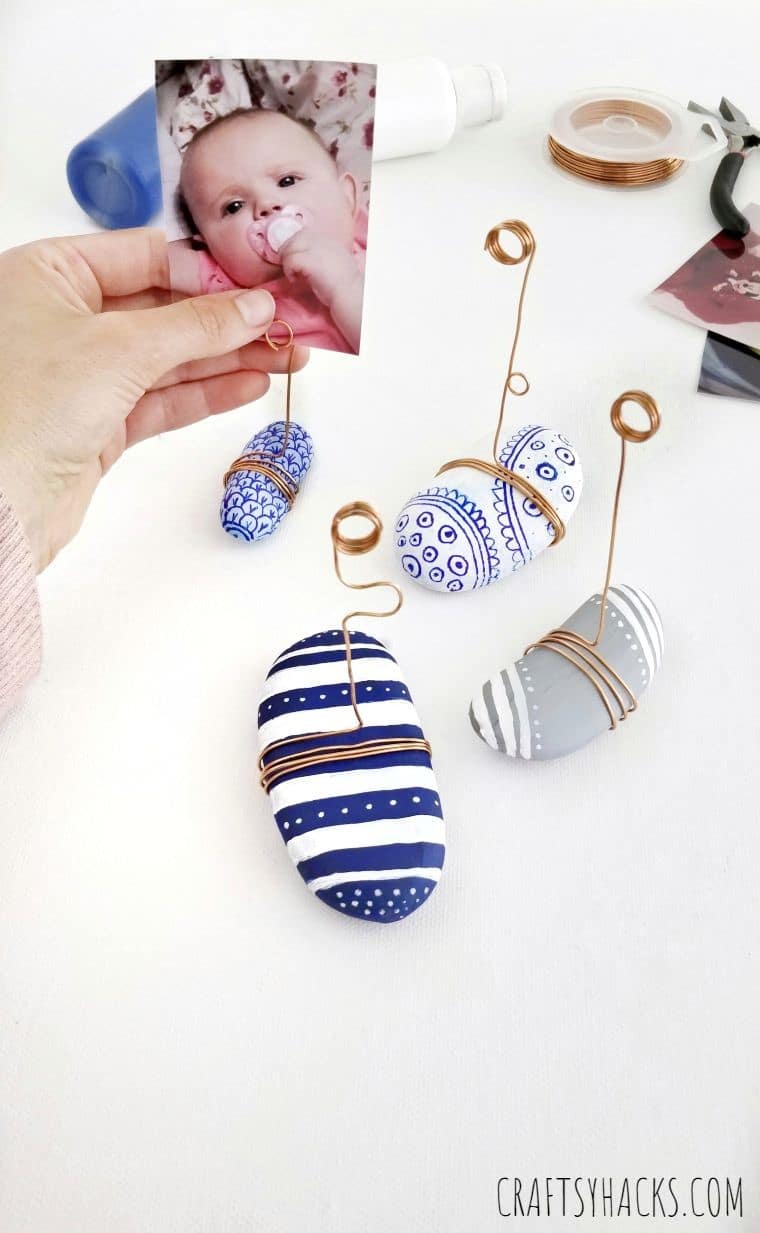
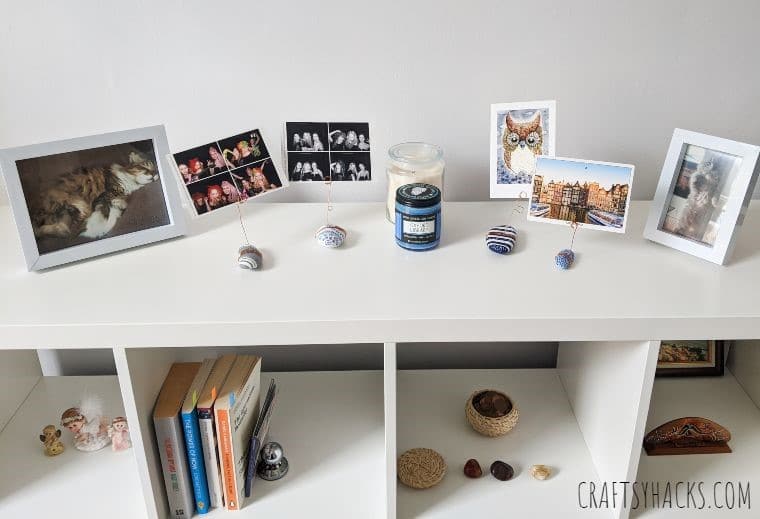
Turn your rocks into photo holders.
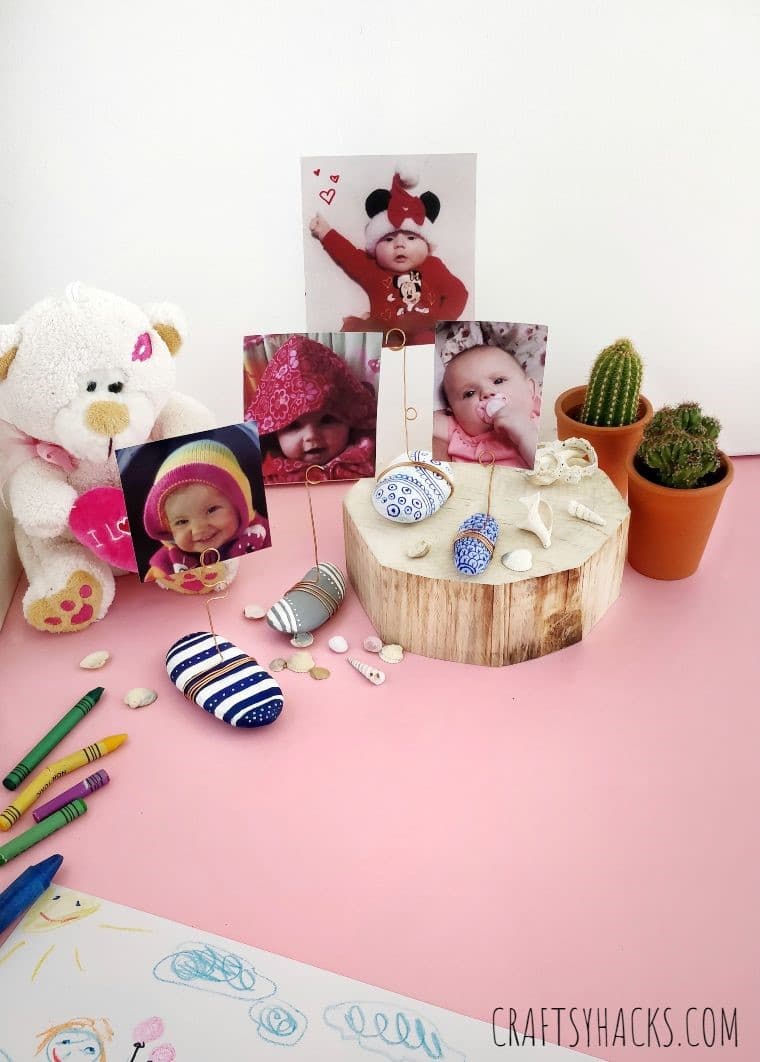
This is a simple, creative craft you could use to decorate your home and keep those photos around.
In this world of smartphones and digital cameras, I am a person who still loves printing photos!
This allows me to occasionally change the photos, depending on the season or my mood.
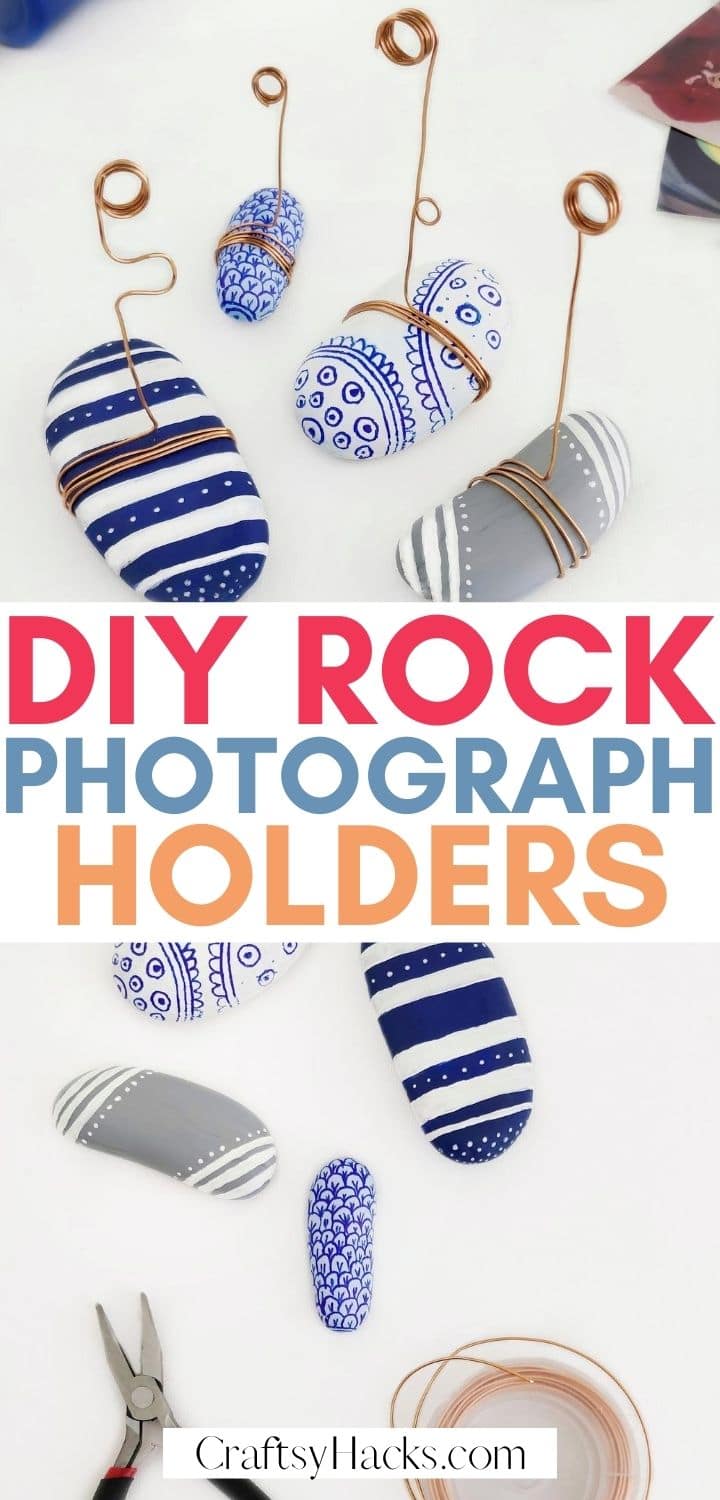
Scroll down to see how I made these DIY rock photo holders.
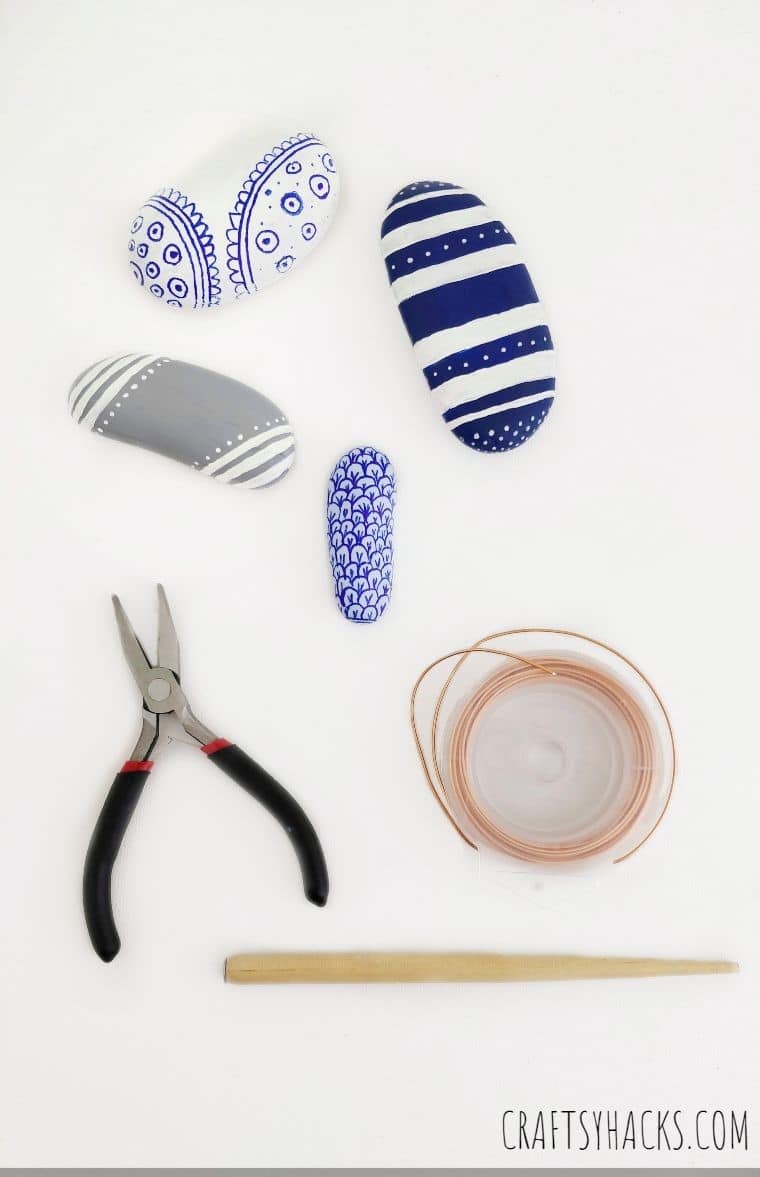
Youll Need
How to Make DIY Rock Photo Holders
Lets get to it!
STEP 1
Gather all your equipment.
I like to use different shapes of rocks just to give my holders added character.
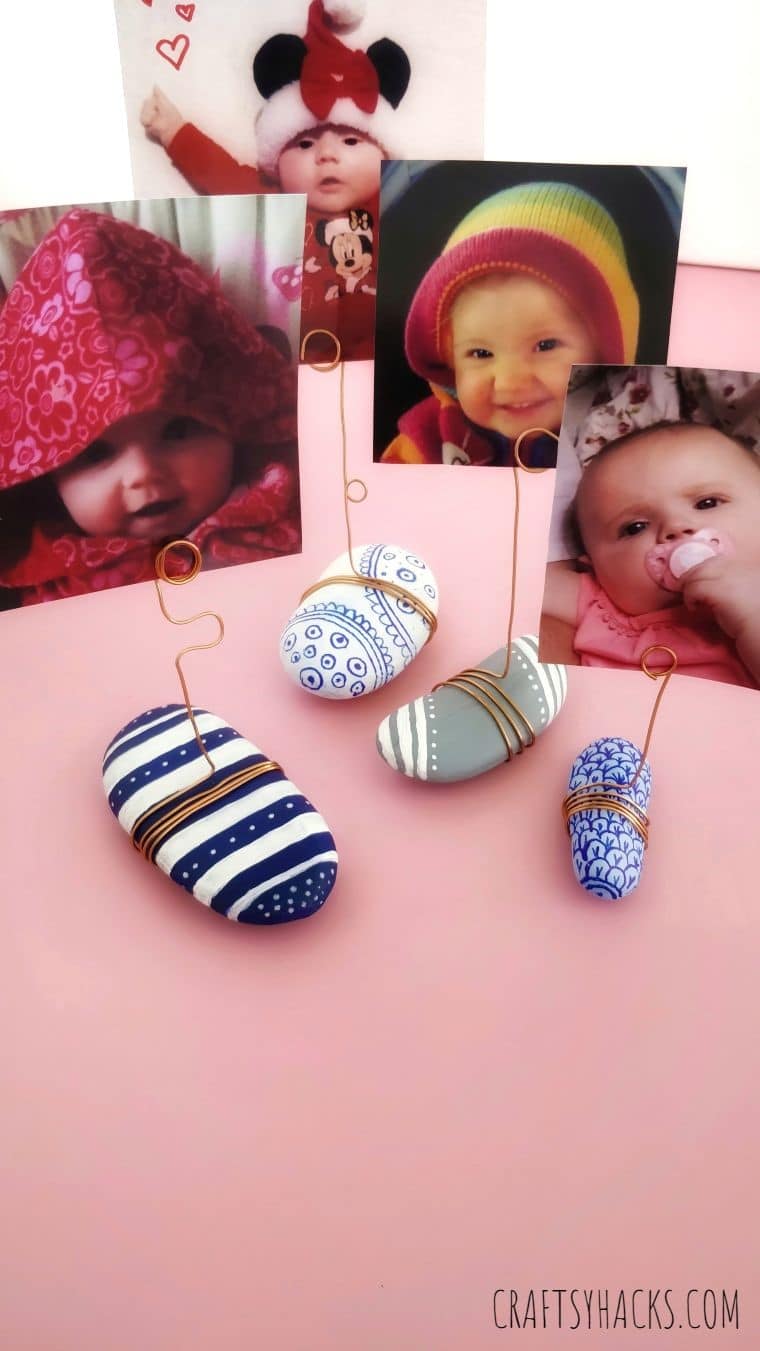
Use small-sized rocks to holder smaller photos and larger ones for enlarged photos.
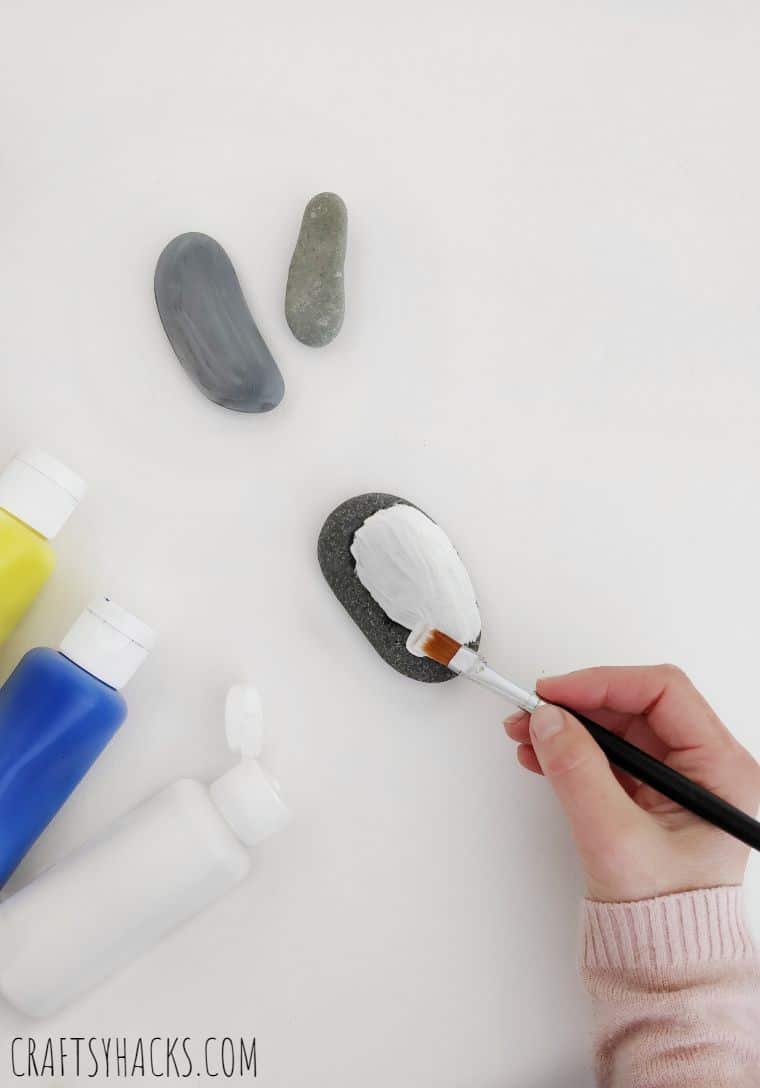
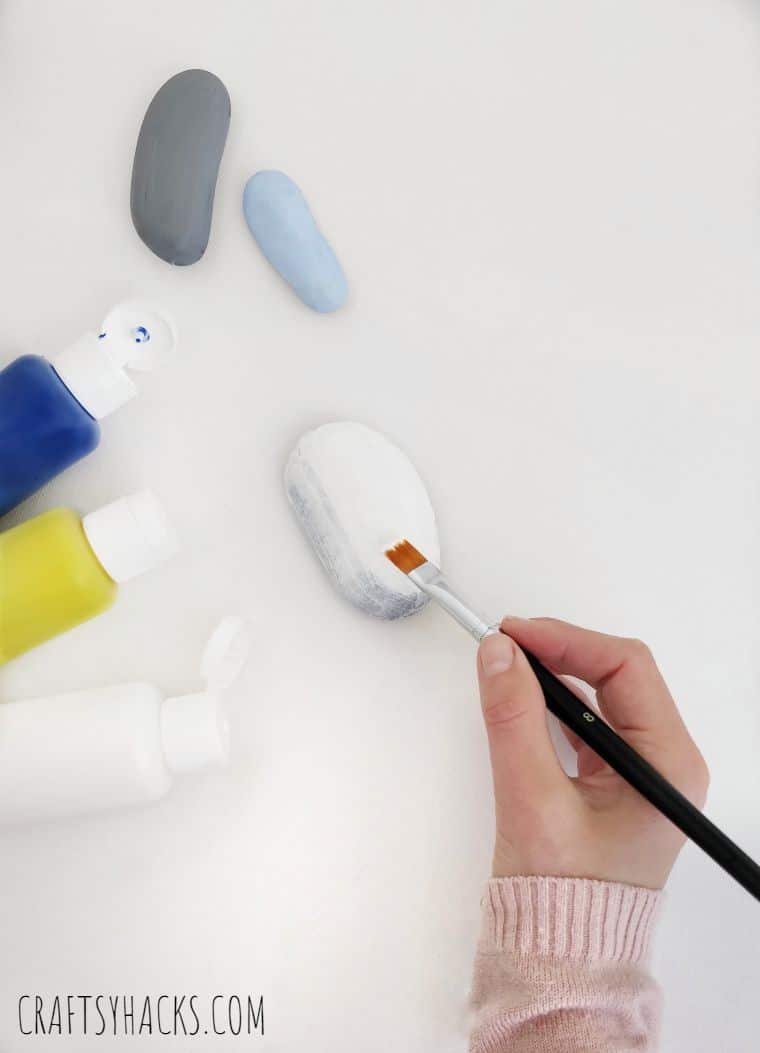
Start by painting your rocks with your choice of solid color.
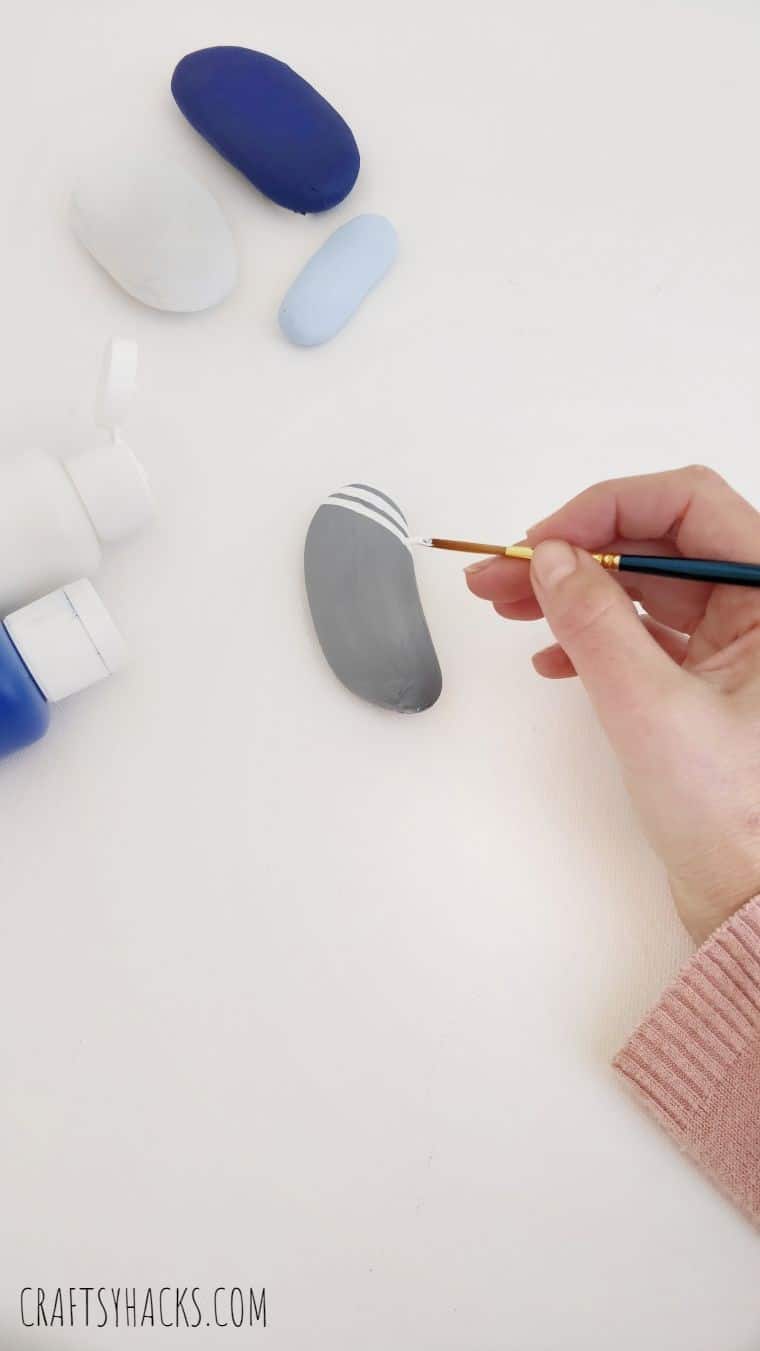
STEP 3
How you complete this step is completely up to you.

When youve achieved your design goal, leave the rocks again to allow the paint to dry.
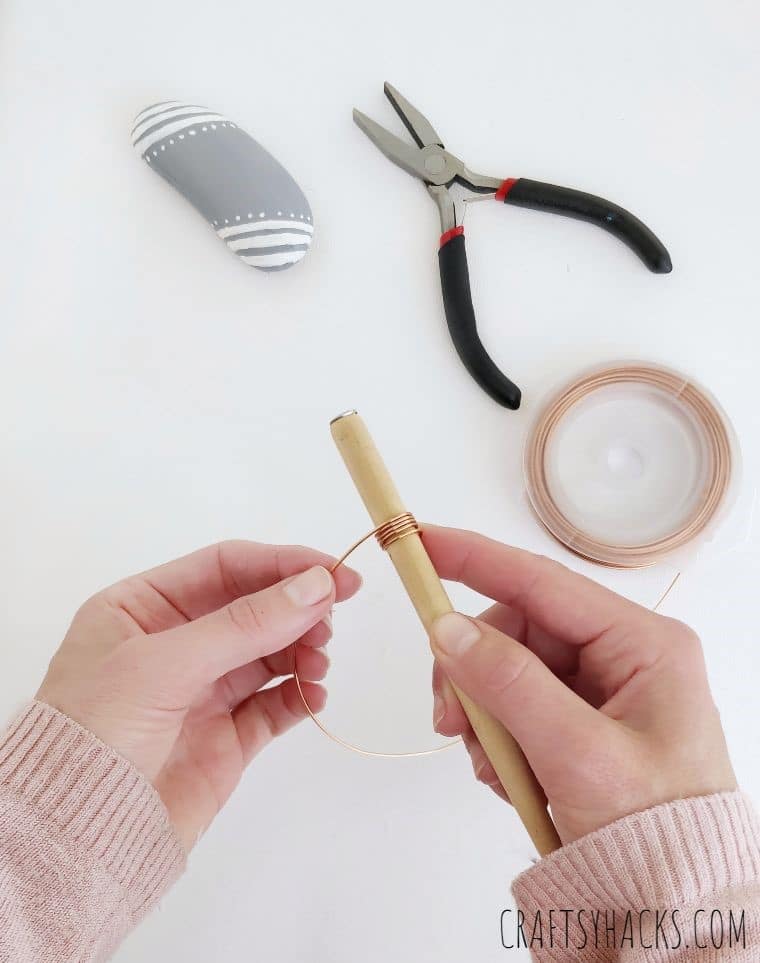
Ensure that you roll it just the right amount of tightness to easily slide off the wooden stick afterward.
STEP 5
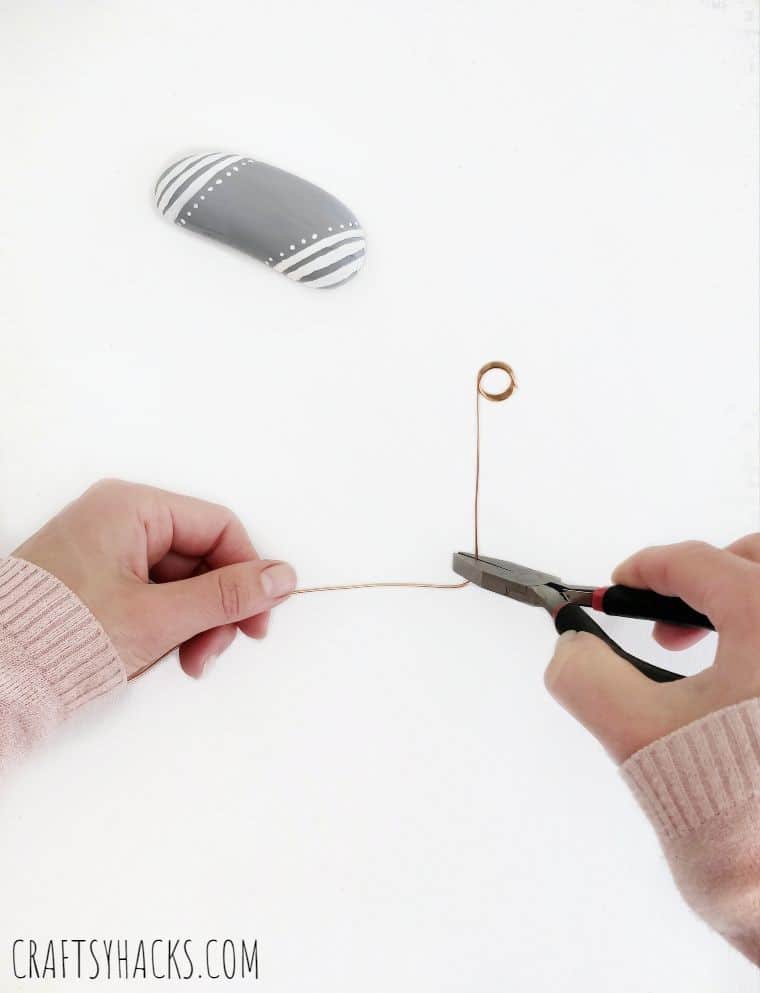
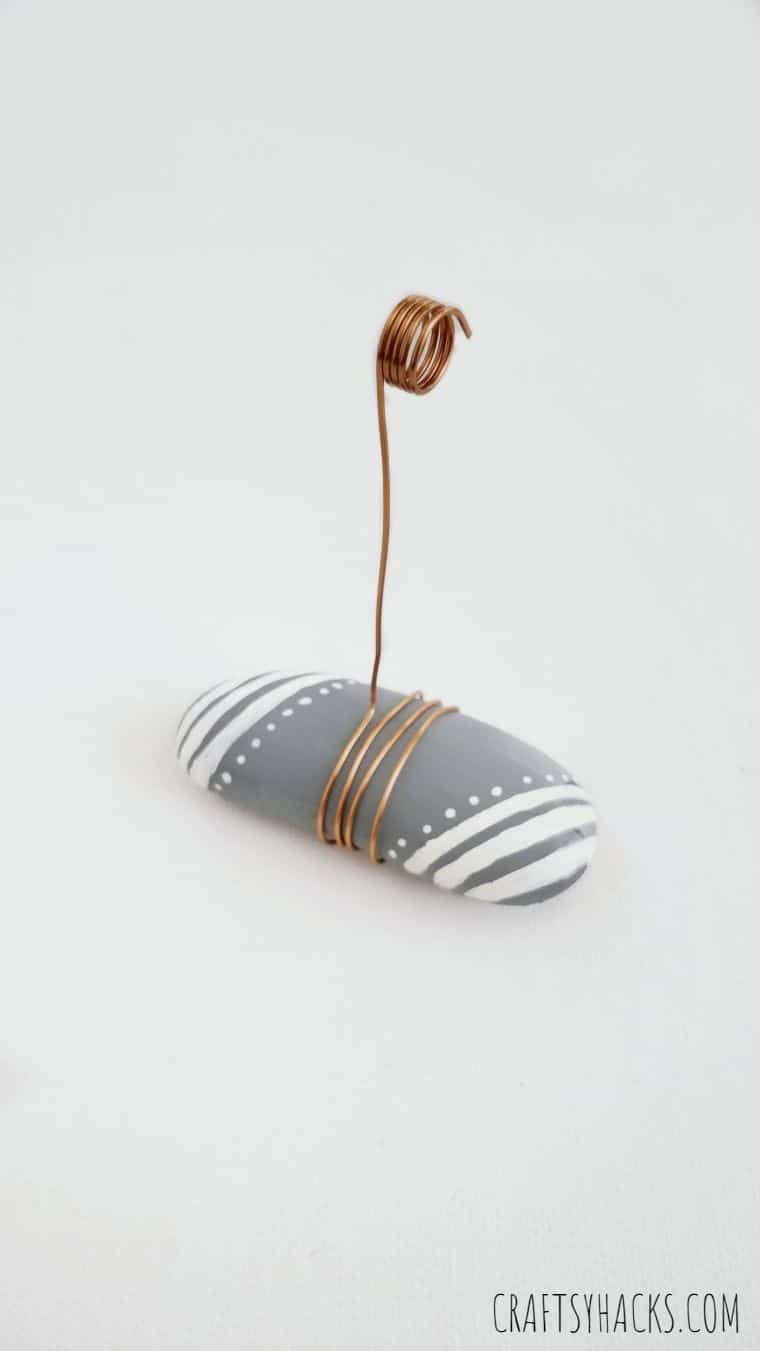
Straighten out the rest of the wire.
The length is up to you, but usually, a 2 to 3-inch length is enough.
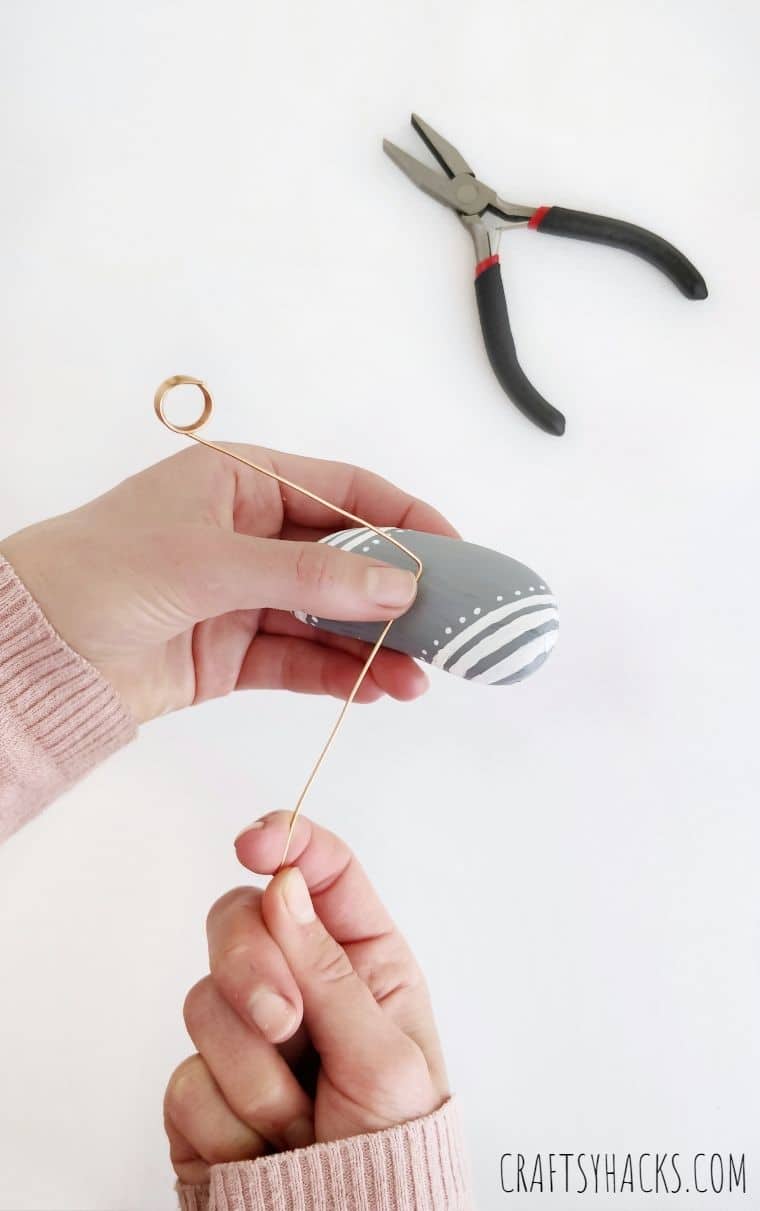
Bend the rest of the wire to create a 90-degree angle.
STEP 7
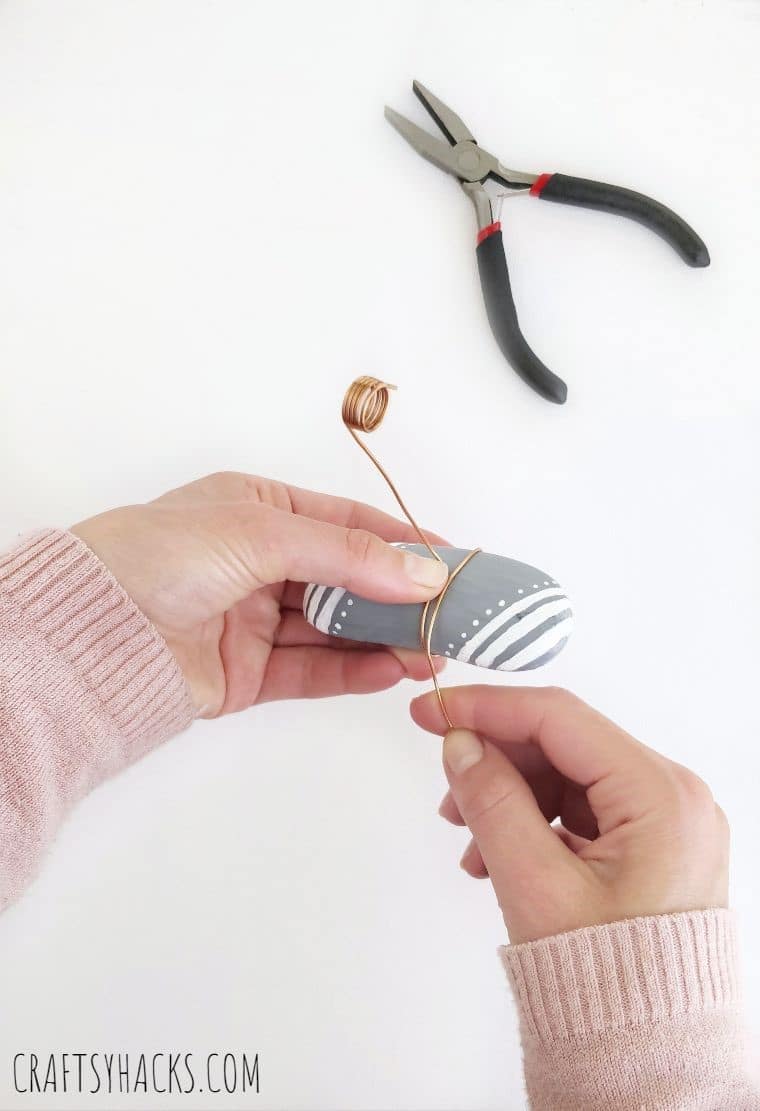
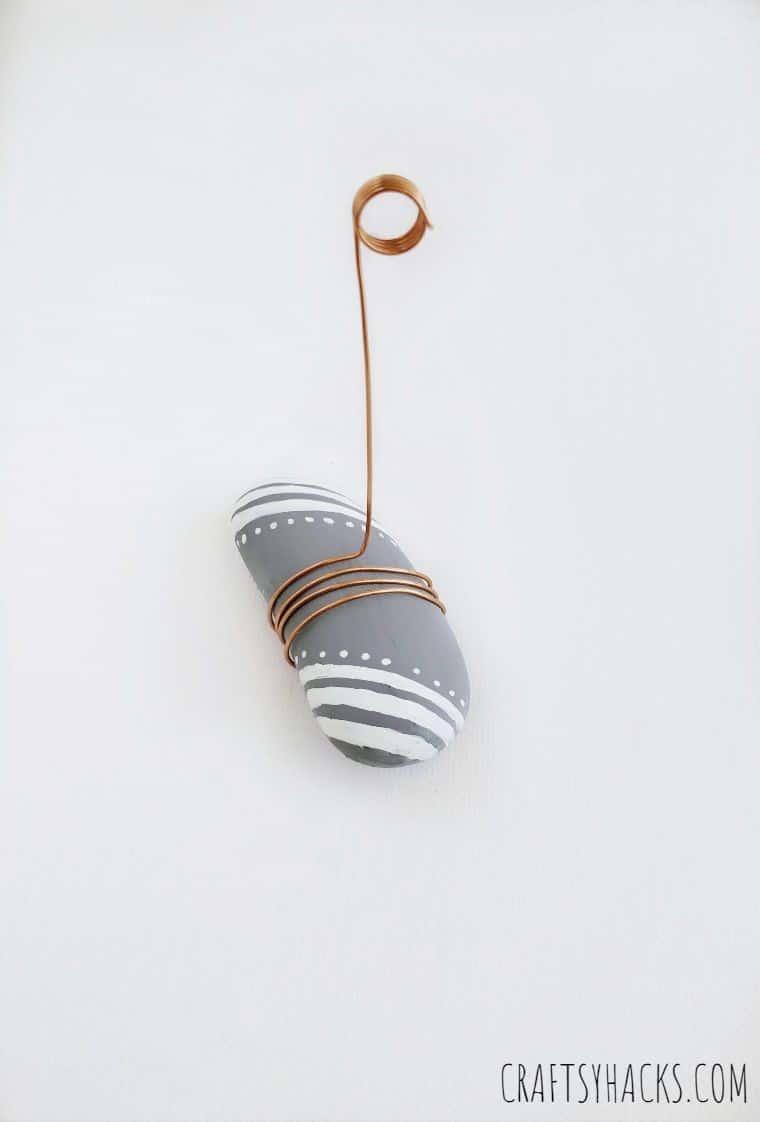
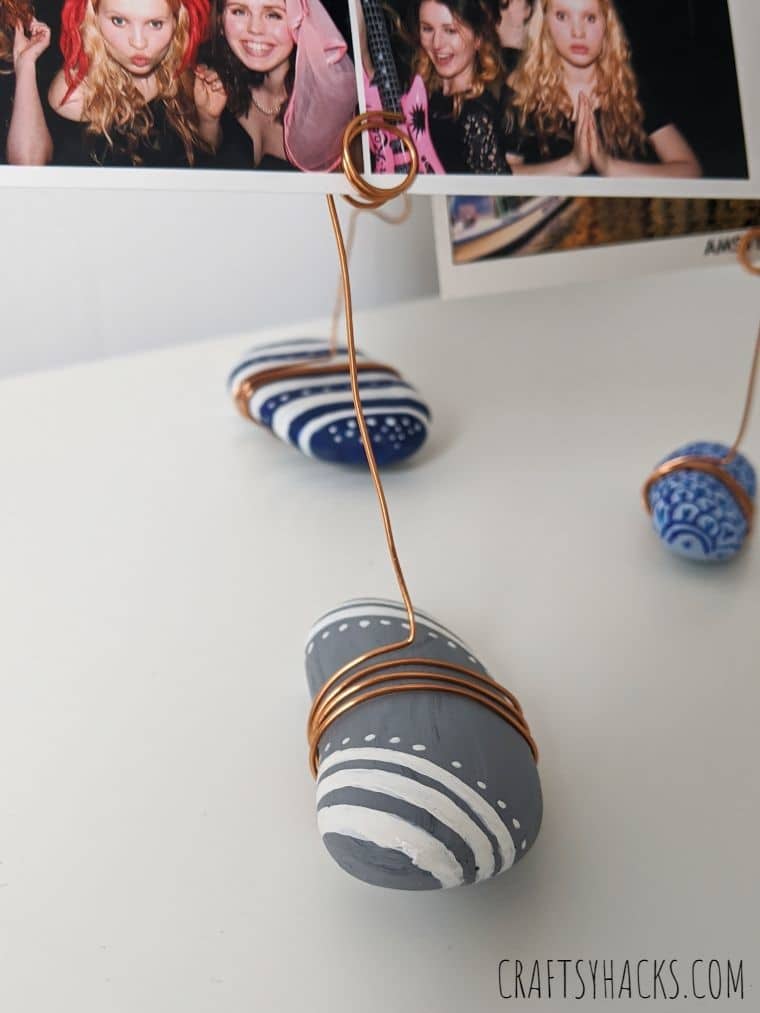
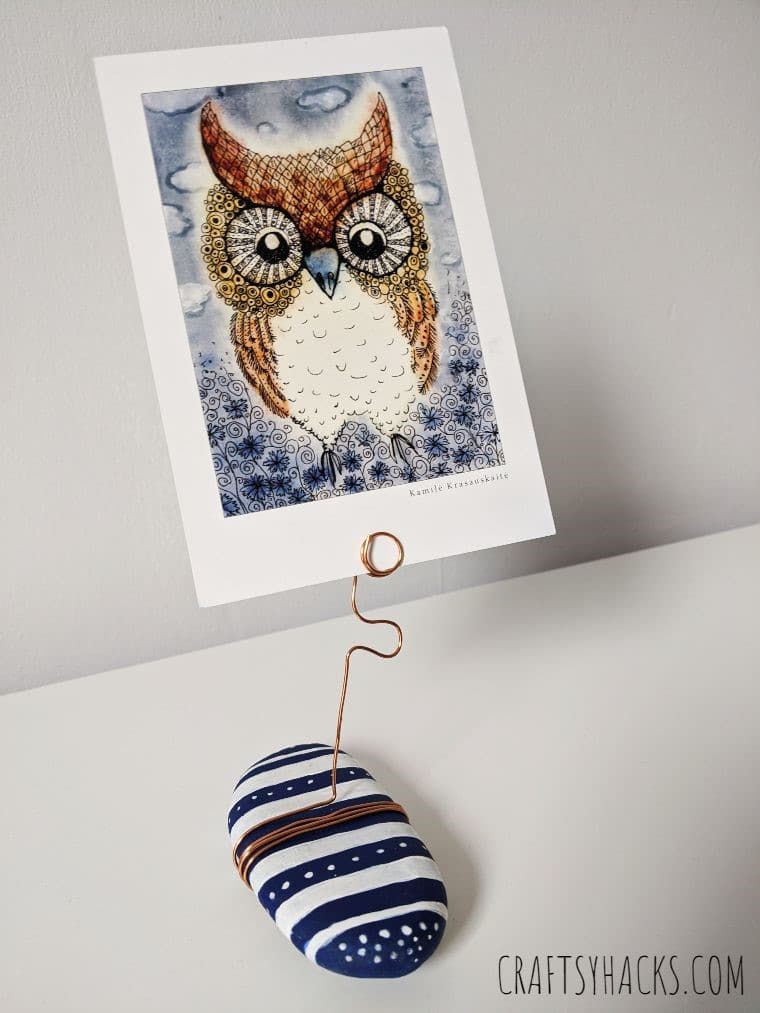
Grab your rock and roll the horizontal part of the wire around it.
Your DIY rock photo holder is done!
STEP 9
Okay, I know I said it was done a step ago.
But heres another step to add another level of character to your rock holder.
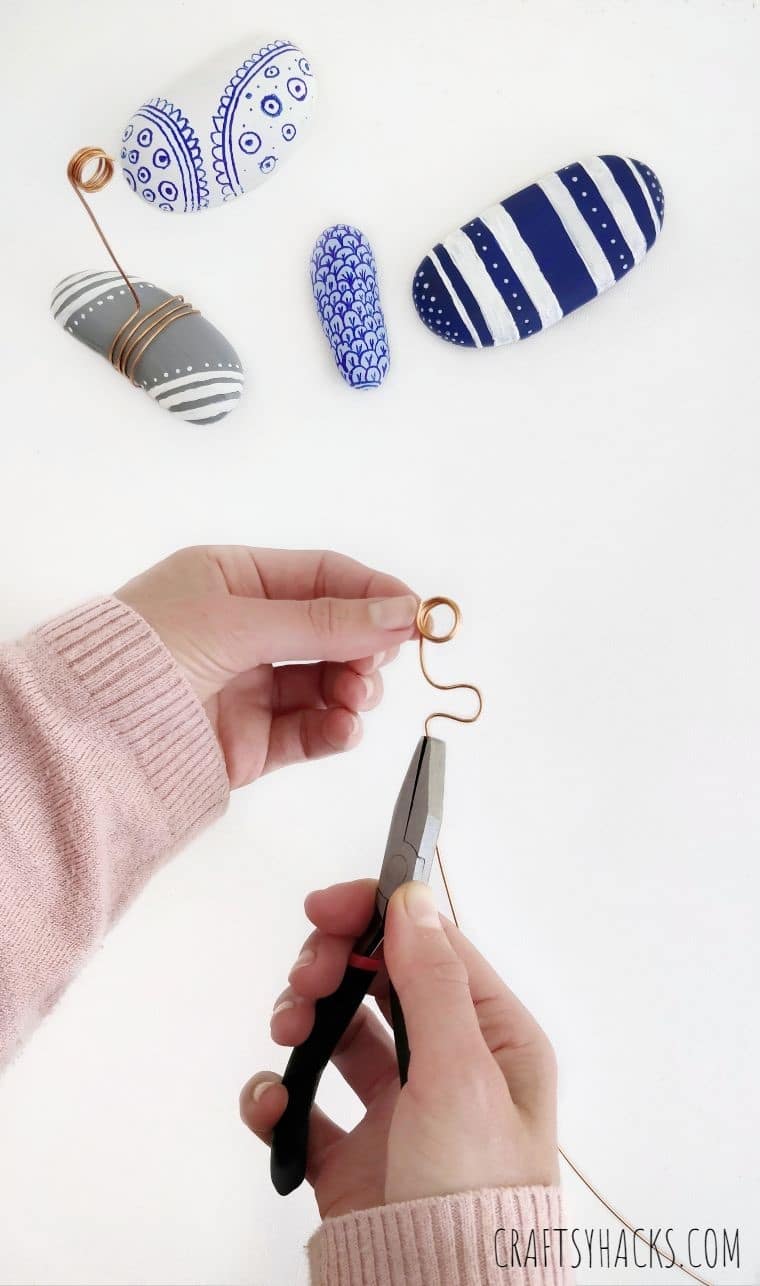
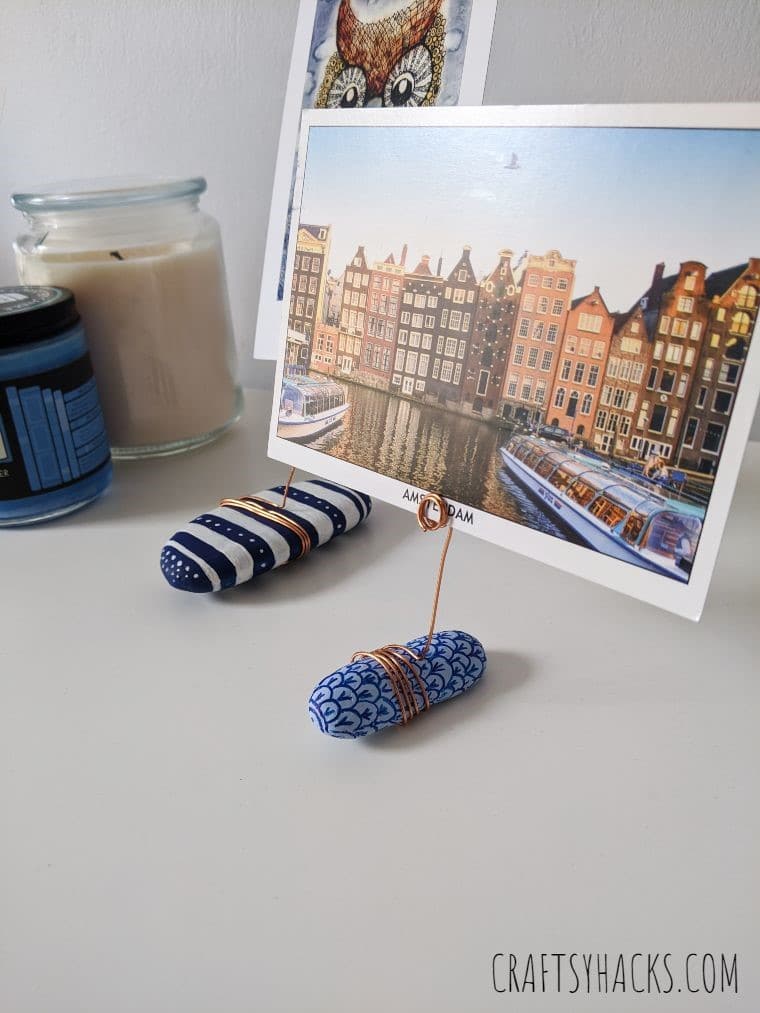
Using your pliers, create funky patterns with the wire.
I used a few curves for one of my rocks and a small full-loop for another.
Again, this is where you let your creativity kick in.
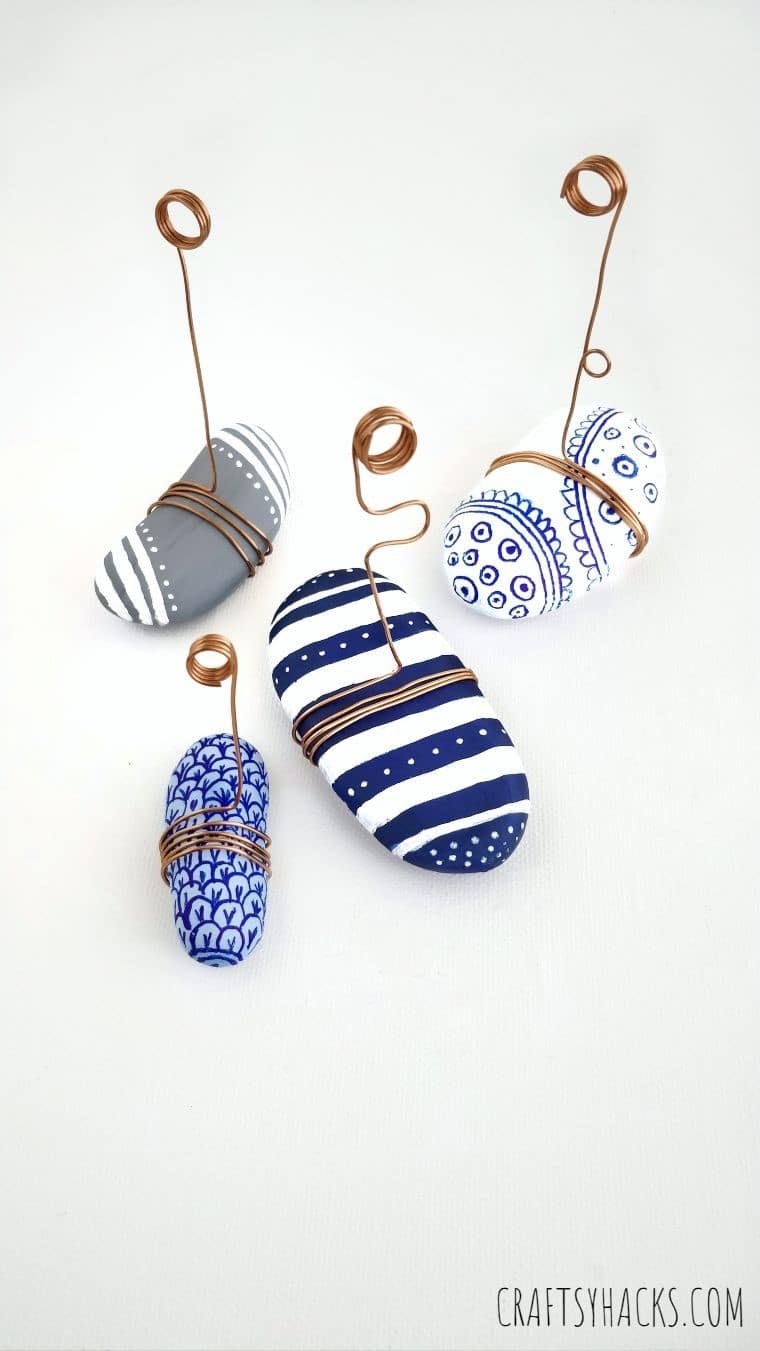
Notice how the patterns on the wire give them a three-dimensional feel?
Its as if the curves and bends added more life into them!