HomeDIY
This post may contain affiliate links:full affiliate disclosure.
Got some paper and some time?
Make these paper picture frames with the little ones.
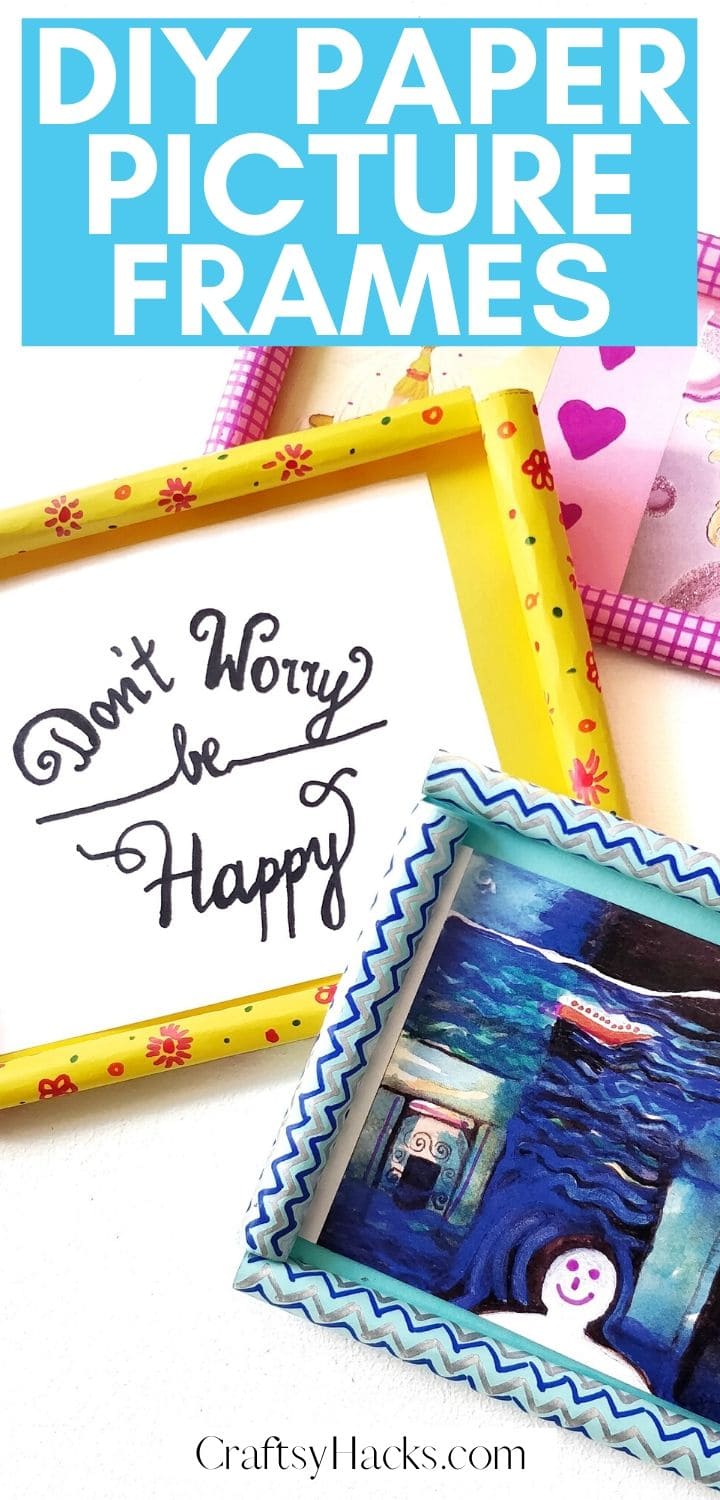
It could do for a beautiful decoration or even a present.
They are so simple to make and take very little time and preparation.
Use these custom picture frames to accent your walls or stick them onto your fridge door and bulletin boards.
Oh, and did I see theyre easy to make?
I just really wanted to emphasize that.
Make this picture frame from the materials listed above.
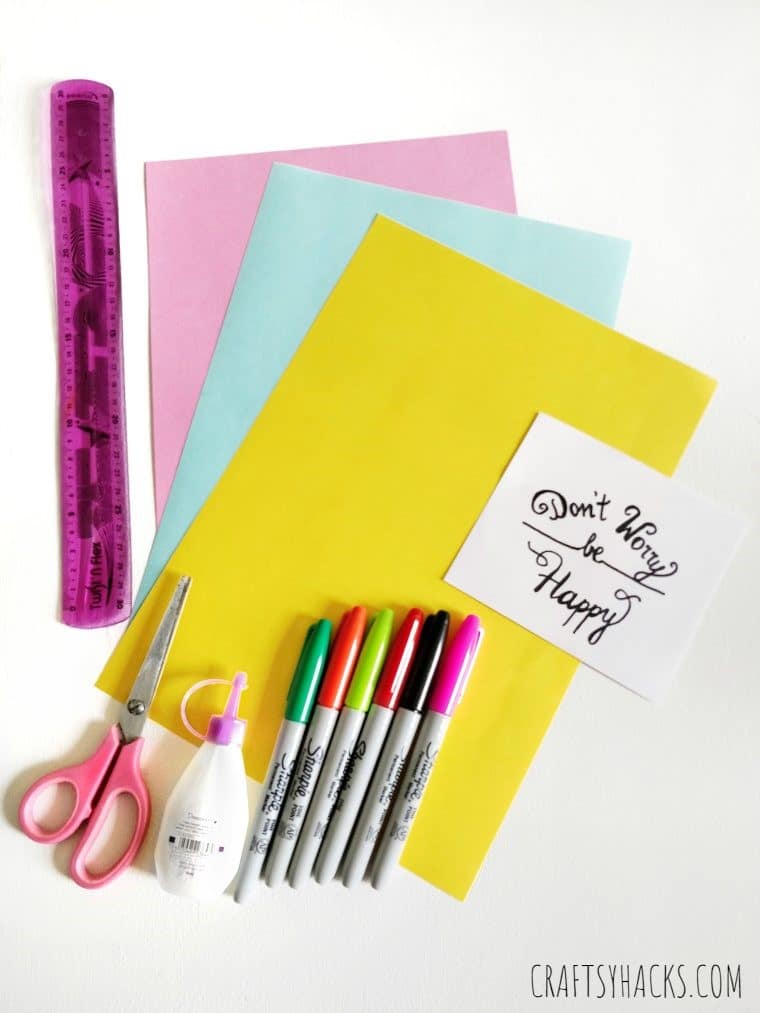
So, venture to draw patterns that accommodate this action.
Avoid large designs that execute the entire size of the flap, as this gets distorted after rolling.
Instead, use small, repetitive patterns (think gift wrap paper).
The important thing is to let you and your kids imagination take the lead!
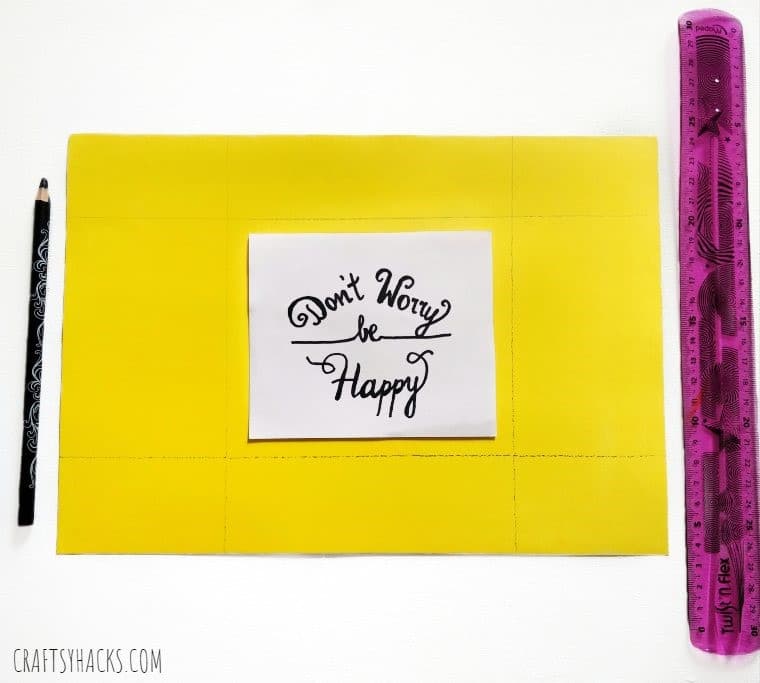
STEP 1
Start by choosing a sheet of colored paper.
Place the picture to be framed in the center and use a pencil to make guidelines around it.
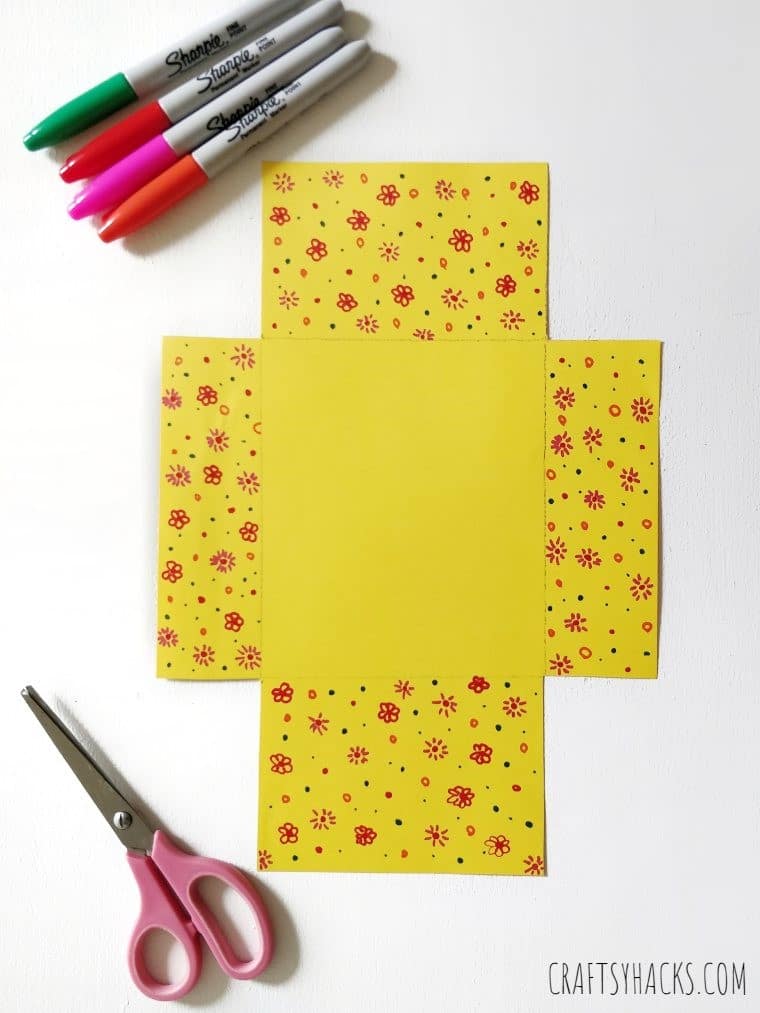
Be mindful of making the guidelines a few centimeters away from the photo edges.
STEP 2
Cut the four outer corners of the sheet, as shown in the picture.
Time to decorate your picture frame!
Draw patterns using sharpies, crayons, glitters, or even using embellishments and stickers.
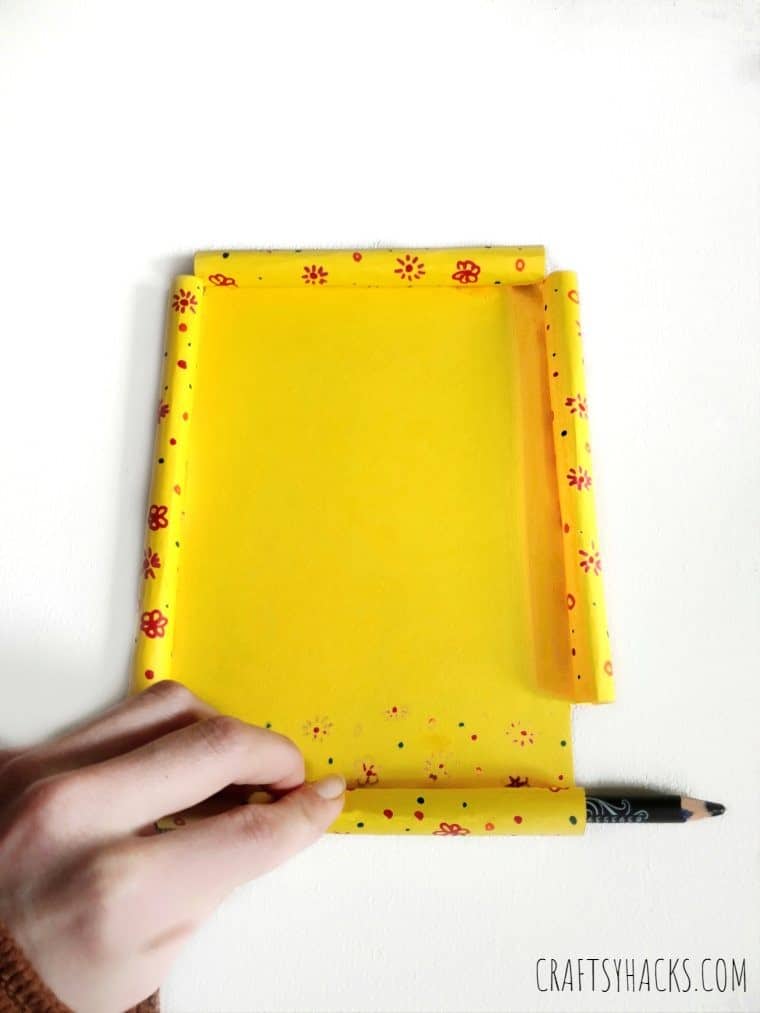
STEP 3
Take a pencil and use it to roll the decorated corners in.
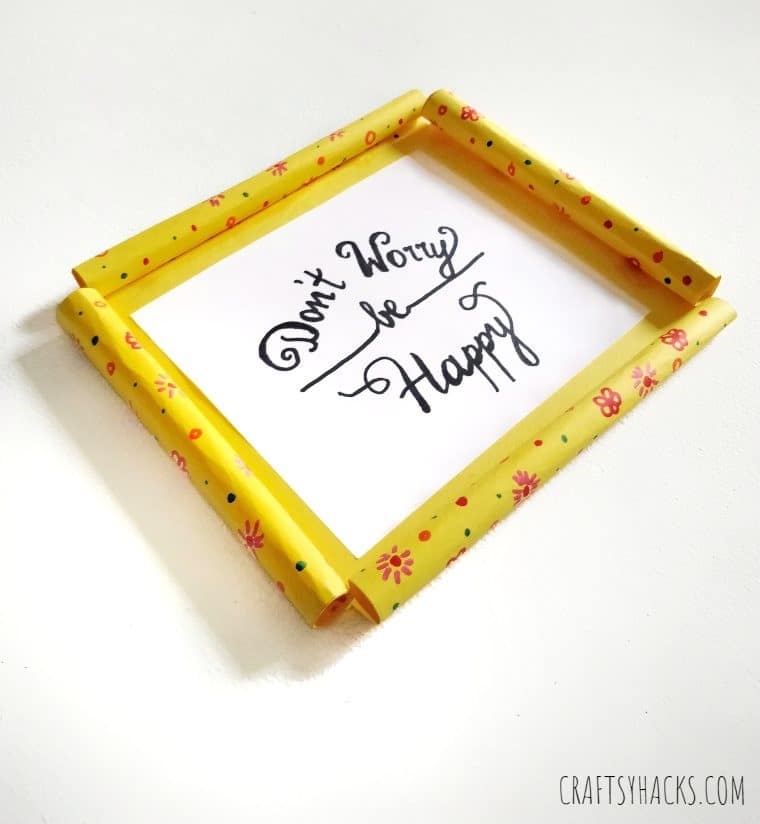
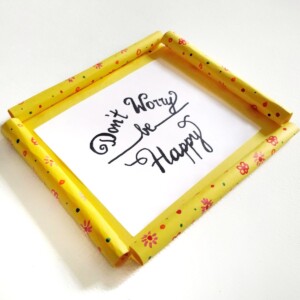
This process gives your frame a 3D effect.
ensure the decorated side is visible.
Use glue to stick the rolled corners together if required.
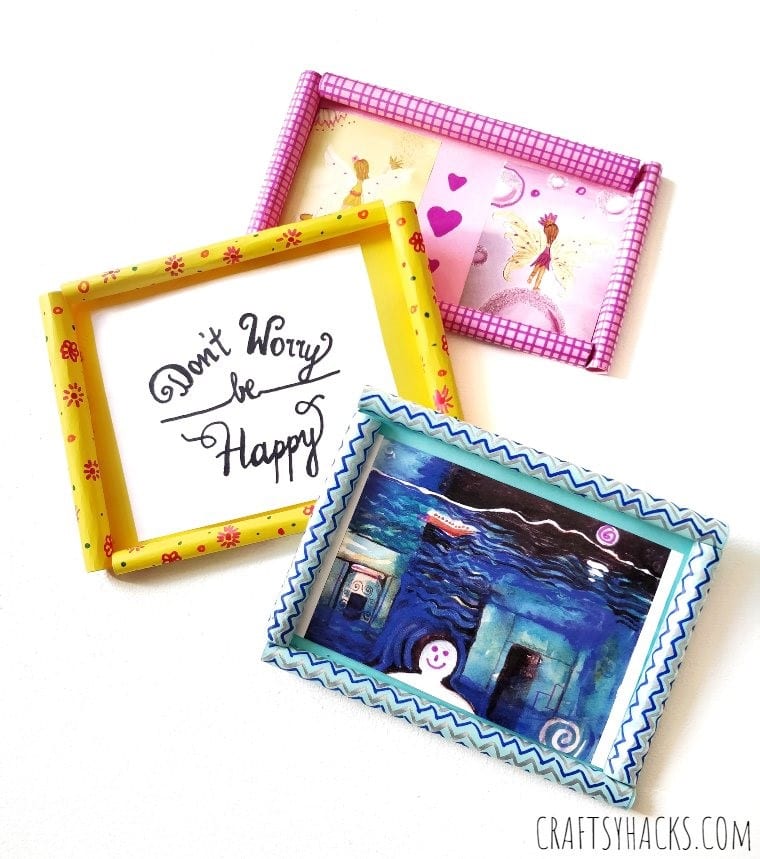
Remember, you dont have to stick to photos.
Every home with a child will also have drawings stuck on the fridges or tucked away here and there.
Part of our duties as parents is to showcase these photos or drawings.
What better way to do it than displaying them in custom made picture frames!
This DIY homemade picture frame is easy to make, and it brings out your little ones creativity.
