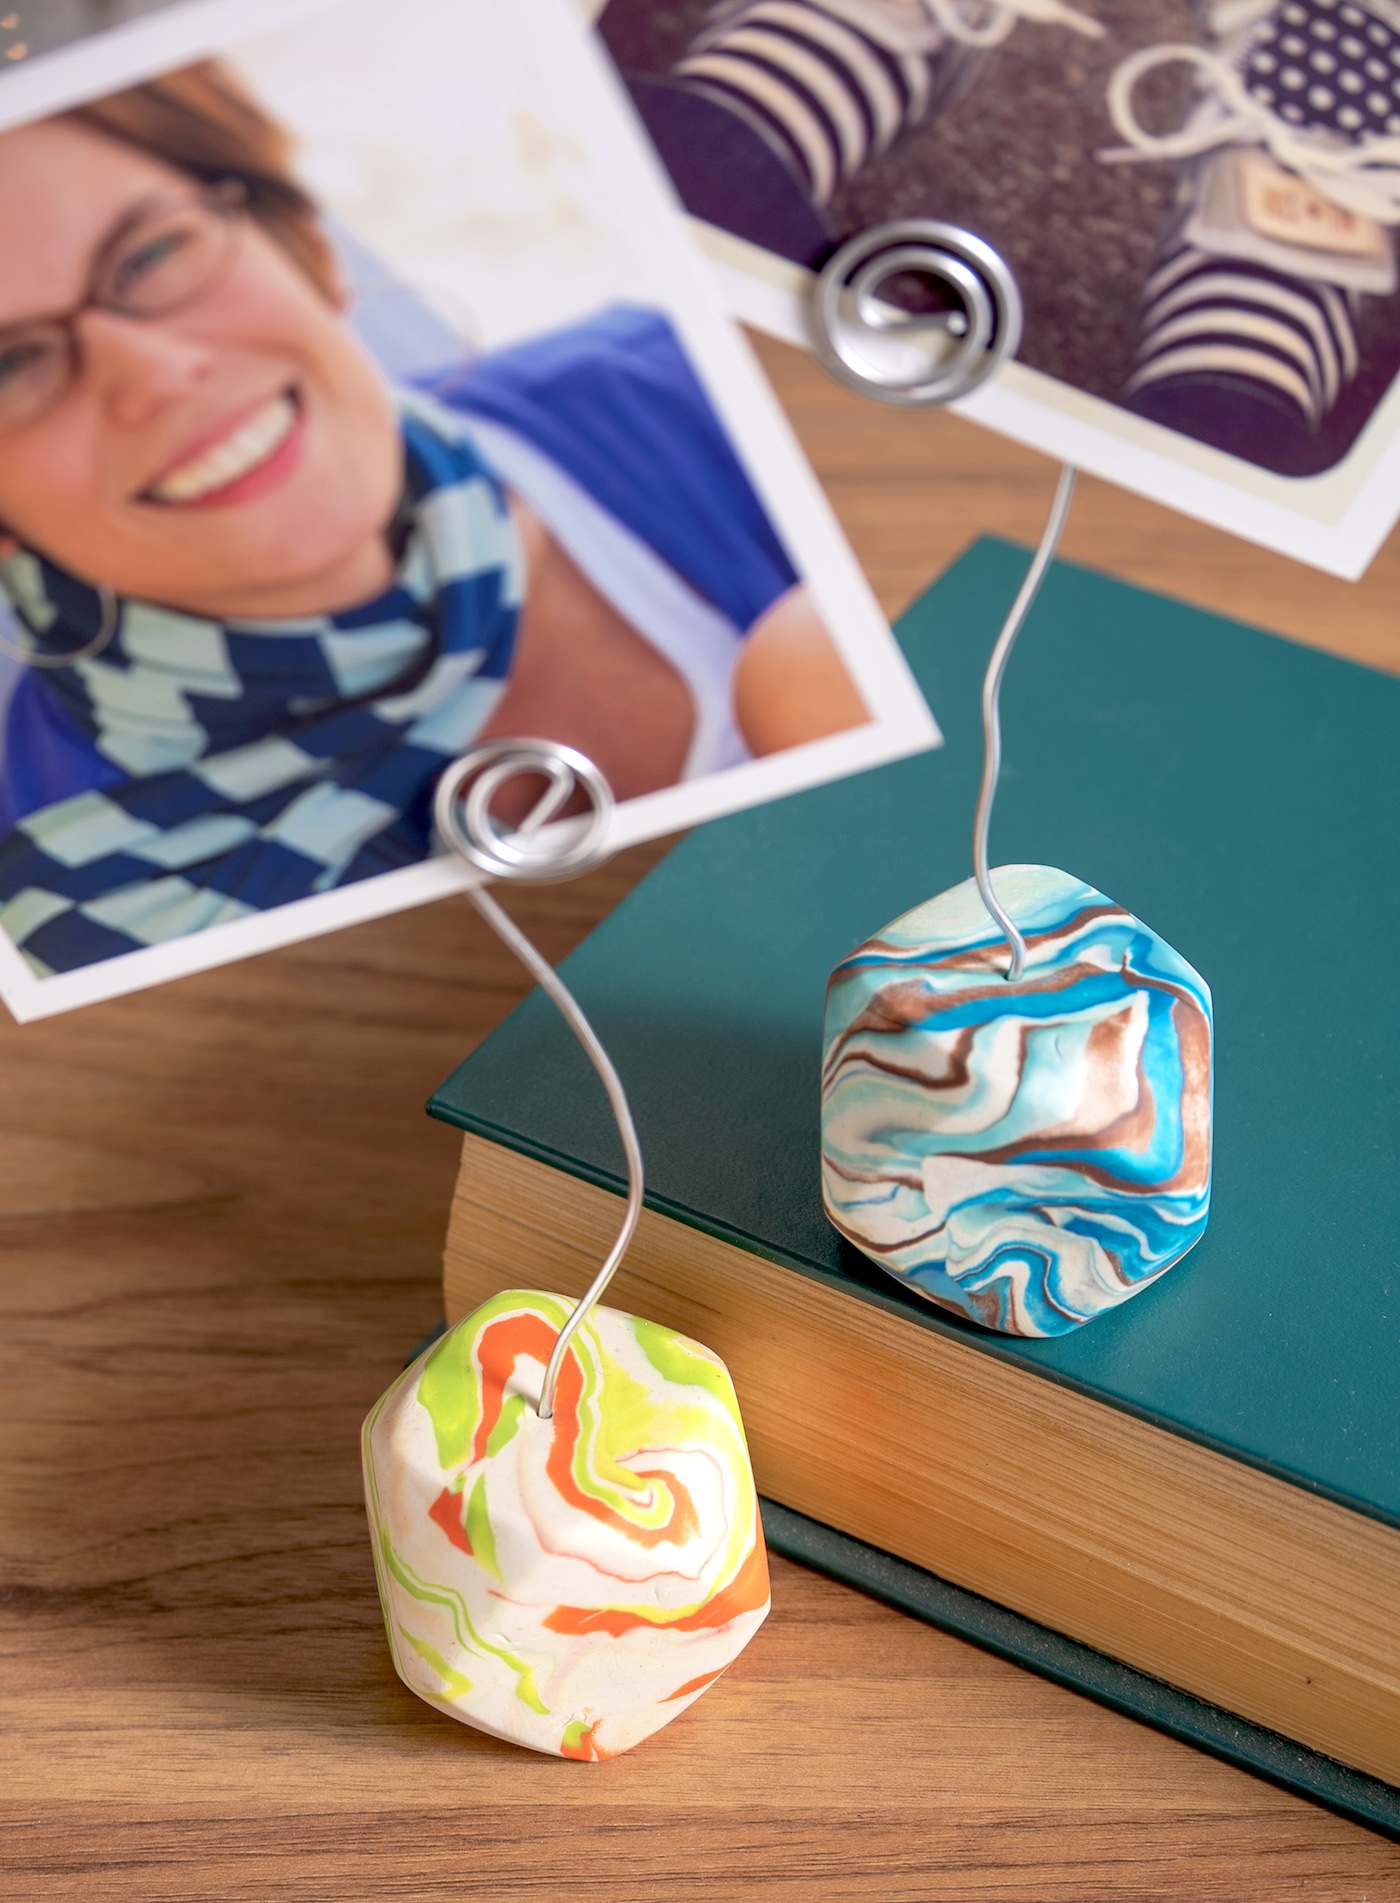
Learn to make unique DIY photo holders in a fun, easy tutorial!
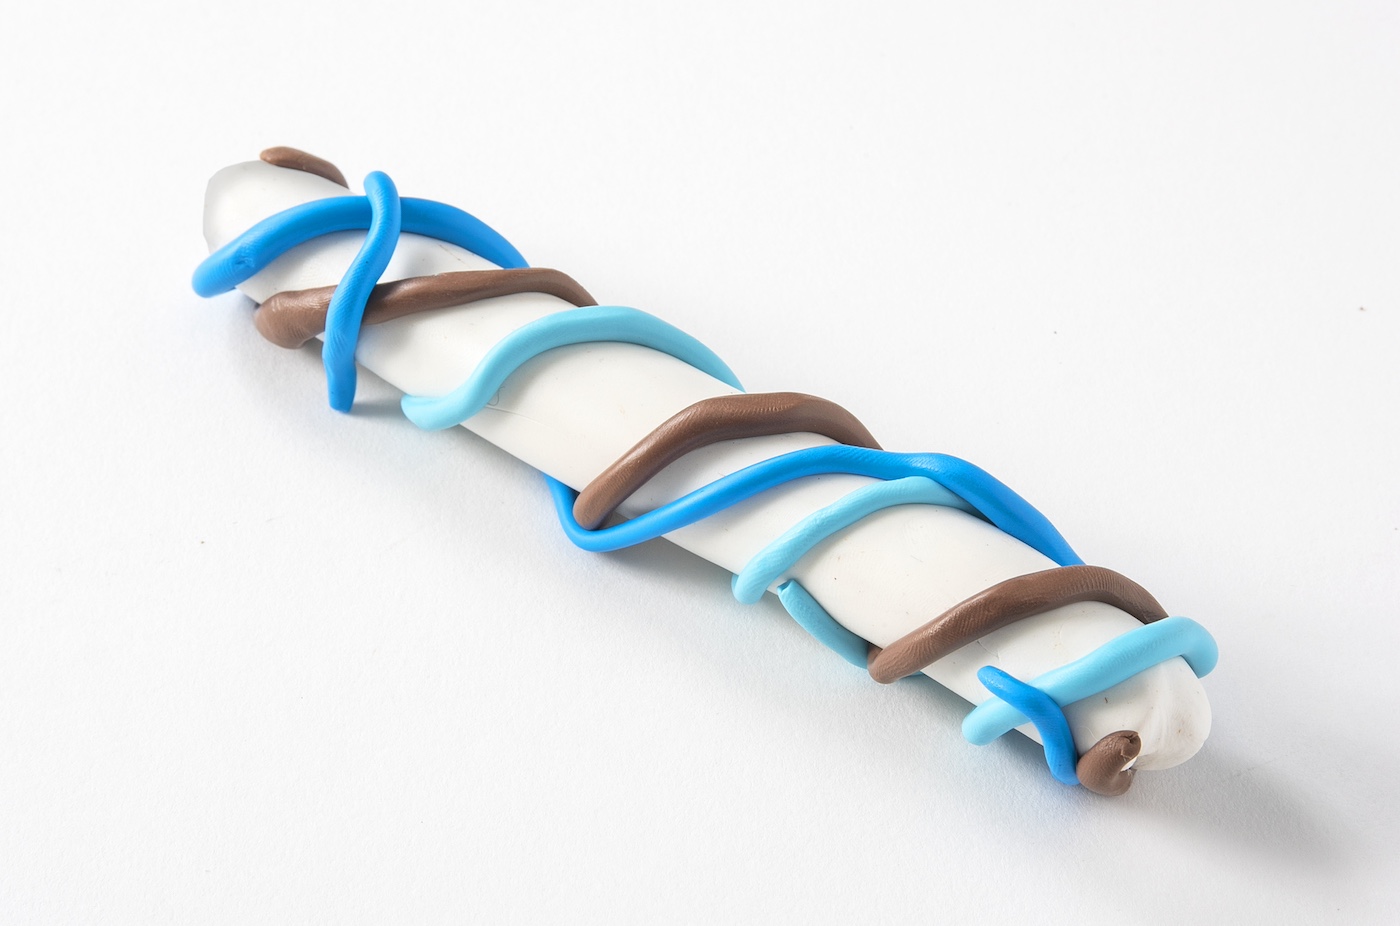
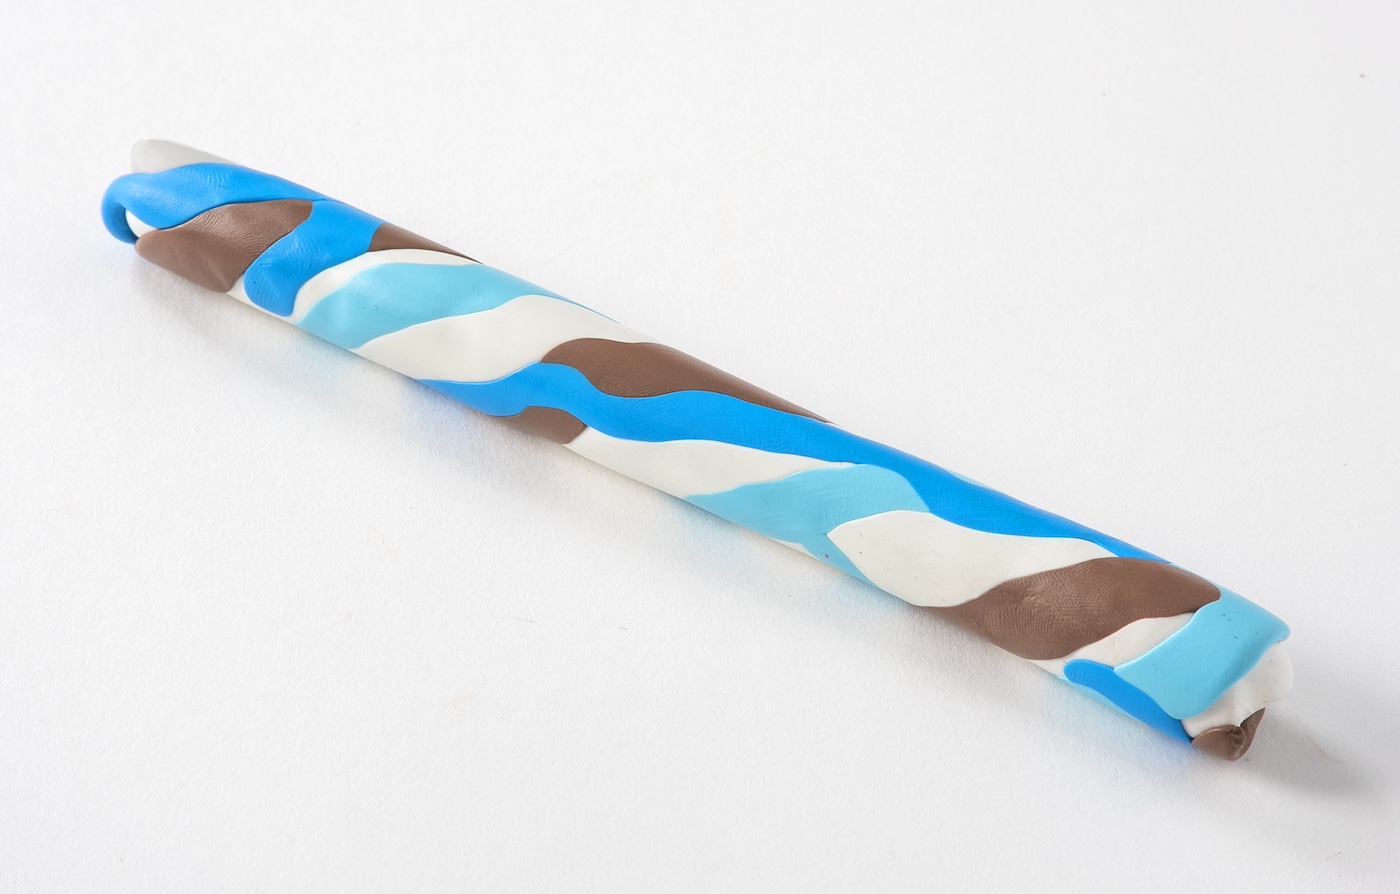
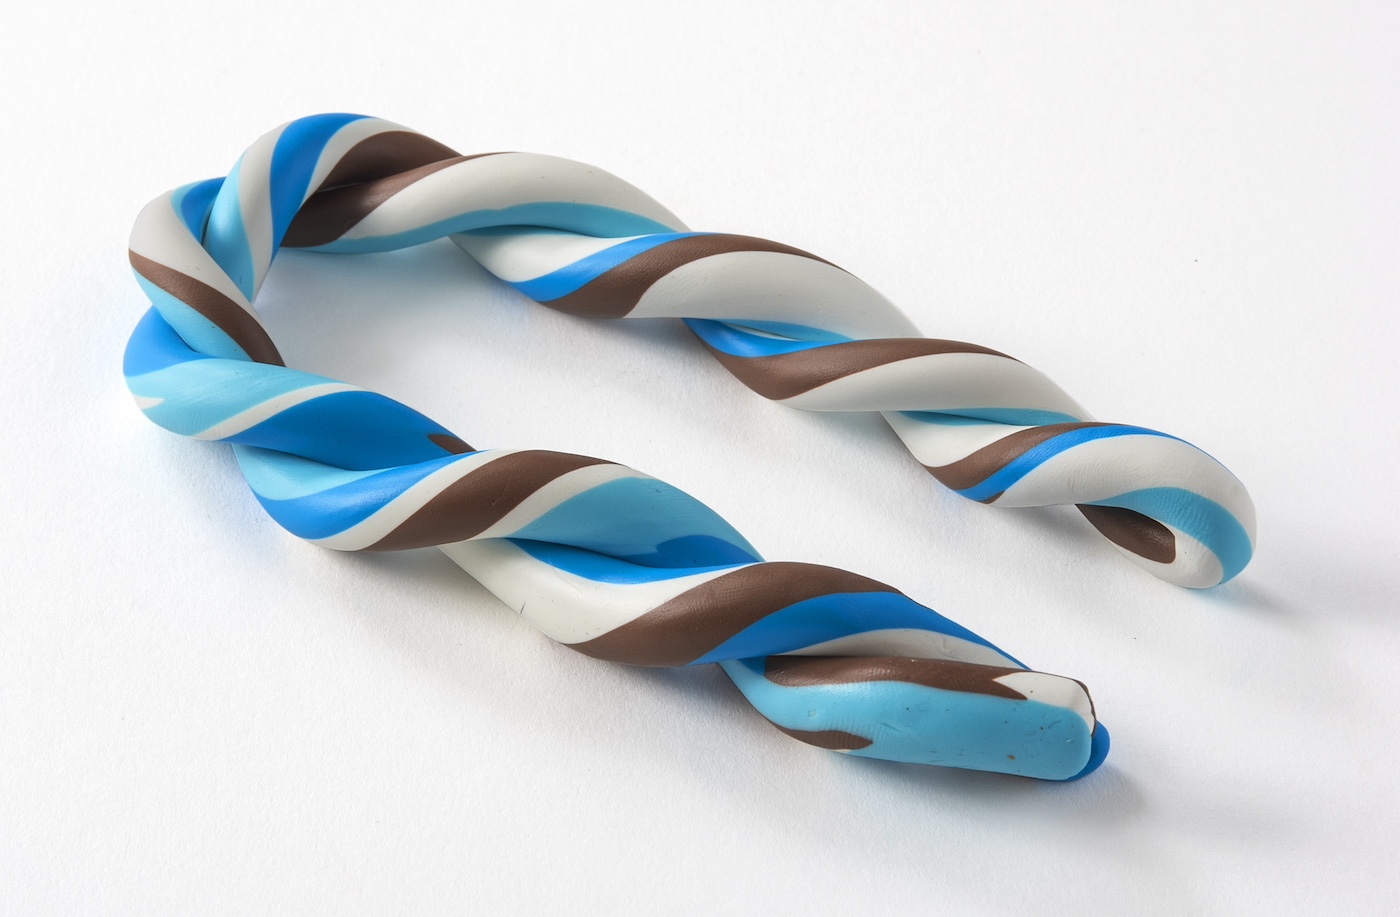
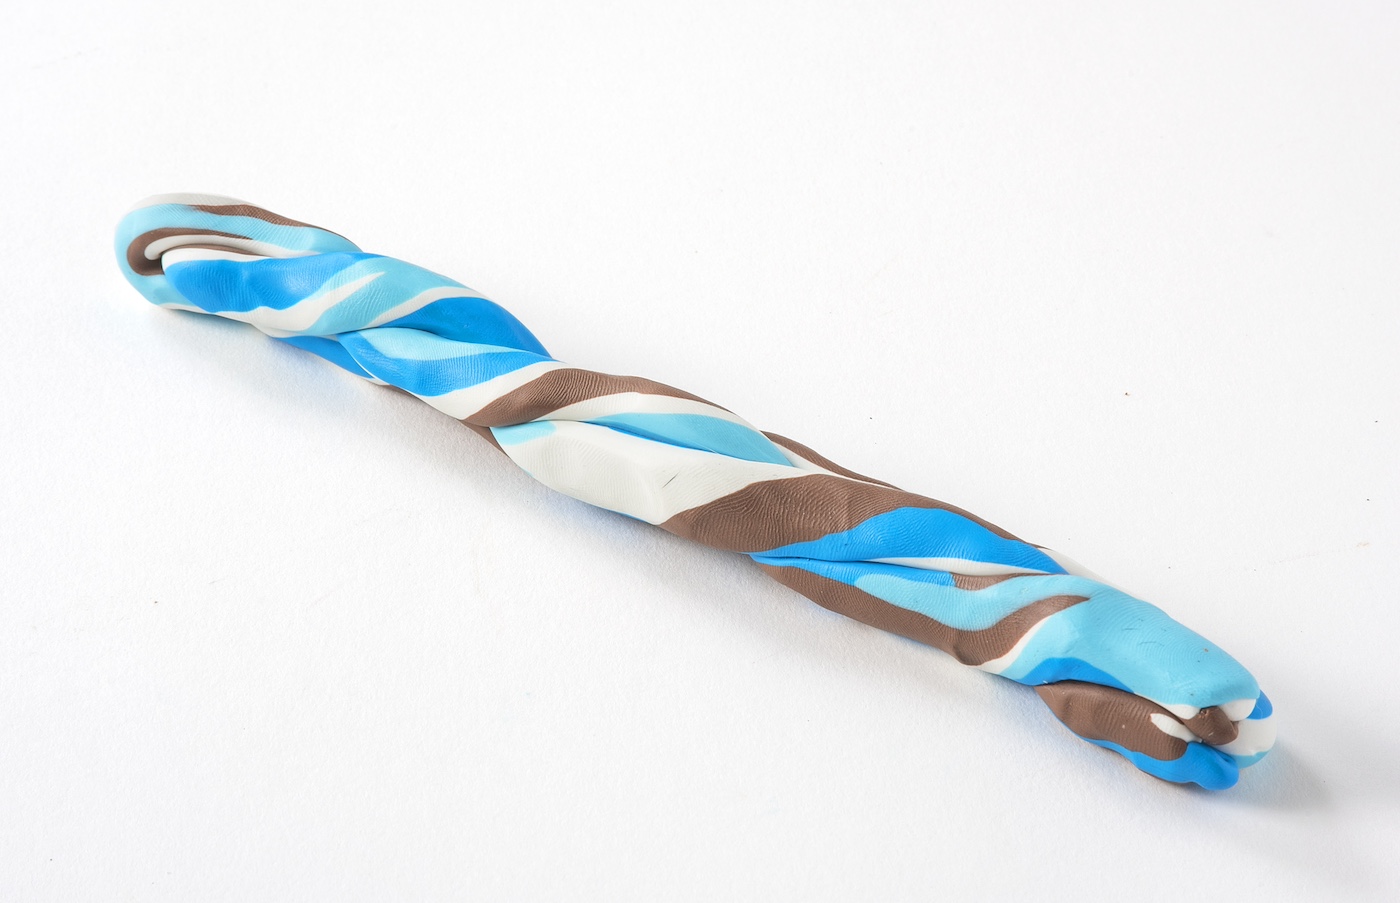
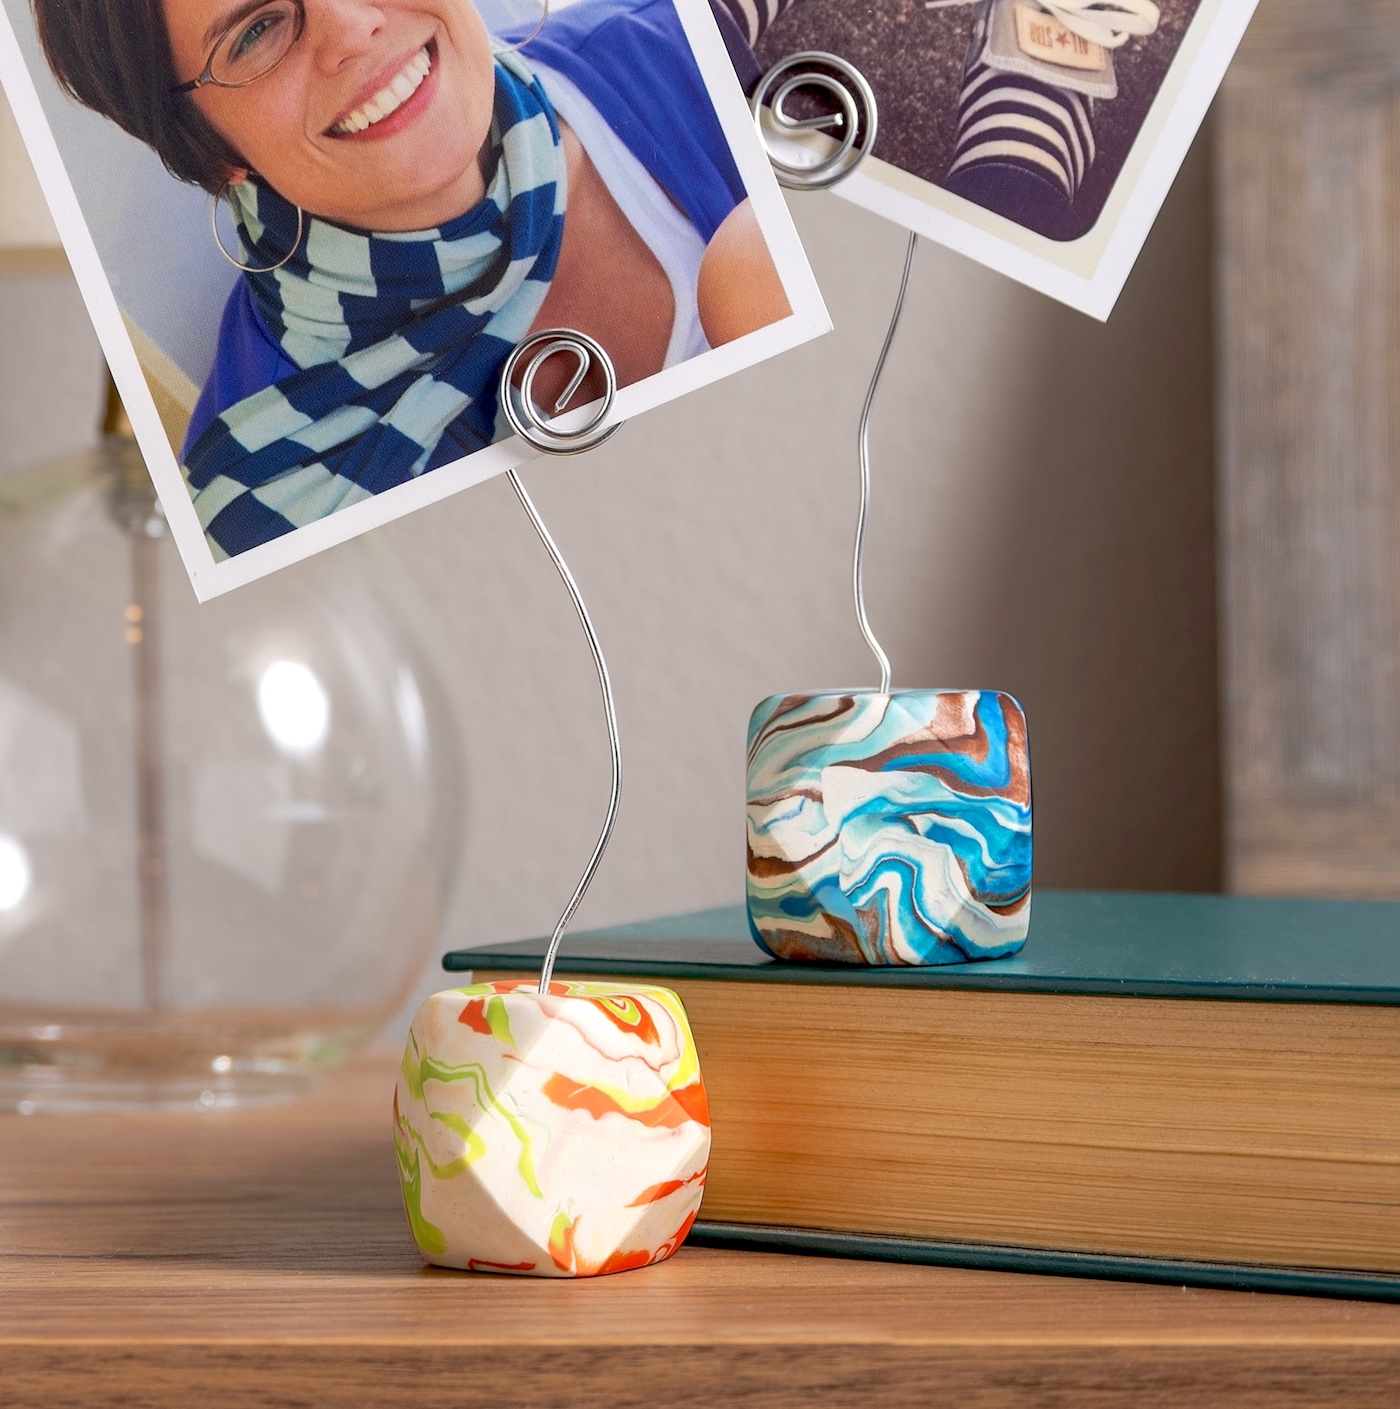
Create eye-catching, marbled clay shapes to display your favorite memories.
Skills Required: None.If youre just getting started with clay, this project is perfect for beginners.
Are you ready to add a splash of creativity and a dash of marbled magic to yourliving space?
Lets talk about making something truly unique your very ownDIY photo holders!
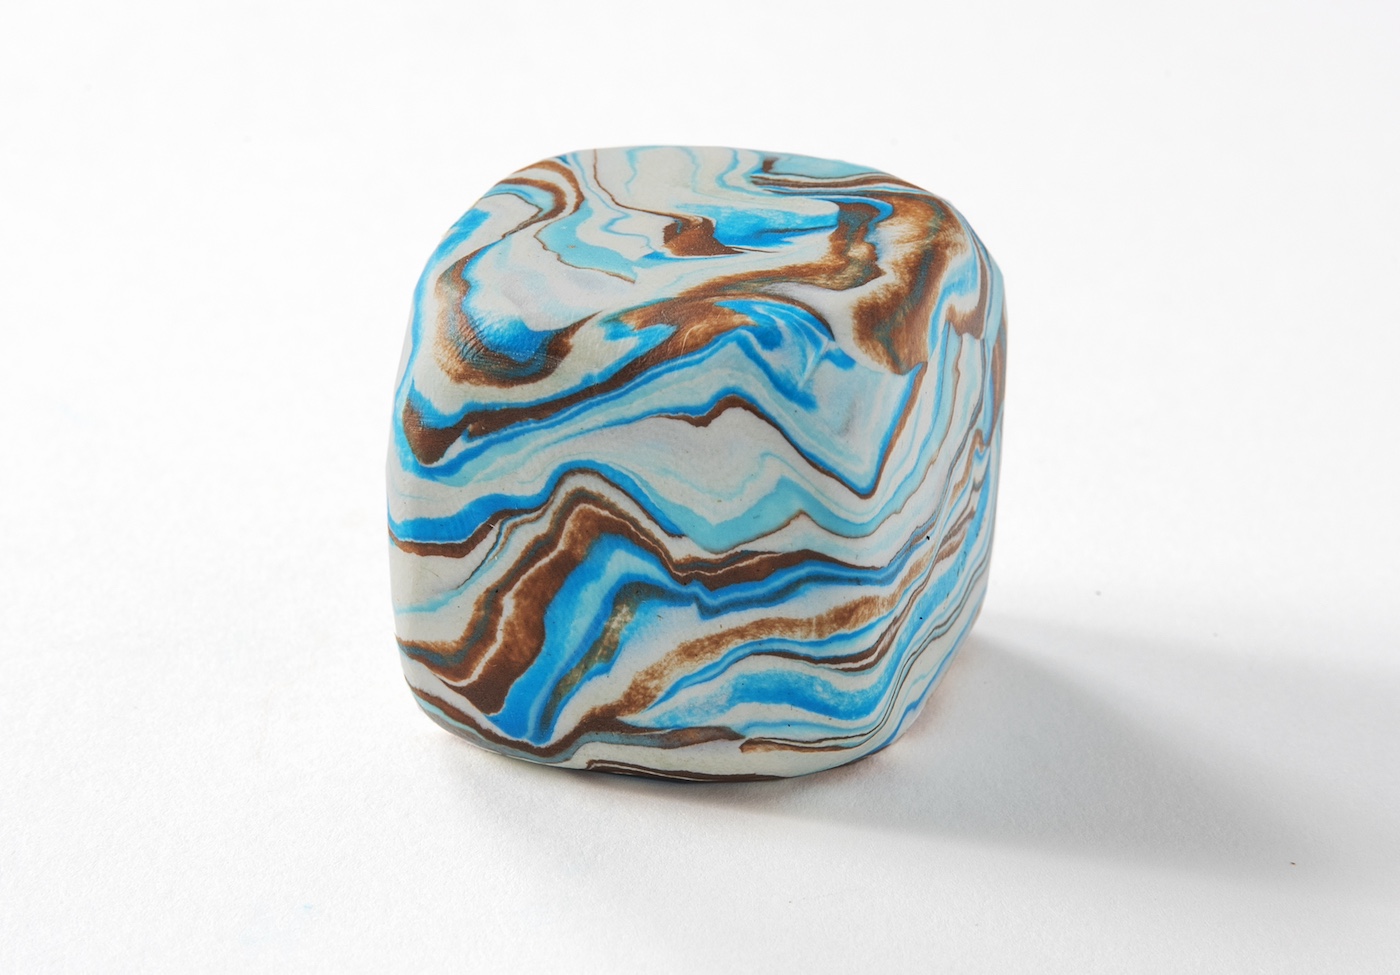
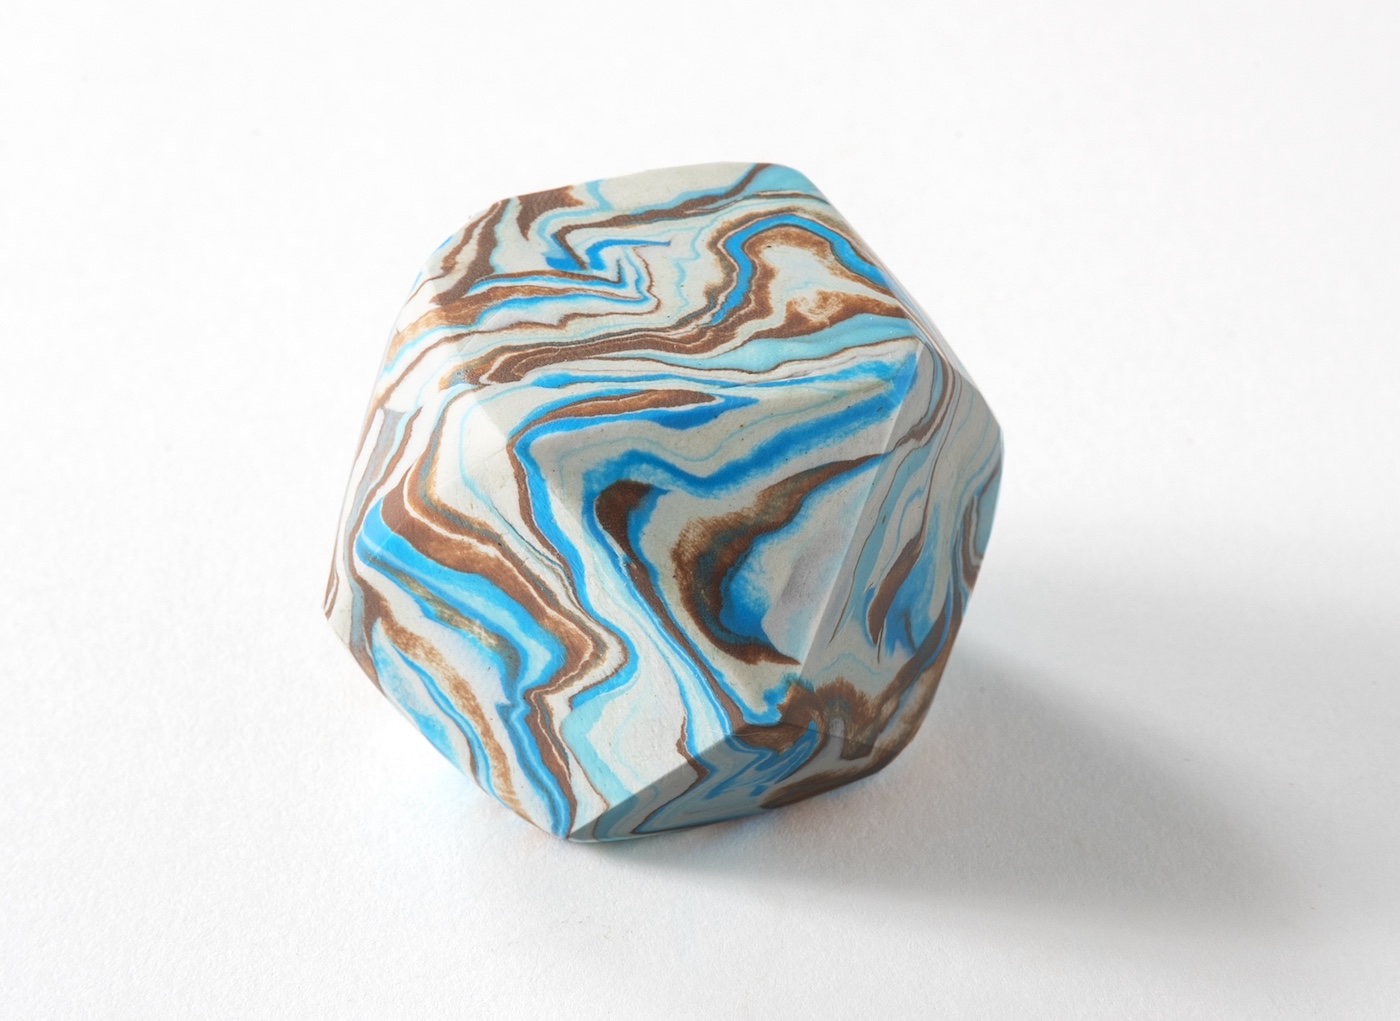
These picture holders are charming little showcases in the shape of atetradecagon.
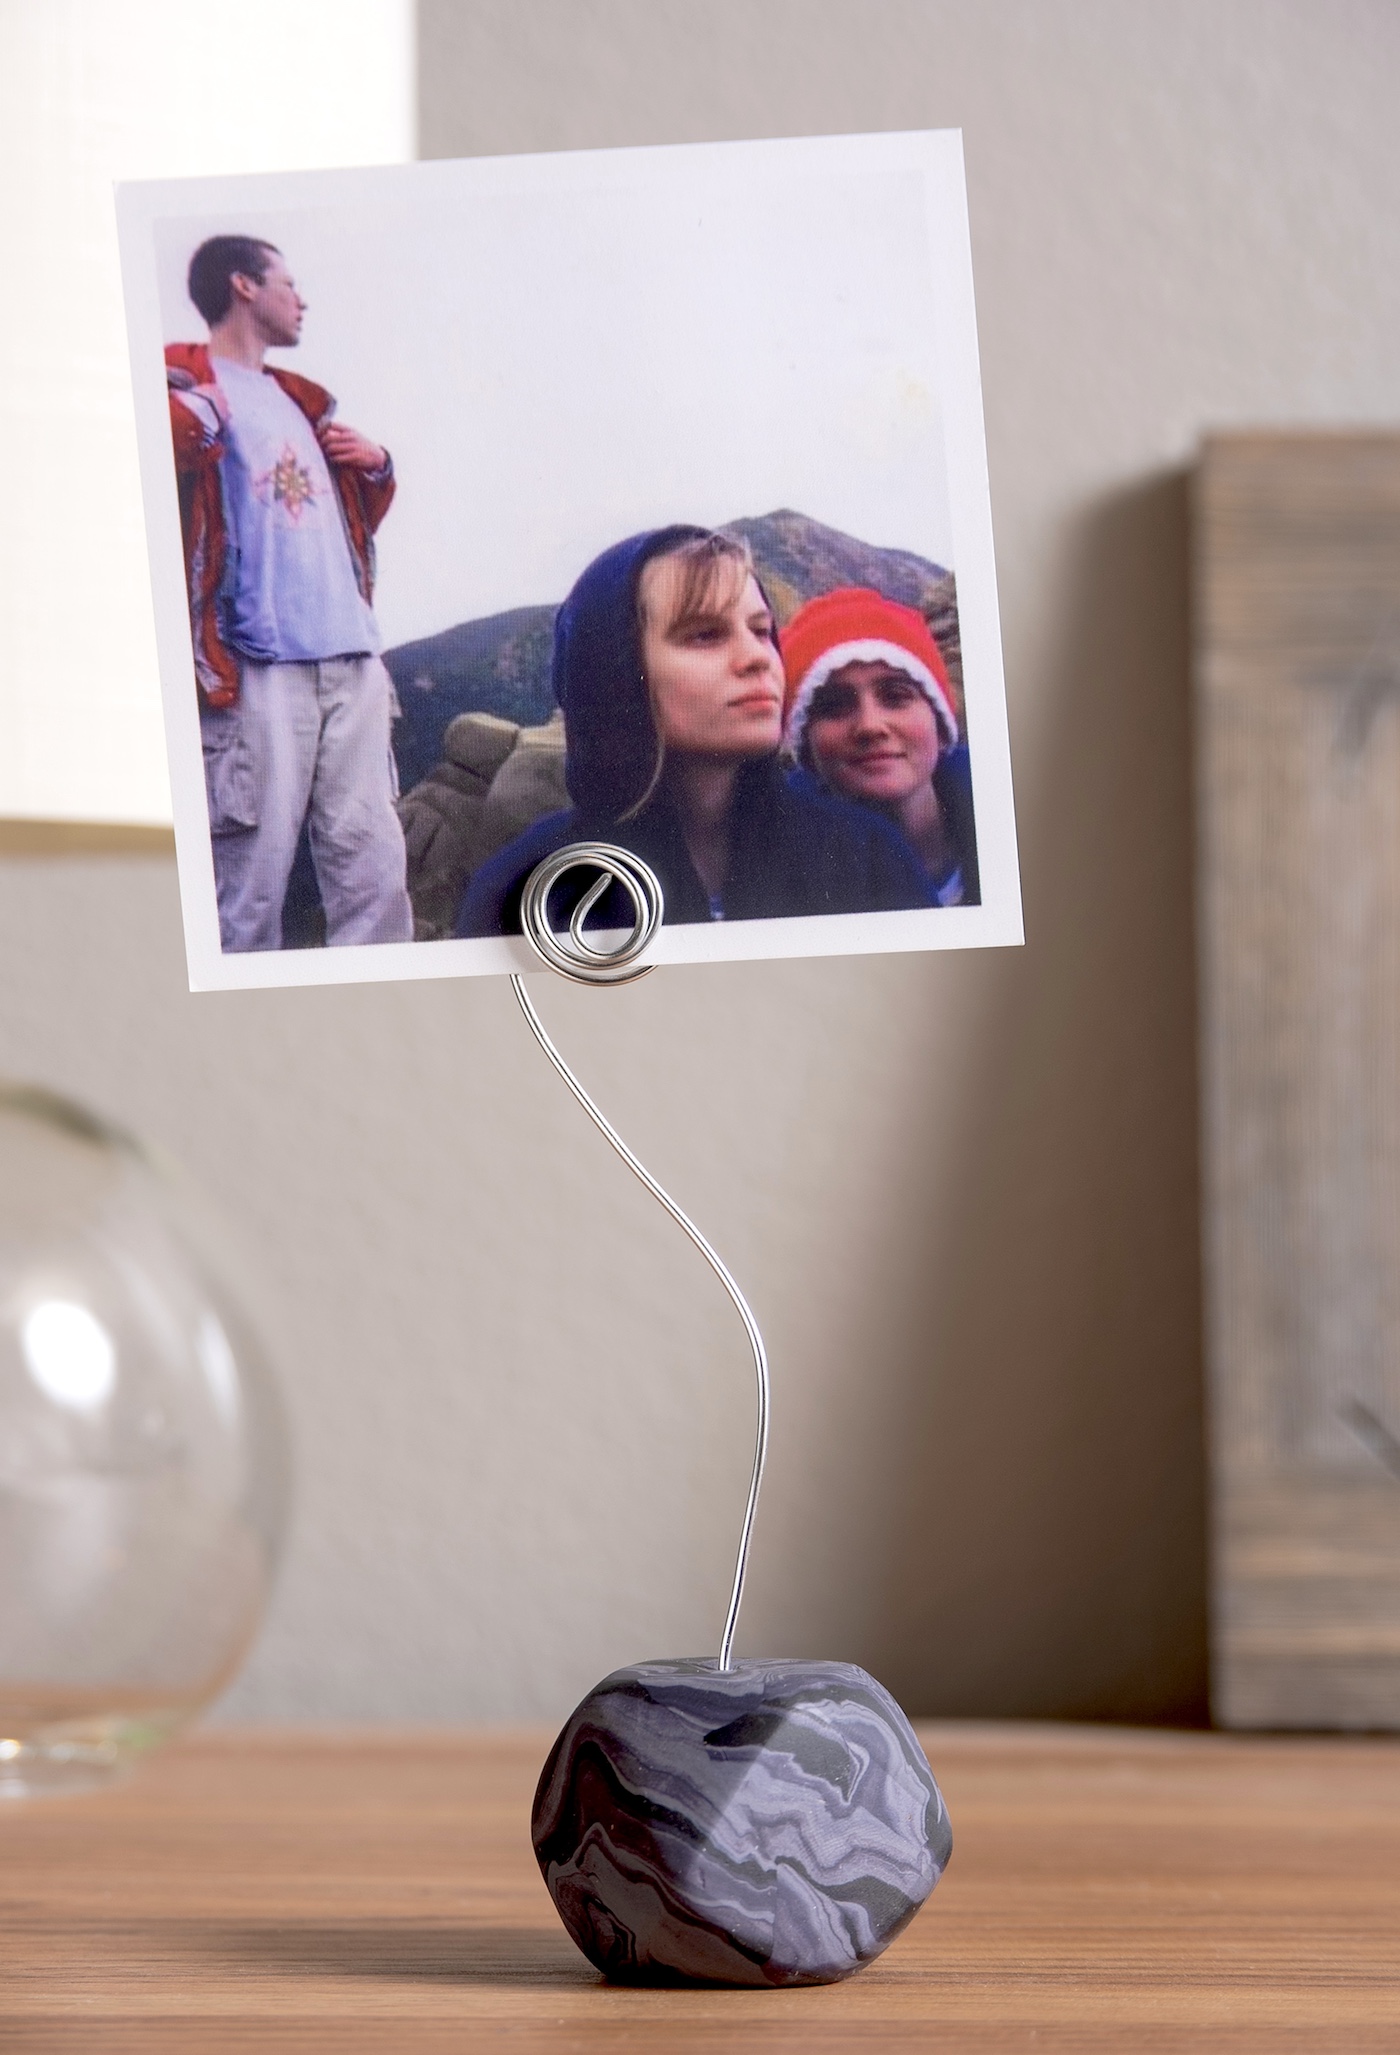
Yes, you heard that right a 14-sided geometric figure.
Which also makes them greathomemade gifts.
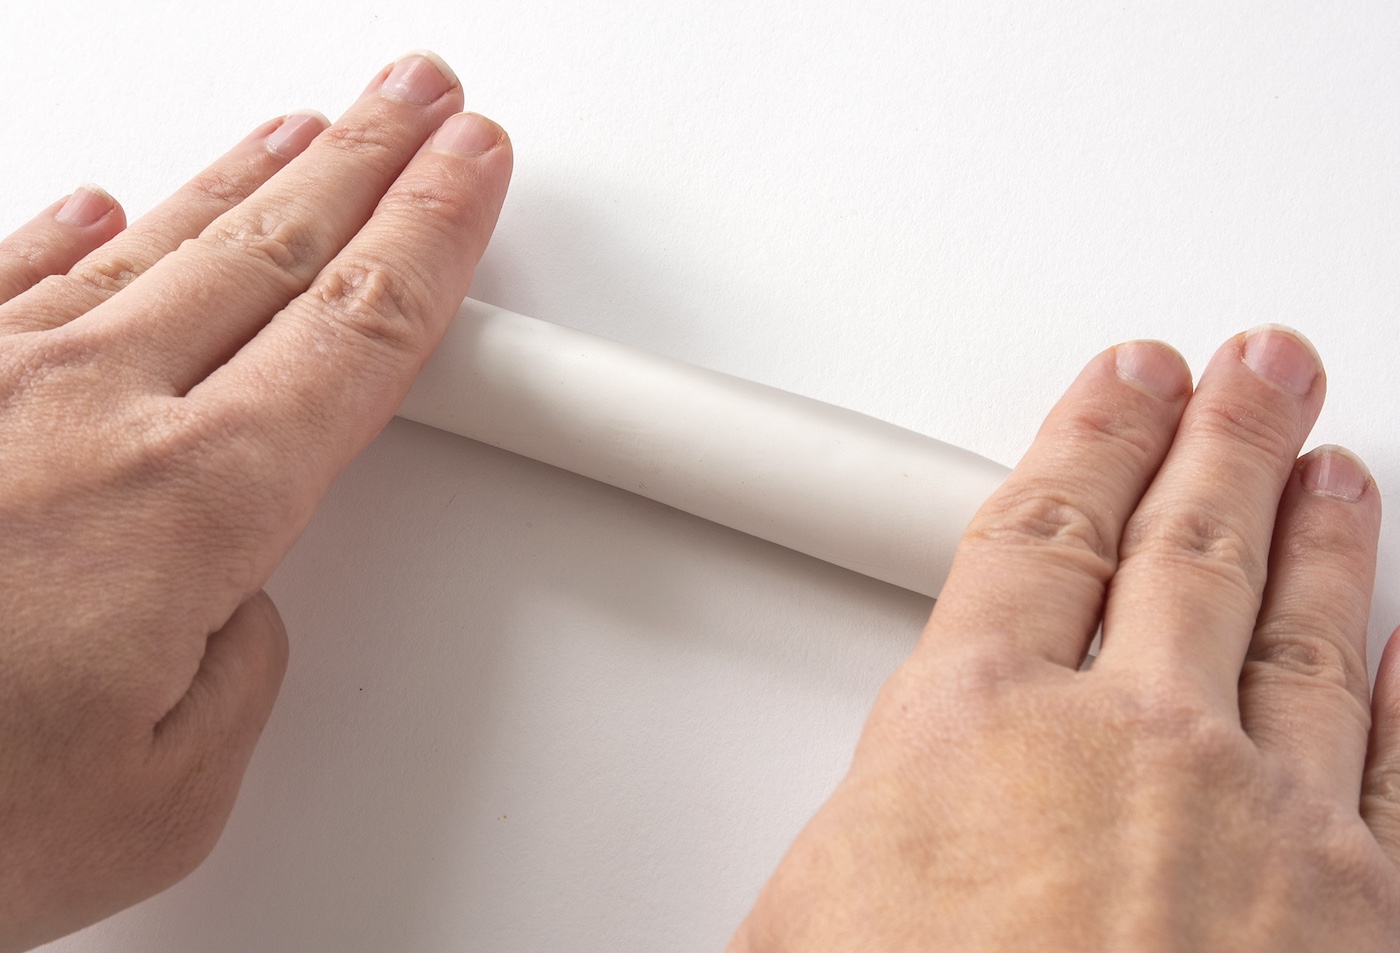
If youve never worked with polymer clay before, youre in for a treat.
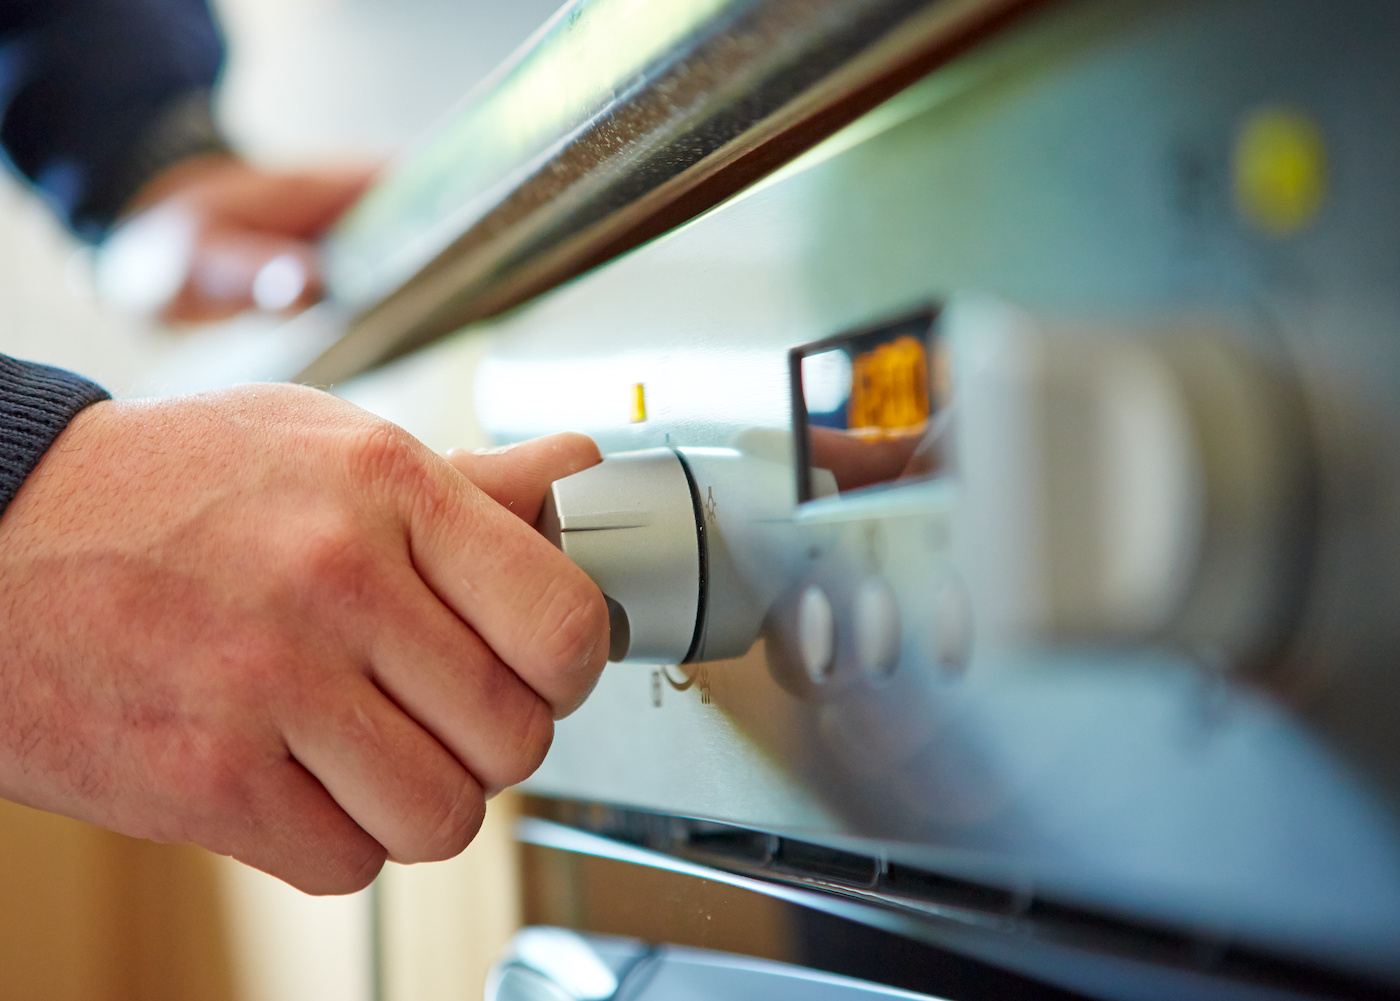
Its likeadultPlay-Doh, but even better because you might bake it into permanency.
But the craftiness doesnt stop there.
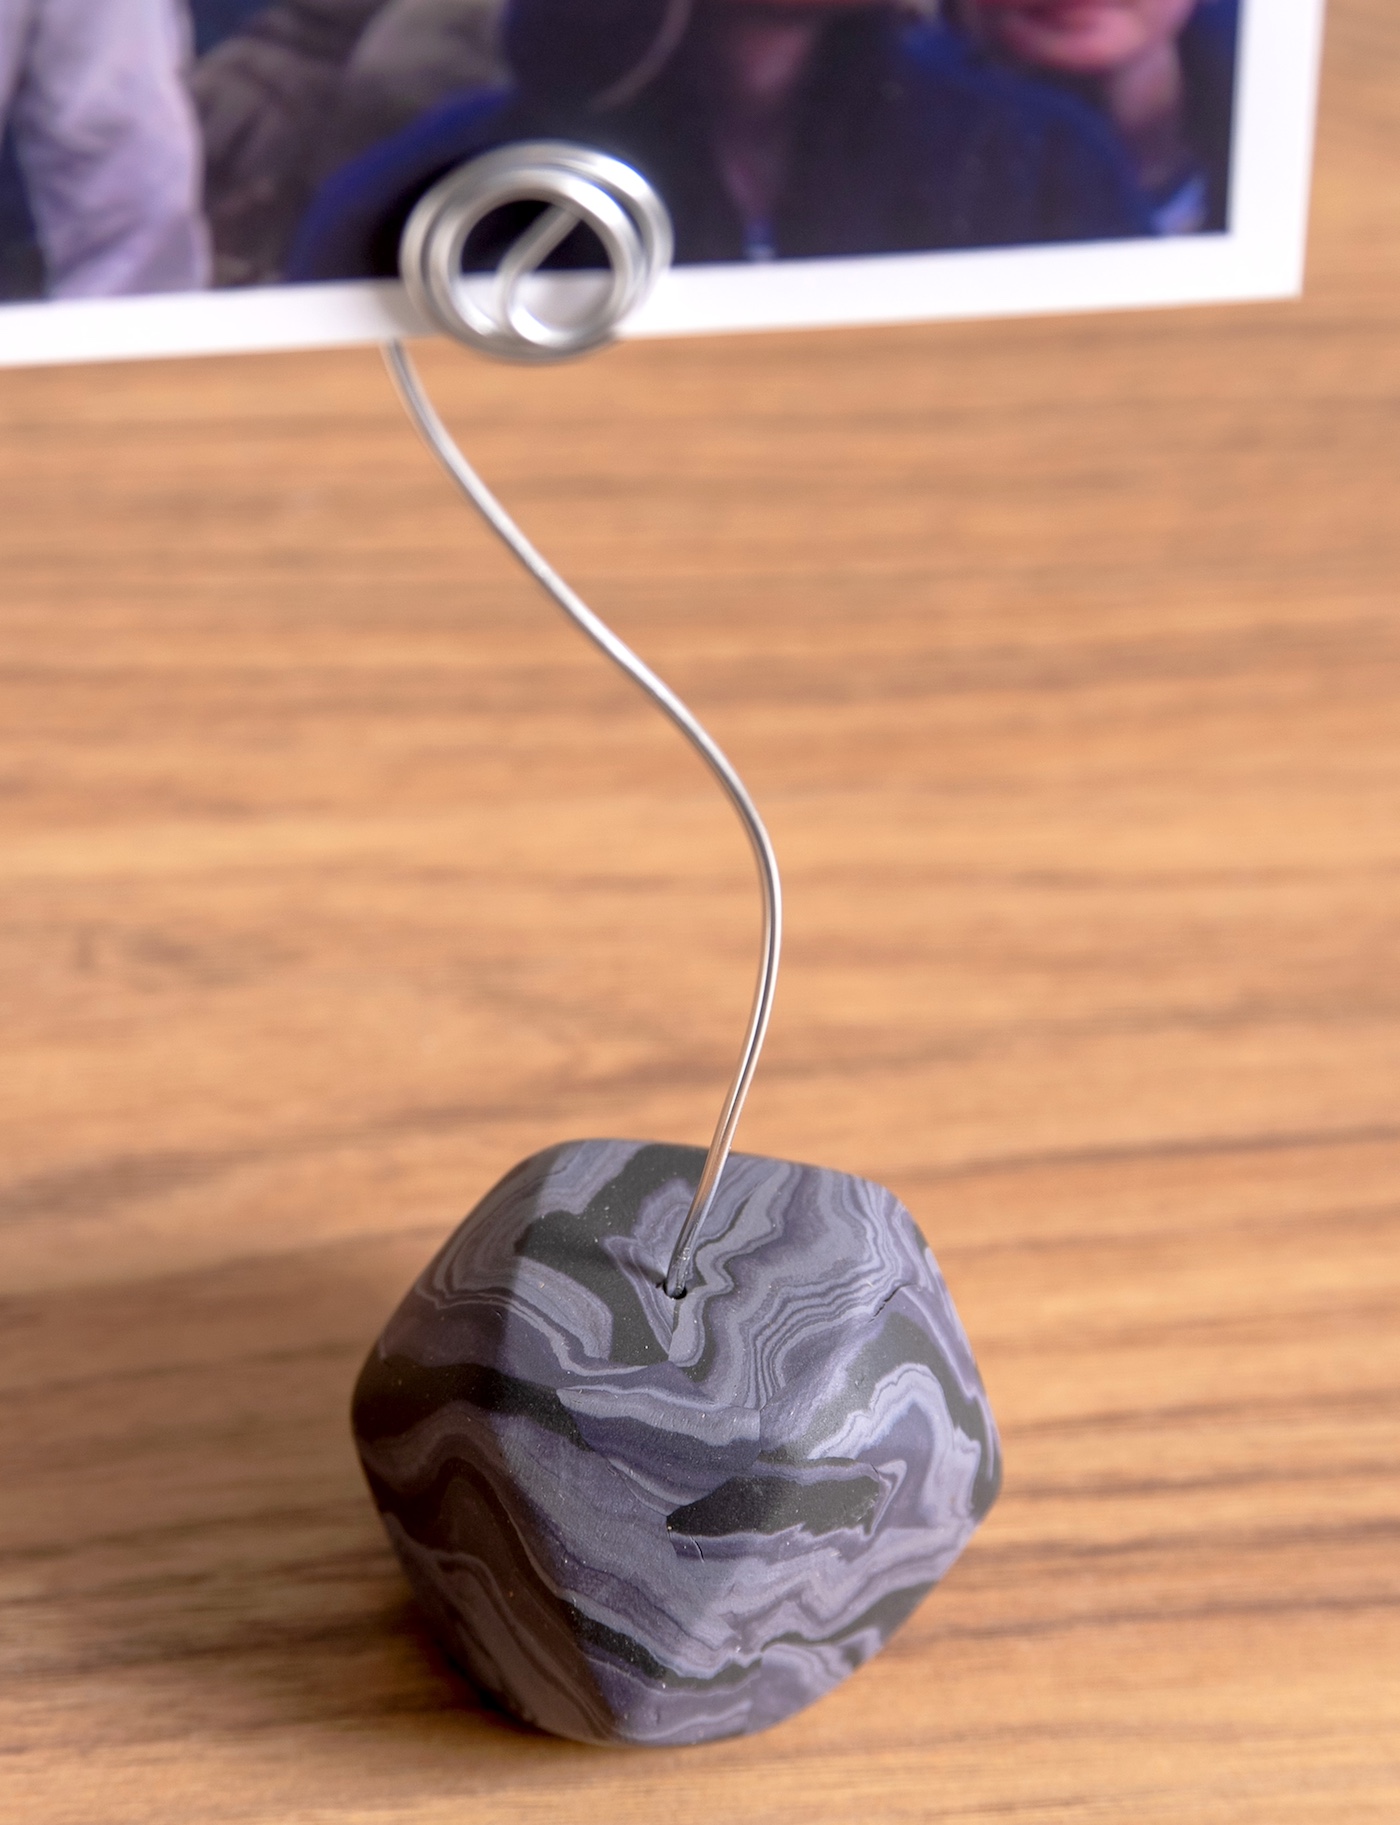
Once your piece has cooled, youll transform a simple piece of wire into the holder for your pictures.
So why not take a little time this weekend to try something new?
Roll up your sleeves and lets mold some memories into something tangible.
Ready to get started?

Keep scrolling down, and lets turn those ordinary supplies into extraordinary memories with our step-by-step tutorial.
Trust me, youre going to love how these turn out!
They arent perfect cubes .

but with the marbling, you dont need to be exact.
Some people bake the clay with the wire, but I dont.
Then I glue the wire in afterwards.
show me your variations!