HomeOrganization
This post may contain affiliate links:full affiliate disclosure.
Got some paper lying around?
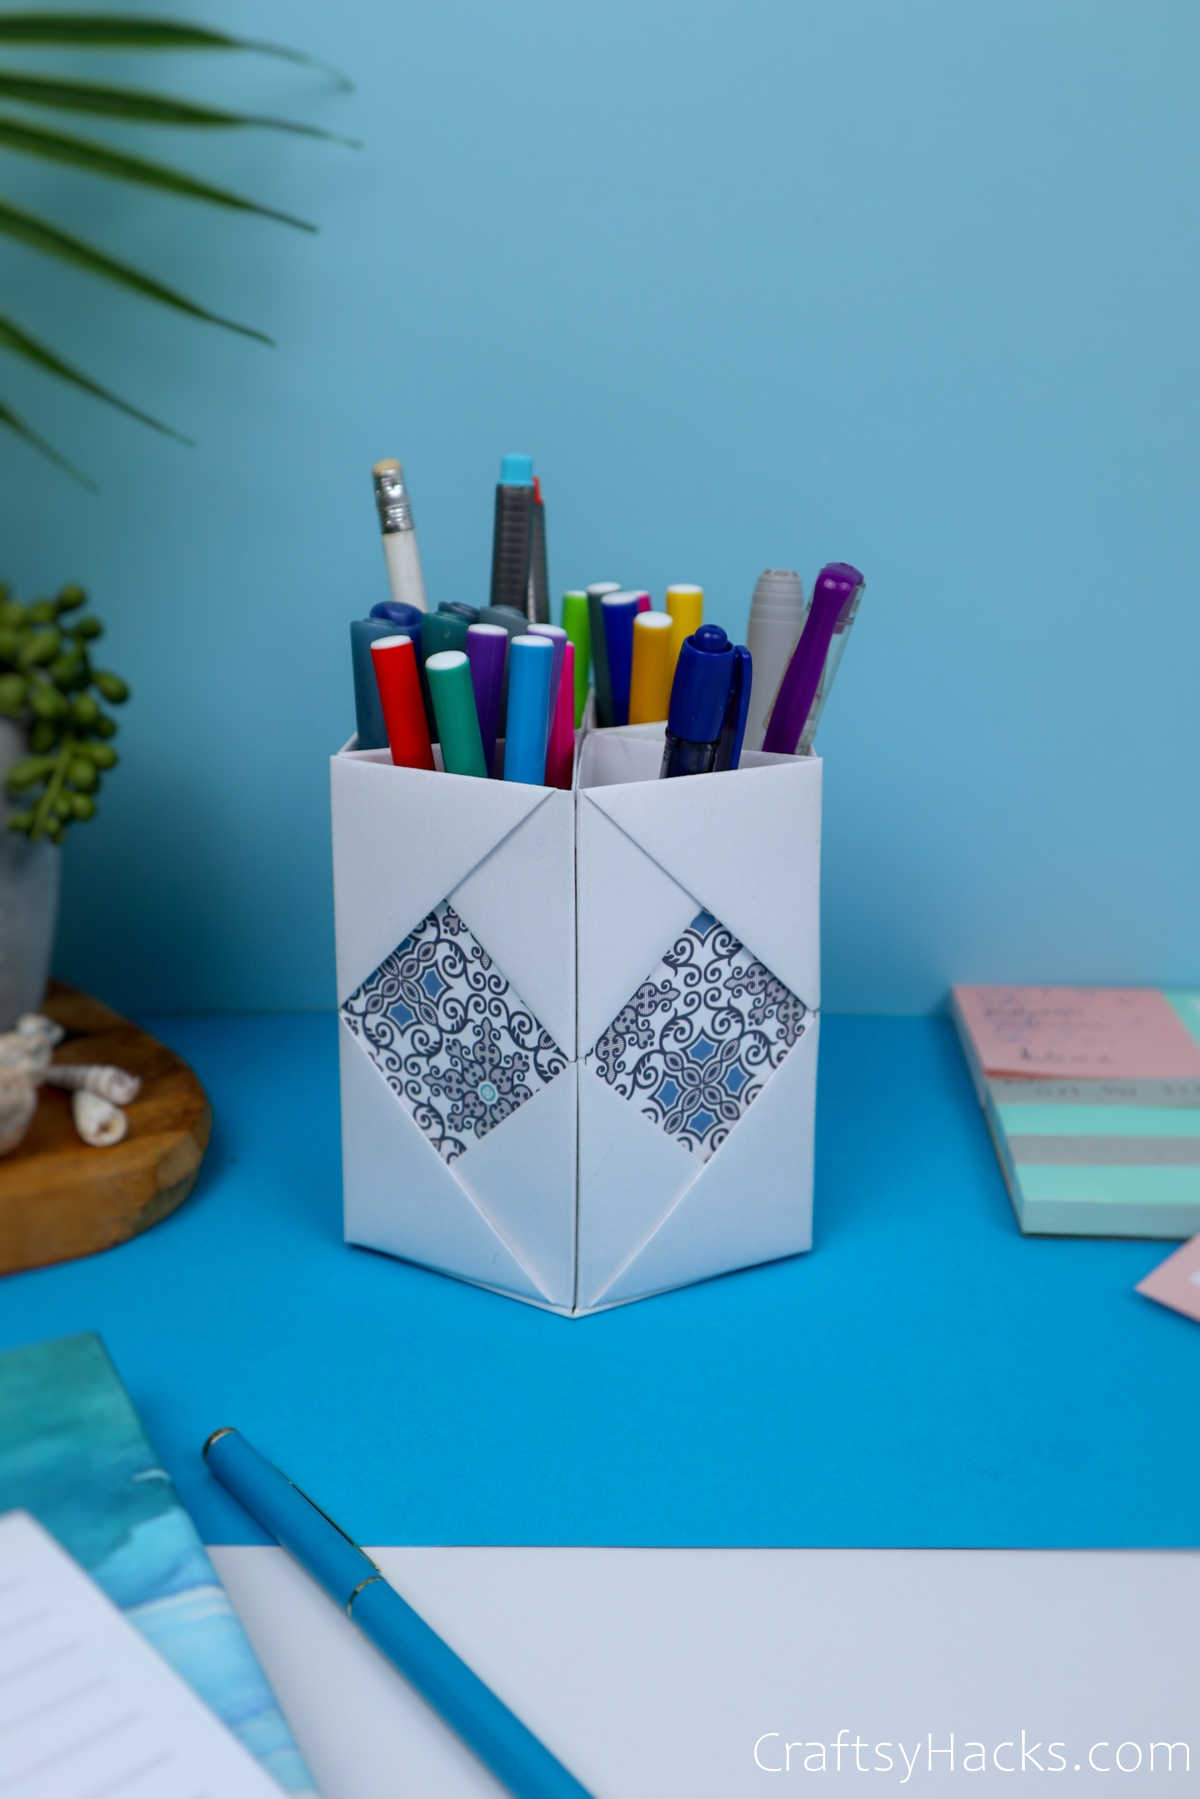
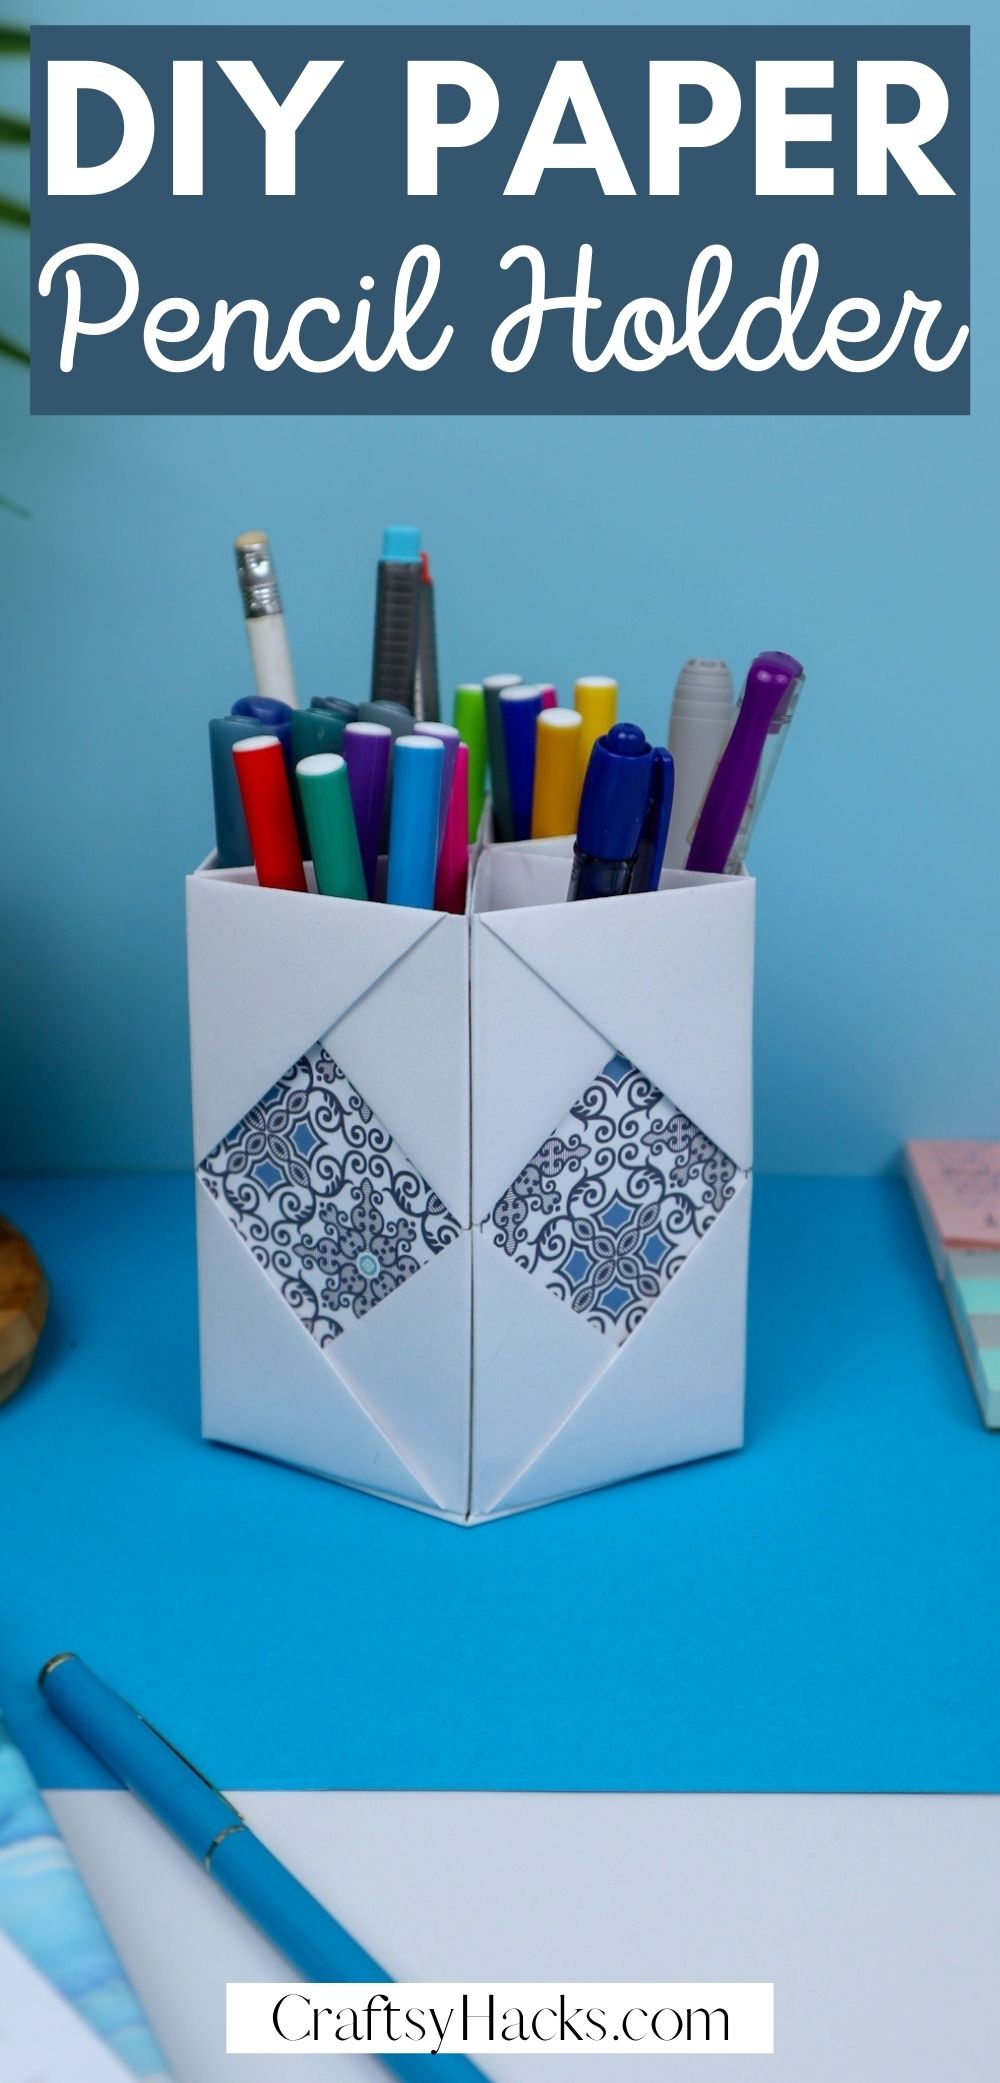
Doesnt it look like something you ordered off a catalog or picked up at a fancy office supplies store?
So, without further ado, lets get down to making this pencil holder.
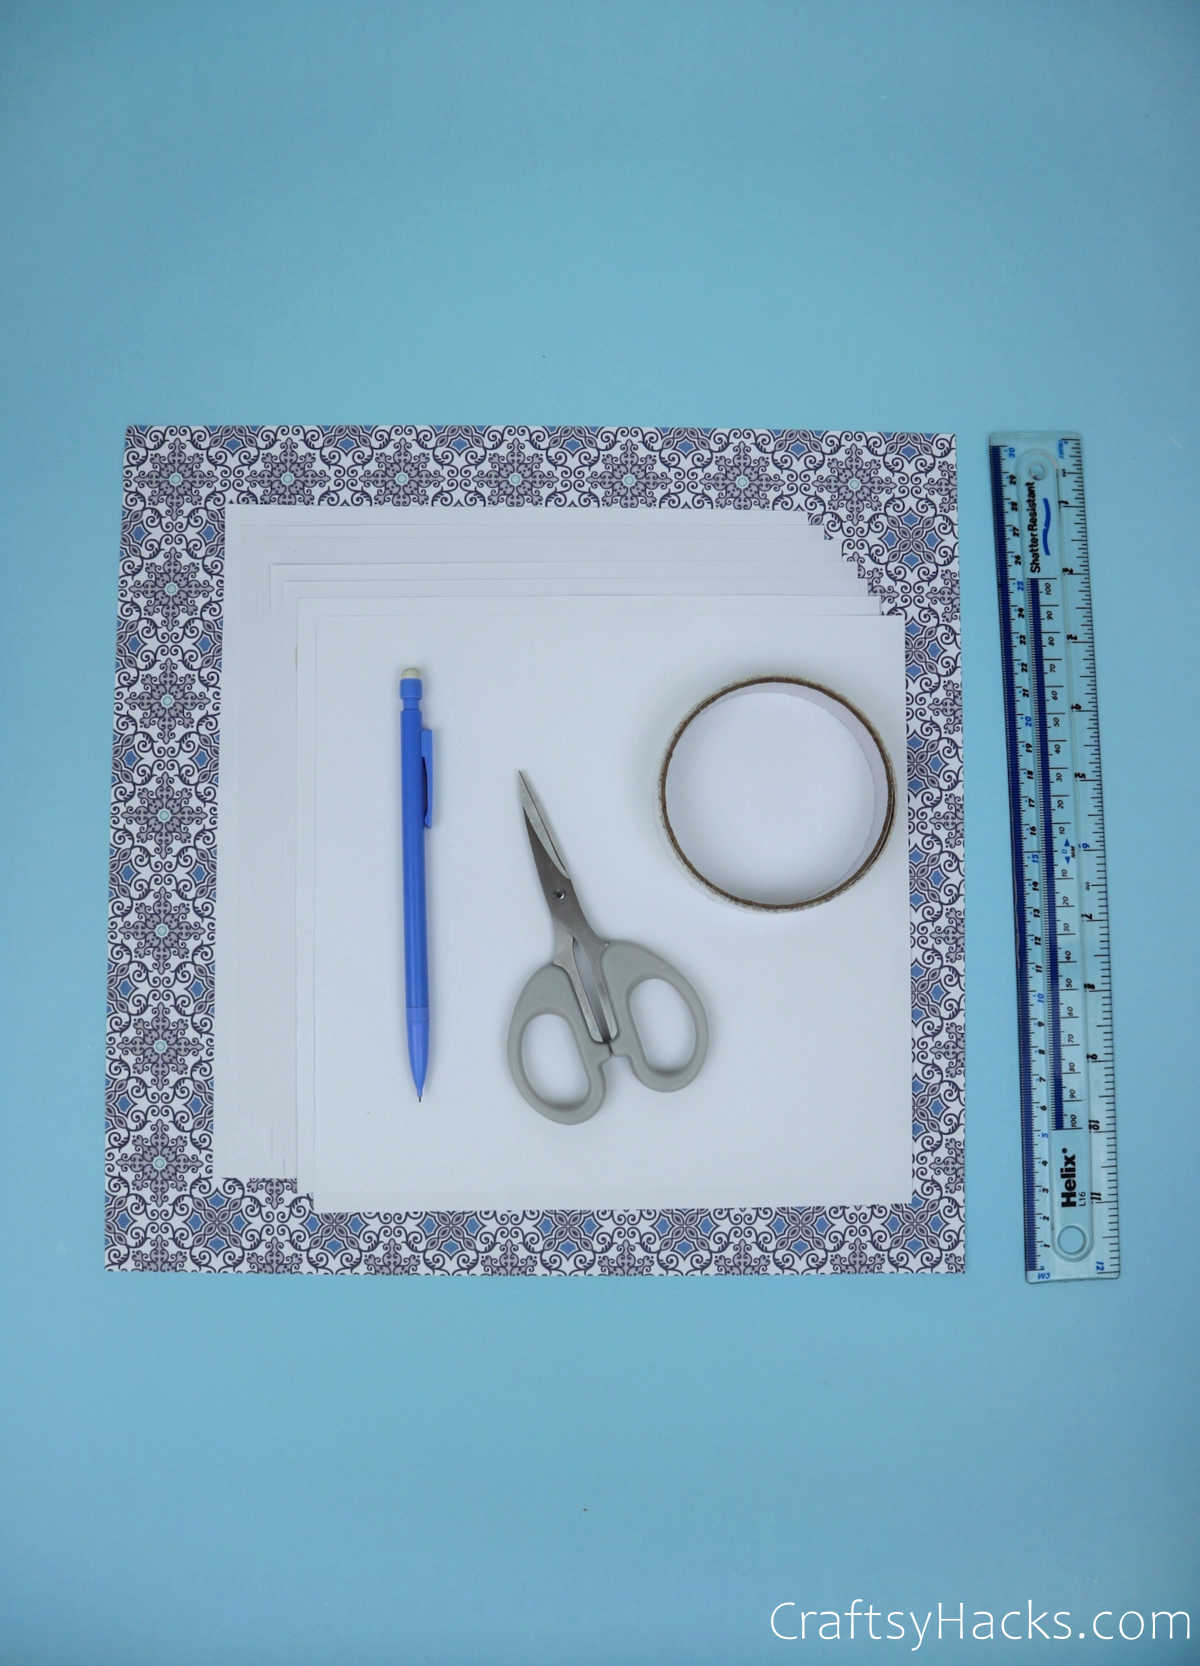
Supplies for Pencil Holder
Heres a list of all the supplies you need.
Im pretty sure youve already got most of them at hand.
What you dont, youll definitely be able to find anywhere!
How to Make a Paper Pencil Holder
Think of this DIY as a multi-purpose origami project.
Youre folding and tweaking paper, just like you would with origami.
Only, instead of cute animals or pretty flowers, youre making something youll get amazing use out of.
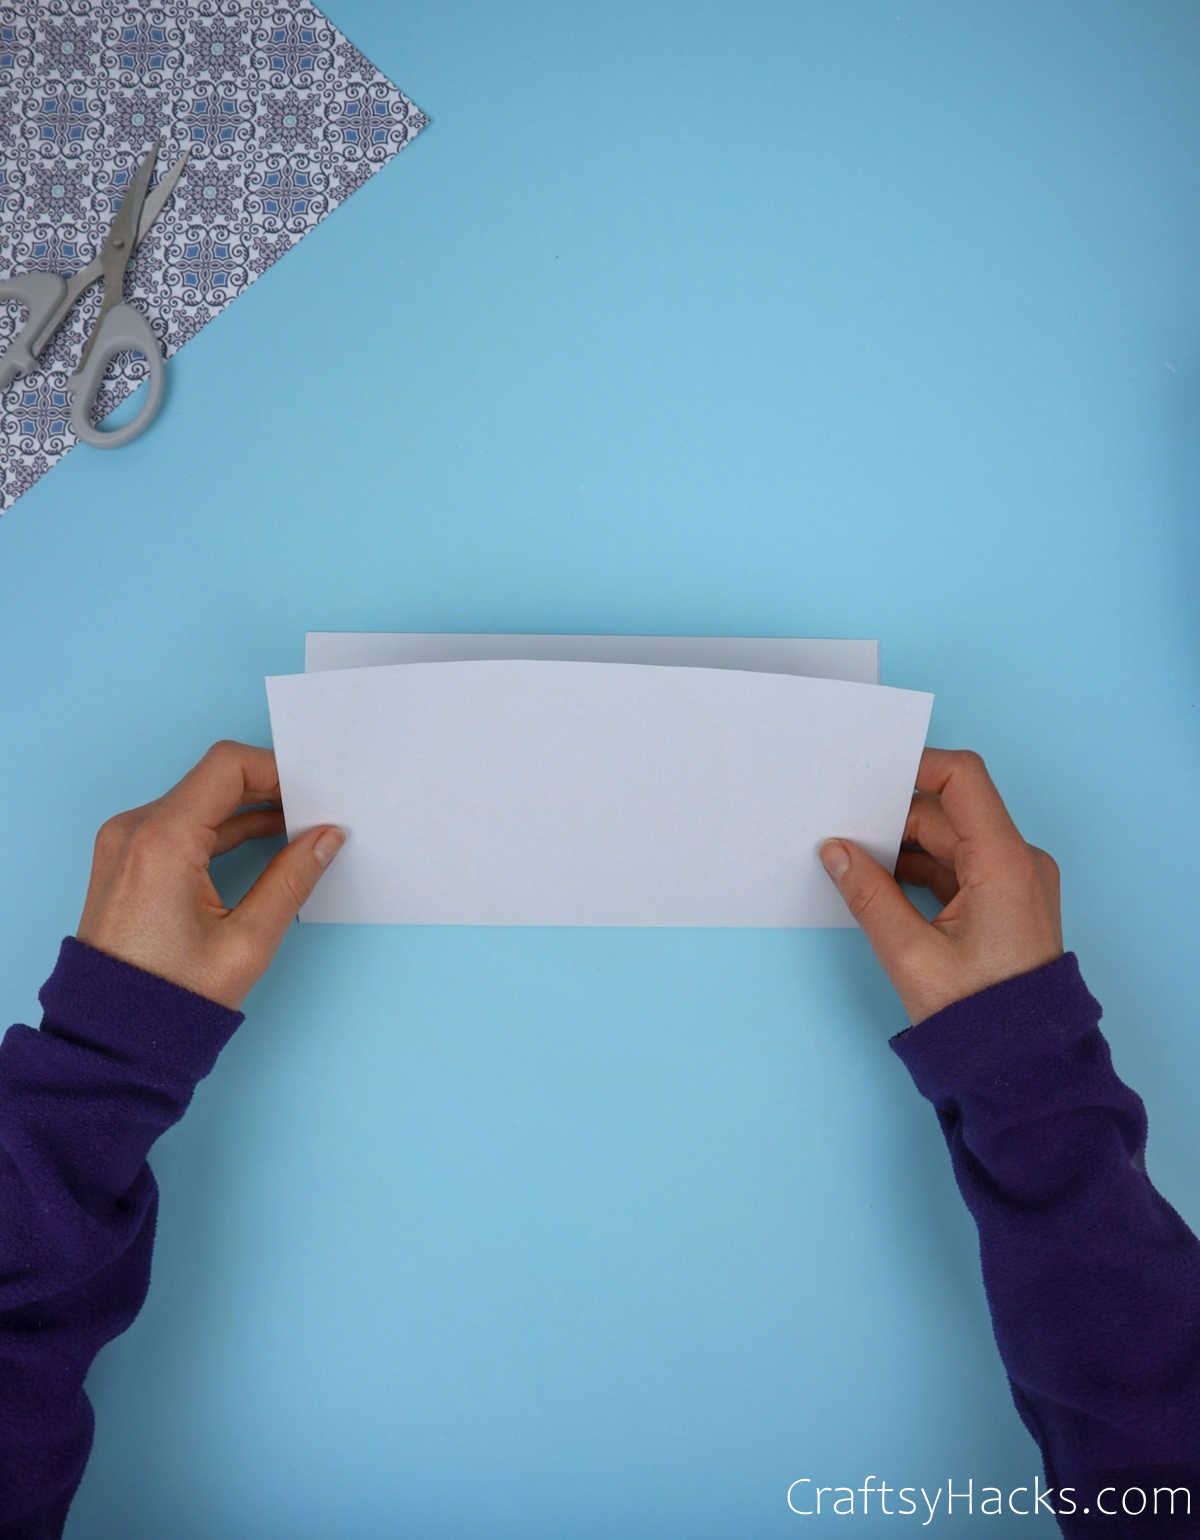
Step 1
Grab your sheet of paper and fold it in half, as shown below.
Press down to fold the paper.
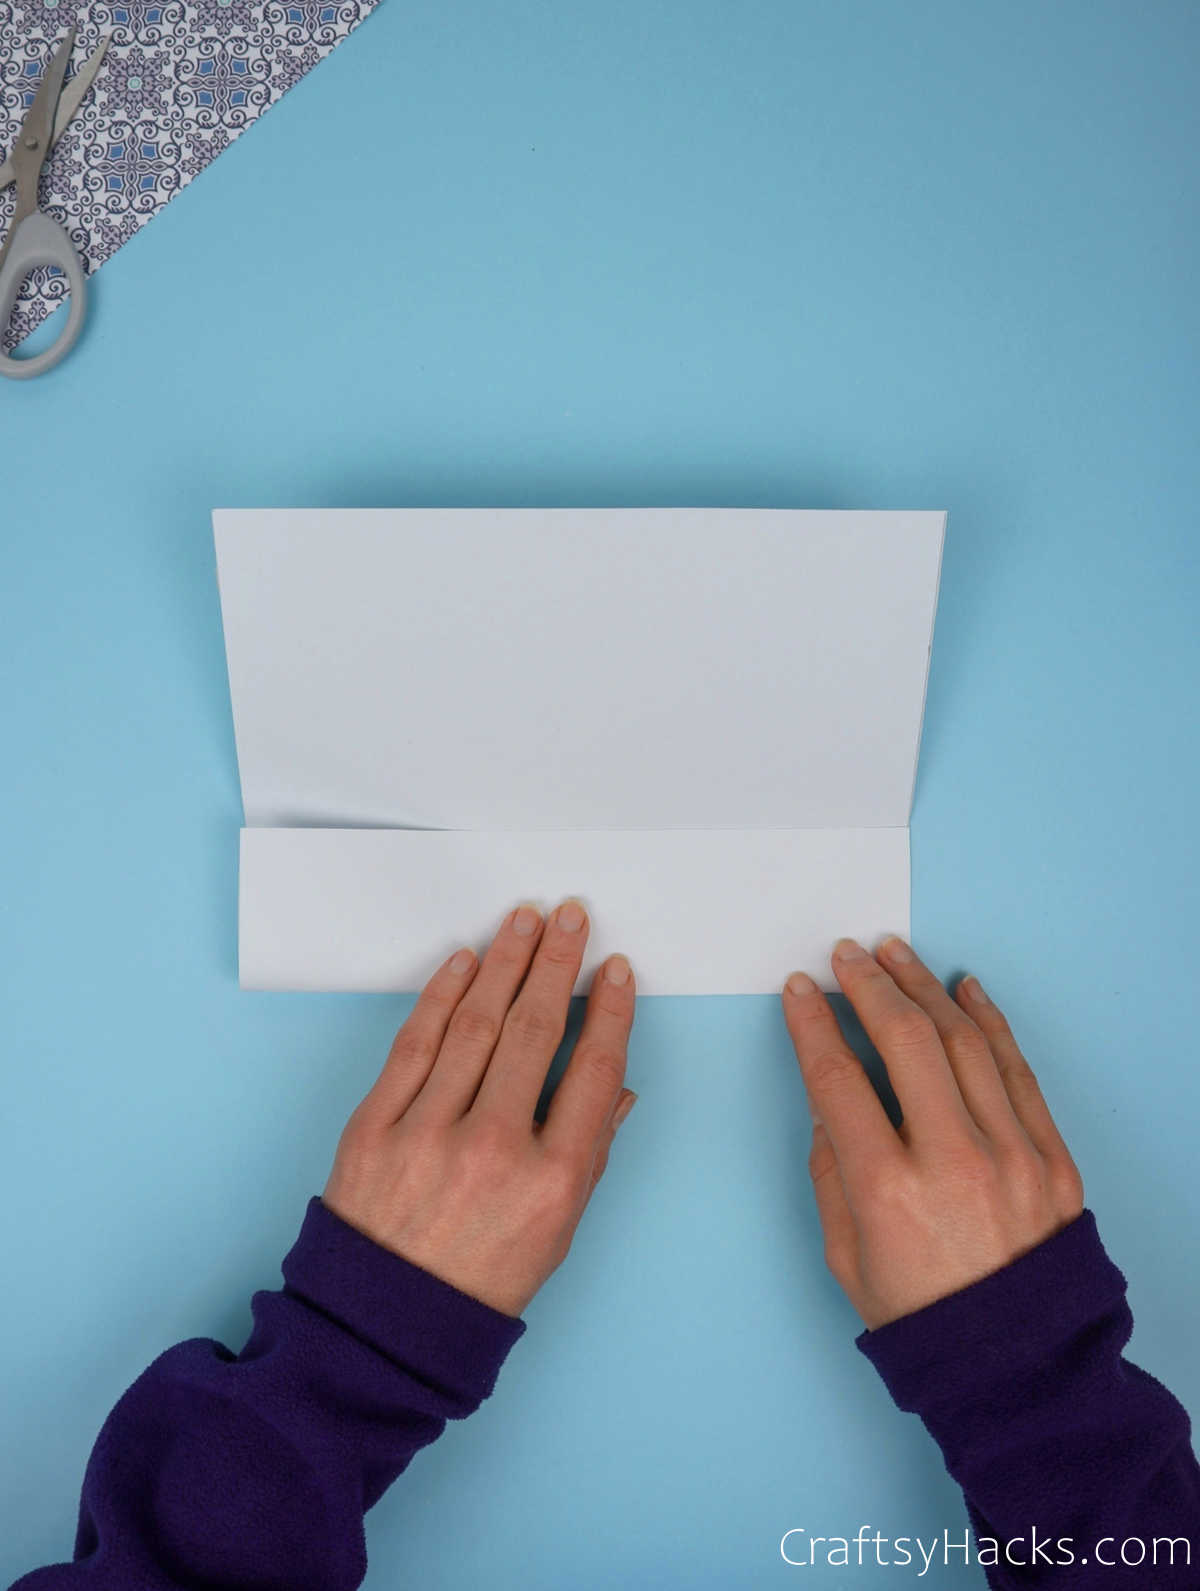
Step 3
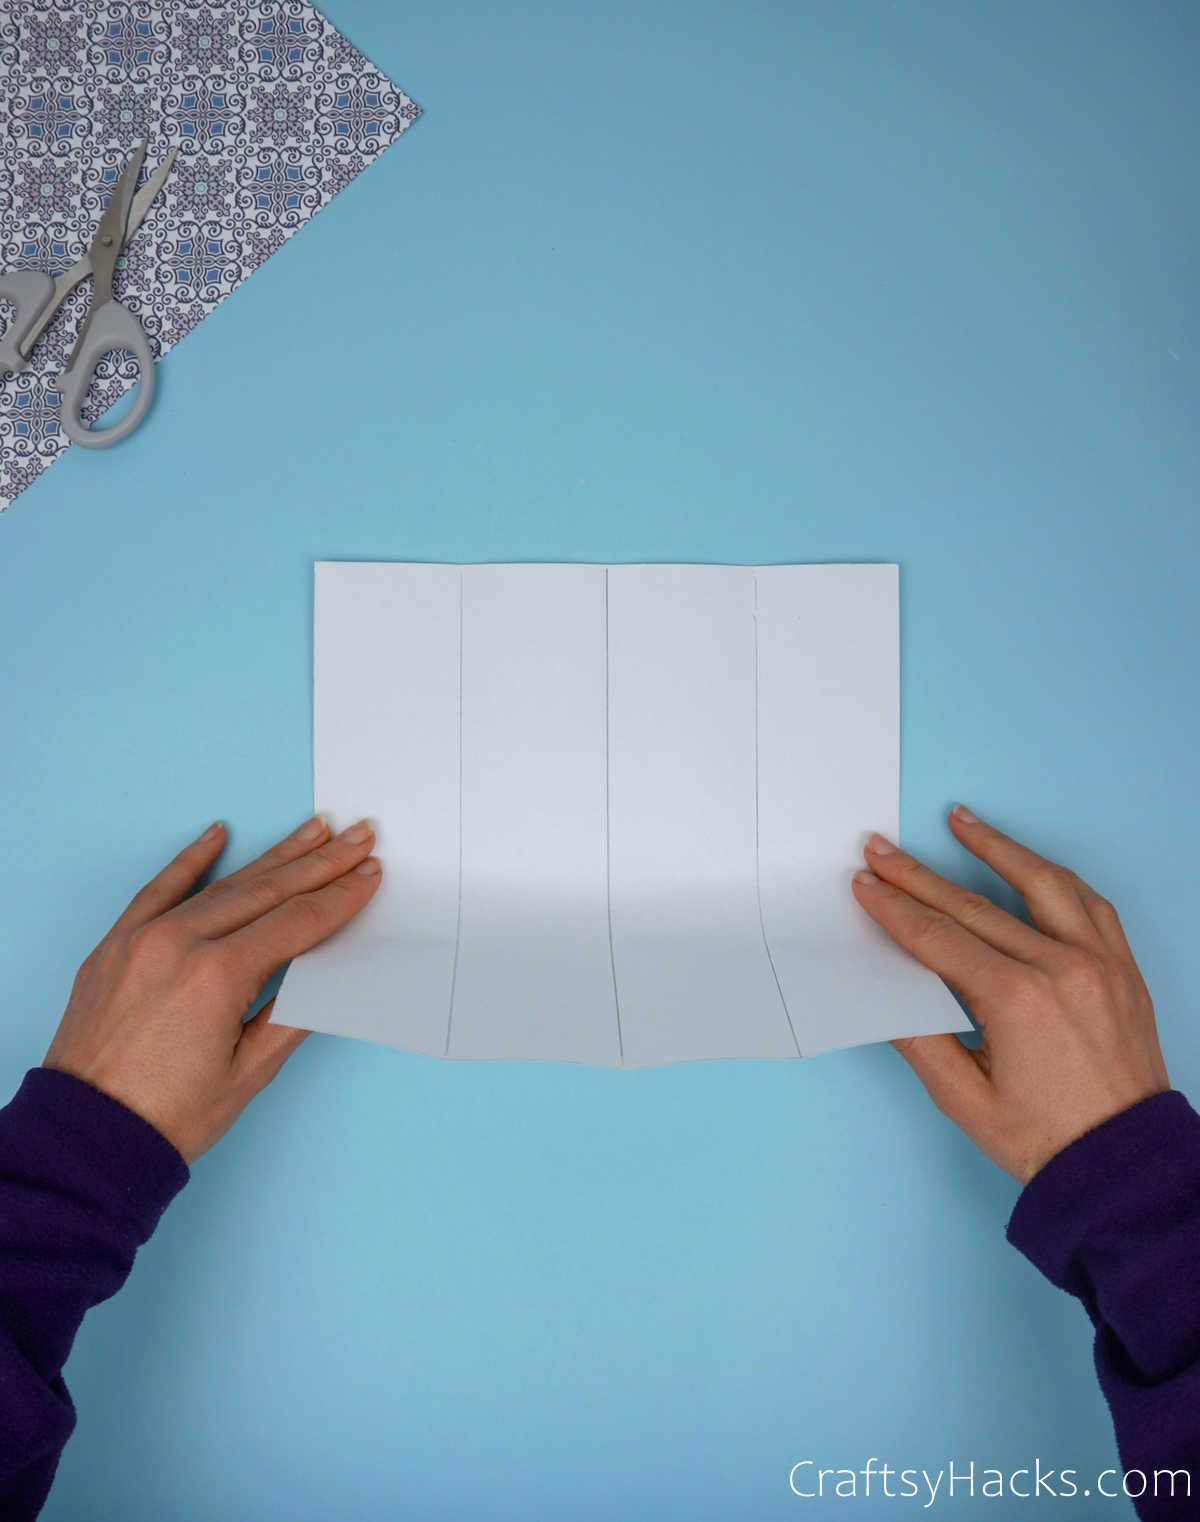
Turn the sheet around so that the creases are vertical.
Fold the paper in half and press down to form yet another center crease dividing the sheet in half.
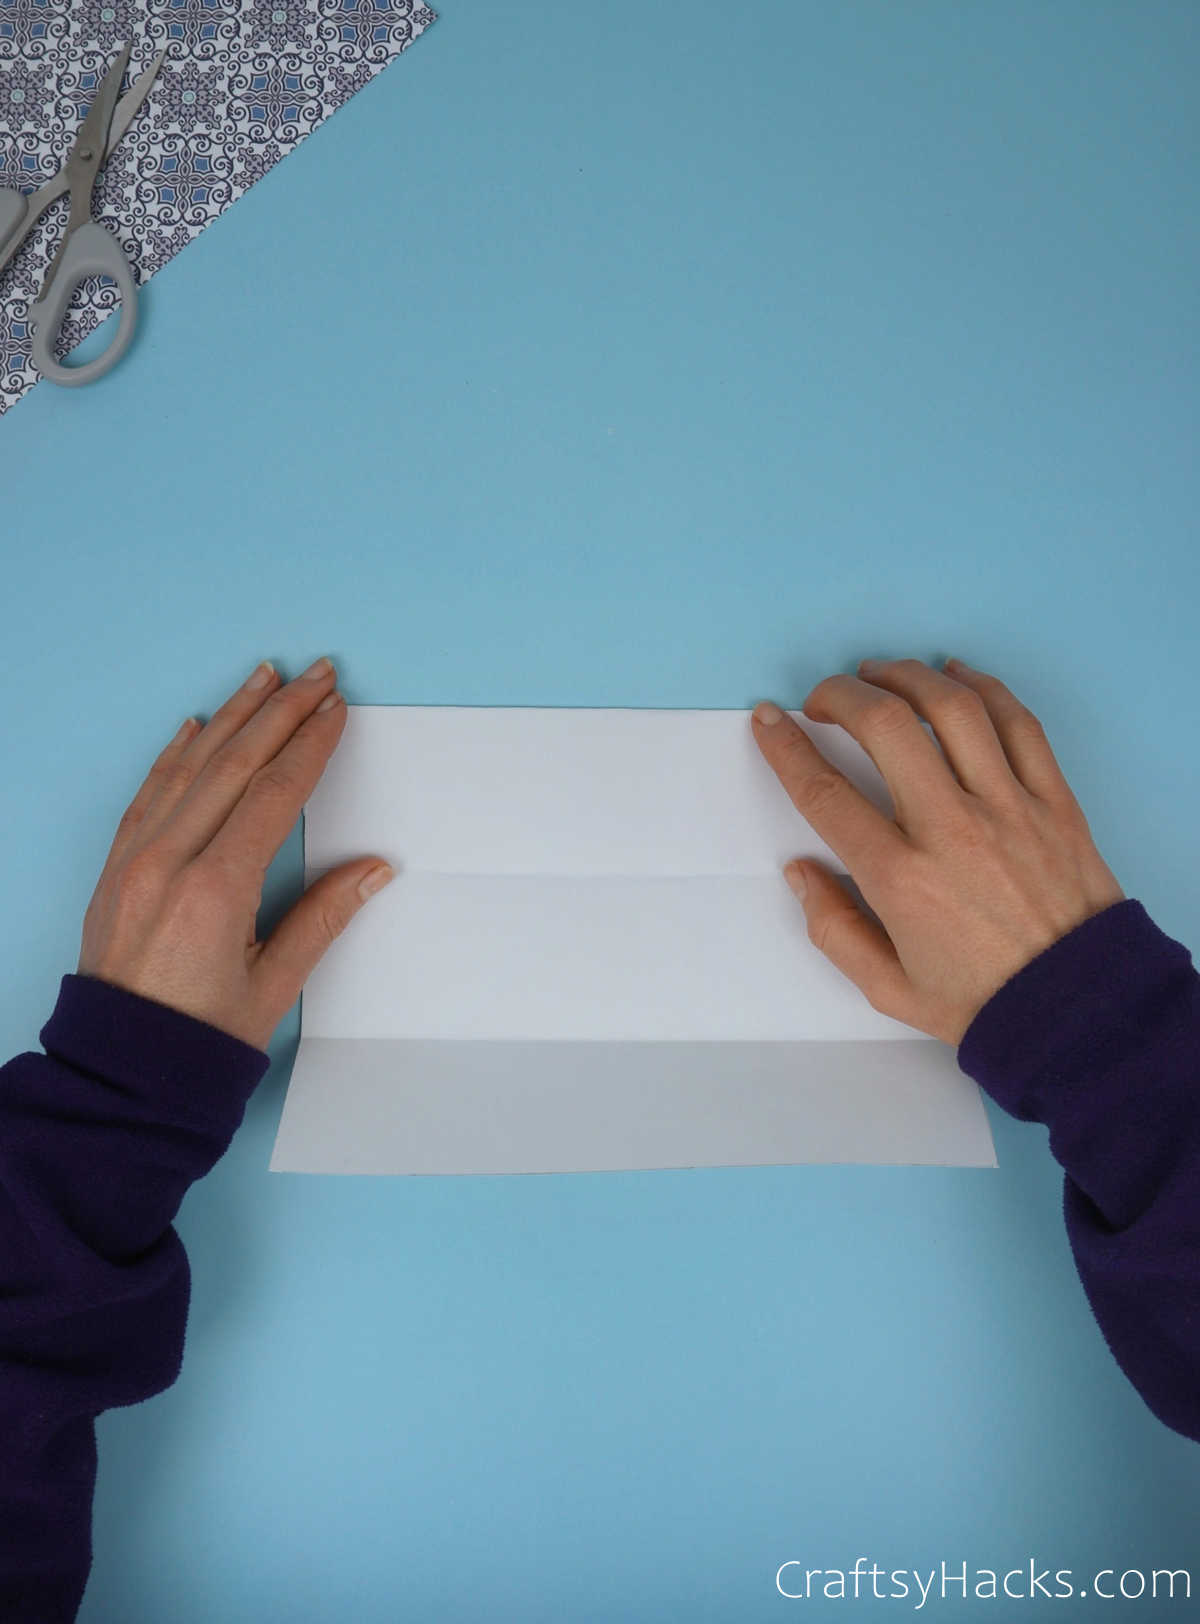
Repeat step 2 until you once again have four equal parts.
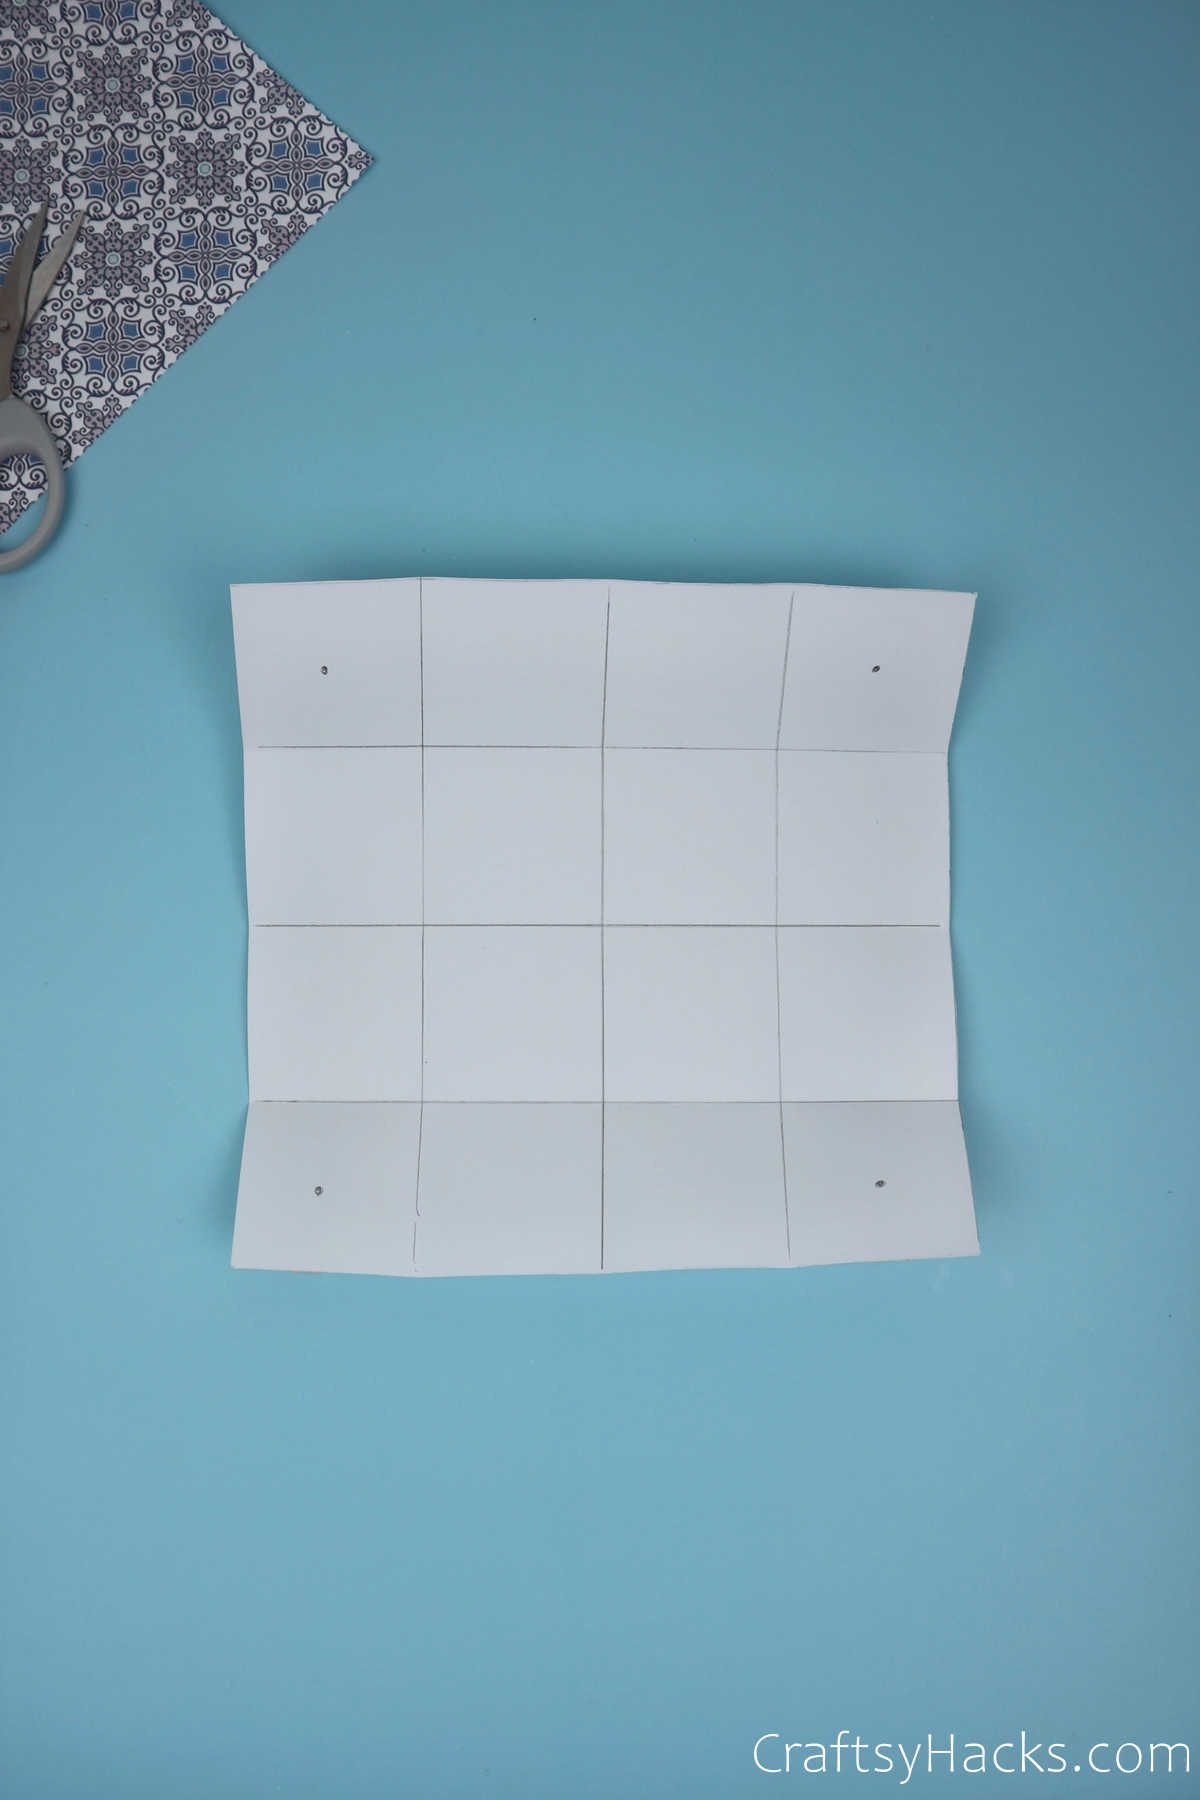
Your paper should now be a 44 box with 16 equal squares.
Step 4
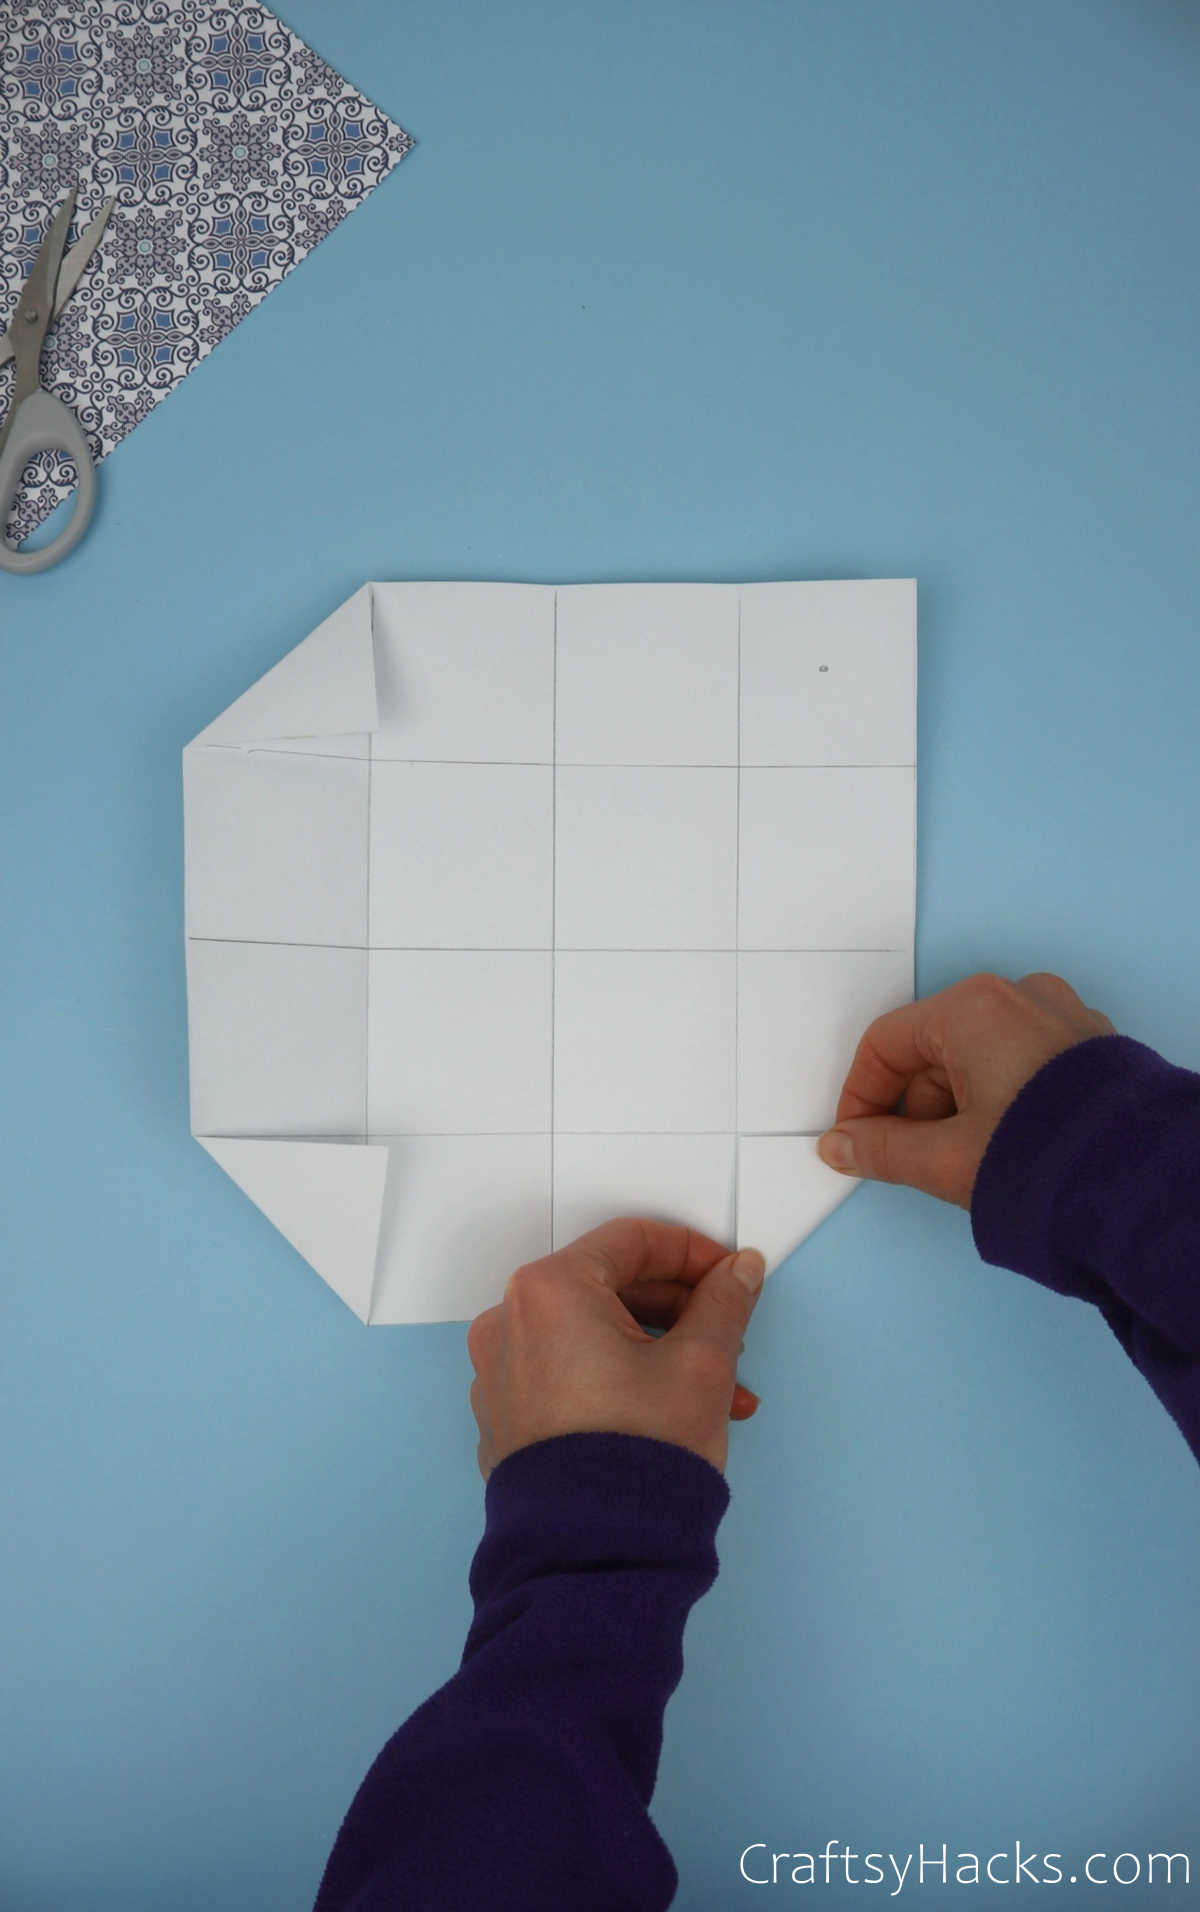
This time, you will be making half-folds.
Gently fold one corner square of the paper inward to form a triangle, as seen below.
Repeat this with all four corners.
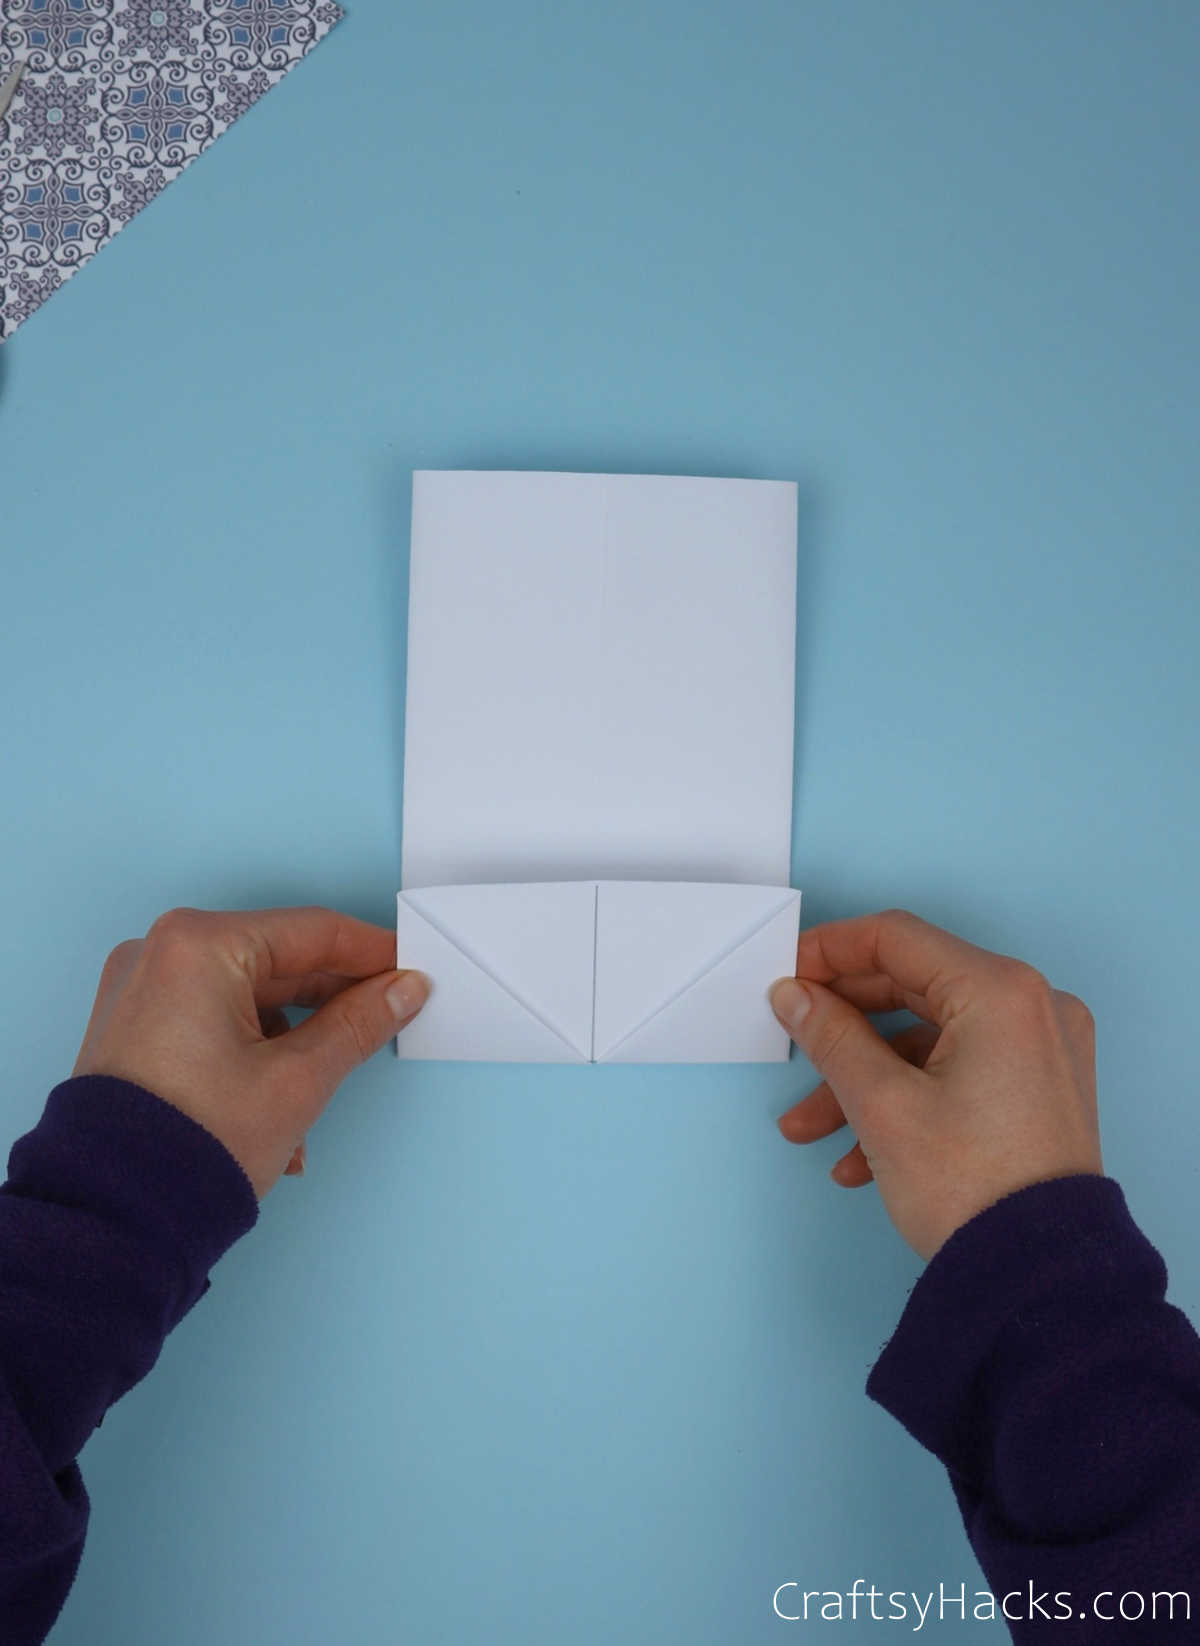
Step 6
Now its time to turn the paper around.
Once youve turned it around, ensure that the folds you previously made stay intact.
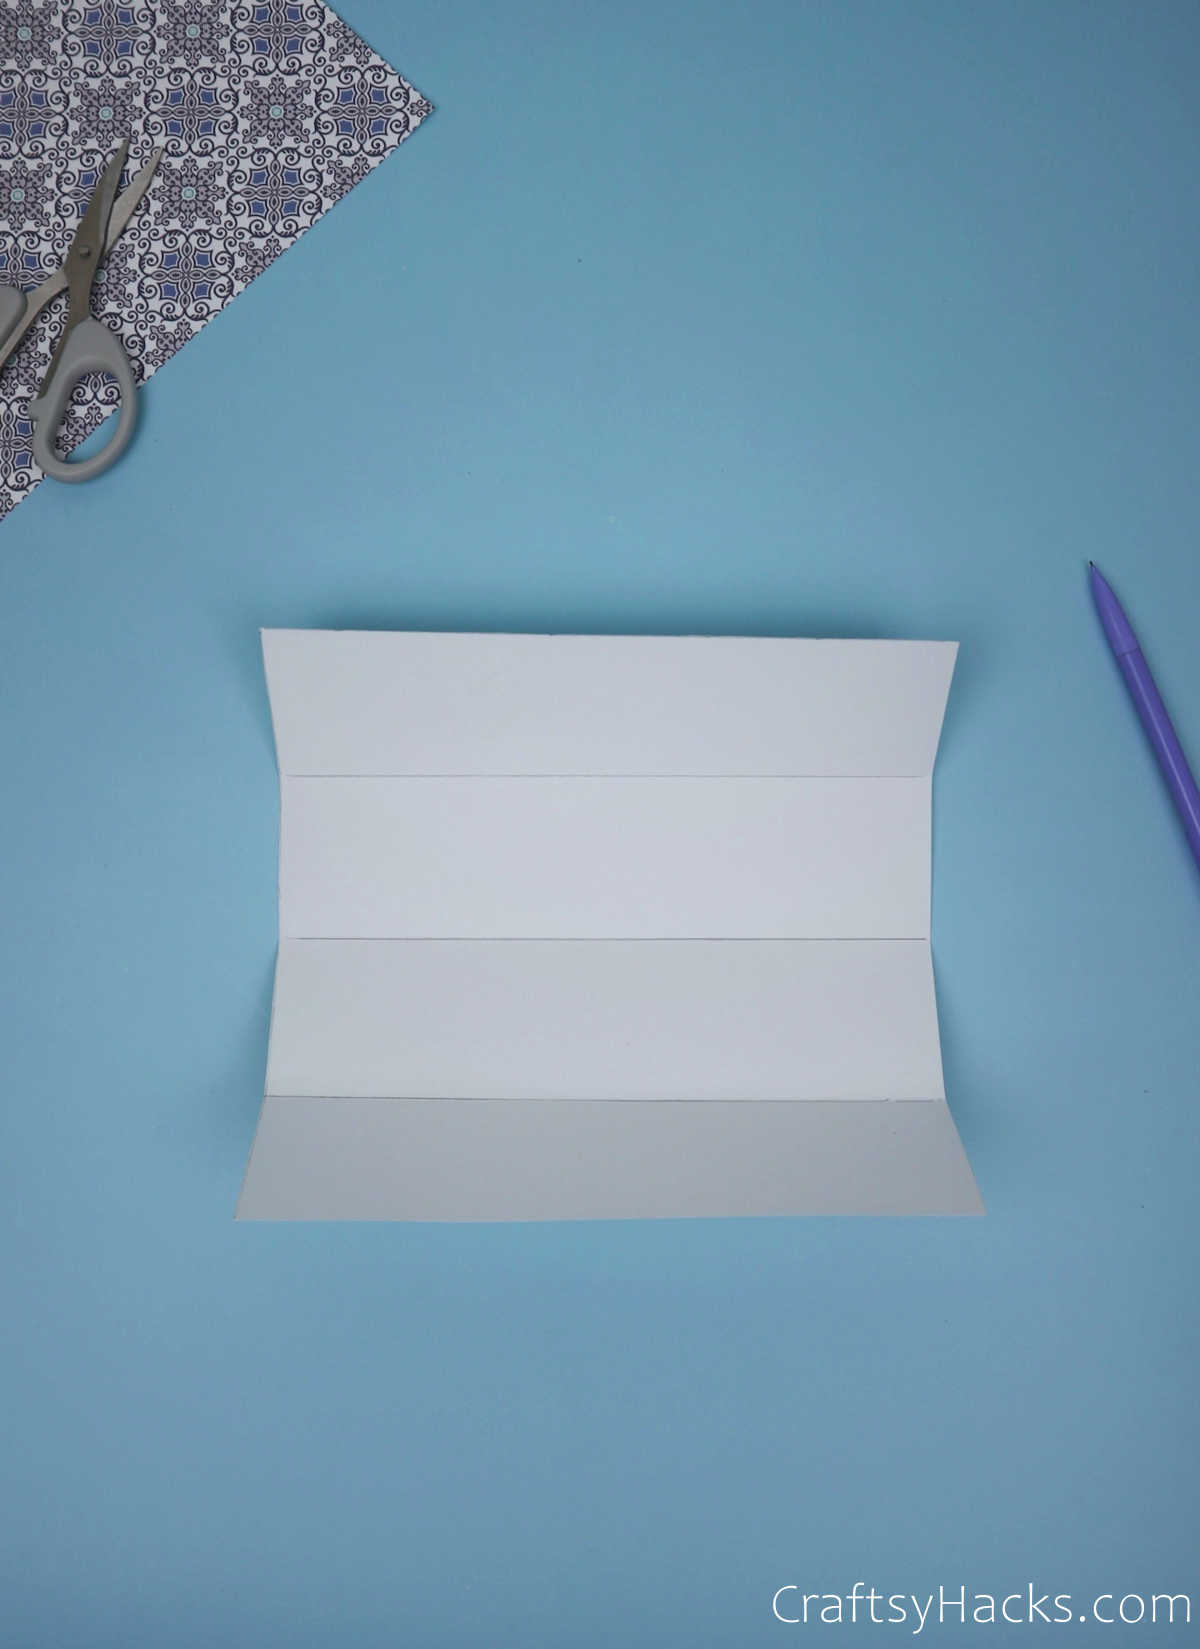
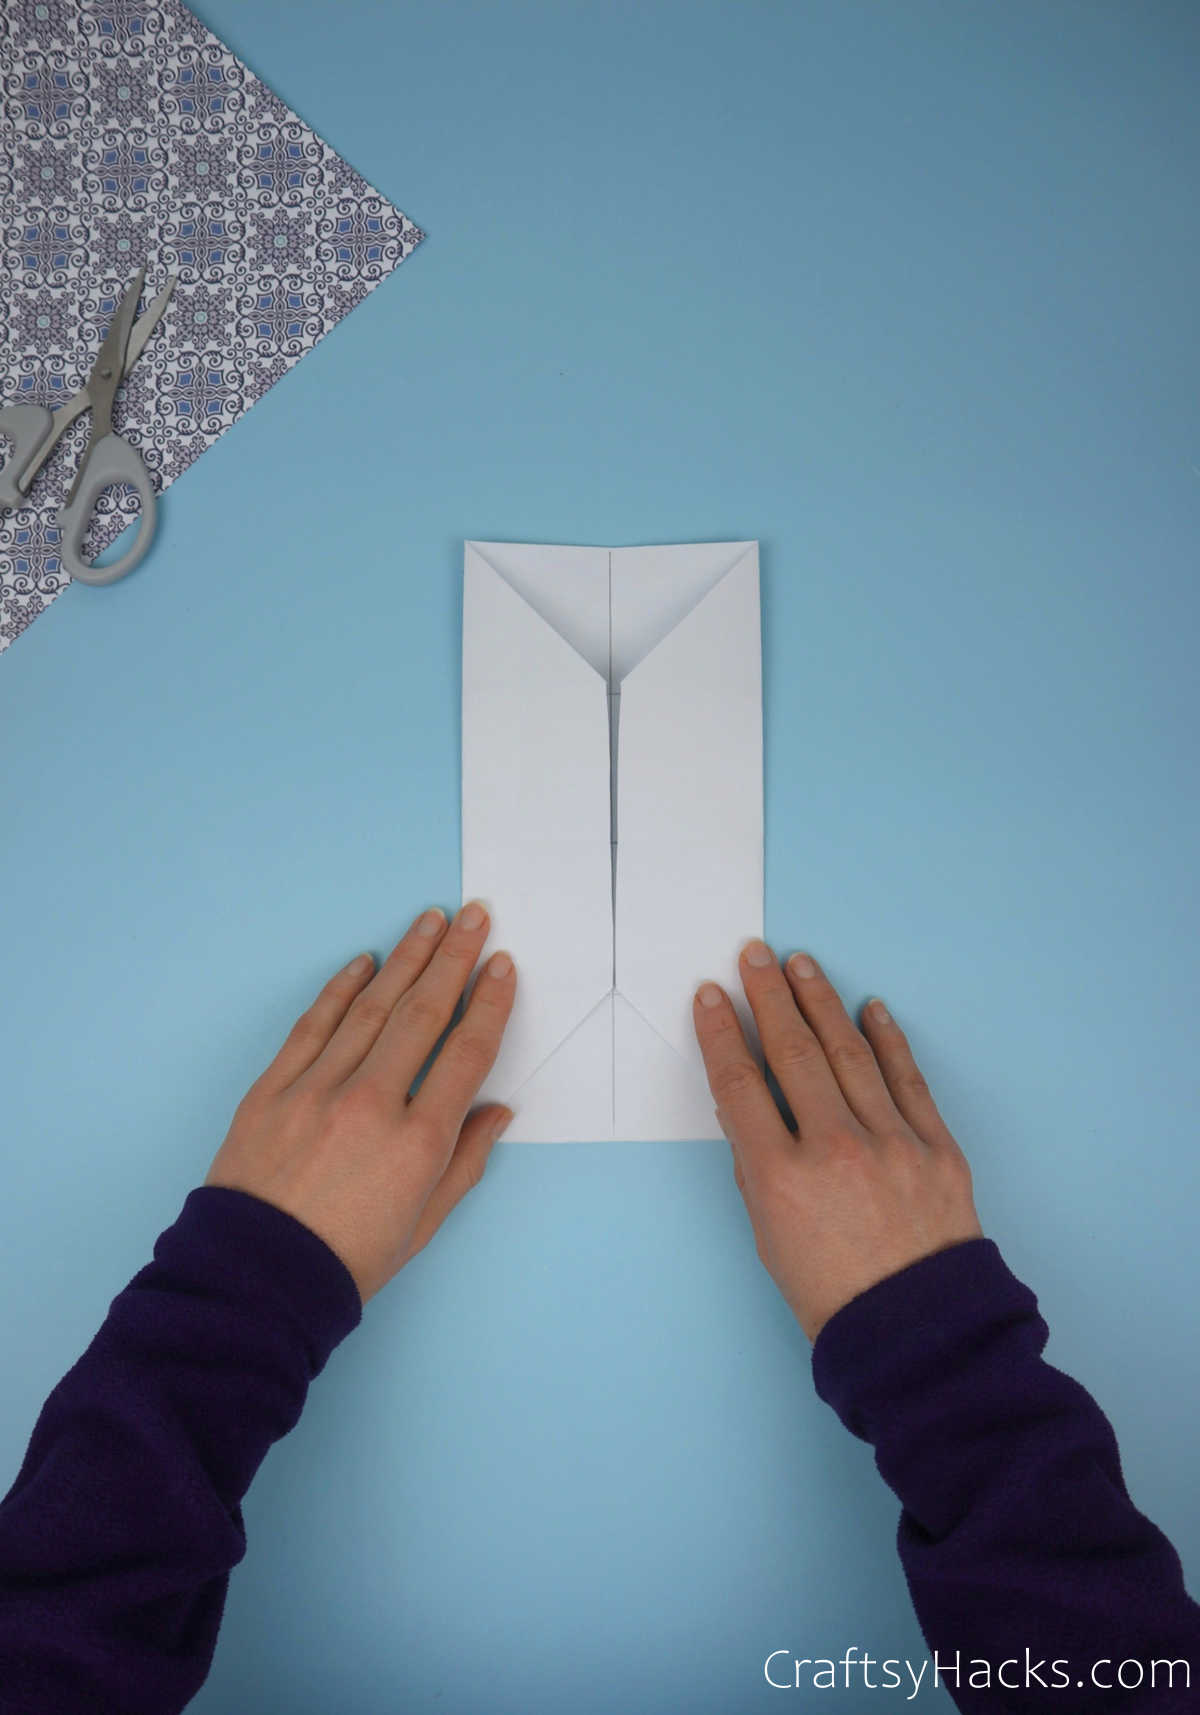
Grab hold of the bottom edge and fold it up by one square width, as seen below.
Repeat this step with the top half.
The ends of both the folds should meet at the center as seen below.
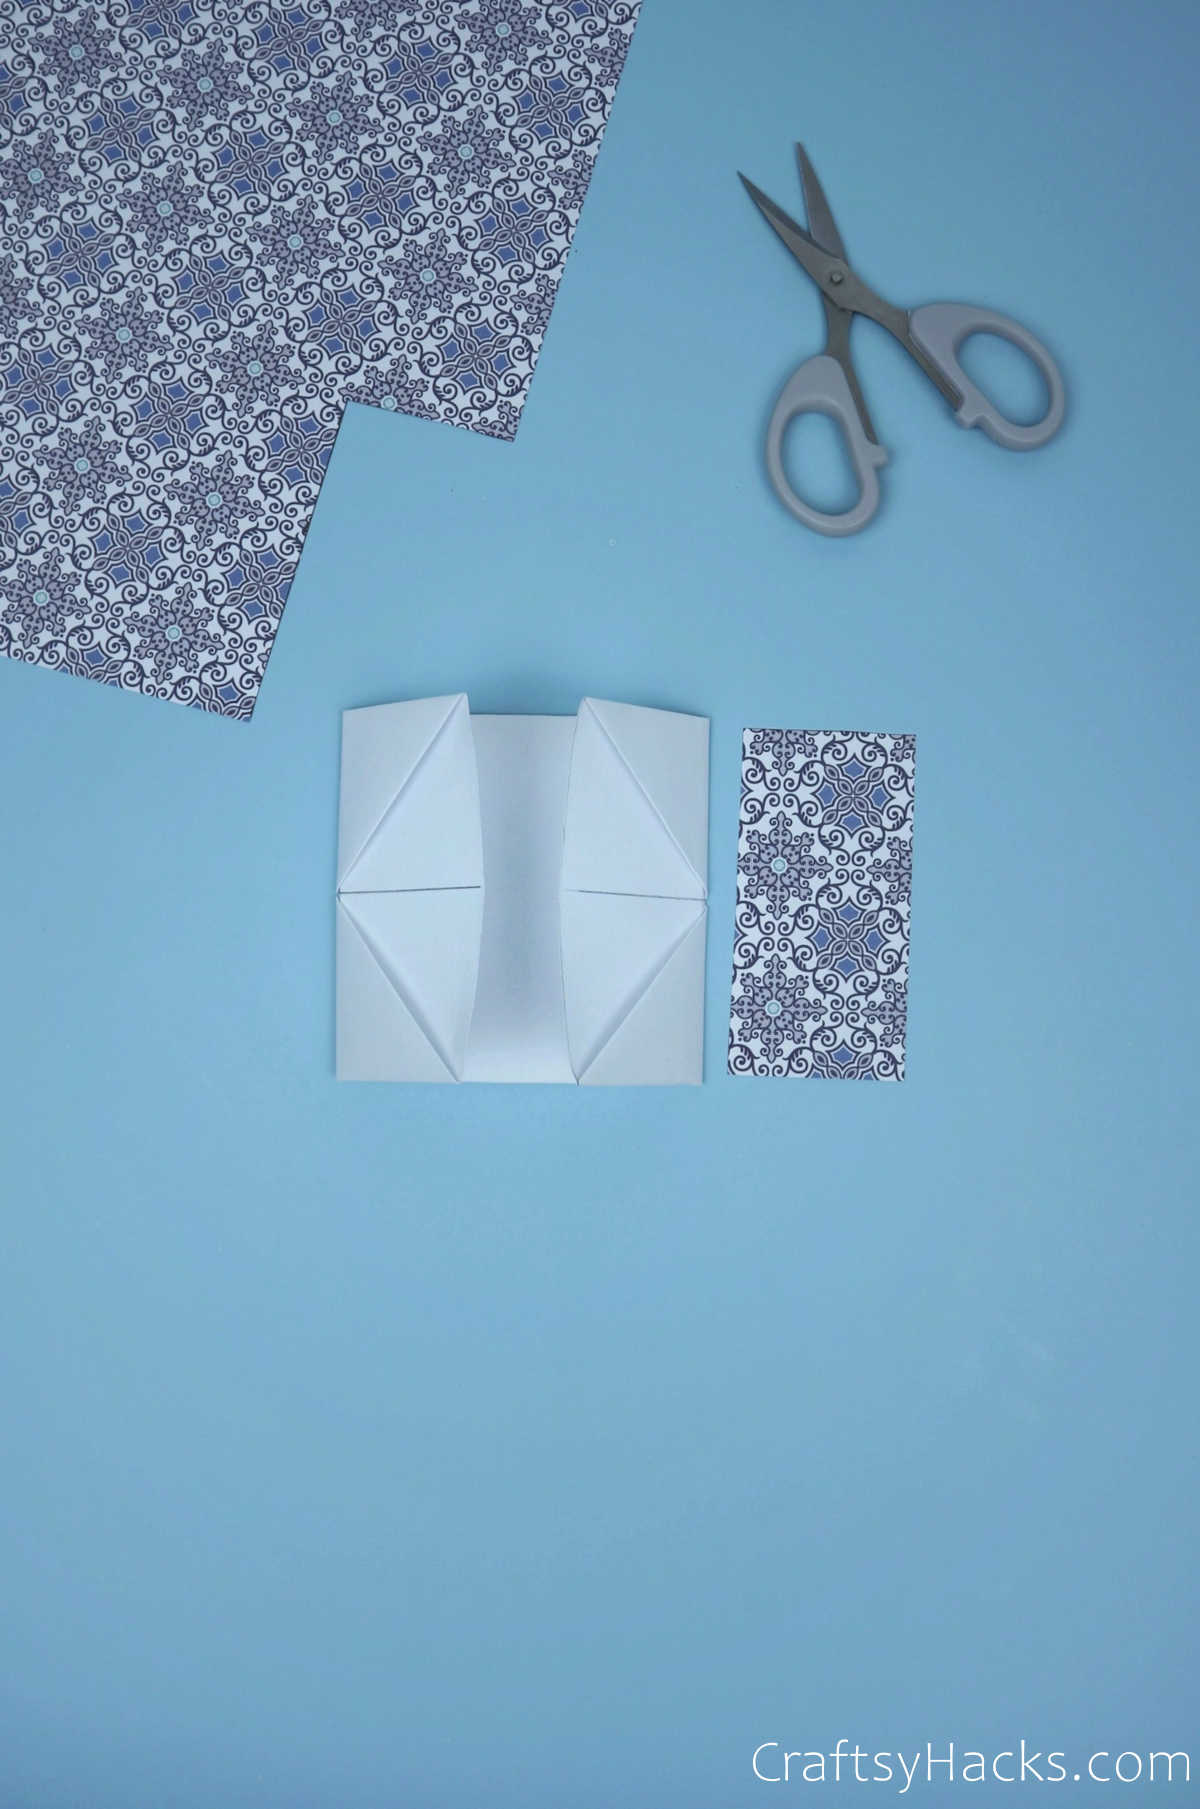
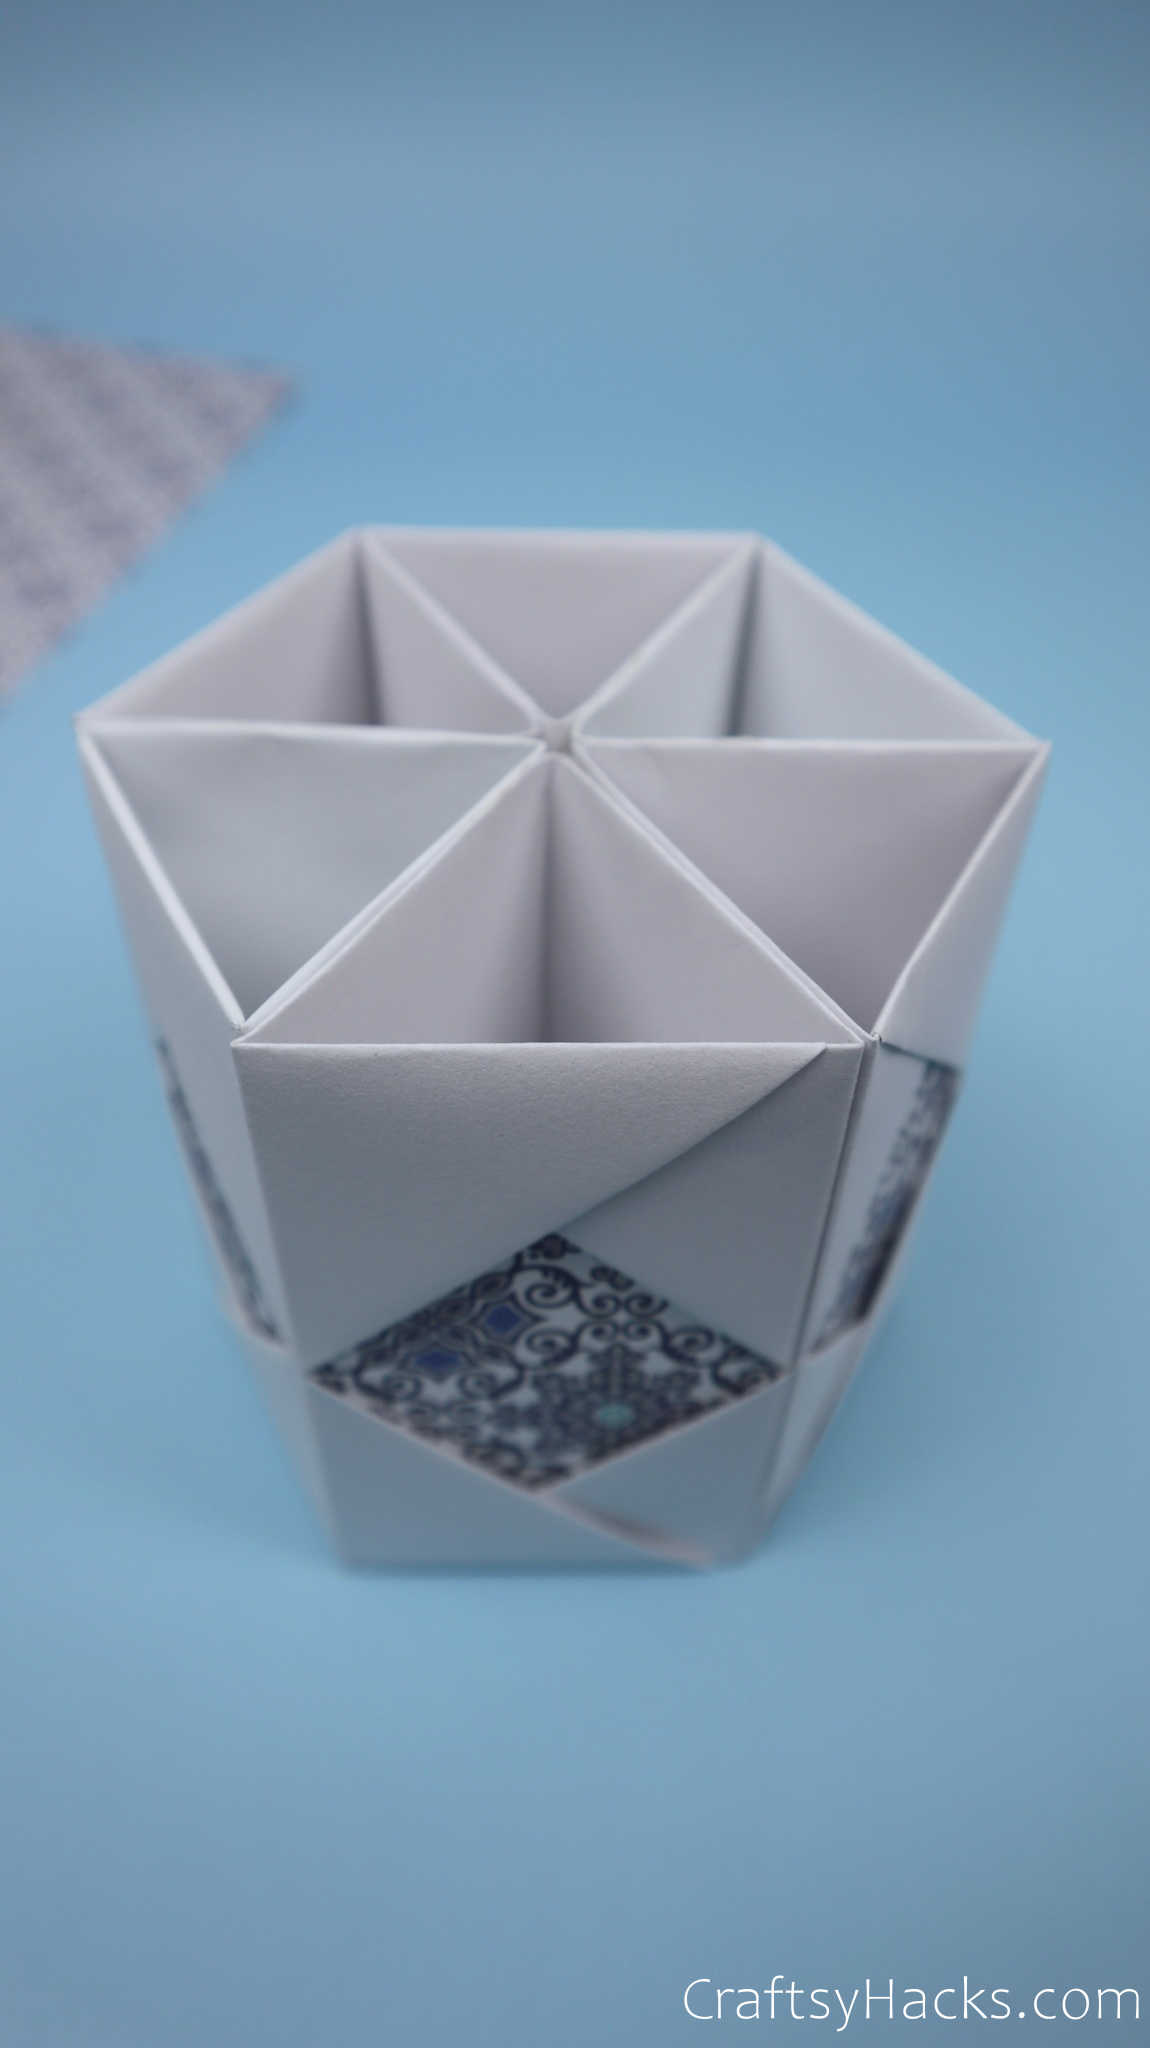
Step 7
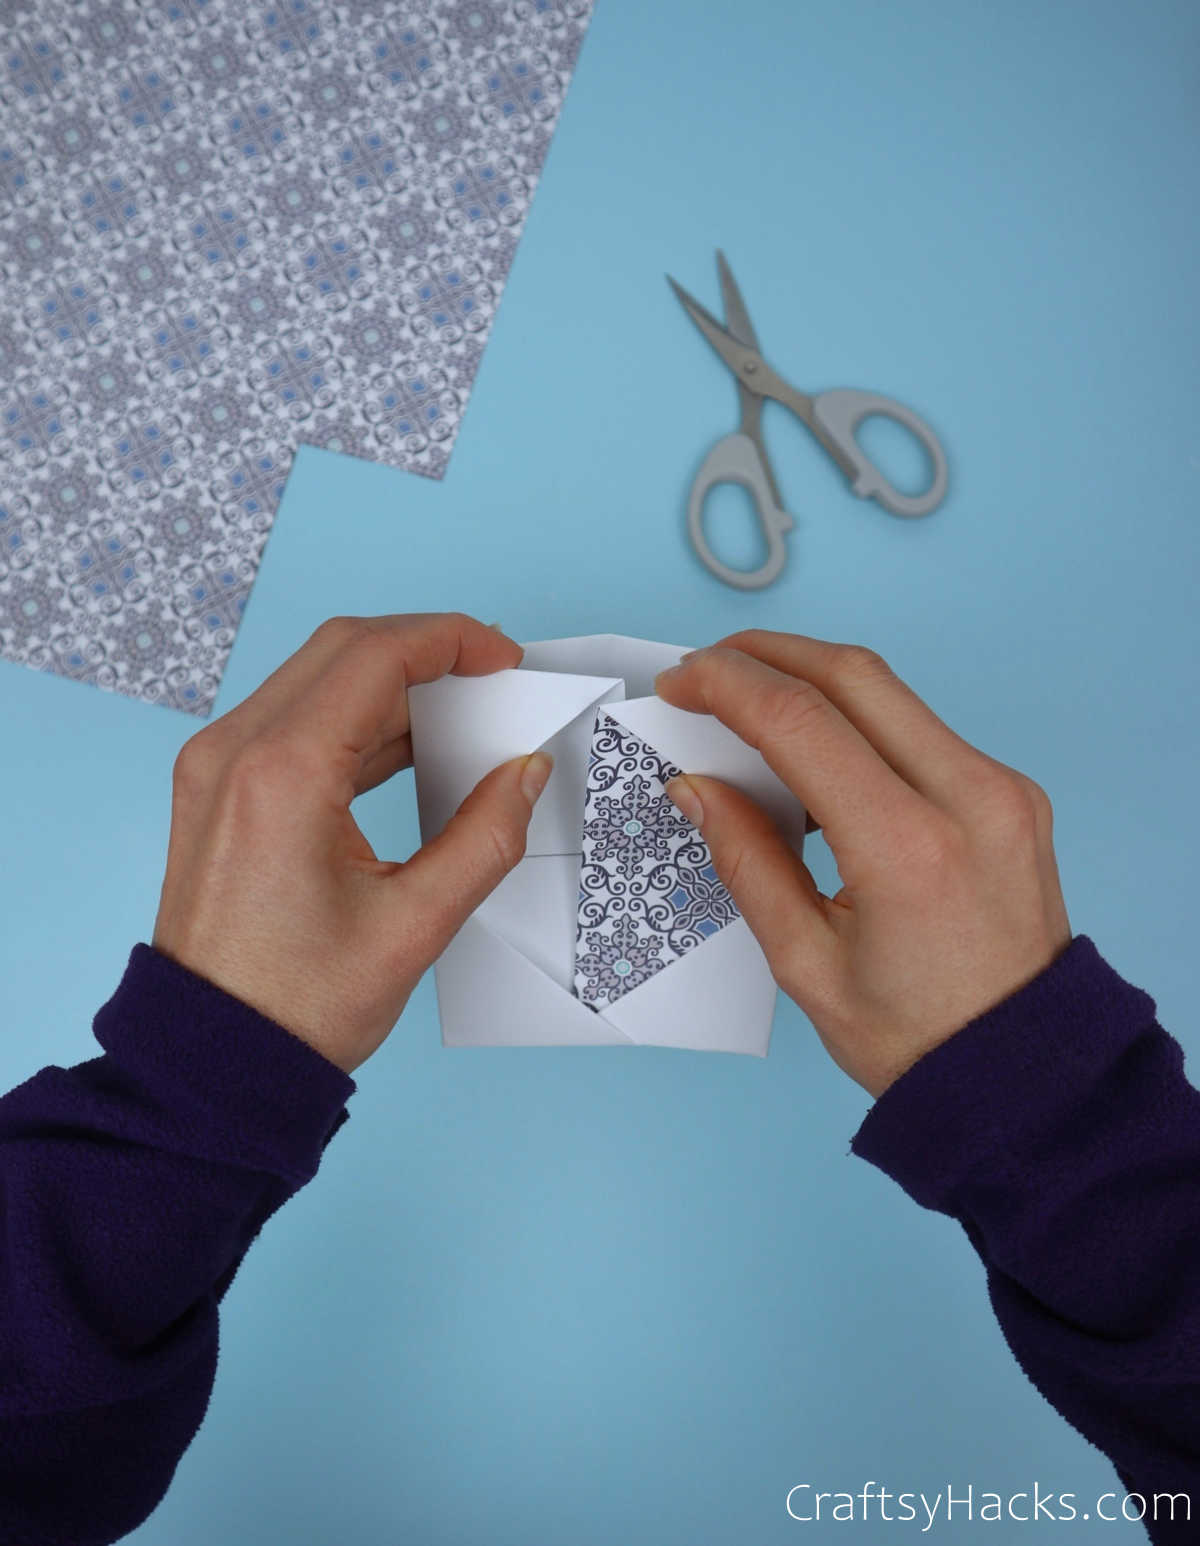
Heres when you decide if you want to jazz up your paper pencil holder.
it’s possible for you to use a scrap of colorful, decorative, or sparkly paper.
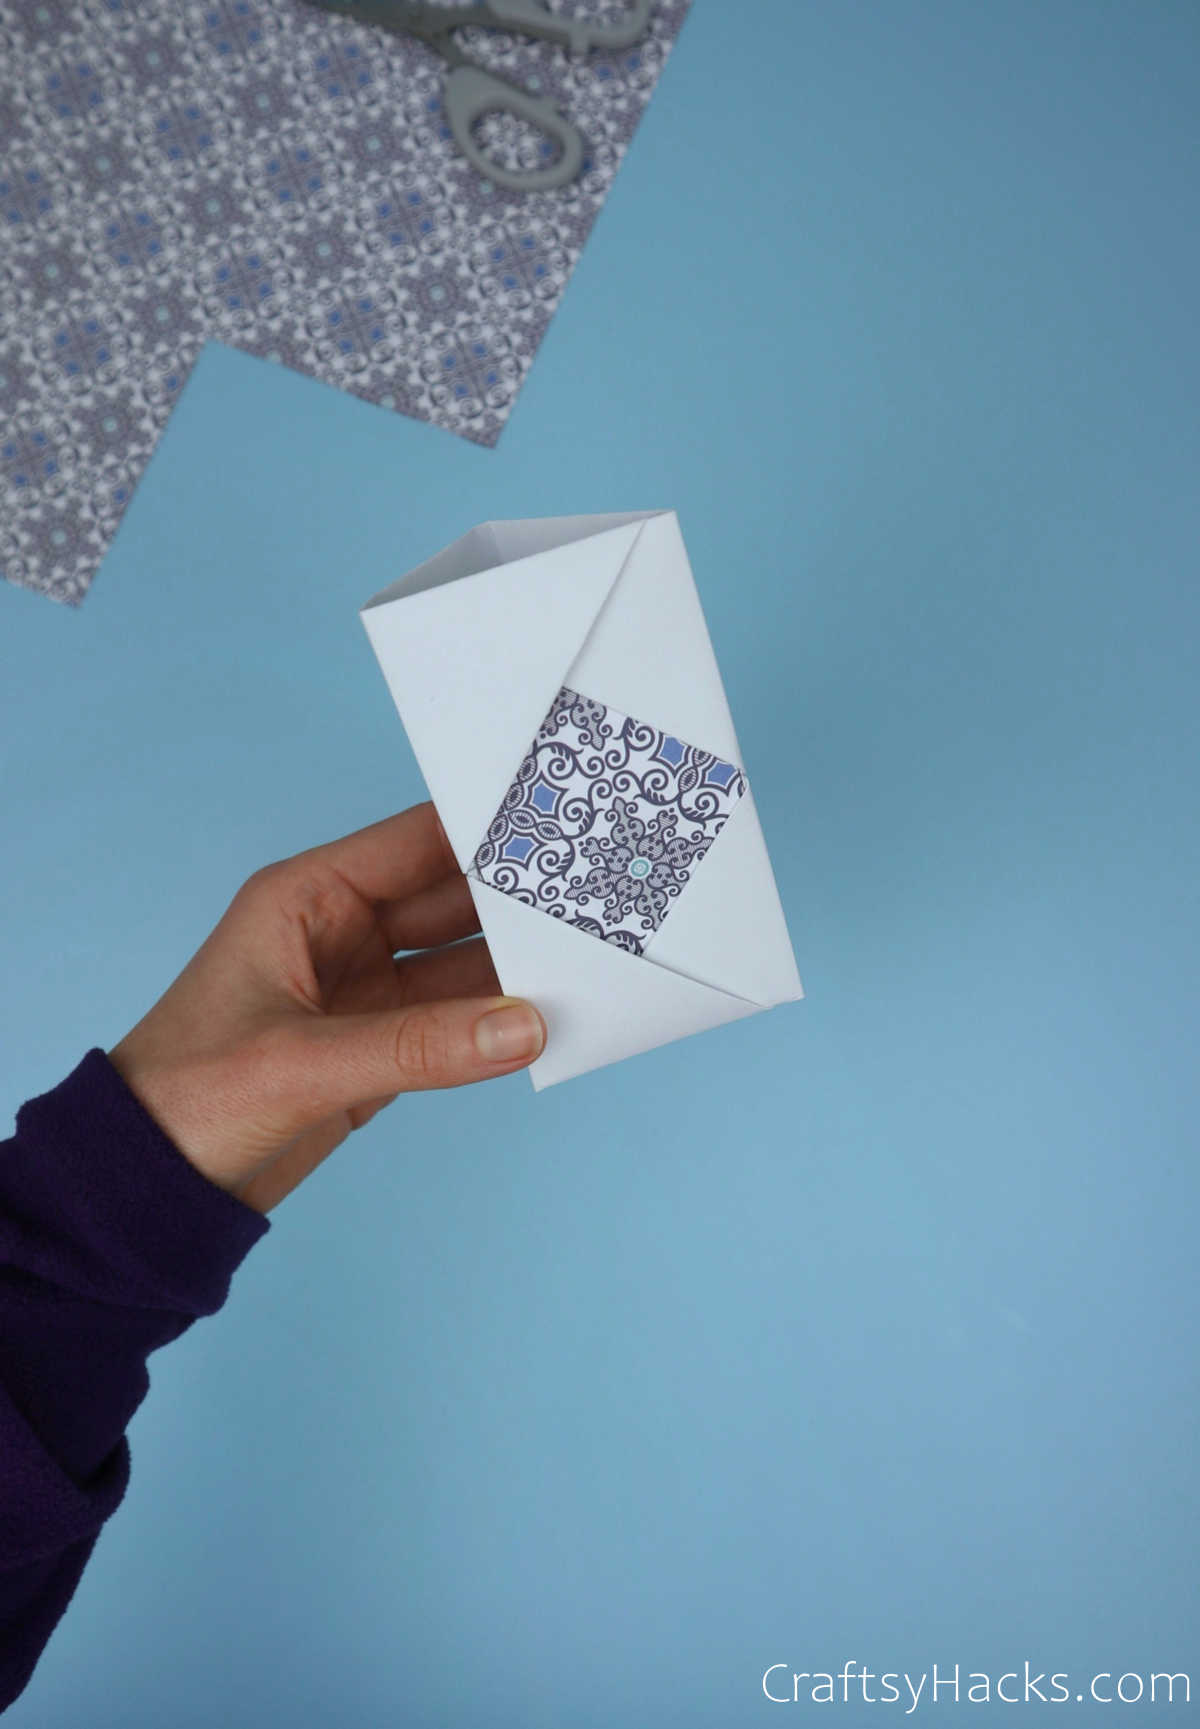
when you obtain tucked it into the fold, one part of your pencil stand is officially complete!
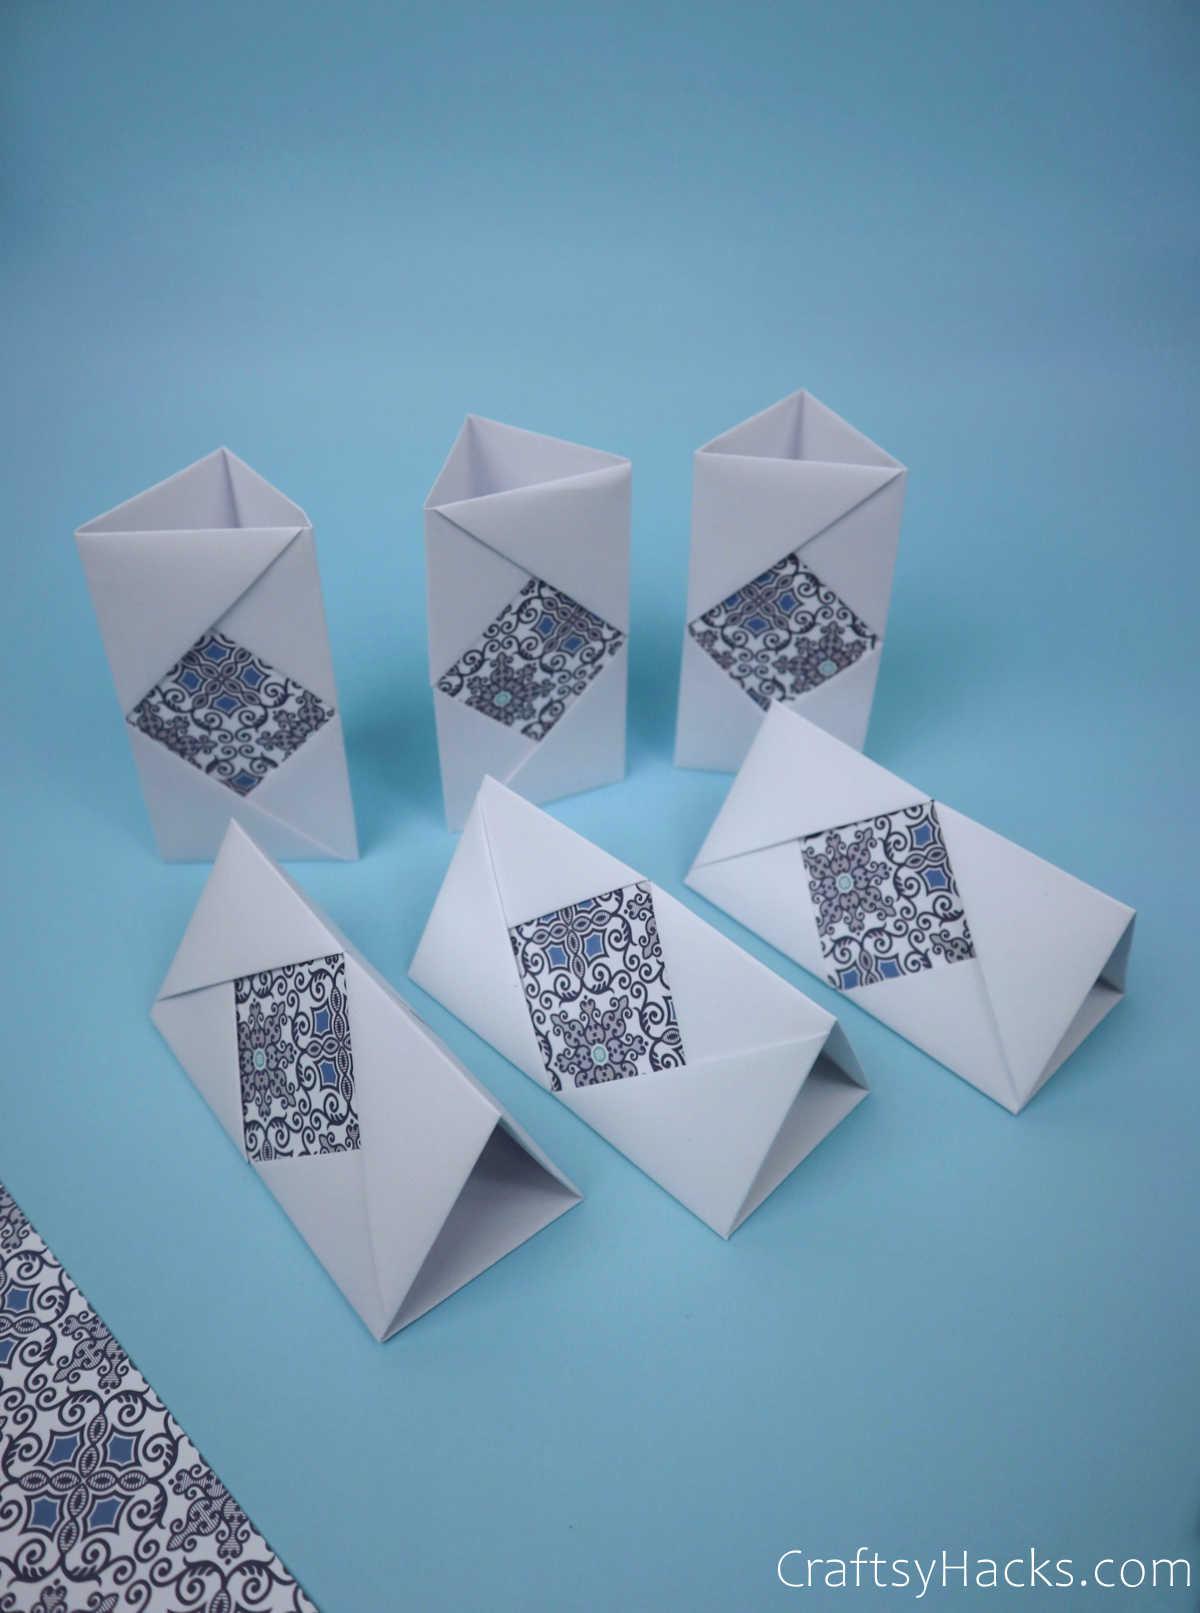
Step 8
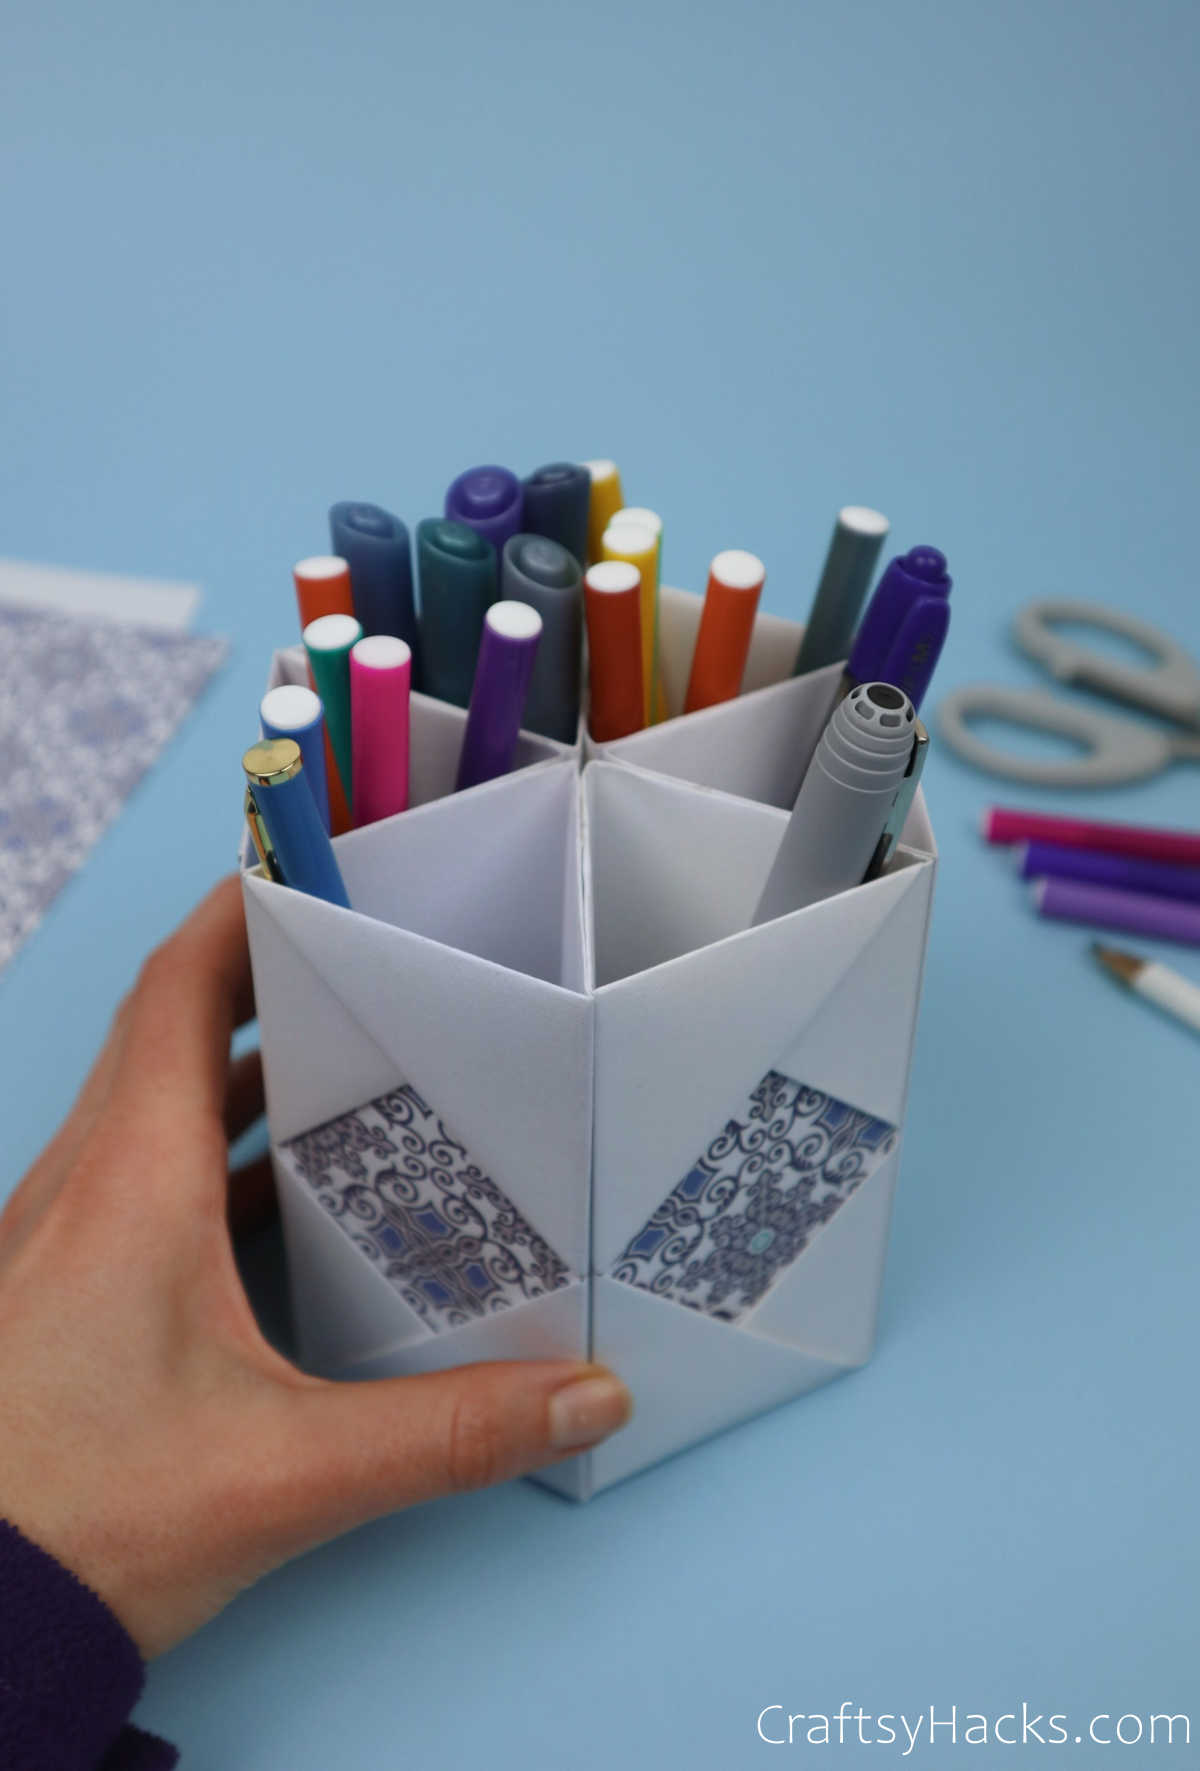
This project calls for six such parts, so go ahead and follow the pattern.
Repeat every step six times till you have six individual pencil holders.
These make wonderful mini-pencil holders as they are.
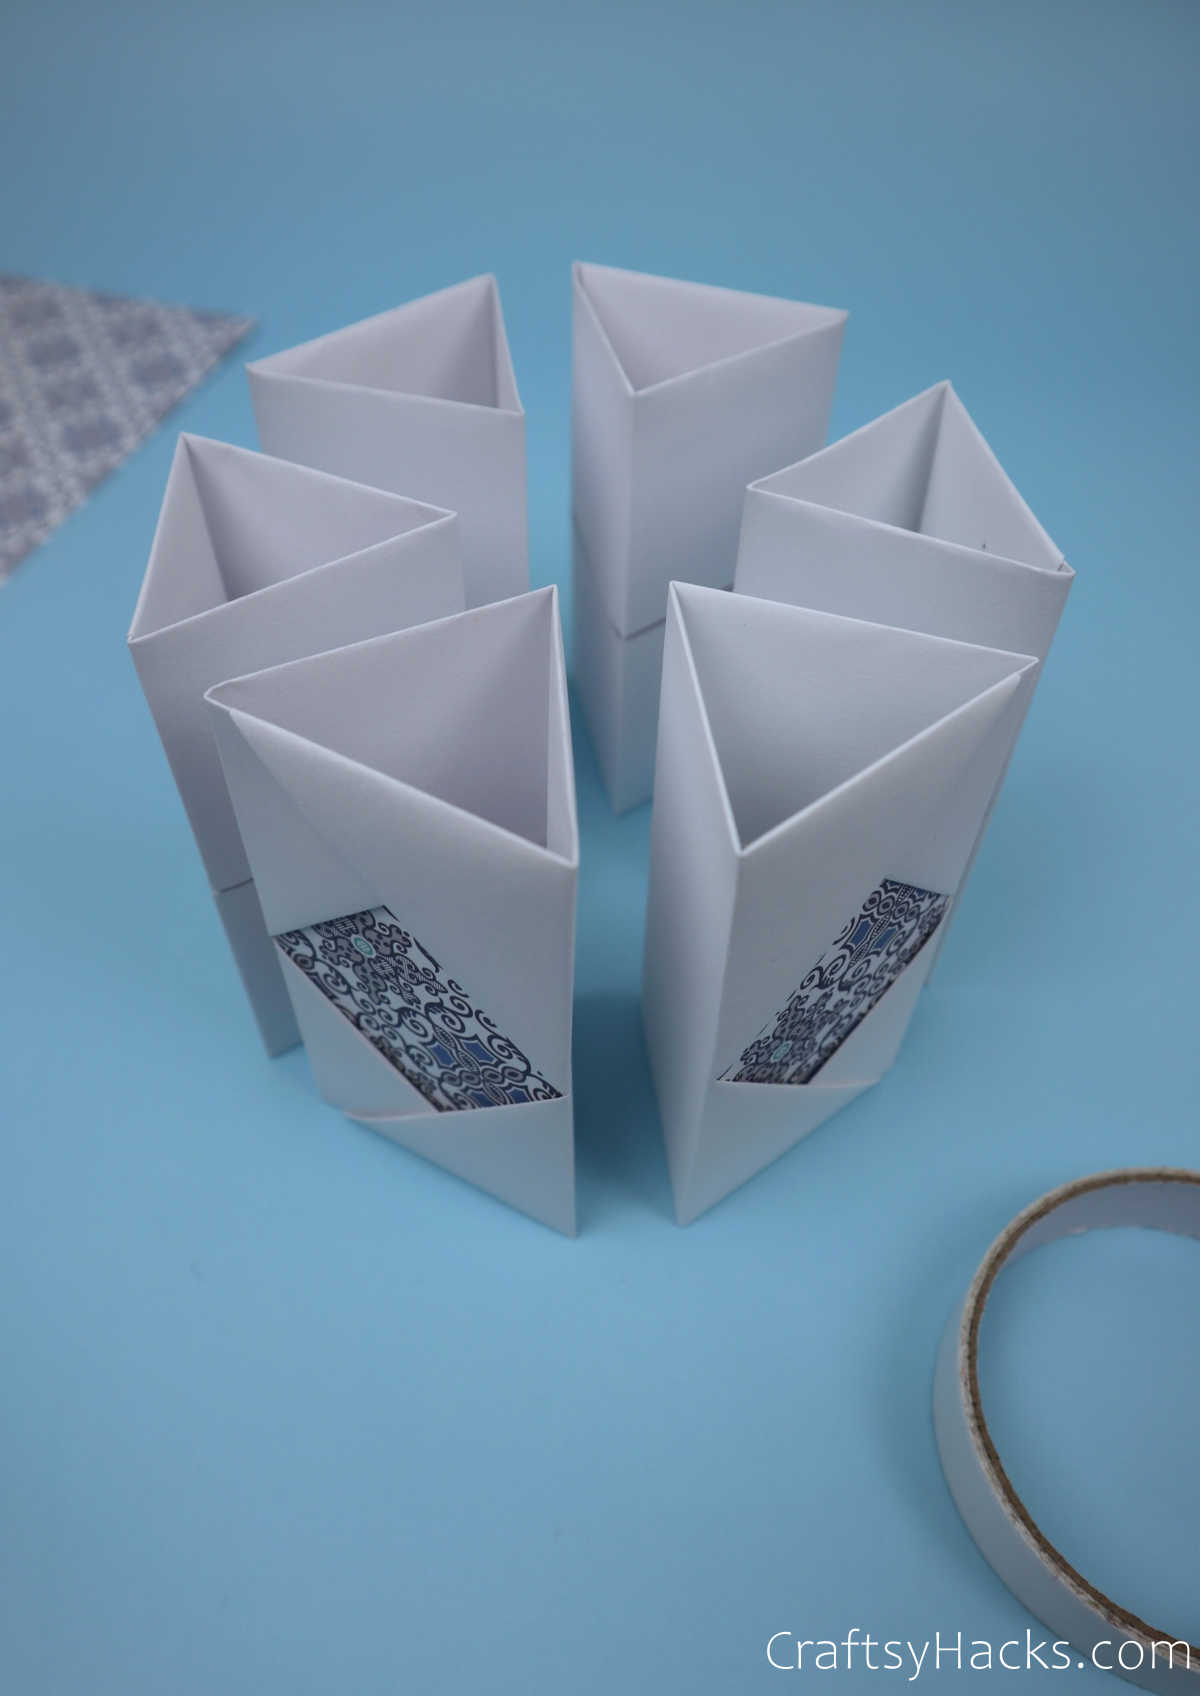
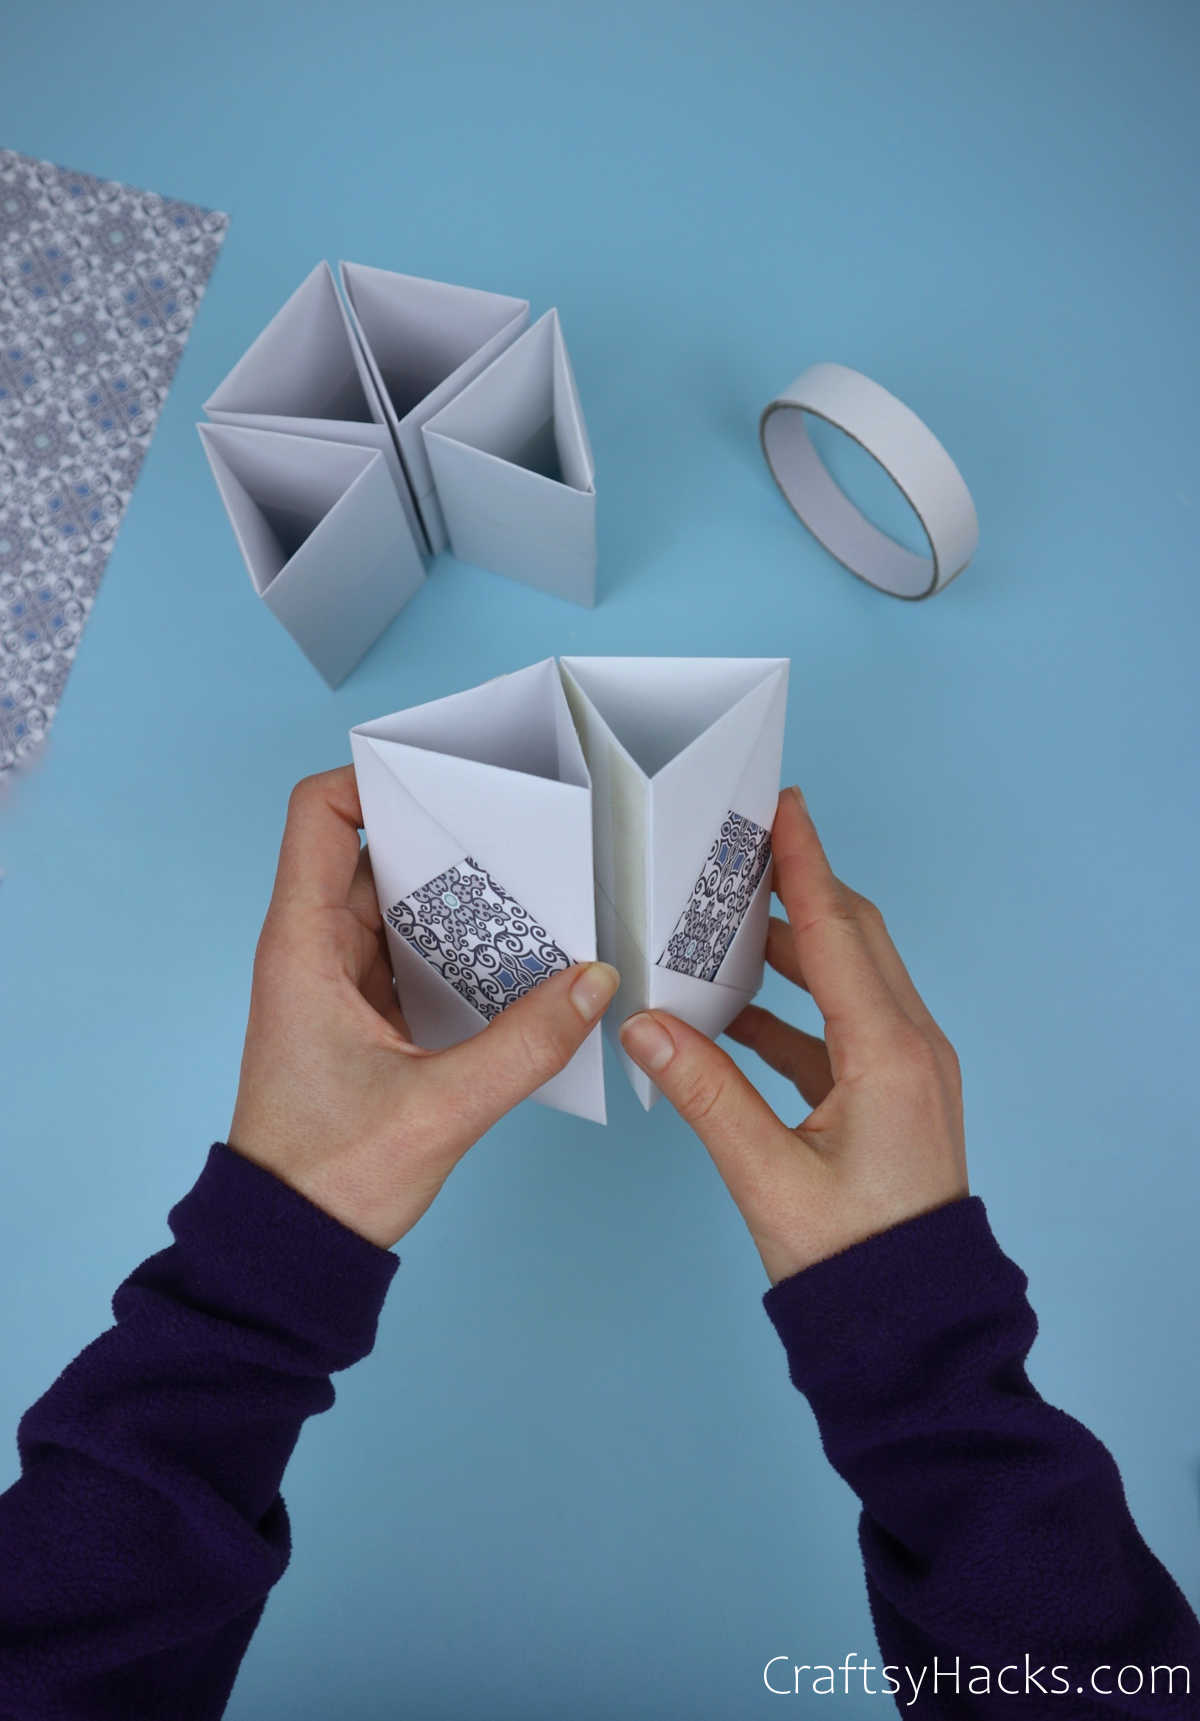
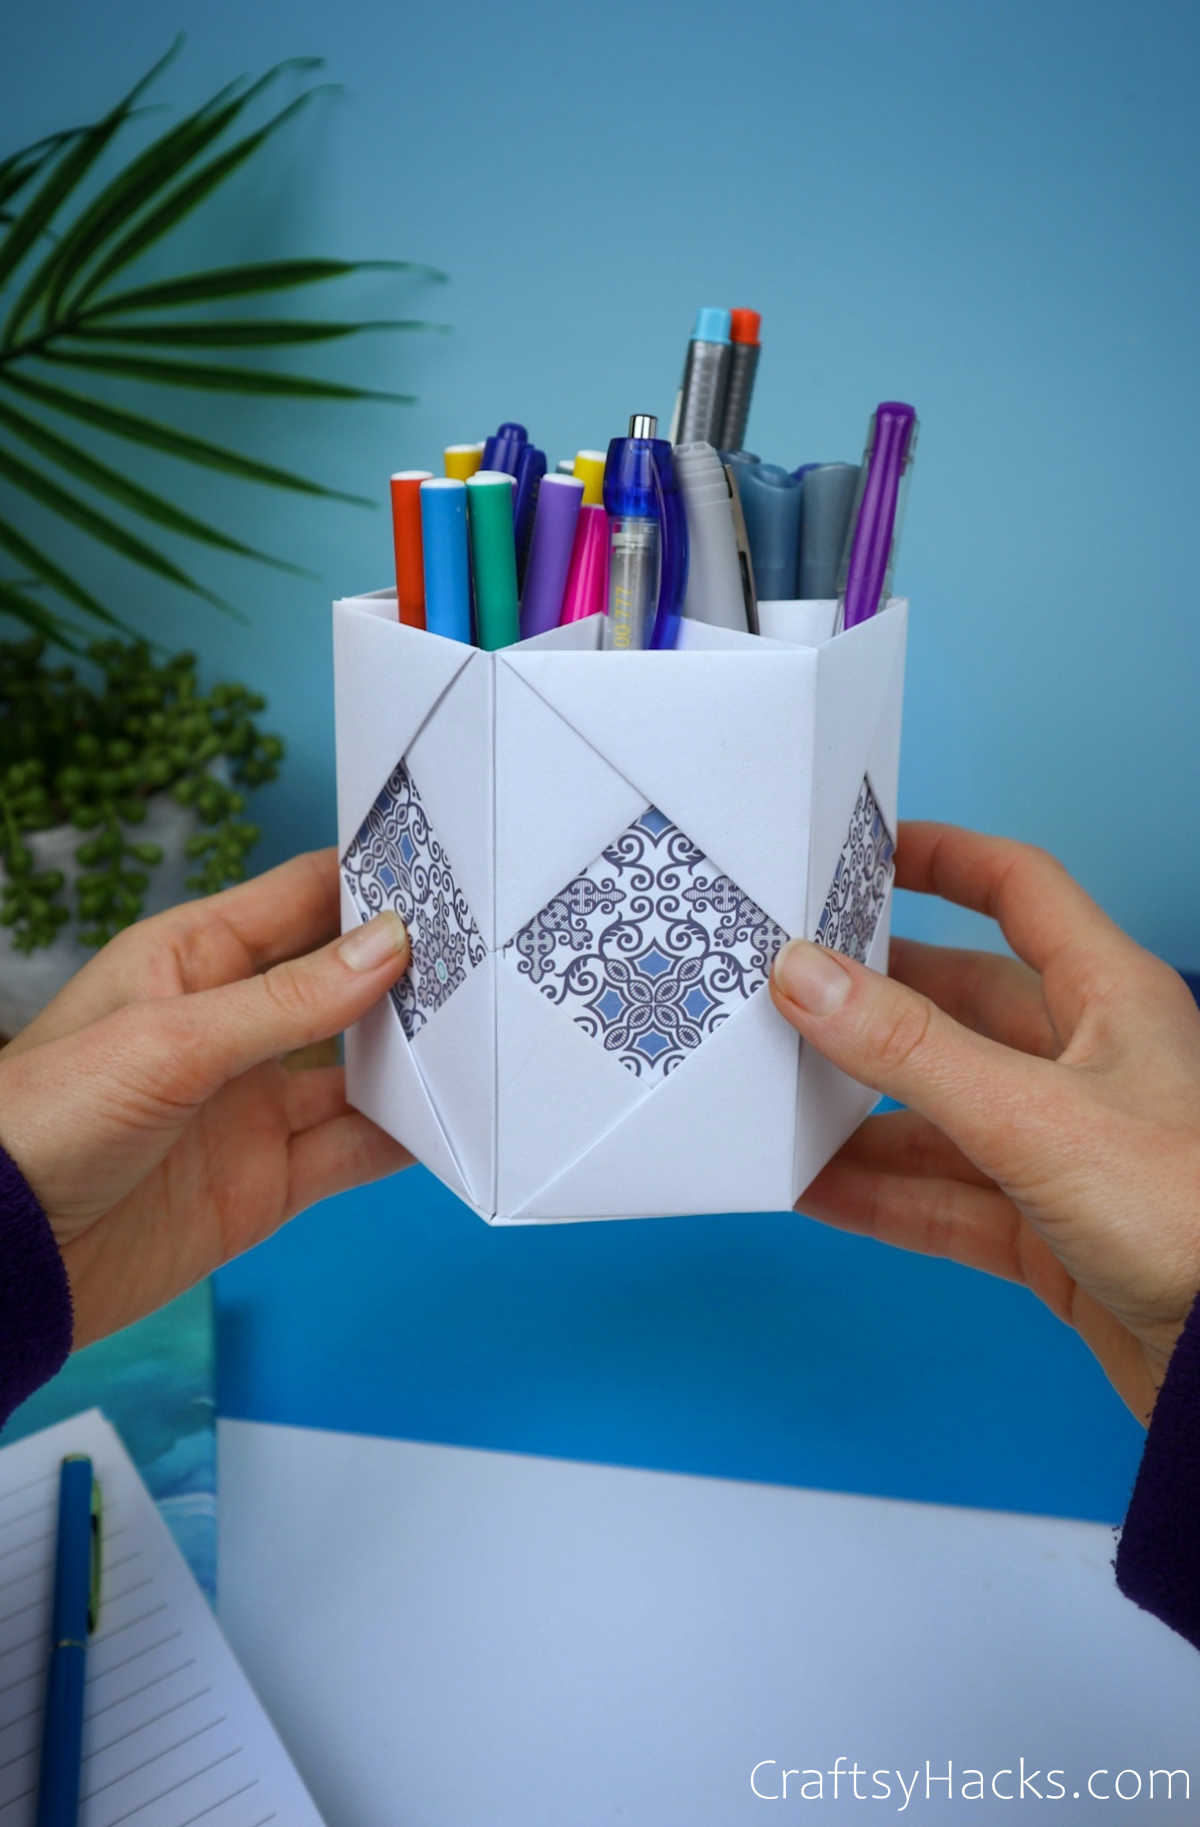
But if youre looking for something bigger to holdallyour pencils, go ahead and stick all six parts together.
Step 9
Arrange all the six components first before you get going sticking them together.
This way, youre less likely to make an error when piecing them together.
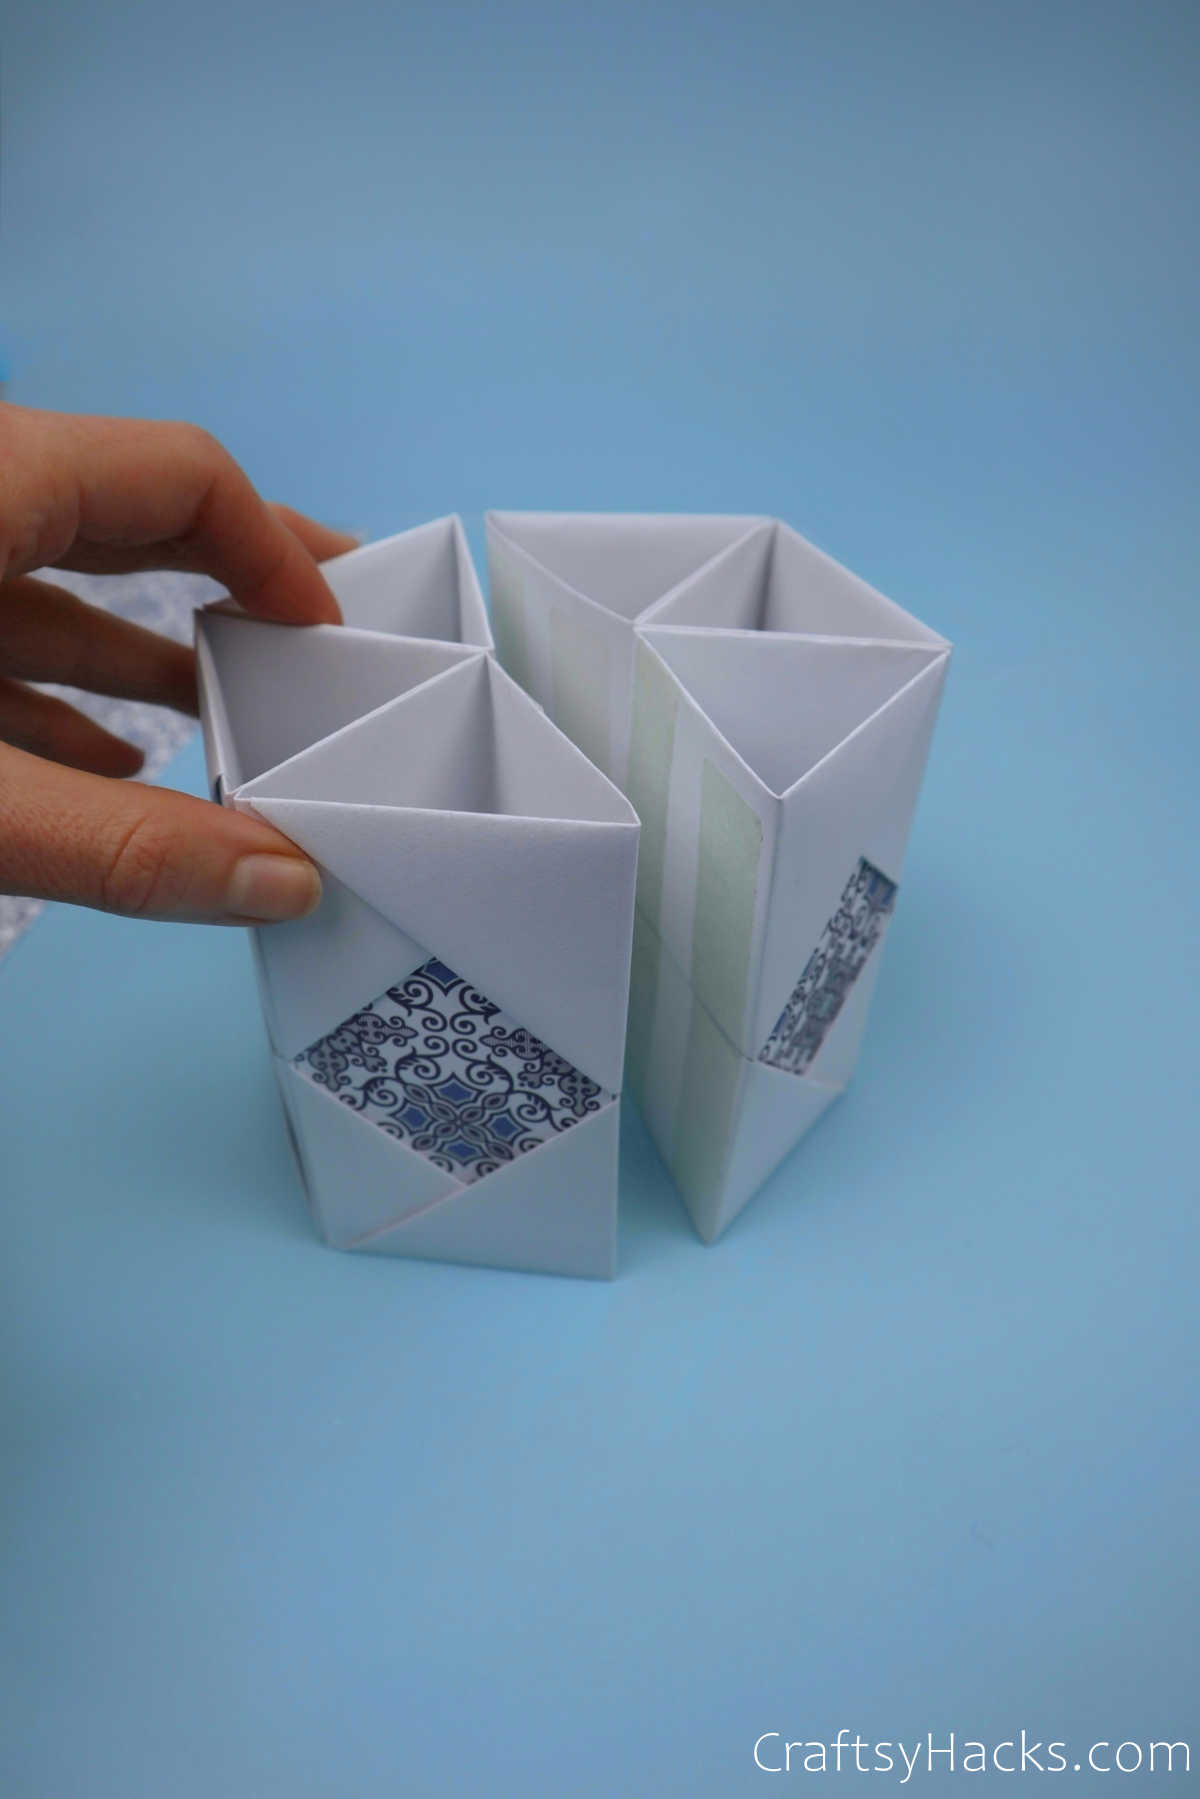
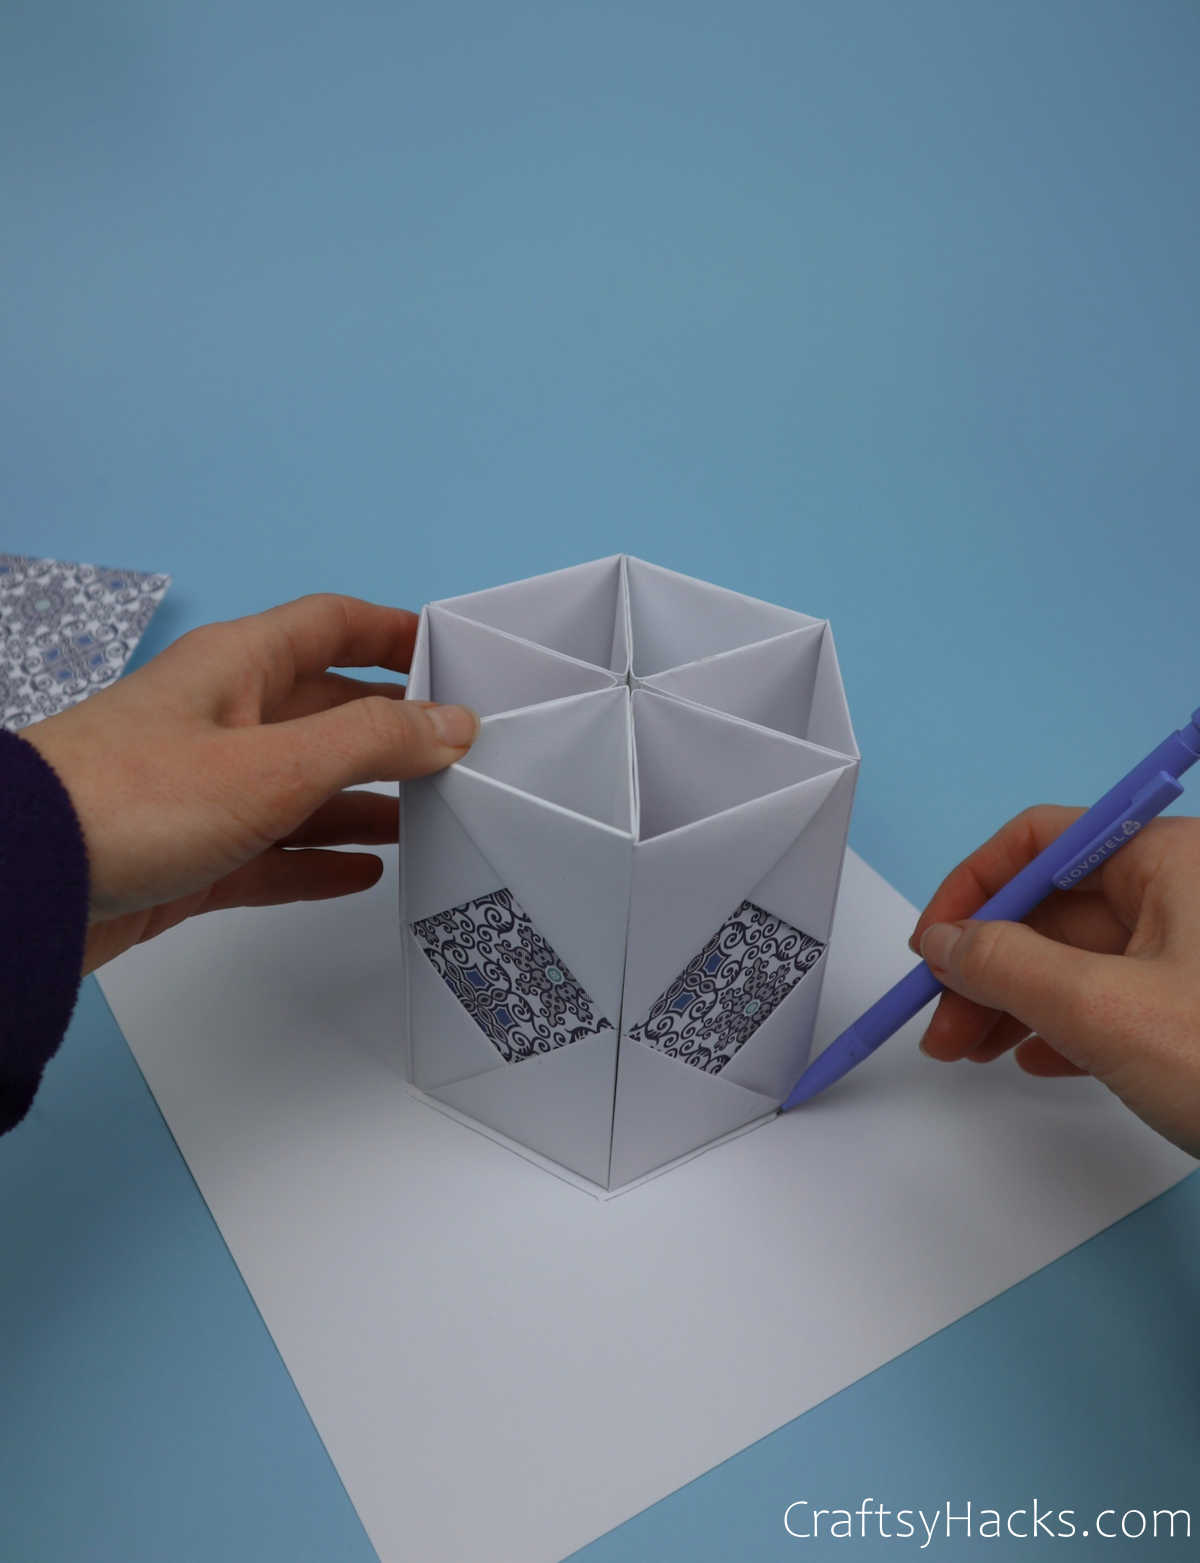
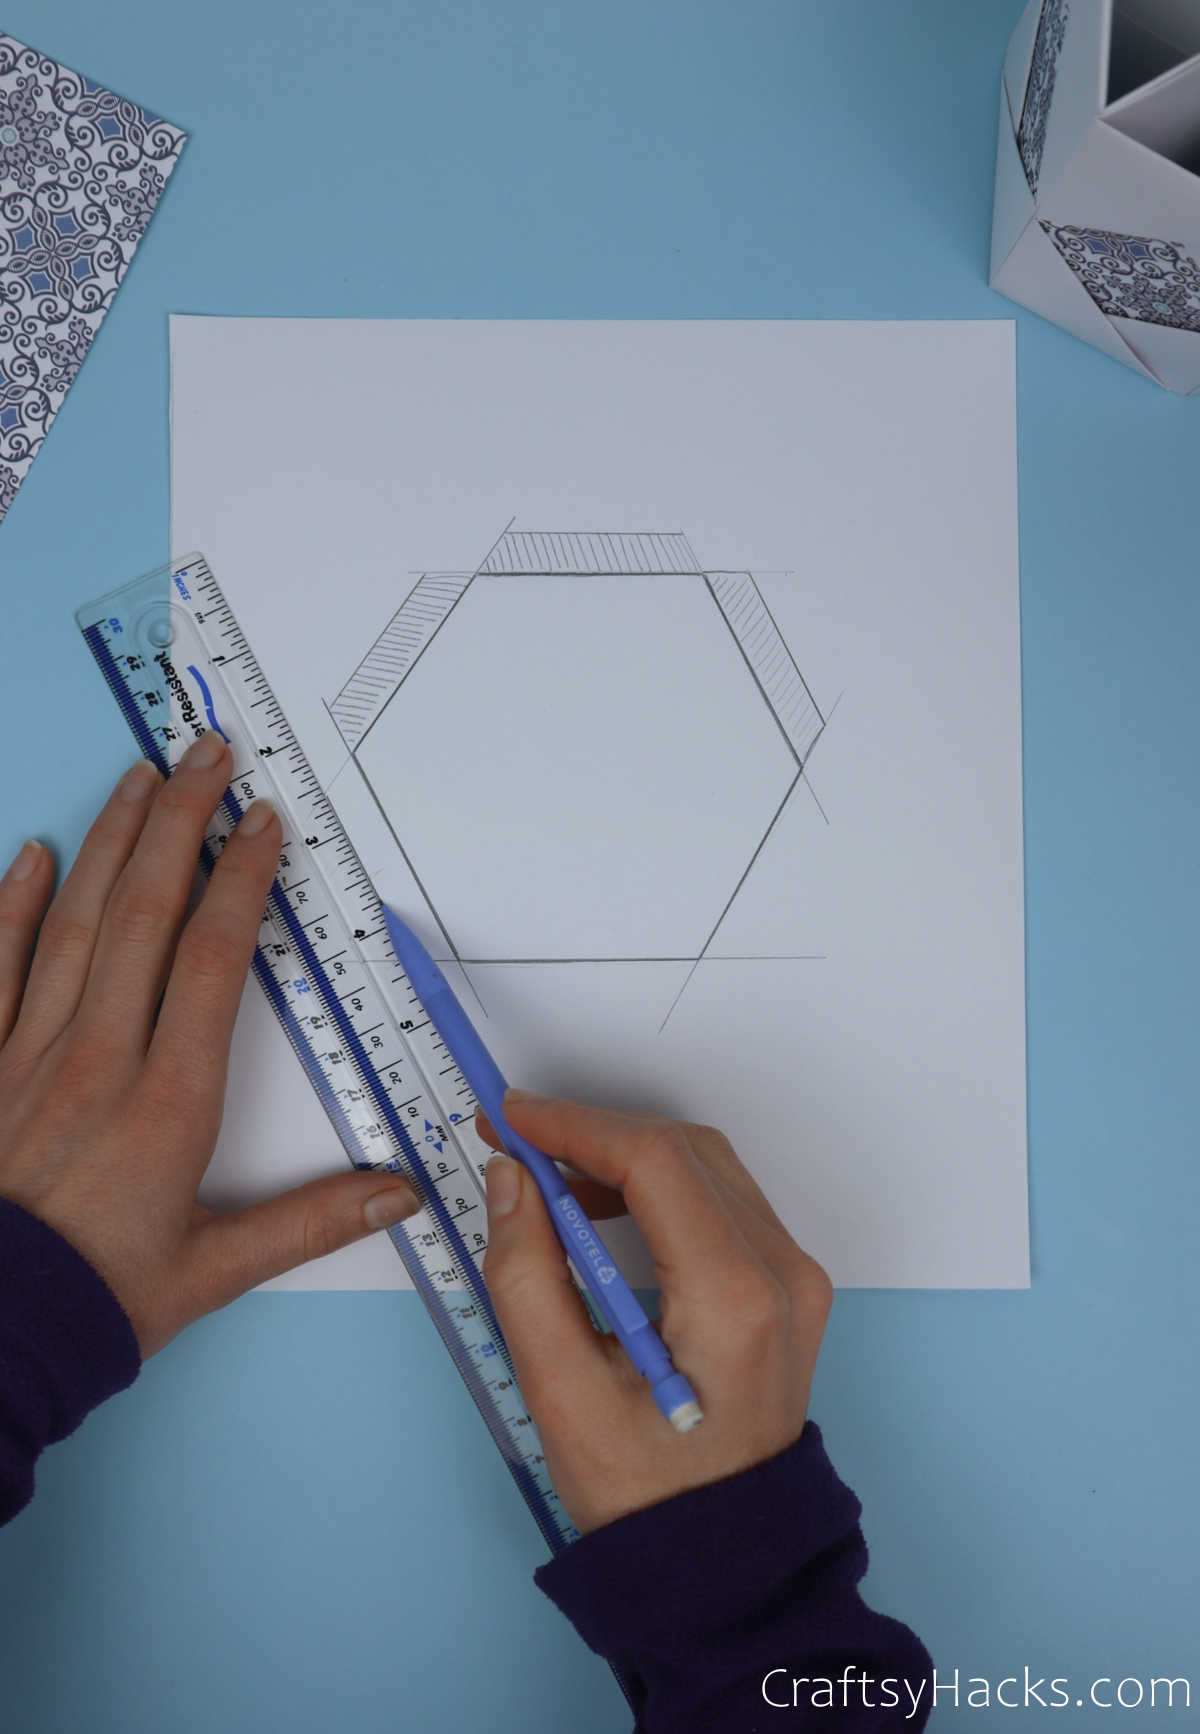
Step 10
Hold up, were not done yet, but were nearly there.
Pull out your other sheet of thicker paper as specified in the list of supplies.
Grab your pencil and start drawing an outline of the contour using a ruler.
This will help you tuck the bottom into the pencil holder much easier.
Additionally, it will also hold the entire structure more firmly.
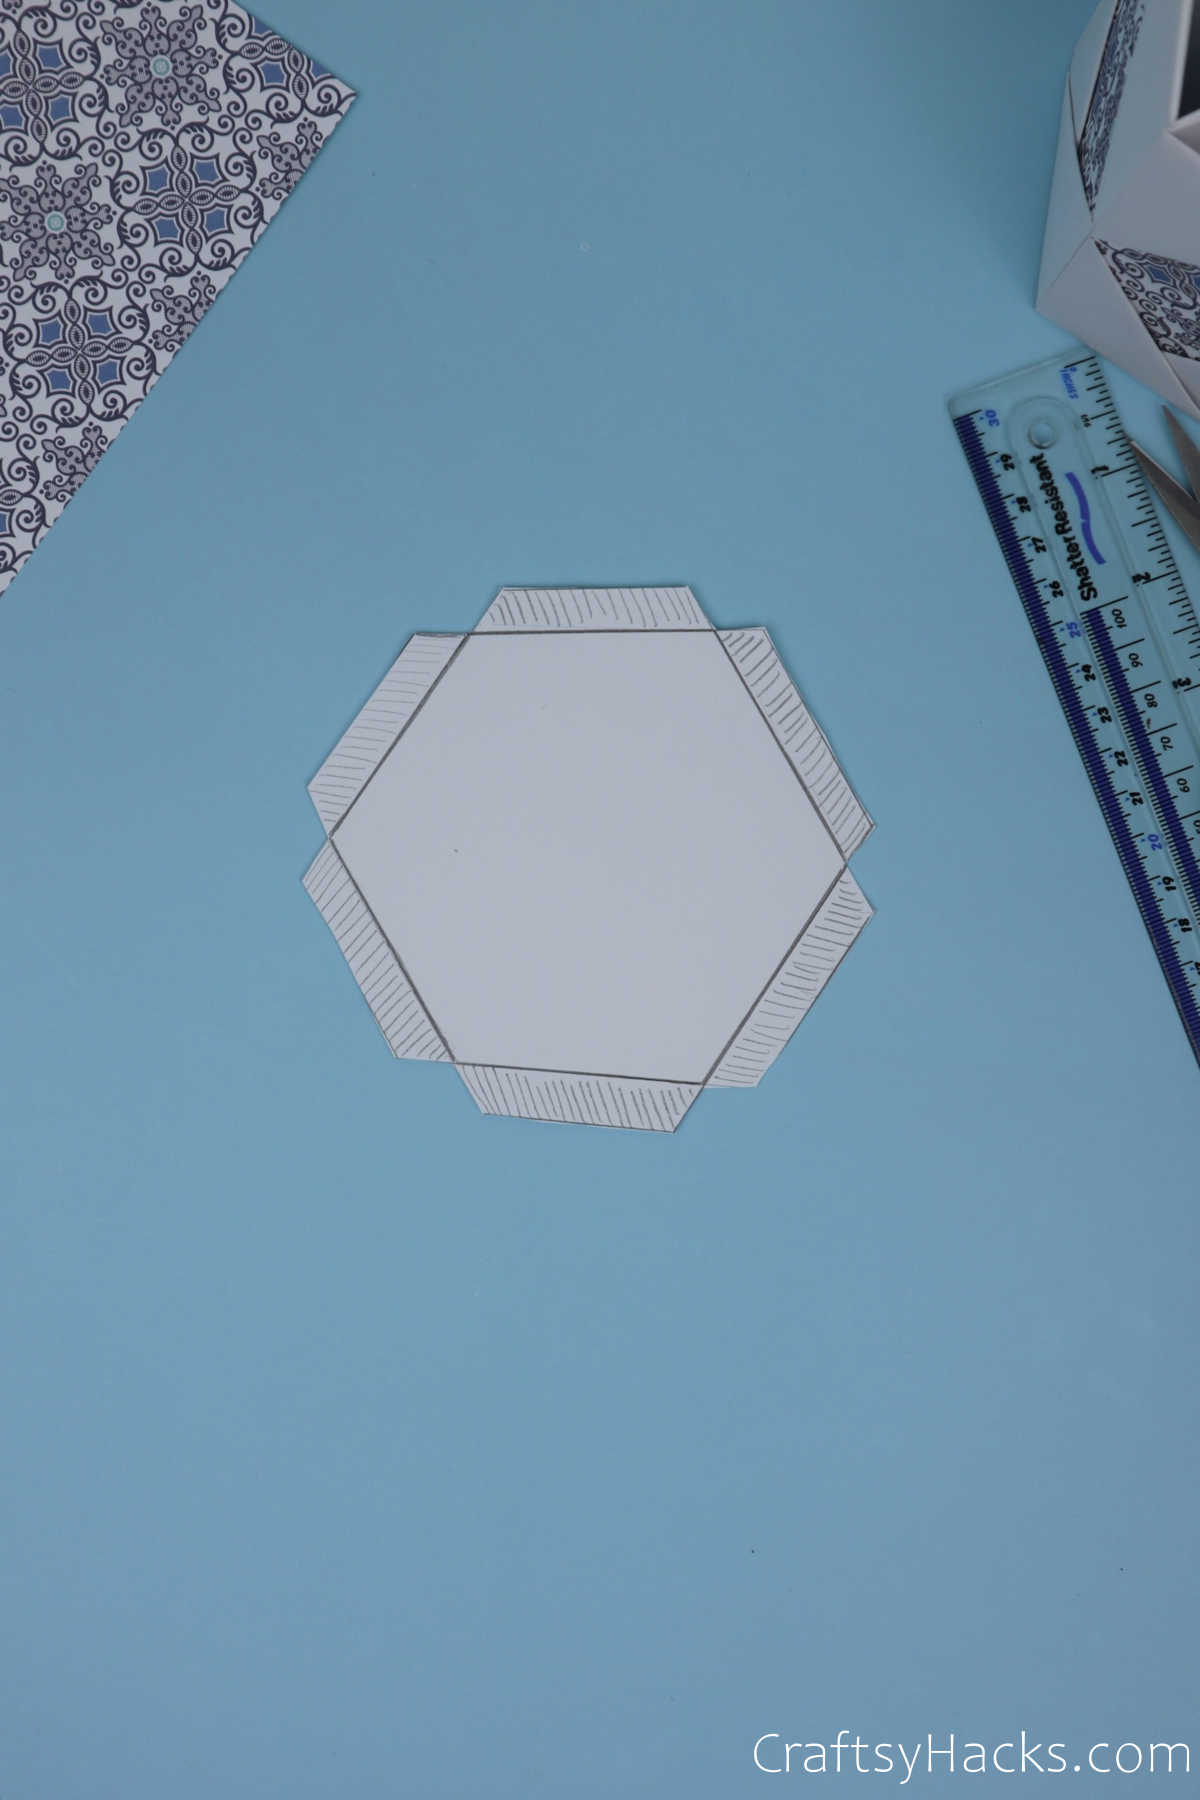
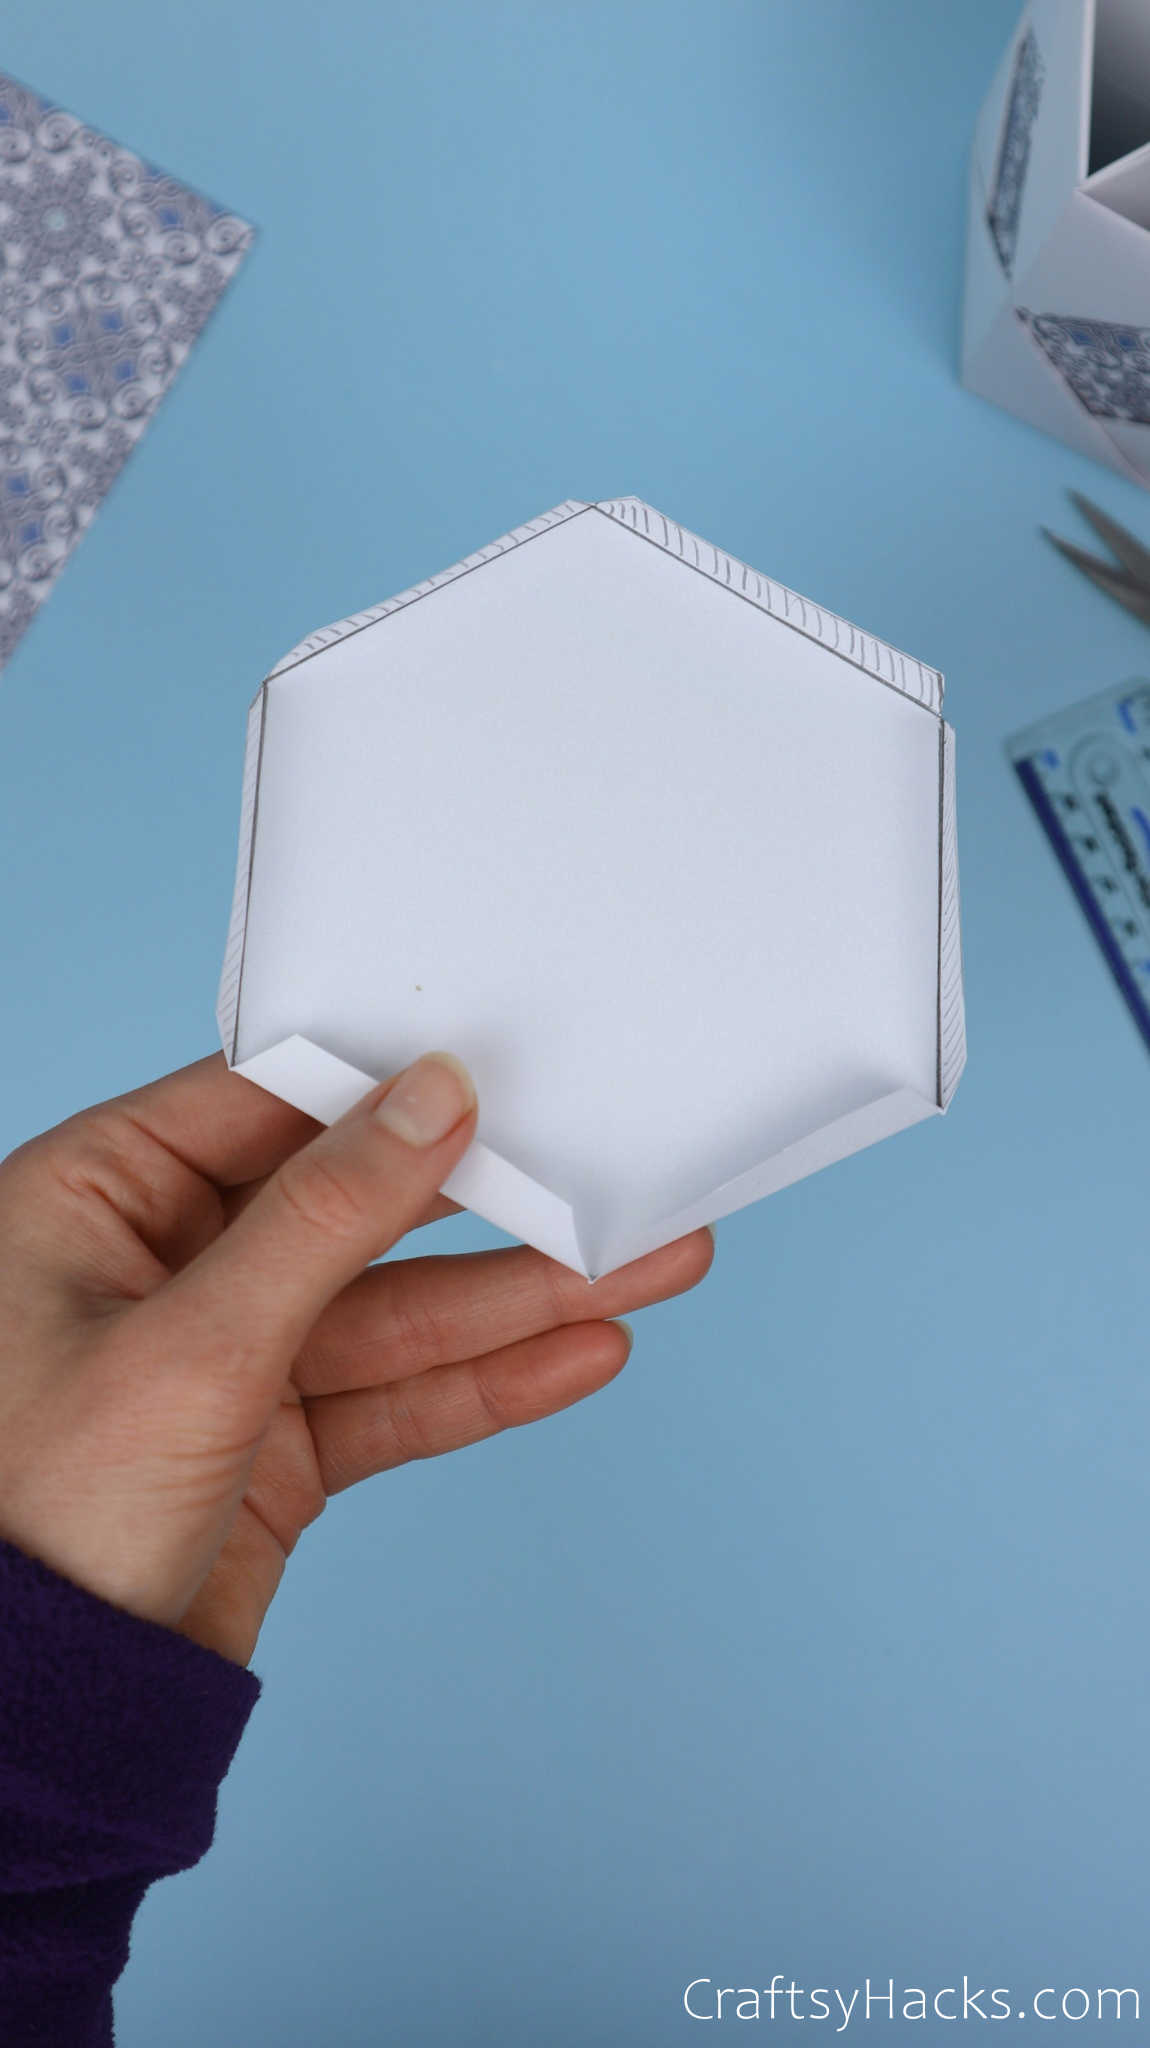
Step 12
Cut out the outline.

Fold the flaps inward to help stiffen the ends.
They should stick out, as you see below.
Step 13
Finally, attach the base to the pencil holder and carefully tuck the flaps in.
If youve got the measurements right, you should have a perfect fit!
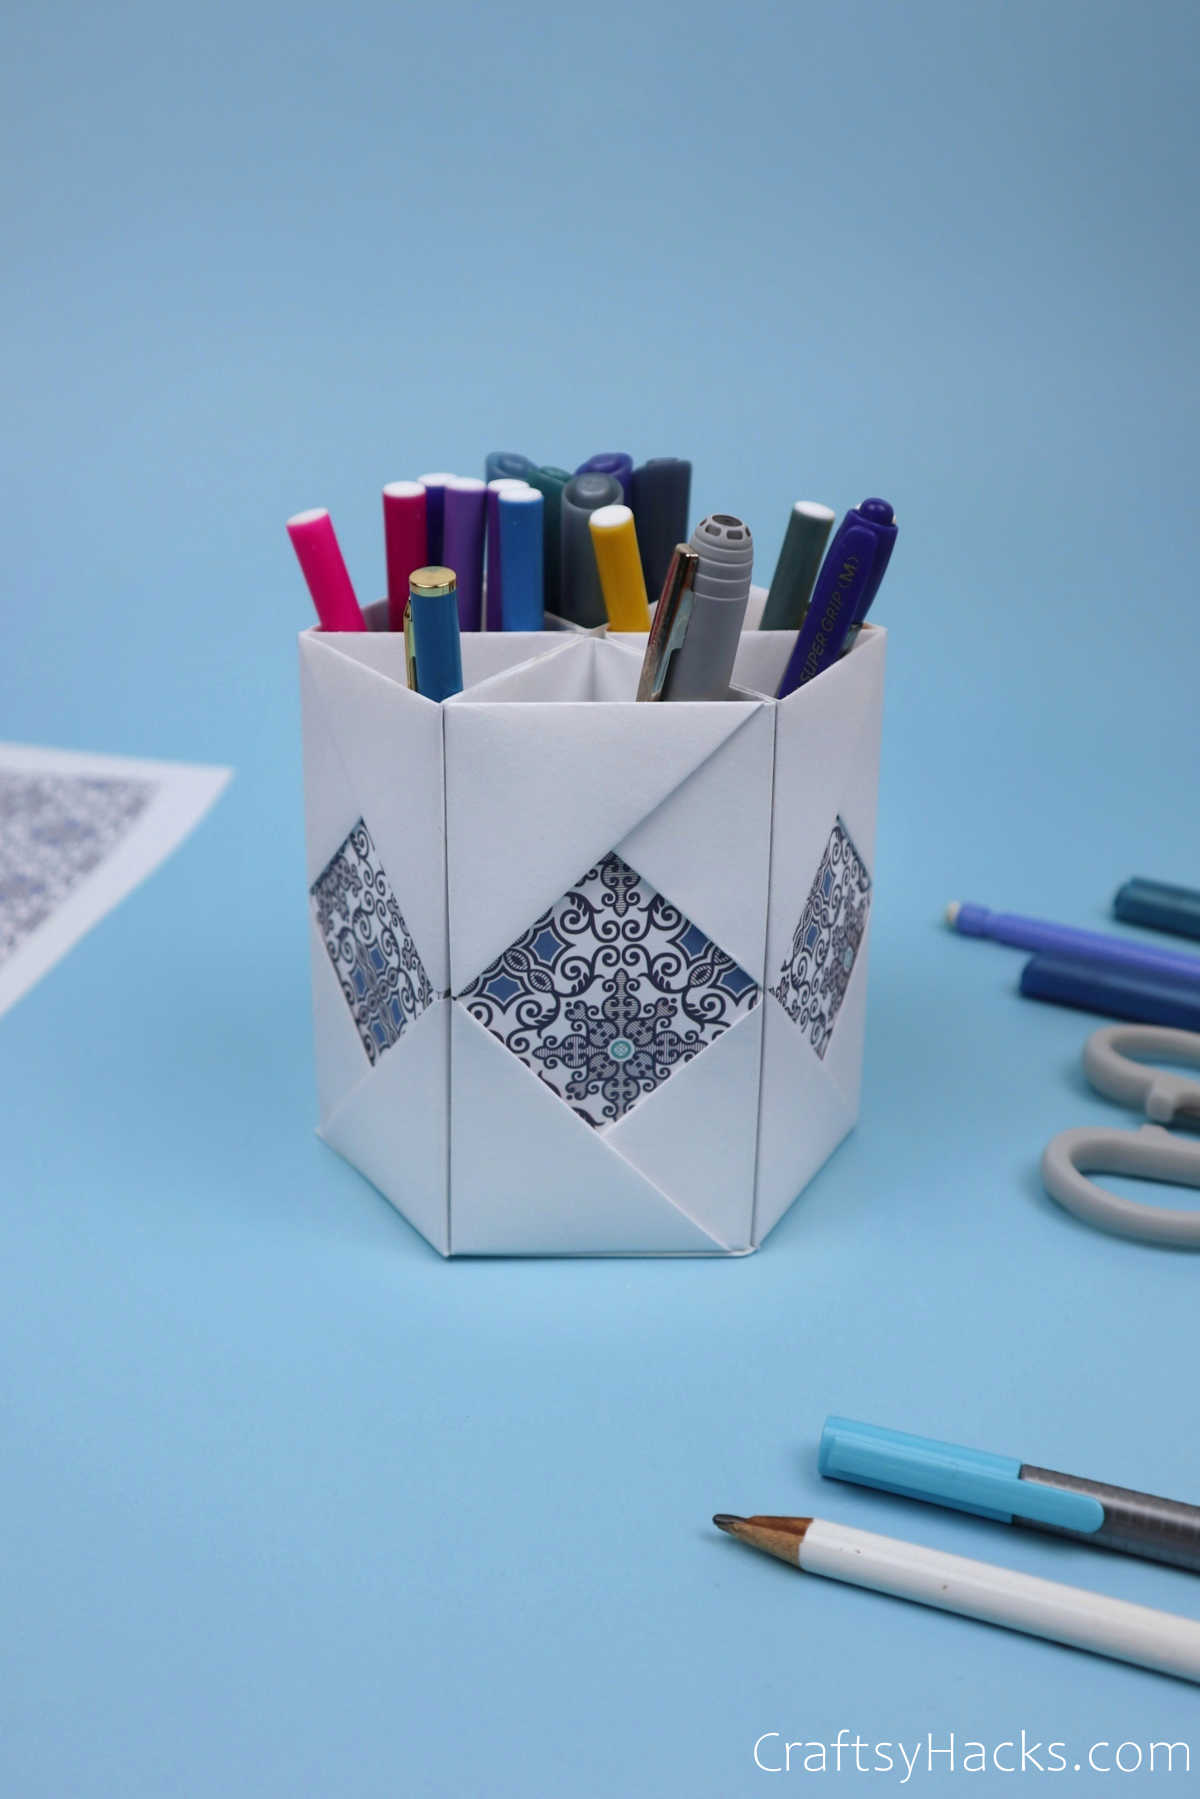
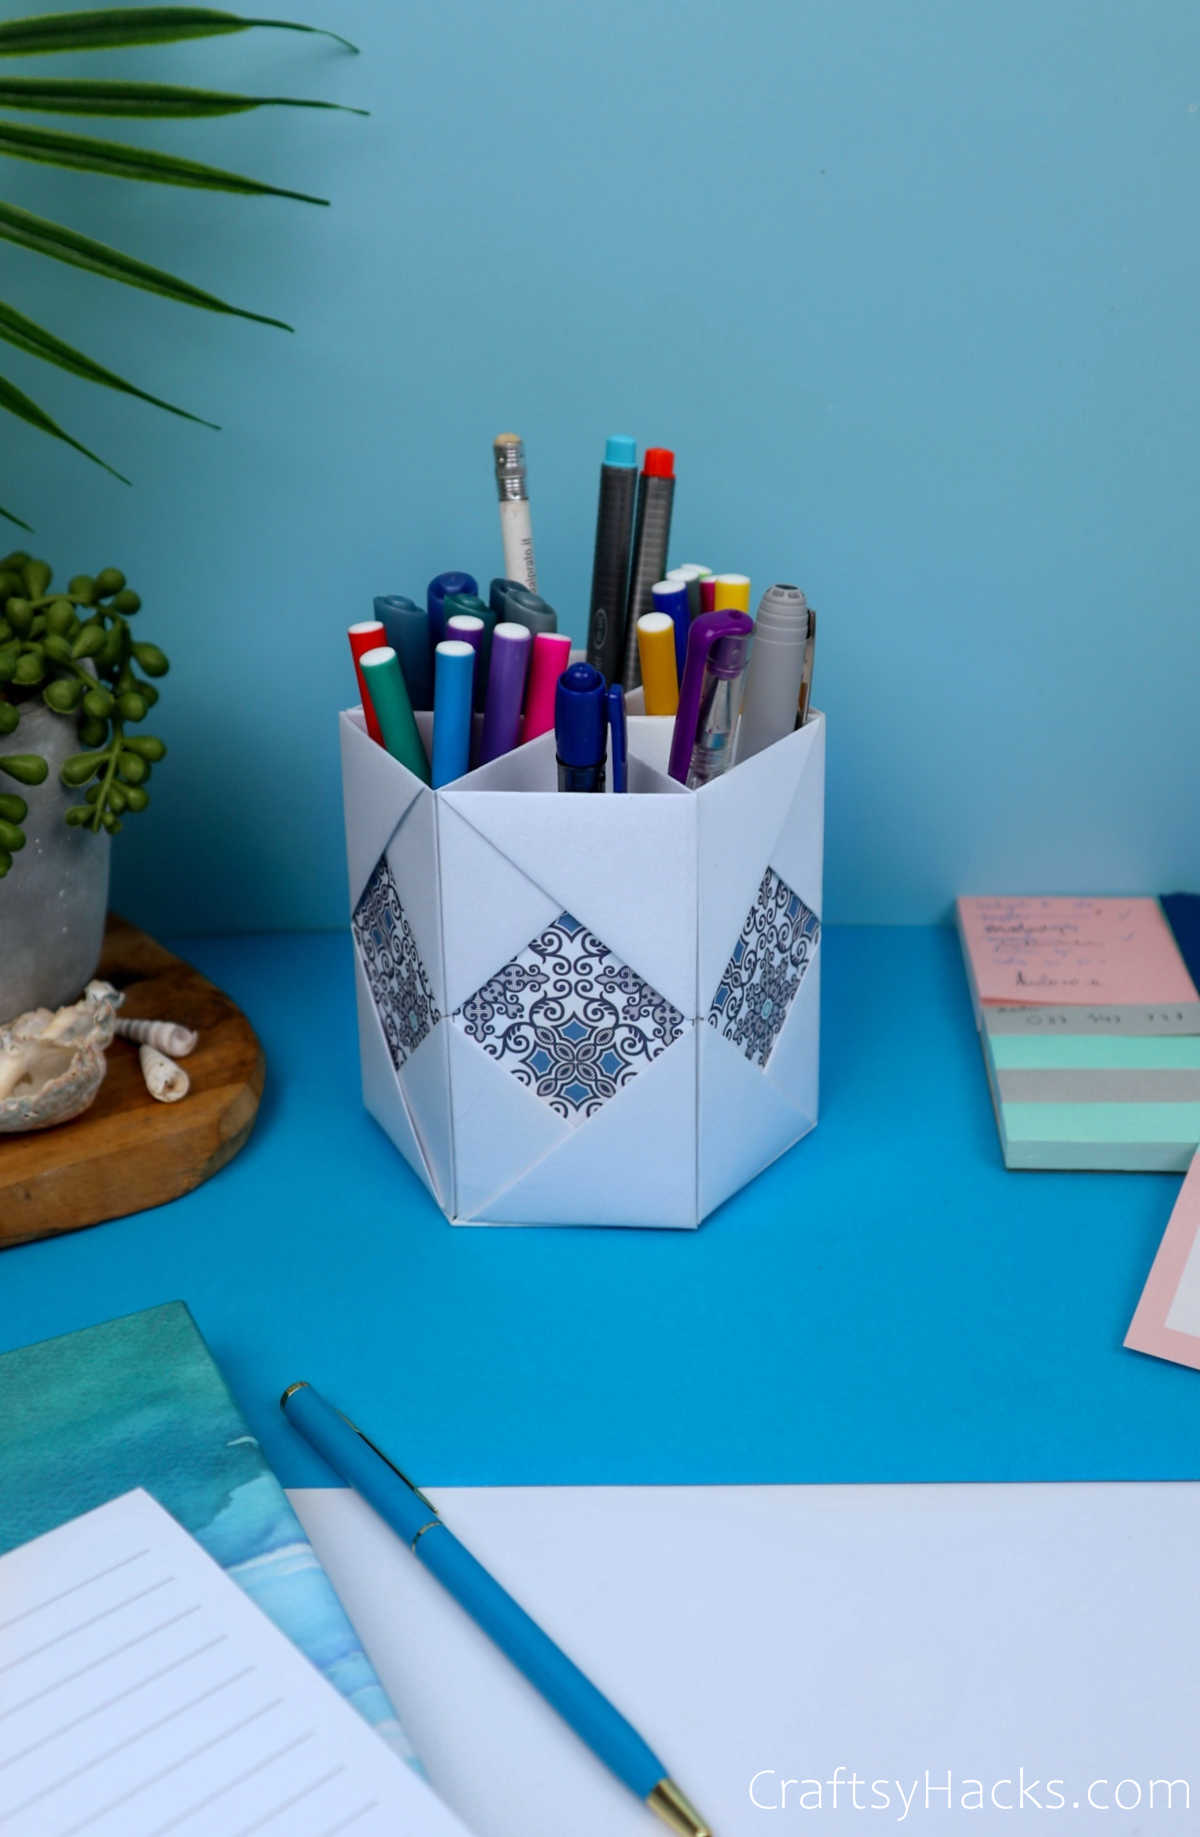
And there you have it!
Your DIY pencil holder out of paper is ready!