HomeDIY
This post may contain affiliate links:full affiliate disclosure.
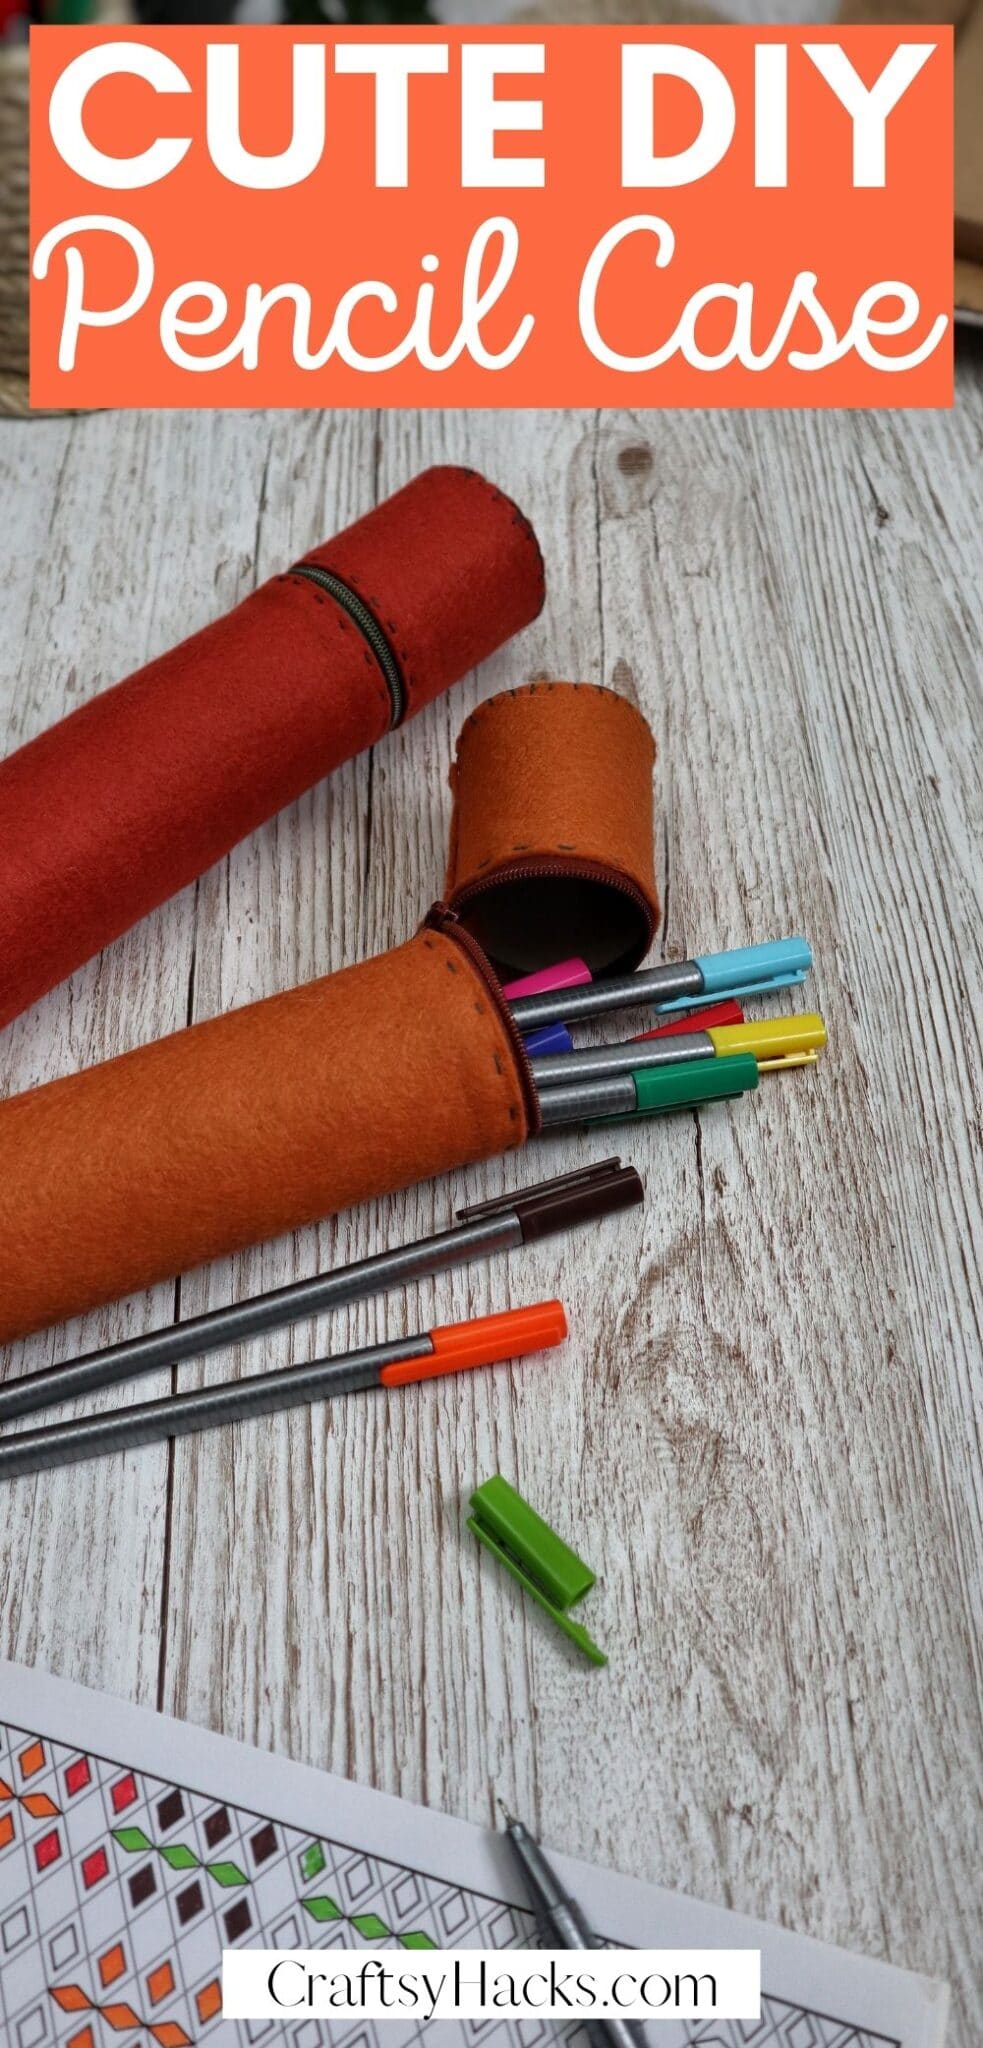
Looking for a back-to-school craft?
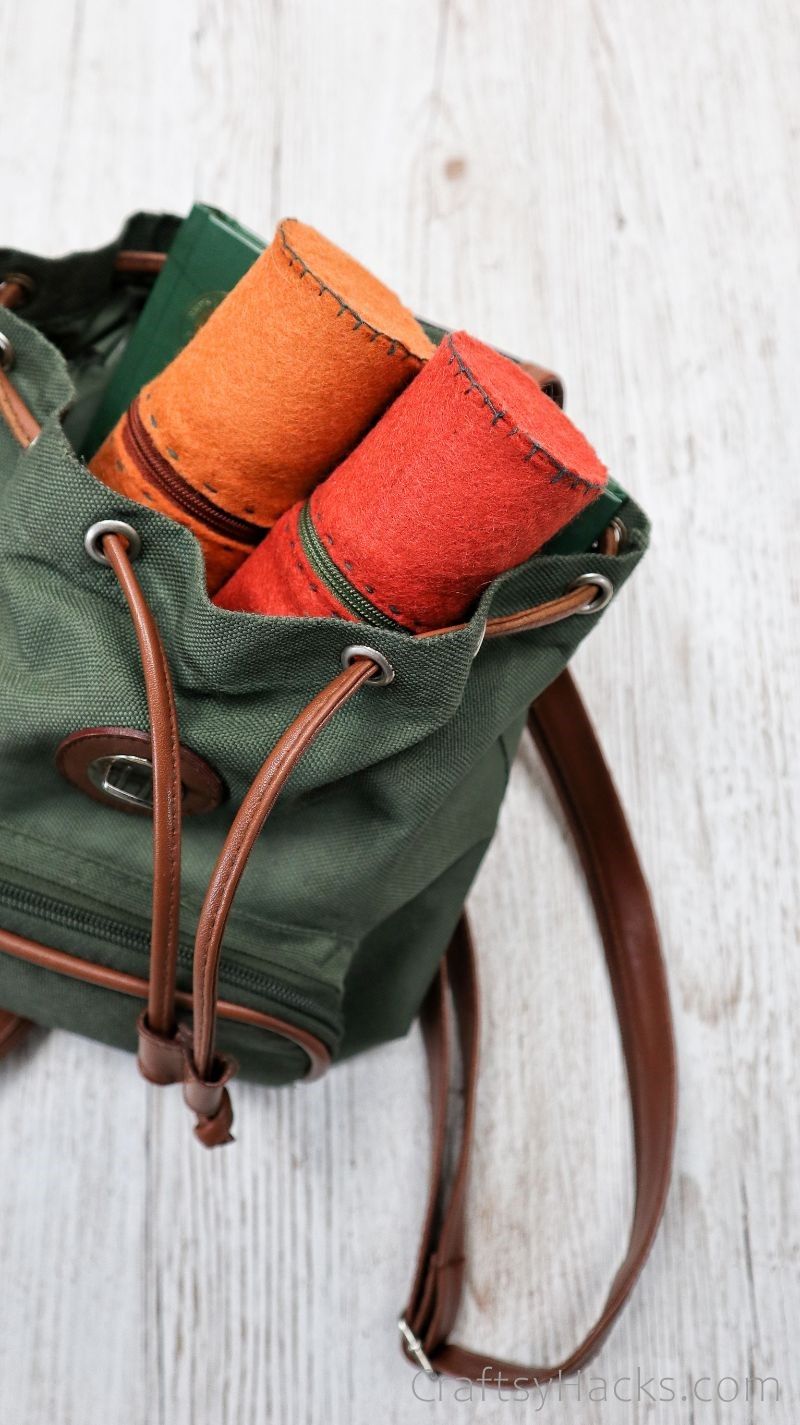
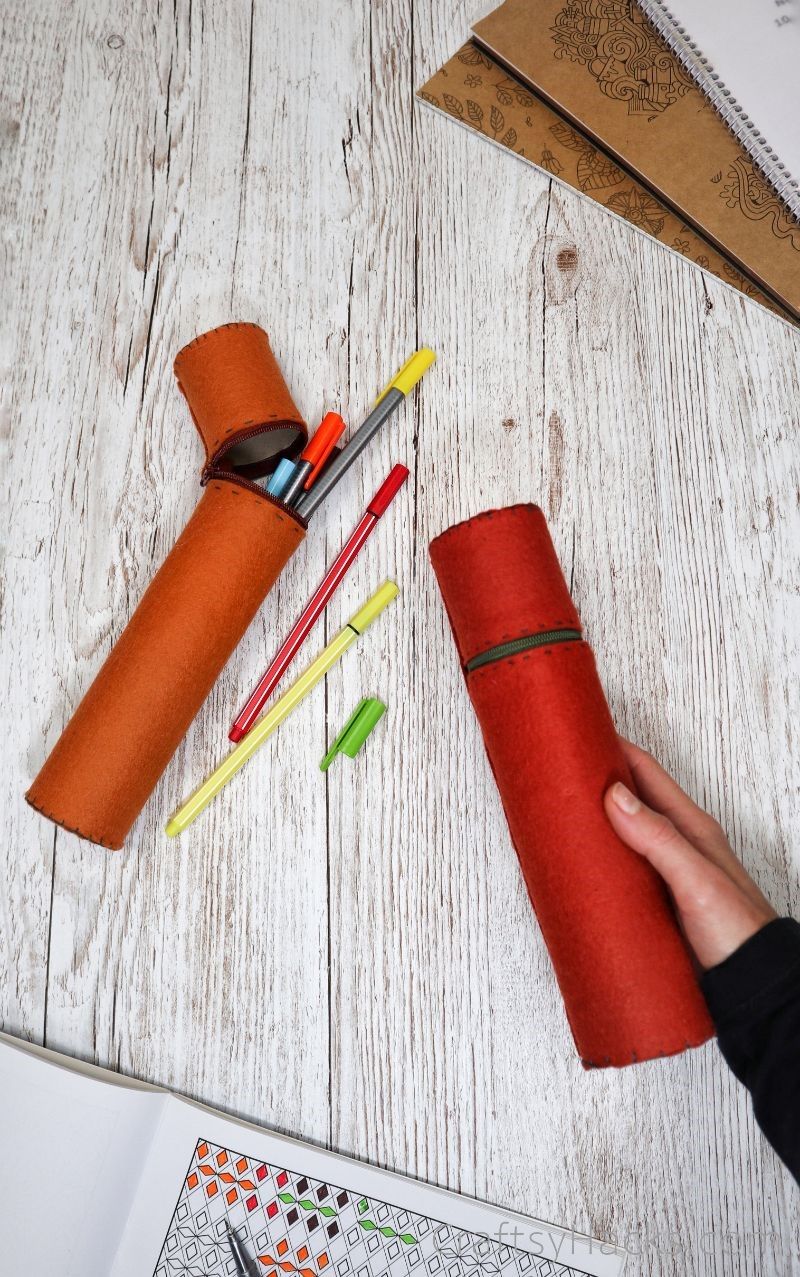
This DIY pencil case is a great project that will actually be useful for school or university.
Theres nothing that makes a school day better, like a set of unique stationery.
When I was in school, I was always so excited when buying new stationery for the year!
The problem is, adopting new supplies can be an expensive undertaking.
Not to mention, youll unavoidably have the same set of stationery as someone else in school.
Dont worry, you wouldnt guess this is made of cardboard atall.
Step 1
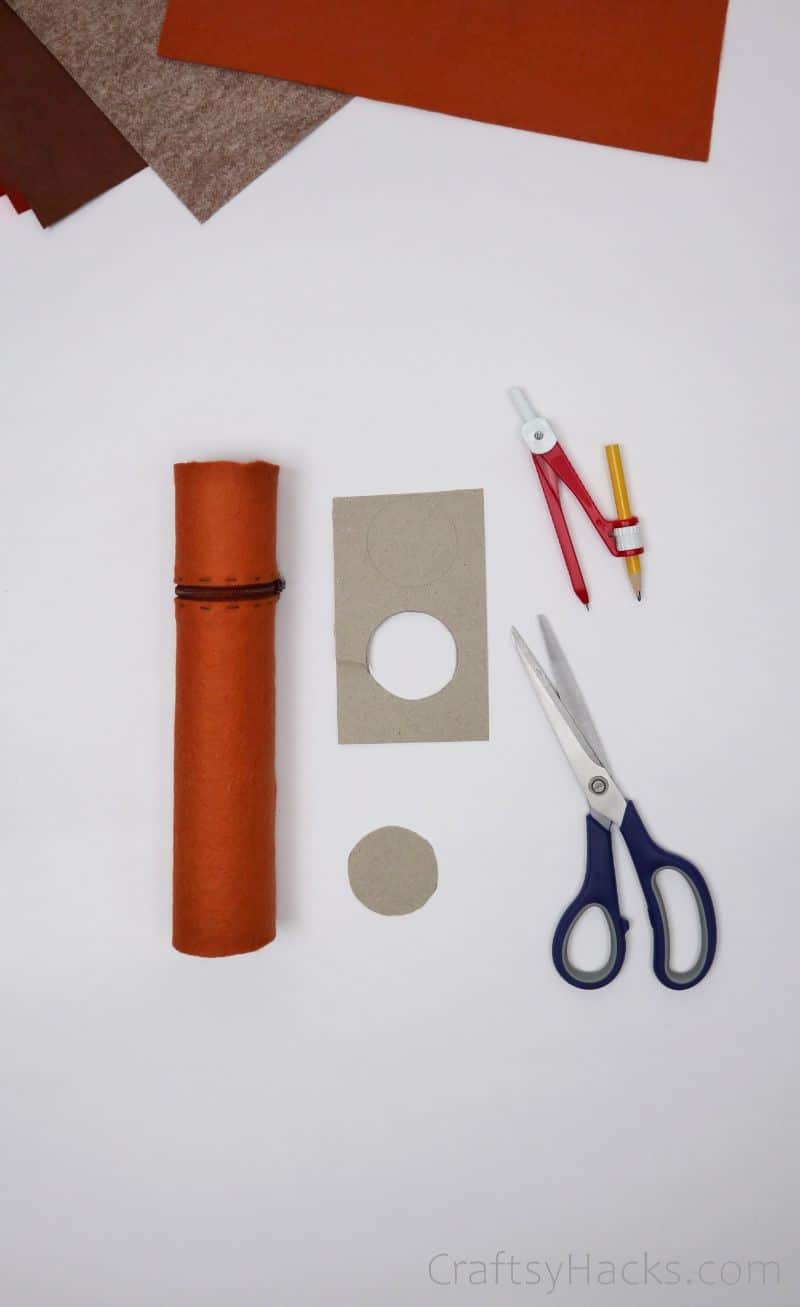
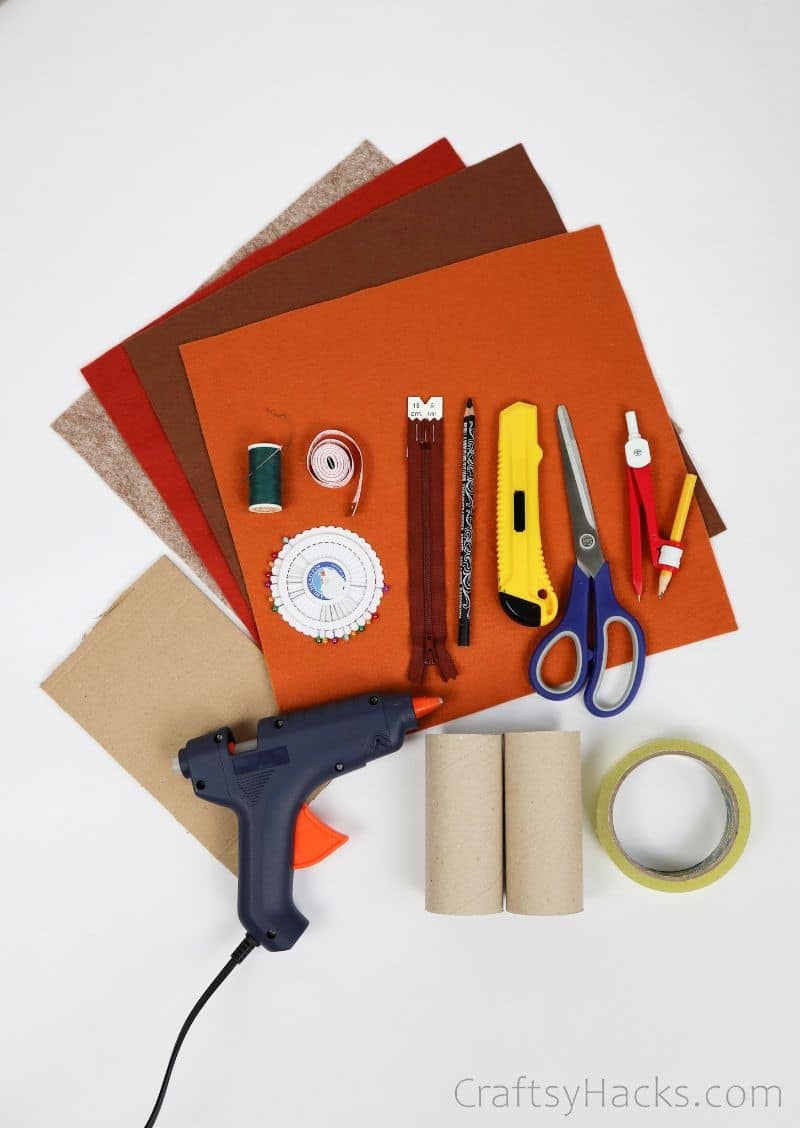
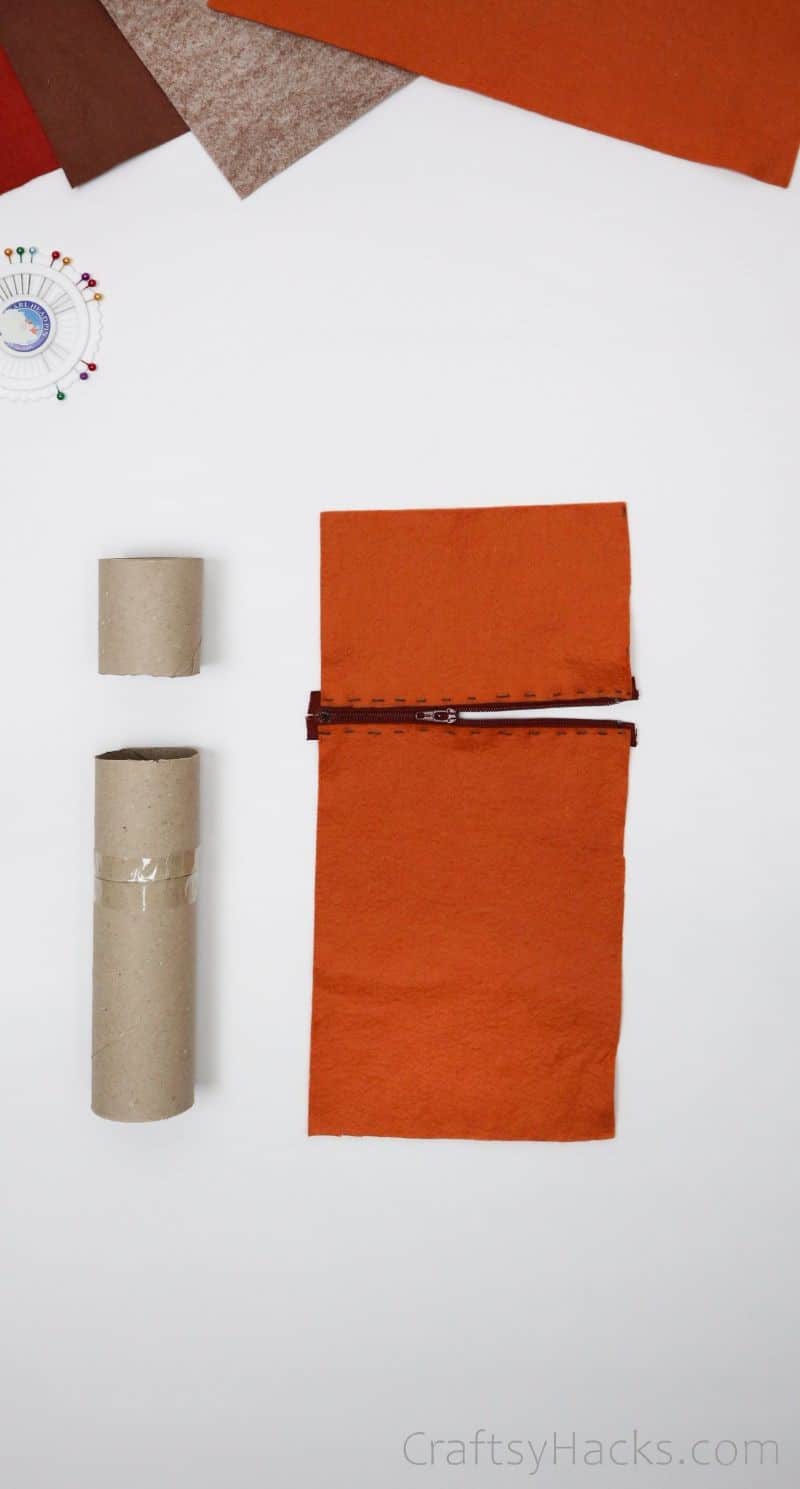
Lets start by getting our supplies together.
If youre using a thicker tube, pick up a longer zip.
However, feel free to experiment with color blocking to make your case even more unique!
Step 2
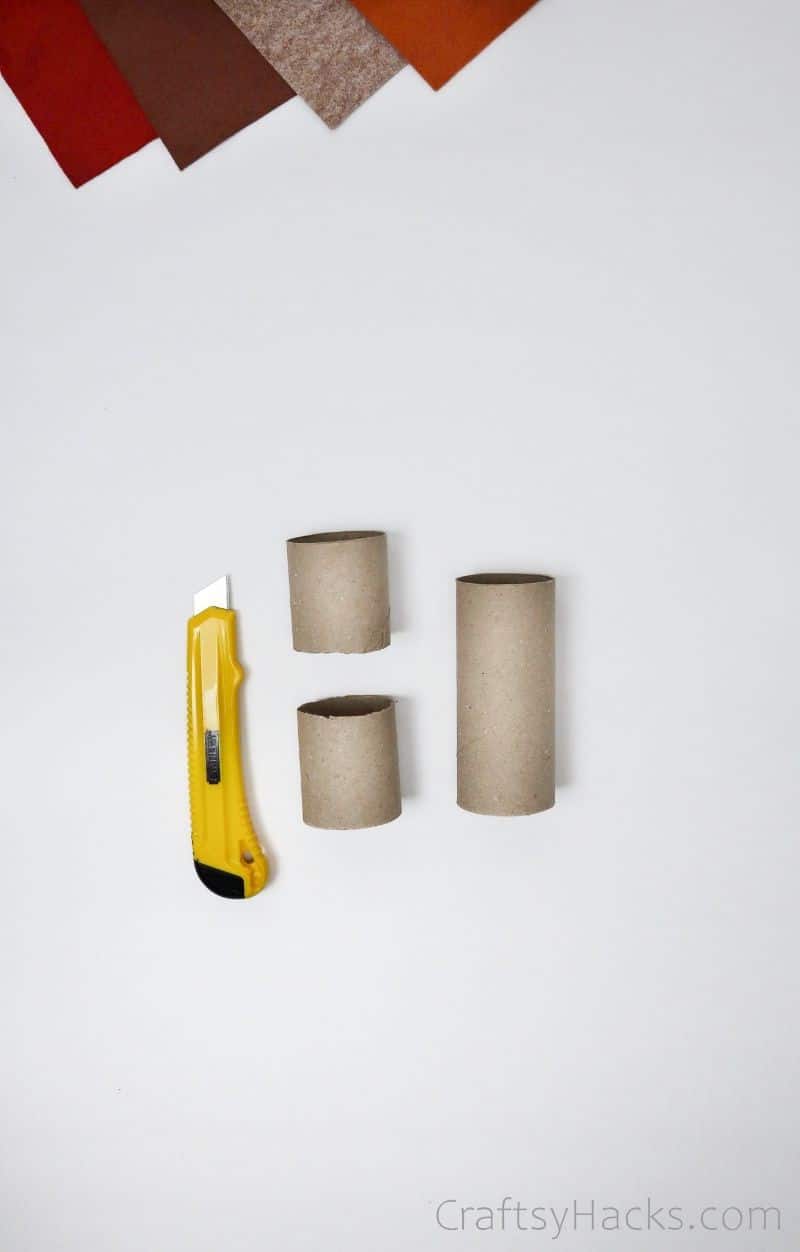
First on the agenda is to create the interior structures shape.
Grab your craft knife and cut one of the cardboard rolls in half, leaving the other intact.
Now, you should have three pieces (as above).
This will leave with you one long cardboard tube and one half-sized piece.
Step 4
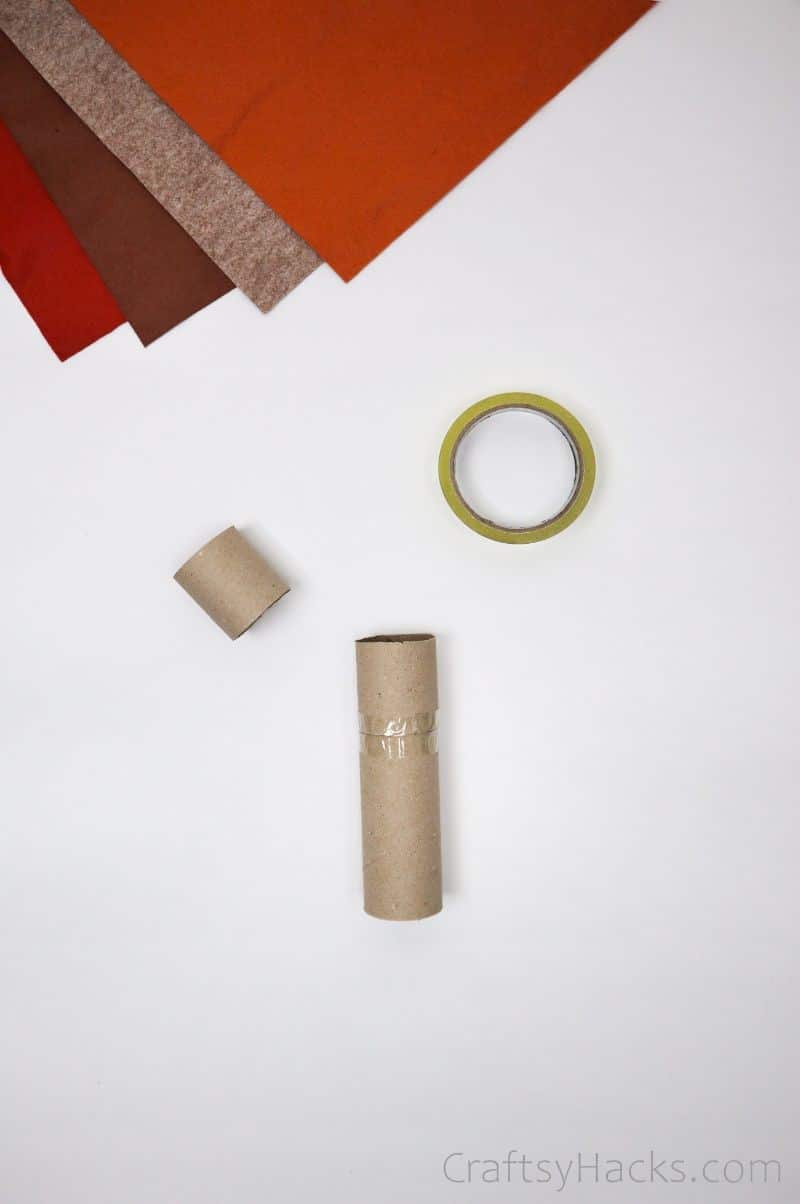
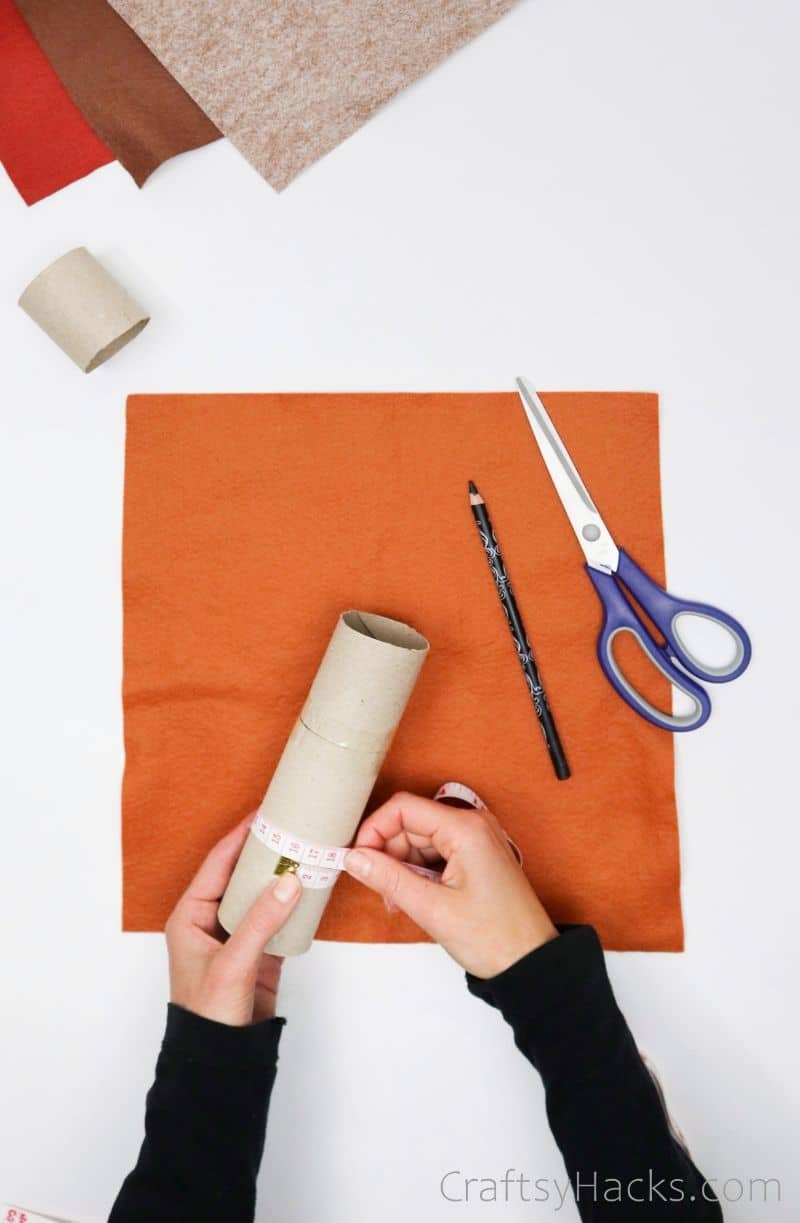
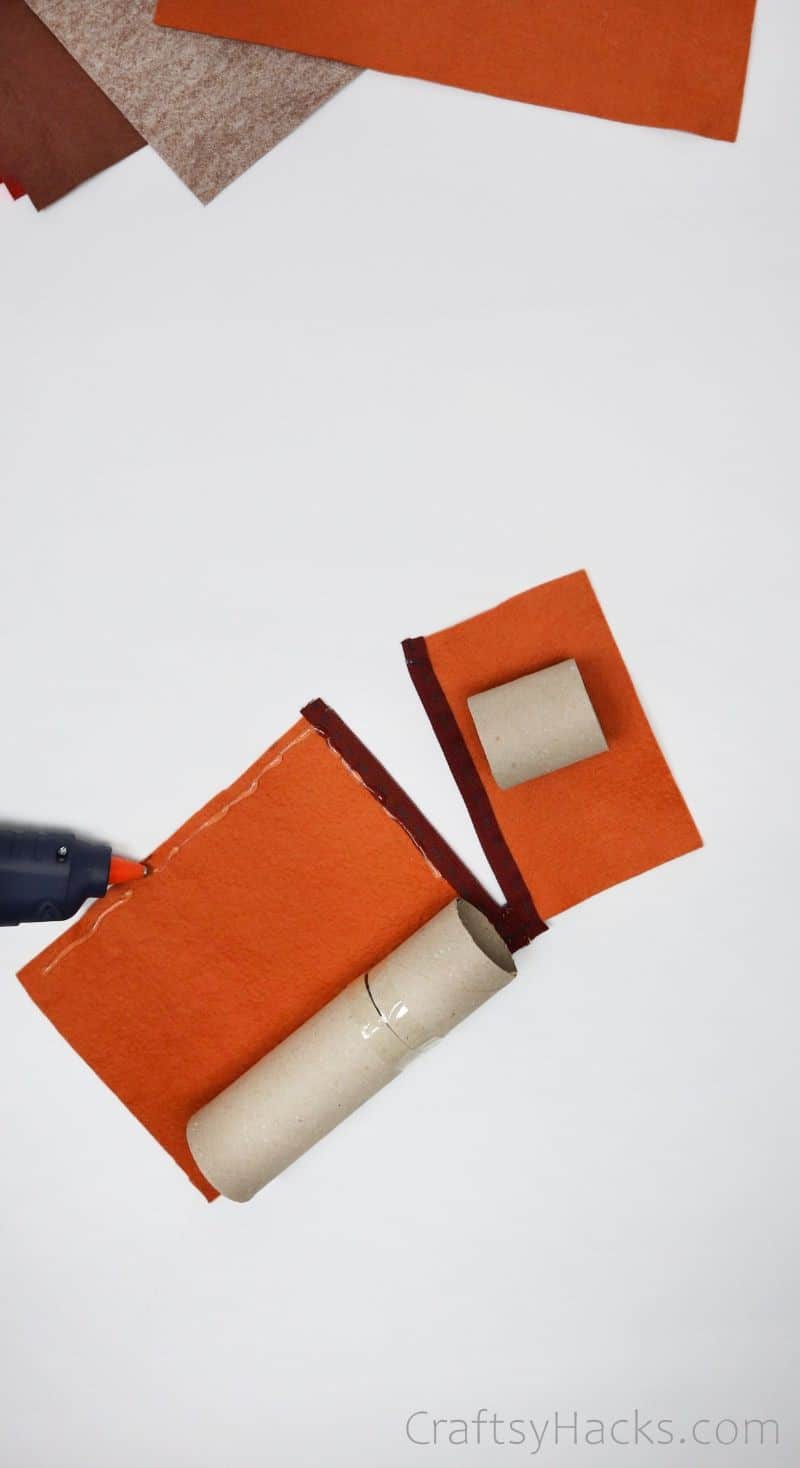
Next up, its time to start covering the roll!
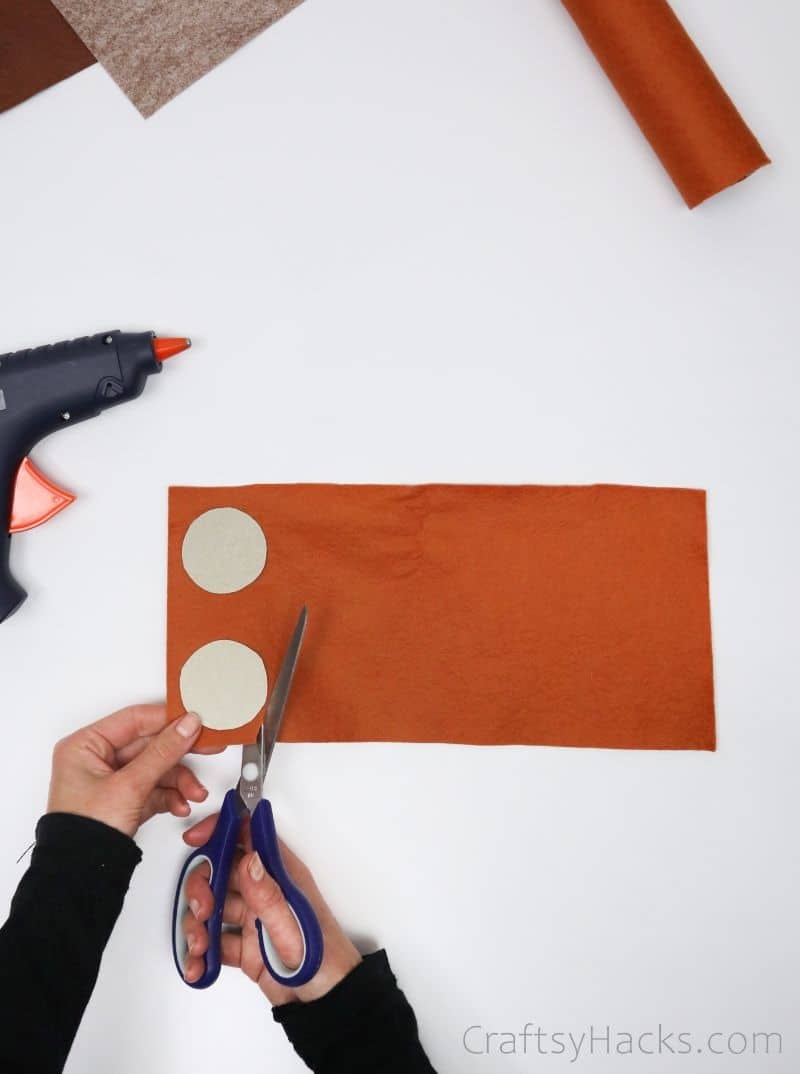
Begin by measuring the large paper rolls circumference, then transferring that length measurement to a piece of felt.
Mine was 15cm wide.
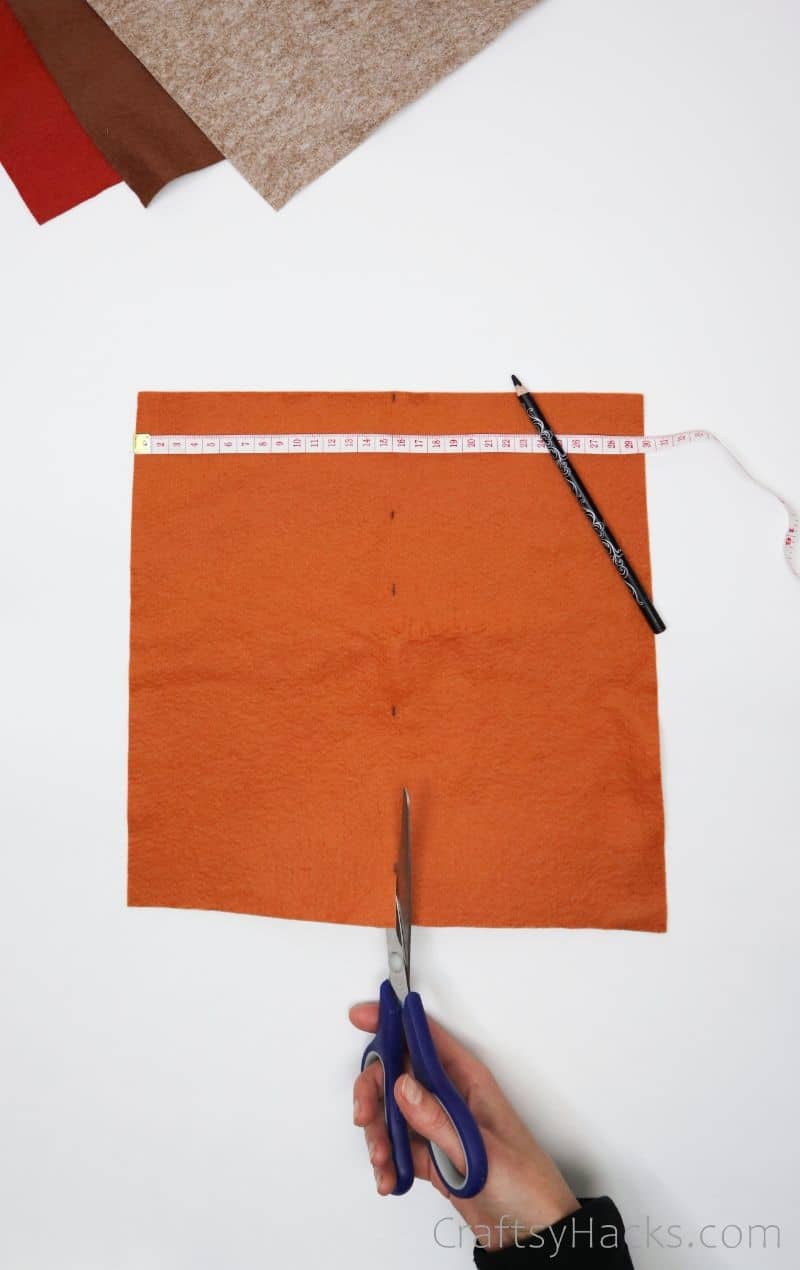
Step 5
Draw a straight line on your felt at your measurement mark, then cut.
Now, you have a piece of felt that will fit around your cardboard tube.
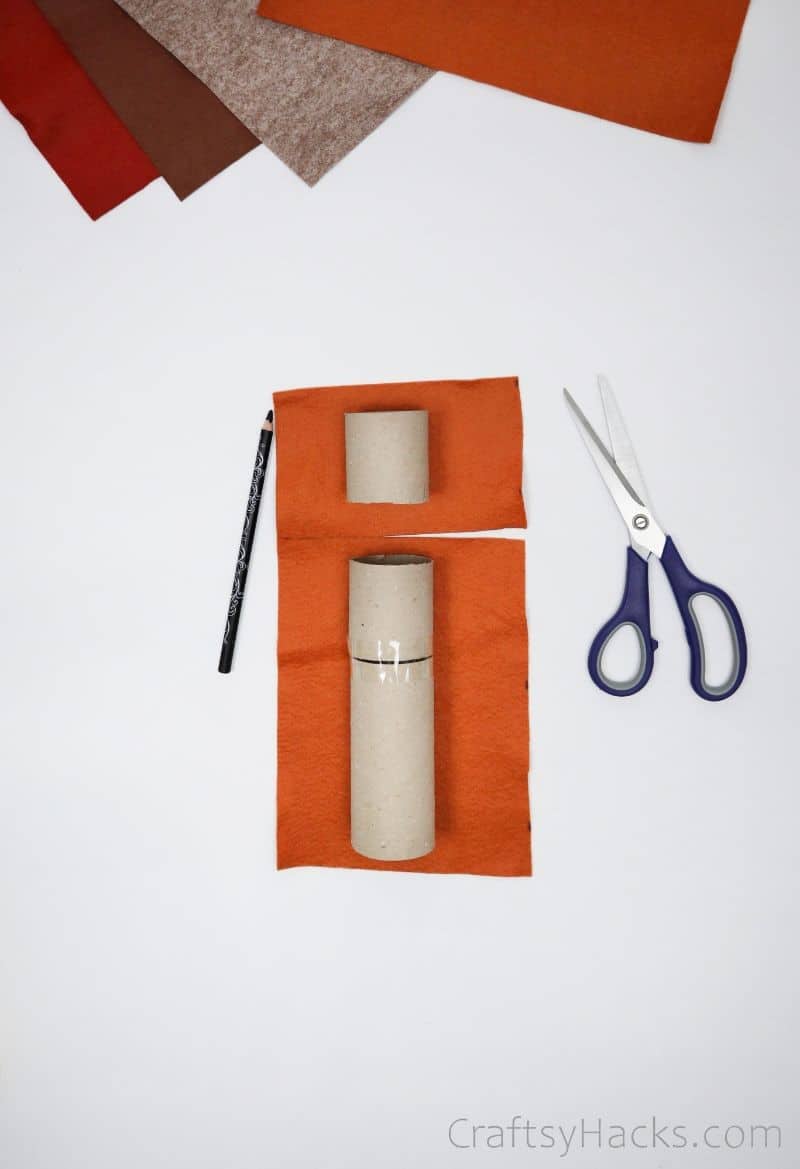
Line up the small and large parts on your felt piece, then cut between them as above.
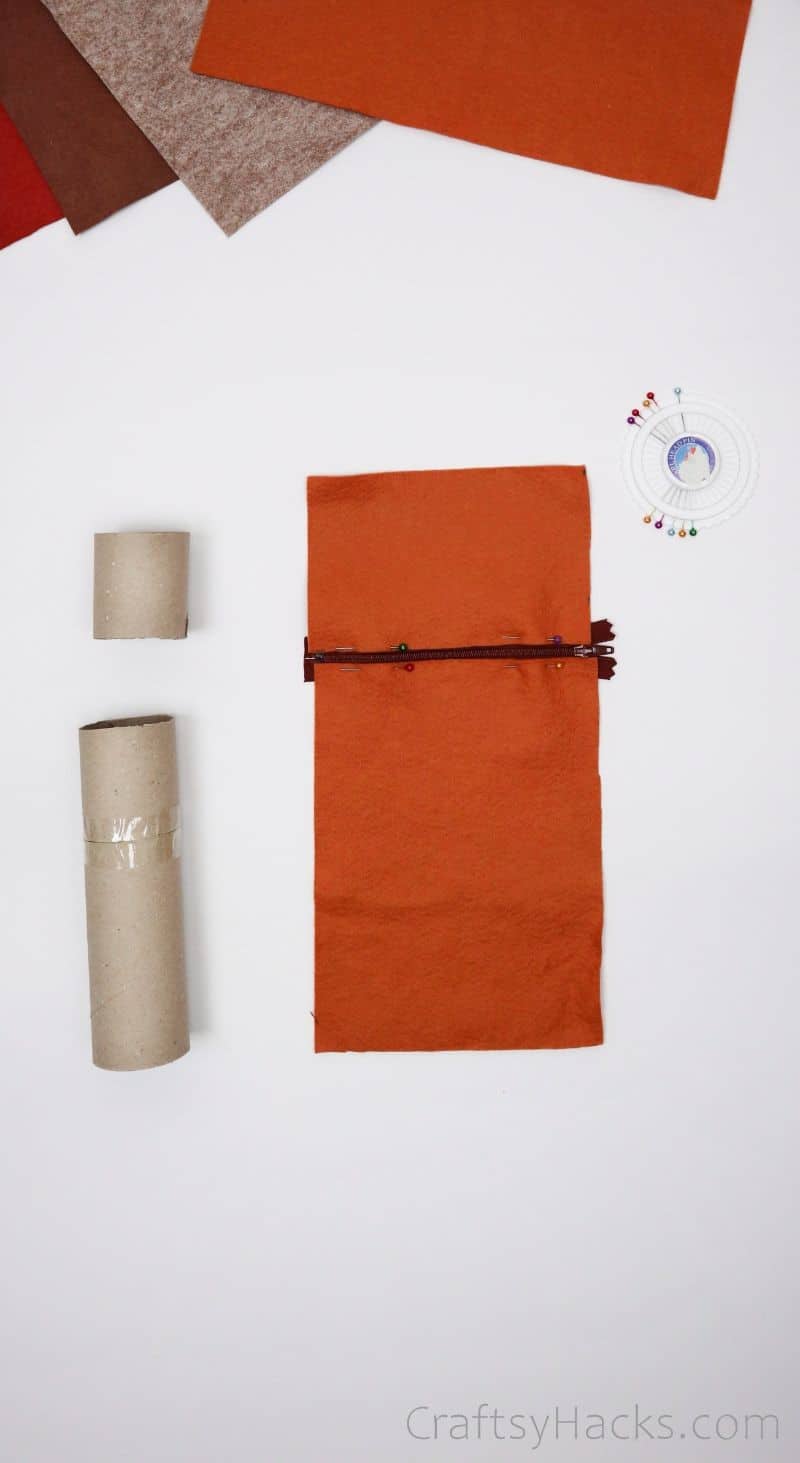
Step 7
Its time to attach our zipper!
Lay your felt out flat, then pin the zipper from end to end.
Ensure youre lining up the felts edges with the zippers teeth to create a clean join.
Simply run a straight stitch along each side of the zip, making sure you catch the backing.
I used a hot glue gun to do this.
Run a line of glue along the edges, then roll the tube along to cover it entirely.
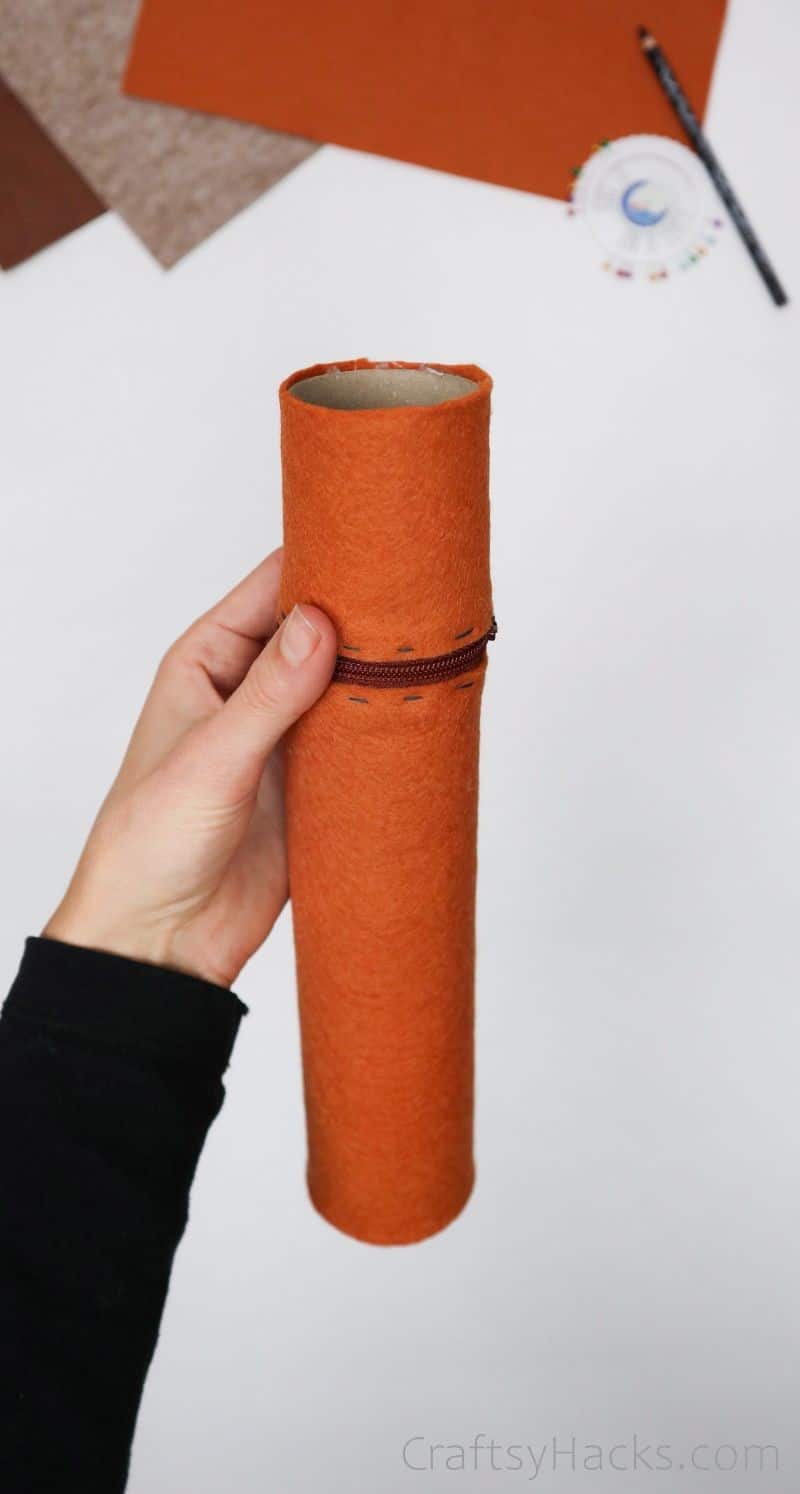
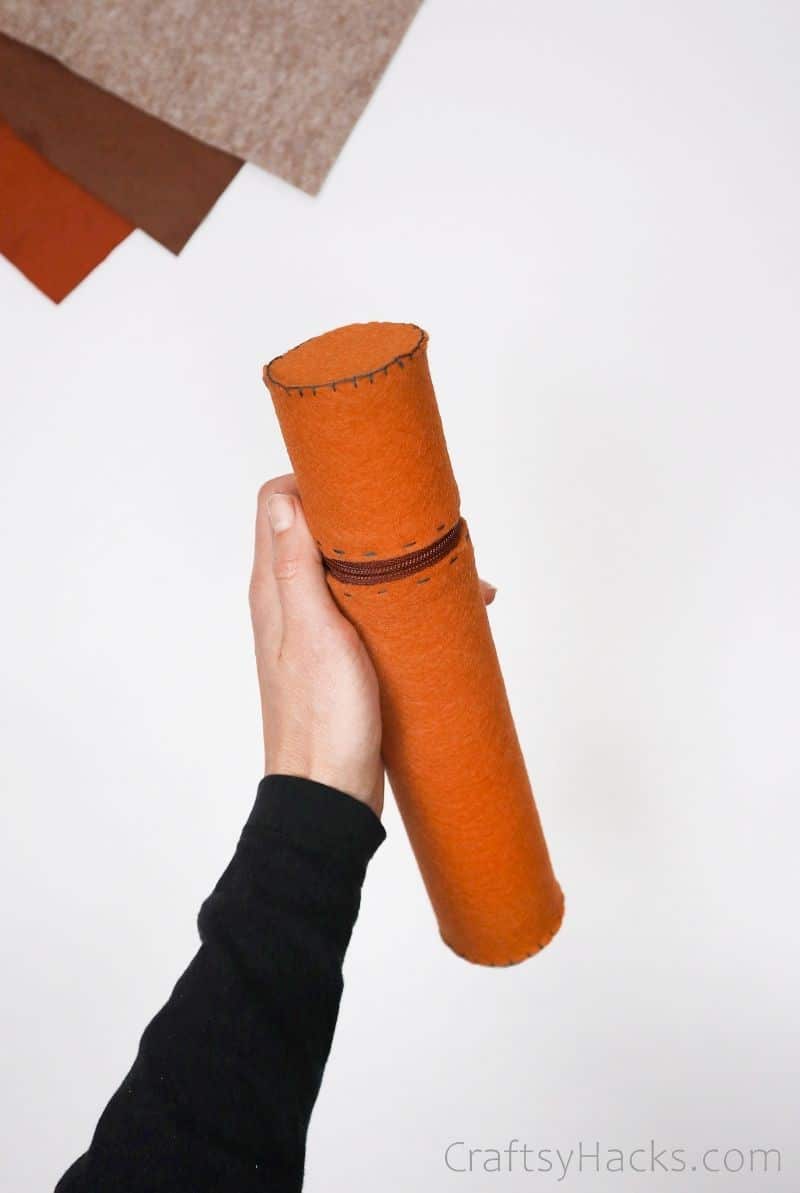
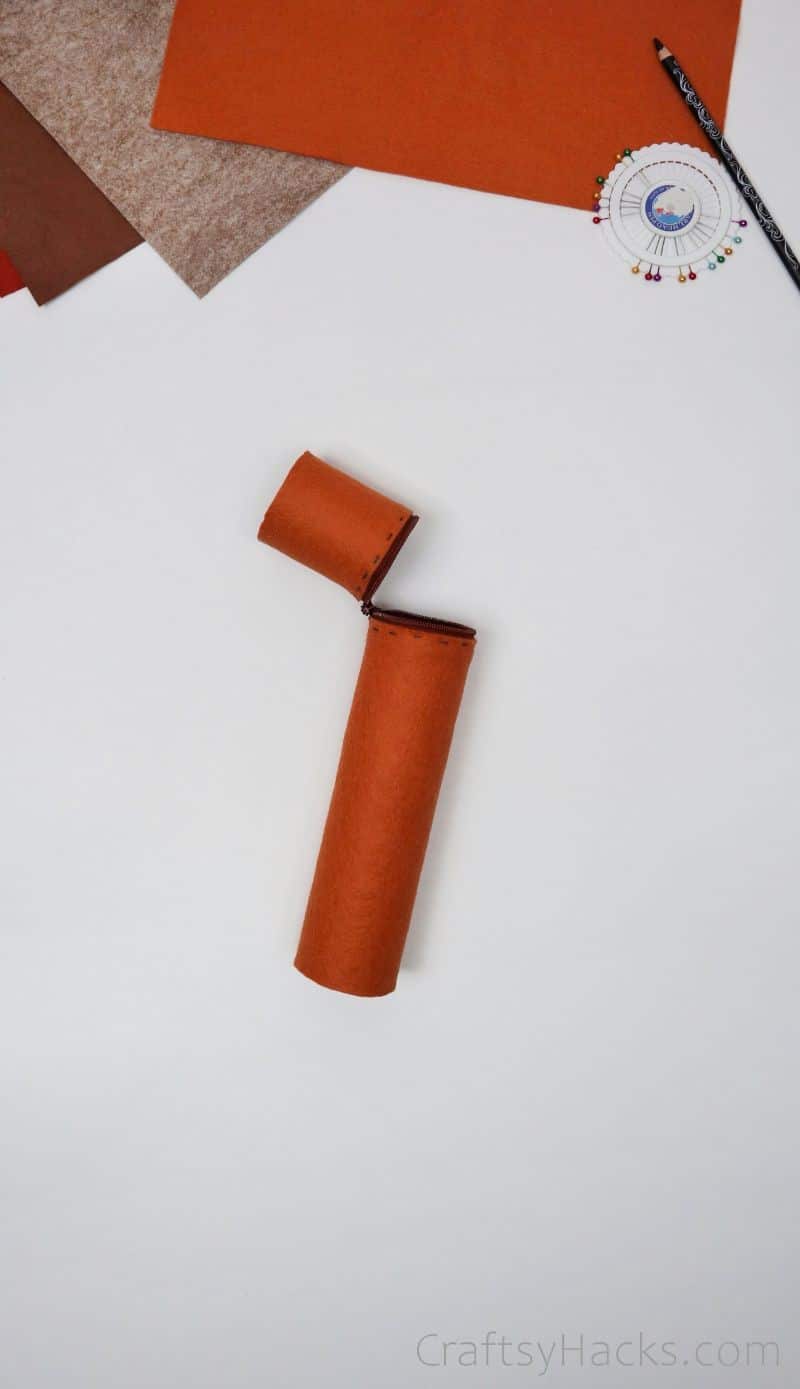
You should be left with a covered roll!
Nows the time to test if your zipper stays attached when you unzip your pencil case all the way.
Were going to create a cardboard felt patch for either end of the tube.
it’s possible for you to choose to use a contrast color here.
If you dont have a compass, just use another same-sized tube.
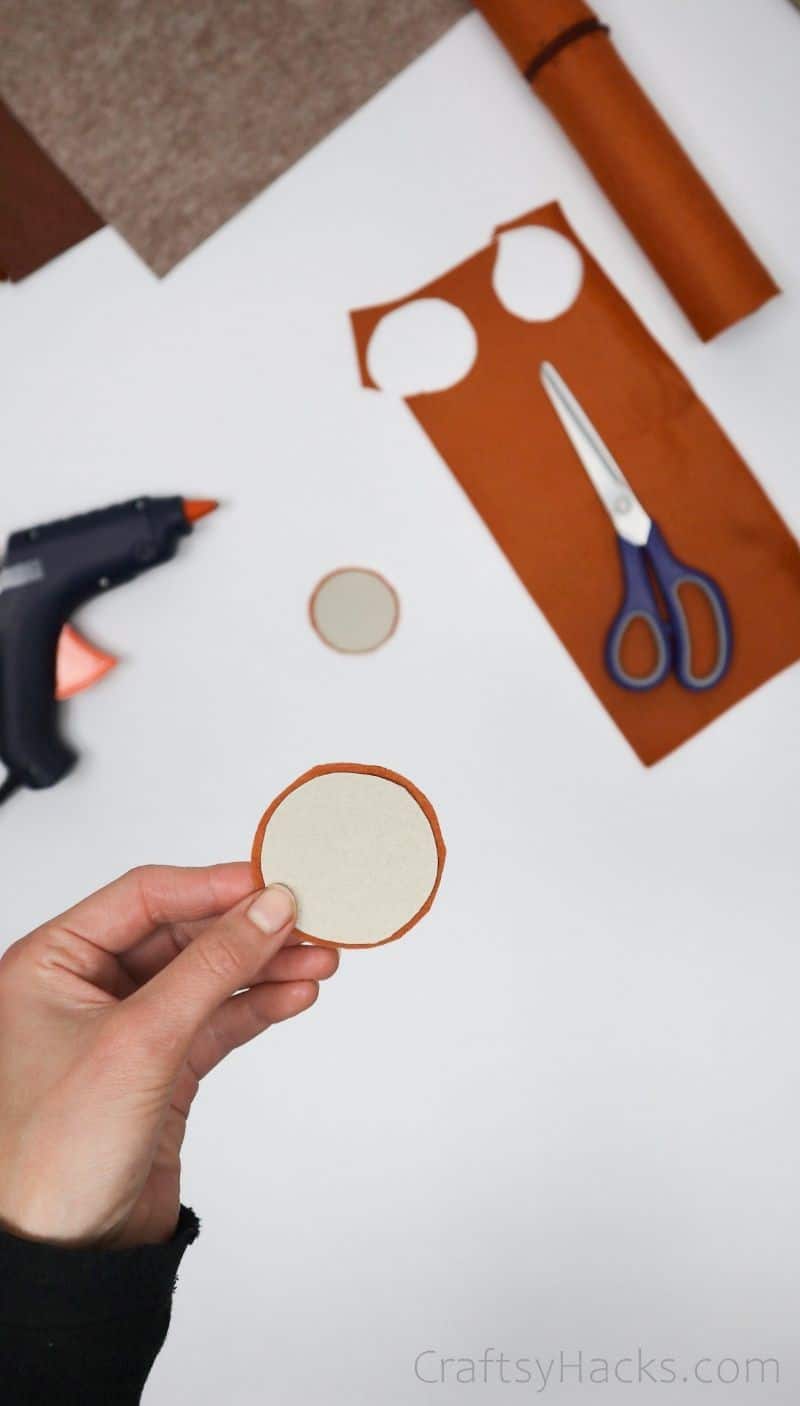
Use your fabric scissors to cut around the edges, following them closely.
Step 12
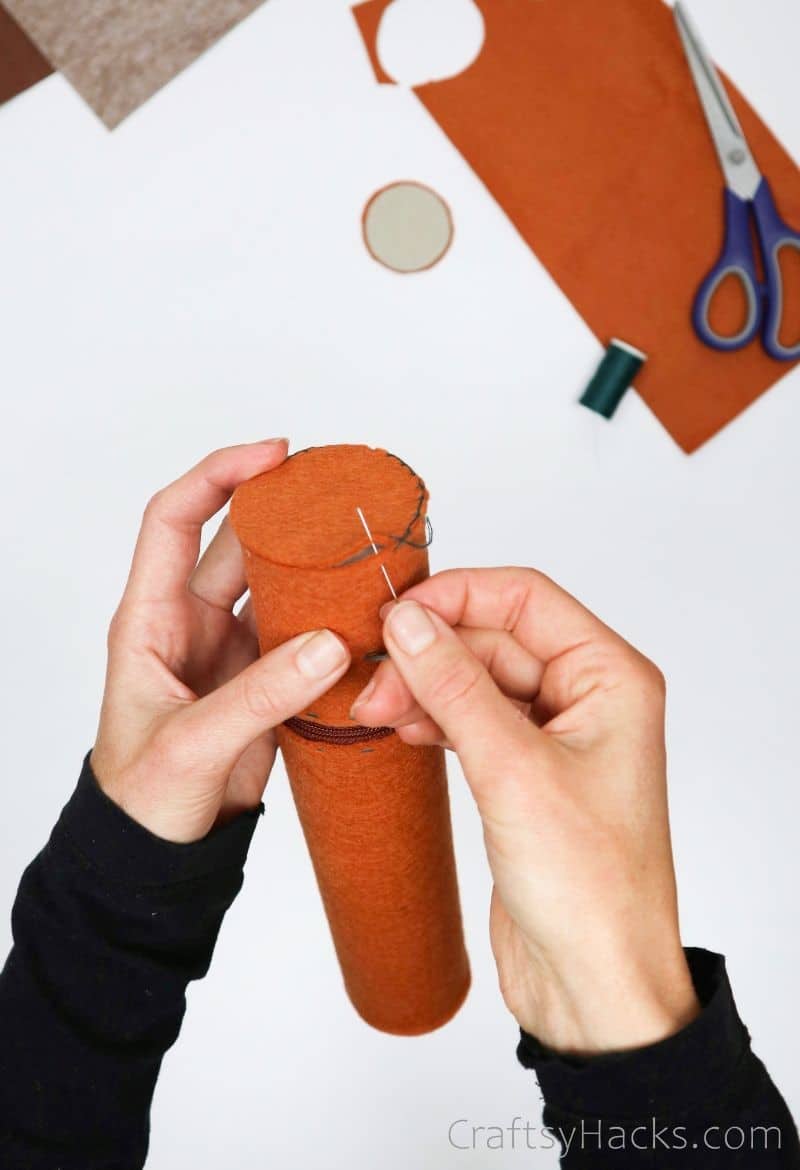
Finally, its time to crown our pencil case!
Lay your felt circlescardboard sides inover the gaps in your case.
Using a needle and thread, run a mattress stitch along the outside to seal it shut.
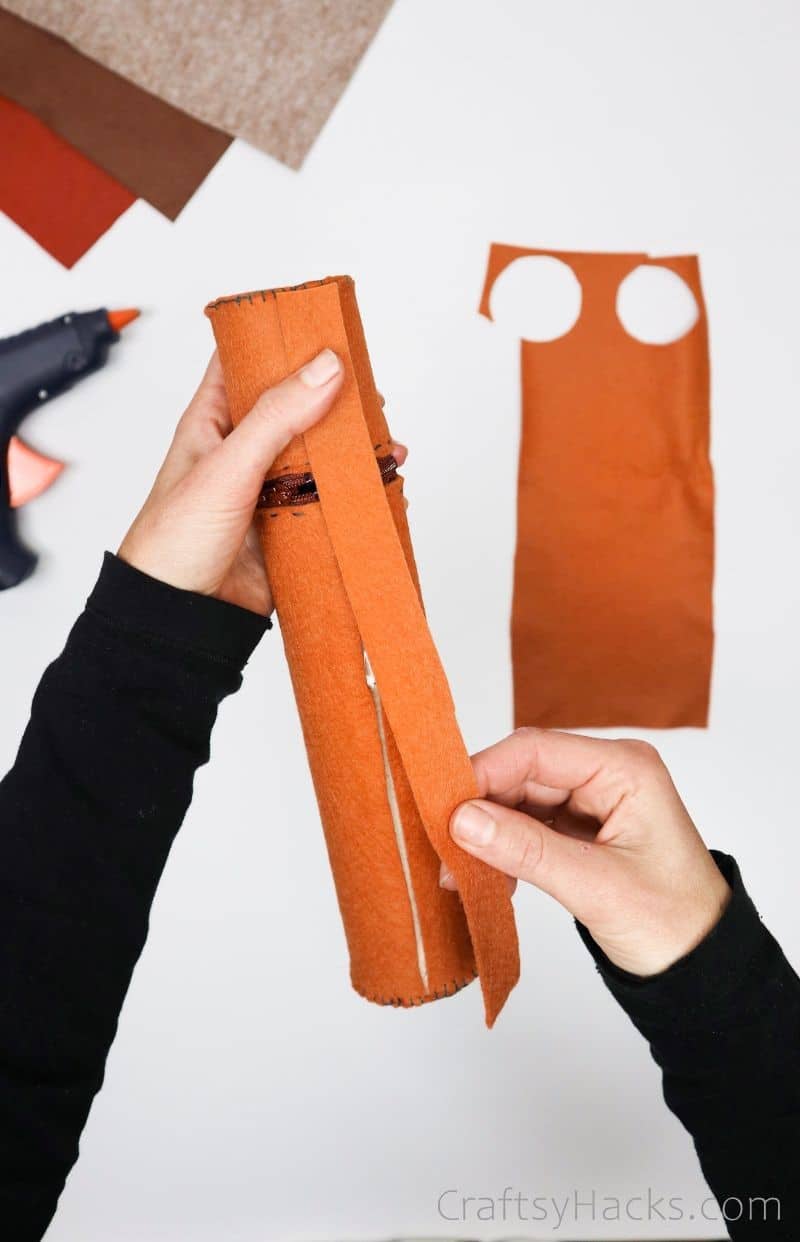
Using some extra felt, cut a thin strip and glue it down over the join.
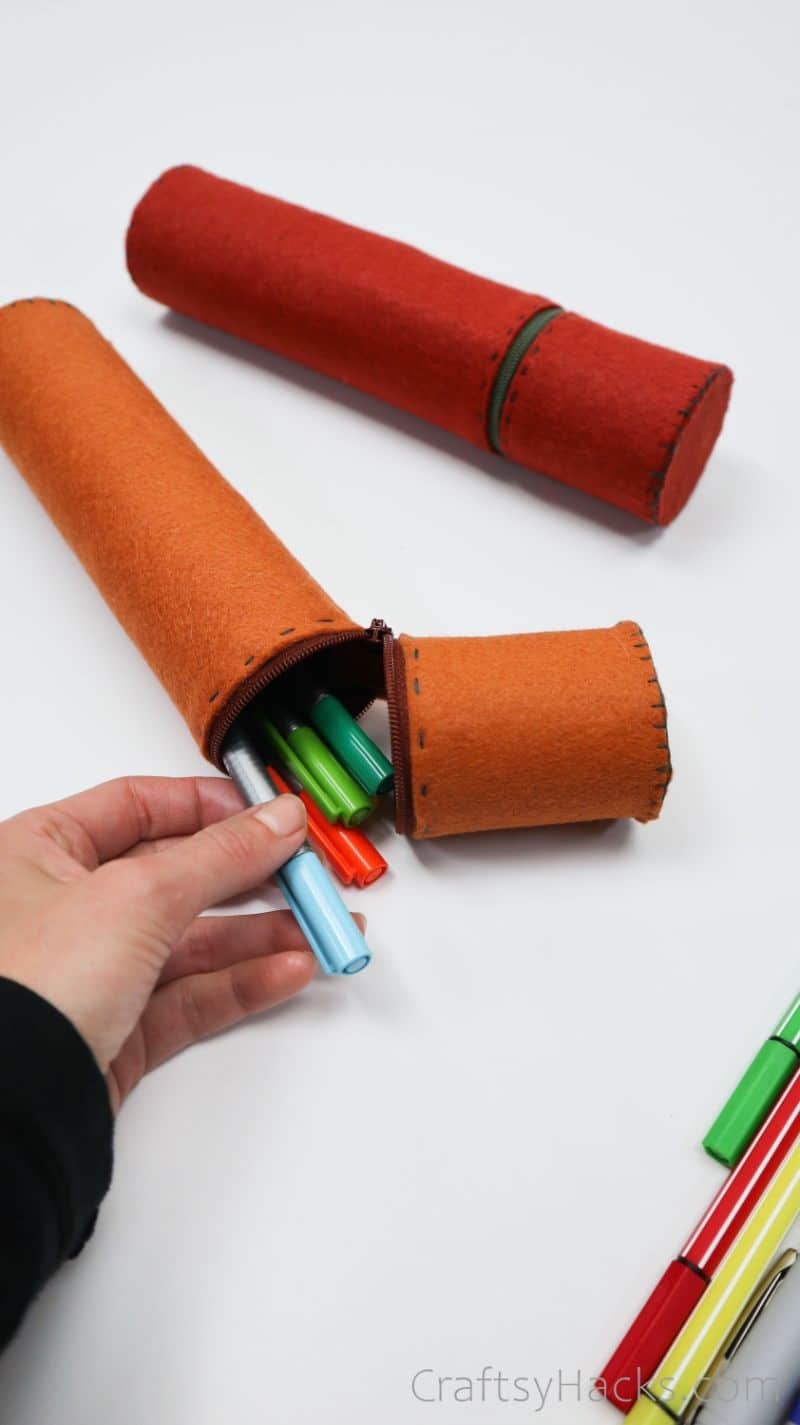
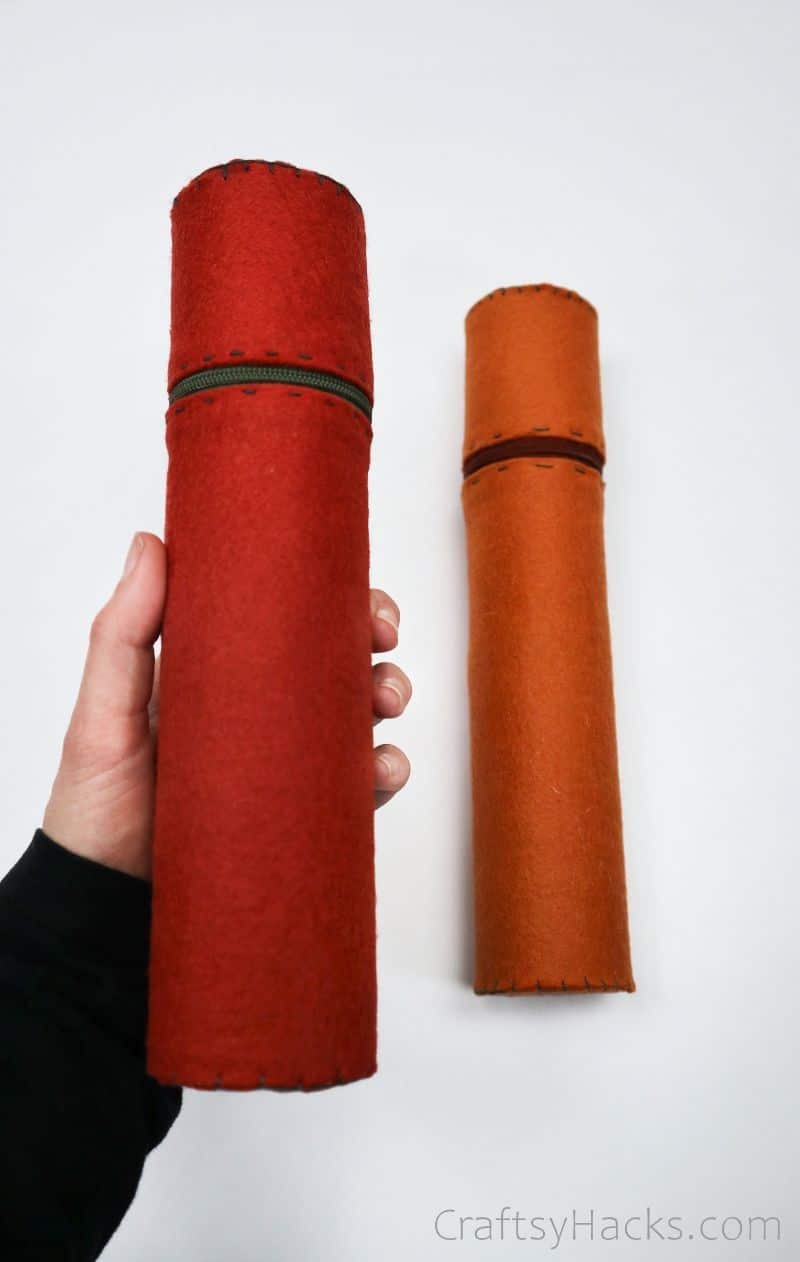
After all that, youre done!
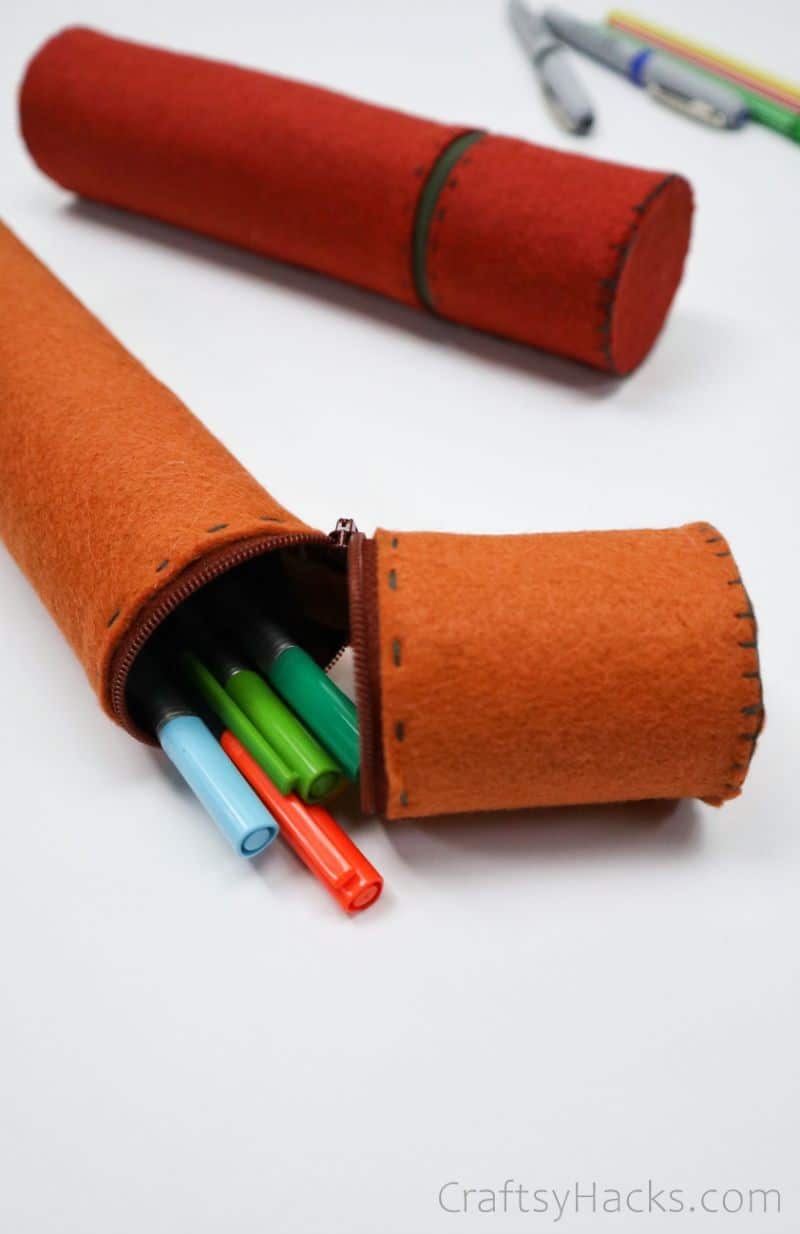
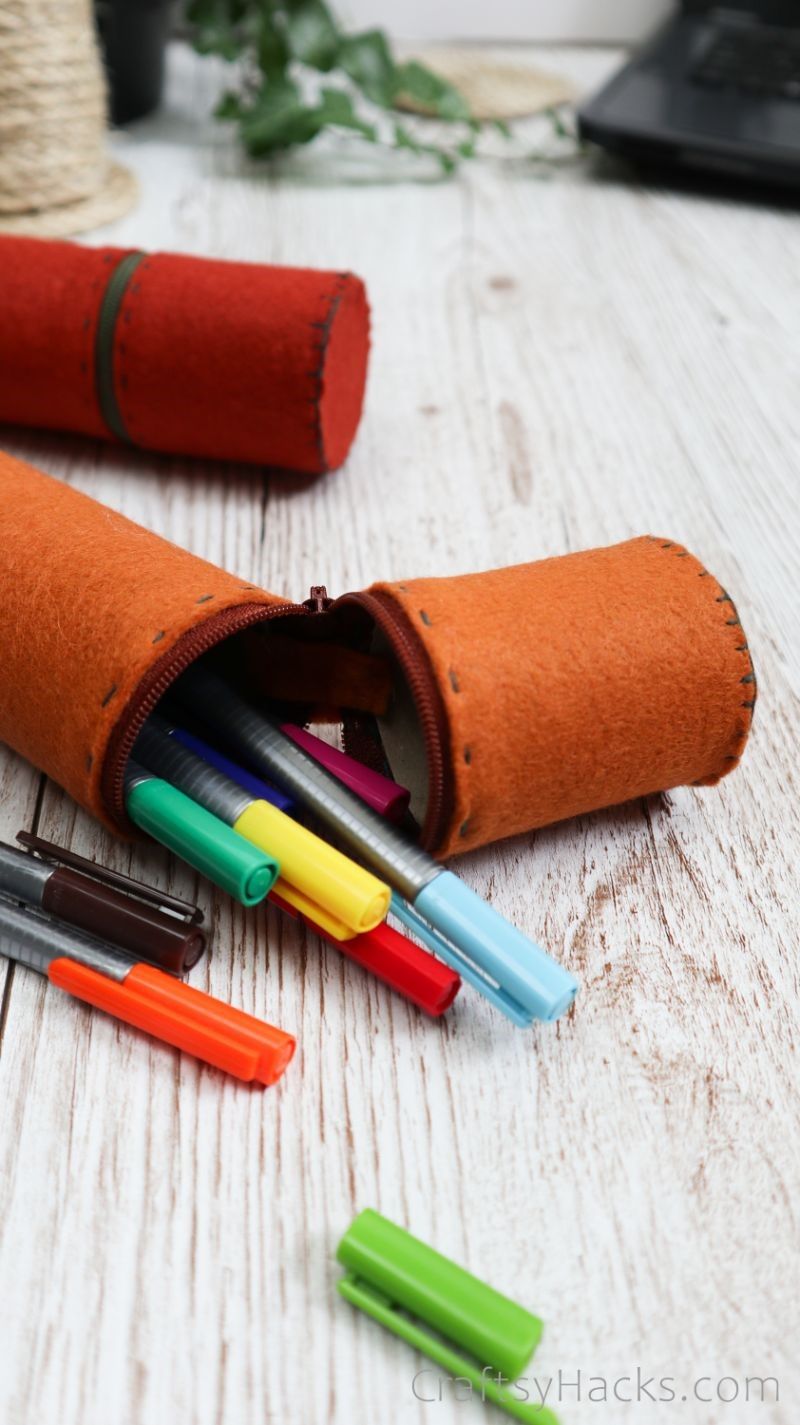
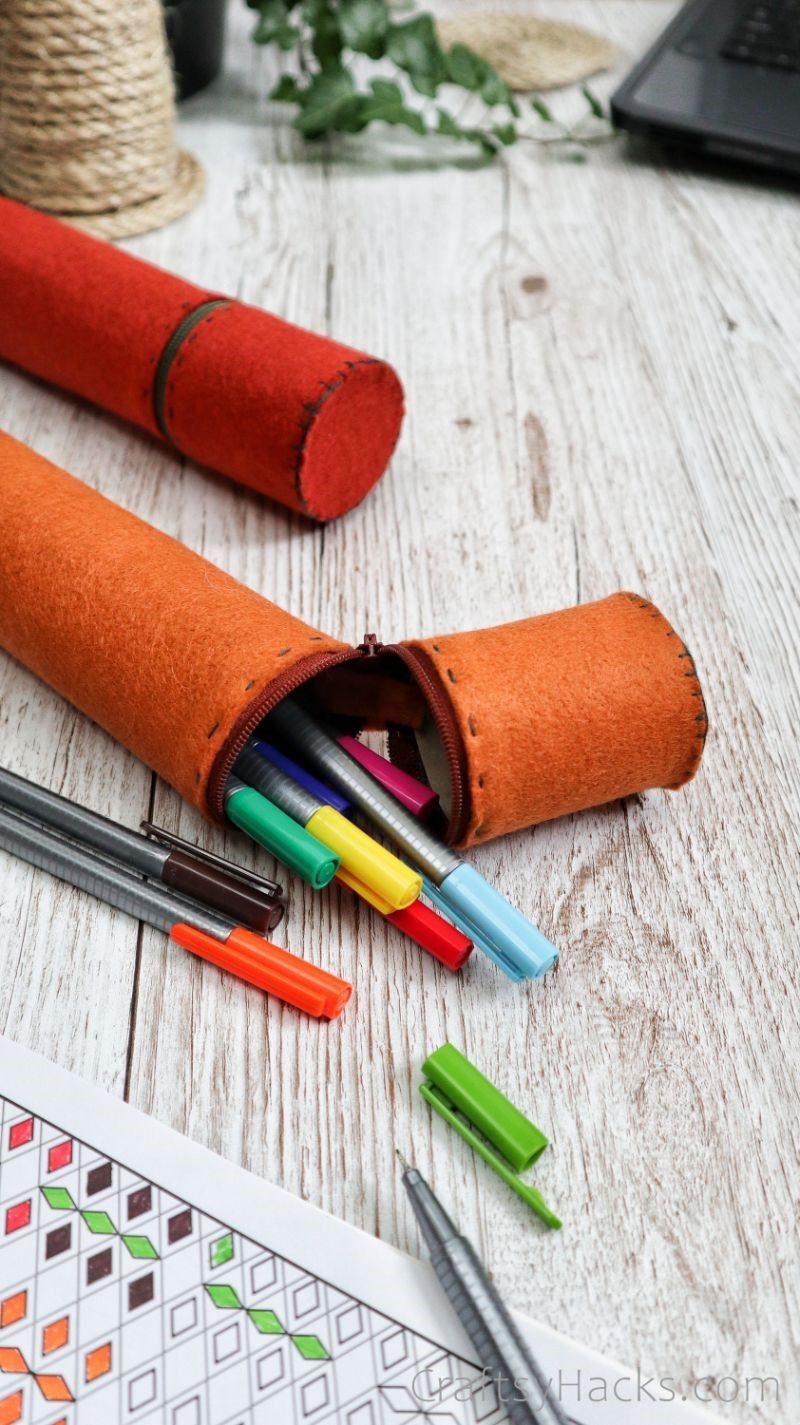
Despite the cheap materials used to make these cases, they look so professional once completed.
From here, its easy to customize the felt with markers, pins, and more.
Create as many as you want to carry your various school supplies around.
you could even make them as gifts to give to your friends at the start of a new year.
How Much Might This Upcycled Craft Cost?
Luckily, cardboard toilet paper tubes cost nothing to procure.
If youre really shooting for sustainability, rip a zipper out of some old or ruined clothing to reuse!
Check out moretoilet roll crafts here.