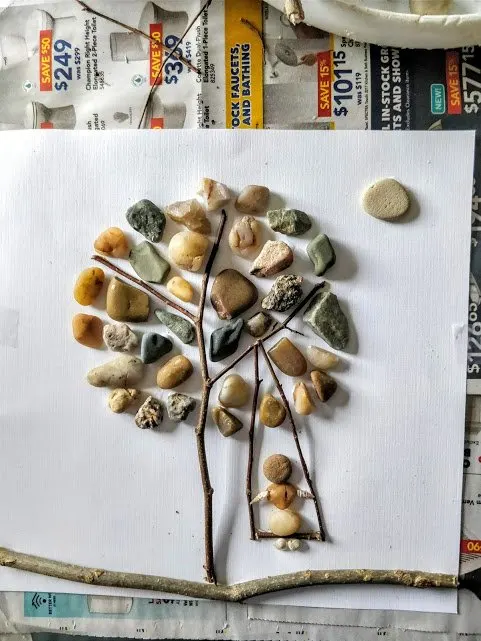
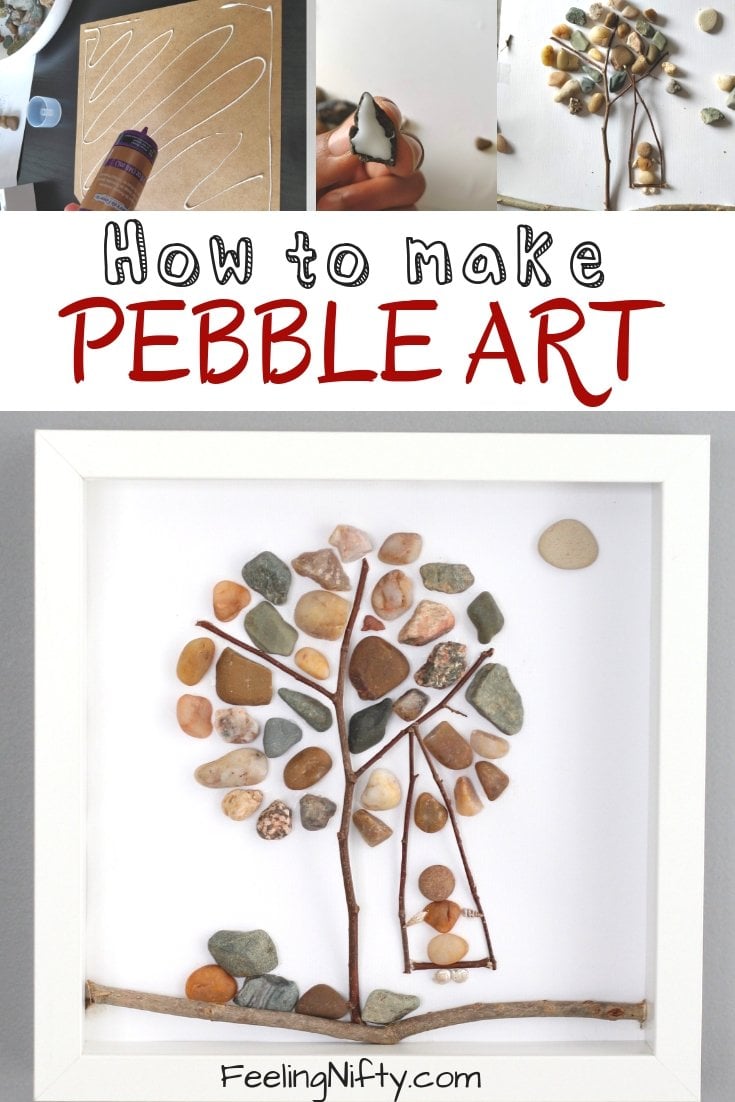
Make a trendy DIY pebble art piece out of pebbles and twigs from your own yard!
DIY Pebble art and crafts are quite popular these days.
If youre curious how to make one of these trendy art pieces, youre in the right place!

And its super easy to make.
it’s possible for you to look for the pebbles and twigs in your yard.
If thats still not possible (like during the winter months), you could buy them.
Where to buy pebbles for pebble art ?
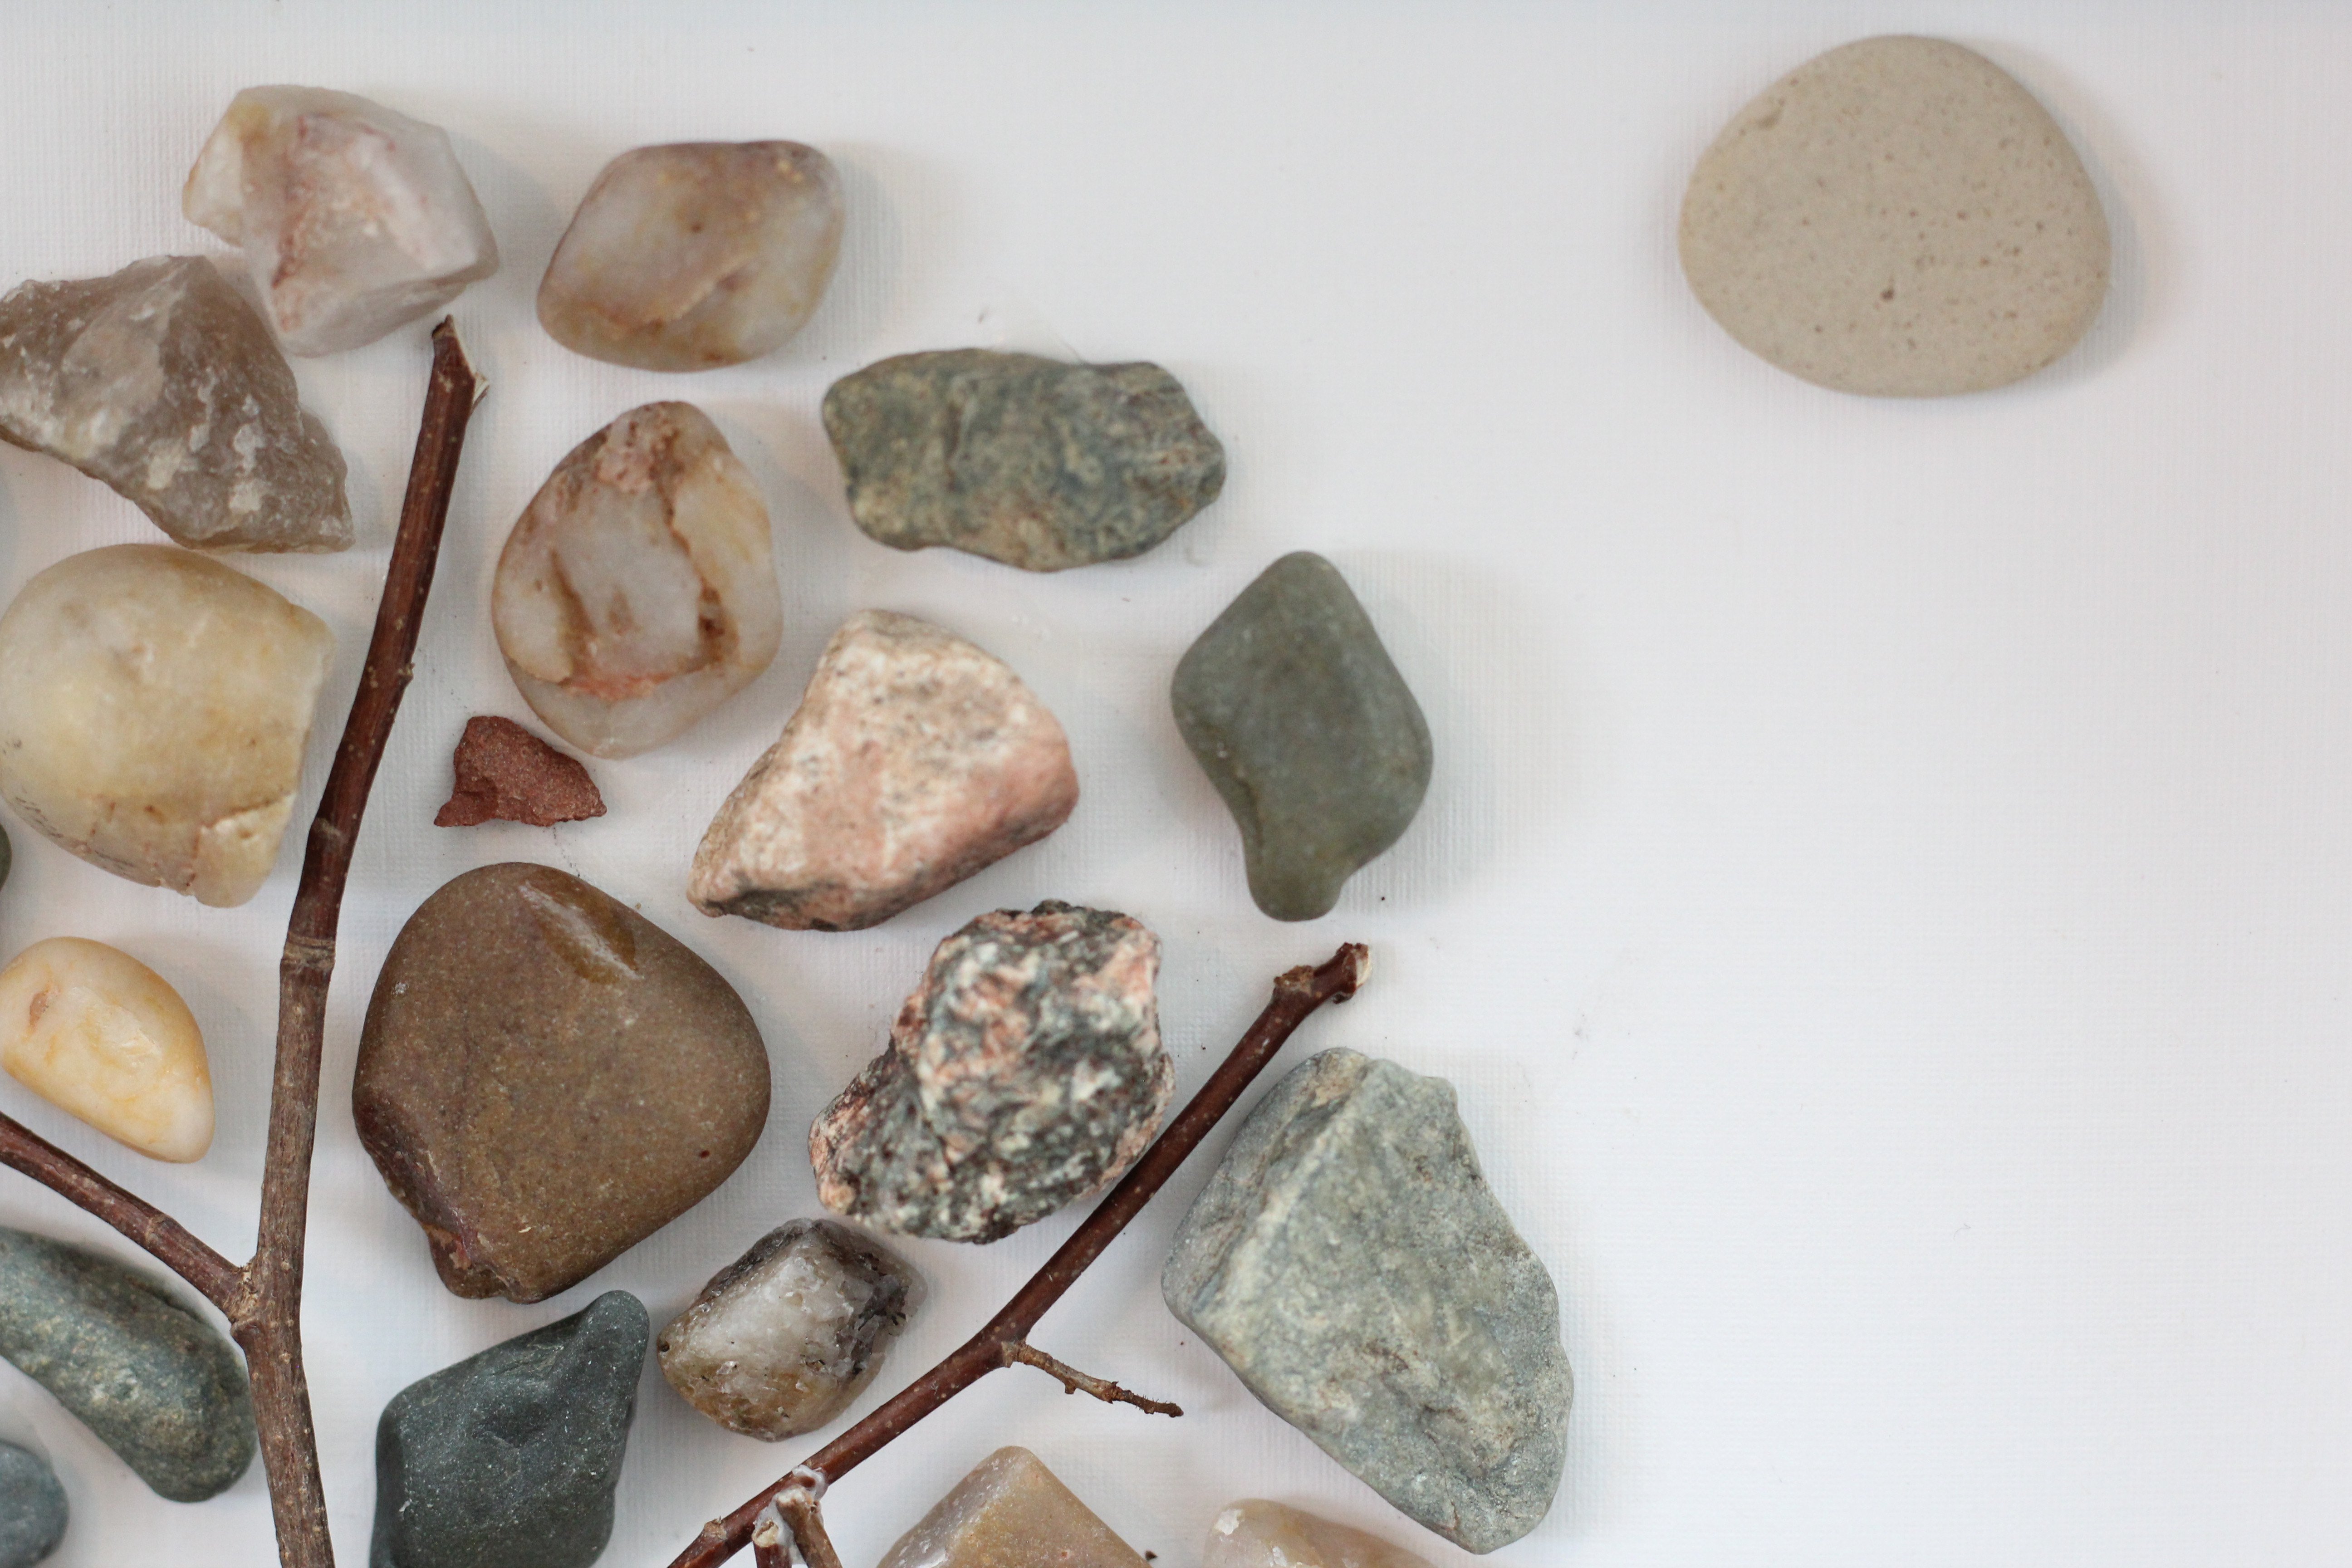
Ive seen some decorative rocks and pebbles at Micheals and the Dollarstore.
Here are somepebbles on amazon.

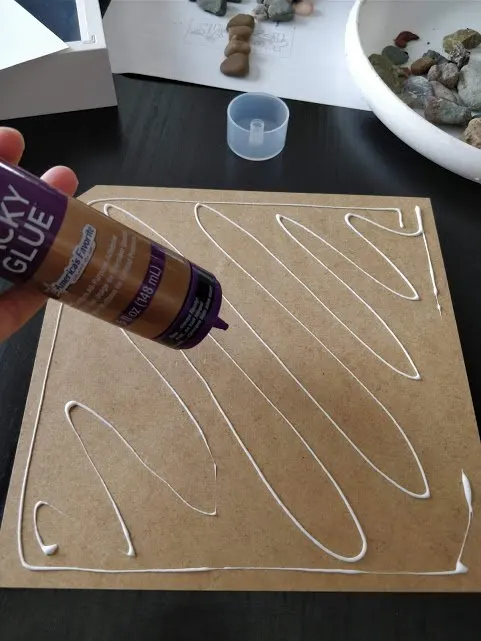
The bang out of glue you use for this project is important.
You want to use a glue that has strong bonding qualities since rocks/pebbles have some weight to them.
I usedAleenes tacky glue,which worked well.
Ill talk about this next.
Shadow box frames are usually used to frame memorabilia or other objects that are NOT paper/photo thin.
They have a large gap in between the back of the frame and the glass(front) portion.
This makes it ideal for pebble and rock art because pebbles and rocks have thickness to them.
If youre okay with that, then any frame will work.
Another idea is to make your pebble art on canvas.
I havent tried, but I imagine it working quite well too.
Now lets move on to the tutorial!
How to Make Pebble Art Tutorial
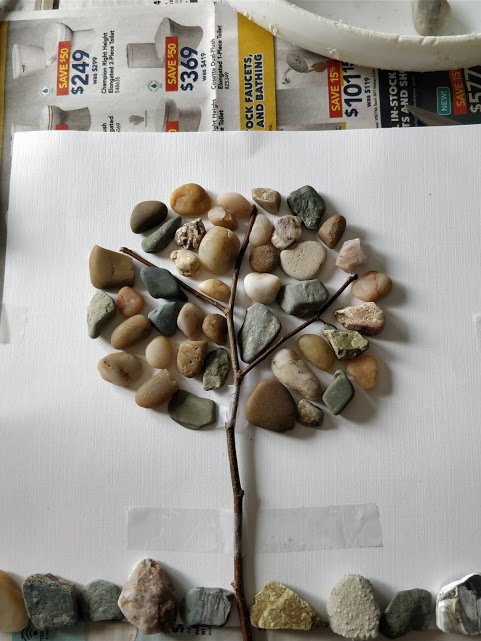
Step 1.Take out the backing from your Shadow Box frame.

DO NOT GLUE them on yet.
This step is important to plan out what your design will look like.
Once you are happy with your final design, its time to glue it on!
Once youre done gluing all your rocks, Glue the branch/twigs next.
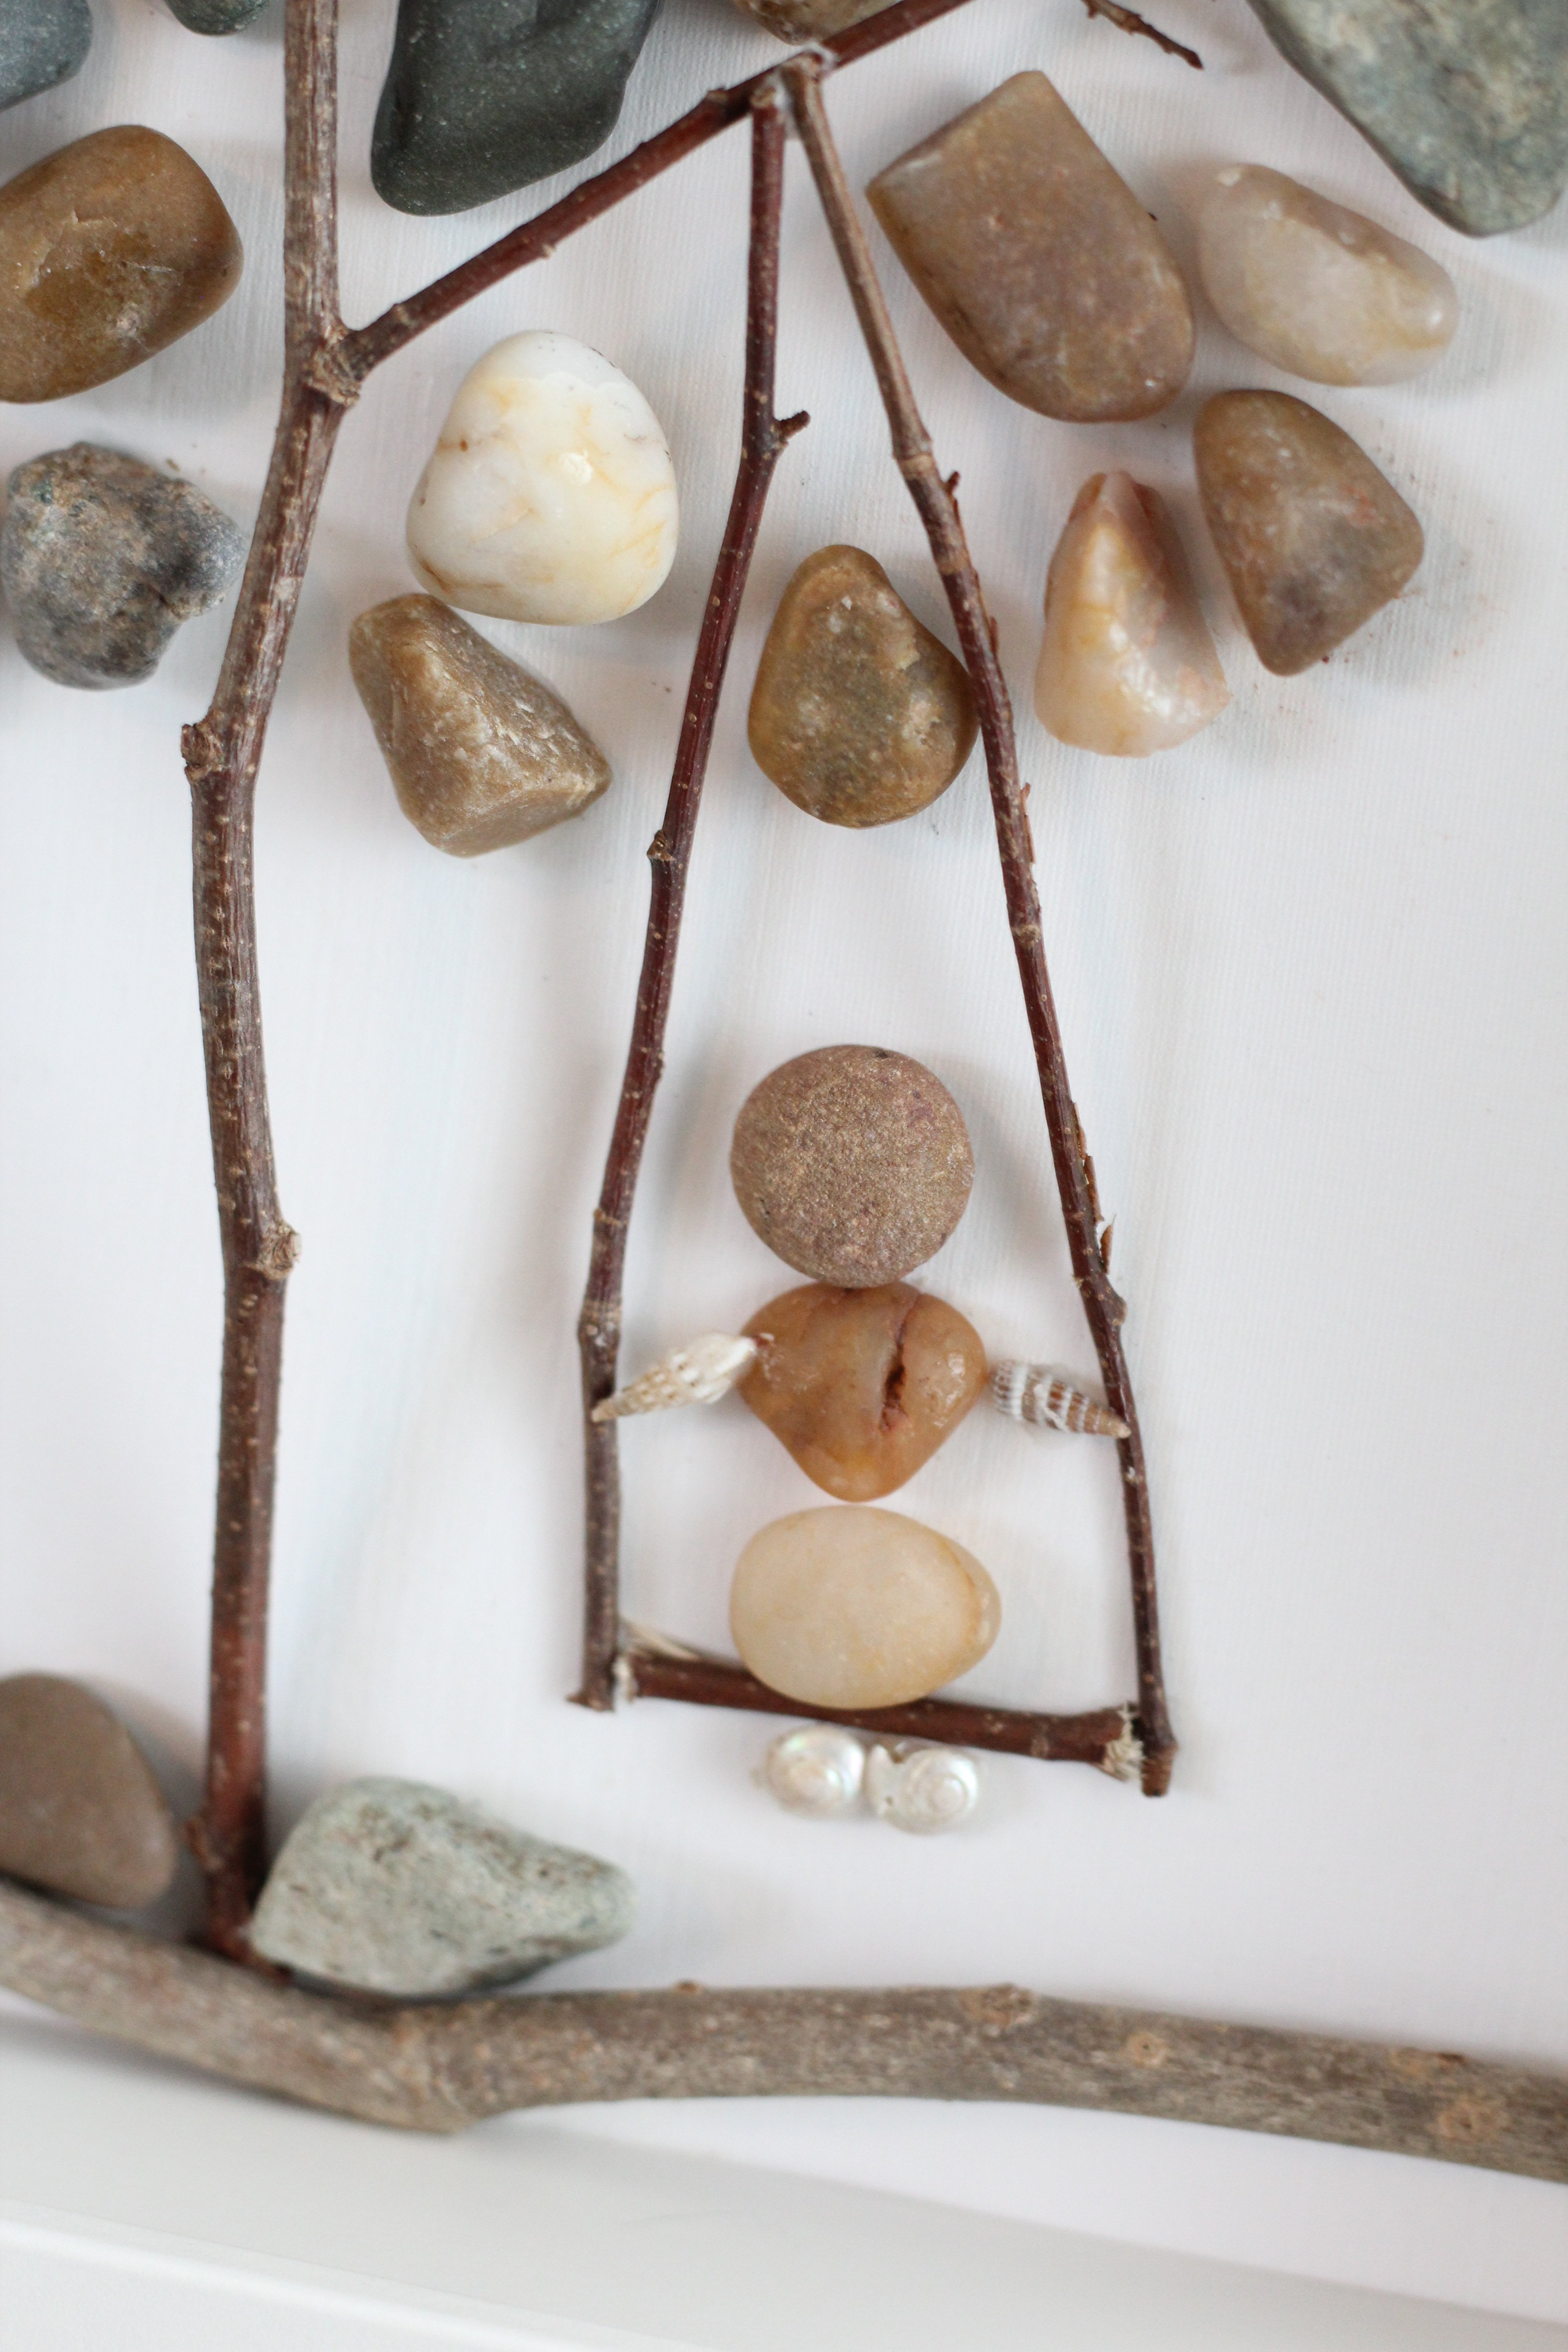
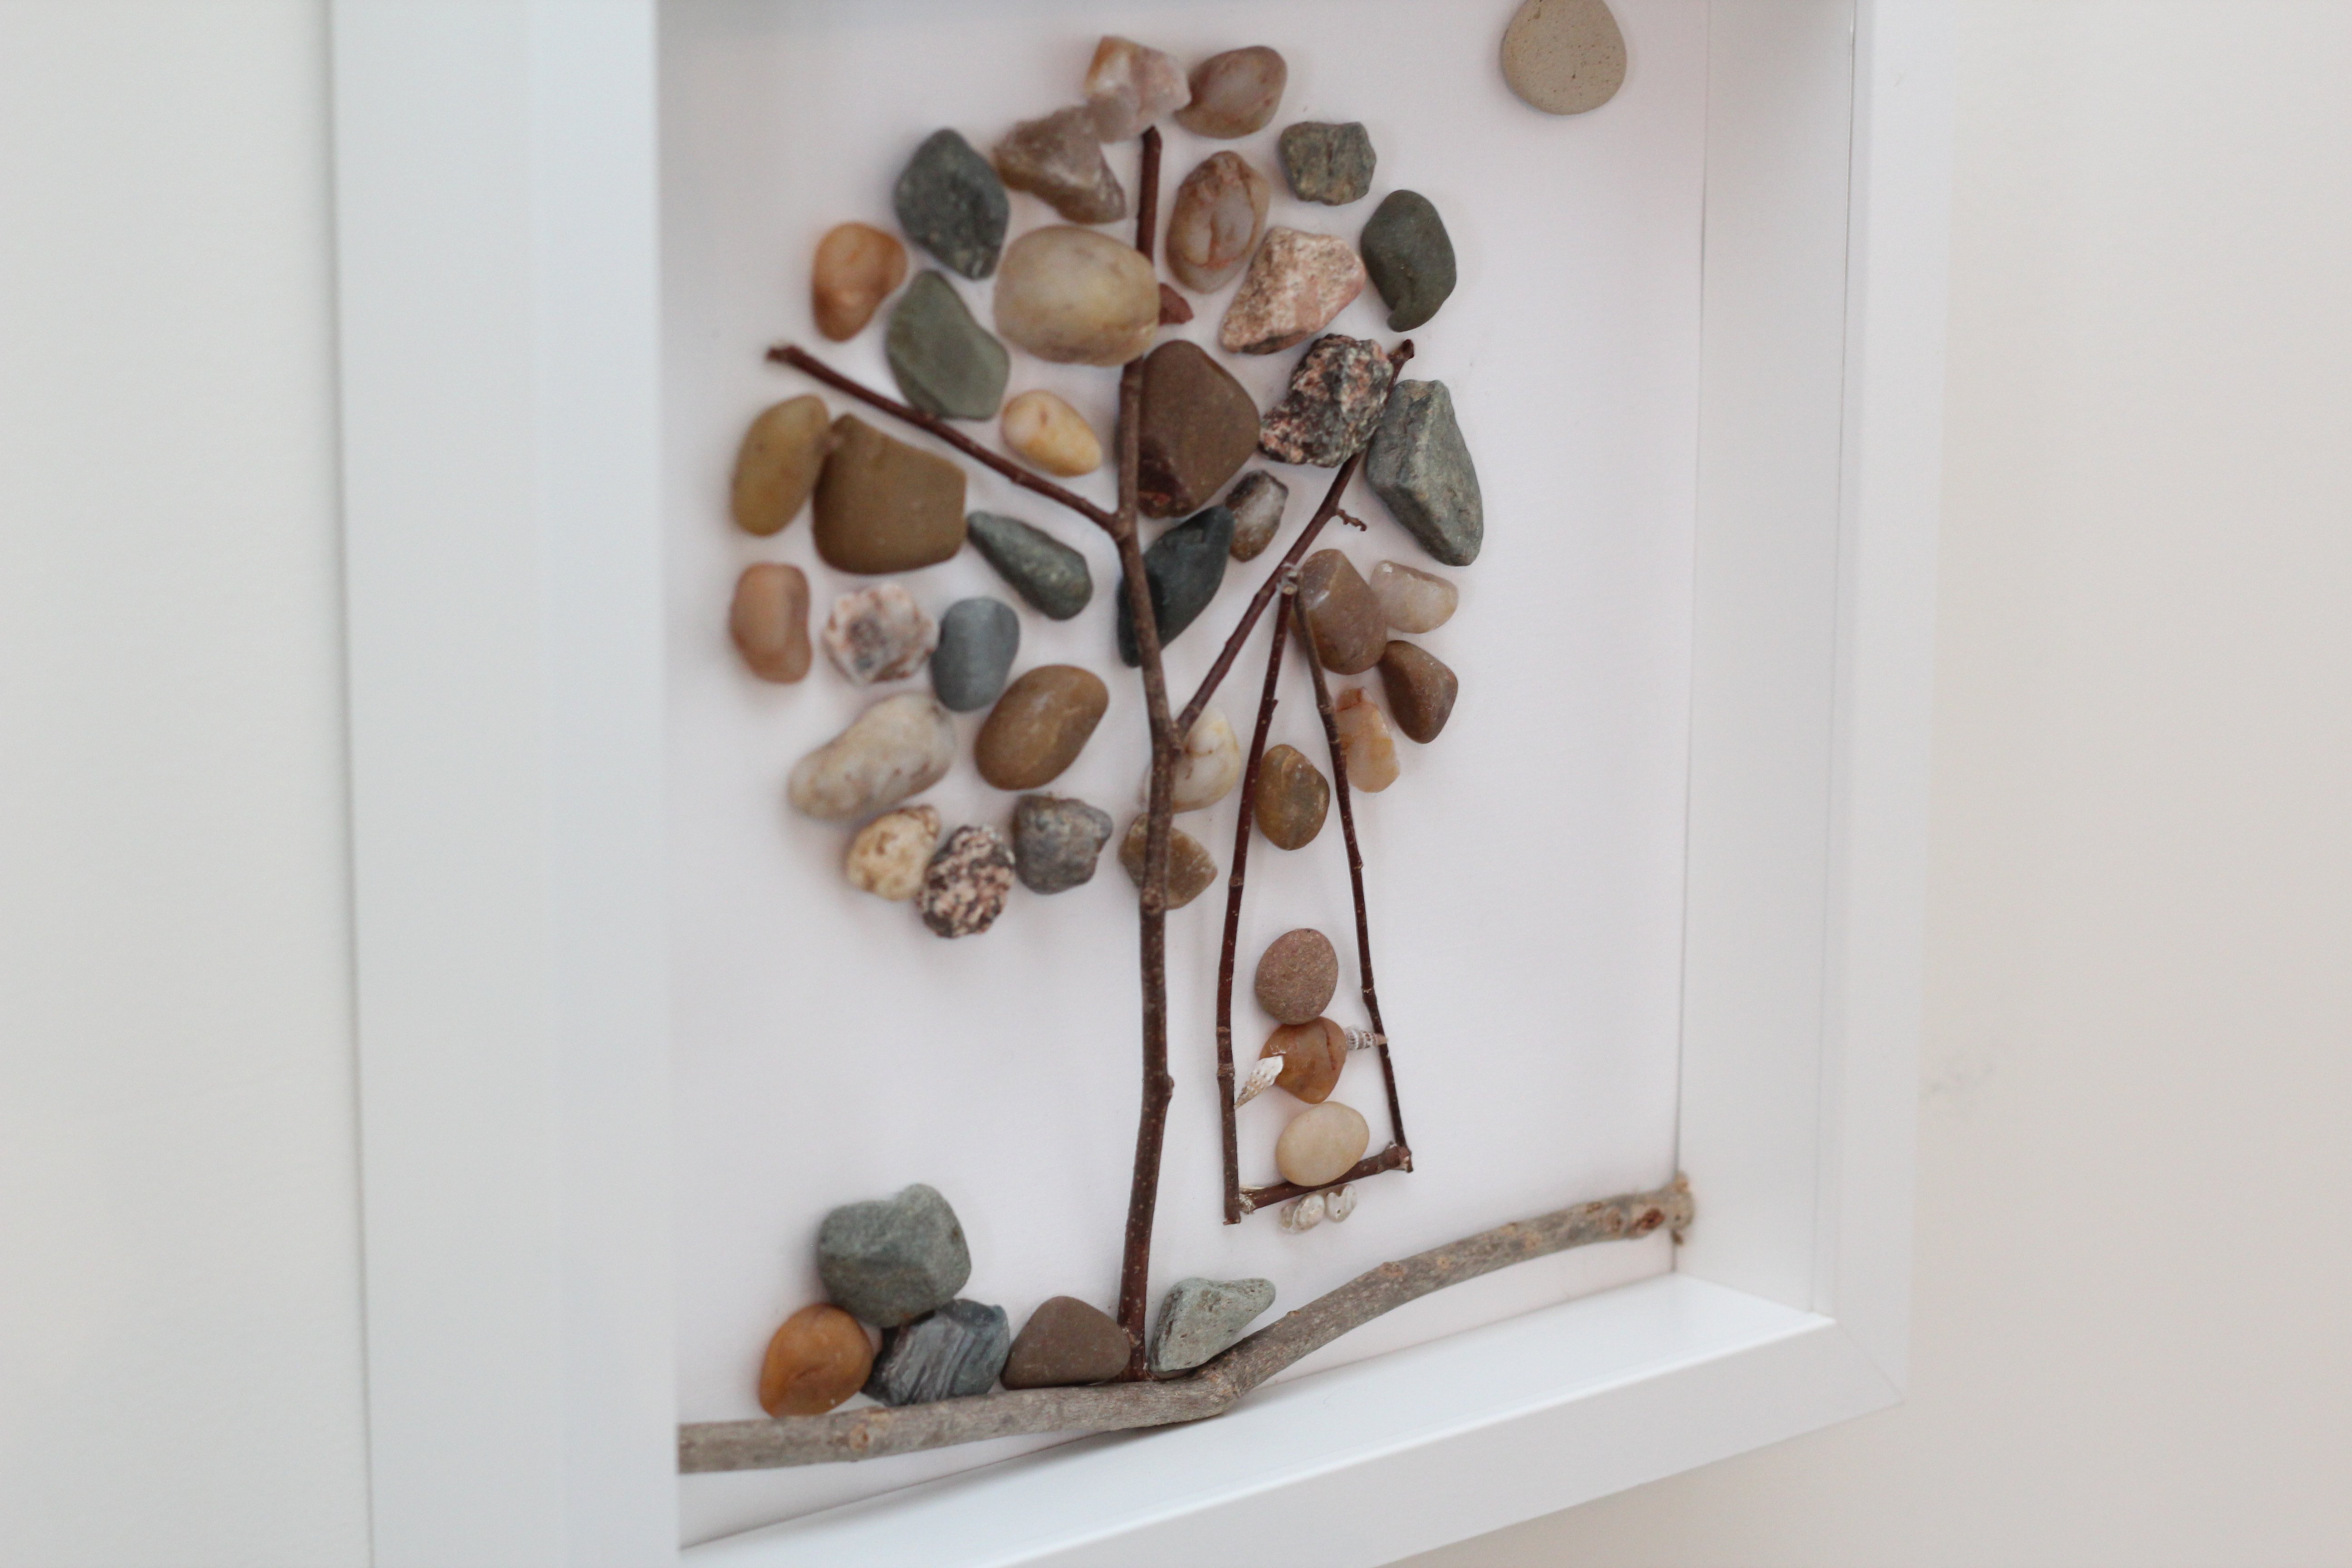
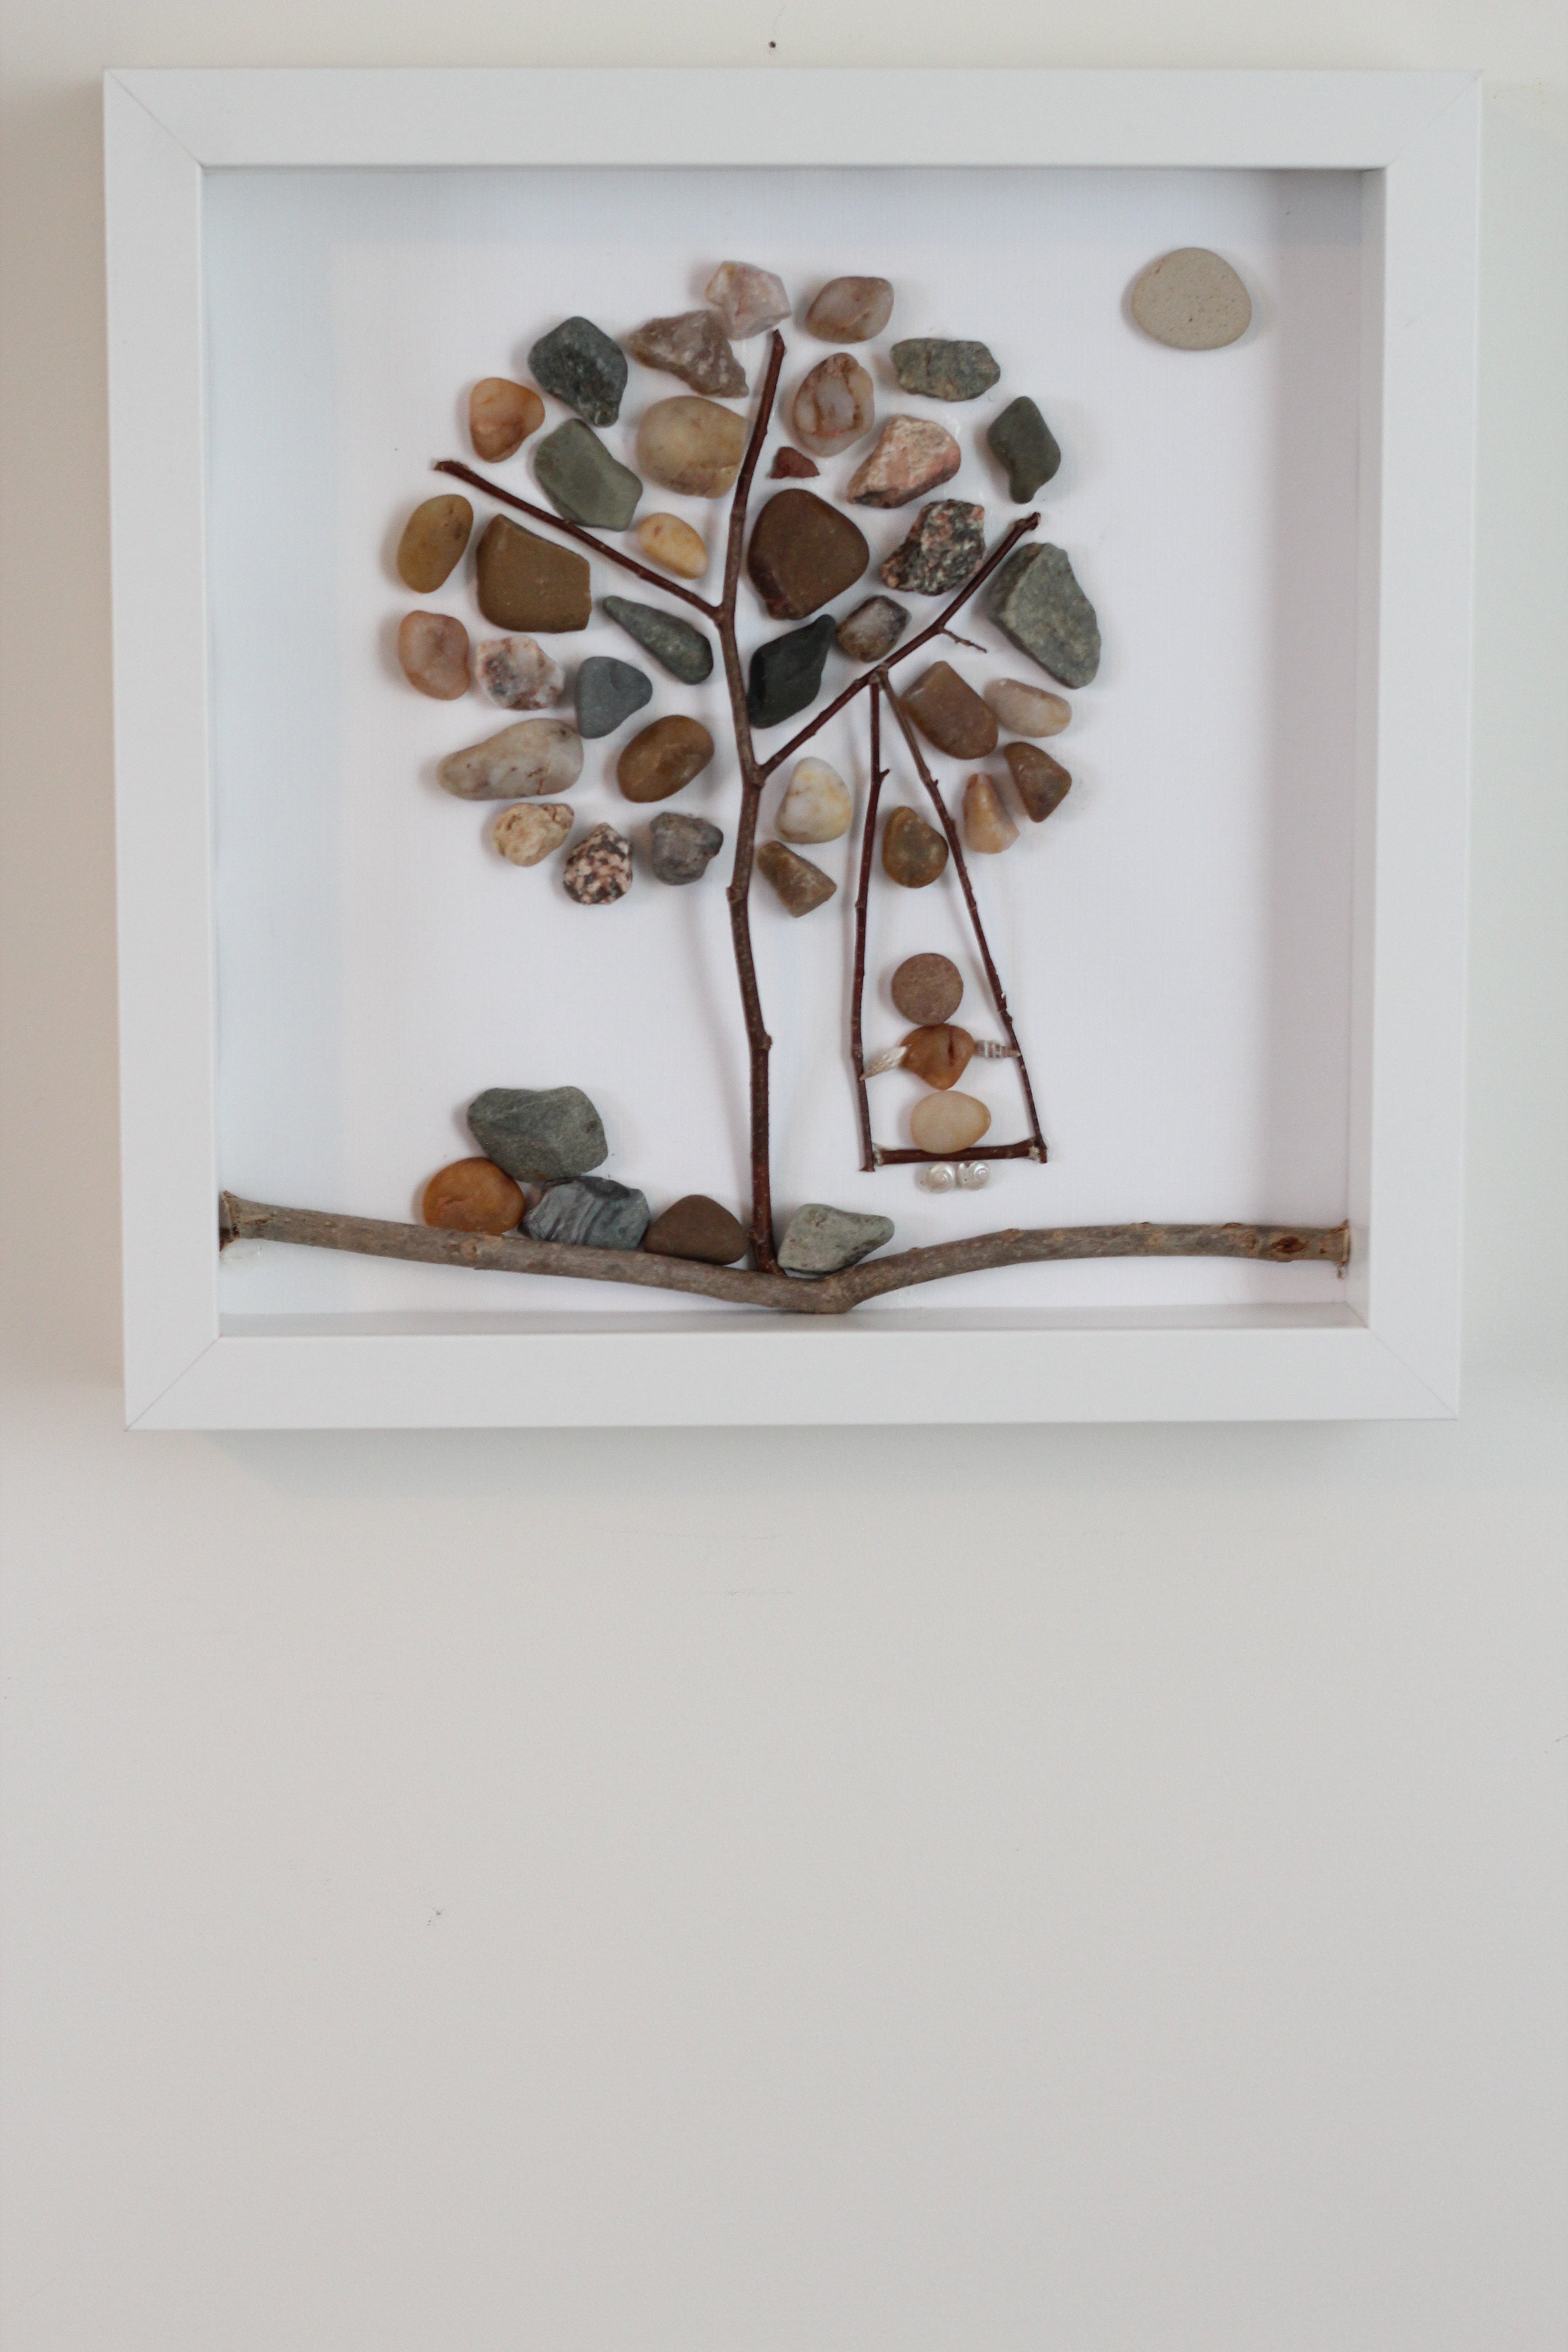
I also decided to make a pebble art swing with a girl on it.
Once youre done gluing everything, check that you sign your art piece then let the glue dry.
Its ready to hang, gift or display!
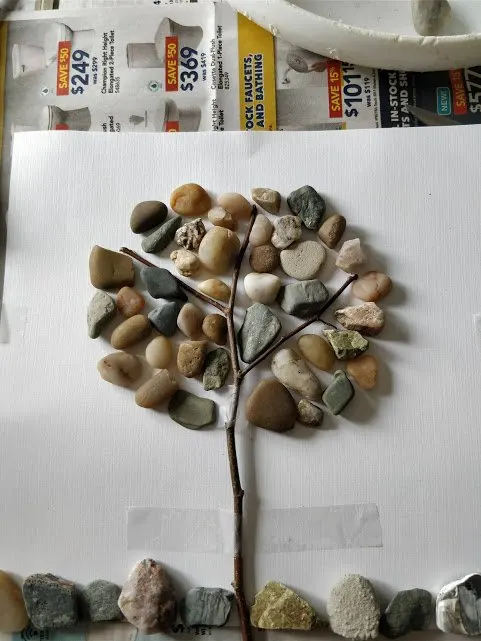
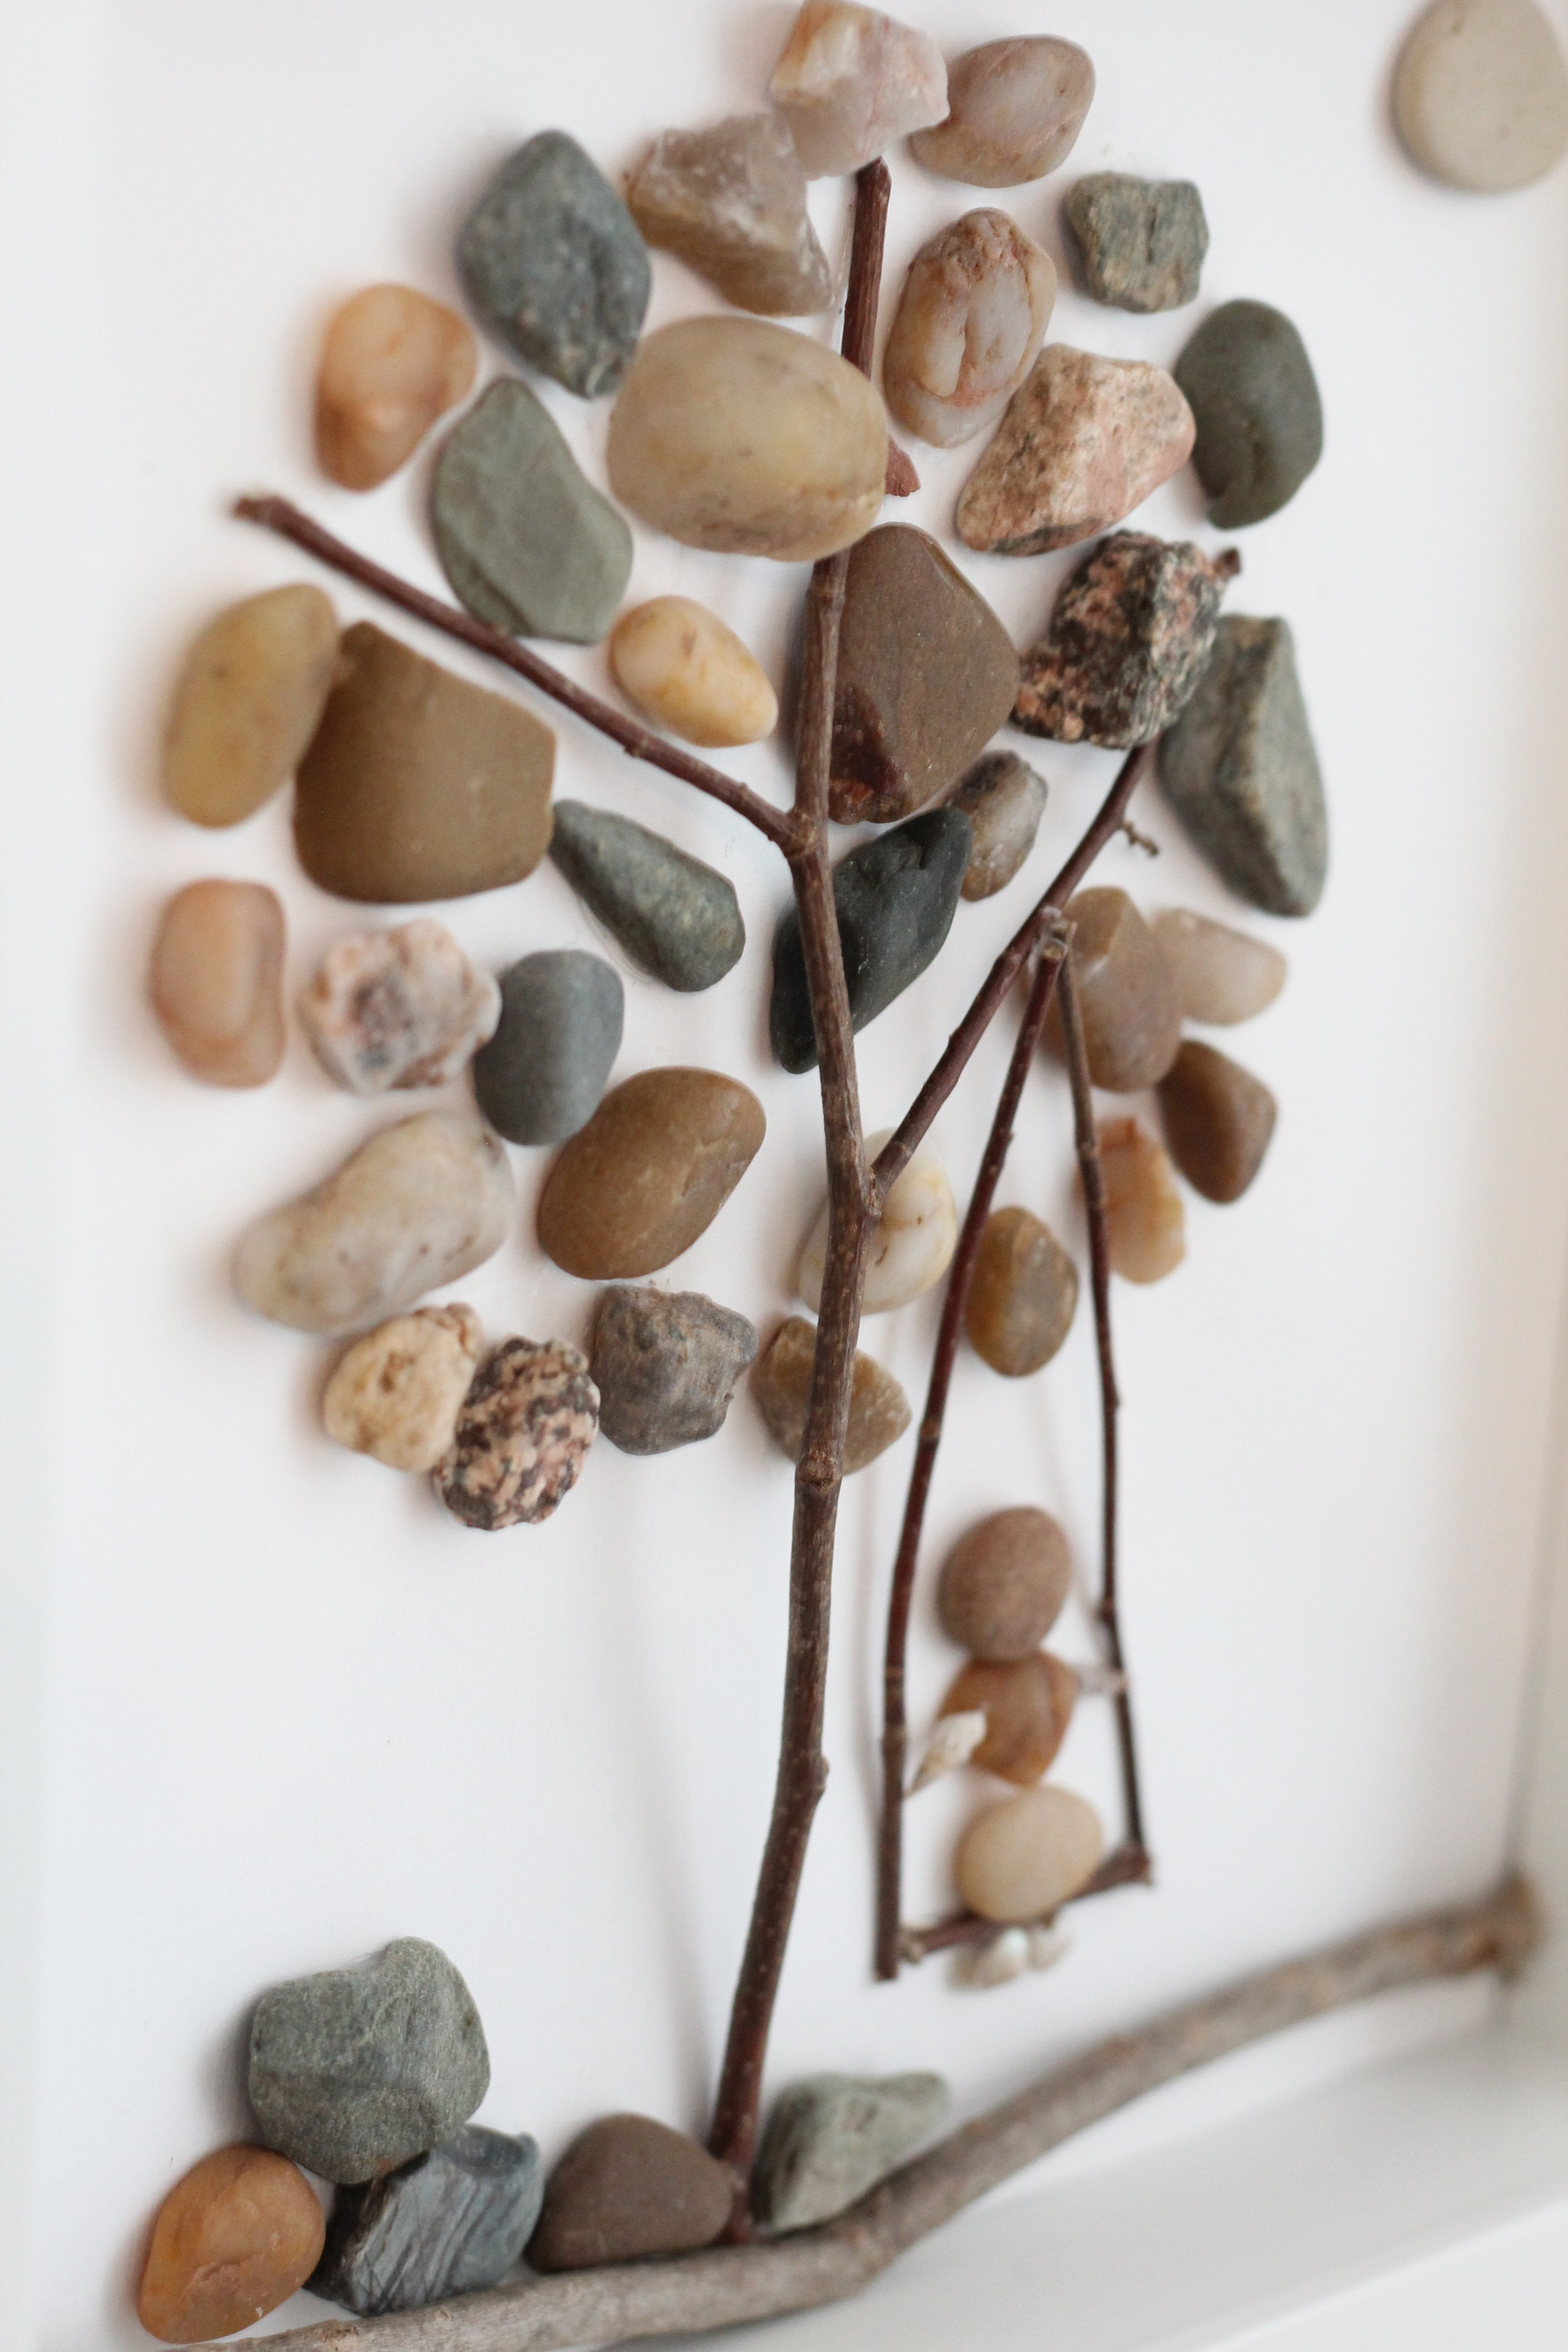
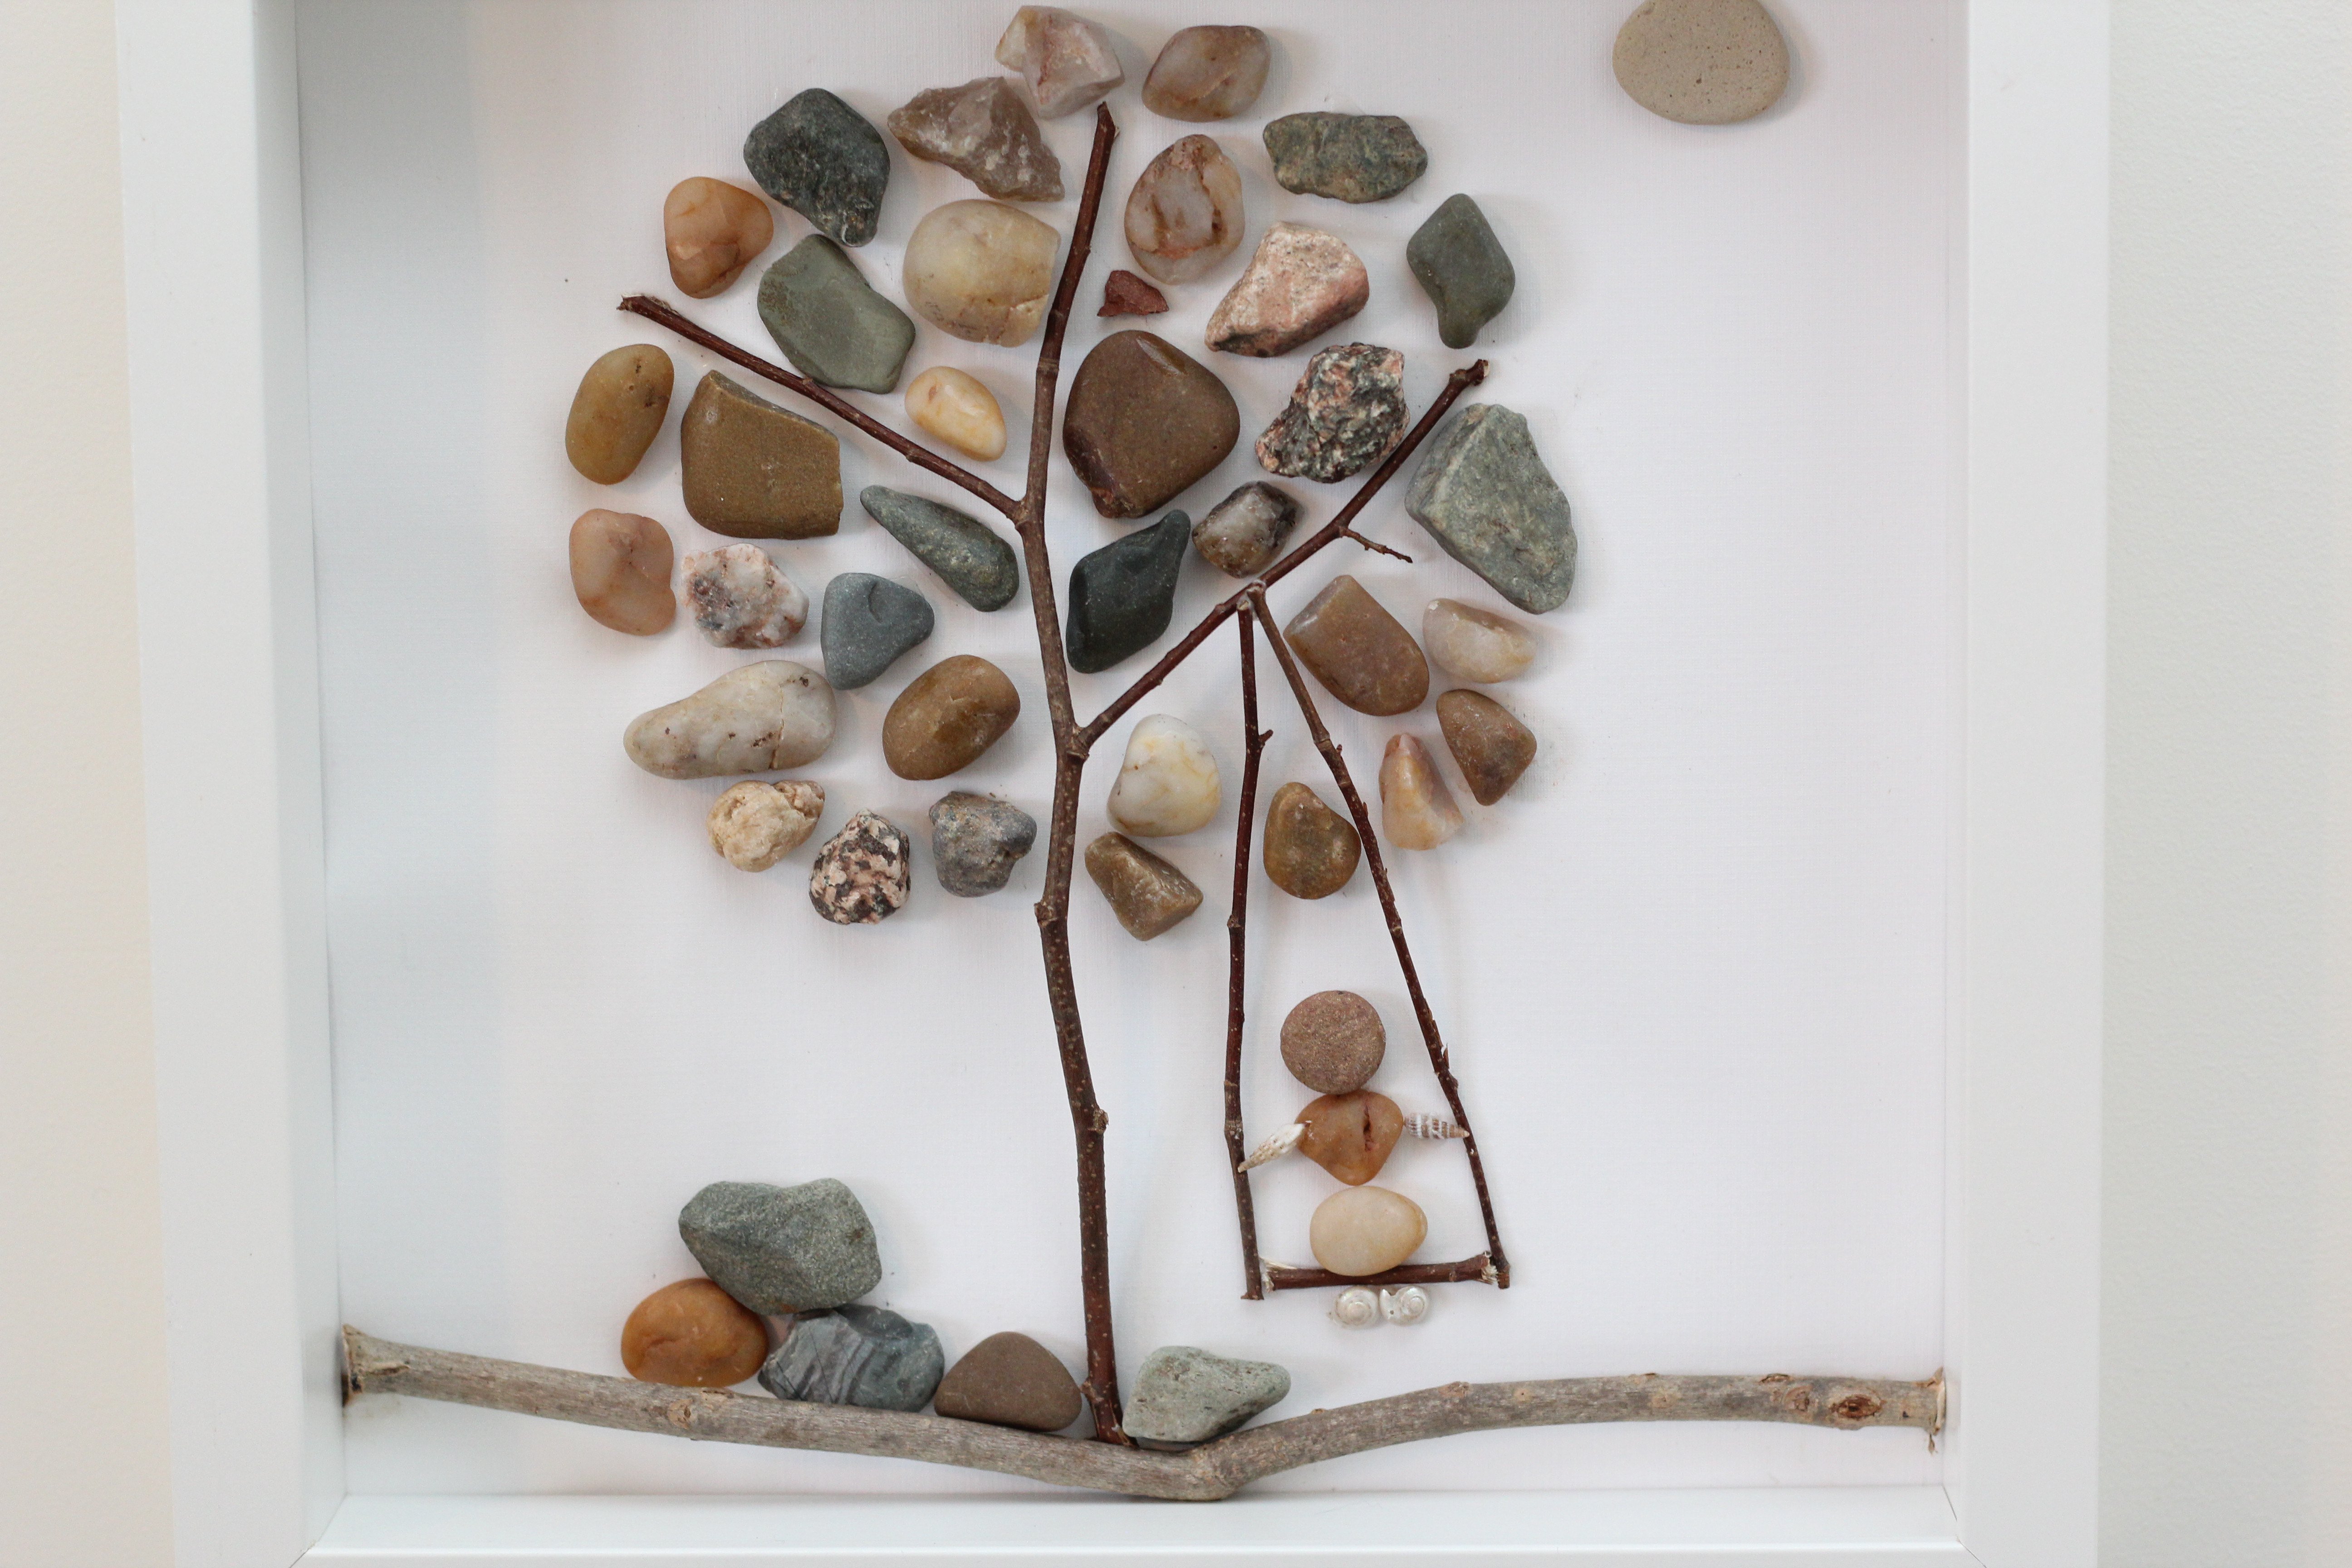
Here are some extra pictures of this final project.
If you liked this art project kindly pin it!