HomeDIY
This post may contain affiliate links:full affiliate disclosure.
Are you looking for a fun craft with your kids on a rainy or quiet afternoon?
What youll need is pretty simpleyou may even have a lot at home already!
I hope you enjoy the craft with your family or bookmark it for a fun Halloween craft this year!
You could swap in another simple insect if youre not into spiders.
The spiders do their best once entirely dried and appropriately attached to the page!
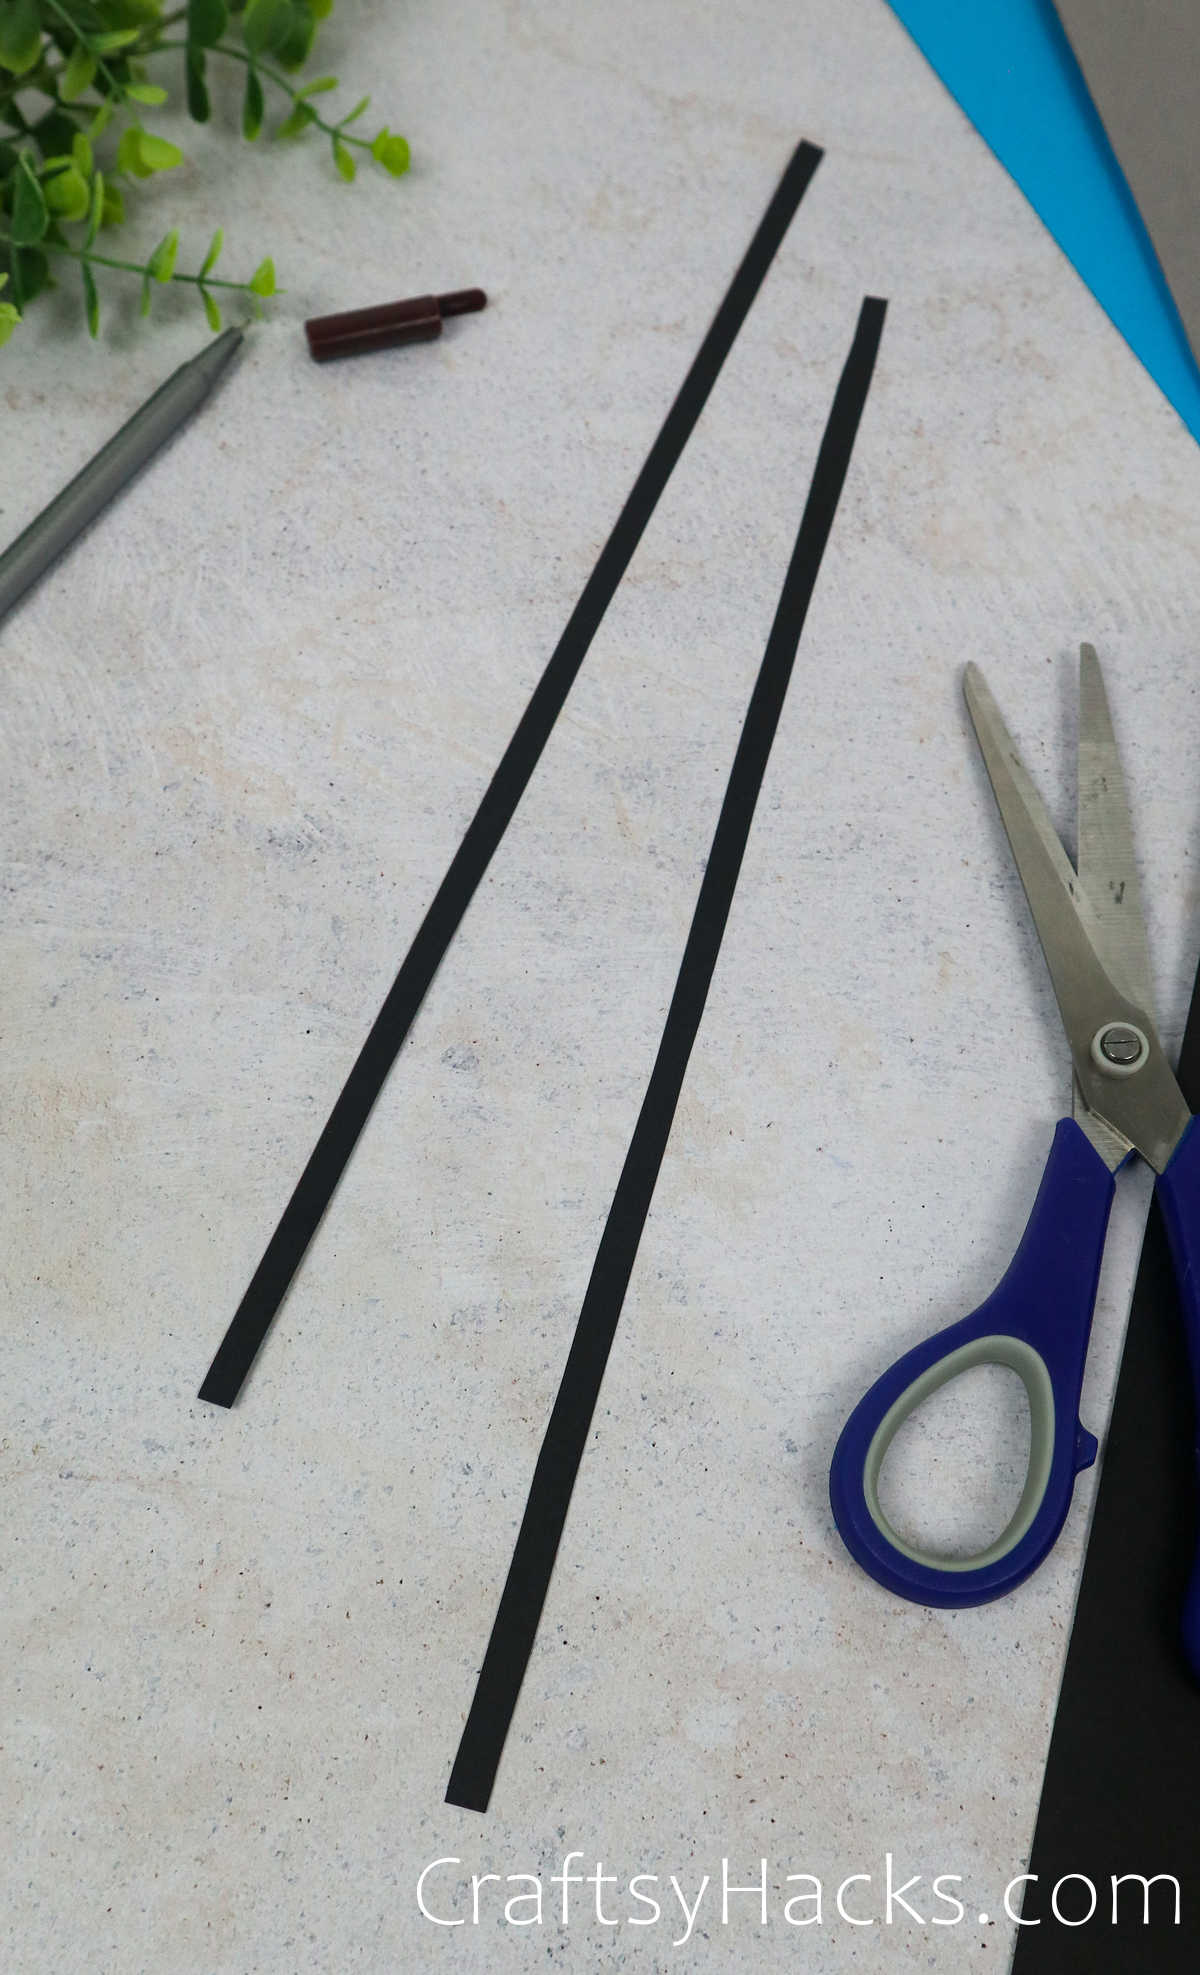
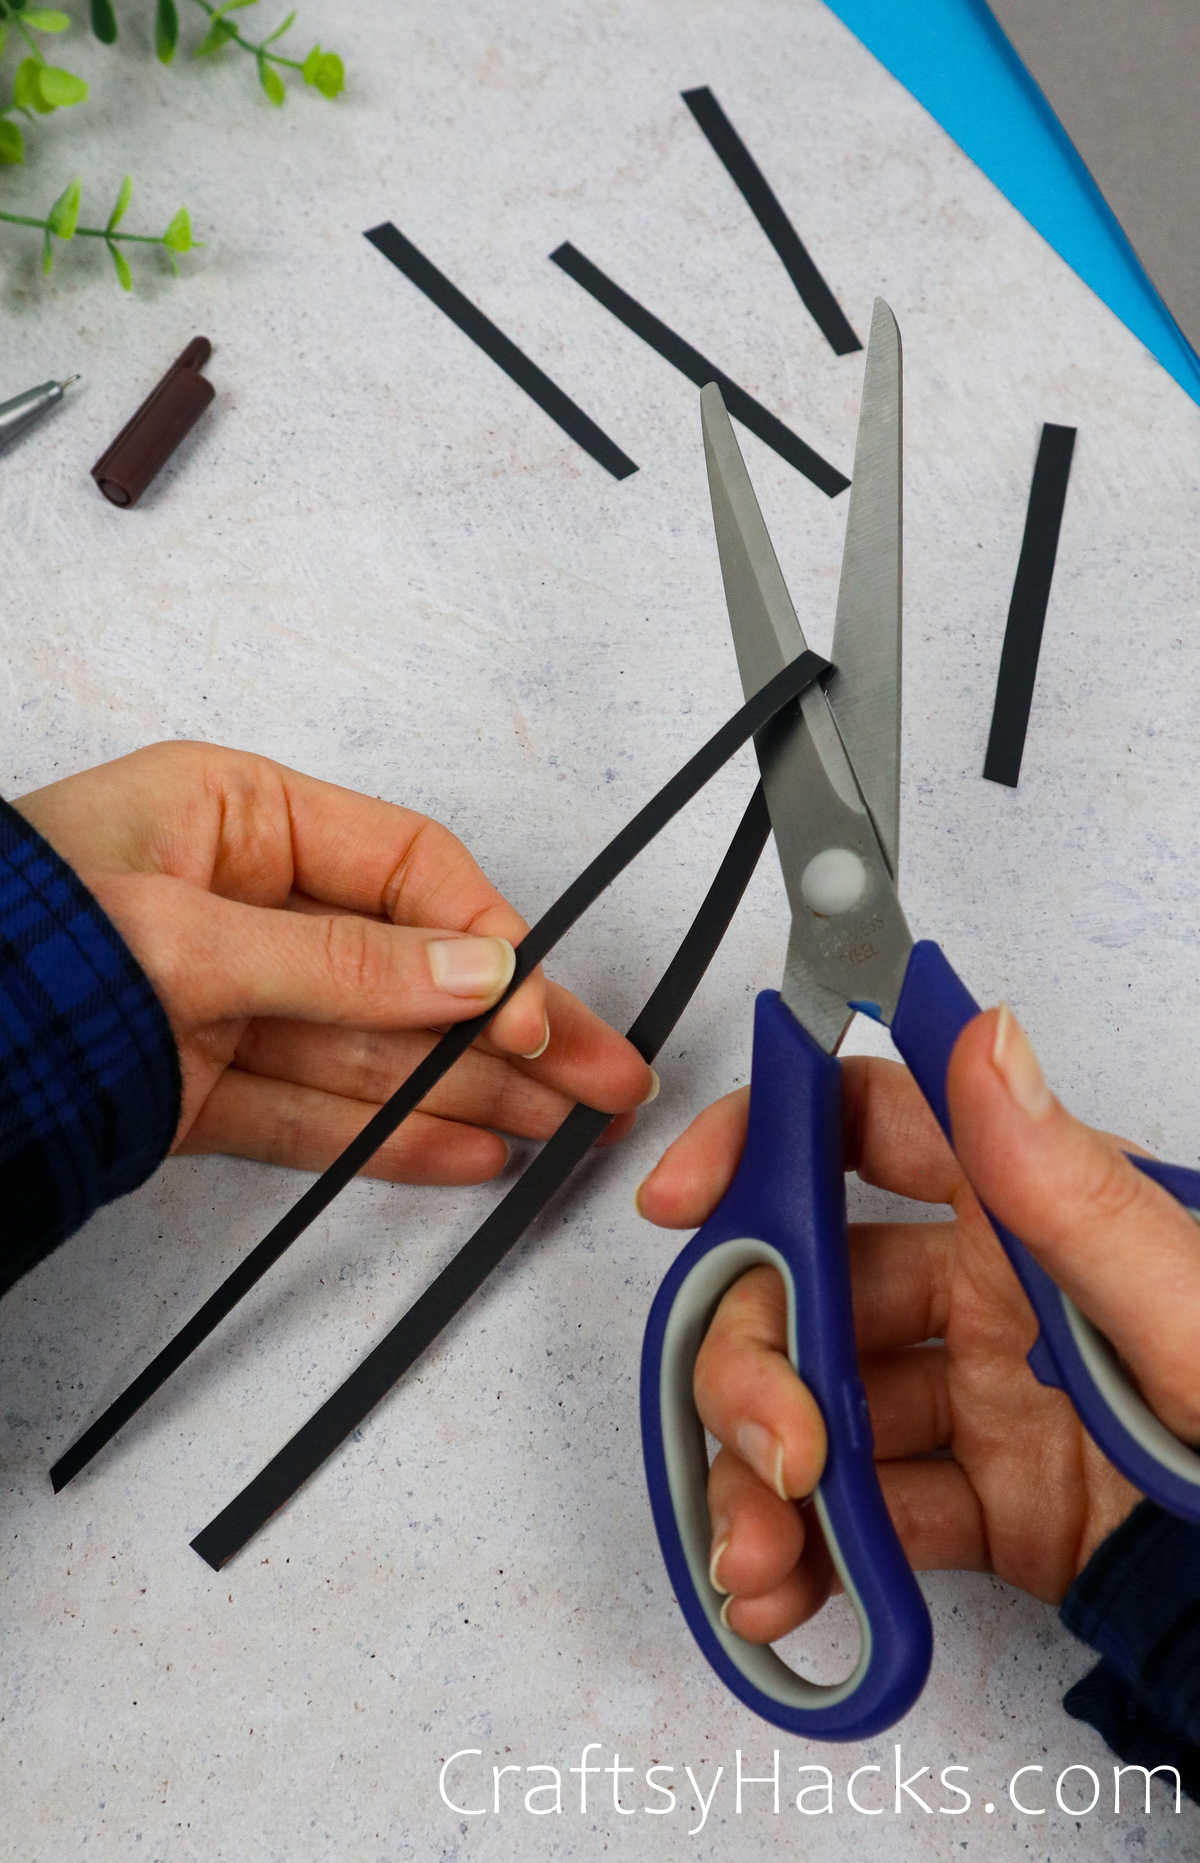
Depending on the age of the child participating, they may need assistance with the measurements and cutting portion.
Set aside and return to your spring.
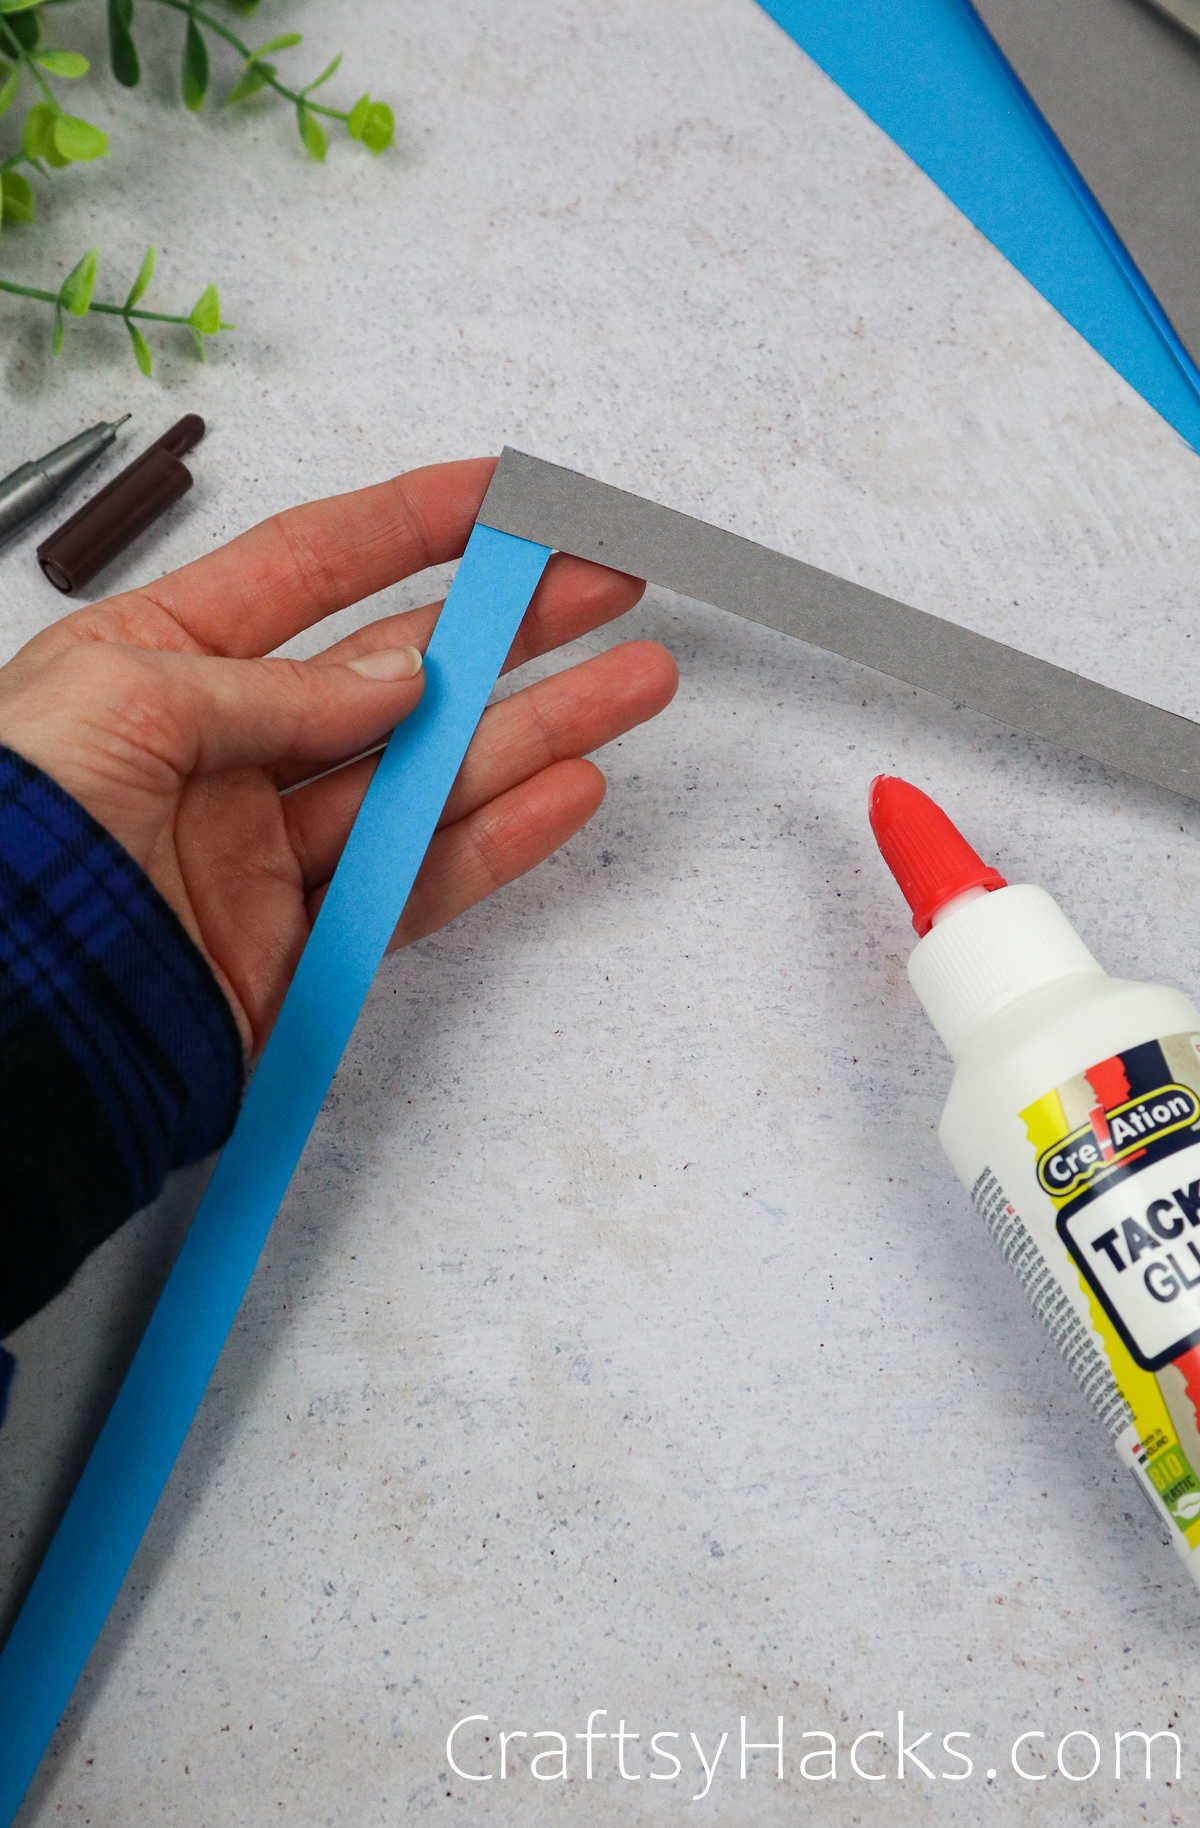
Step 4
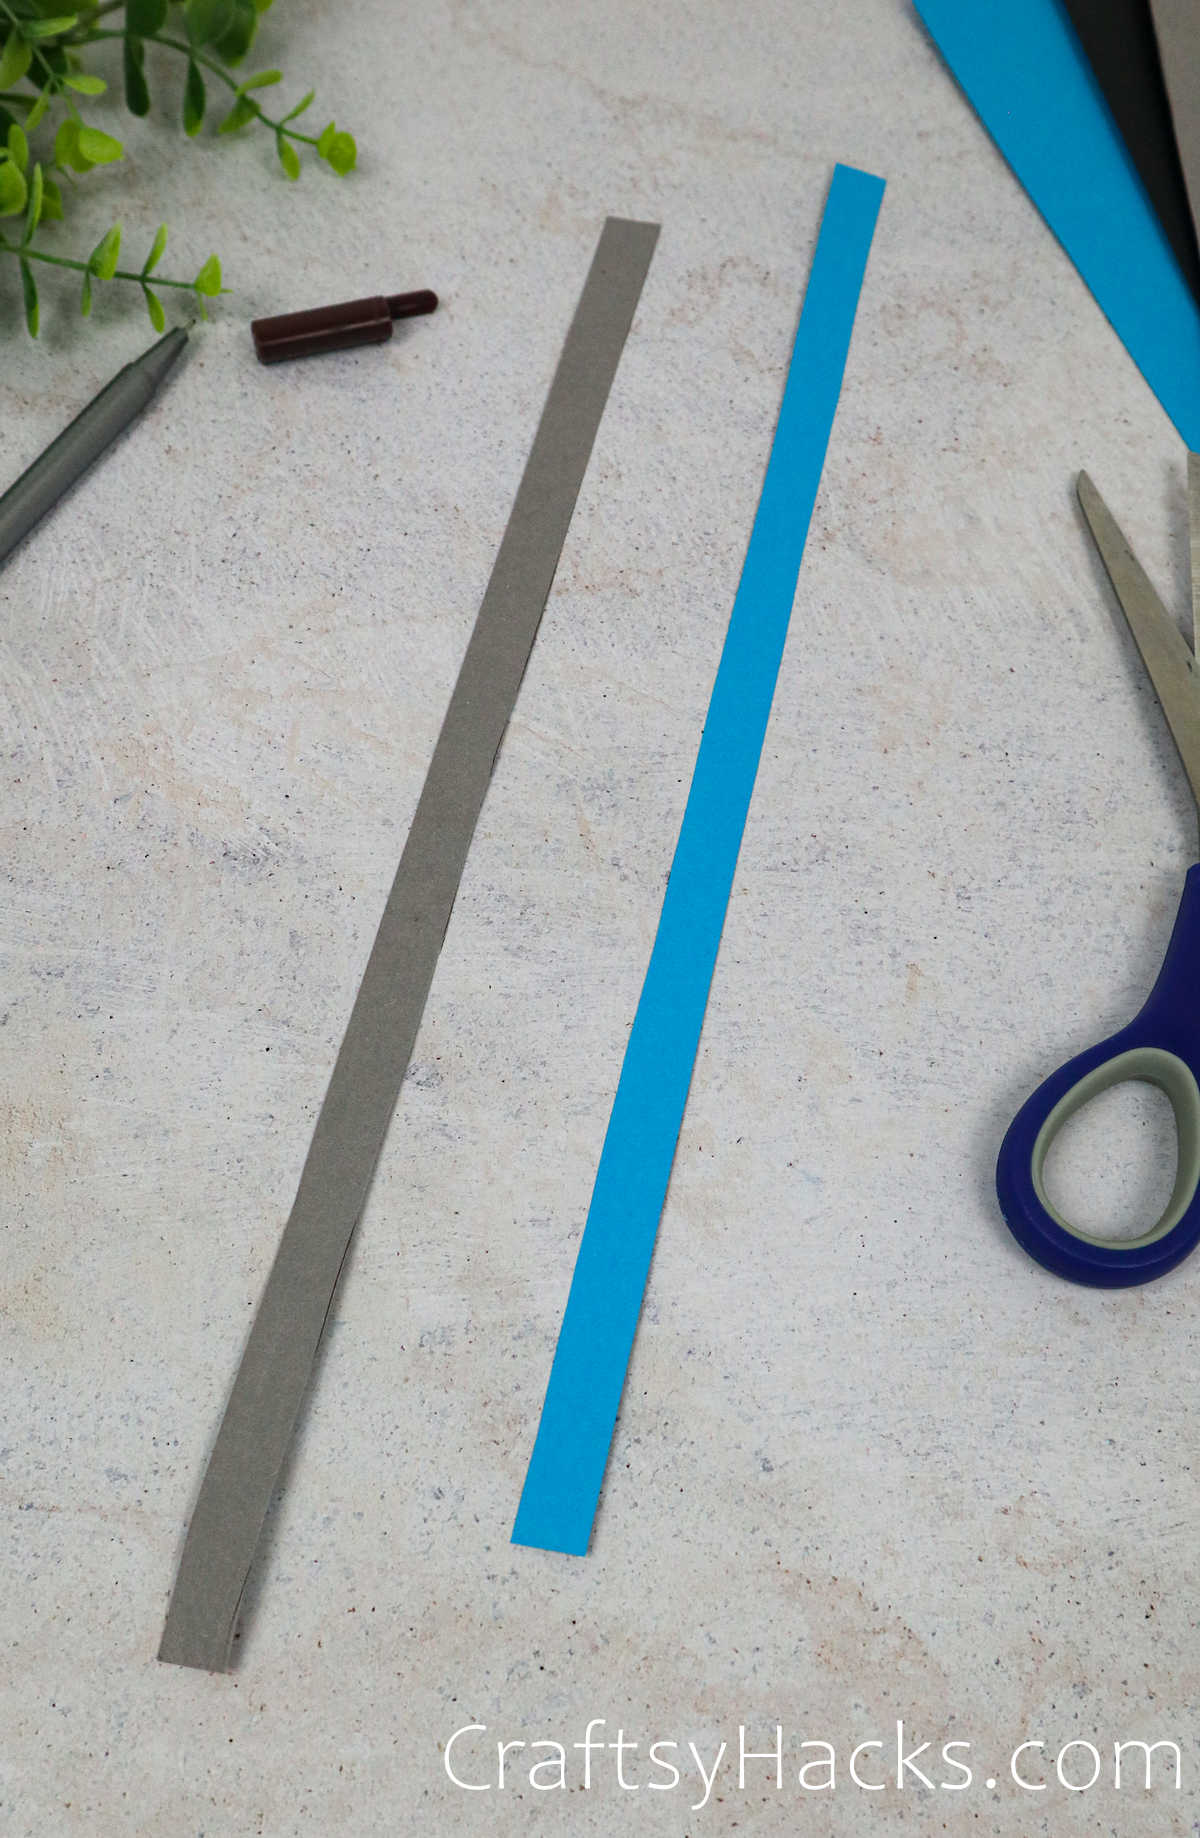
Glue your two different strips of paper in an L shape with some adhesive.
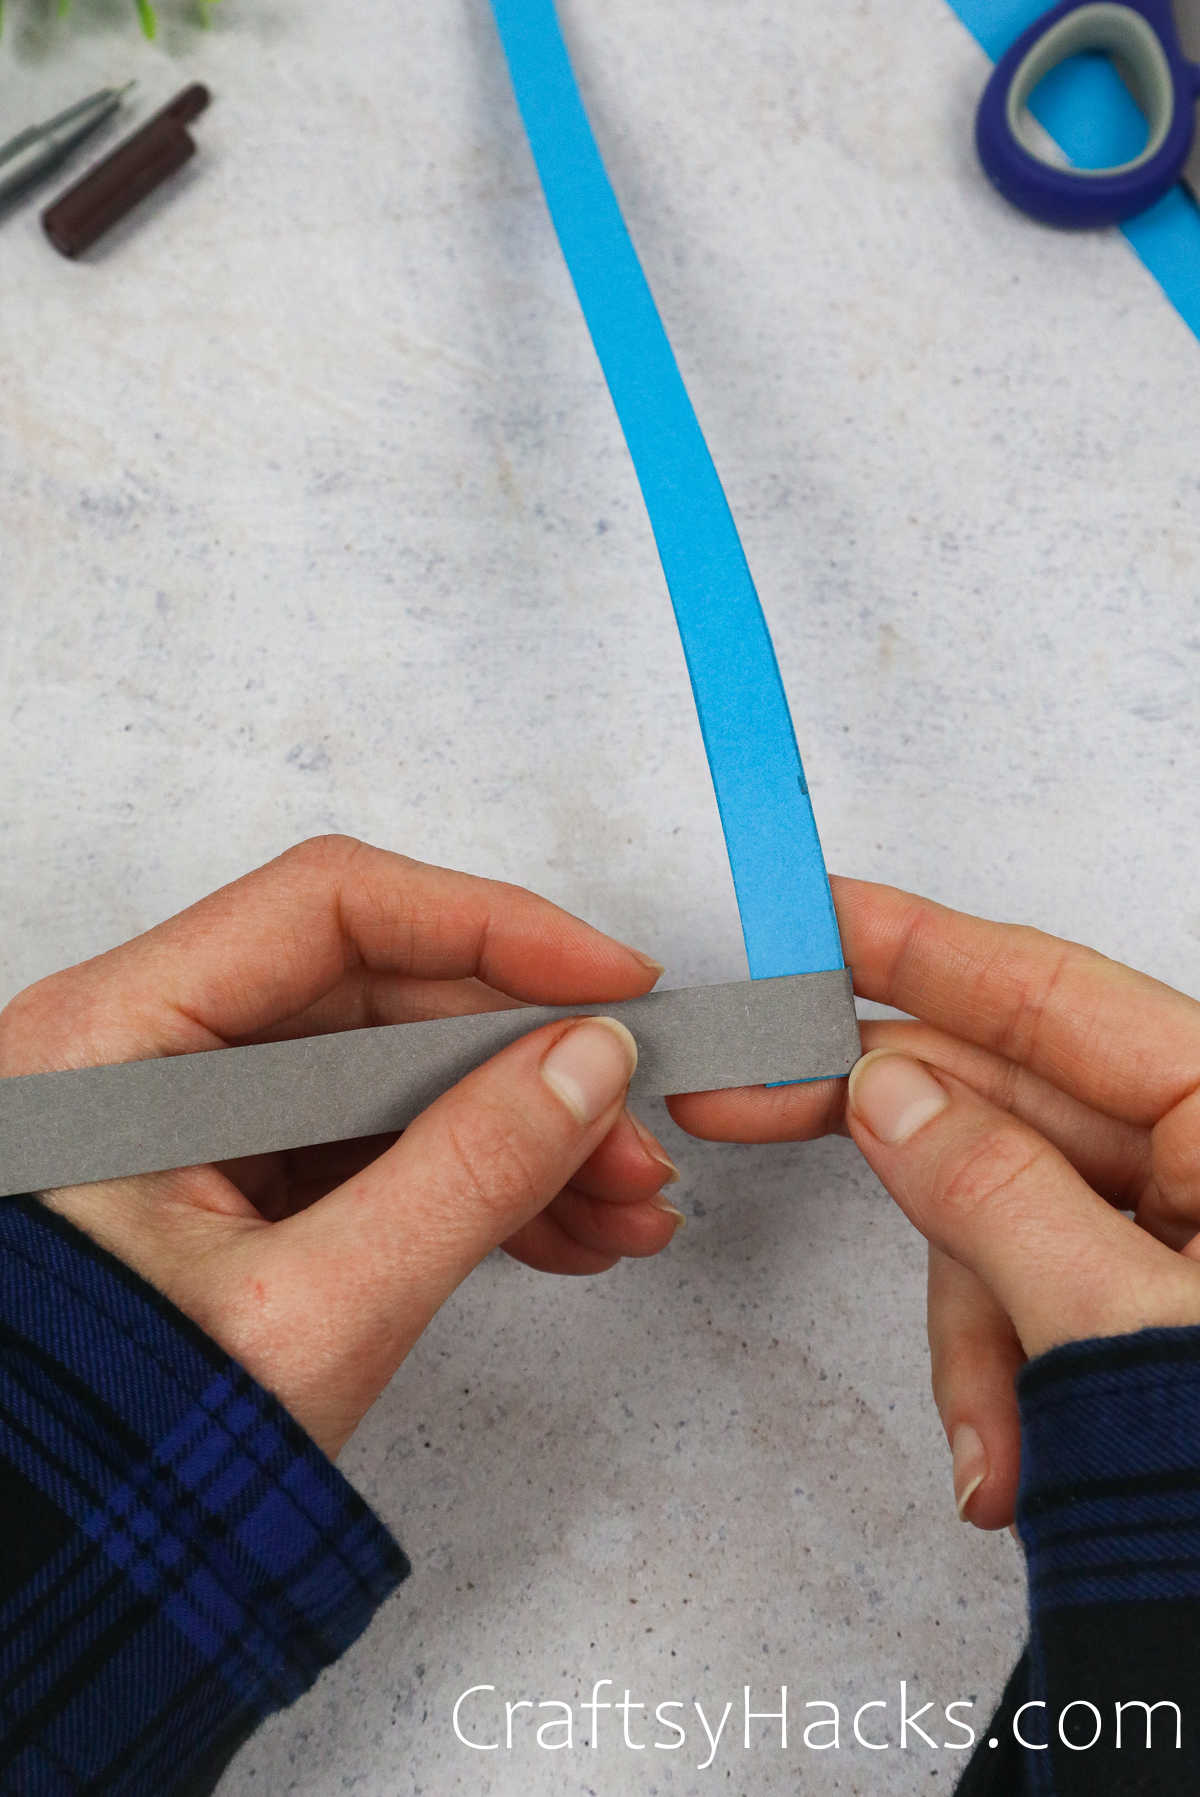
Step 5
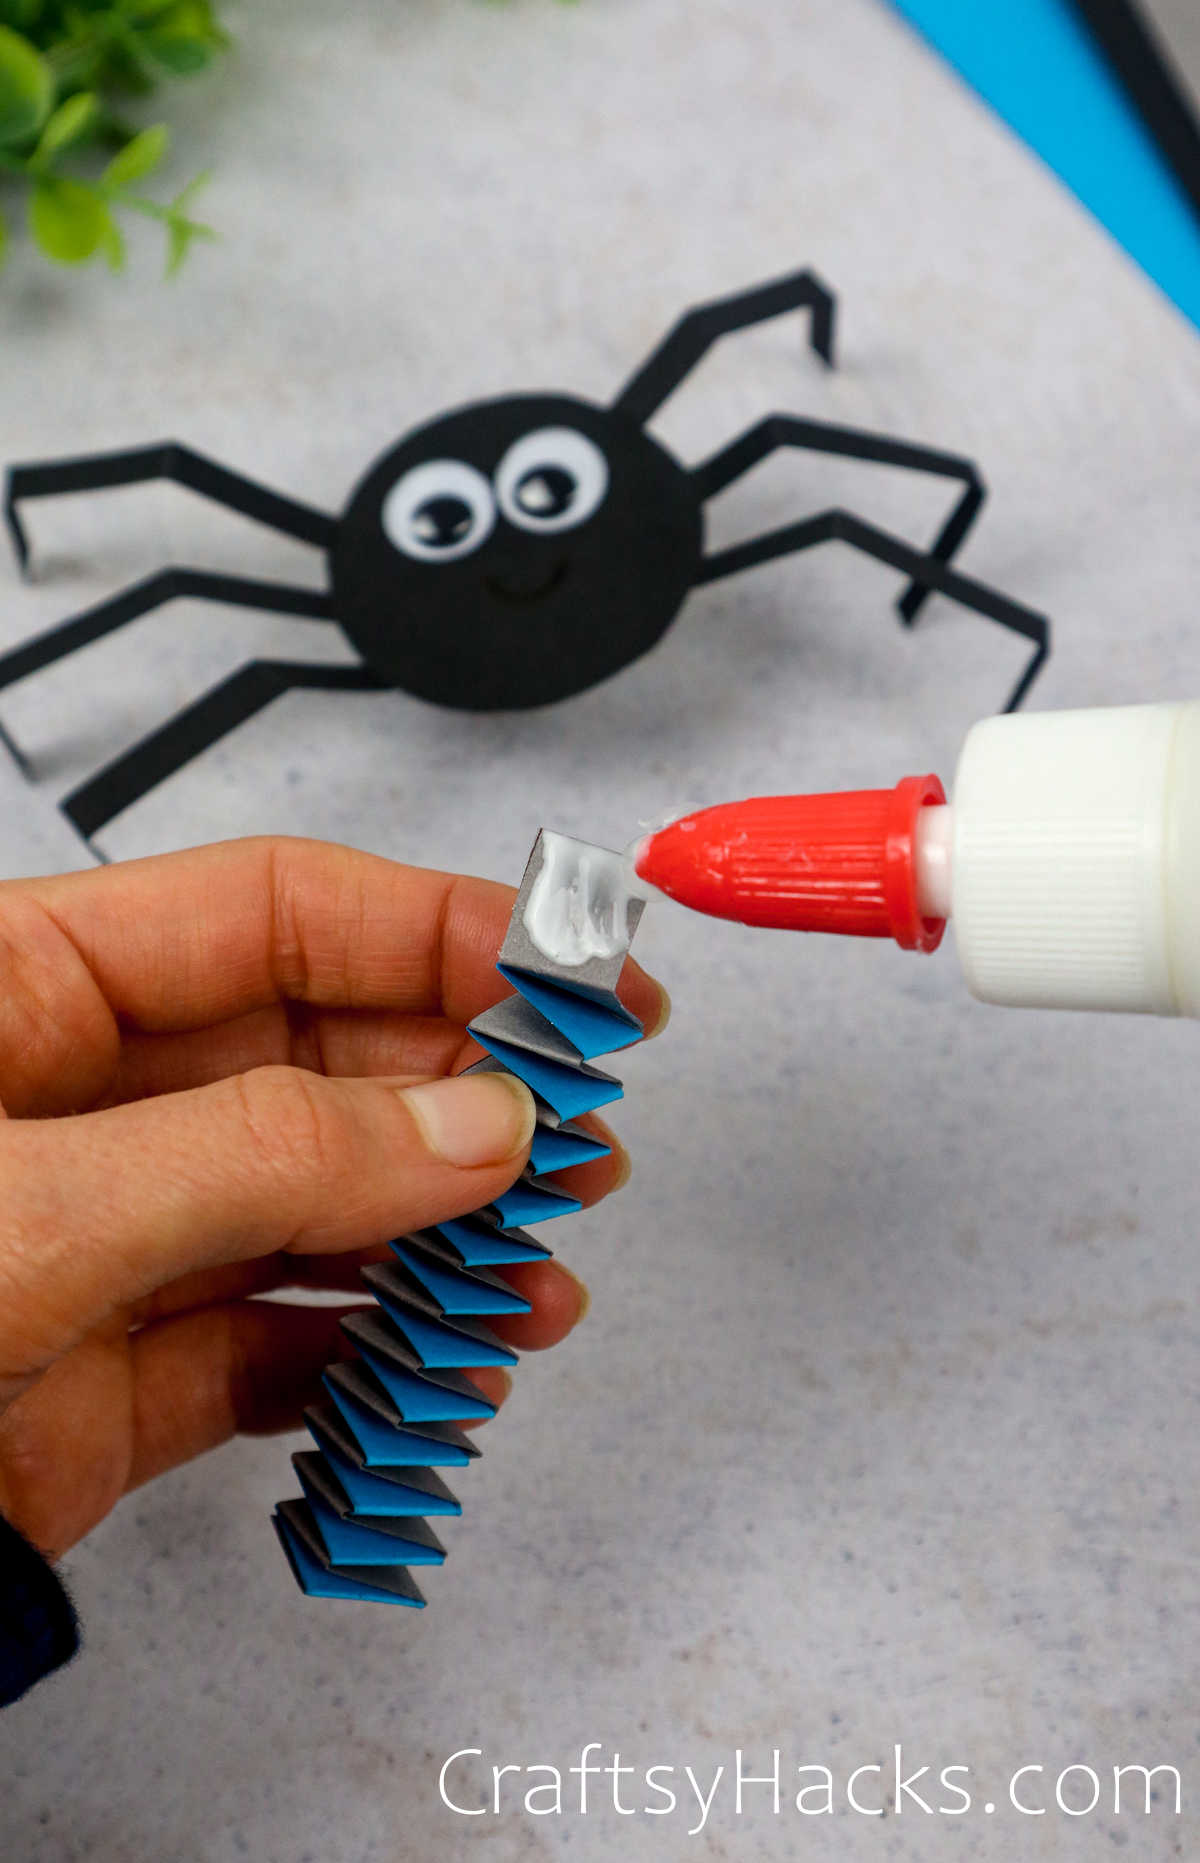
Start with the bottom colour and fold over the top colour.
Continue onward, again alternating the two back and forth.
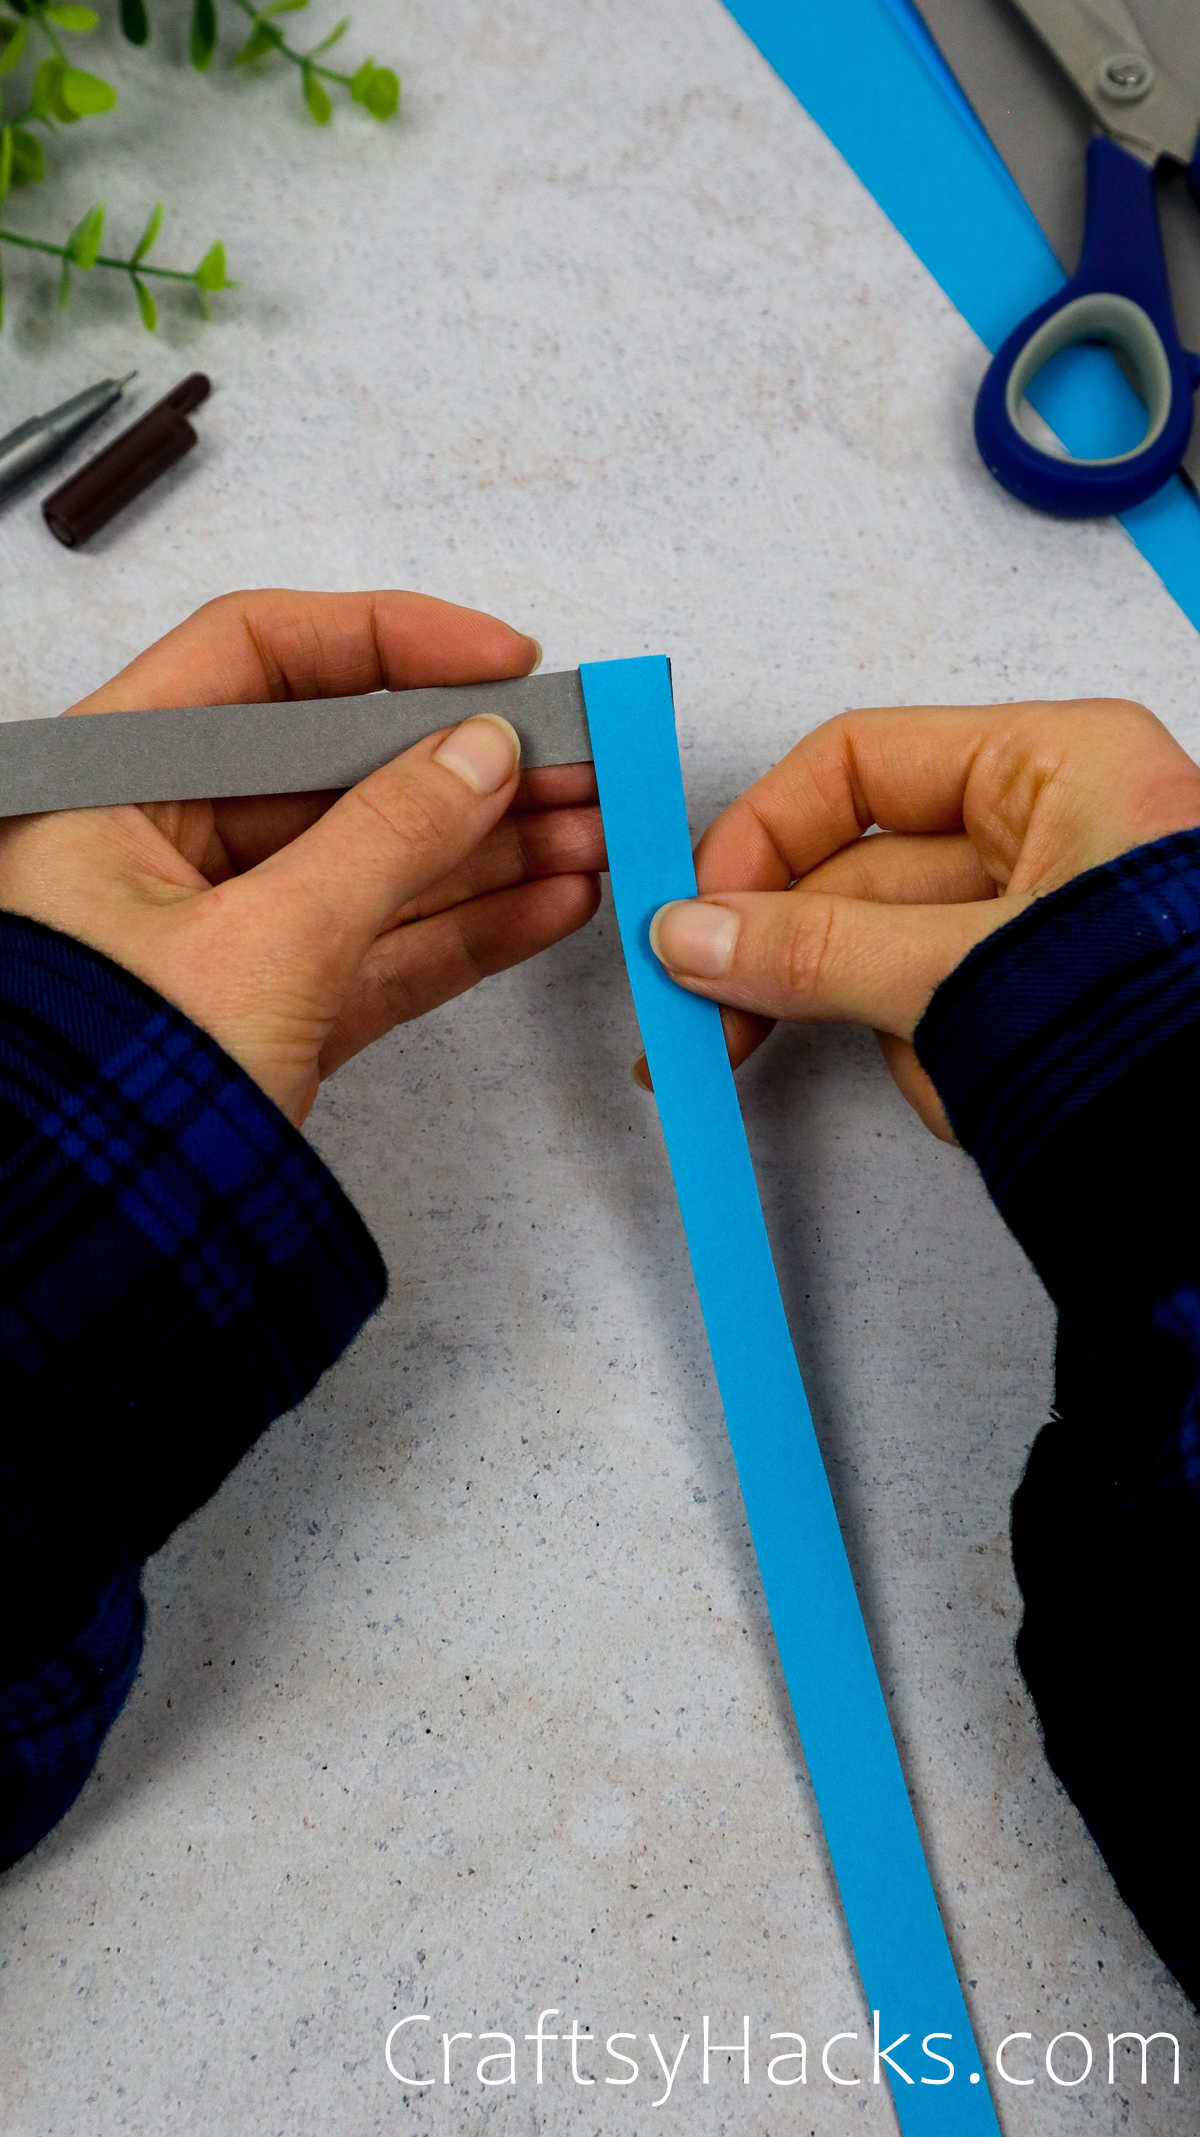
A pattern should emerge as you continue to alternate strips of paperrepeat until almost to the top.
Continue until you get to the end of your paper and leave the second one up.
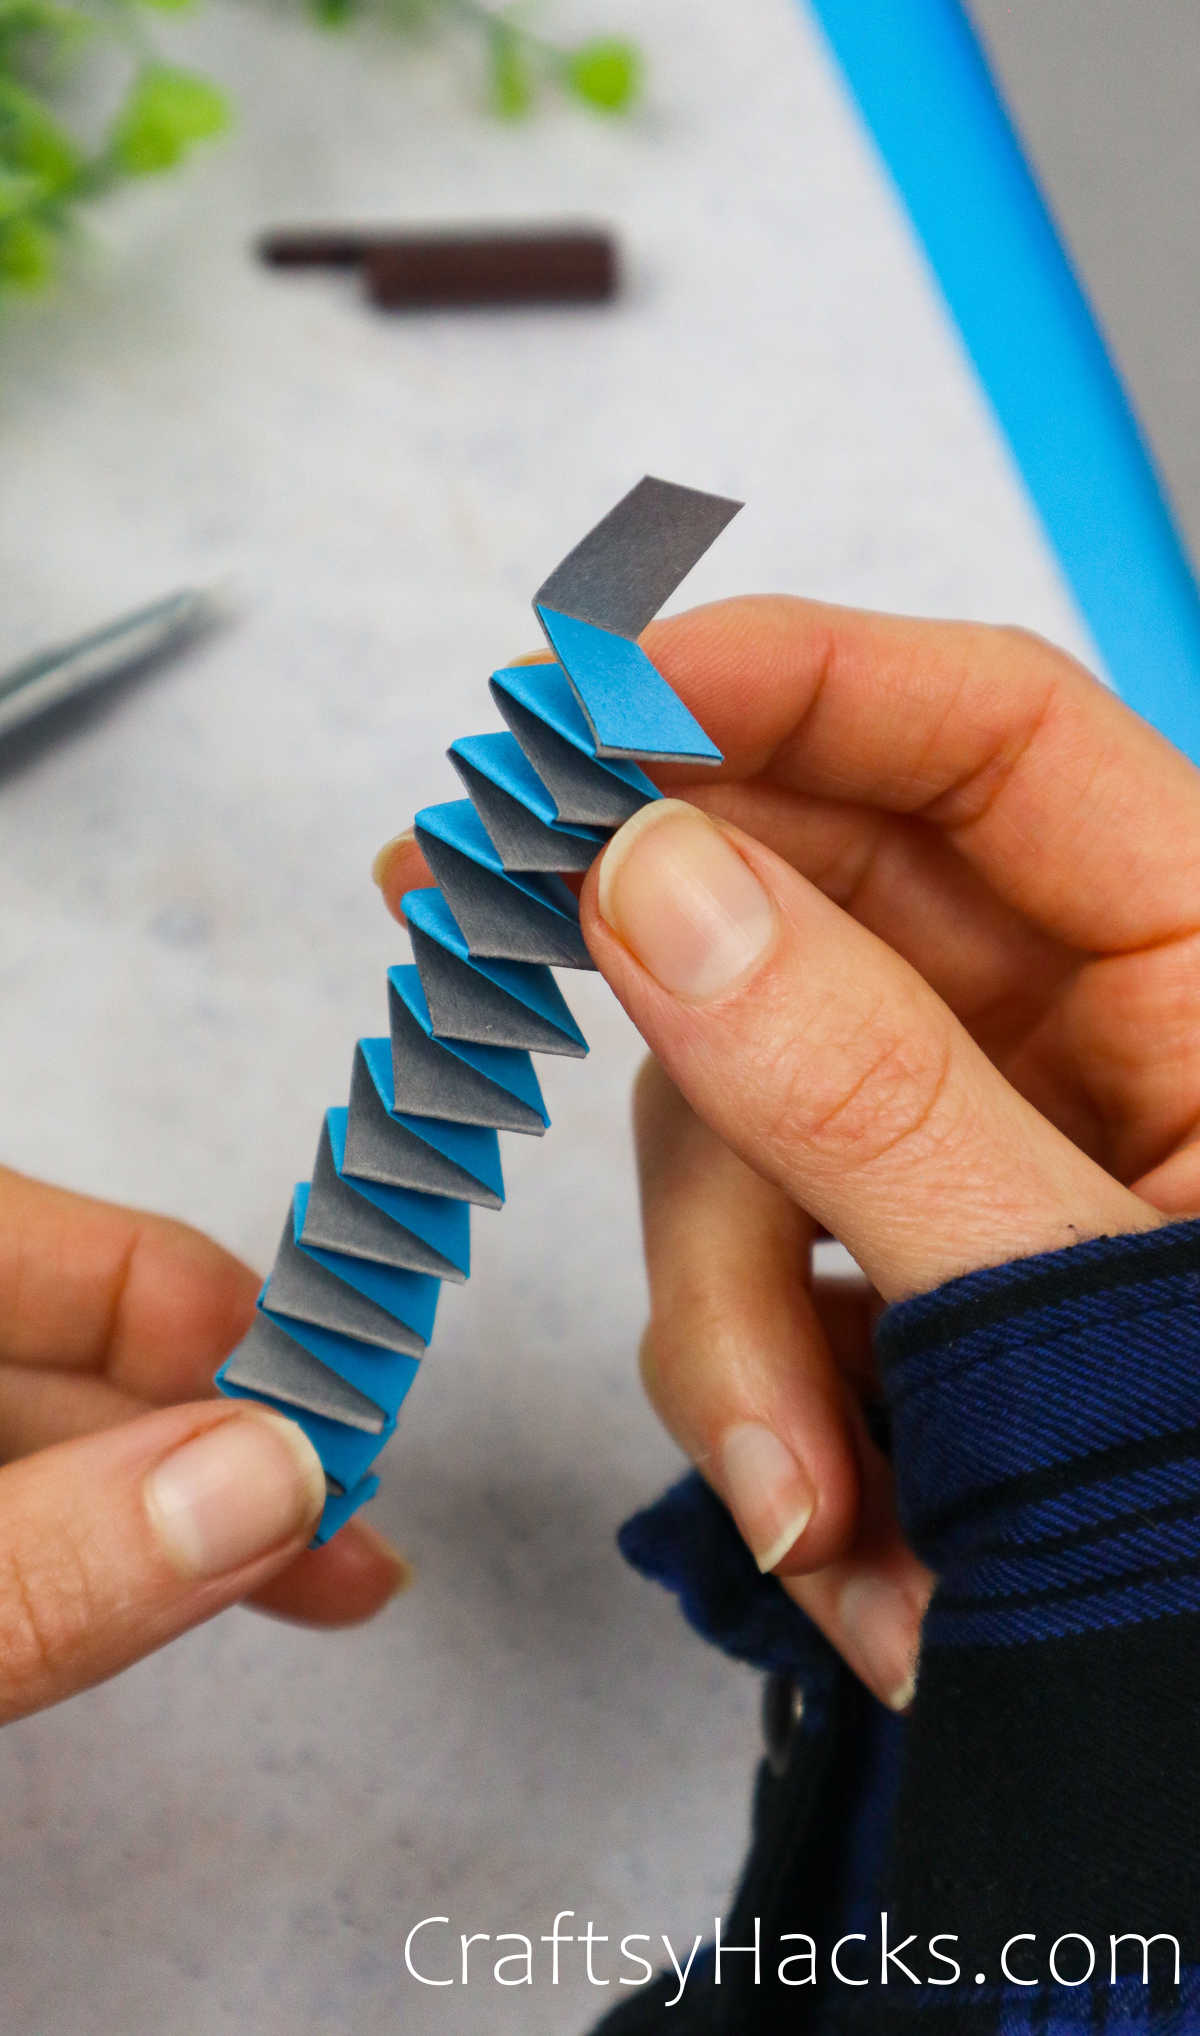
Set aside; well come back to the spring once the spider is complete.
Step 6
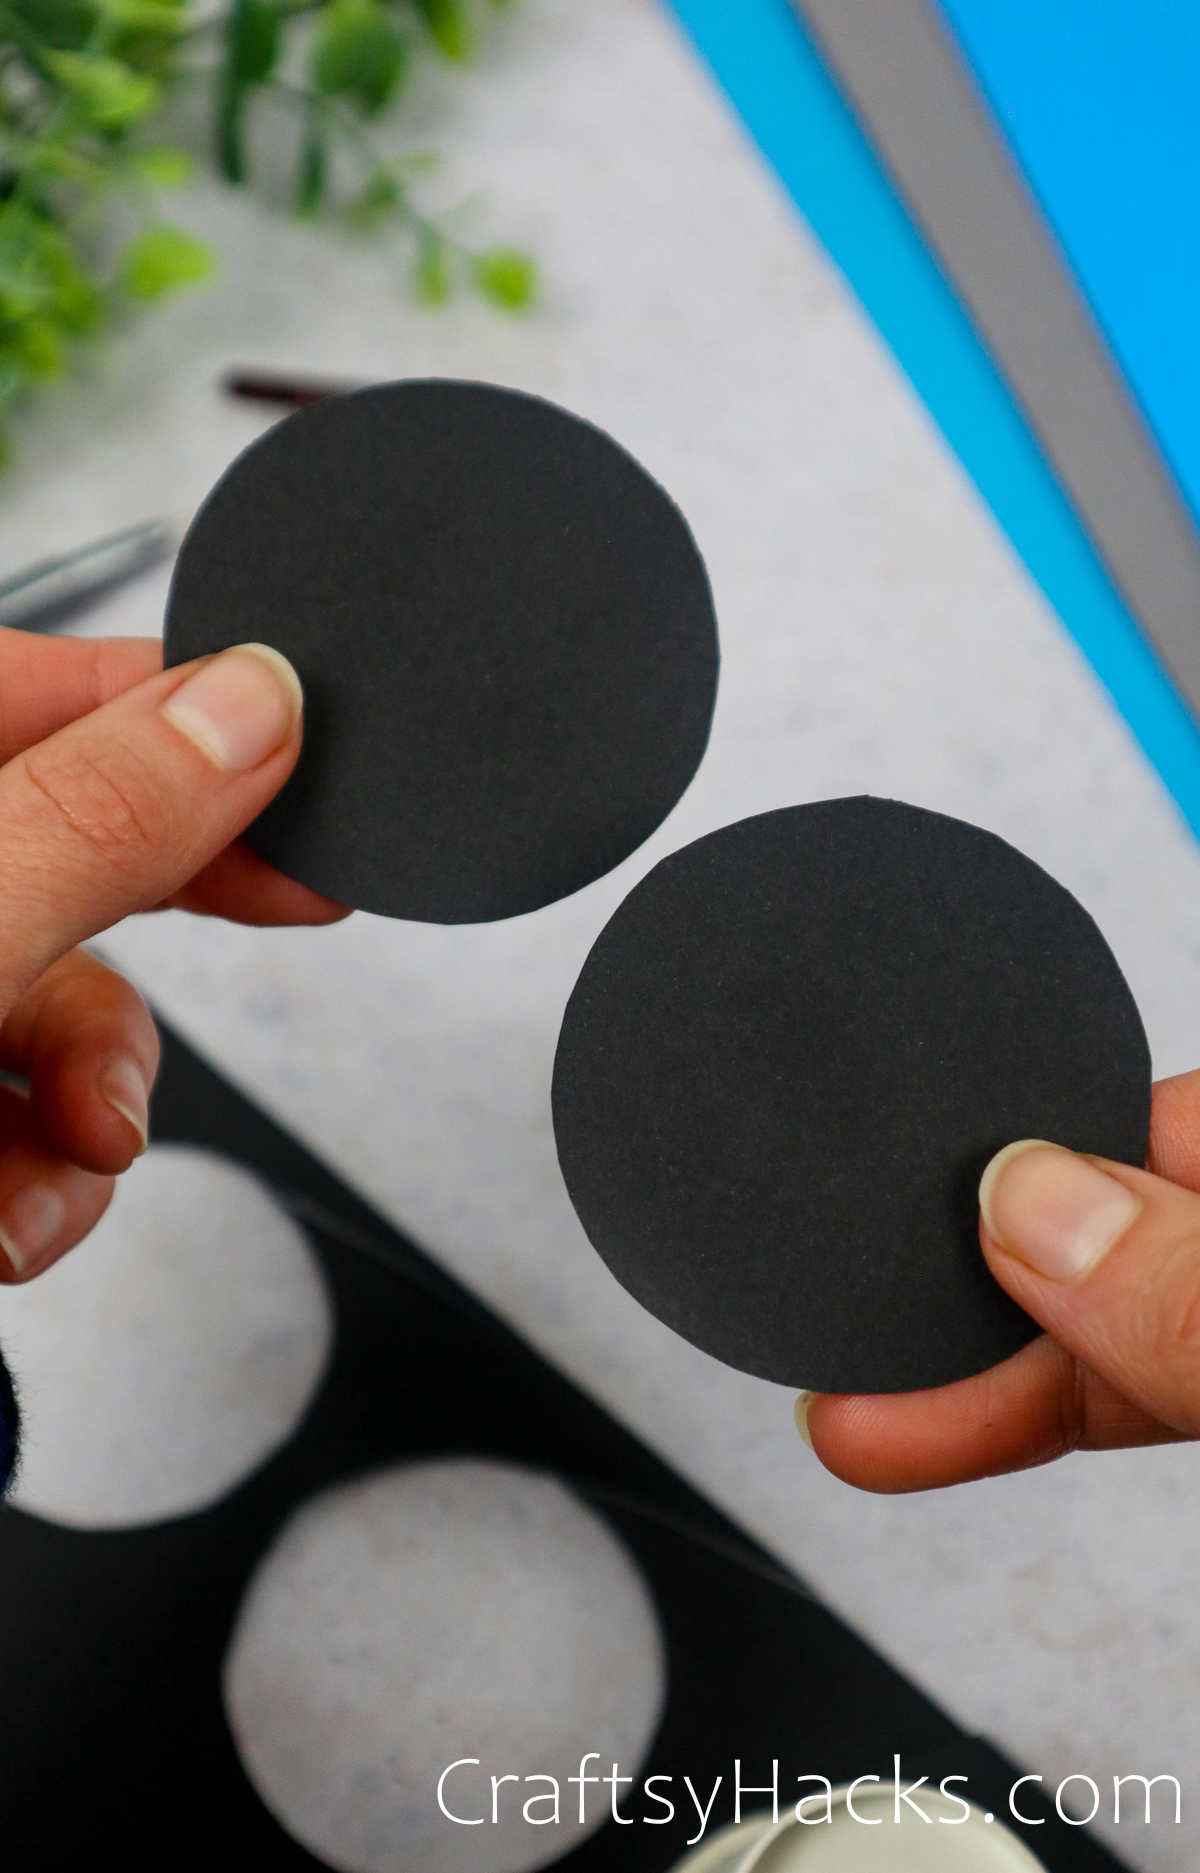
The body is easy, and youll need your paper cup to trace two circles.

Step 7
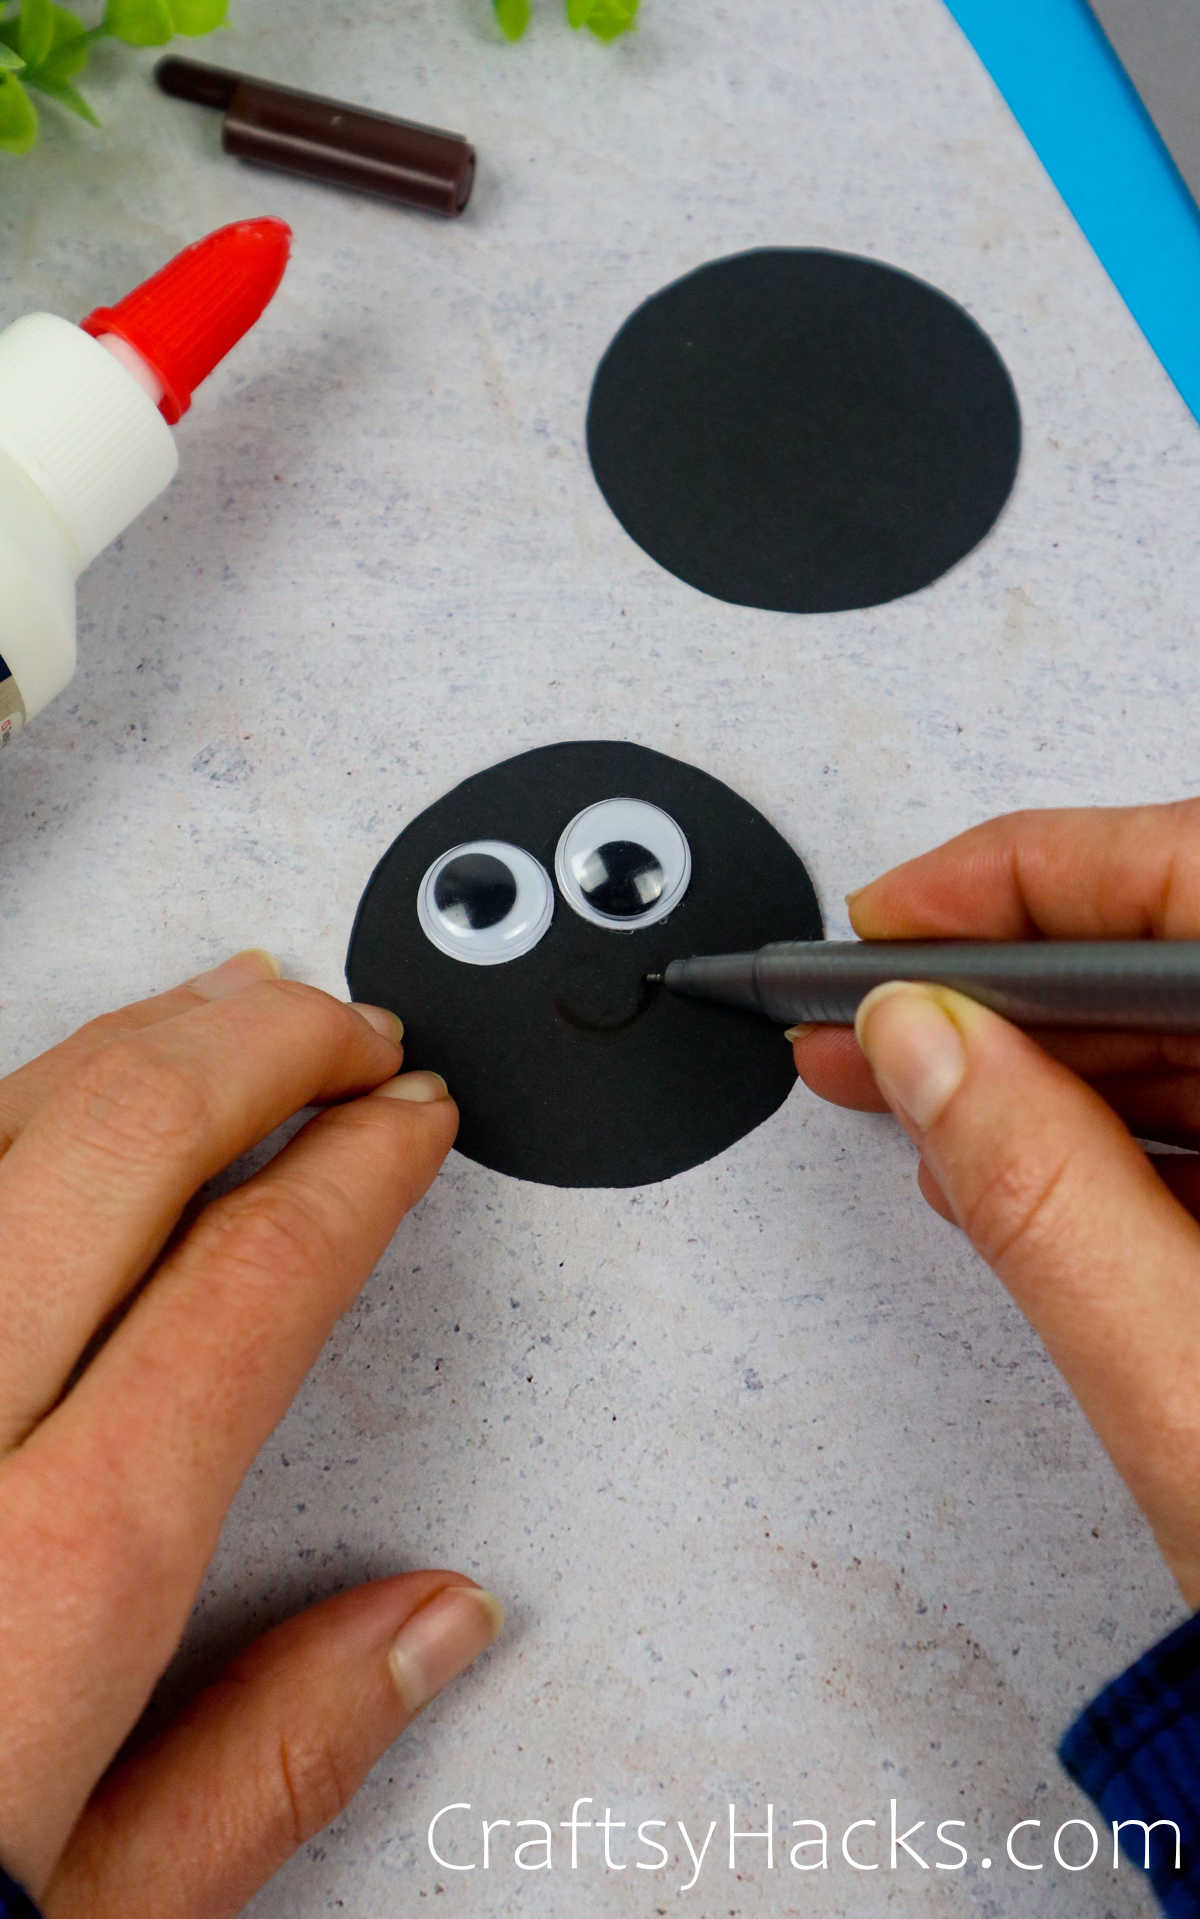
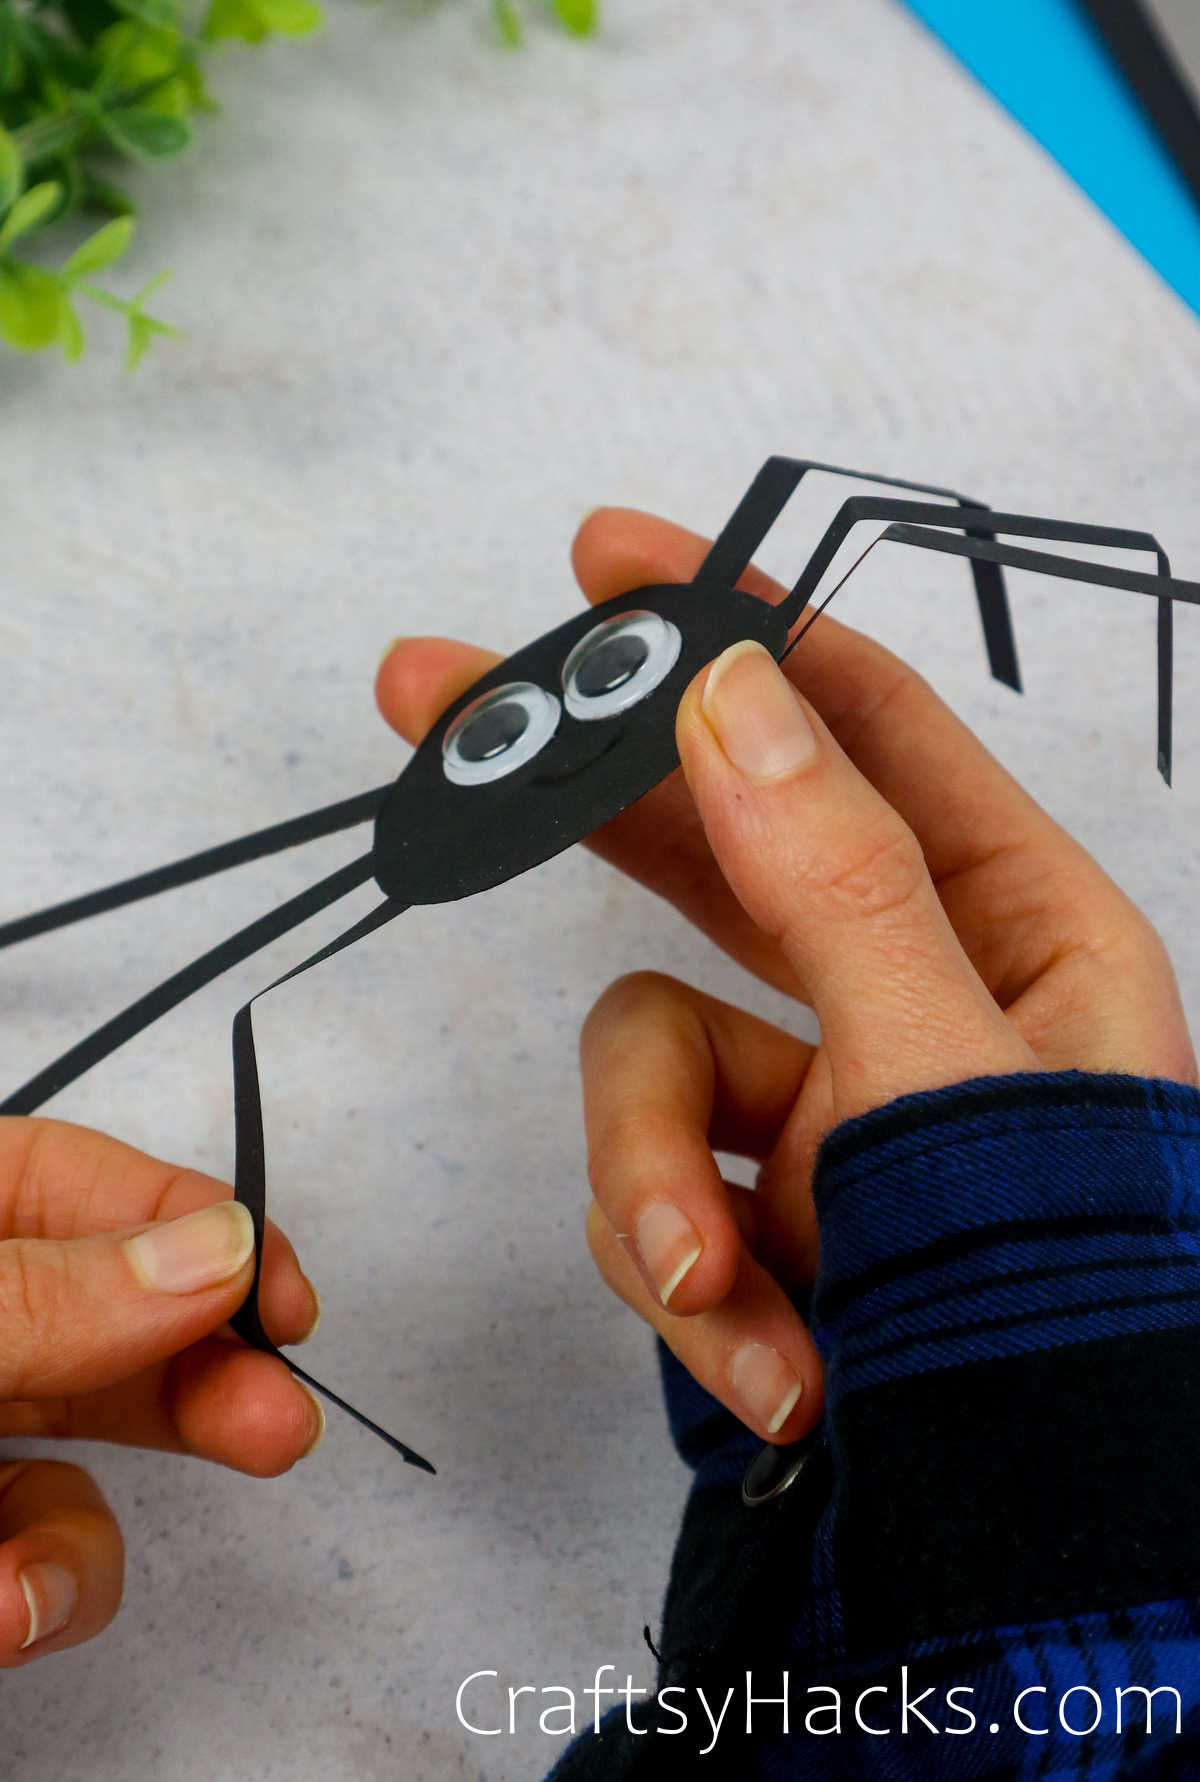
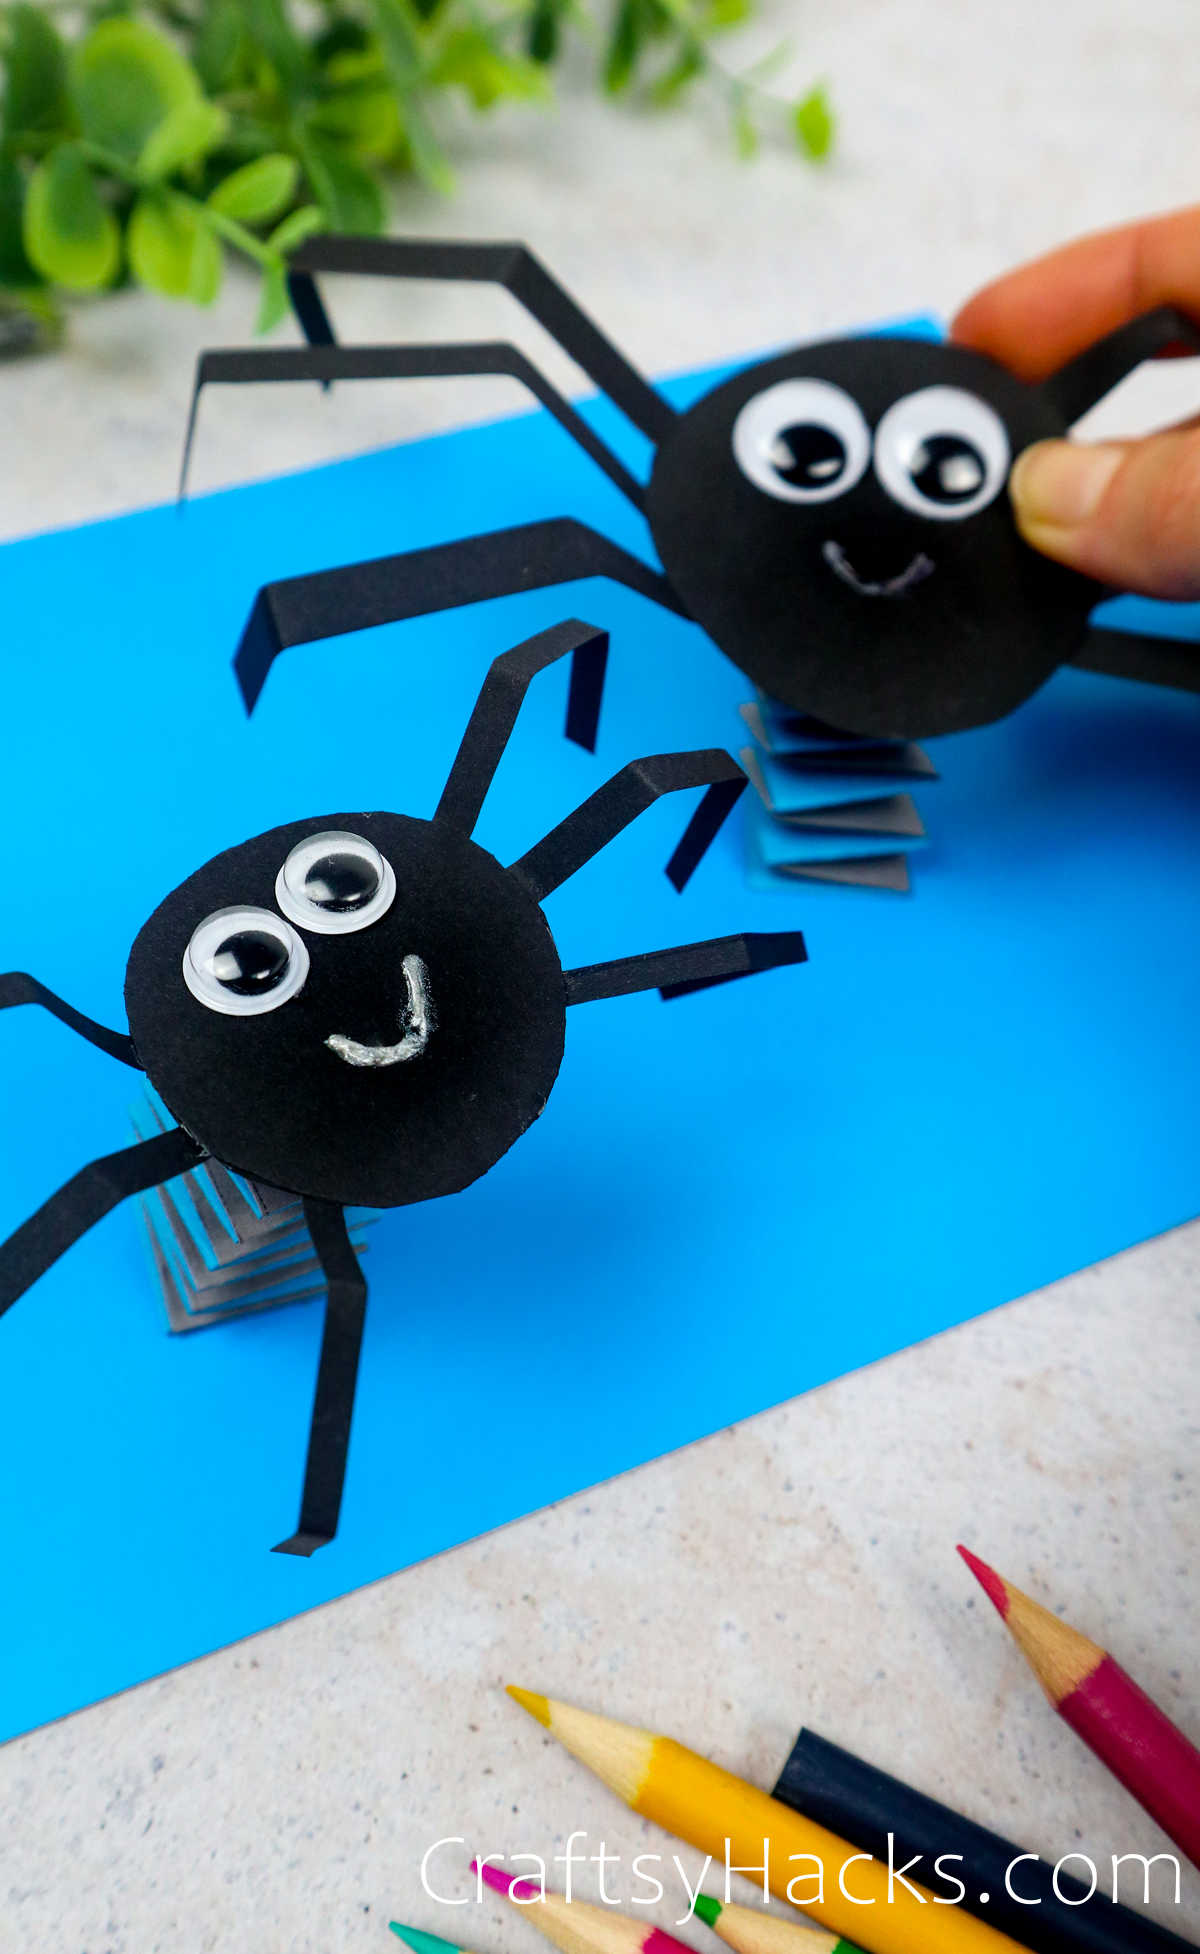
I love a project with a wiggly eye, so well start with the head.
Attach both eyes and draw a friendly little smile or silly face if you feel a little extra!
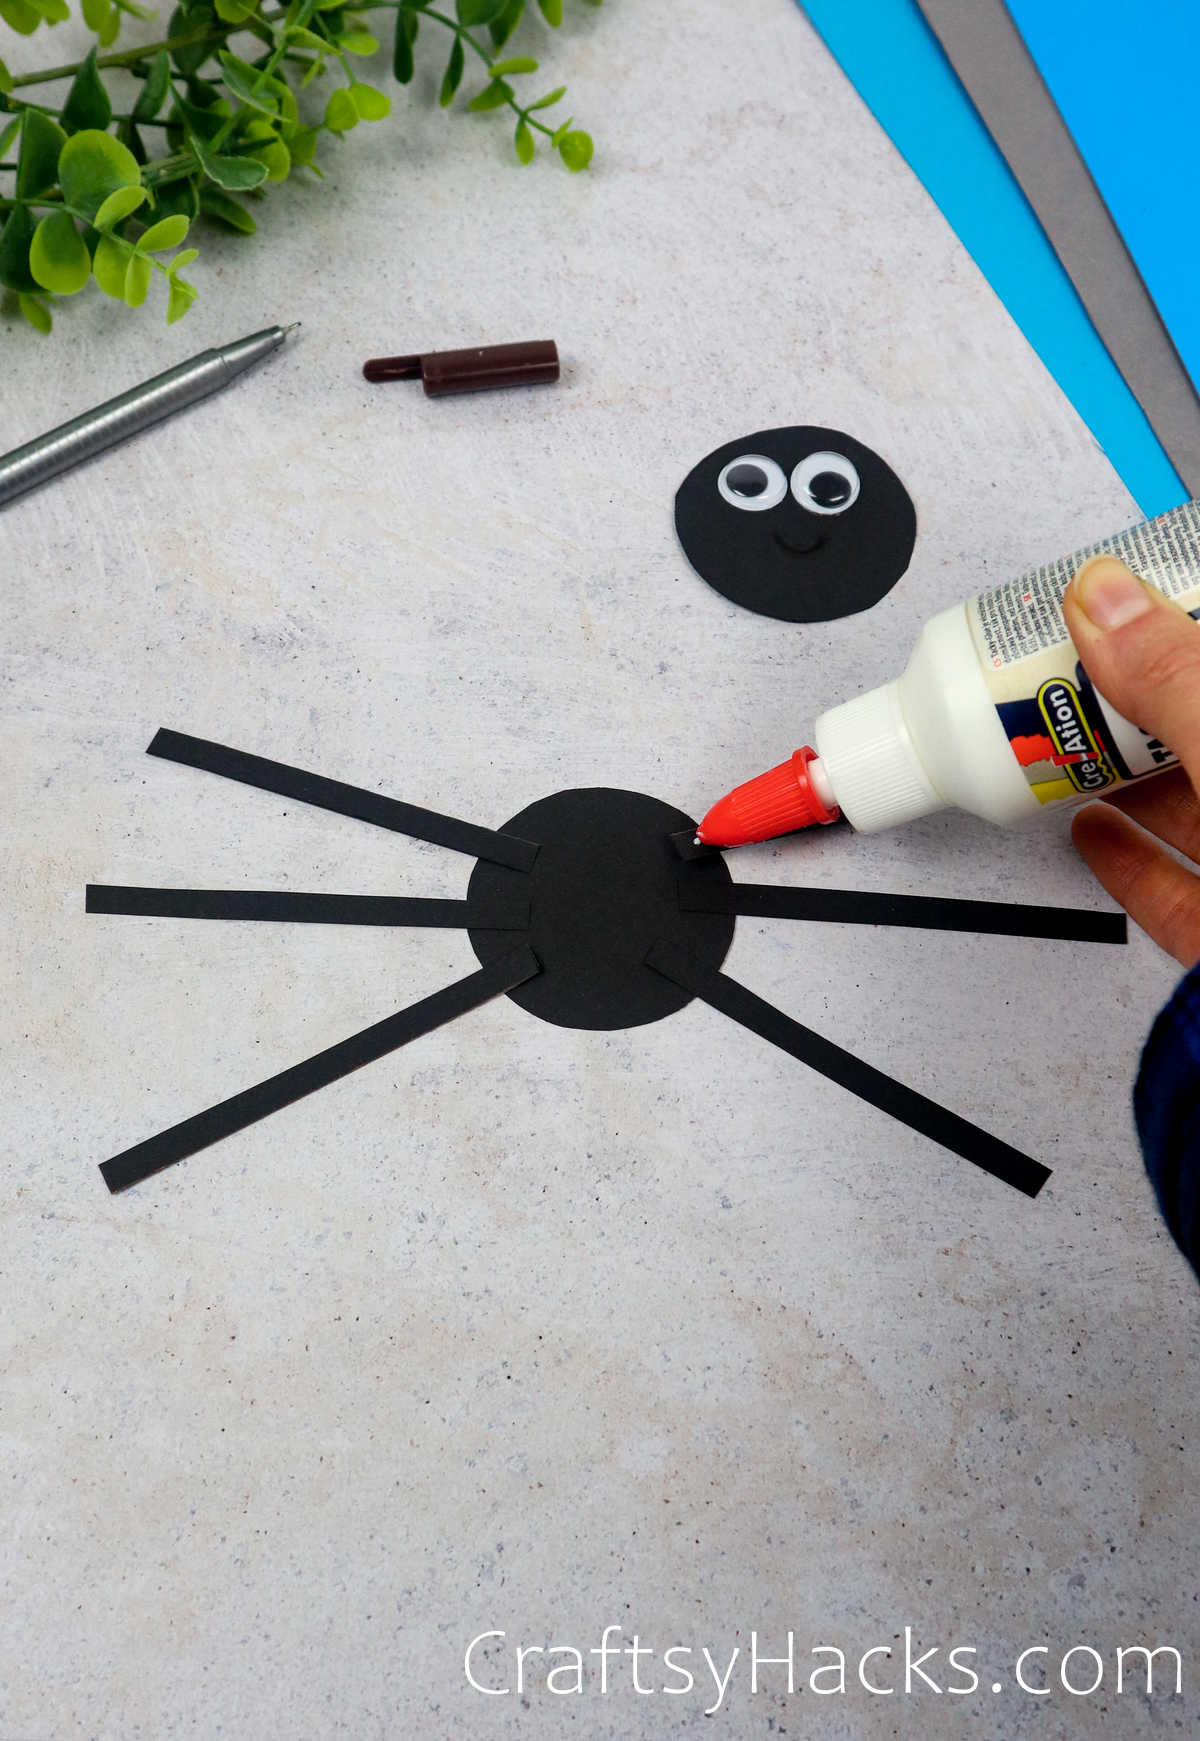
We want to space the eight pieces evenly on either side.
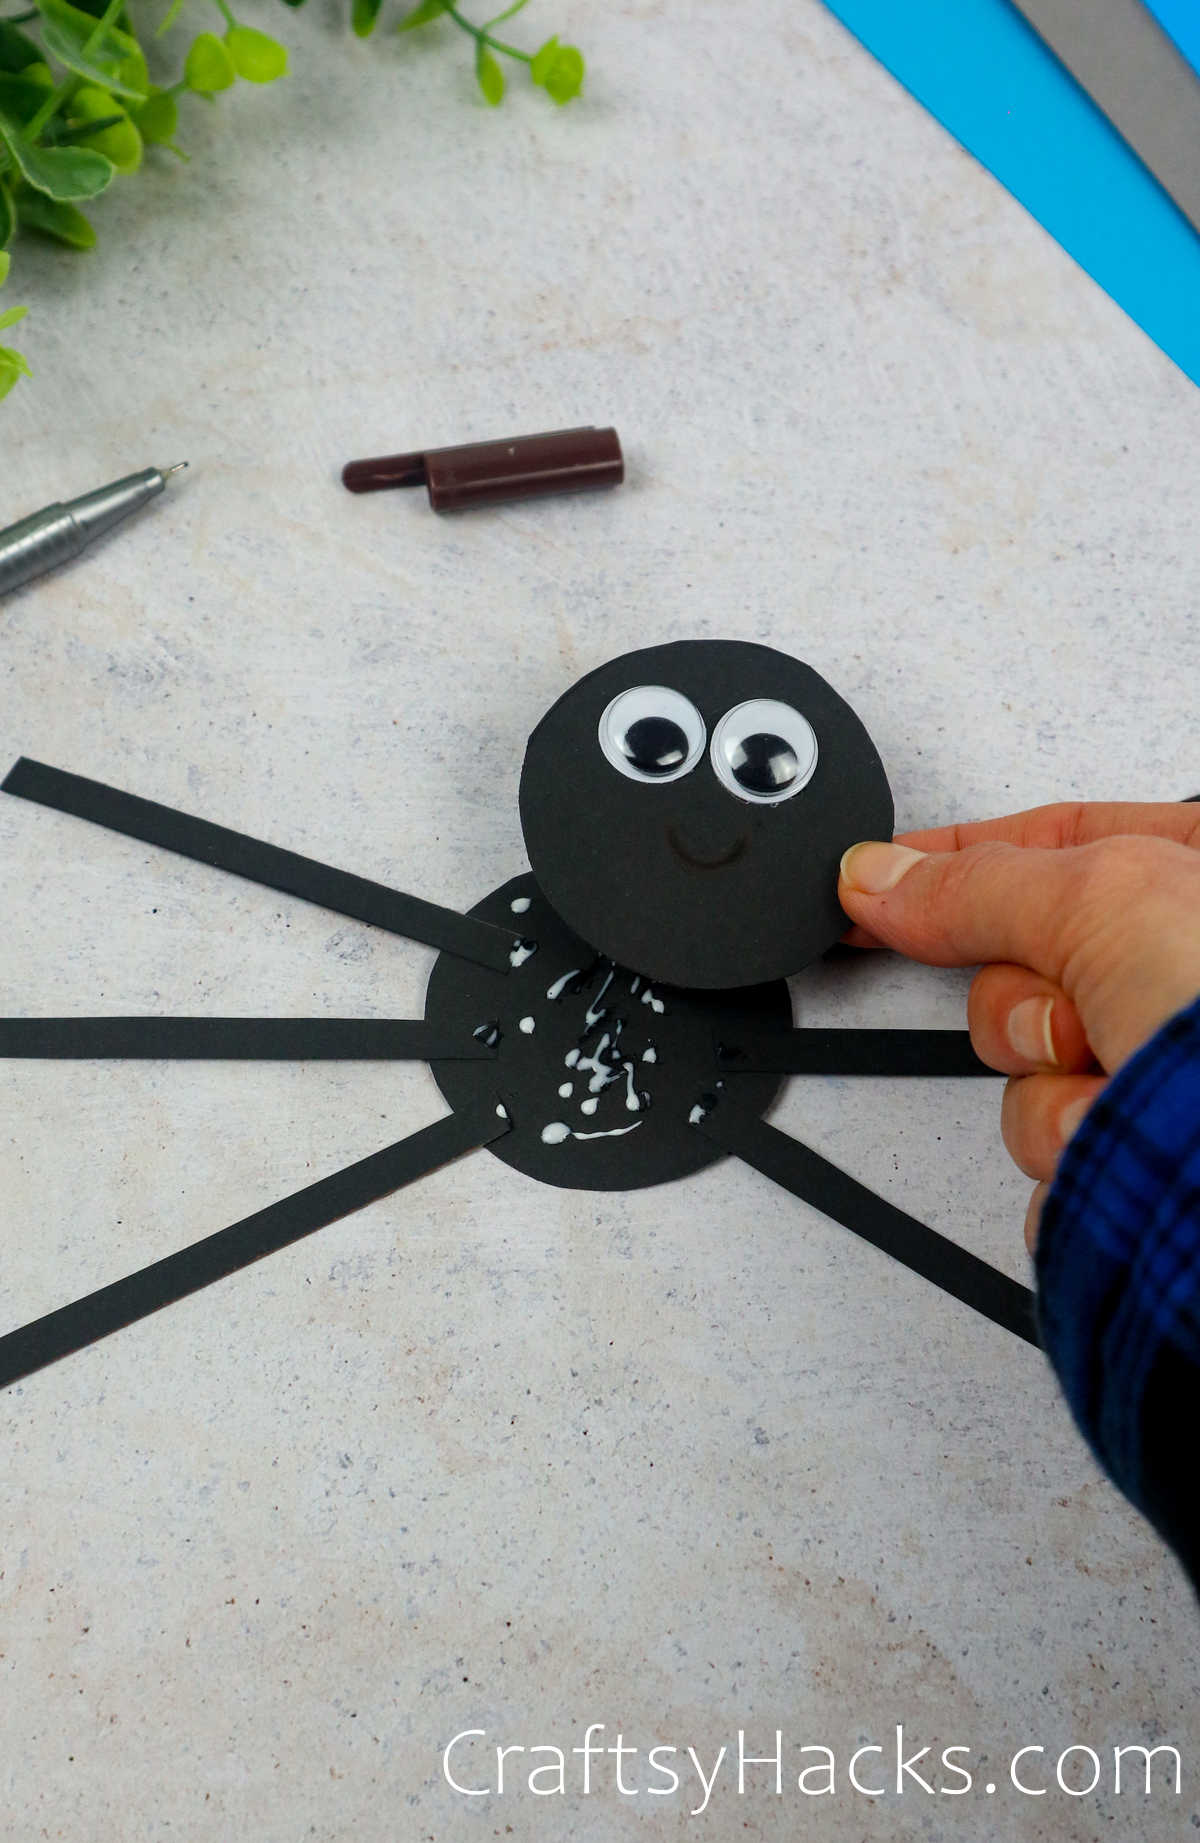
The idea here is to hide the legs in between the two pieces of paper.
Step 10
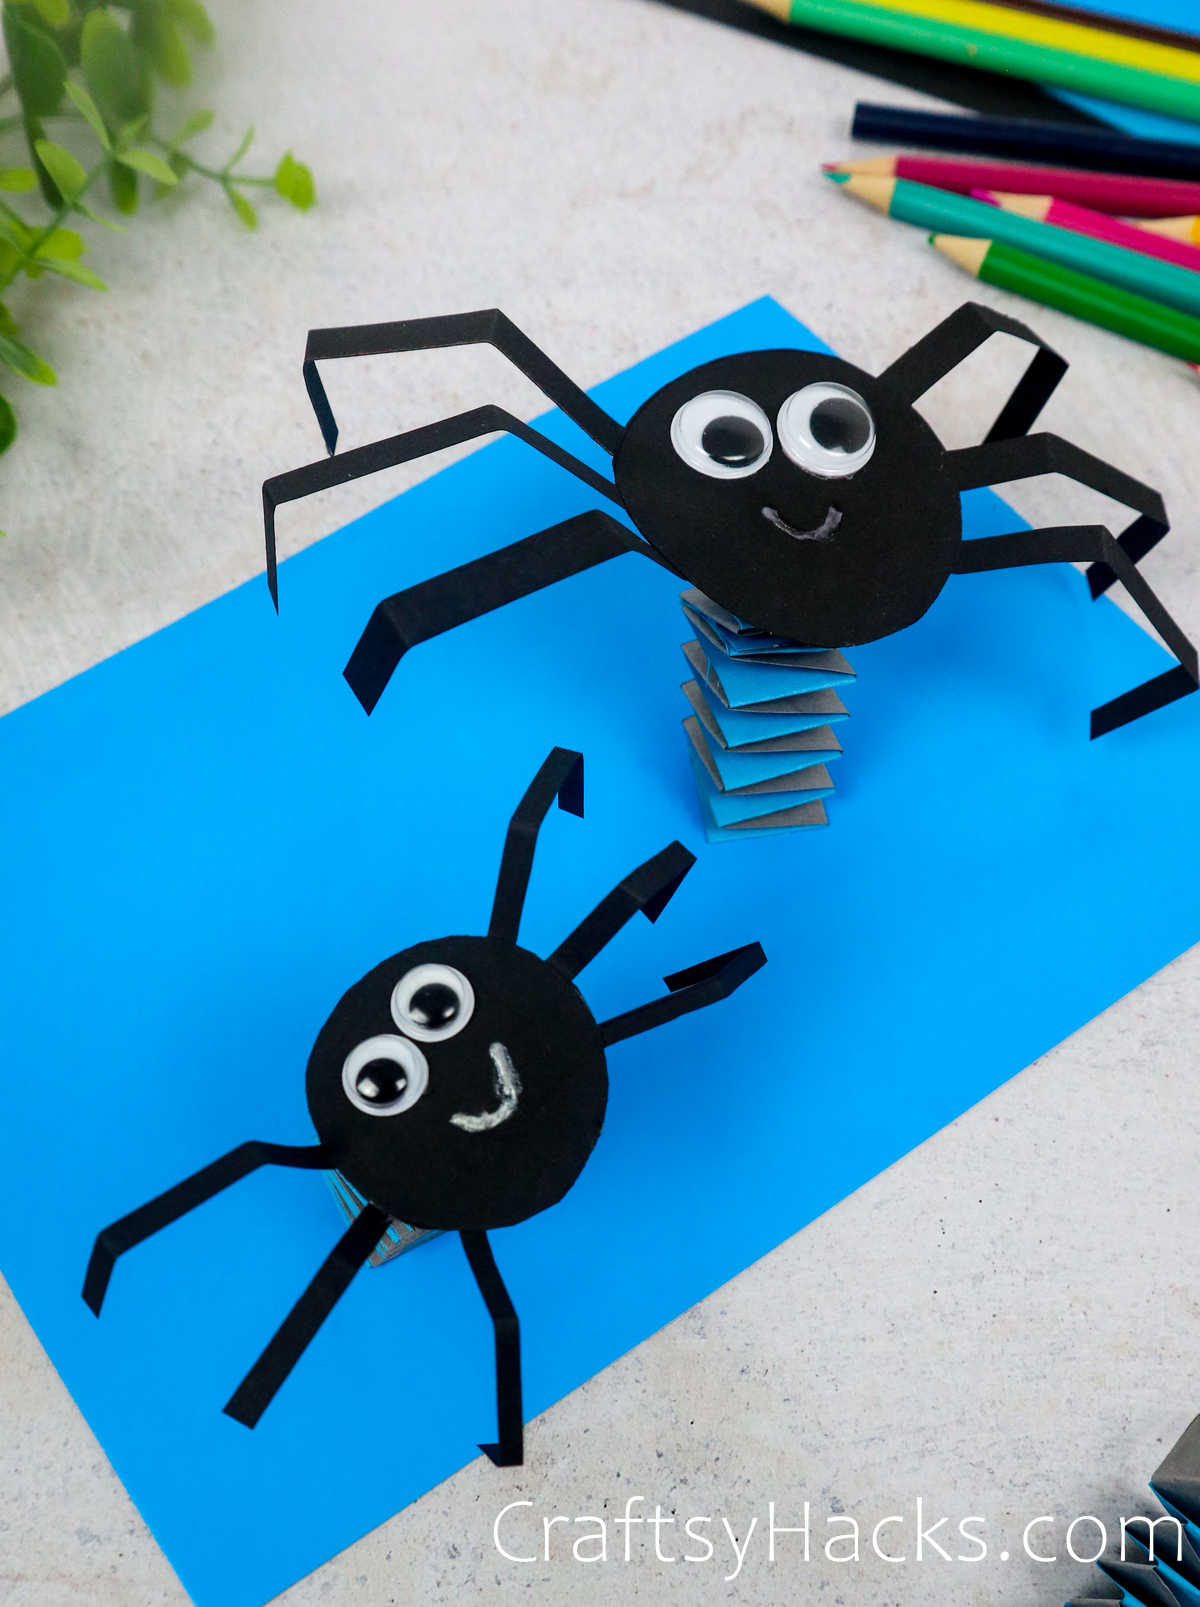
As you finish up the spiders body, well crimp the legs in two places.
Place the marks roughly in thirds with soft bends; no real creasing is needed here.
Play around with the bends and make them work for you.
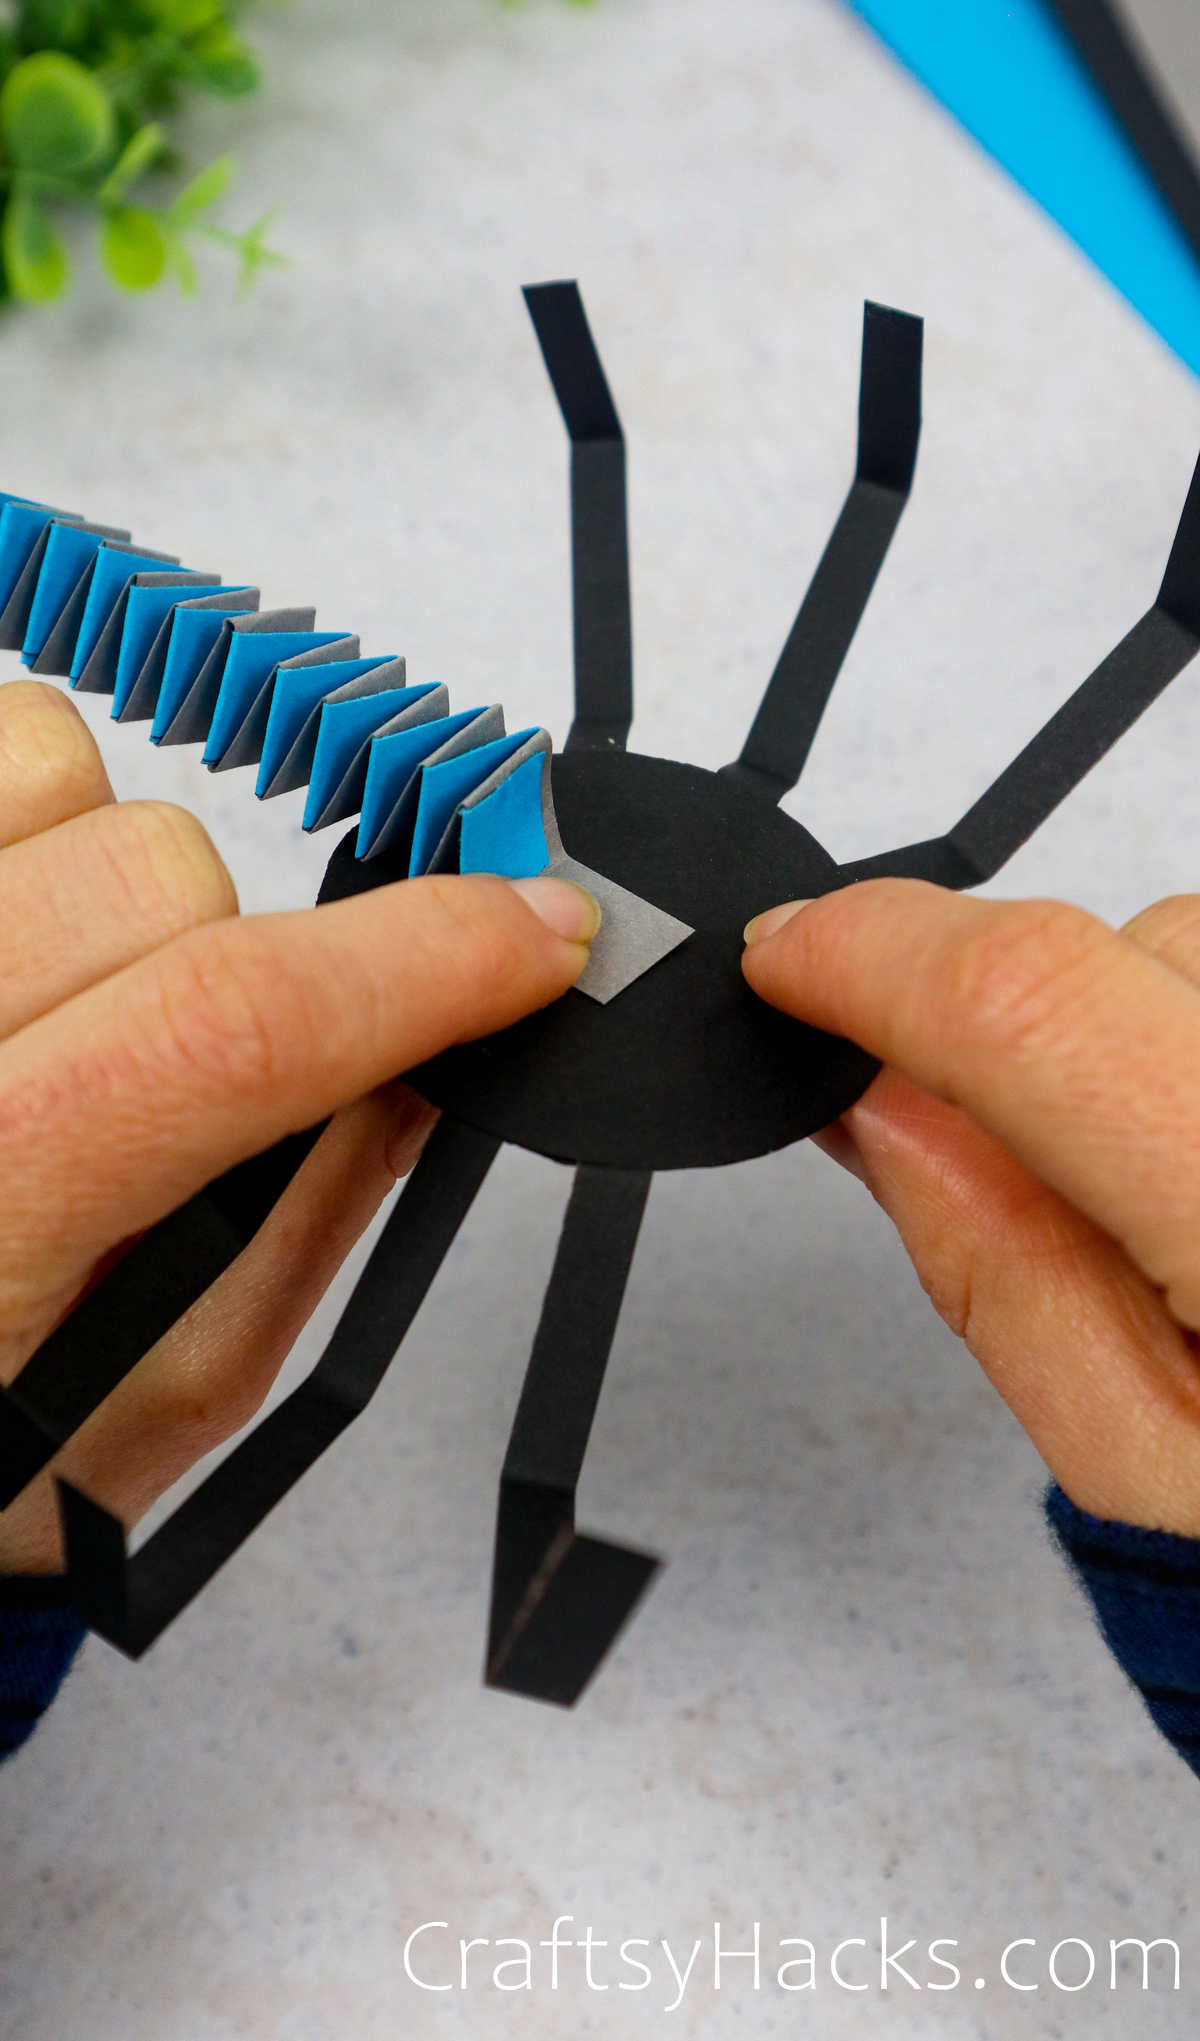
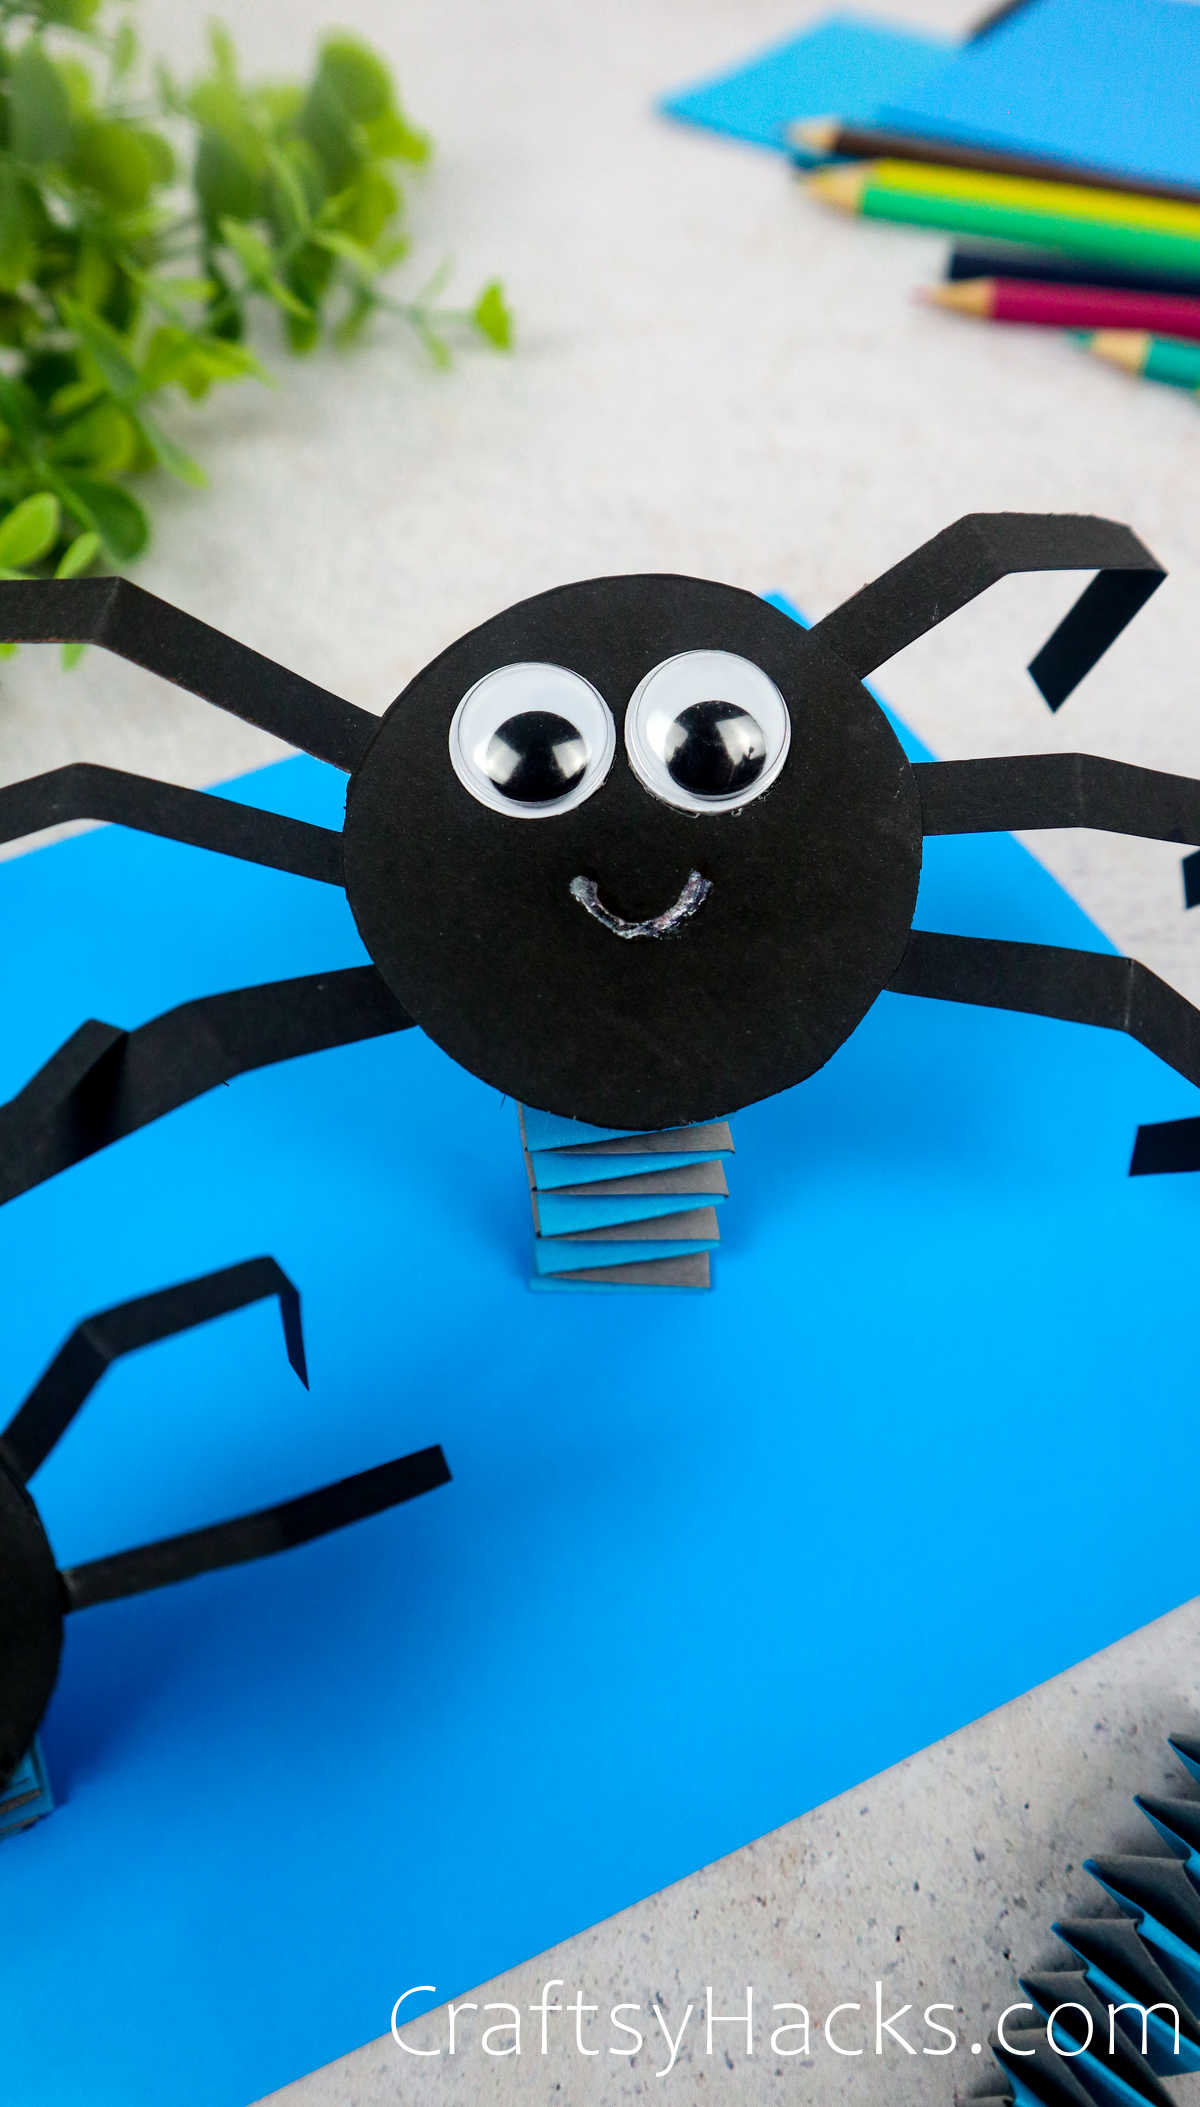
Finally, we will glue the spider onto the last unfolded spring tab we left upward.
Then, attach the other end to a thicker sheet of construction paper and let it sit until dry.
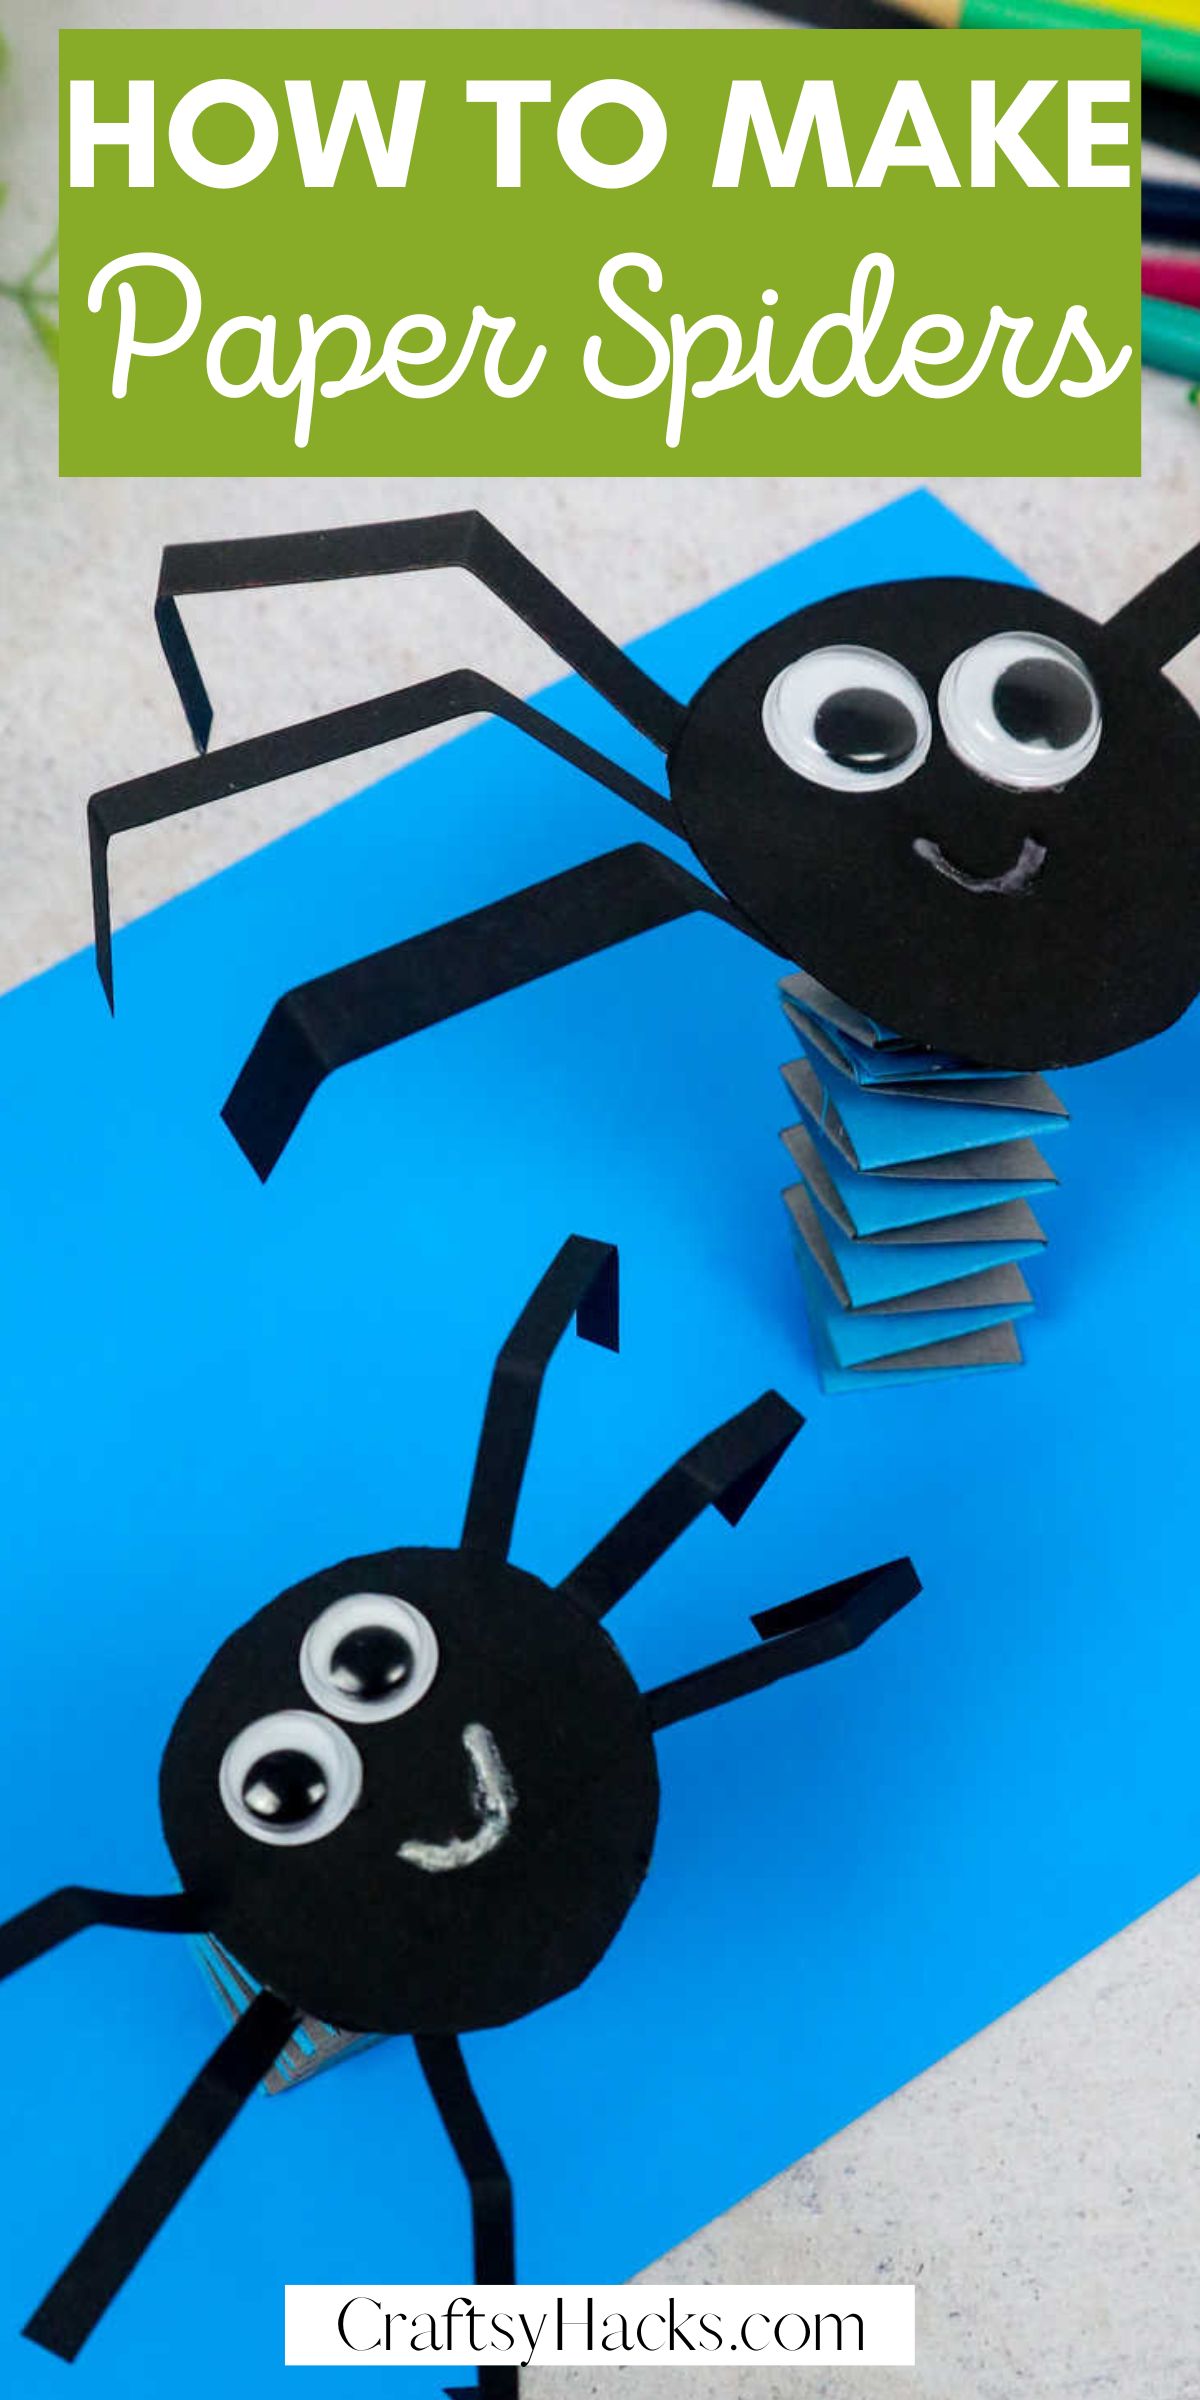
And there we have ita friendly jumpy spider!
Dont forget to give it all the time to dry properly before trying the spiders out.
Other Paper Crafts: