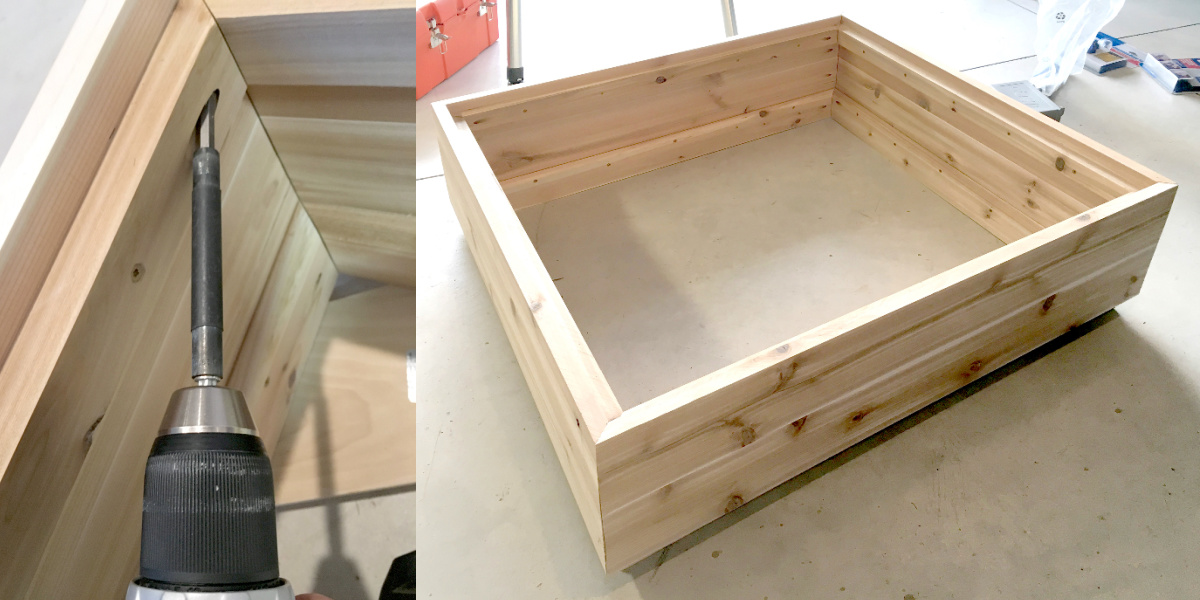
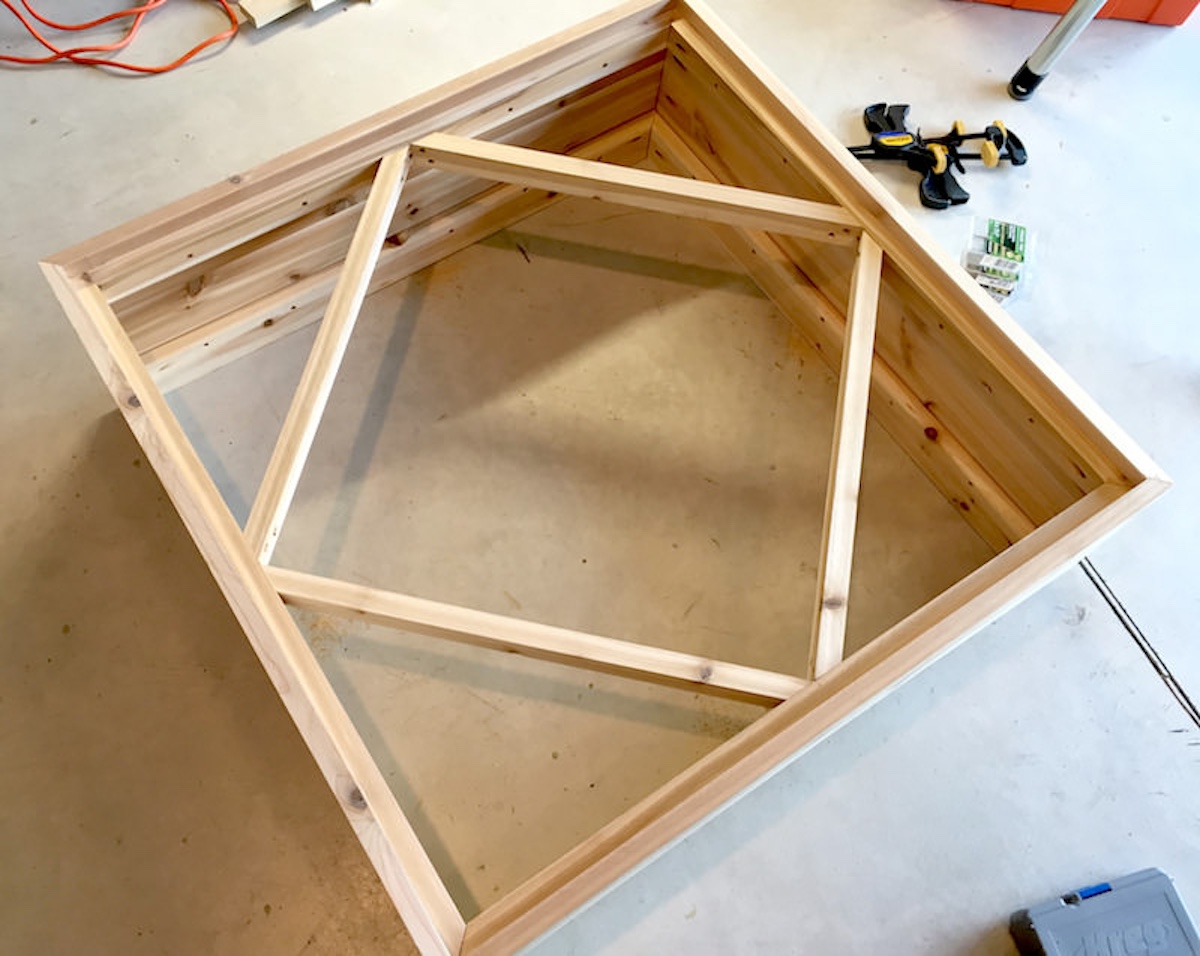
Build a DIY outdoor table using these simple plans!
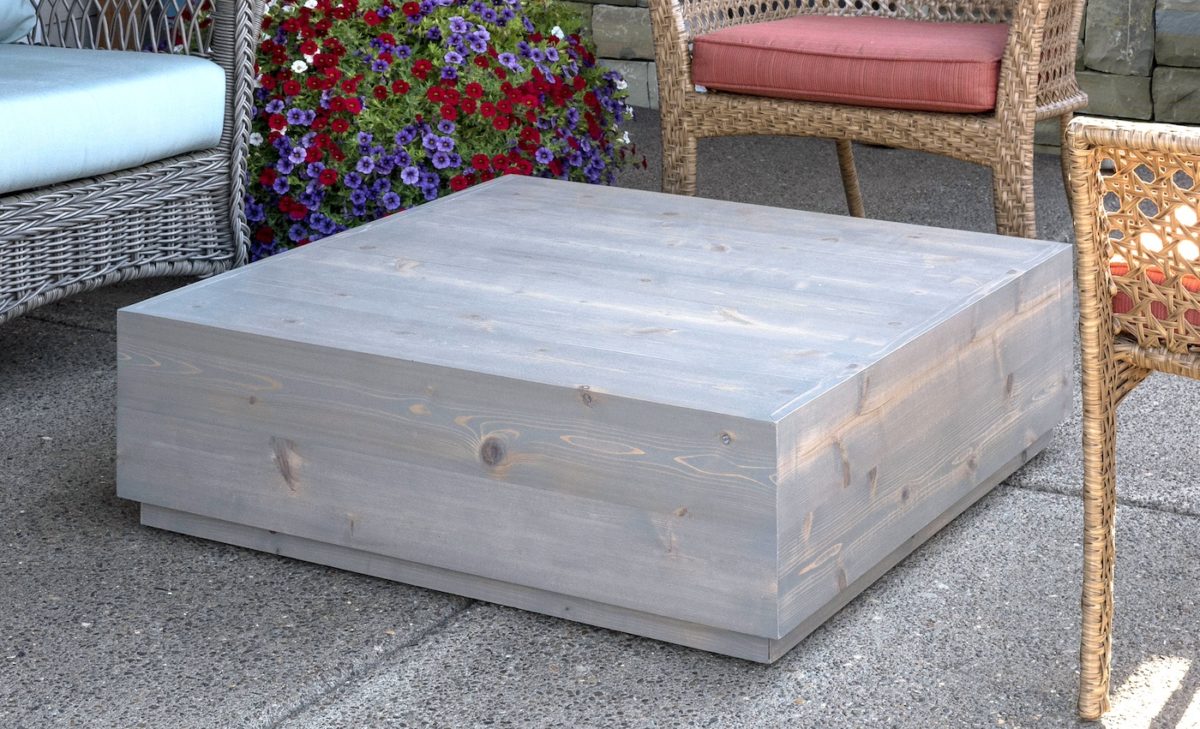
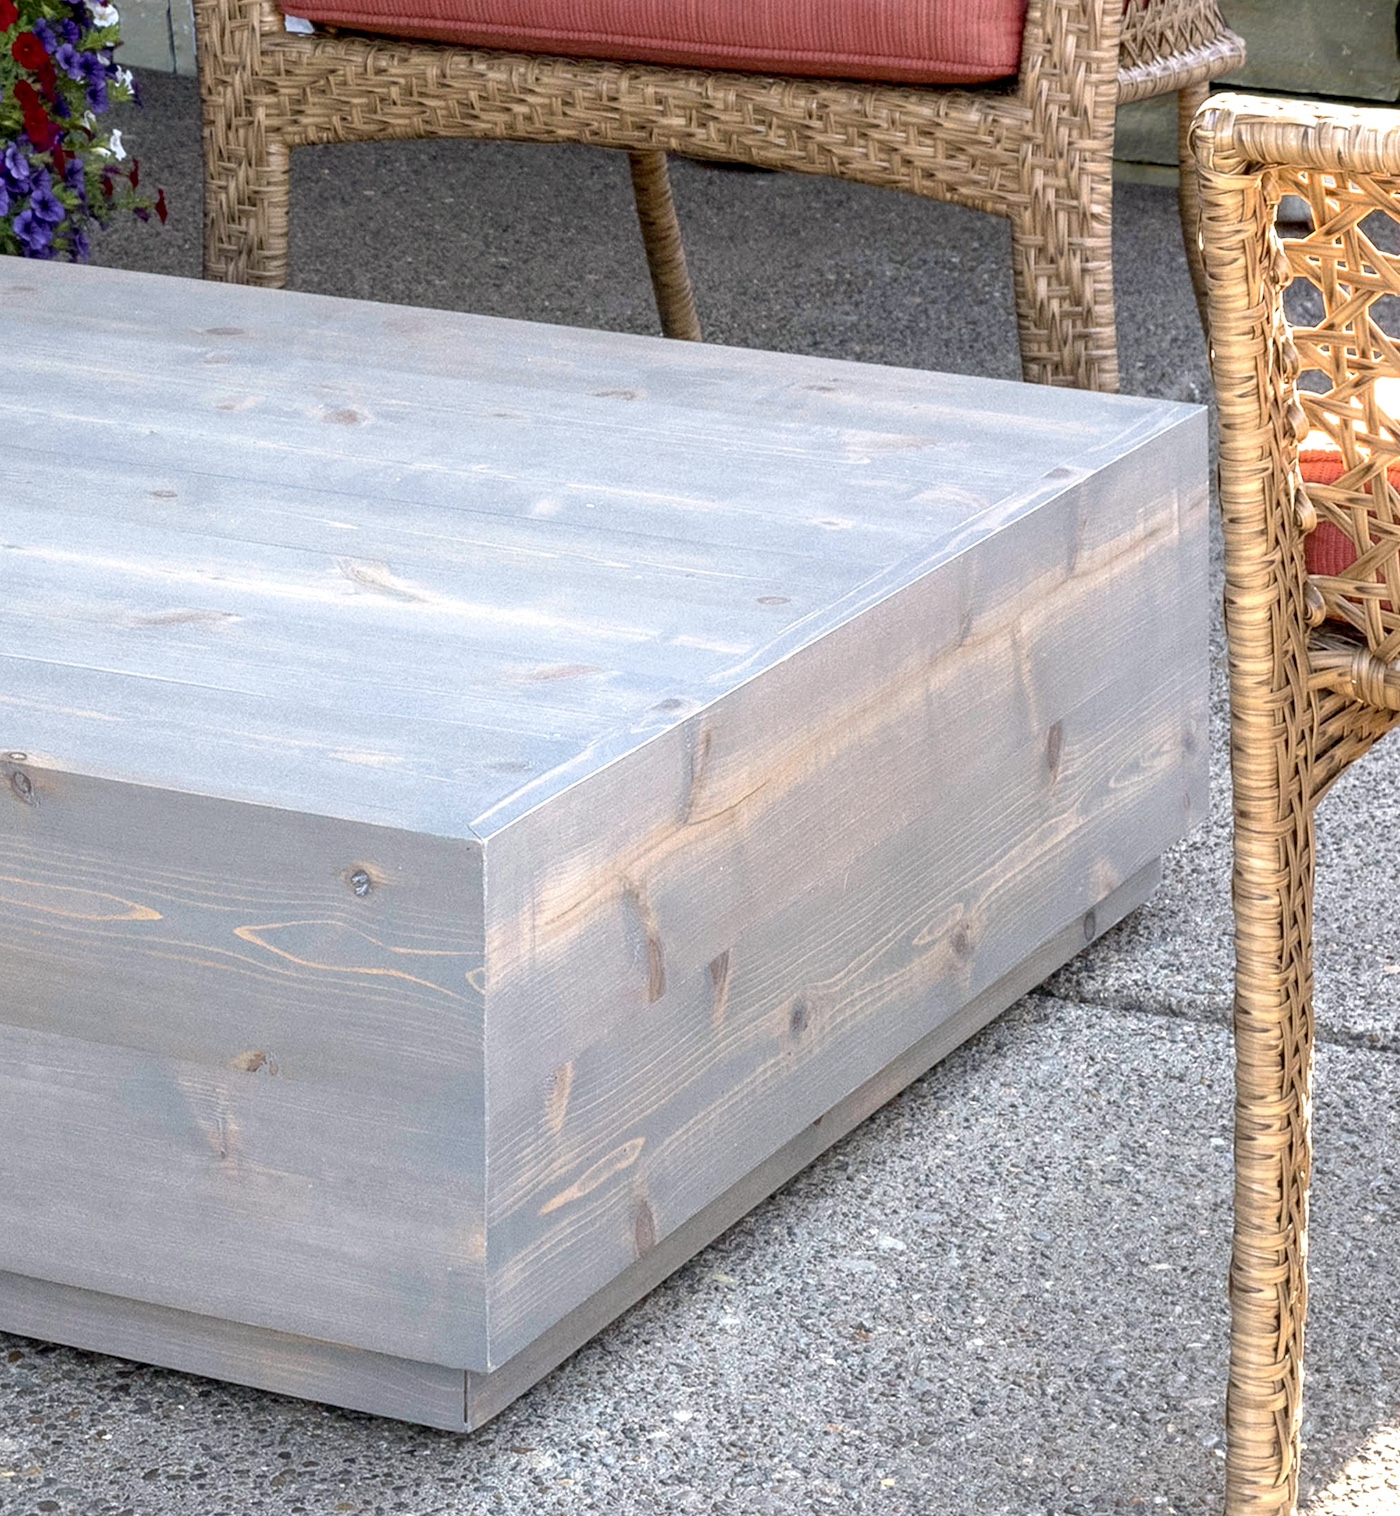
This DIY patio table is low with clean lines and works with a variety of outdoor decor.
If you like patio furniture that is modern with a rustic feel, this will meet your needs.
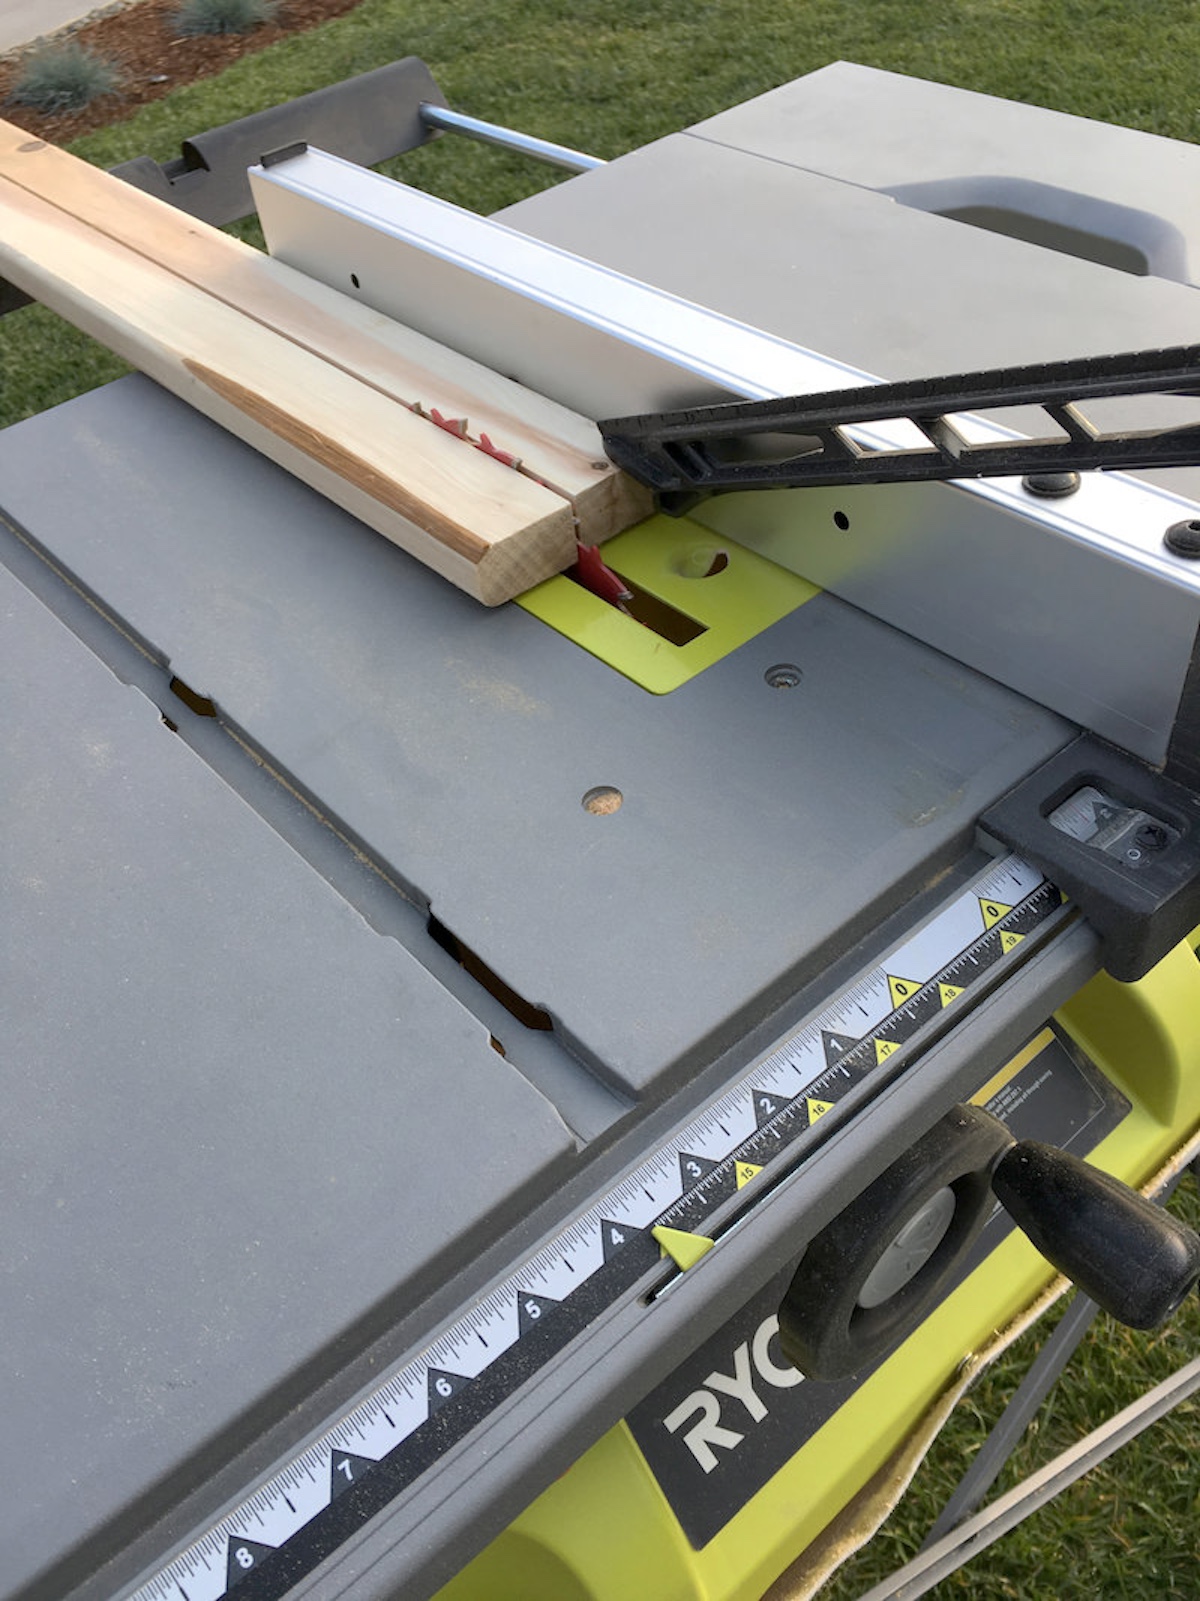
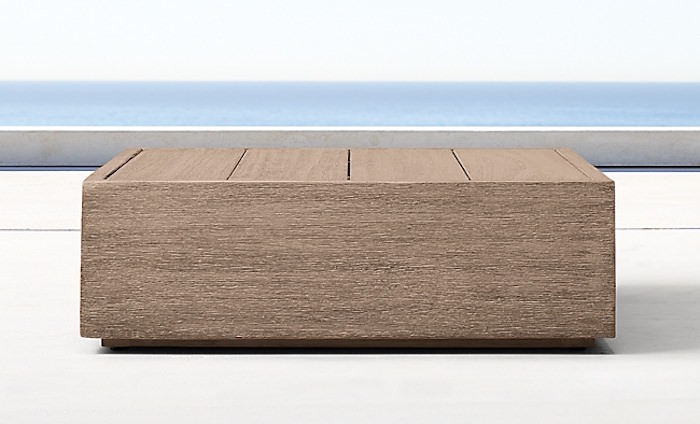
We have a favorite pastime around here, and involves catalogs and table saws.
It also involves quite a bit of money savings.
I know, we have a weird definition of fun.
In this case, the creation process was initiated by my mother.
And thats how this DIY outdoor table came about.
She didnt really have any criteria for her DIY patio table, just a general size.
We live in the Pacific Northwest, so significant rain is a consideration.
If you want to dive right into the tutorial scroll down.
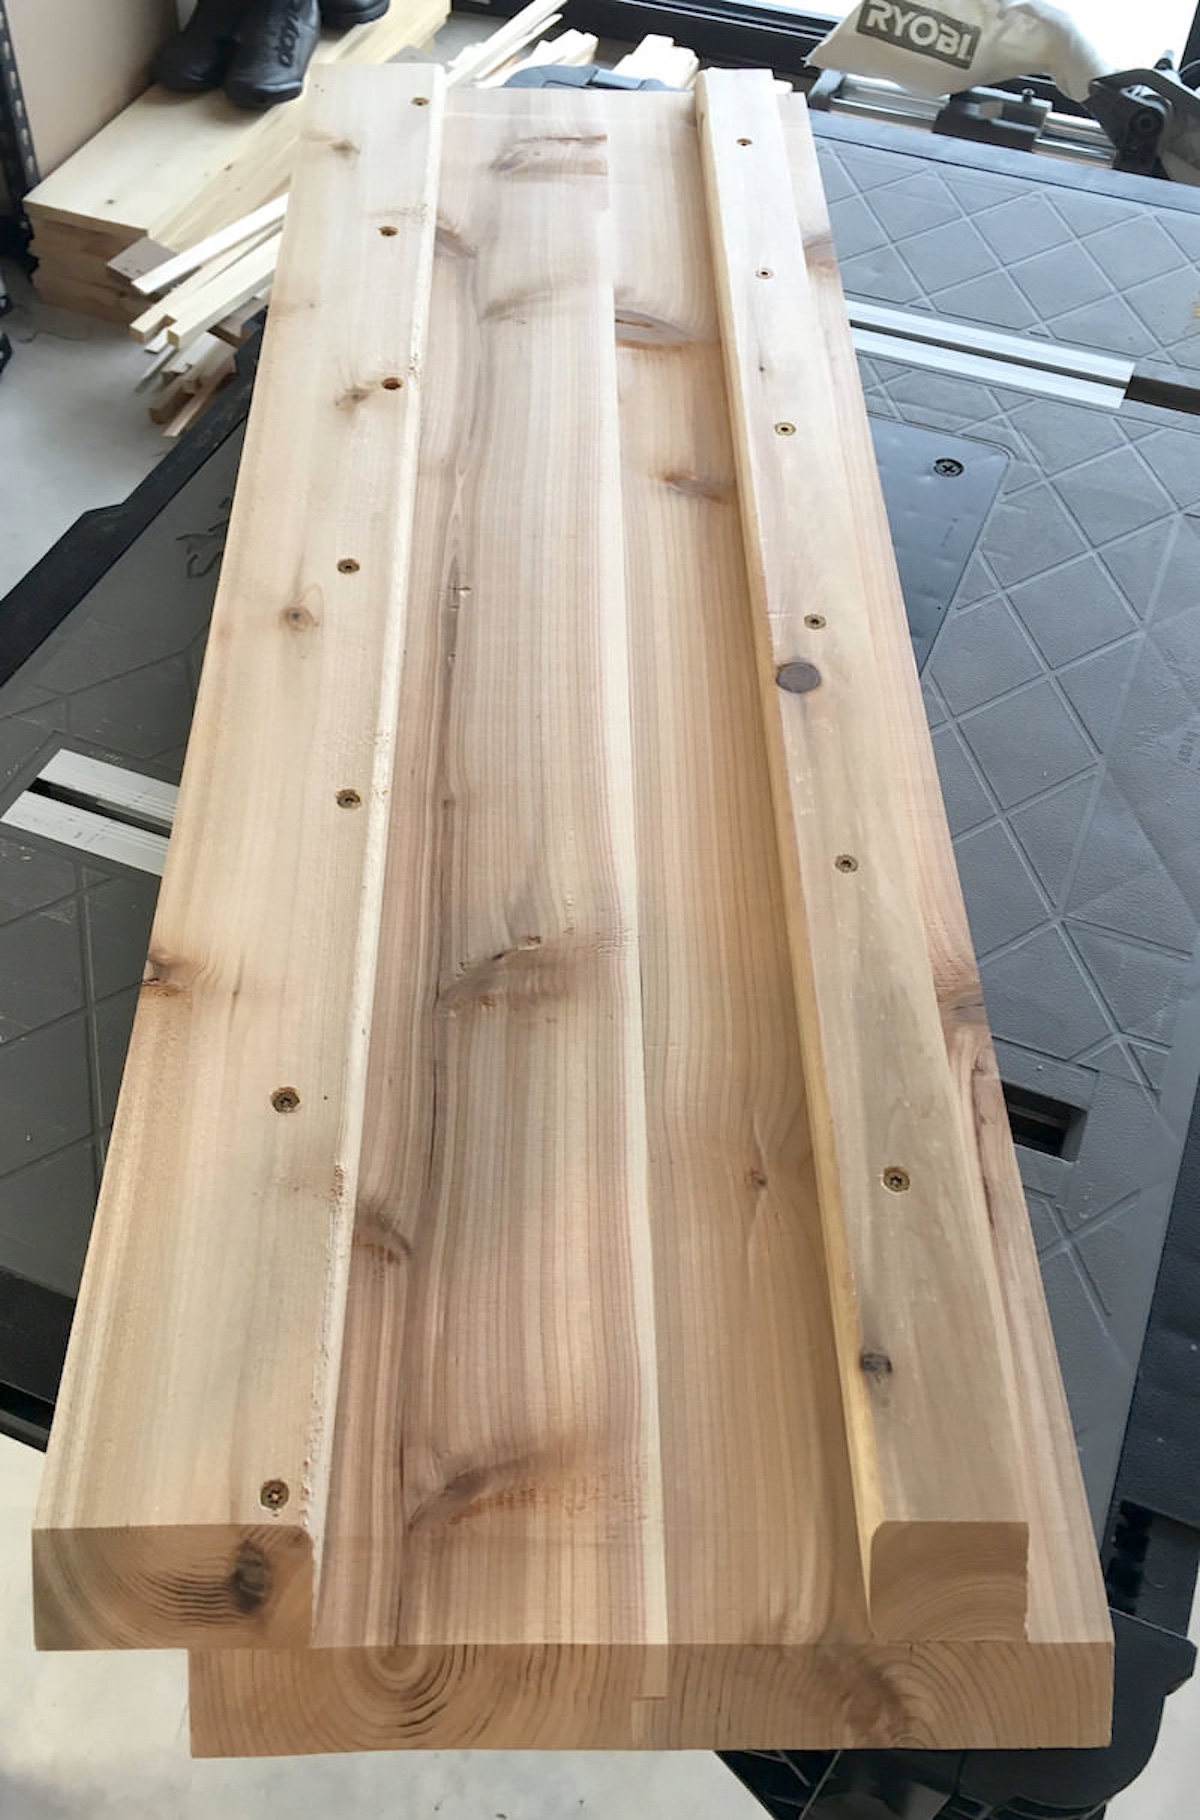
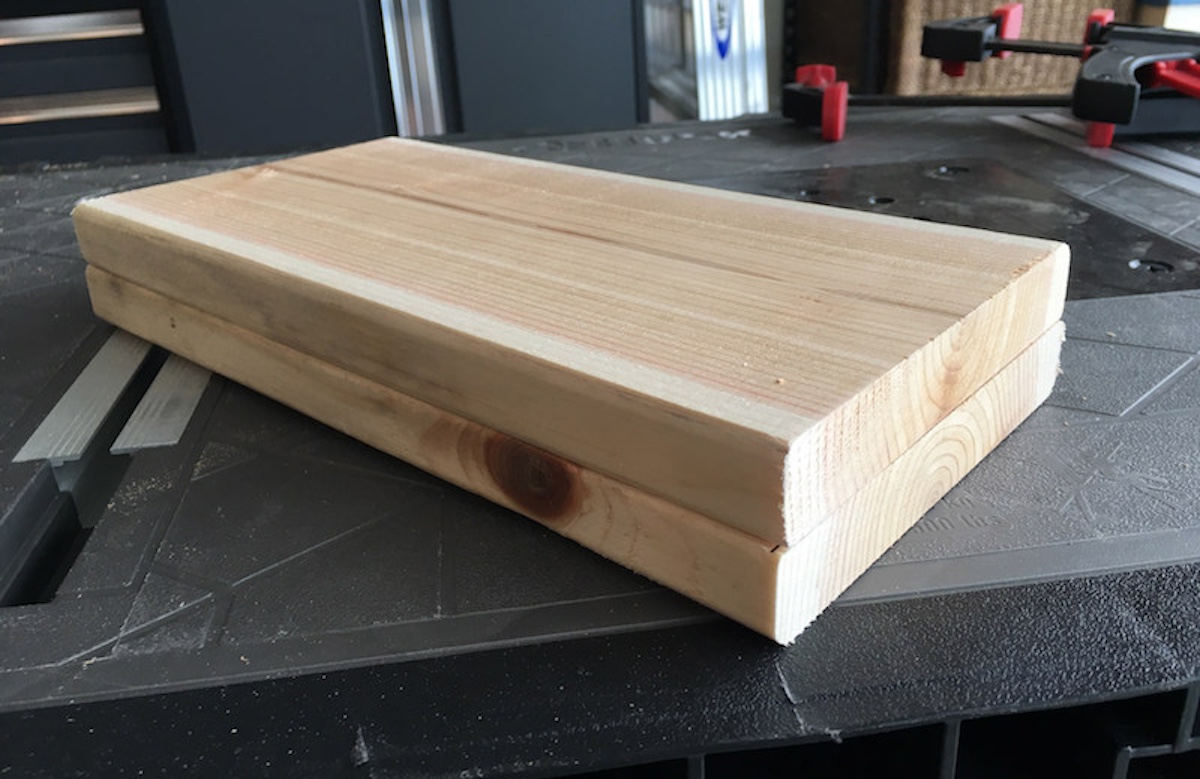
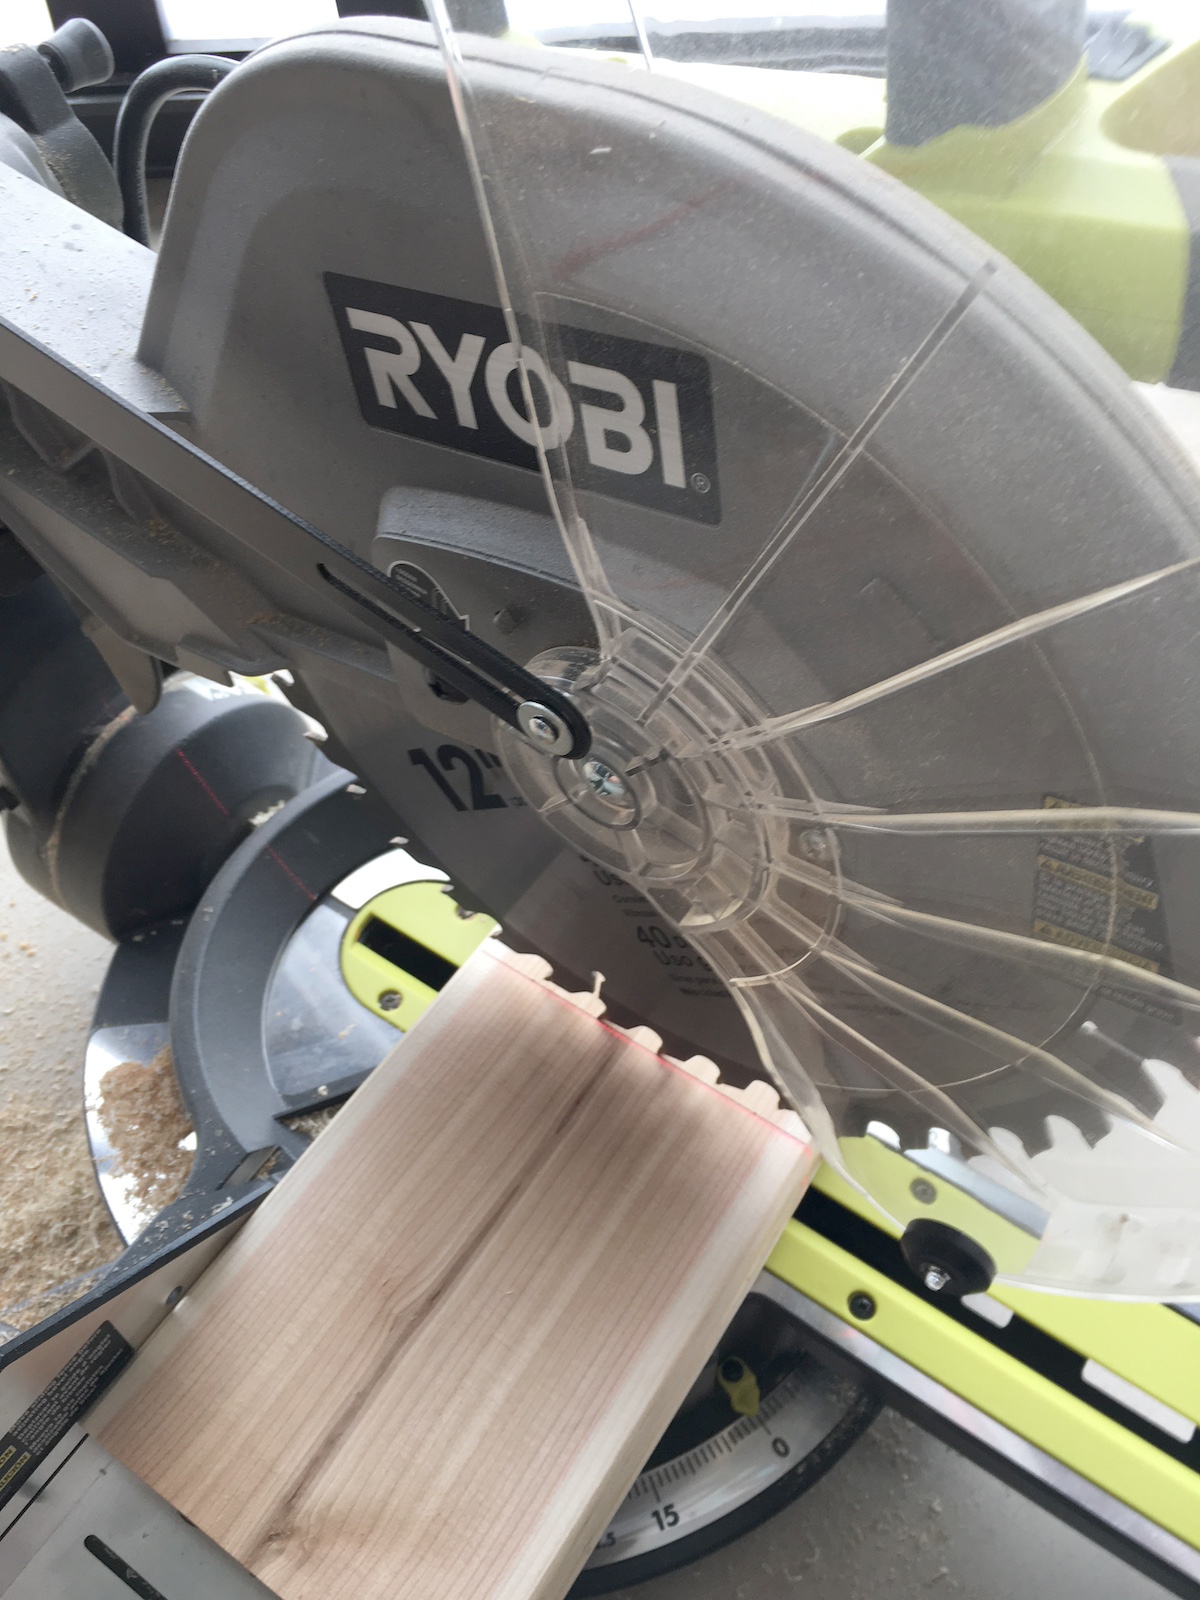
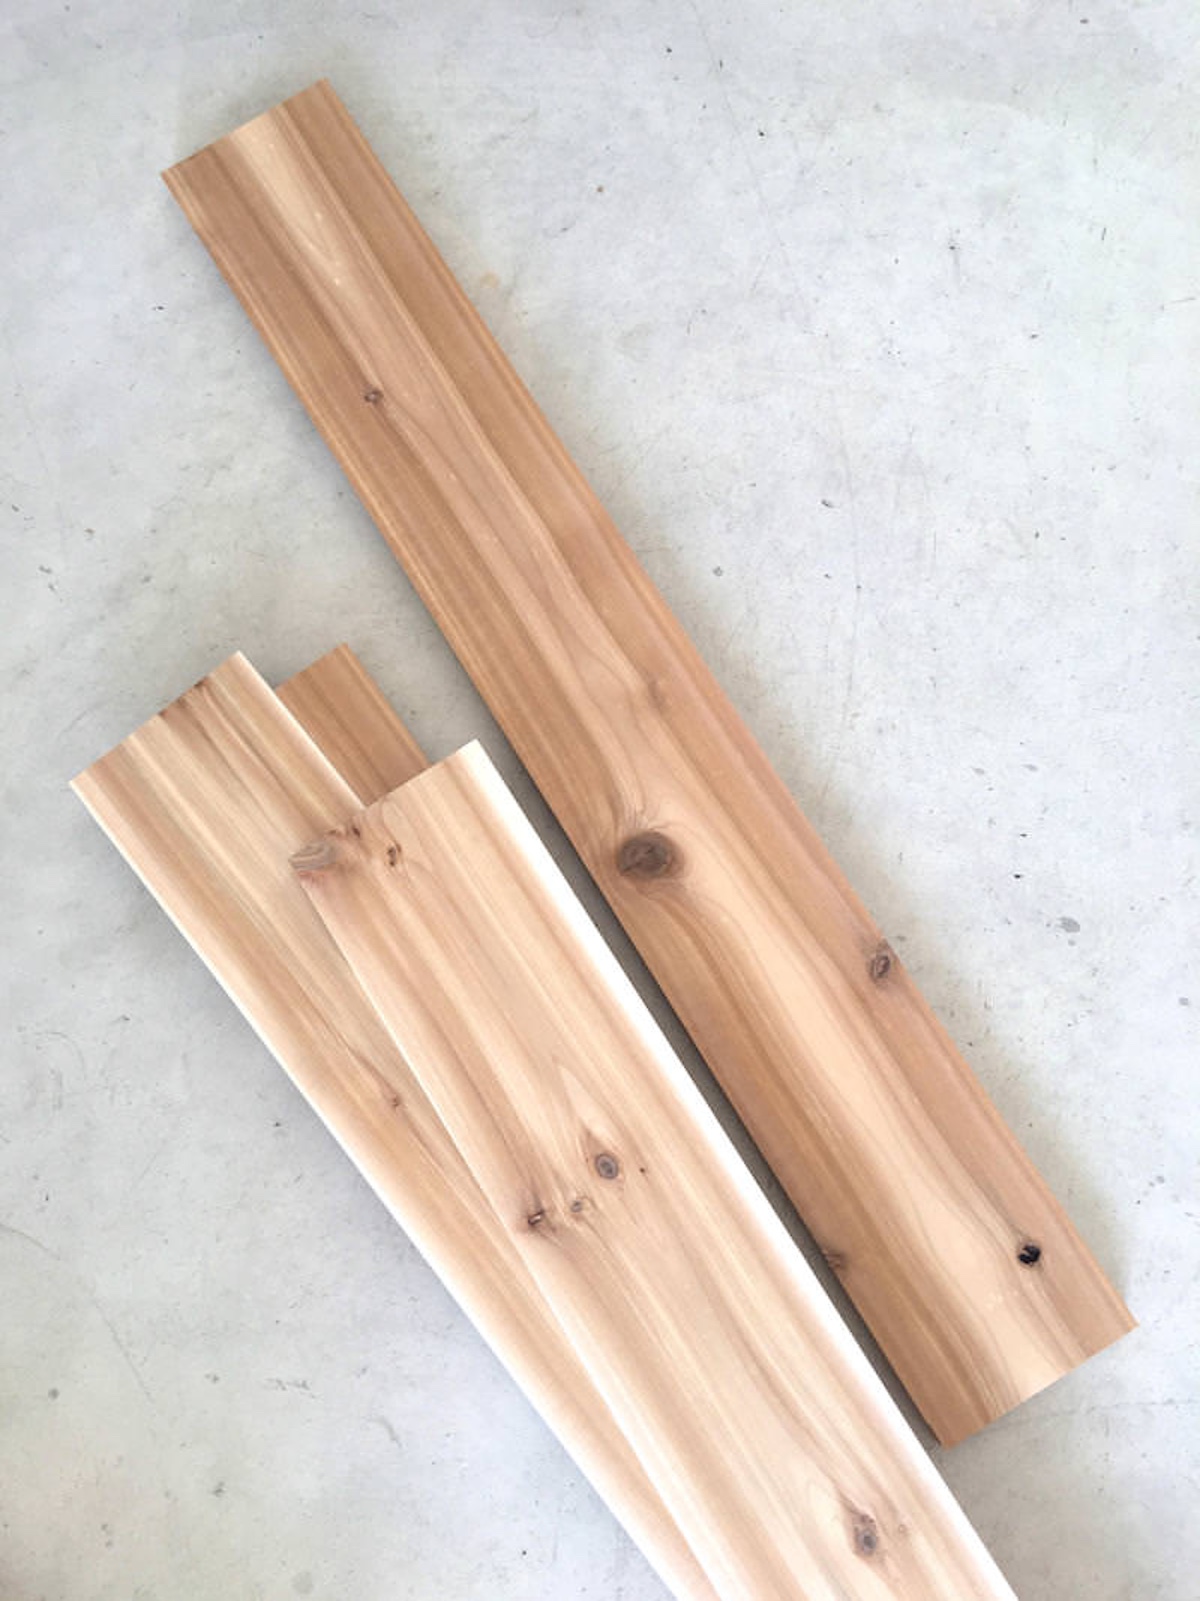
Wood to Use
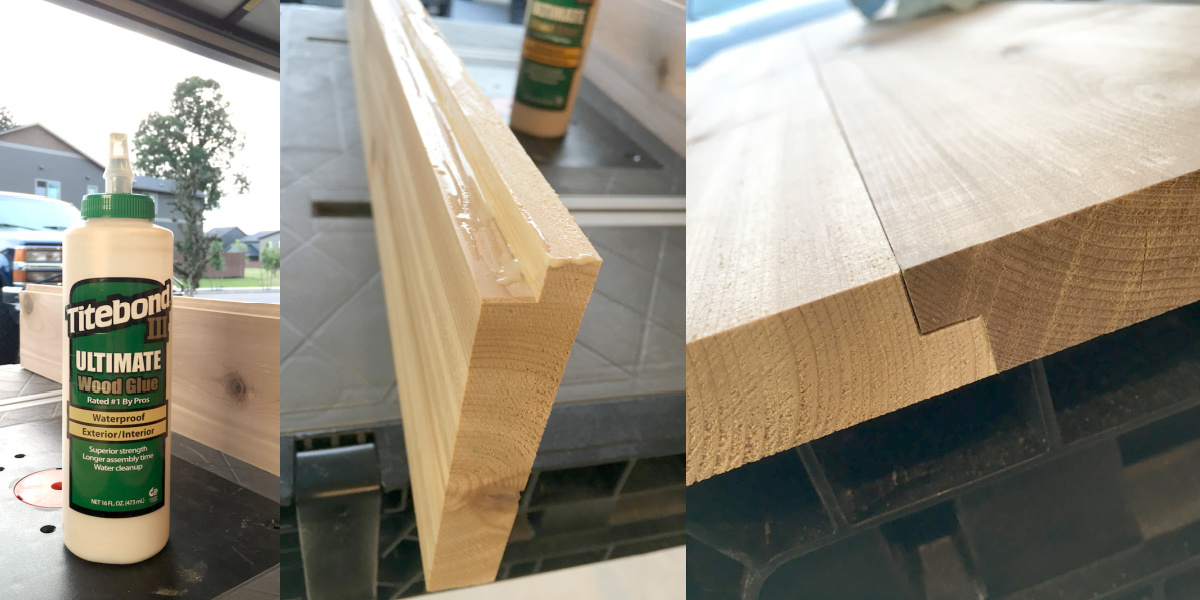
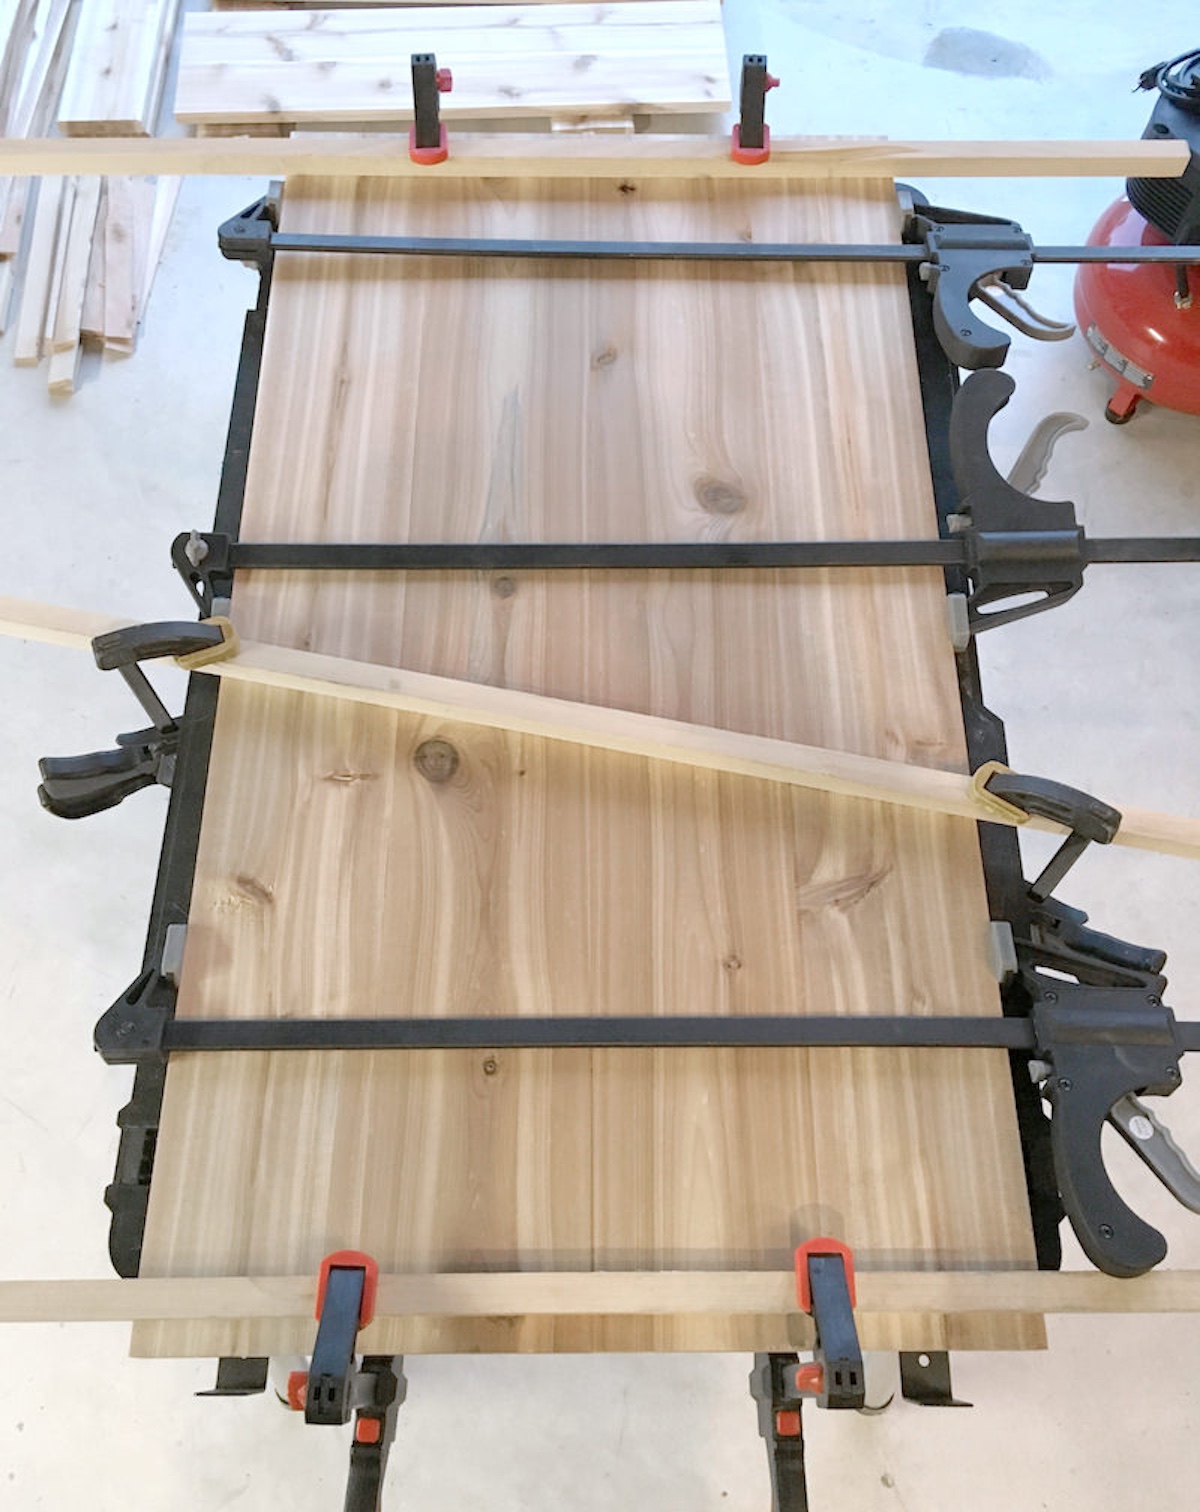
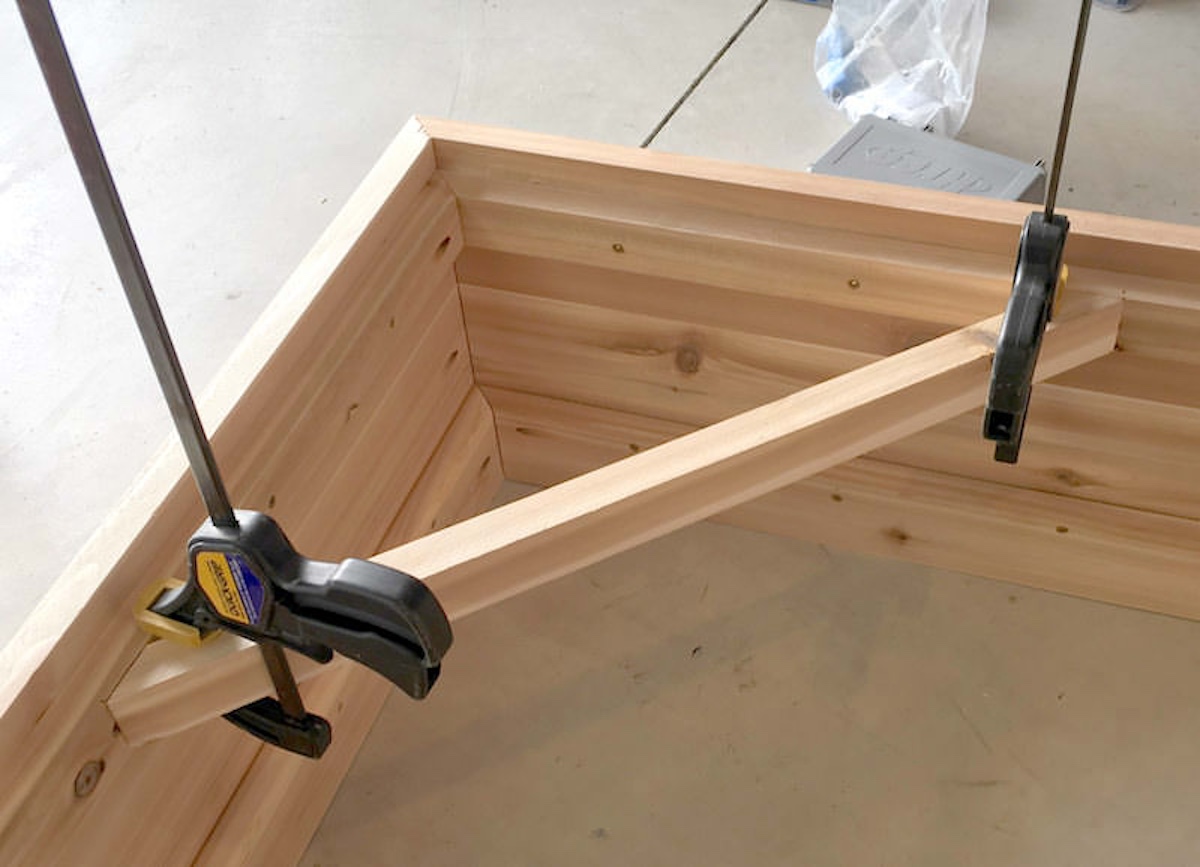
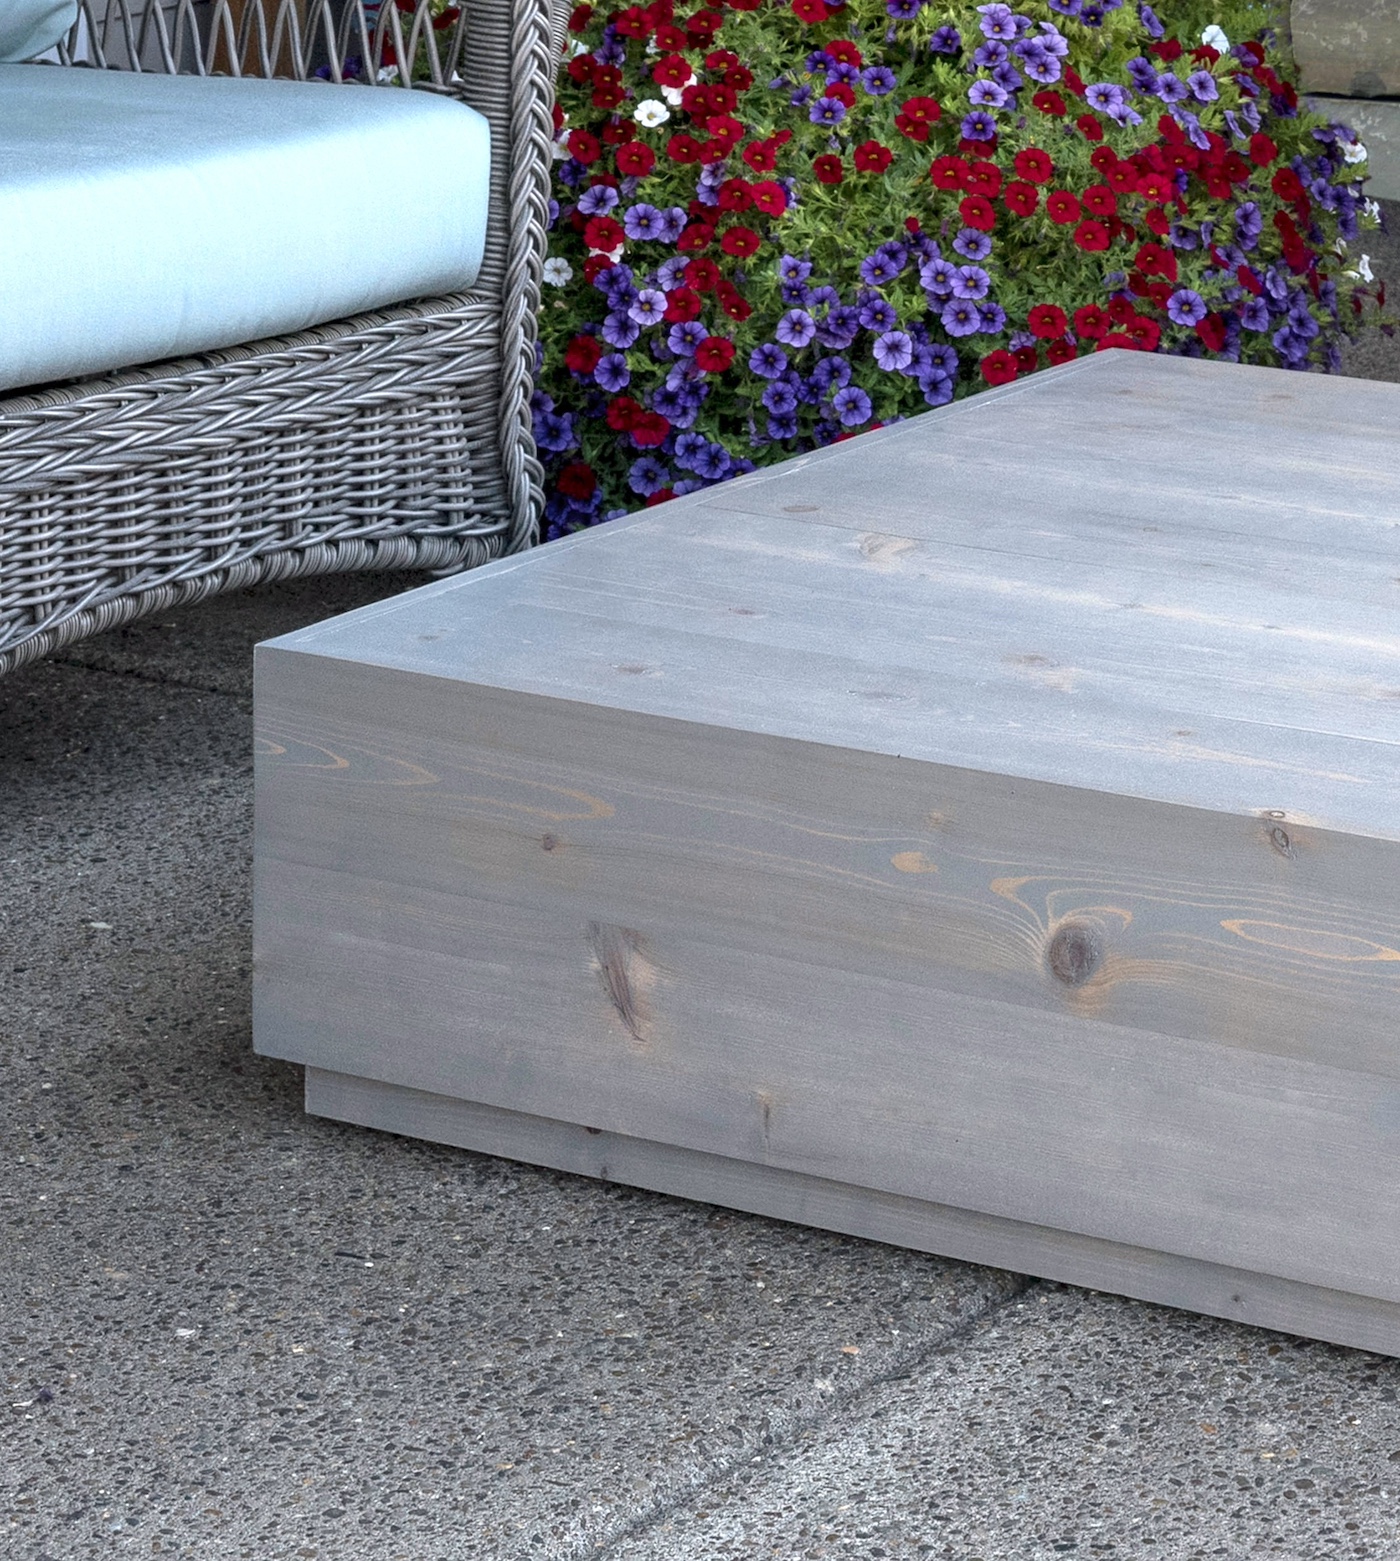
For DIY patio furniture, we like to use cedar.
There are a few reasons, the most important being the natural resistance to water.
This table sits outdoors (partially covered) and we live in the Pacific Northwest.
So lots of rain.
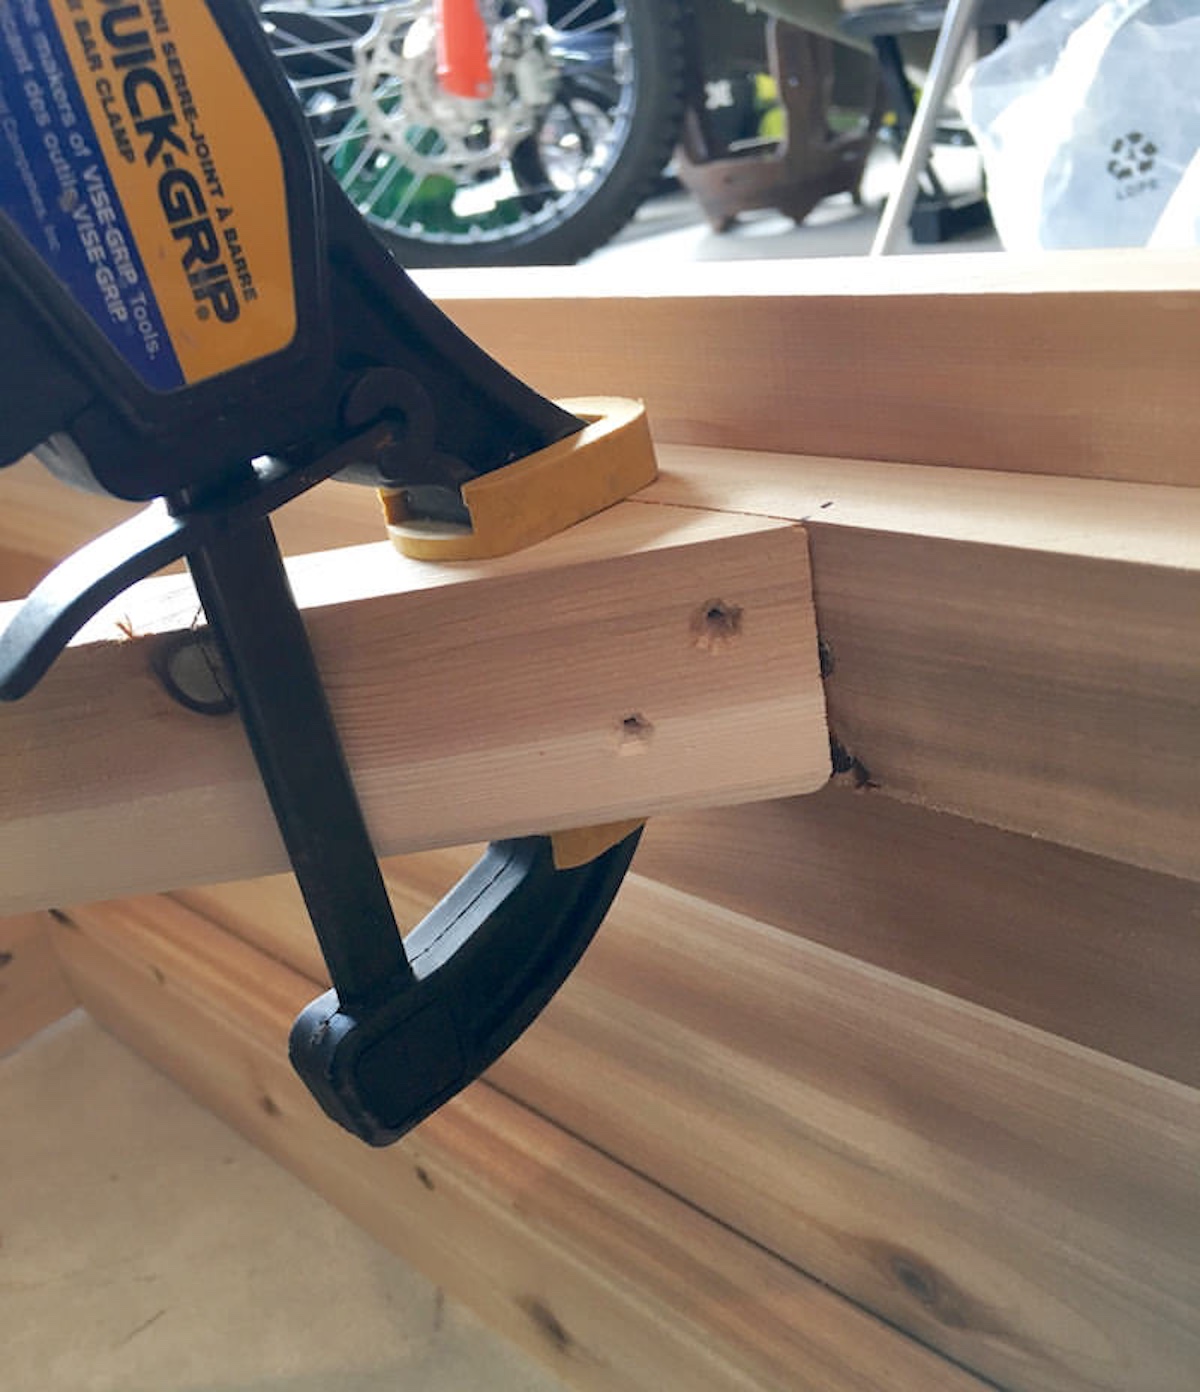
I also love the stability of cedar.
Its not prone to warping or sagging.
Its very resistant to bugs and mold doing any damage.
This is true even for the reddest cedar trees.
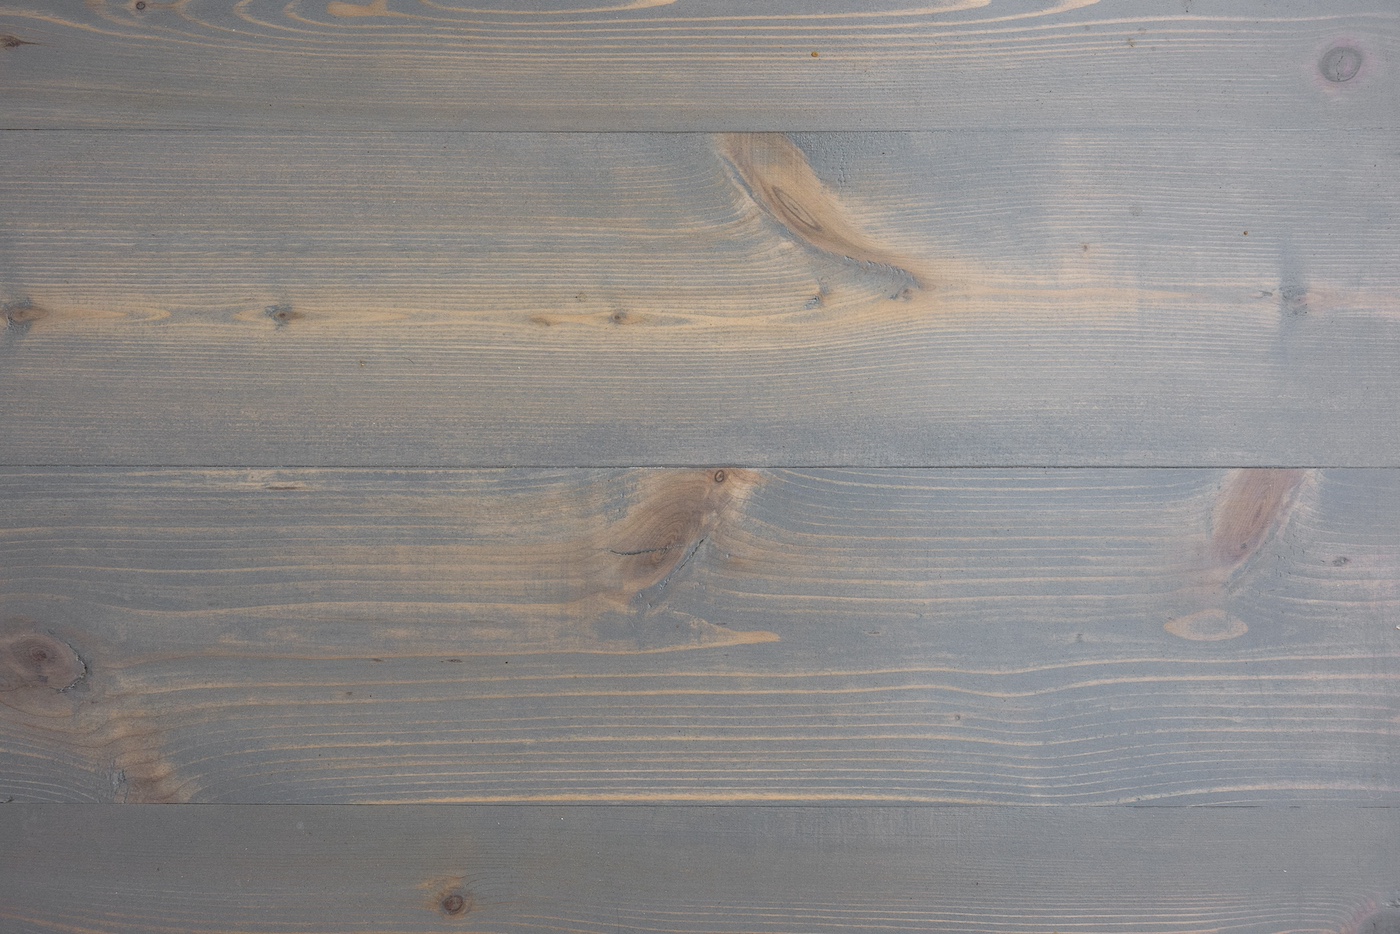
you could either stain or paint this table, but I recommend staining.
This will let the natural beauty and aging of the wood show through.
My mom ended up finishing the table after Steve built it, with a nice Behr outdoor stain.
She finished it with an outdoor polycrylic for extra protection.
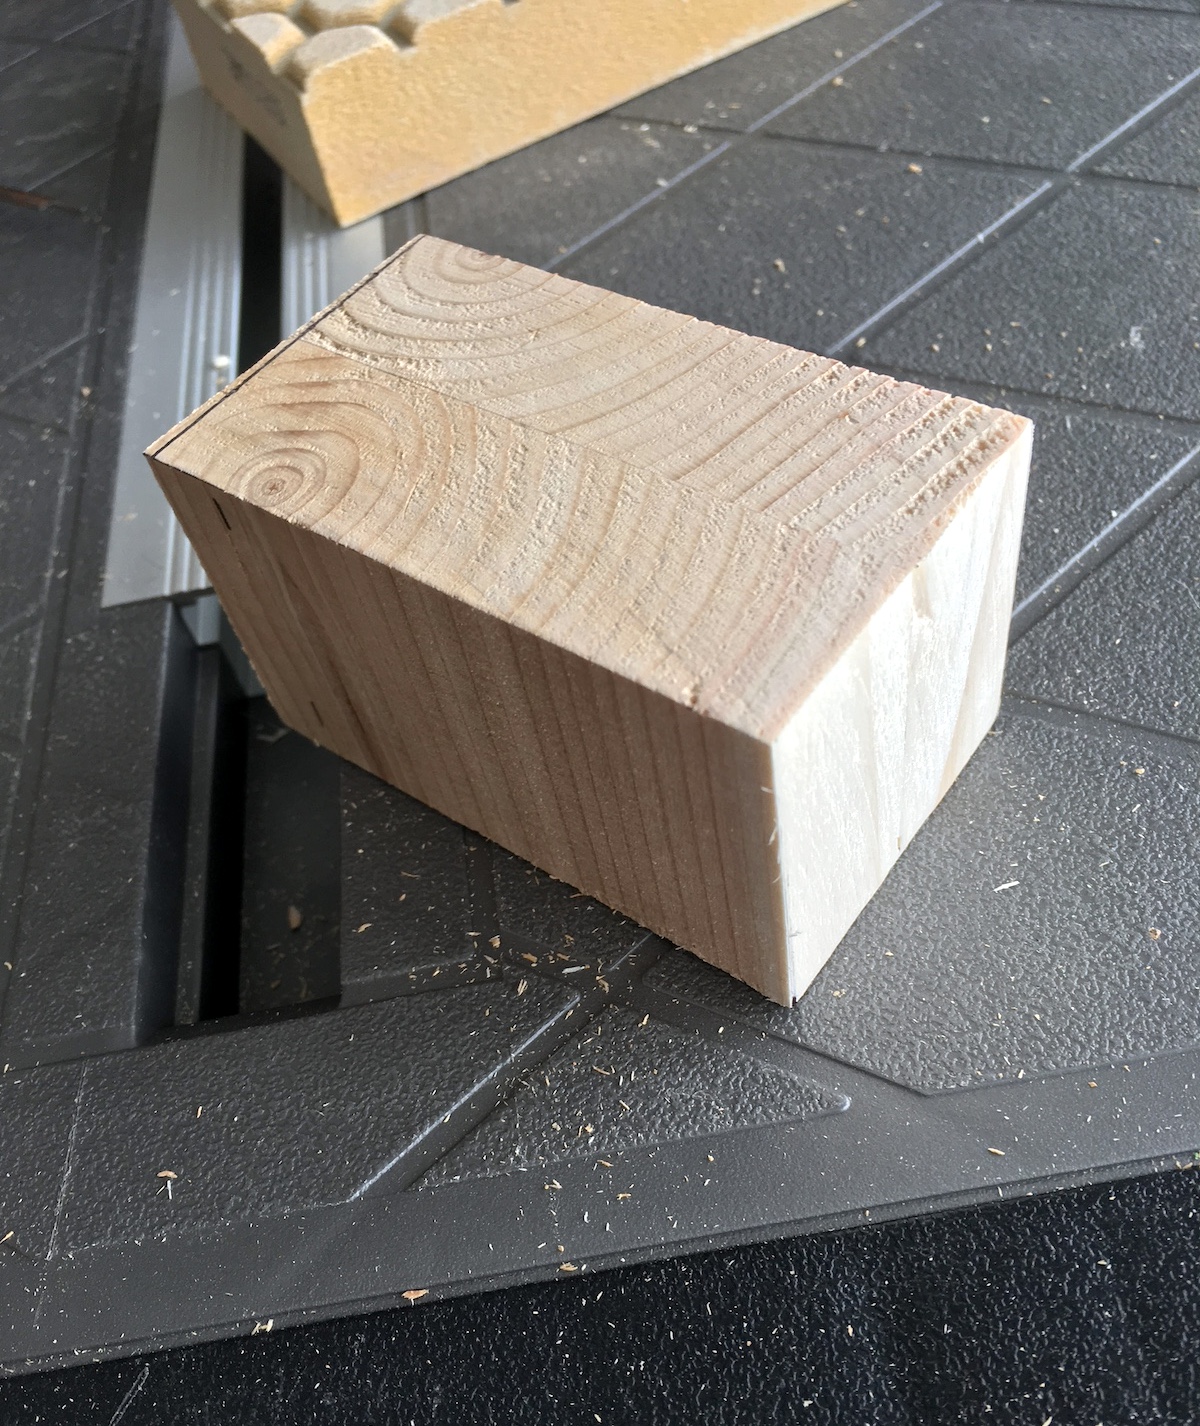
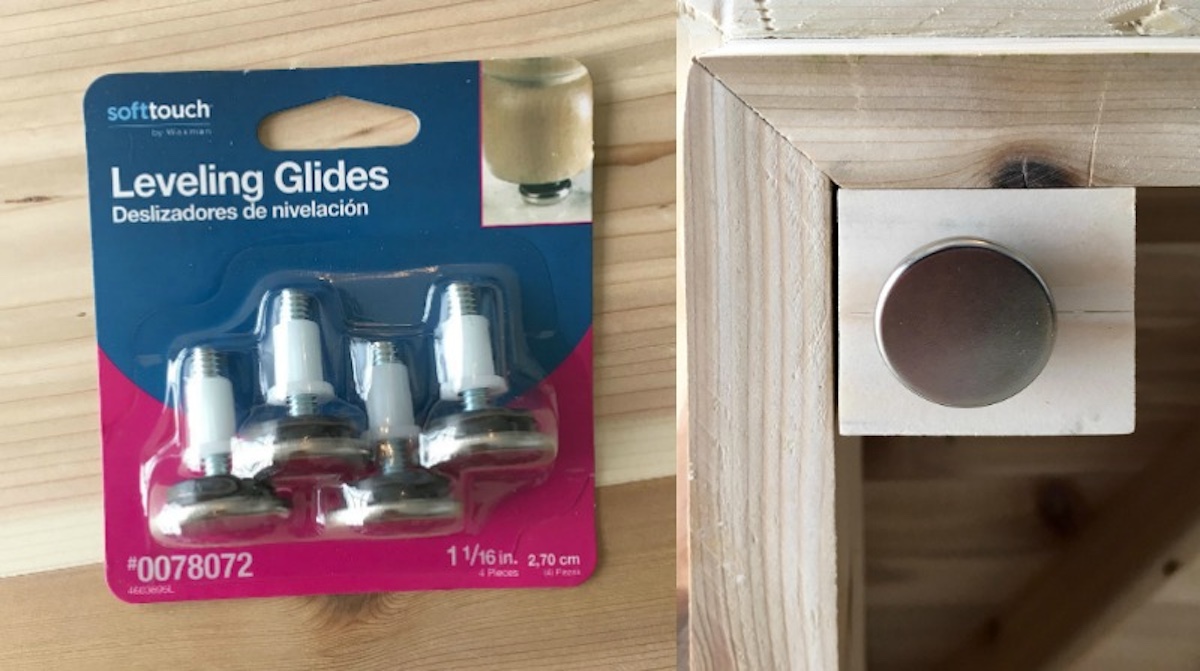
In fact, its likely not to be even.
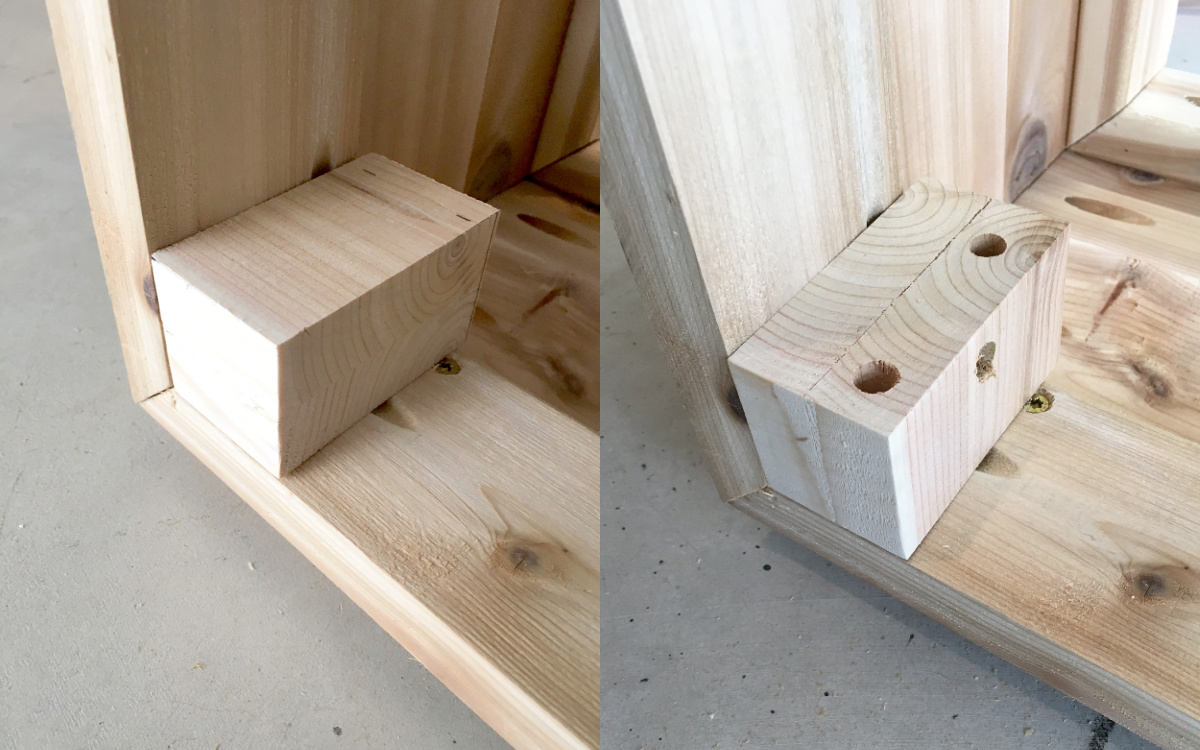
For those sort of situations where your handmade furniture piece might not be level, add leveling guides.
it’s possible for you to adjust them if the floor isnt level, making the piece even.
Im going to be honest we use them on nearly everything, even when the floor is level.
Are you ready to dive into the project?
Keep reading to learn how to make it.
kindly read the whole tutorial before beginning!