HomeDIY
This post may contain affiliate links:full affiliate disclosure.
Take your fashion upcycling game to the next level with this easy, breezy, no-sew t-shirt hack.
Customize it with fabric paint and embroidery, or leave it as is for something simply chic!
This is an overall beautiful DIY shirt project!
Enter: this DIY No Sew Shirt!
The principles of this DIY can be applied to almost any old garment.

All you need is a little imagination and an old shirt to get this craft off the ground.
So, what are you waiting for?
Step One
First, pick the right size of the t-shirt.

Head to your local second-hand store, and youll find all kinds of t-shirts up for grabs.
You want to pick a shirt thats one or two sizes bigger than your usual.
All the tying, cutting, and tightening will take this shirt down a size or two.
So, if you pick a slightly larger shirt, itll end up fitting you like a glove.
Or, you could go a little bigger if you want something baggier at the end.
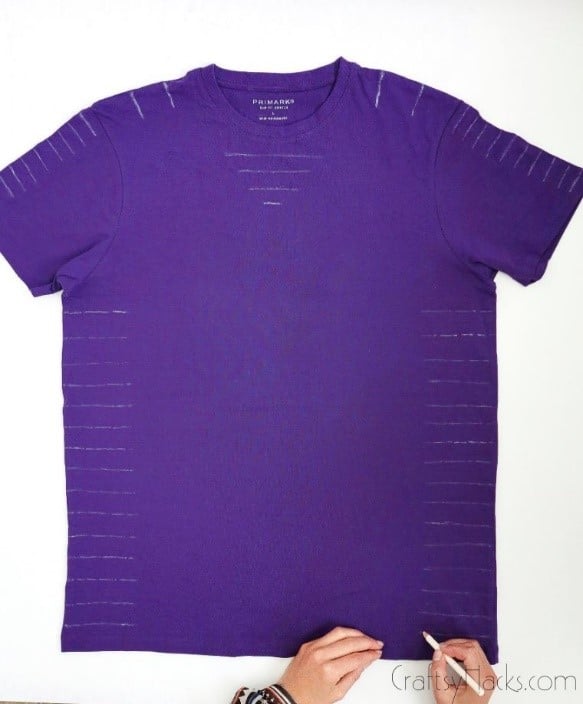
Step Two
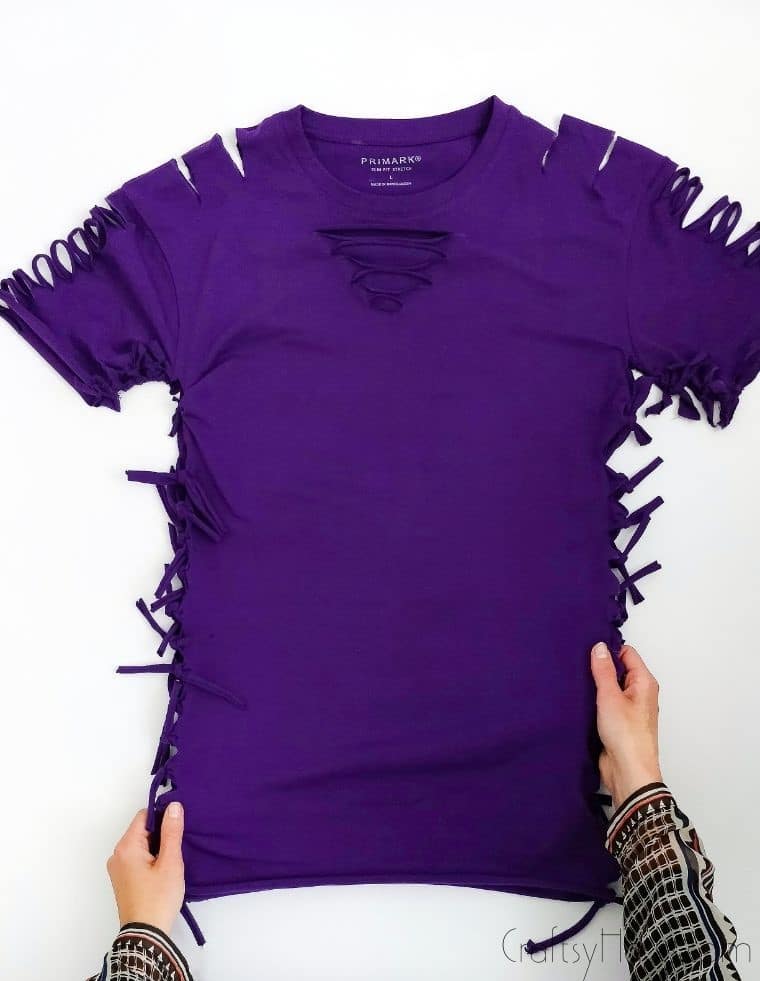
Start by laying your shirt out flat on a tabletop.

Now, whip out your chalk because its time to start marking out your cutting lines.
Essentially, the more lines you cut, the more chance you have to tie it tighter.
For this t-shirt, I decided to set the marks roughly 1.5cm apart.

I made the cuts on the t-shirts sides about 4cm long.
With this DIY, its all up to you.
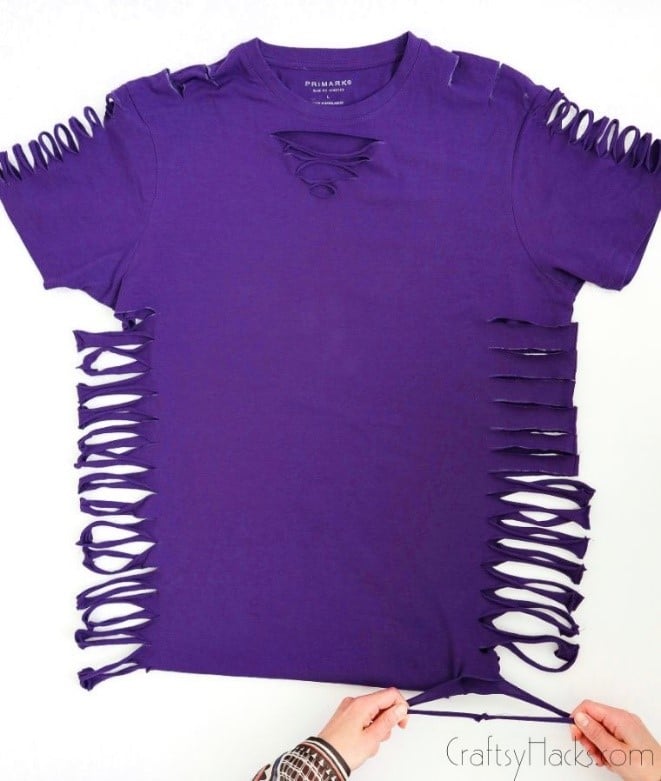
Step Four
Grab each strip and start stretching.
Remember, you cant un-stretch the shirt, so dont be afraid to try it on as you go.
you’ve got the option to always stretch more later if need be!
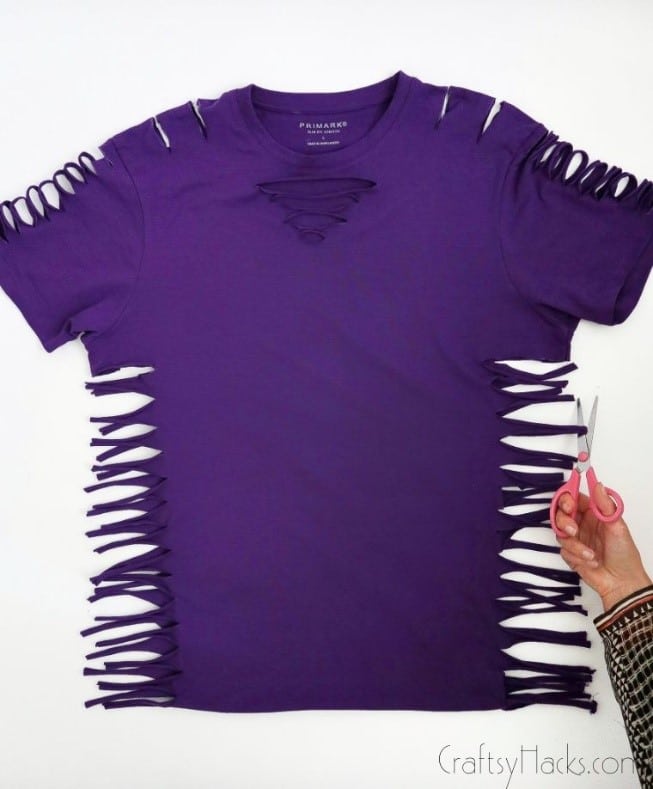
Step Five
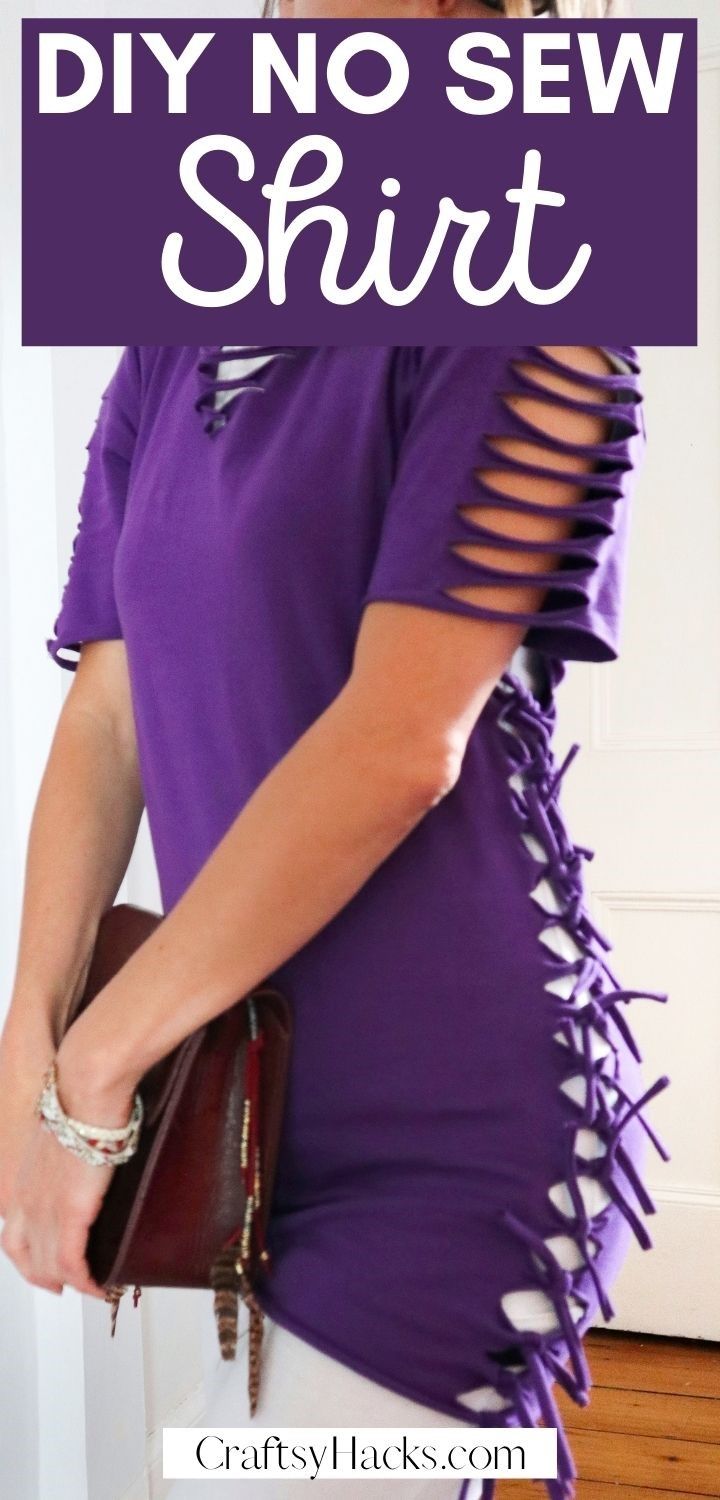
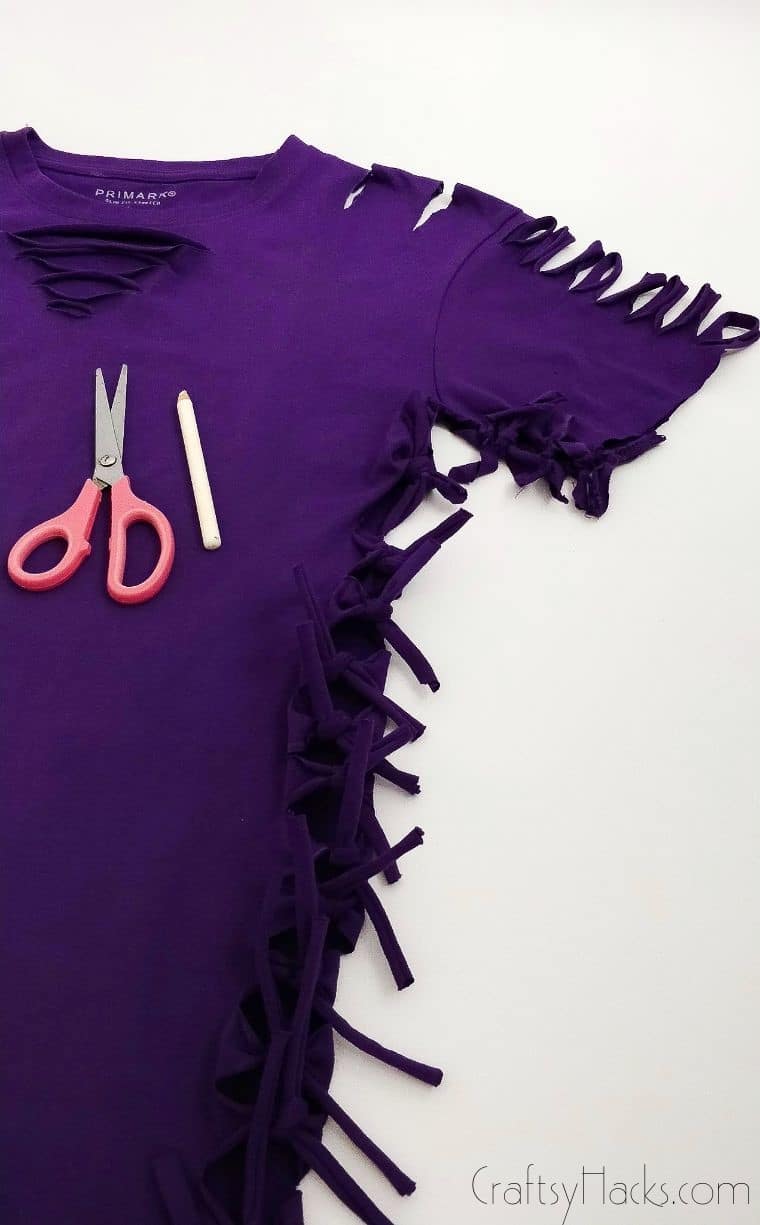
Now, were going to turn those stretched out loops into ties.
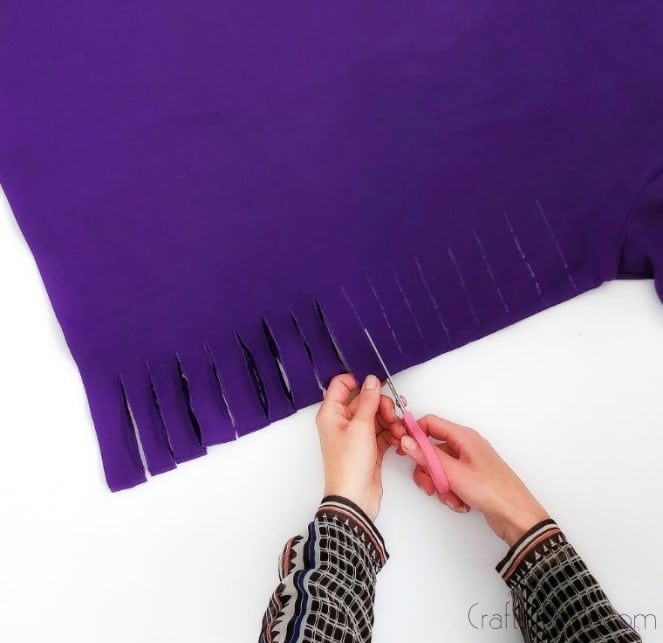
Whip out your scissors once again and chop through the loops on the sides.
verify youre only chopping through the sides of the shirt, not the shoulders, arms, or collar!
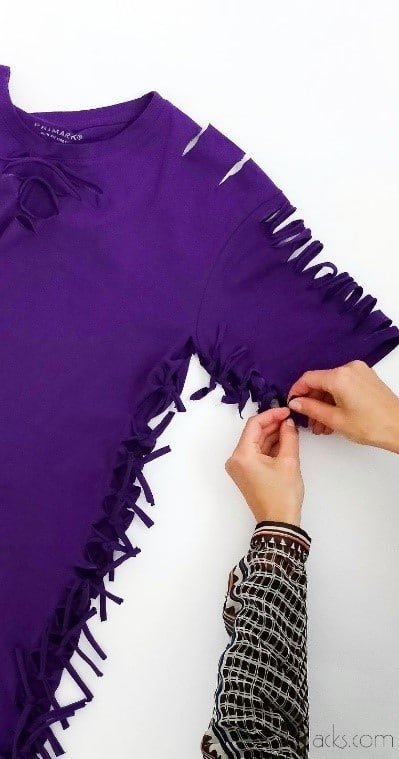
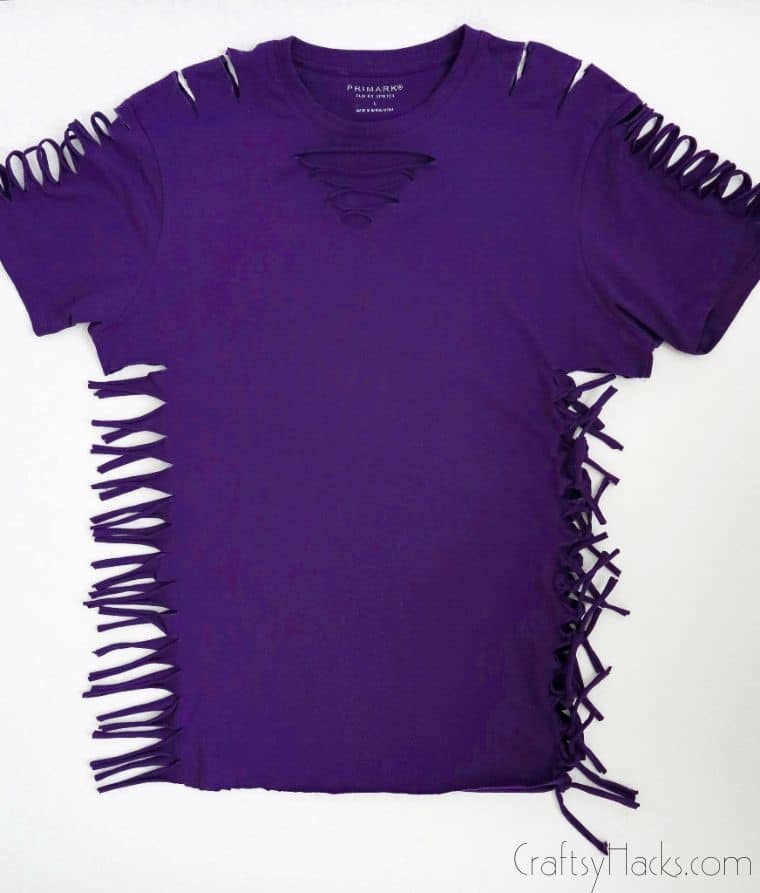
Step Six
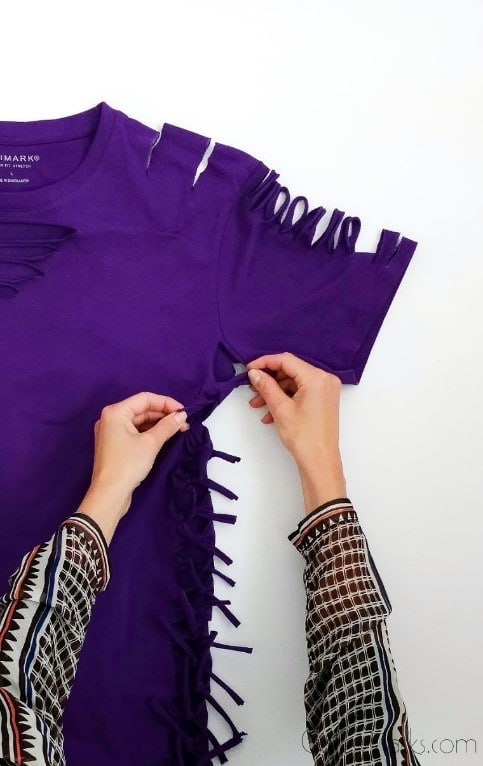
Now that youve got your strings all sorted, its time to start tying.
The loose ends give an almost frayed look.
Once again, dont be afraid to try on the shirt multiple times as you do this.
Repeat the tying on both sides of the t-shirt.
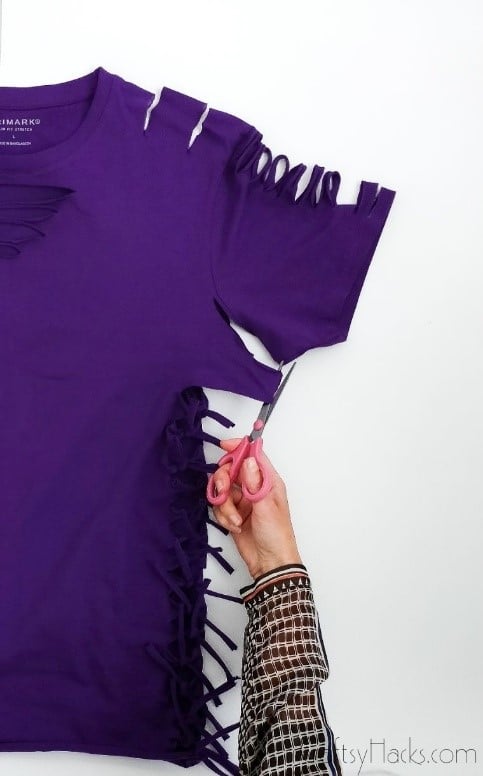
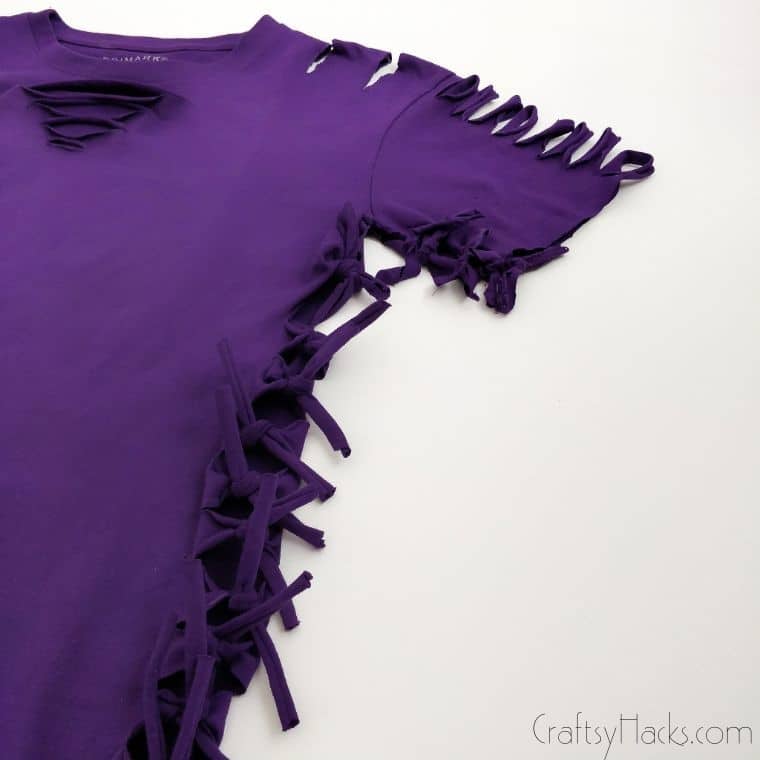
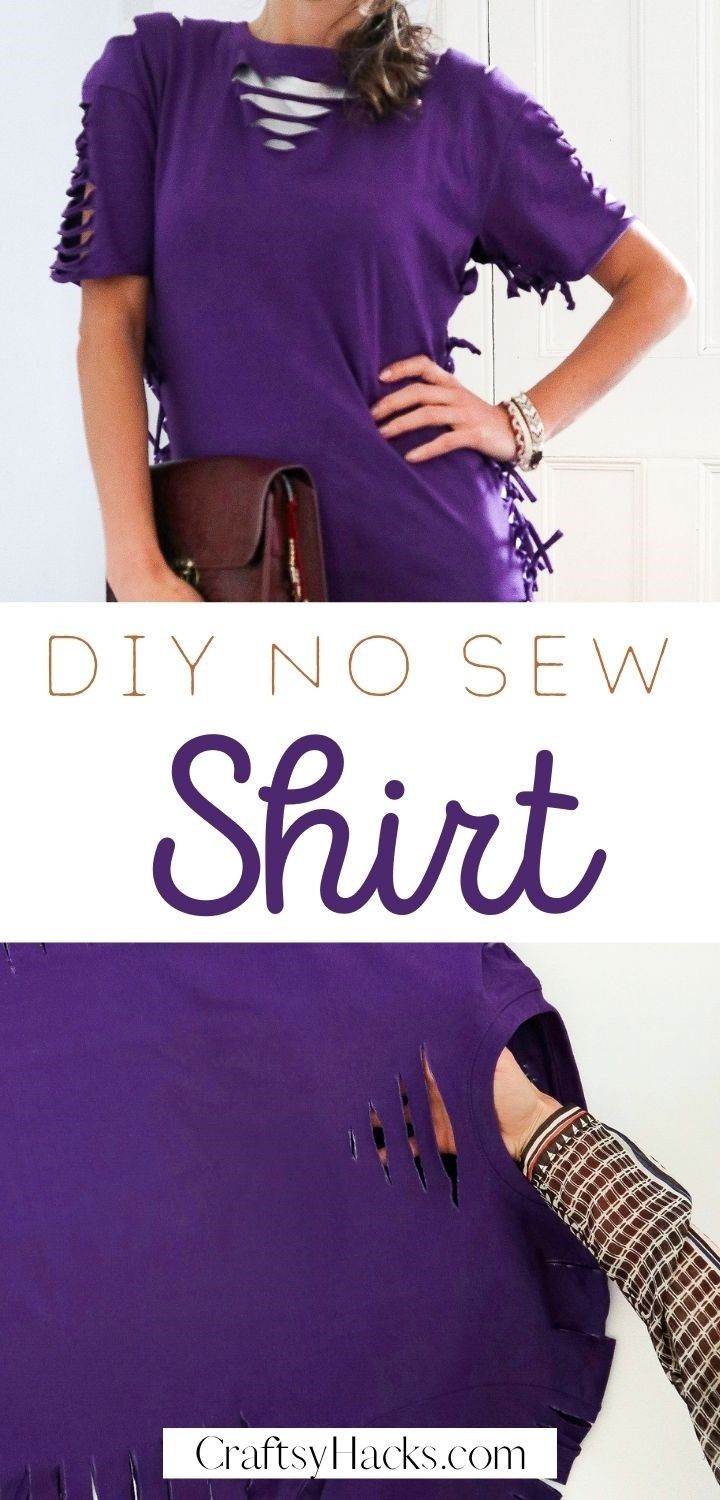
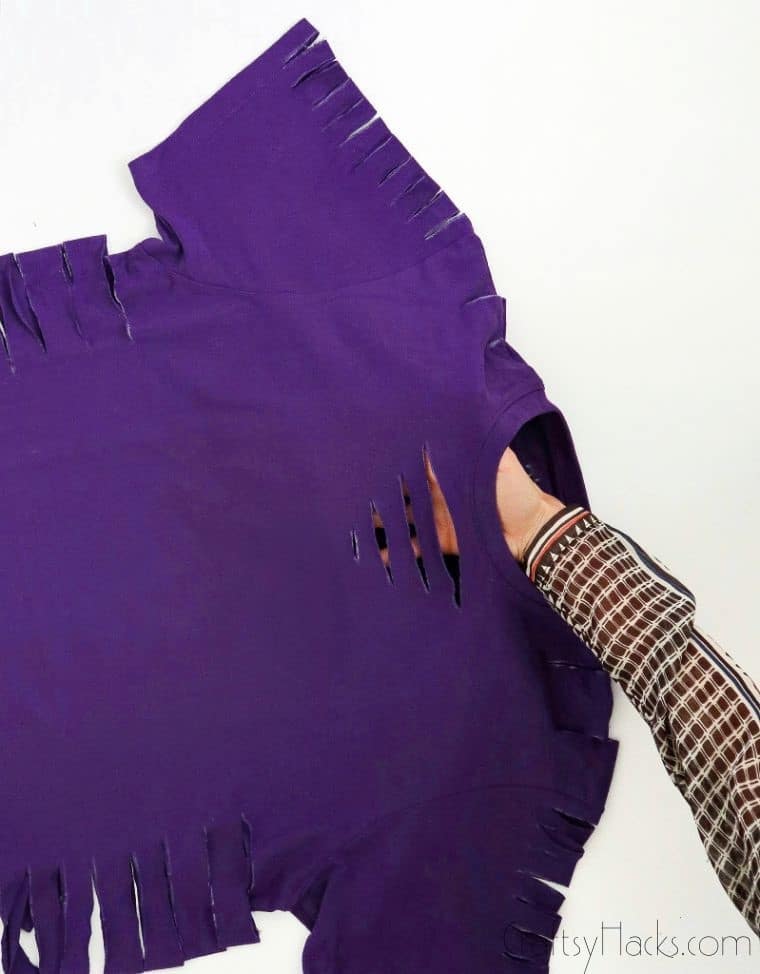
Cut a slit up the armpit of each side on the t-shirt, following the armpit seam.
Dont cut too far into the shirt.
You just want a flap big enough to create a tie.
Snip the loop as you did the others.
This loop acts as a tailoring mechanism.
It will draw the shirt tight to your body, giving it a flattering and comfortable shape!
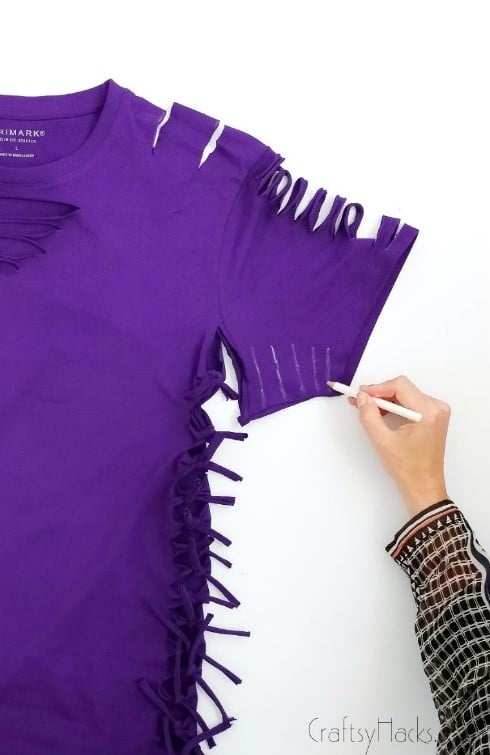
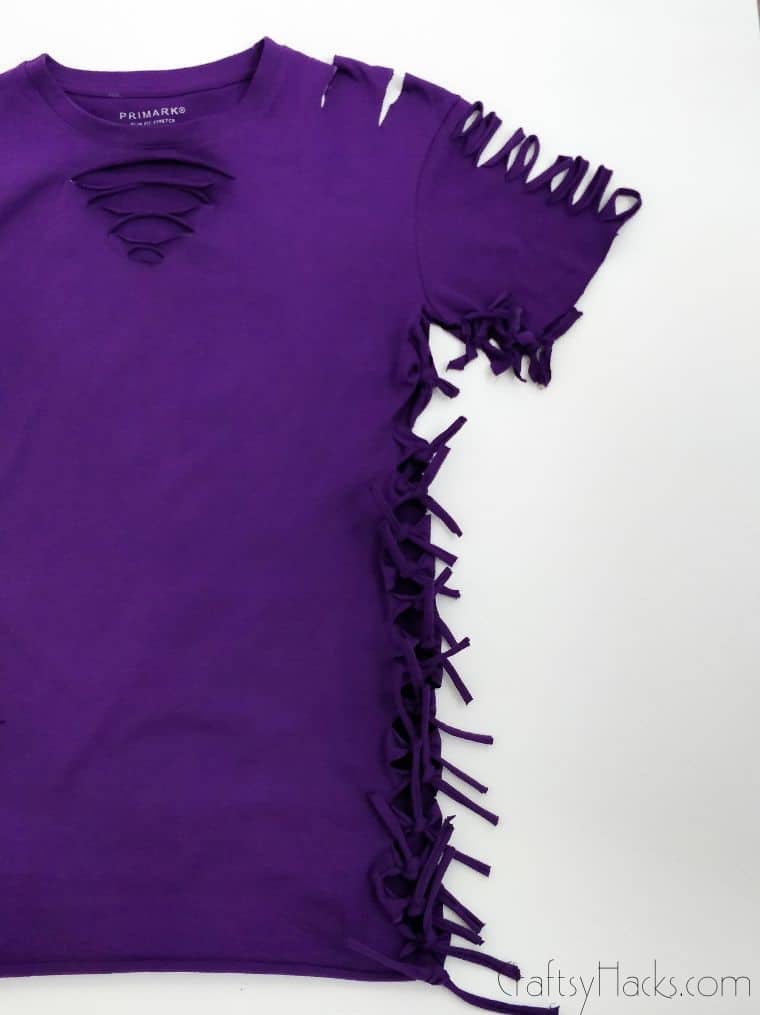
Step Nine
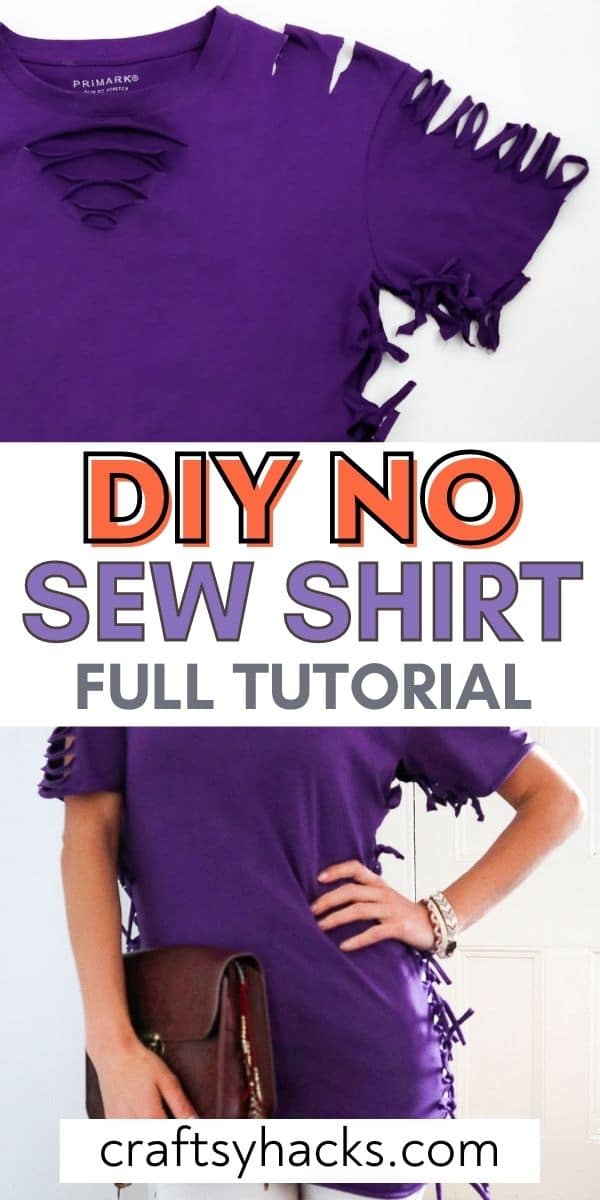
Sketch more lines on the bottom of the sleeve.
These lines are there to make the sleeve tighter.
Just keep trying the shirt on to see what suits you.
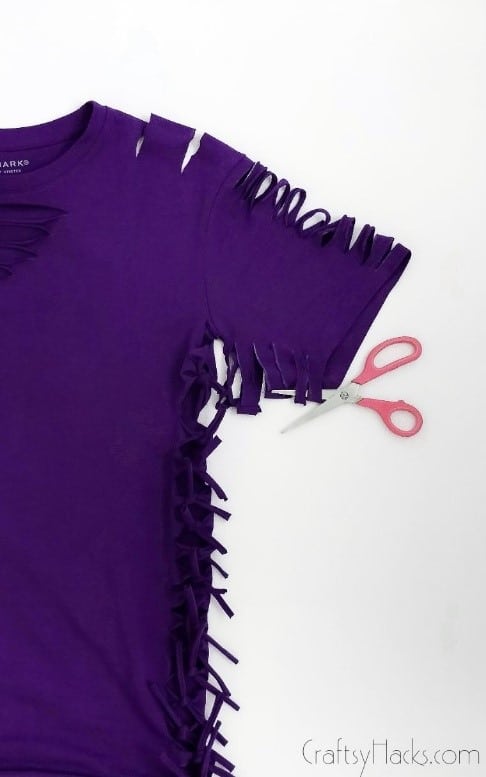
Step Ten
Snip through the lines to create loops.
At this point, its important to keep trying the shirt on as you go.
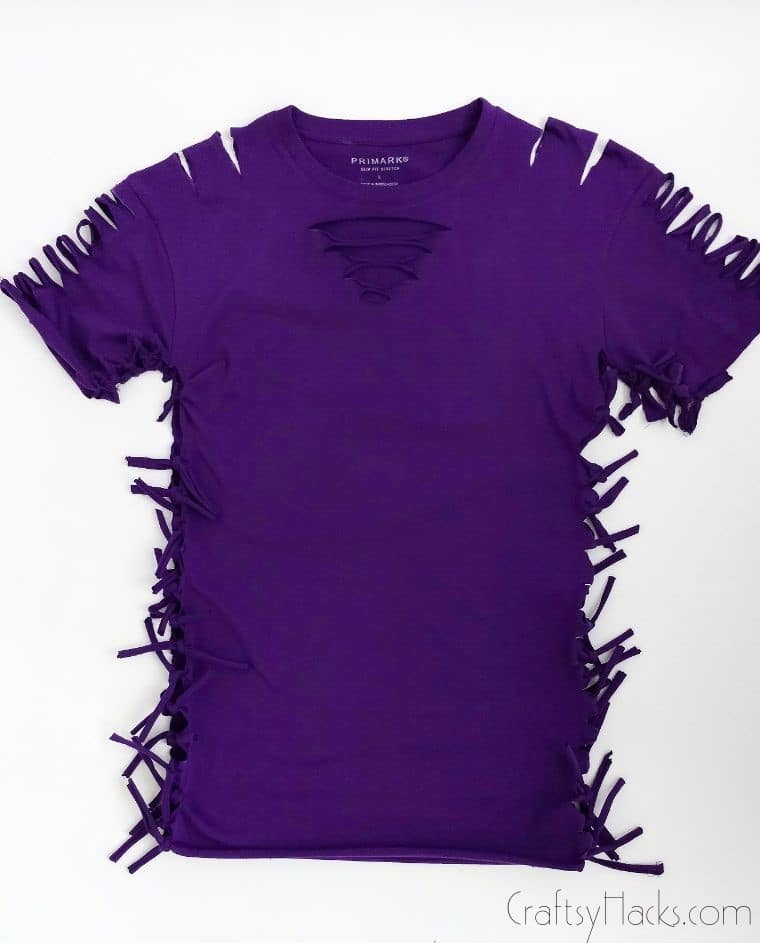
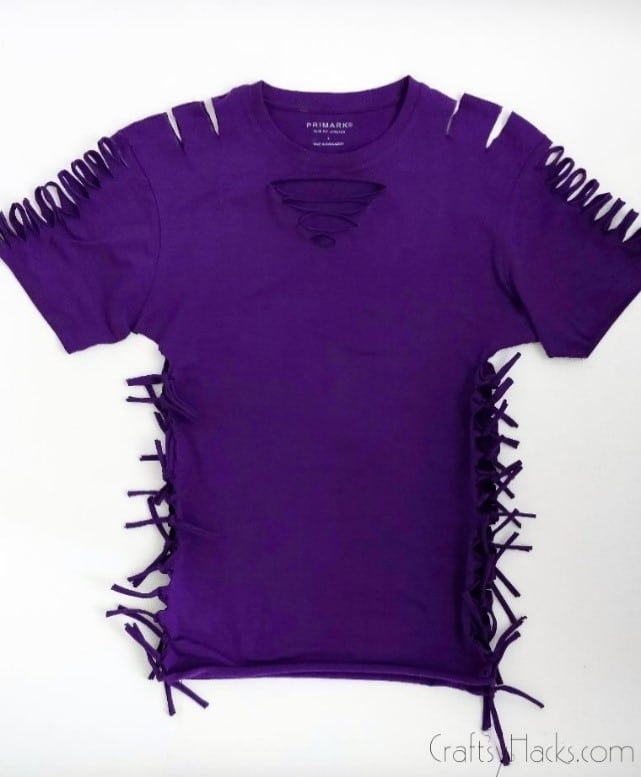
There you have it, a perfectly tailored and fashionable t-shirt.

No needle and thread in sight!