Why buy when you canDIYit?
Build this DIY mid century headboard using our easy-to-follow tutorial.
Do it cheaper, better (higher quality), and make it any color you like.

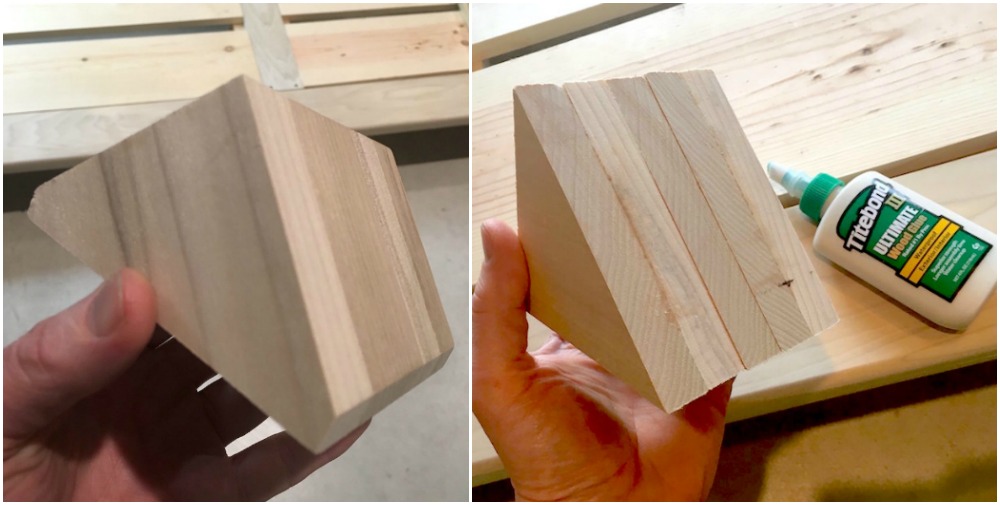
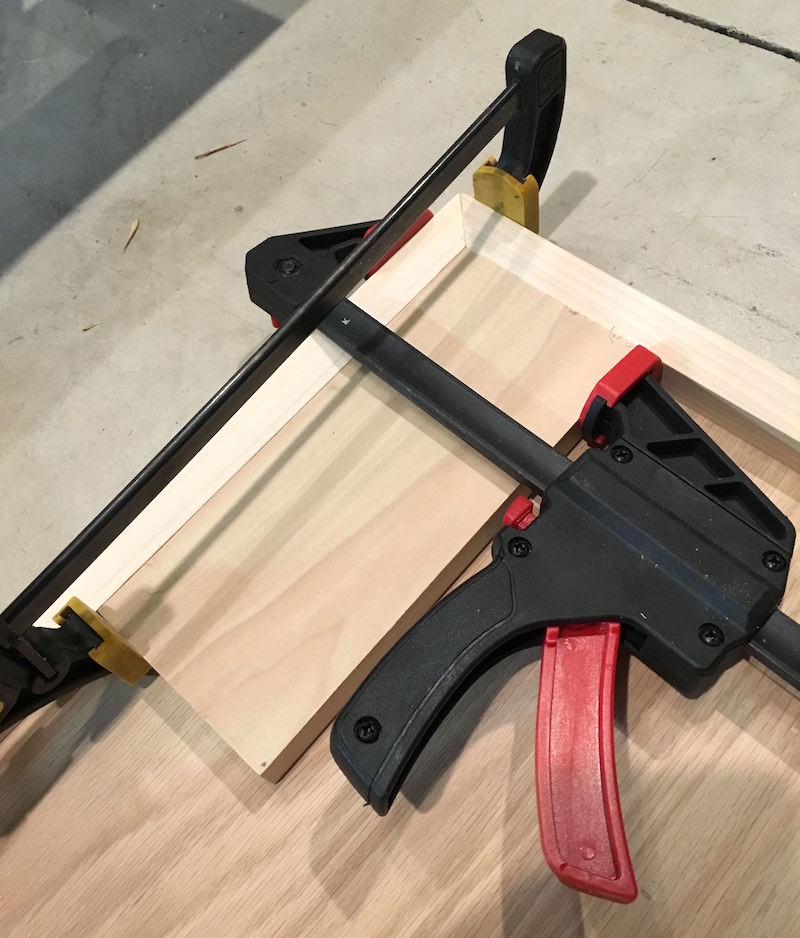
Youll be doing some gluing and screwing and lots of measuring.
This is not a hard project, but it can take time.
Well today is your lucky day this is the tutorial!

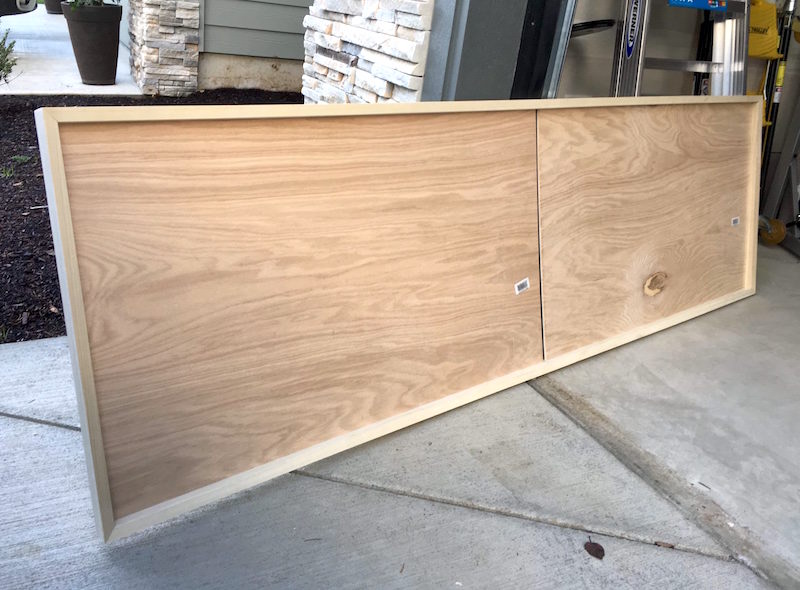
This king headboard can obviously be modified to any size.
Well leave that up to you.
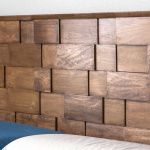
Our inspiration for this DIY wood headboard was mid-century modern design.

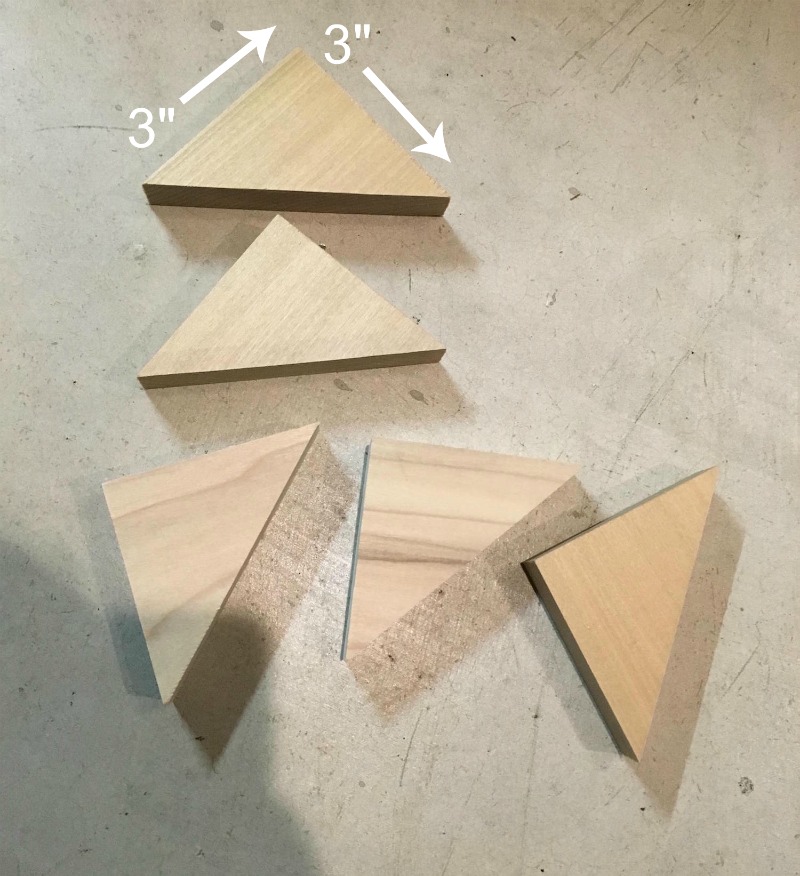
We love original pieces likethis onethat are made with various sizes and layers of awesome teak.
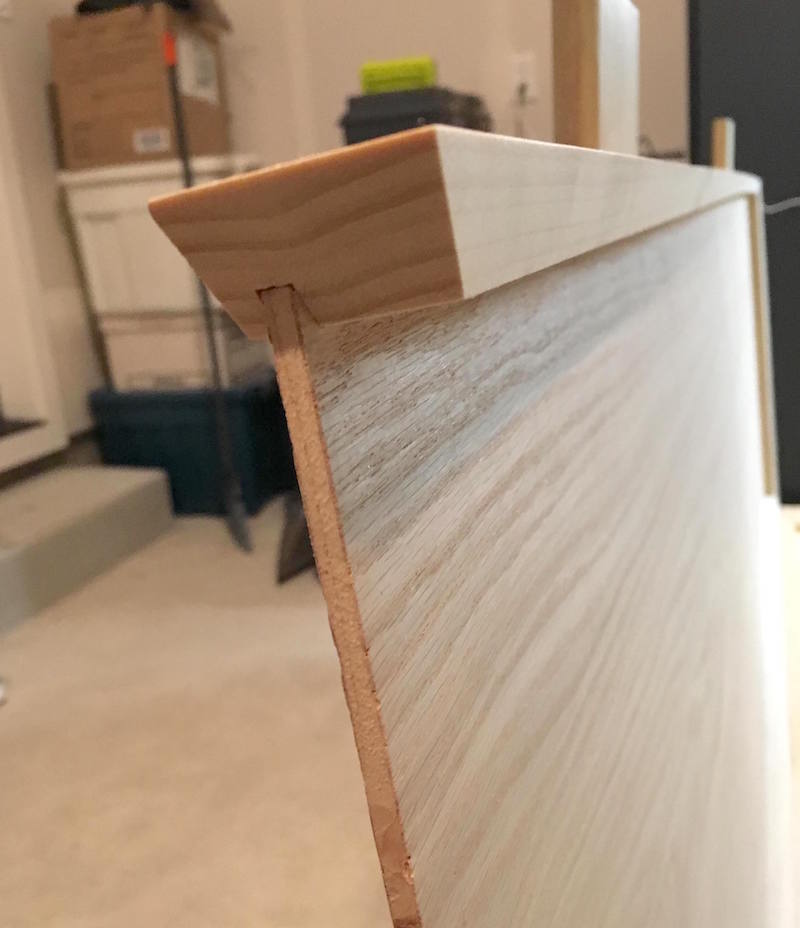
The different layers and thicknesses of wood give this project a really unique look.
You might have to alter these a bit depending on what youre attaching the headboard to.

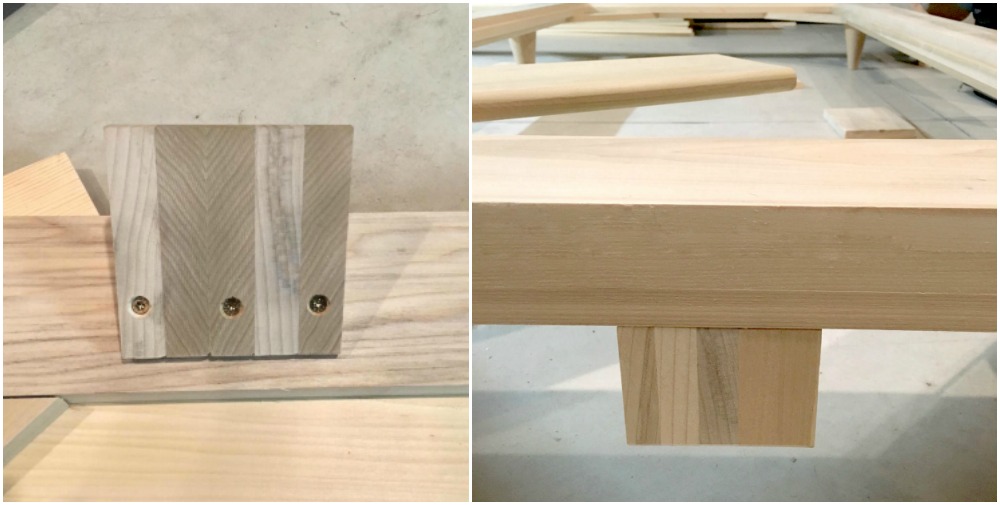
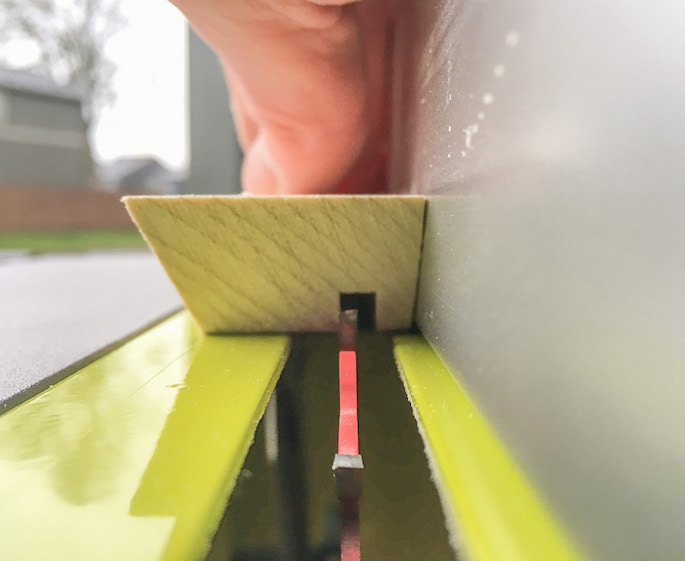
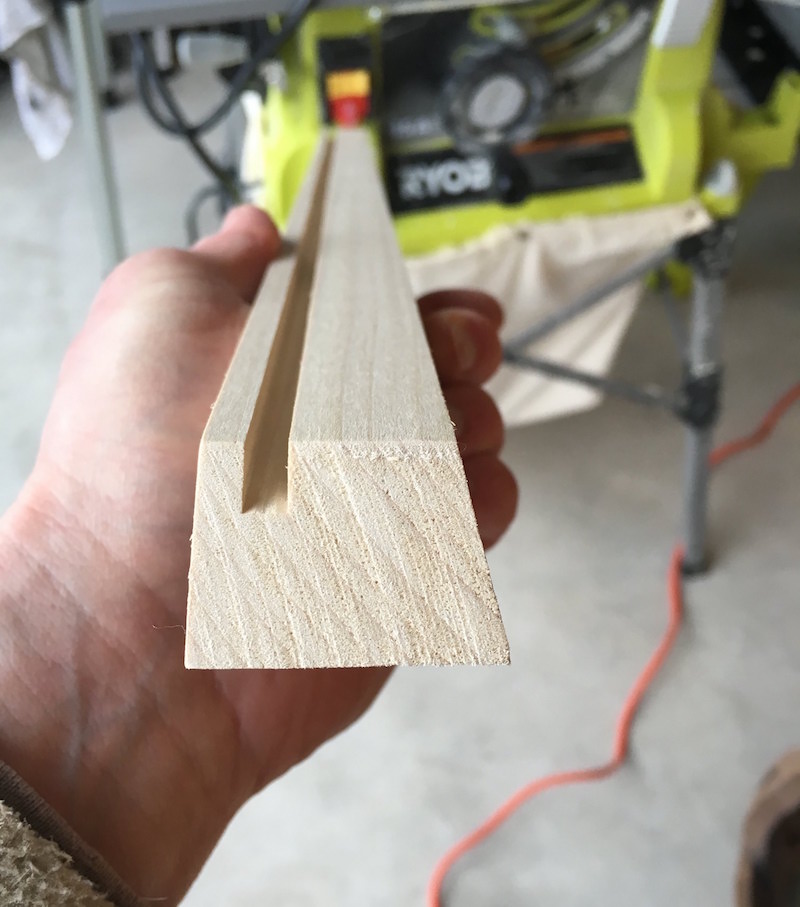
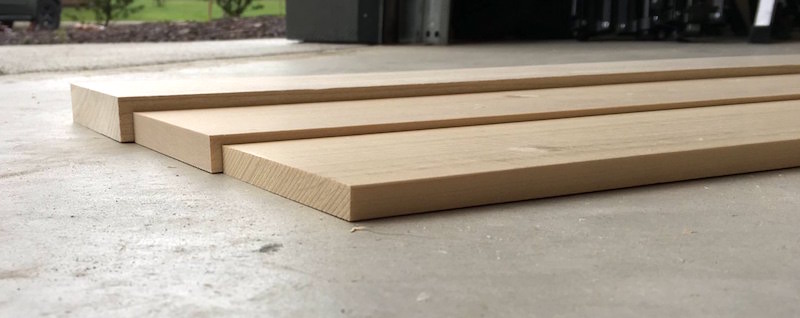
There are also support pieces made of oak.
So your EXACT measurements may vary, though they will be close.
Wood and Where to Purchase
We purchased poplar fromHome Depot.

We wanted a hard wood that was easy to work with, and we like the grain.
Note: this original project was done in 2018, so project costs are going to be higher!
If you try it, Id love to know how much you spent to buy the wood.
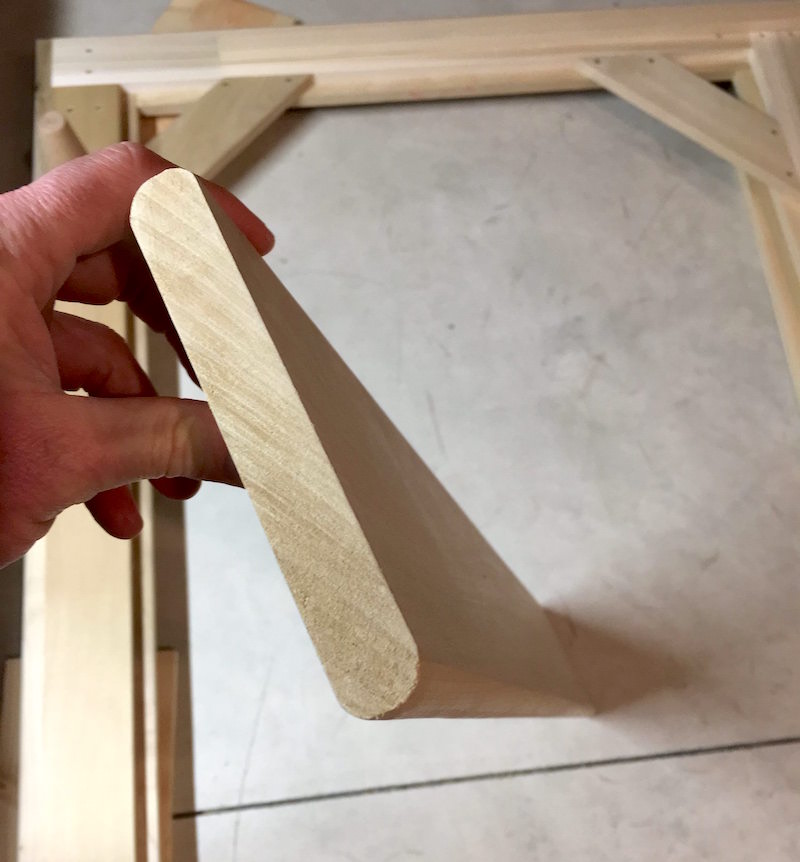
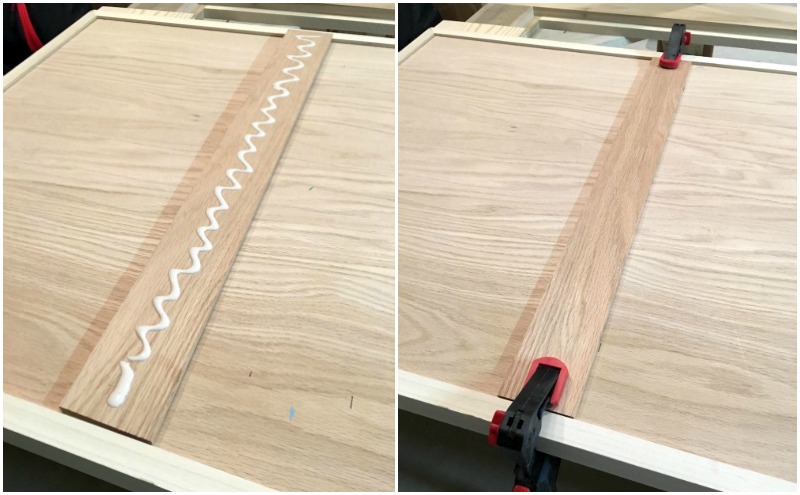
Lay out the remaining rows, and then do your adjusting (cutting) on the final row.
Important Note:stainwillnot stickto any areas of the headboard where you have left glue to dry.
attempt to sand away any areas like this if you are staining.
Get the printable how to card for this DIY below!