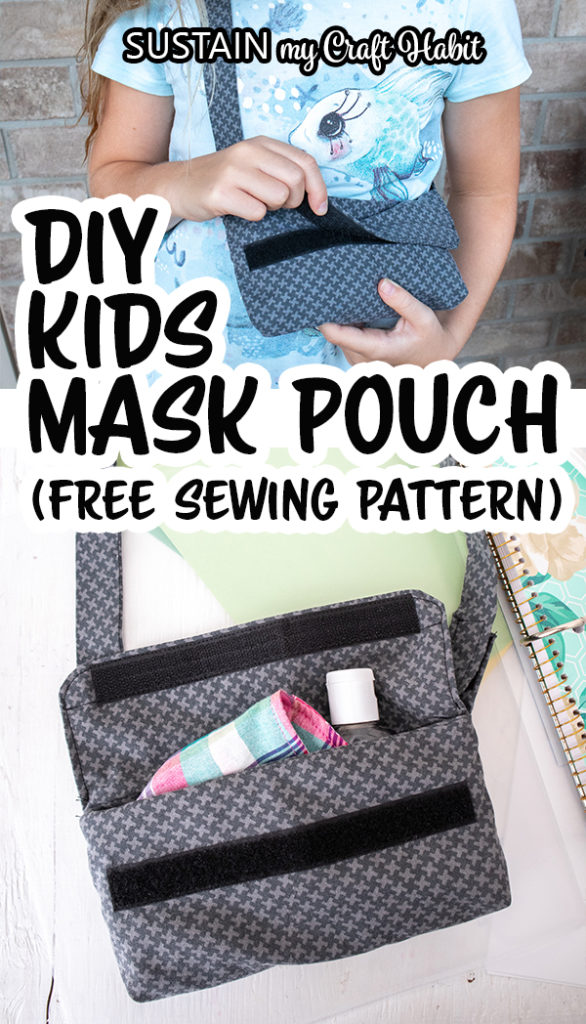
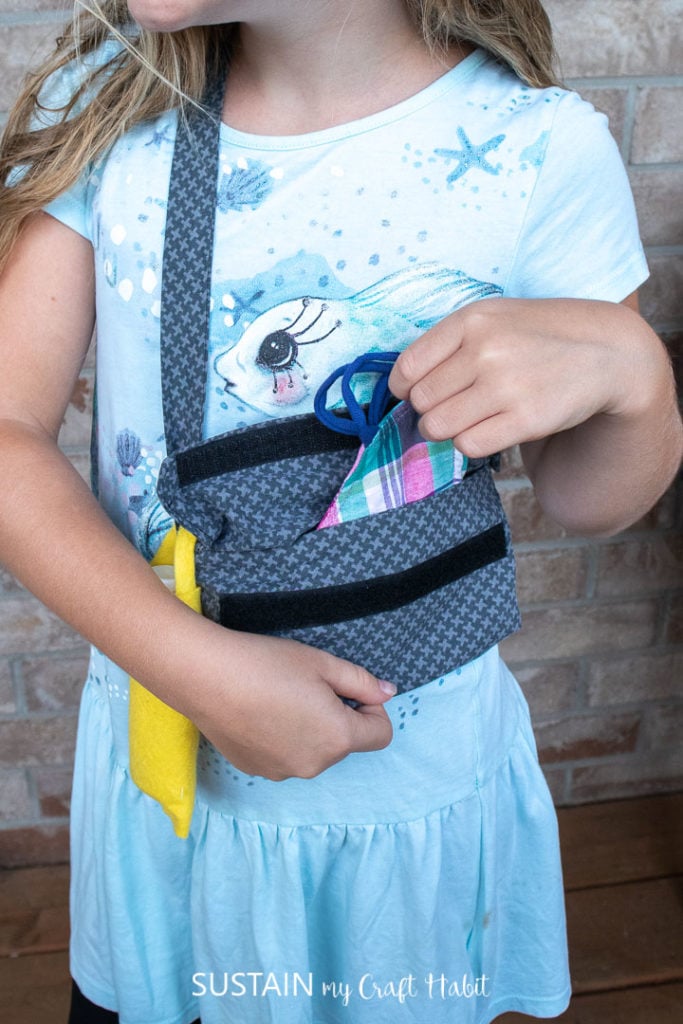
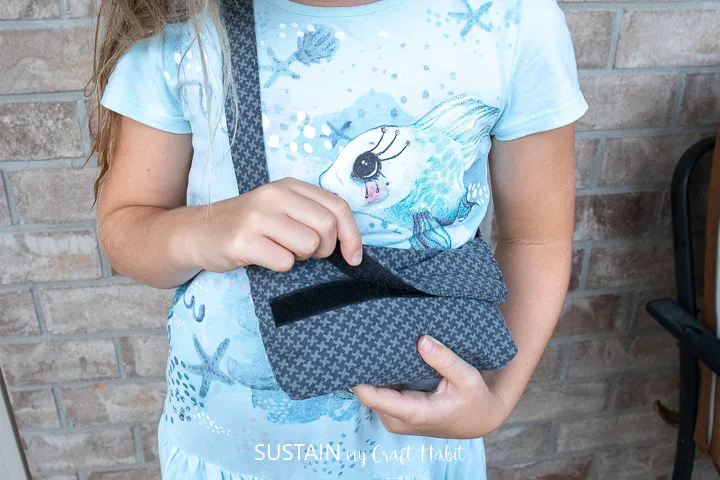
Carrying the pouch over the shoulder will help distribute the weight so they feel comfortable the entire day.
The velcro should come apart when force applied.
you’re free to also sew abreak-away claspto the strap ends.
Personalized Binders
**The strap must detach for safety reasons.
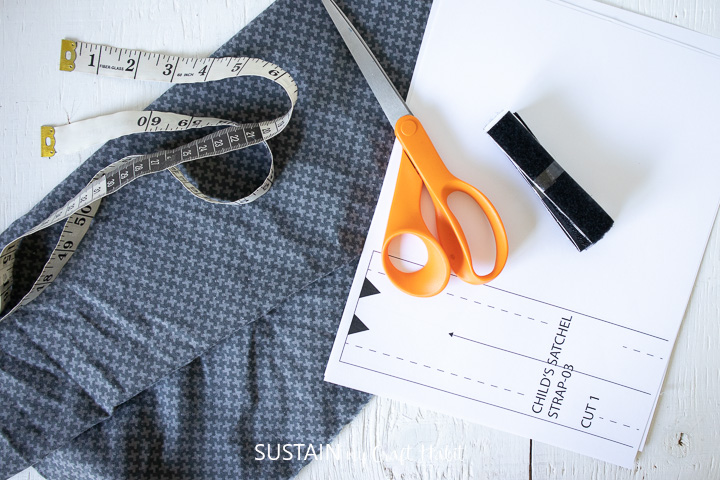
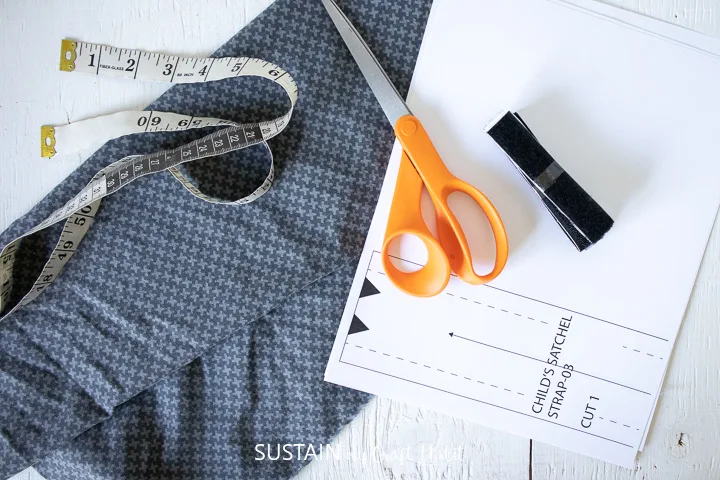
Iron out all the creases before cutting and sewing.
Print off the pattern on 8.511 sheets of paper.

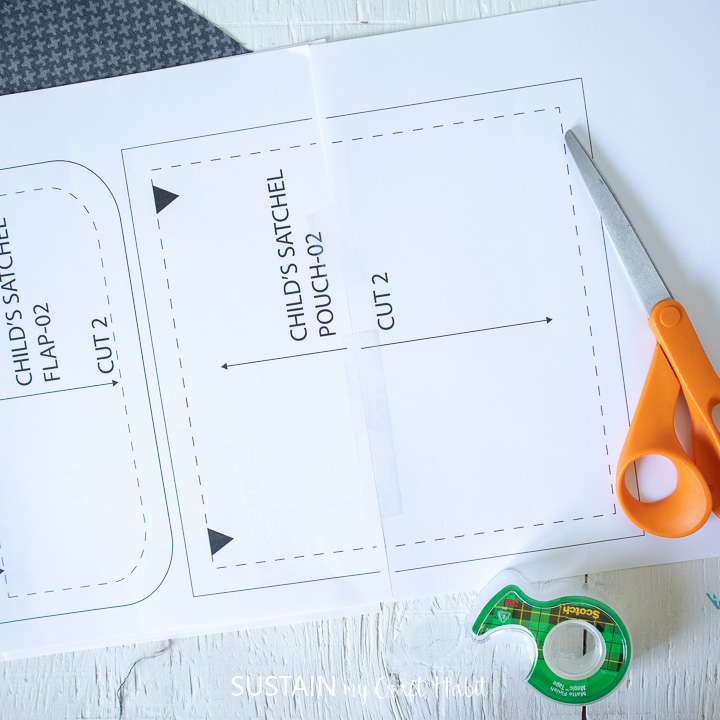
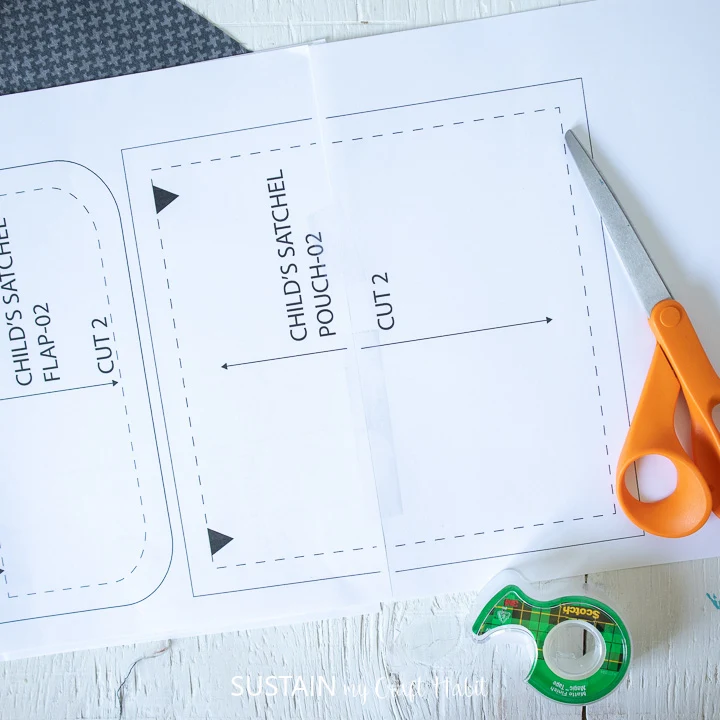
Align the edges of the papers to form full pattern pieces and tape together.
Cut around each individual pattern for cutting on fabric.
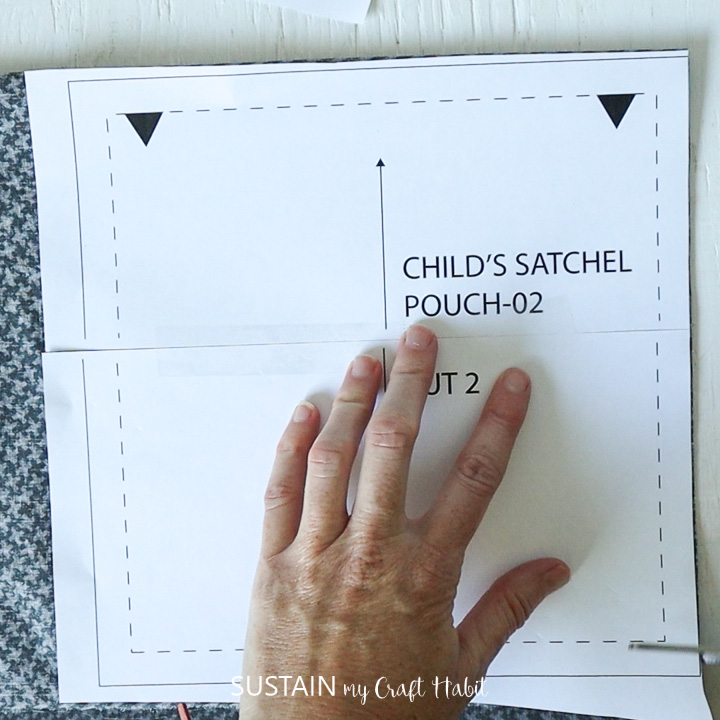
Pin in place or use paper weights, then cut the pattern pieces out along the solid lines.
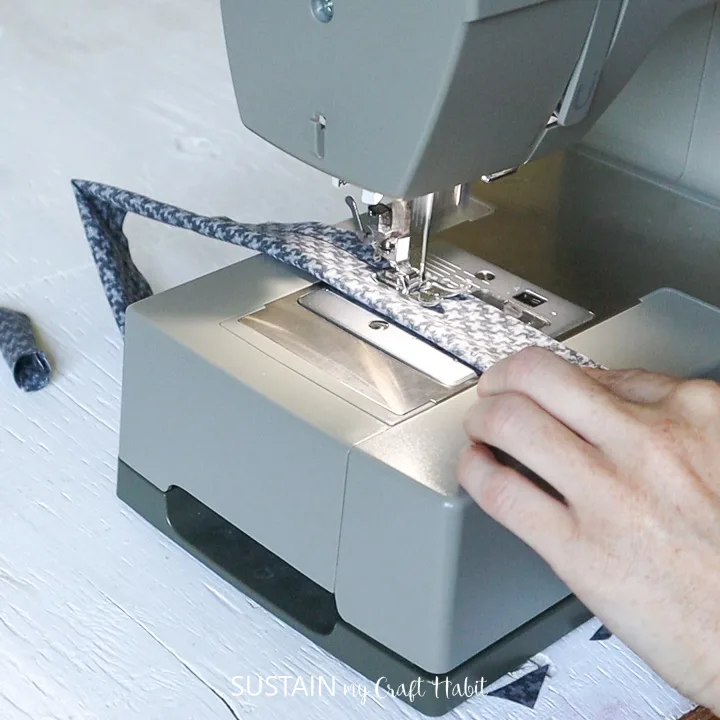
Sew the one short end as well.
Repeat for the shorter strap length also.
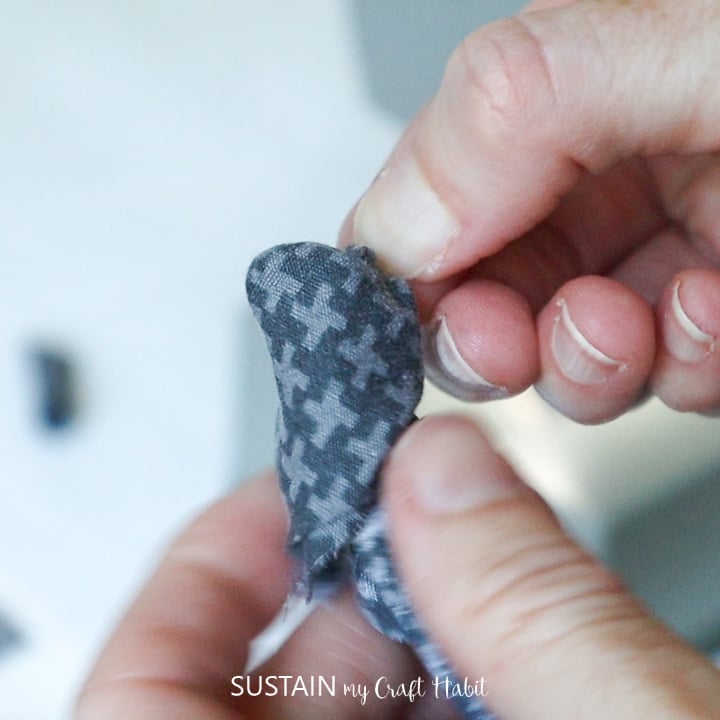
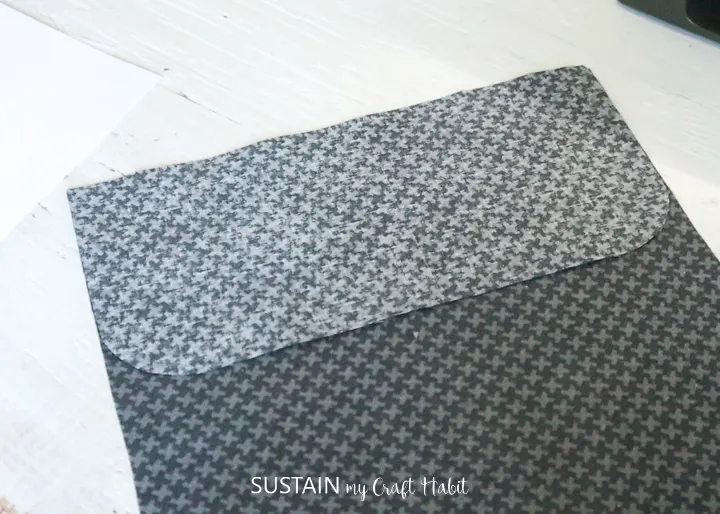
Trim the corners and turn the straps so the right side of the fabric is facing out.

Insert a pen to push out the corners if needed.
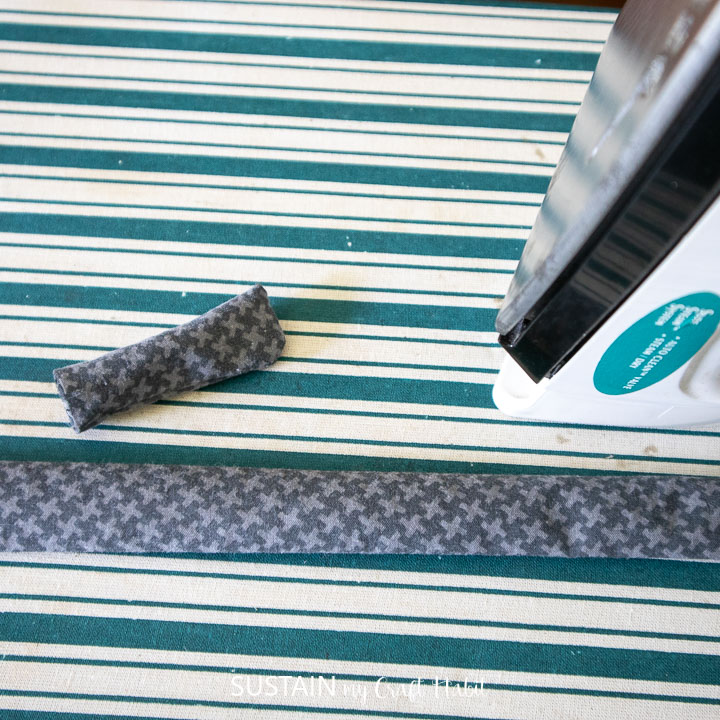
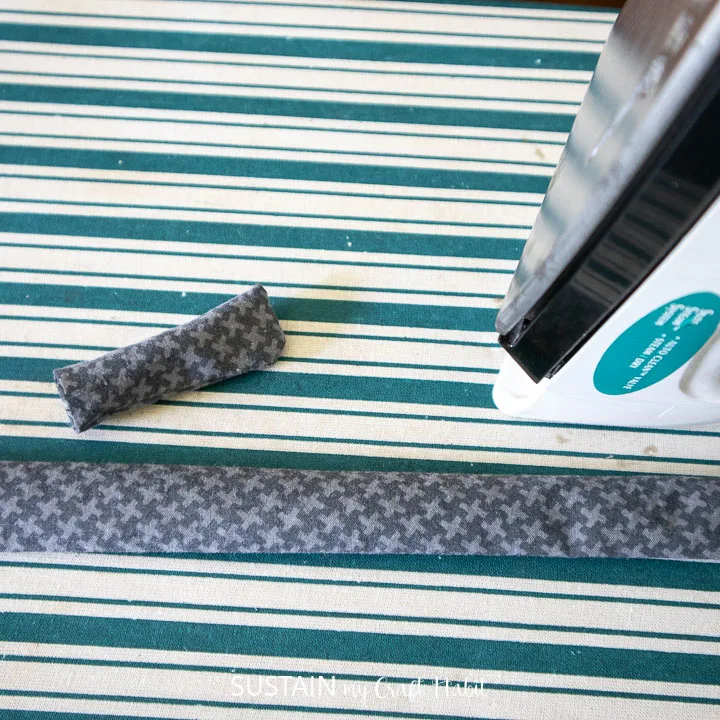
Press the straps flat with an iron.
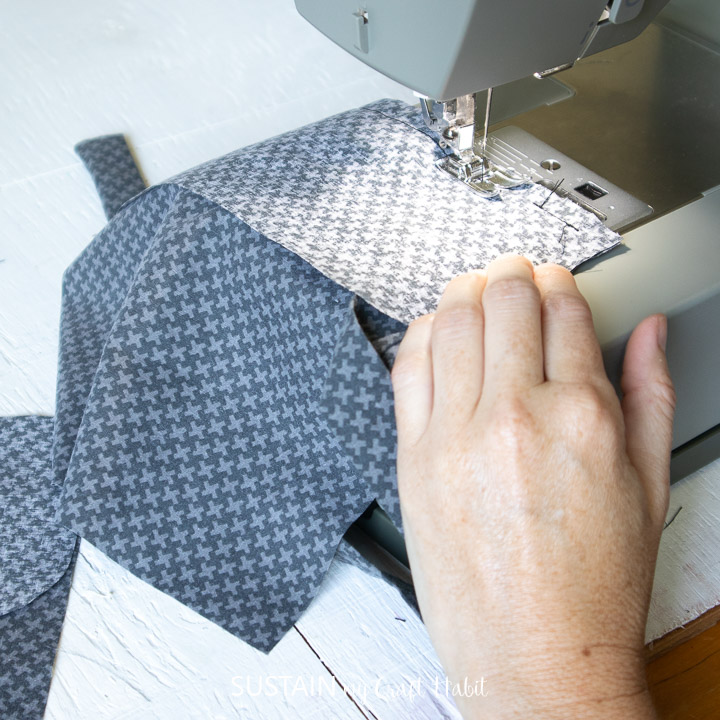
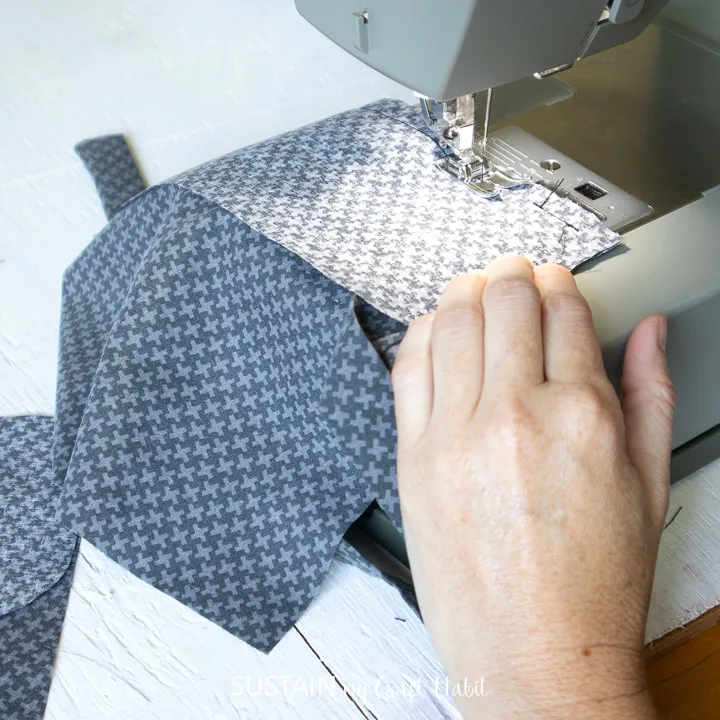
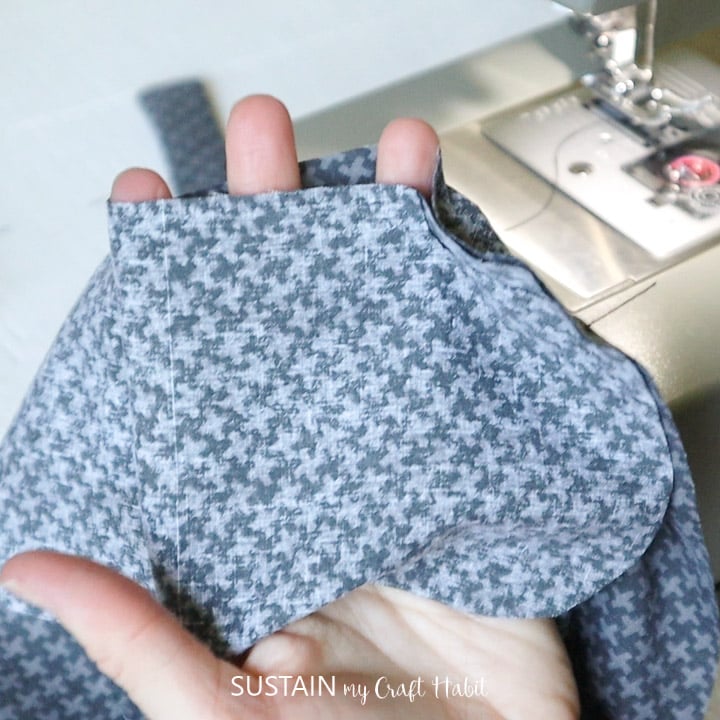
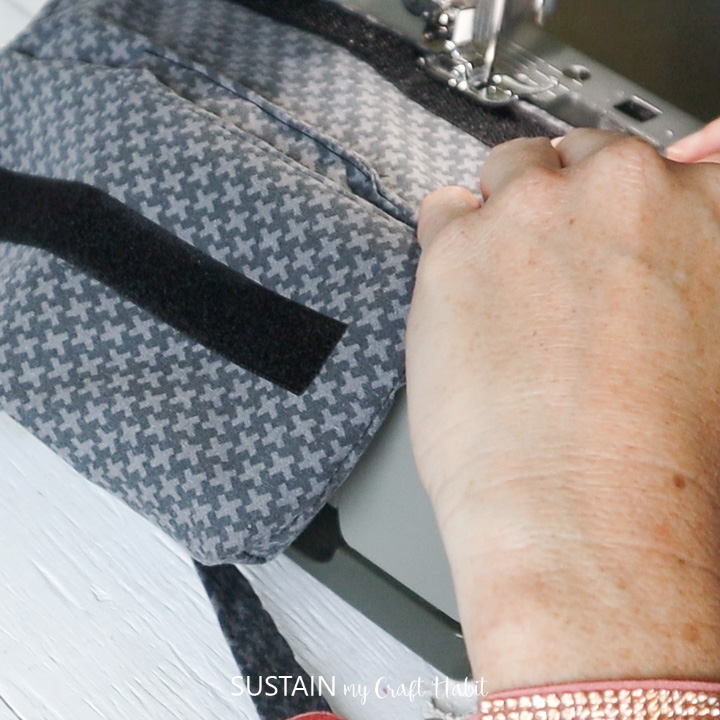
Position the unsewn short ends of the straps with the top edge of the pouch flap aligning notches.

Sew the pouch flap to the main pouch piece with right sides together aligning notches.
Repeat for the lining pieces but leave a 2 gap opening in the middle.
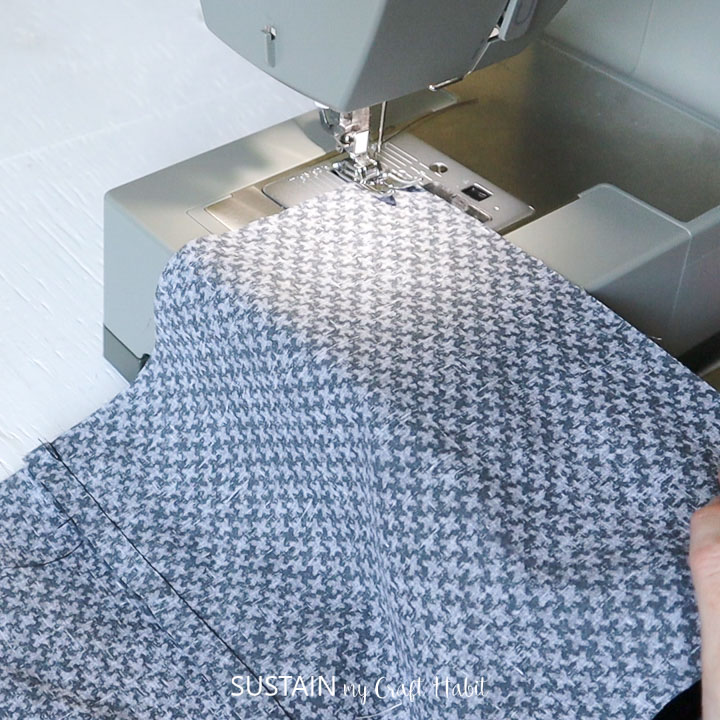
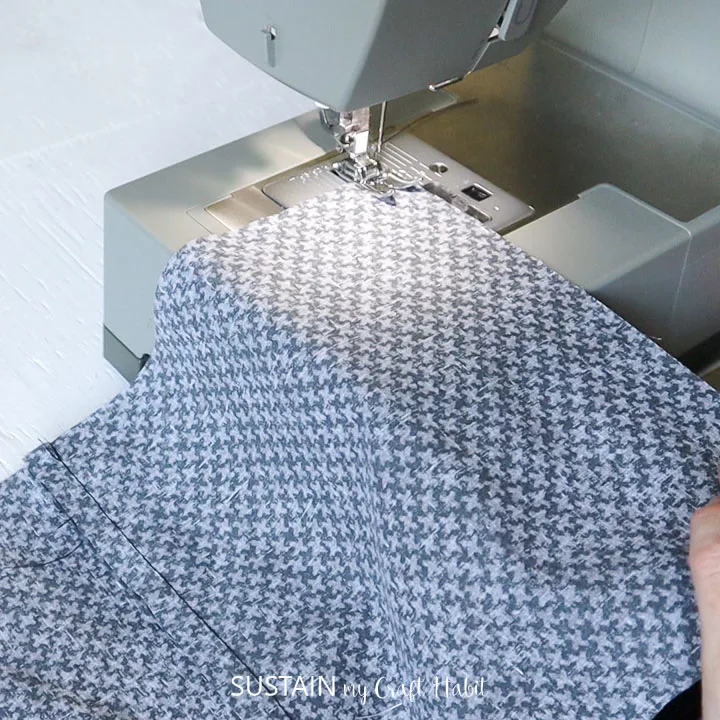
Sew the bottom edges of the two main pouch pieces together.

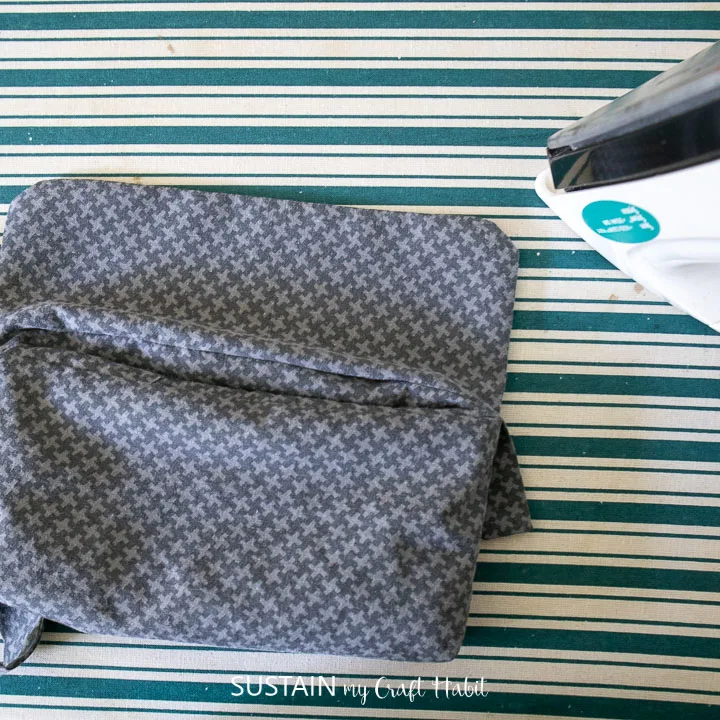
Press all seams with iron so fabric lays flat.
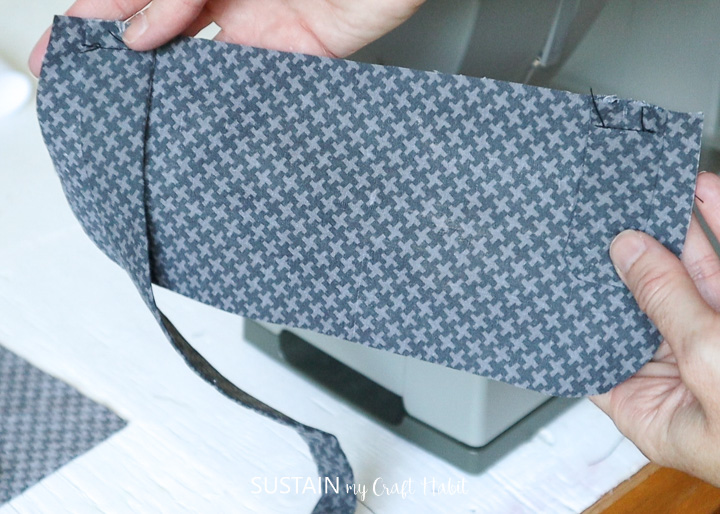
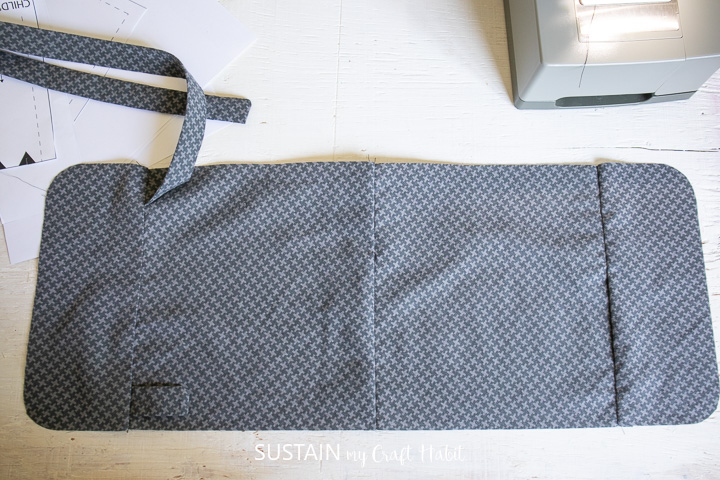
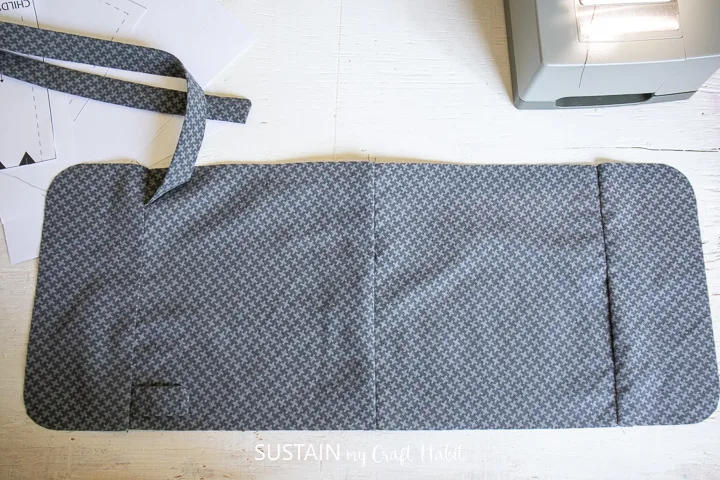
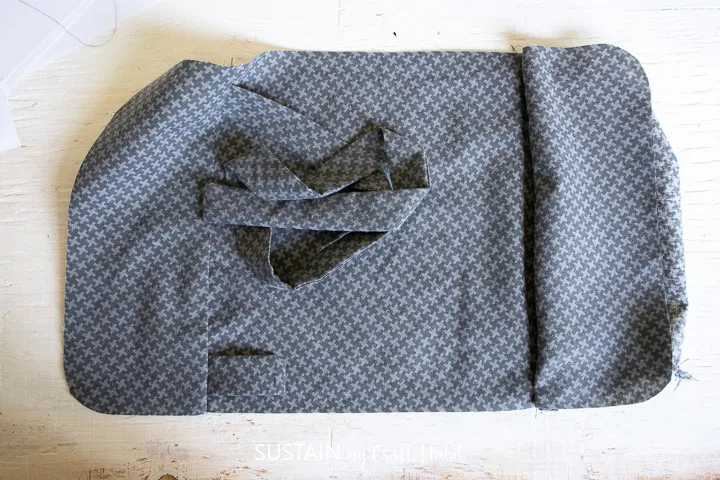
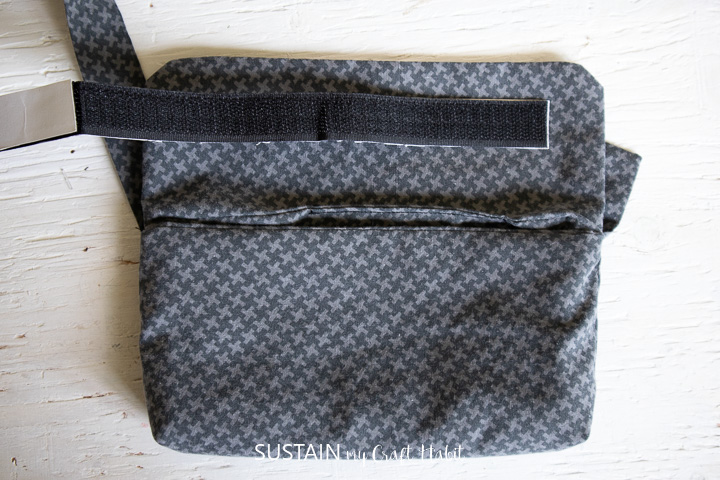
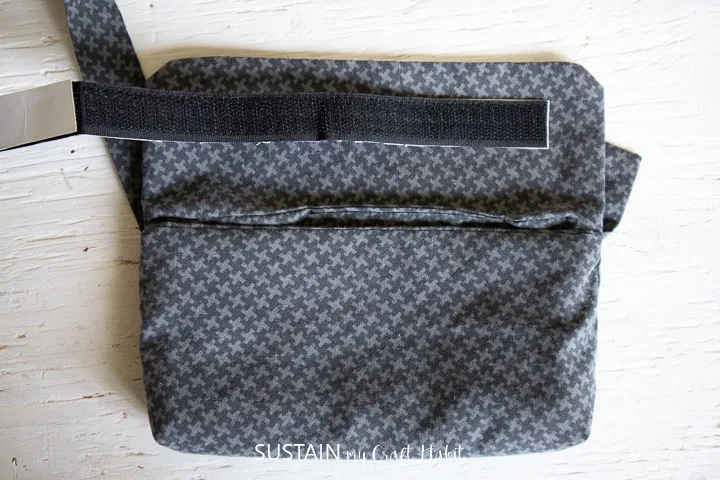
Lay the sewn piece down on a flat surface with the right side of fabric facing upwards.
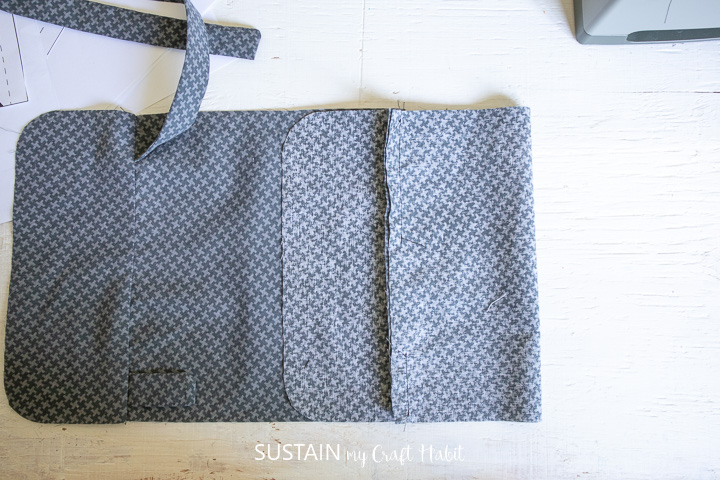
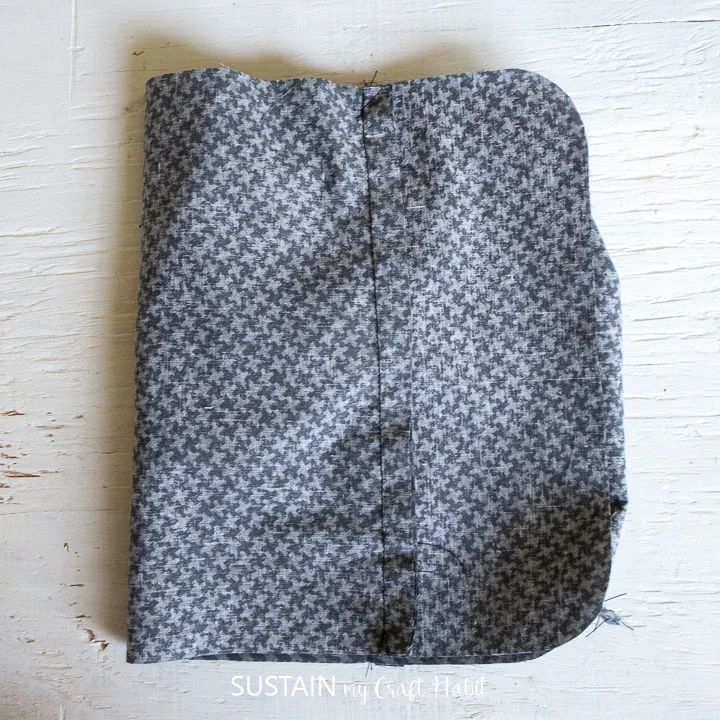
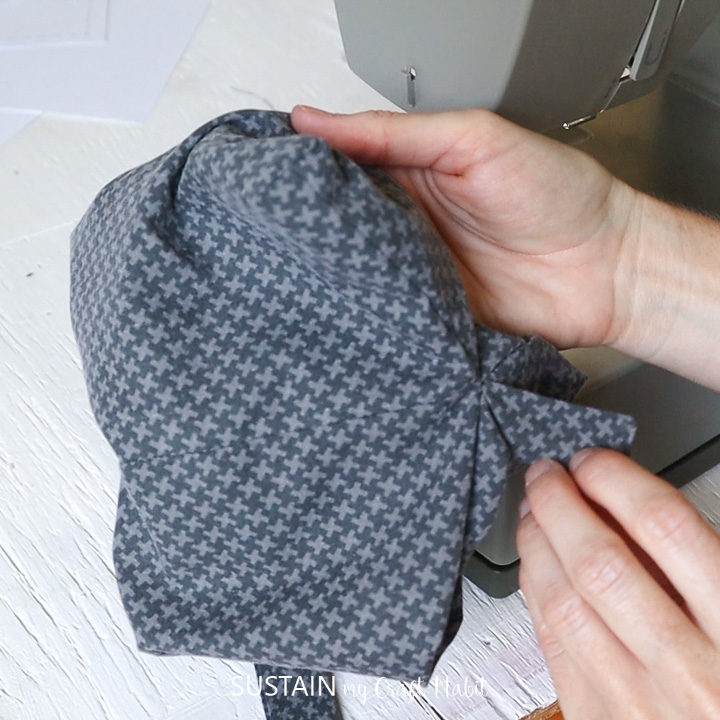
Fold one short end over so that the join seams are aligned as shown.
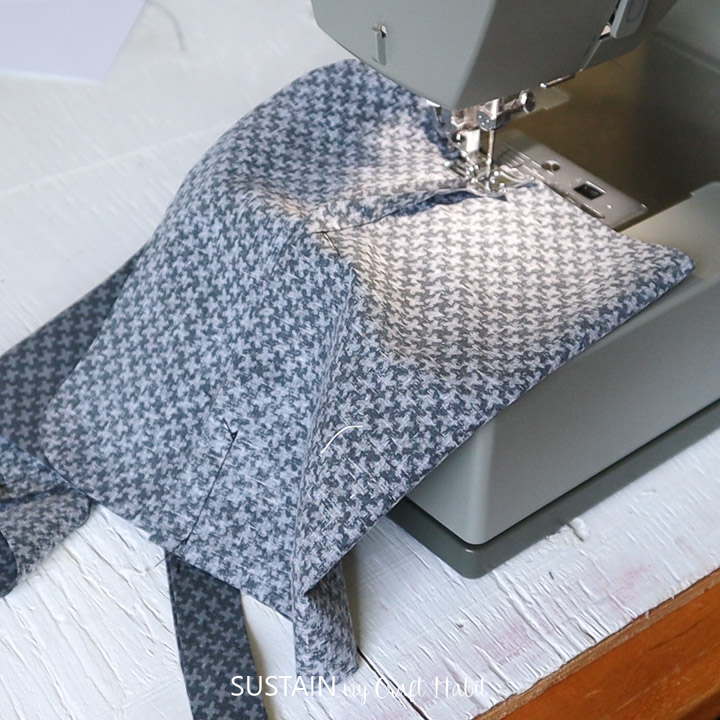
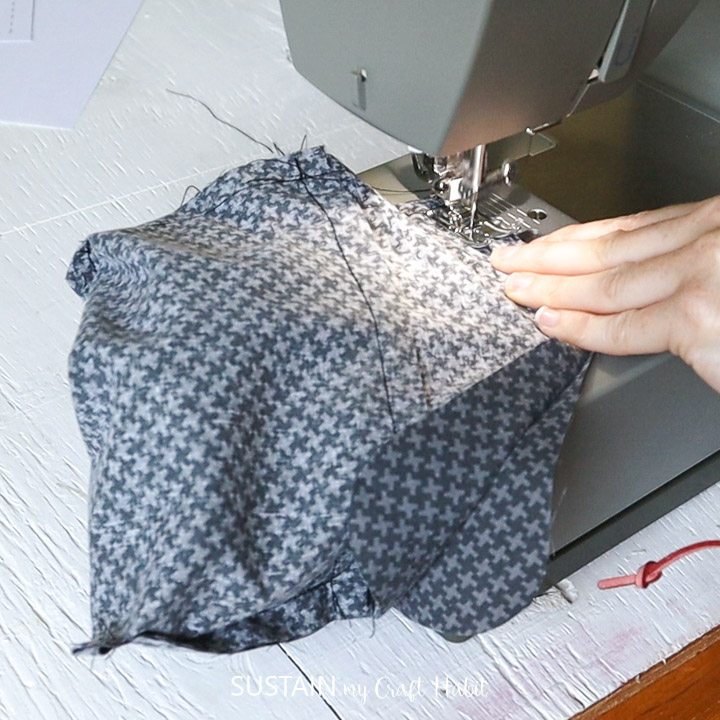
Form a triangle at each corner and sew across about 12 from the tip.
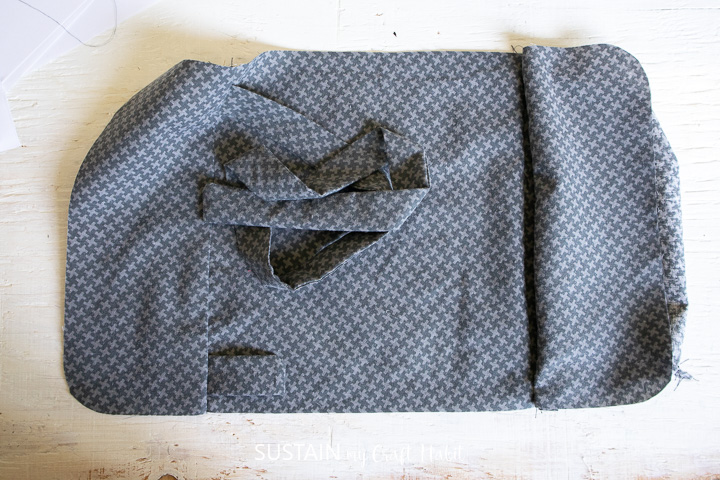
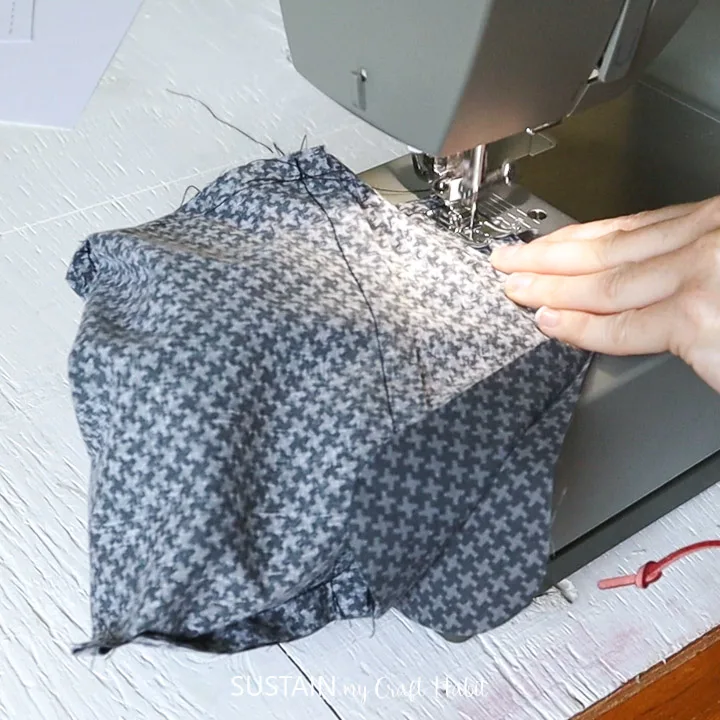
Sew the sides of the pouch together and also form triangles at each corner and sew across.
This creates some speth to the pouch so it is not completely flat.

With right sides togther, sew the pocket flap pieces together with a 1/2 seam allowance.
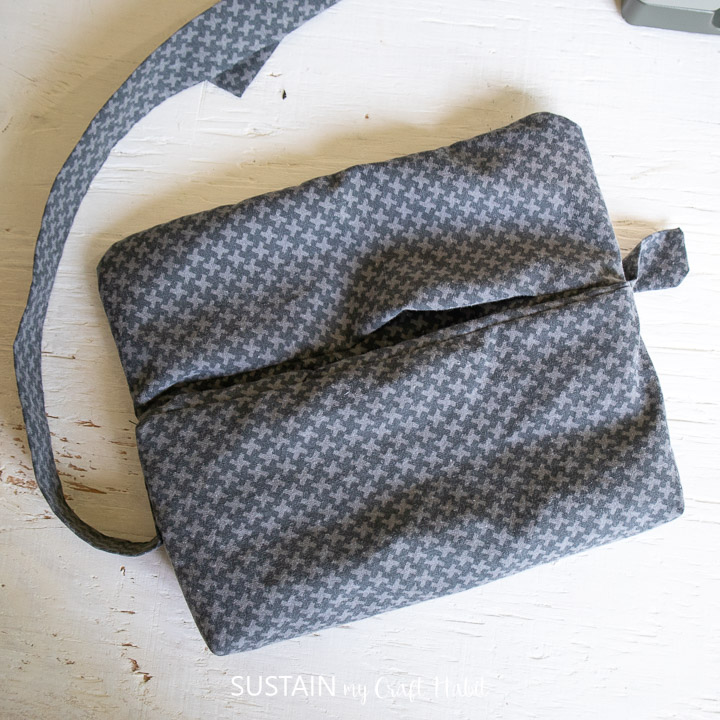
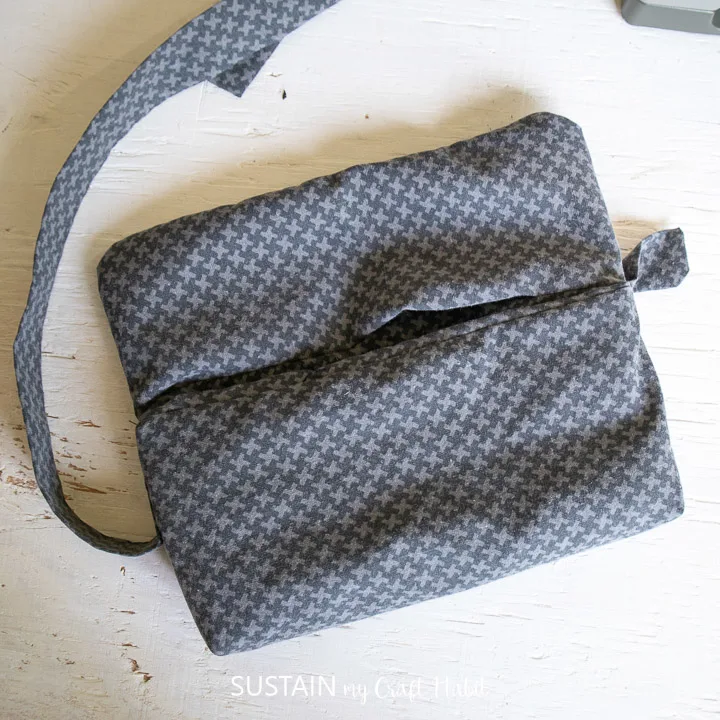
Turn the sewn pouch right side out through the small 2 opening at the flap join seam.
Sew the opening closed and press all seams flat.
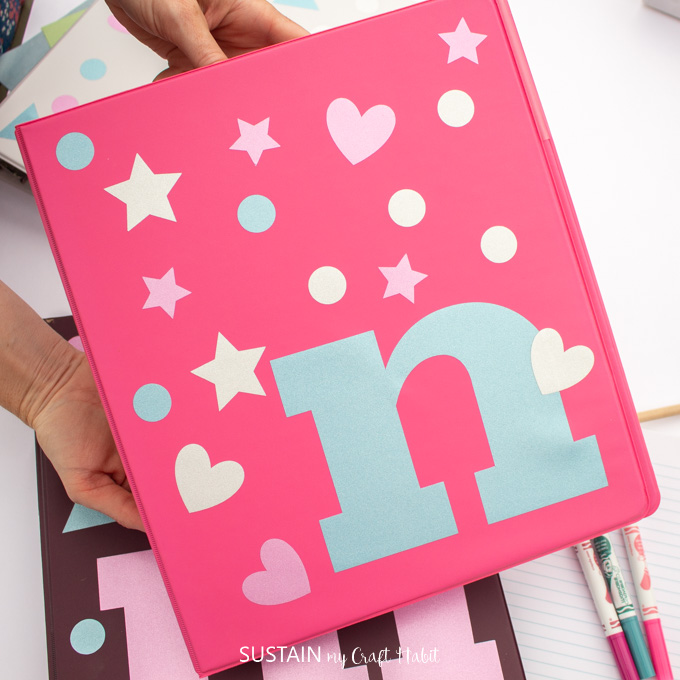
Personalized Binders
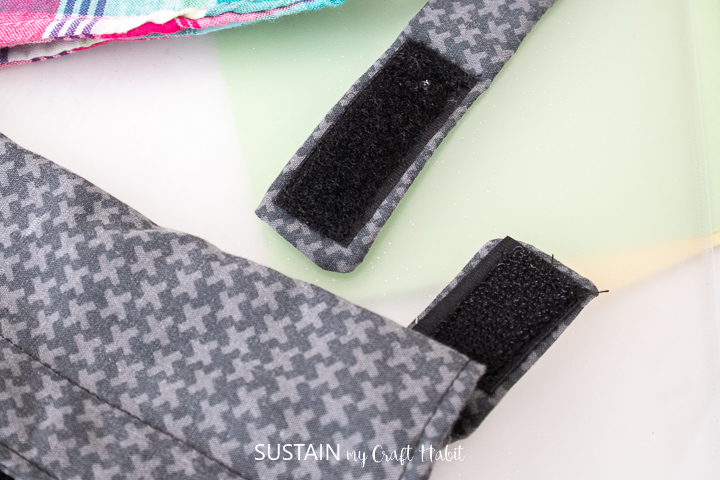
Sew a piece of velcro to the ends of both straps as well.
This gives the strap a break-away feature to prevent an entrapment hazard.
you’ve got the option to also sew aplastic break-away claspto the ends instead of the velcro.

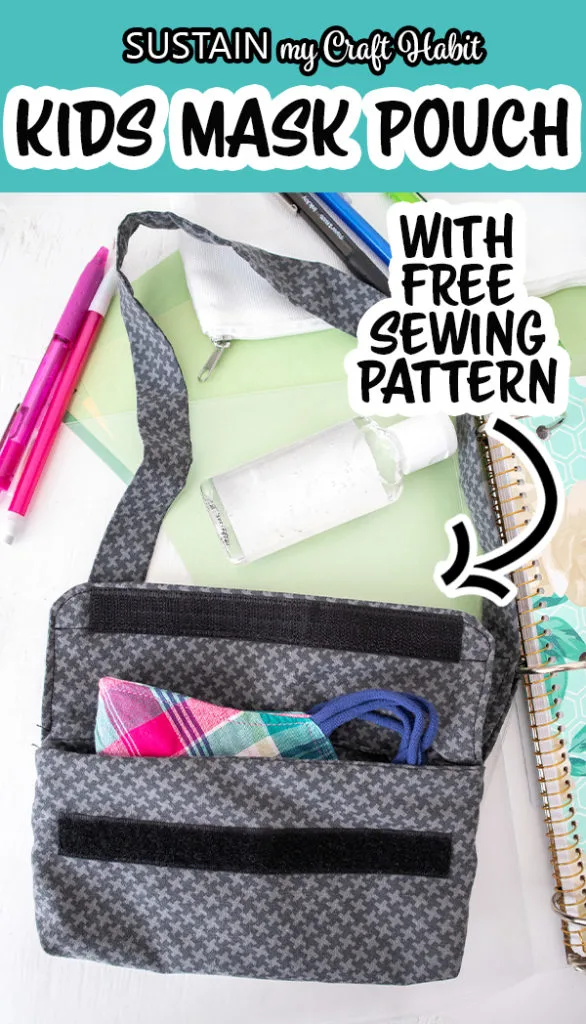
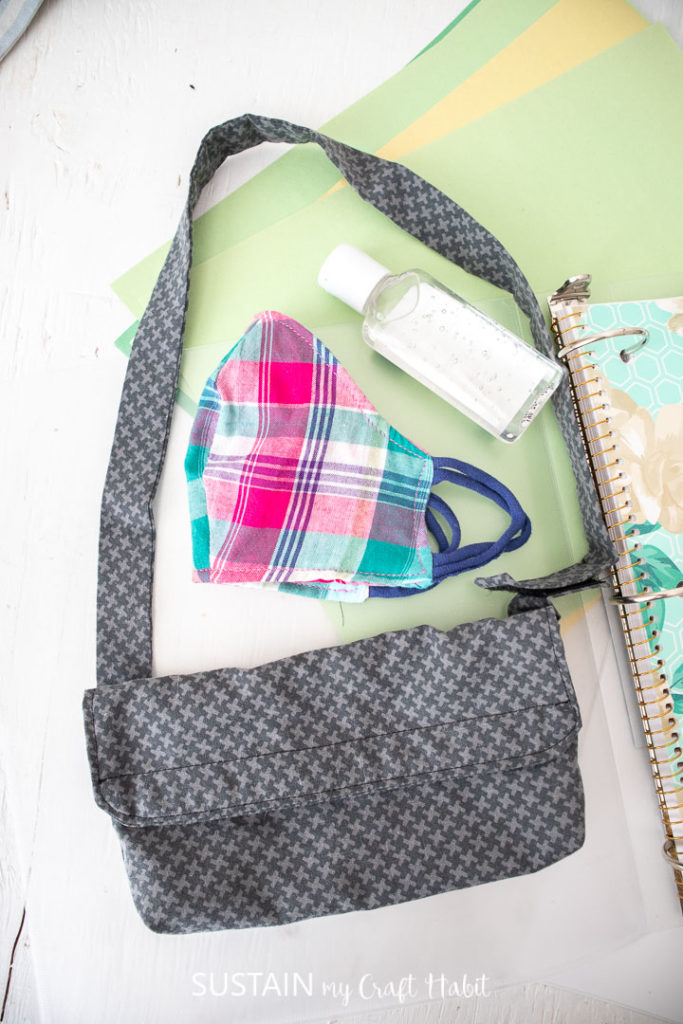
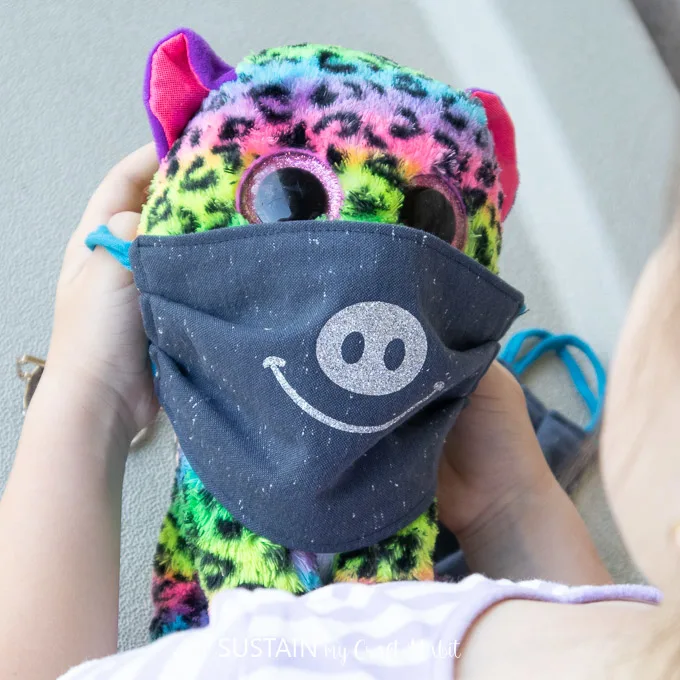
And thats it, the mask pouch is complete!
Have the kids fill them with their essential items for school.
Pin it for later!
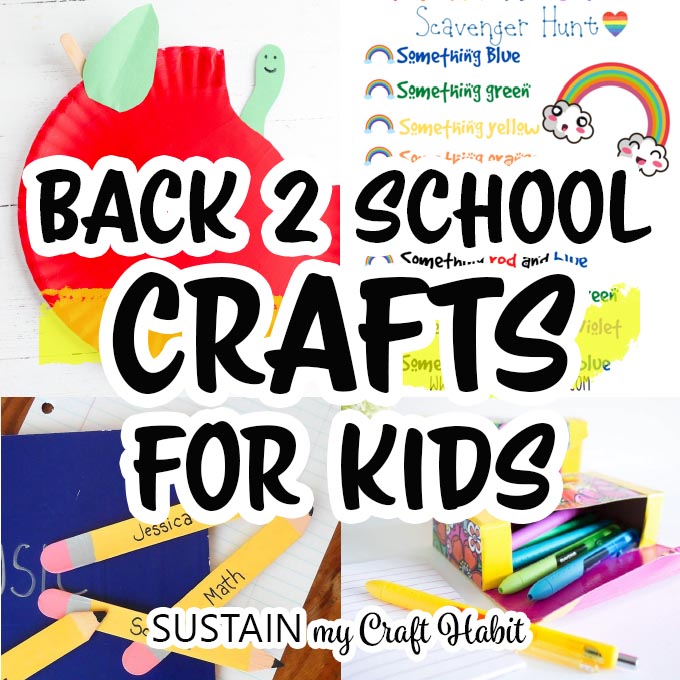
Back to School Crafts for Kids

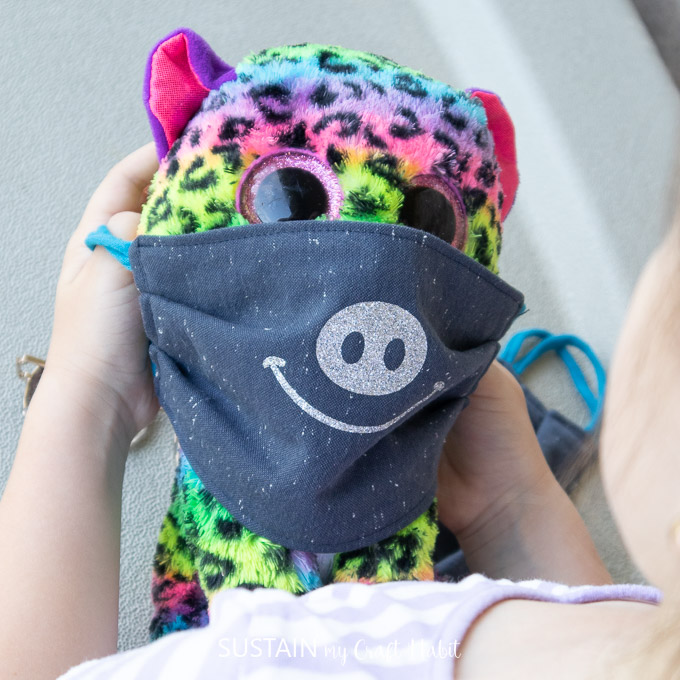
Making Masks Fun

Kids Fitted Face Mask with Filter Opening
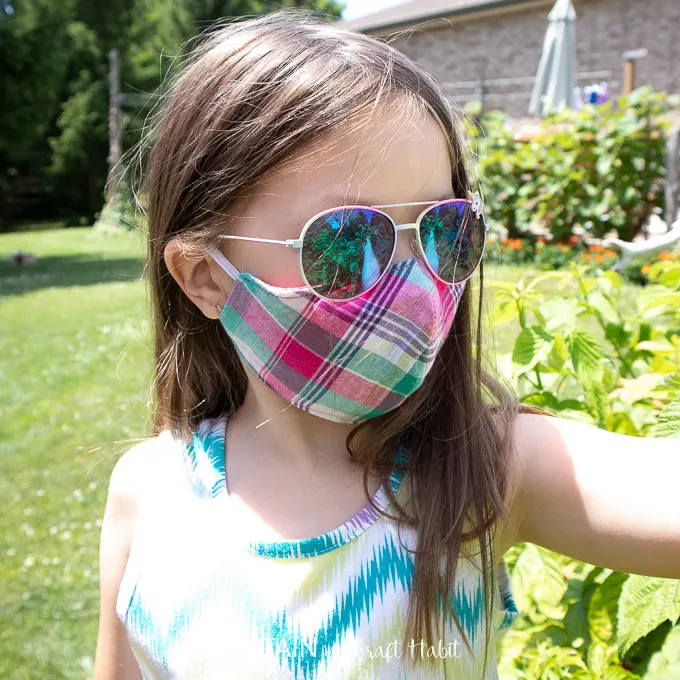
Kids Pleated Face Mask


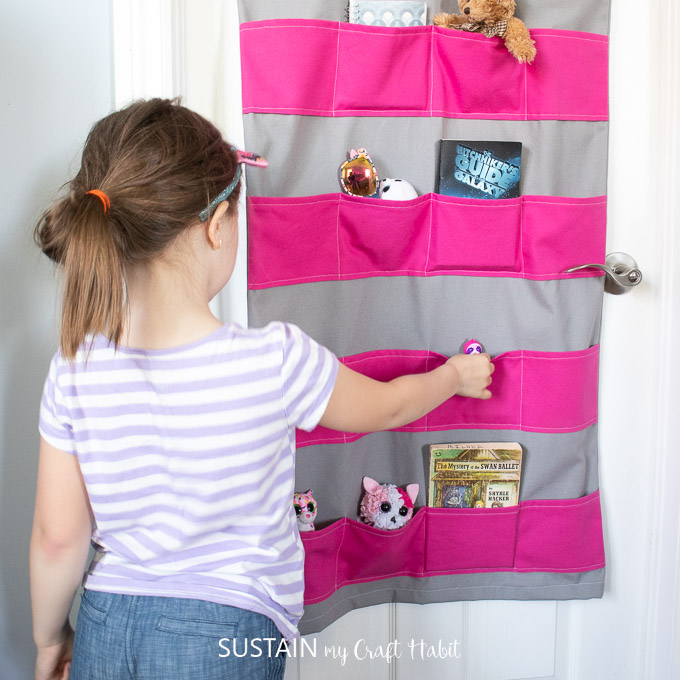
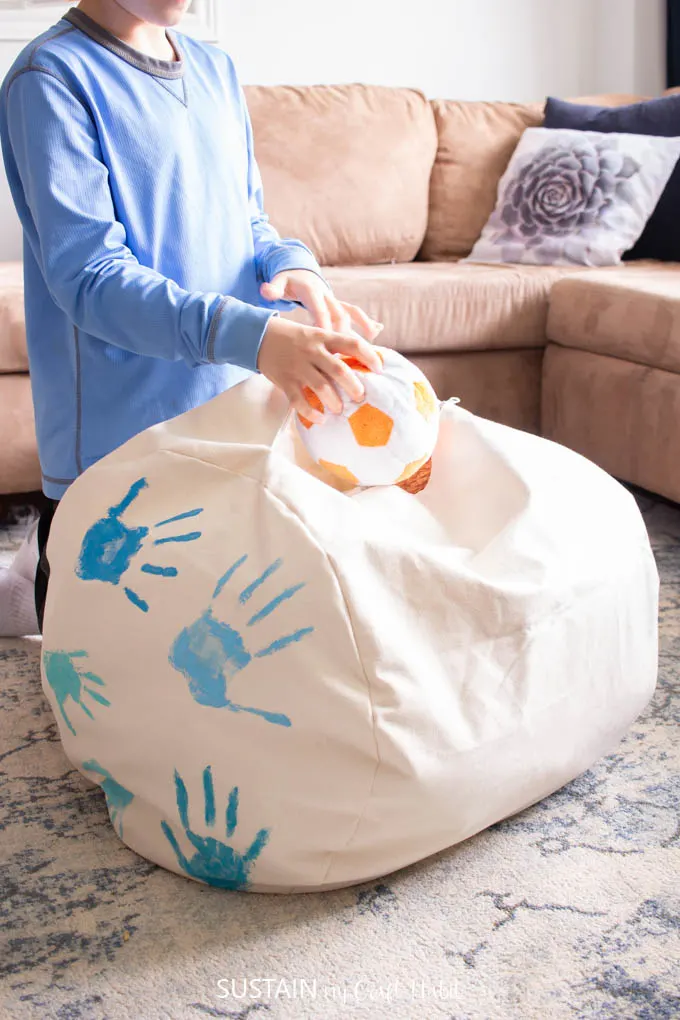
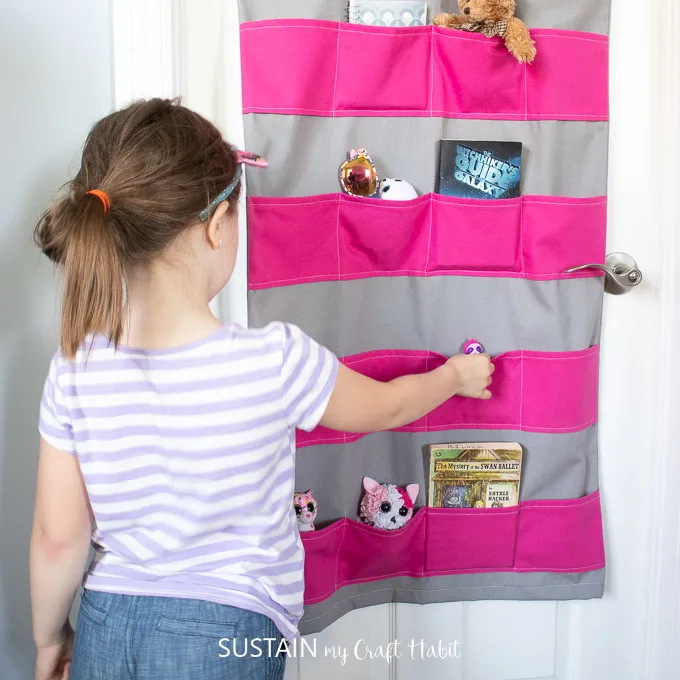
Hanging Toy Storage
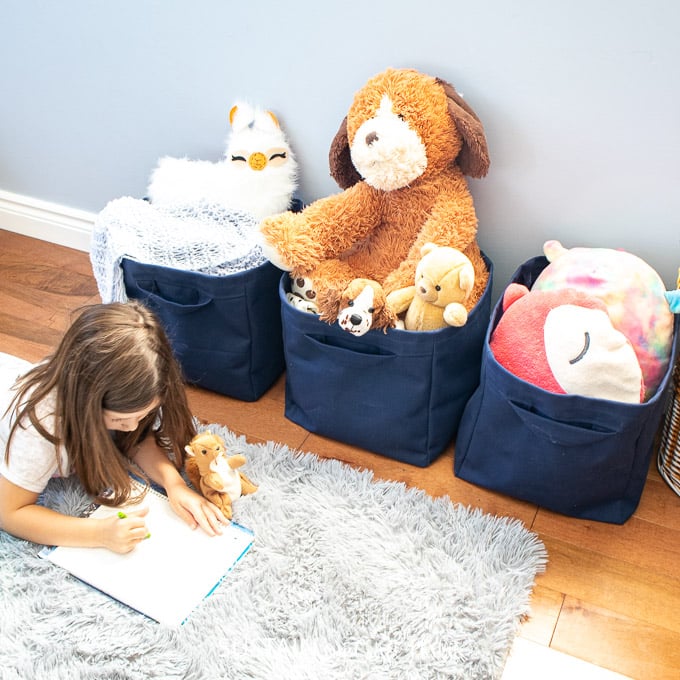
Fabric Cubes
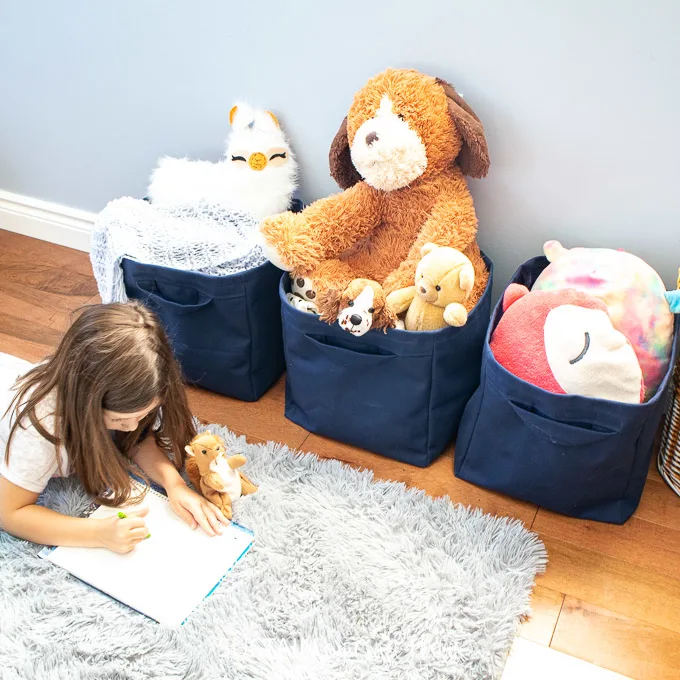
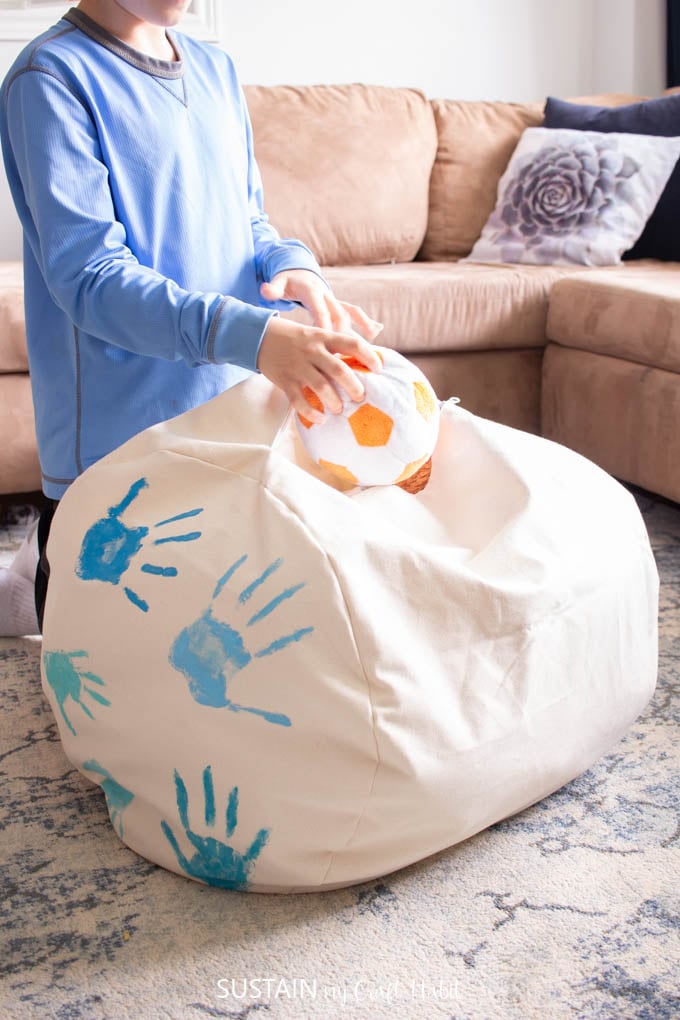
Storage Ottoman