HomeOrganization
This post may contain affiliate links:full affiliate disclosure.
Looking for an easy yet fun way to organize your makeup?
Ive got a fun tutorial for aDIY makeup organizeron the blog today for you, then!
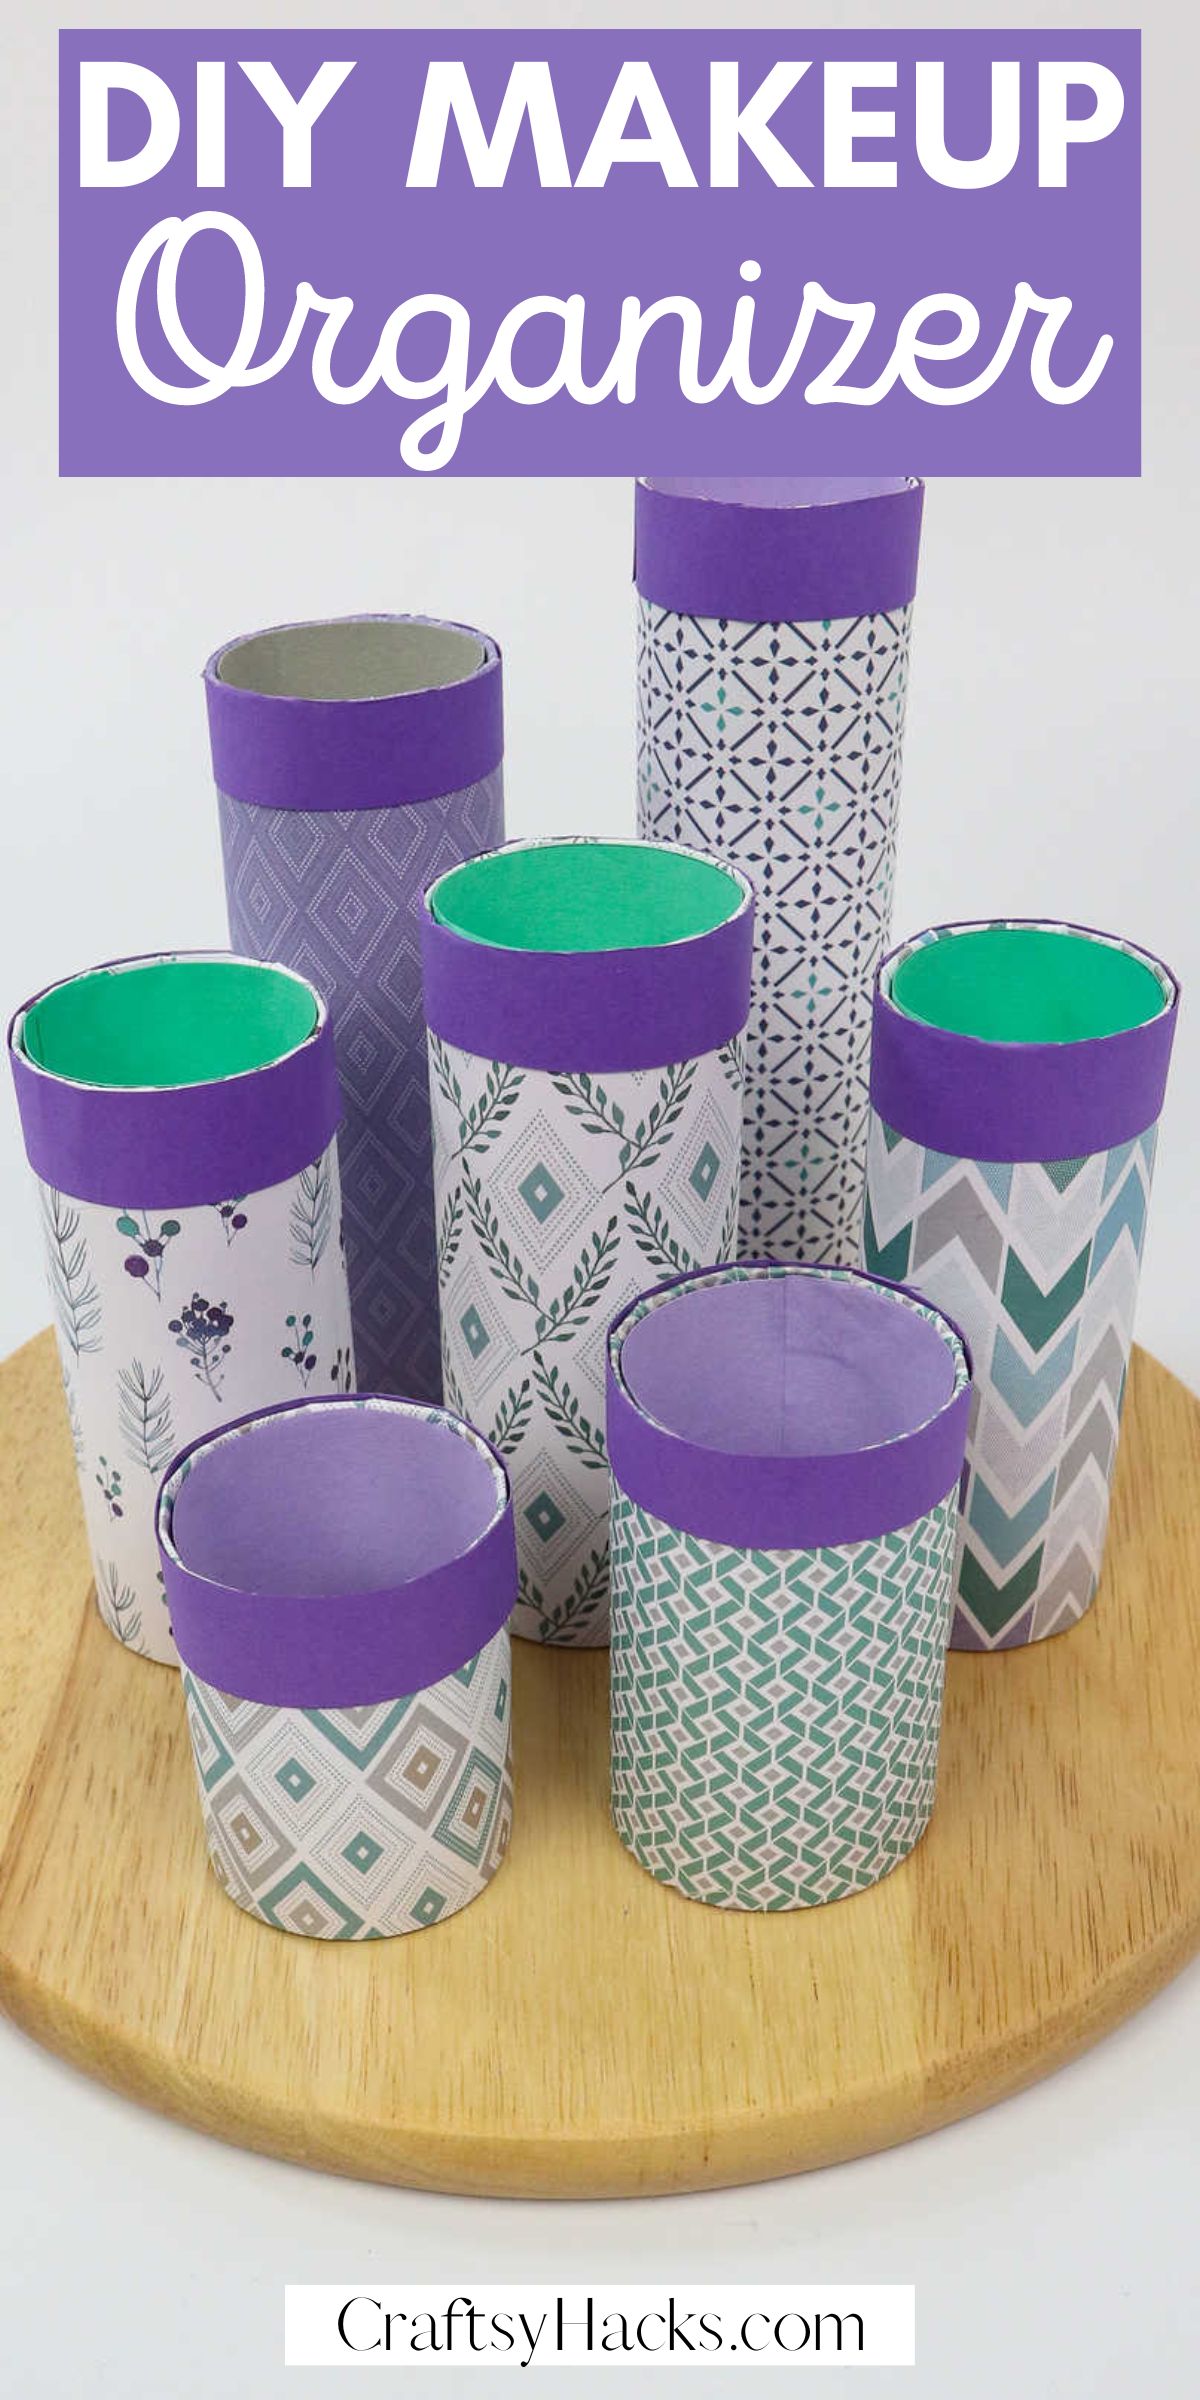
Completely cater the steps to your needs!
Also, you’re free to get very minimal or maximal in your design!
The example Im sharing is in the middle ground.

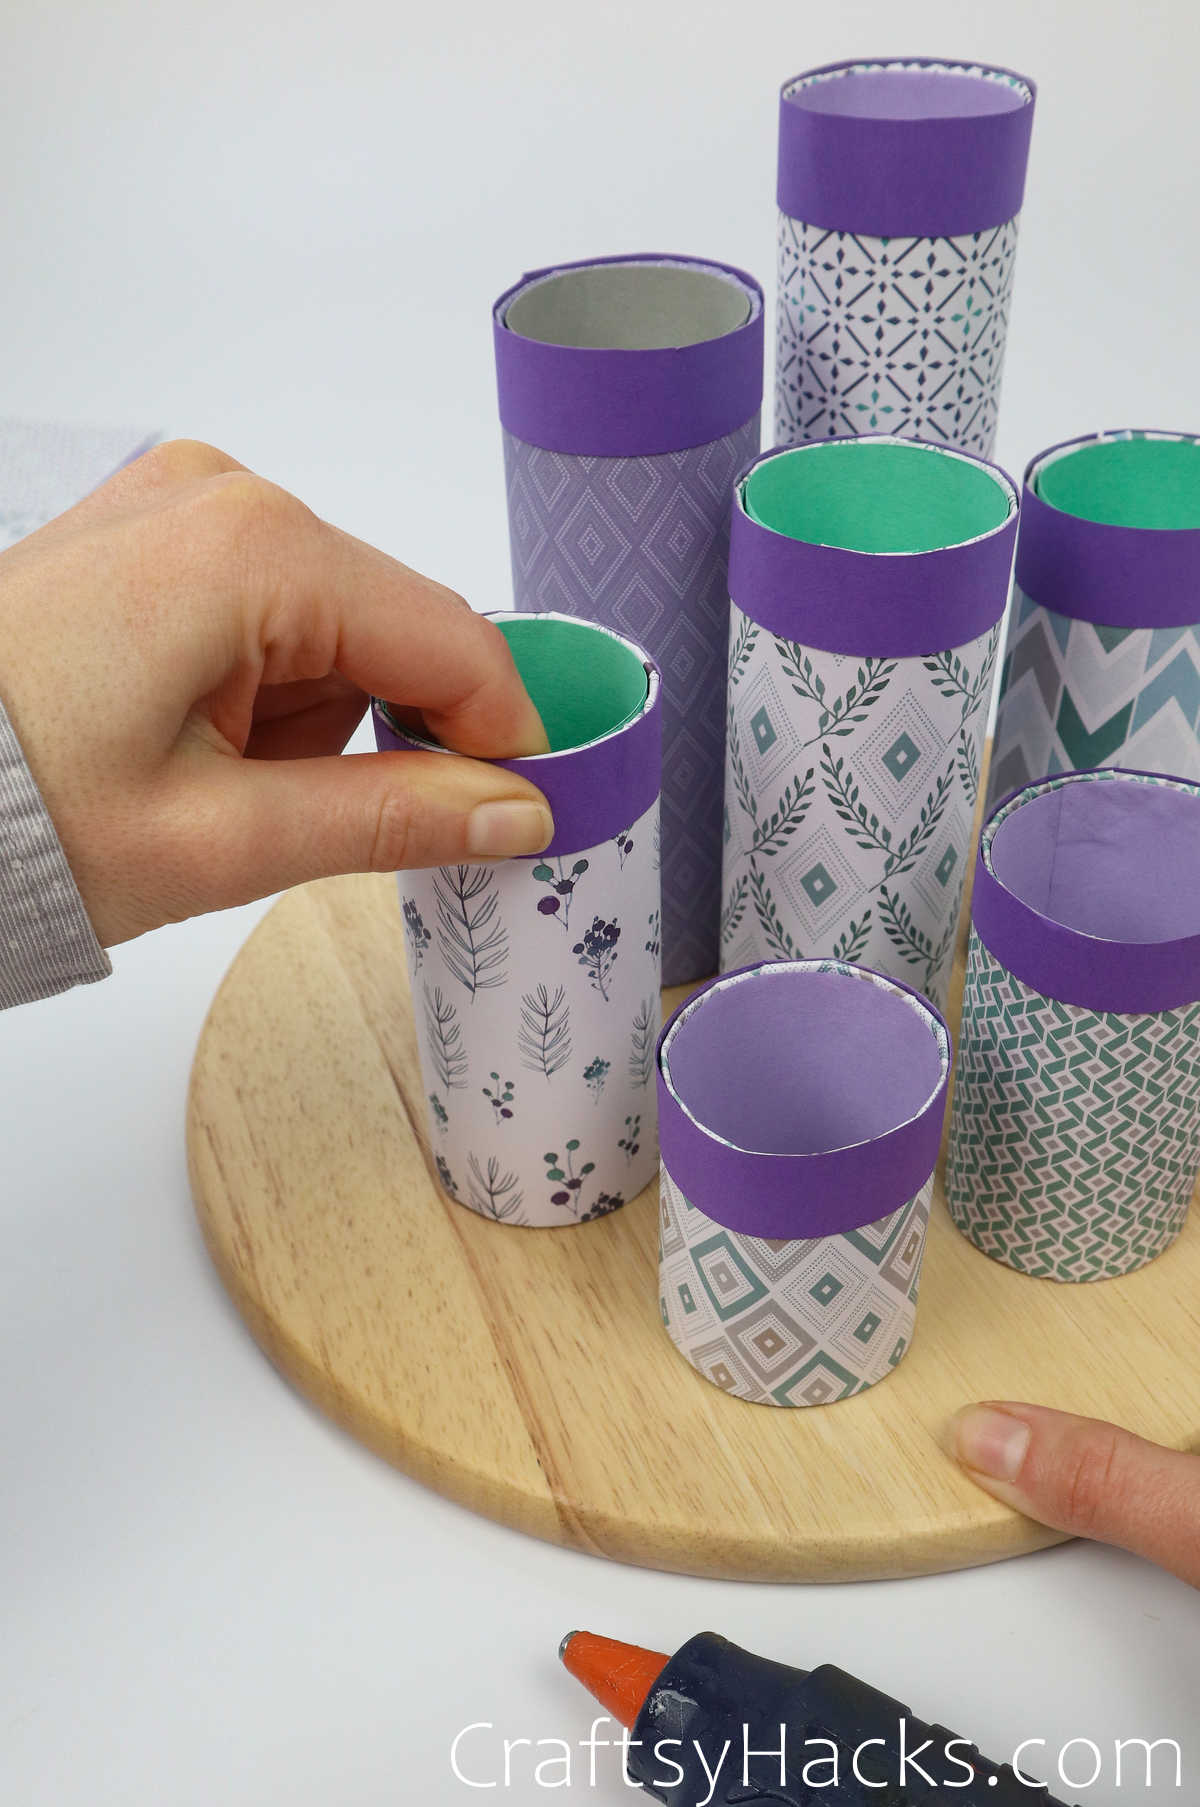
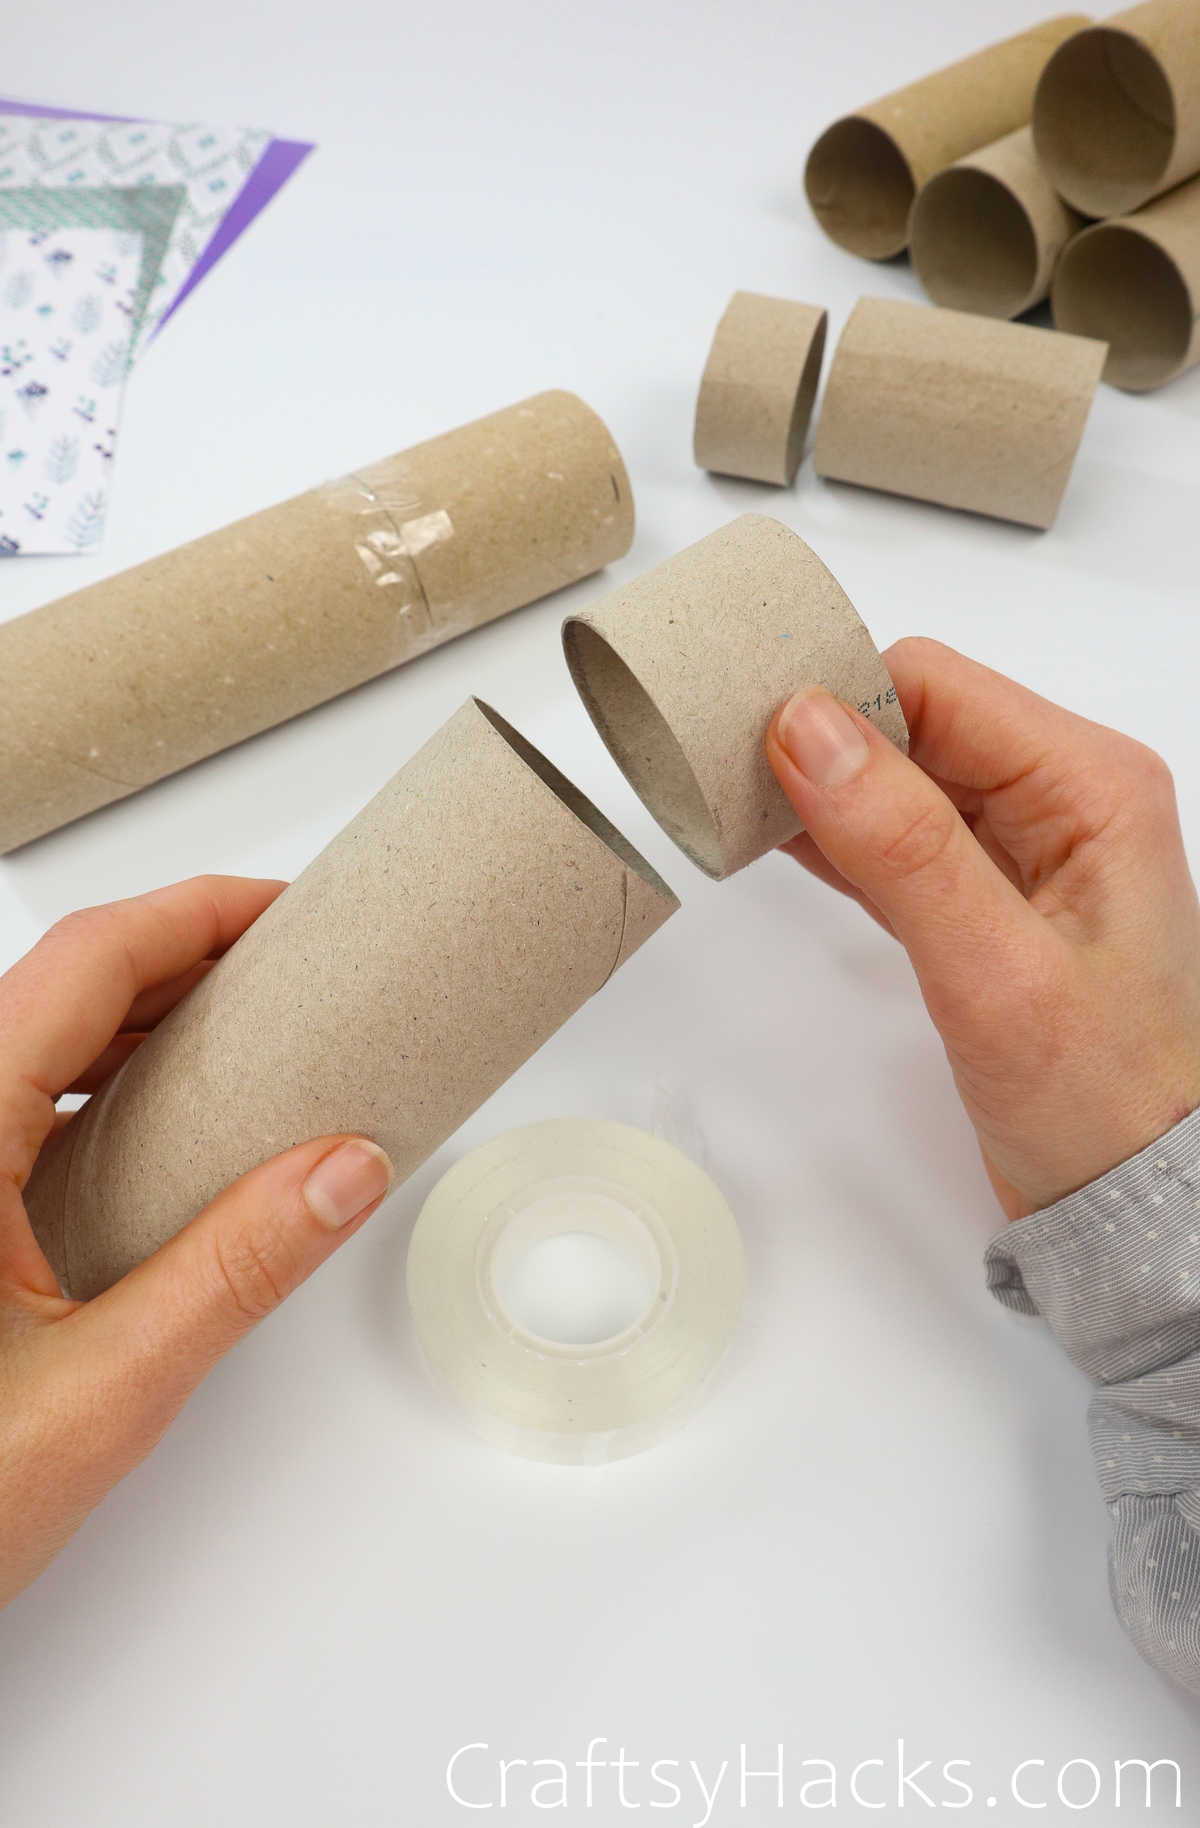
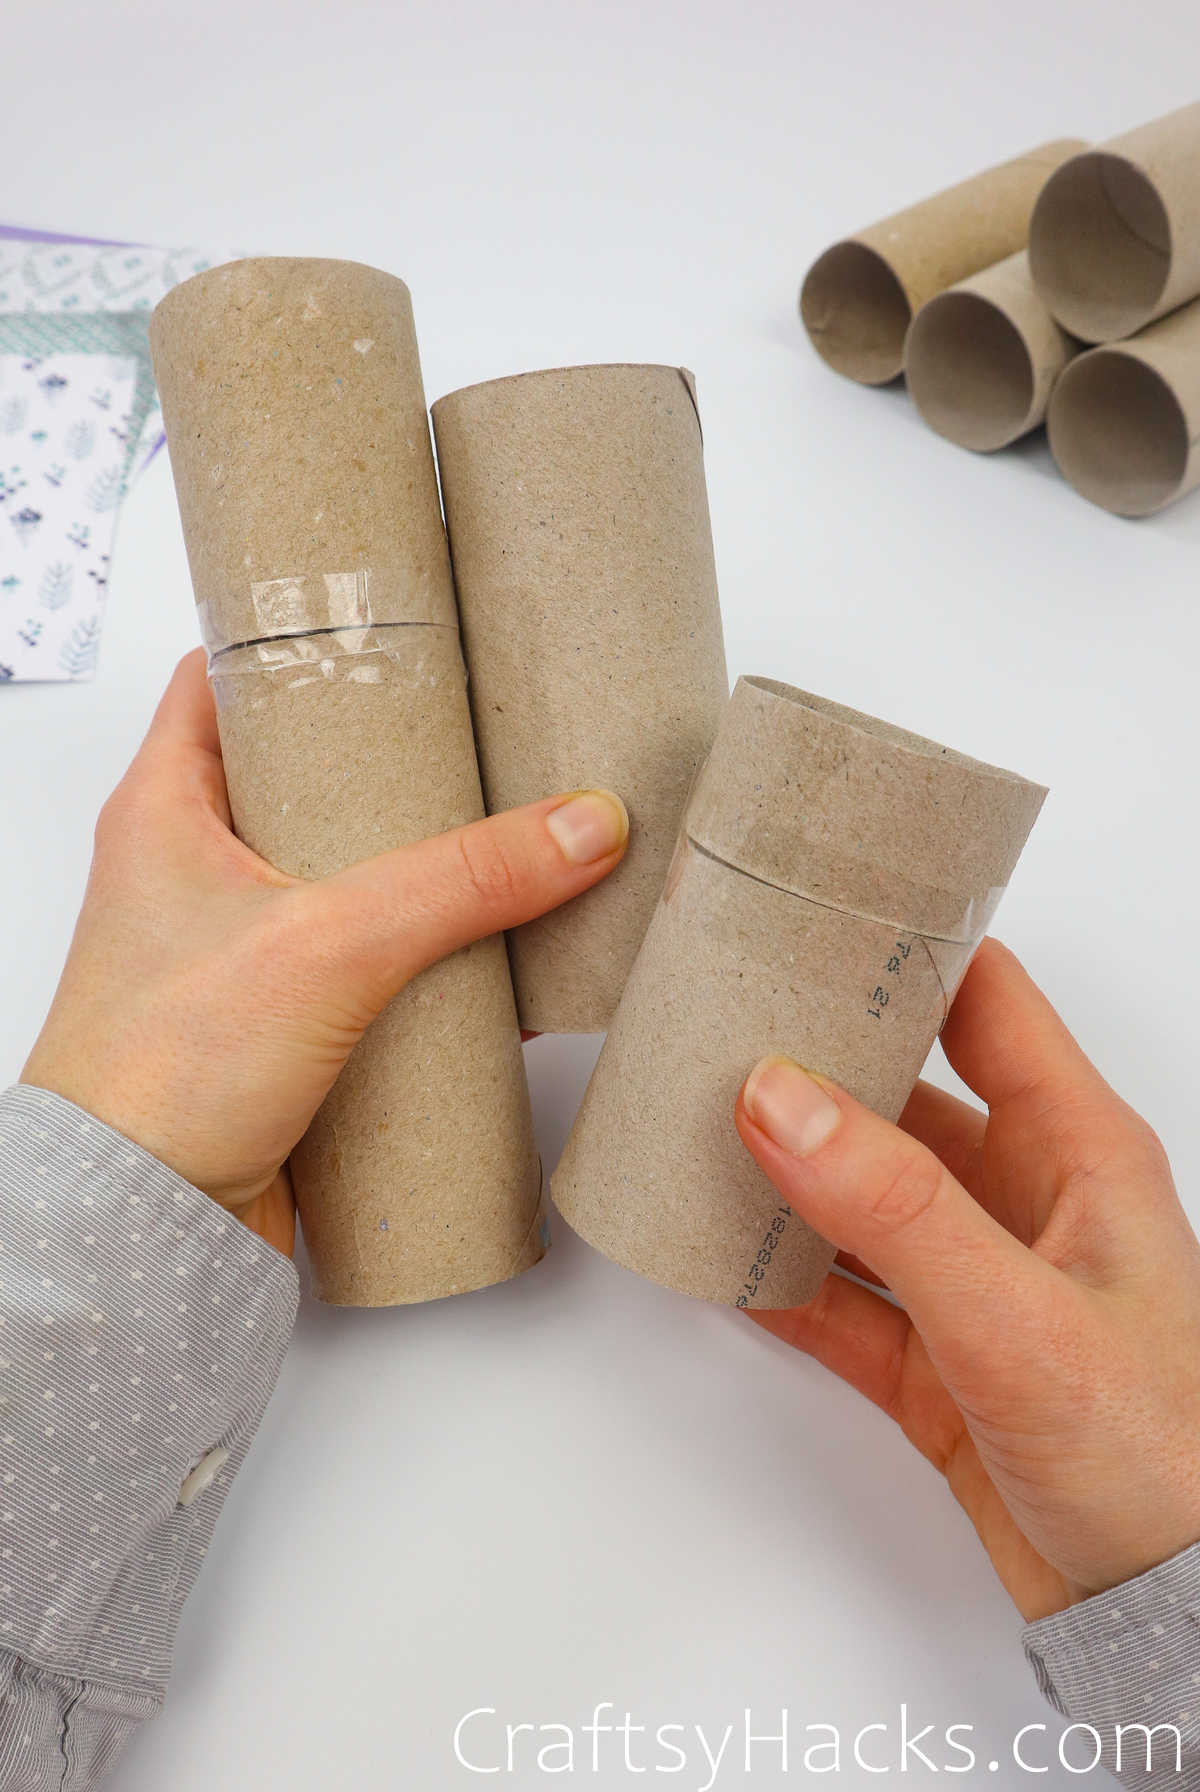
Grab some tape and mix and match any extras onto tubes that need just a bit more height!
Feel free to put in whatever makes the most sense to you!
The base will help reinforce the weight of the tools instead of solely relying on the tube.
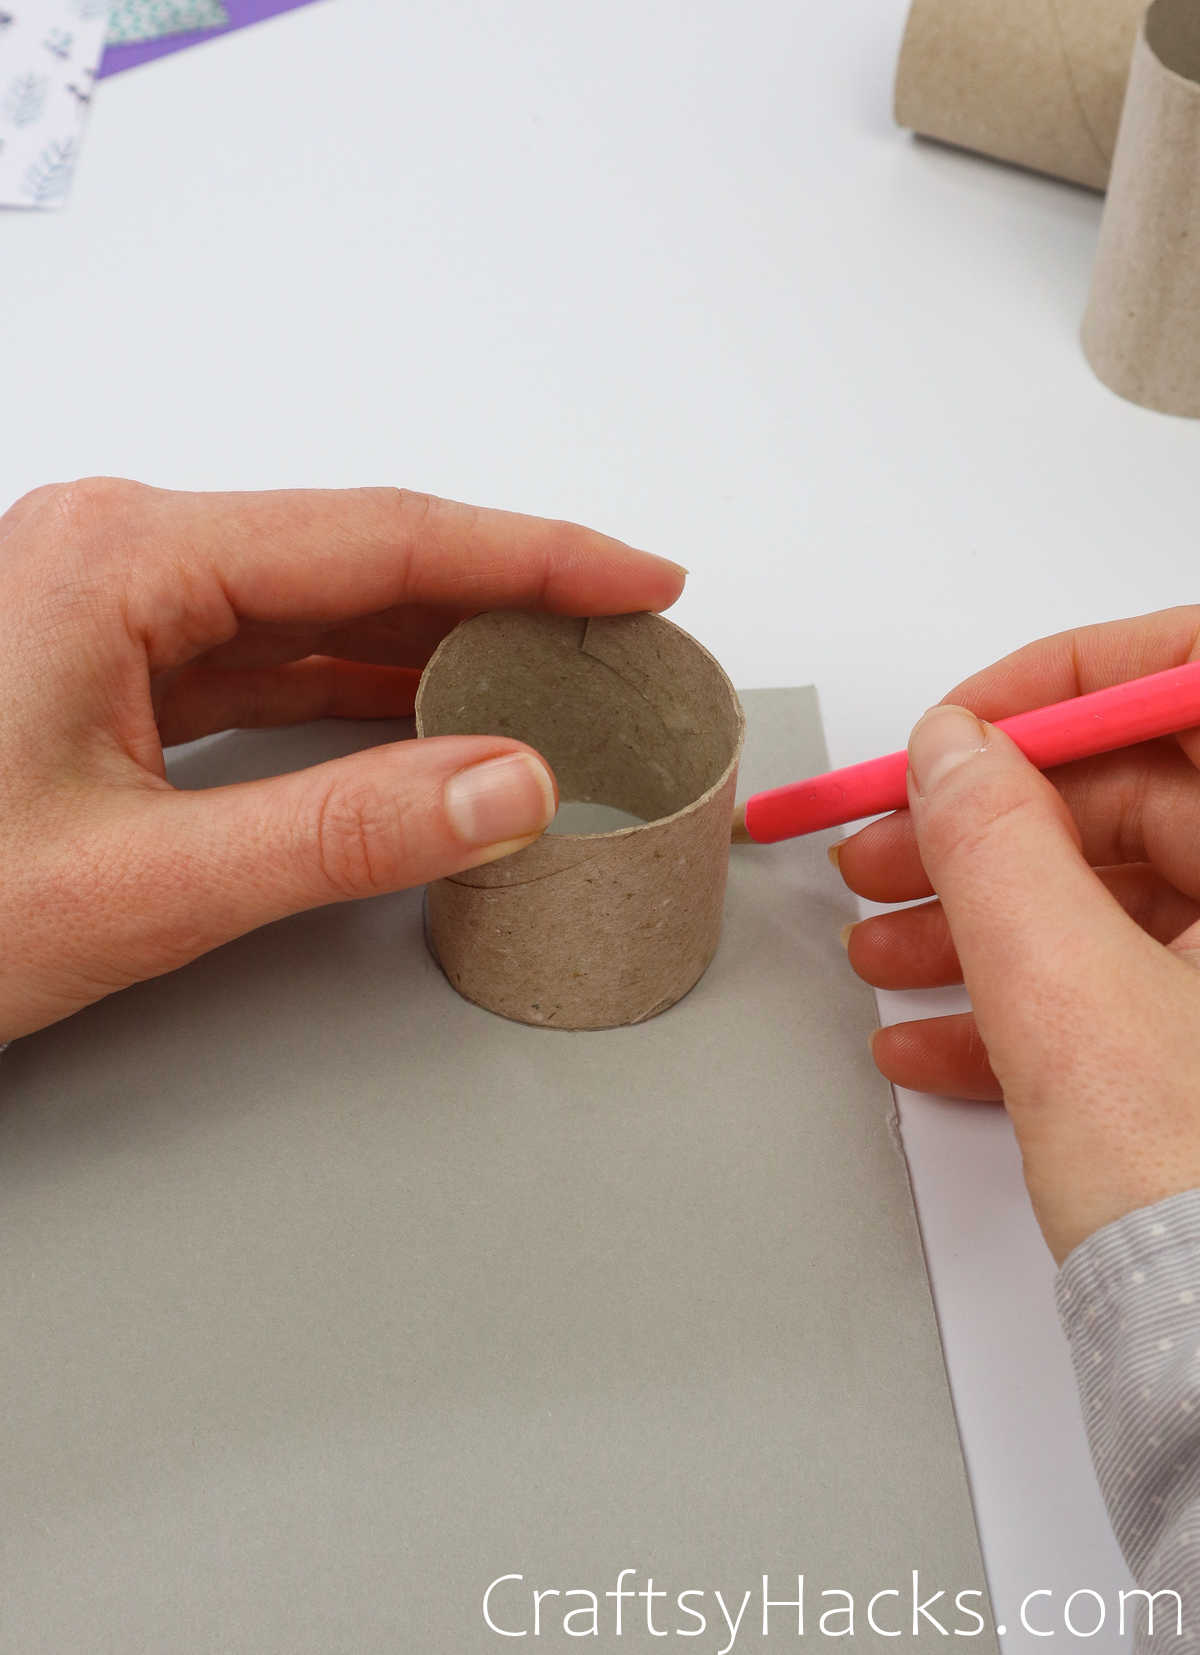
The second circle doesnt have to be perfect.
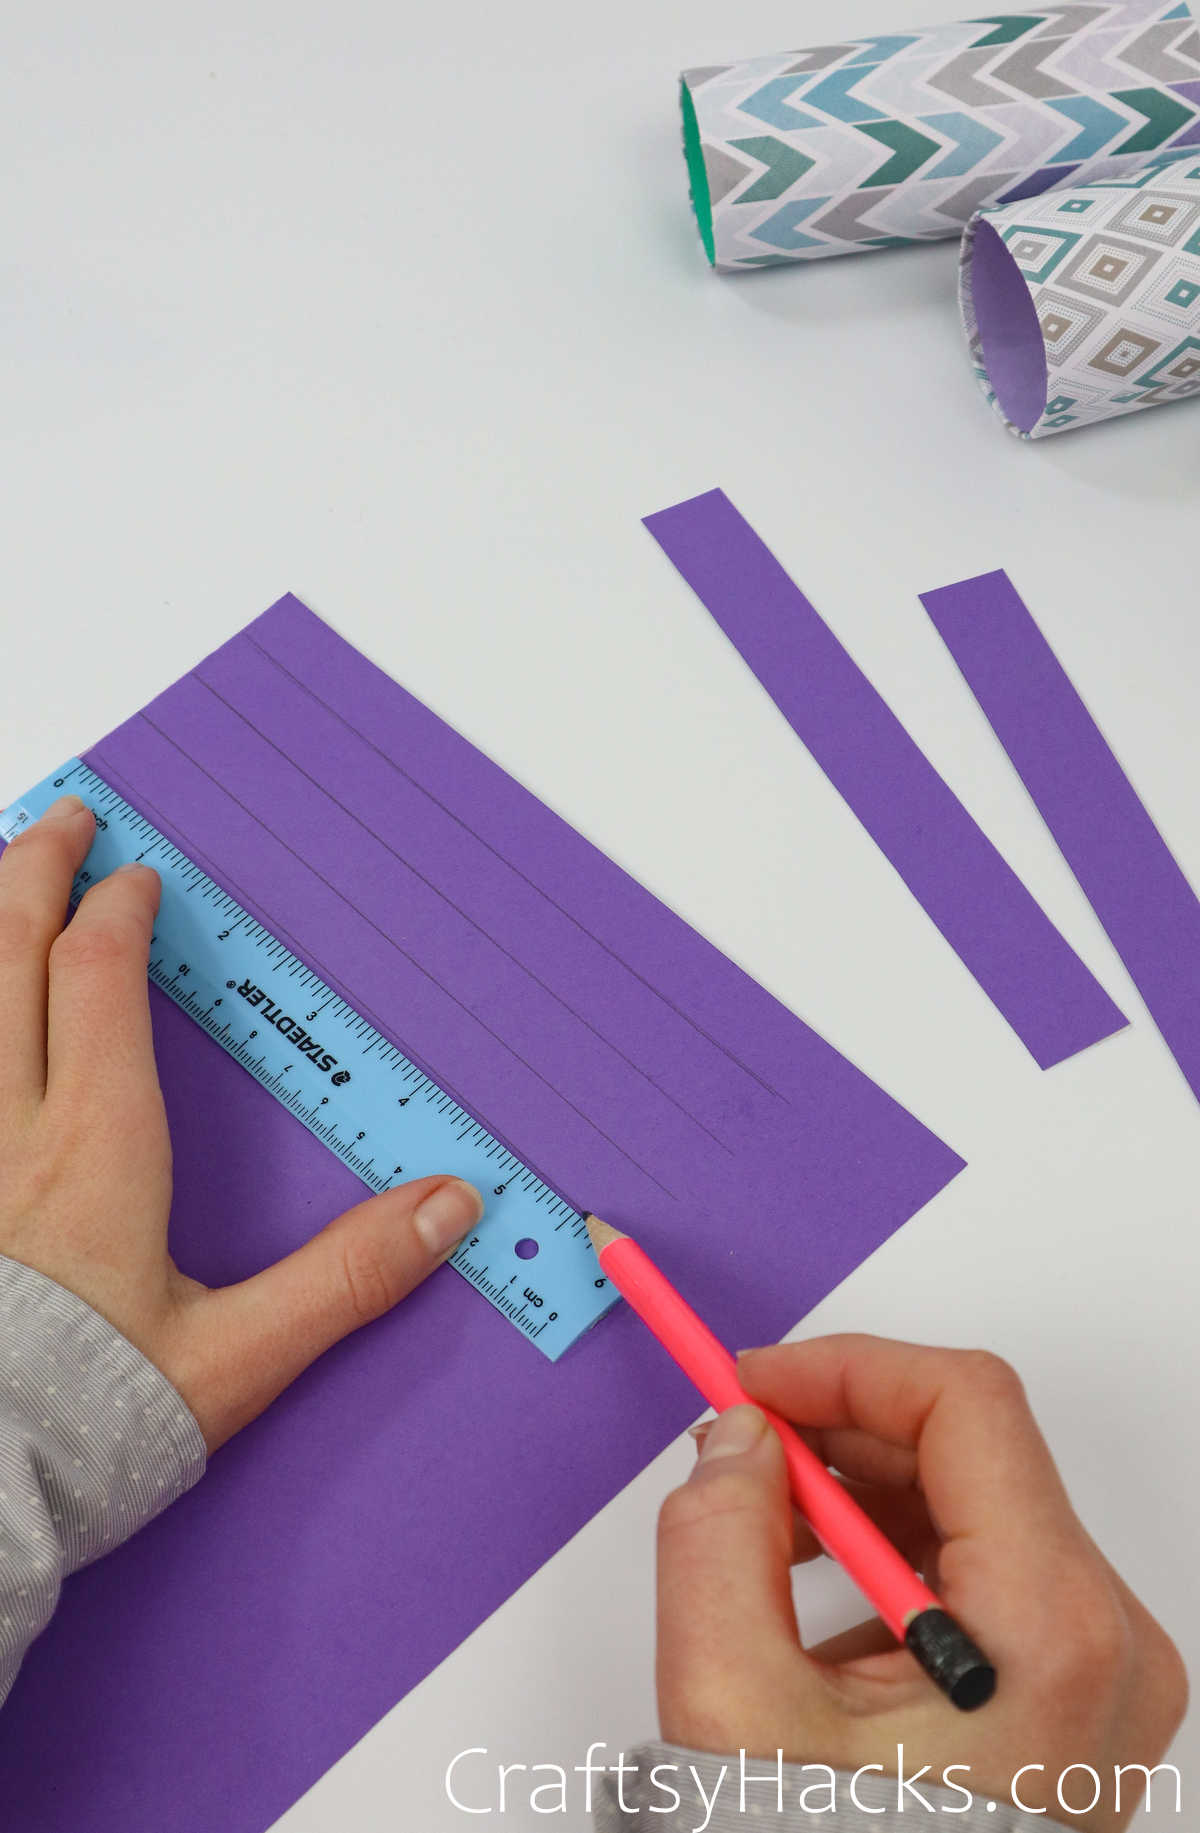
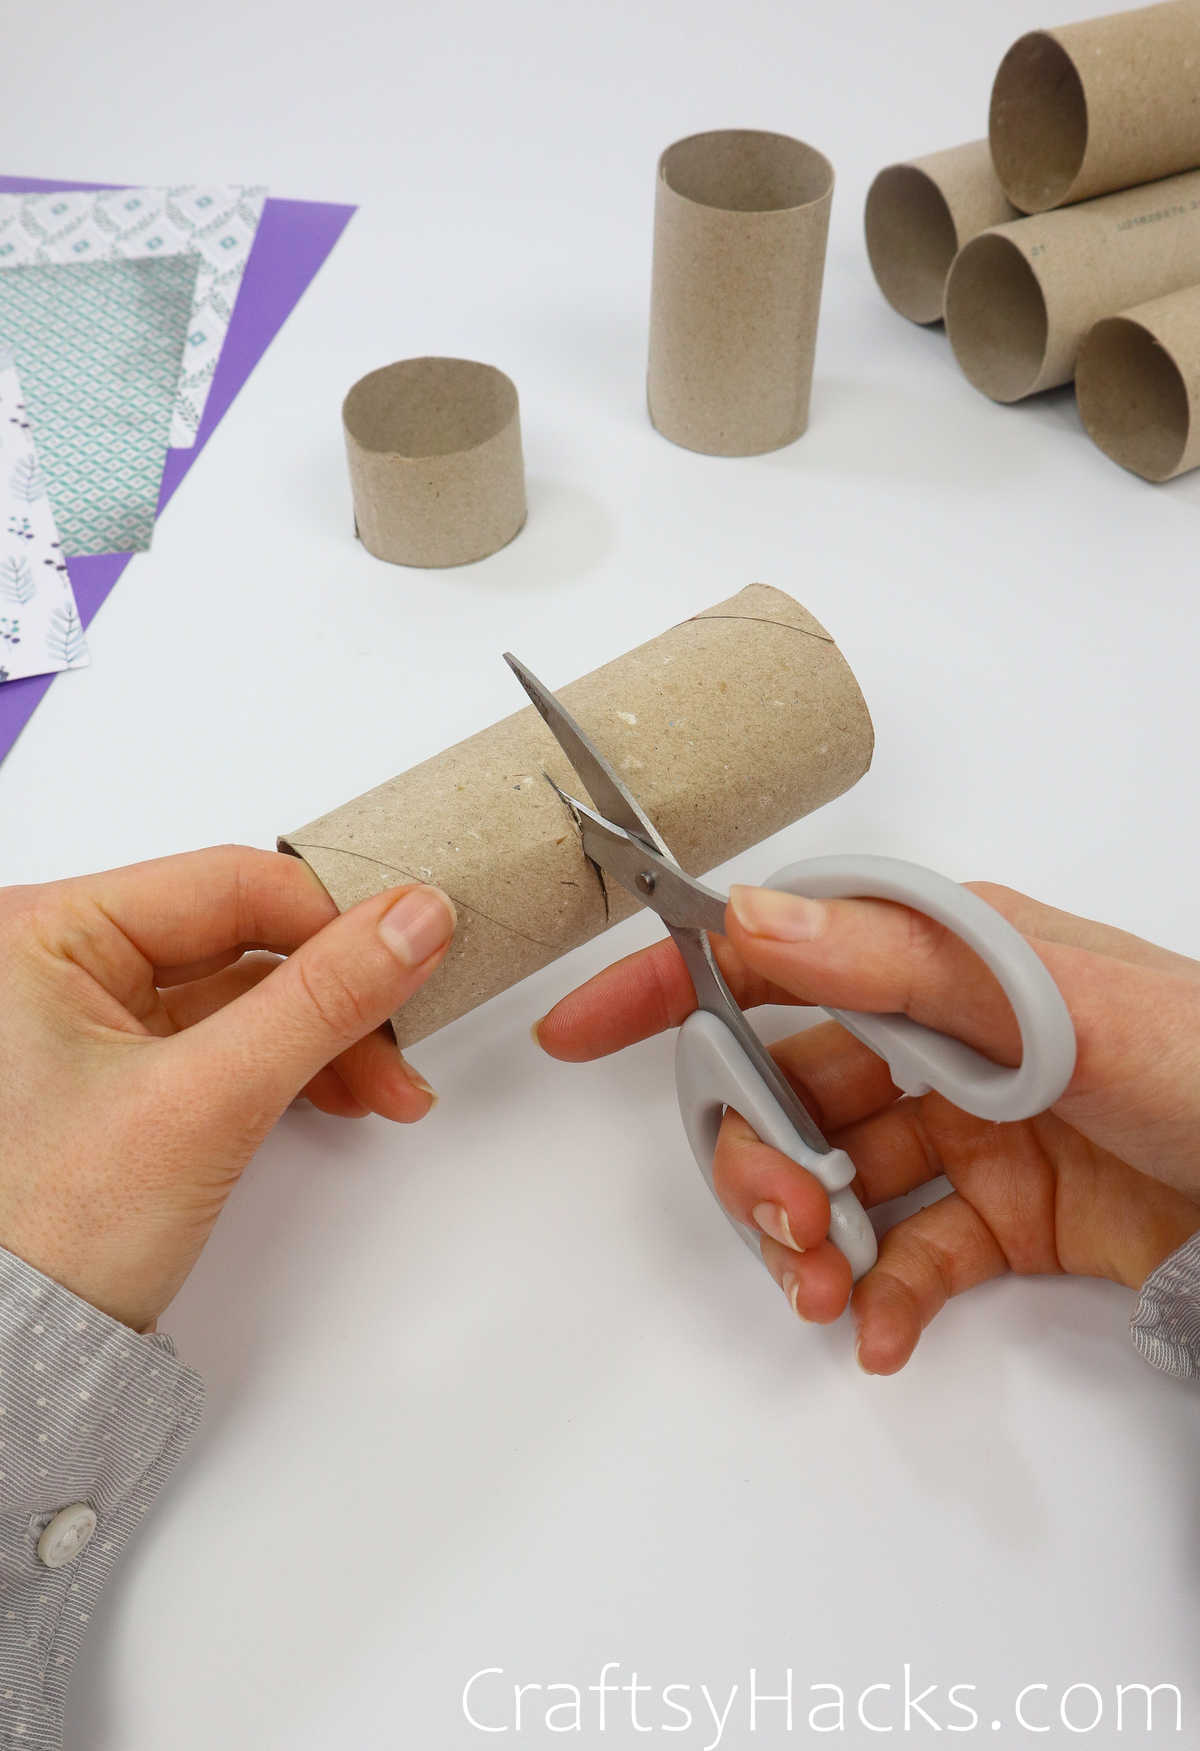
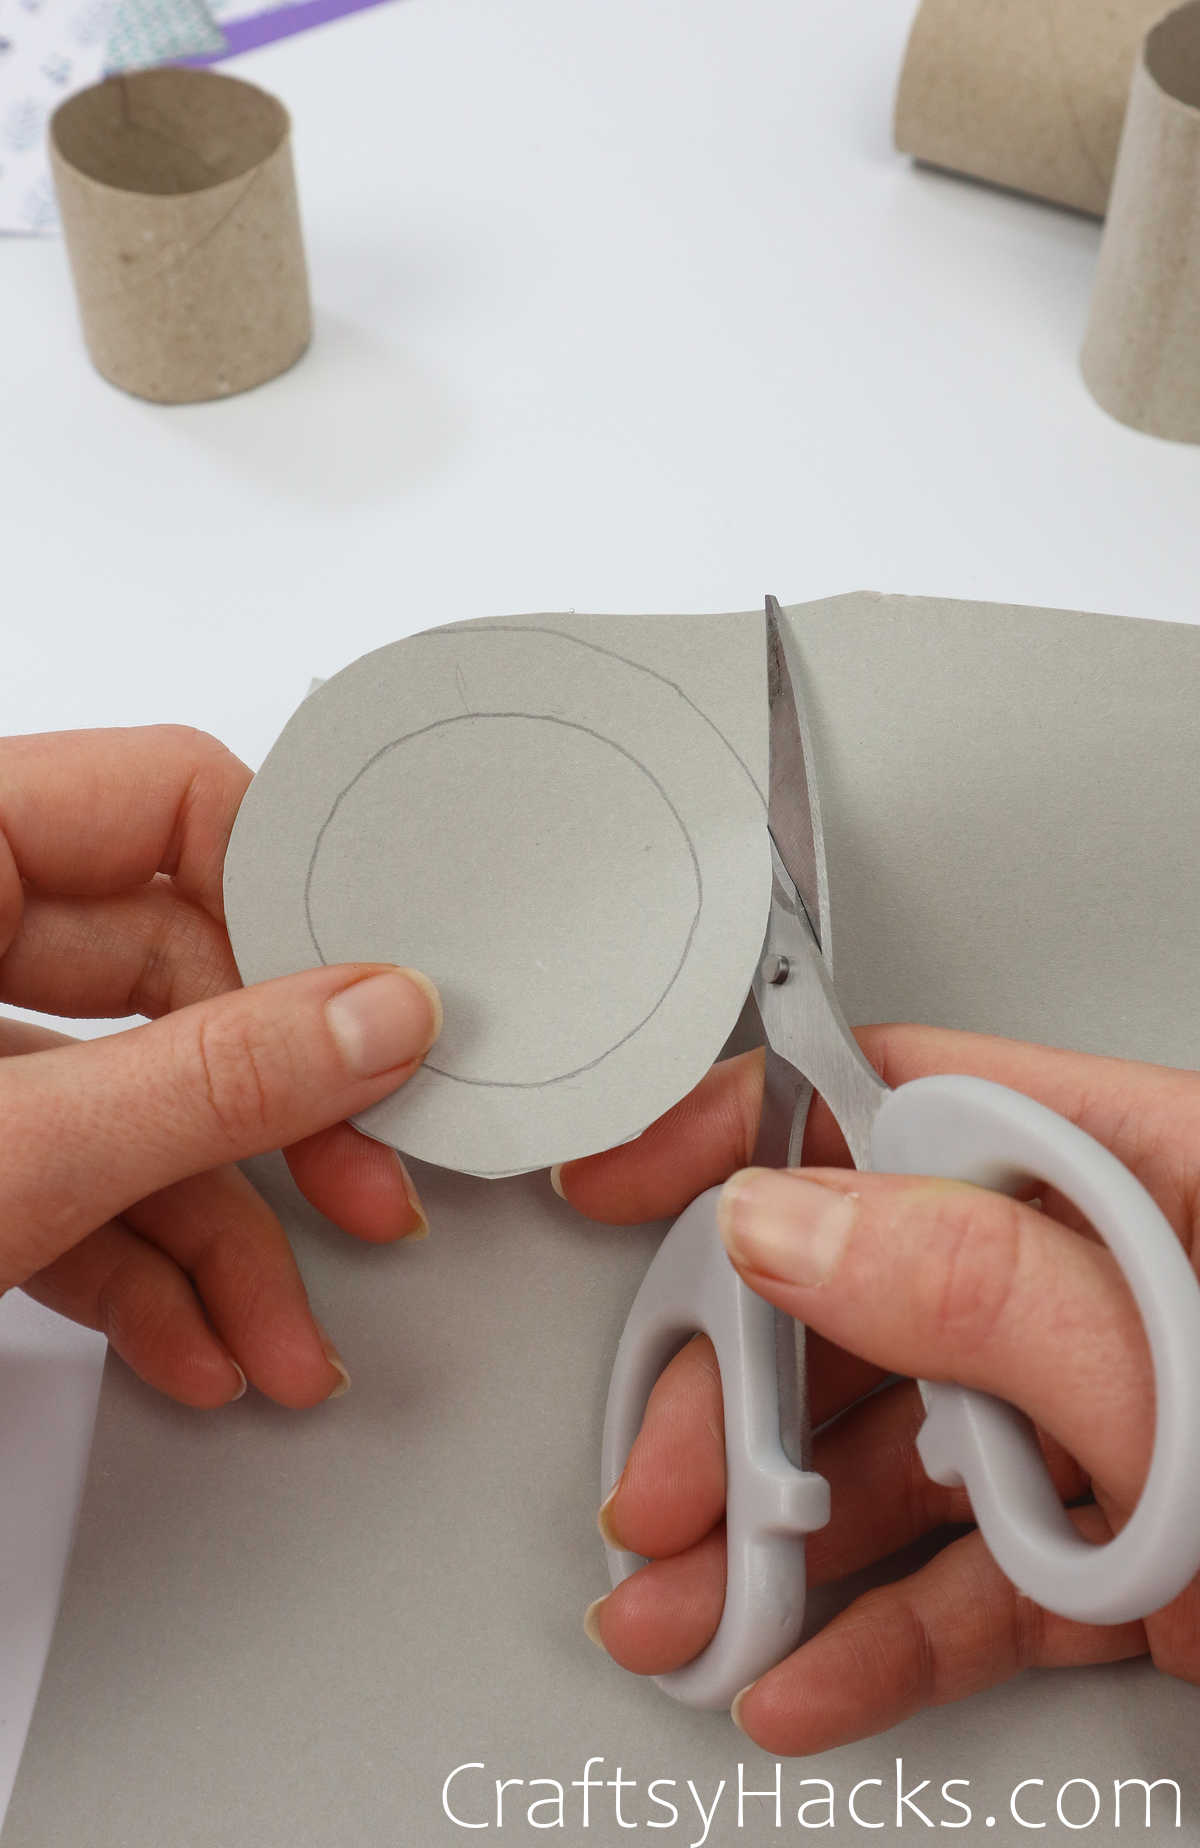
Step 5
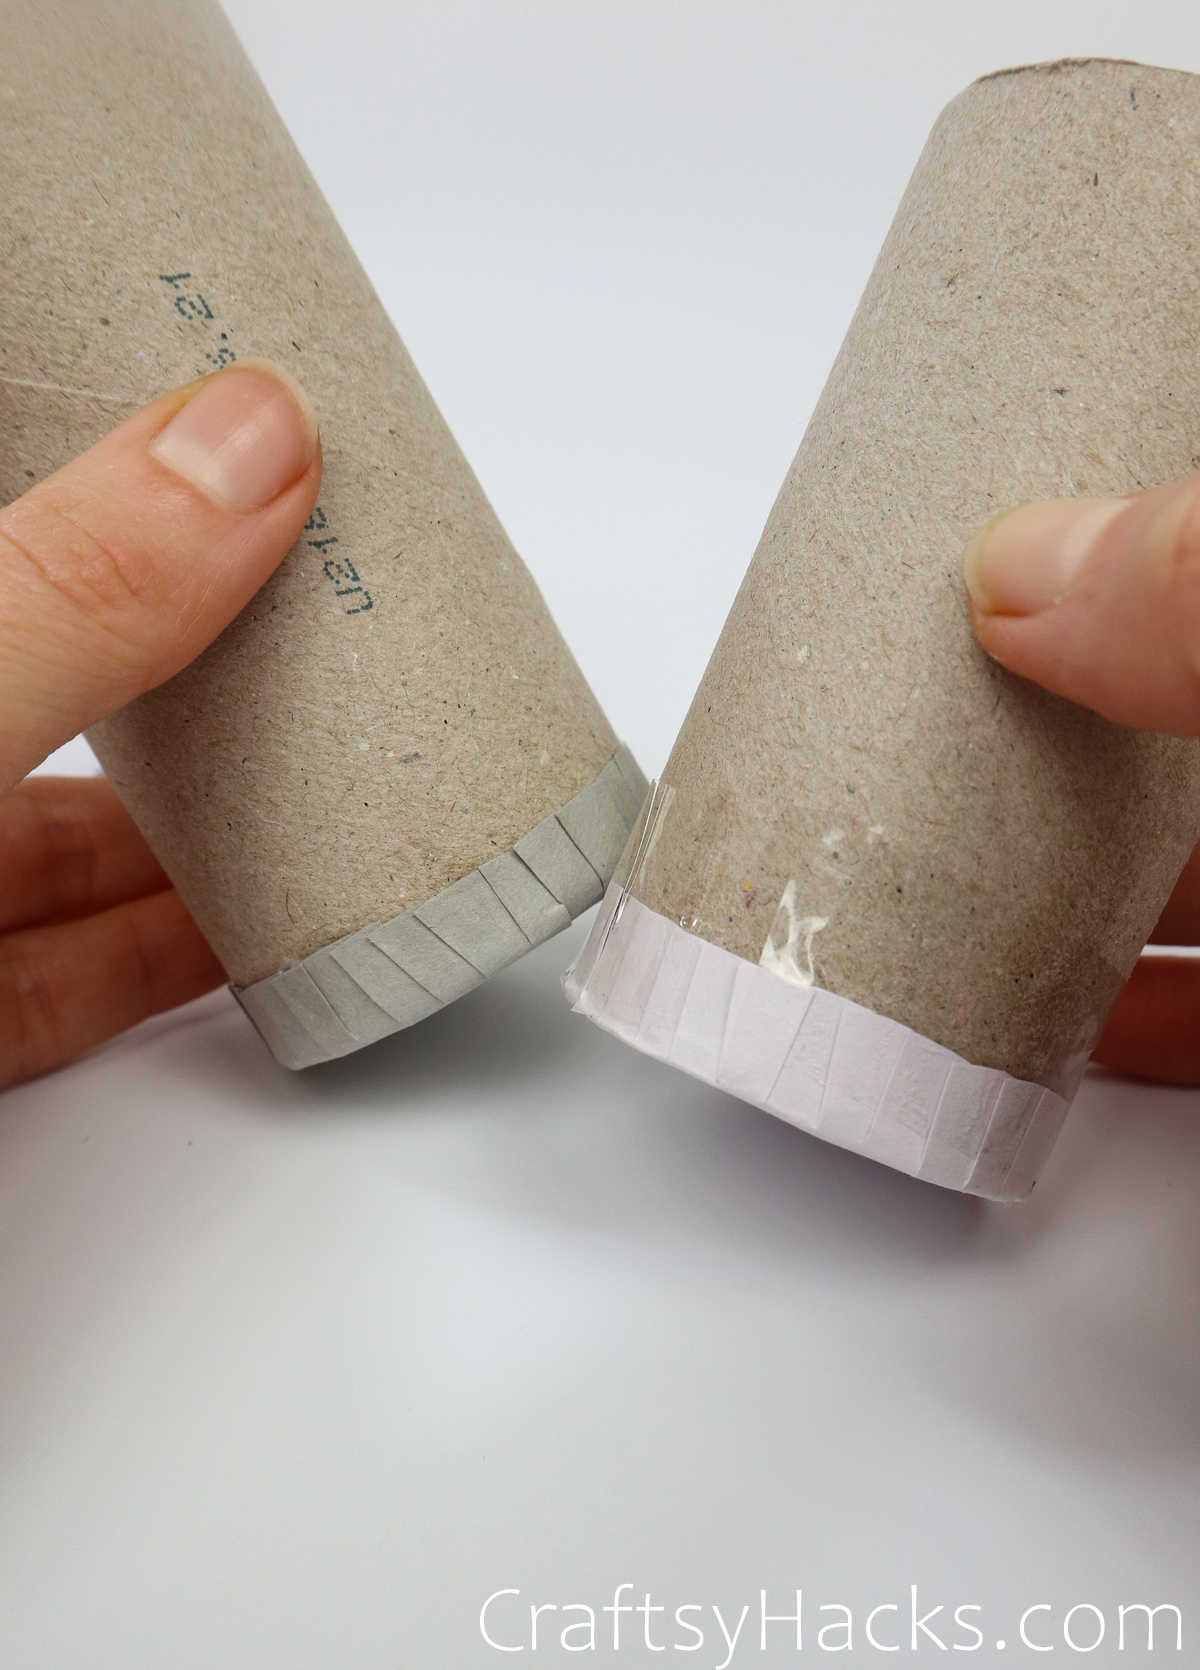
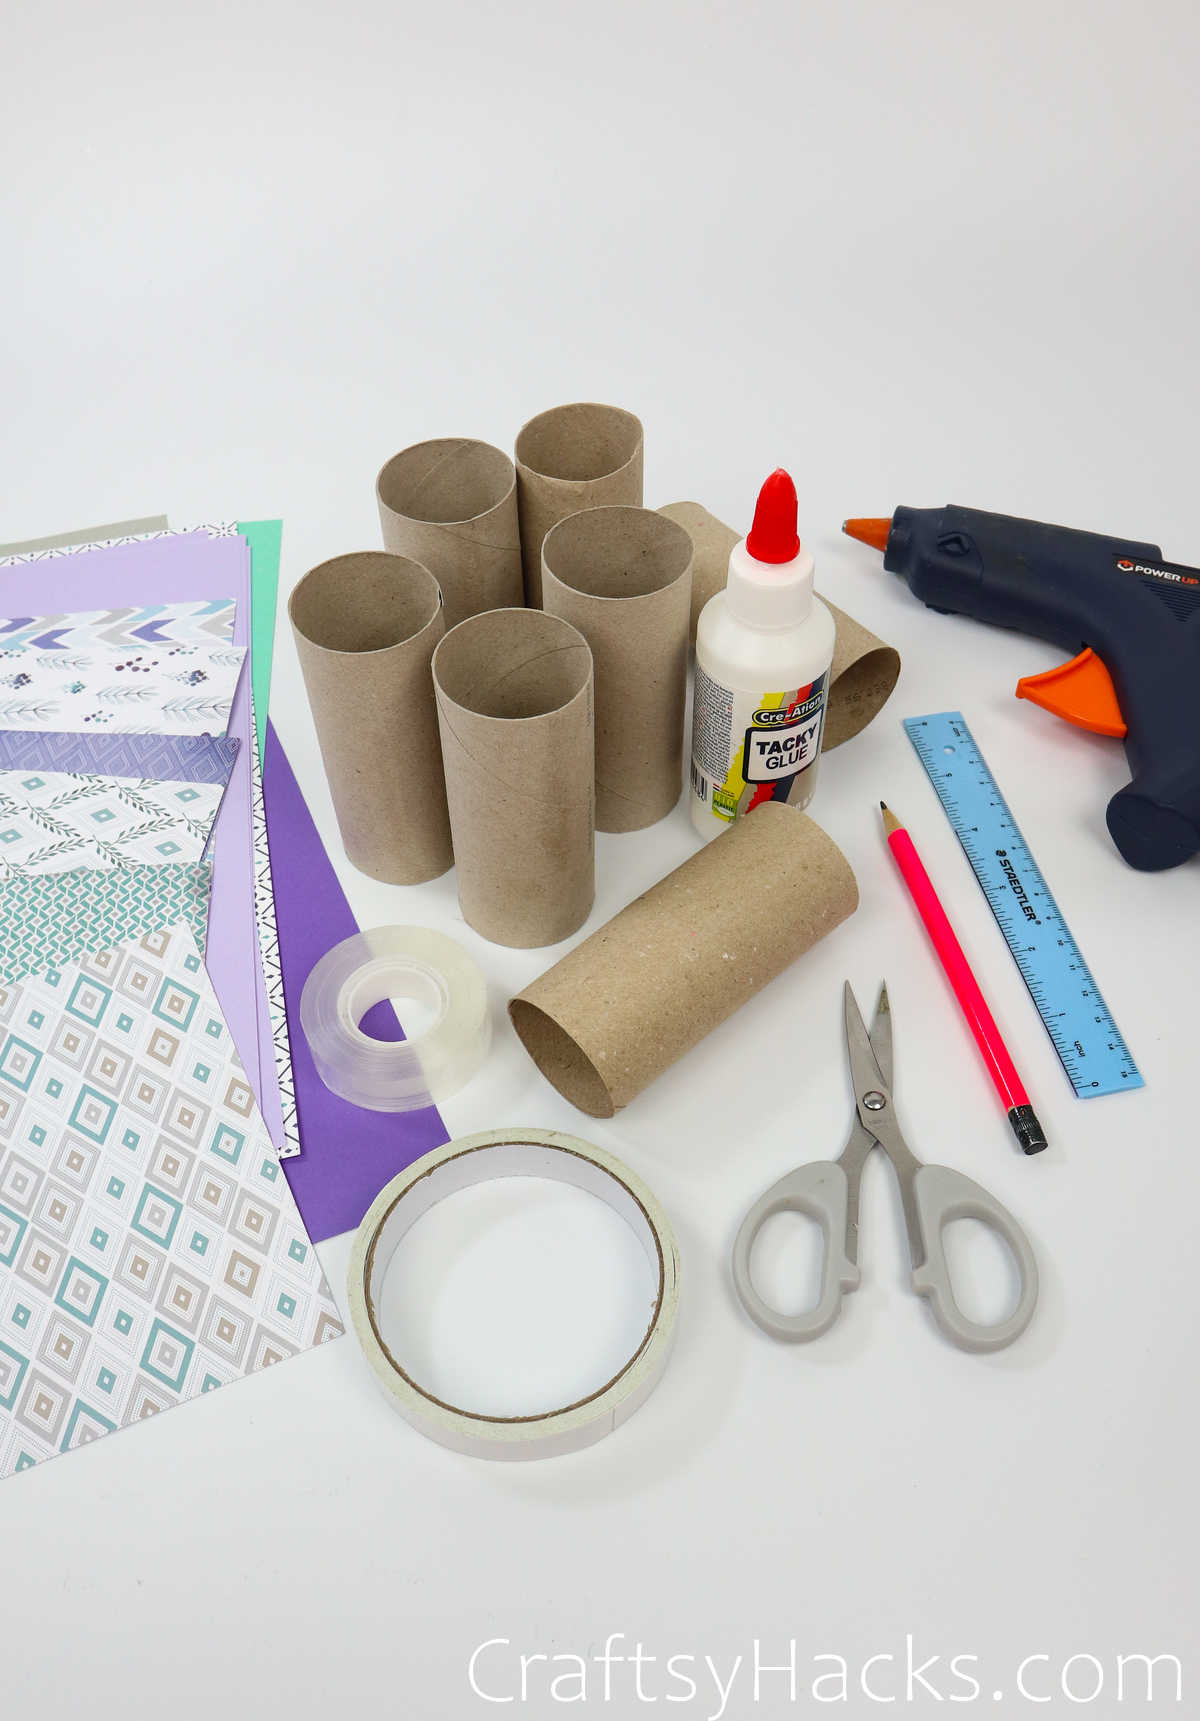
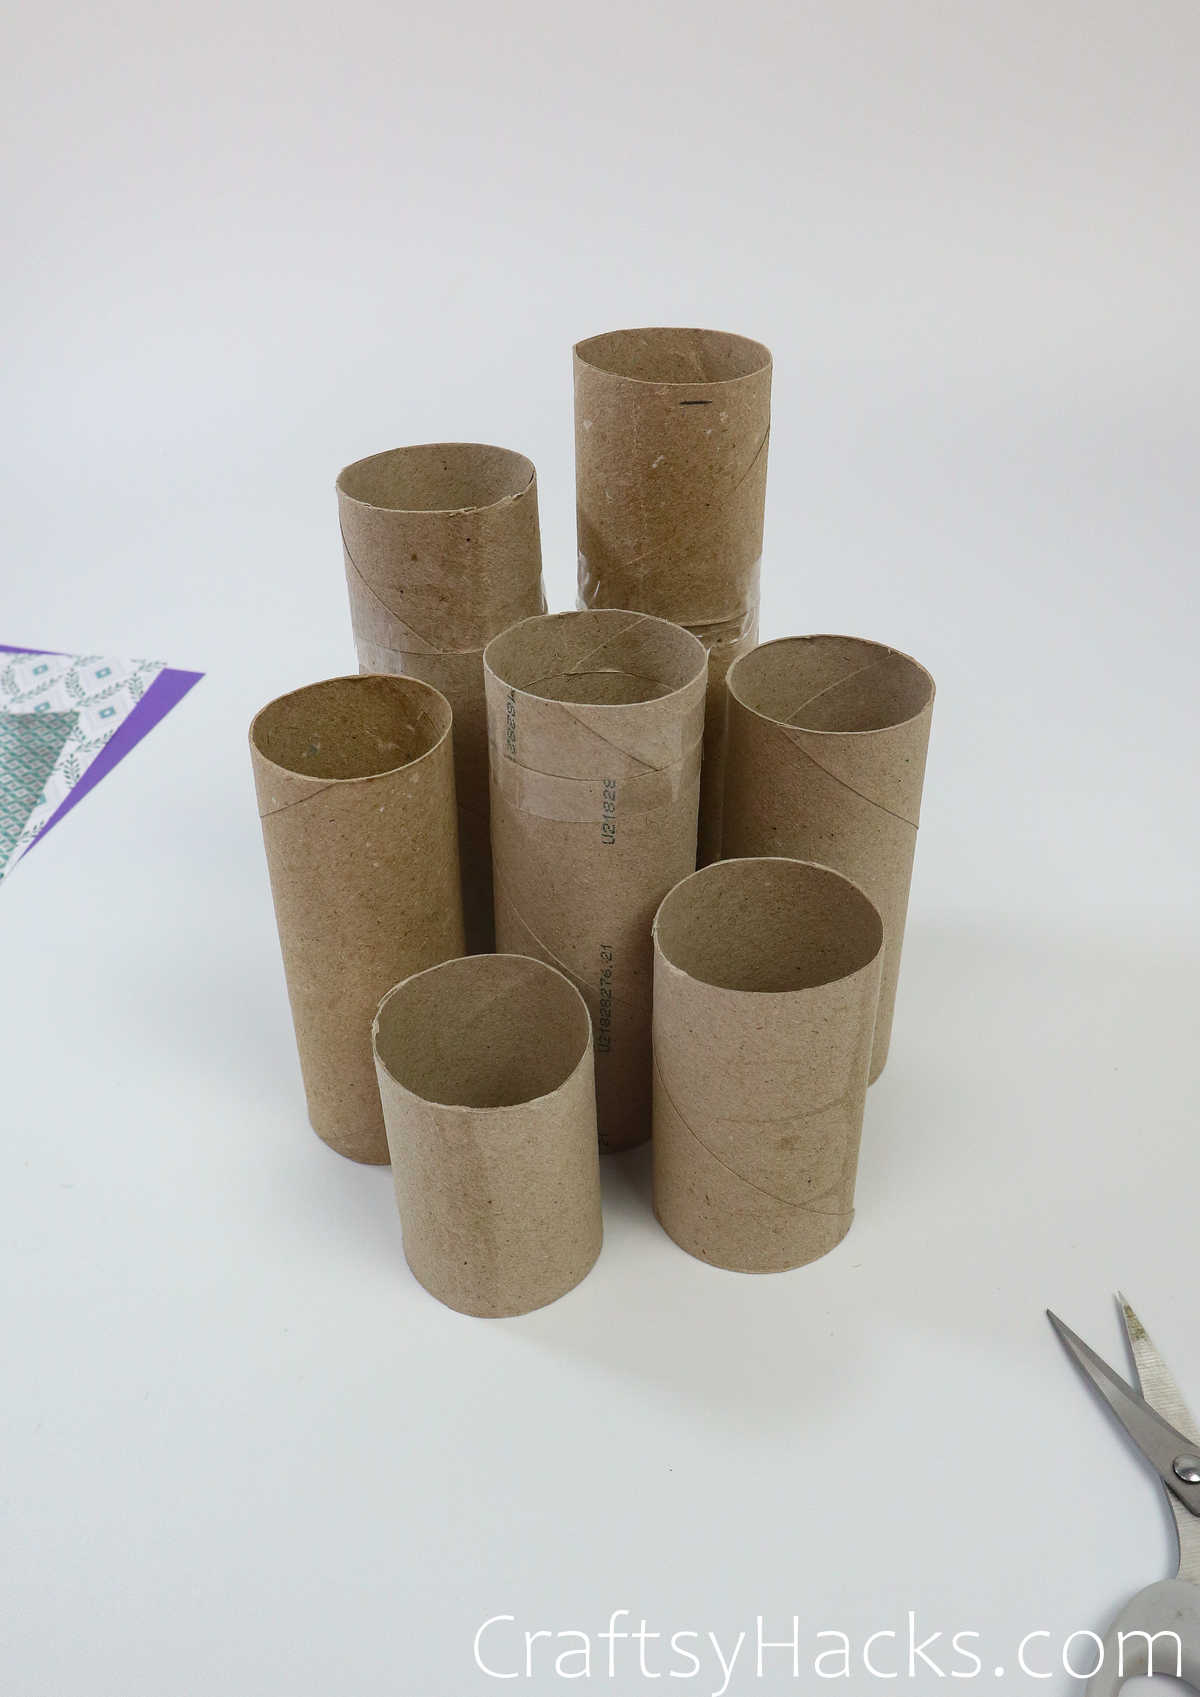
Cut out all of your circles and set them aside.
Do this step for all the pieces.
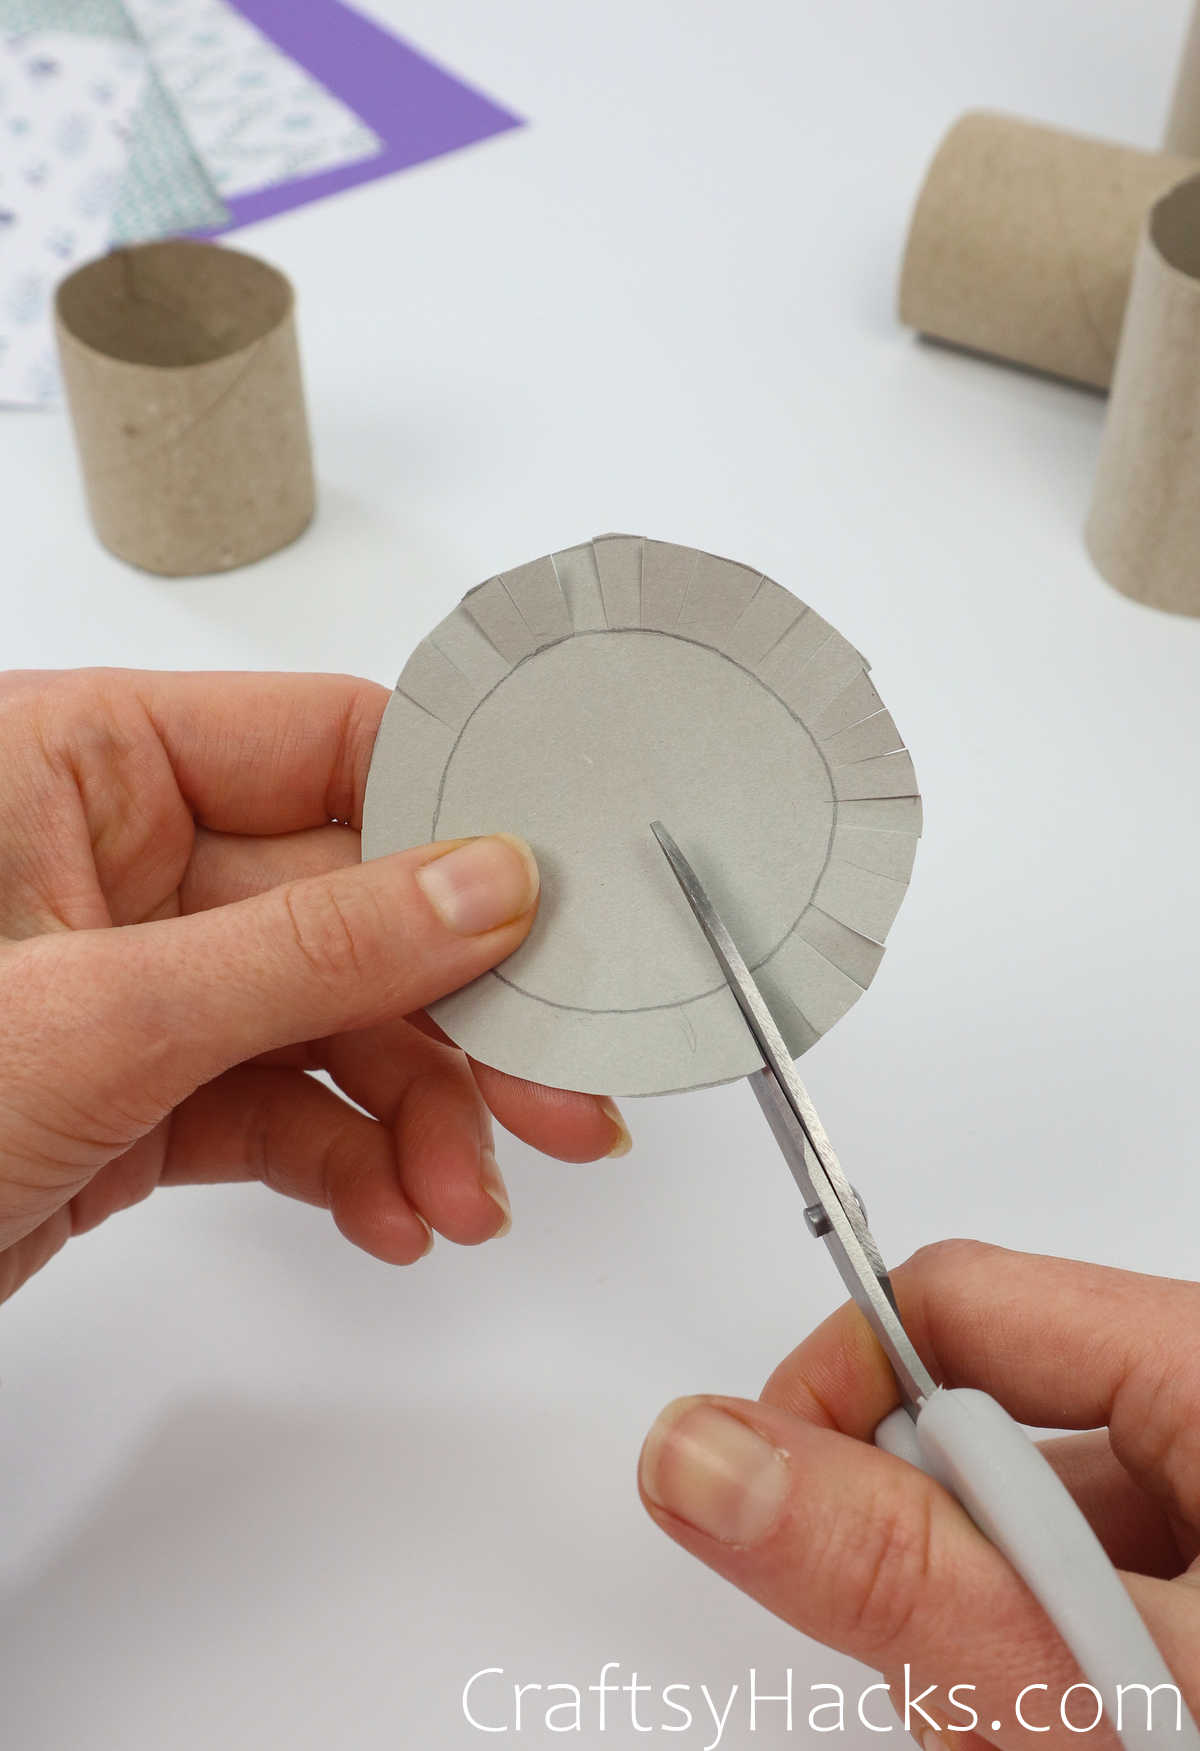
Step 7
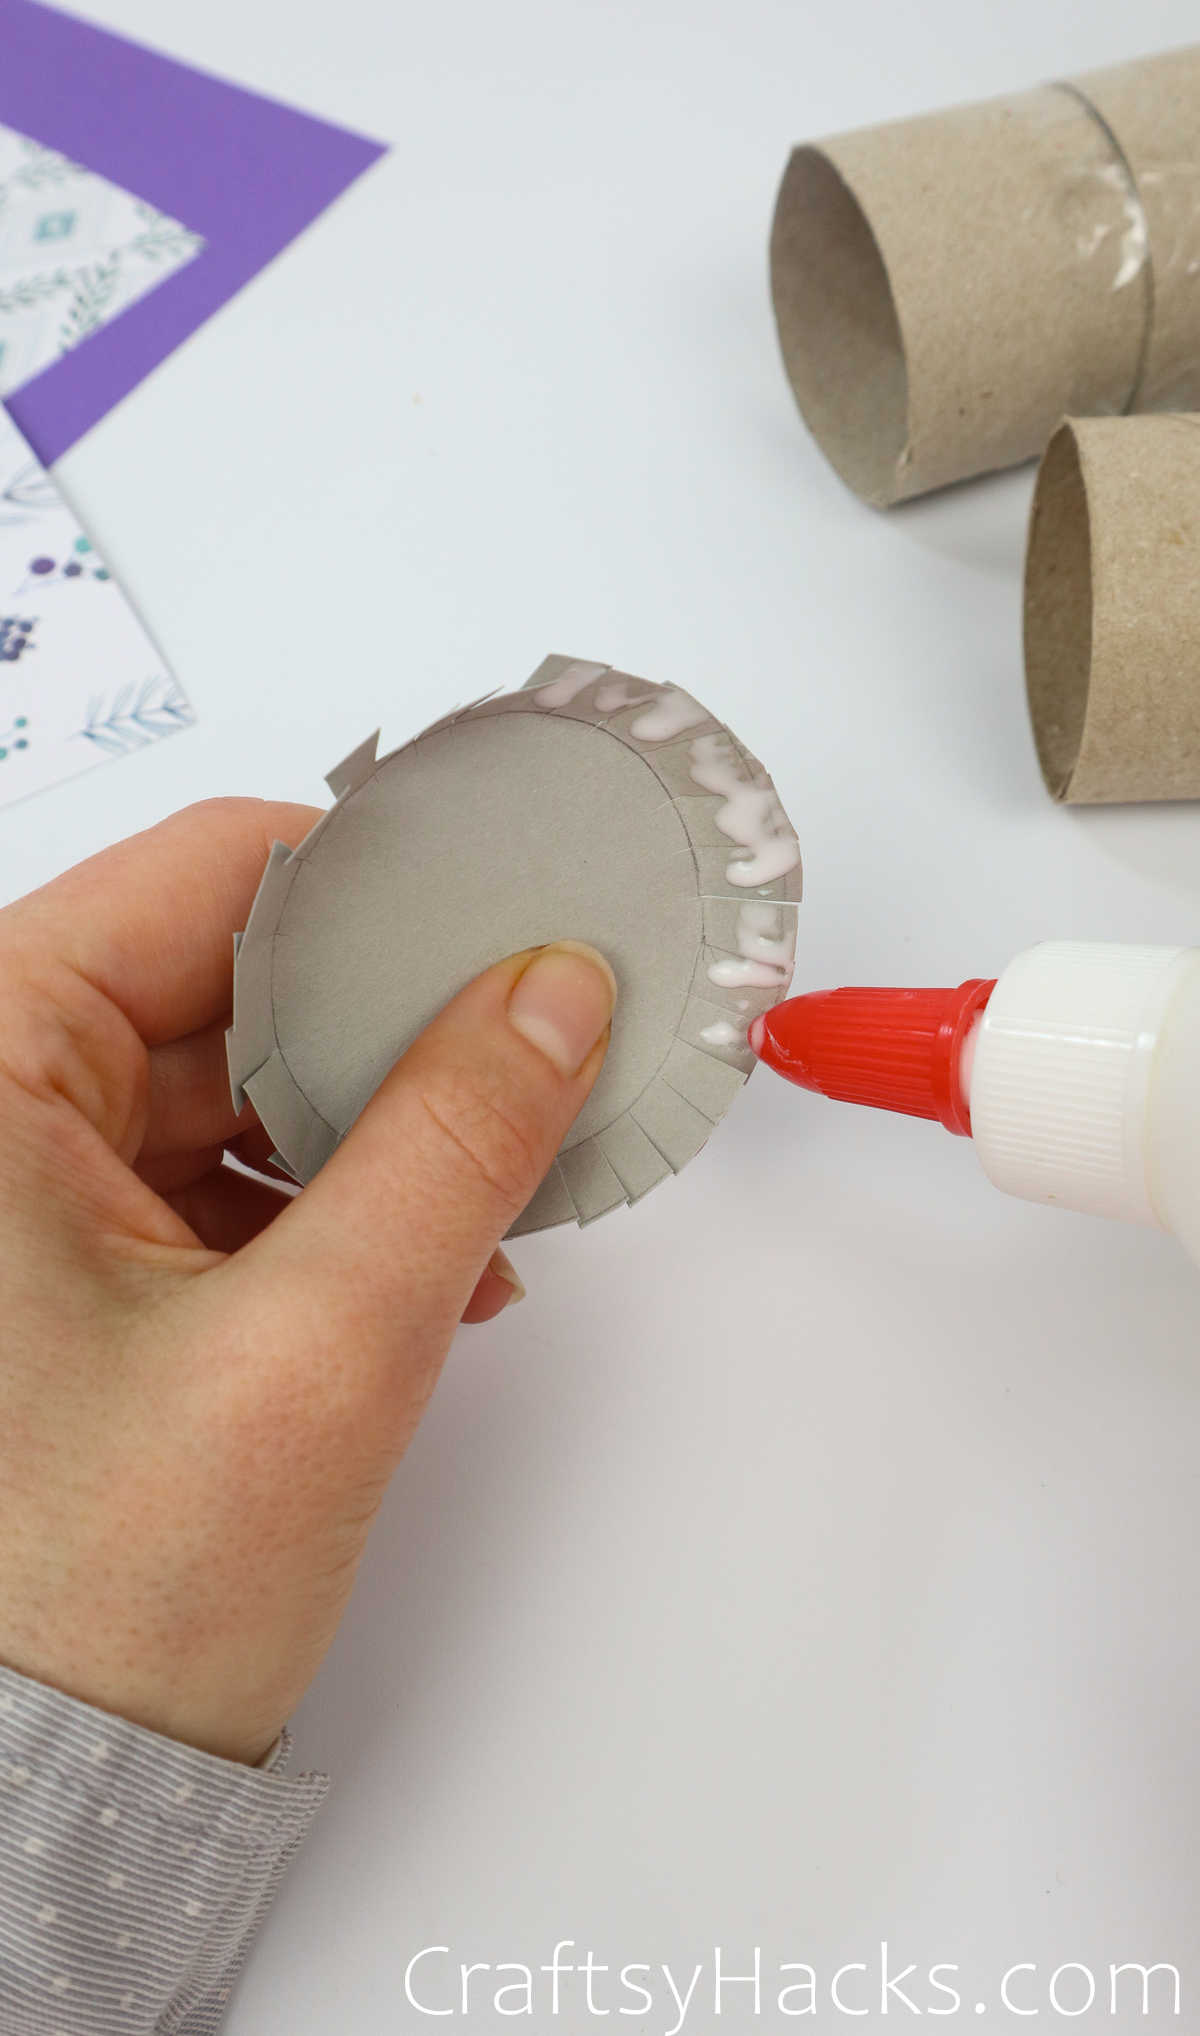
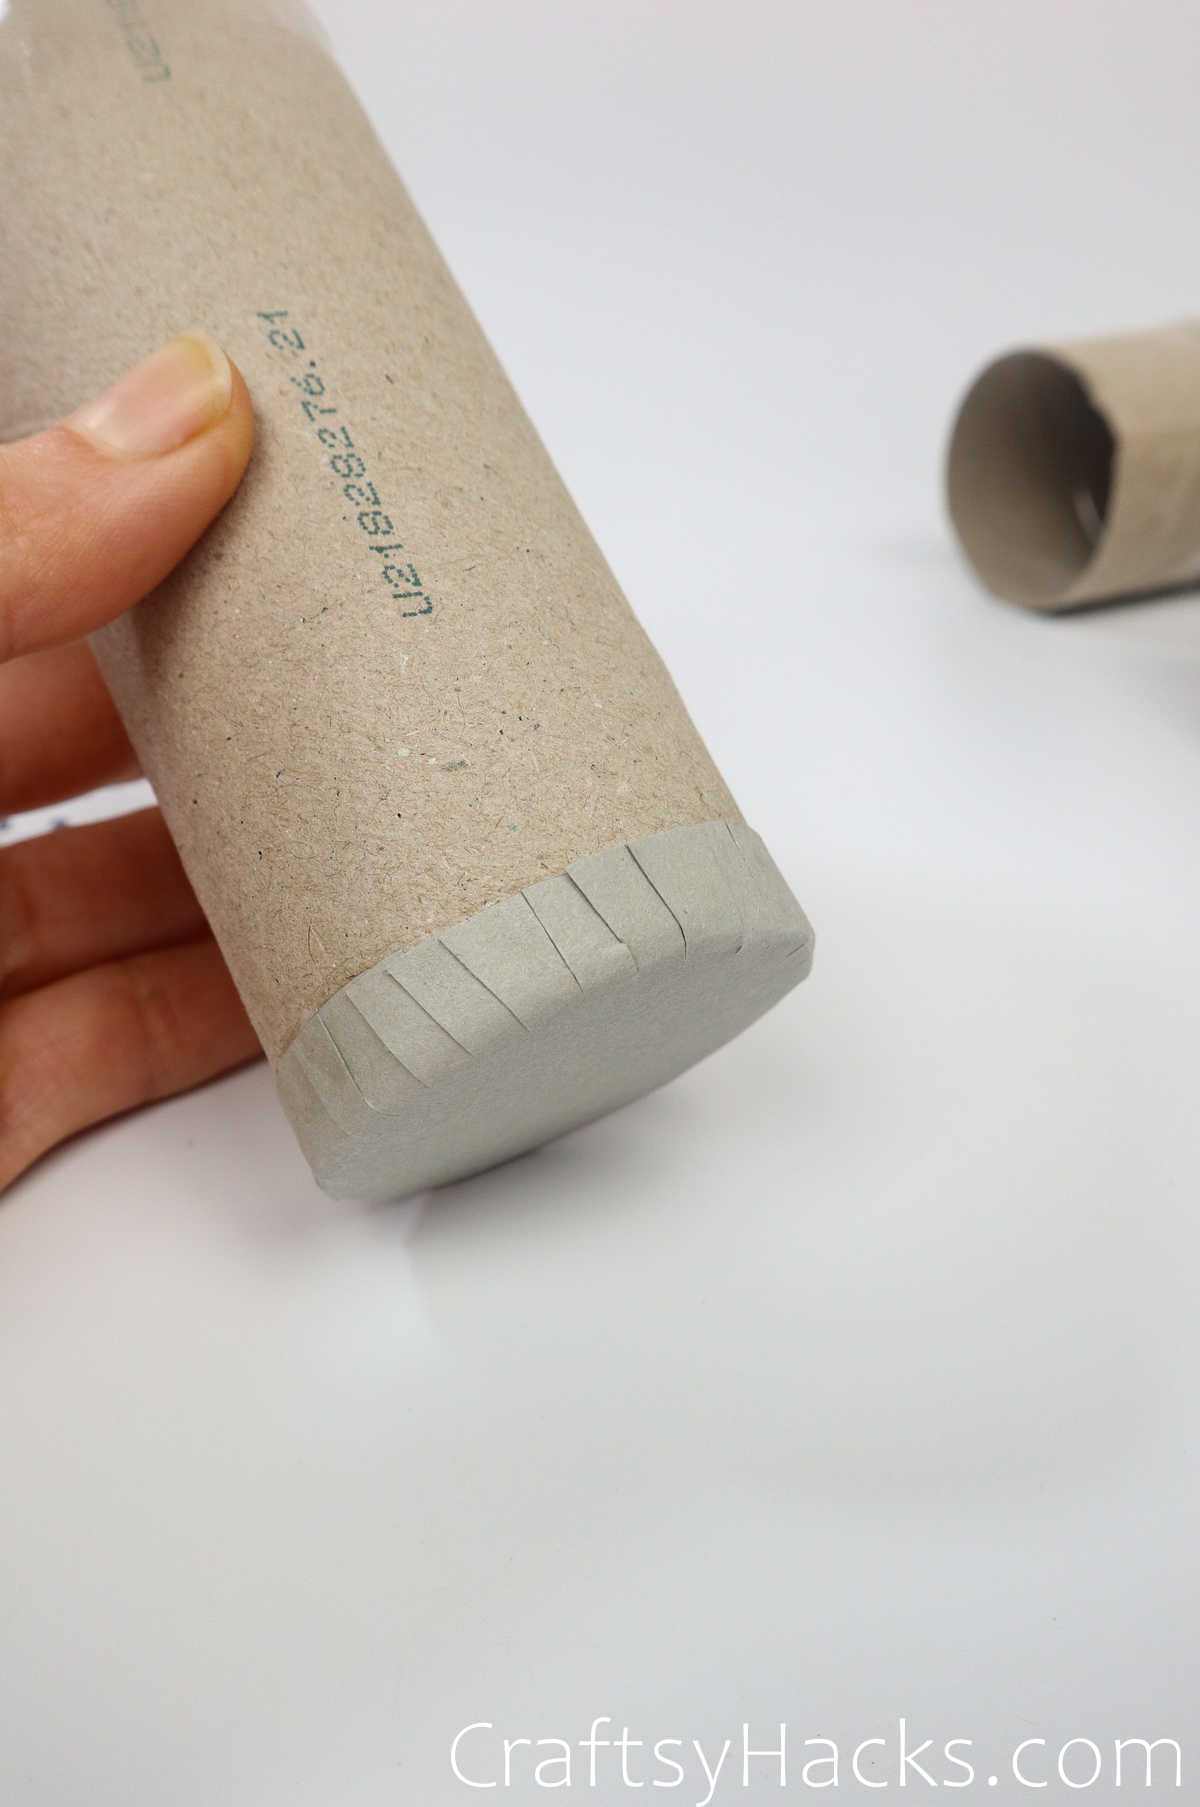
The cuts, once made, will get folded inward.
Think like a muffin paper or dessert paper.
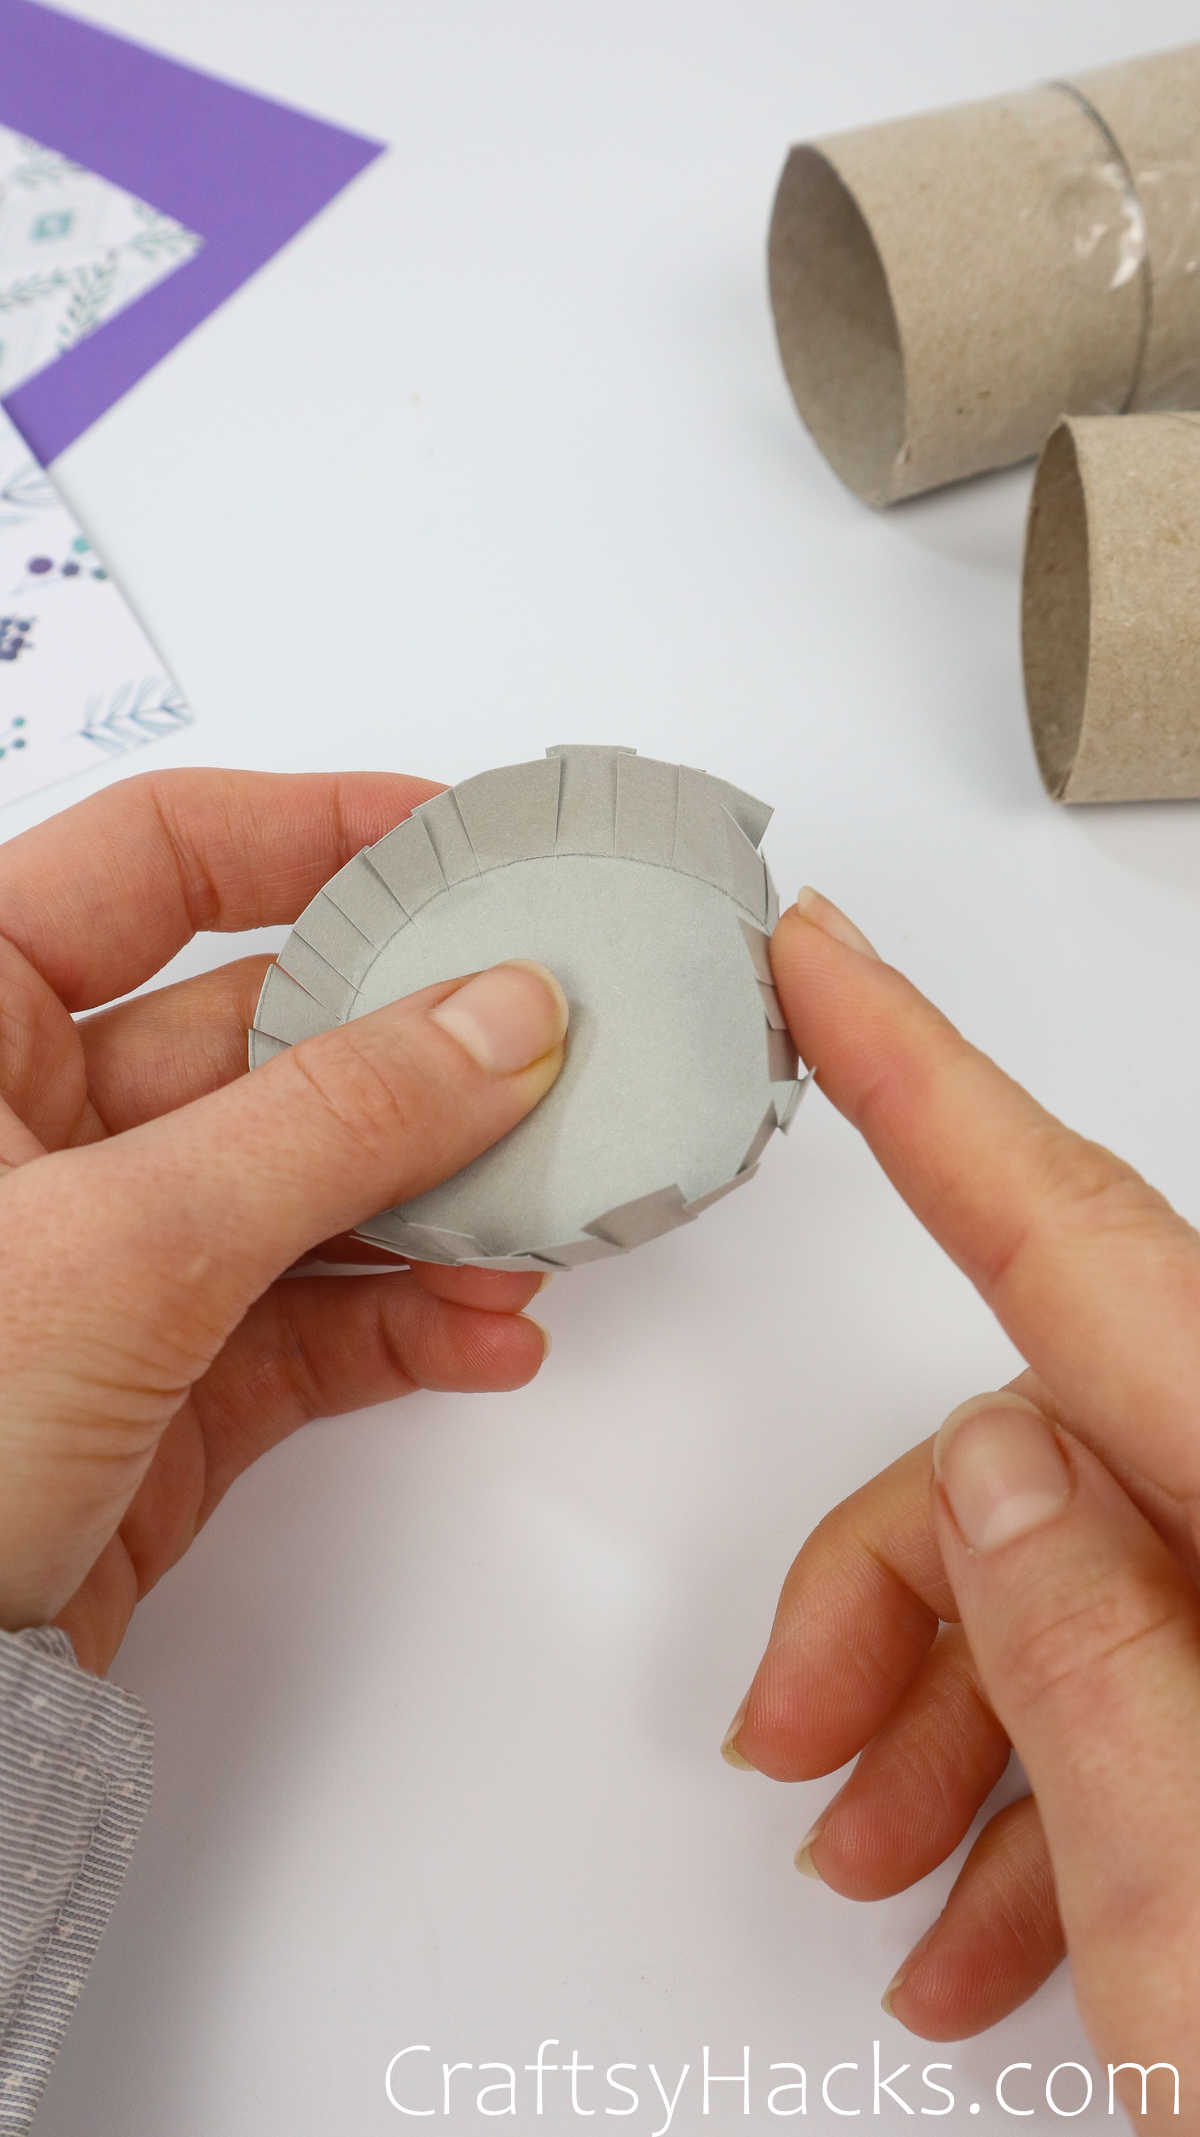
Step 8
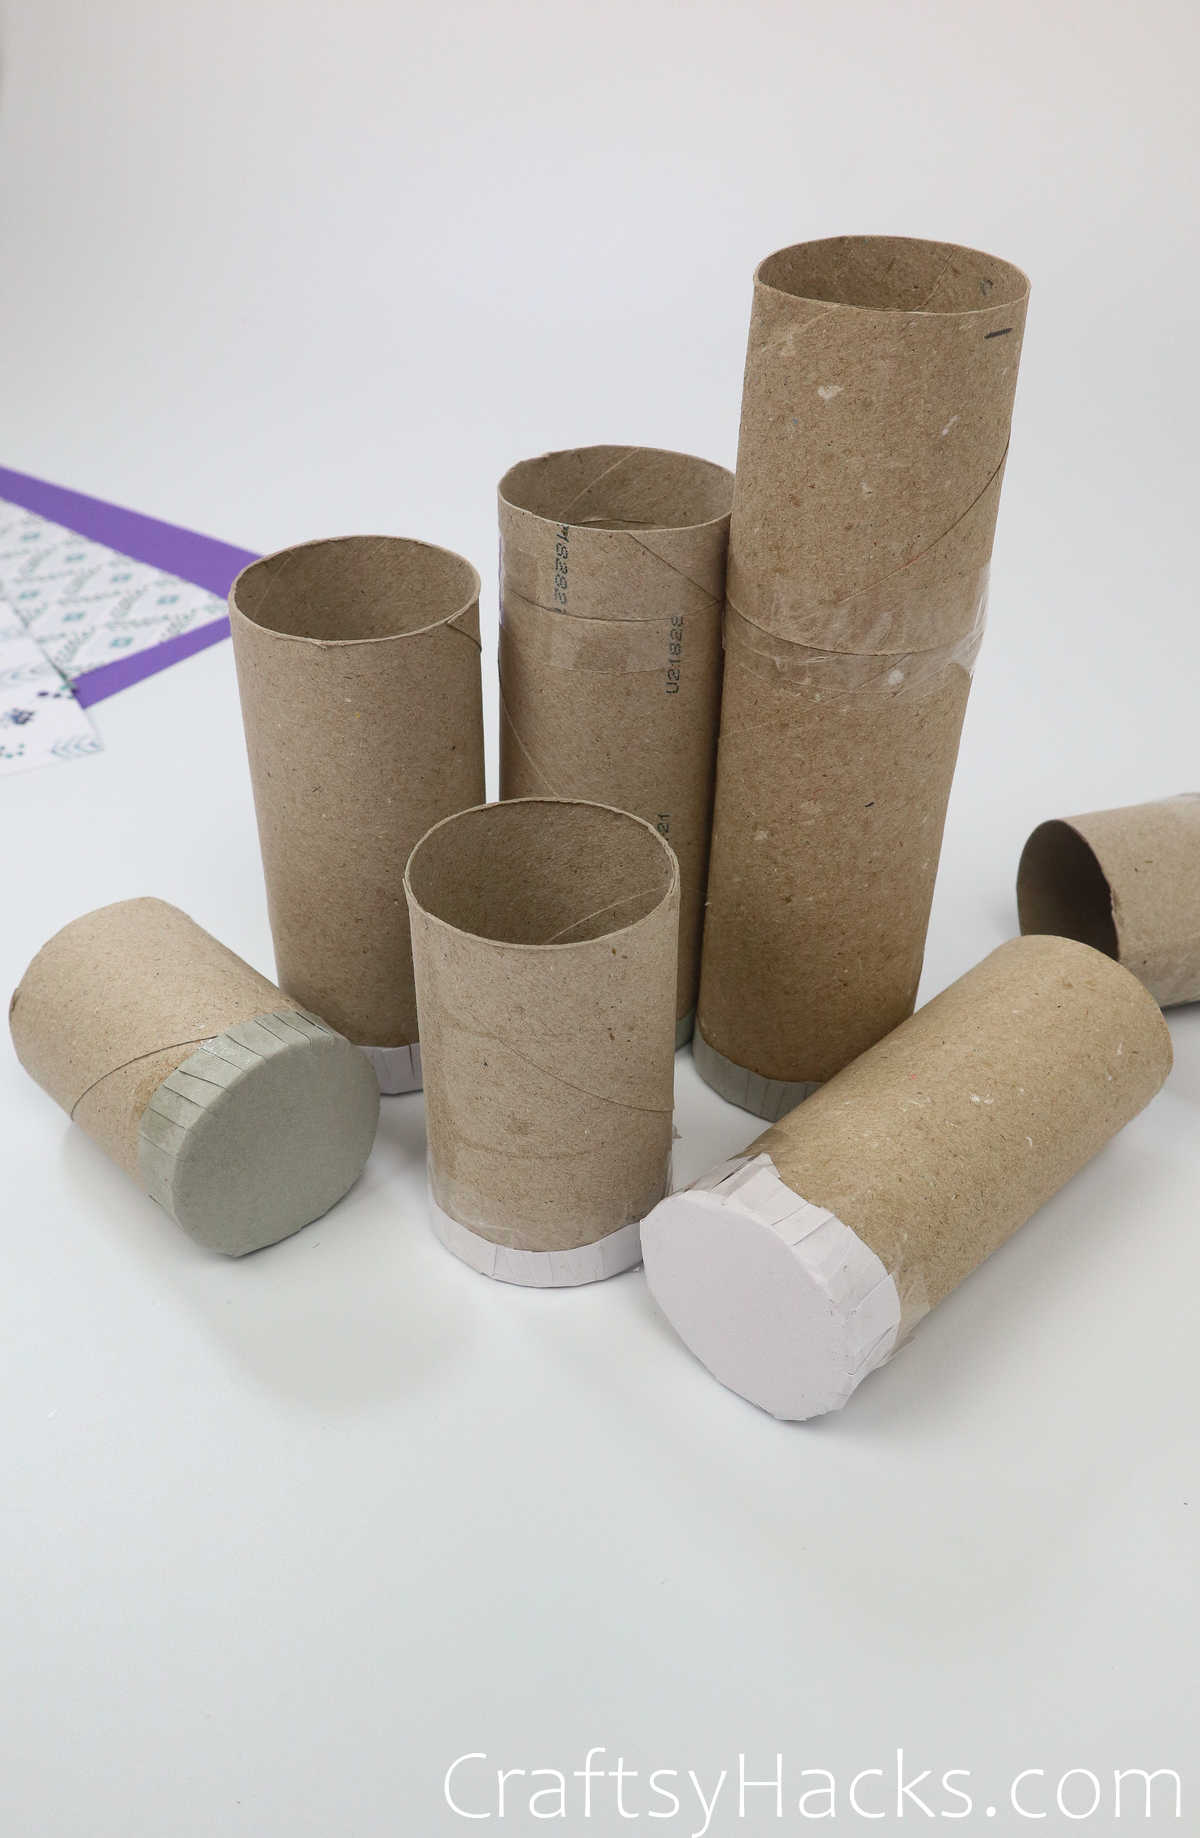
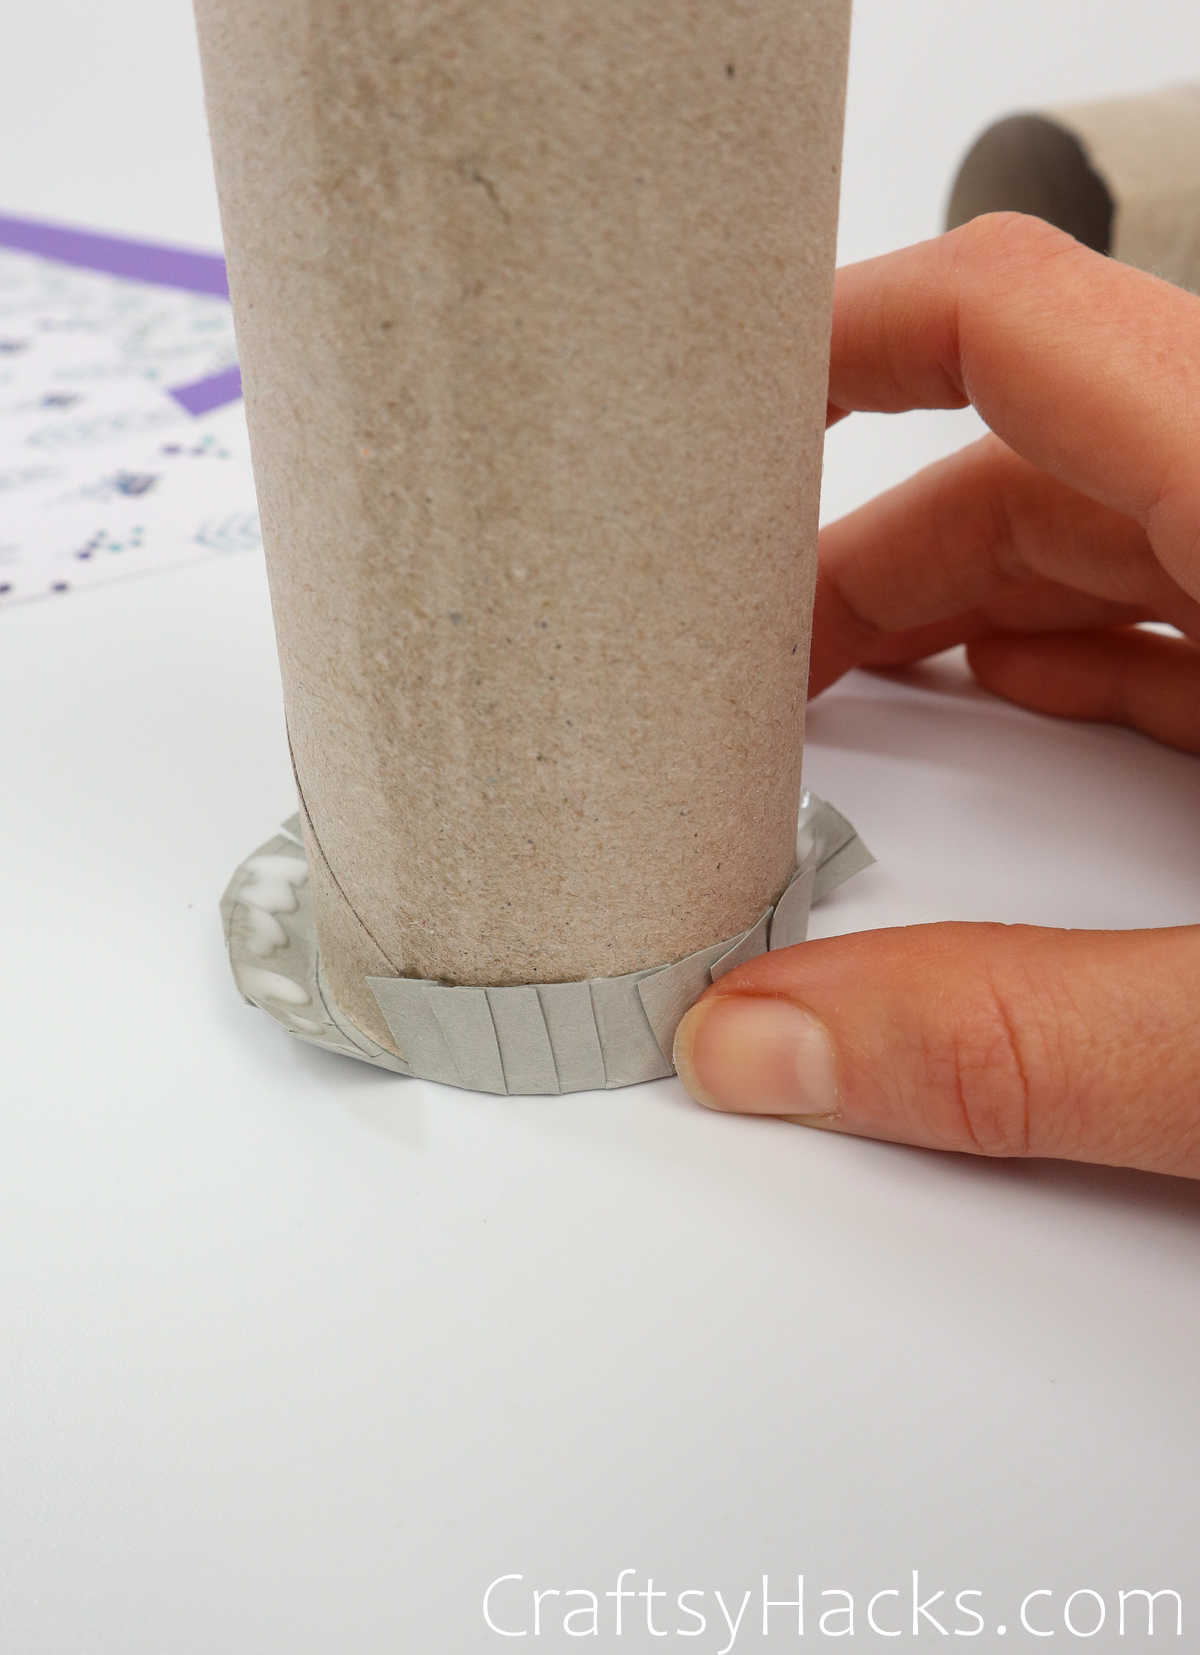
Add glue around the circumference and press the flaps together to stabilize the bases.
Press the ring to the sides of the tube to adhere.
Let the bases dry after pressing them onto the shaft of the tube.
Alternatively, if you dont want to wait, secure the base with tape.
Dont worry about the tape showingwell be covering it up with decorative paper.
Repeat this step for as many tubes as you have by either gluing or taping to all the rounds.
Peel off the backing of the tape once in place.
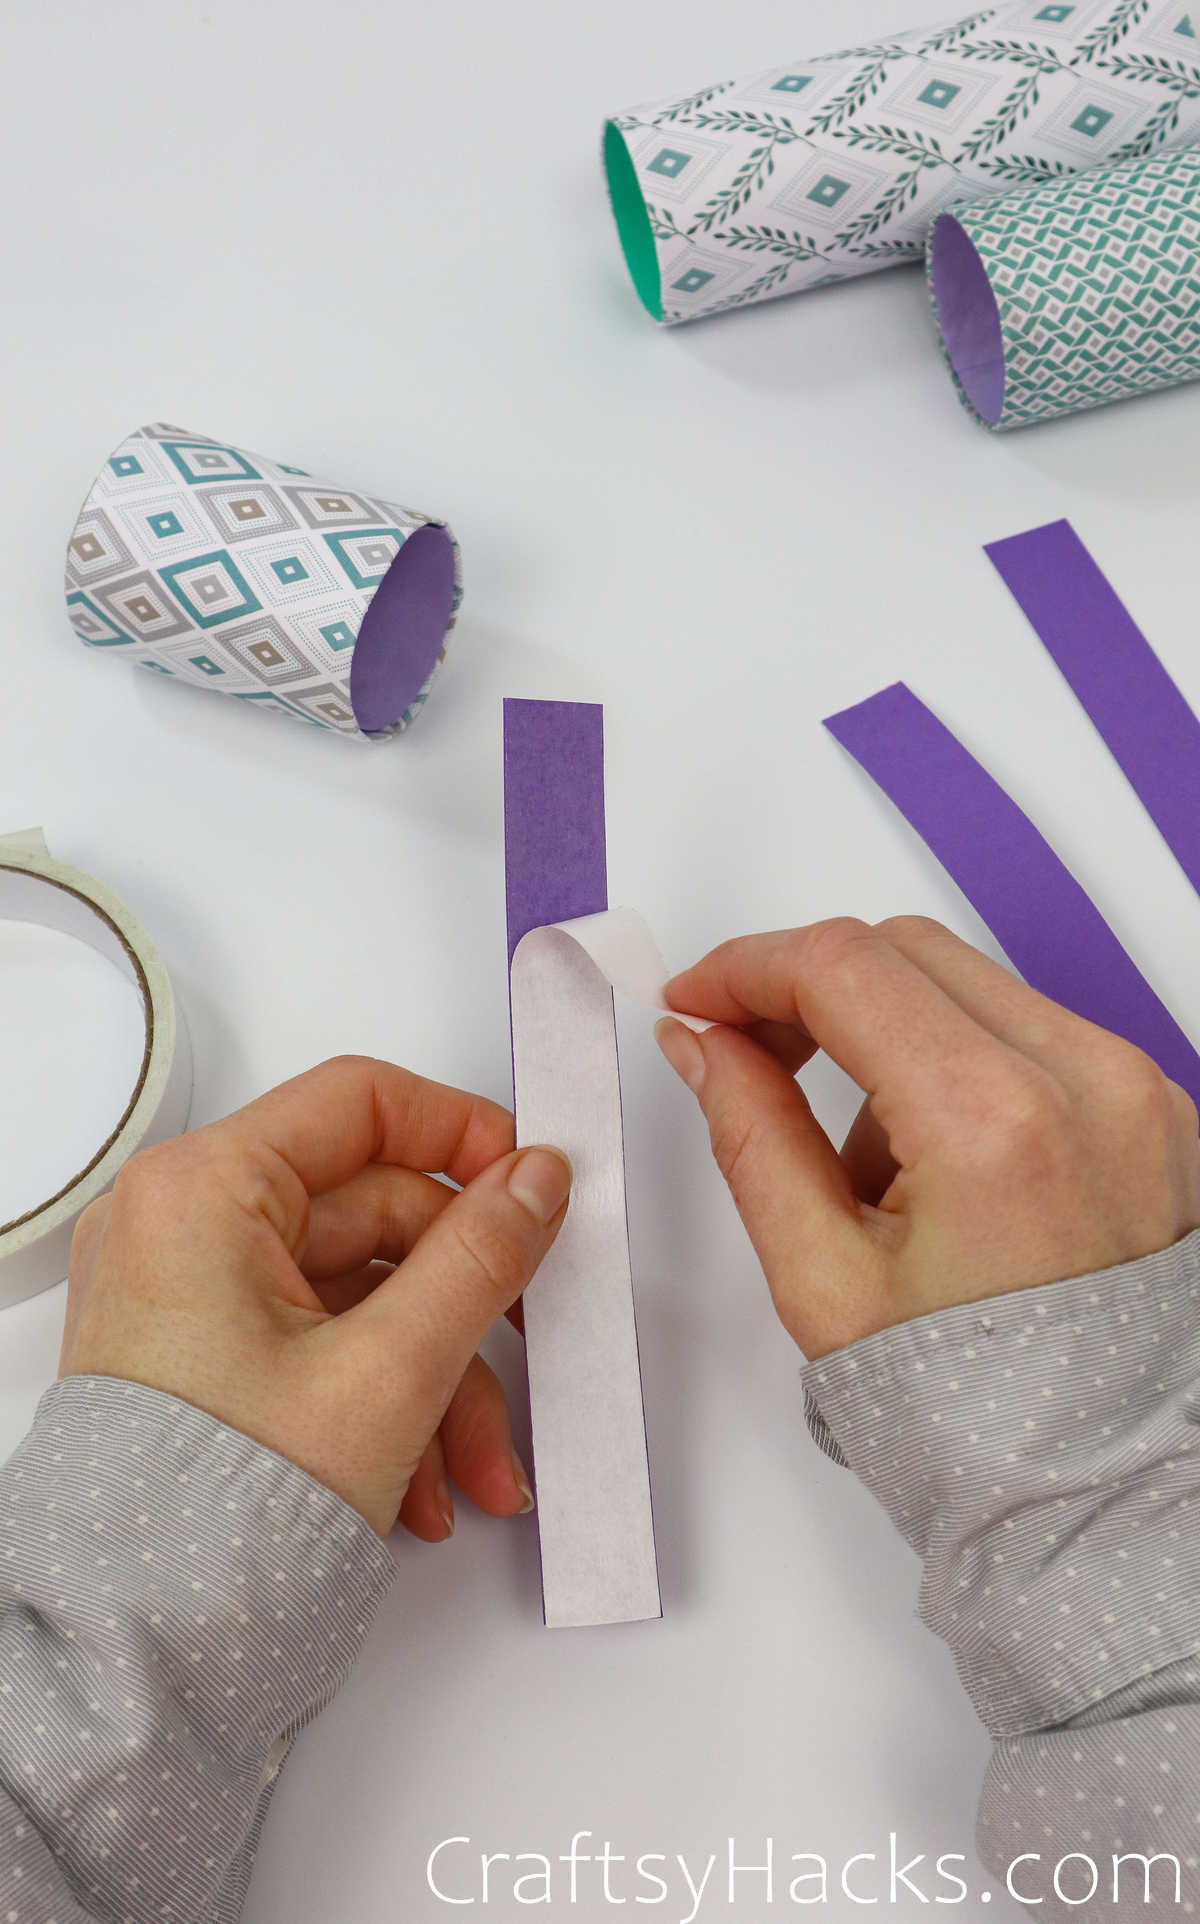
Step 11
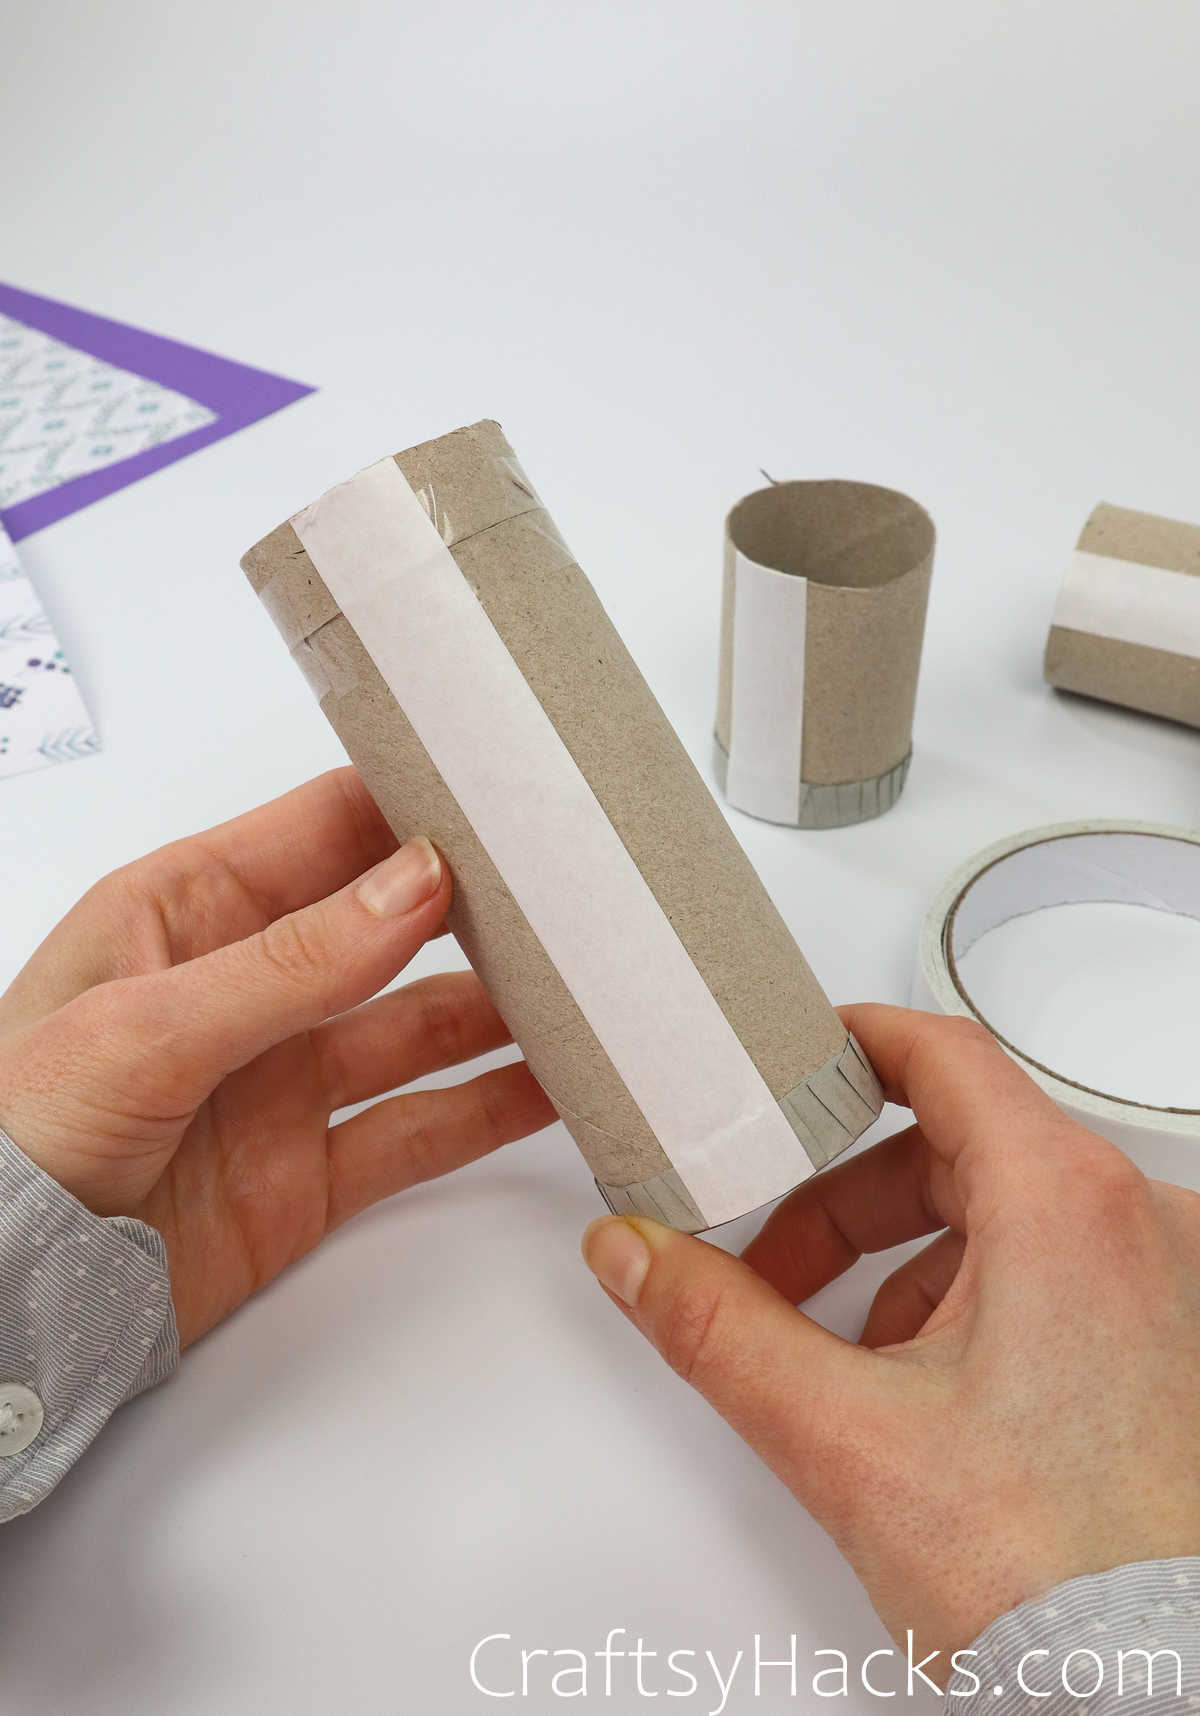
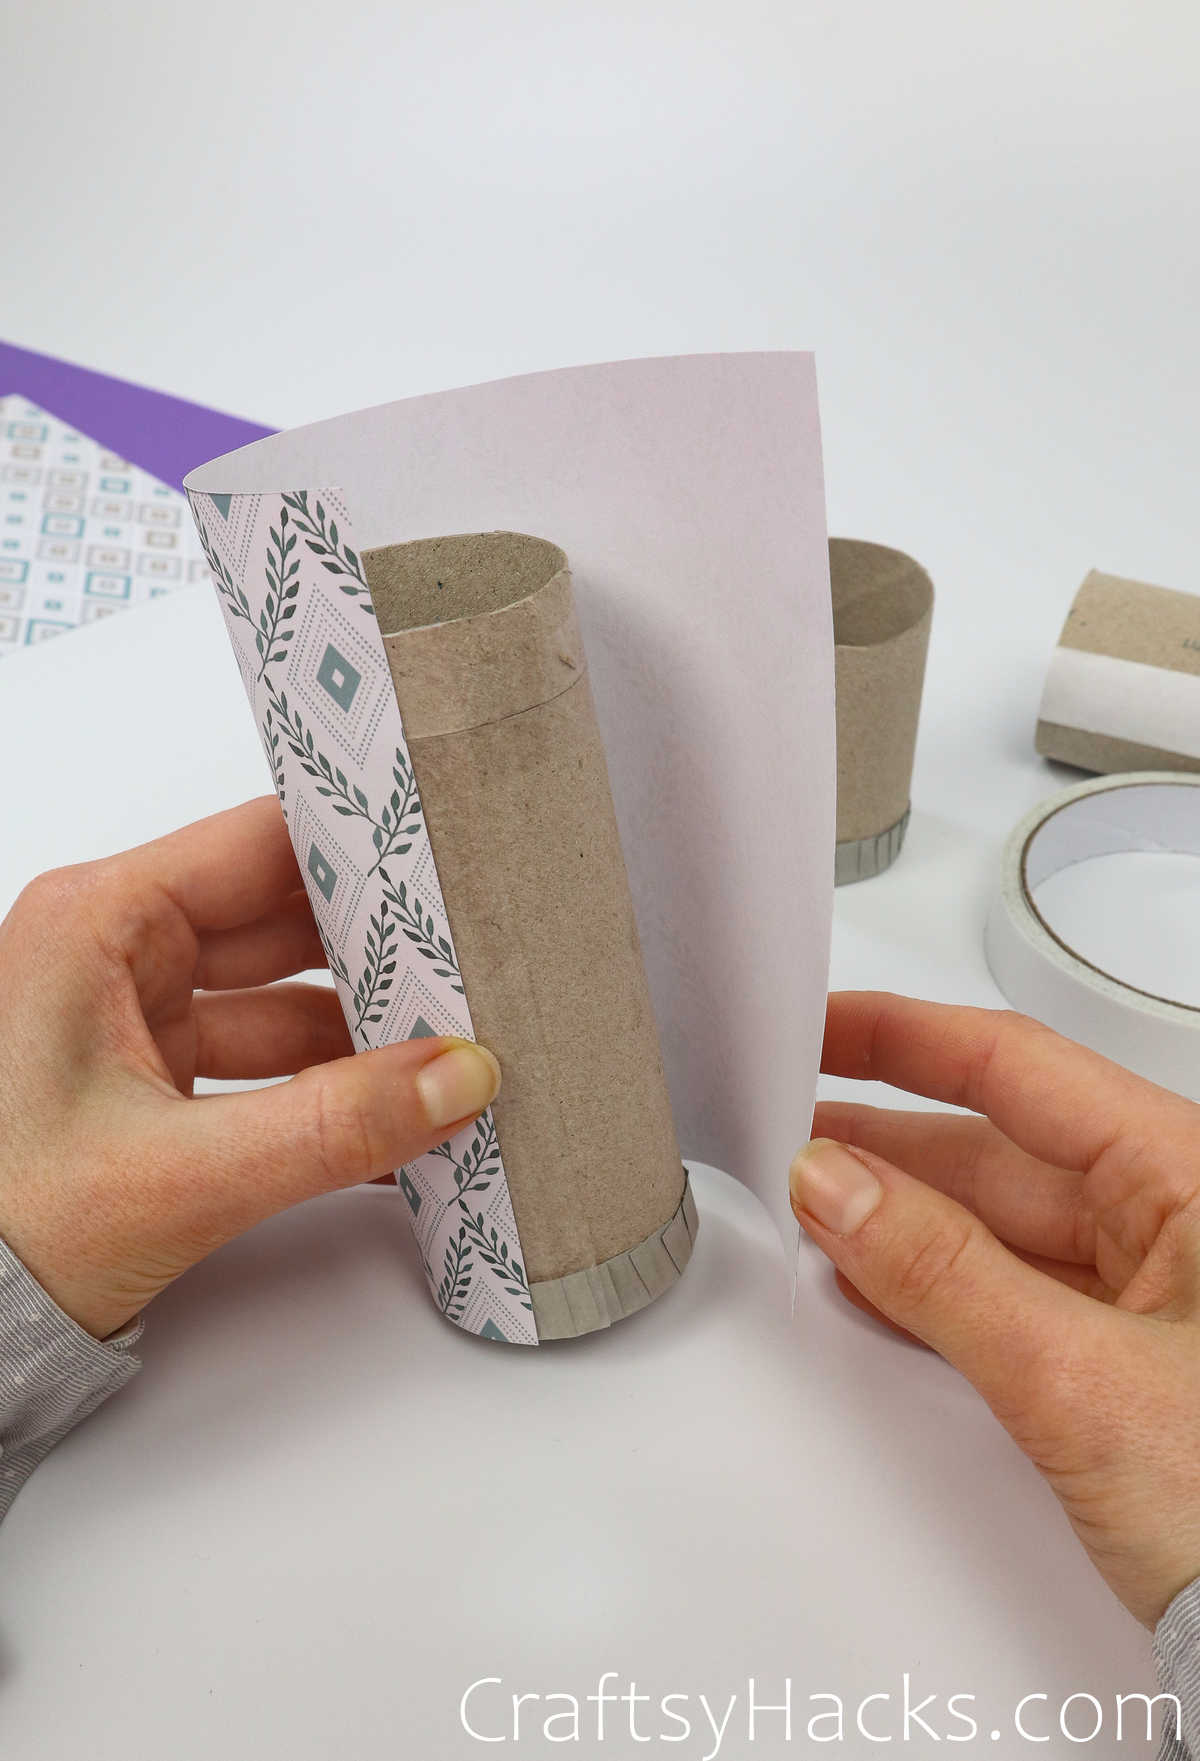
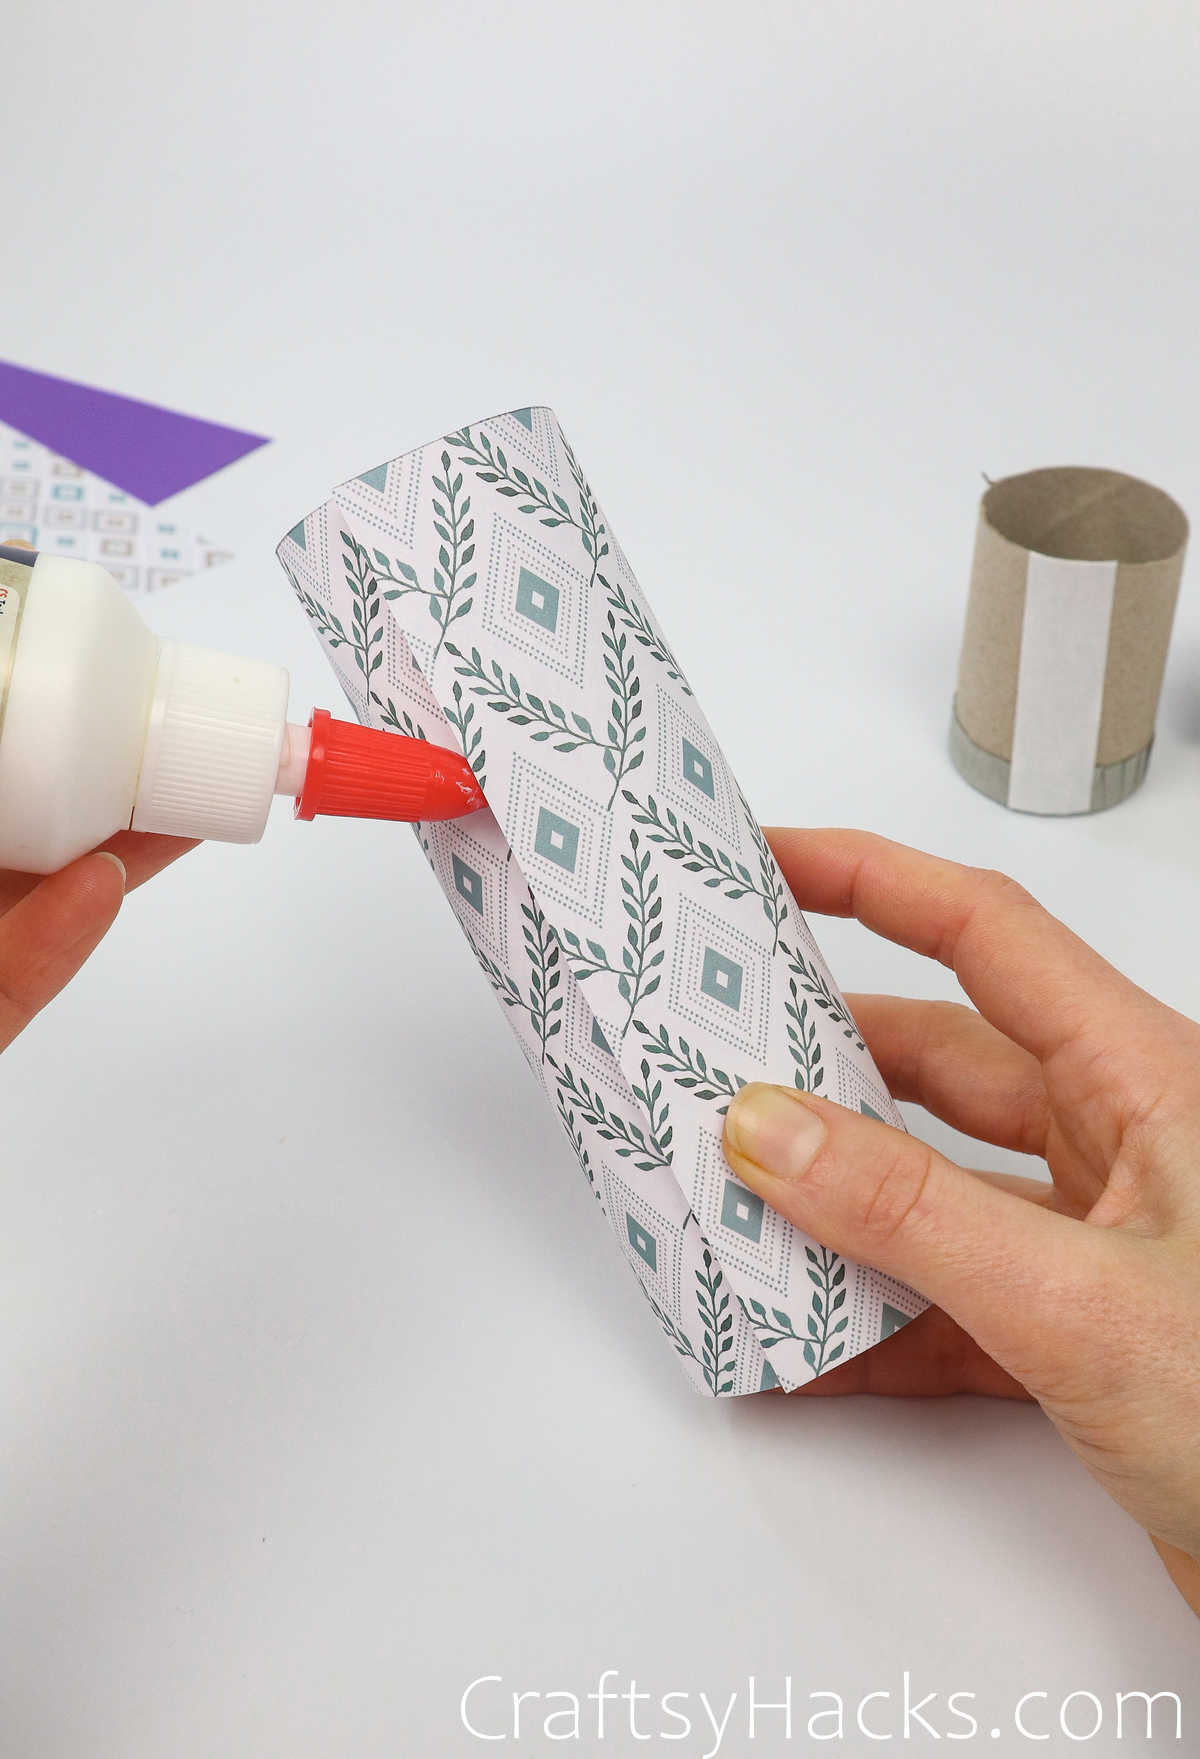
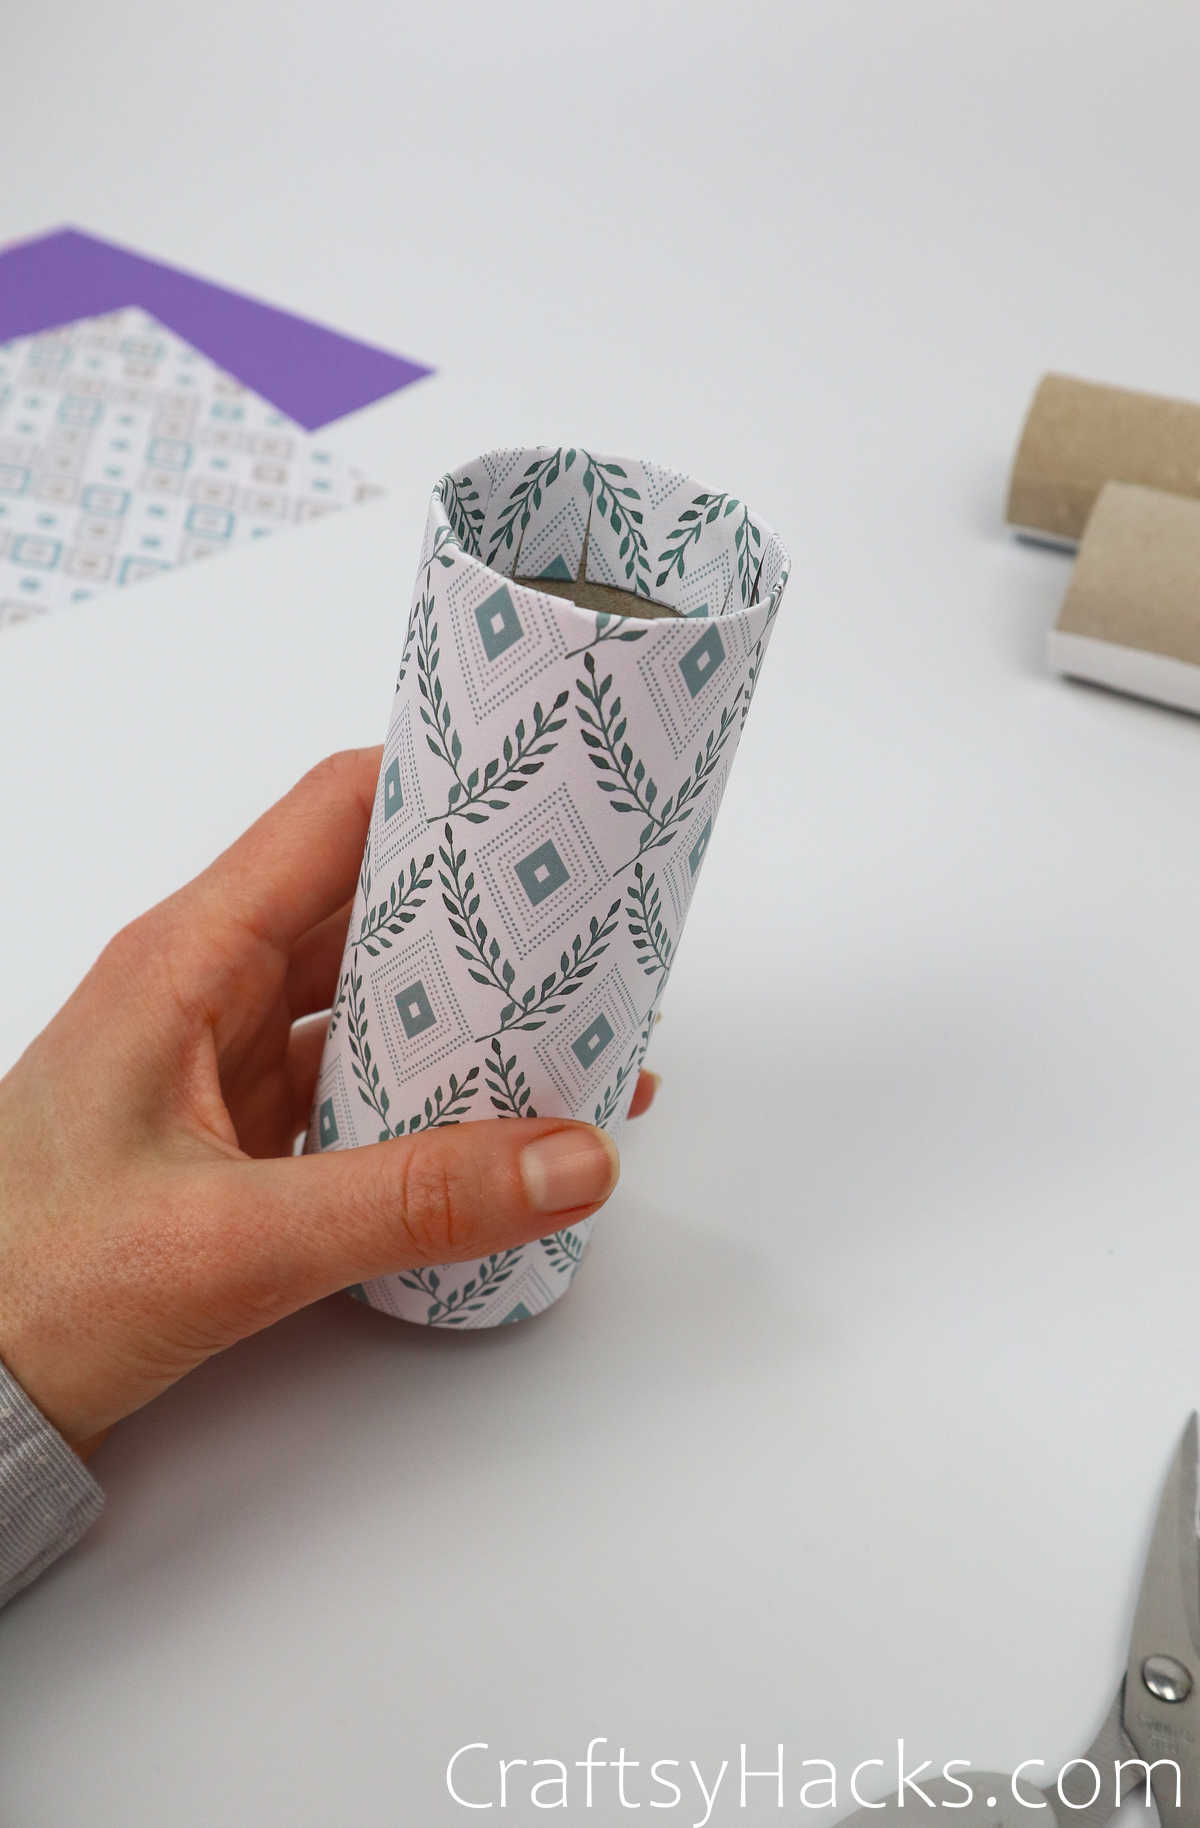
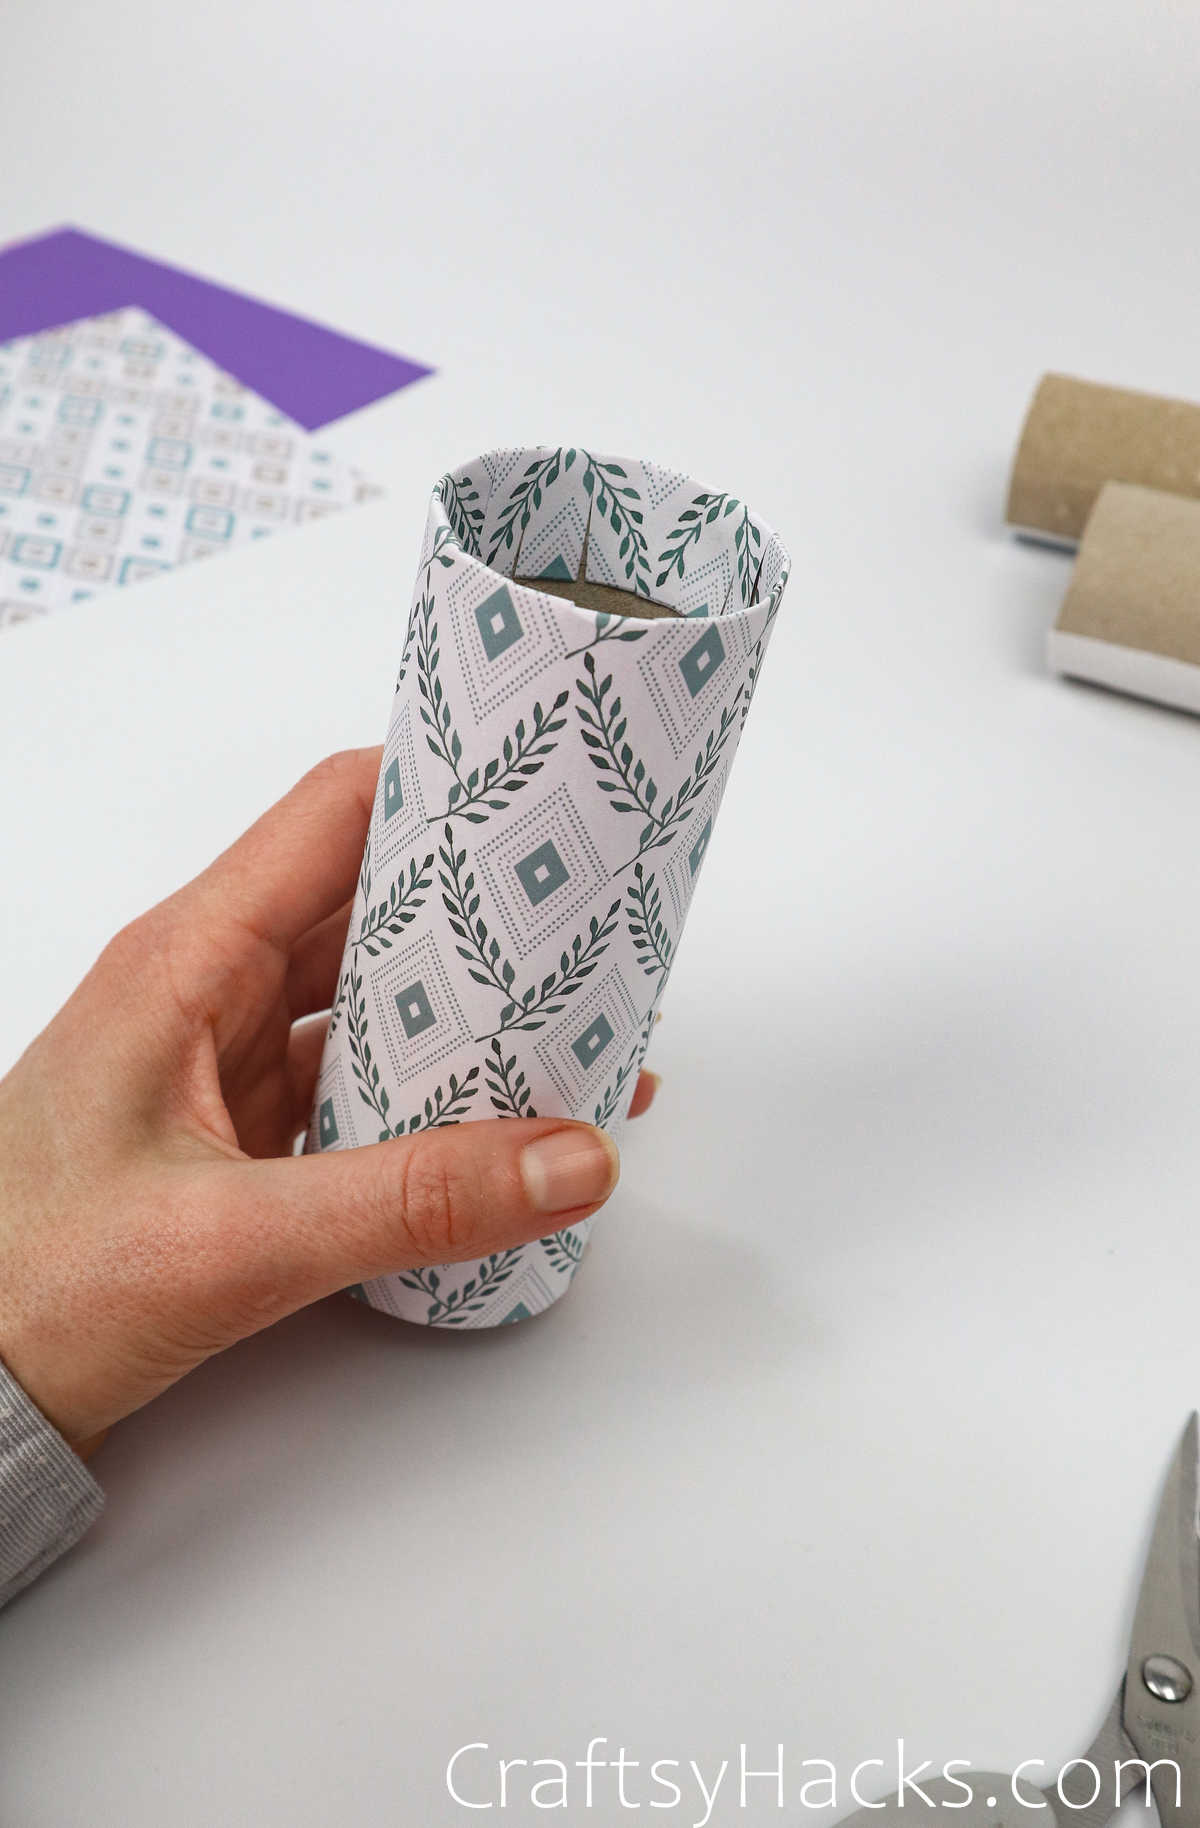
Grab one of your patterned papers.
Notice that the paper has about an inch of overhang.
Leave it there for now; also, the thicker the paper used here, the better.
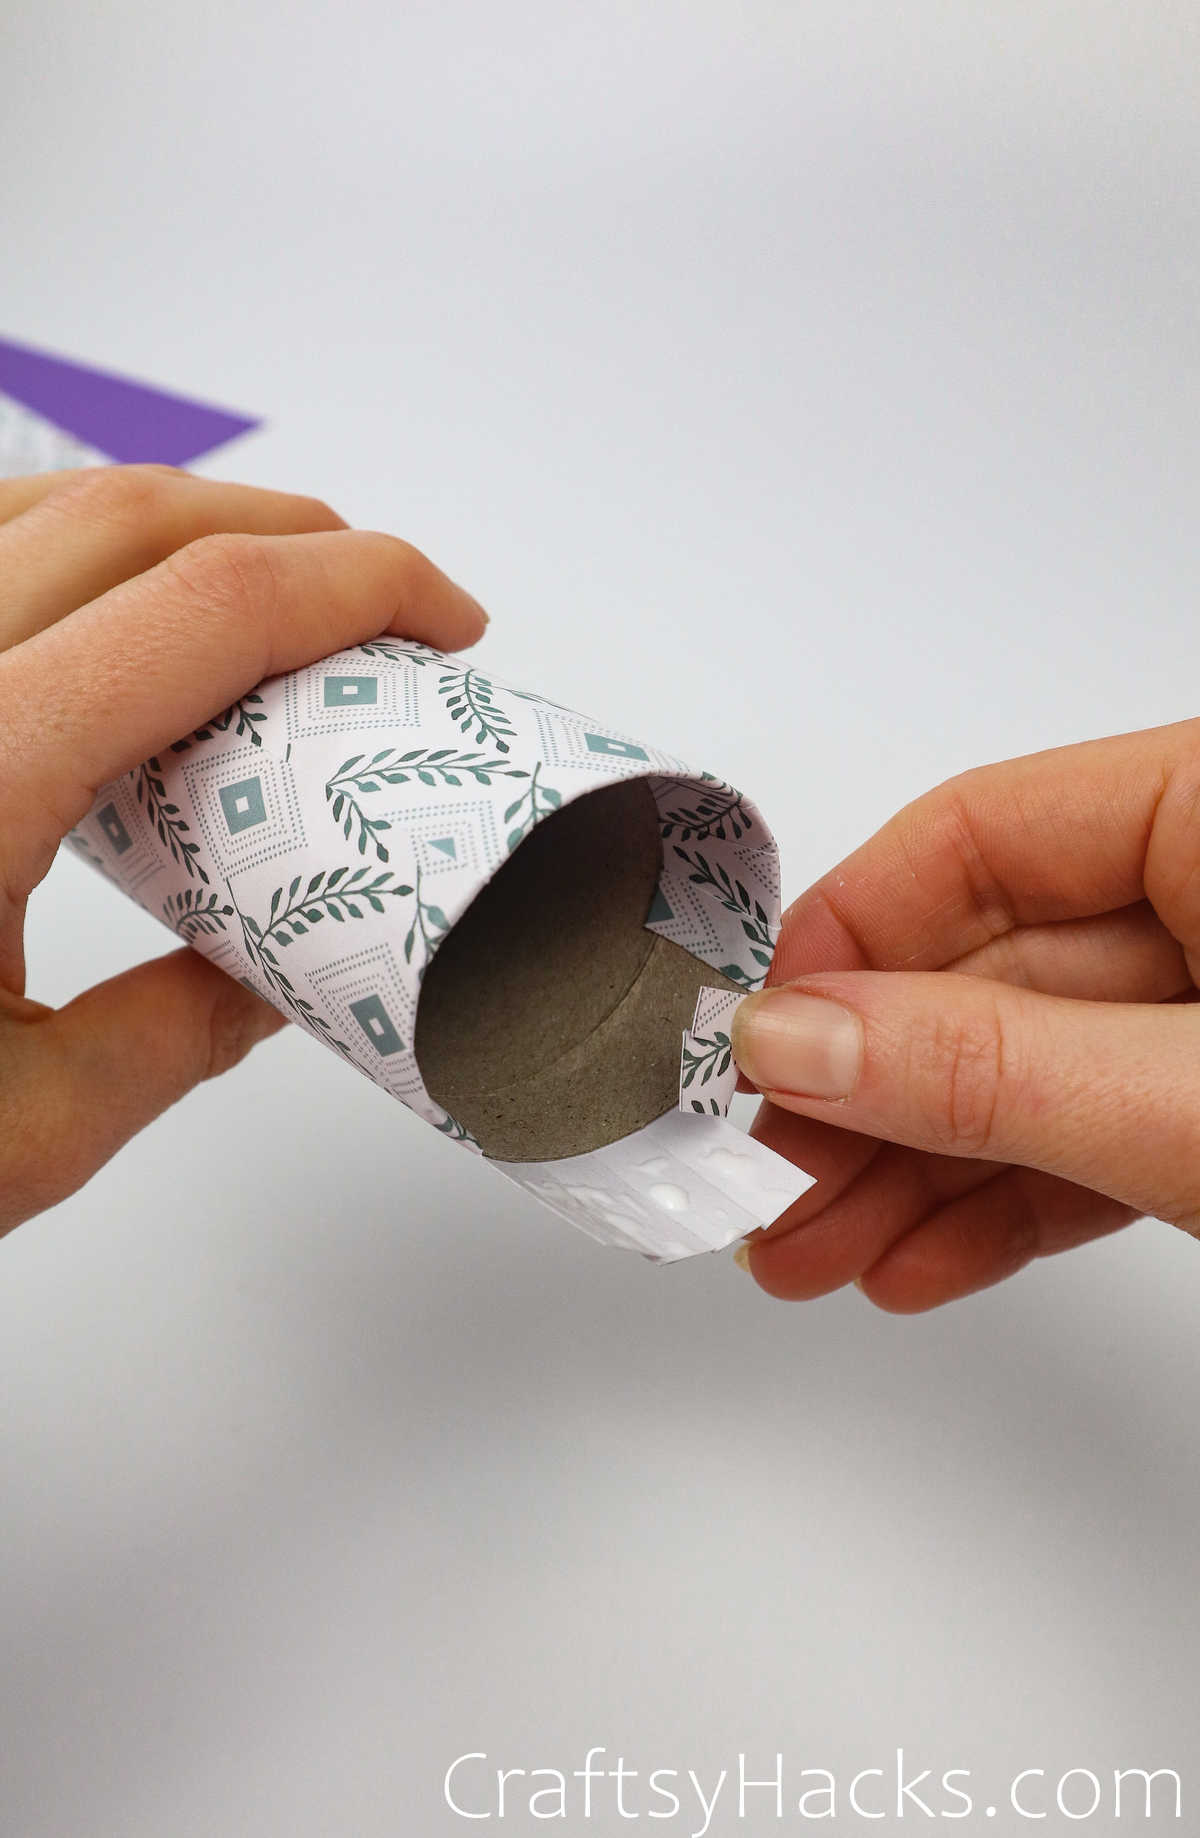
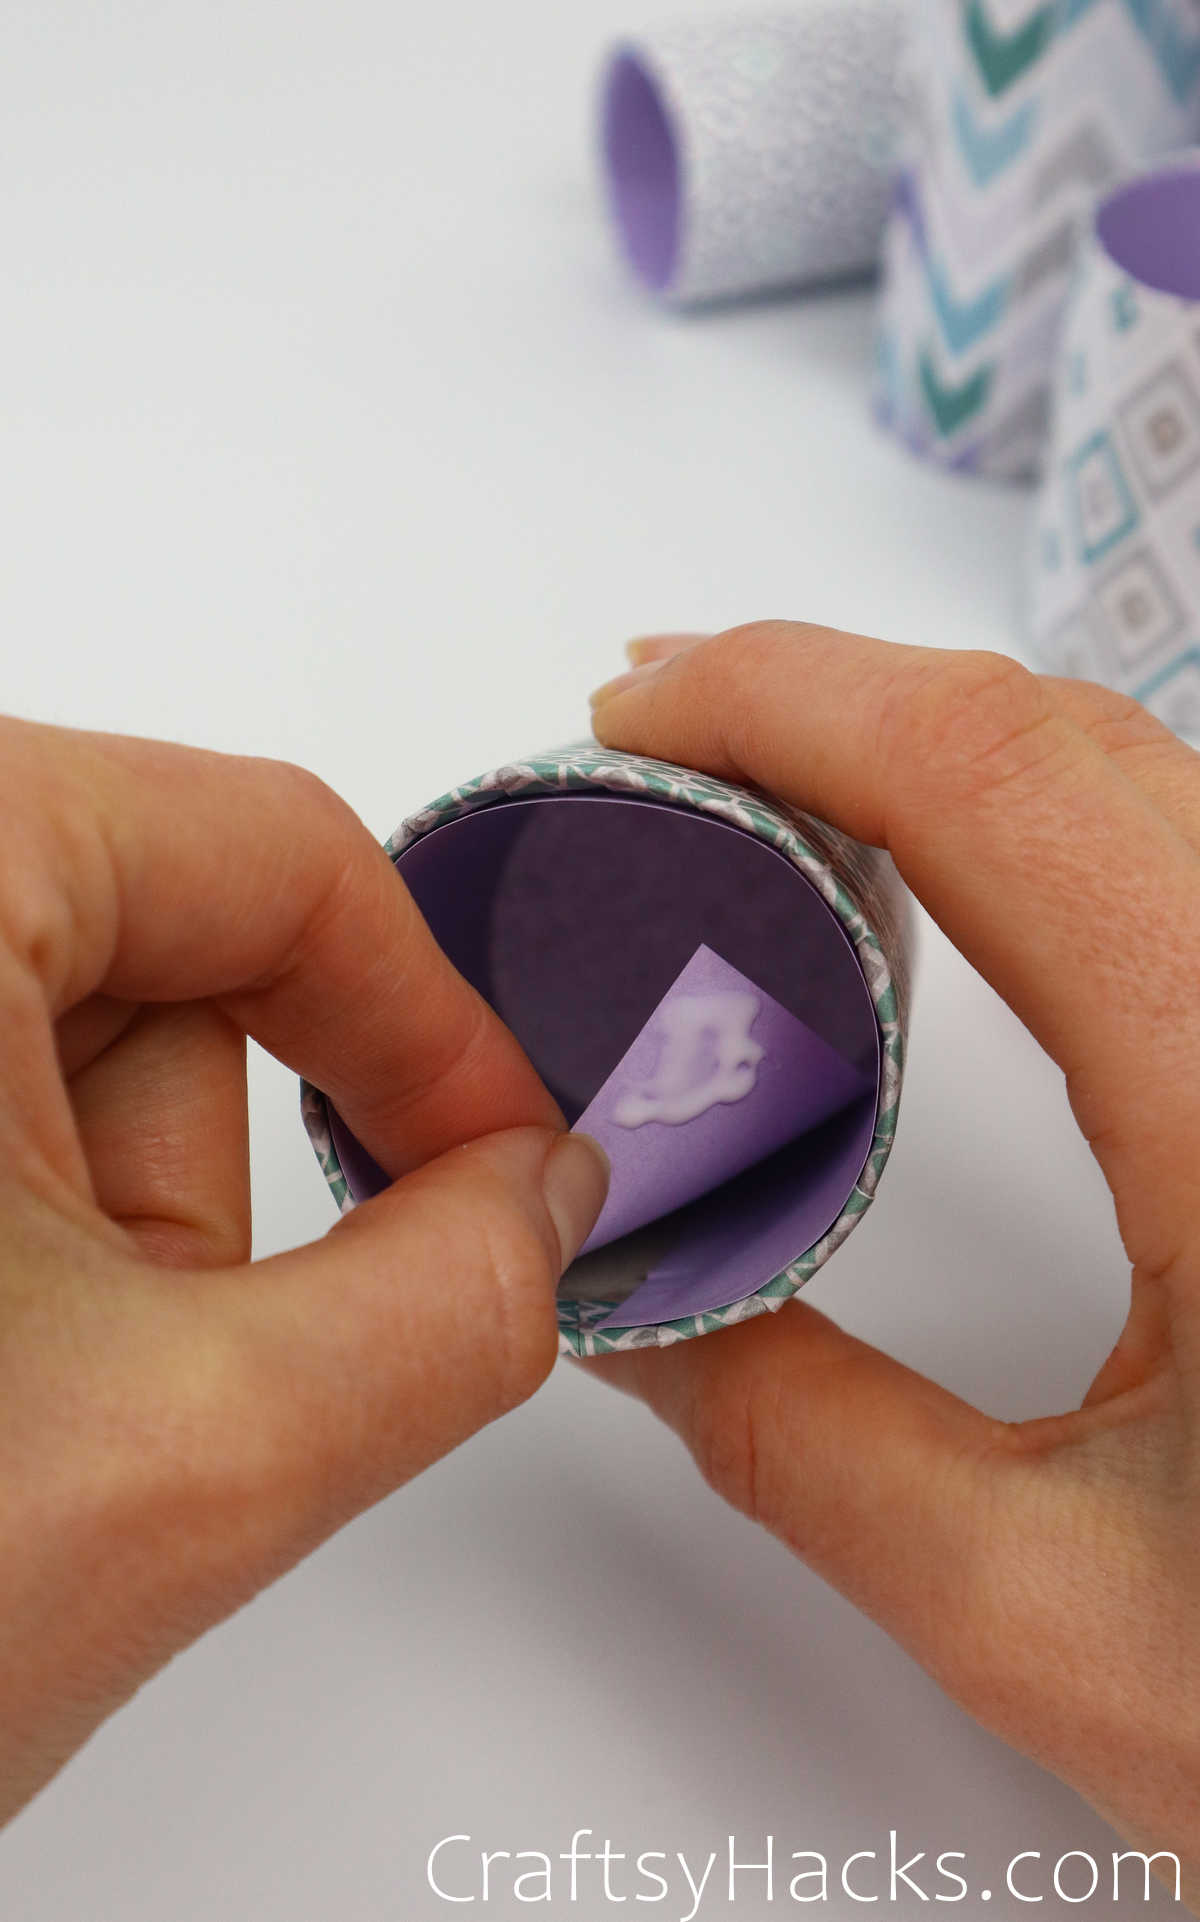
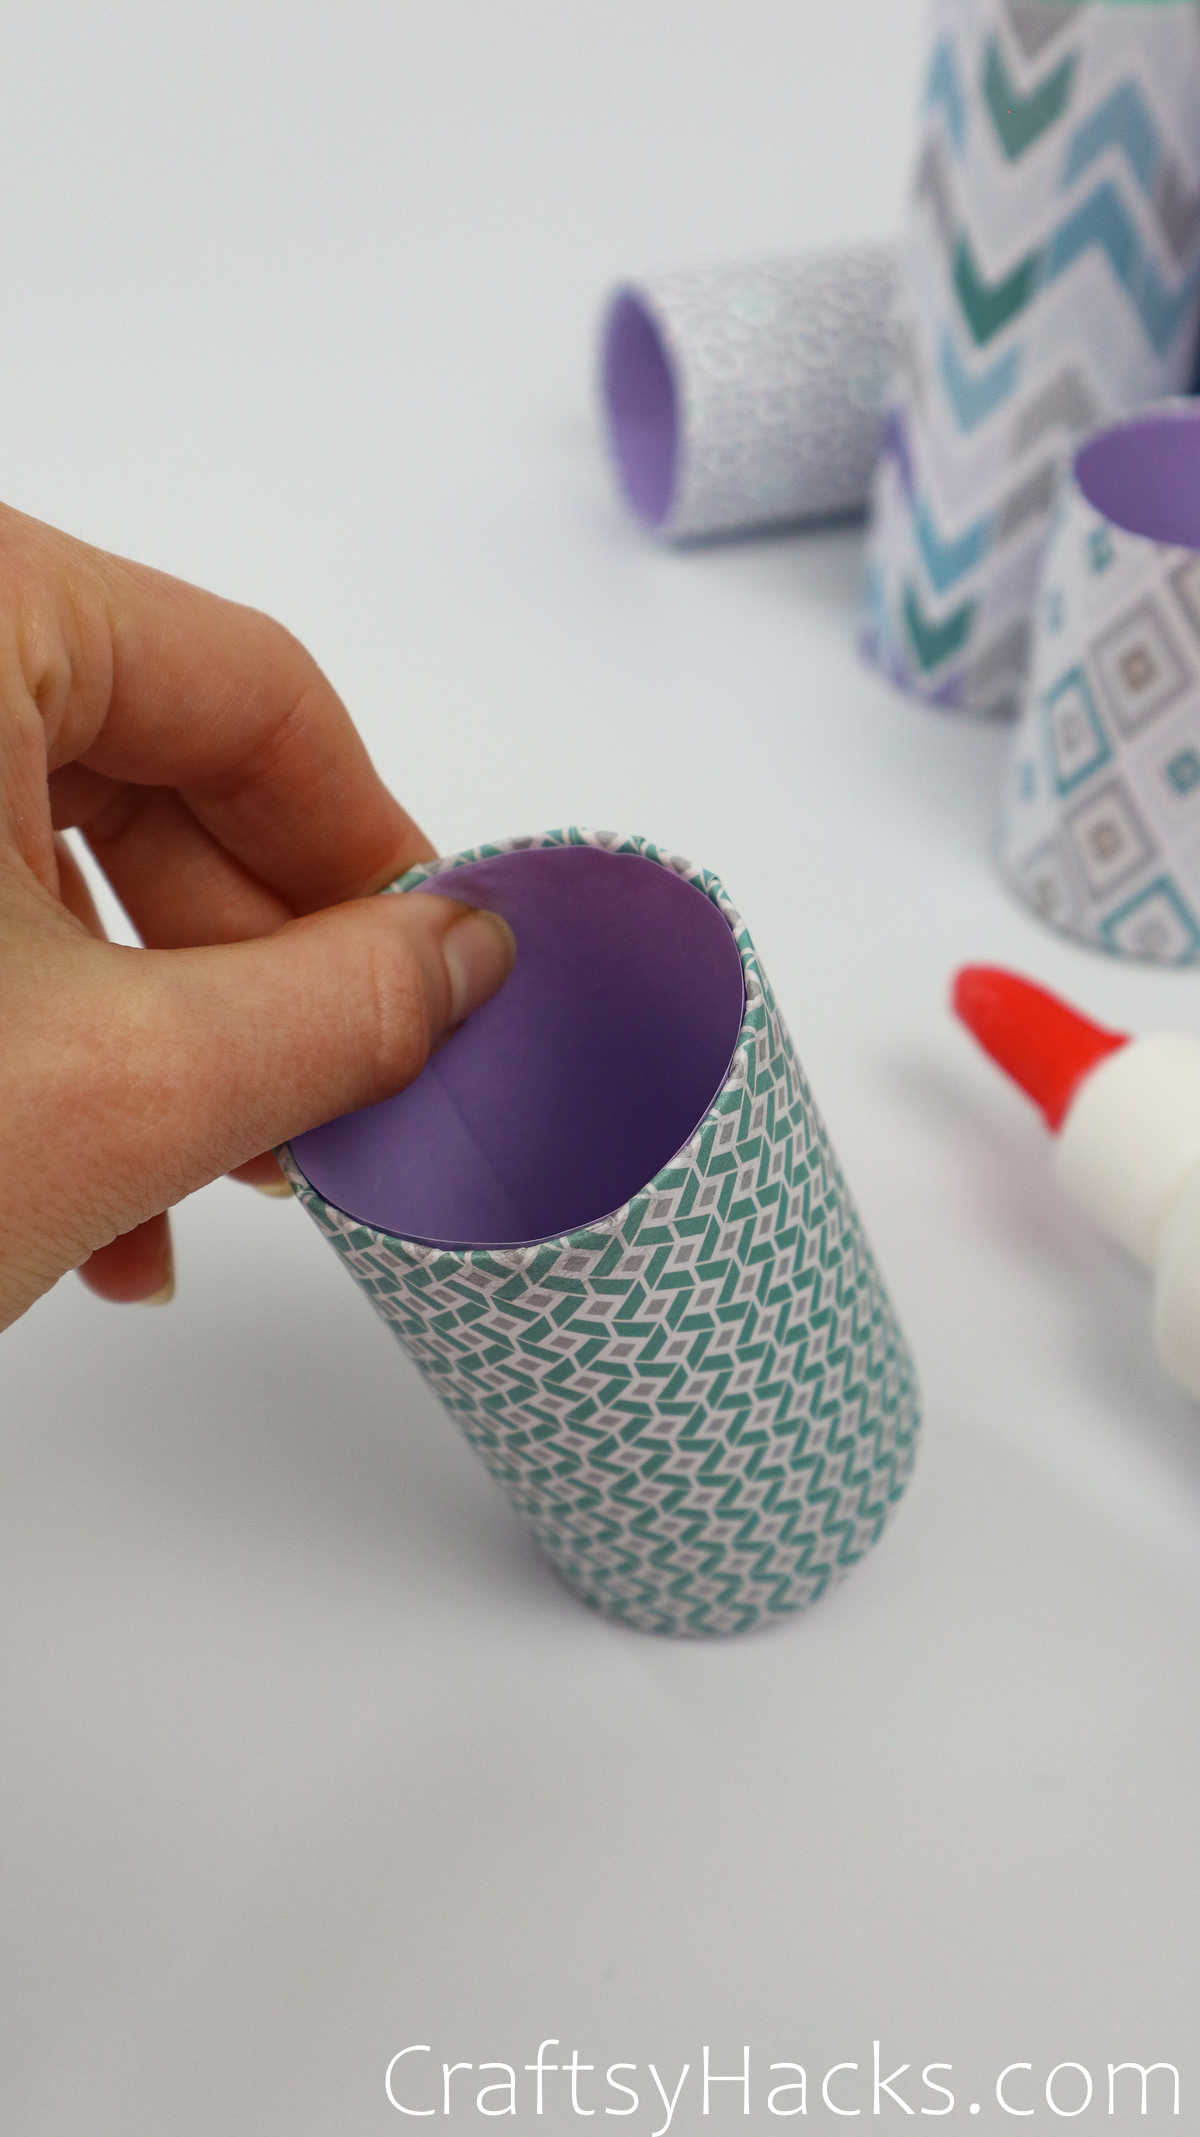
Glue the strips into the toilet paper tube.
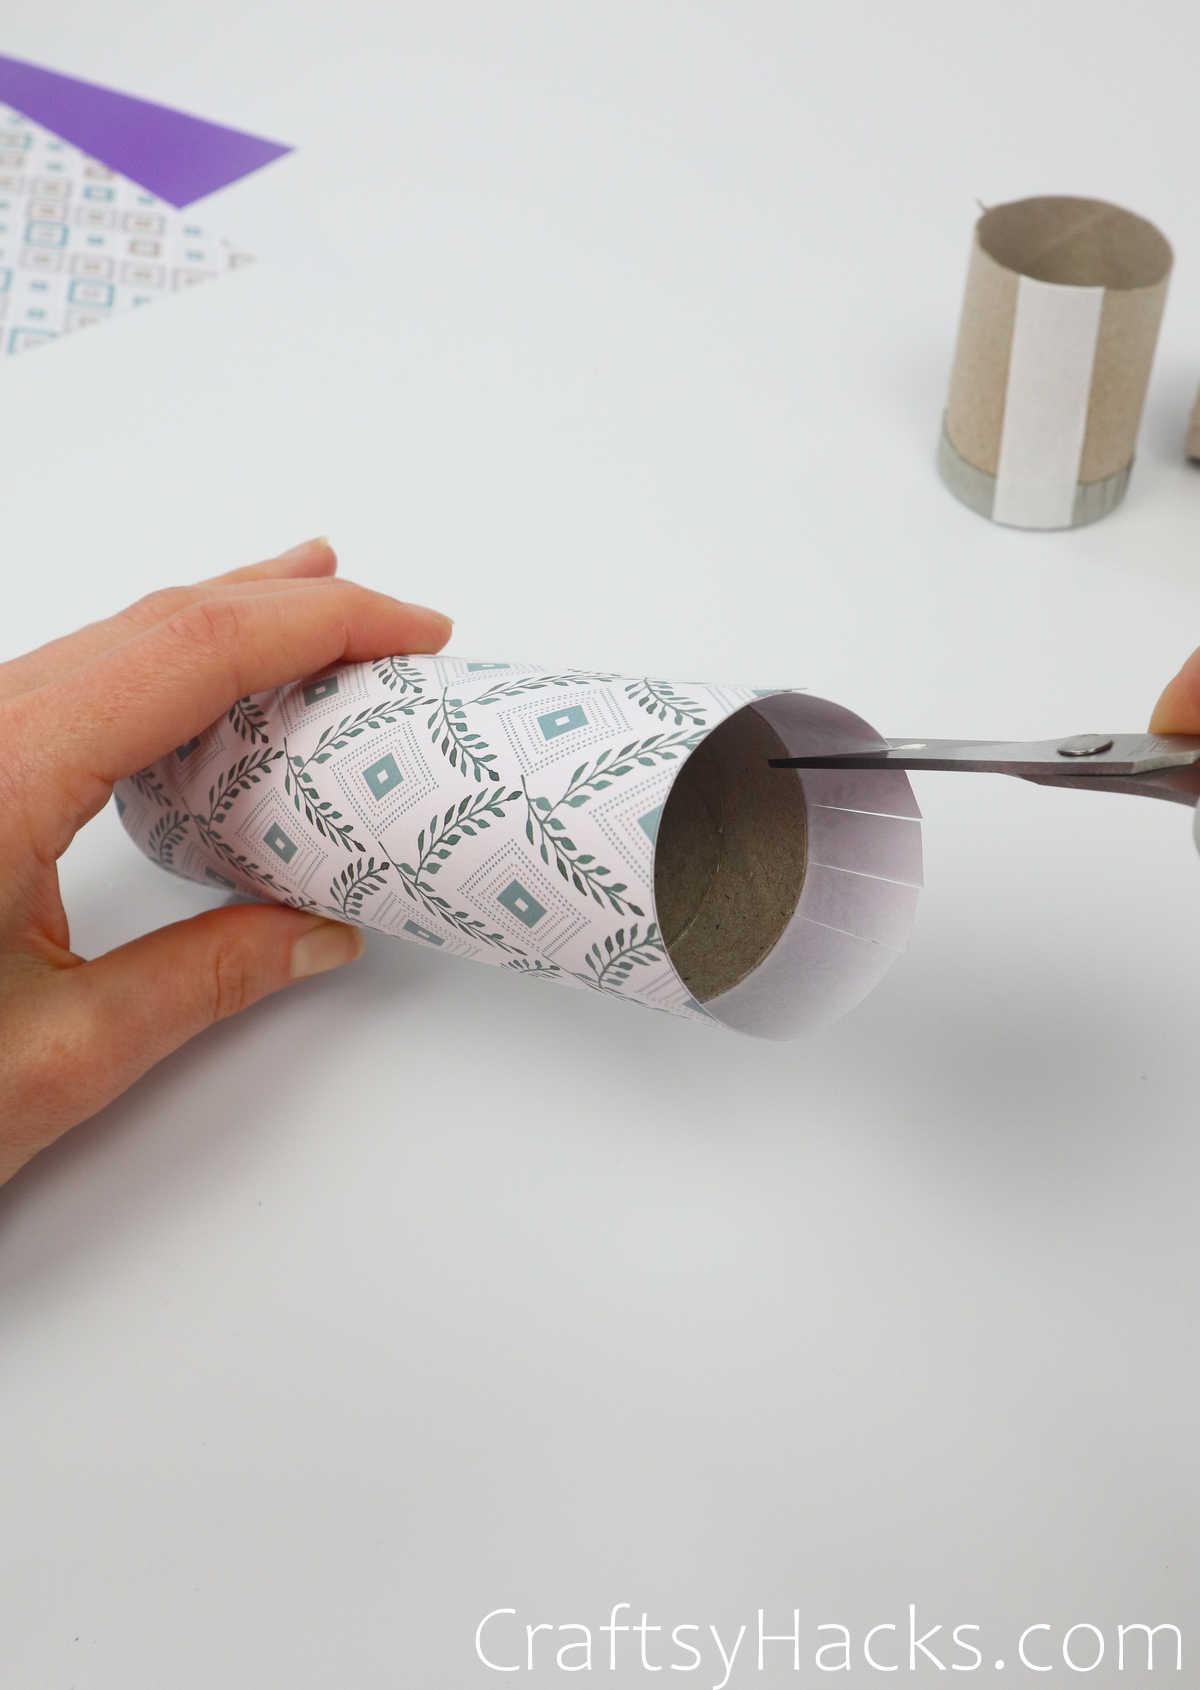
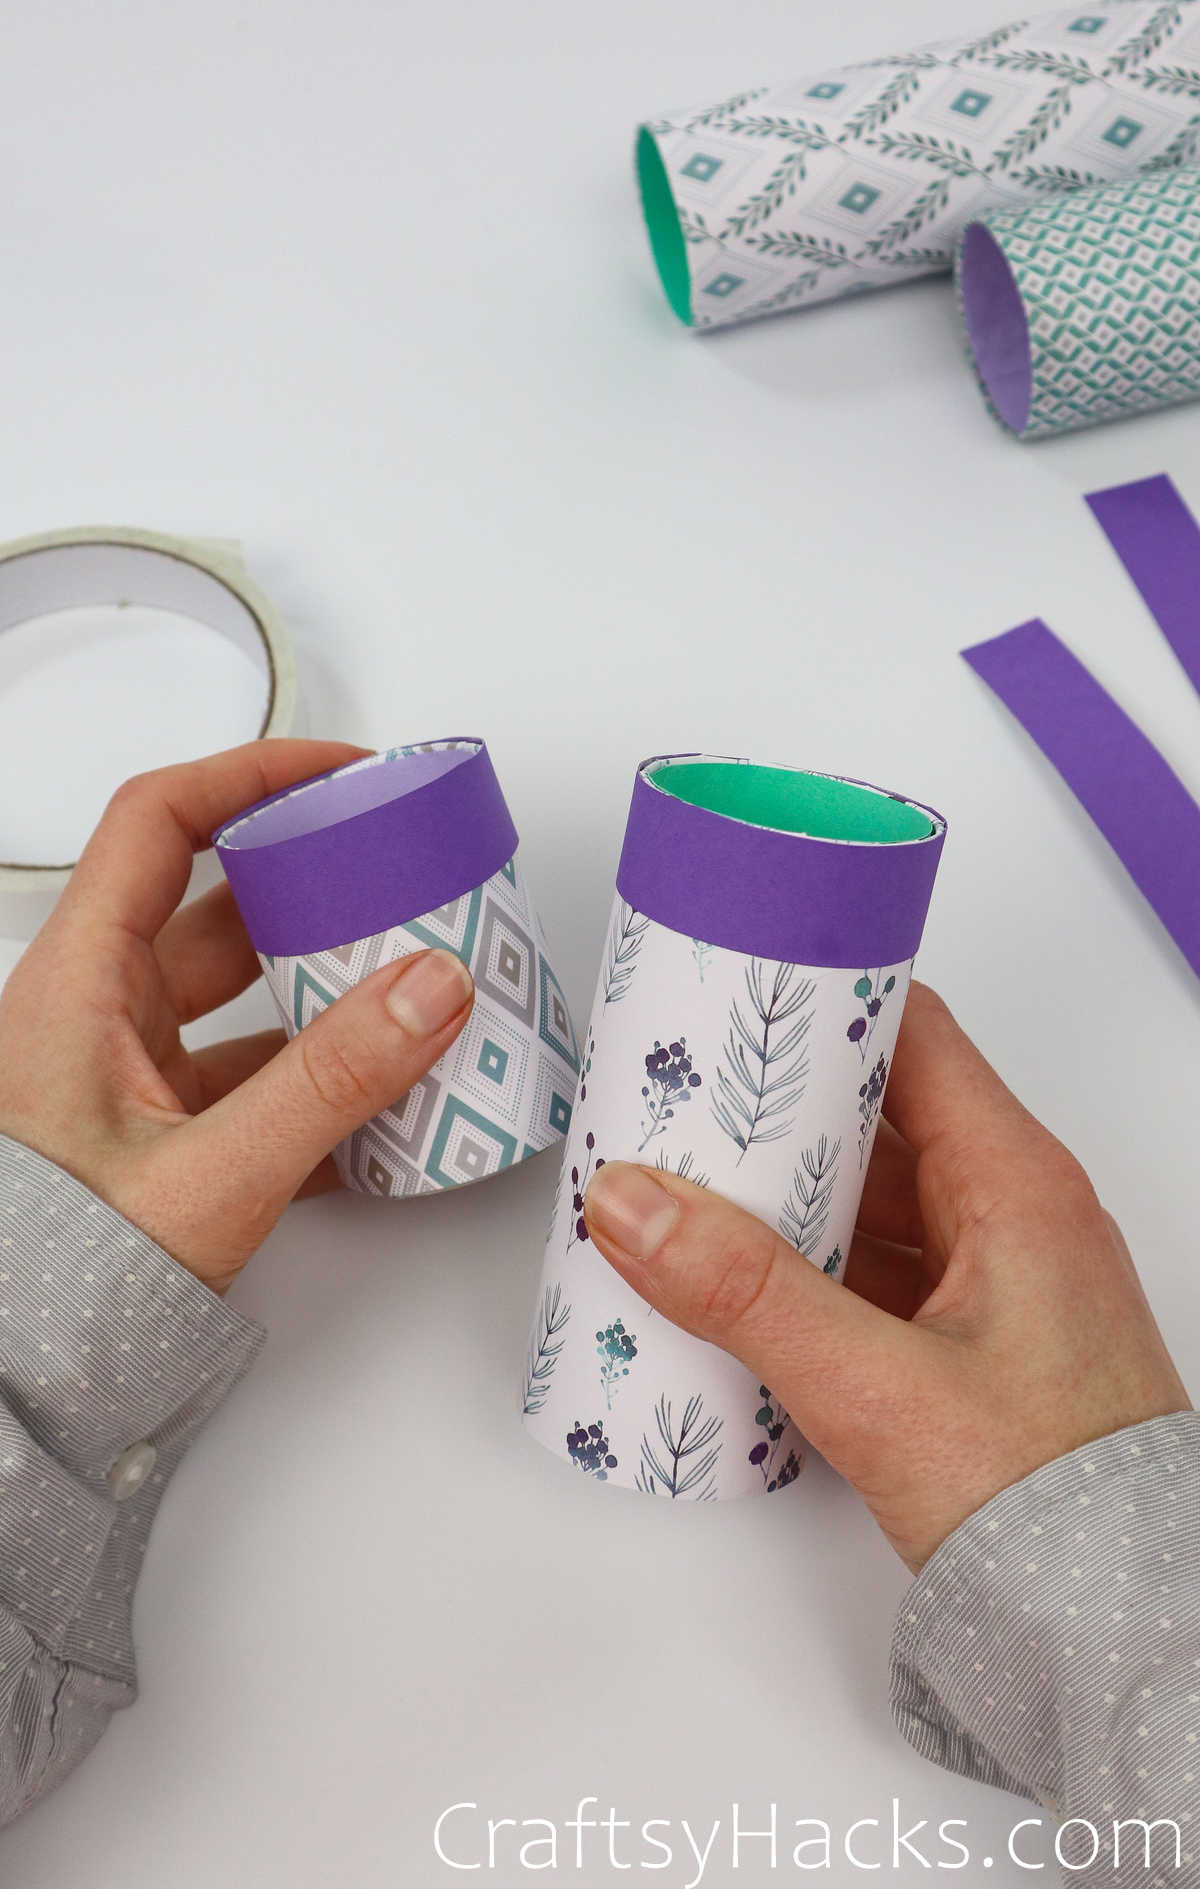
Repeat for all tubes and let dry properly.
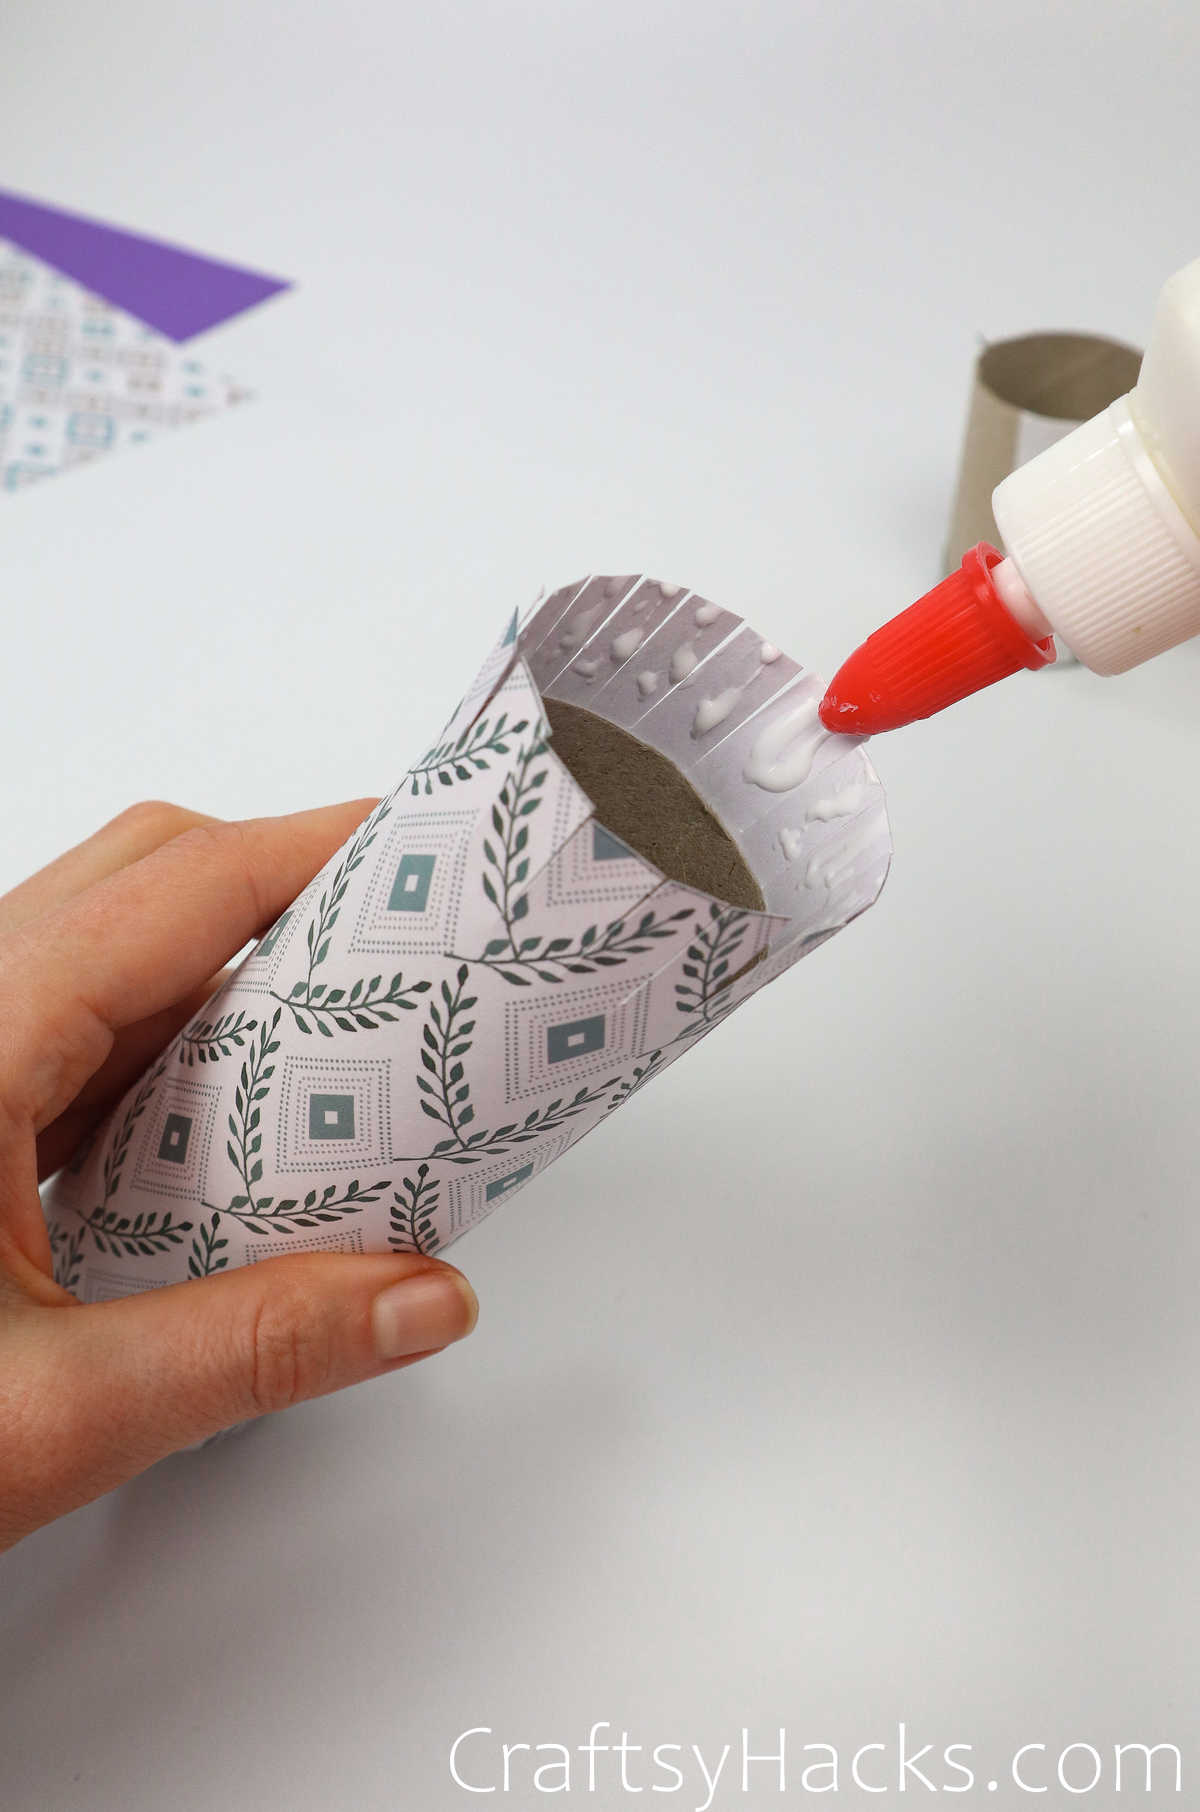
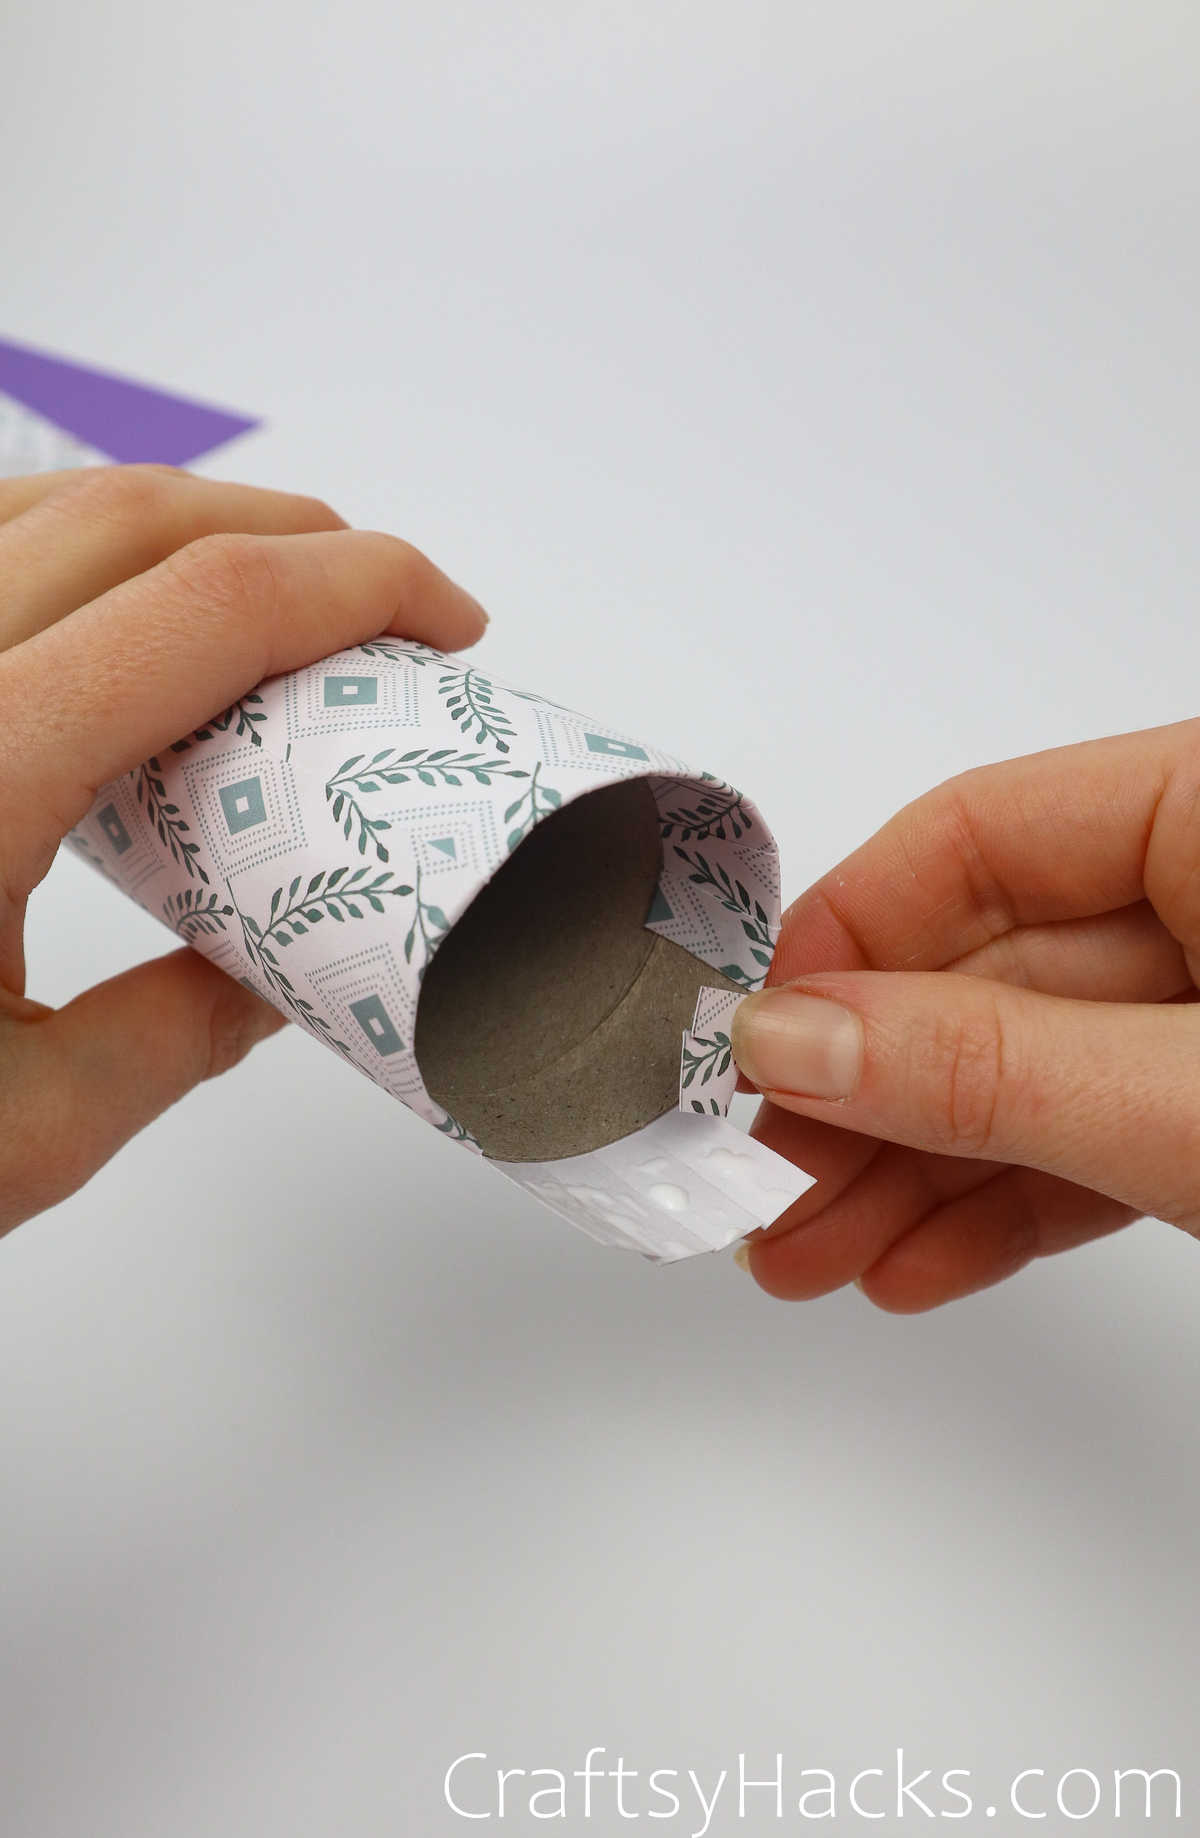
Press down the flaps of glue into the inside of the roll.
verify everything is pressed well and set aside before moving to the next tube.
Repeat and let dry.
Step 14
Measure the length by pairing the paper next to the height of the tube.
Continue to trim the paper this way.
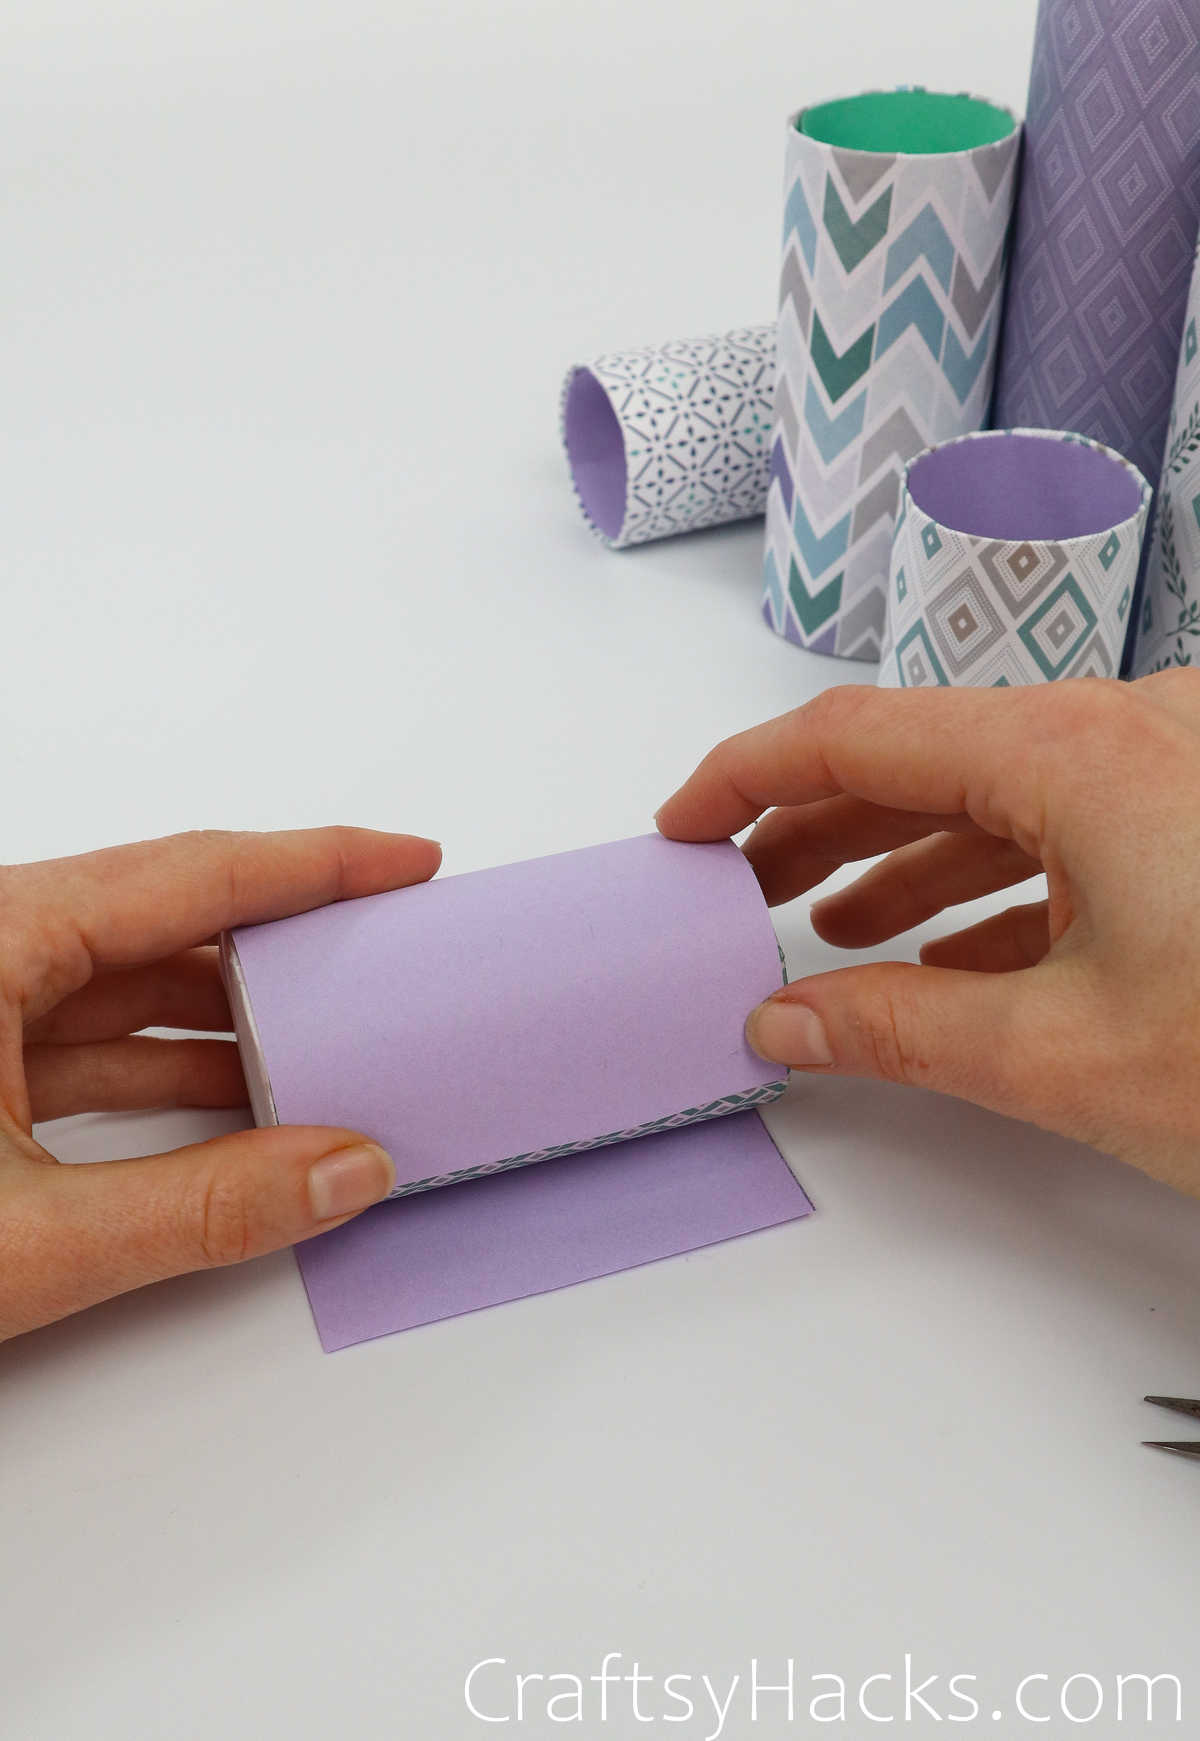
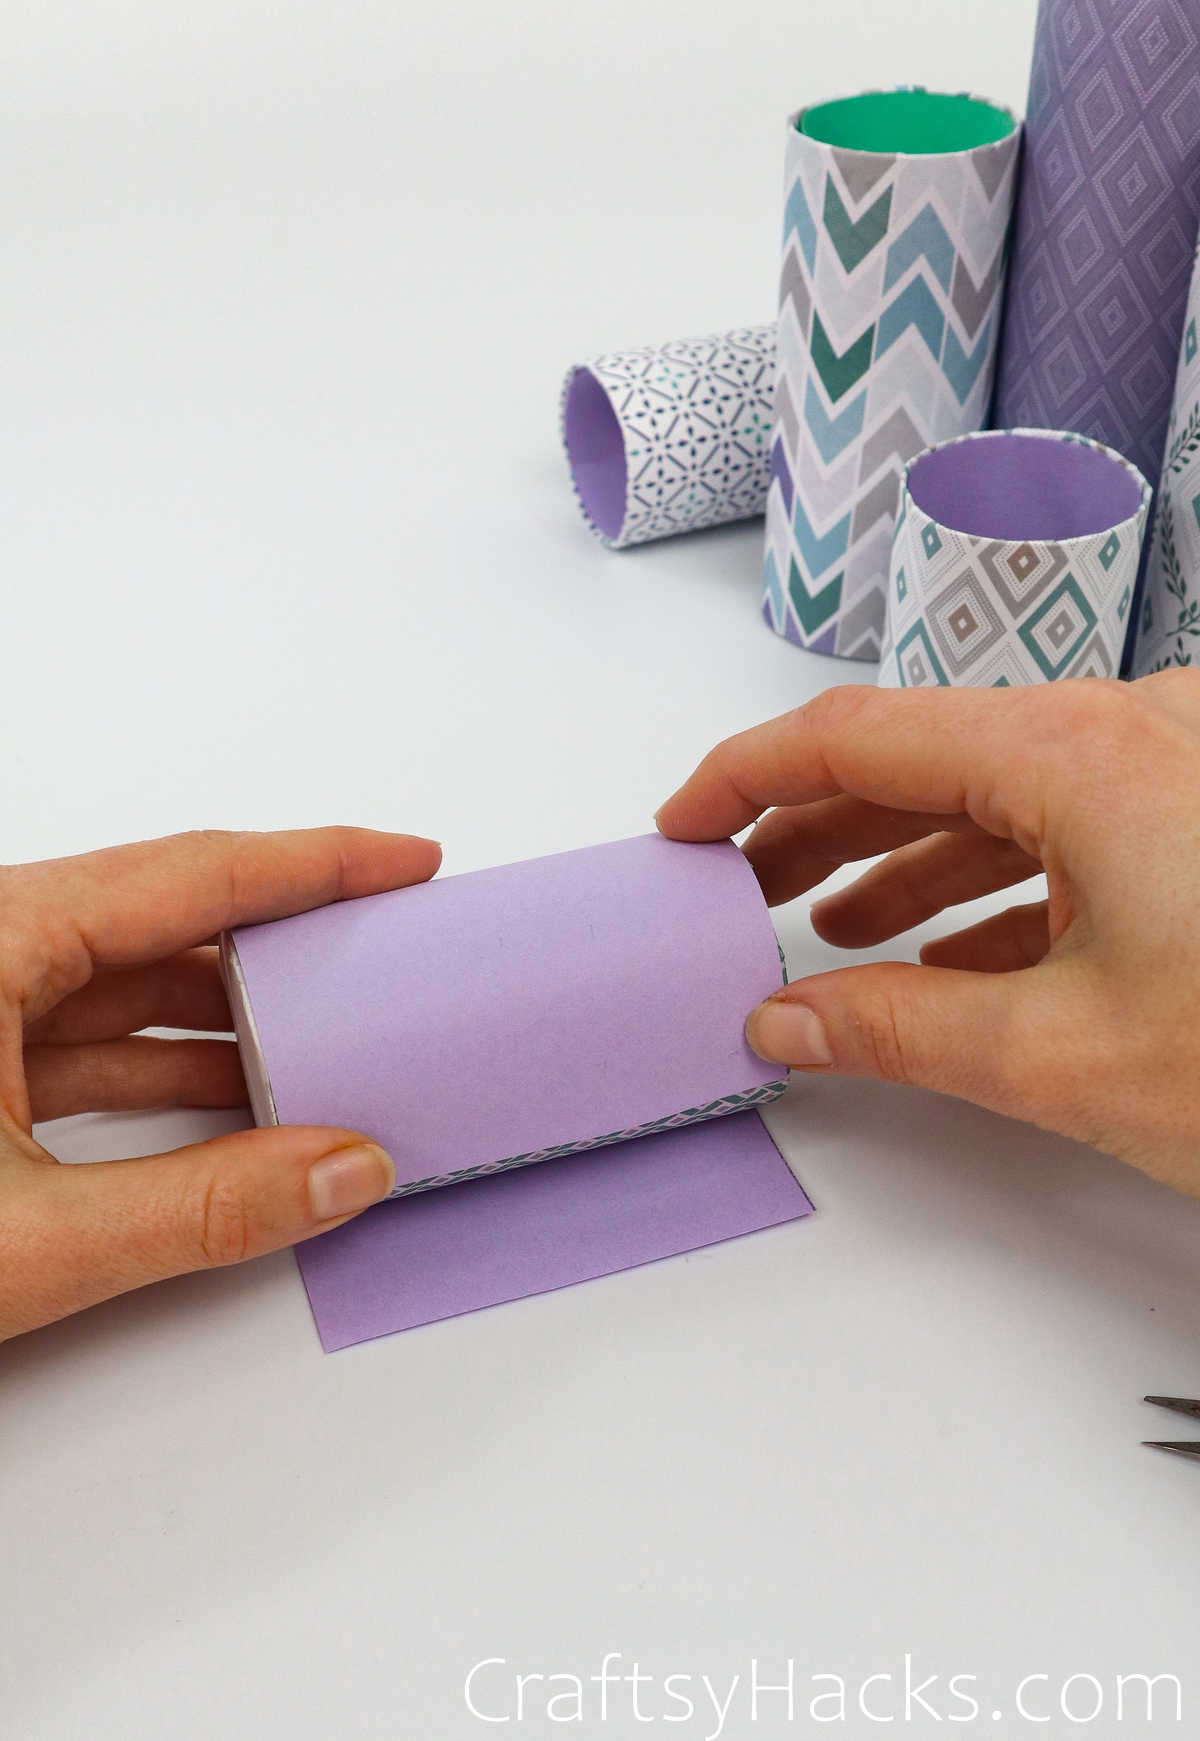
Step 15
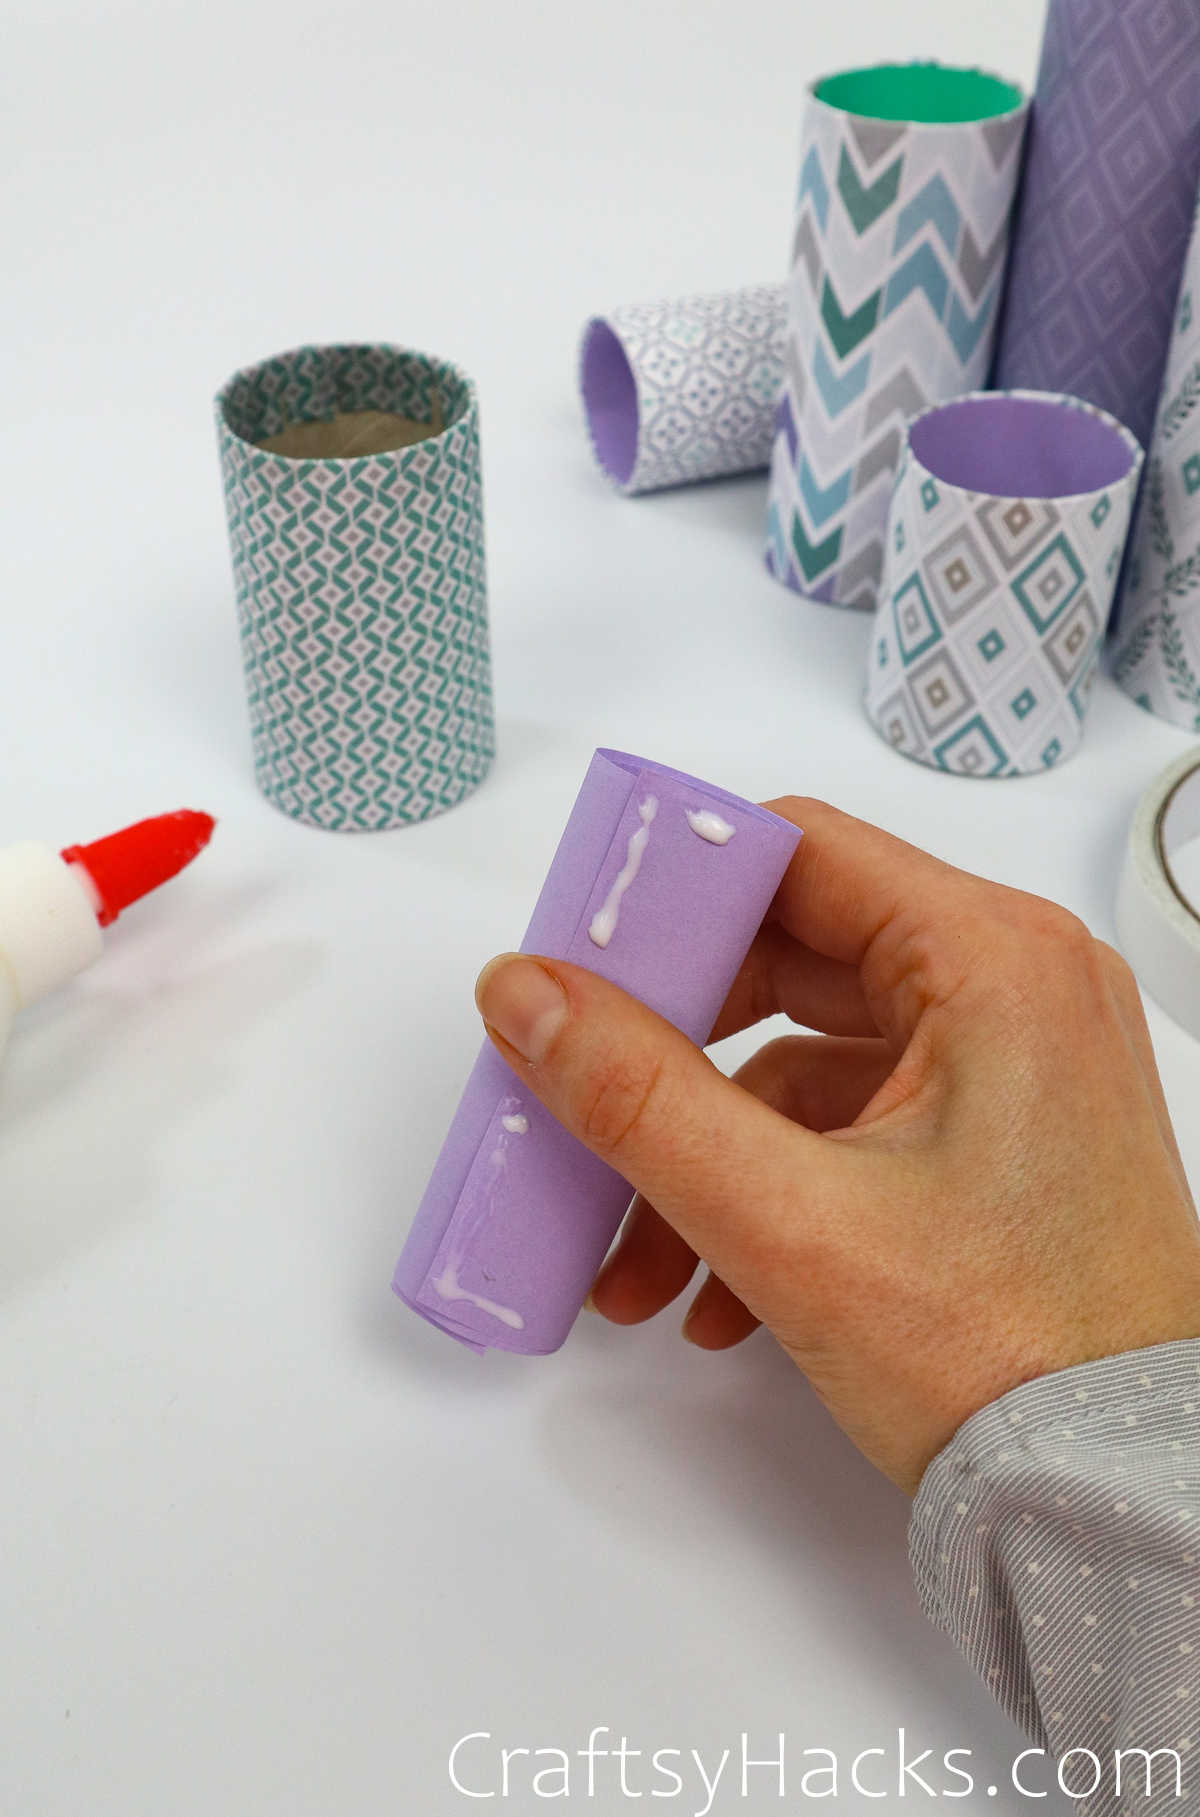
Roll the paper into smaller rolls than the toilet paper tube.
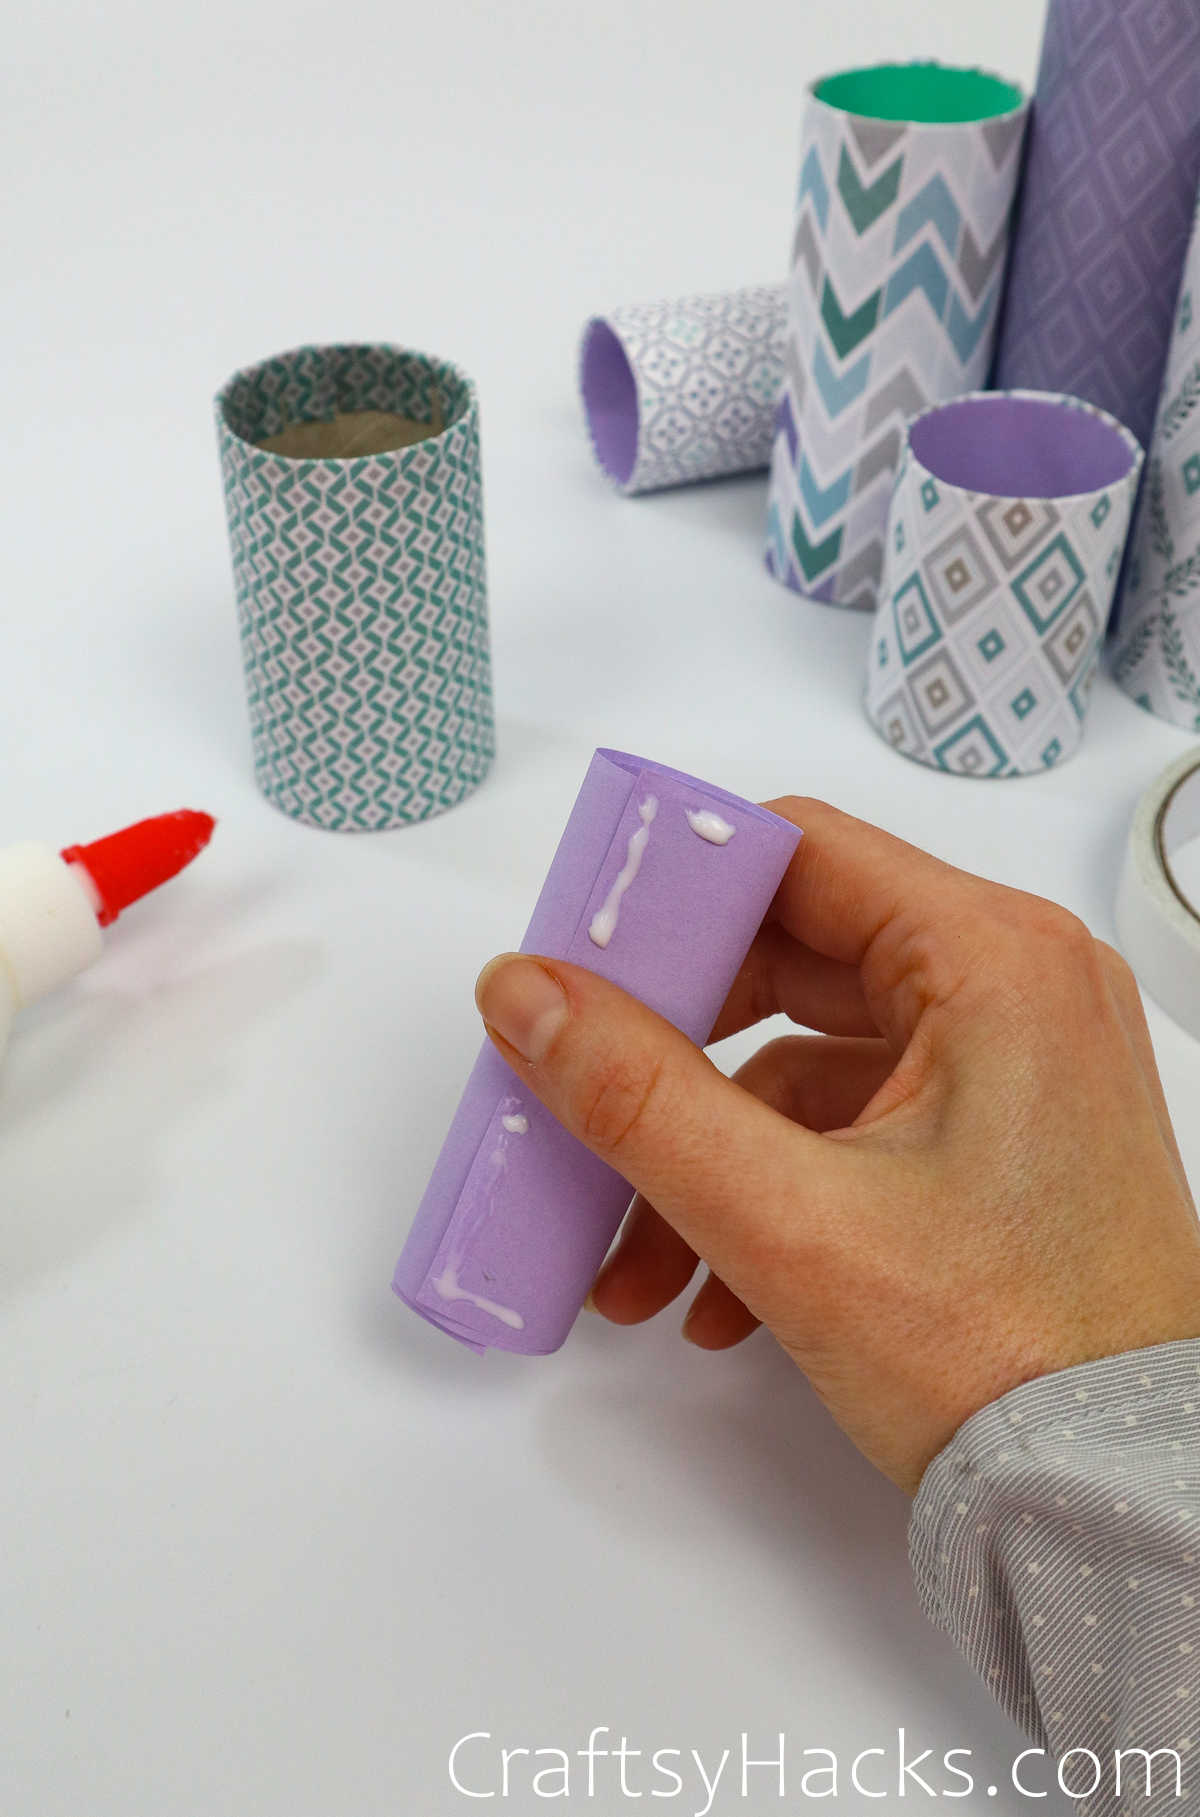
Step 16
Add a bit of glue to the rolls top and bottom of the roll.

Continue to repeat the process.
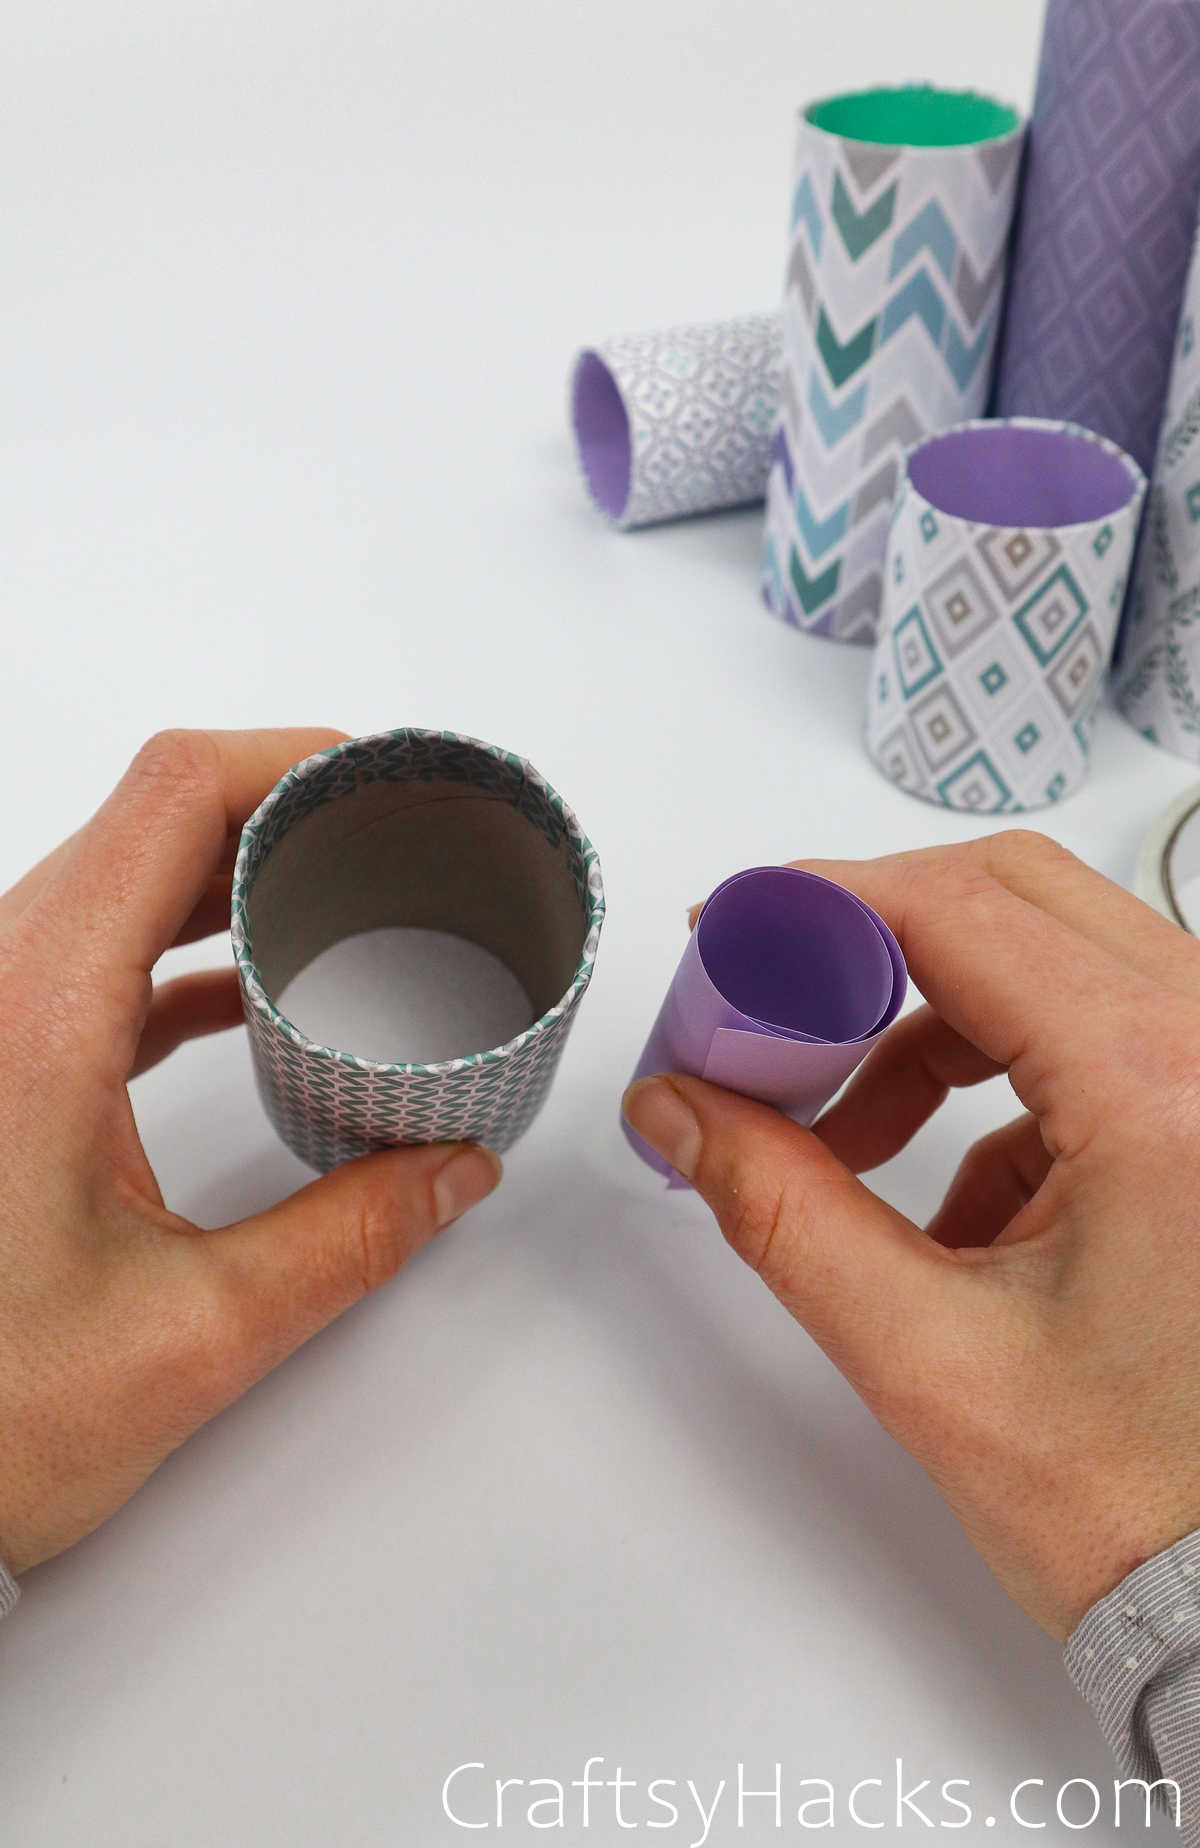
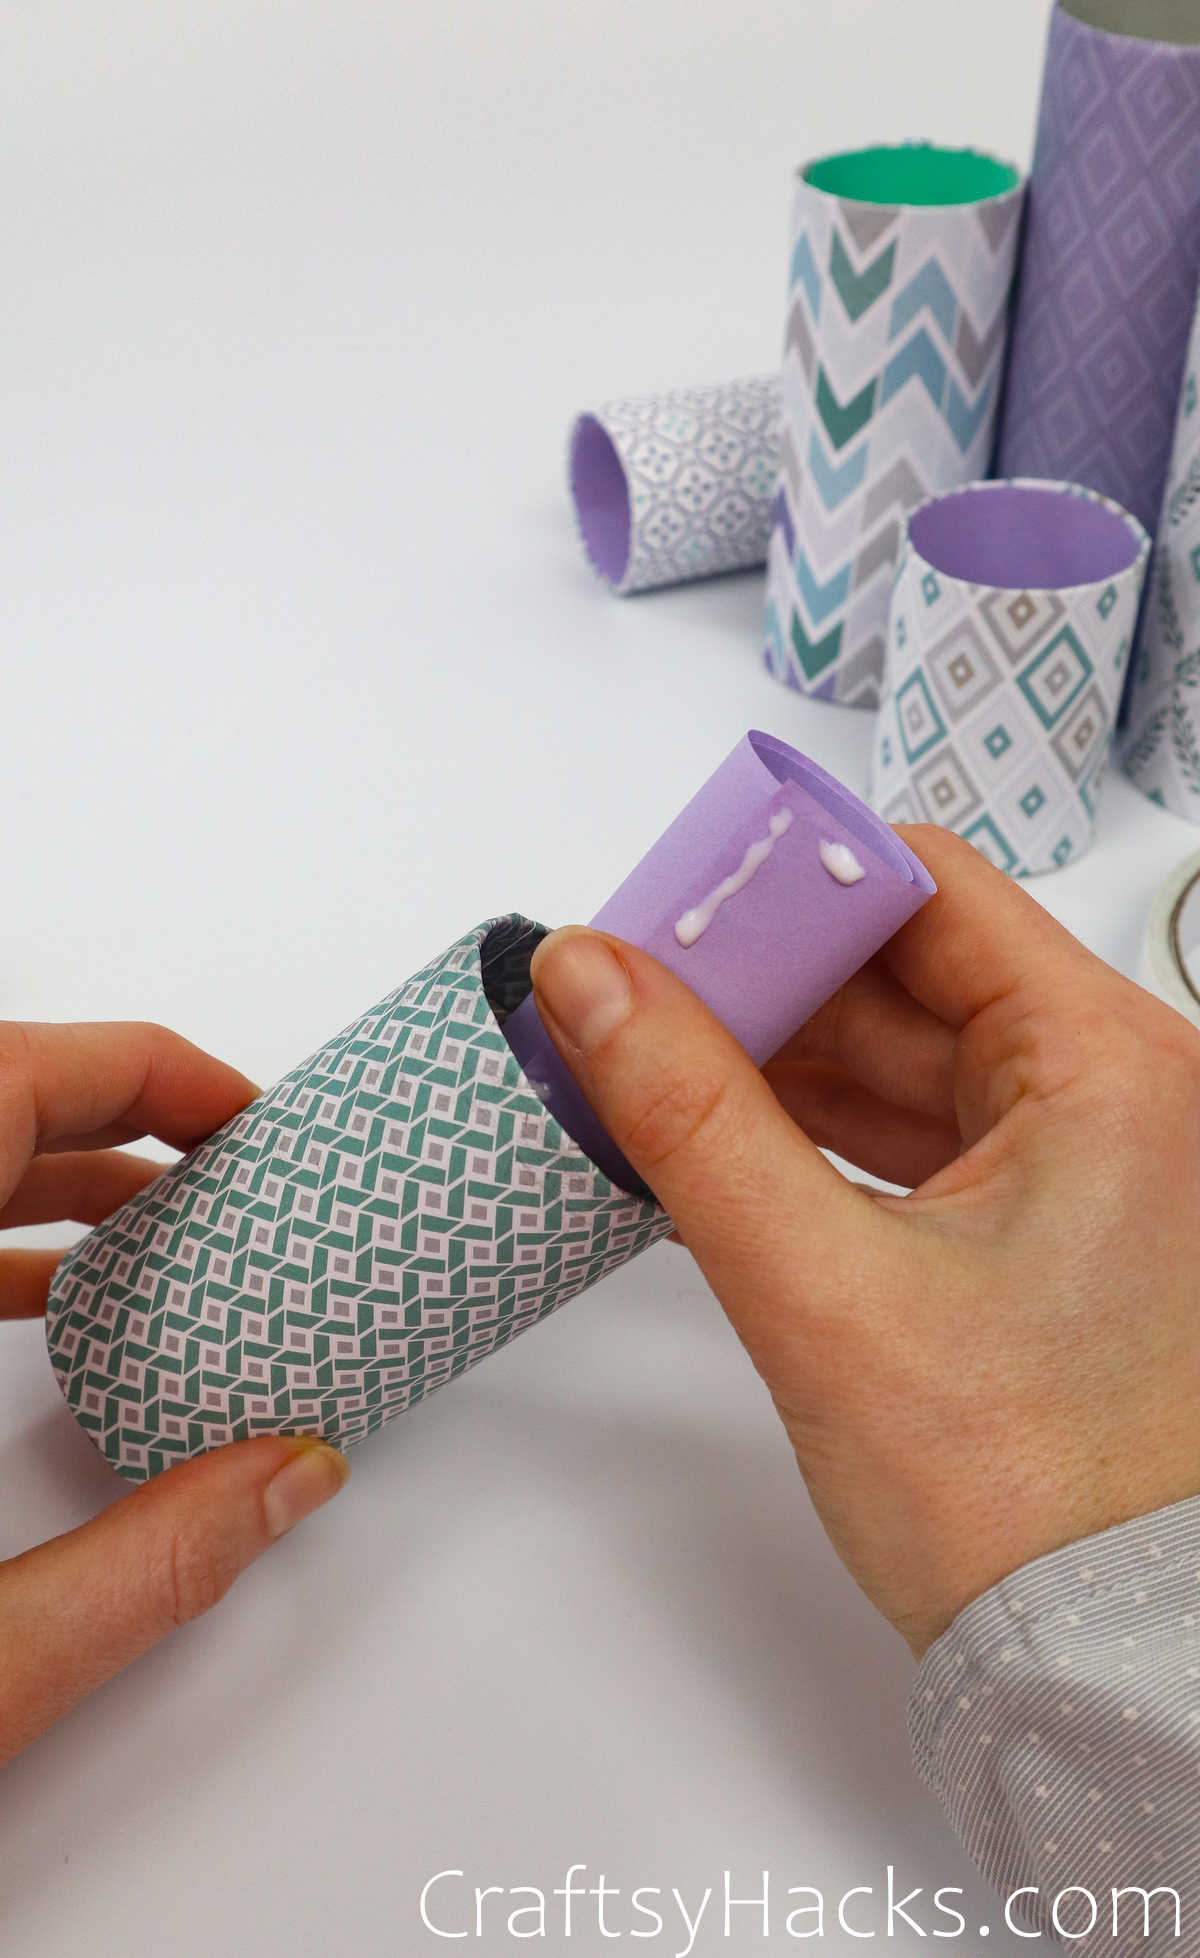
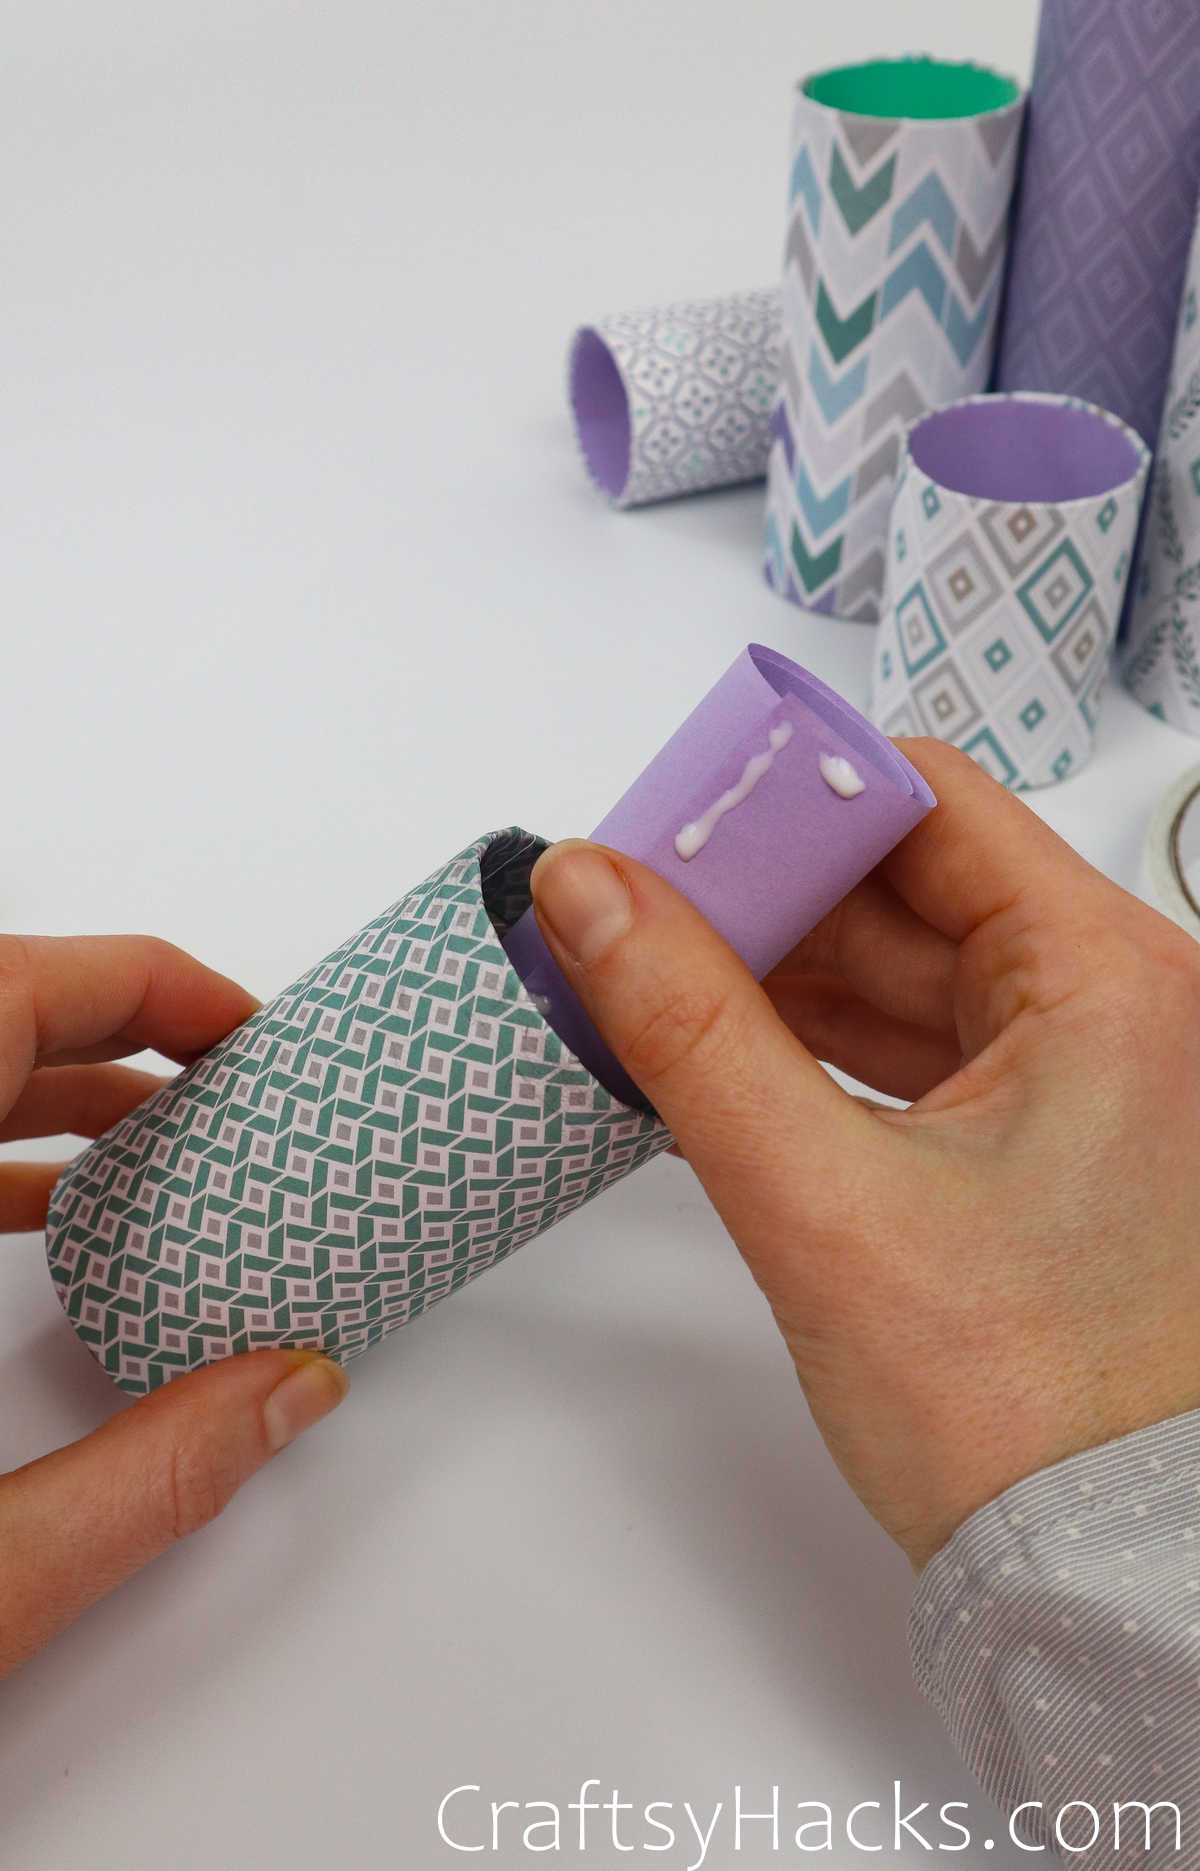
Step 17
Insert the paper roll into the toilet paper tube.
Repeat the process until all tubes are filled.
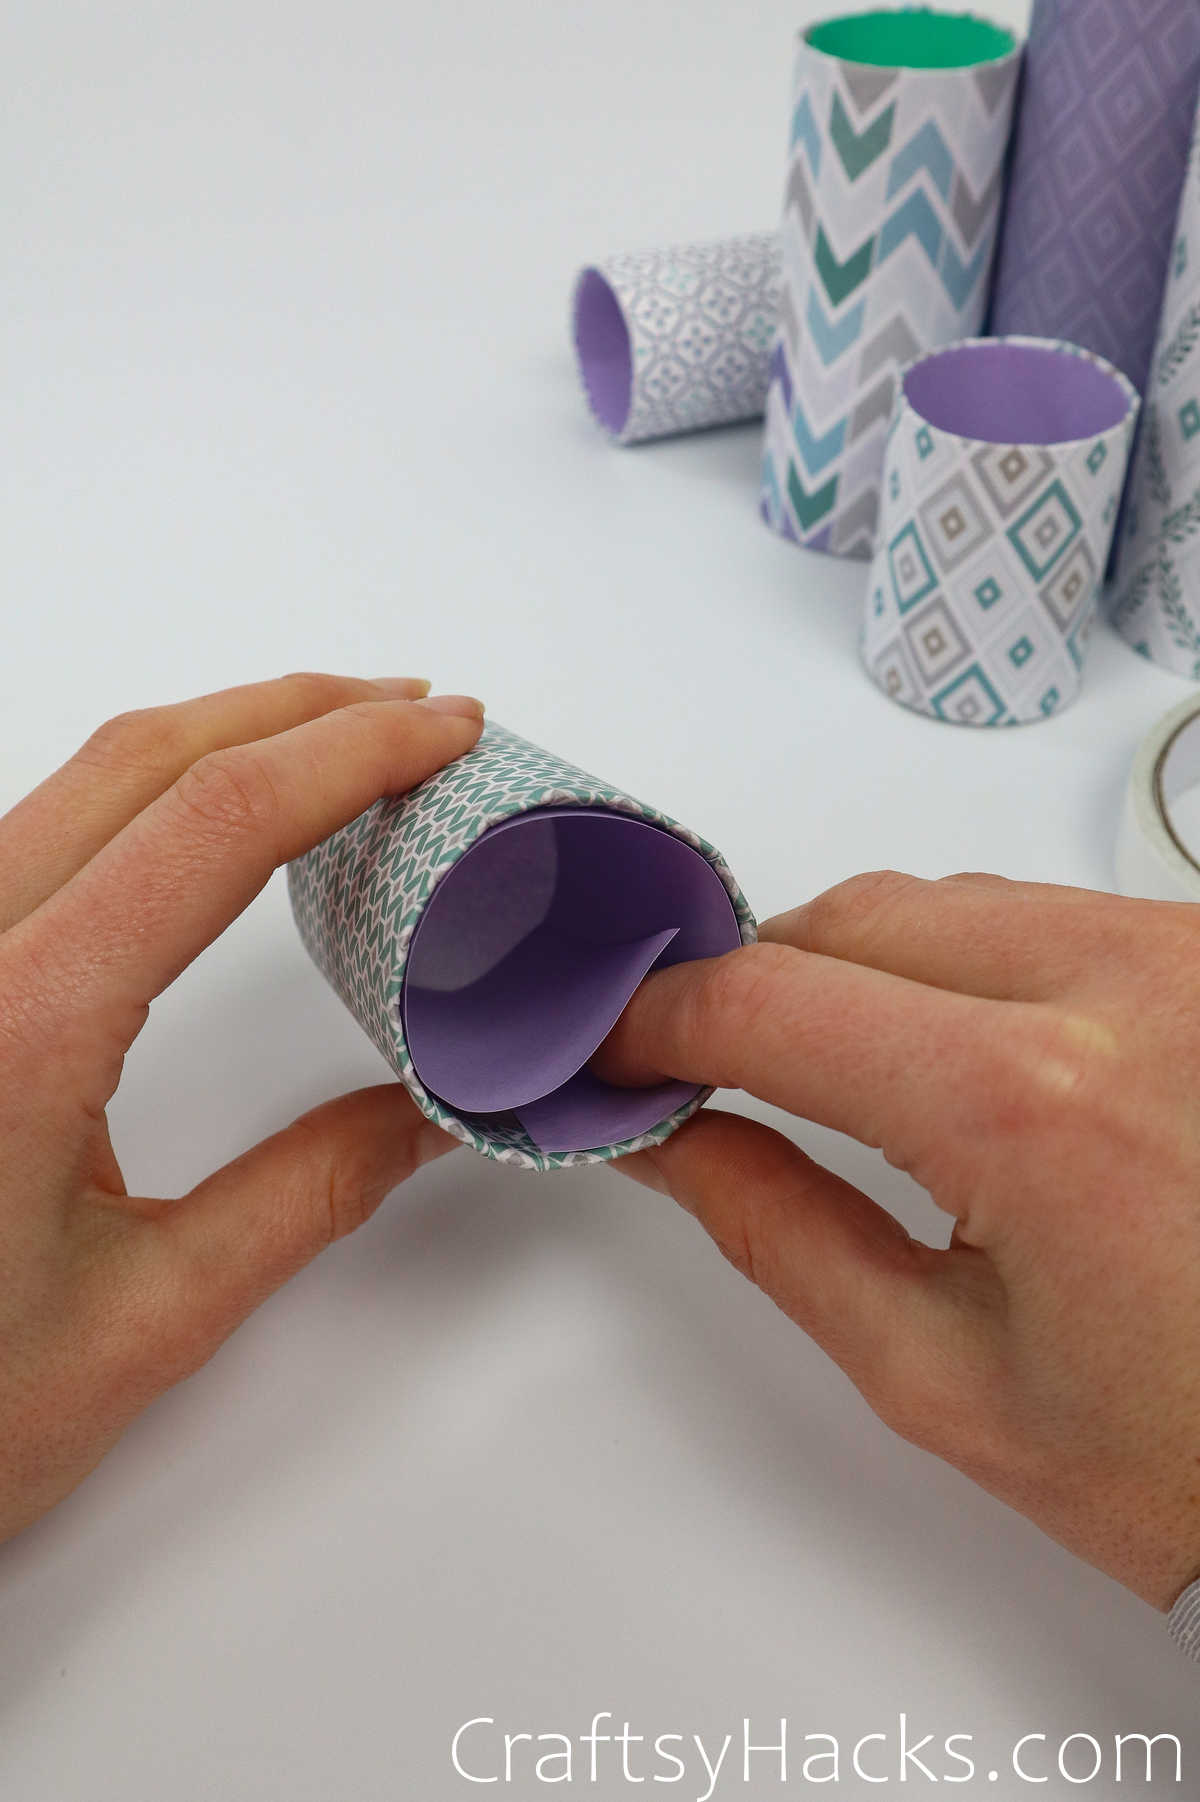
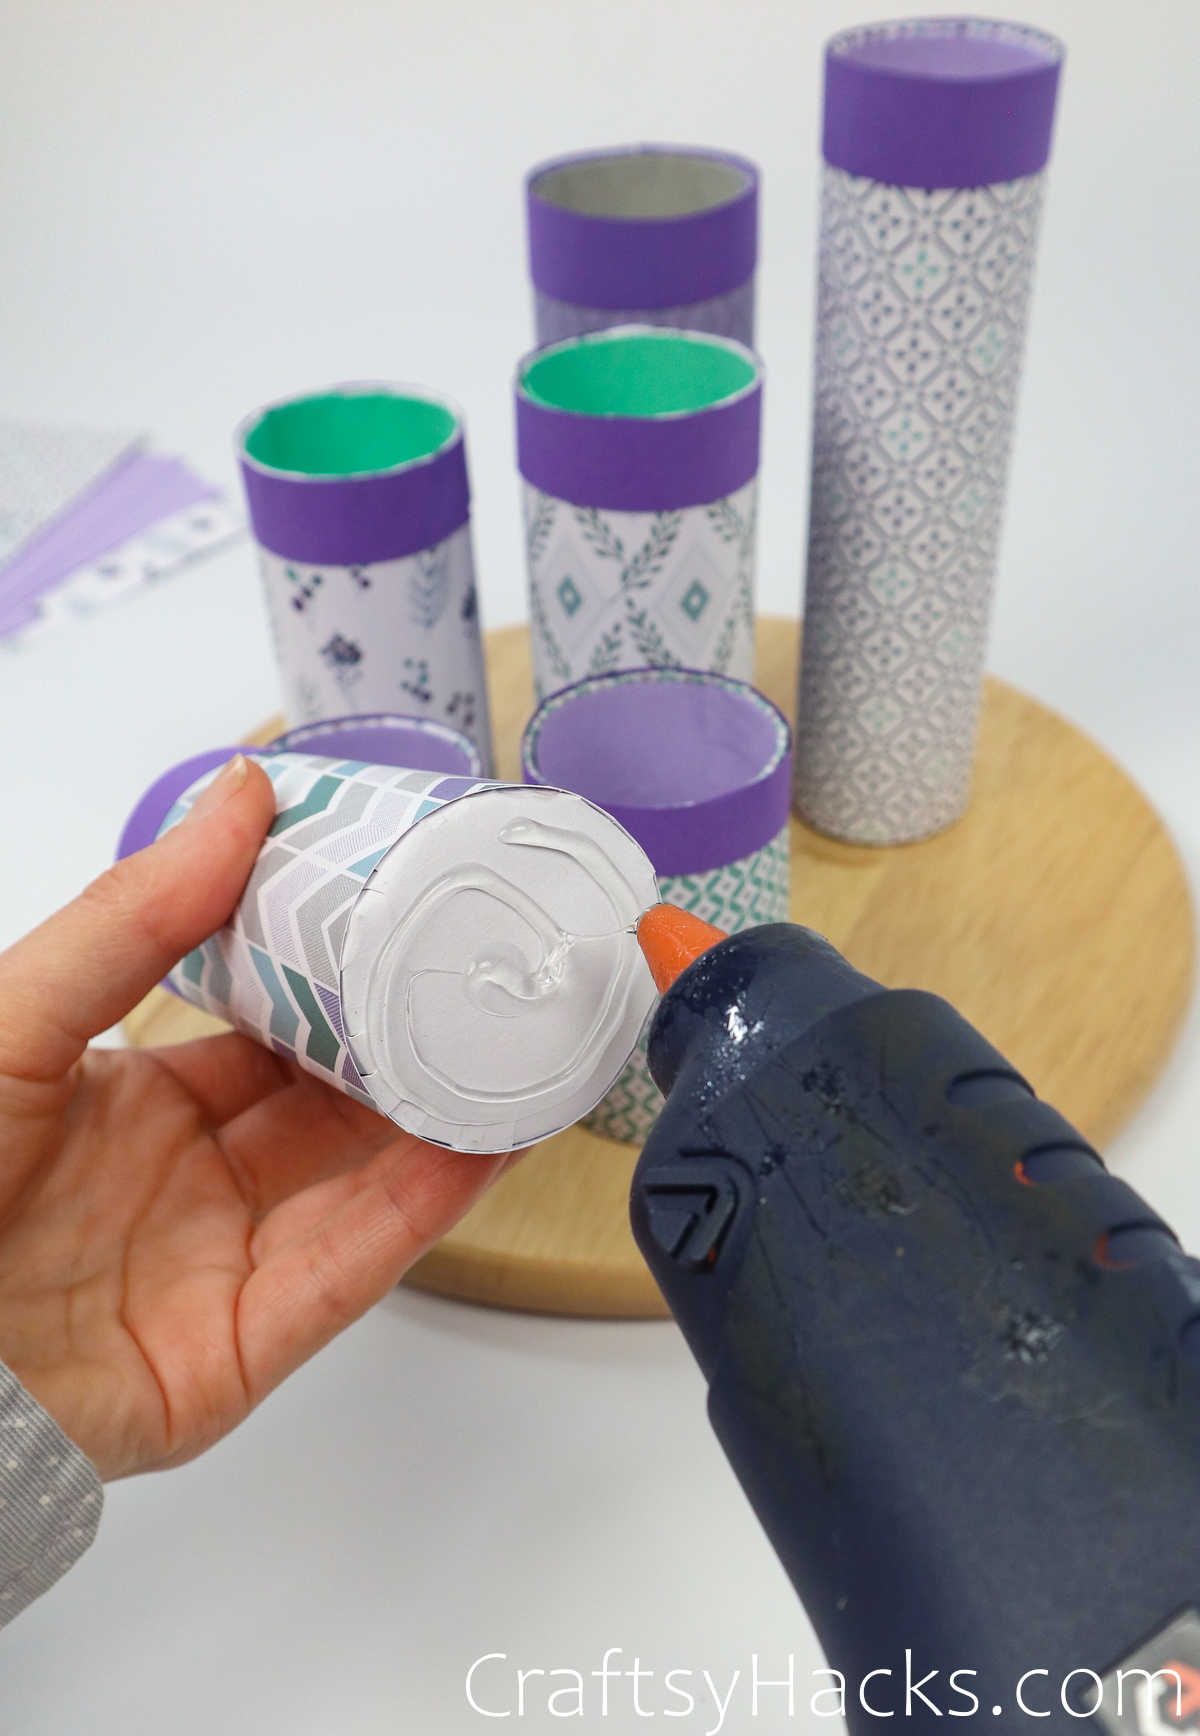
Continue to add glue to the open ends and press.
Repeat the process until done.
Continue this process until you are ready to move forward.
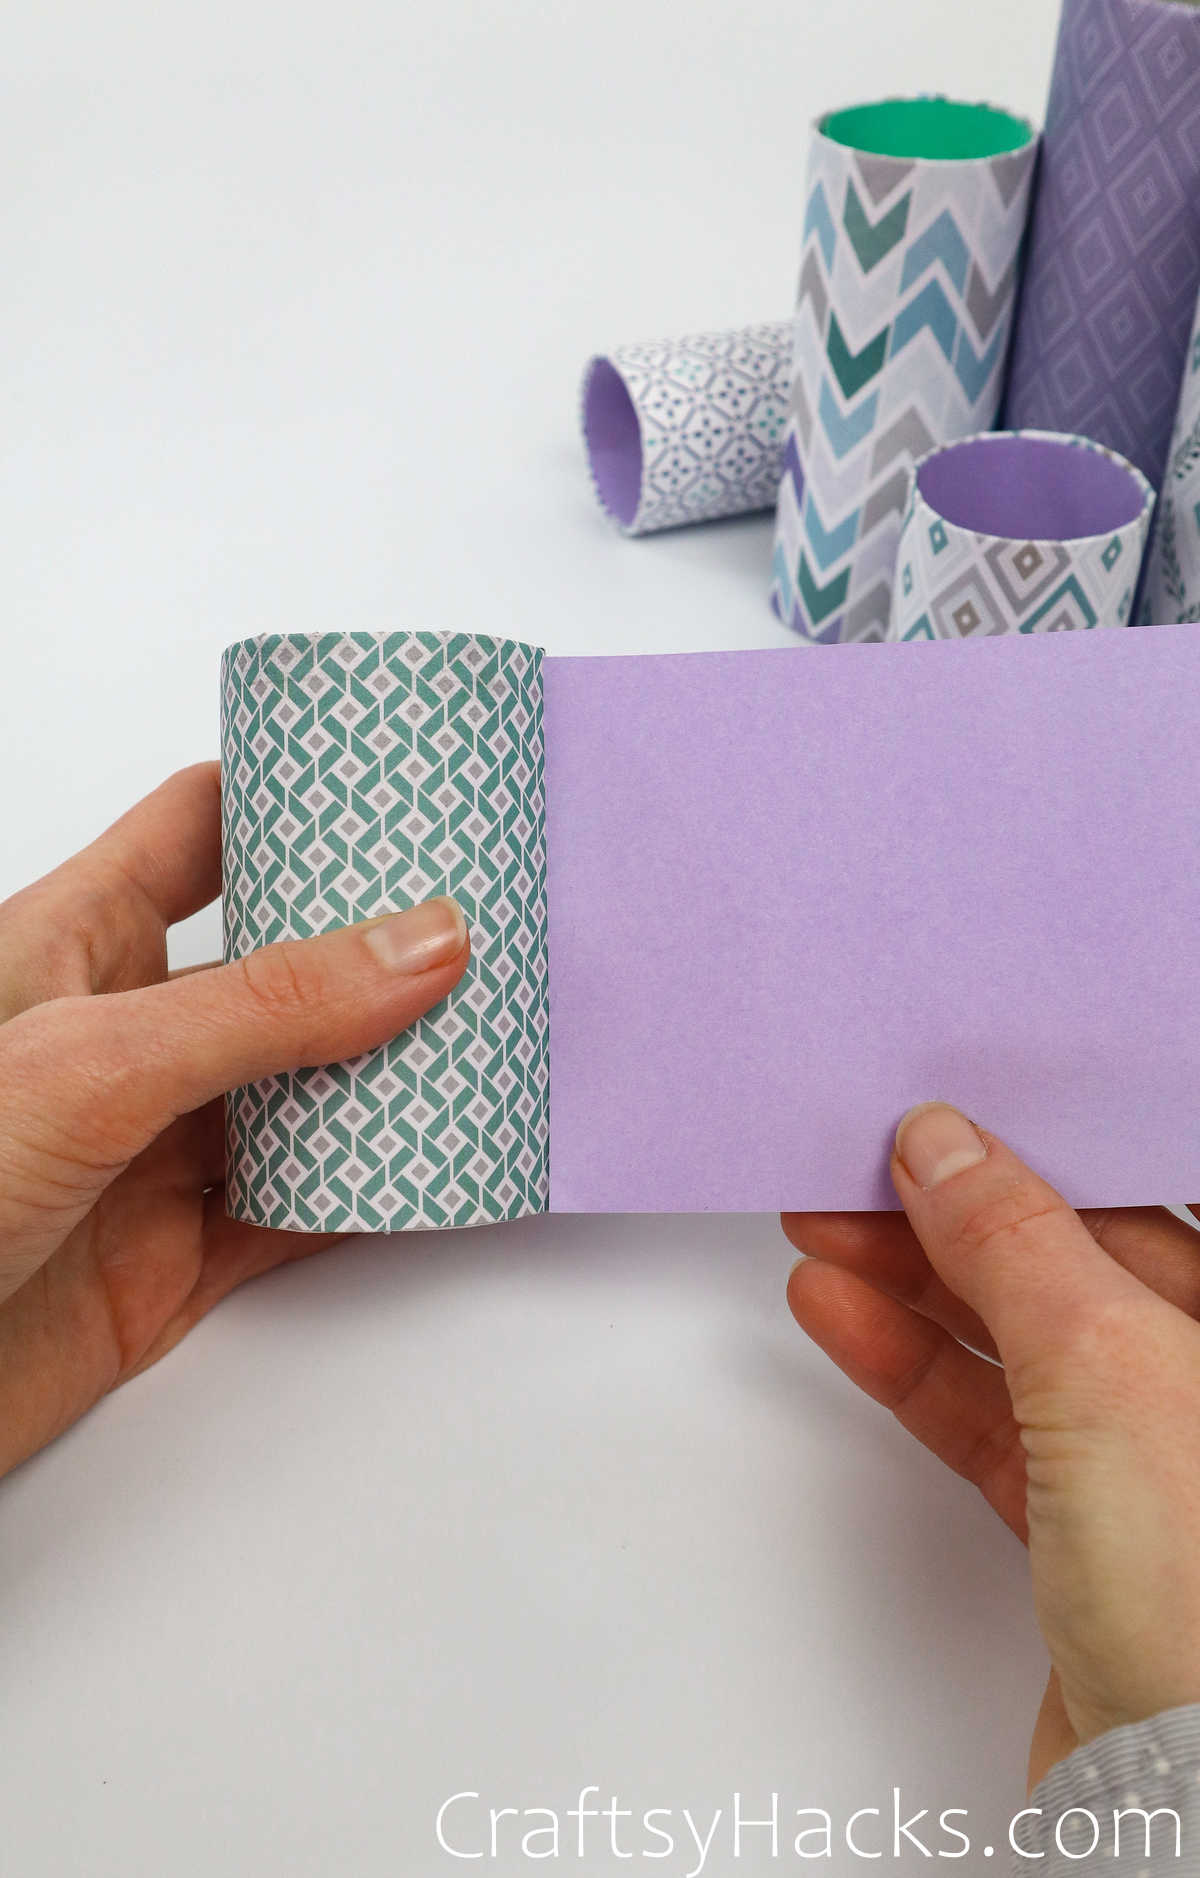
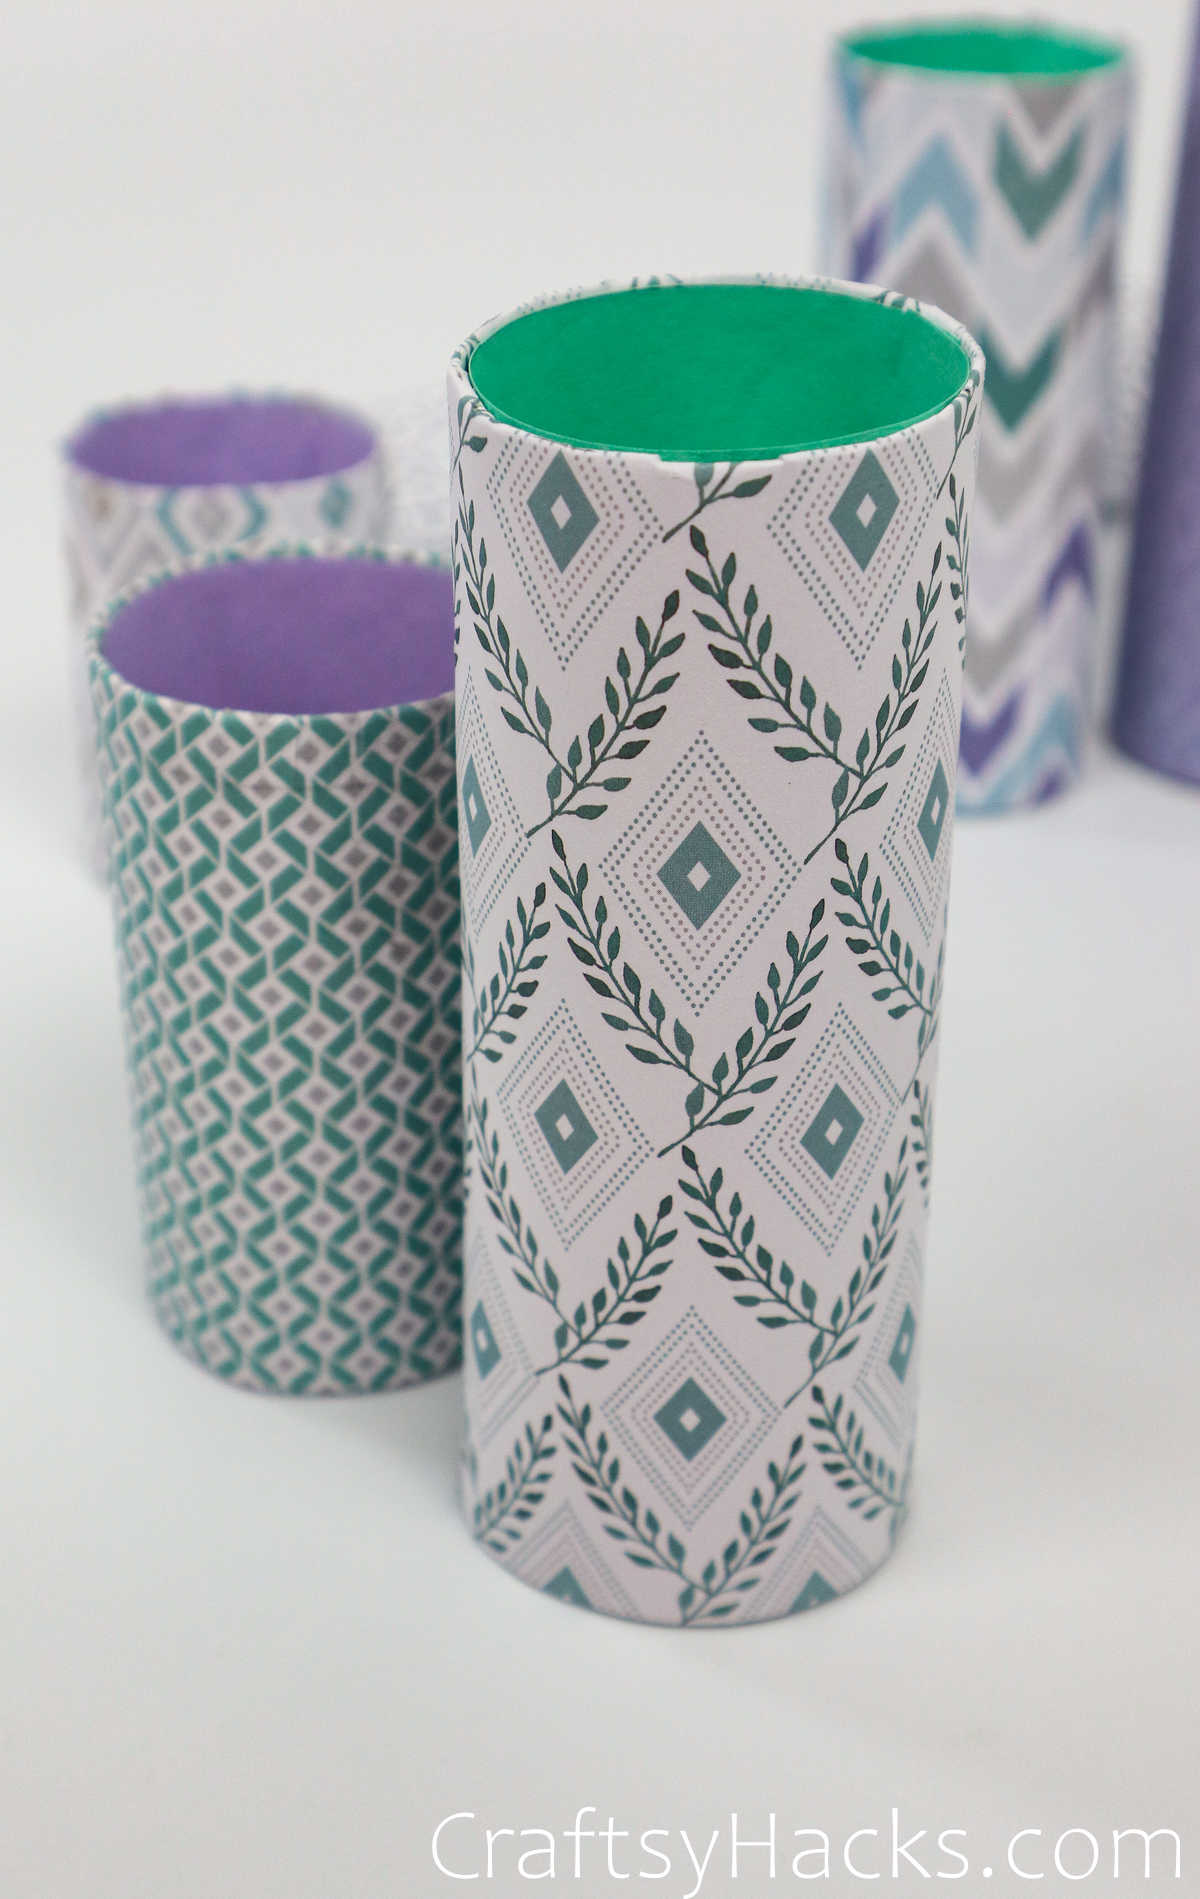
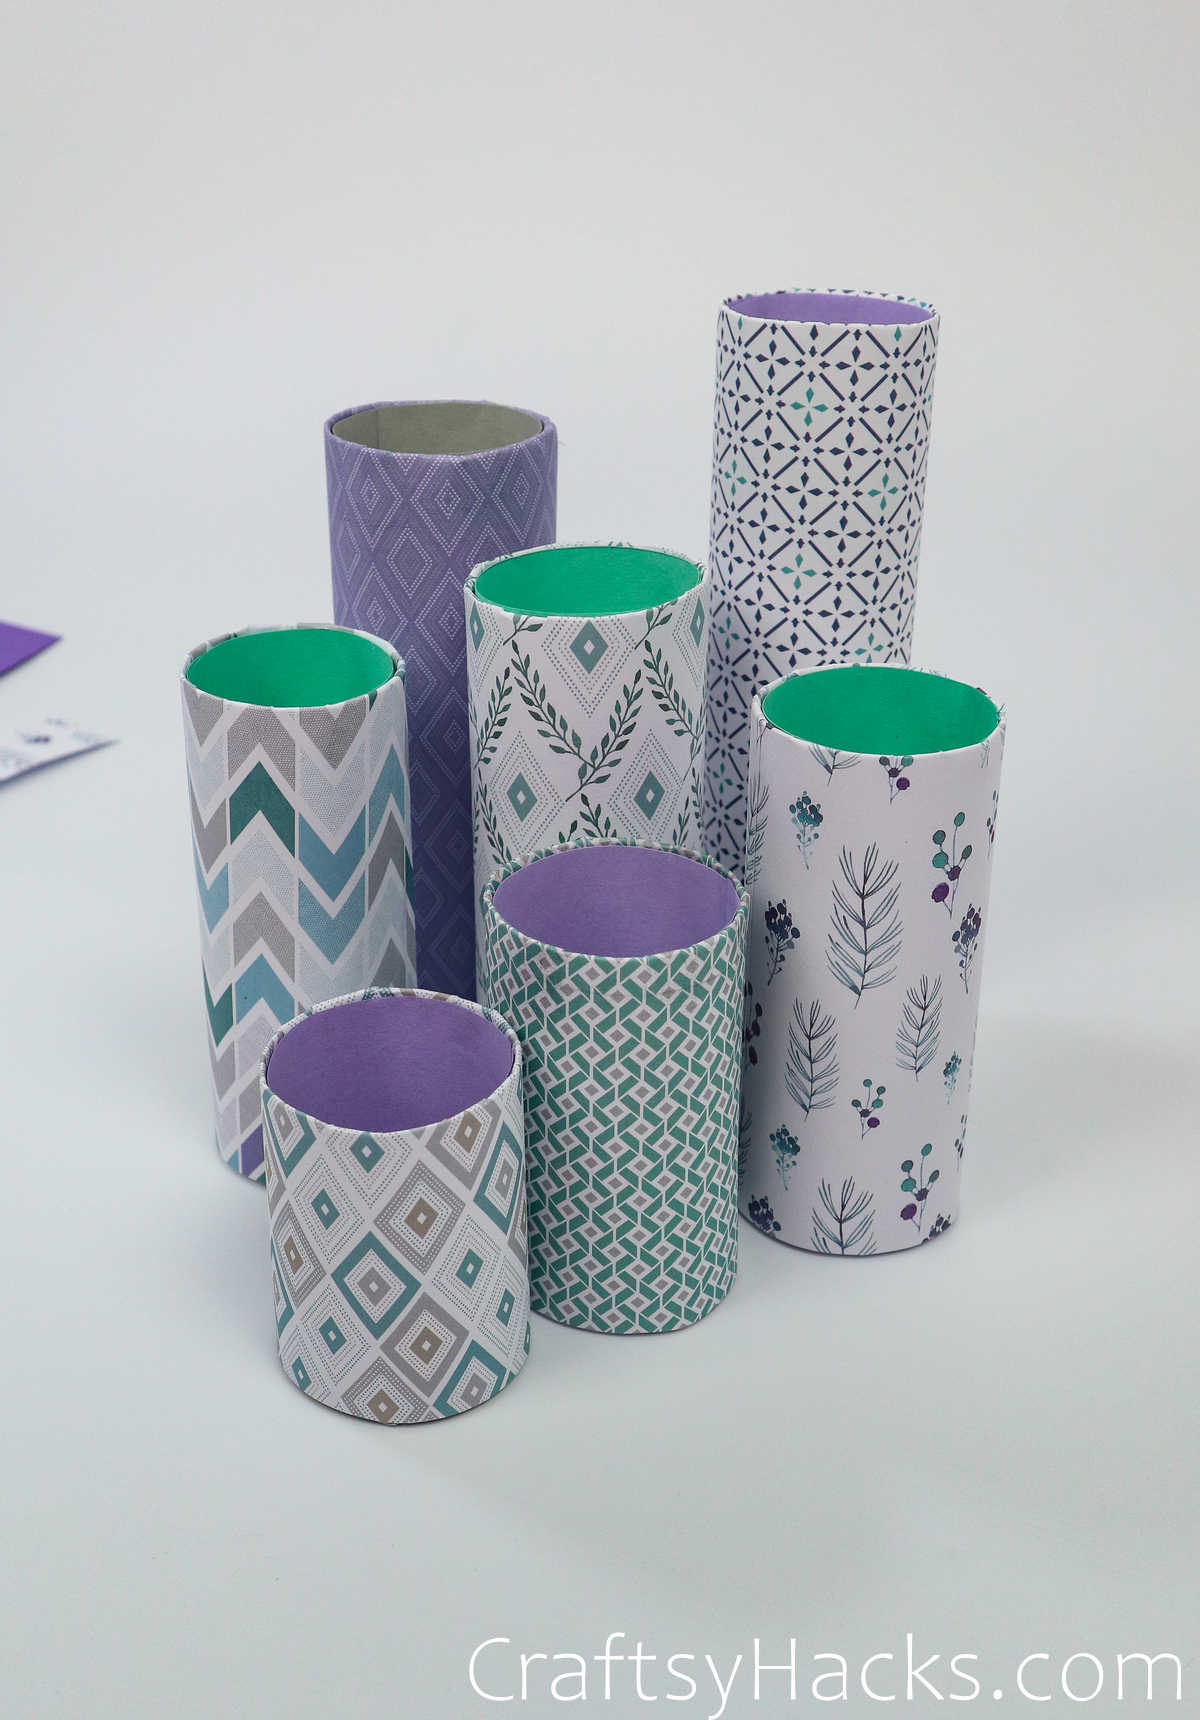
Optionally, decorate your tubes with colorful paper or tape.
Adhere with double-sided tape or stick tape on how you kindly.
Step 21
Prep all your tubes facing upwardclosed side on top.
Well start gluing the tops and then adding them to the plate.
Continue to add glue to the tops of the toilet paper rolls.
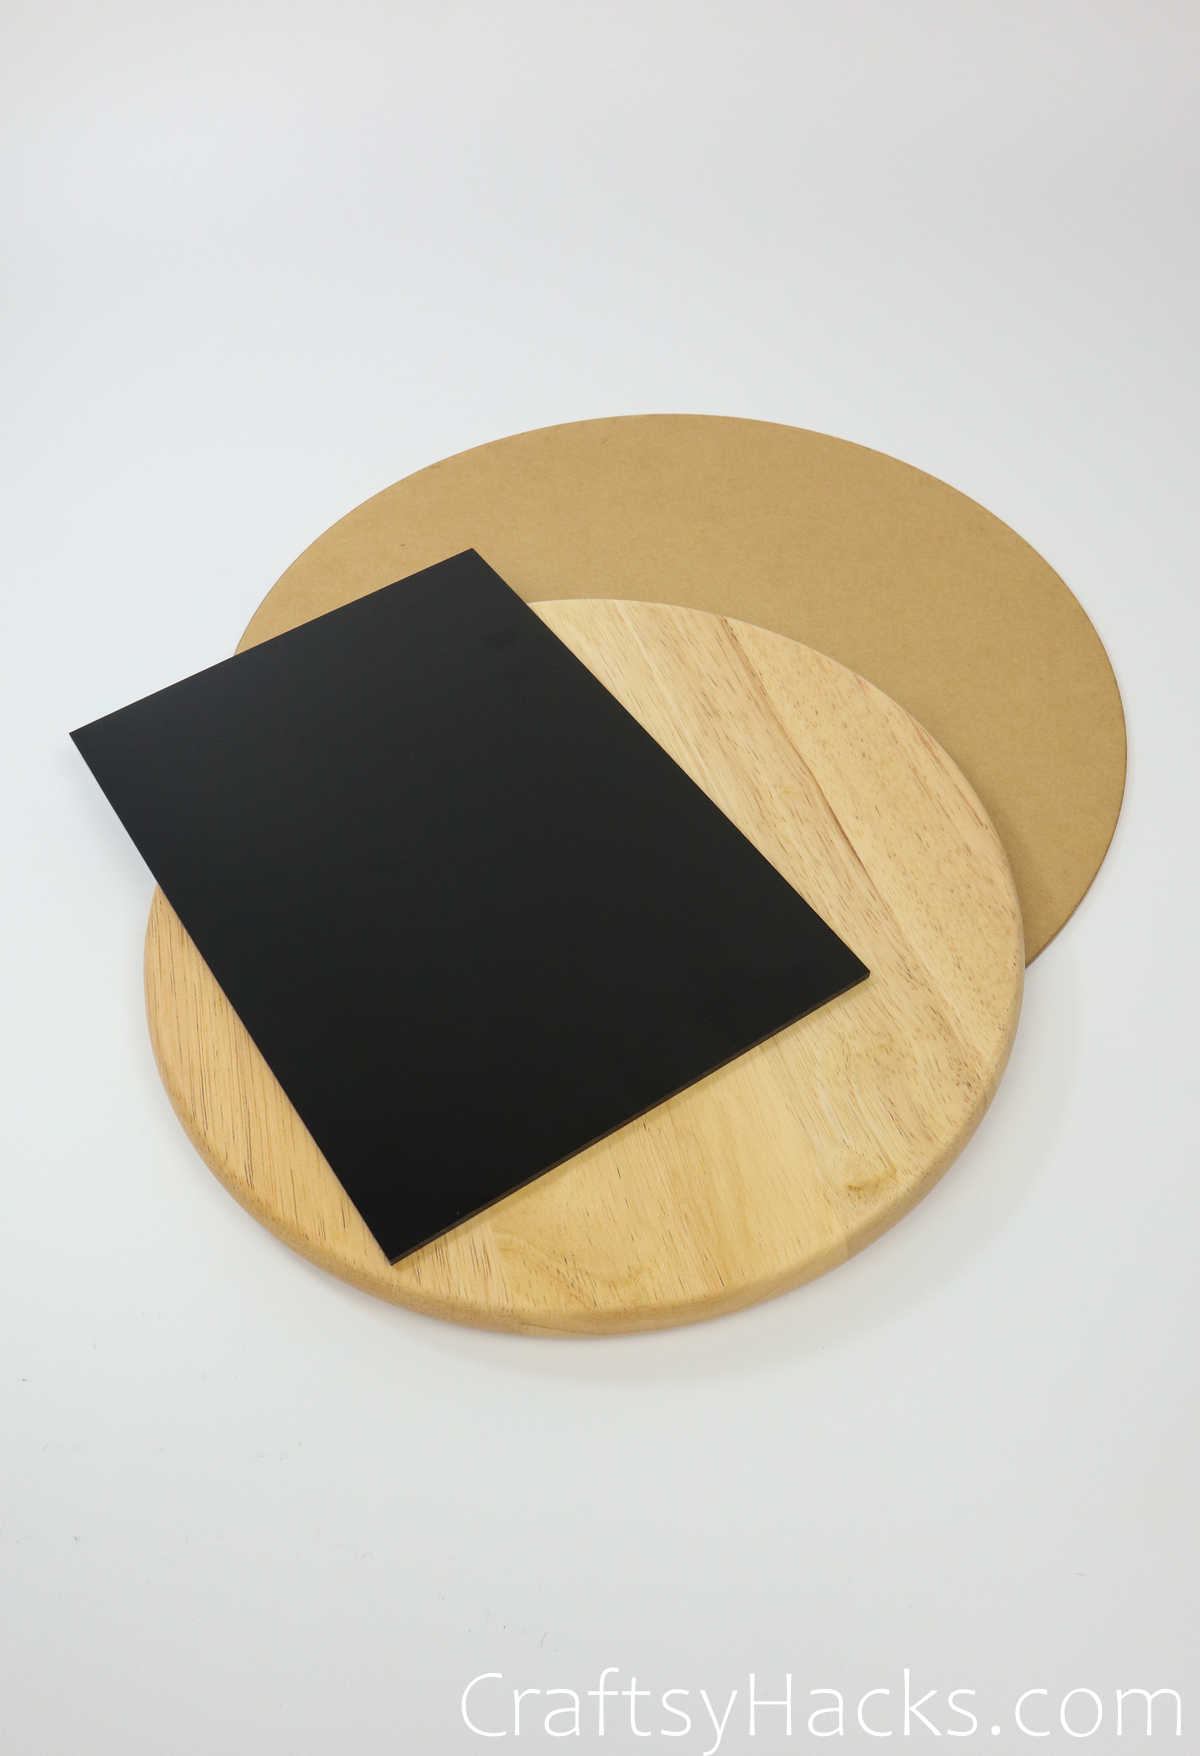
Optional: if youd like, cover your plate with craft paper or paint.
Acrylic paint will get the job done, and once dry, go over it in mod podge.
Double-sided tape or glue can get the job done, depending on the material of your tray.
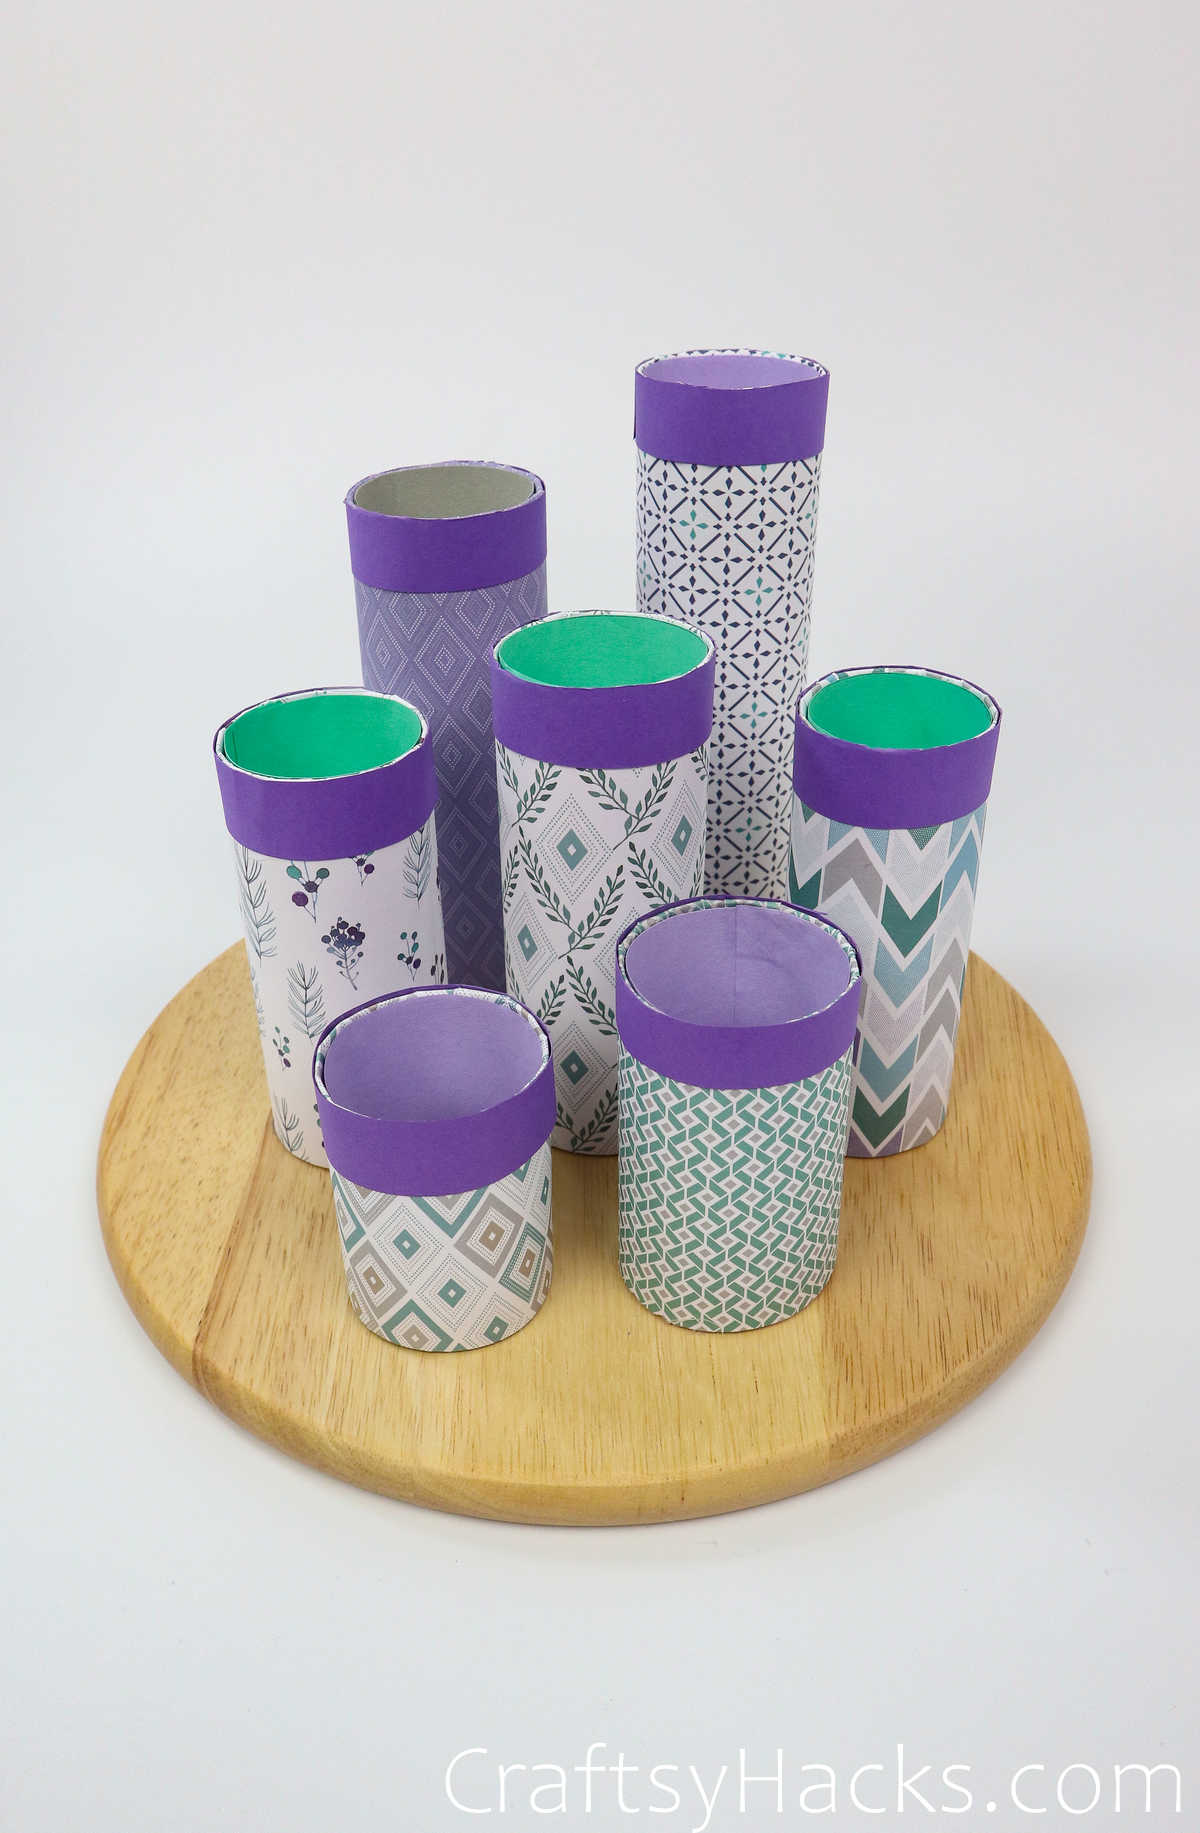
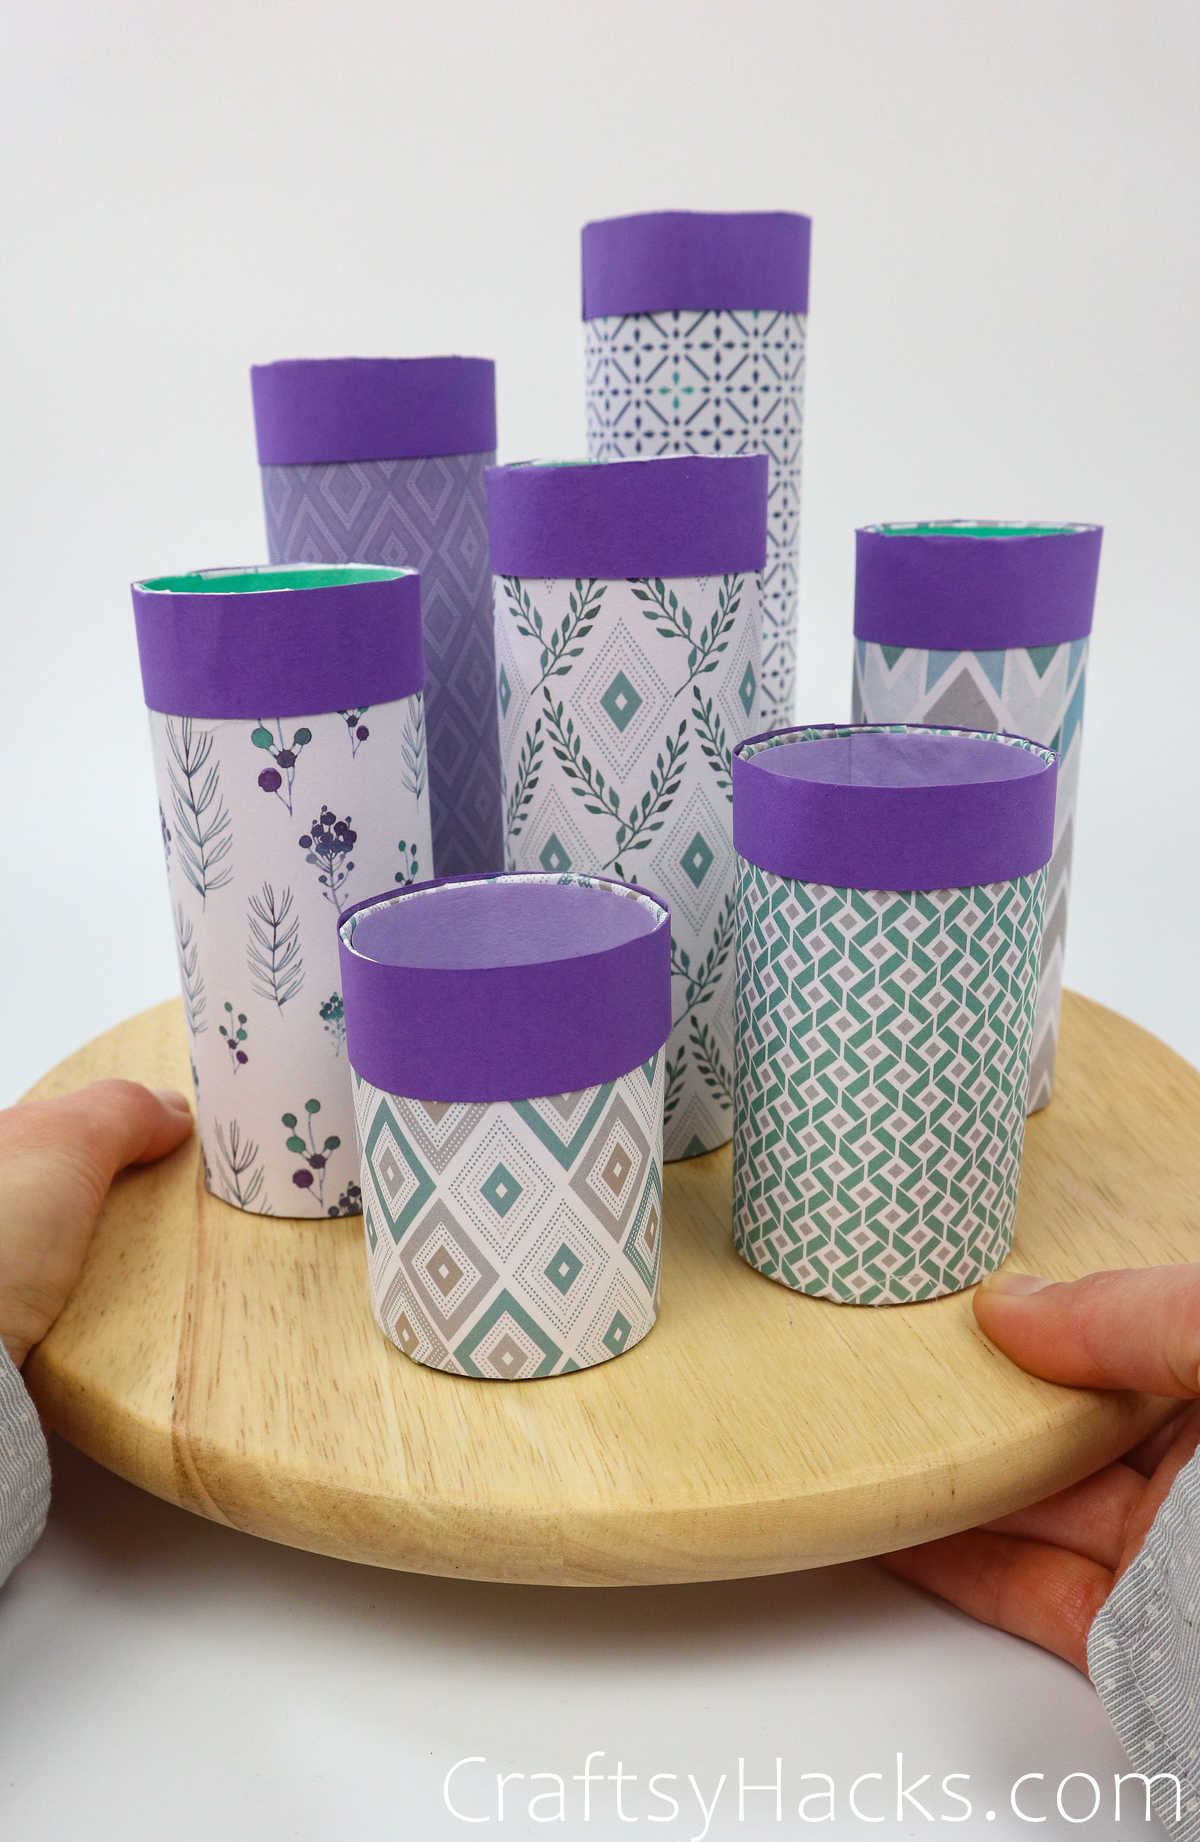
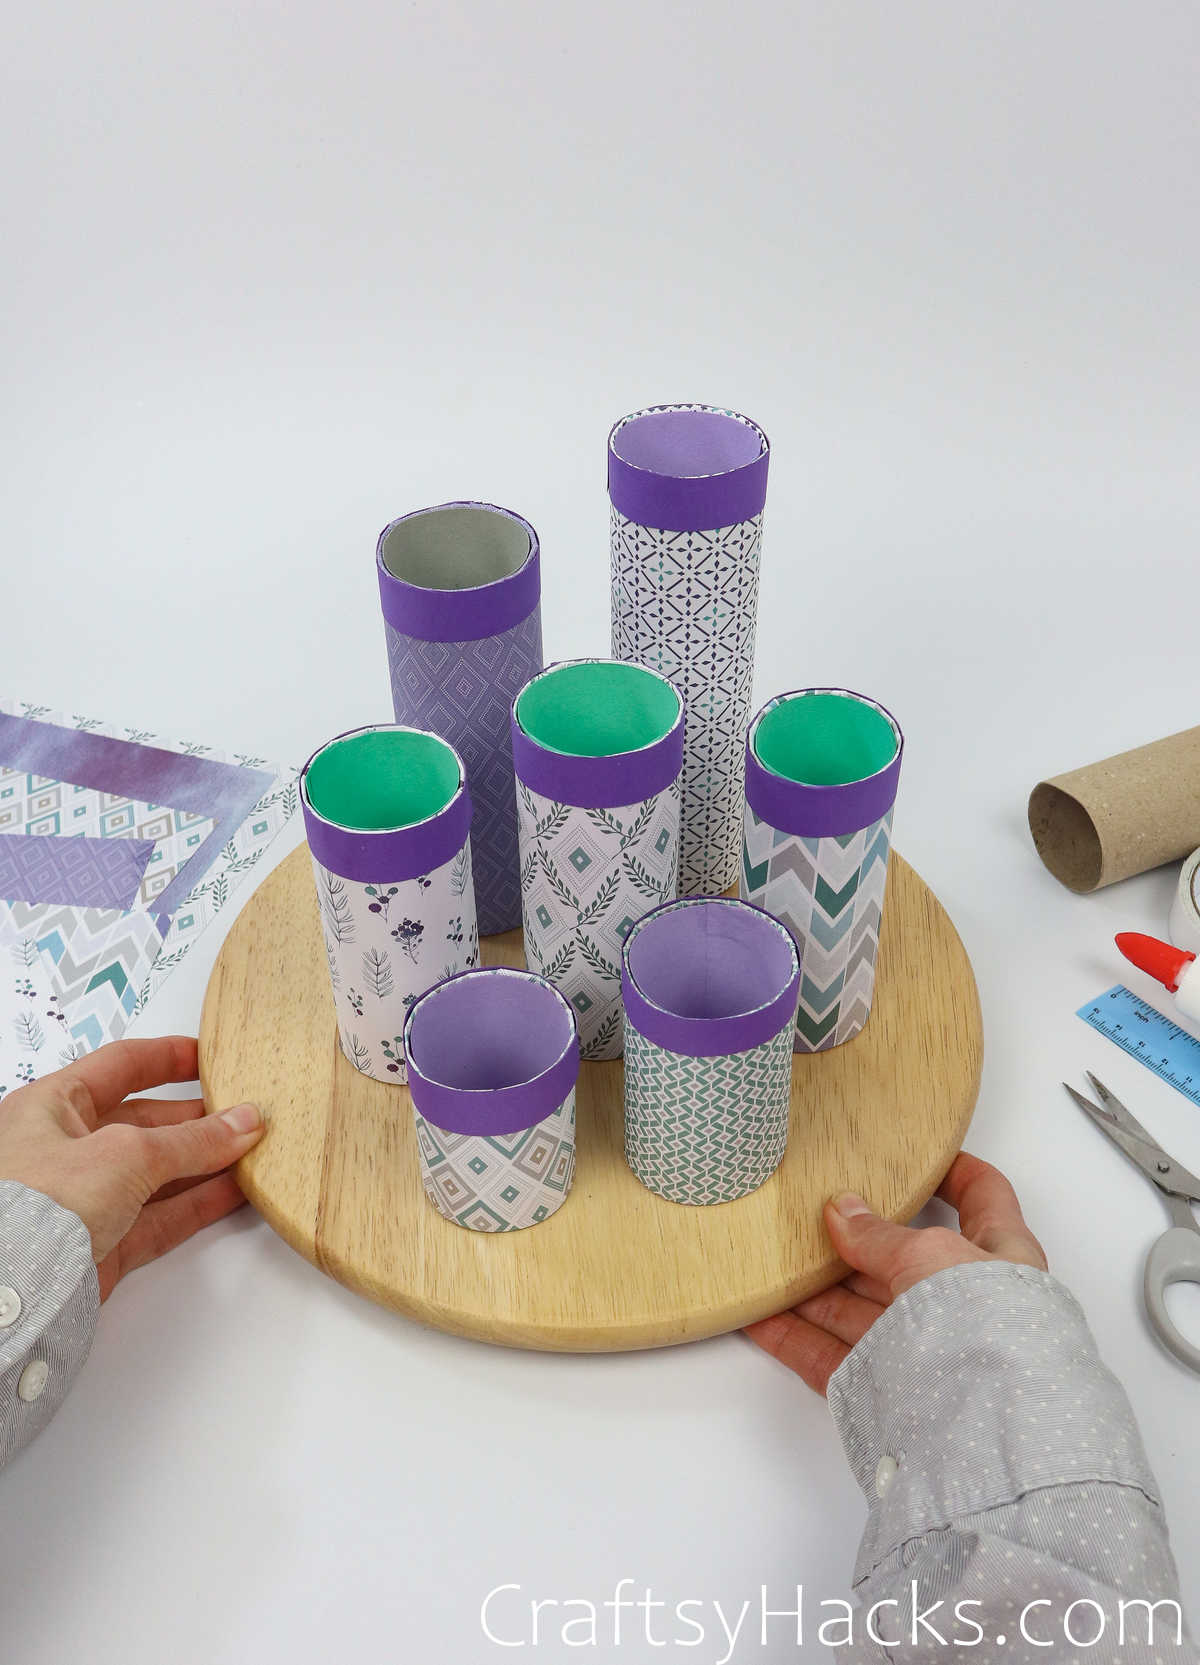
Notice that Ive chosen not to have my toilet paper tubes touching.
This organization was because I wanted to showcase the paper.
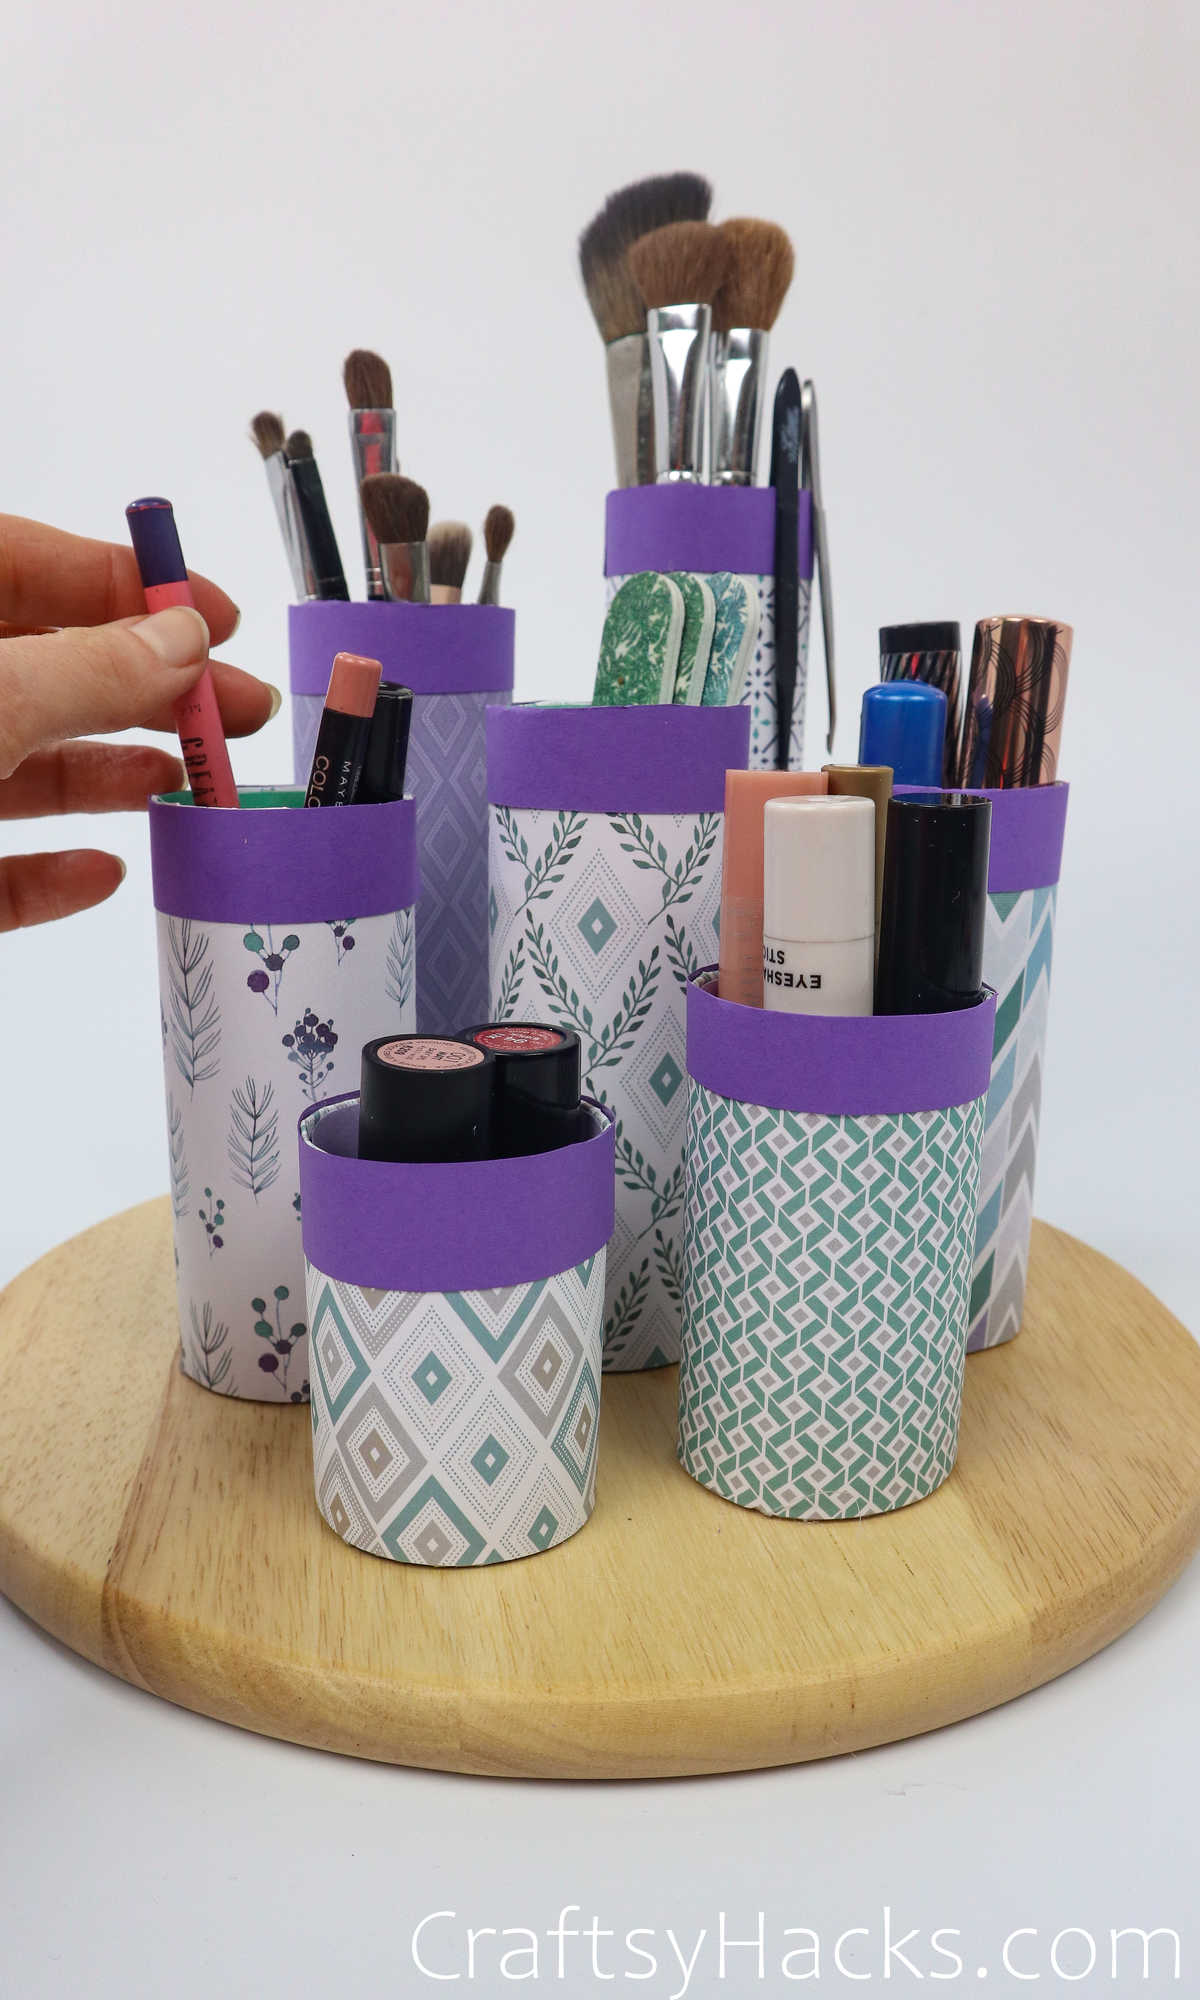
Let everything dry, and there you have it!
Your very own makeup organizer, completely customized to your needsI hope you enjoy it for years to come!
More DIYs for You: