HomeOrganization
This post may contain affiliate links:full affiliate disclosure.
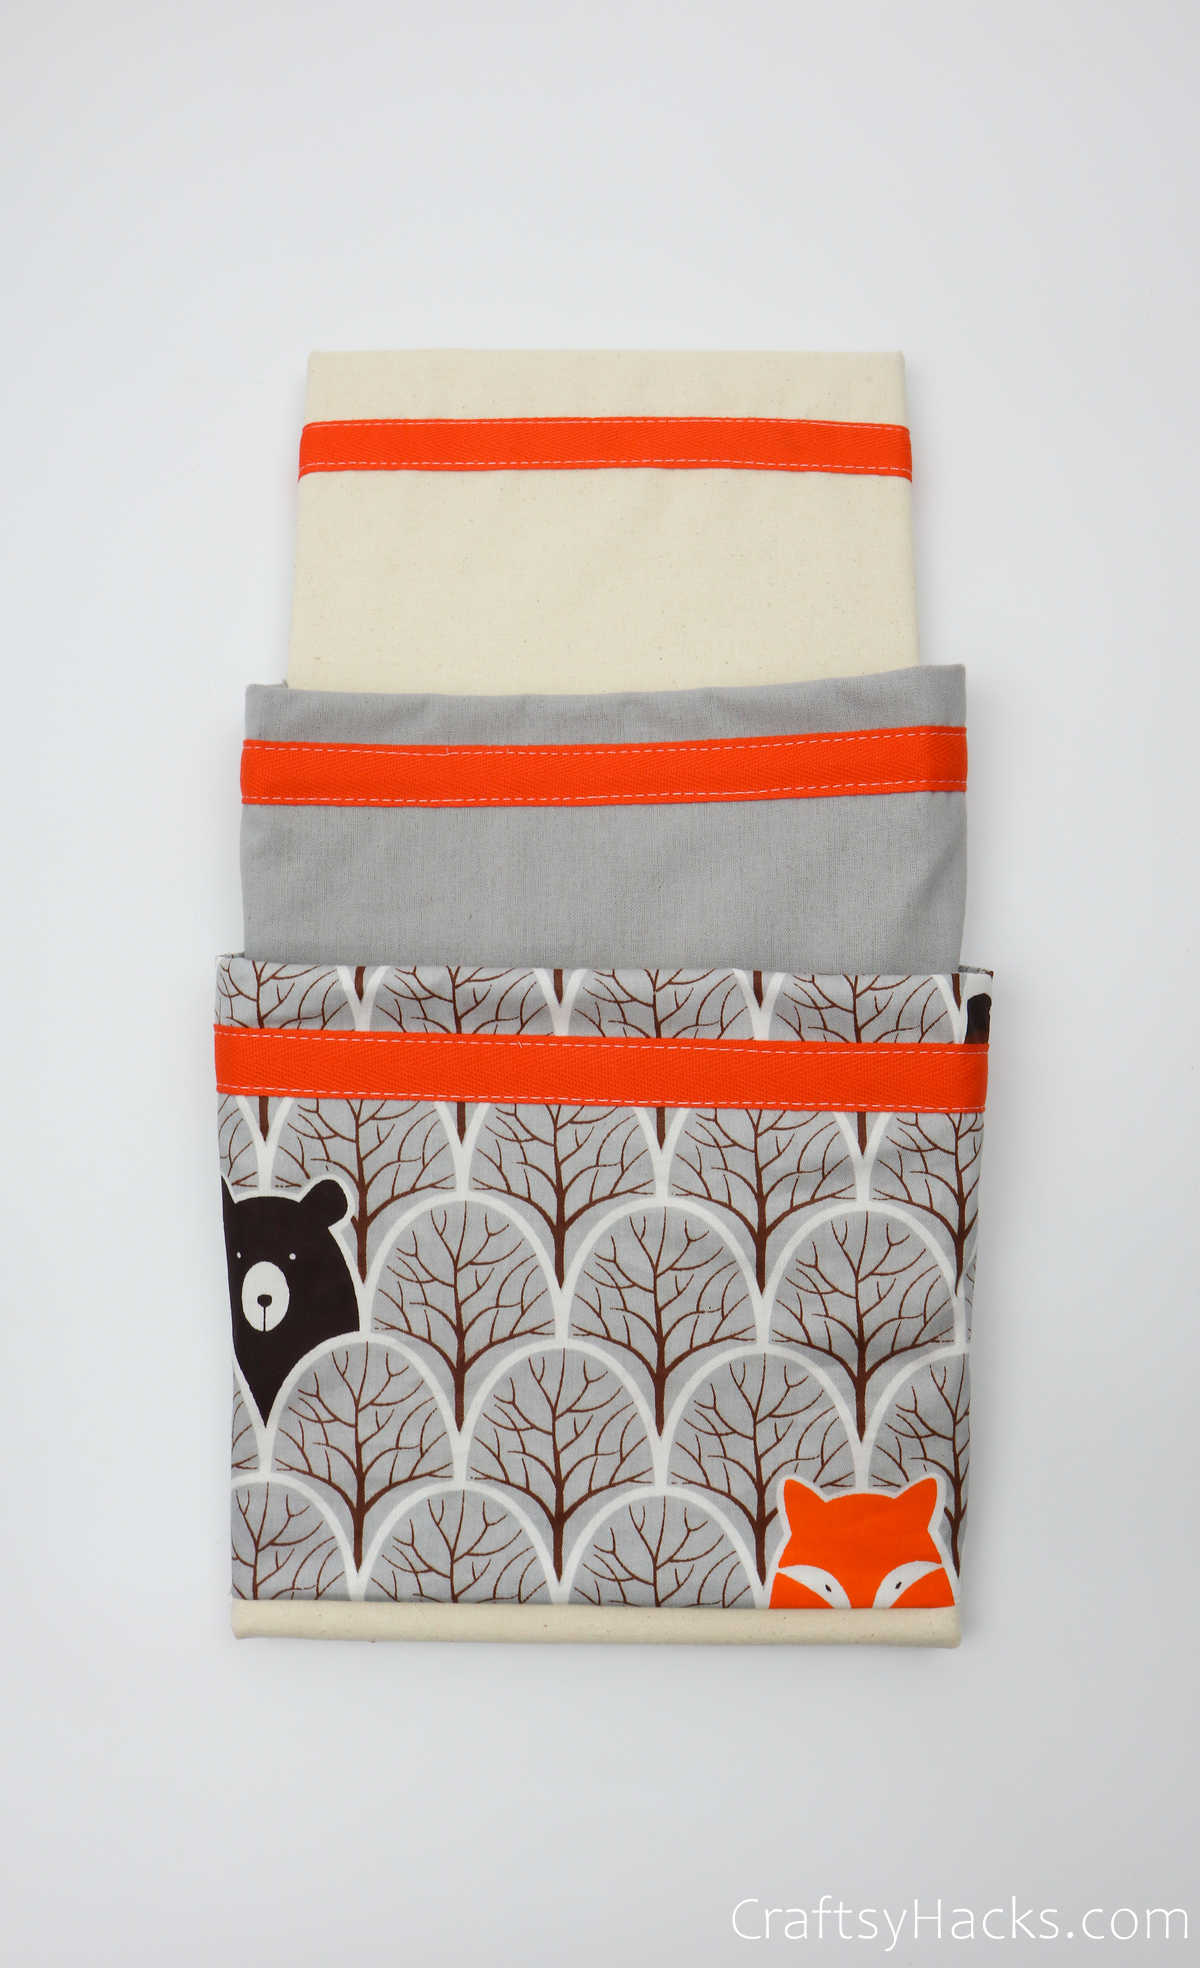
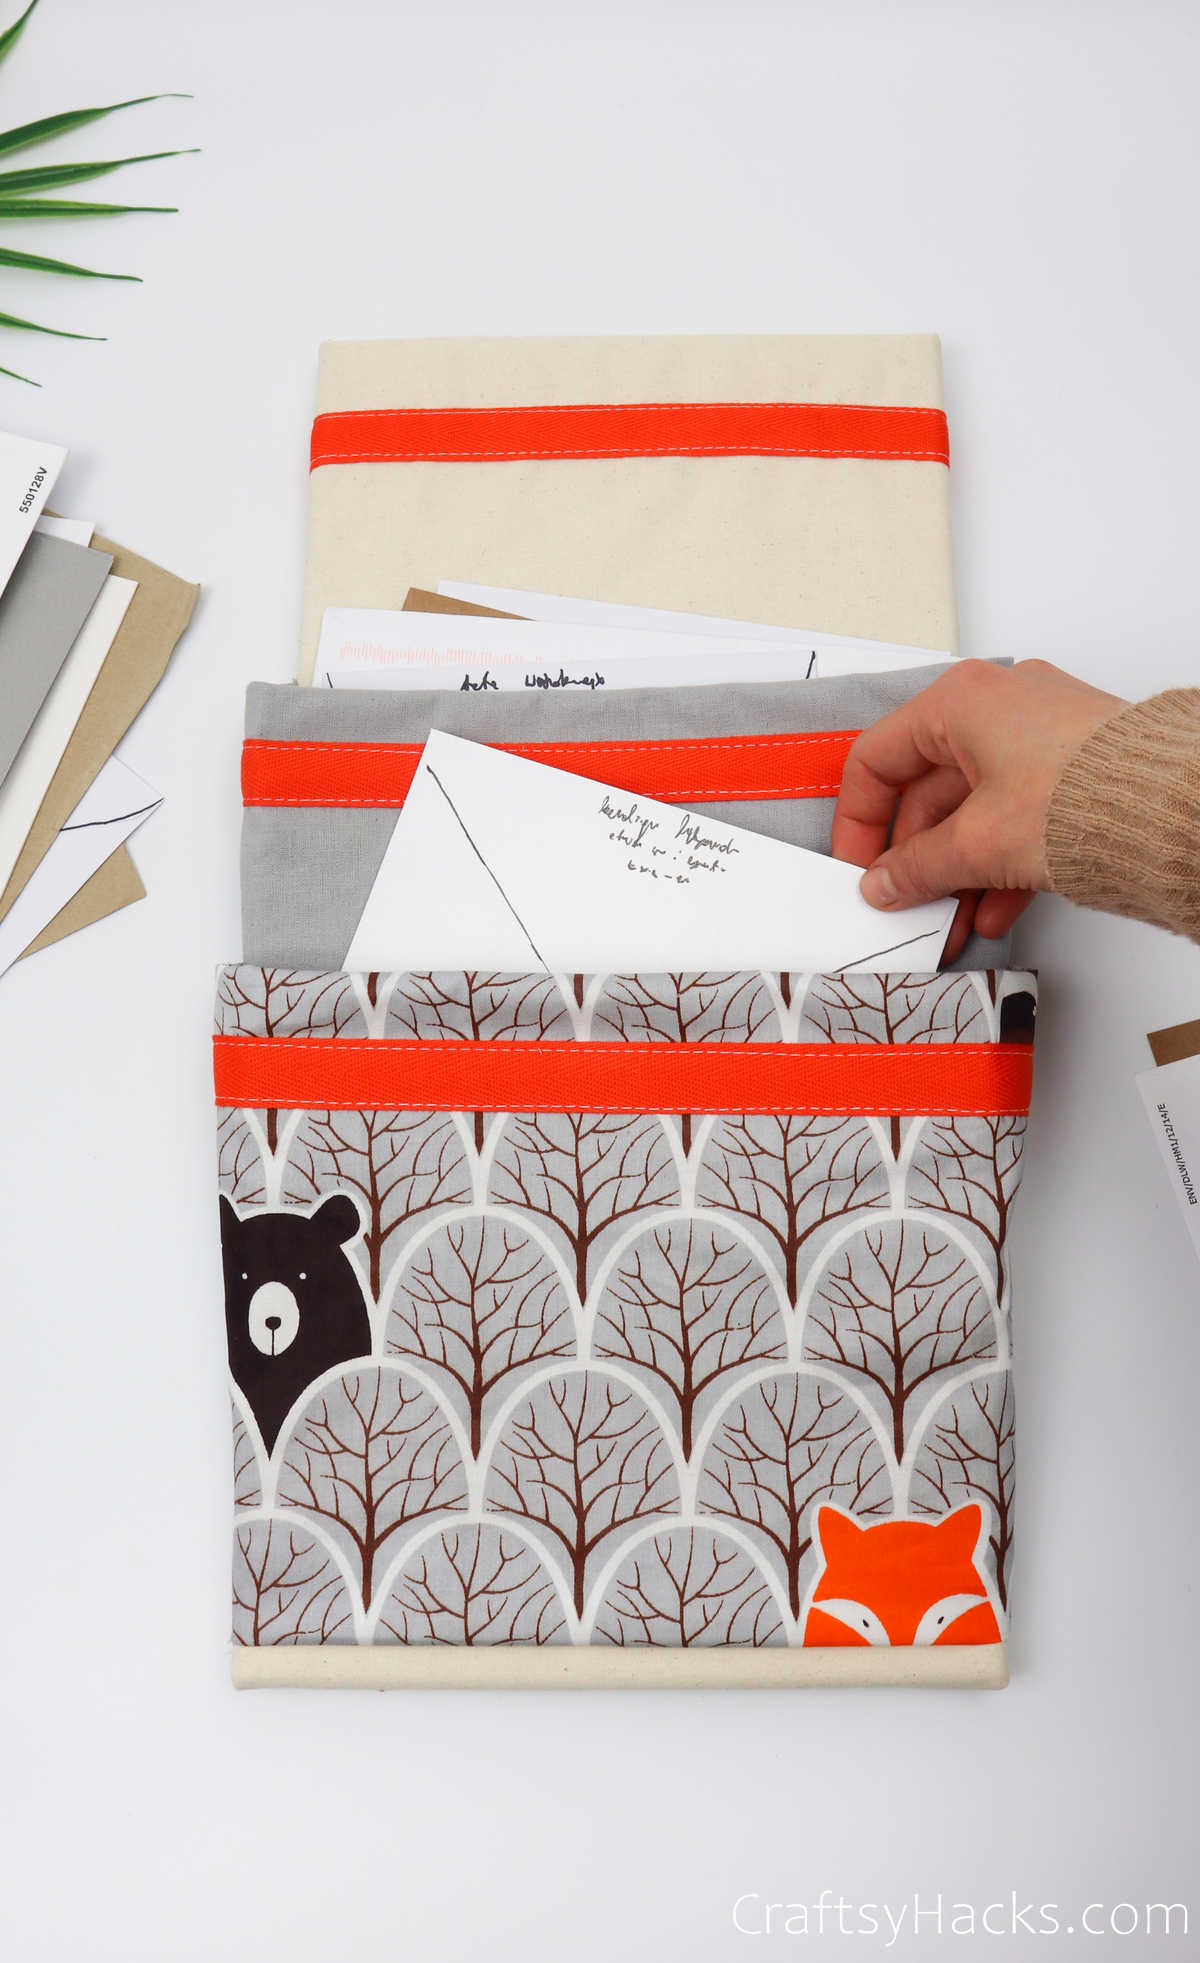
Make your very own organizer!
This mail organizer is easy to make, looks amazing and will keep all your mail clutter at bay.

No, dumping them in a stack on the table by the front door isnotthat designated spot.
you might only do that if you have a proper system in place.
The first order of business is to have a mail organizer.
Step 1
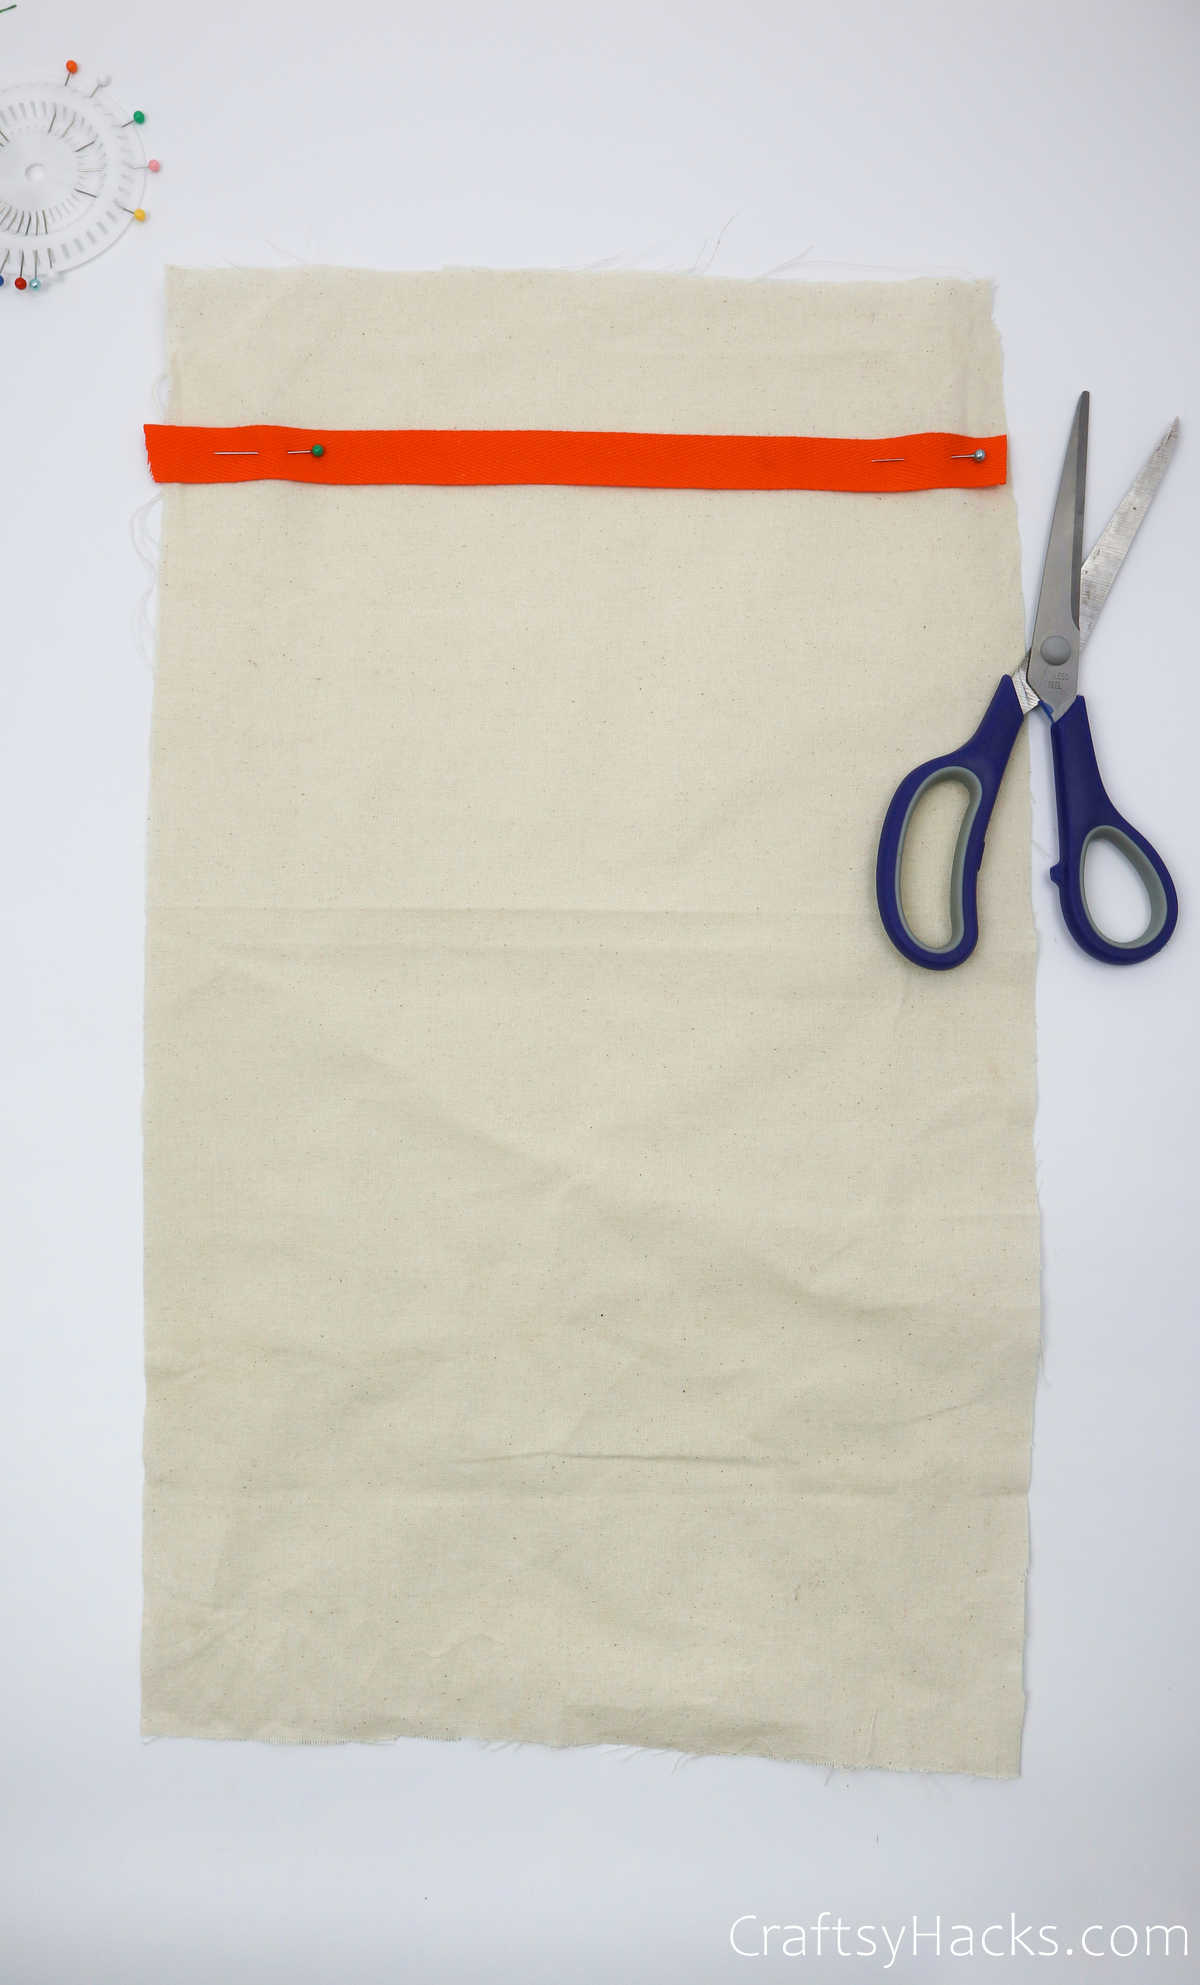
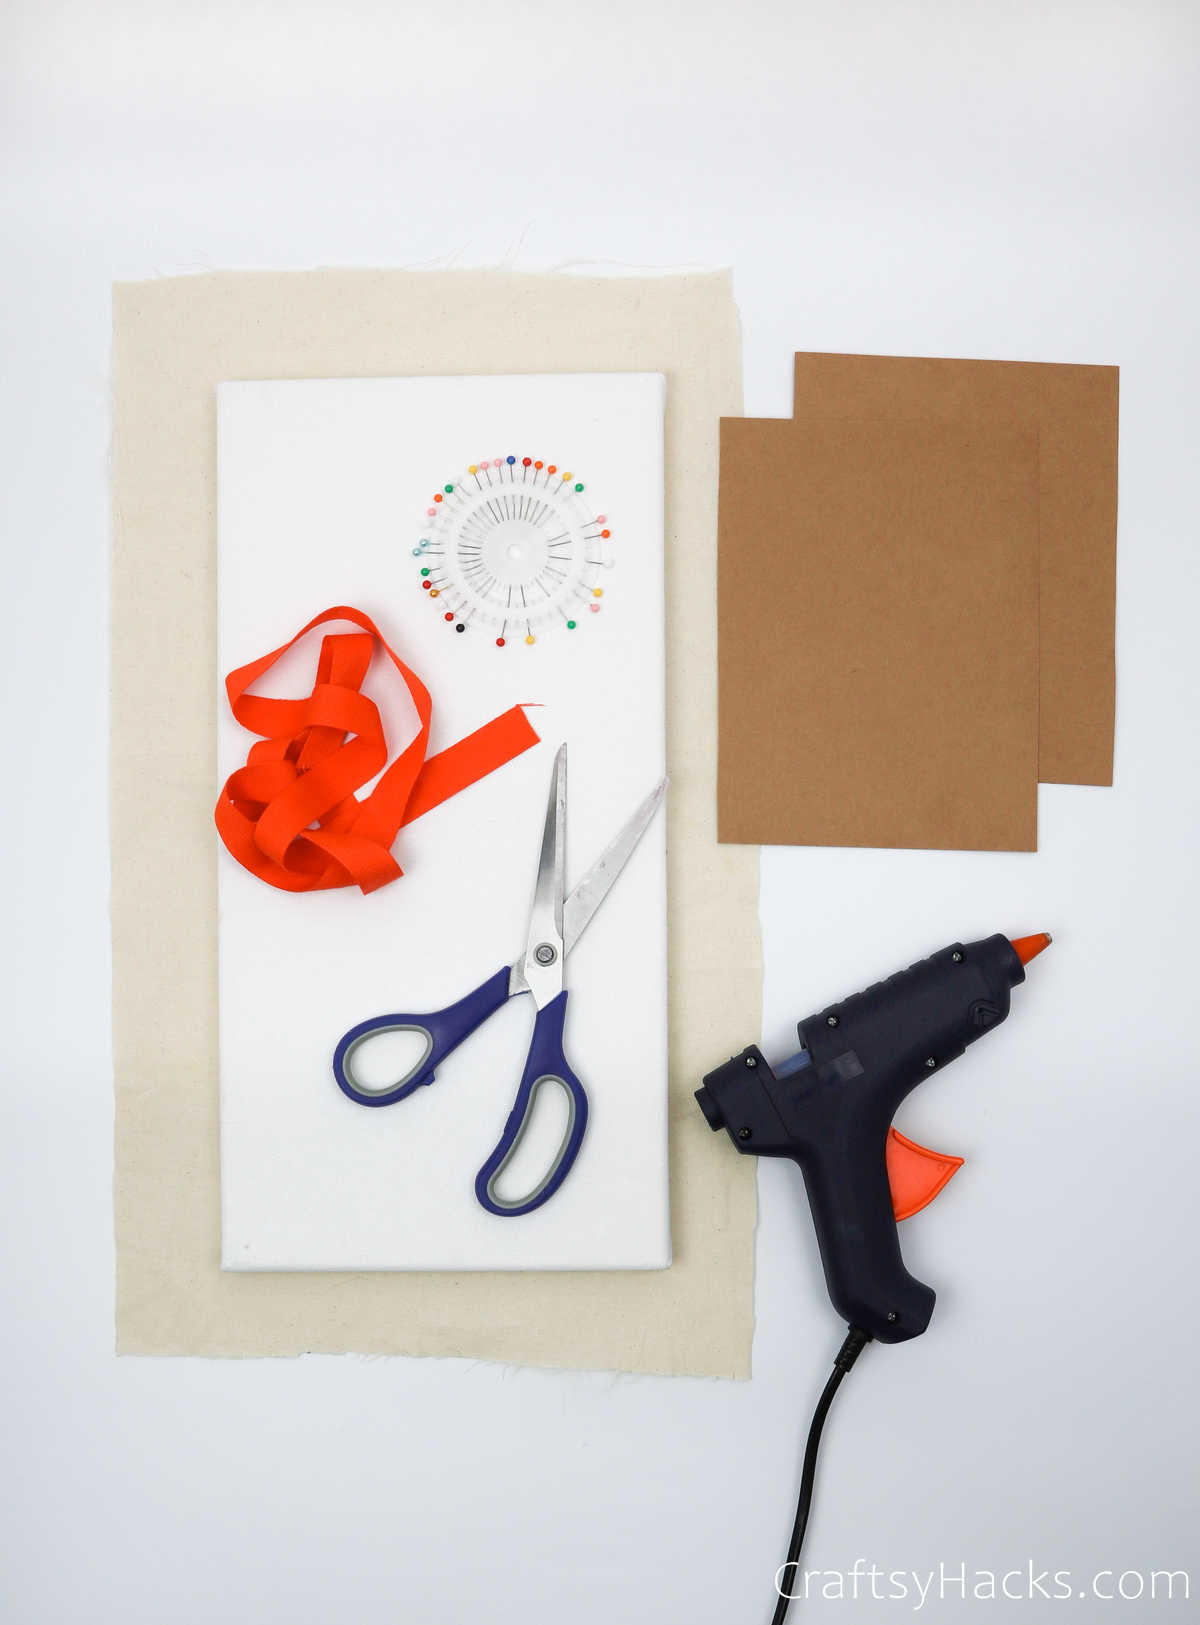
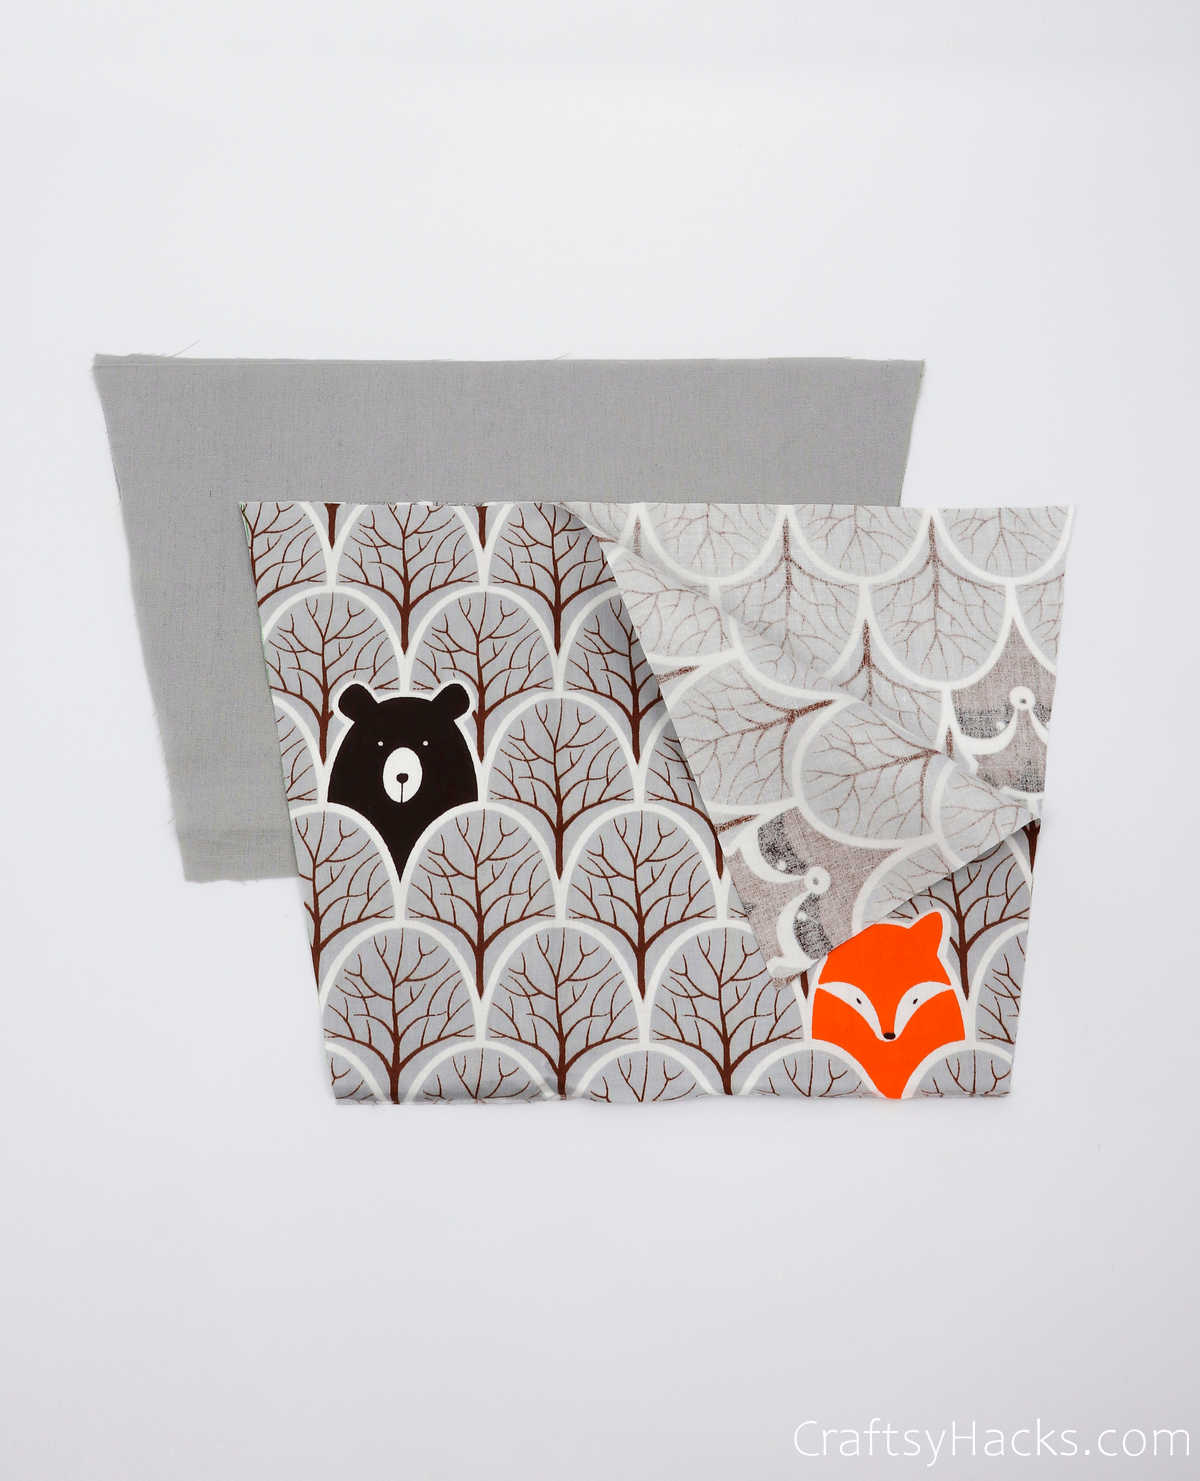
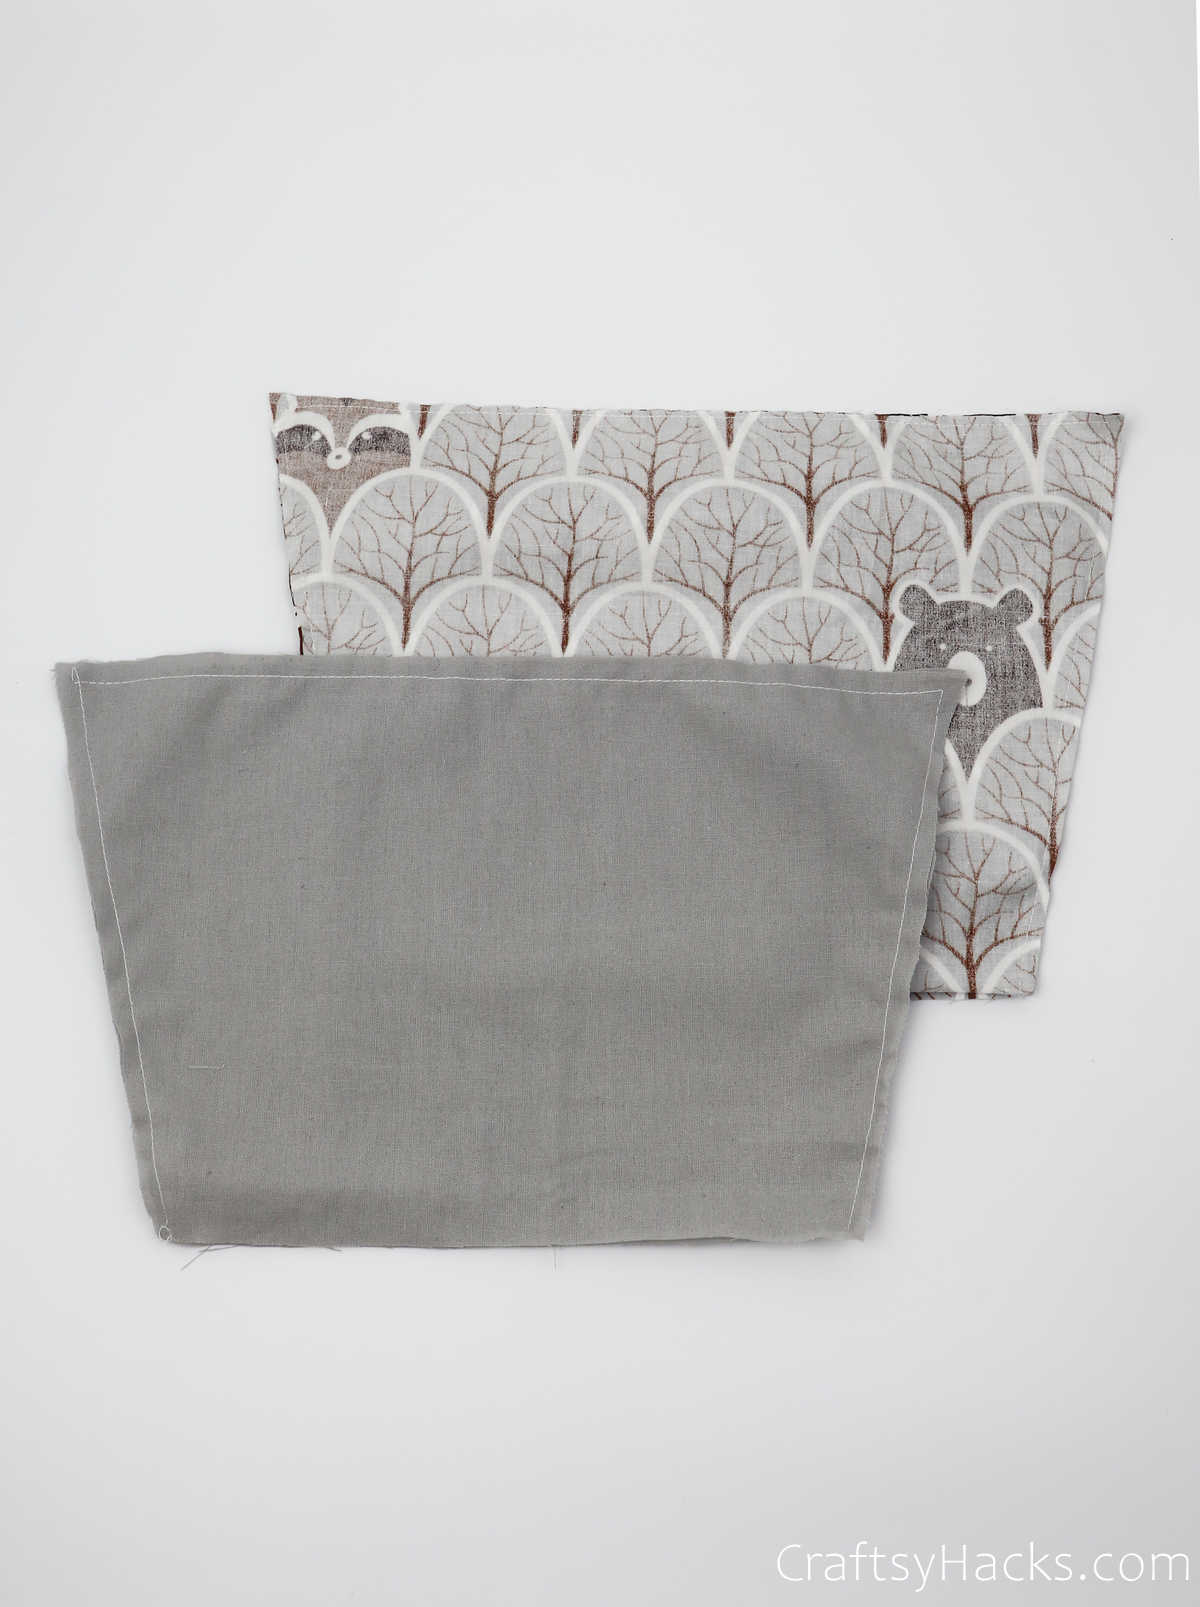
The first thing youll need to do is to start working on the pockets.
Grab your fabric and place it on a flat work surface.
Fold the fabric in half with the wrong side facing up.
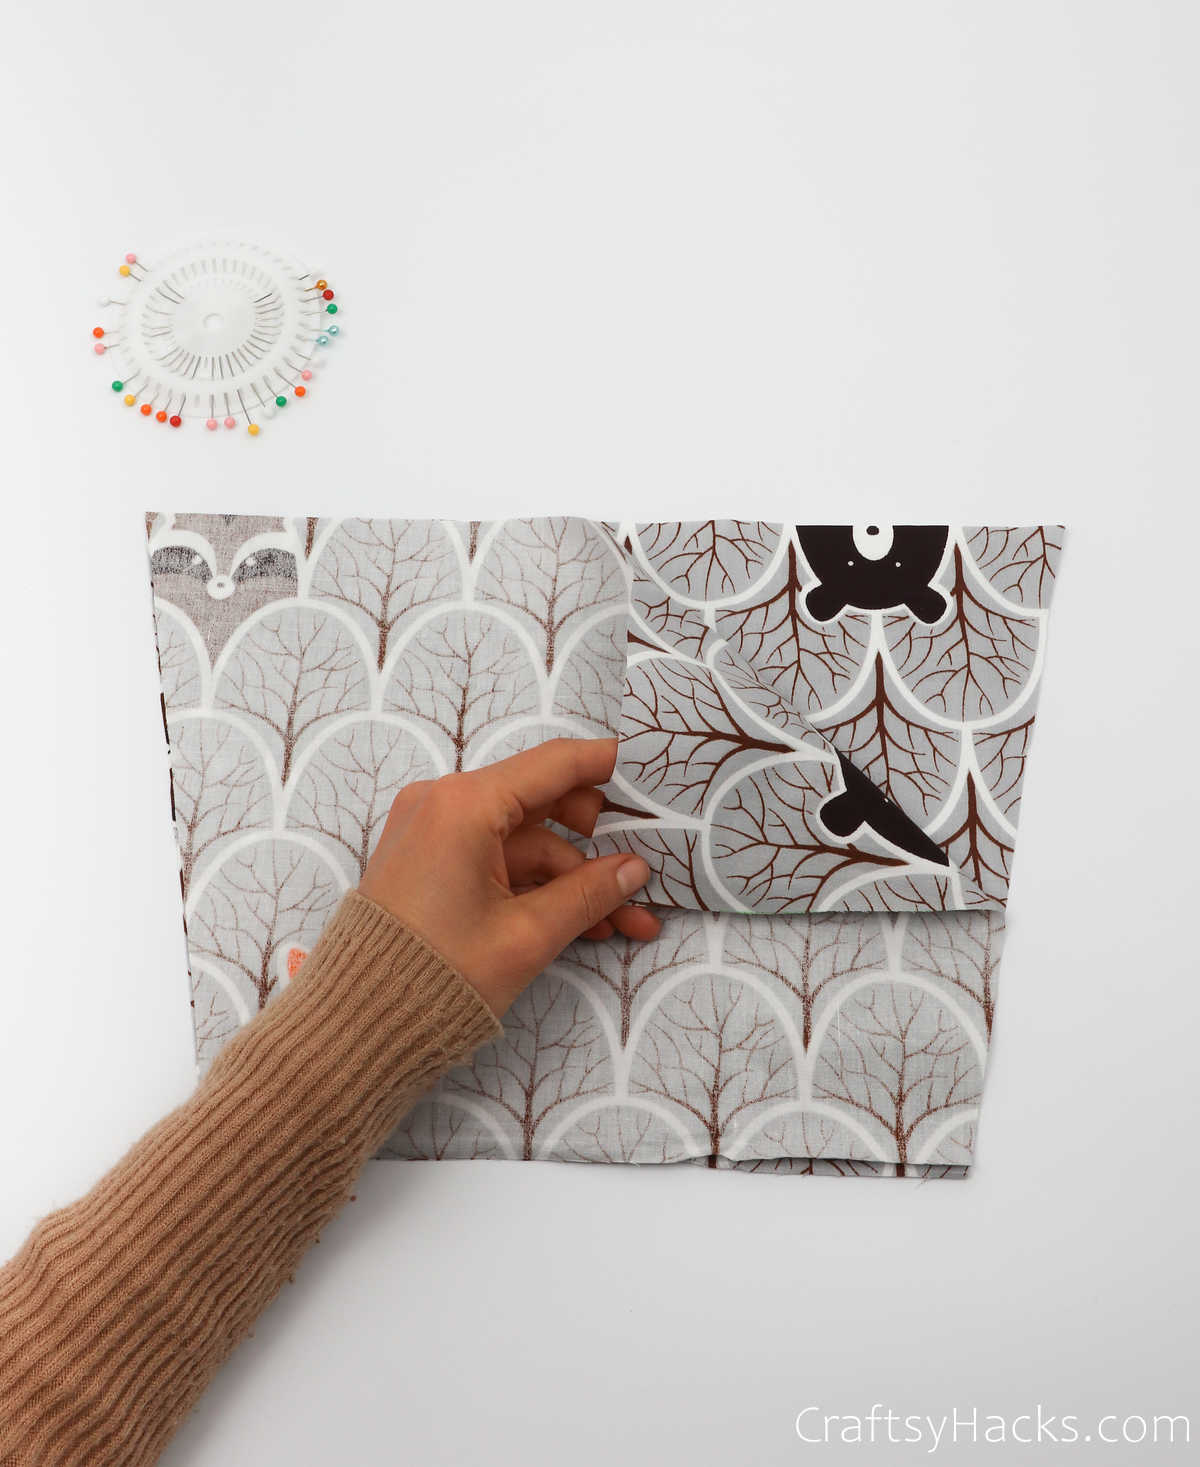
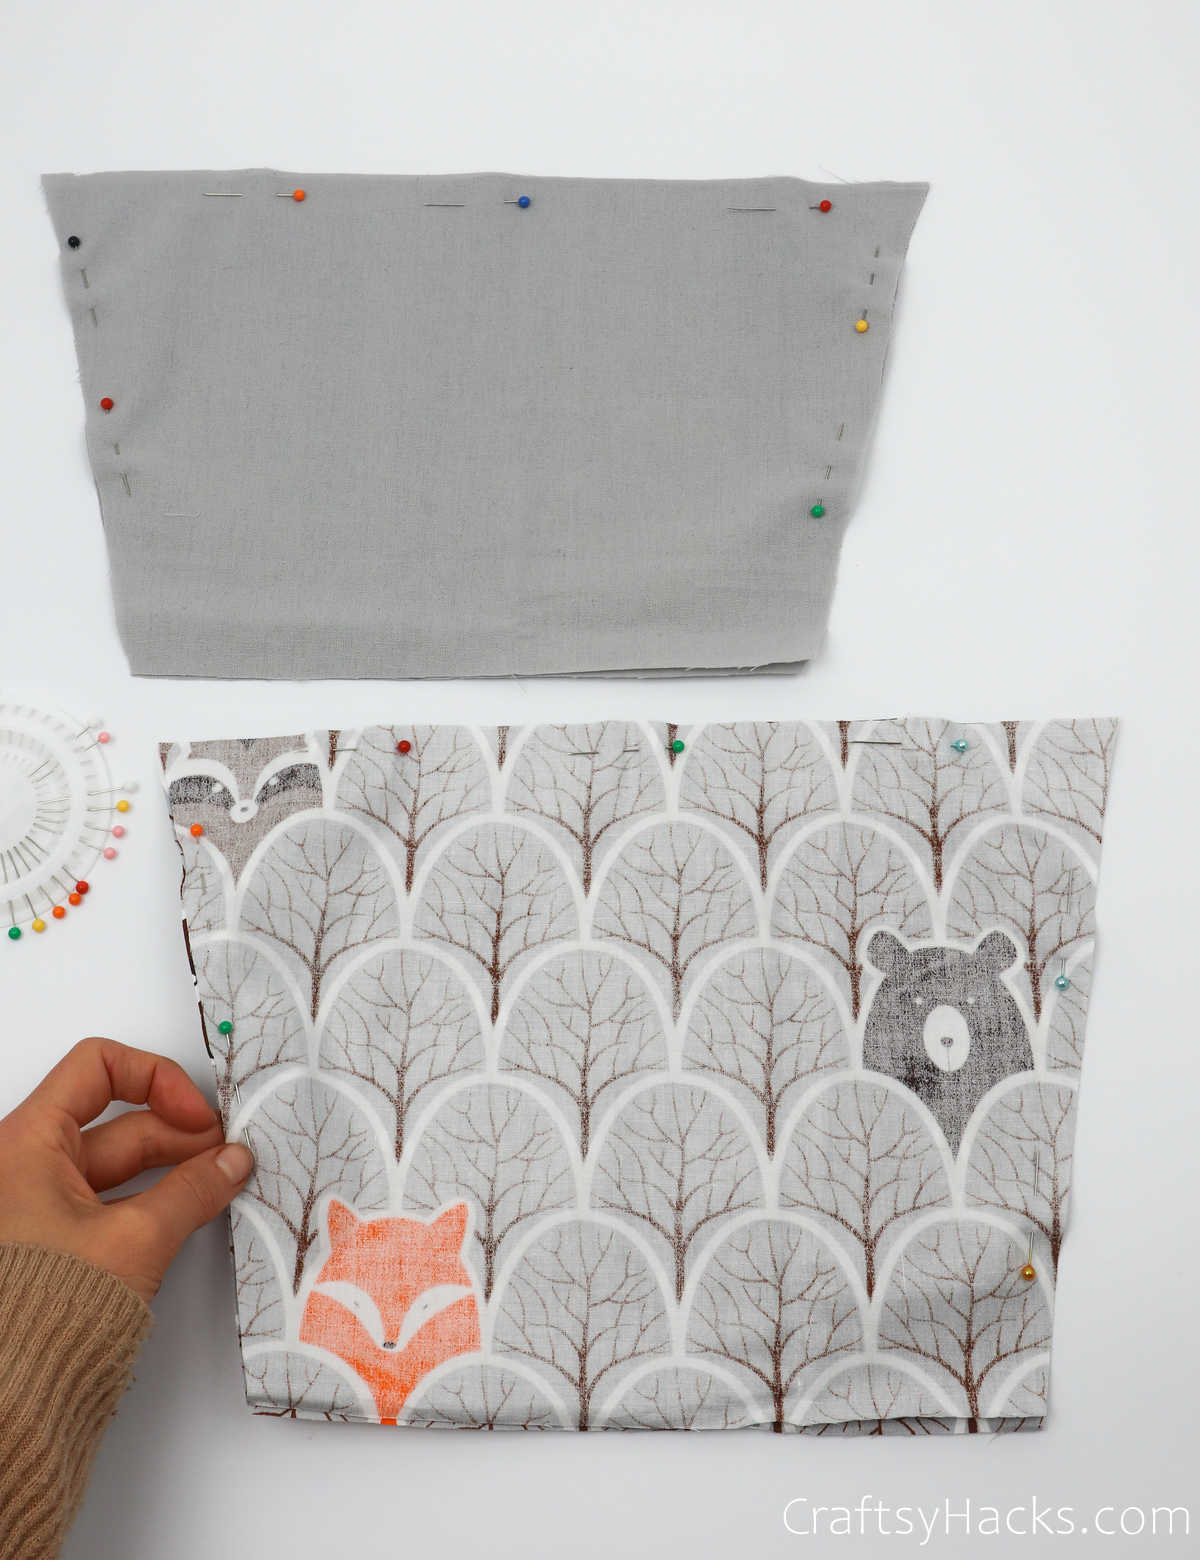
Use sewing pins to tag the corners in place, as seen below.
However, leave one side opendo not pin that side together.
Repeat this step with all your pocket fabric.
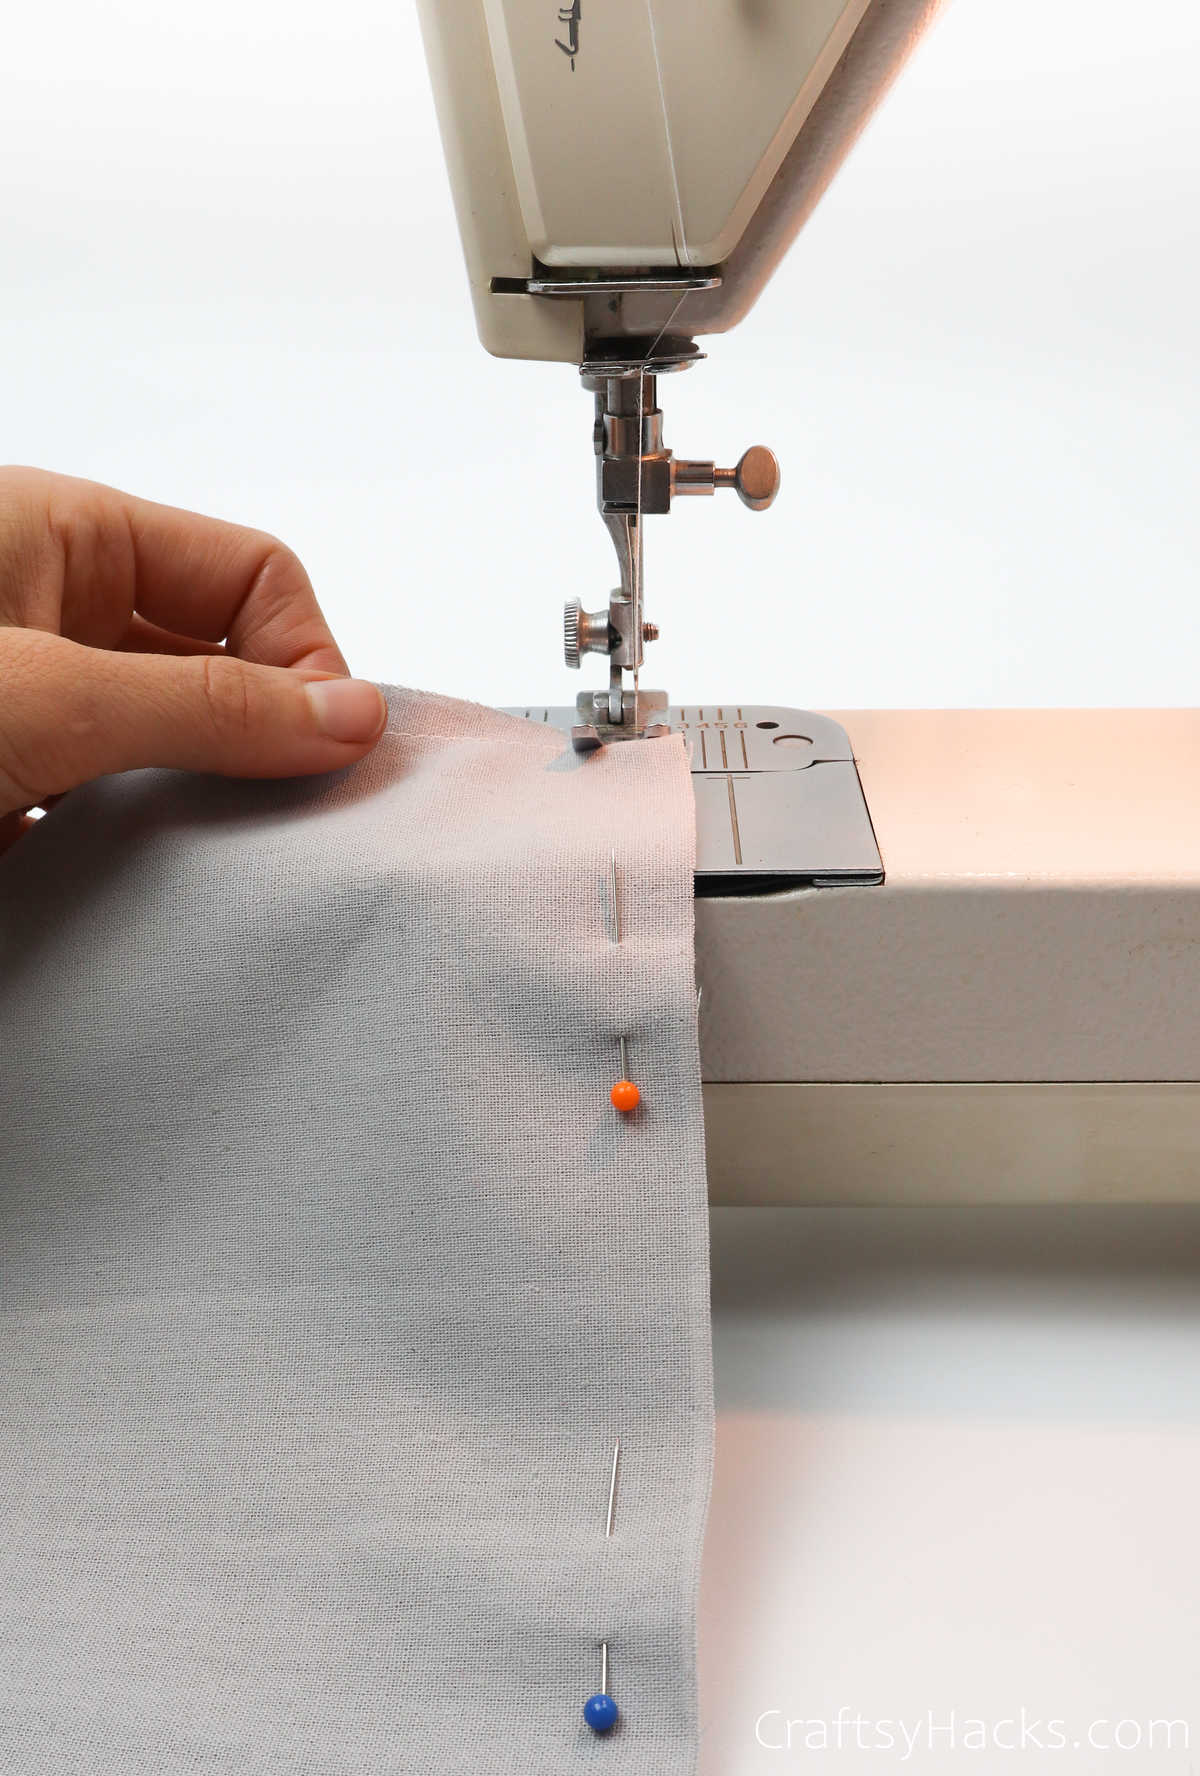
Sew all three sides of your fabric, and leave the last side open, as instructed.
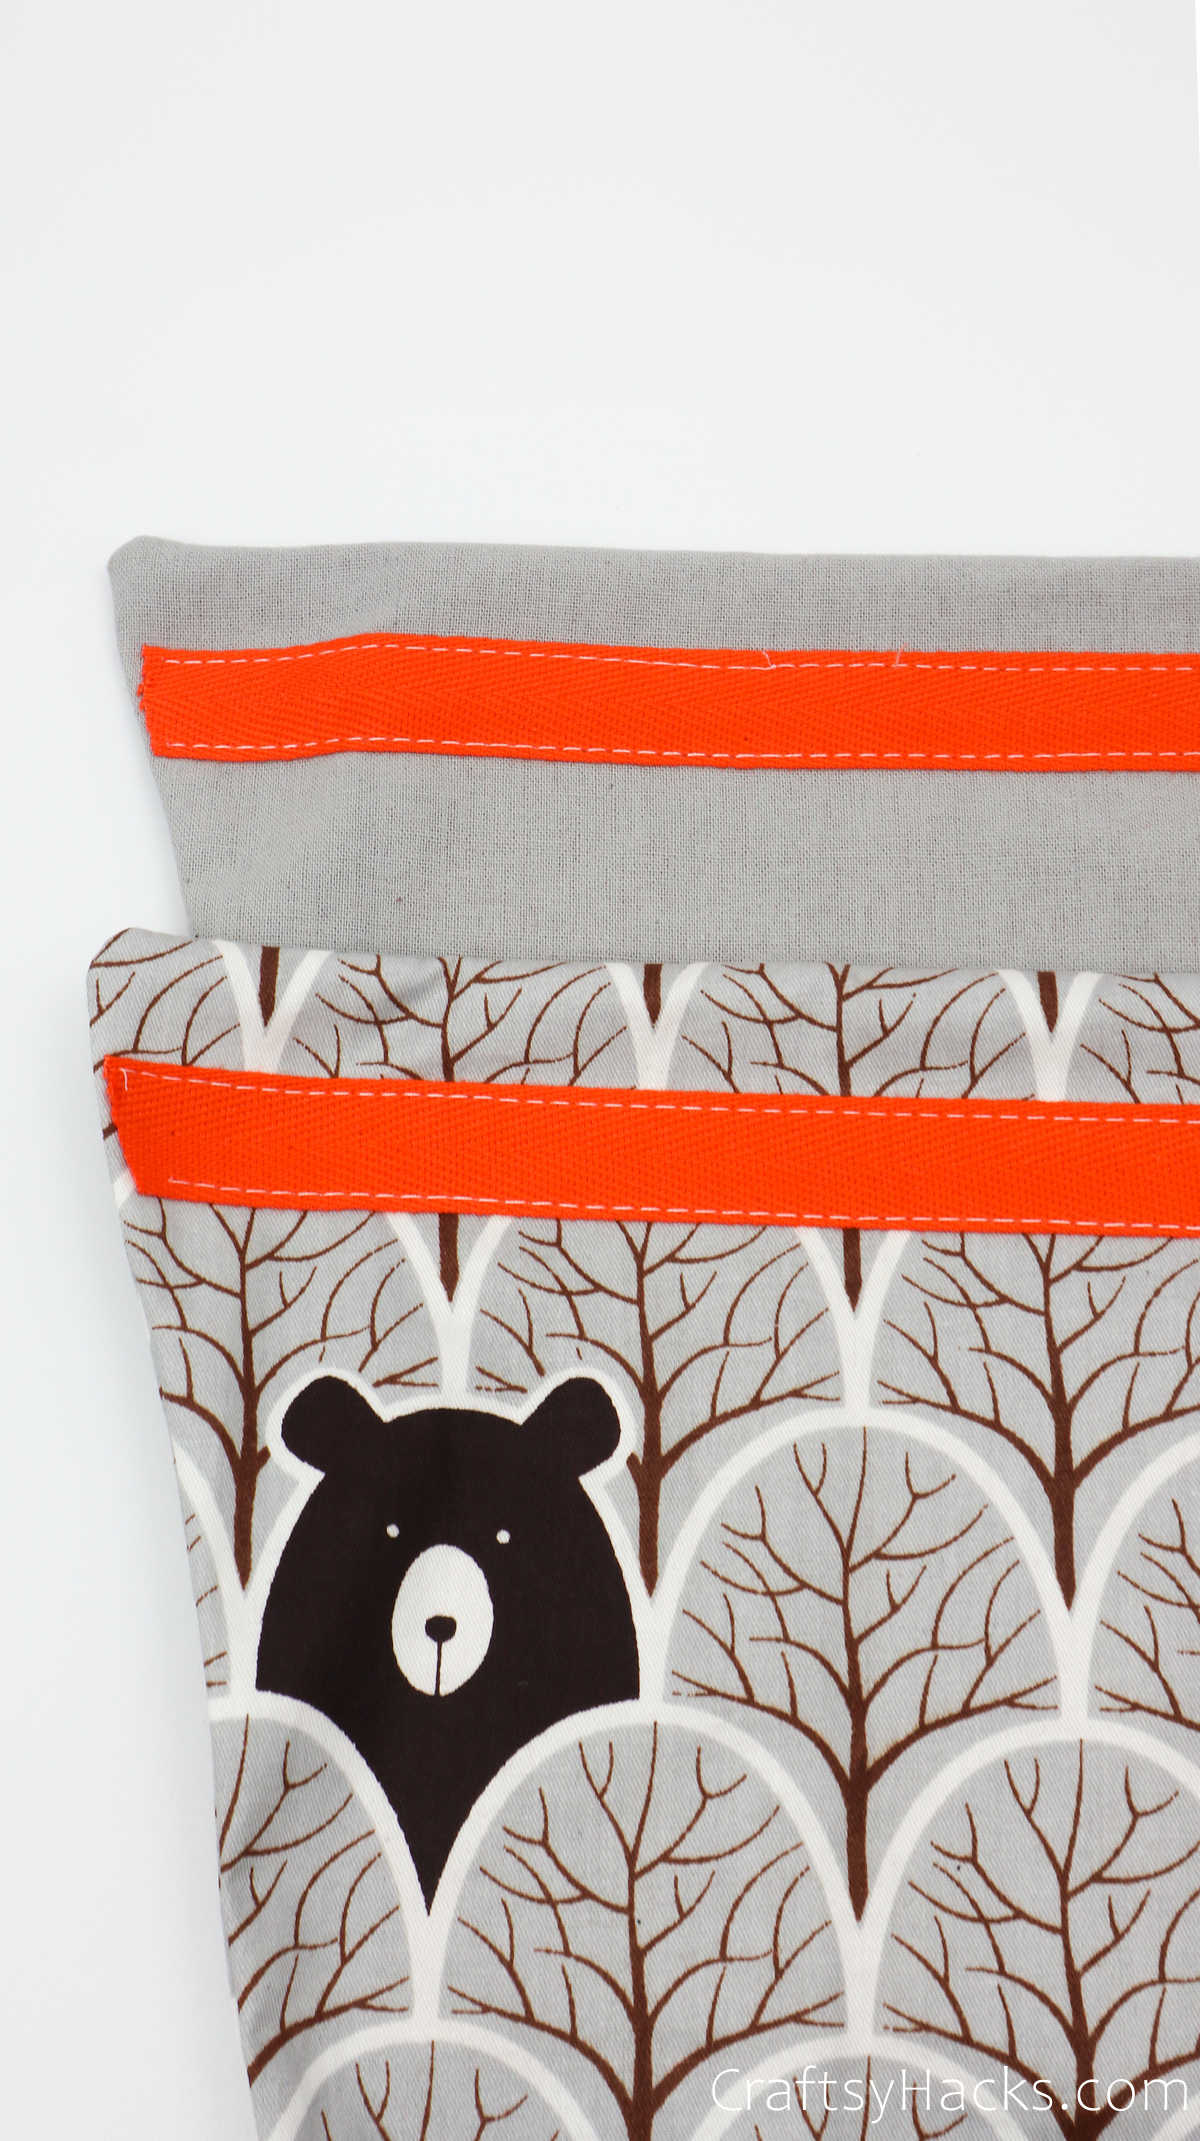
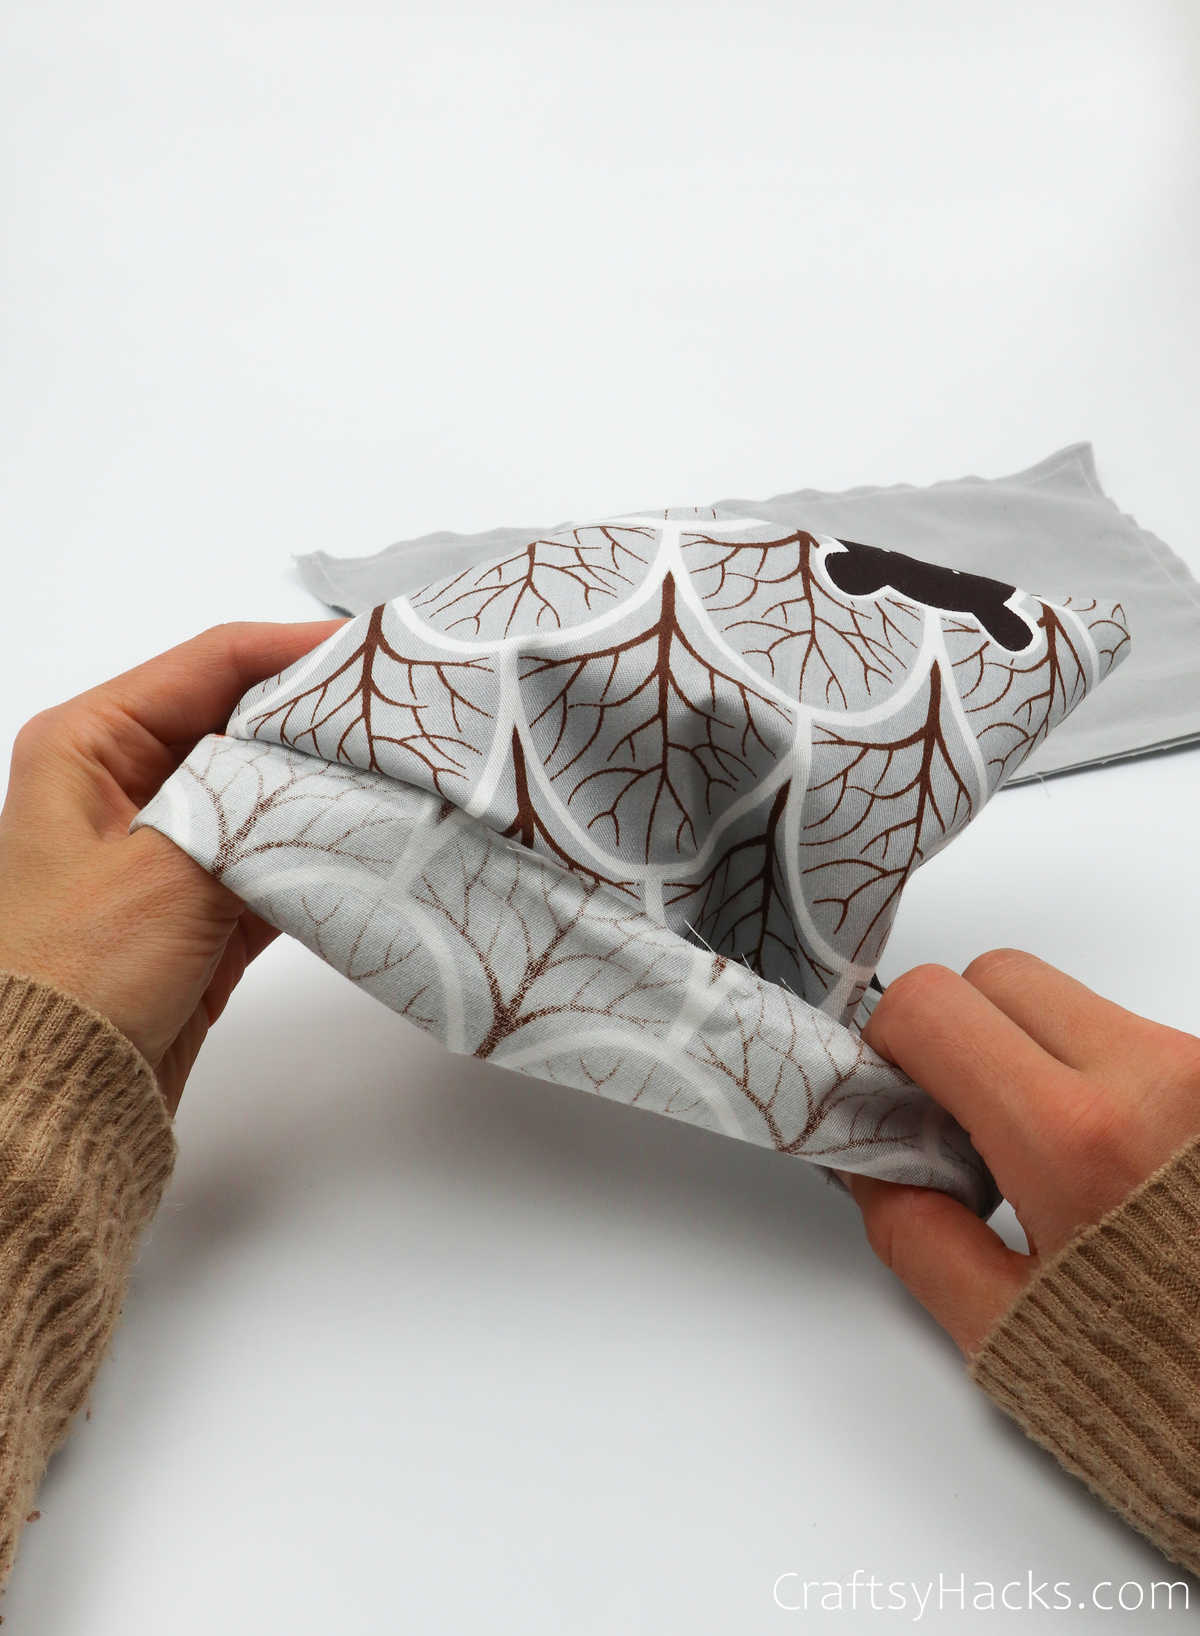
Your fabric pockets should look like this.
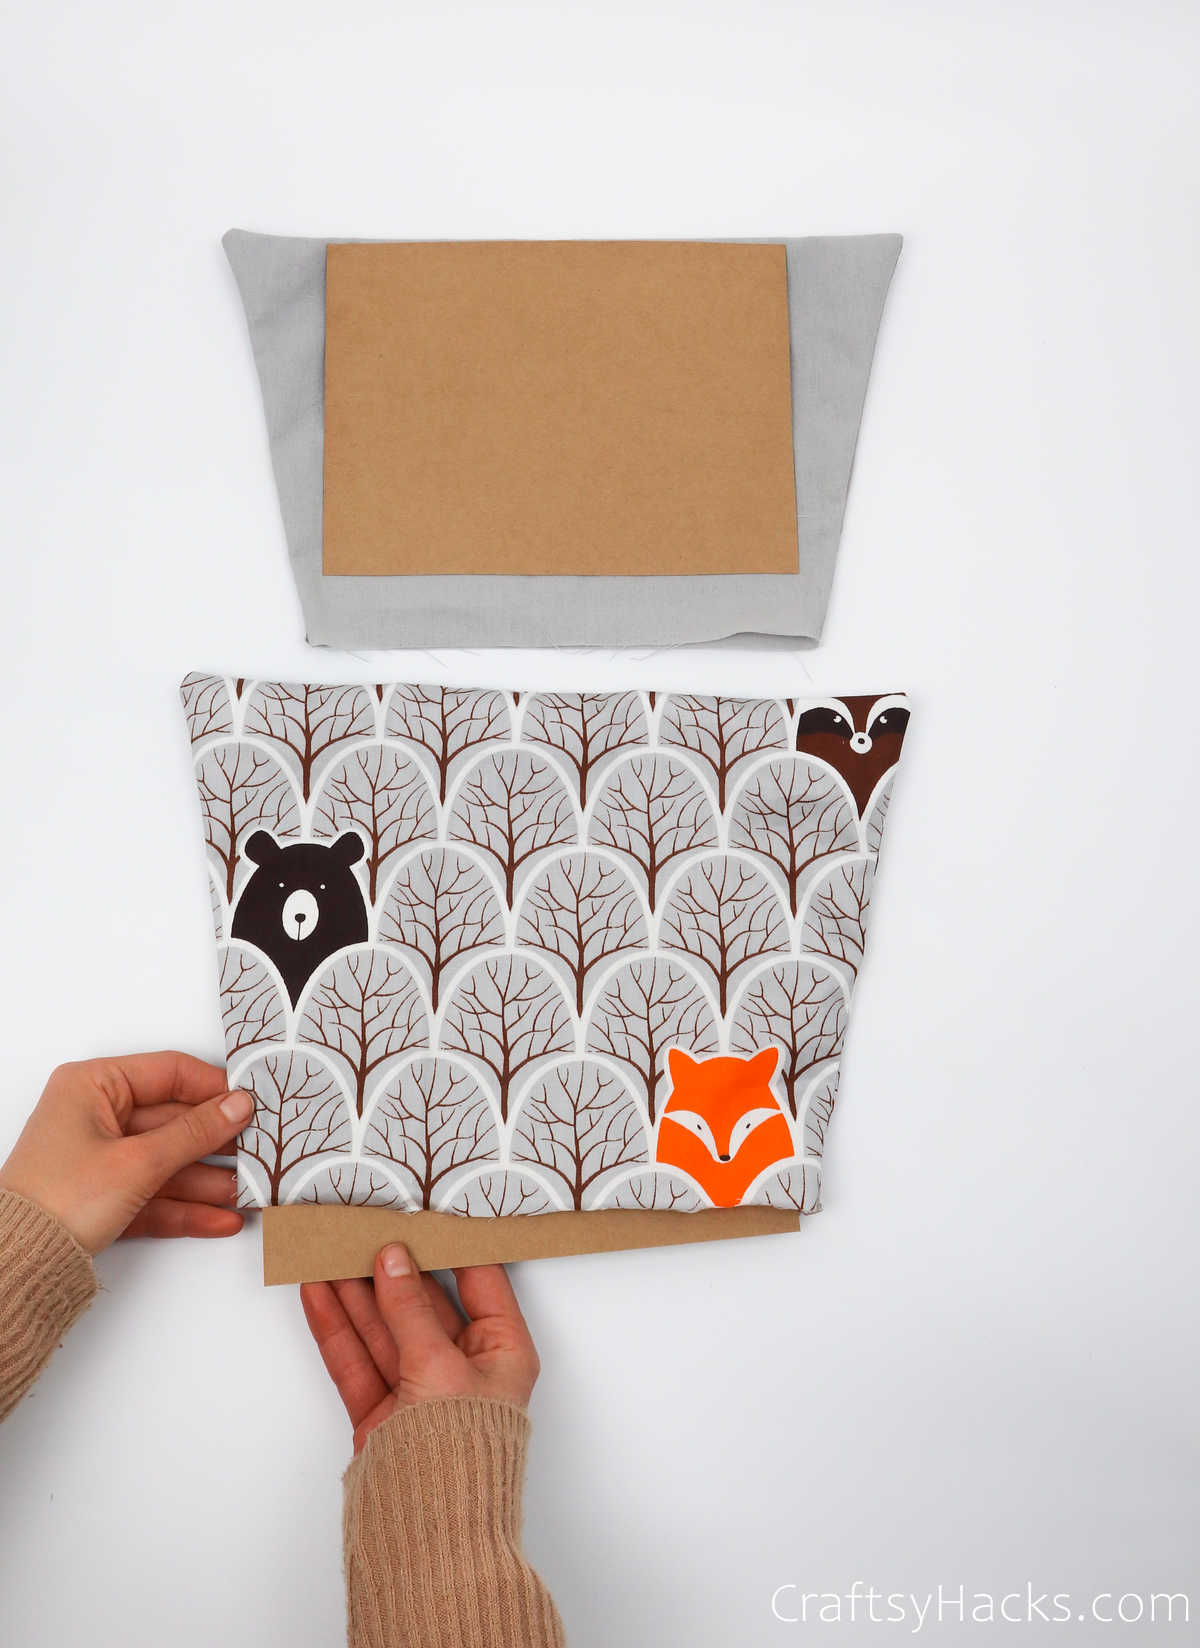
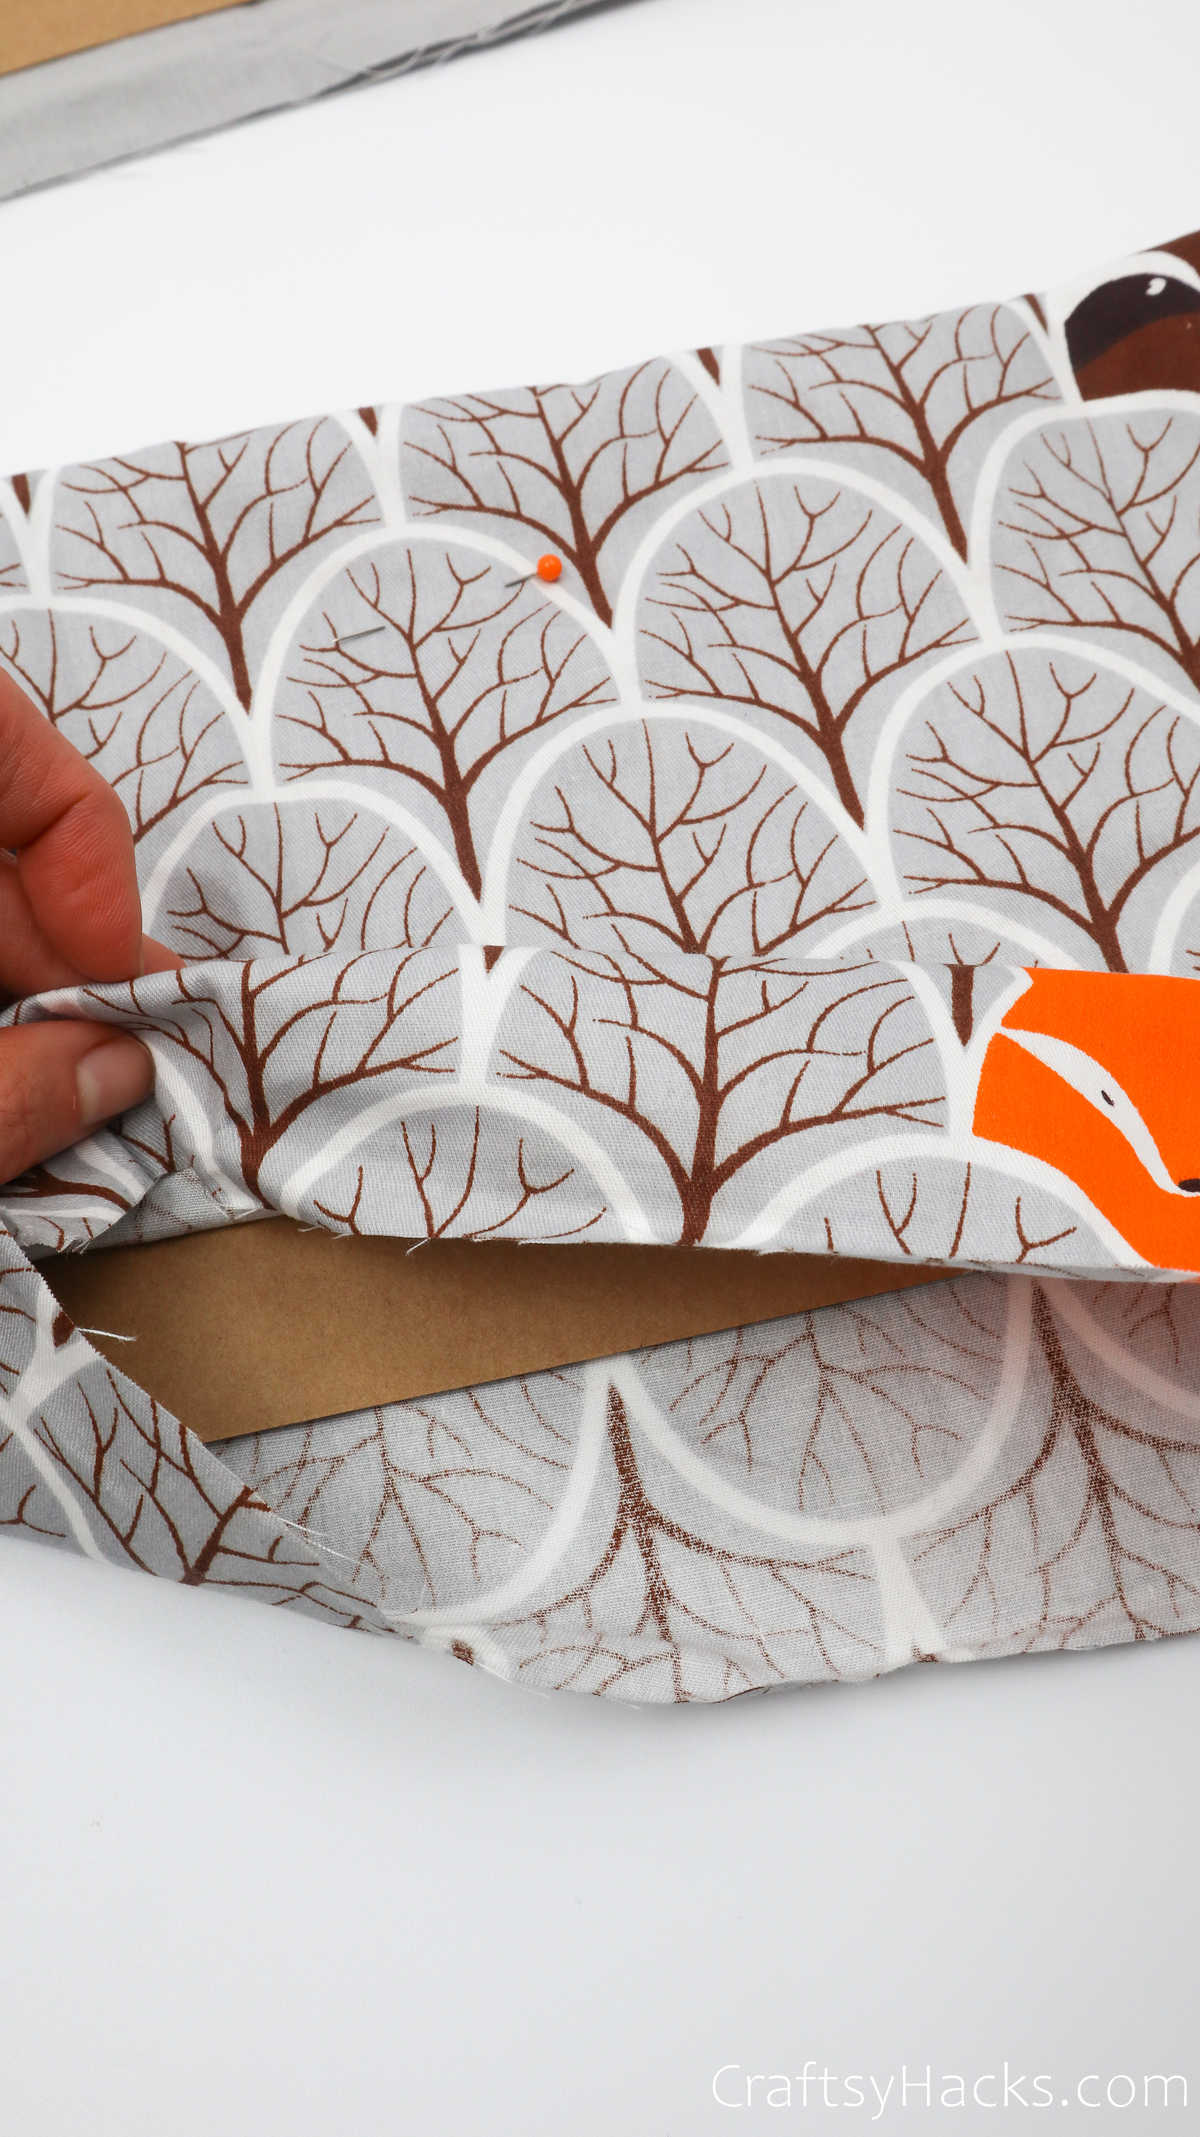
Slip the cardboard in through the opening.
This cardboard will act as reinforcements or backing for your pockets.
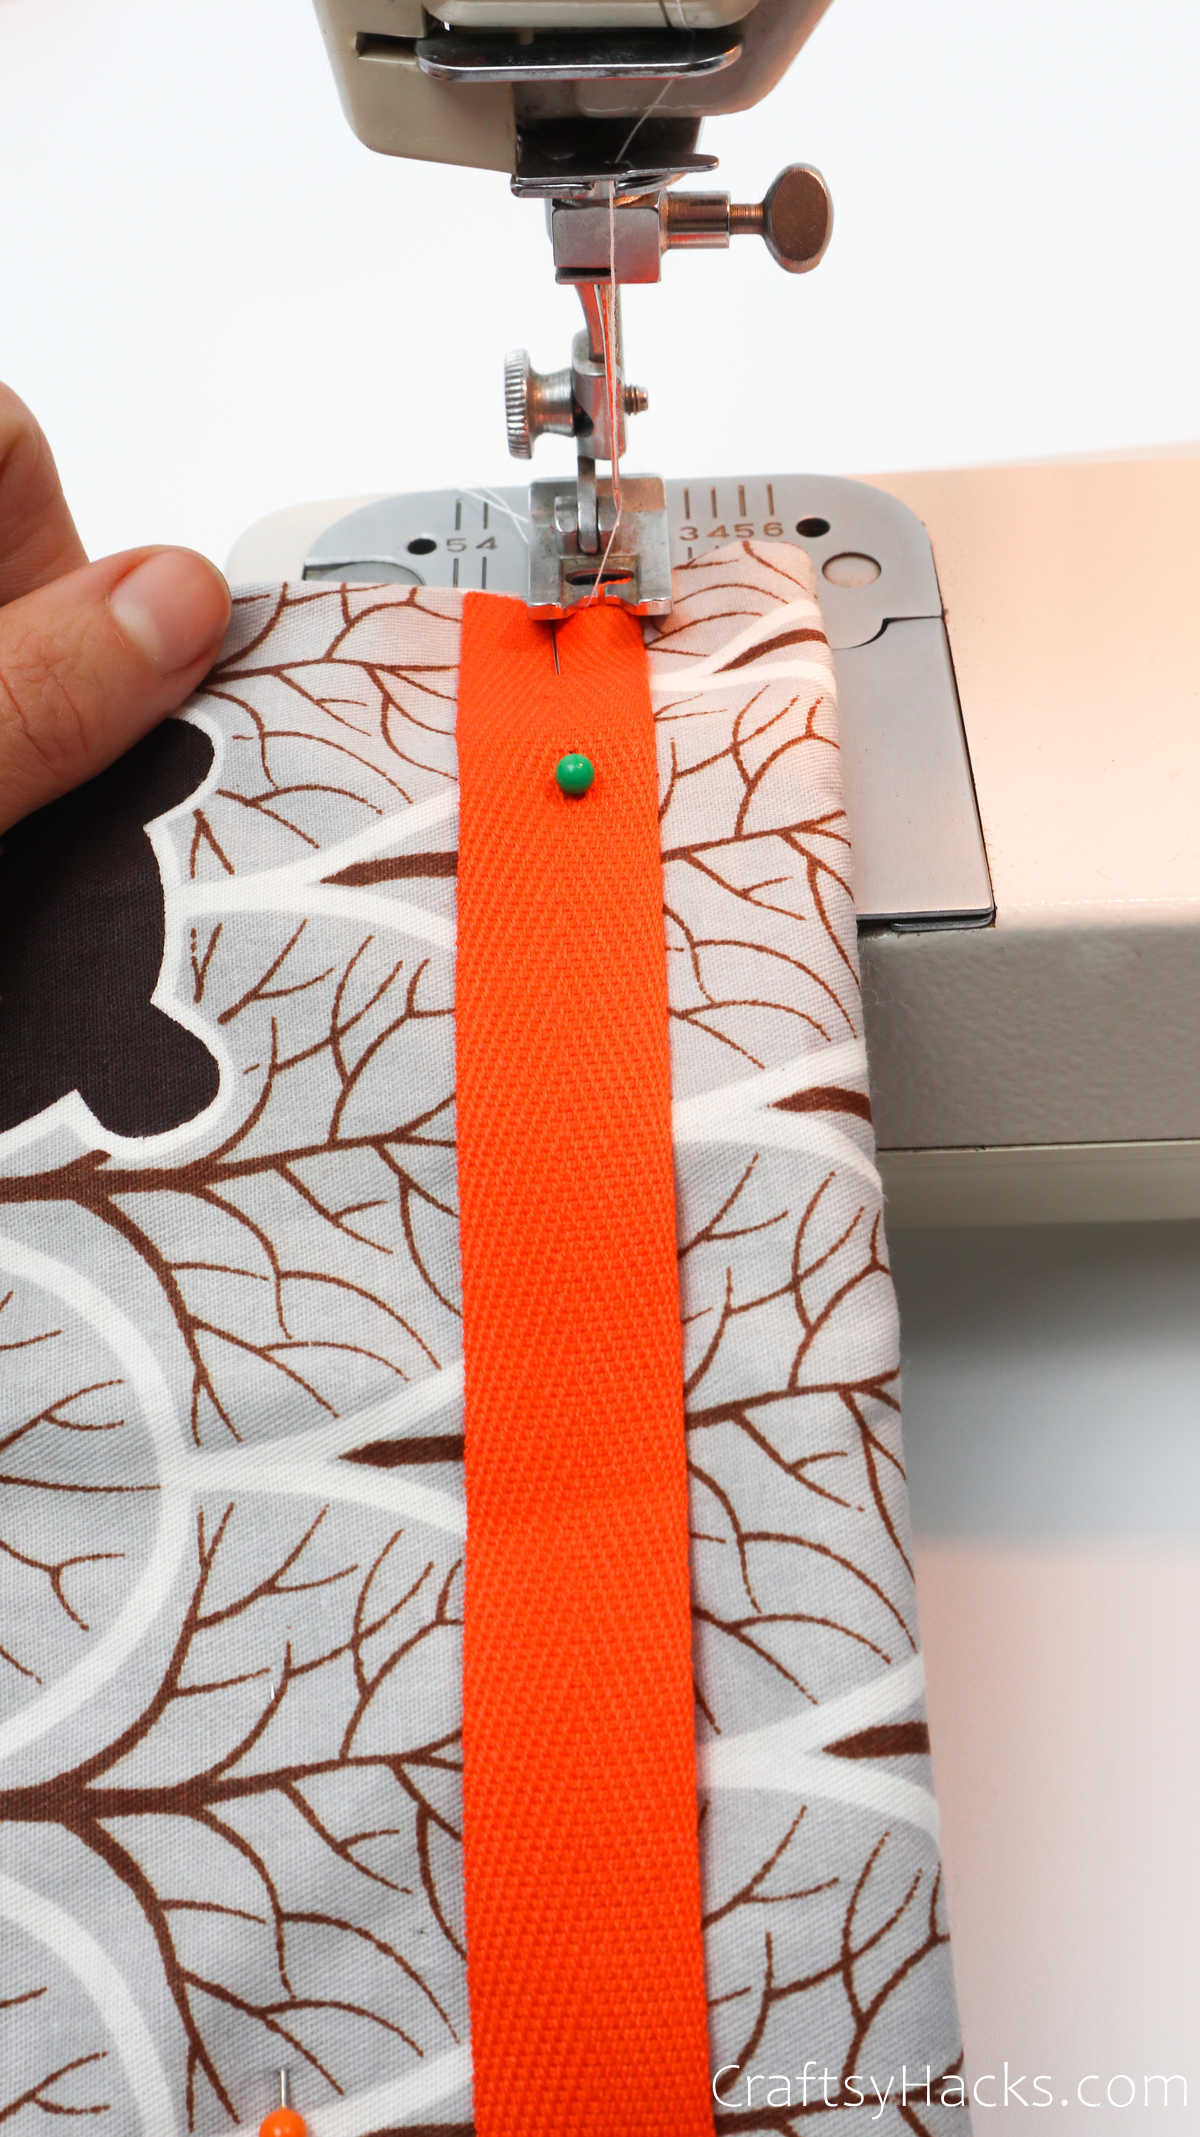
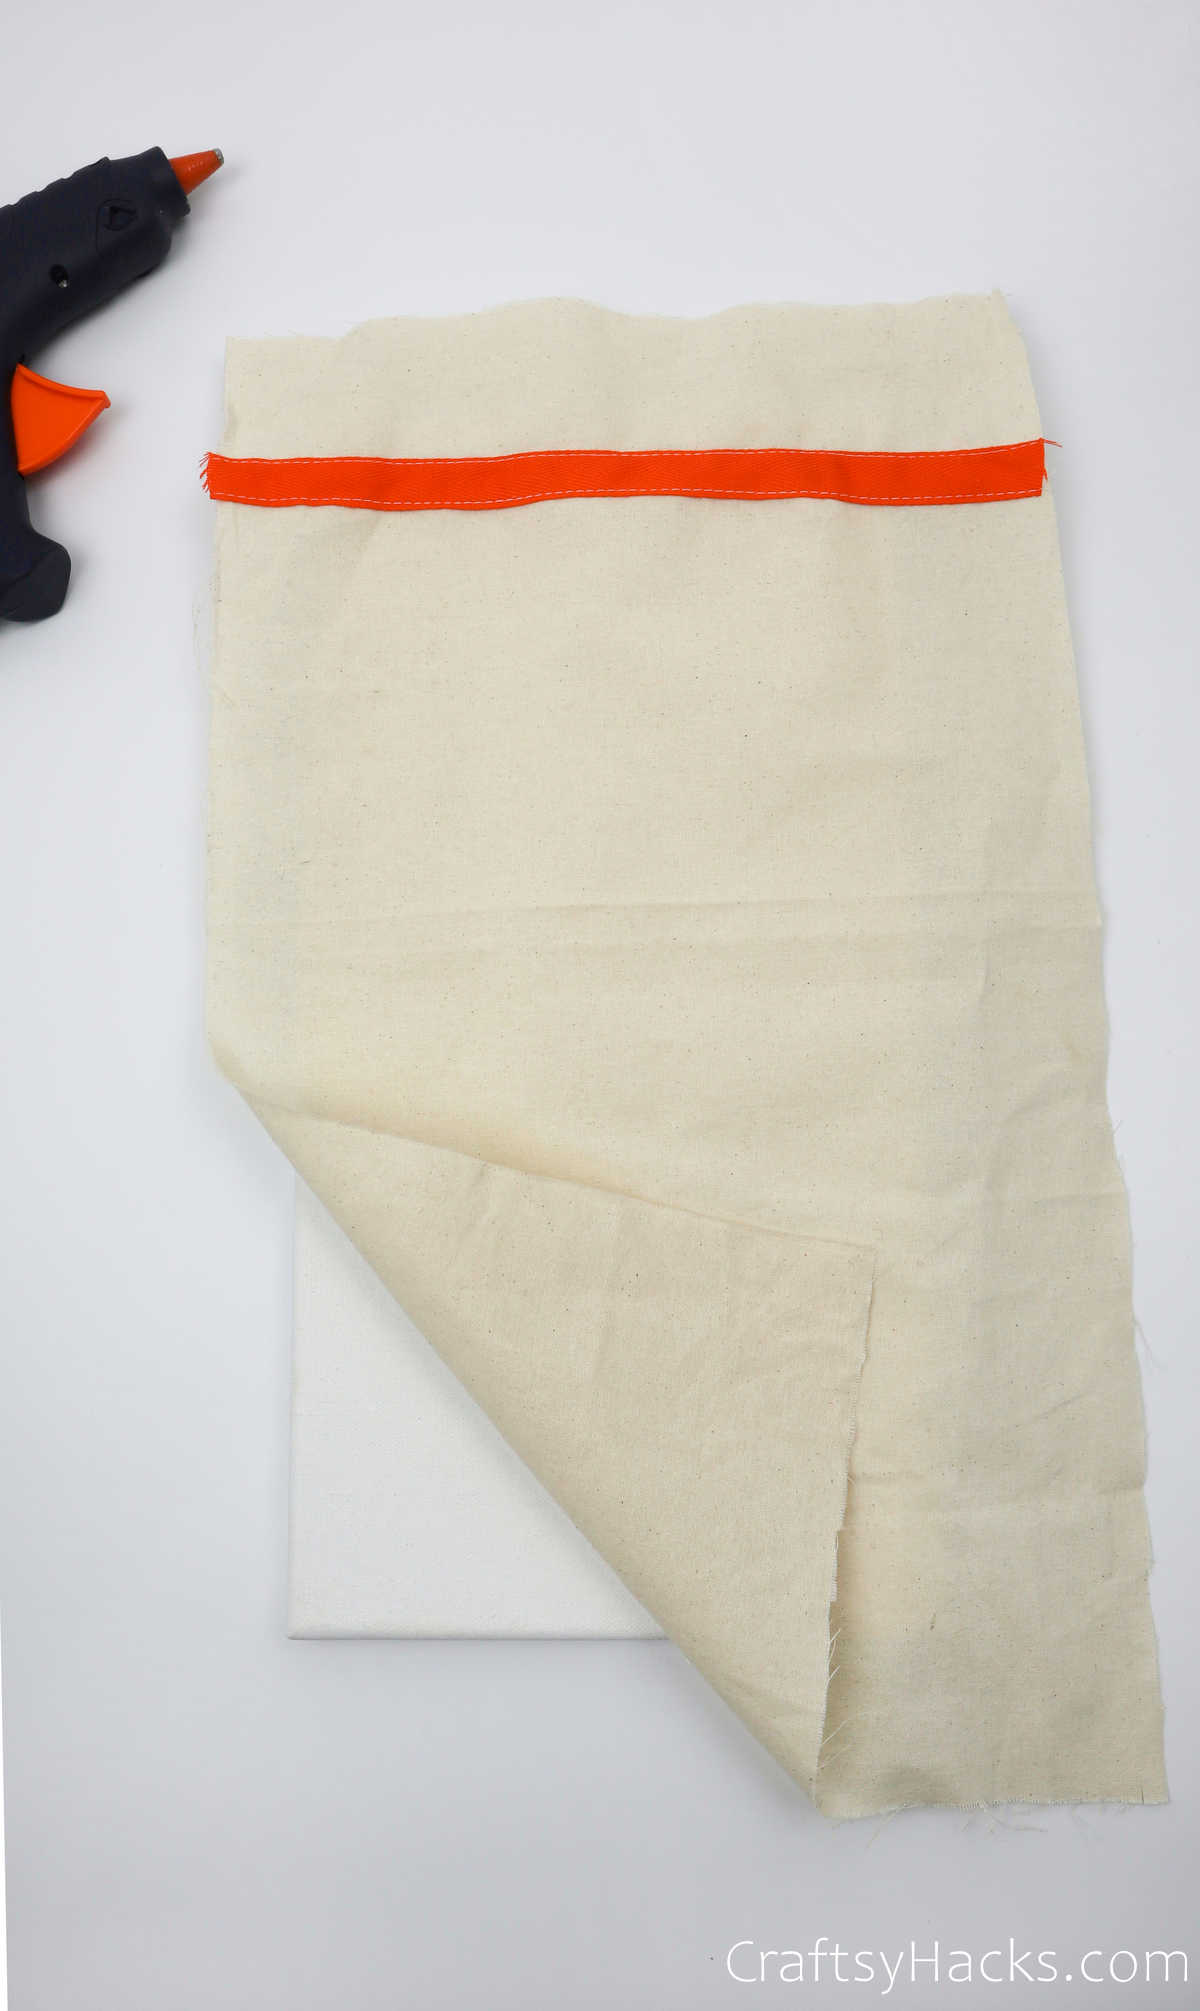
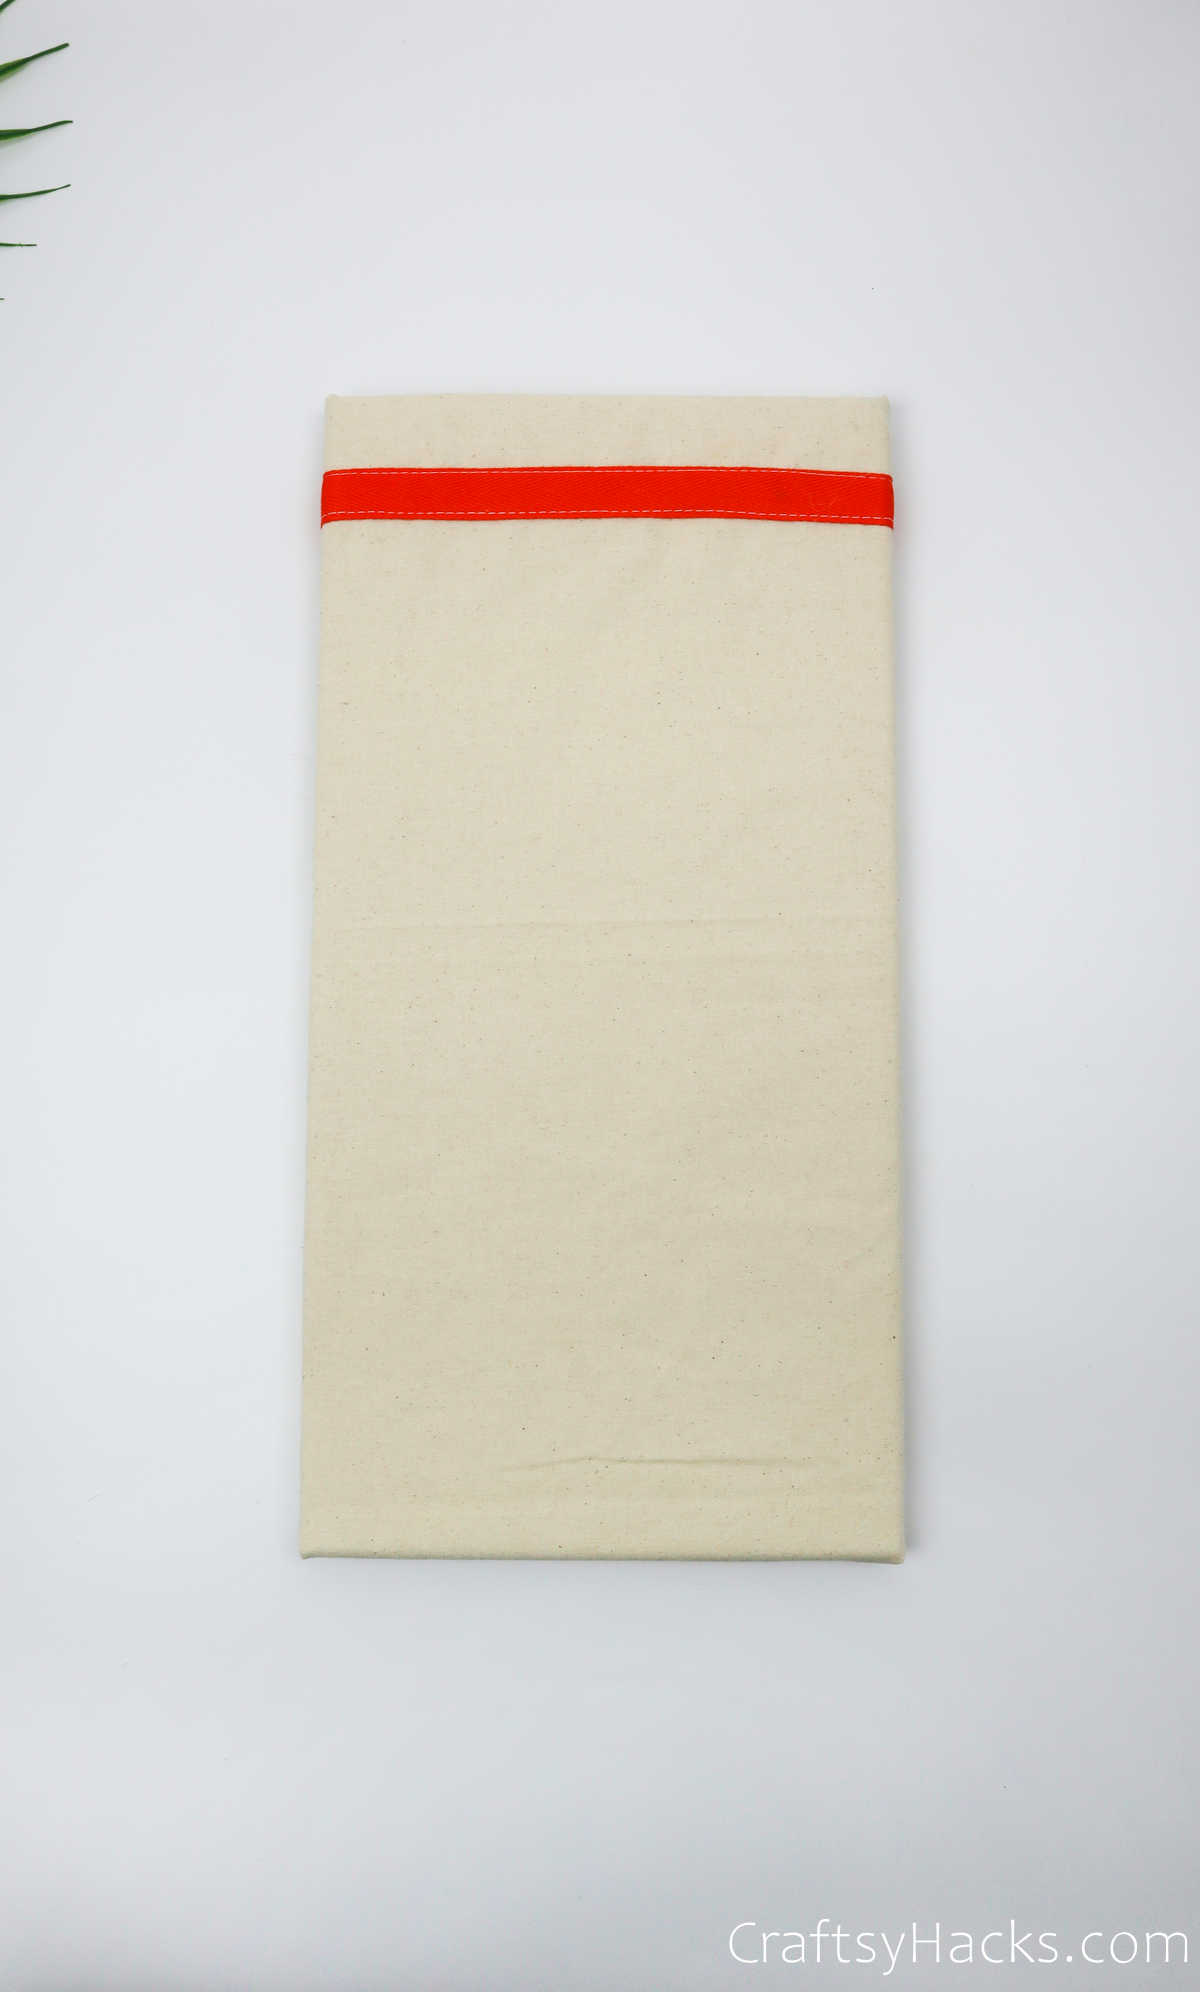
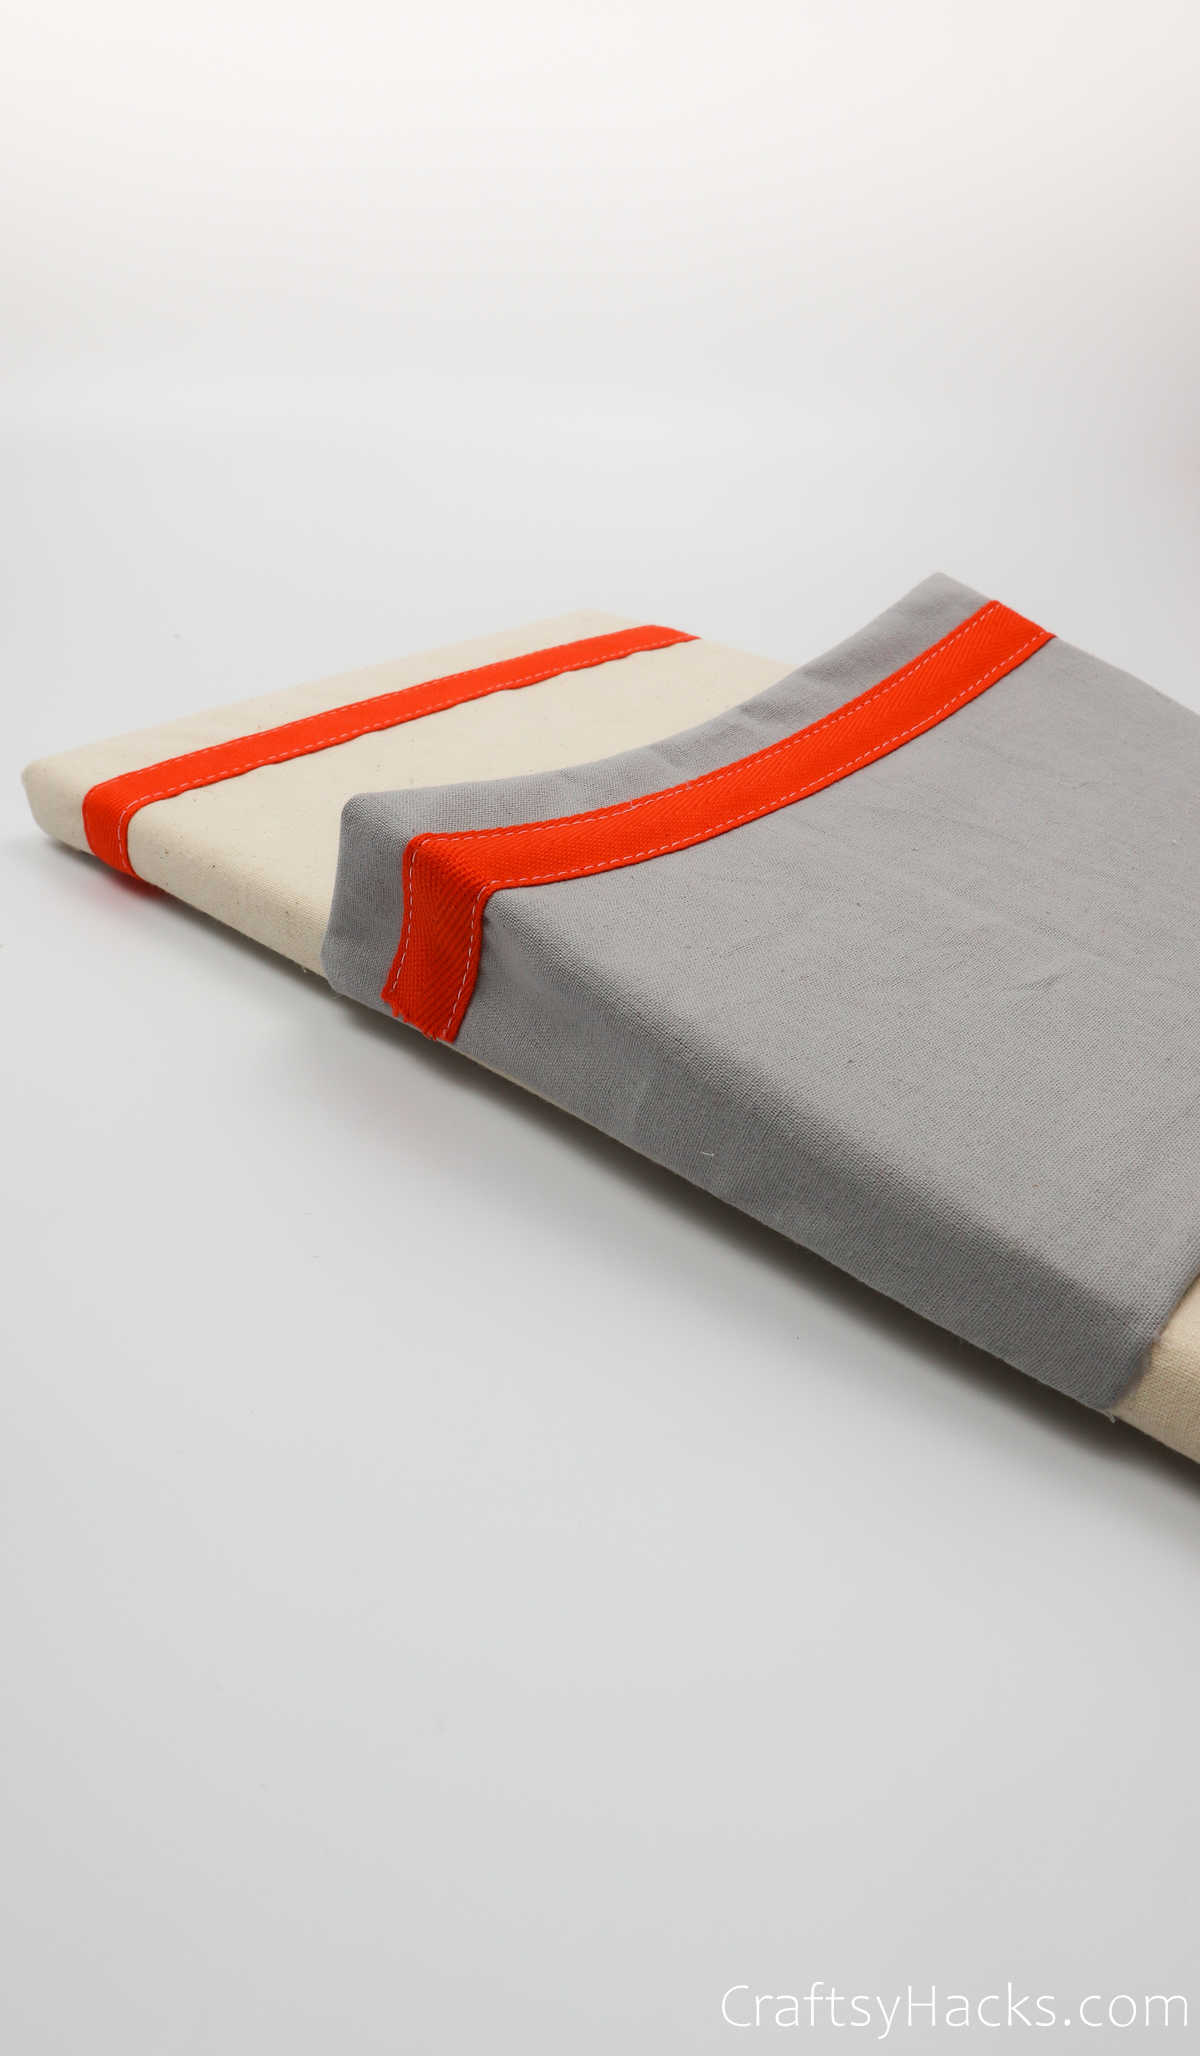
Step 5
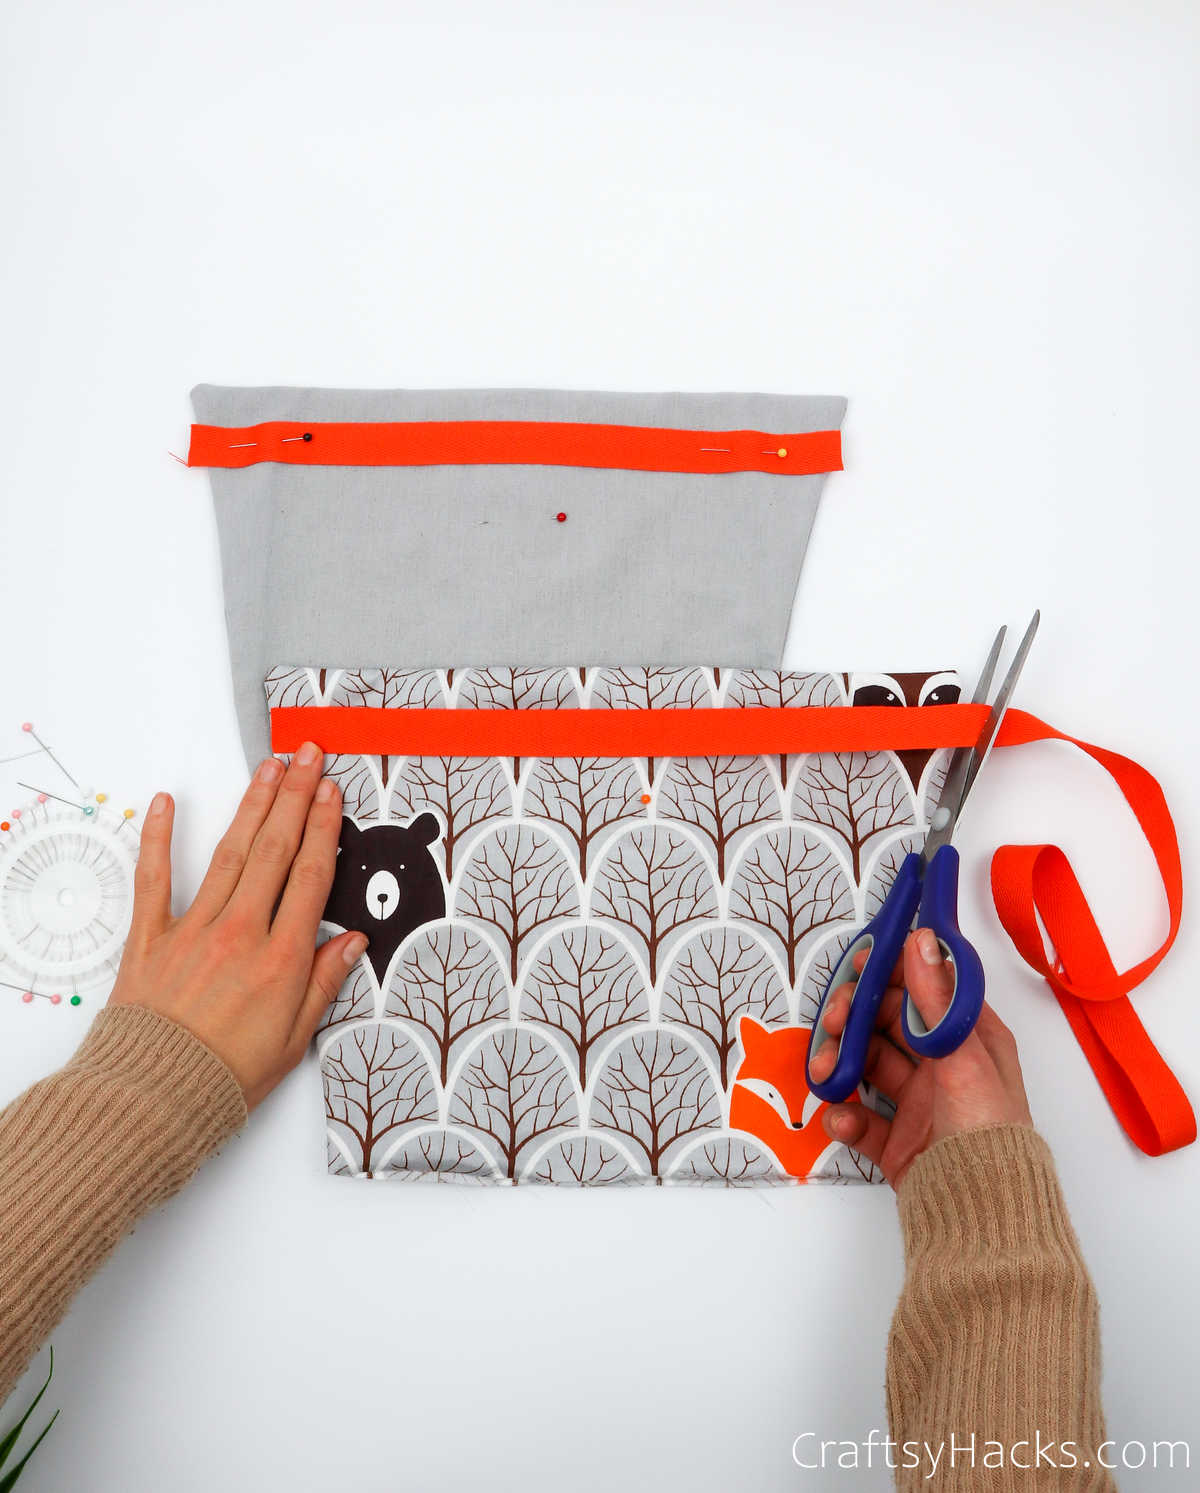
This step serves a decorative purpose.
Youll be sewing this tape into the pocket.
So, place the fabric in your sewing machine and run a neat seam down the length of it.
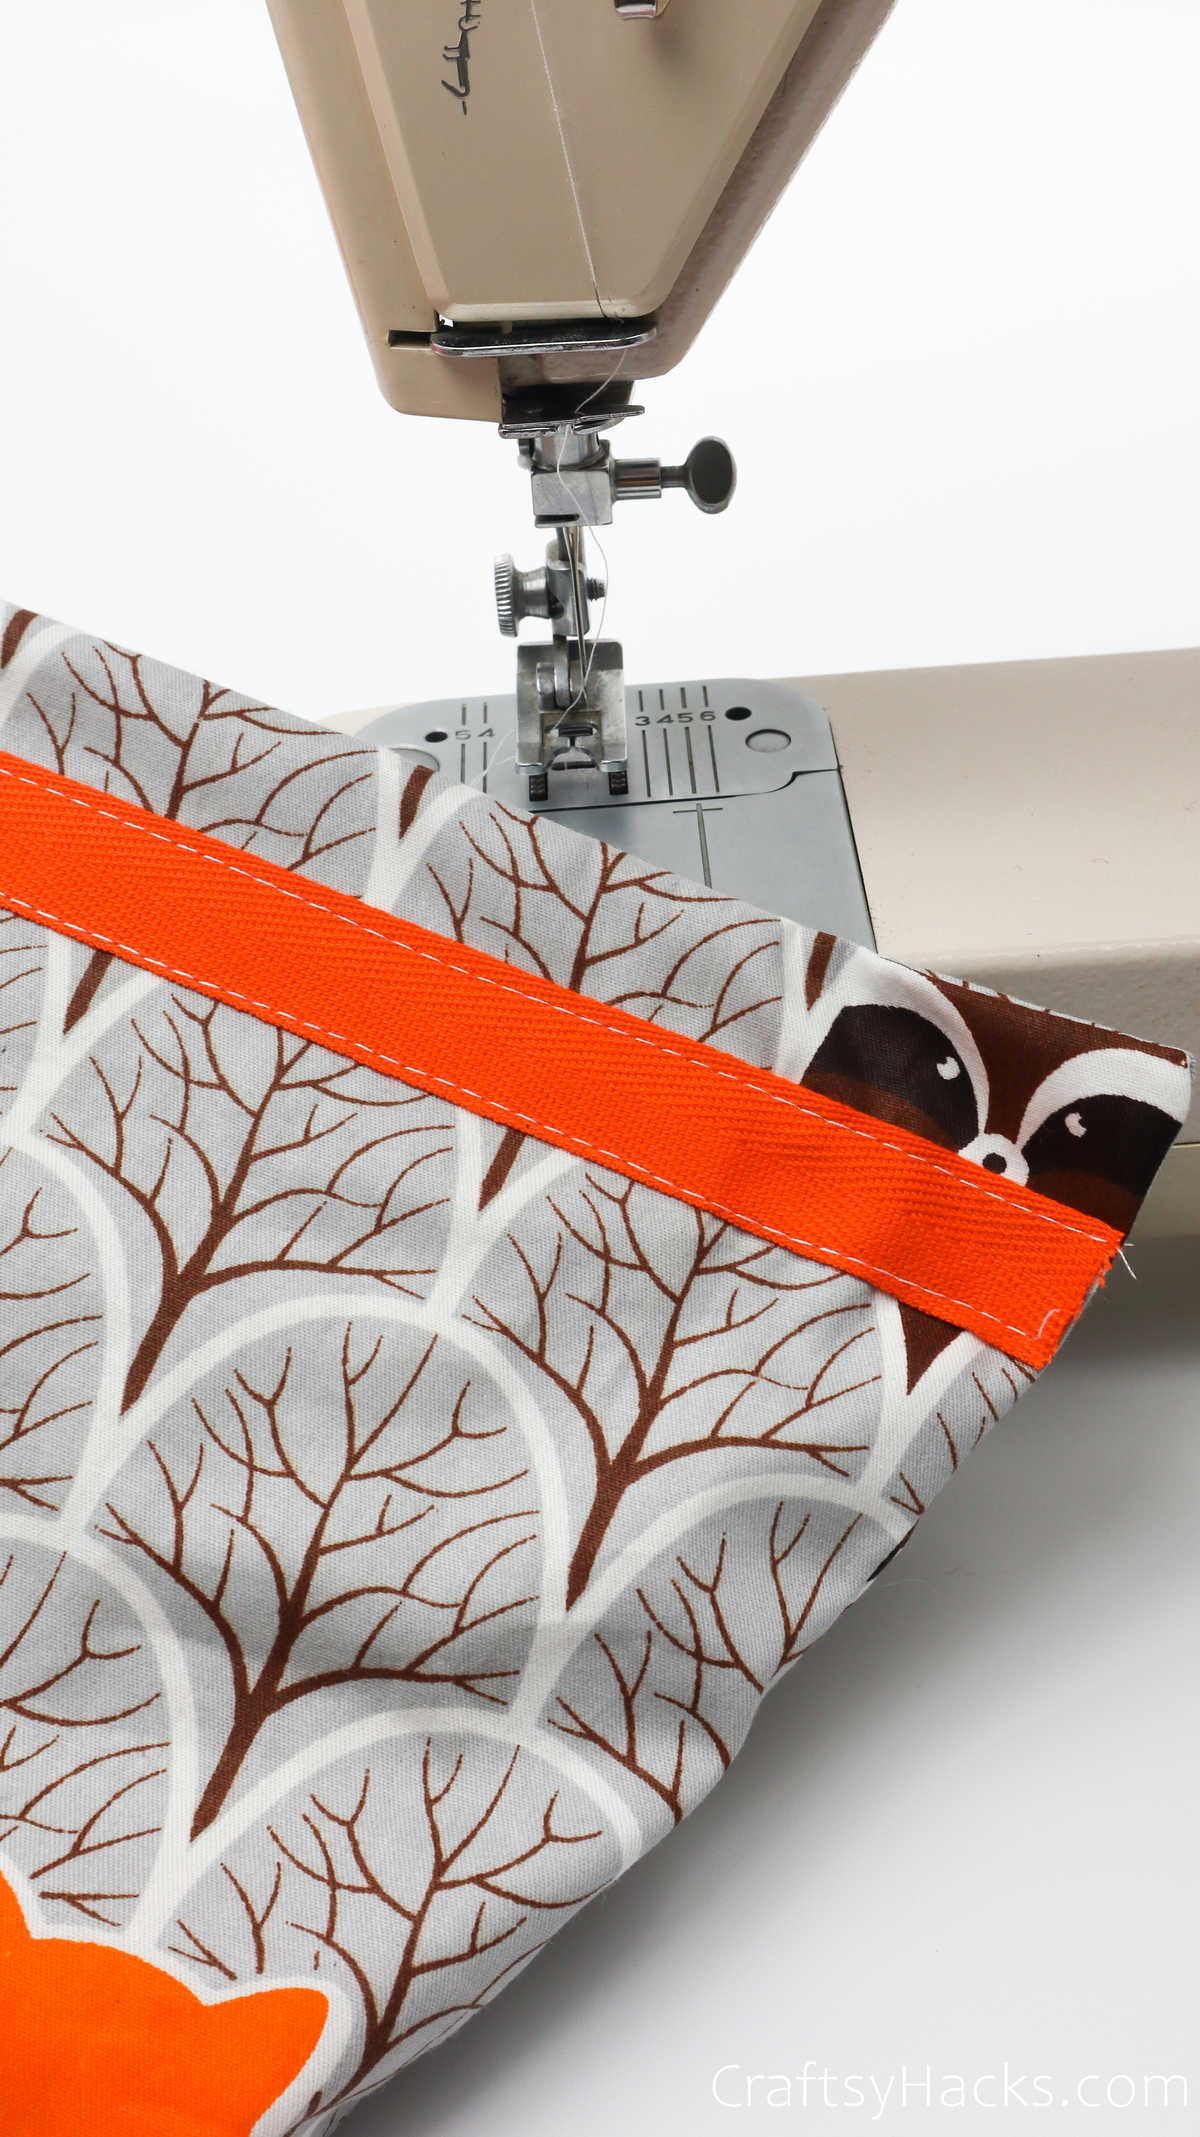
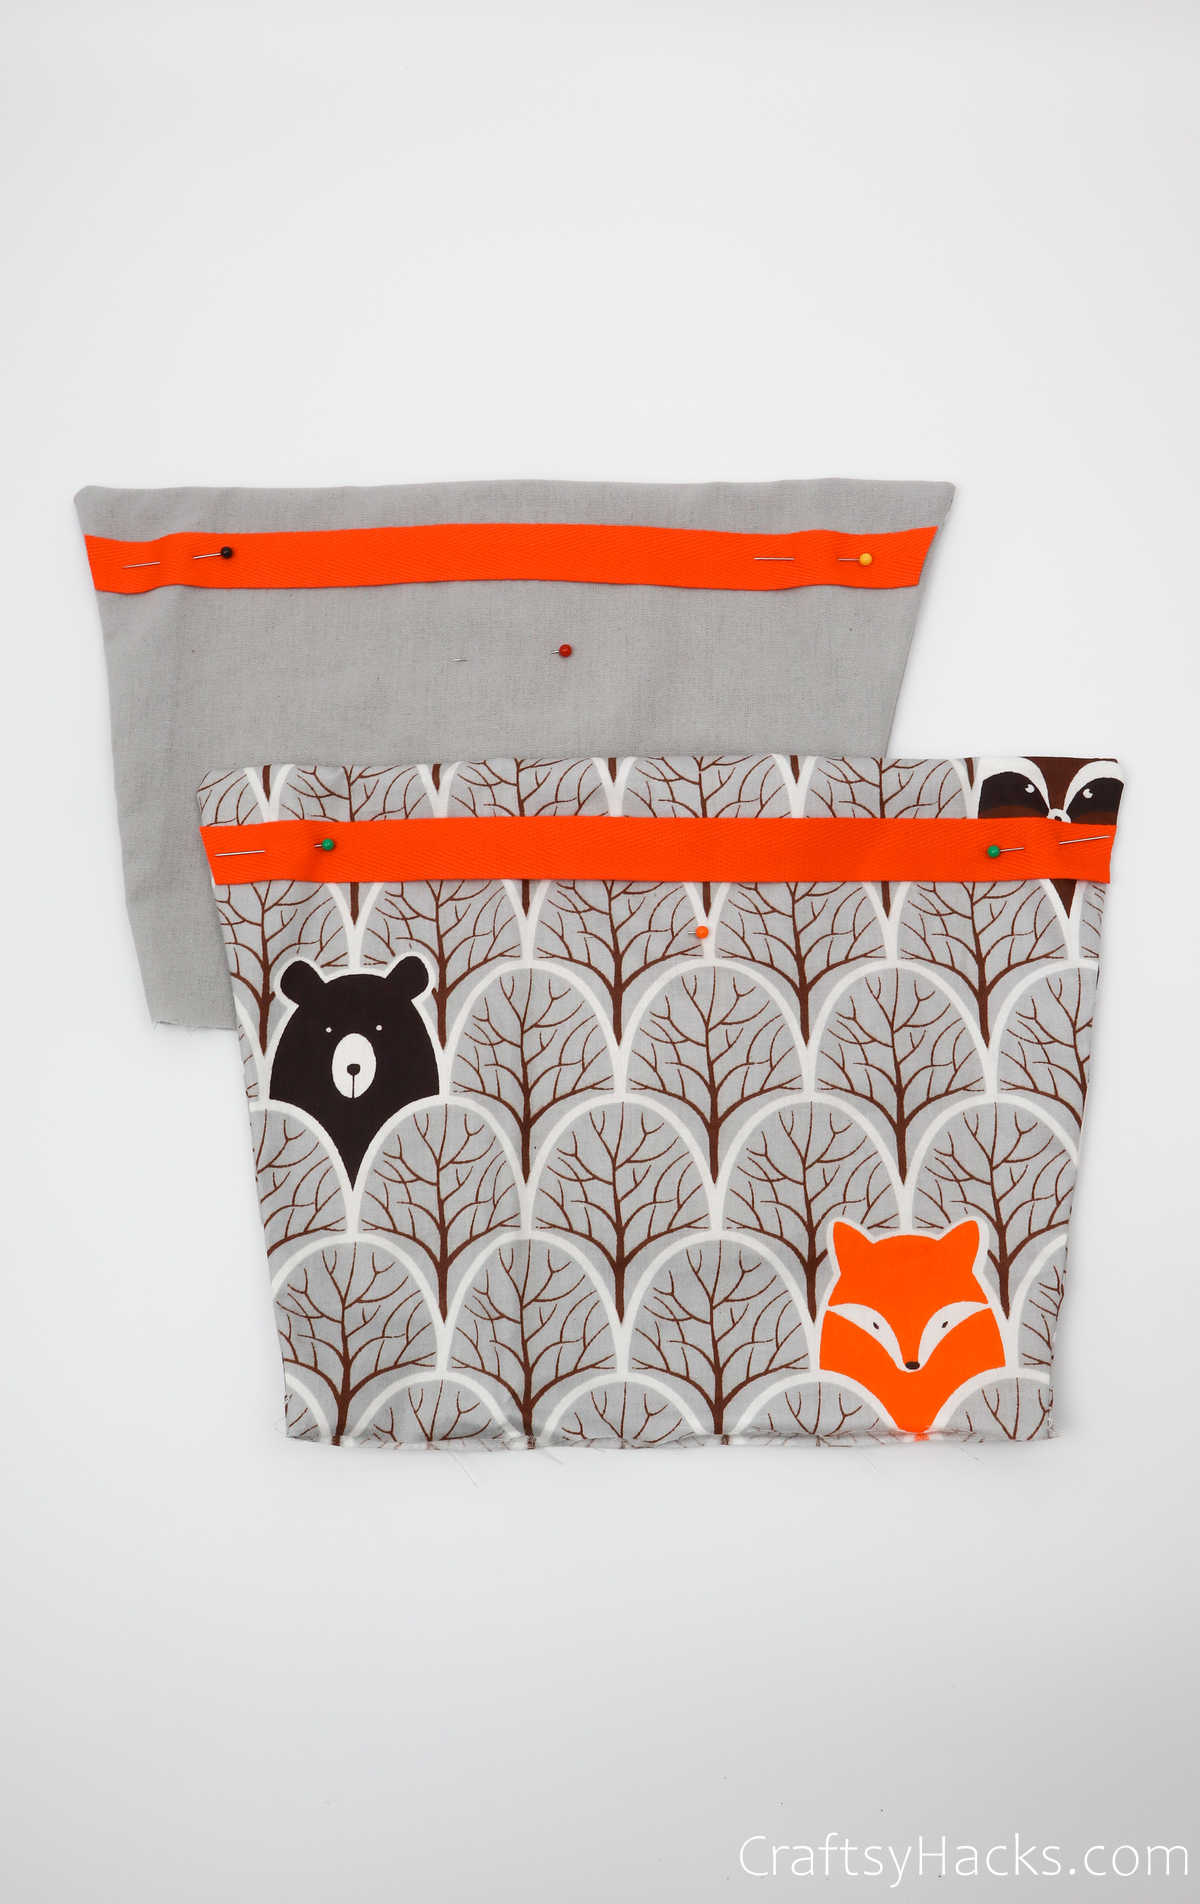
Youll need to sew two lines along the top and bottom of the twill tape.
Go ahead and repeat this step for all your pockets.
Then, go ahead and sew it up just like you did with the fabric pockets earlier.
Ensure that the canvas is centered so that theres fabric on all four sides.
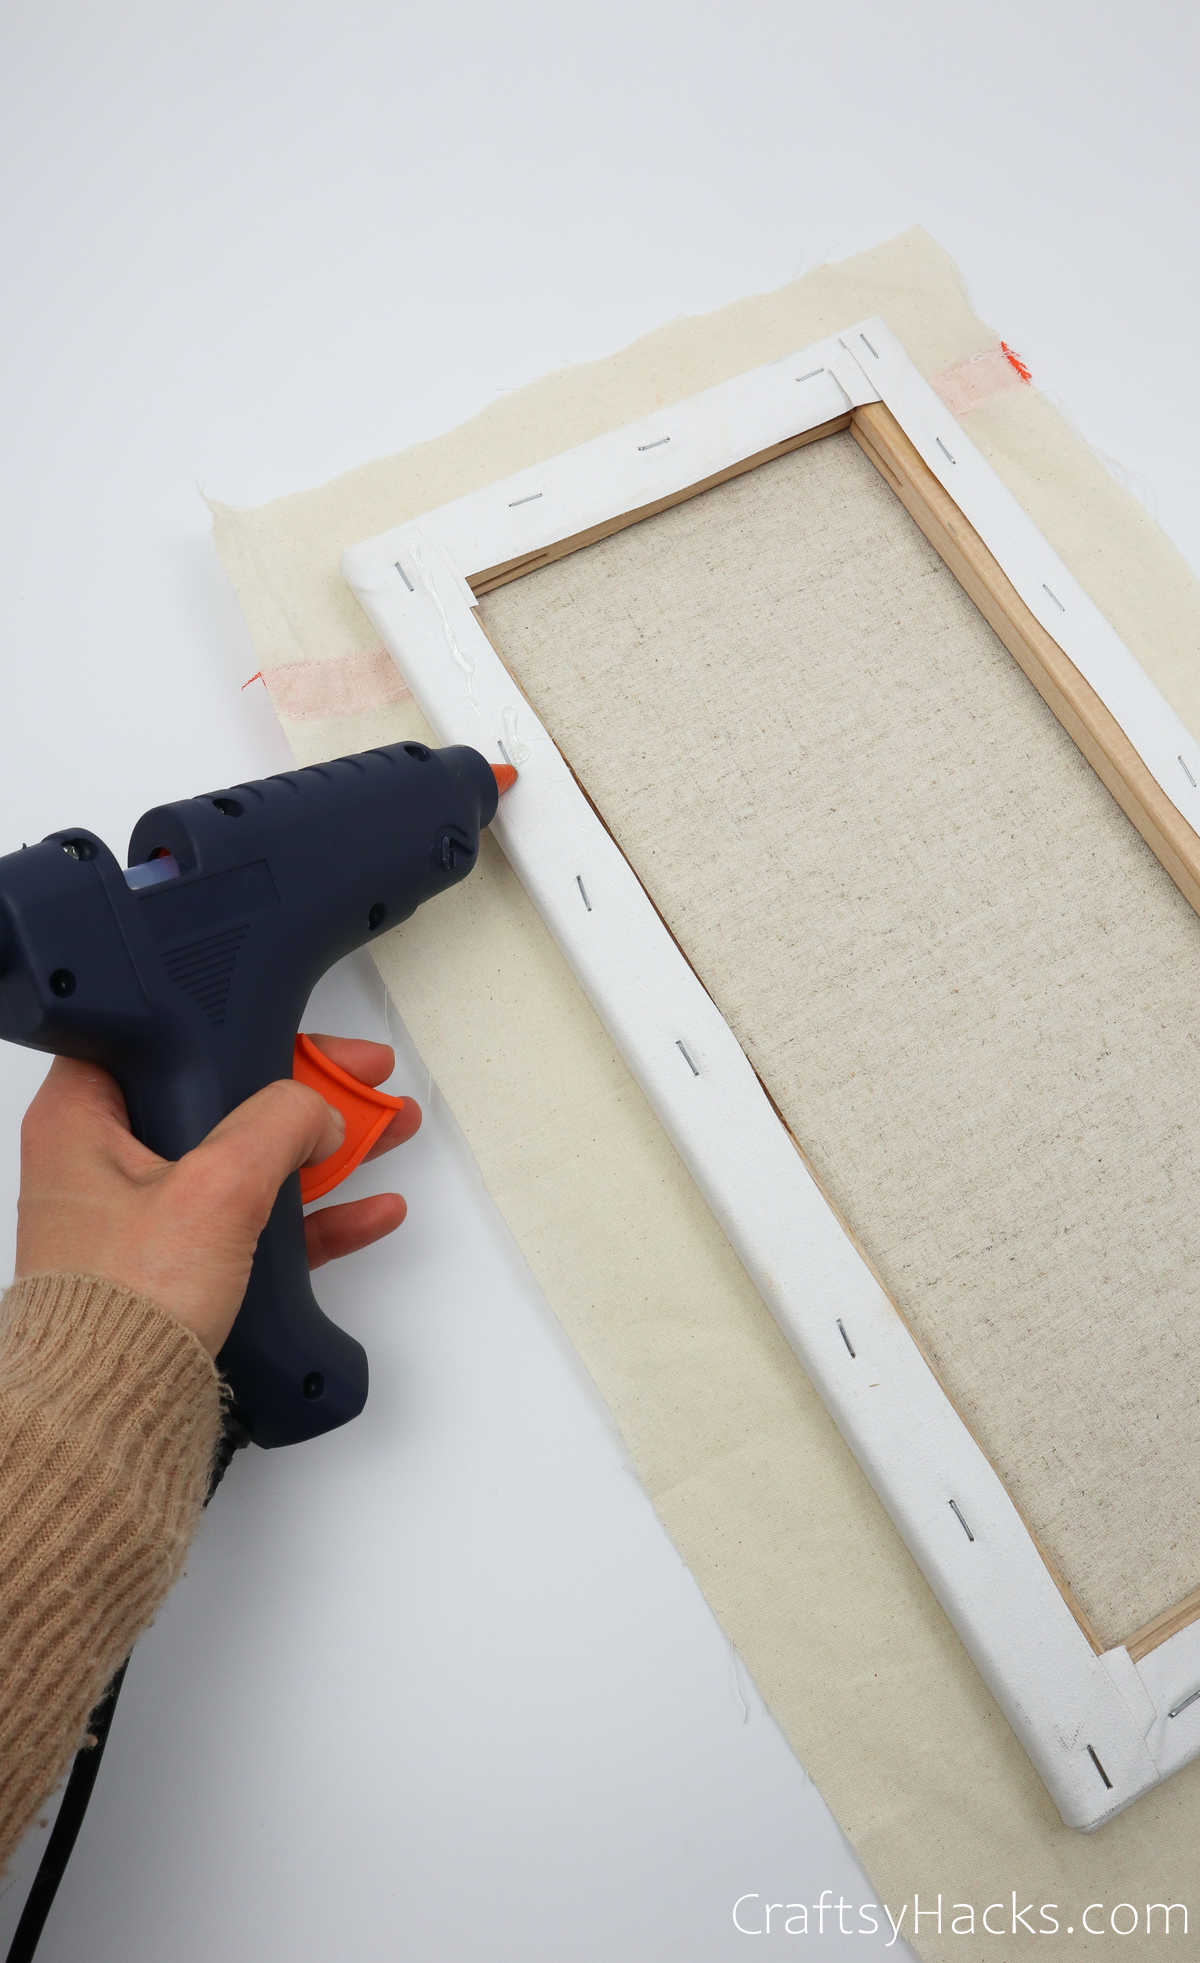
Step 8
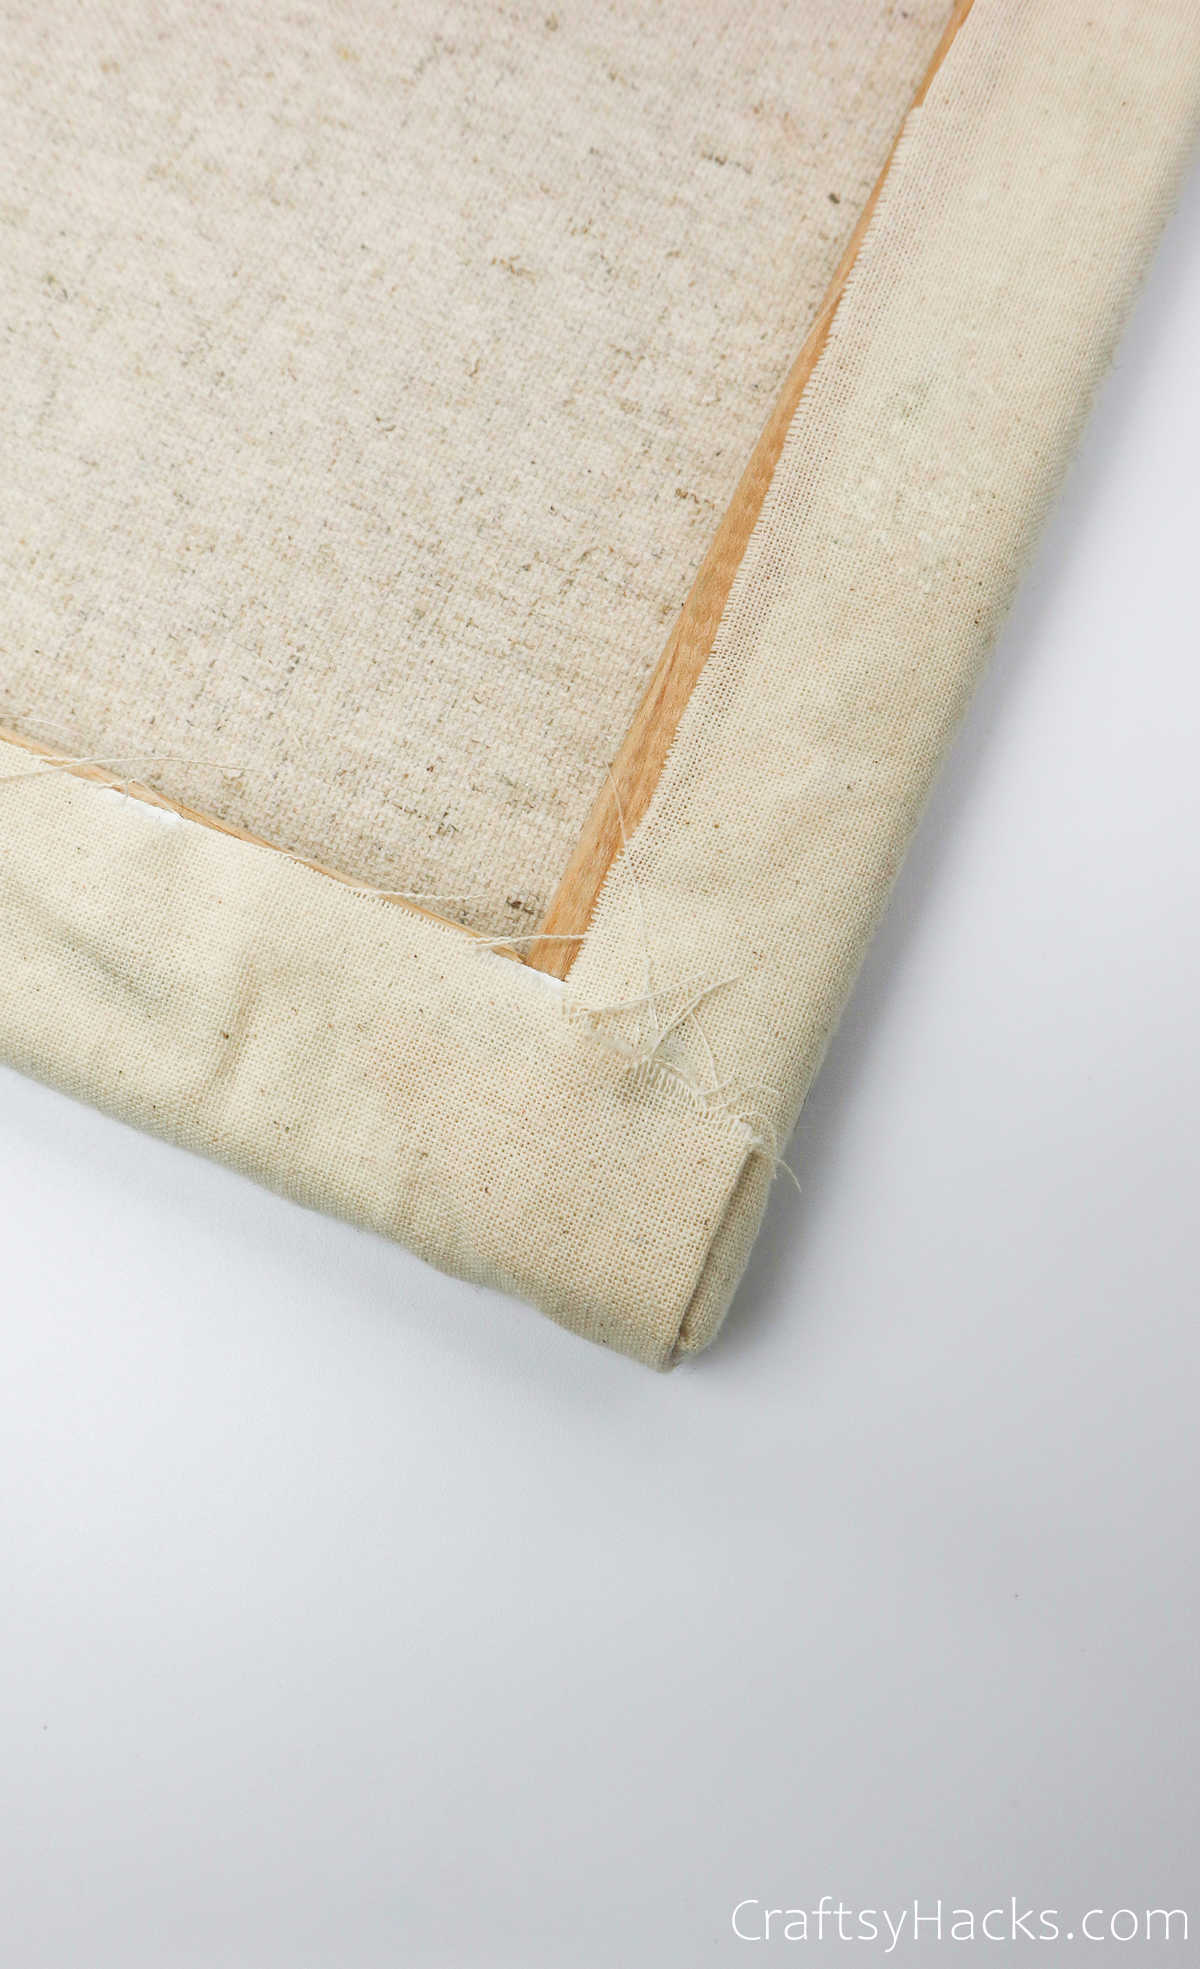
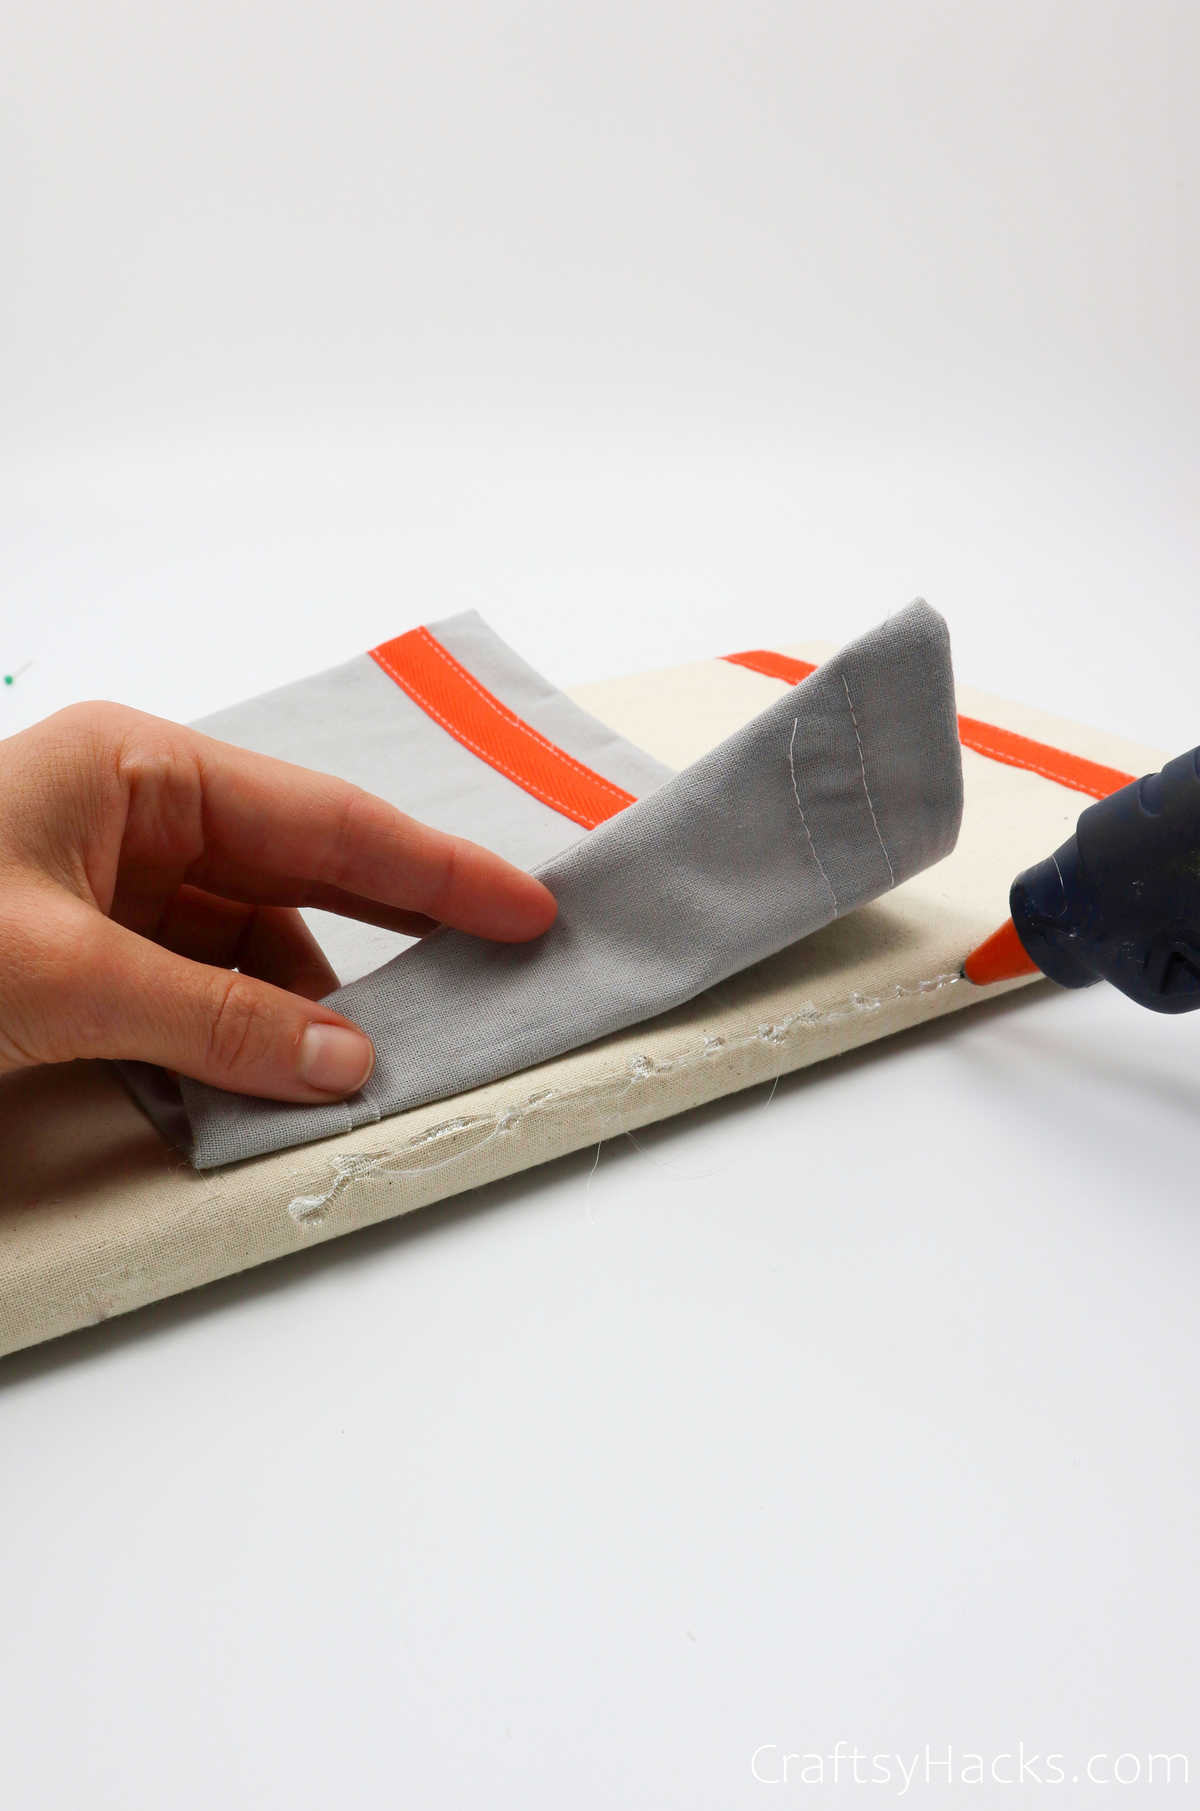
Grab your hot glue gun and line all four sides of the canvas with glue.
Then, carefully pull the fabric over and press it down firmly on the canvas.
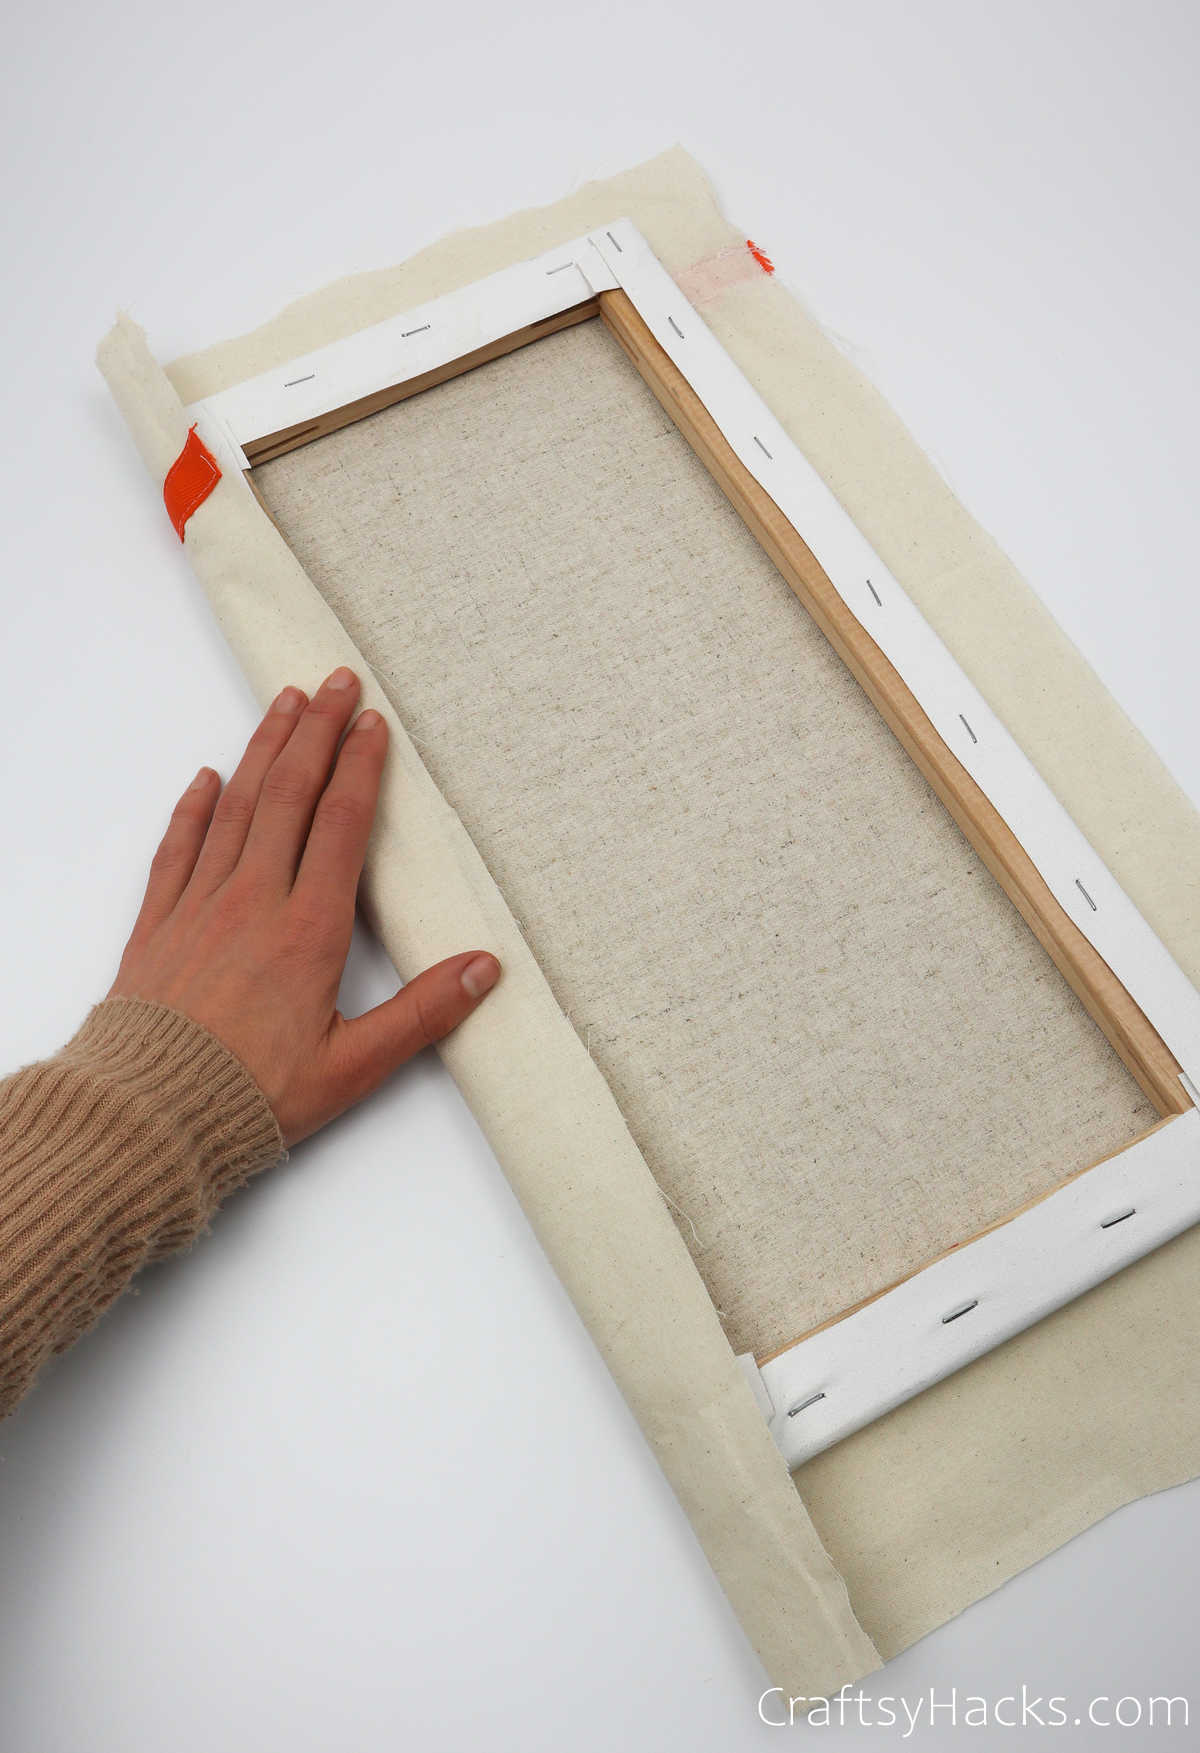
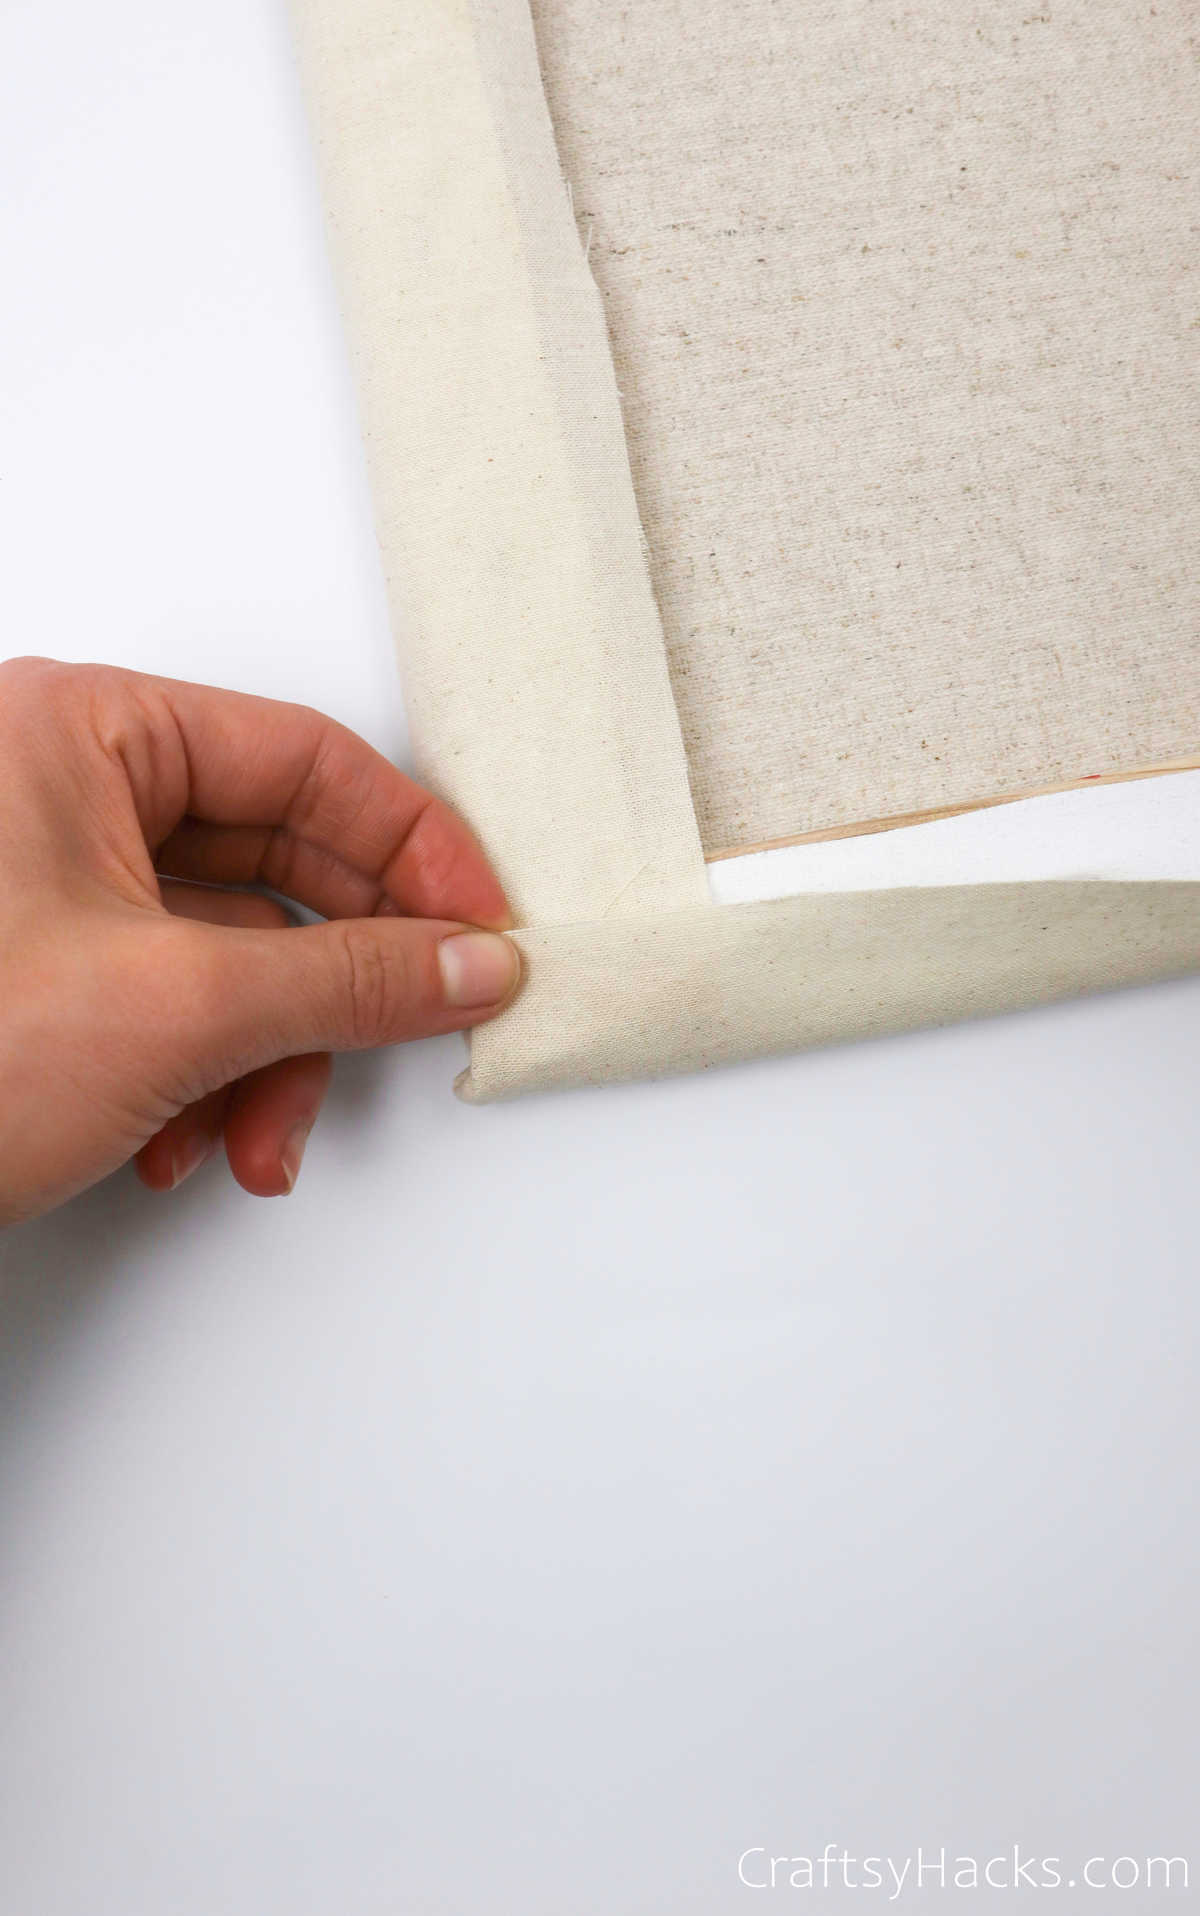
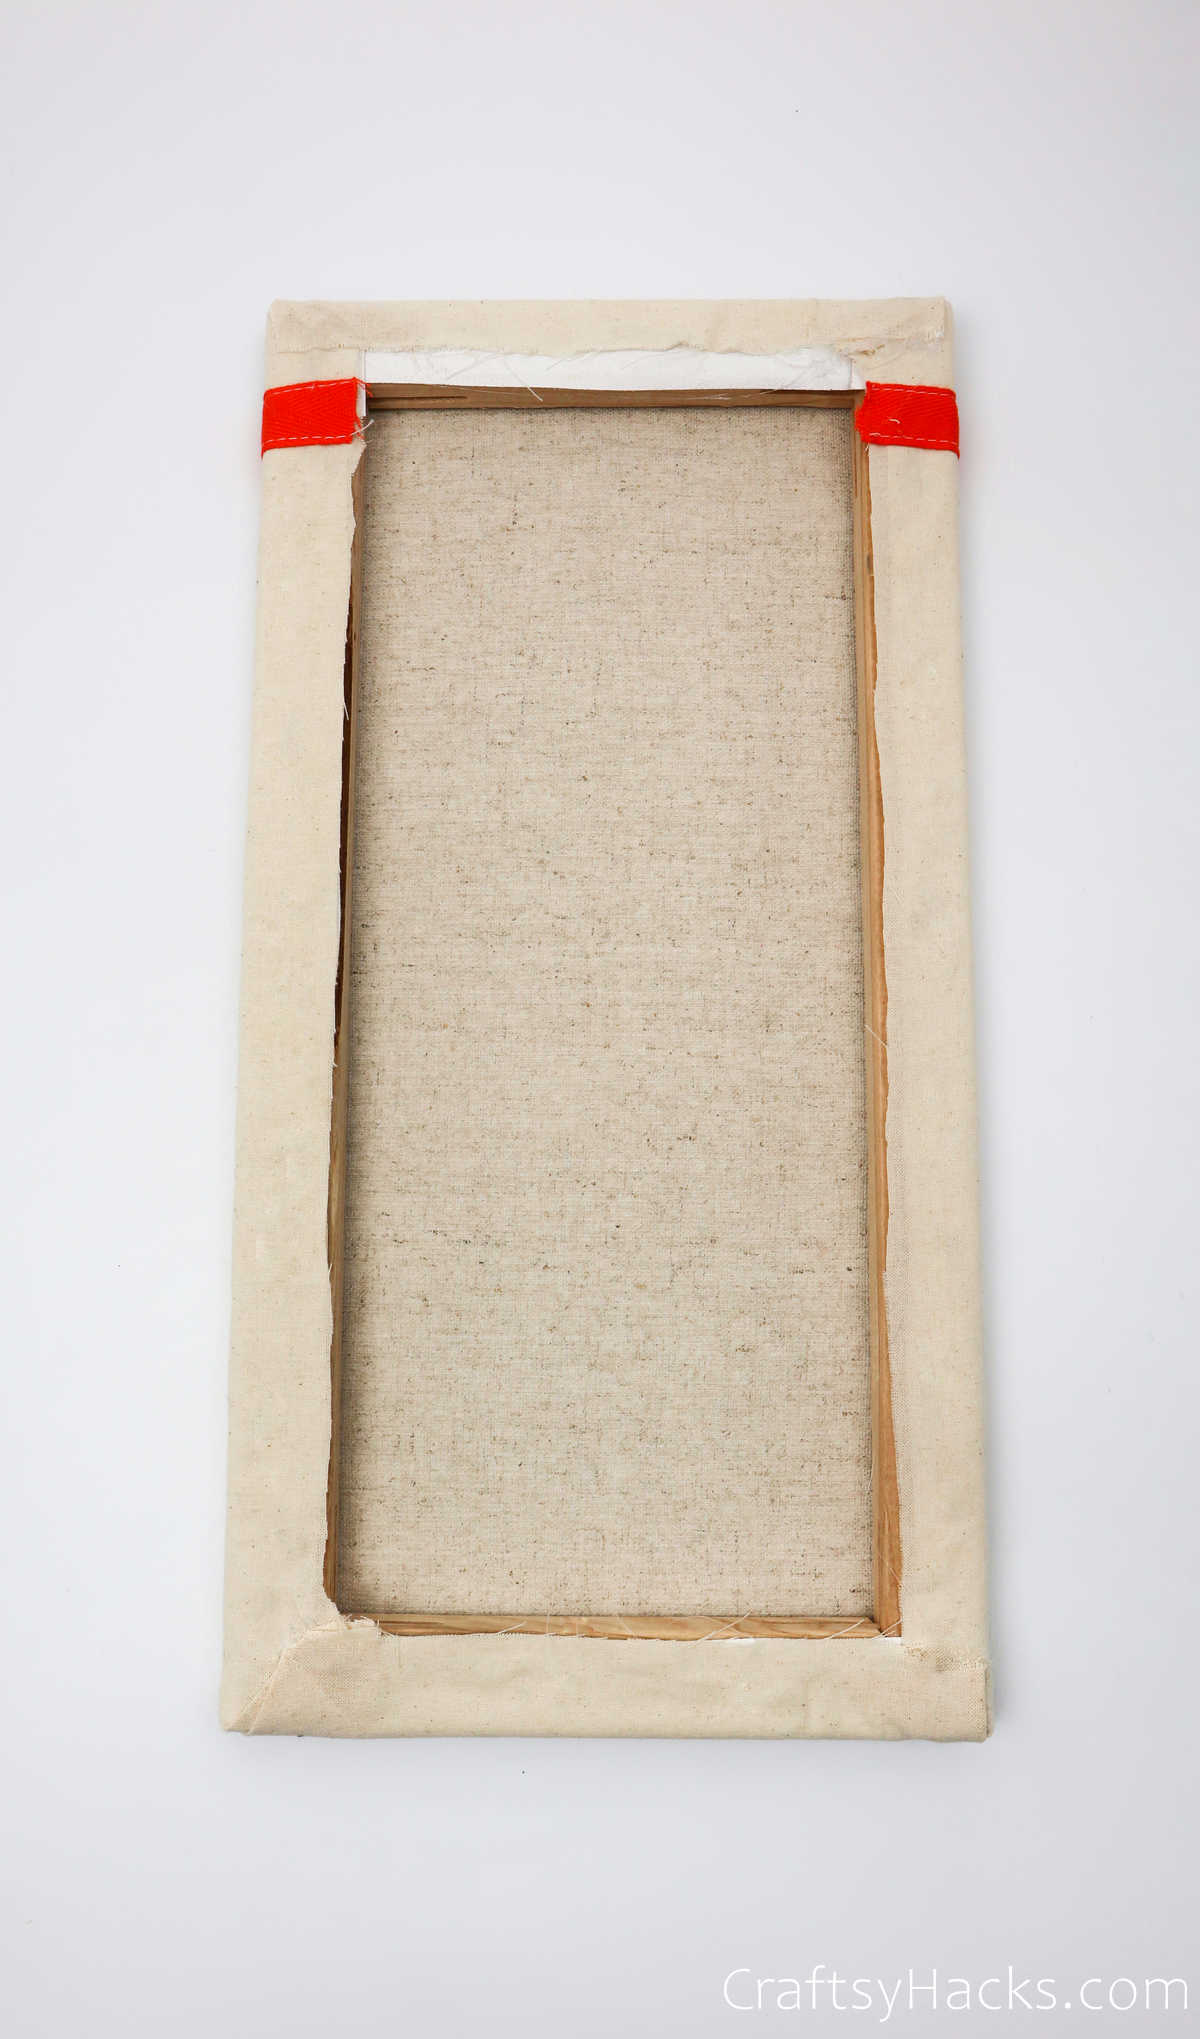
Fold all four sides in the same way and tuck in the ends neatly, as seen here.
Your canvas should look something like this when youre done.
Allow the glue to dry completely before you flip it over to the right sight.
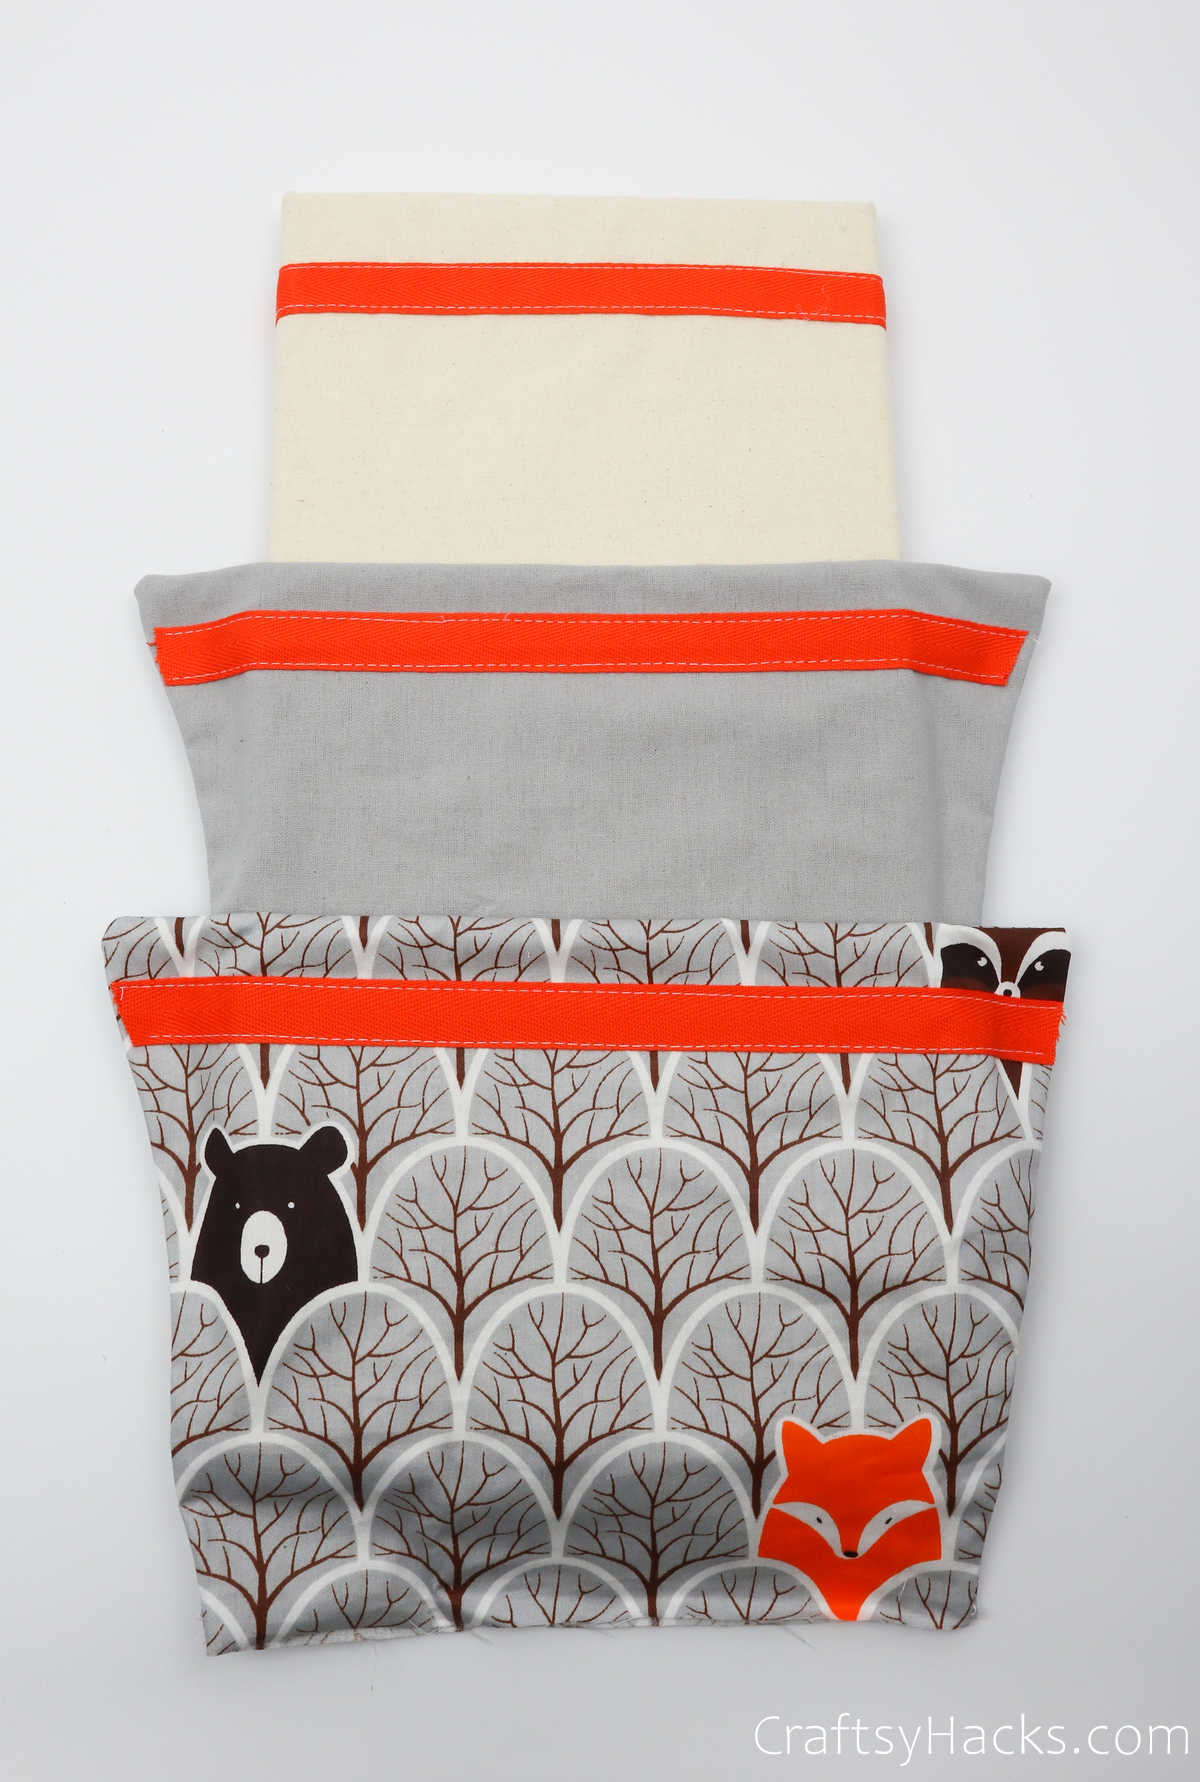
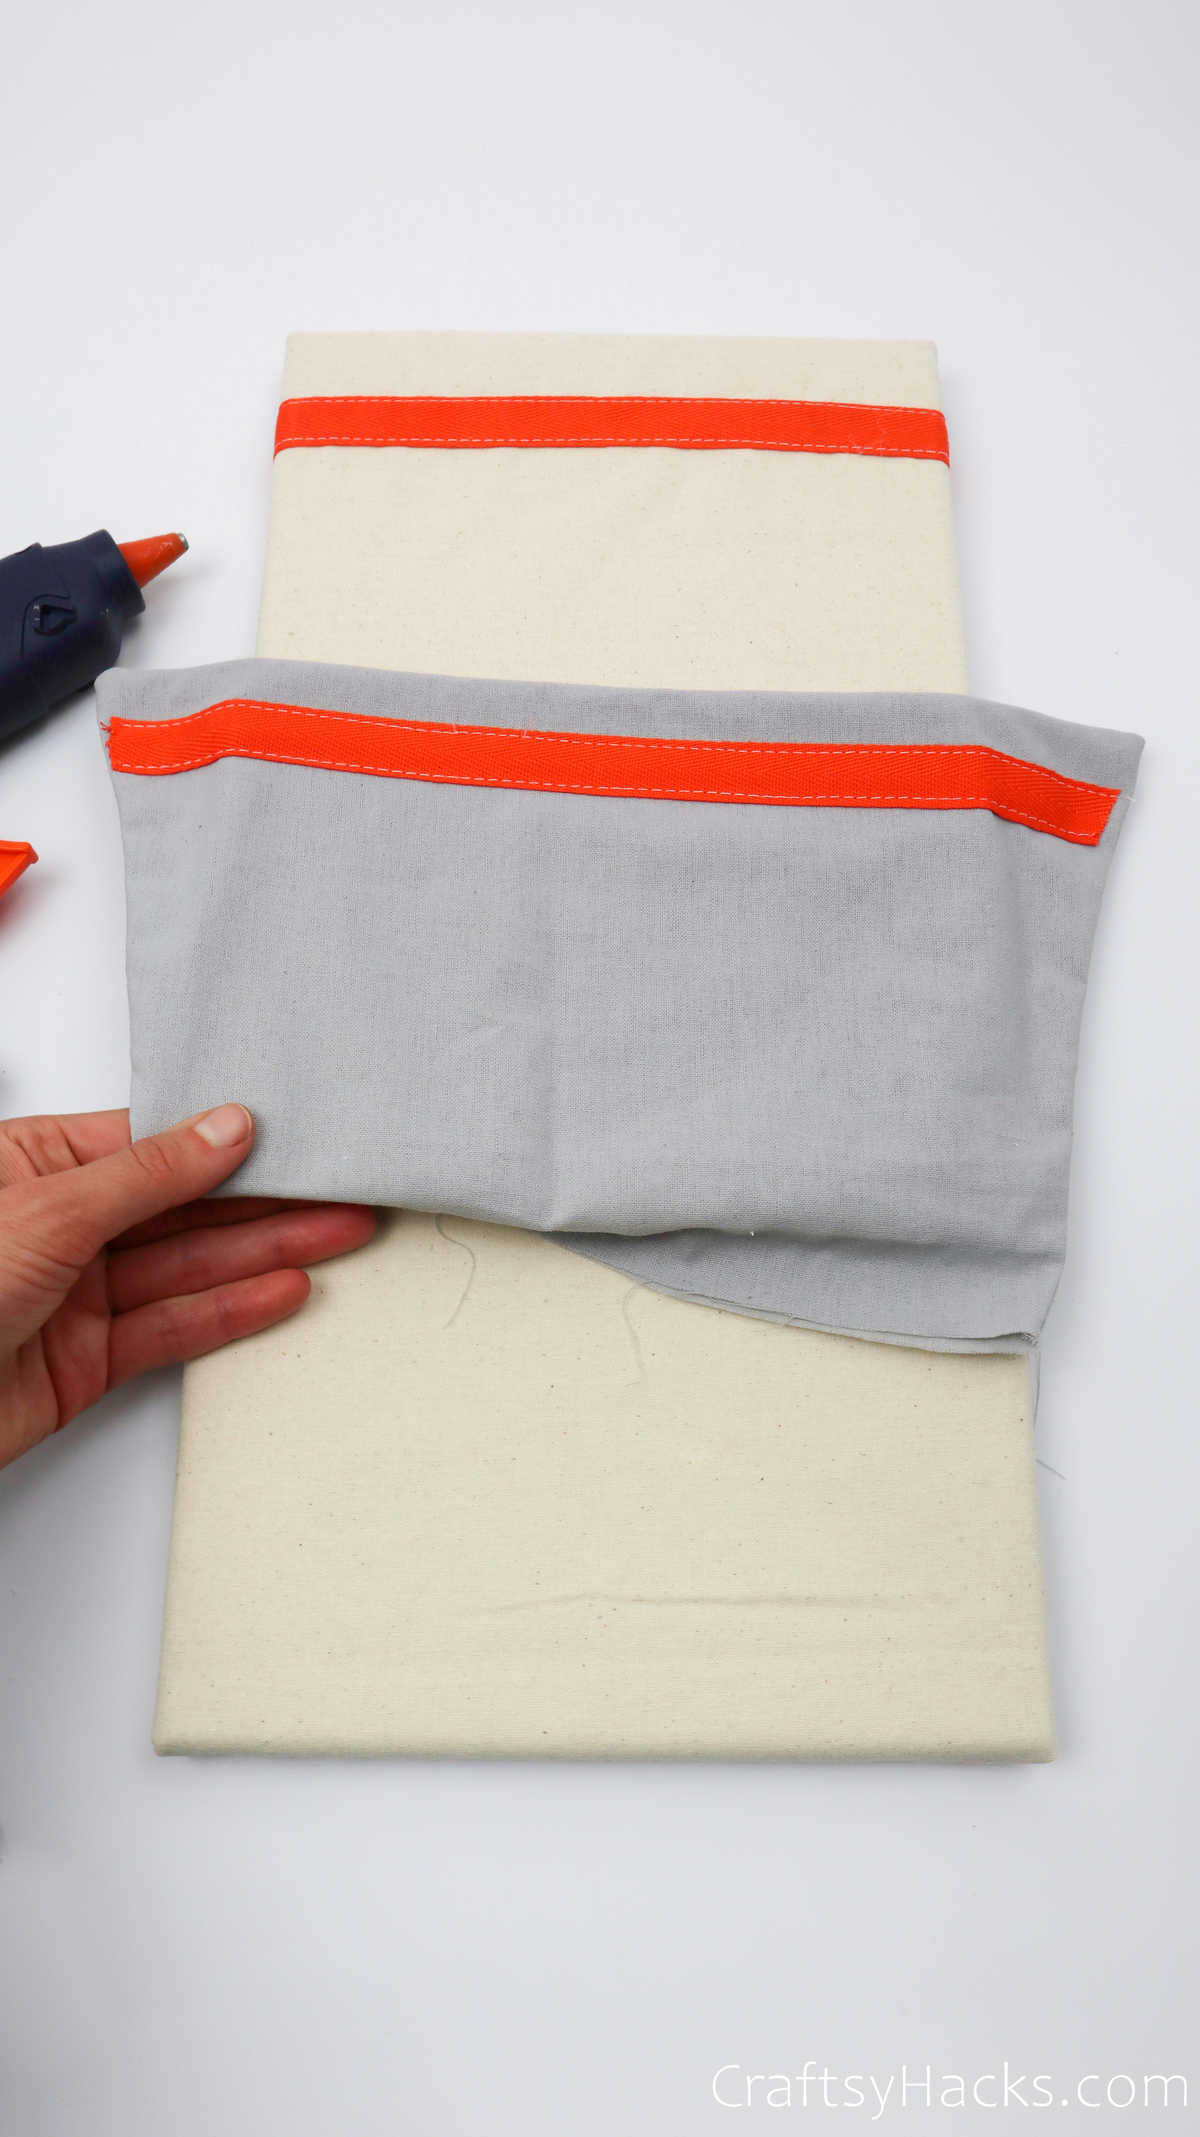
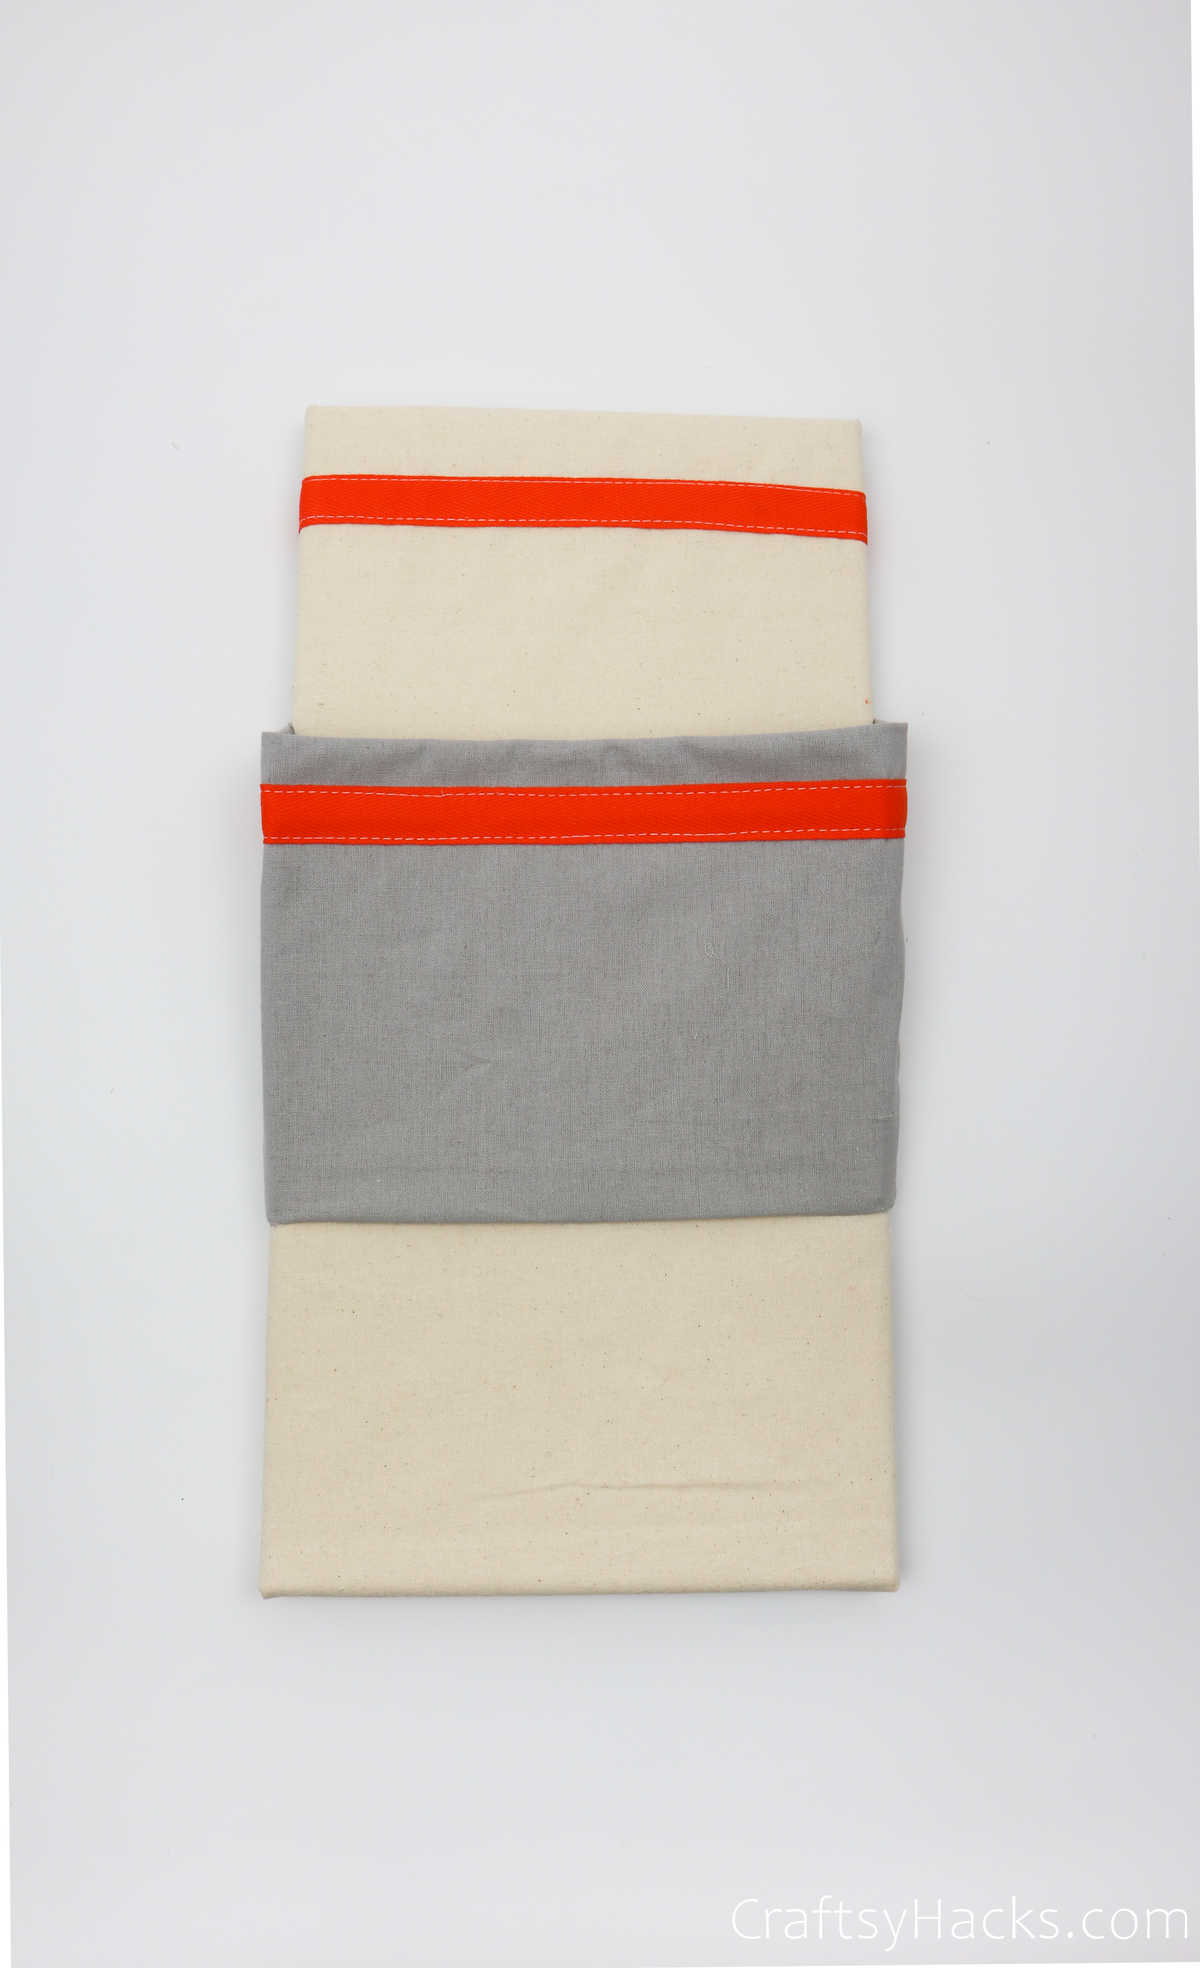
The lower pocket should sit on top of the second one.
Step 10
When youre happy with the way it looks, grab your glue gun.
Carefully fold the bottom of the pocket inward first.
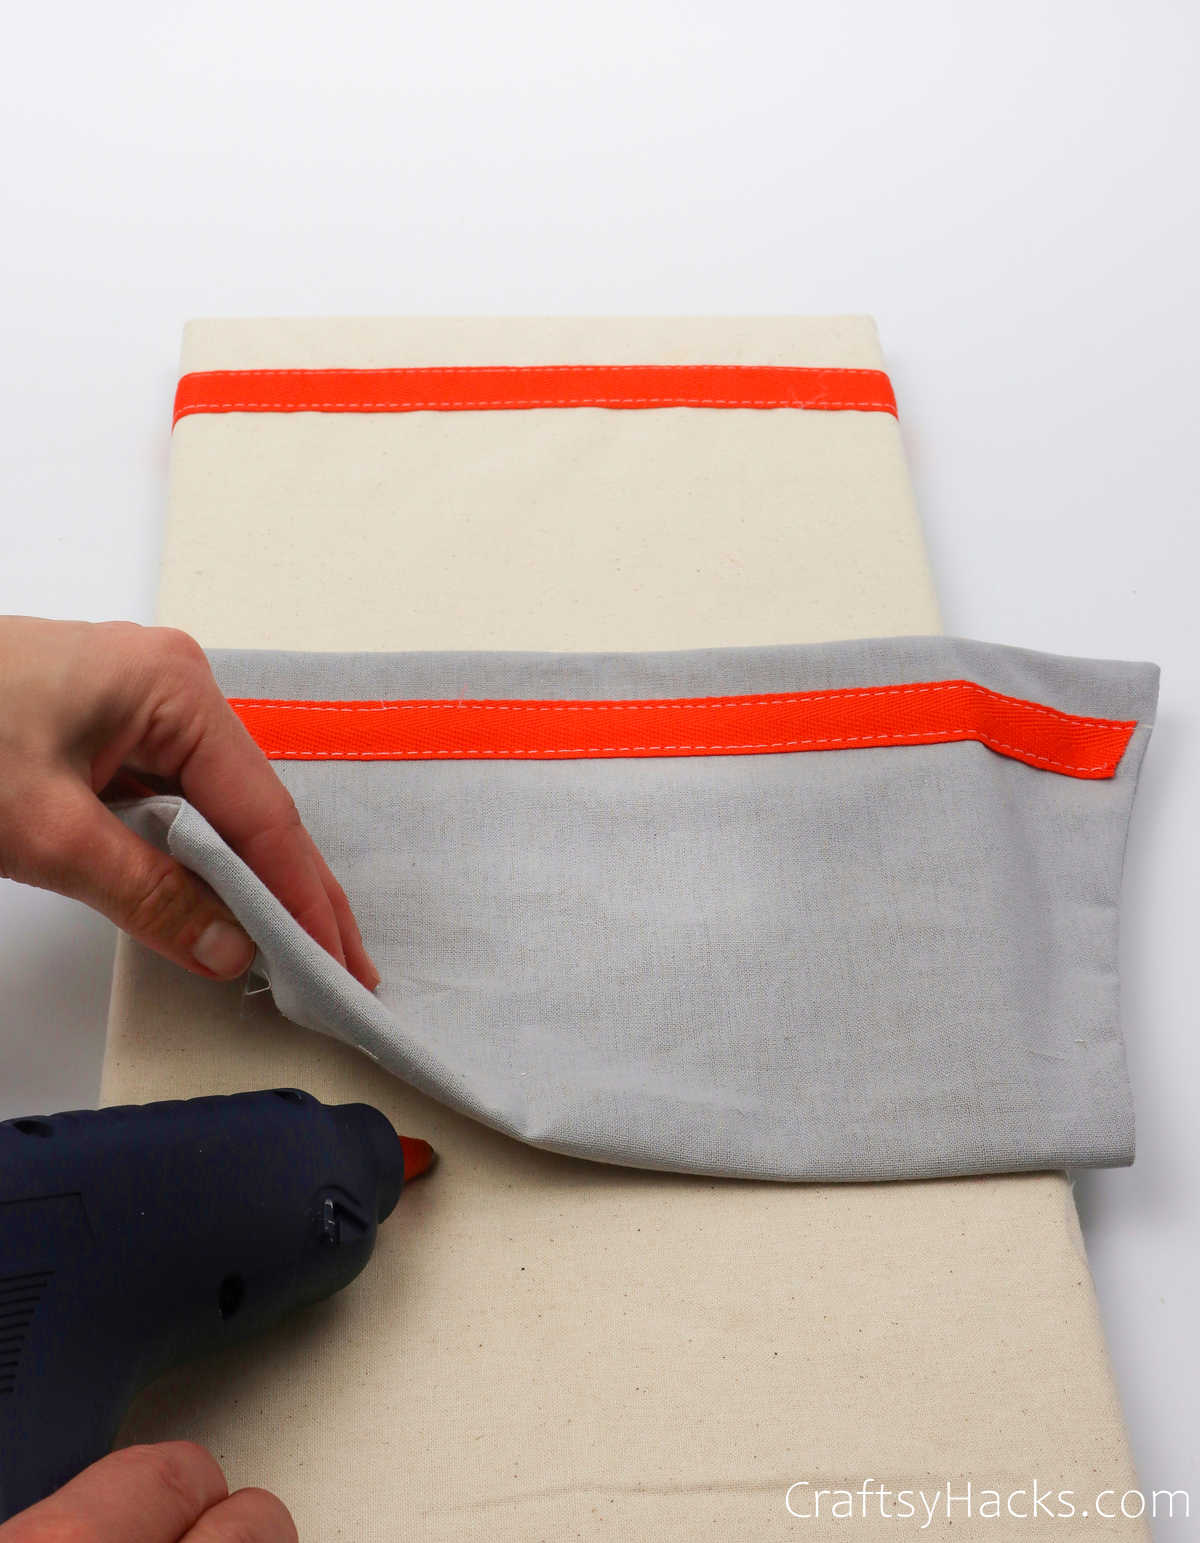
Then, line the canvas with hot glue.
Your top pocket should look something like this when youre done.
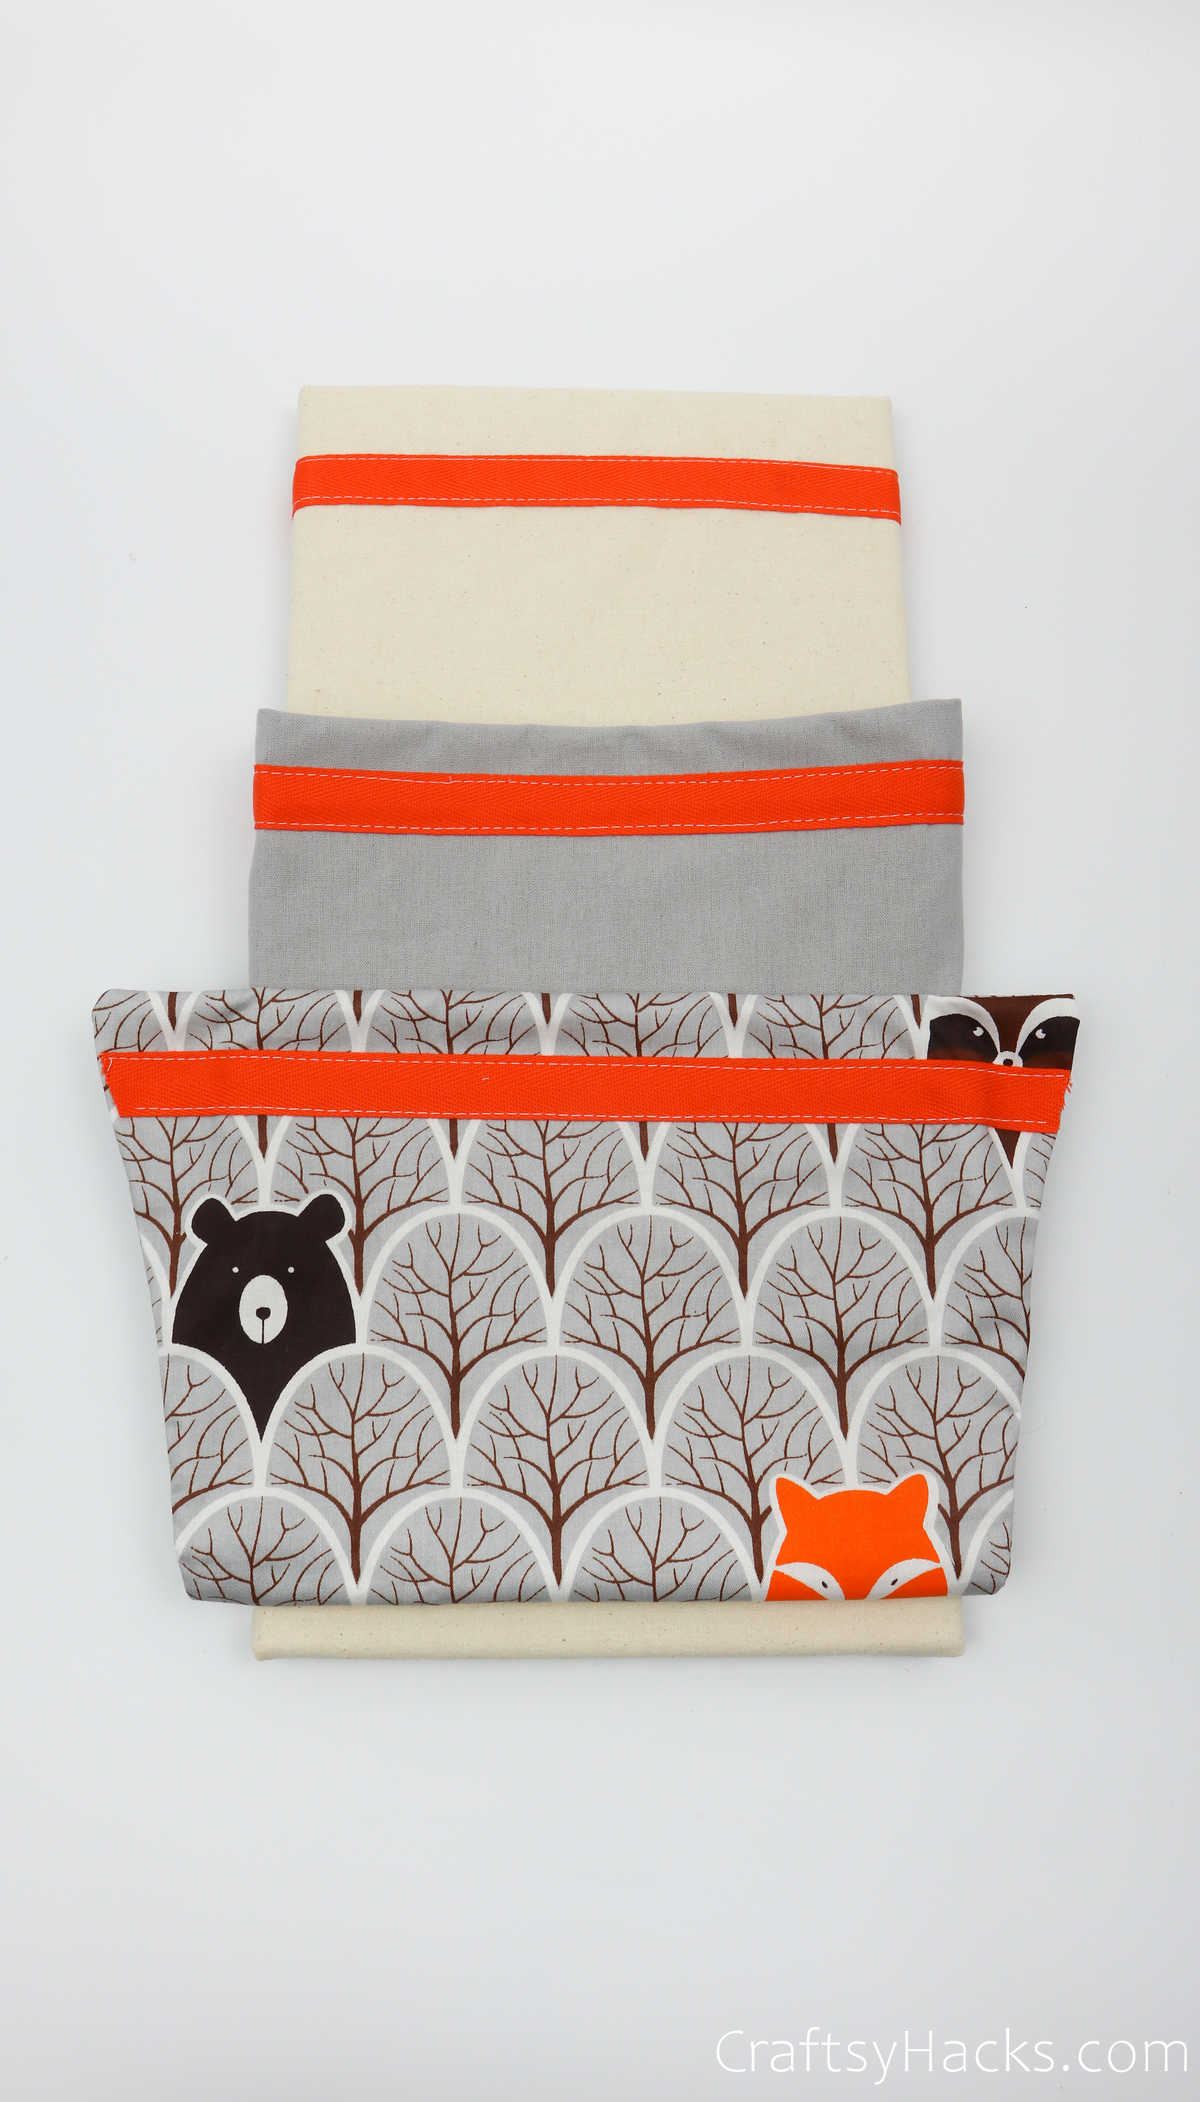
Now, lets move on to the bottom pocket.
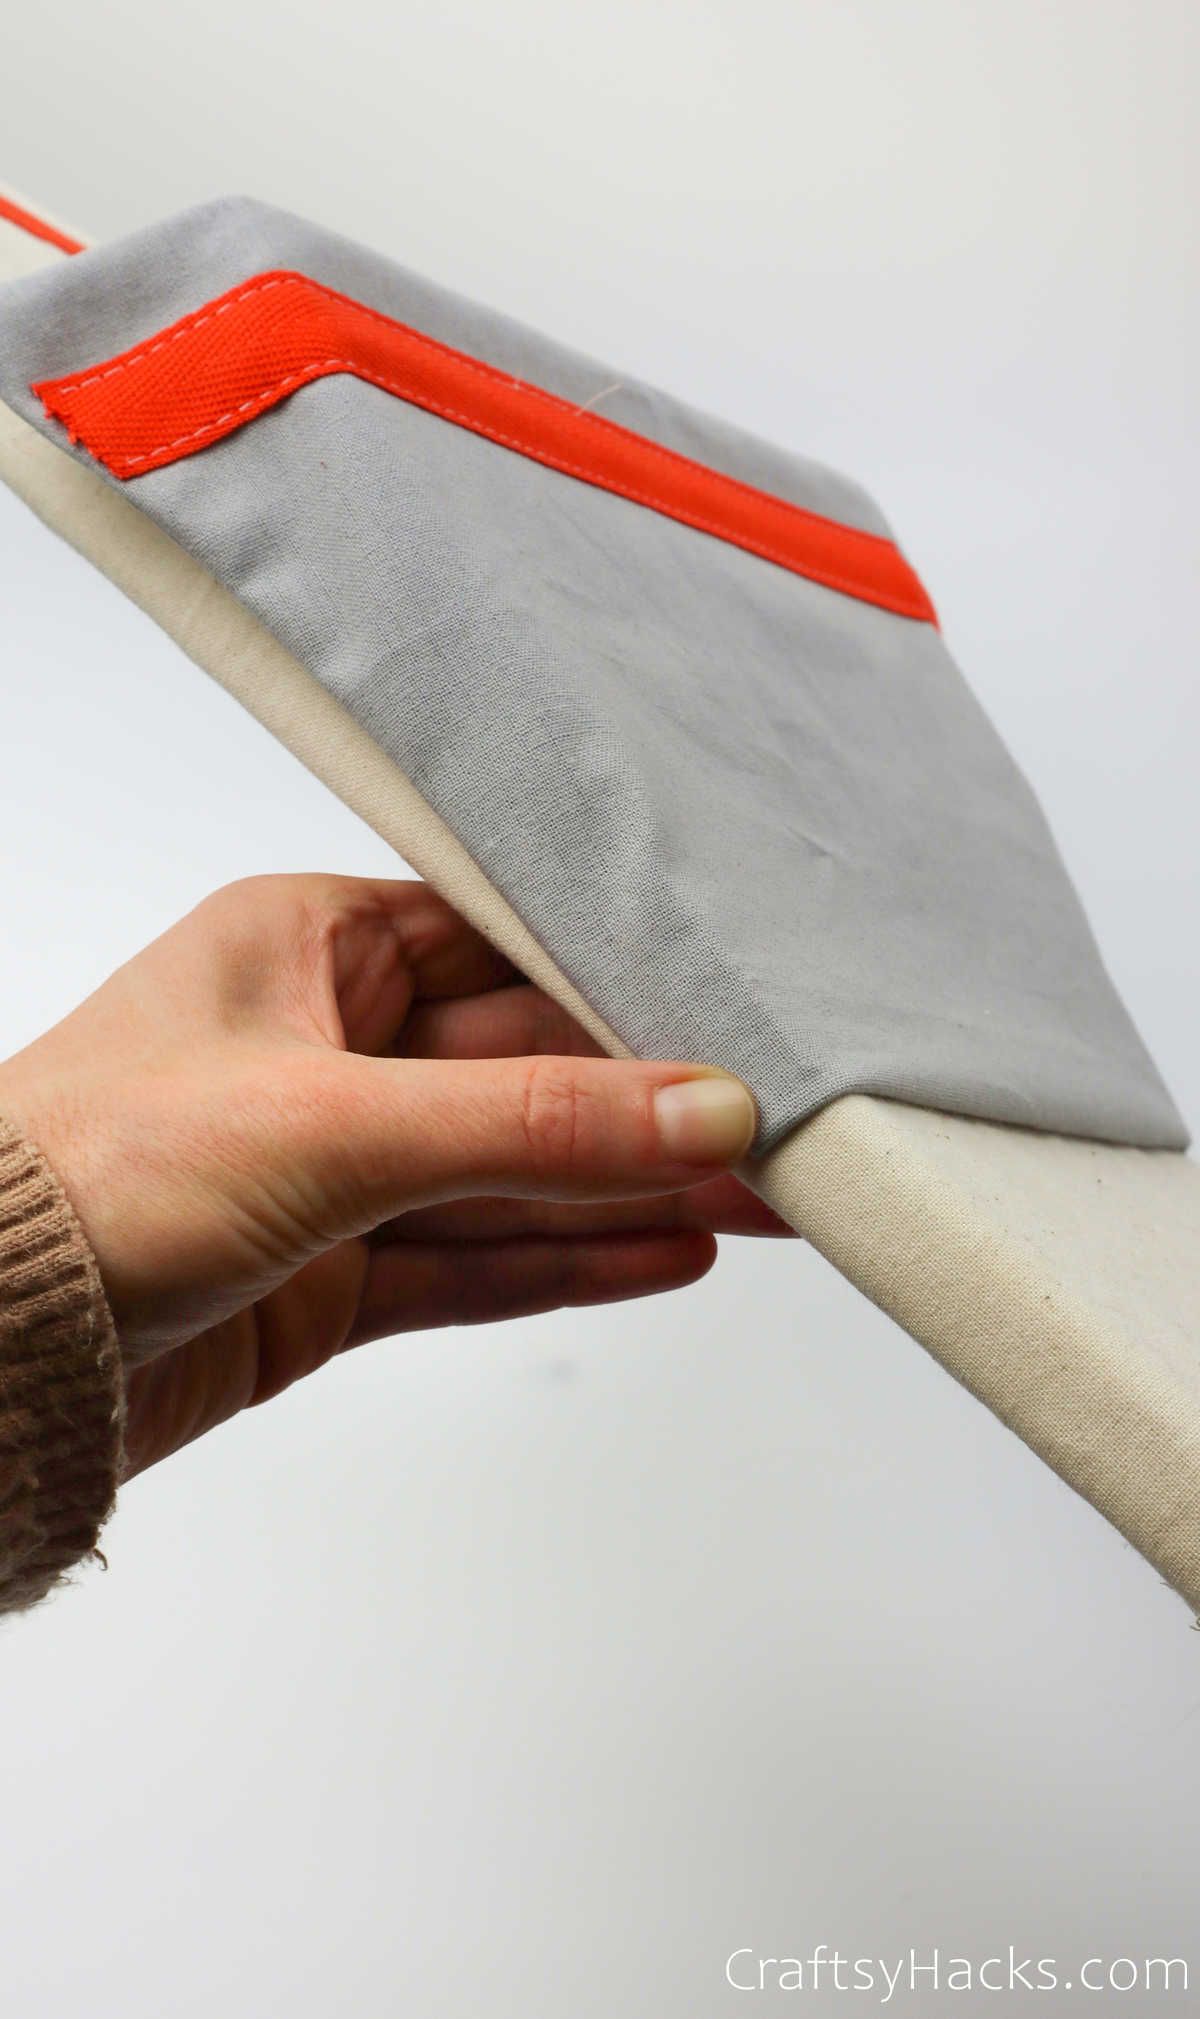
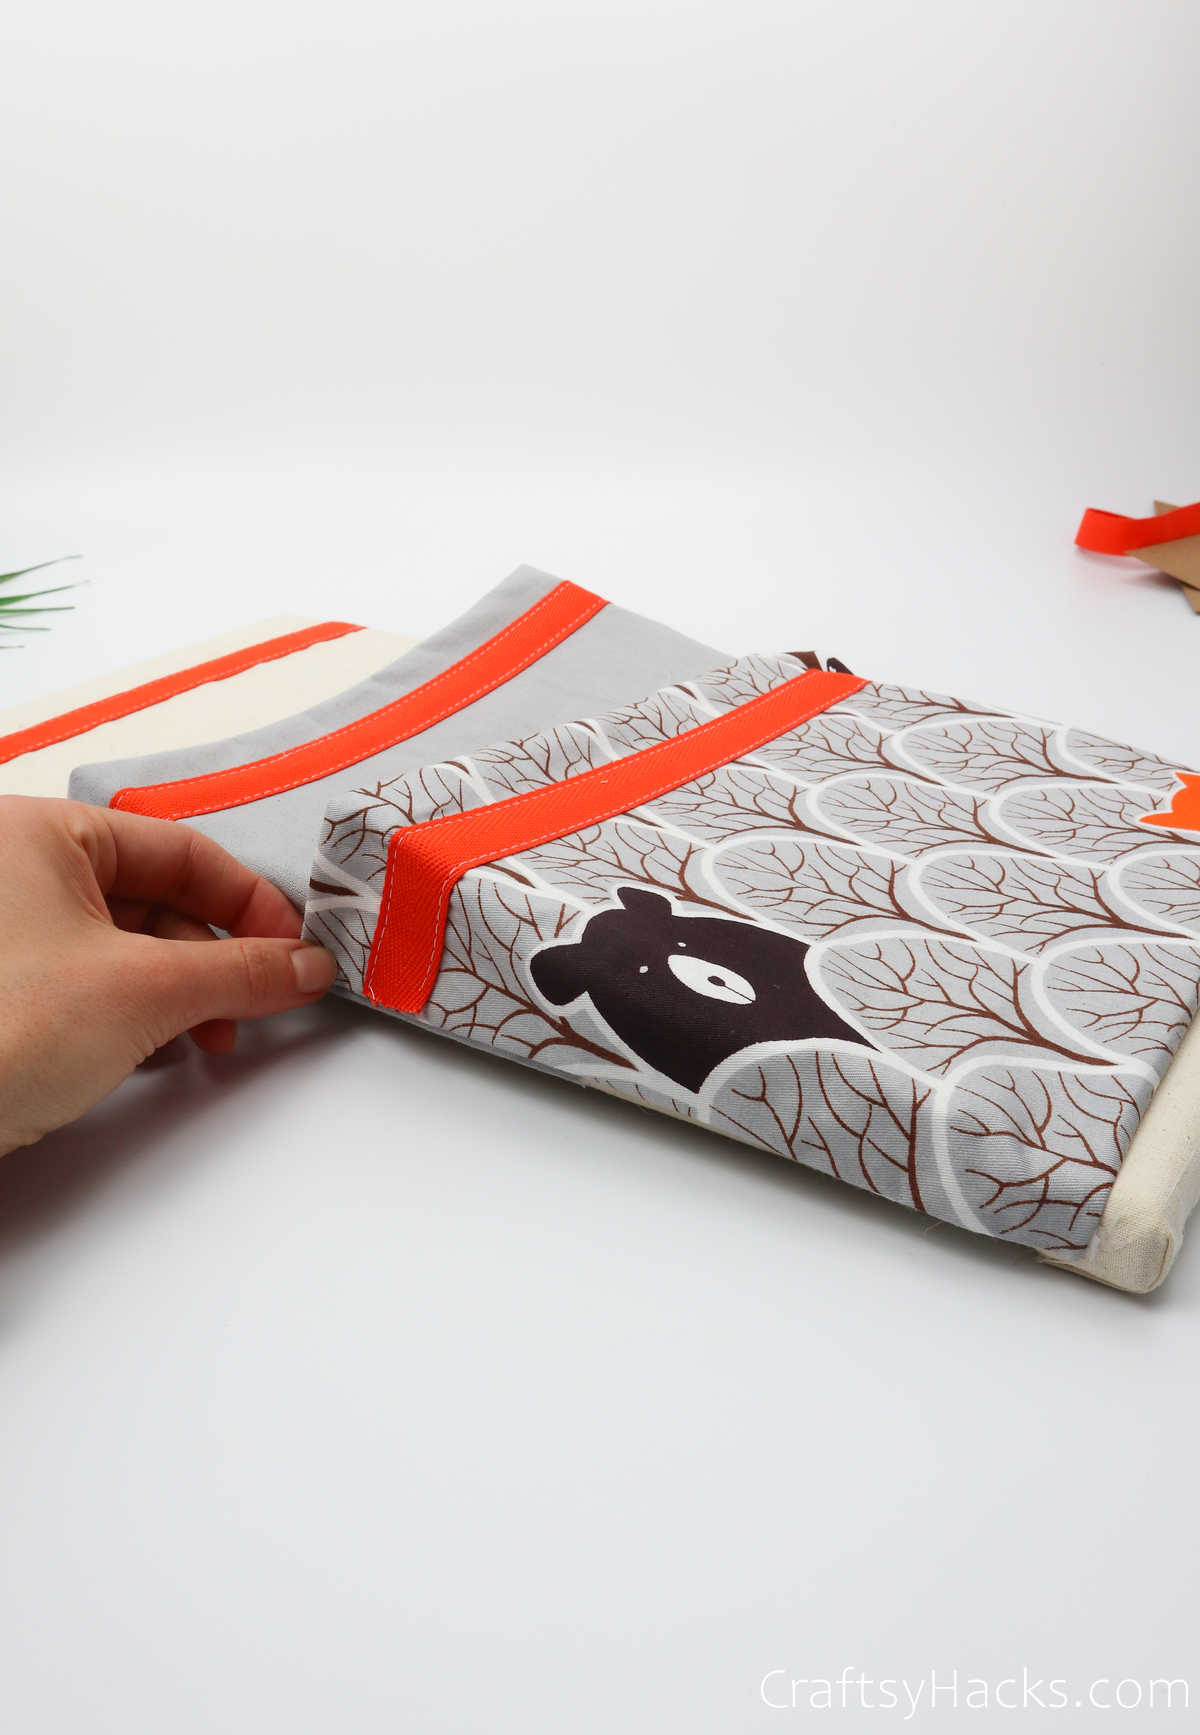
This will check that that your pockets weight is distributed evenly.
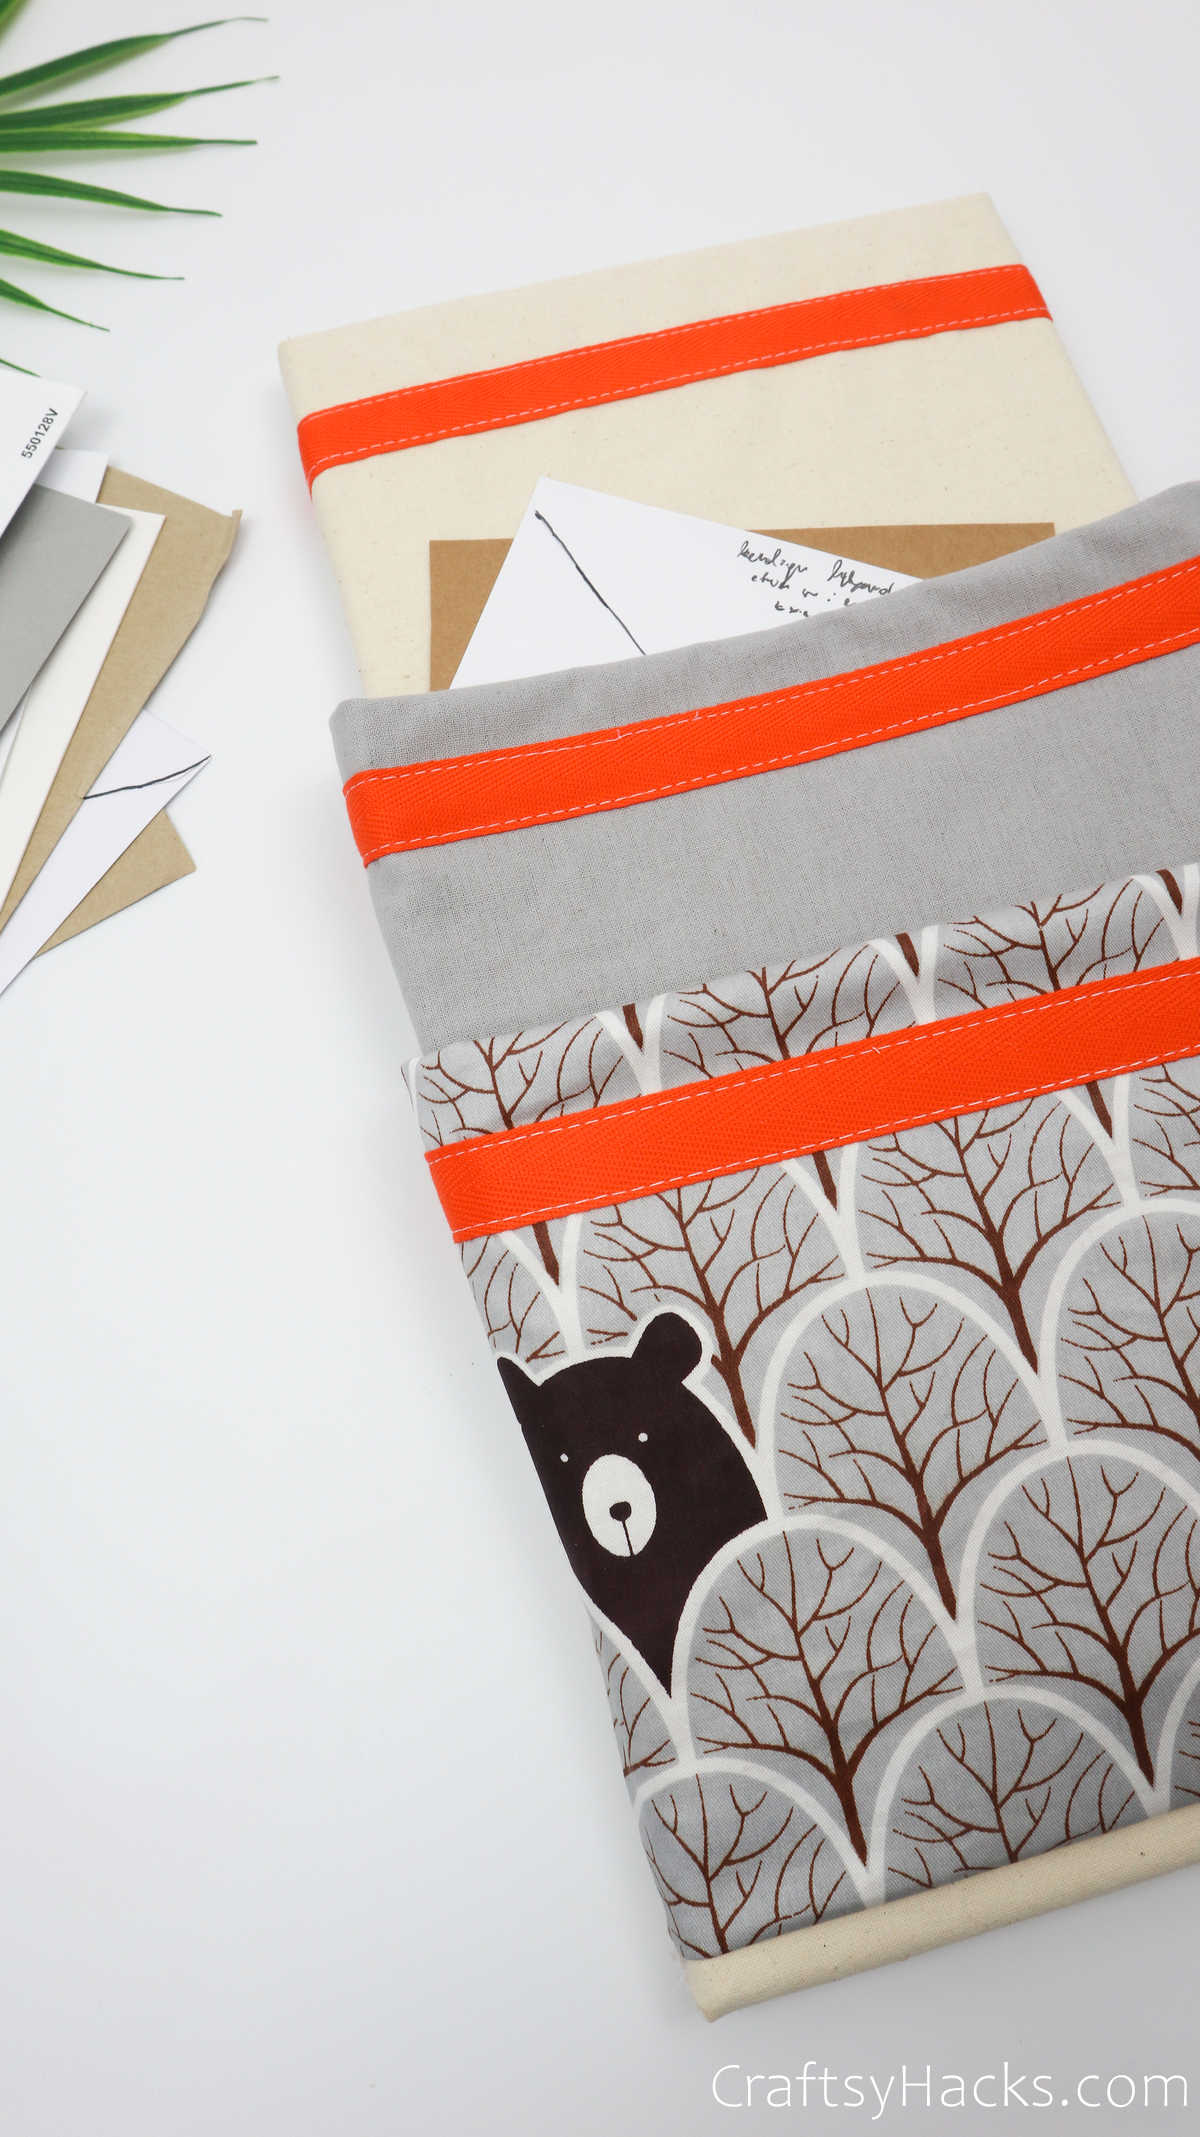
confirm you tug at the top ends so that they stick out just so.
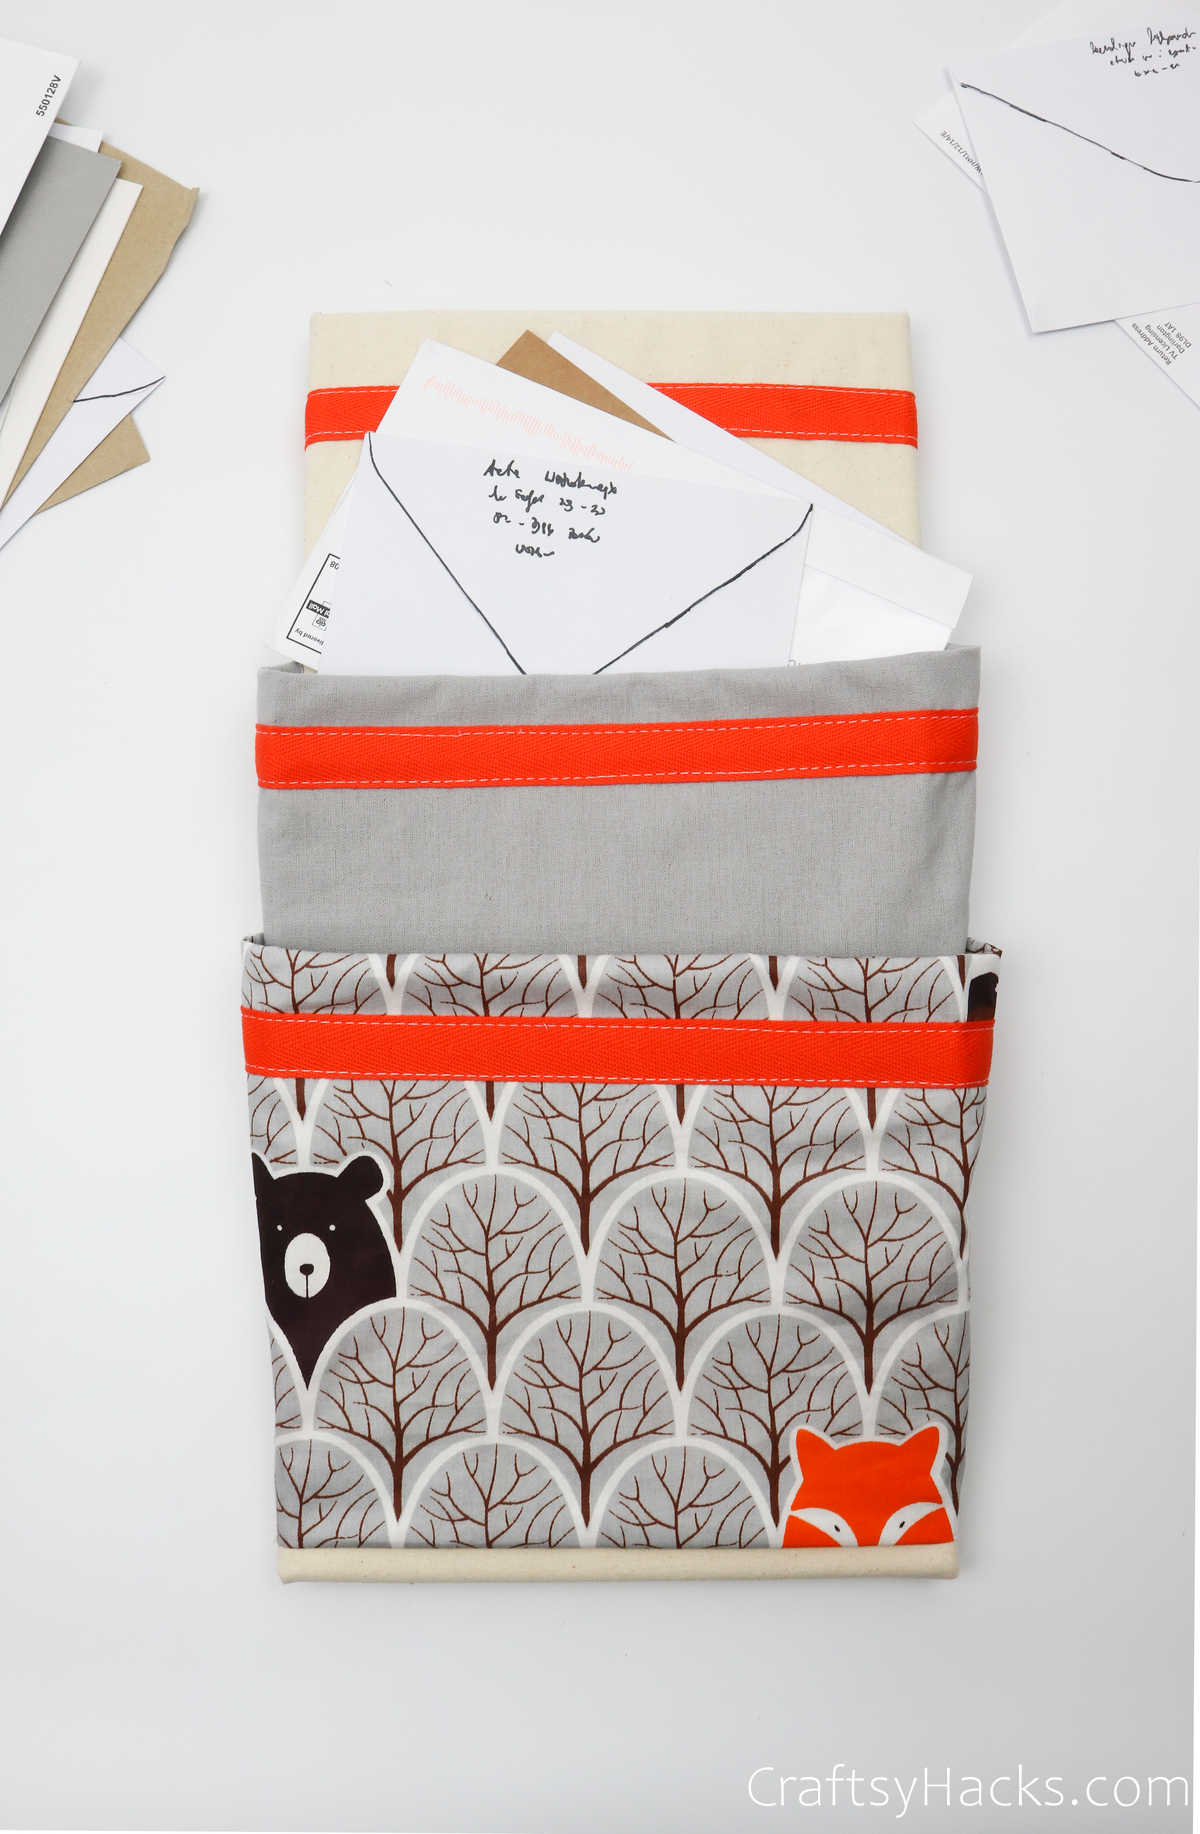
And there you have it!
Your DIY mail organizer is all ready!
What Types of Fabric Can I Use?
Cotton canvas fabric is perhaps the most popular choice.
The canvas frame will give your organizer the support it needs to stand upright.
Can I Make This Without a Sewing Machine?
Yes, you’re able to definitely sew this entire project by hand if you want to.
Just a word of advice, though.
Instead of sewing the twill tape, use hot glue to stick it in place.
Youll find it hard to hand-sew twill tape with the cardboard sheet in place as it is.
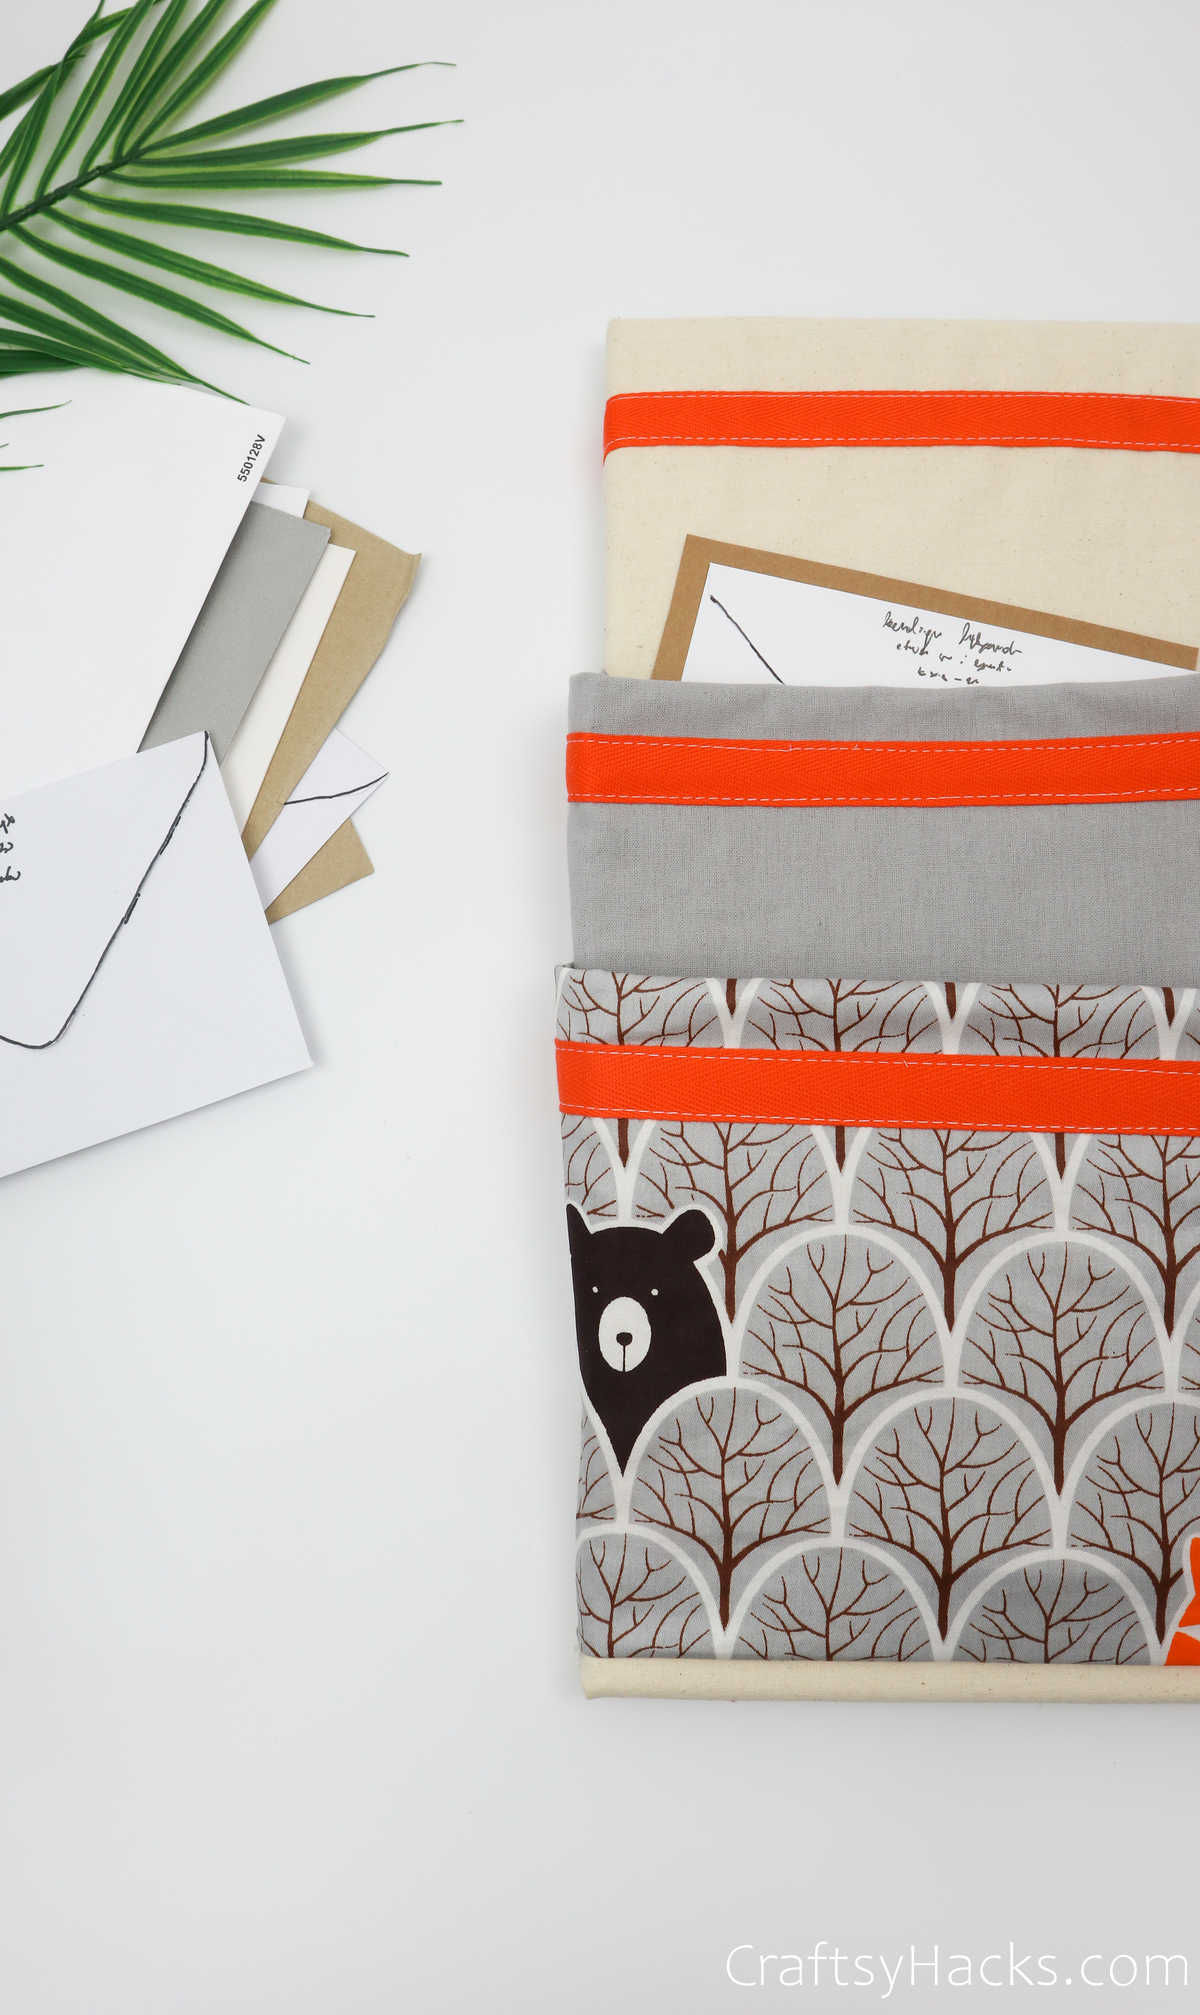
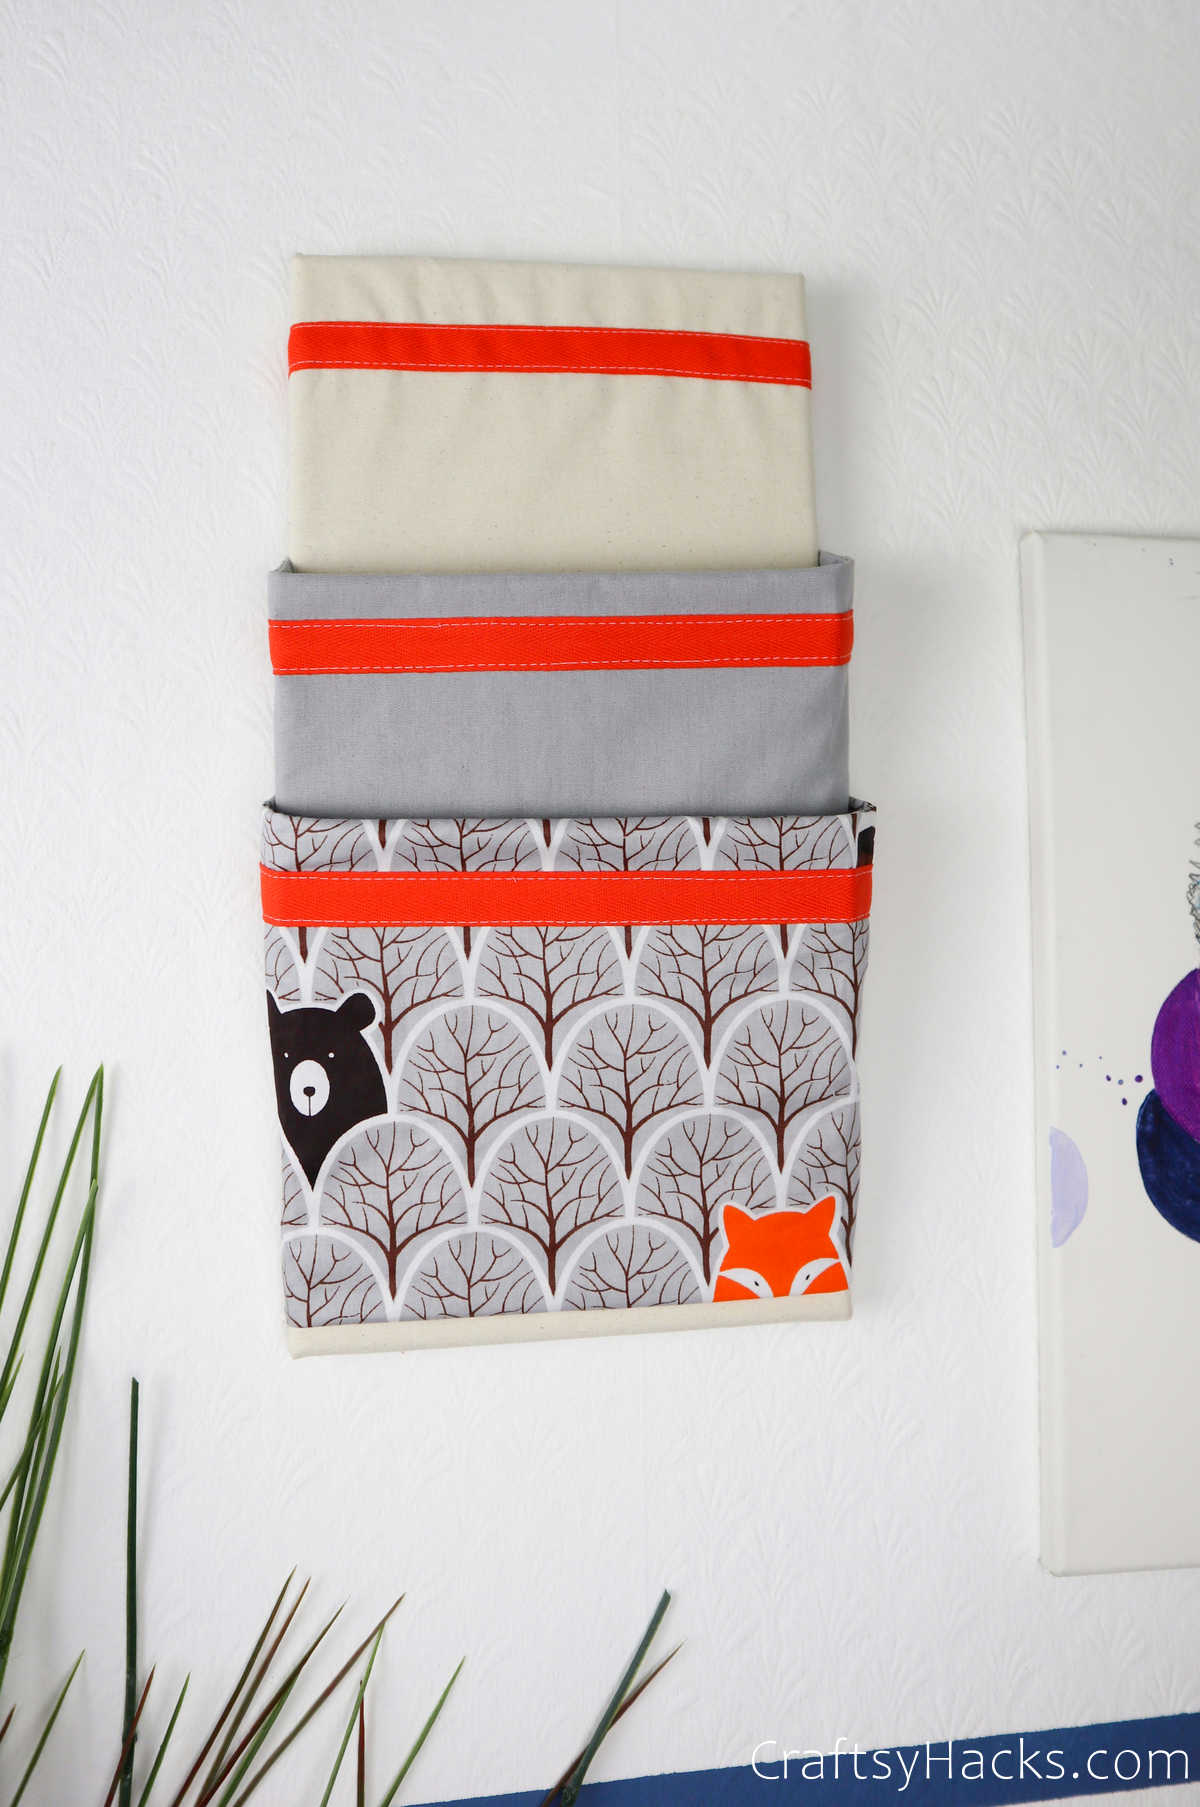
Where Can I Place It?
It can also be hung up just about anywhere you like.
Consider where you normally tend to place your mail when you bring it home.
Thats a habit that can be hard to break.