I worried I would ruin the beautiful and flawless genuine leather which to buy new is not cheap.
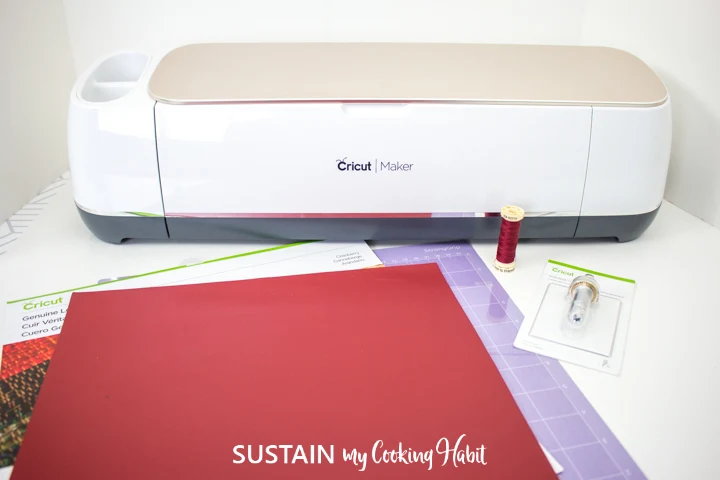
Materials Needed:
Disclosure: This post continues affiliate links for your shopping convenience.
you could find ourfull disclosure policy here.

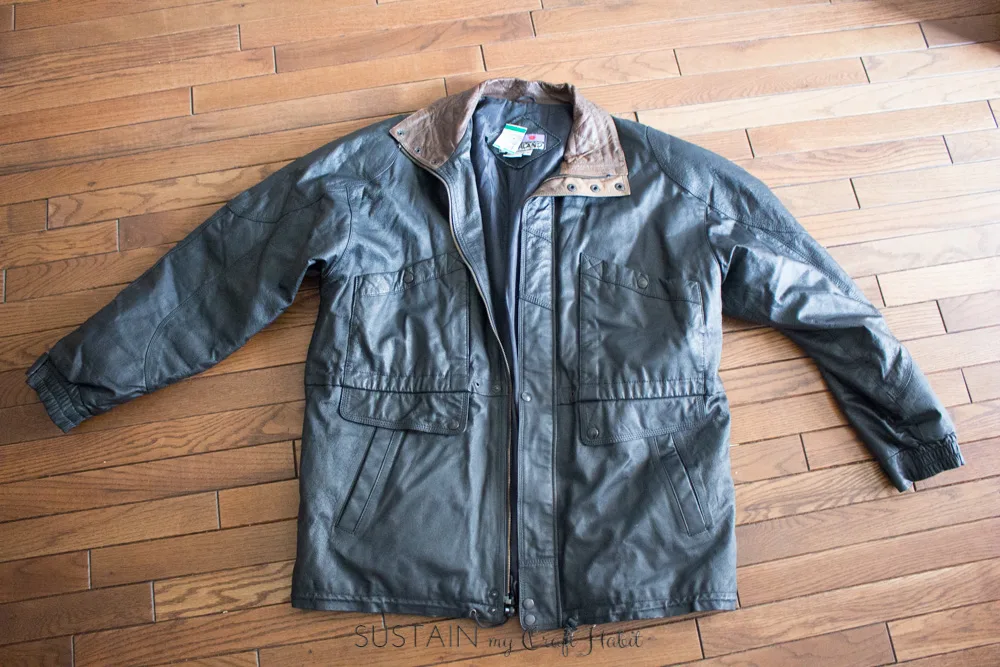
DIY Leather Bag from an Upcycled Jacket
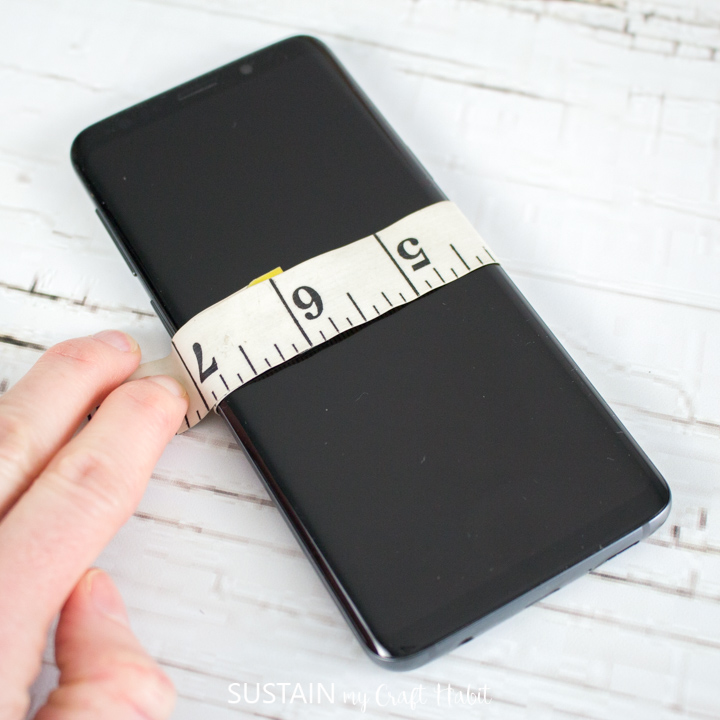
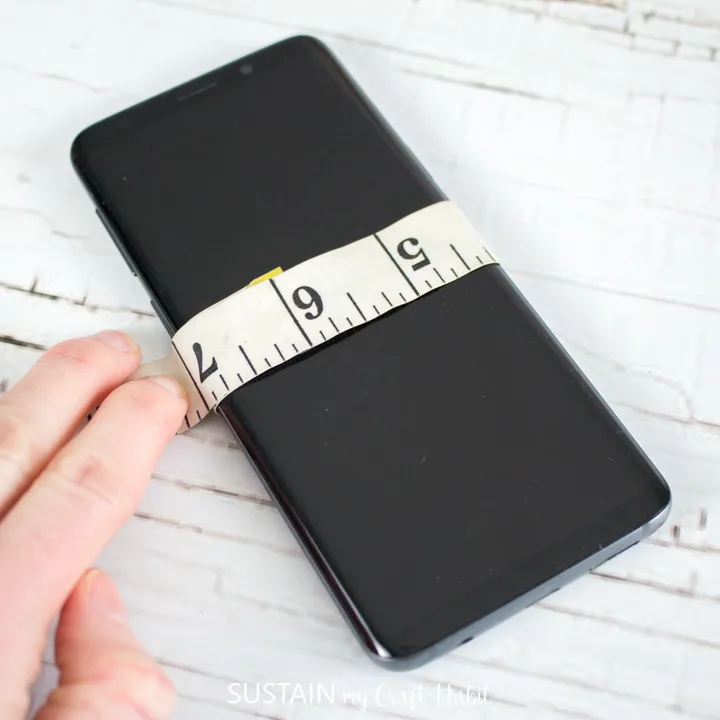
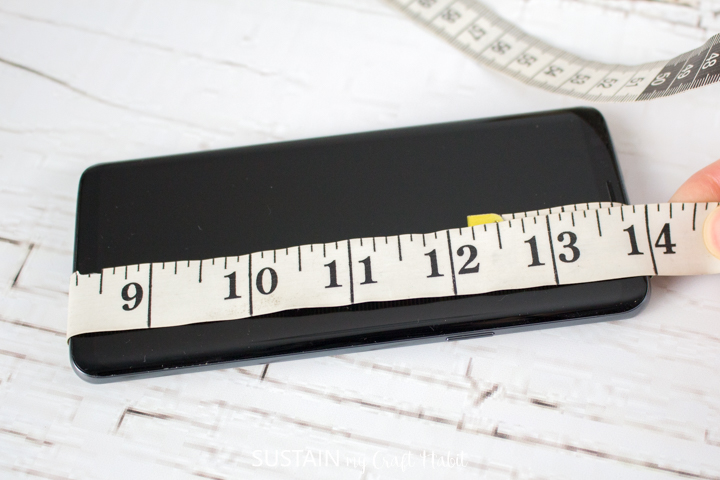
Using a measuring tape, wrap it around the length and width of the phone and record the measurement.
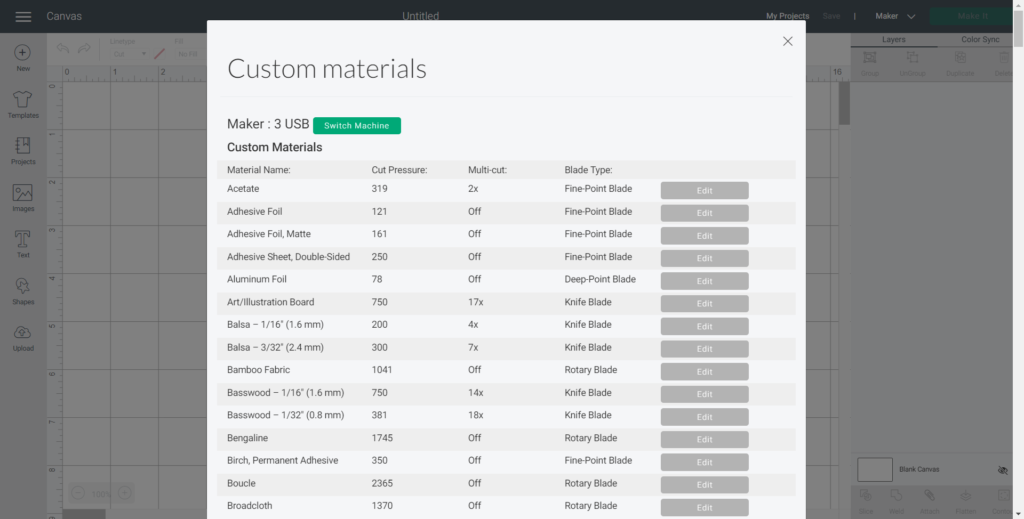
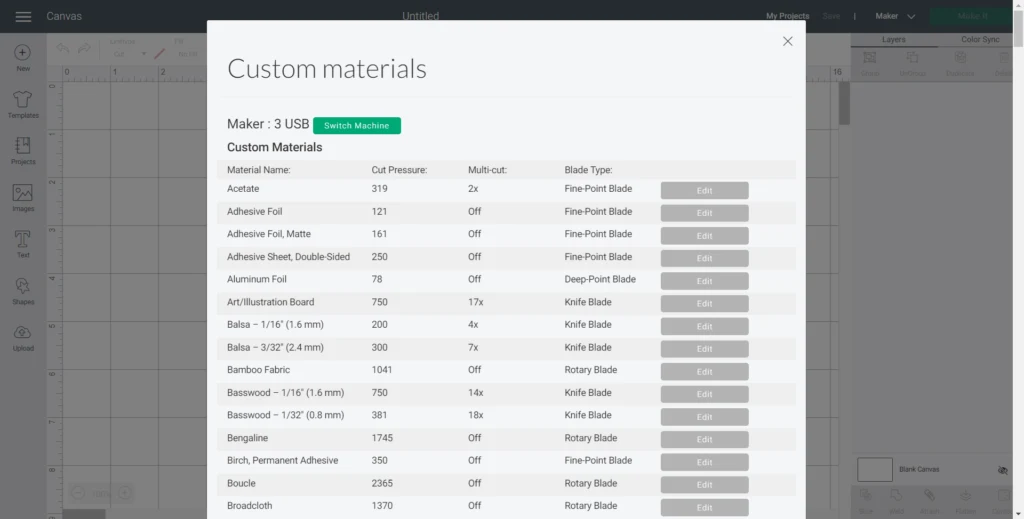
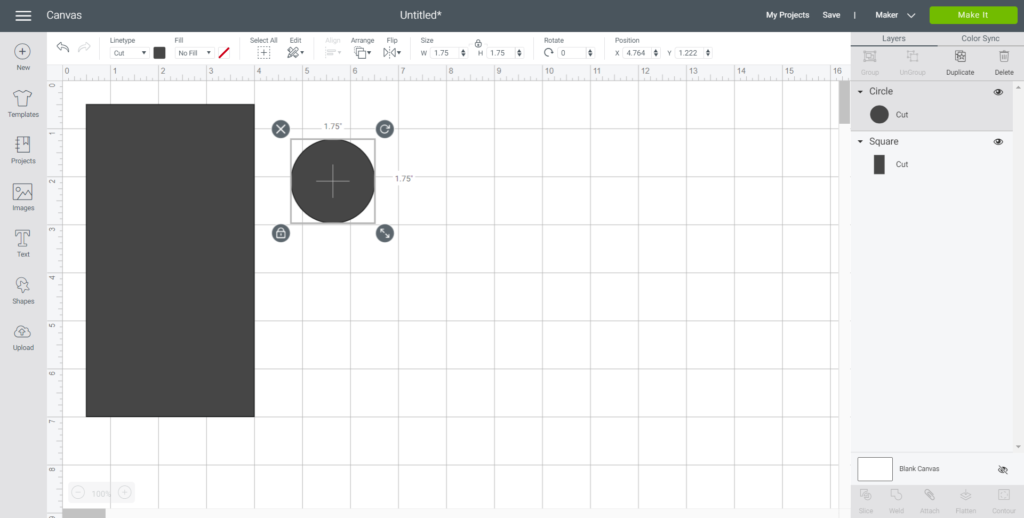
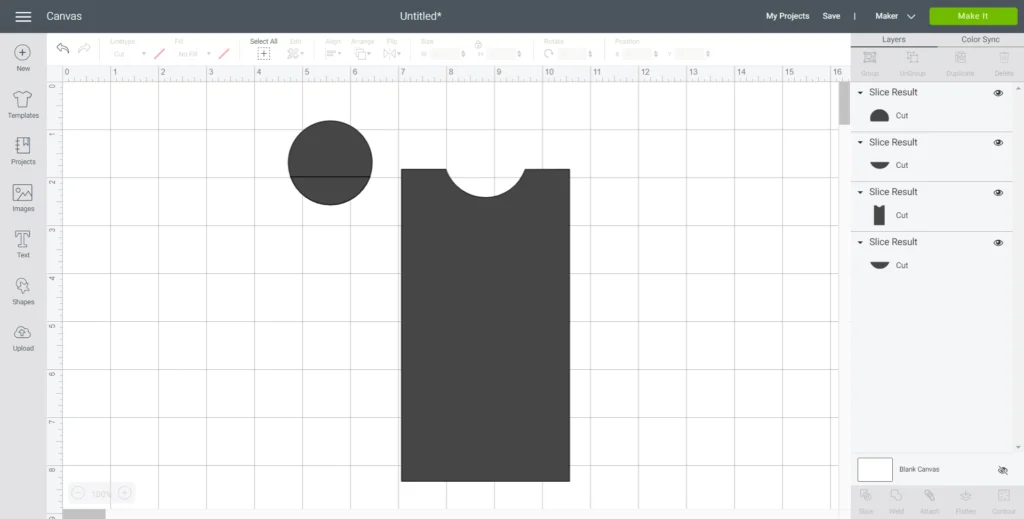
Open a new project in Design Space.
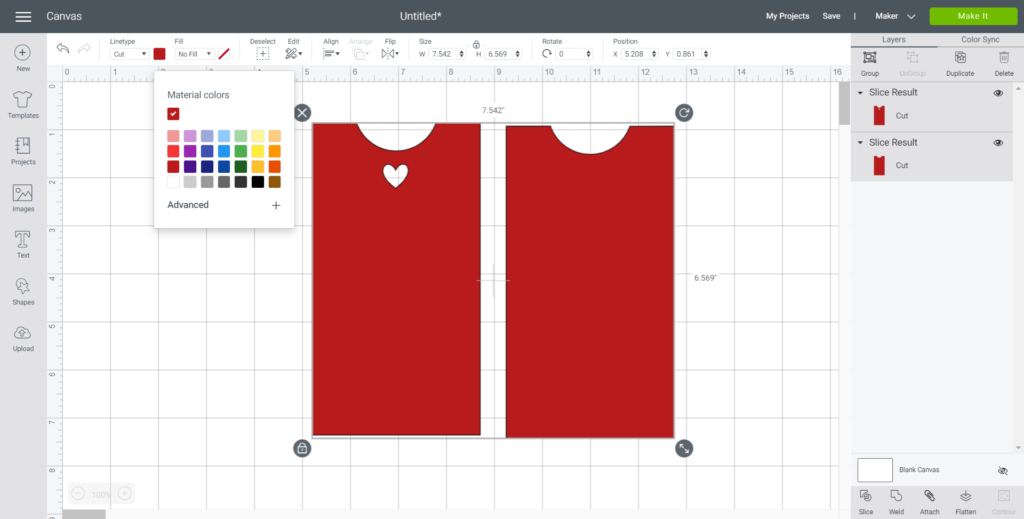
In my case, I made the rectangle shape 6.5 high x 3.5 wide.
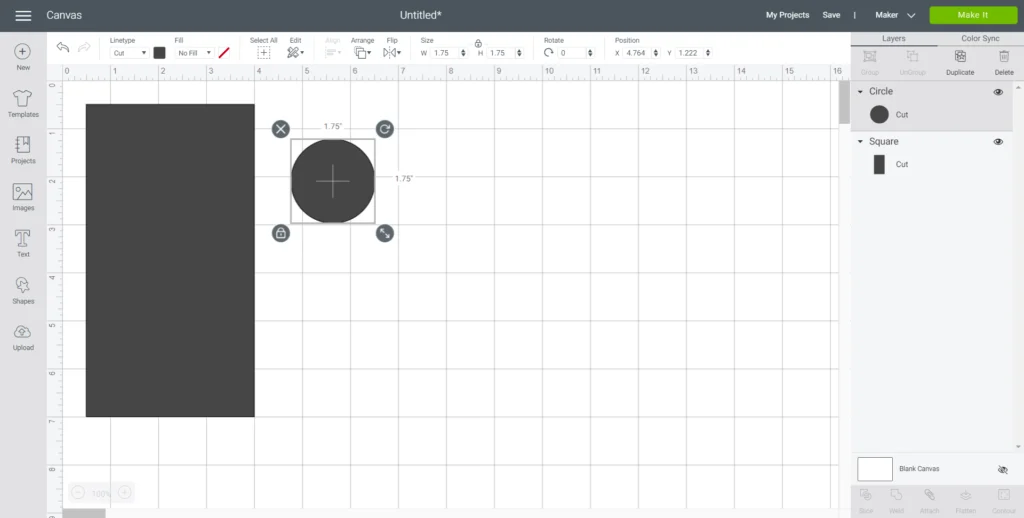
Insert a circle shape measuring 1.75 wide.
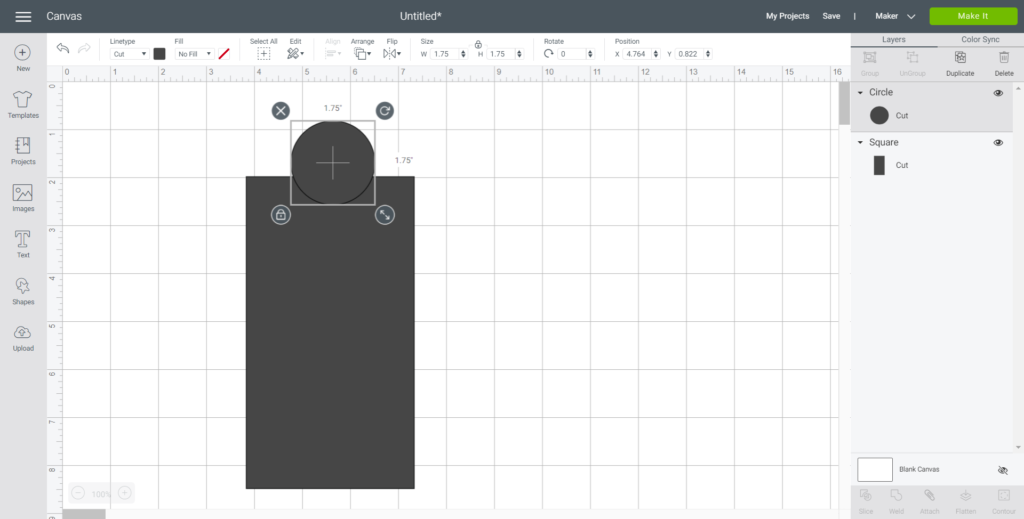
Place the circle shape overlapping the top of the rectangle directly in the center.
Have them overlapping by approx.

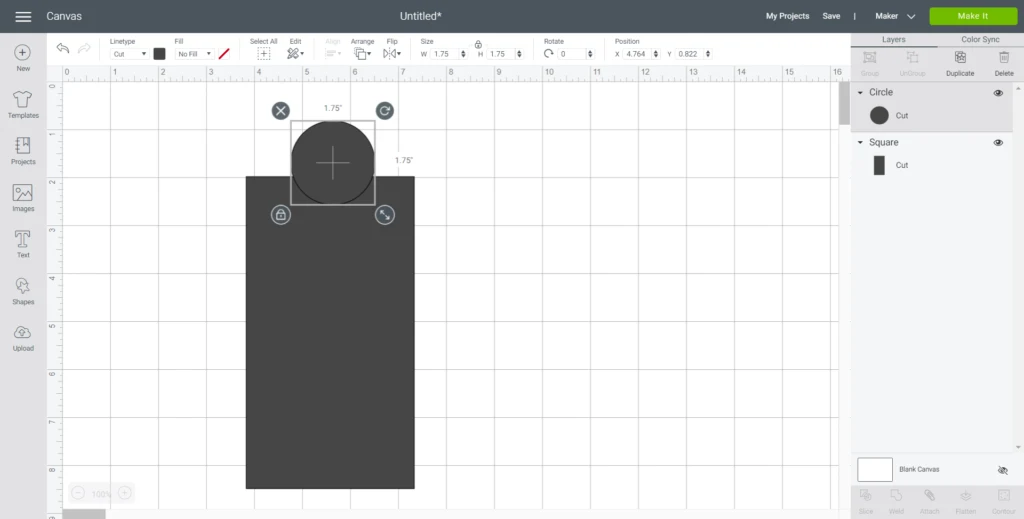
Select both shapes together and press the Slice button.
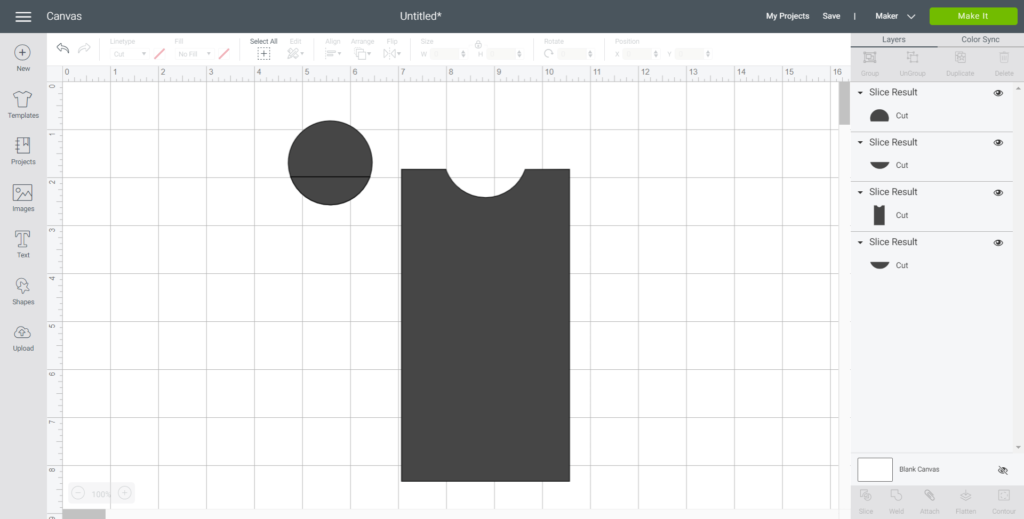
press the rectangle shape and move it away from the circle shape leaving the cut out behind.
Delete the other shapes.
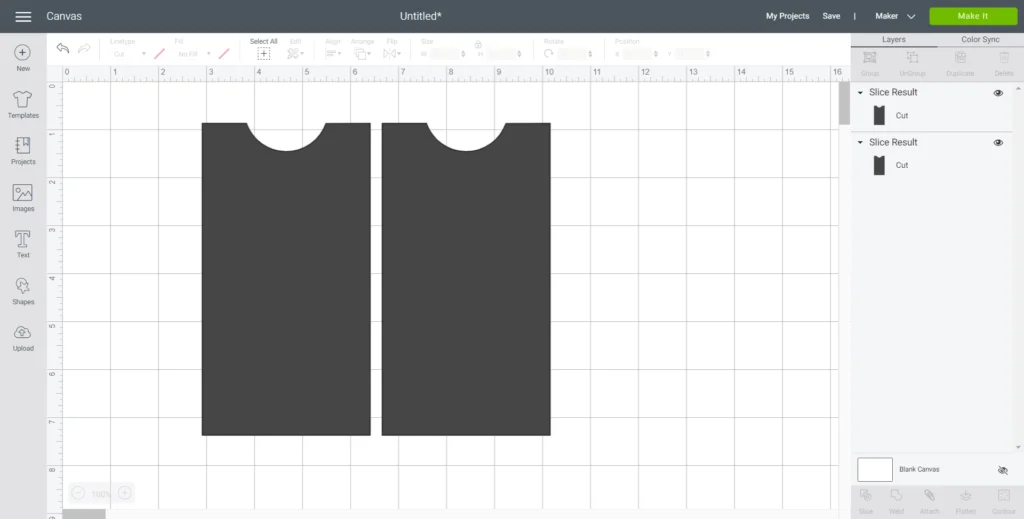
Duplicate the rectangle shape.
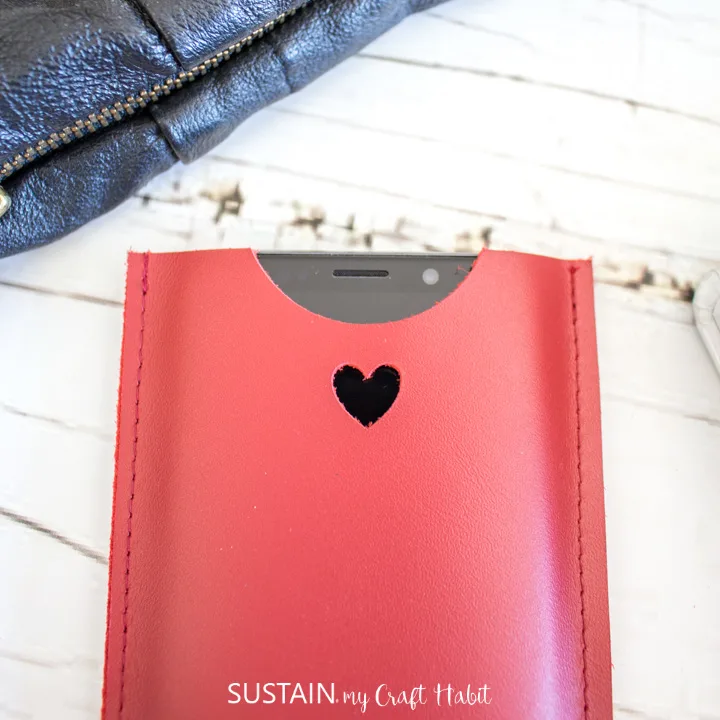
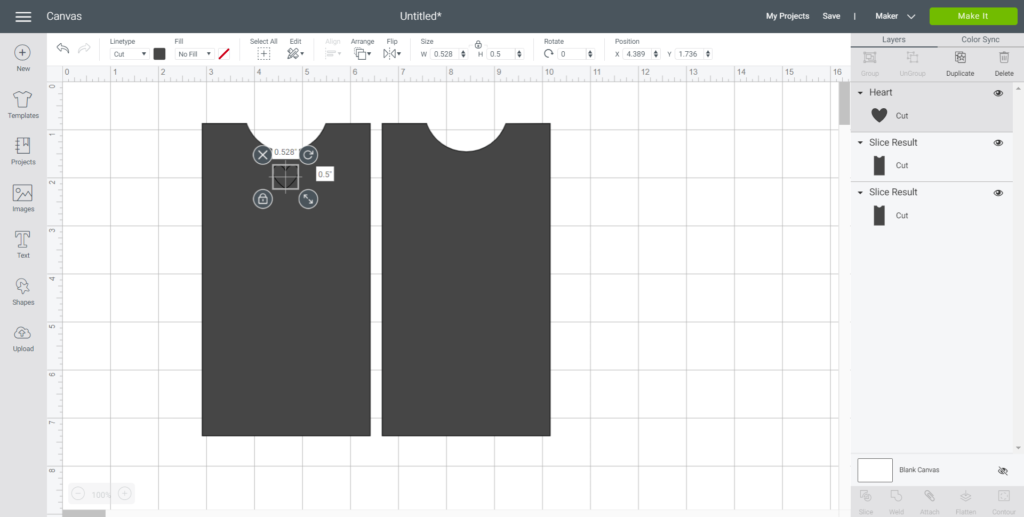
Insert a heart shape and adjust size to 12 high.
Place it in the center just below the cut out.

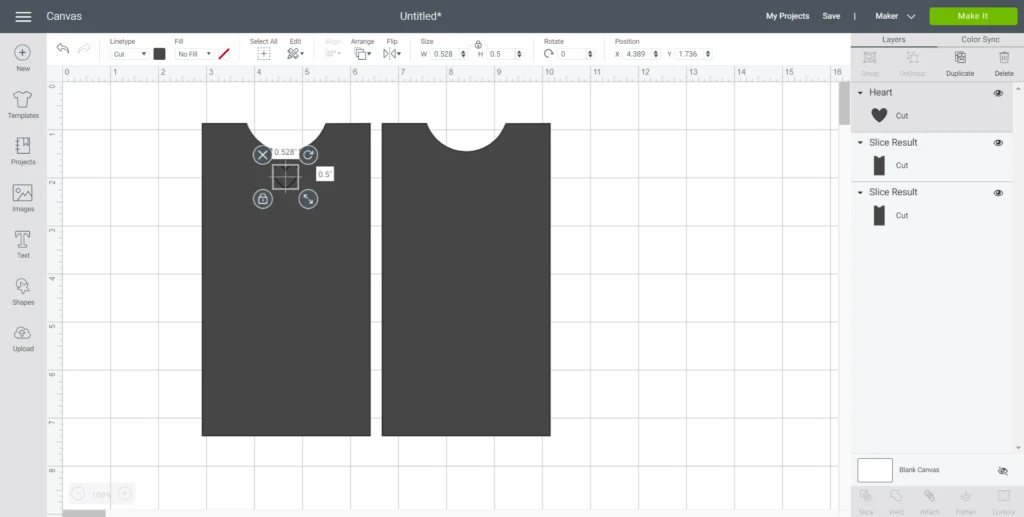
Select this shape along with the heart shape to cut out the heart using the slice tool again.
Discard the heart shape.
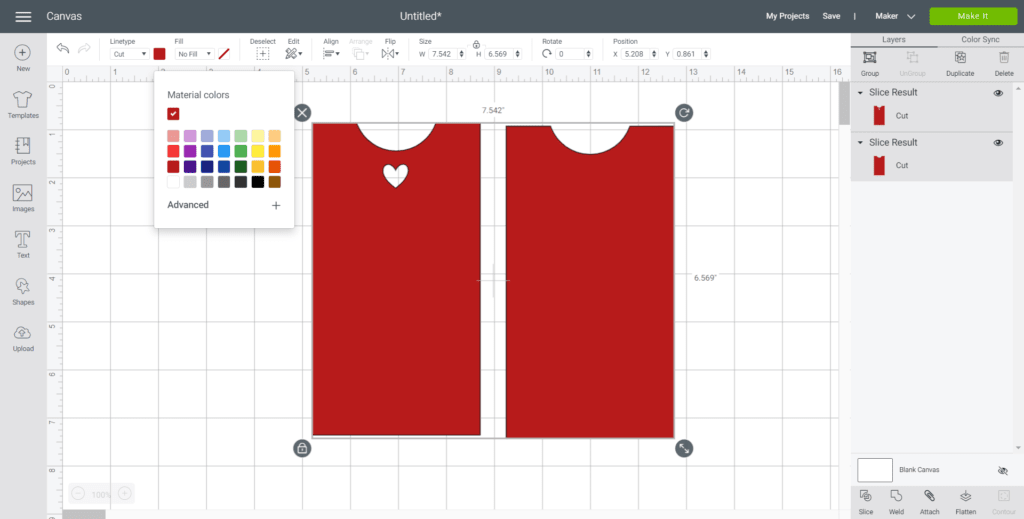
Change the shape color to match the material color, in my case its cranberry.
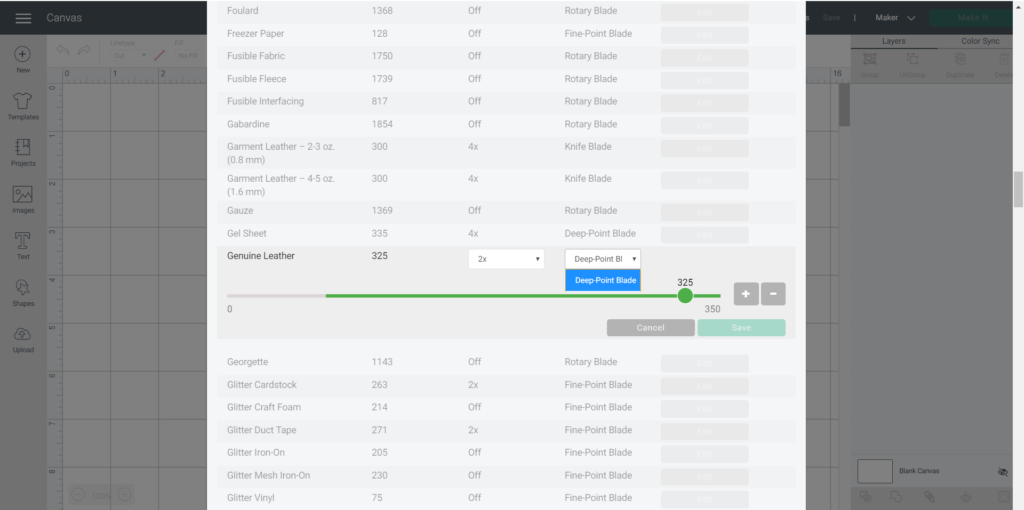
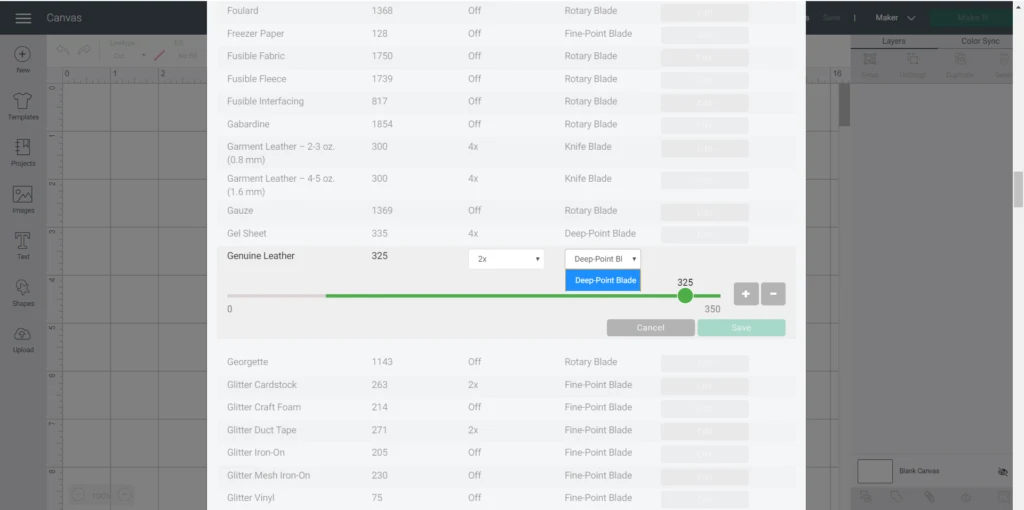
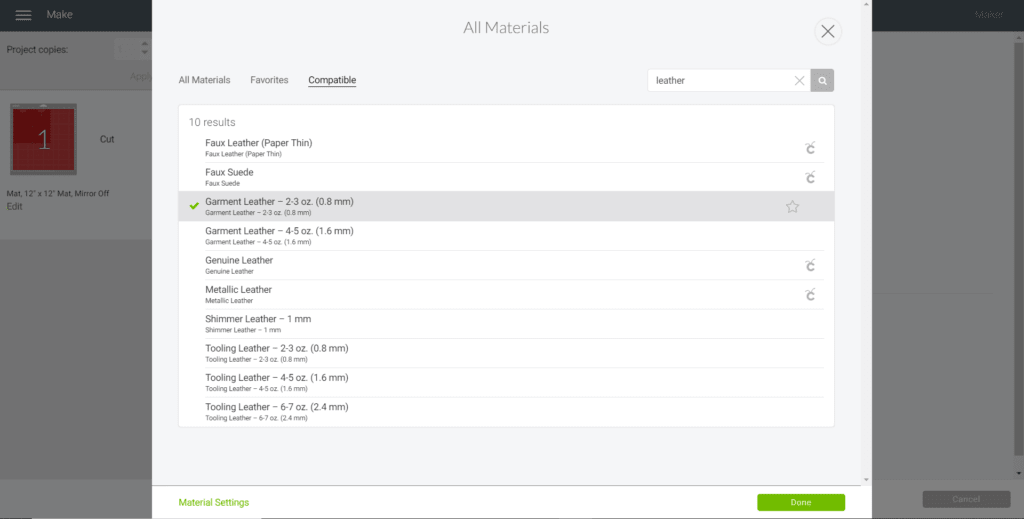
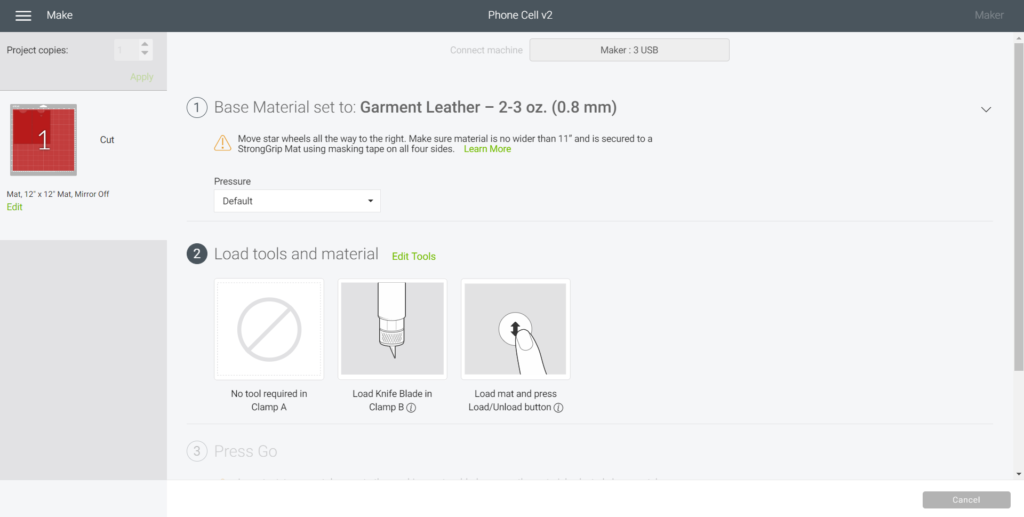
select Make It to view shapes on mats.
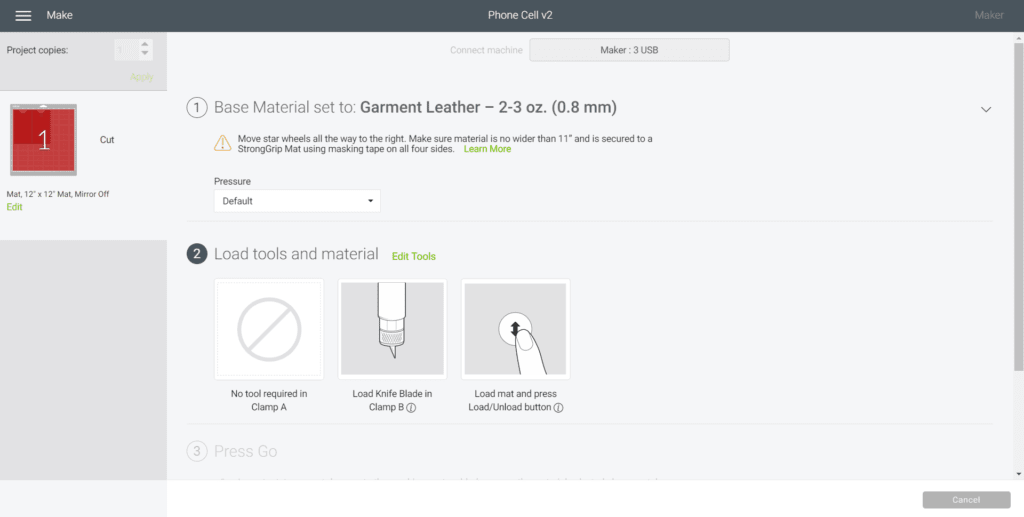
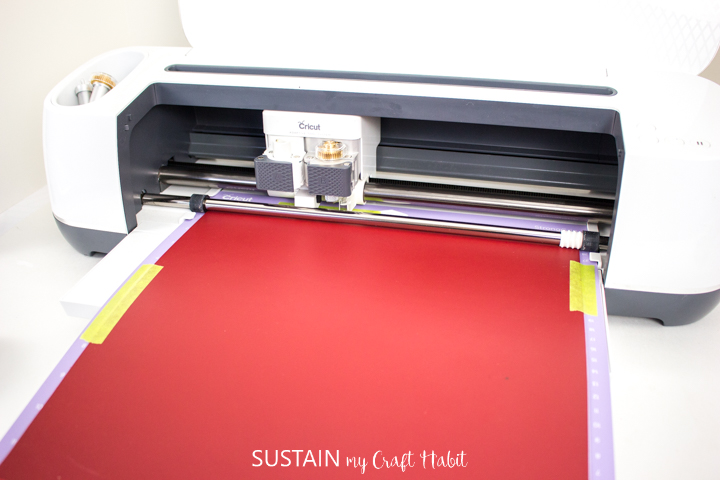
Move the star wheels to the right side.
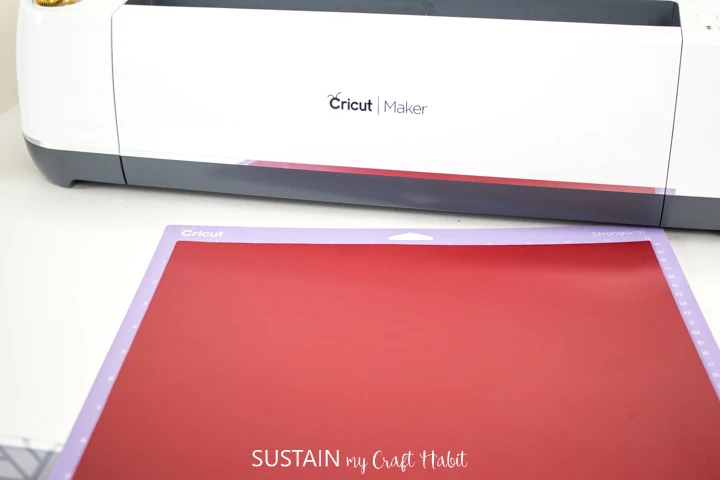
Place the leather on the strong grip mat and tape the edges.
Suggest placing the smooth side down (not sueded side down).
Proceed with cutting the leather.
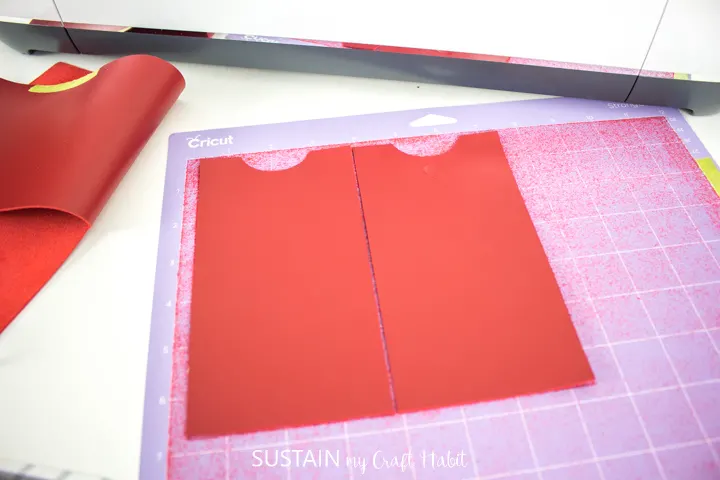
Peel away the leather and the cut pieces.
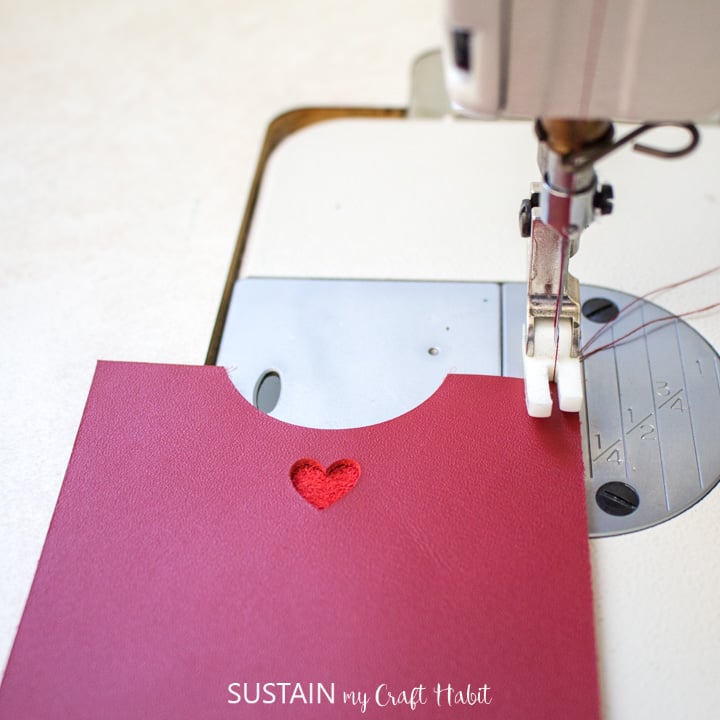
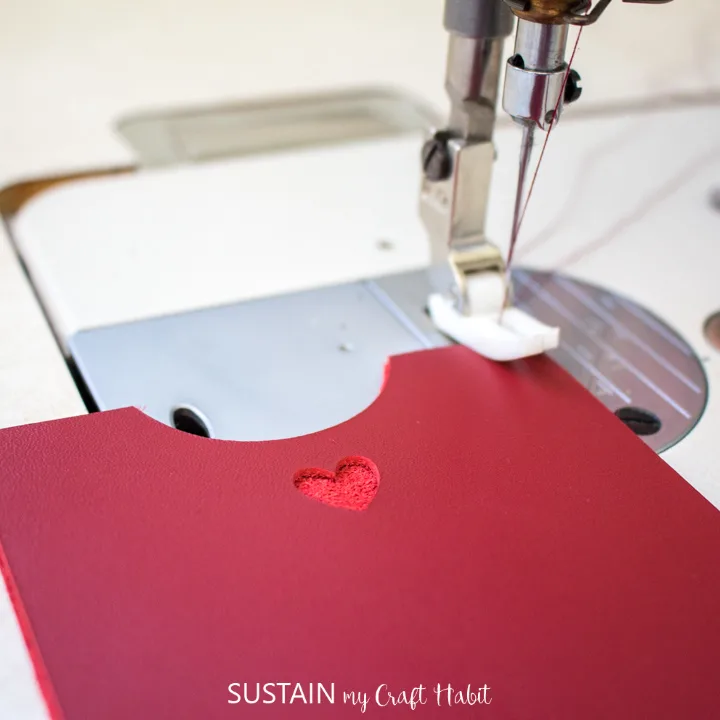
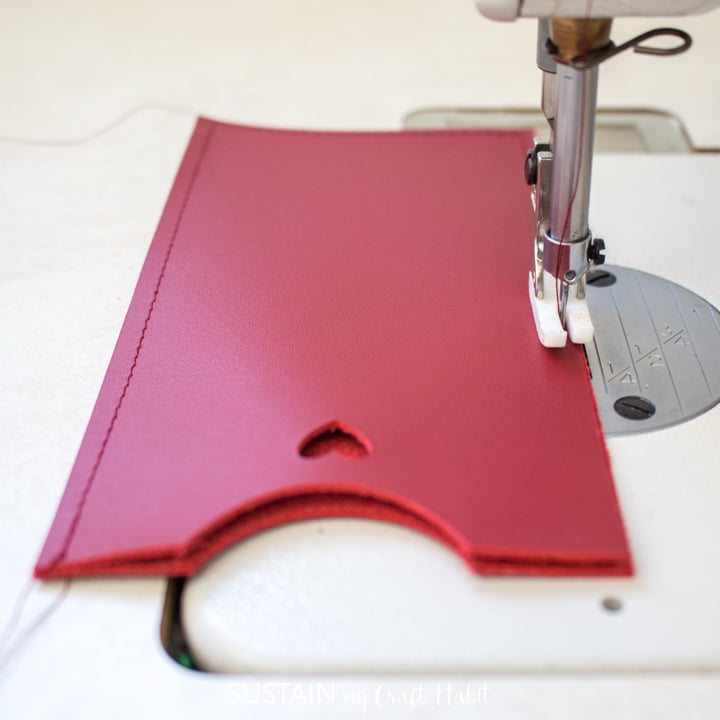
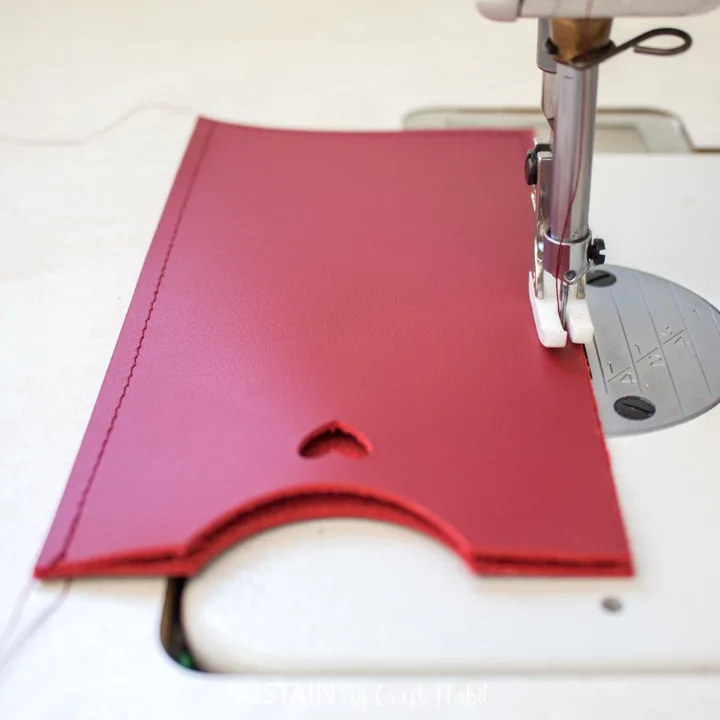
Place cut pieces with suede sides together.
check that to back tack the stitches to lock thread at the start and end of the stitch line.
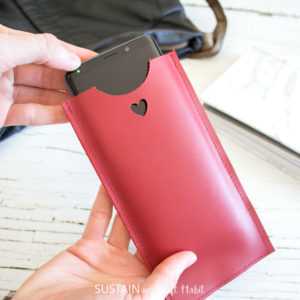
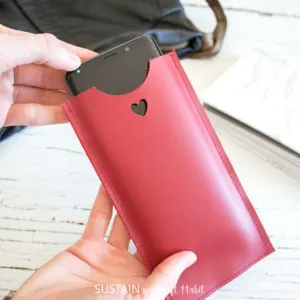
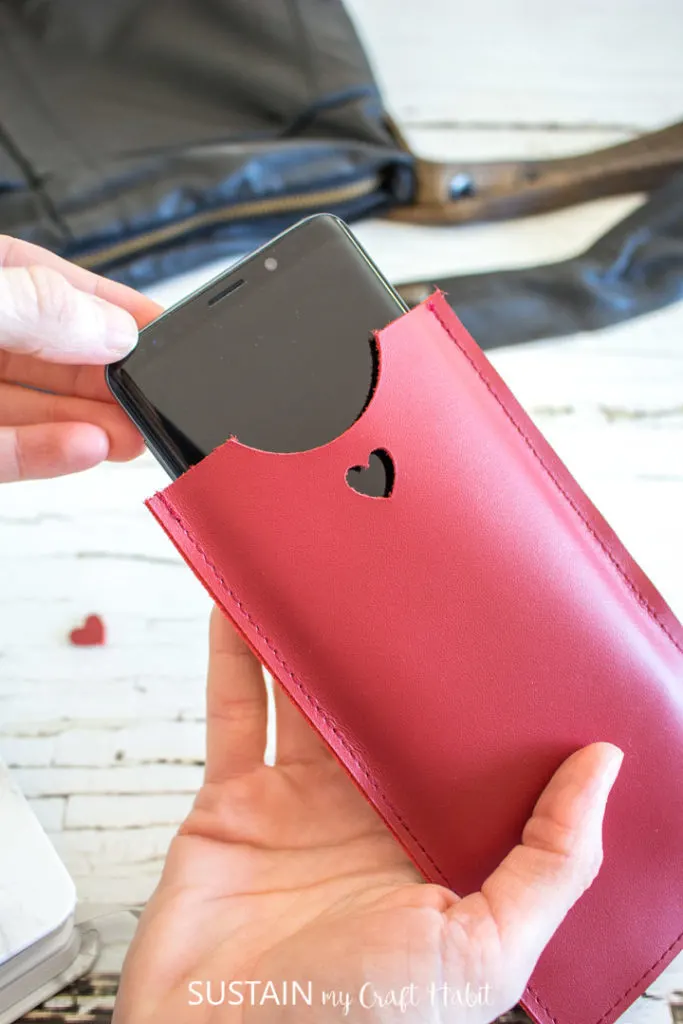
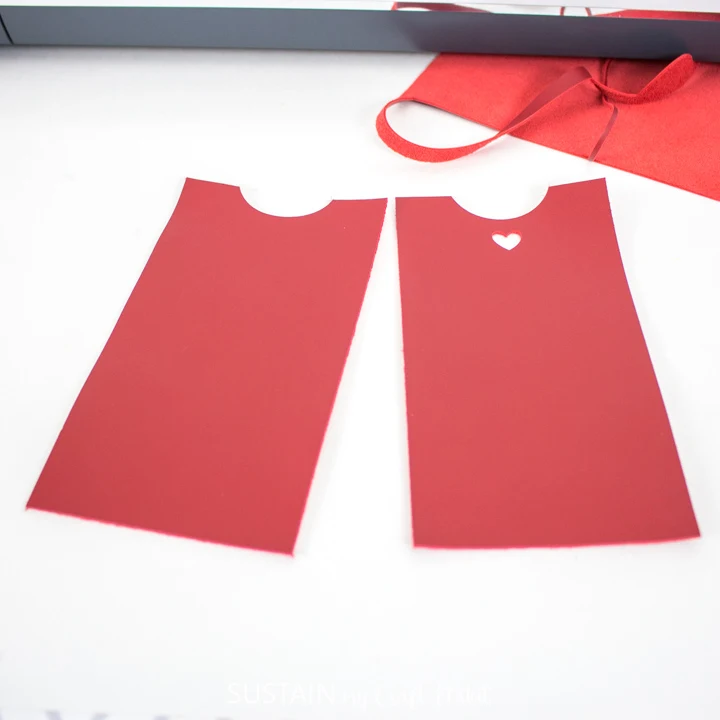
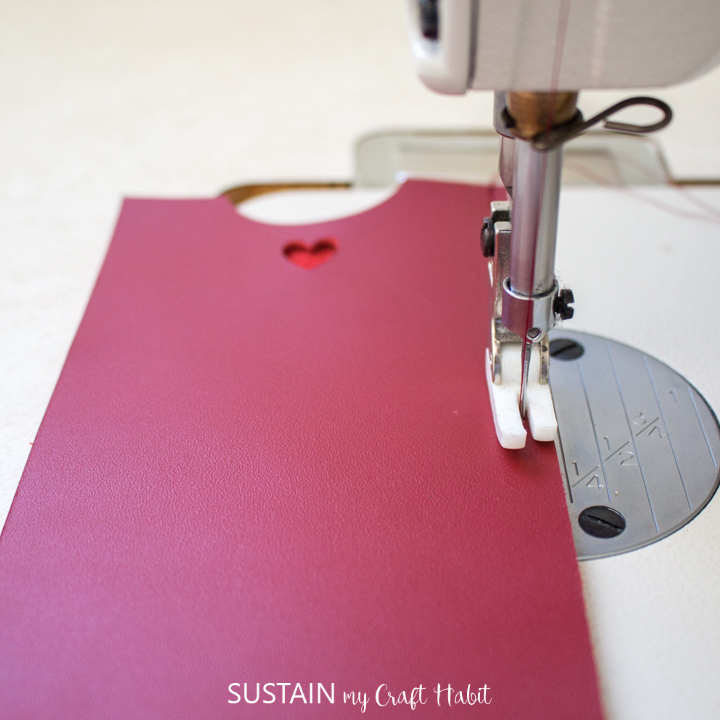
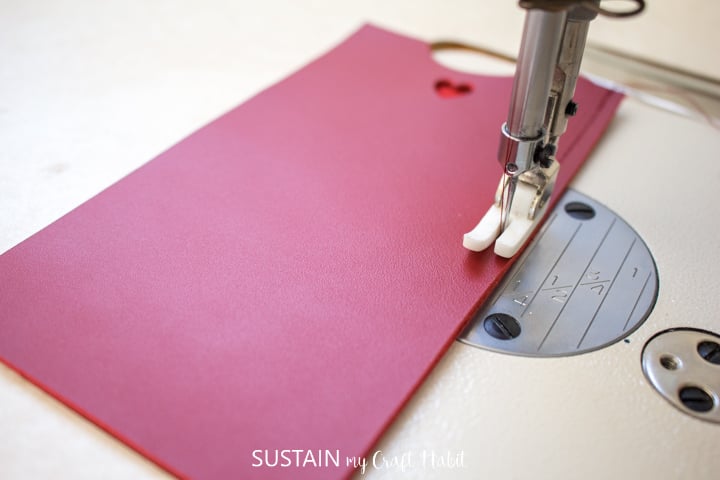
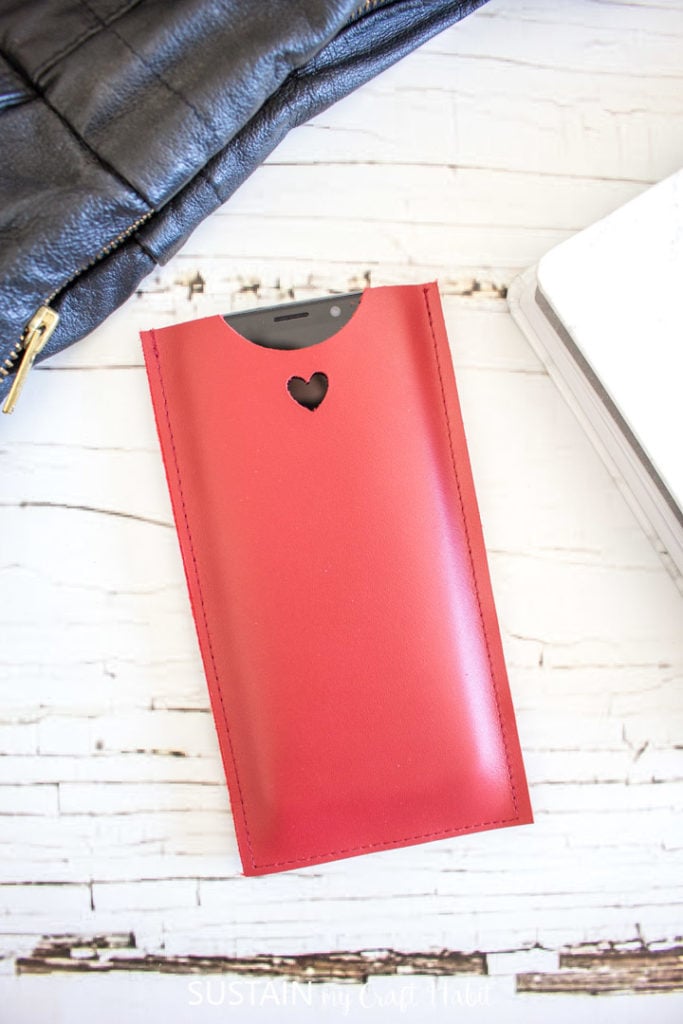
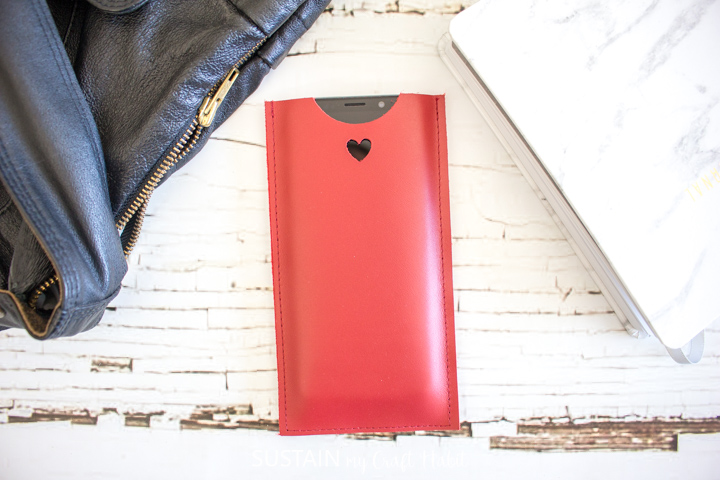
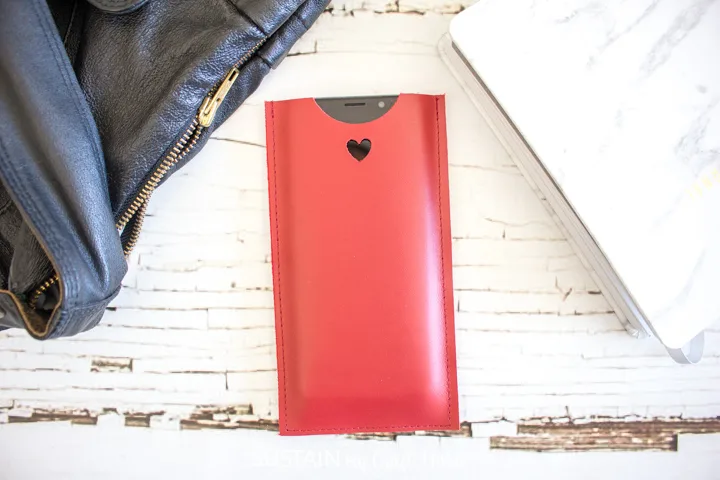
And once stitched, the phone sleeve is ready to use!
I love how it turned out especially with the sweet little heart cut out in the center.
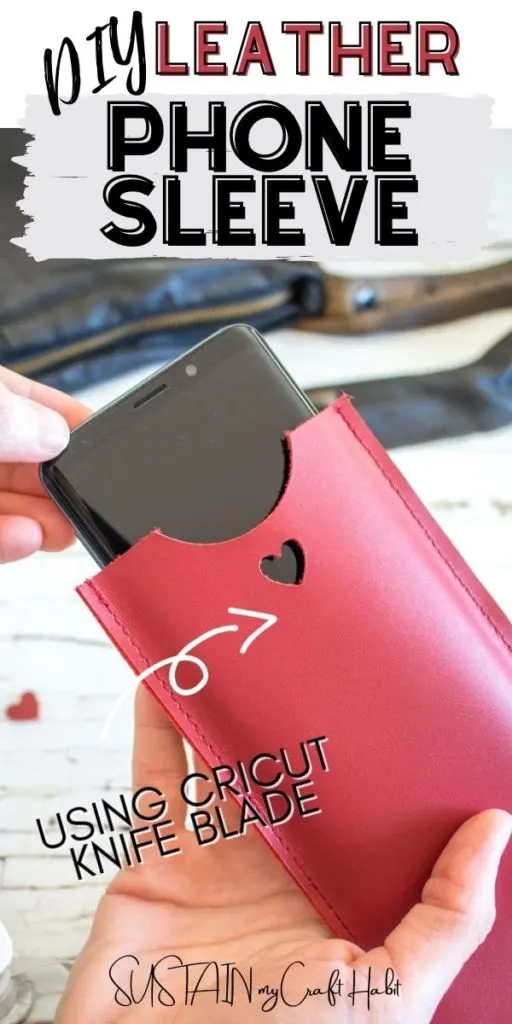
Pin it for later!
DIY Leather Phone Sleeve
Materials
Instructions


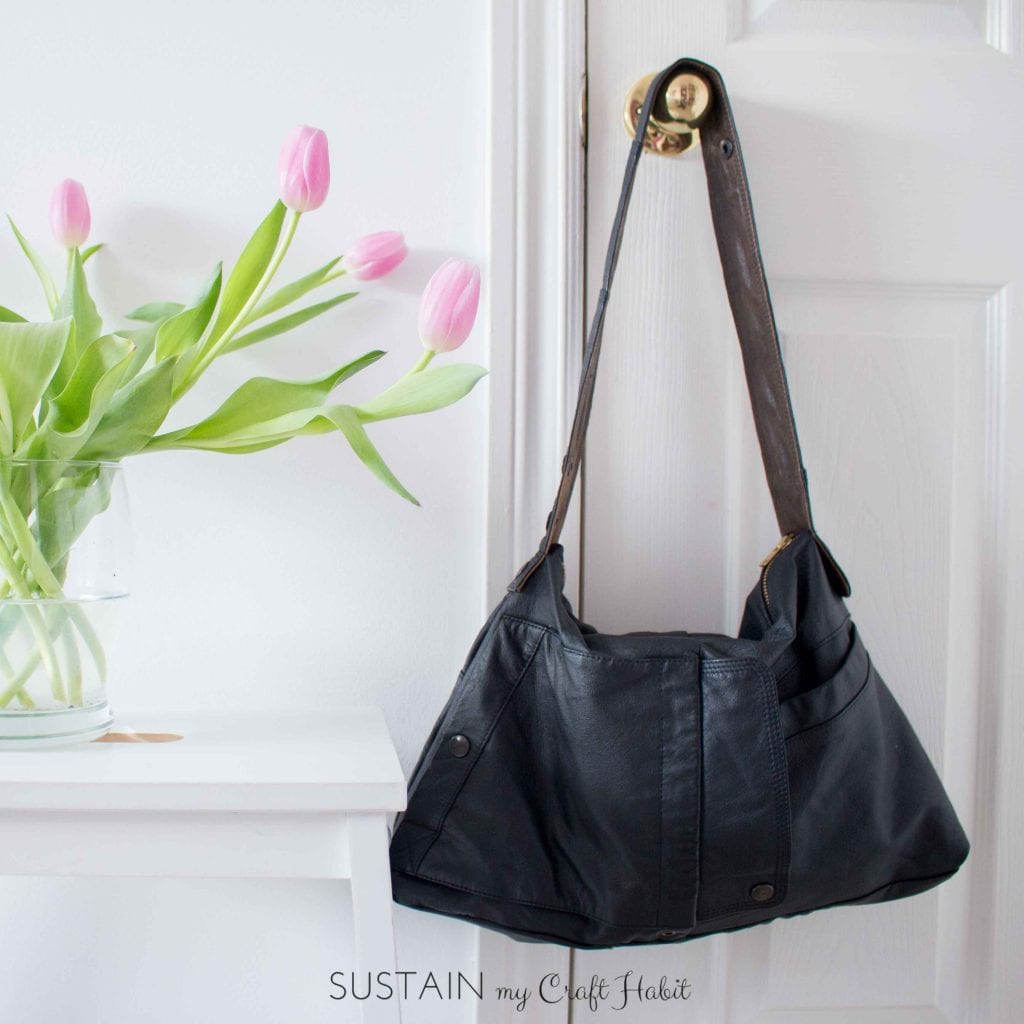
DIY Leather Bag from an Upcycled Jacket

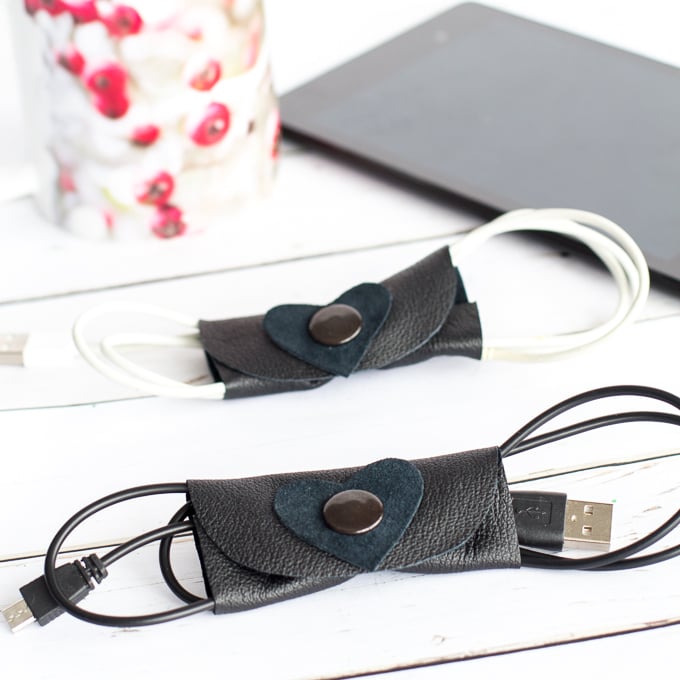
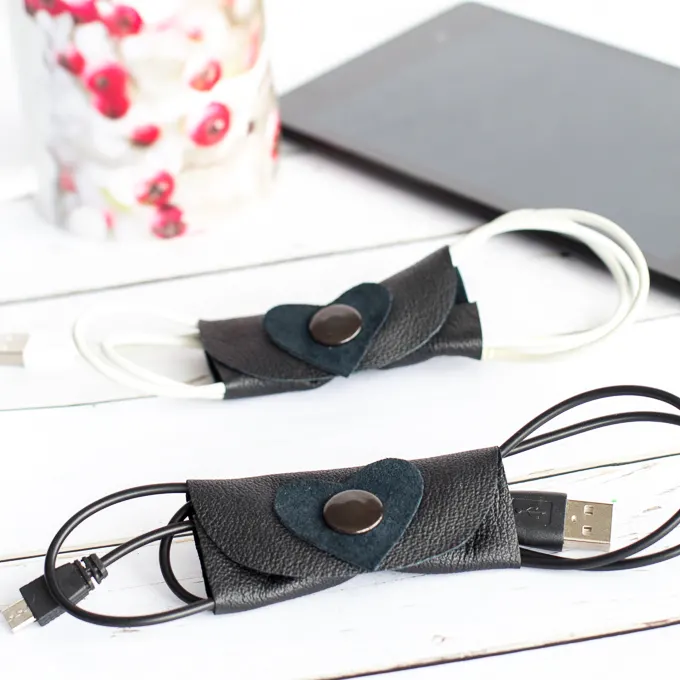
DIY leather cord organizers
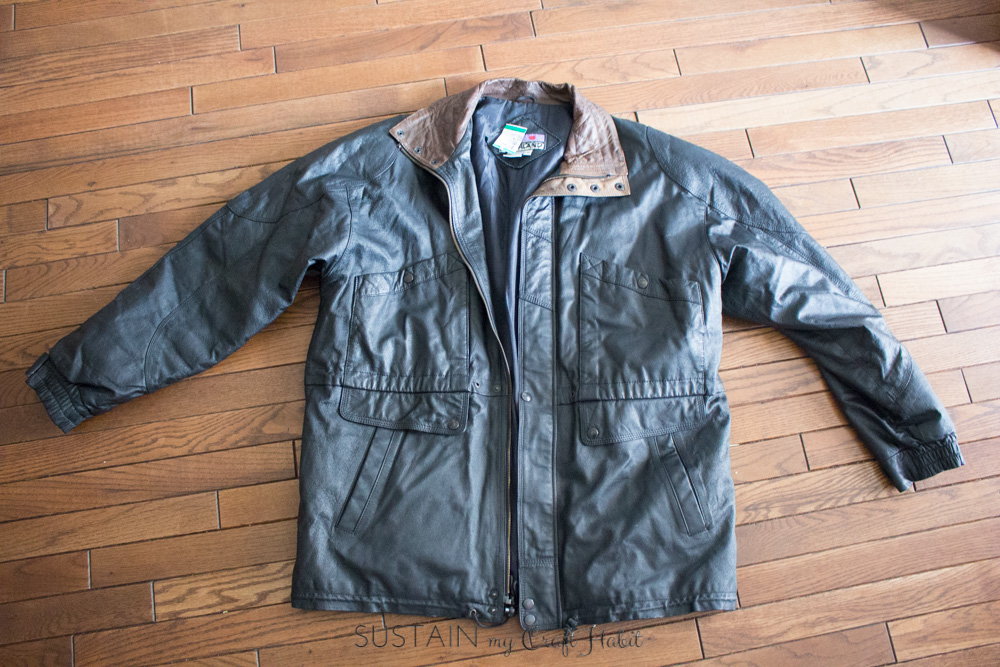
80s Jacket we upcycled