HomeDIY
This post may contain affiliate links:full affiliate disclosure.
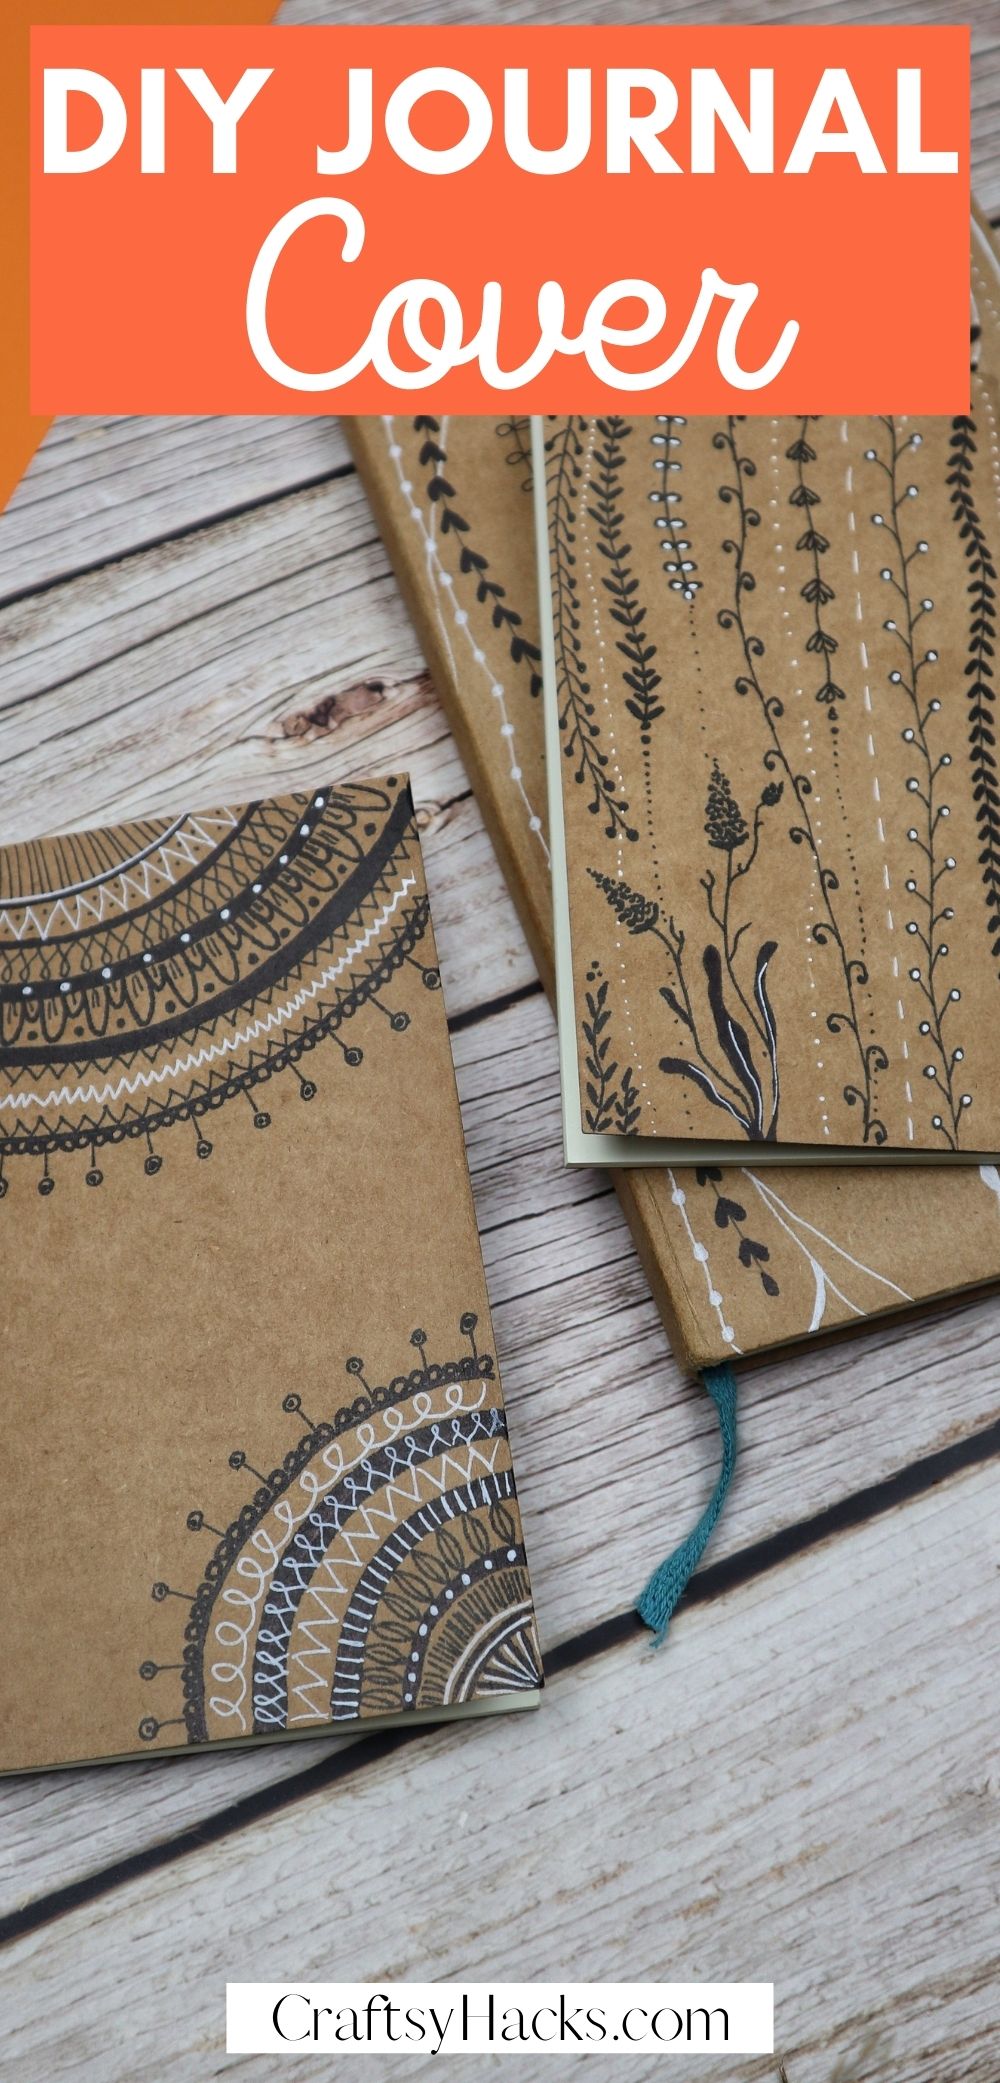
Make your very own journal cover and take your journaling to a whole new level.
Its a lovely paper craft teens, adults and even kids can make.
Is it the start of the school year already?
Time to buy your school notebooks, planners, and perhaps even a journal?
I dont know about you but I can never find the perfect journal.
Something is always offbe it the size, the color, or the pattern.
Lets make a DIY Journal cover!
This way you’ve got the option to customize your entire journal exactly how you like!
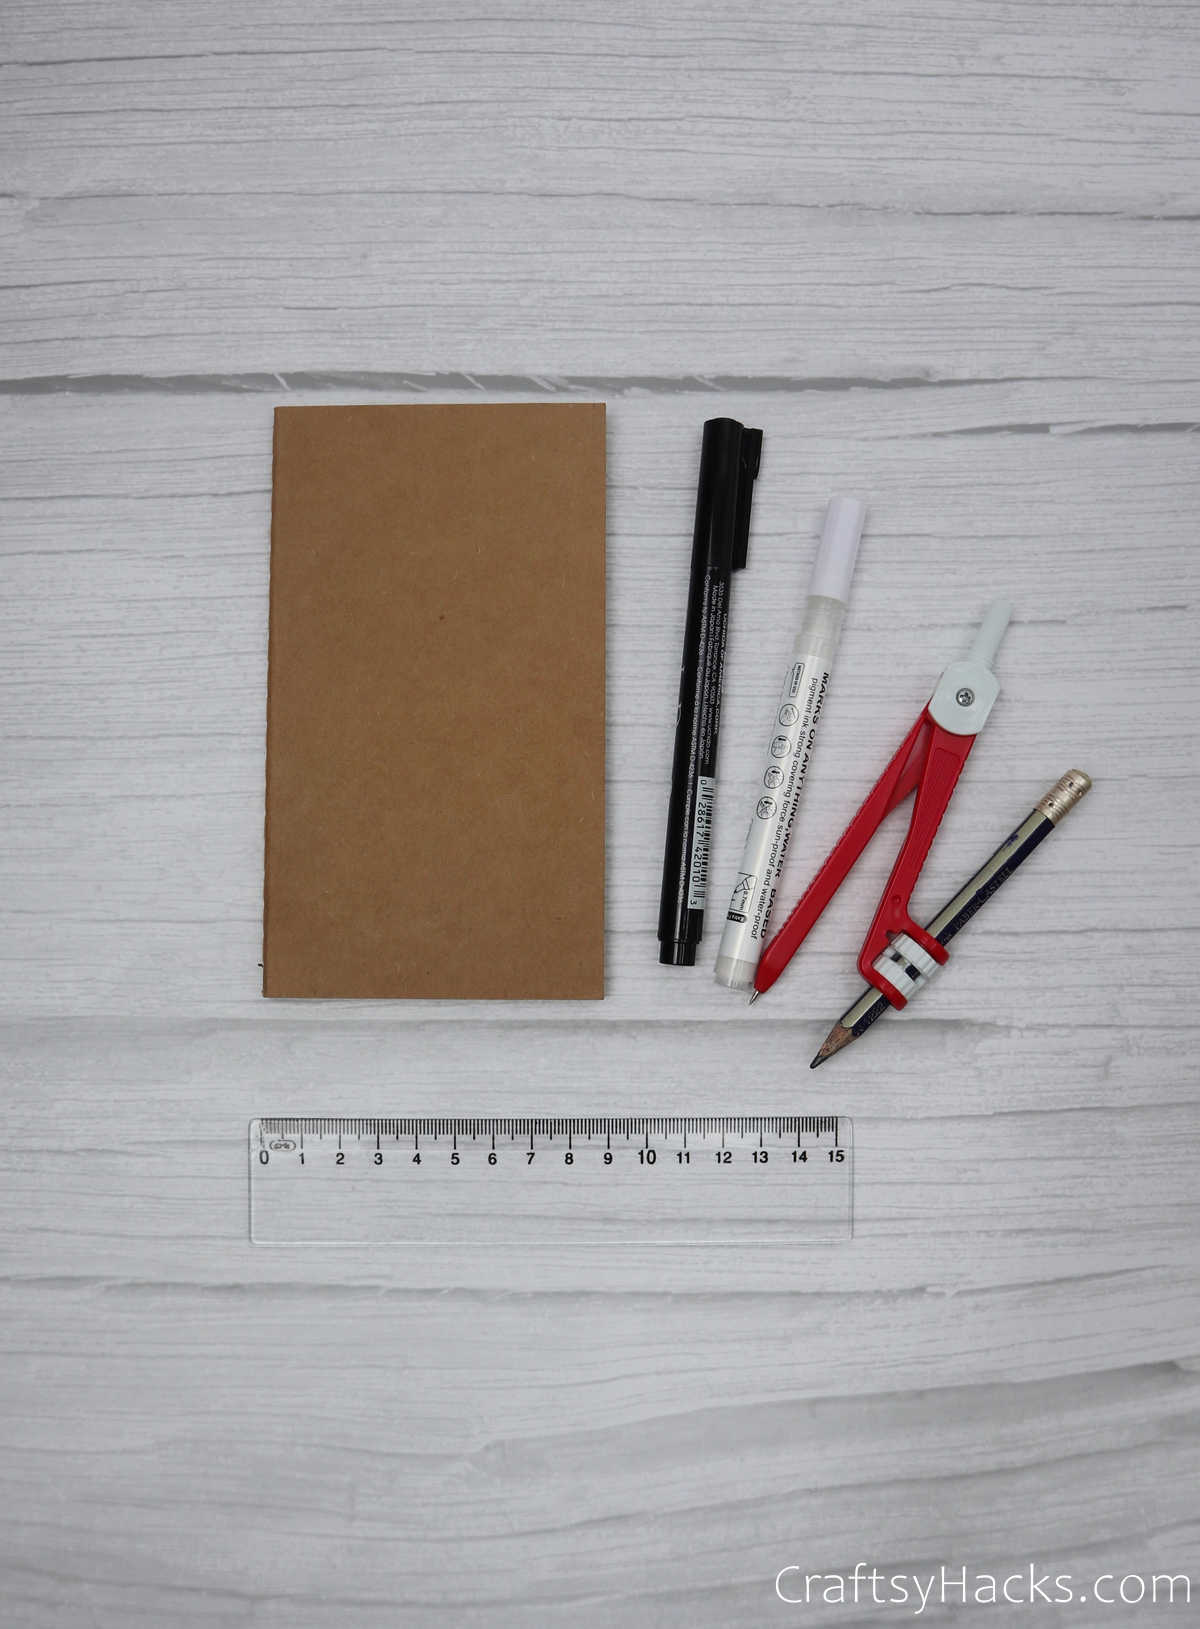
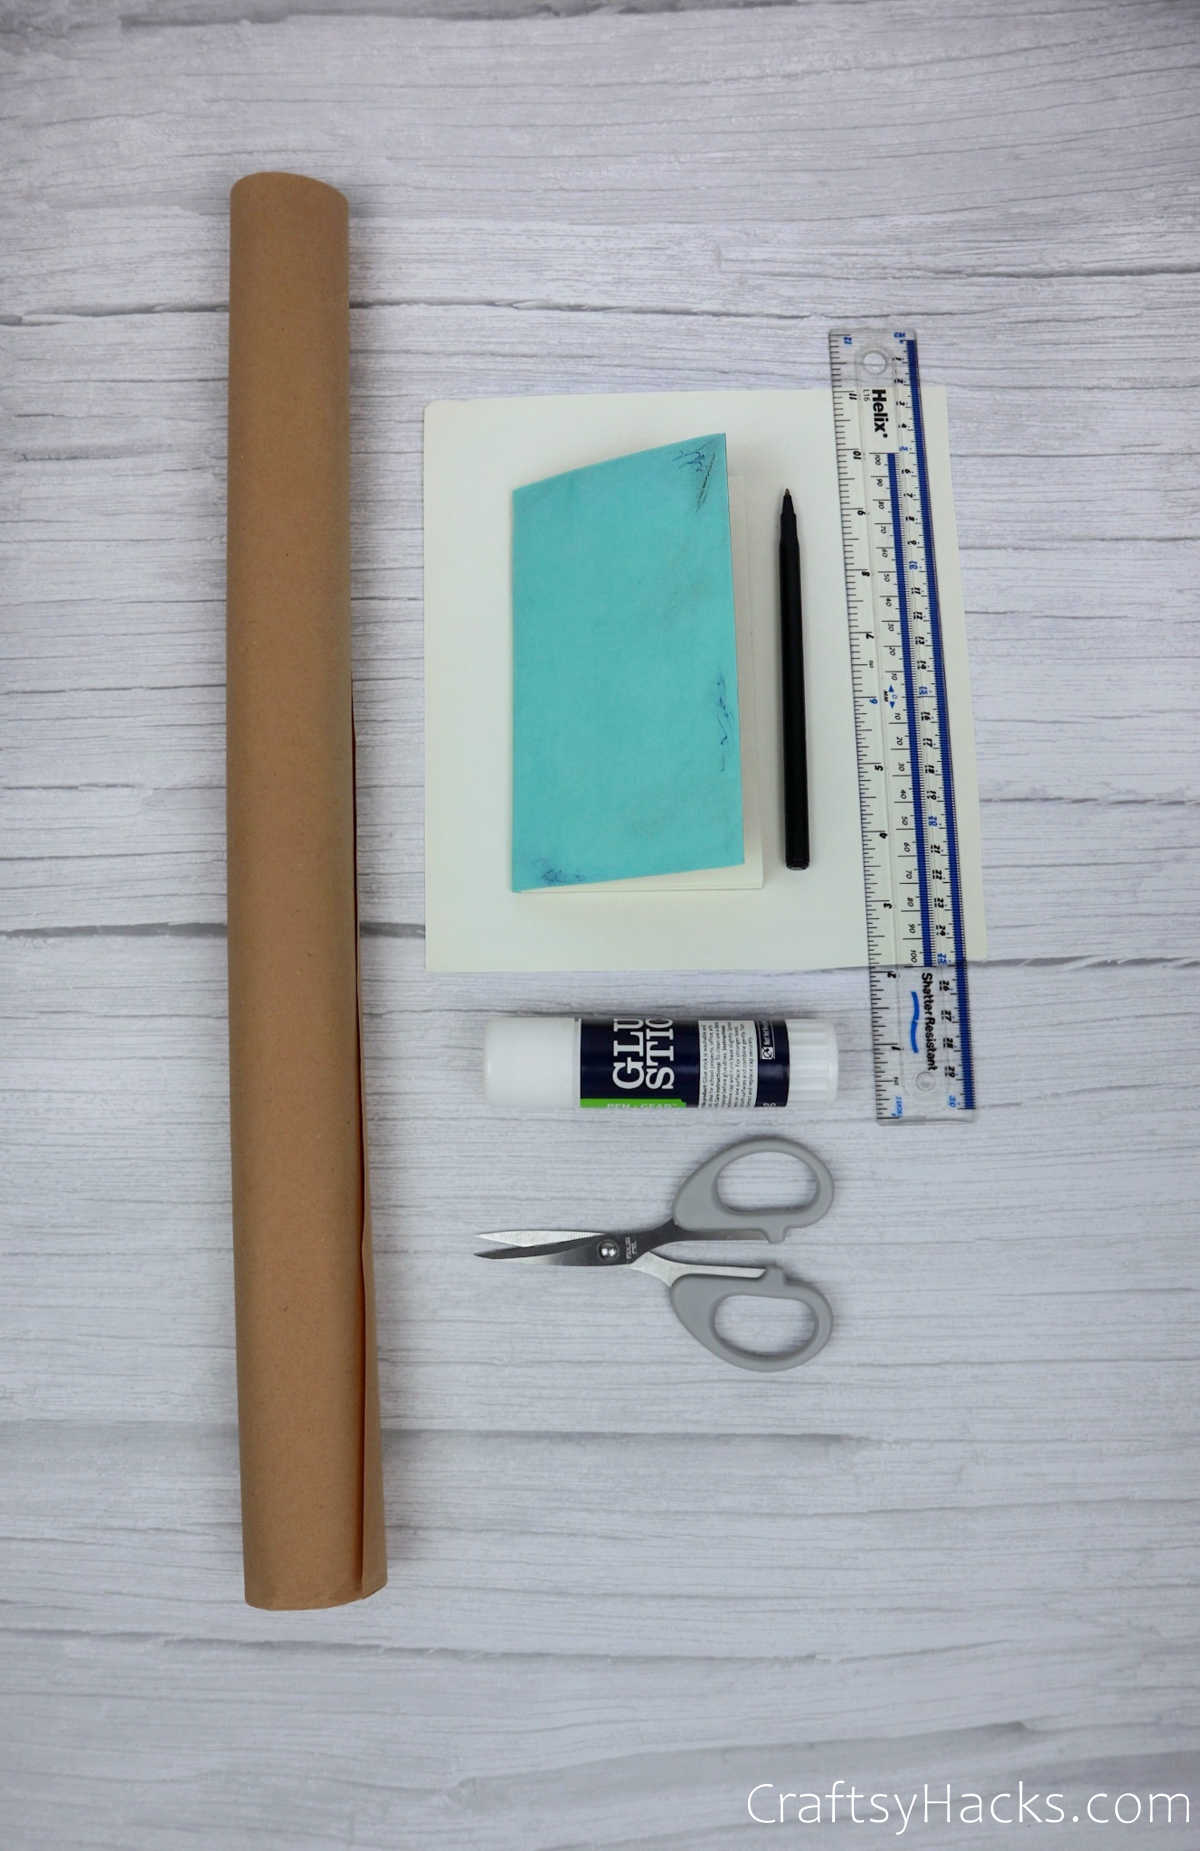
Supplies for a Journal Cover
Heres a list of everything youll need for this project.
Go ahead and grab them to get started.
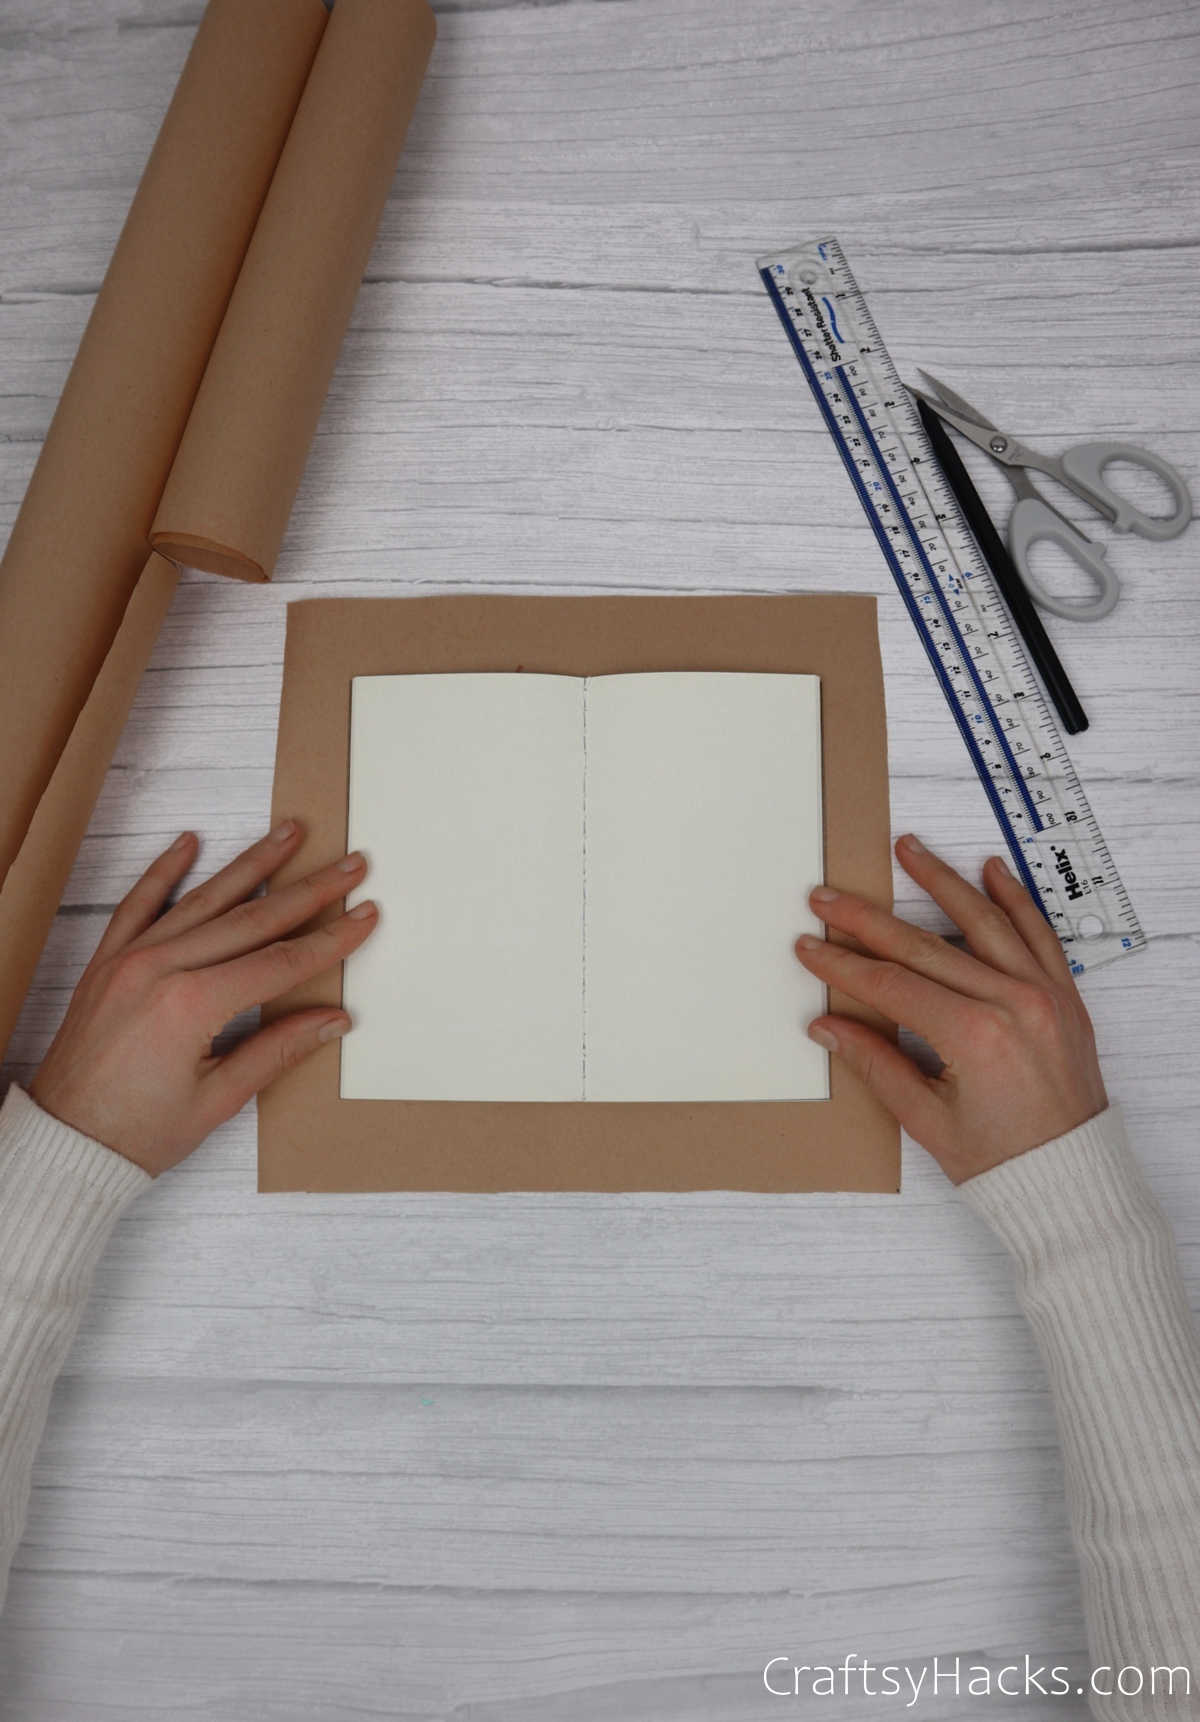
Place your notebook over the paper and lay it open.
This step is to figure out the dimensions of the notebook so that mark the measurements for the cover.
Without dislodging the spinal alignment of the notebook, carefully draw an outline around it.
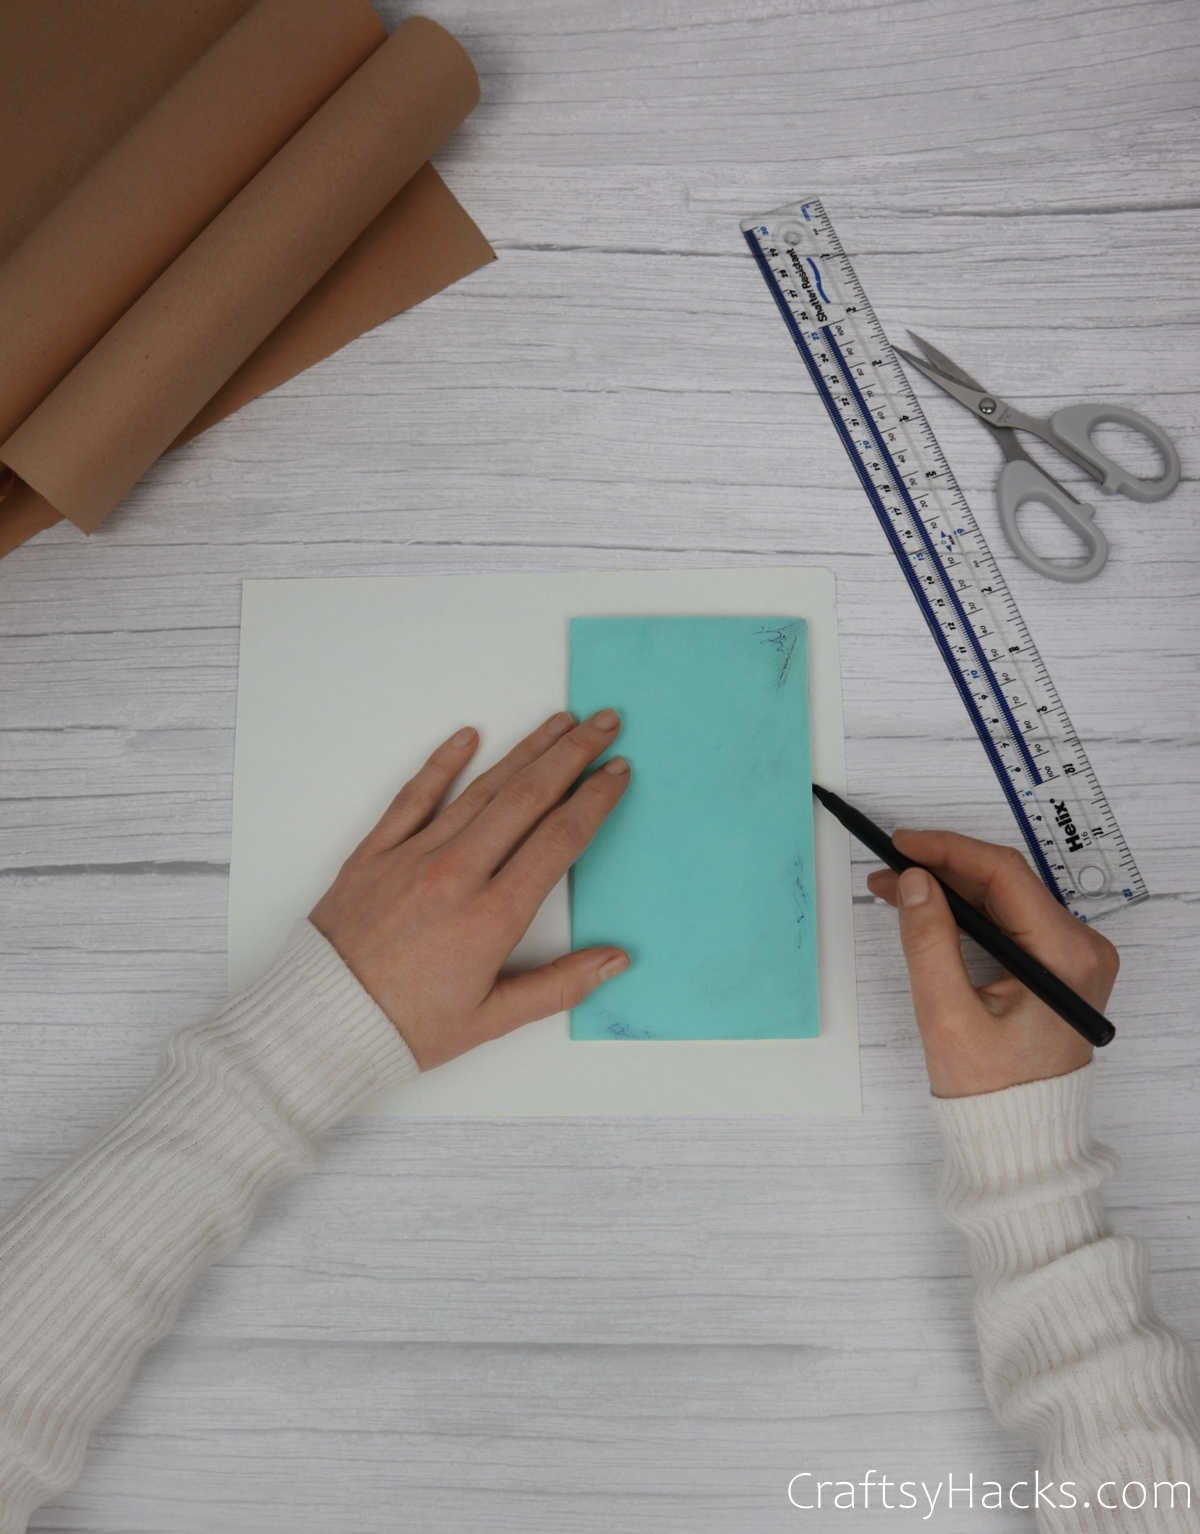
Next, repeat this process on the other side of the paper until you have two identical rectangles.

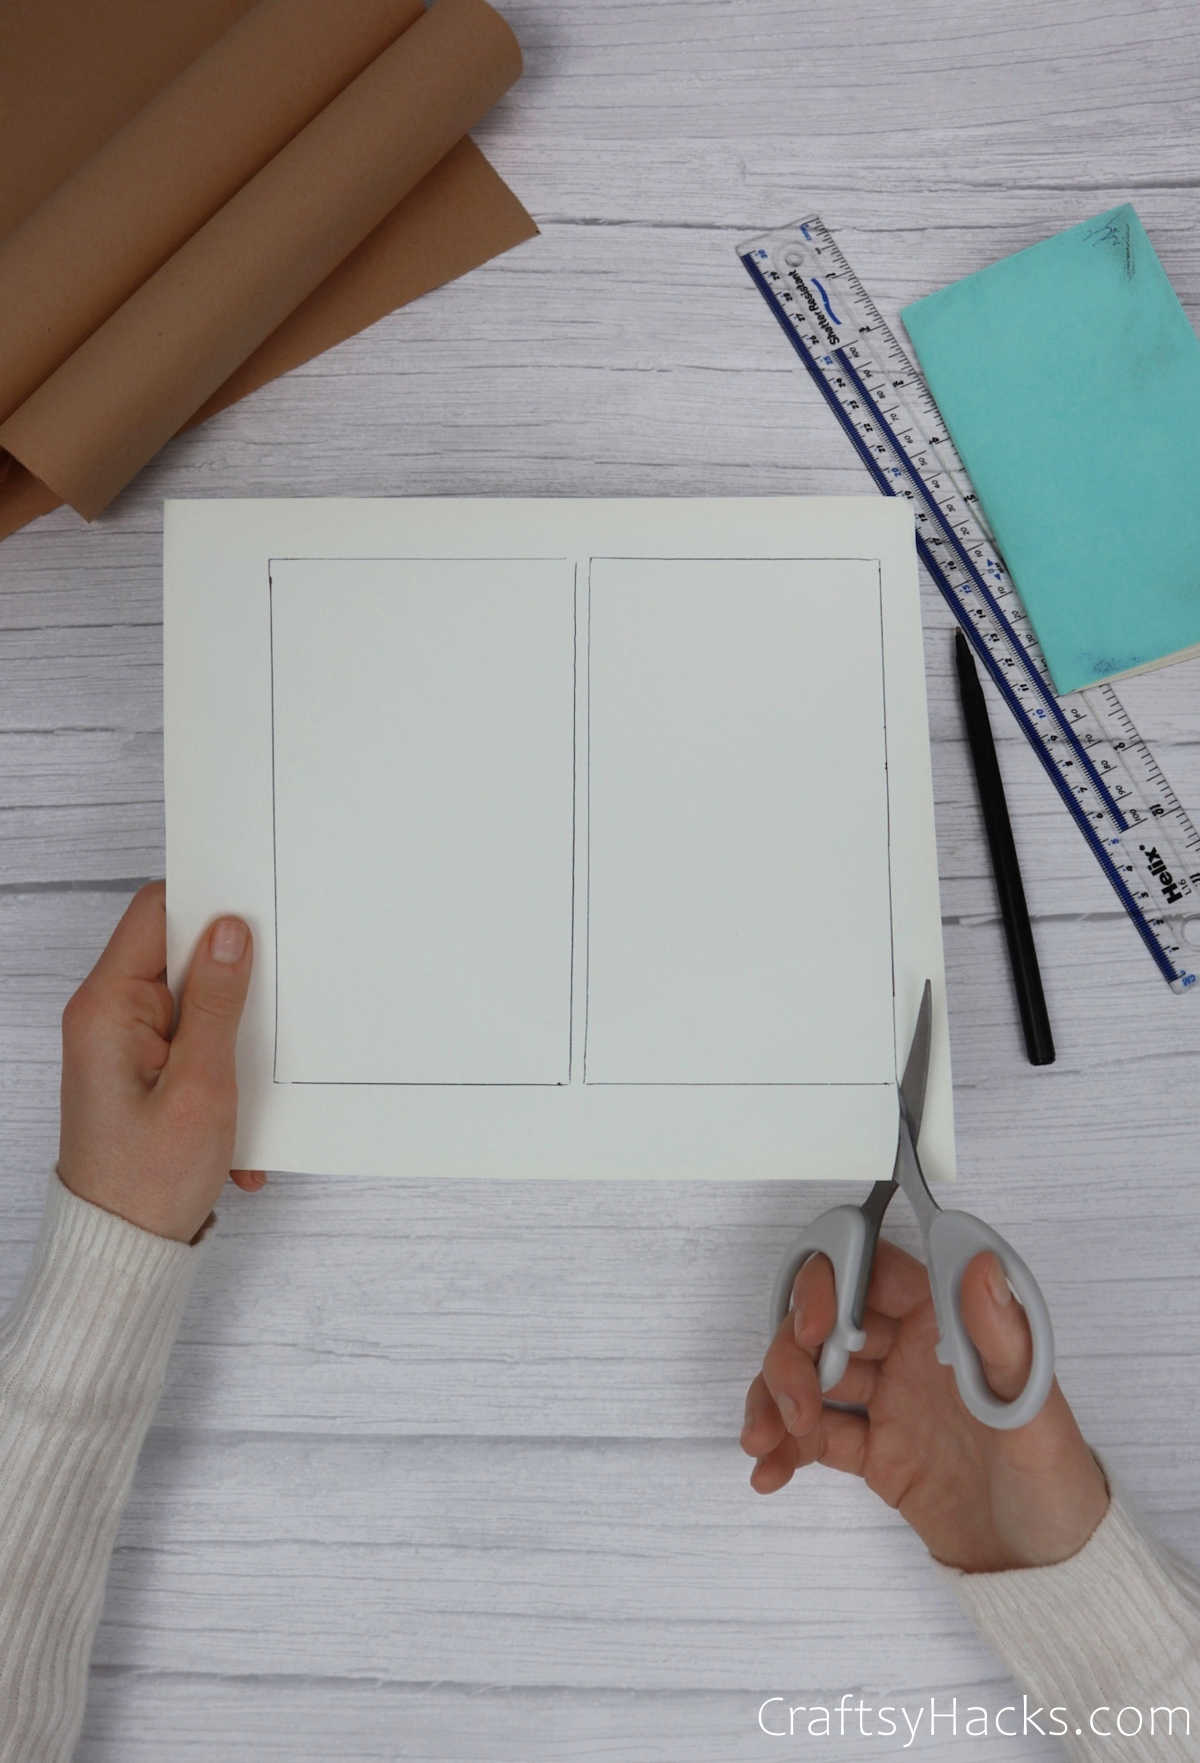
Step 3
Cut out the two rectangles as shown below.
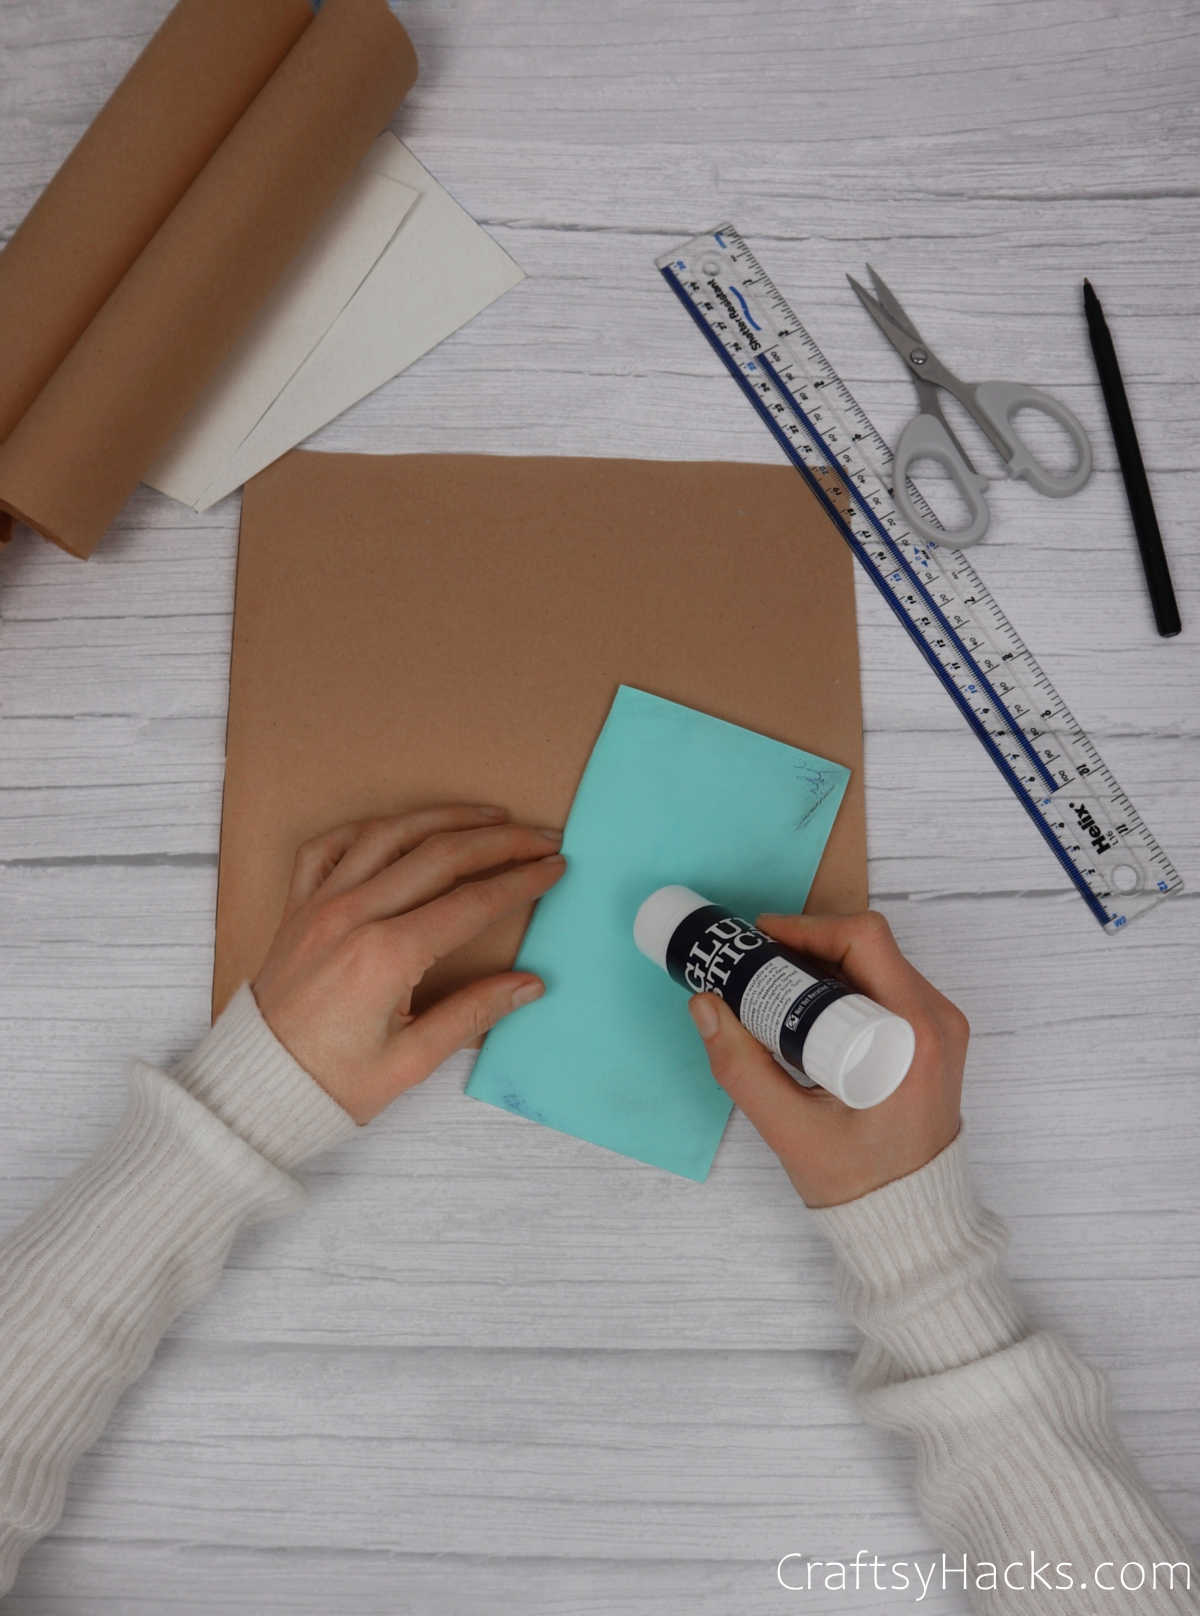
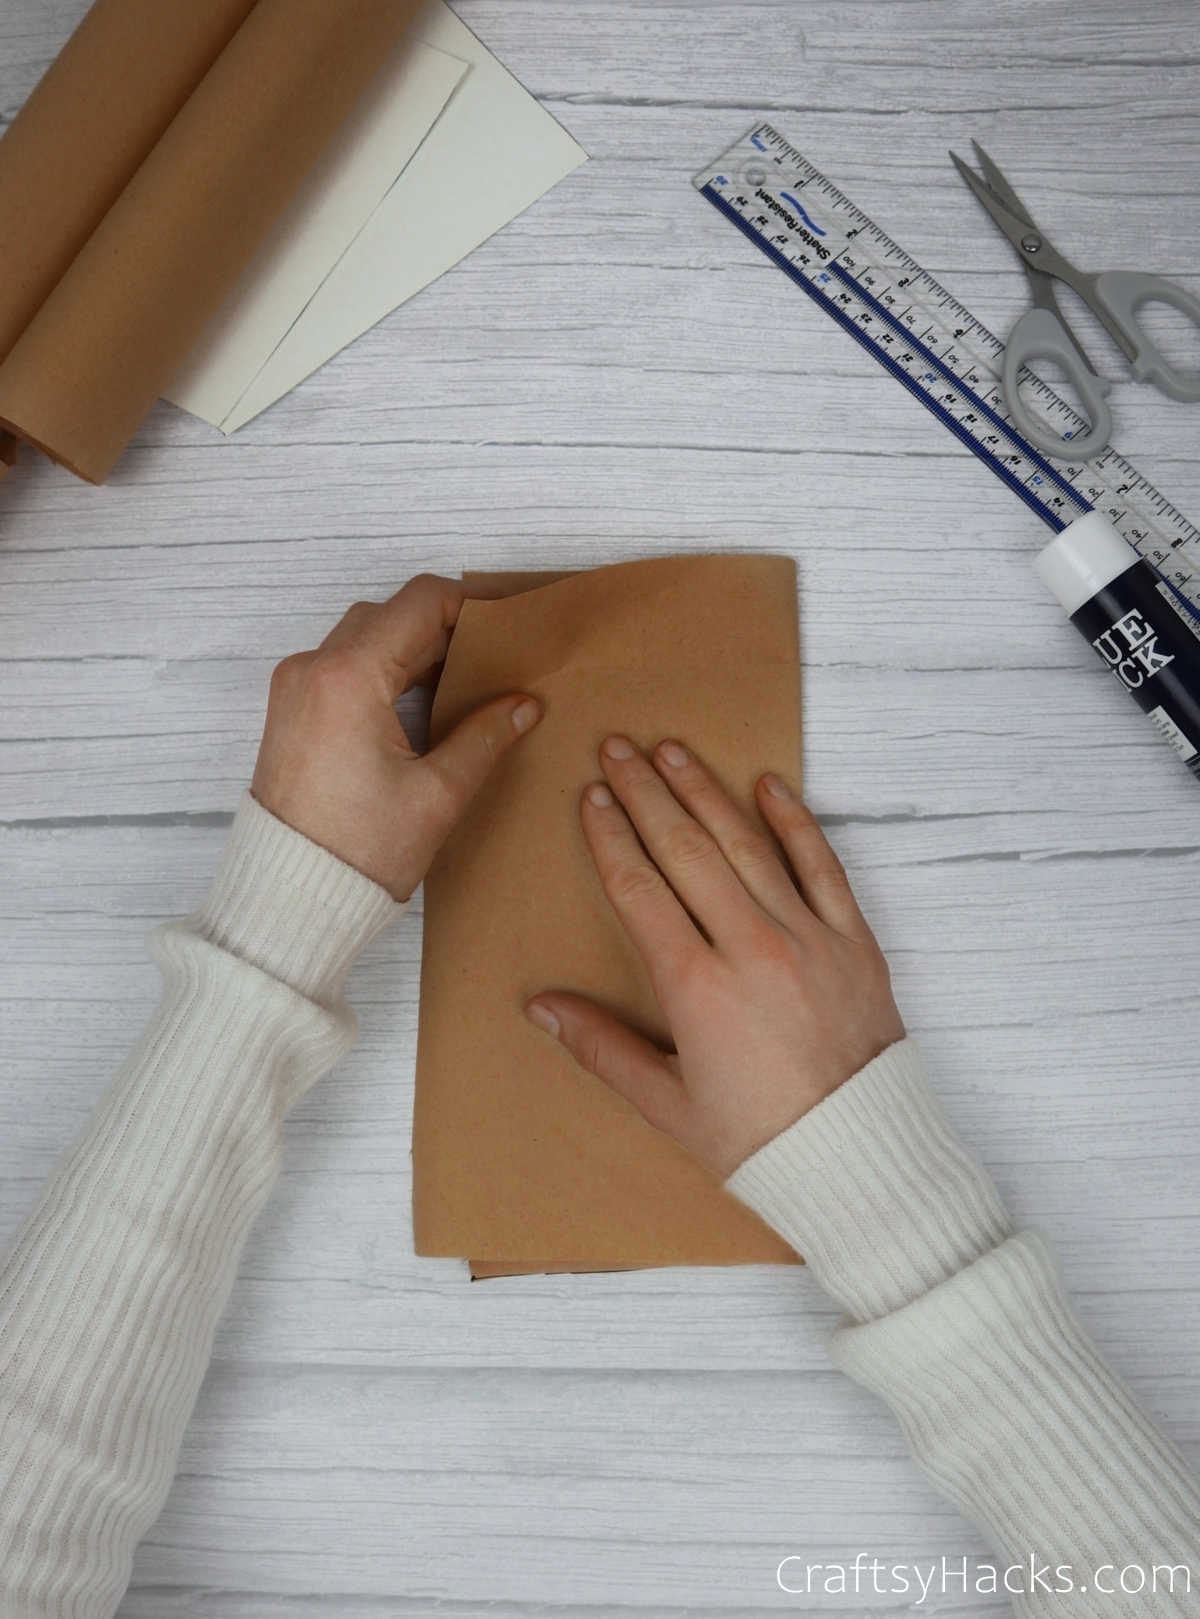
Carefully stick the notebookwith the adhesive side facing downwardonto the kraft paper.
Just verify you center the notebook before pressing firmly down to secure it in place.
Step 5
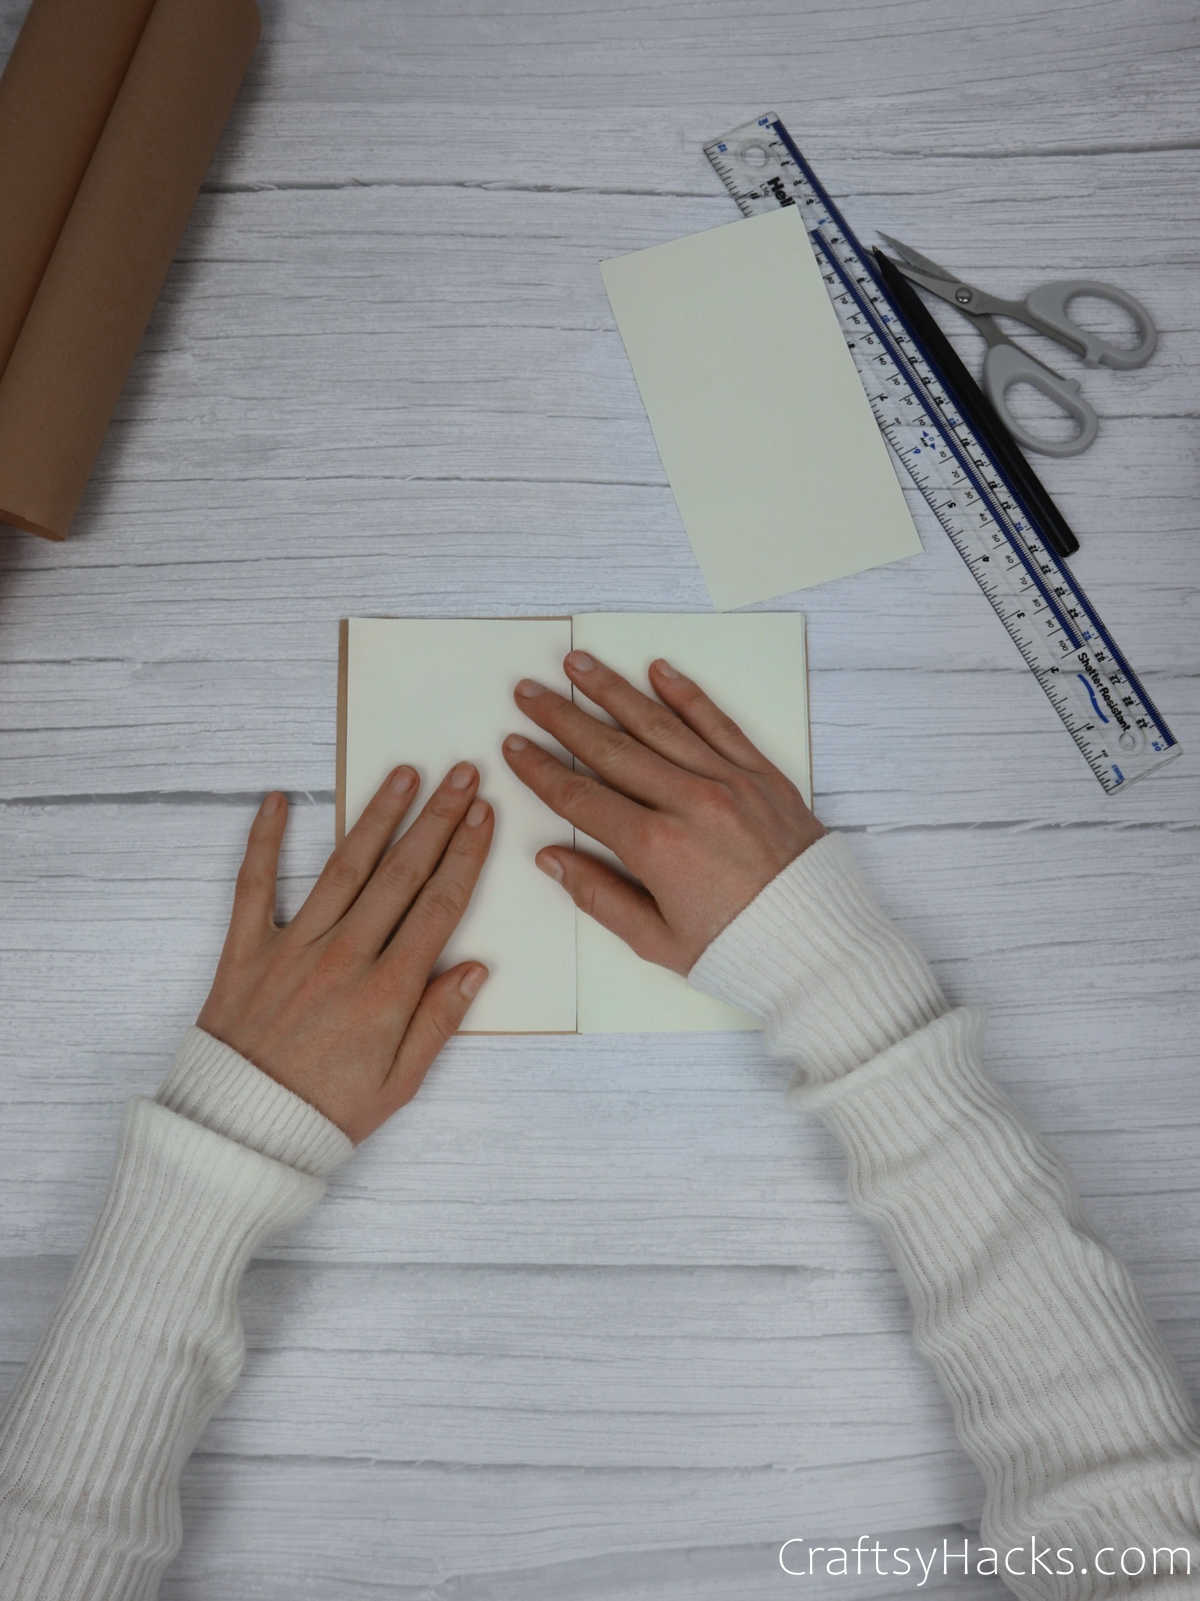
Once youre sure that the notebook is secure, gently fold it shut.
This will allow the craft paper to crease along the spine.
Step 6
Have you ever brown paper wrapped a notebook for school before?
Well, this particular step is not all that different.
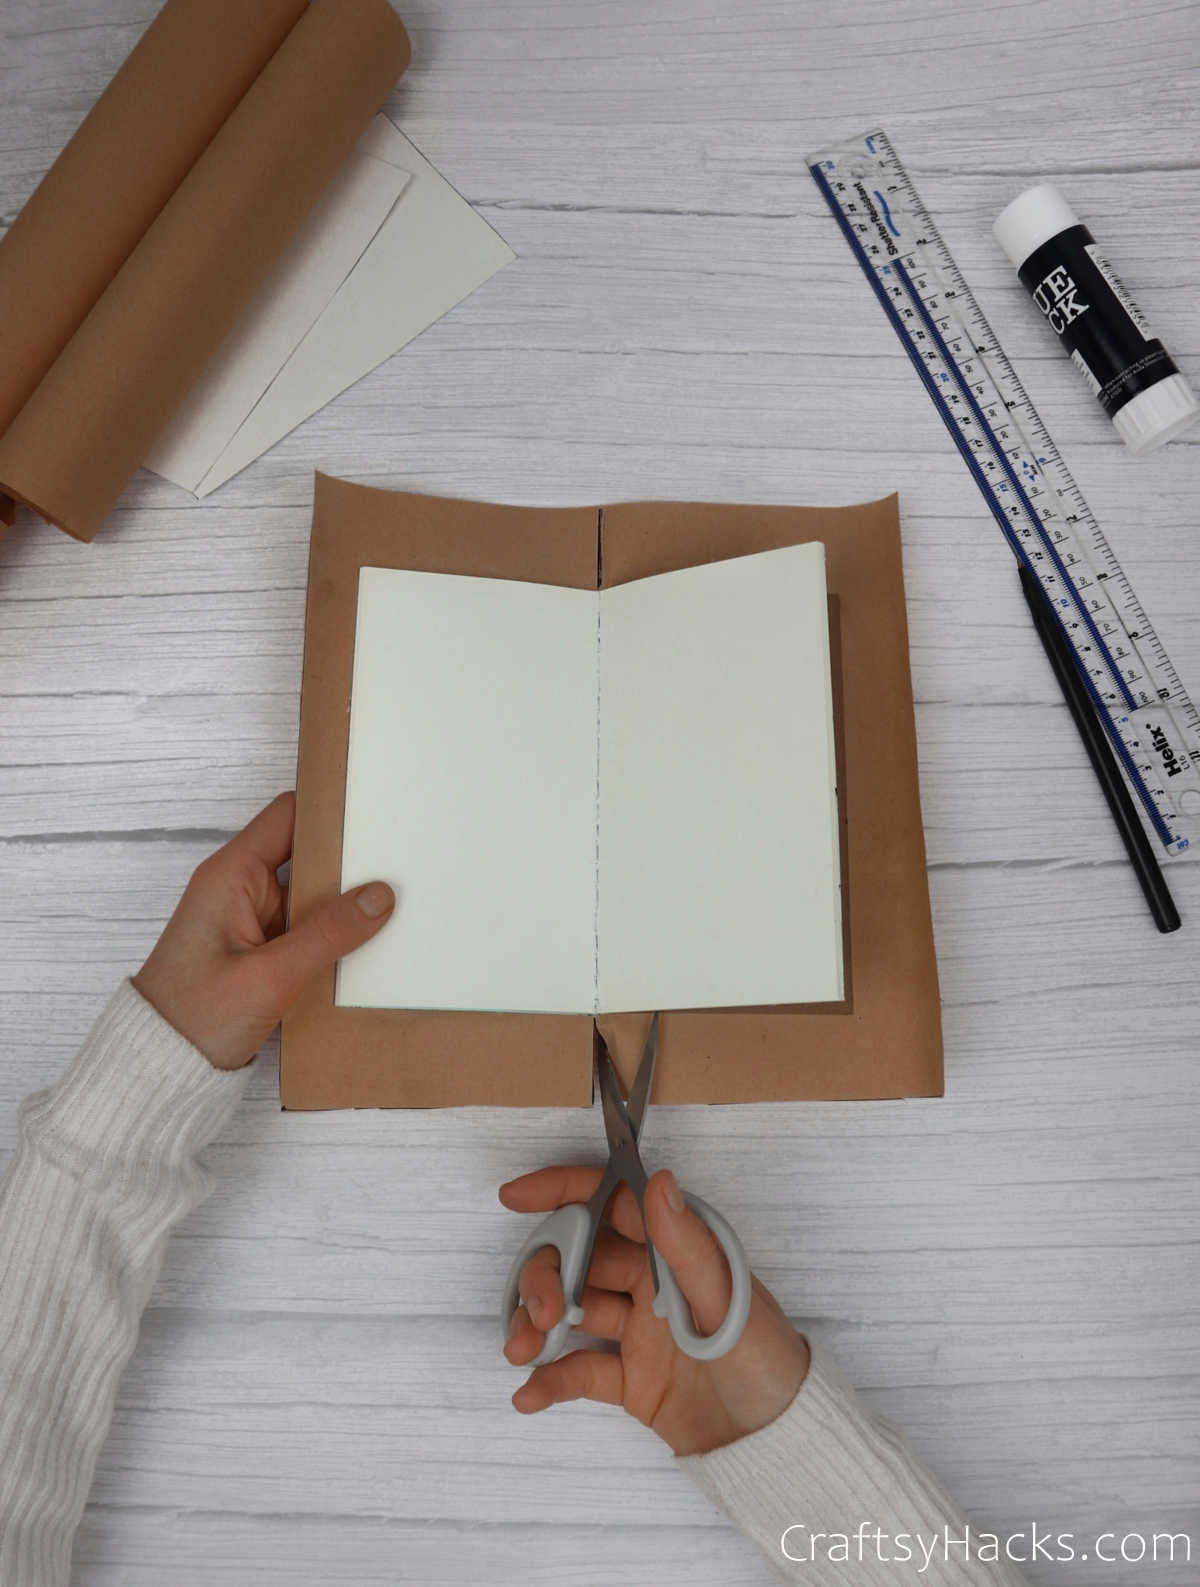
Go on and grab a pair of scissors.
Cut a line straight up from the bottom to the edge of the notebook.
Repeat this incision on top as well.
Keep an eye out, though; you dont want to accidentally cut the notebook in the process.
Step 7
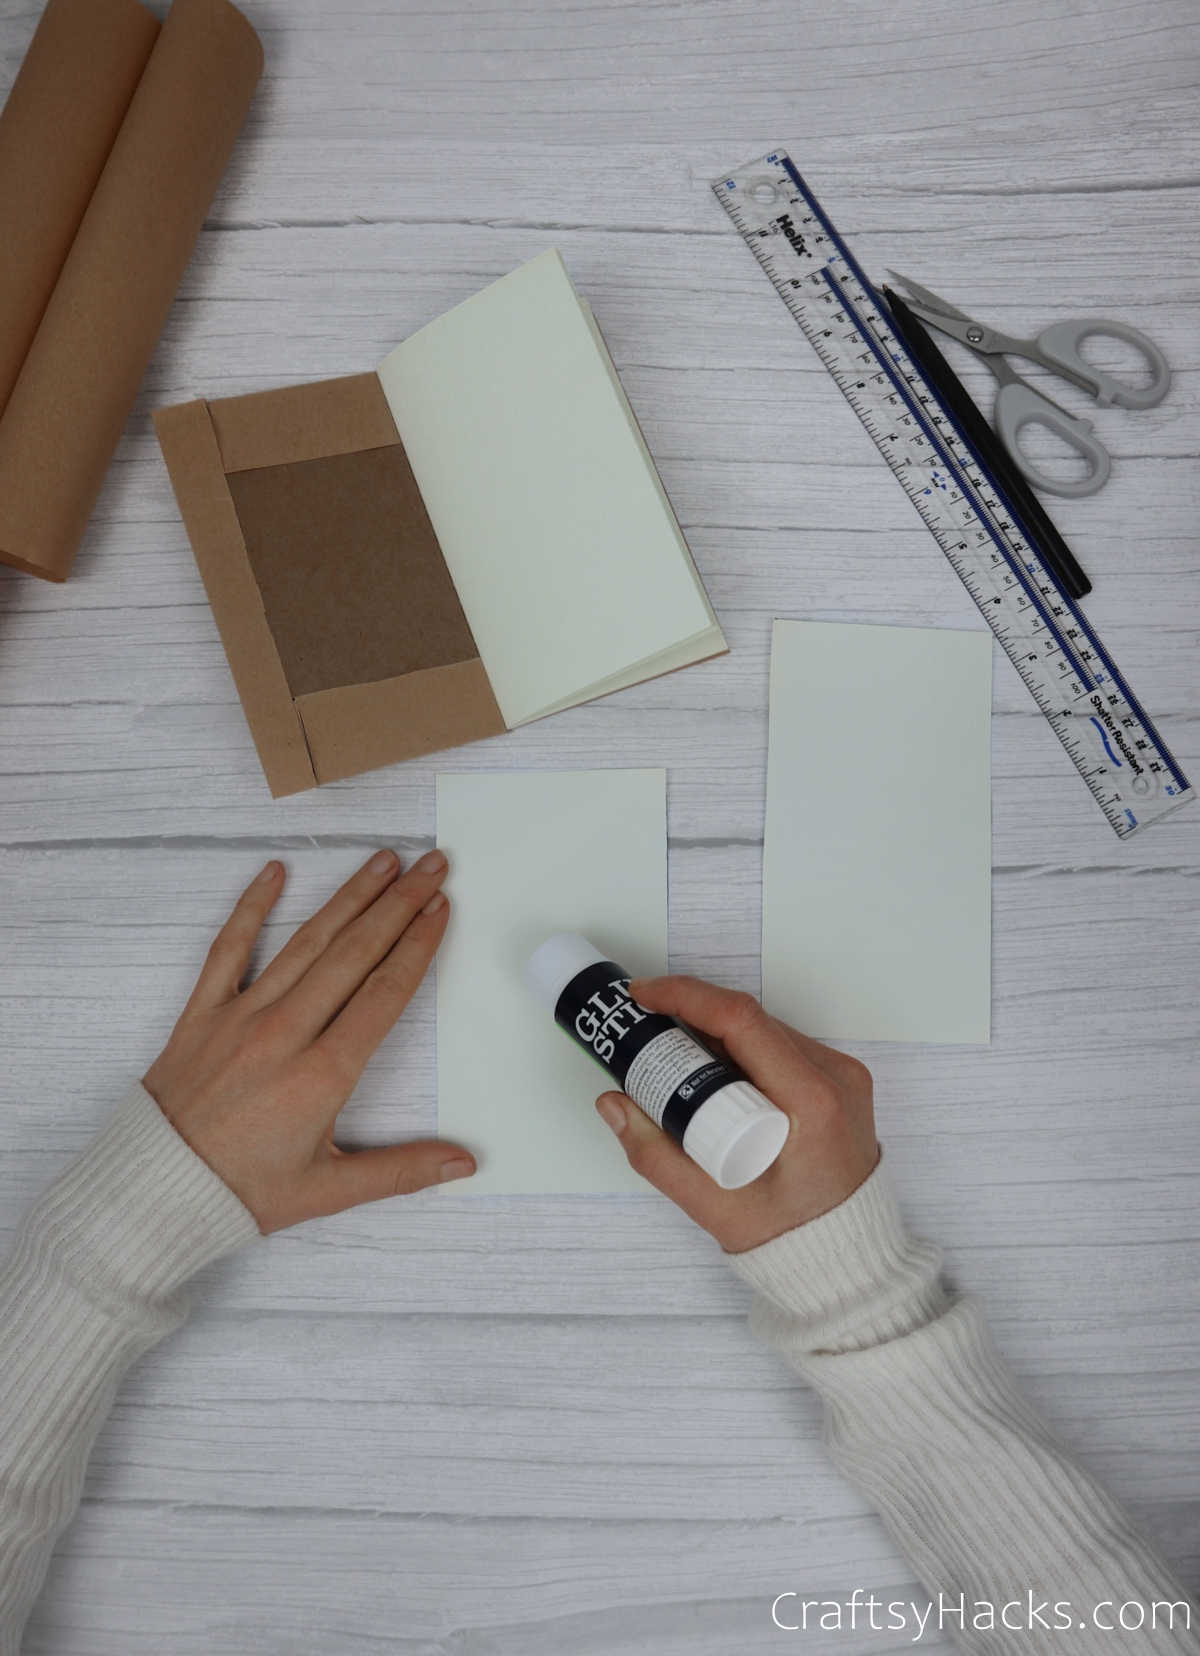
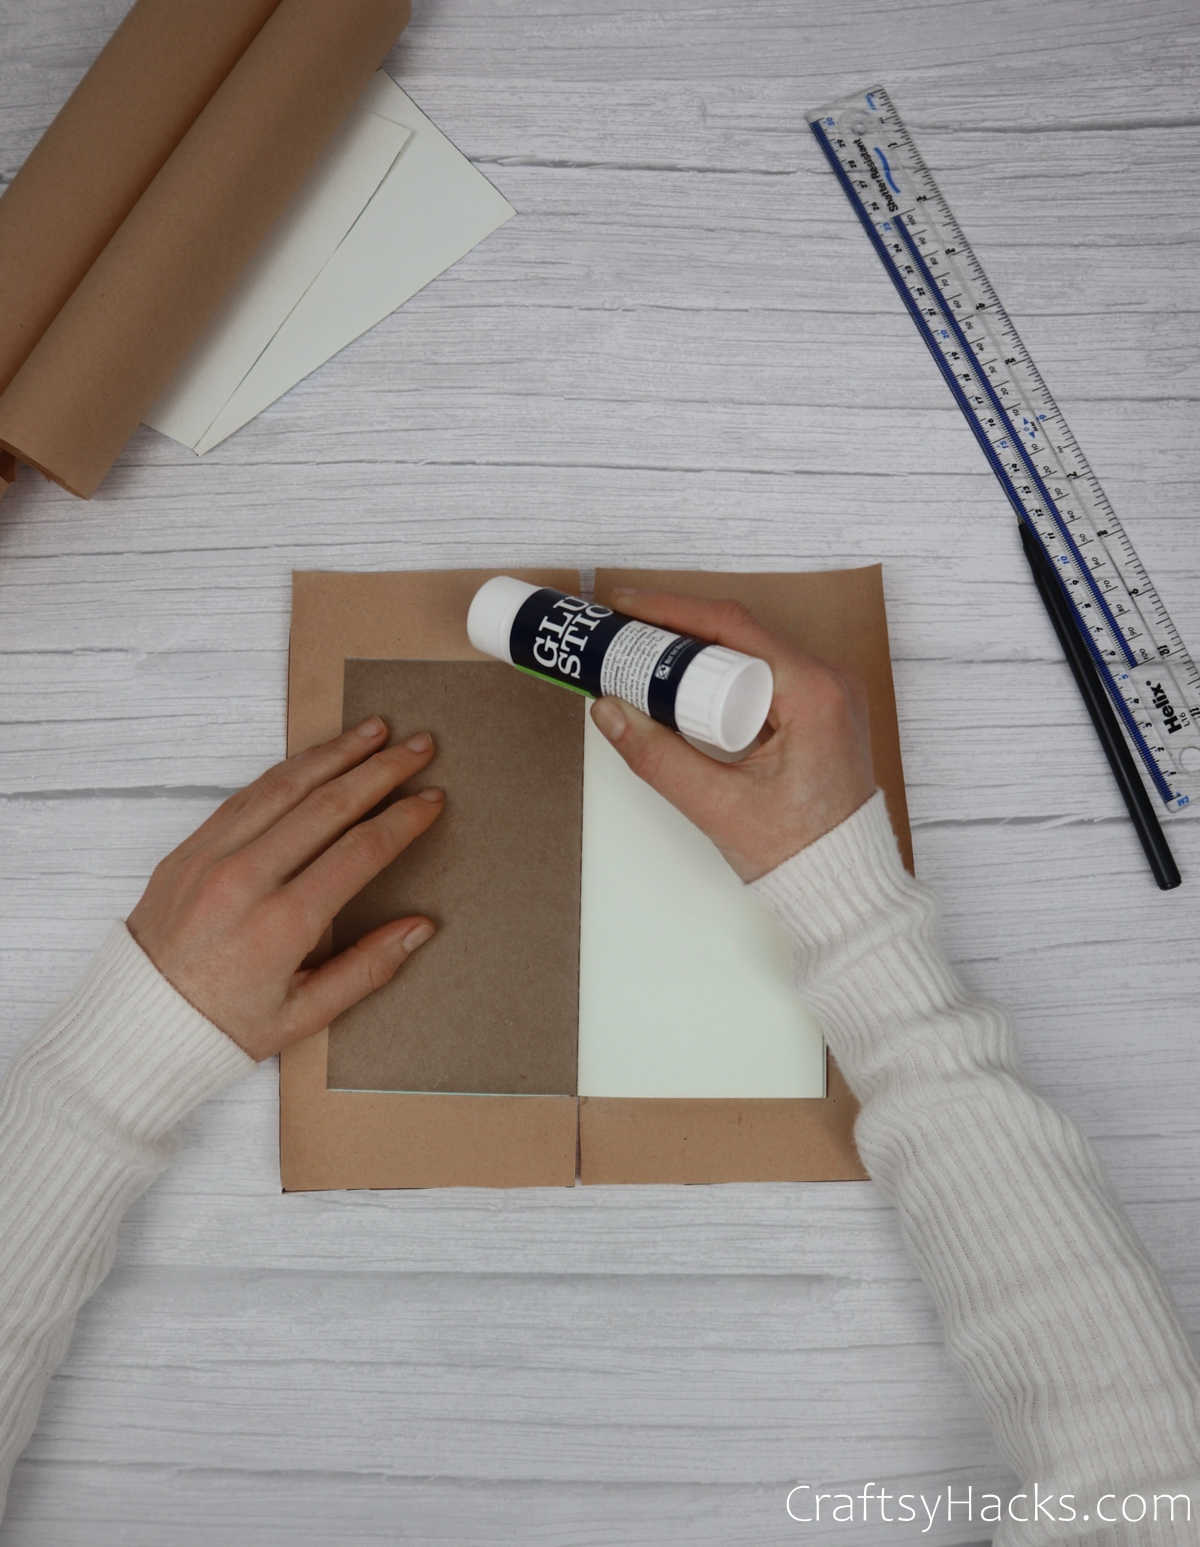
Apply a layer of adhesive along all the edges of the craft paper.
You will be folding the edges inward and sticking it onto the cover of the notebook.
Just remember to fold the edges down in a crisp and creaseless manner.
This will help you avoid any wrinkles as well as ensure that the cover doesnt pull or give way.

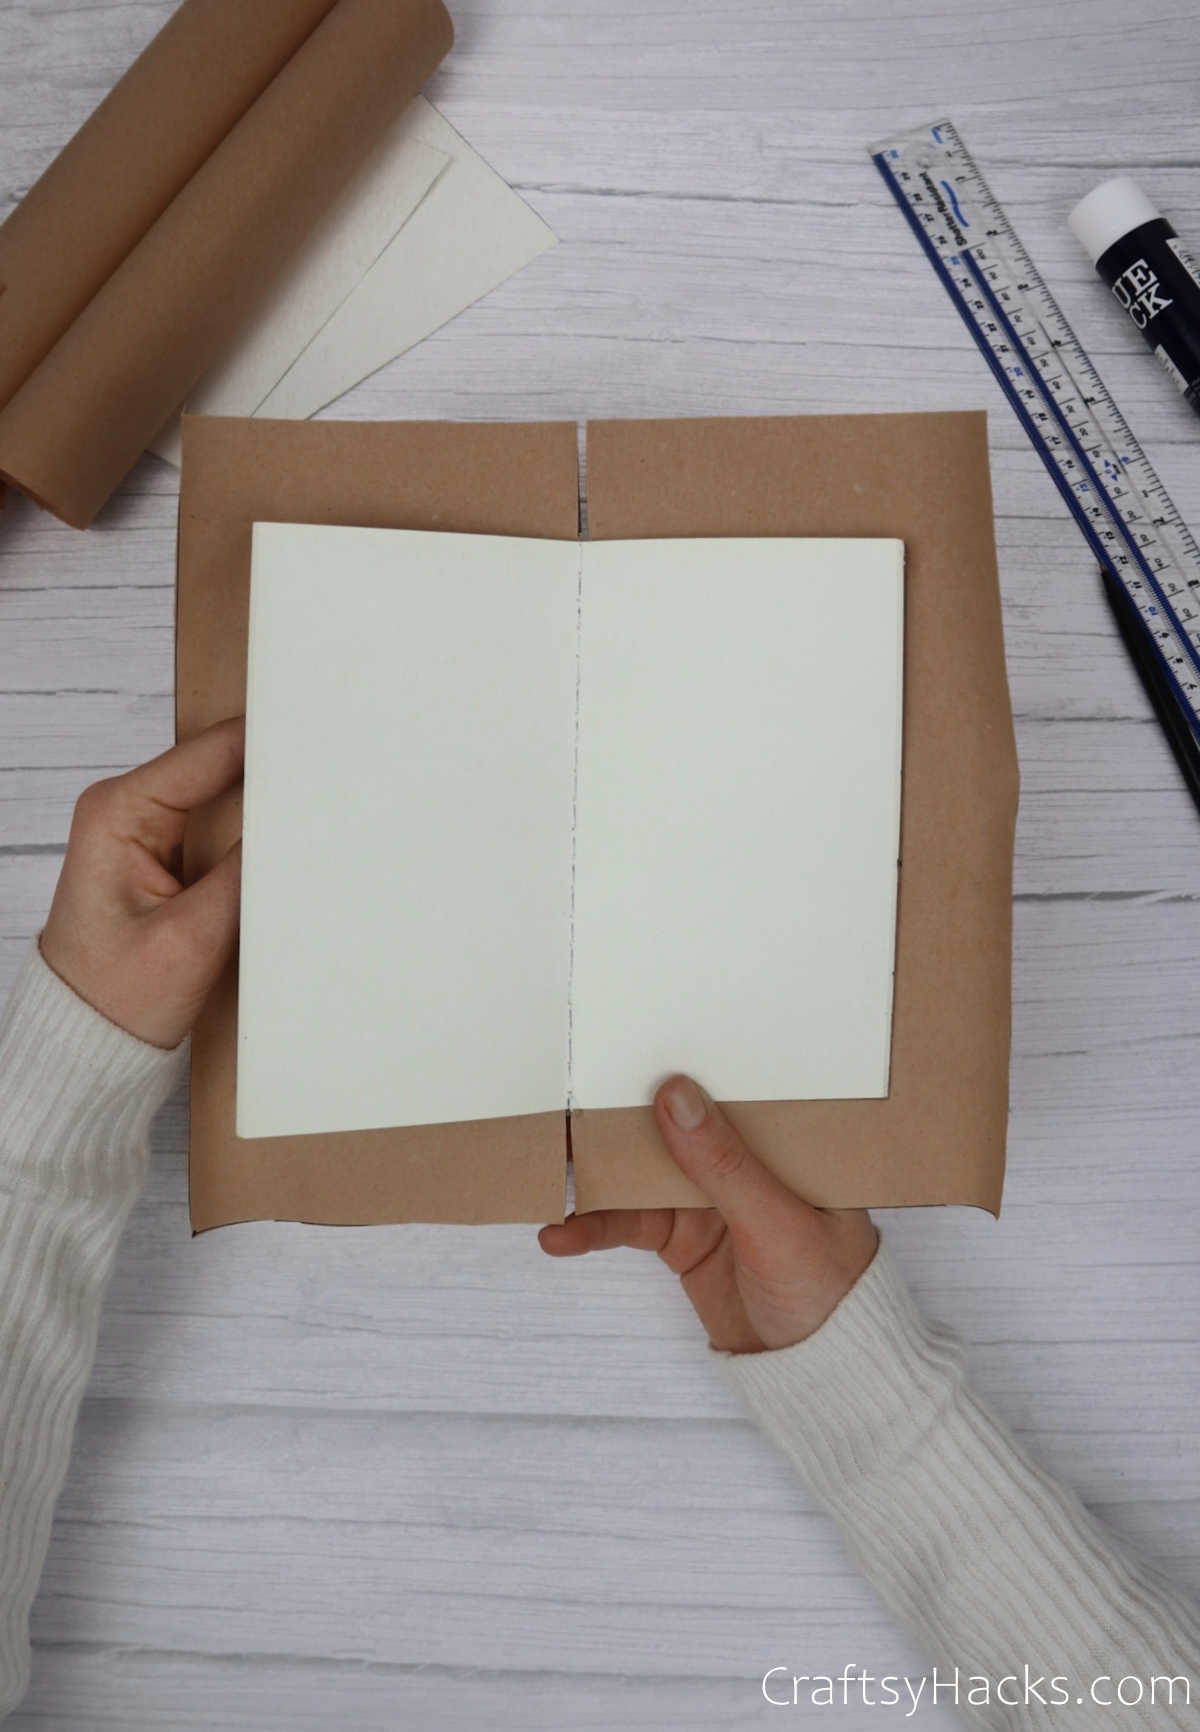
Heres how your journal should look when youre done folding and sticking one side.
Repeat the same process for the other side as well.
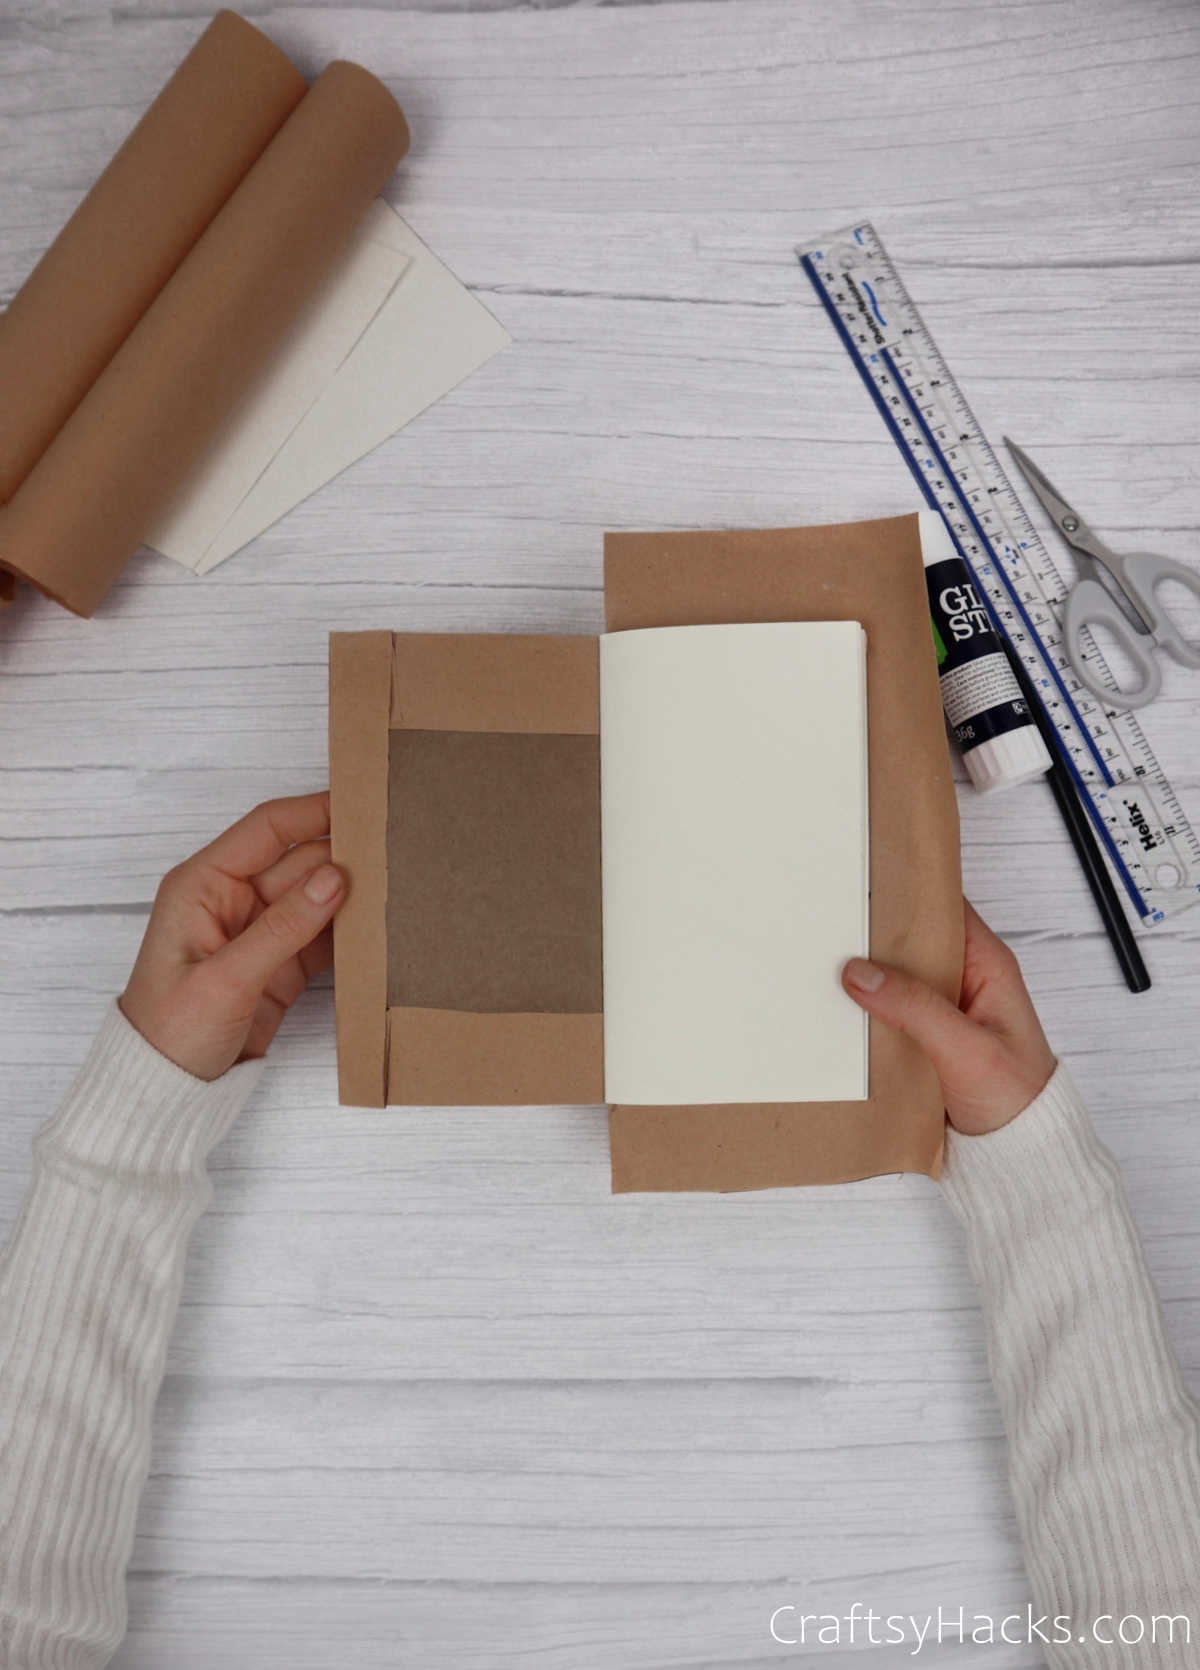
Step 8
Do you remember when you cut out two plain rectangles and set them aside?
Well, now is when theyre going to come in handy.
Cover up the other side of the notebook and youre all set.
This is how your notebook will look once youre done.
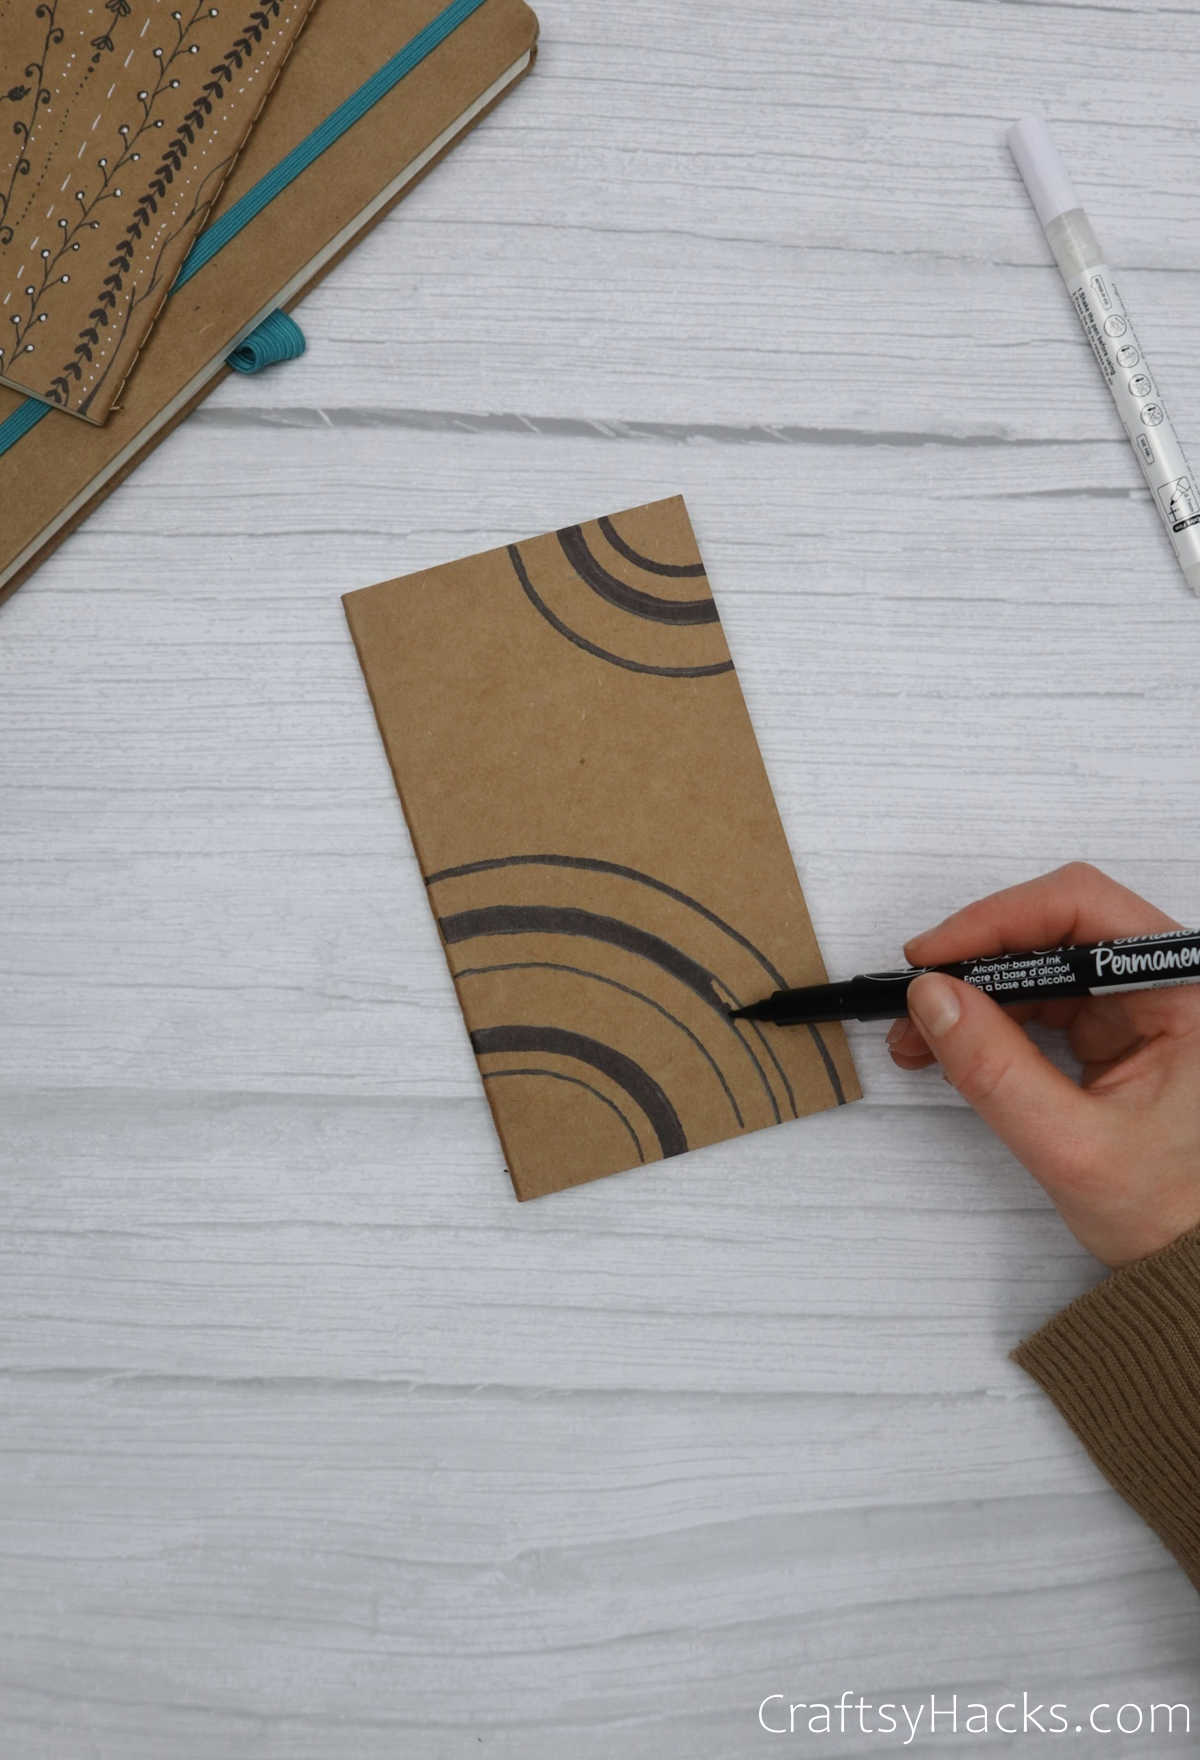
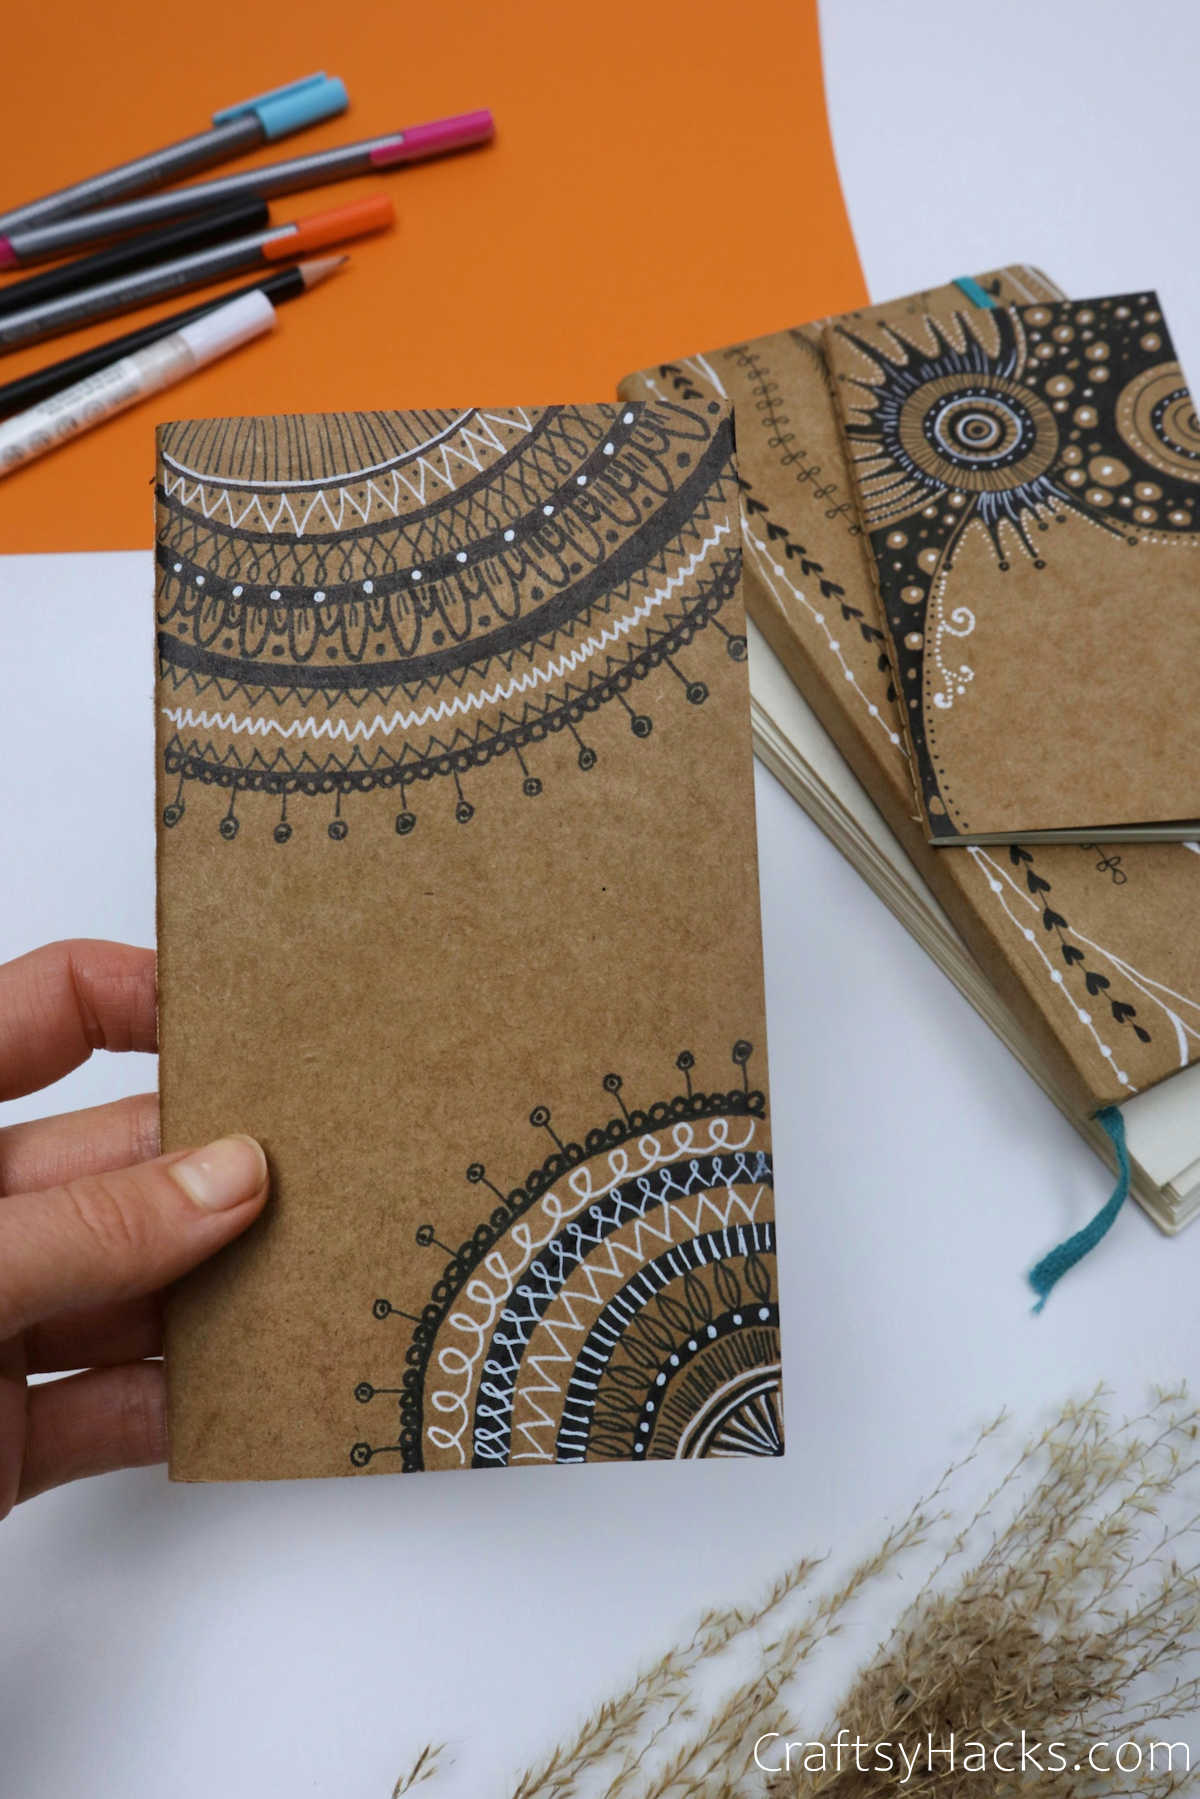
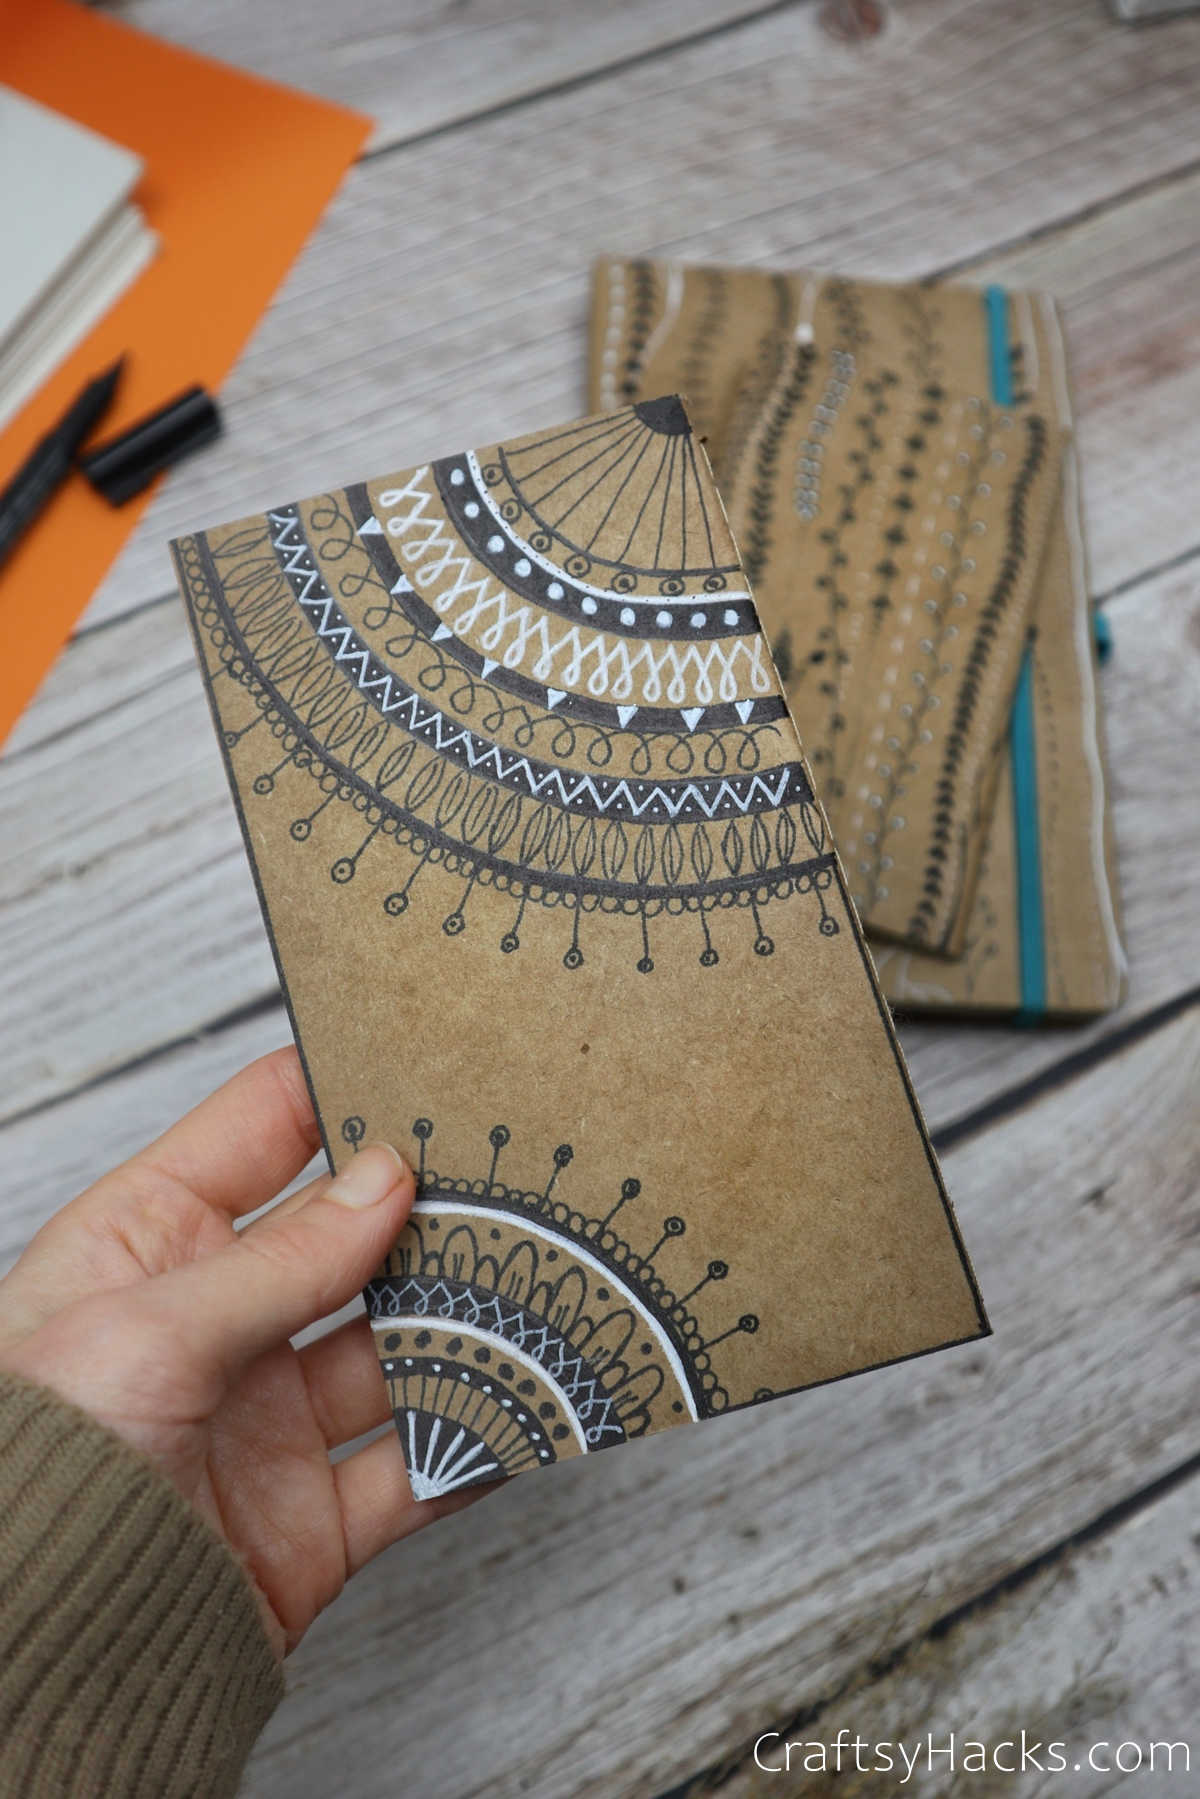
you could use a combination of black and white markers.
White, especially, can really make your designs pop!
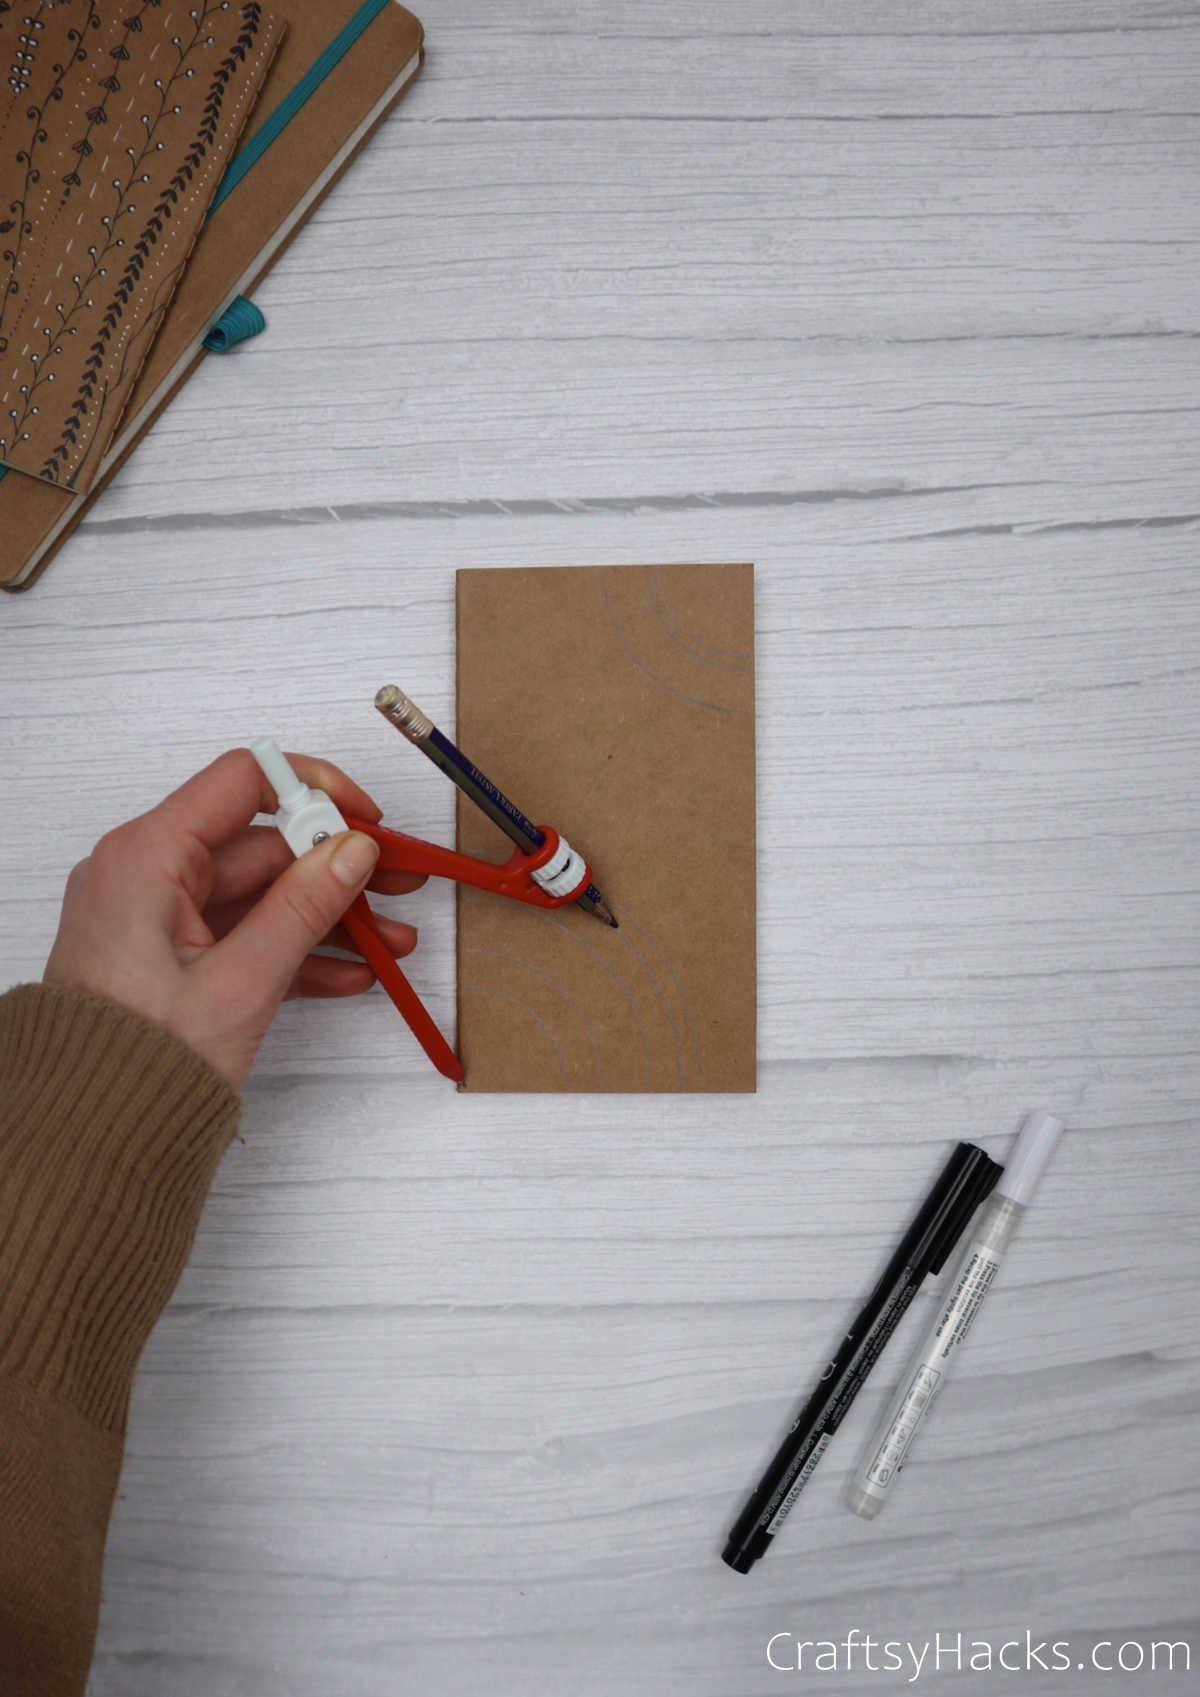
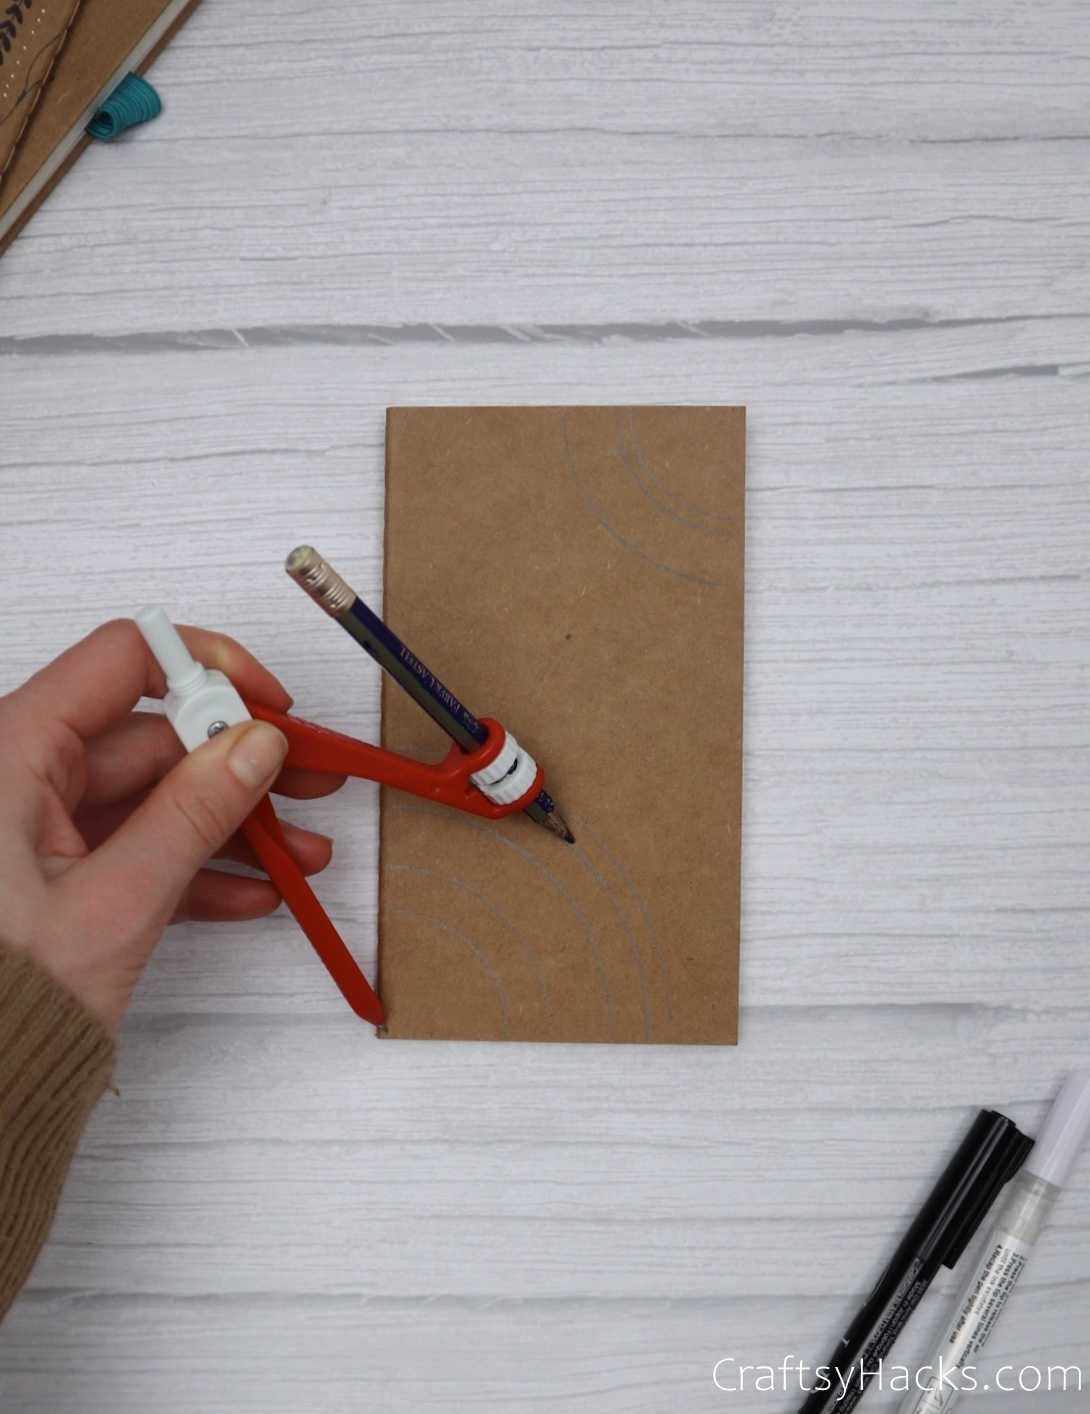
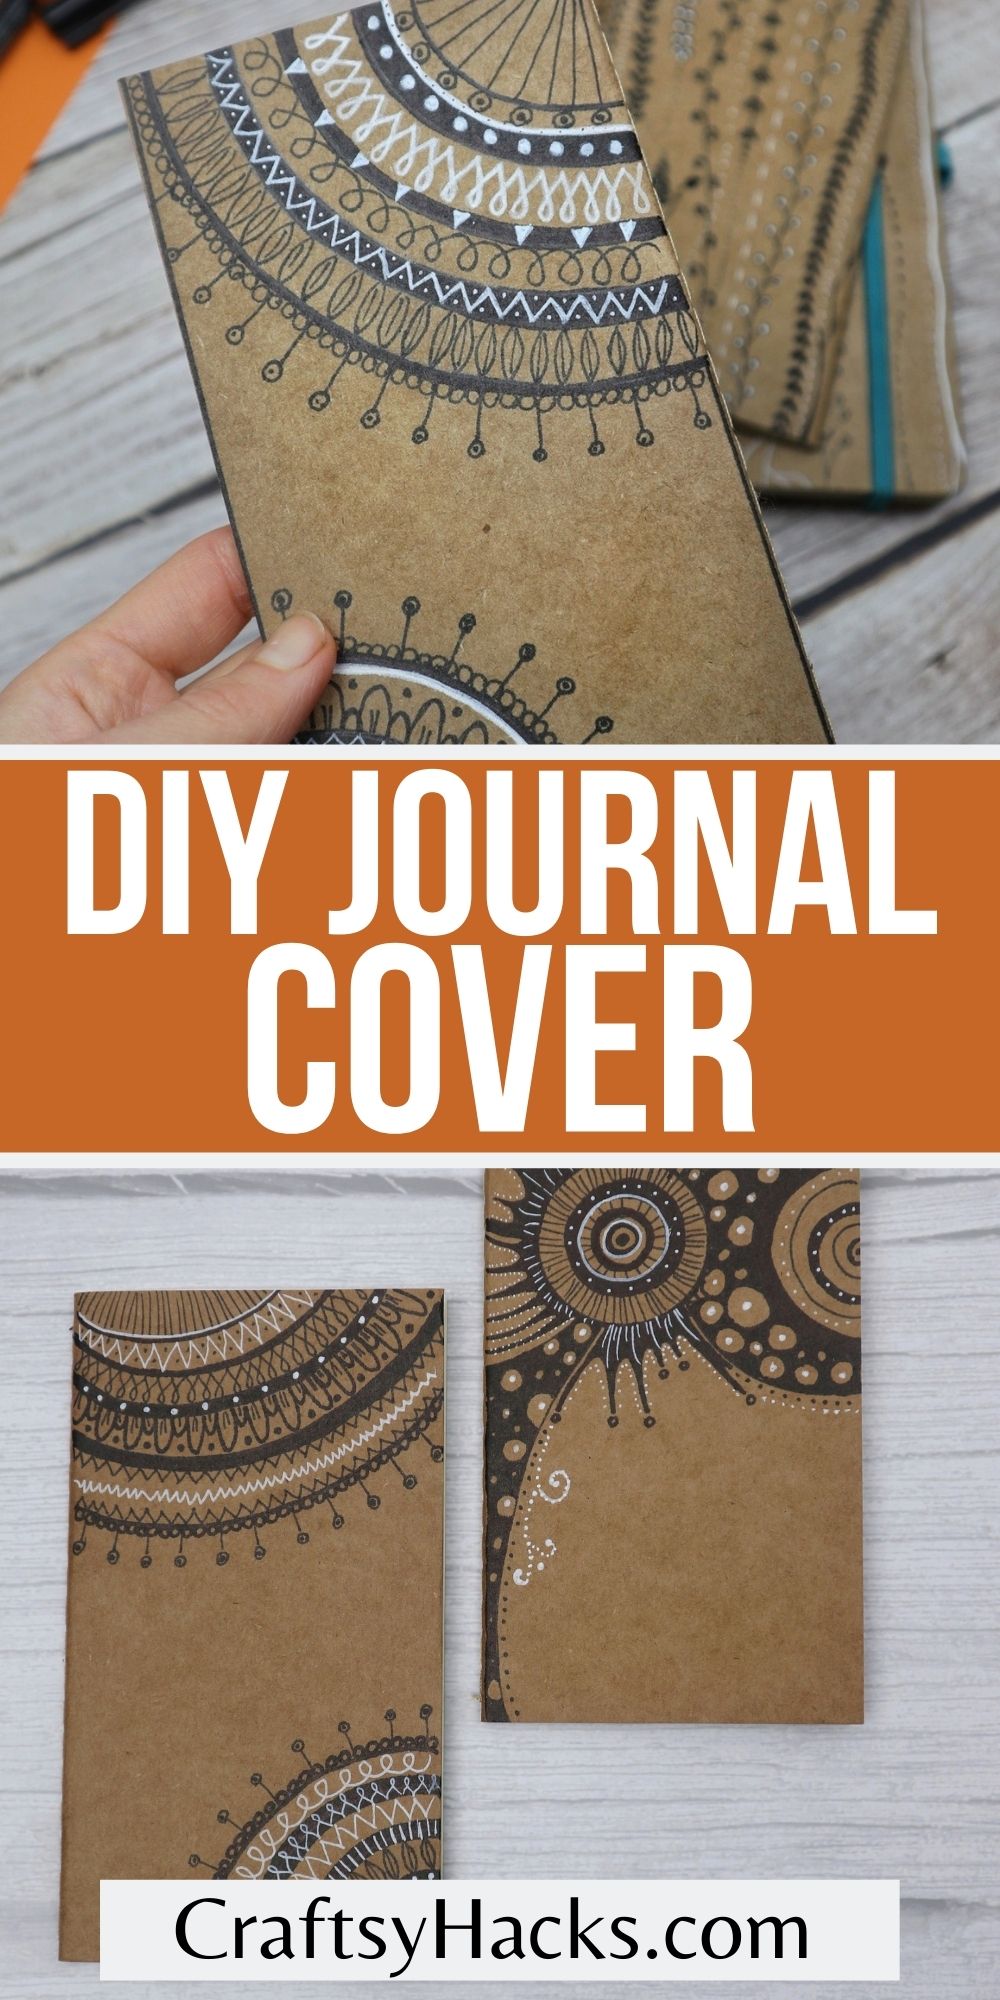
So grab your compass and start off by marking your design according to your specifications.
Fill in the designs with black, white, or colored markers.
Youll find a ton of inspiration on Pinterest.
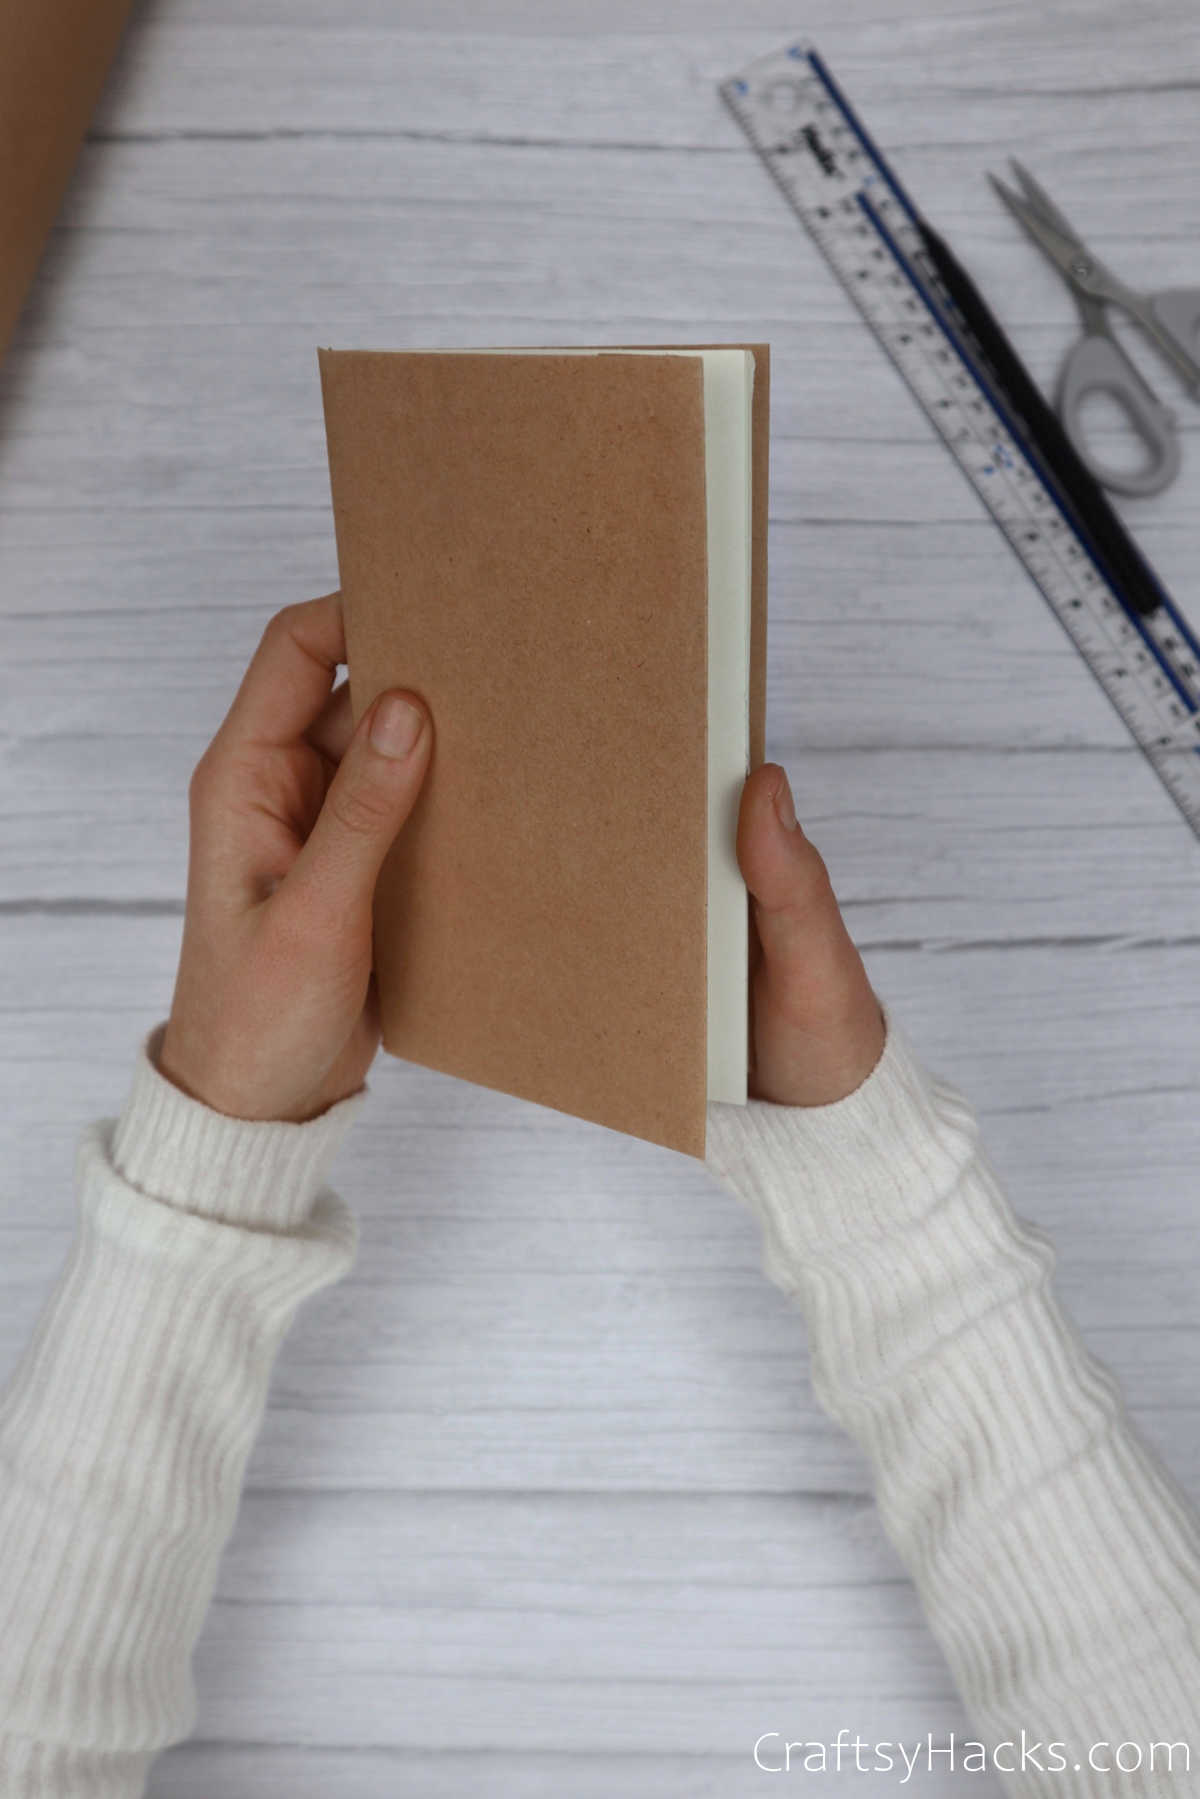
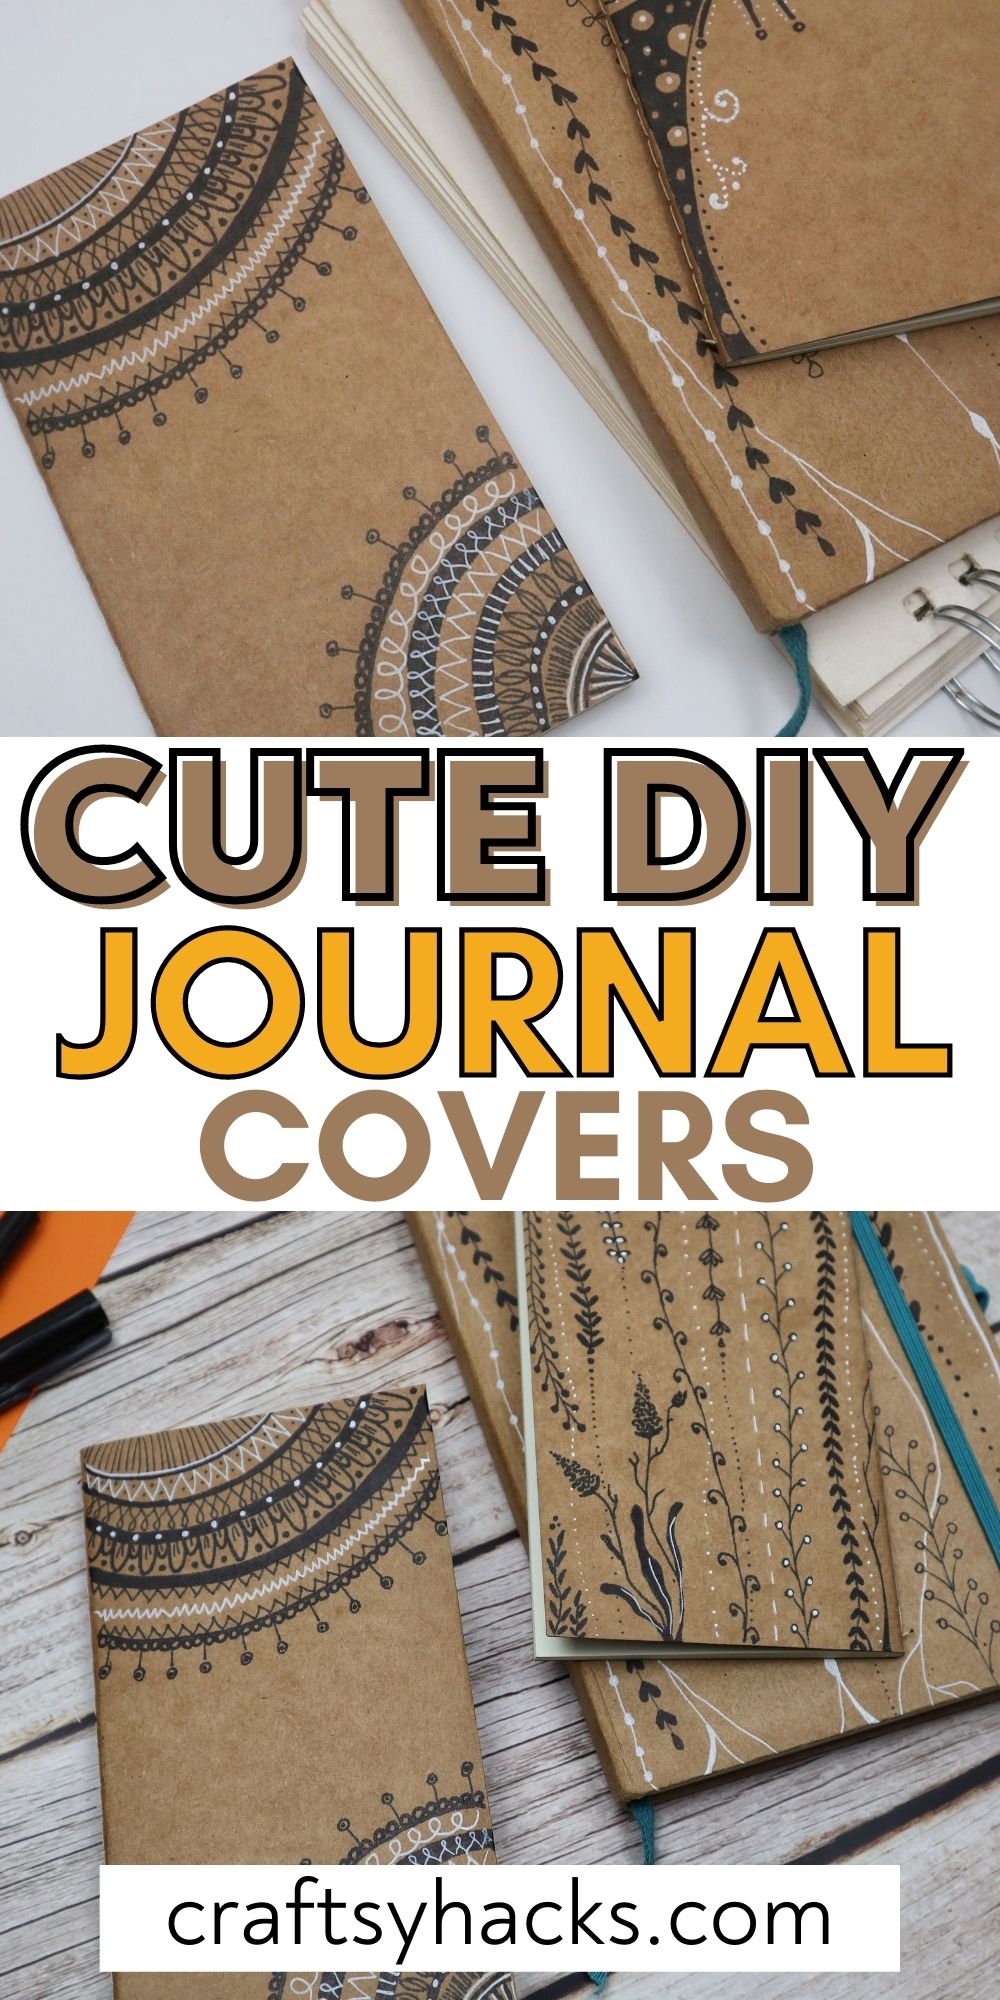
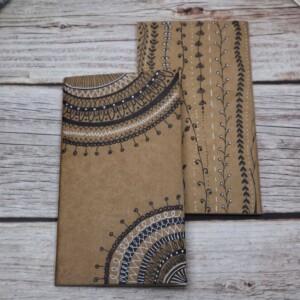
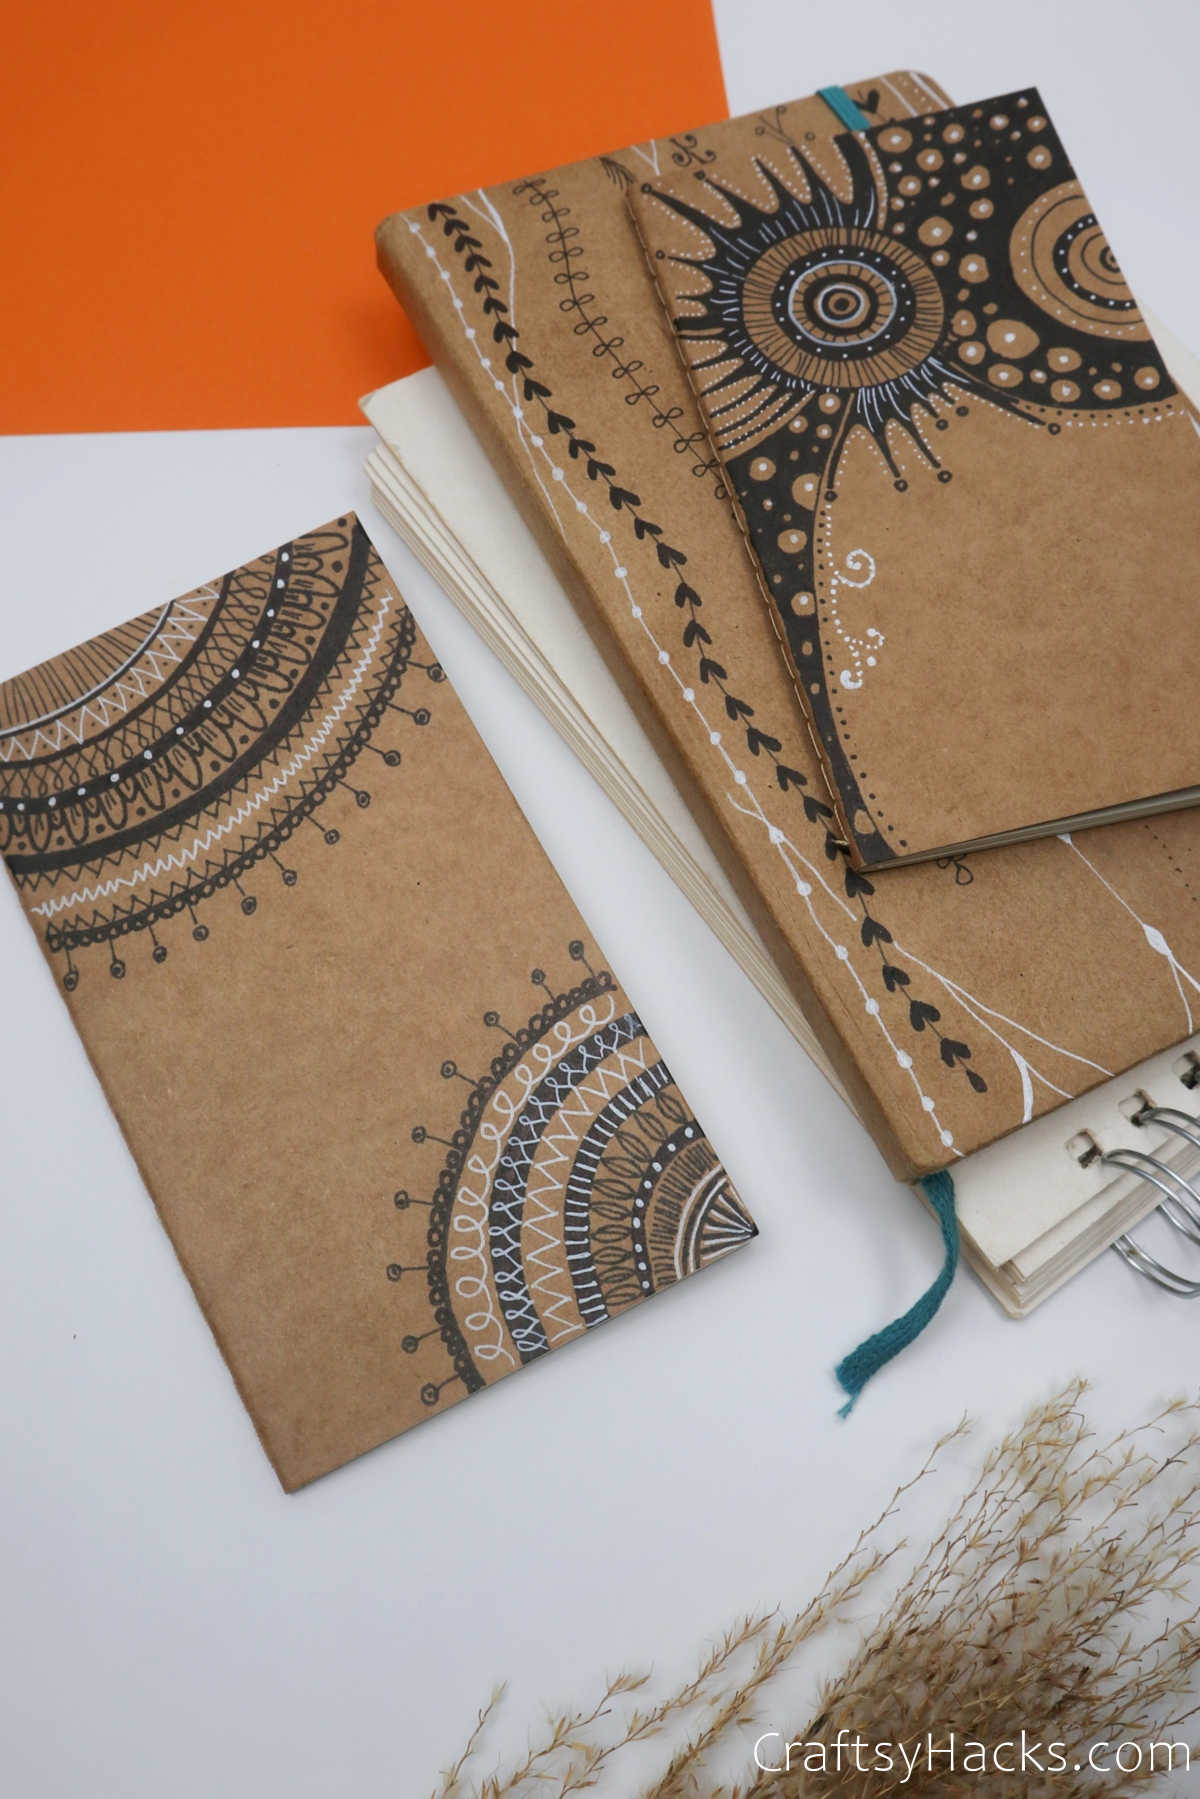
There you have it!
Your very own DIY Journal with a super gorgeous cover.
you could use this journal as a diary, a tracker…the choices are endless!