HomeOrganization
This post may contain affiliate links:full affiliate disclosure.
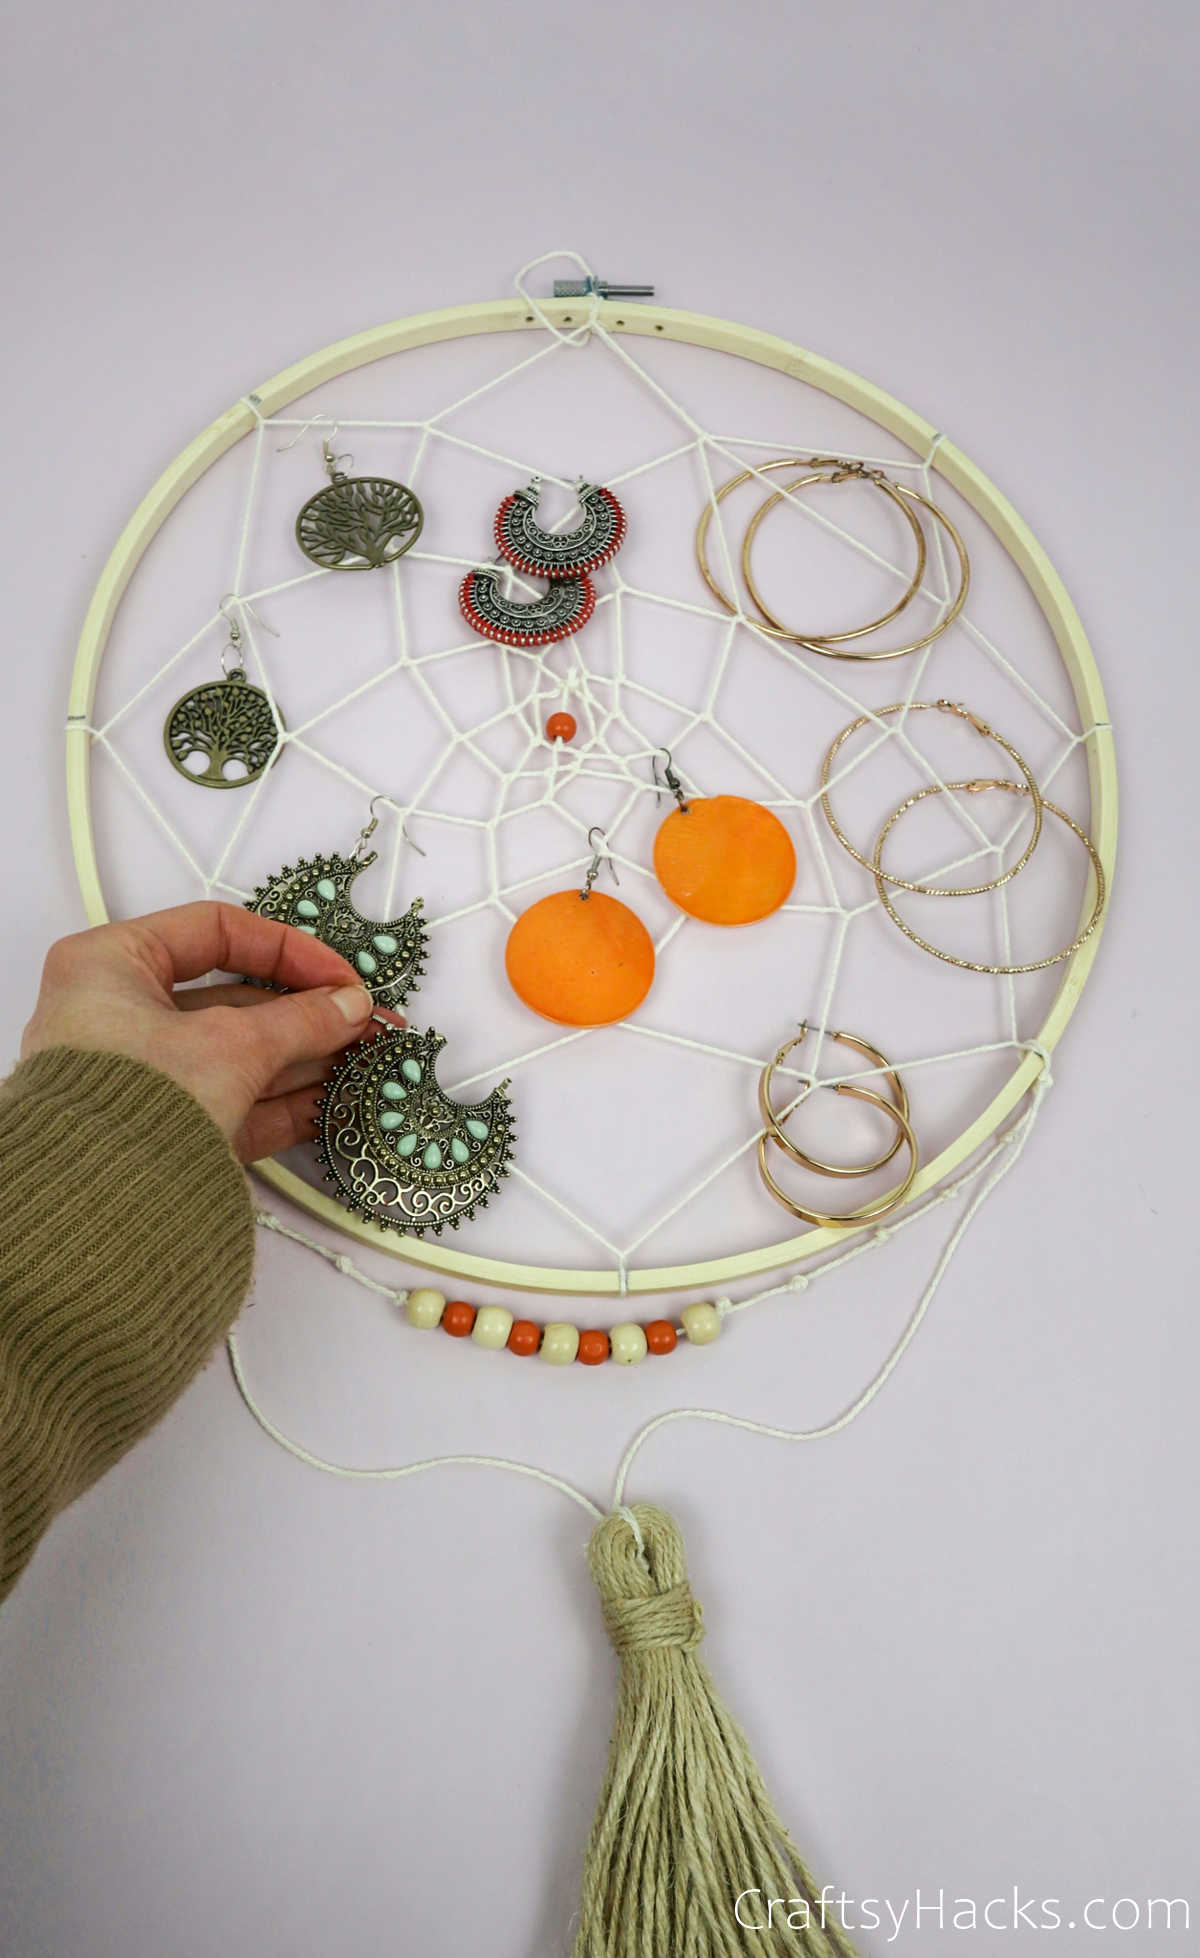
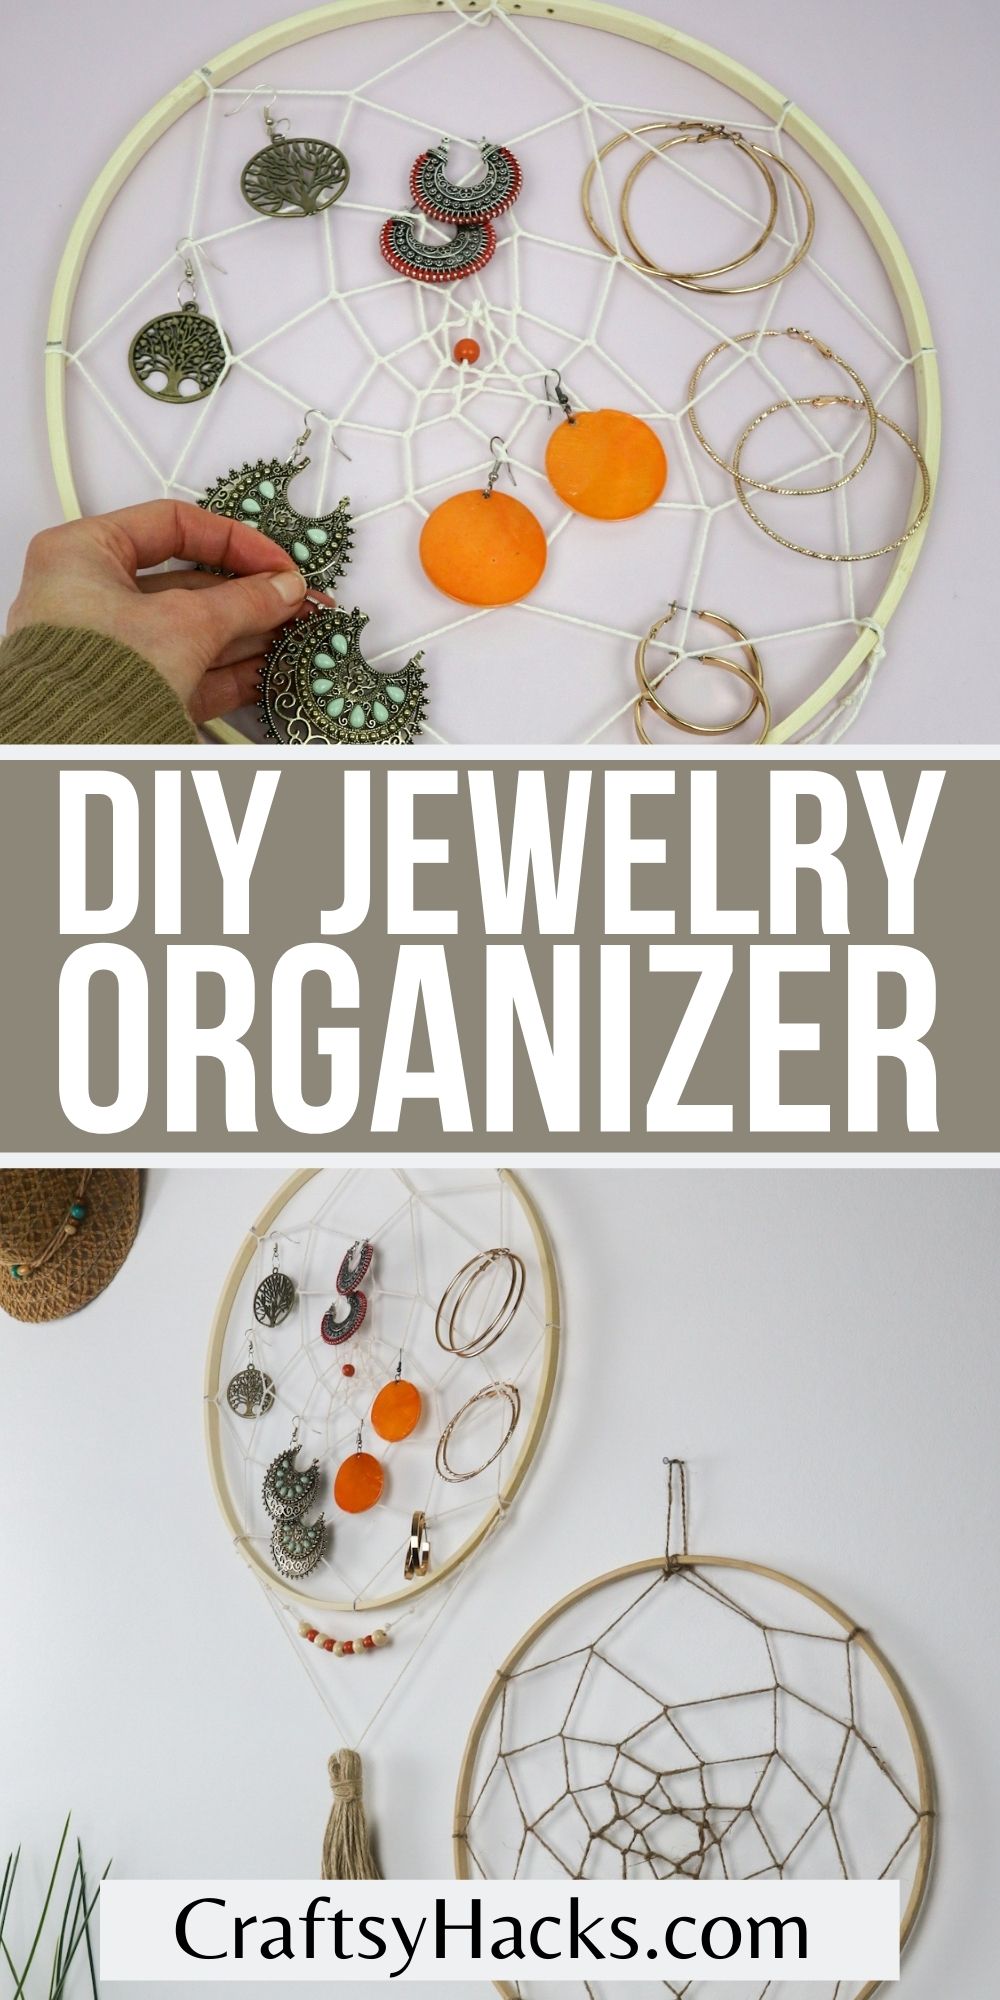
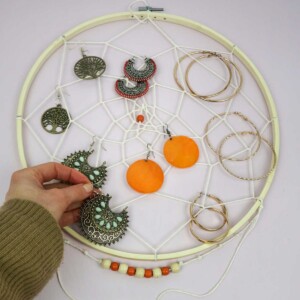
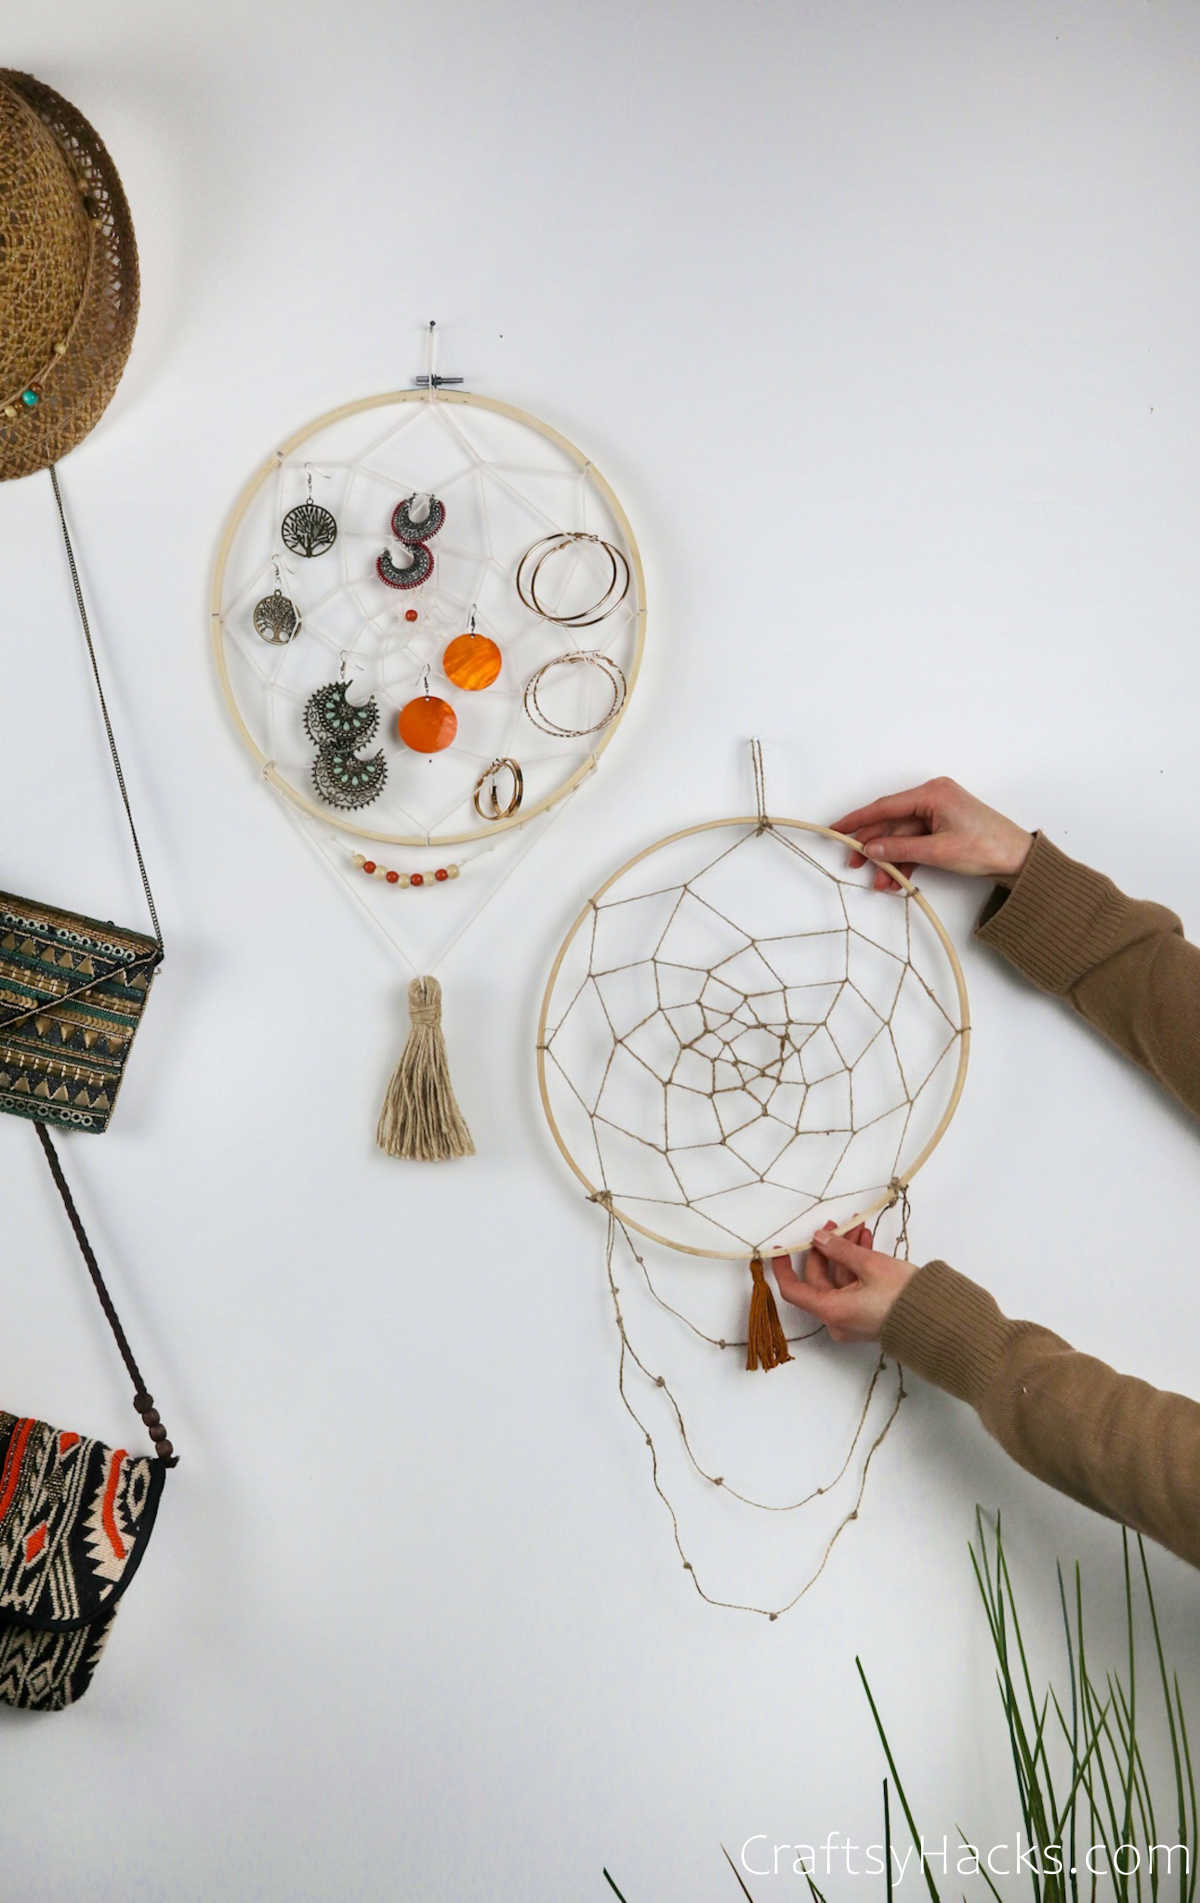
Make your very own organizer and keep your jewelry untangled.
This DIY project is fun to make whenever youre decluttering your home.
Do you remember that time when dream catches were all the rage?
Say, your jewelry, perhaps?
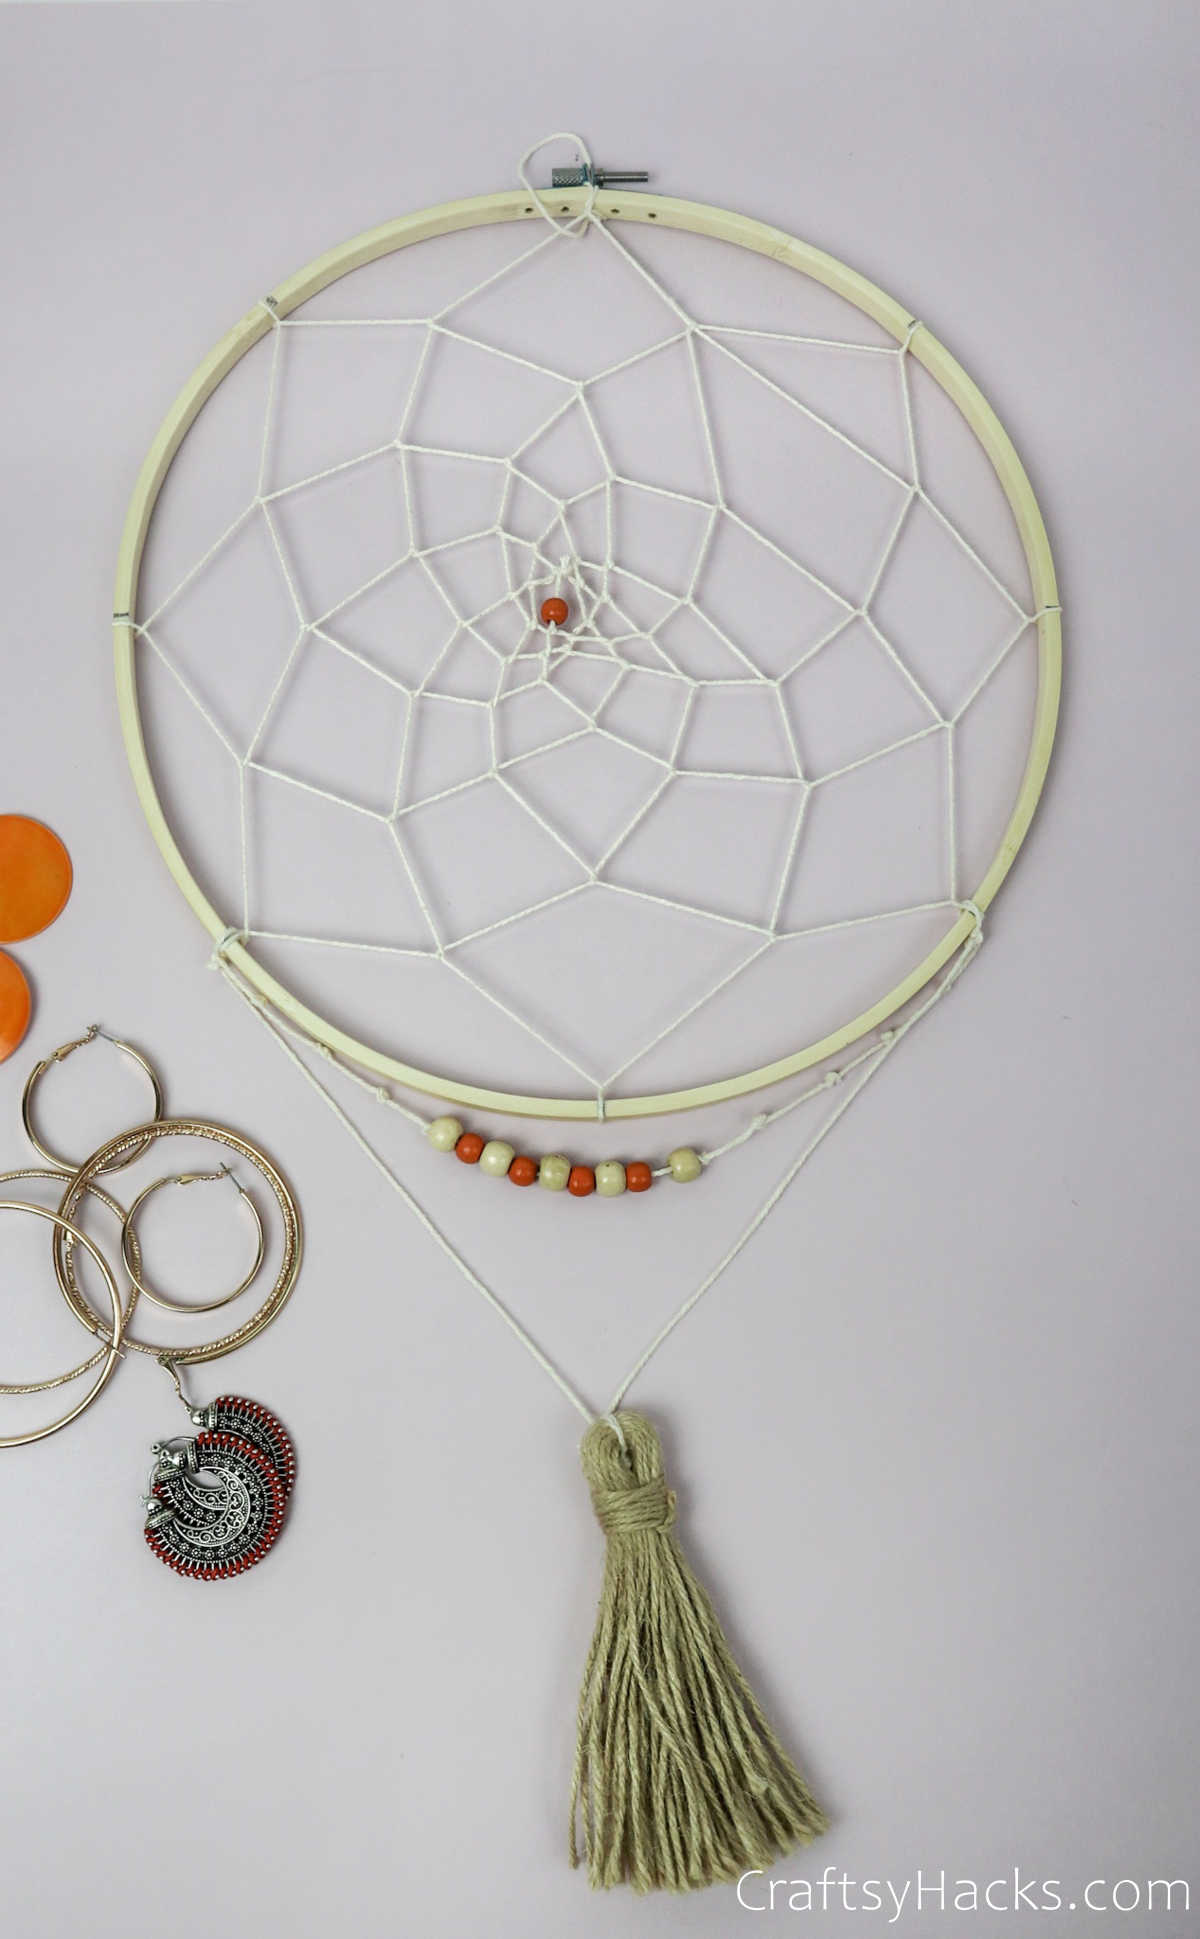
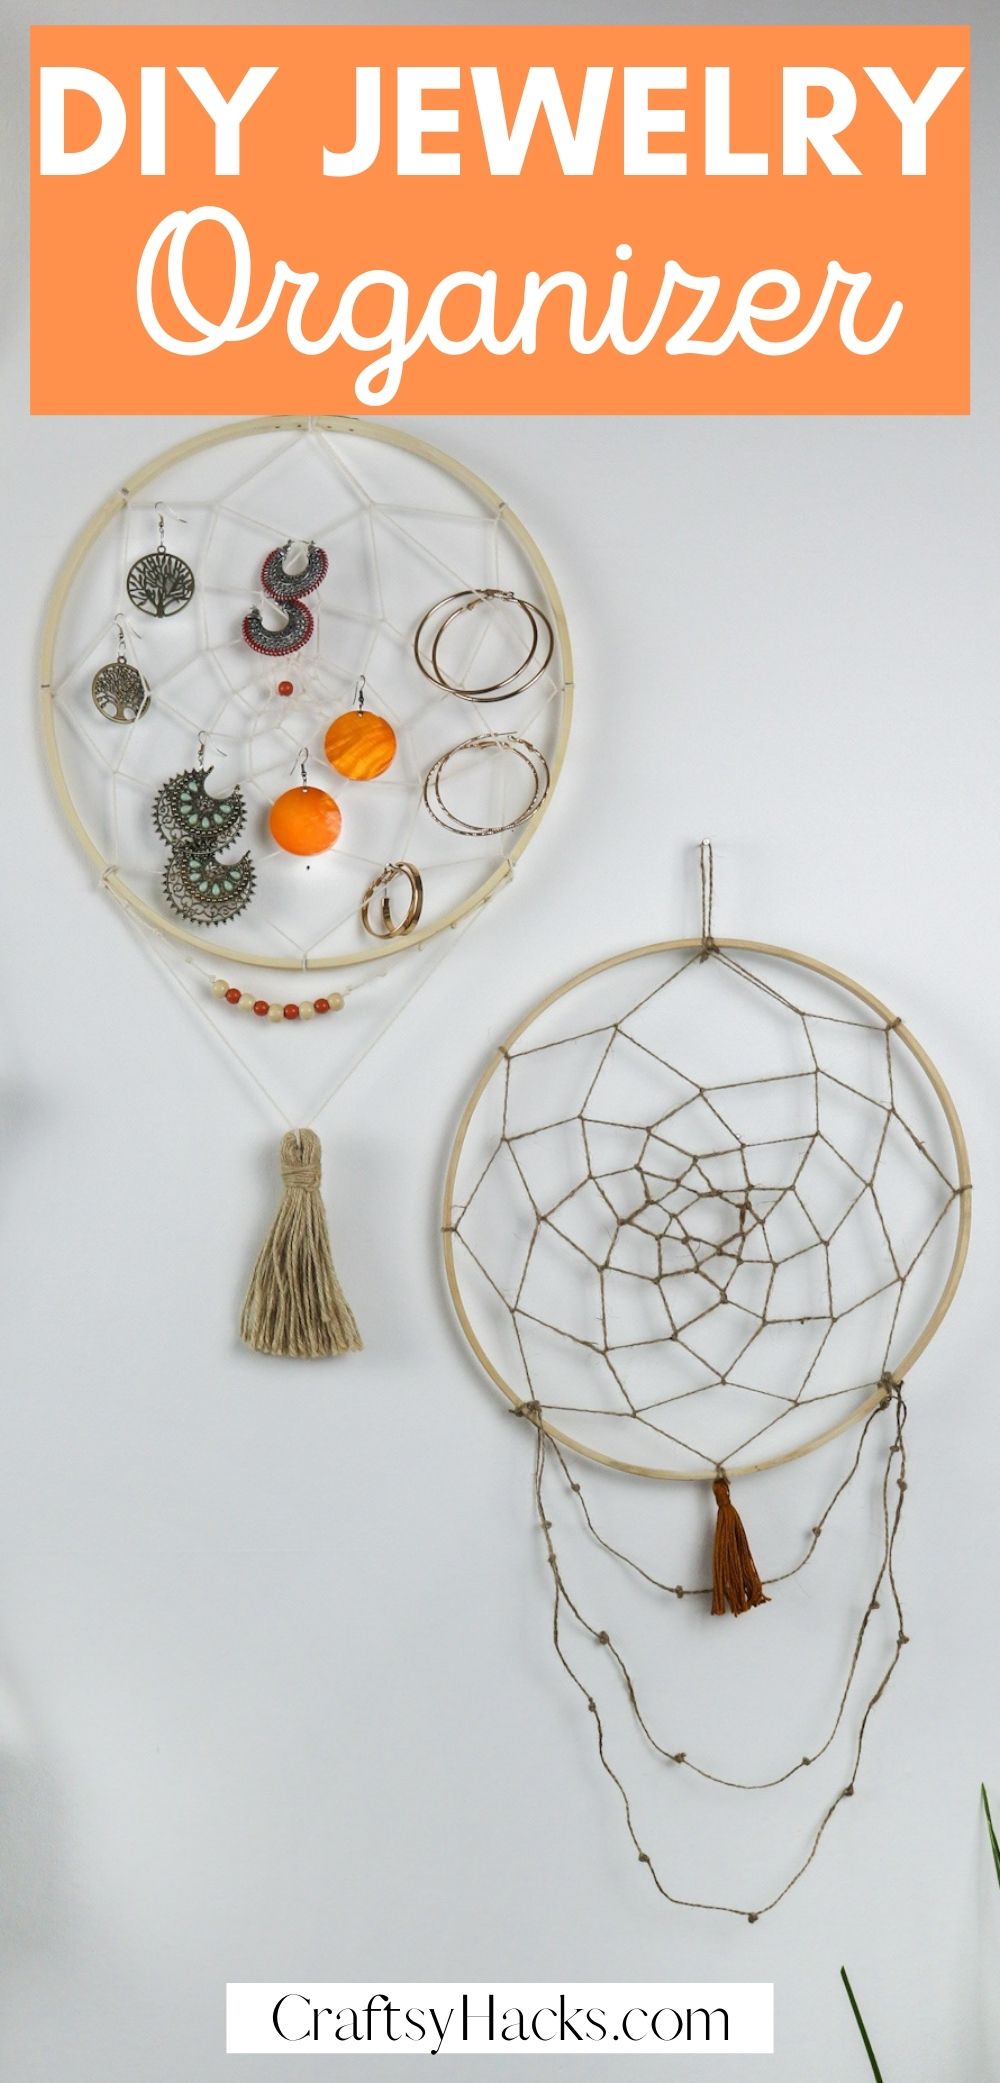
Well, for this DIY project, youre going to make a dreamcatcher thats moonlighting as a jewelry organizer.
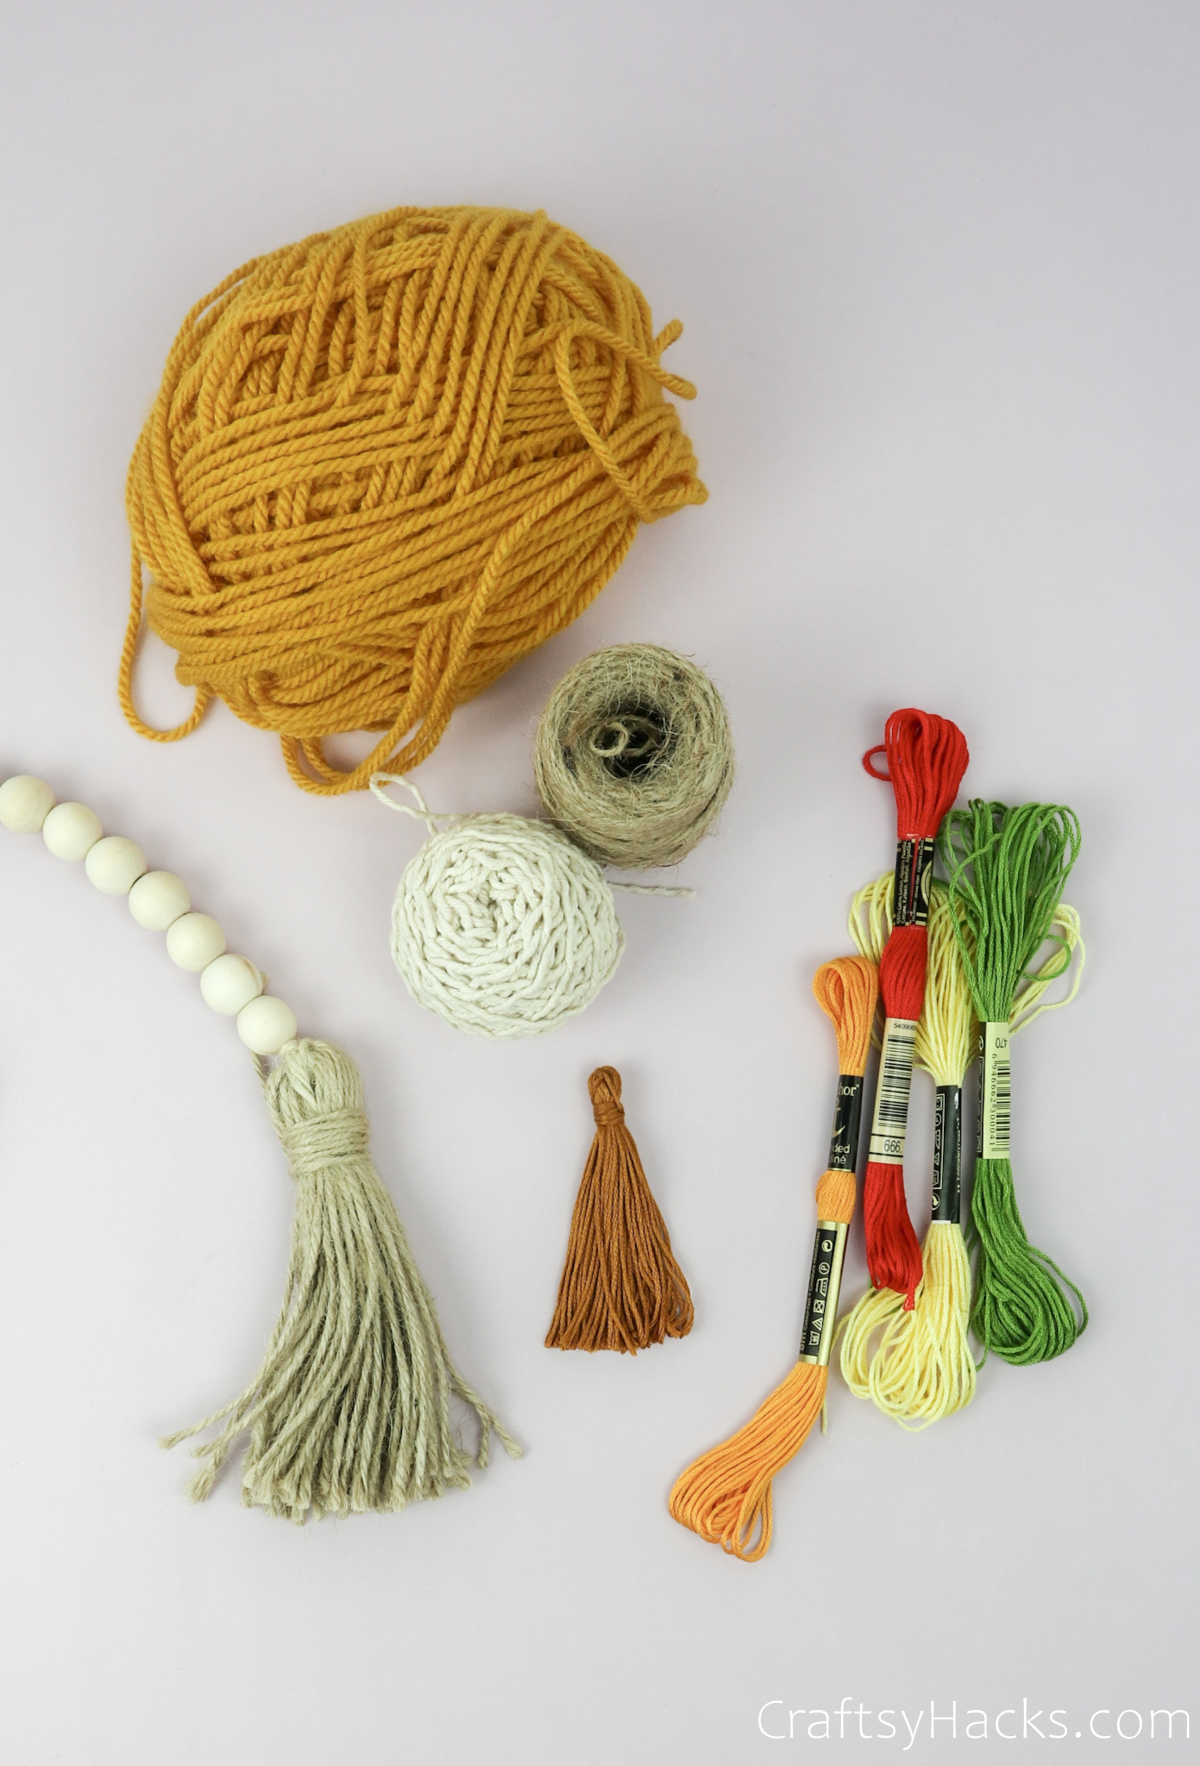
Its super easy to make, and you dont need a ton of supplies.
If youre familiar with how to make a dreamcatcher, youre already about halfway there.
But even if youre not, dont worry about it; Ive got you covered!
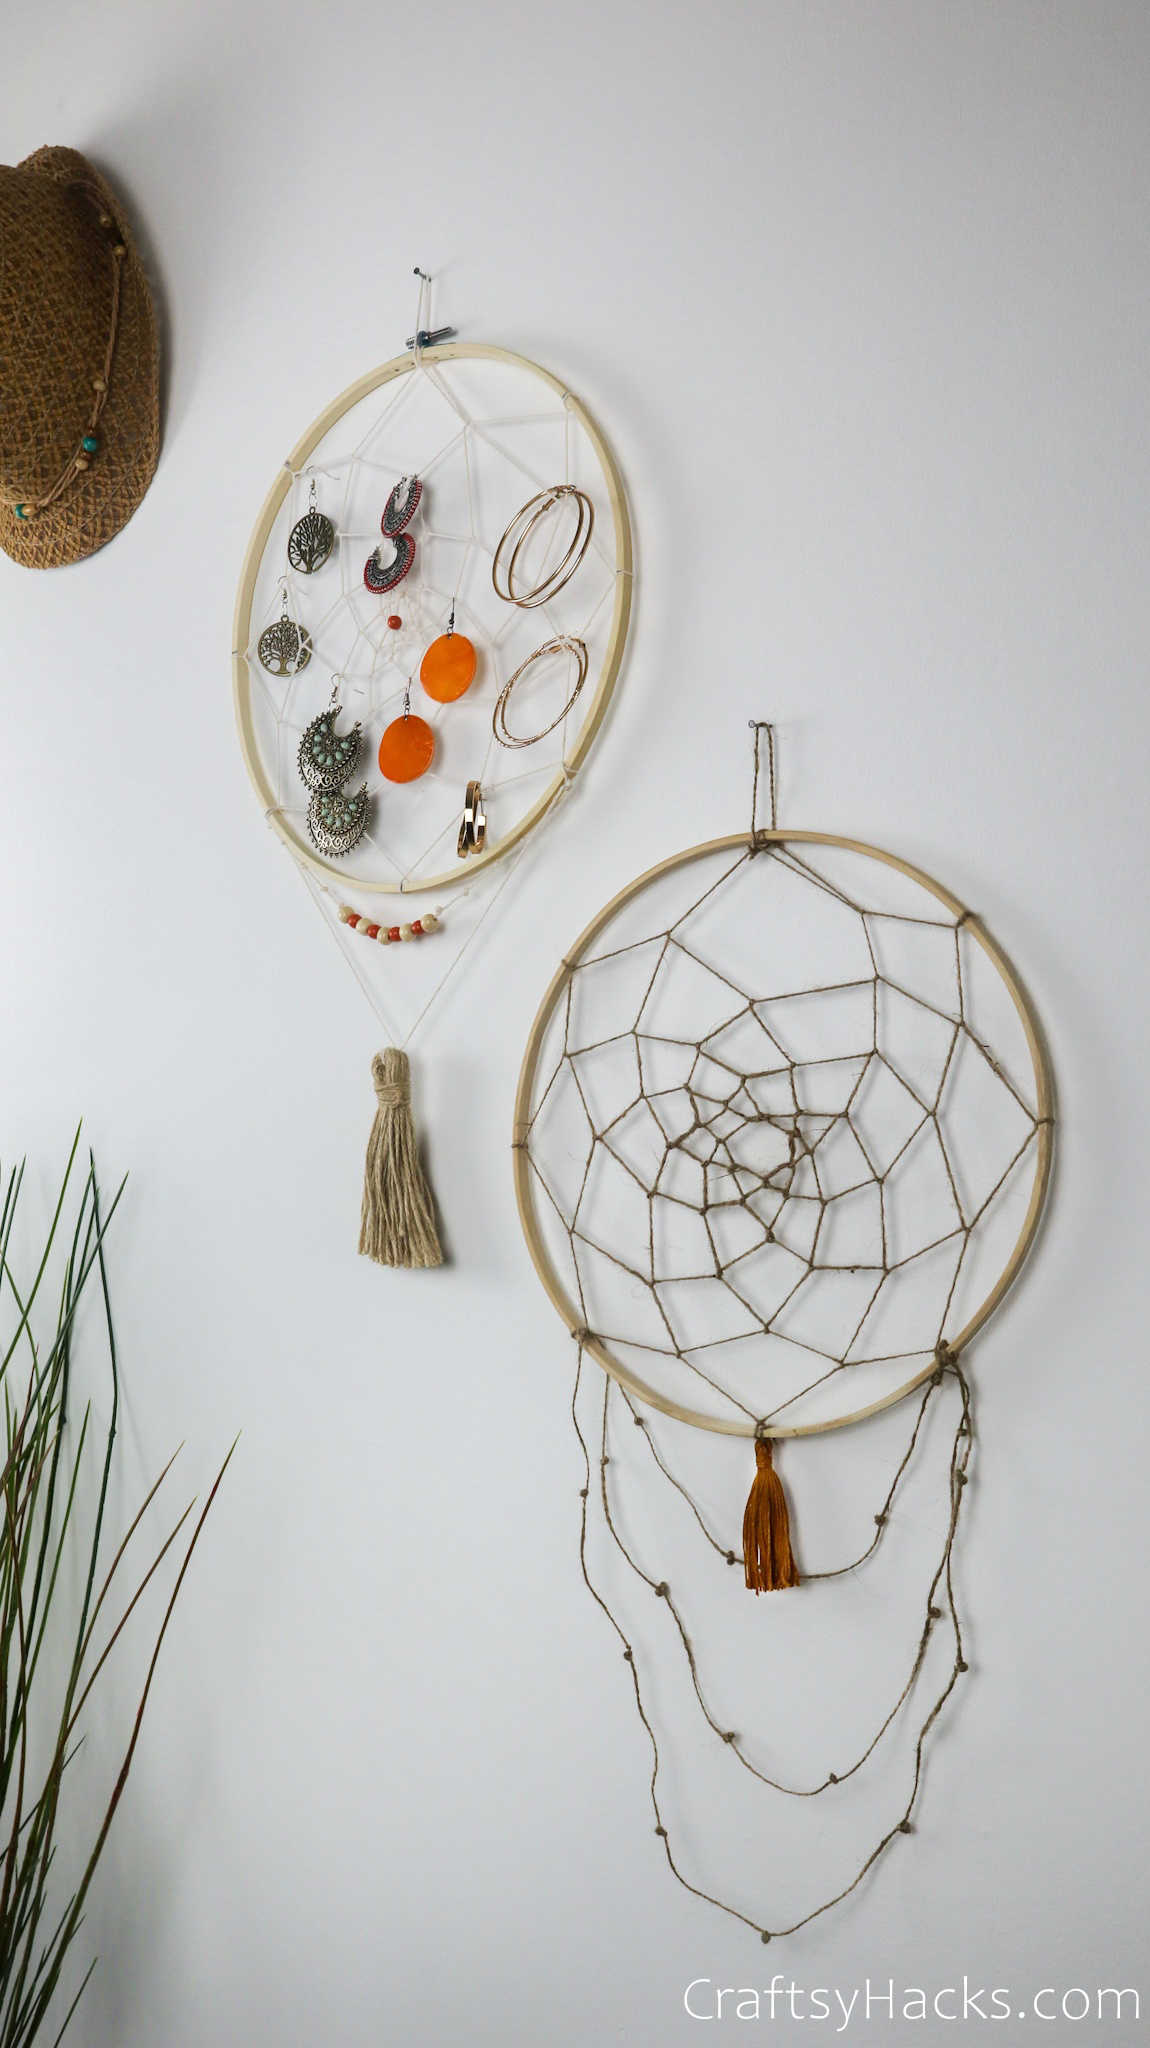
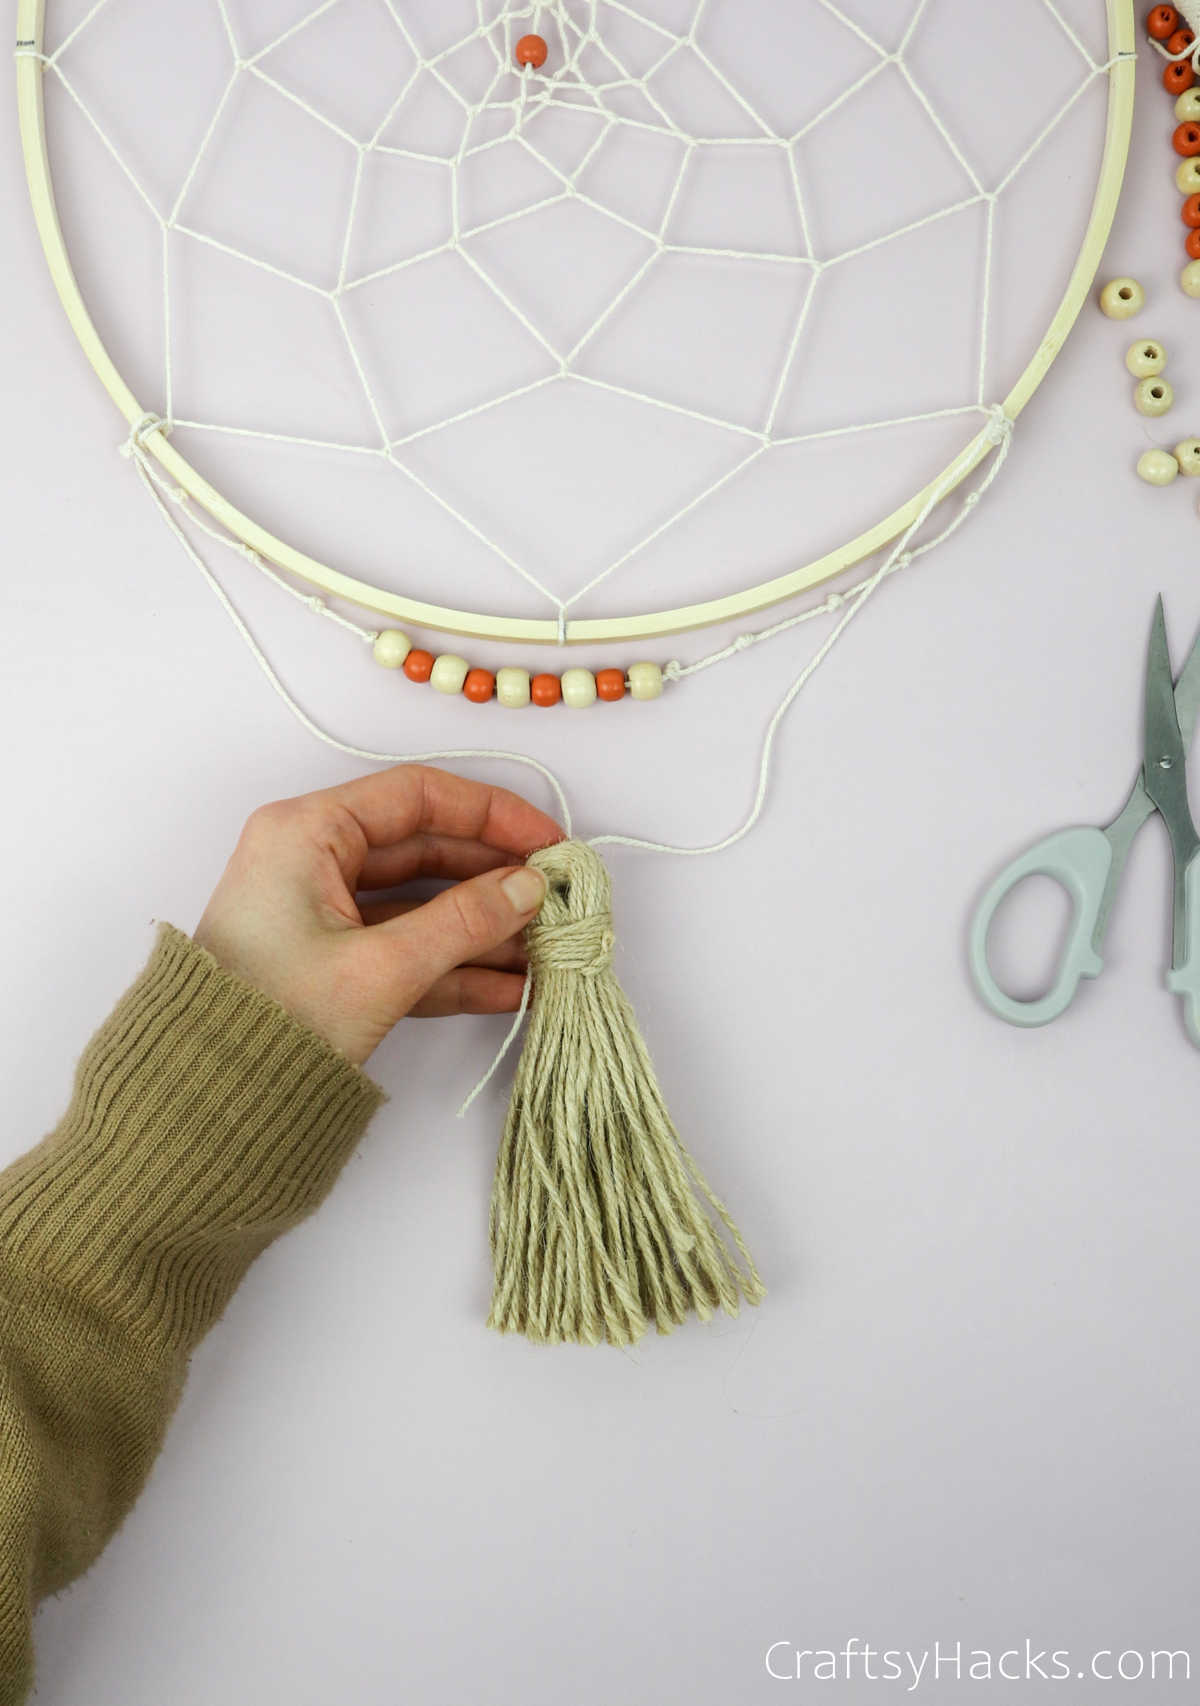
Tassels and strings are completely optional, but theydoadd an extraoomphfactor to the dream catcher!
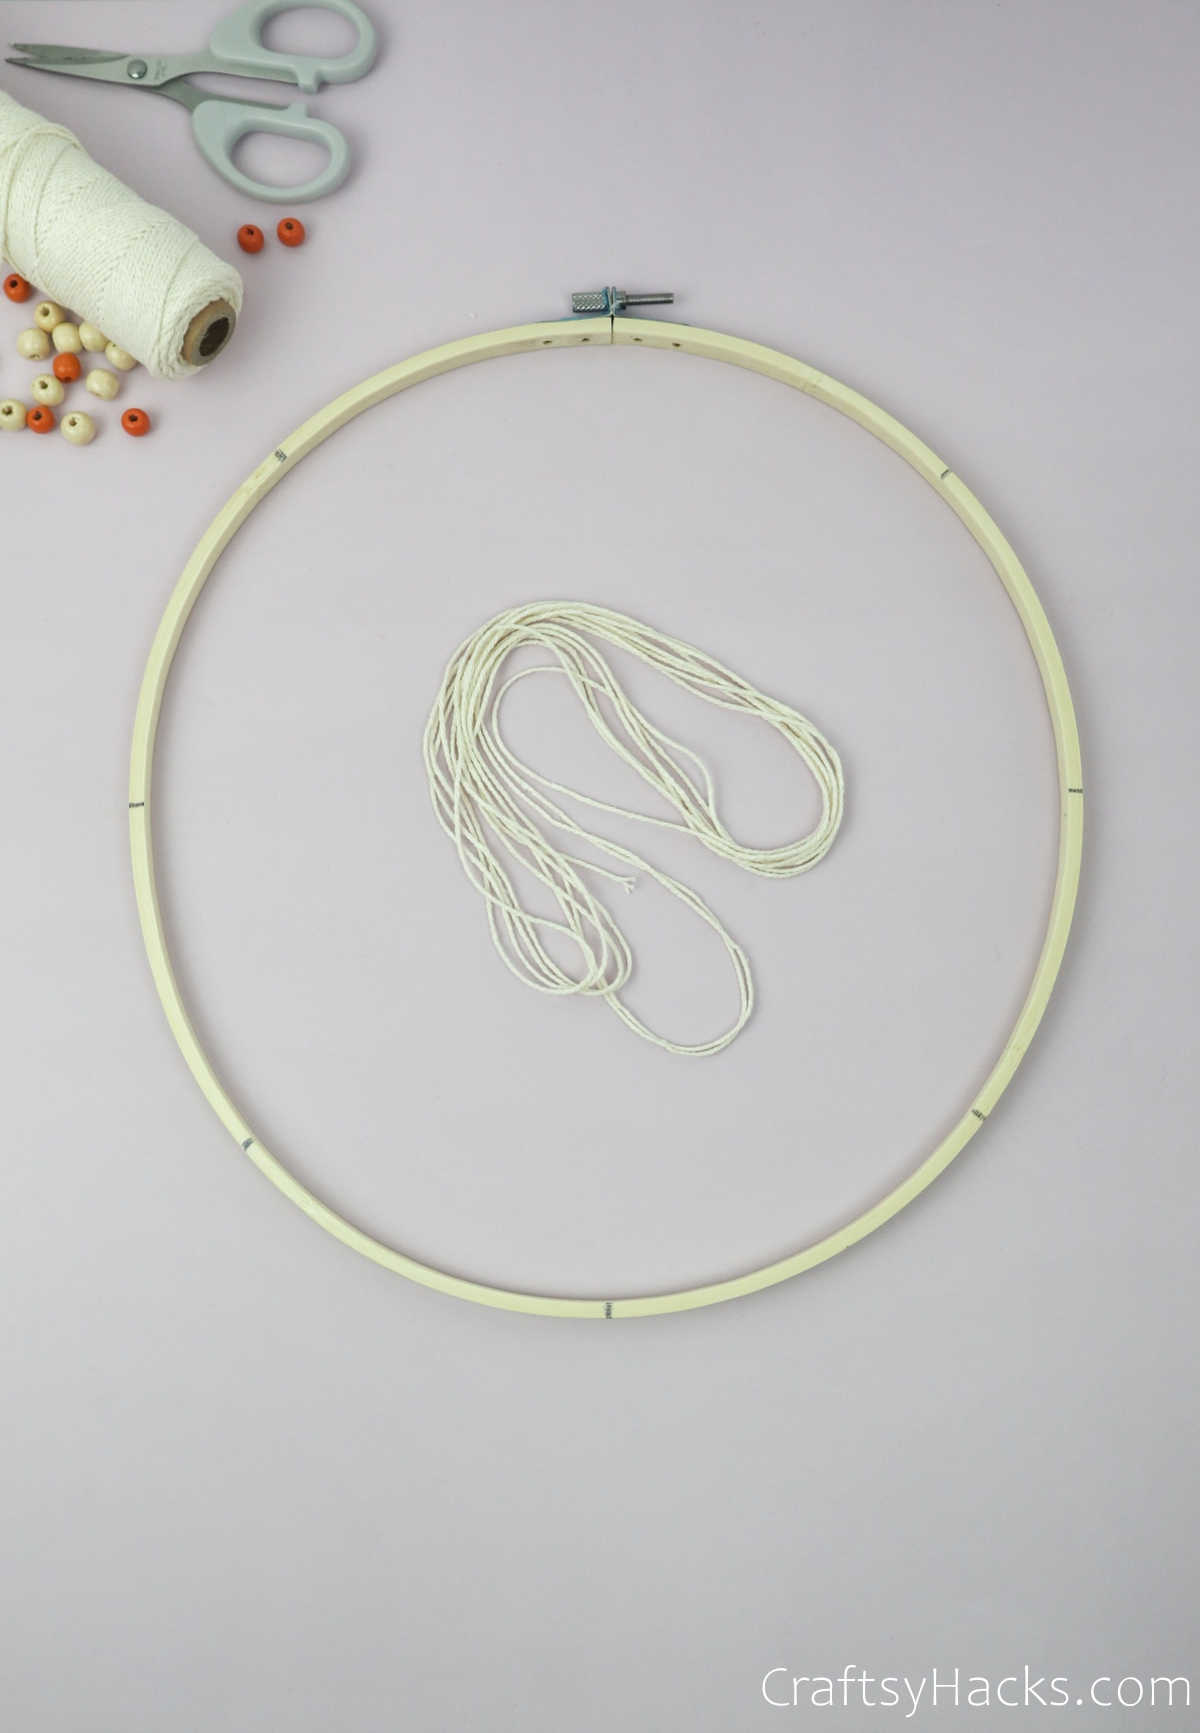
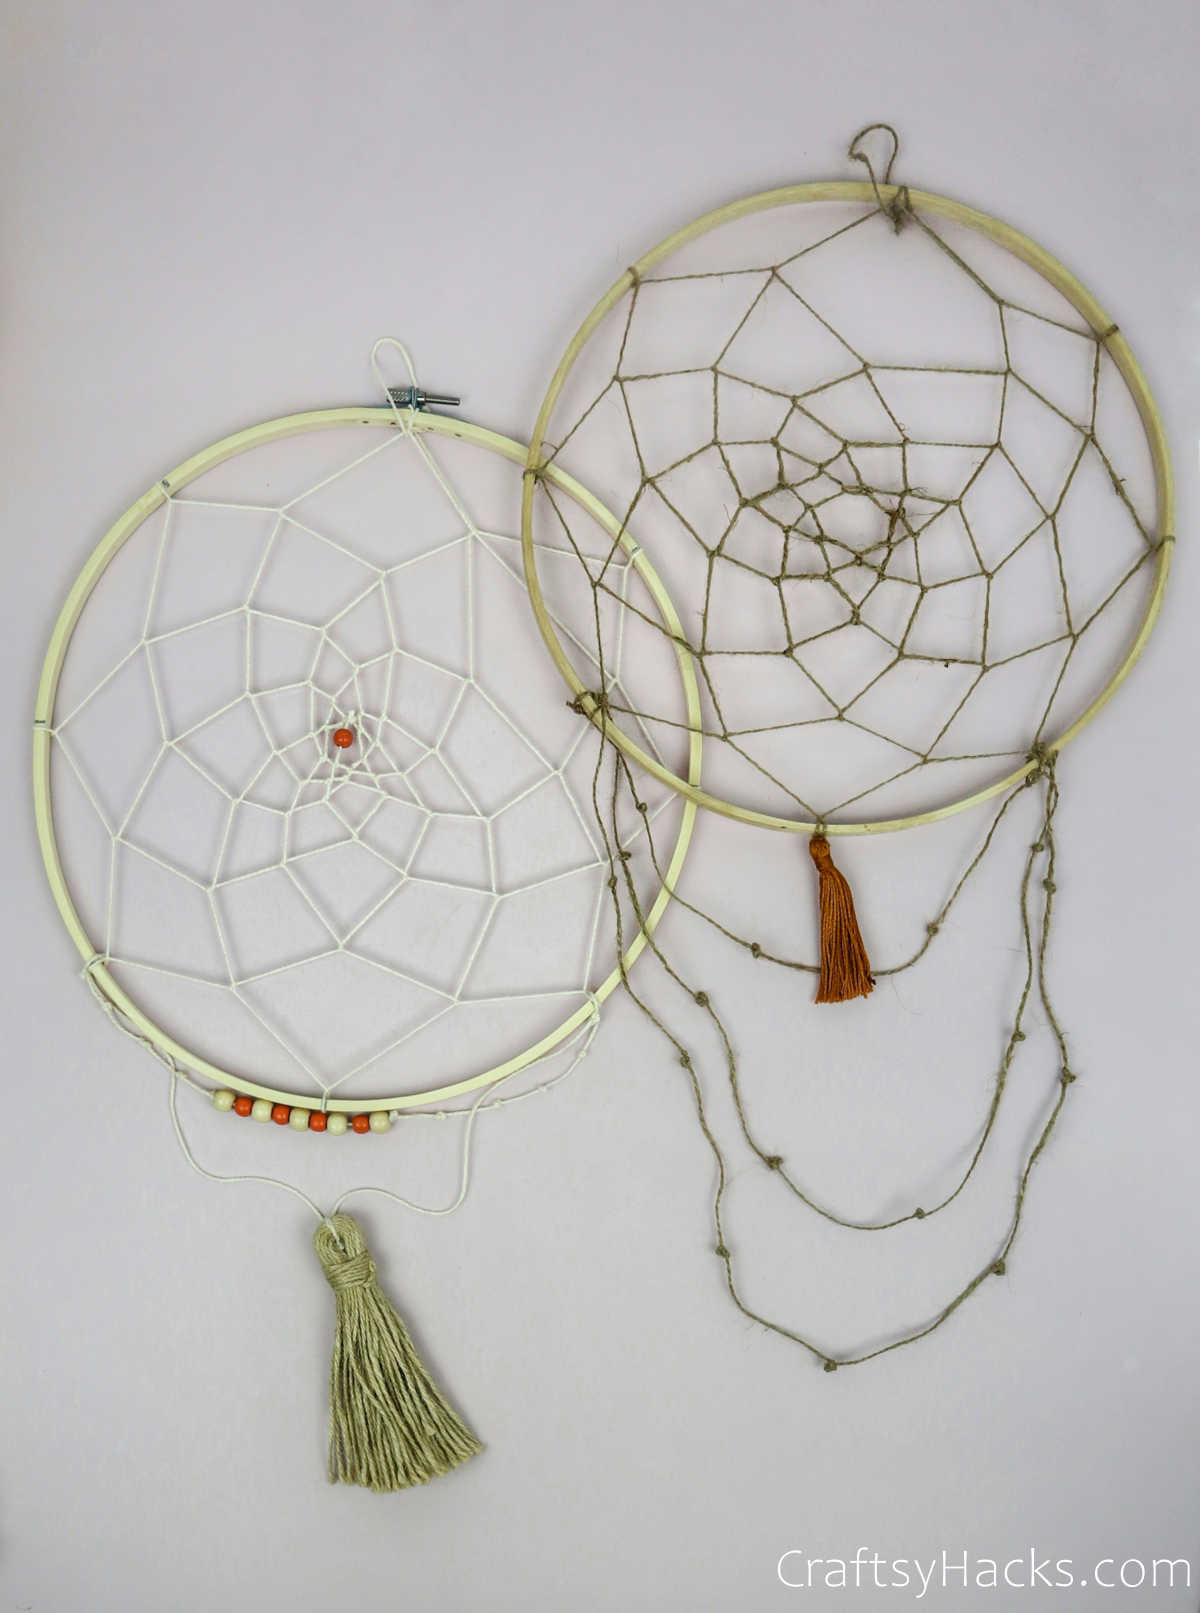
Youll be picking out the ring/frame for the project based on your requirements.
Once youve decided on that, you’re free to get started.
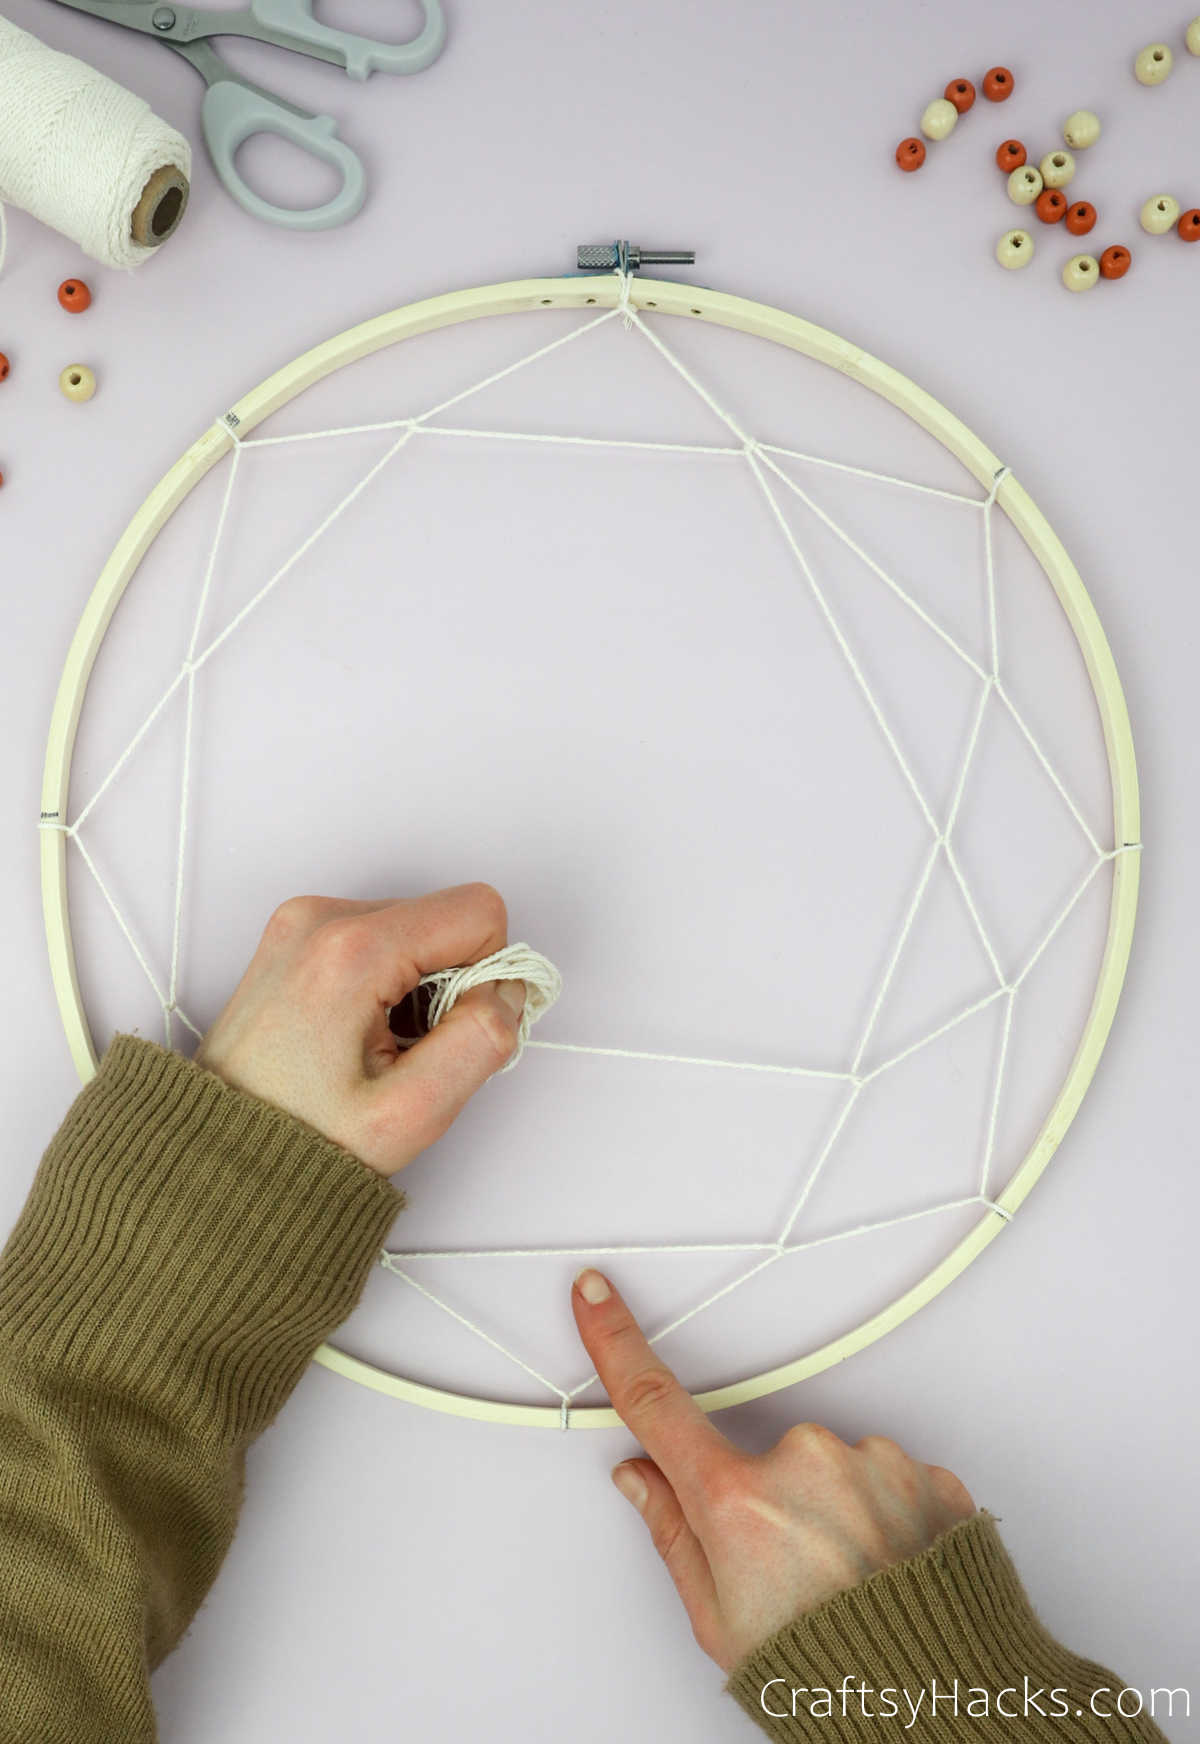
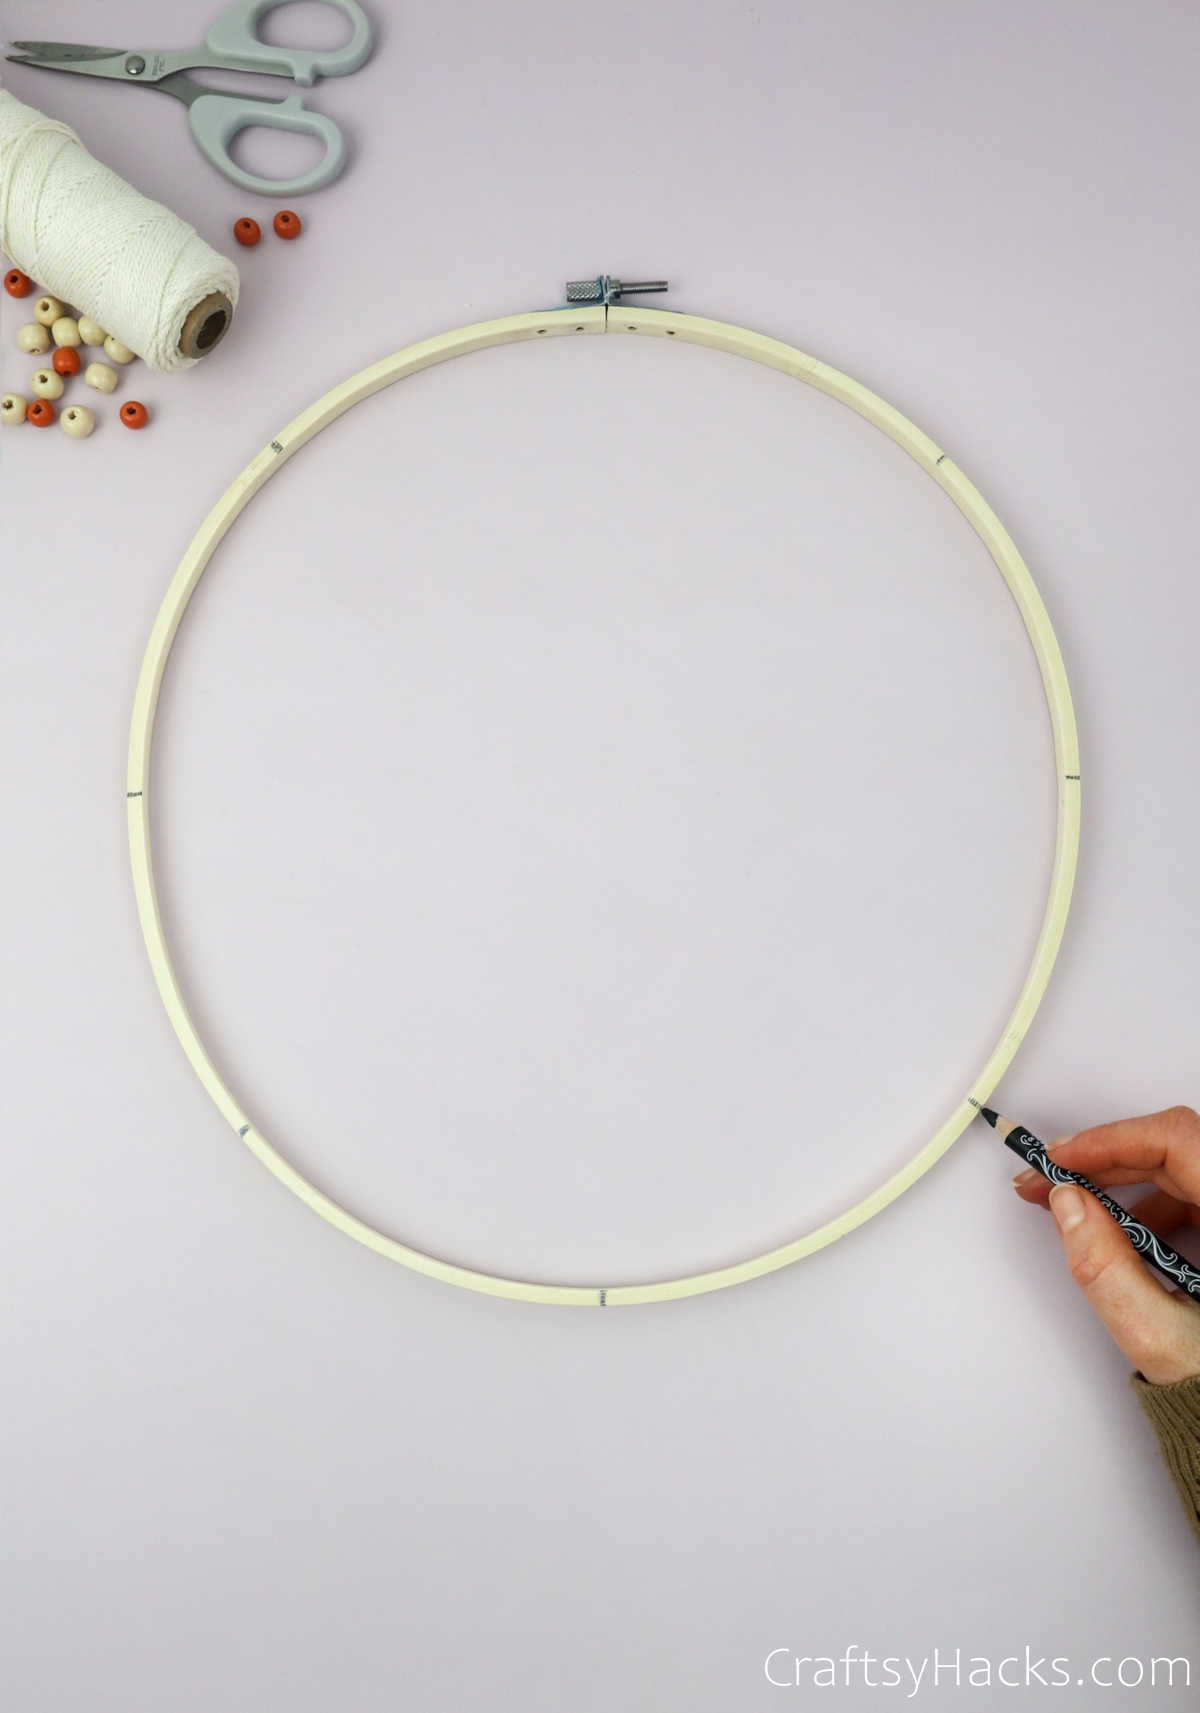
Step 1
Grab a marker and draw little pointers around the ring.
you could divide it into as many parts as you like, and your dreamcatcher pattern will vary accordingly.
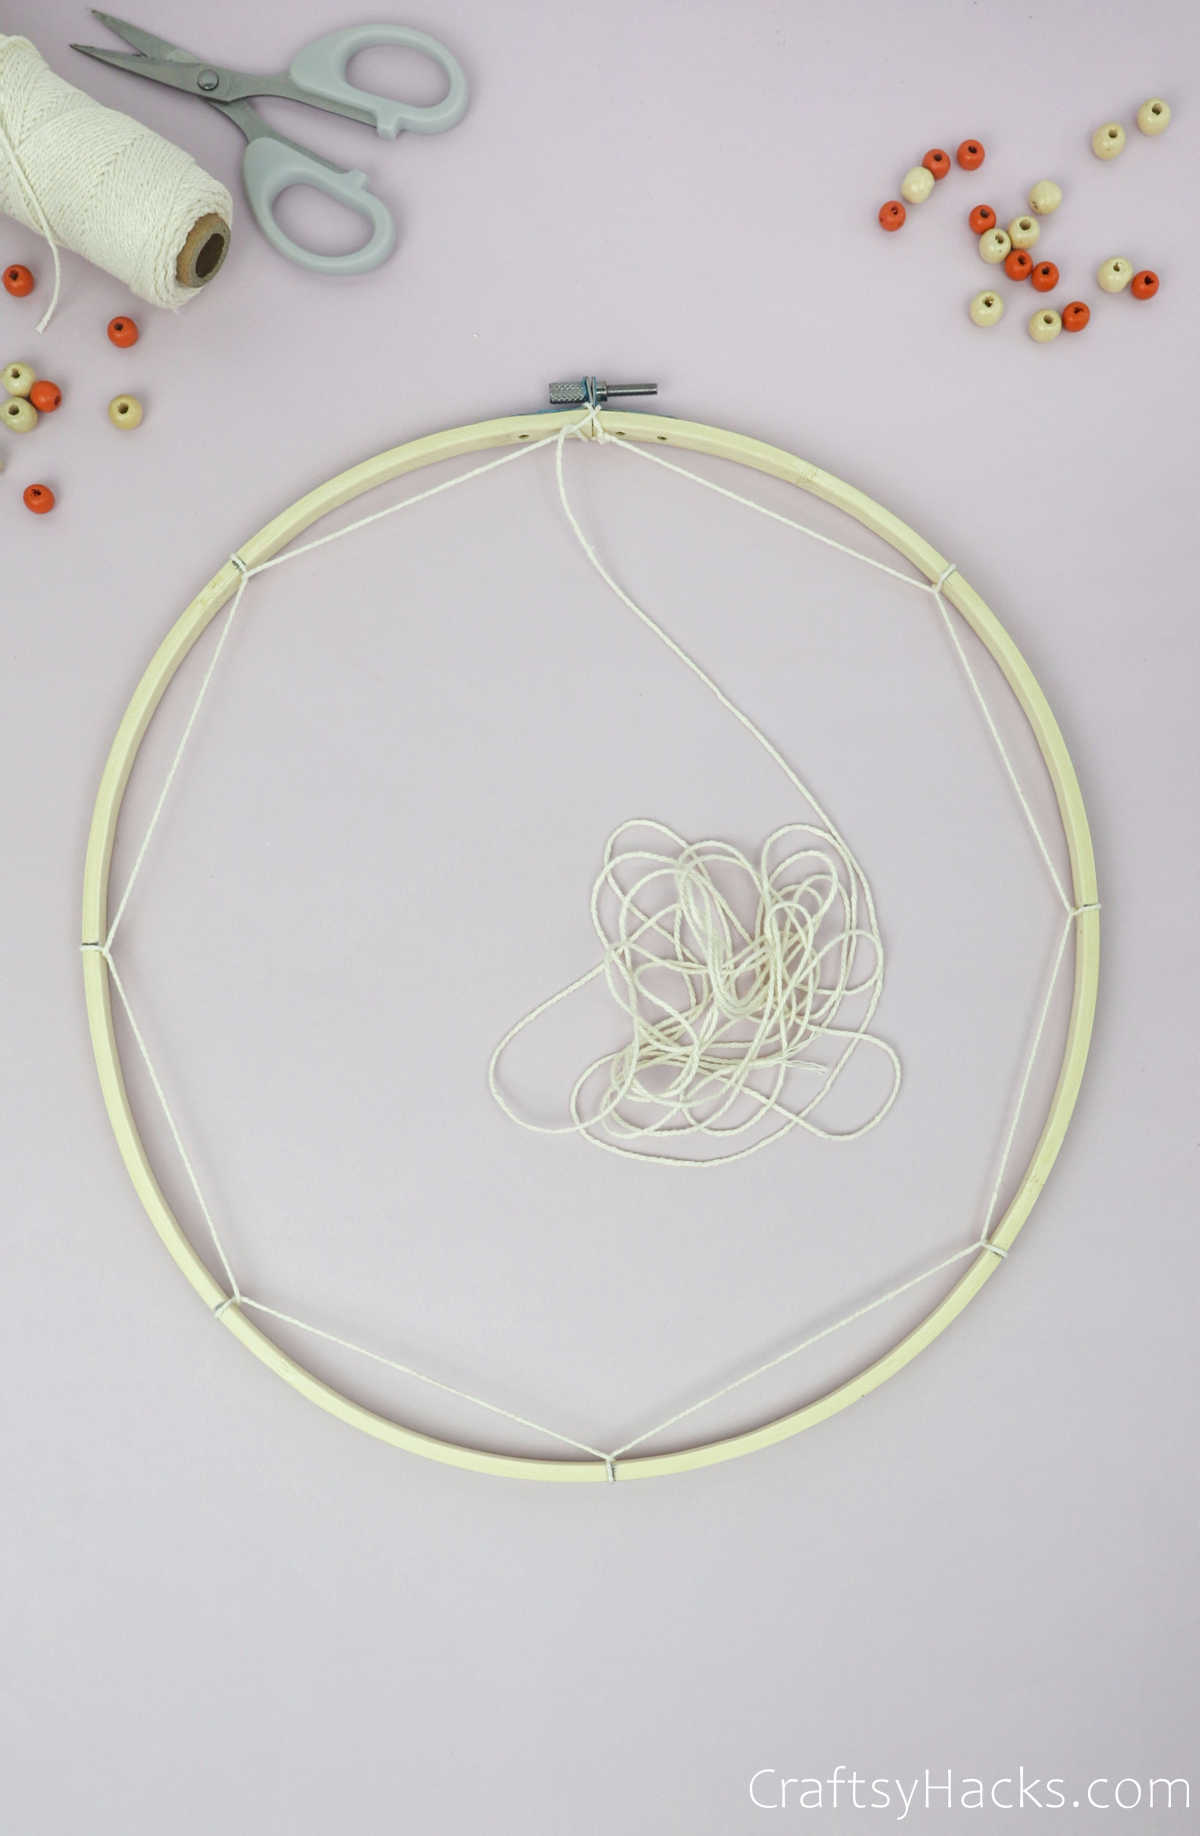
This pattern, however, calls for eight equal parts.

Step 3
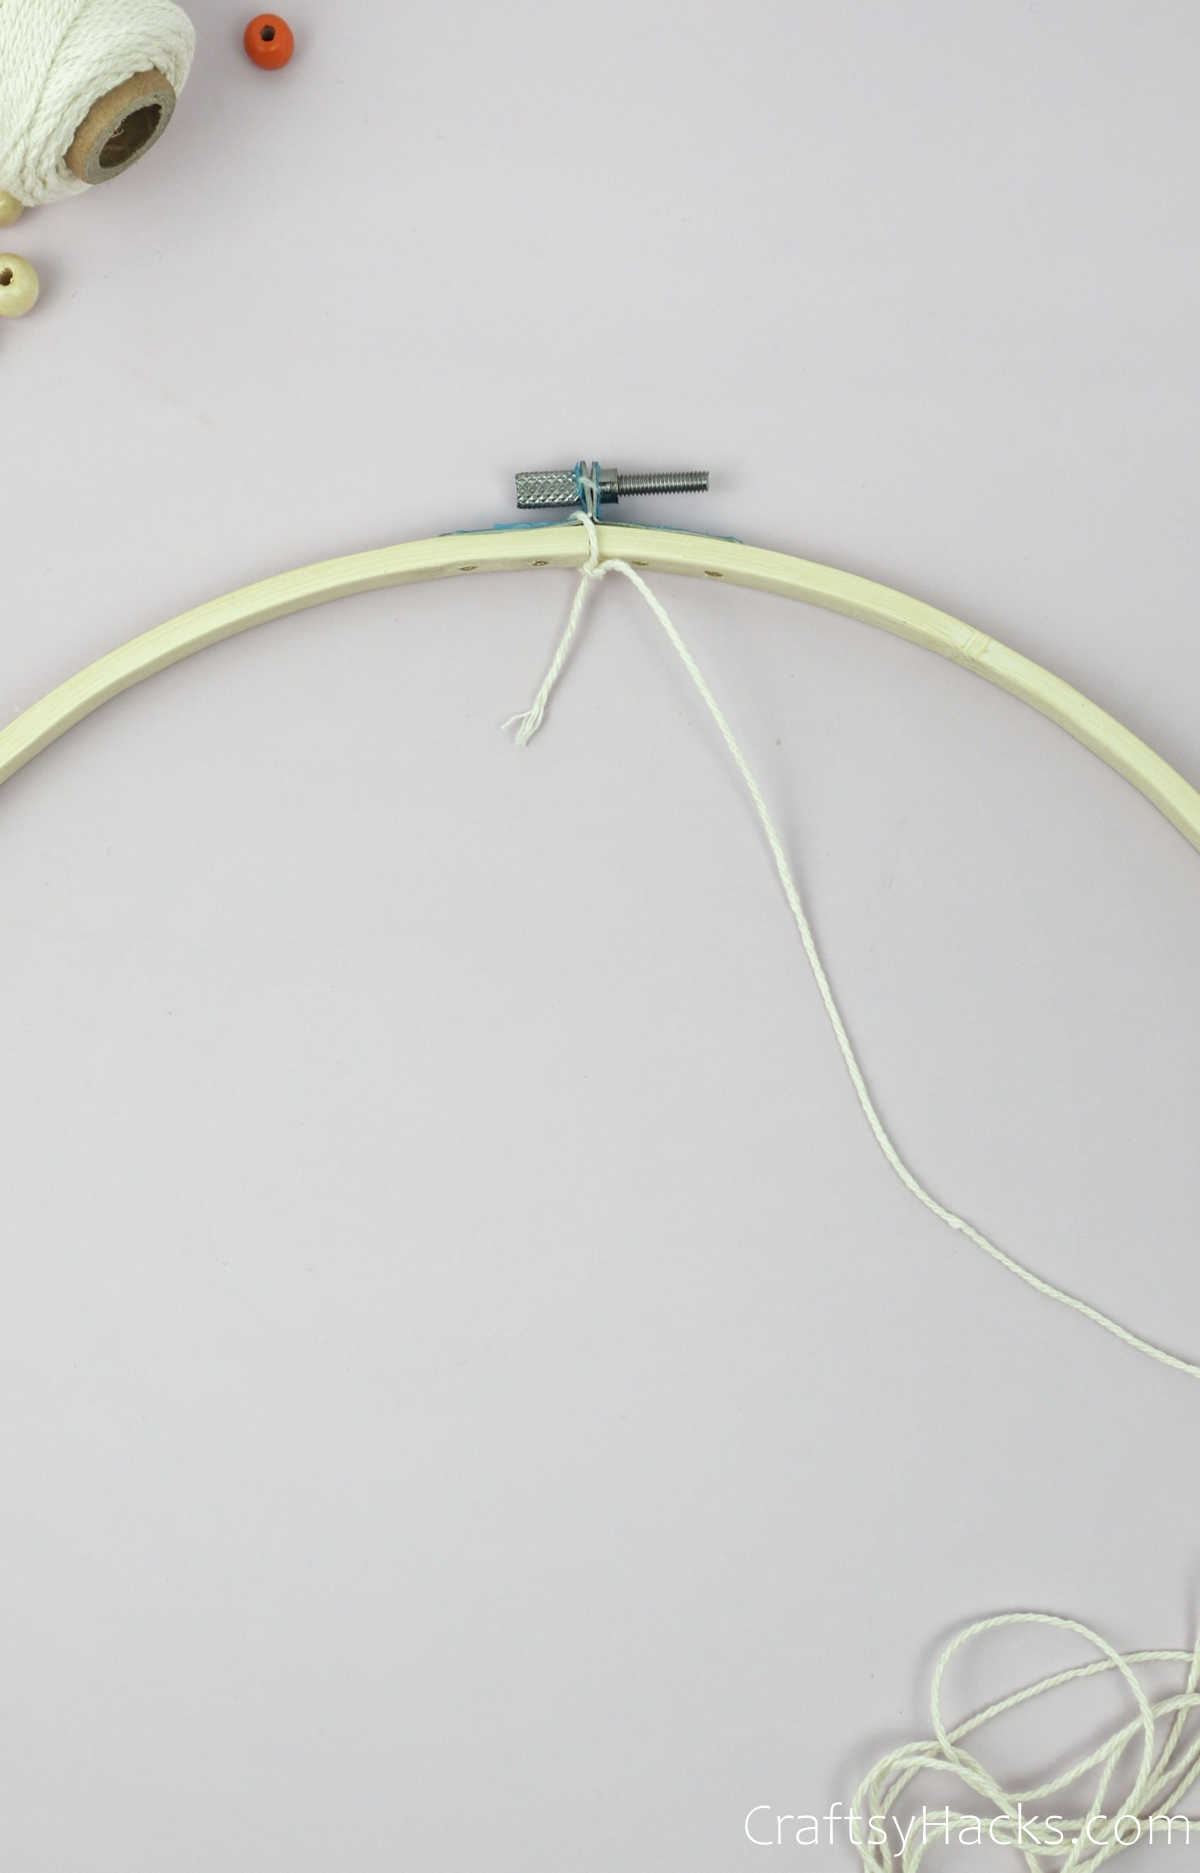
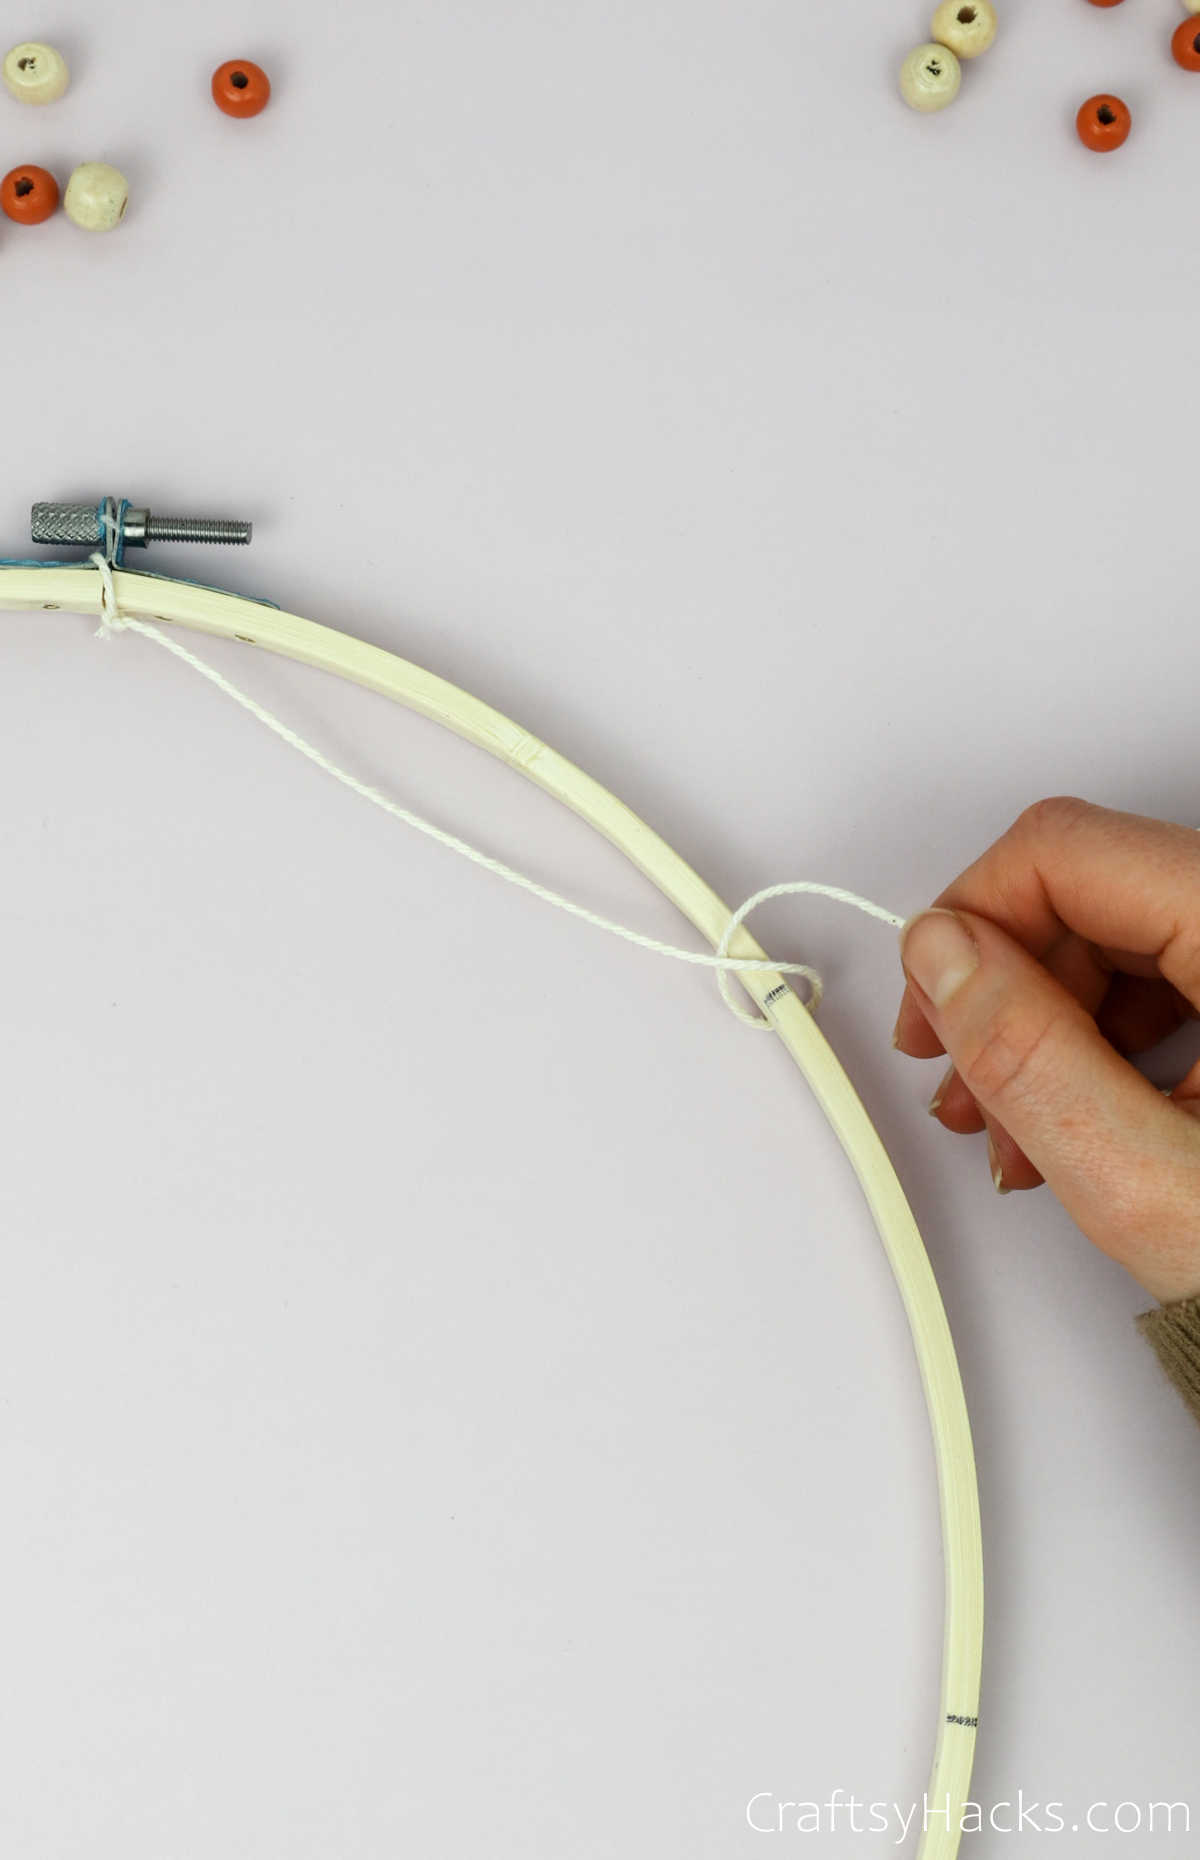
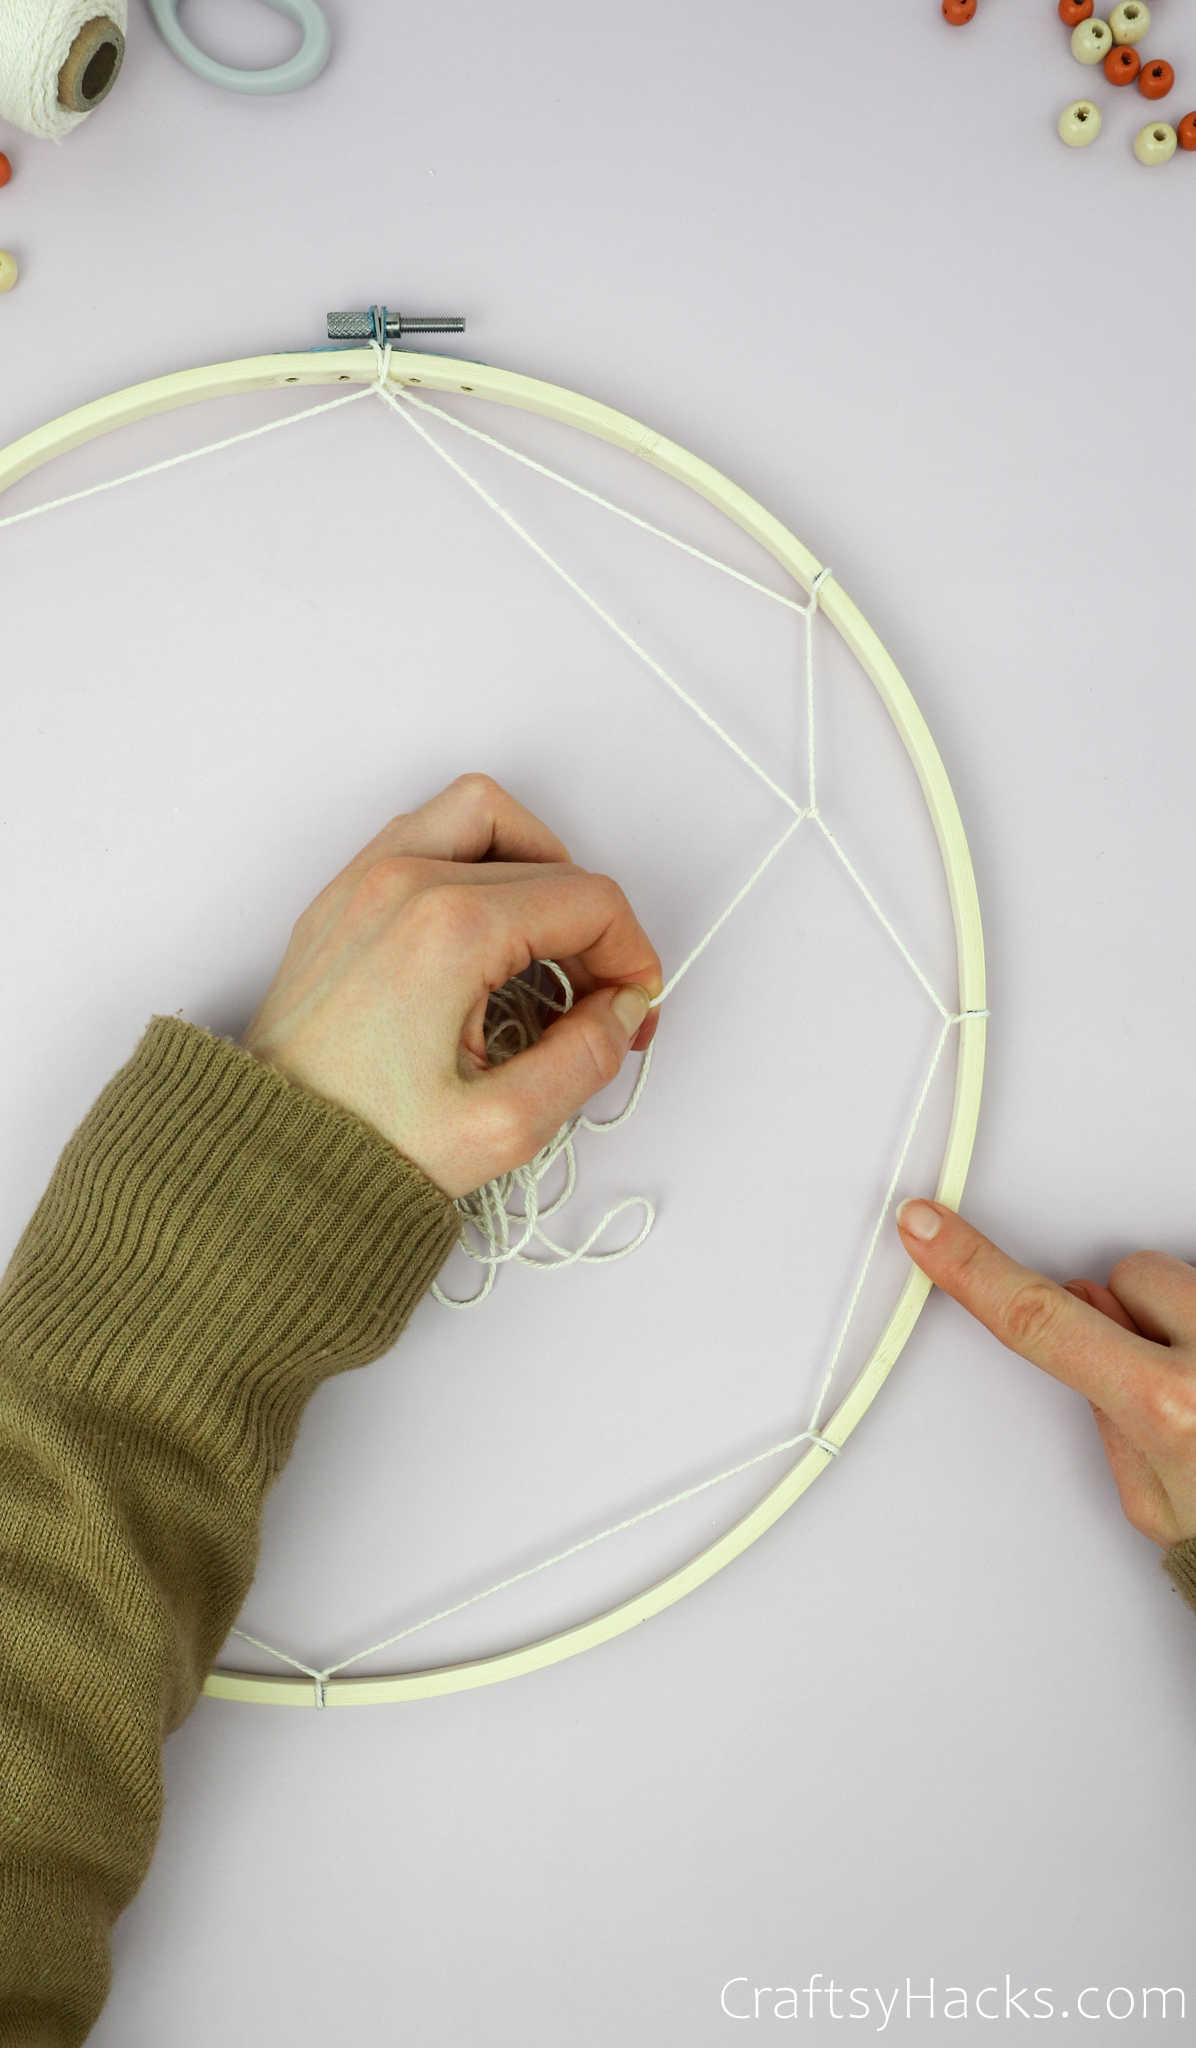
Make a simple knot at the 12 oclock mark.
This will be your starting point, so ensure the knot is secured and doesnt move around.
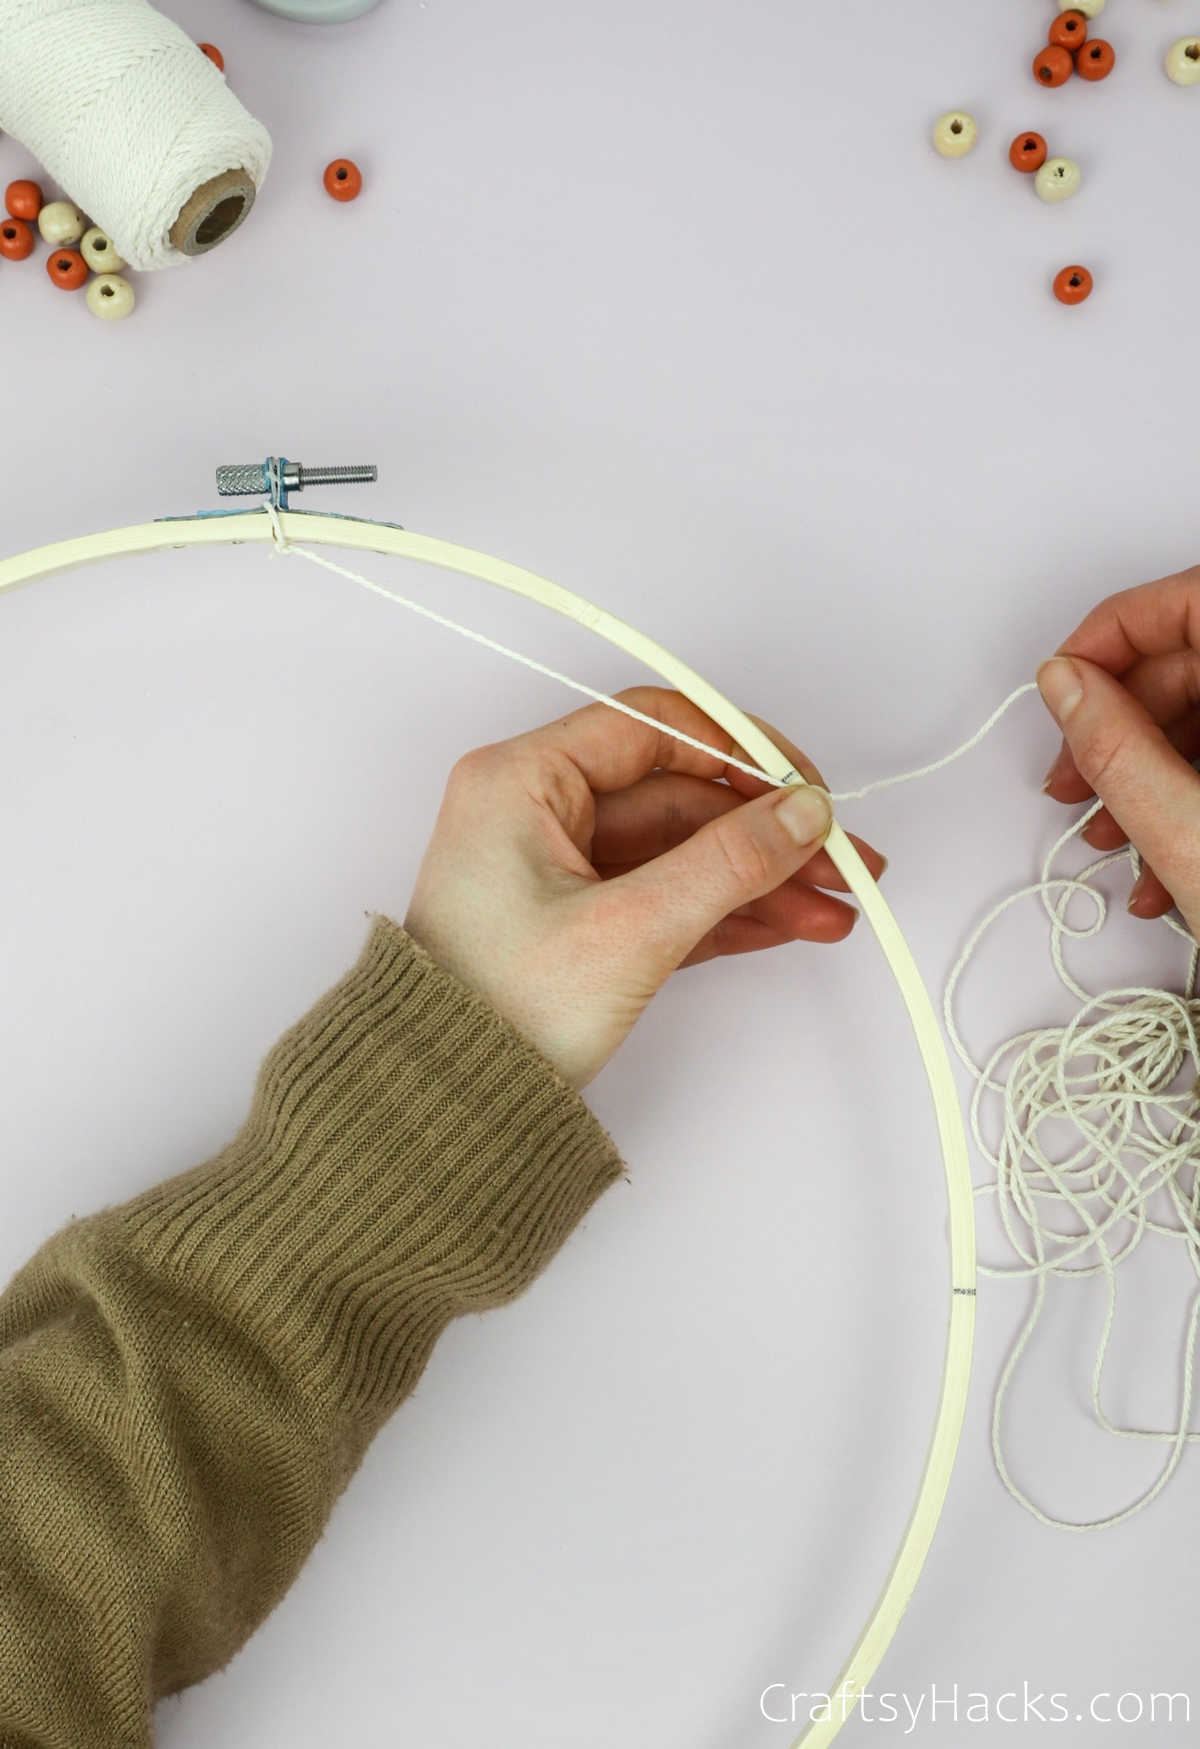
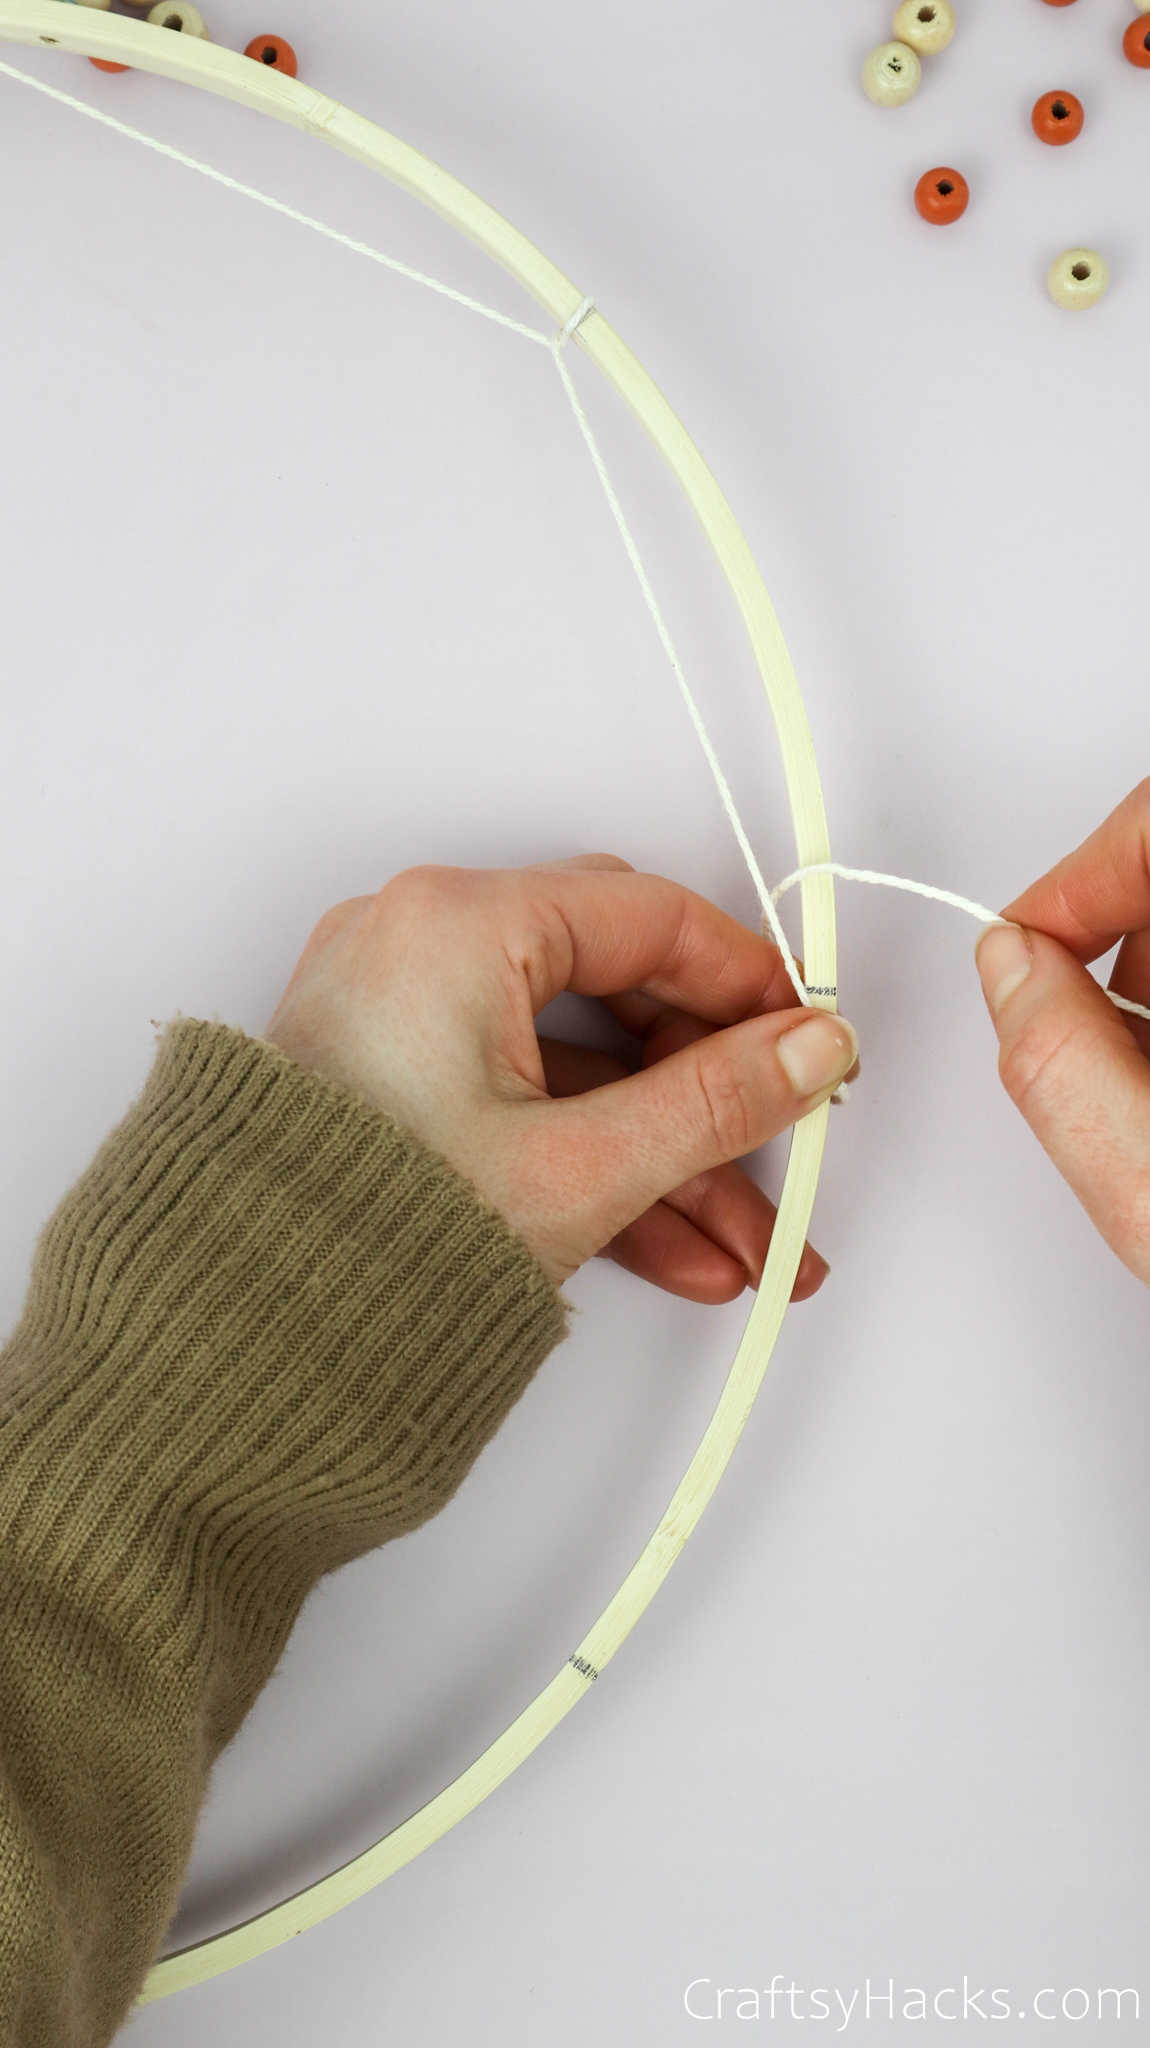
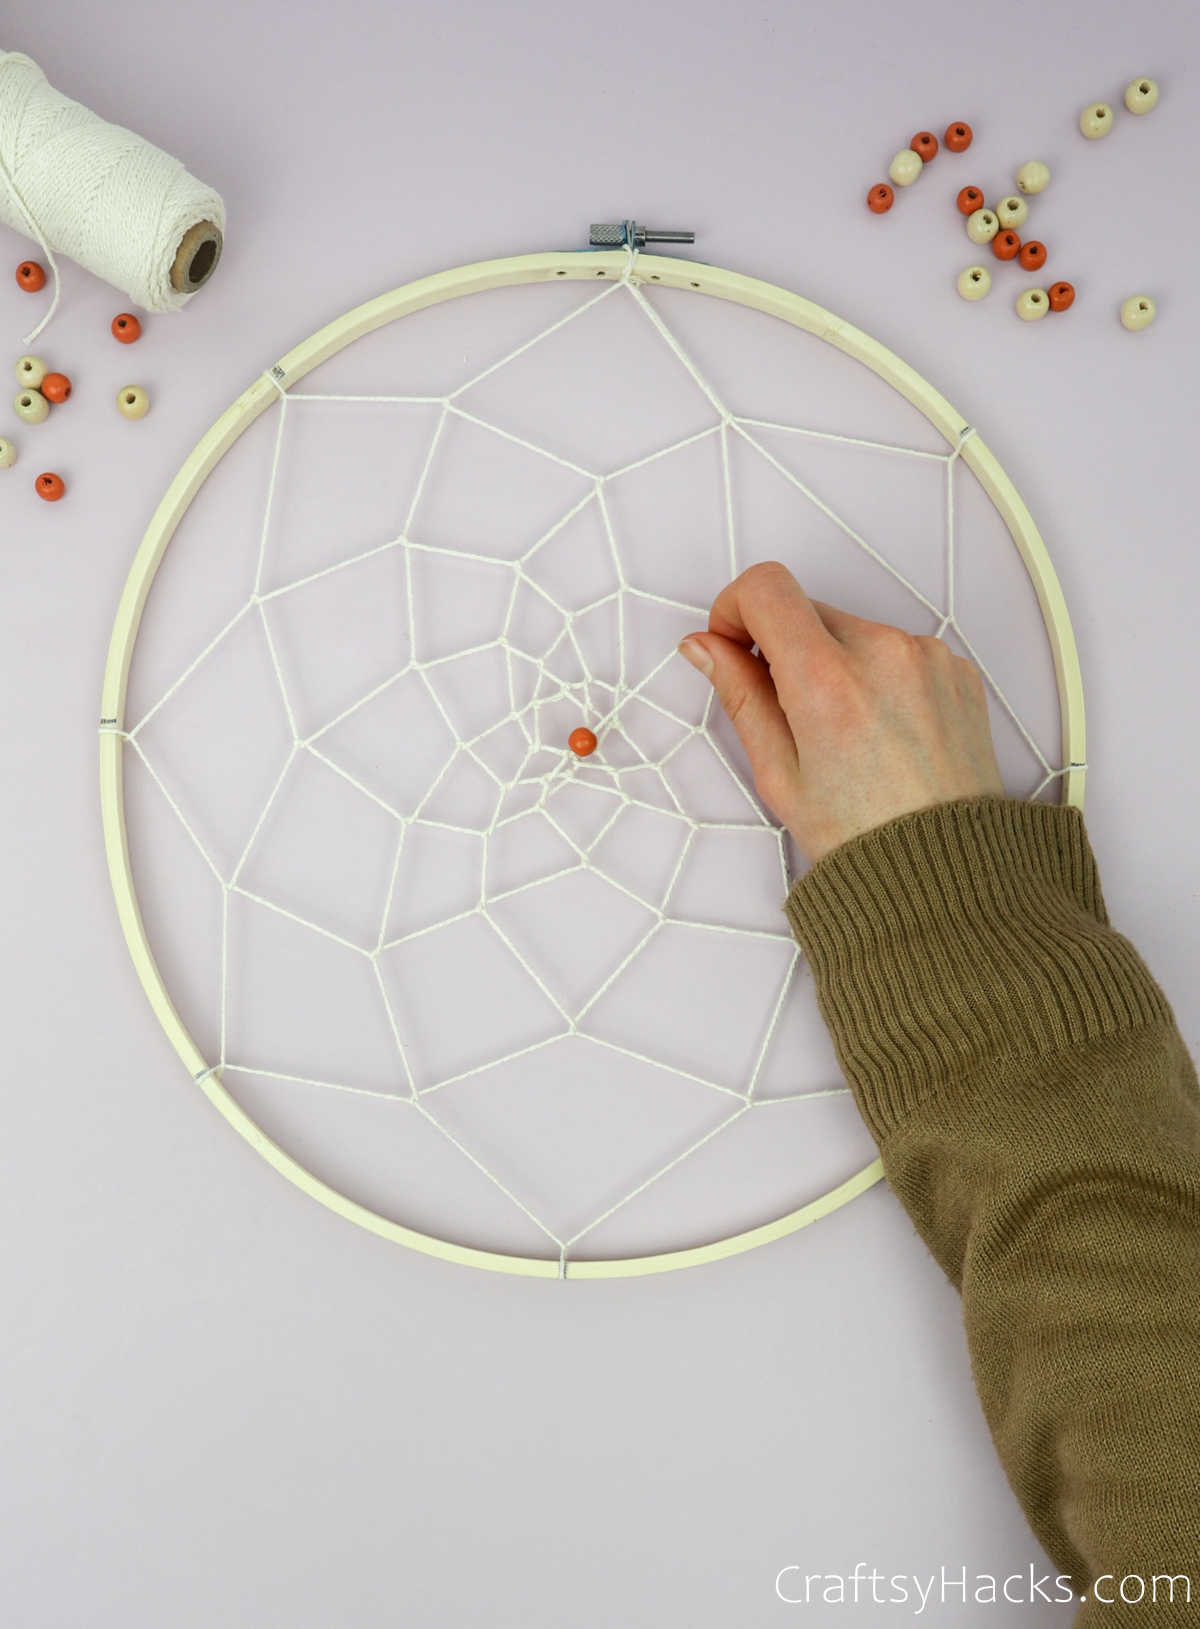
Step 4
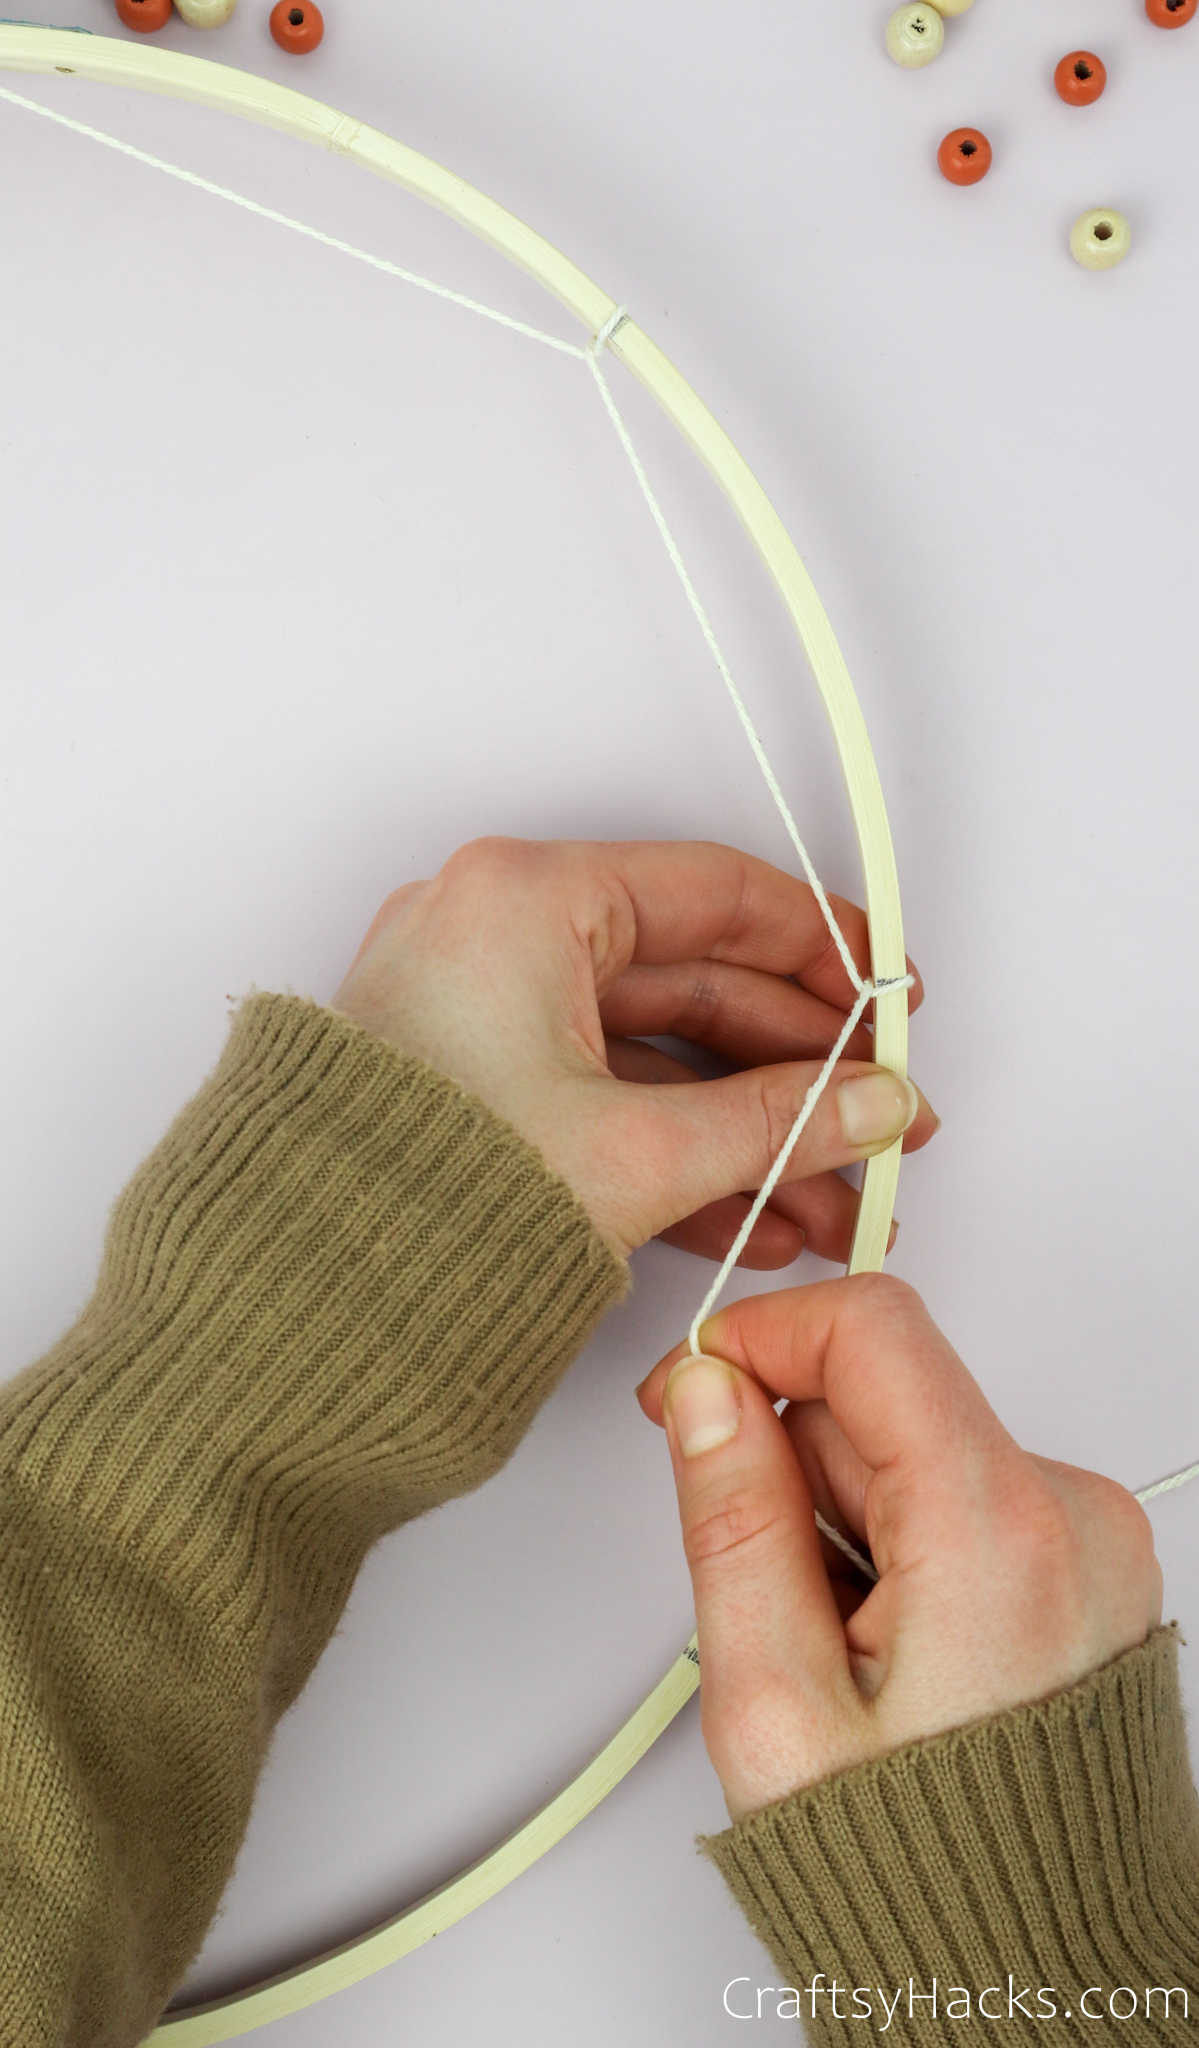
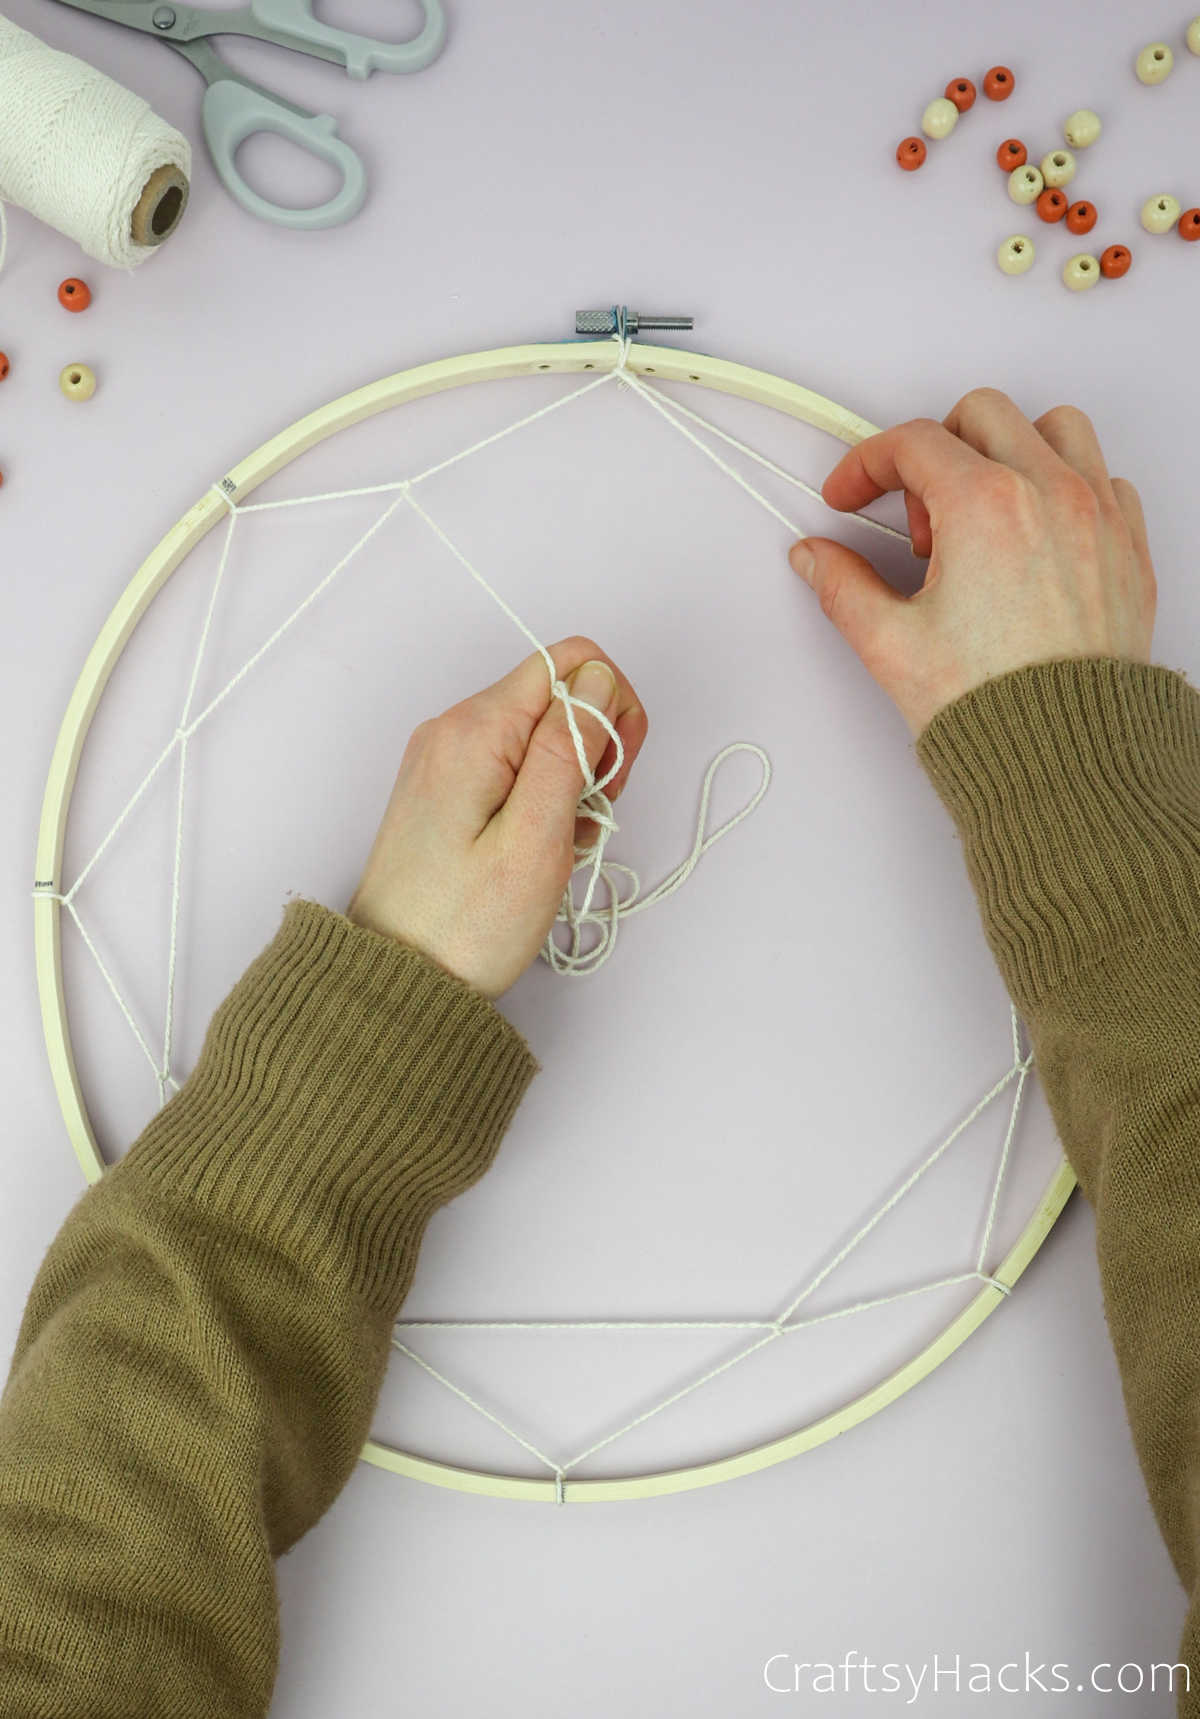
Pull the embroidery thread to the next pointer and loop over the ring.
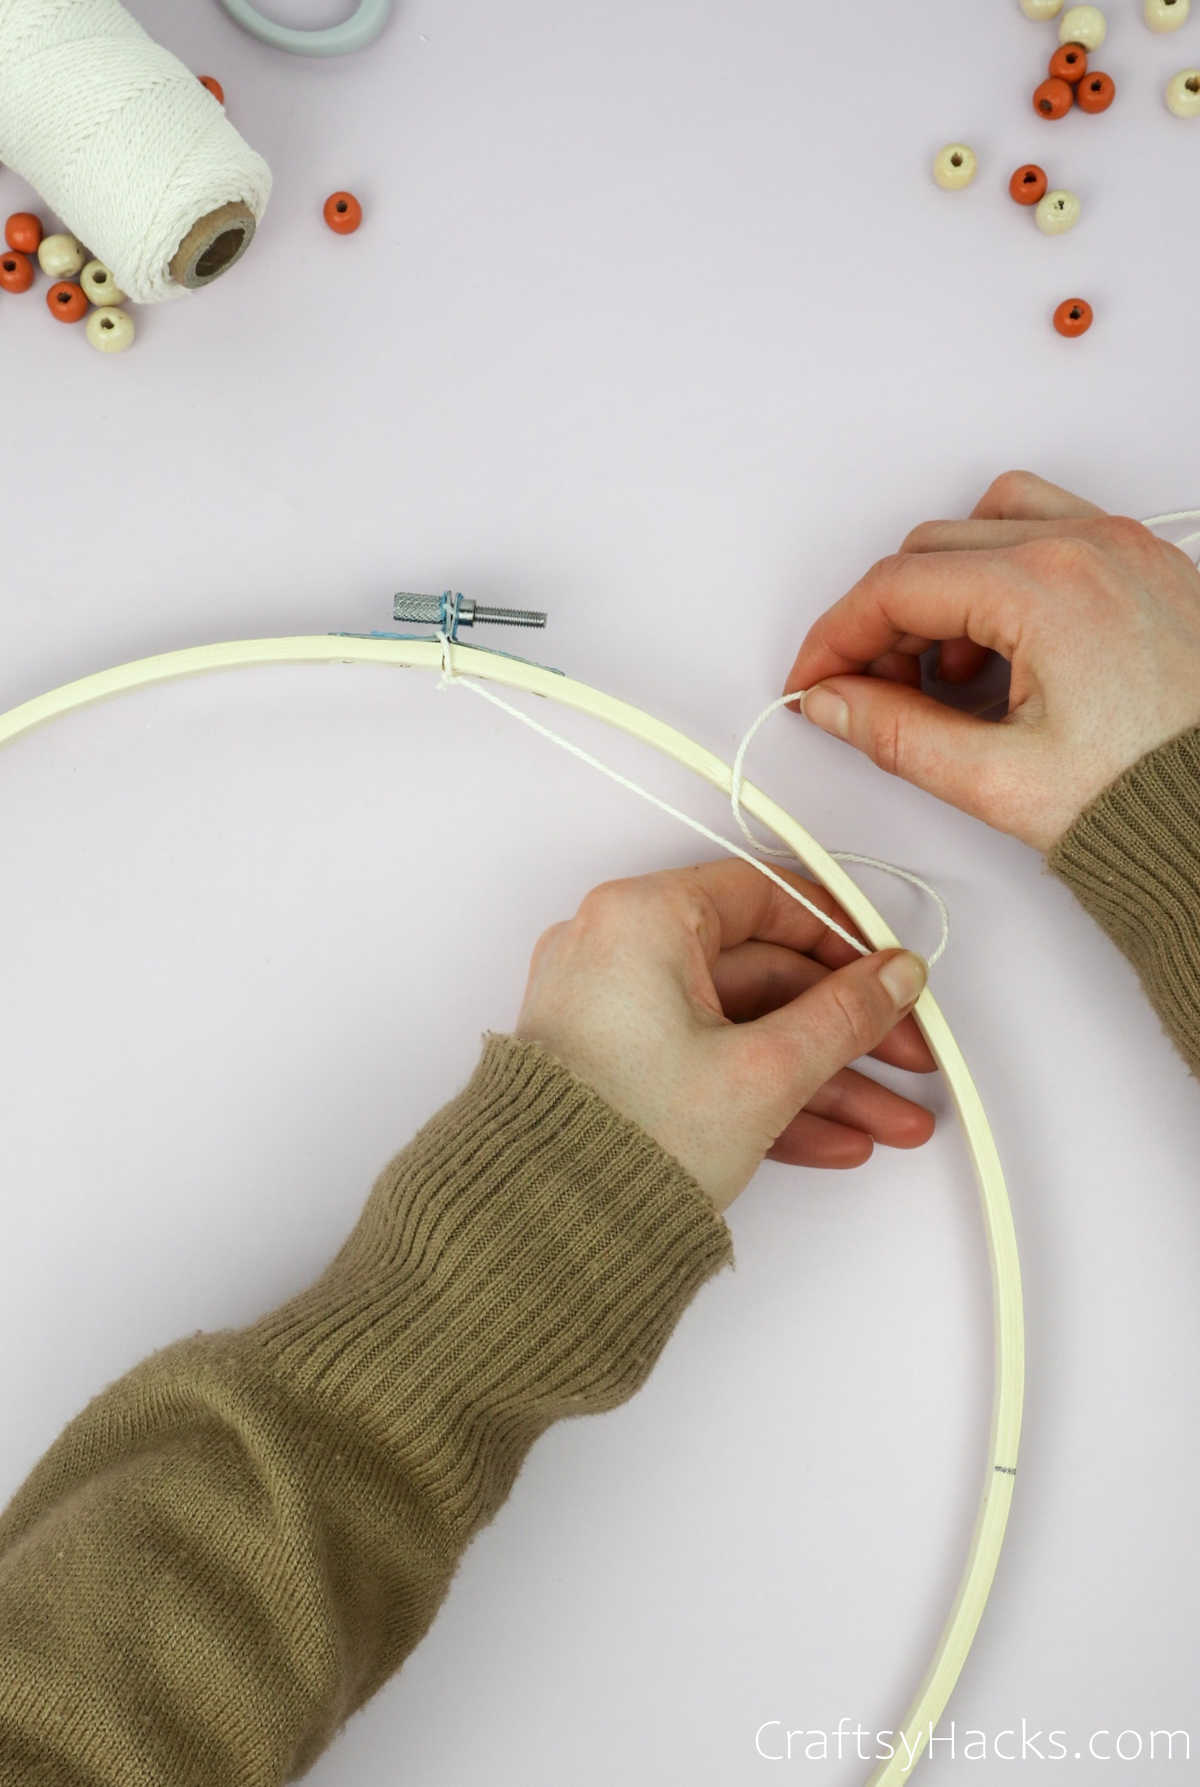
Just check that that the embroidery floss doesnt move around too much and remain taut and secure.
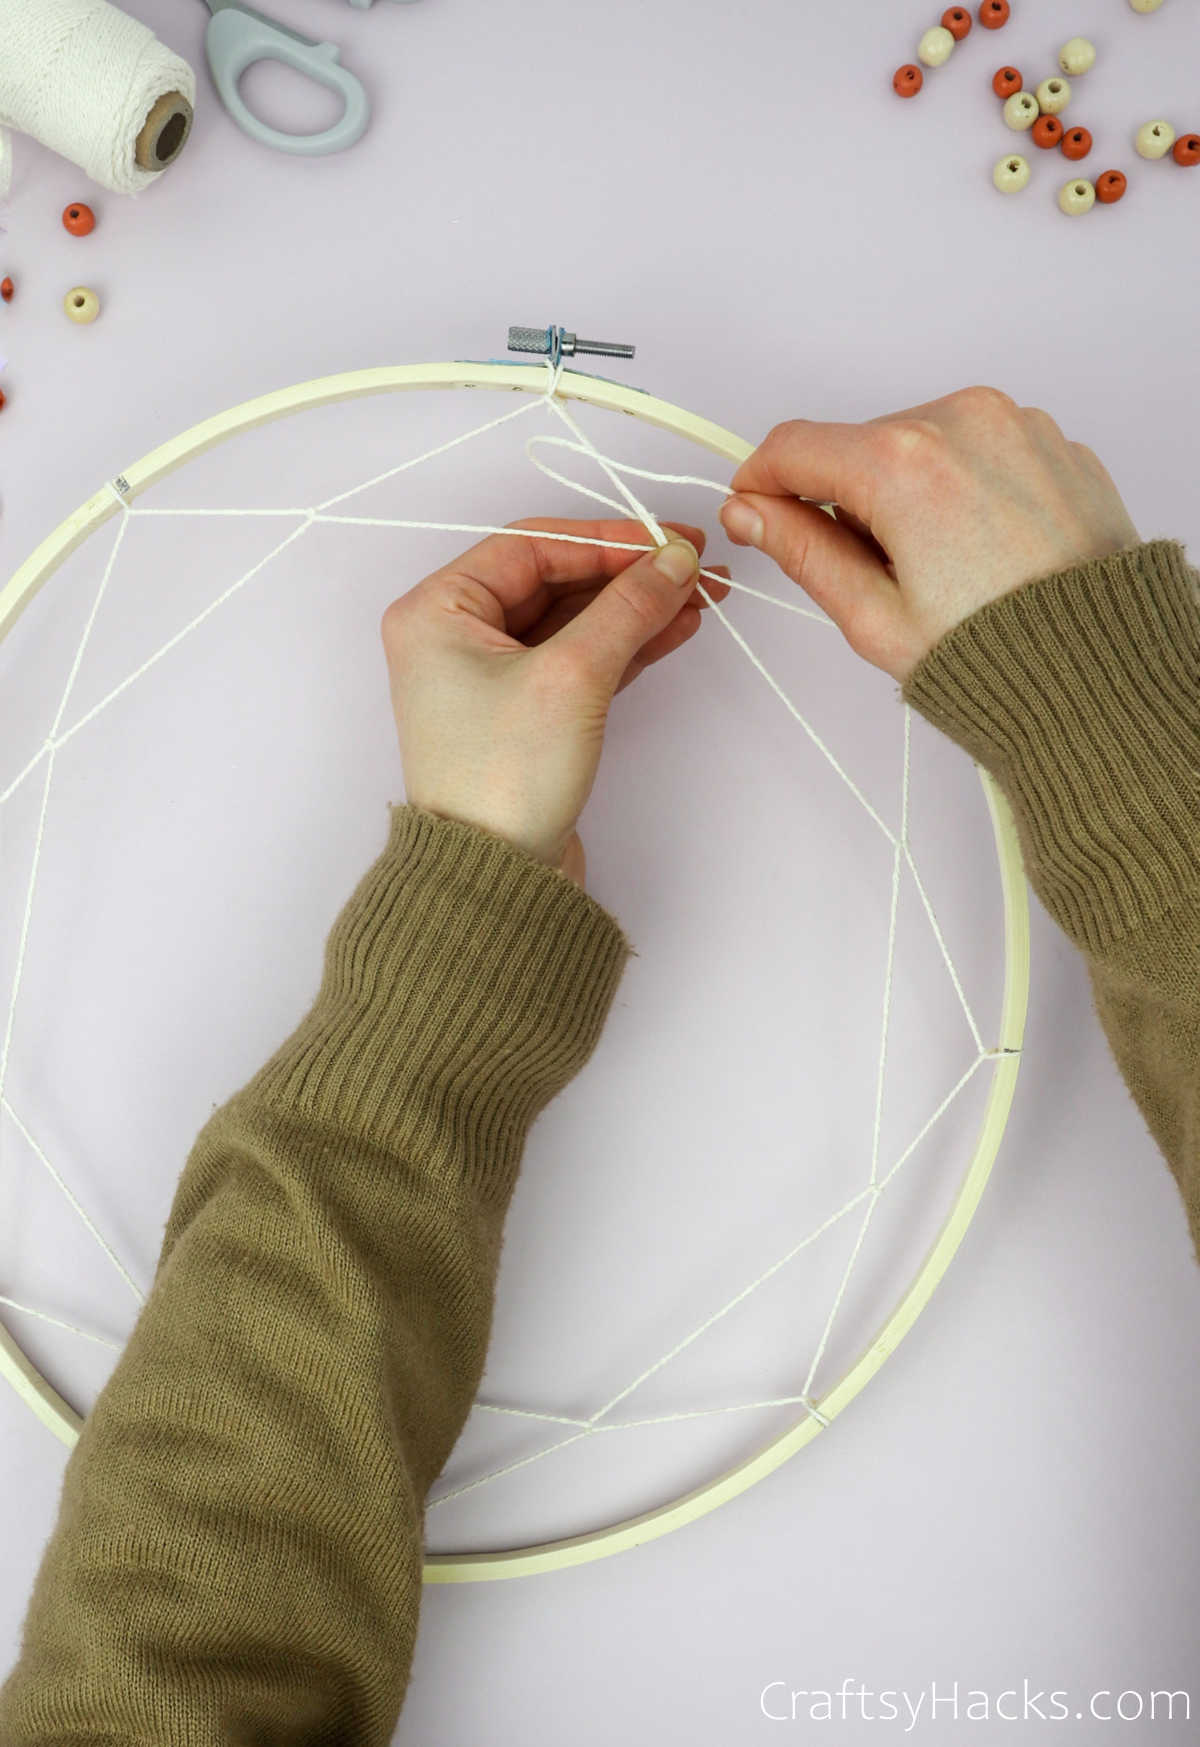
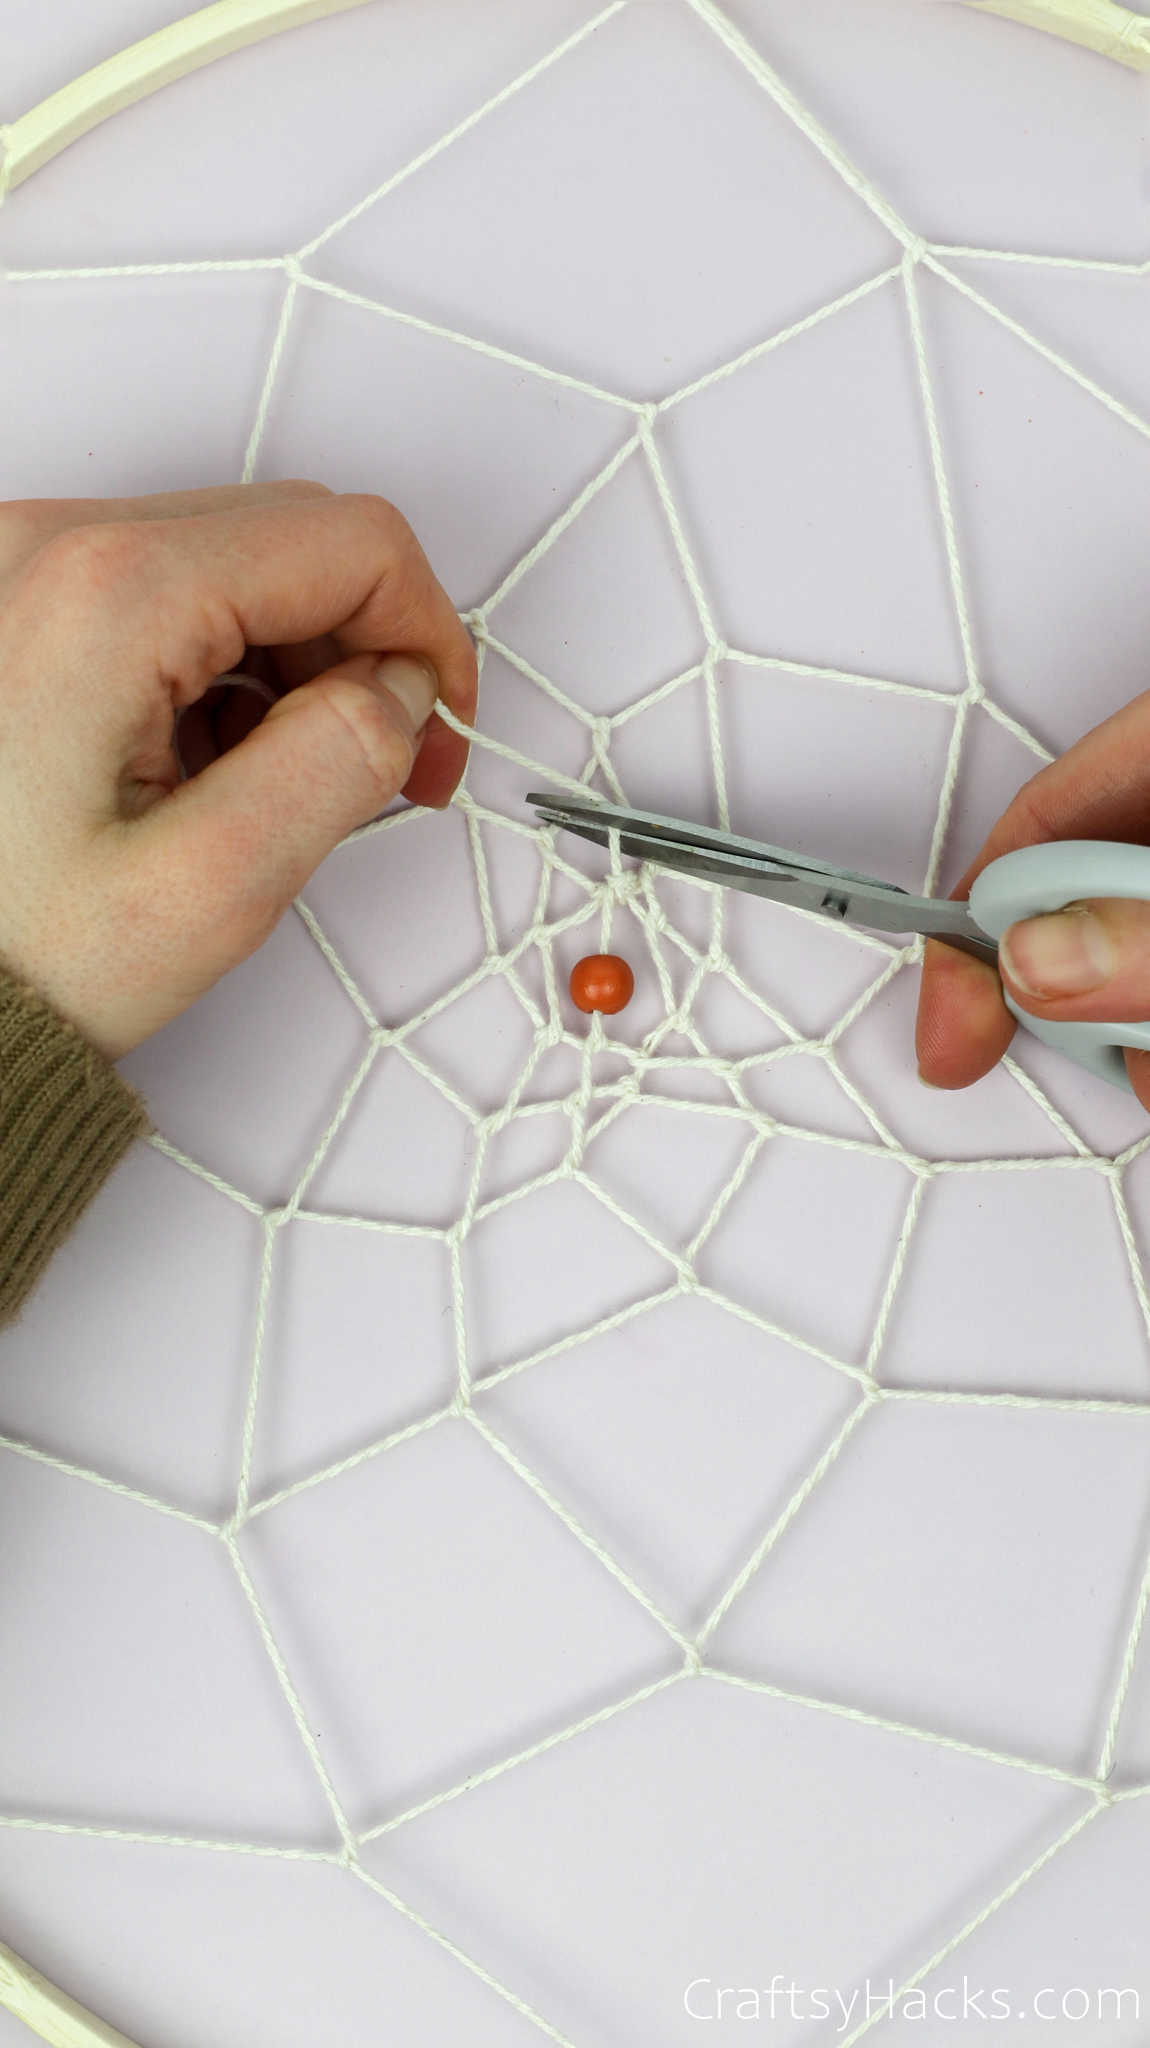
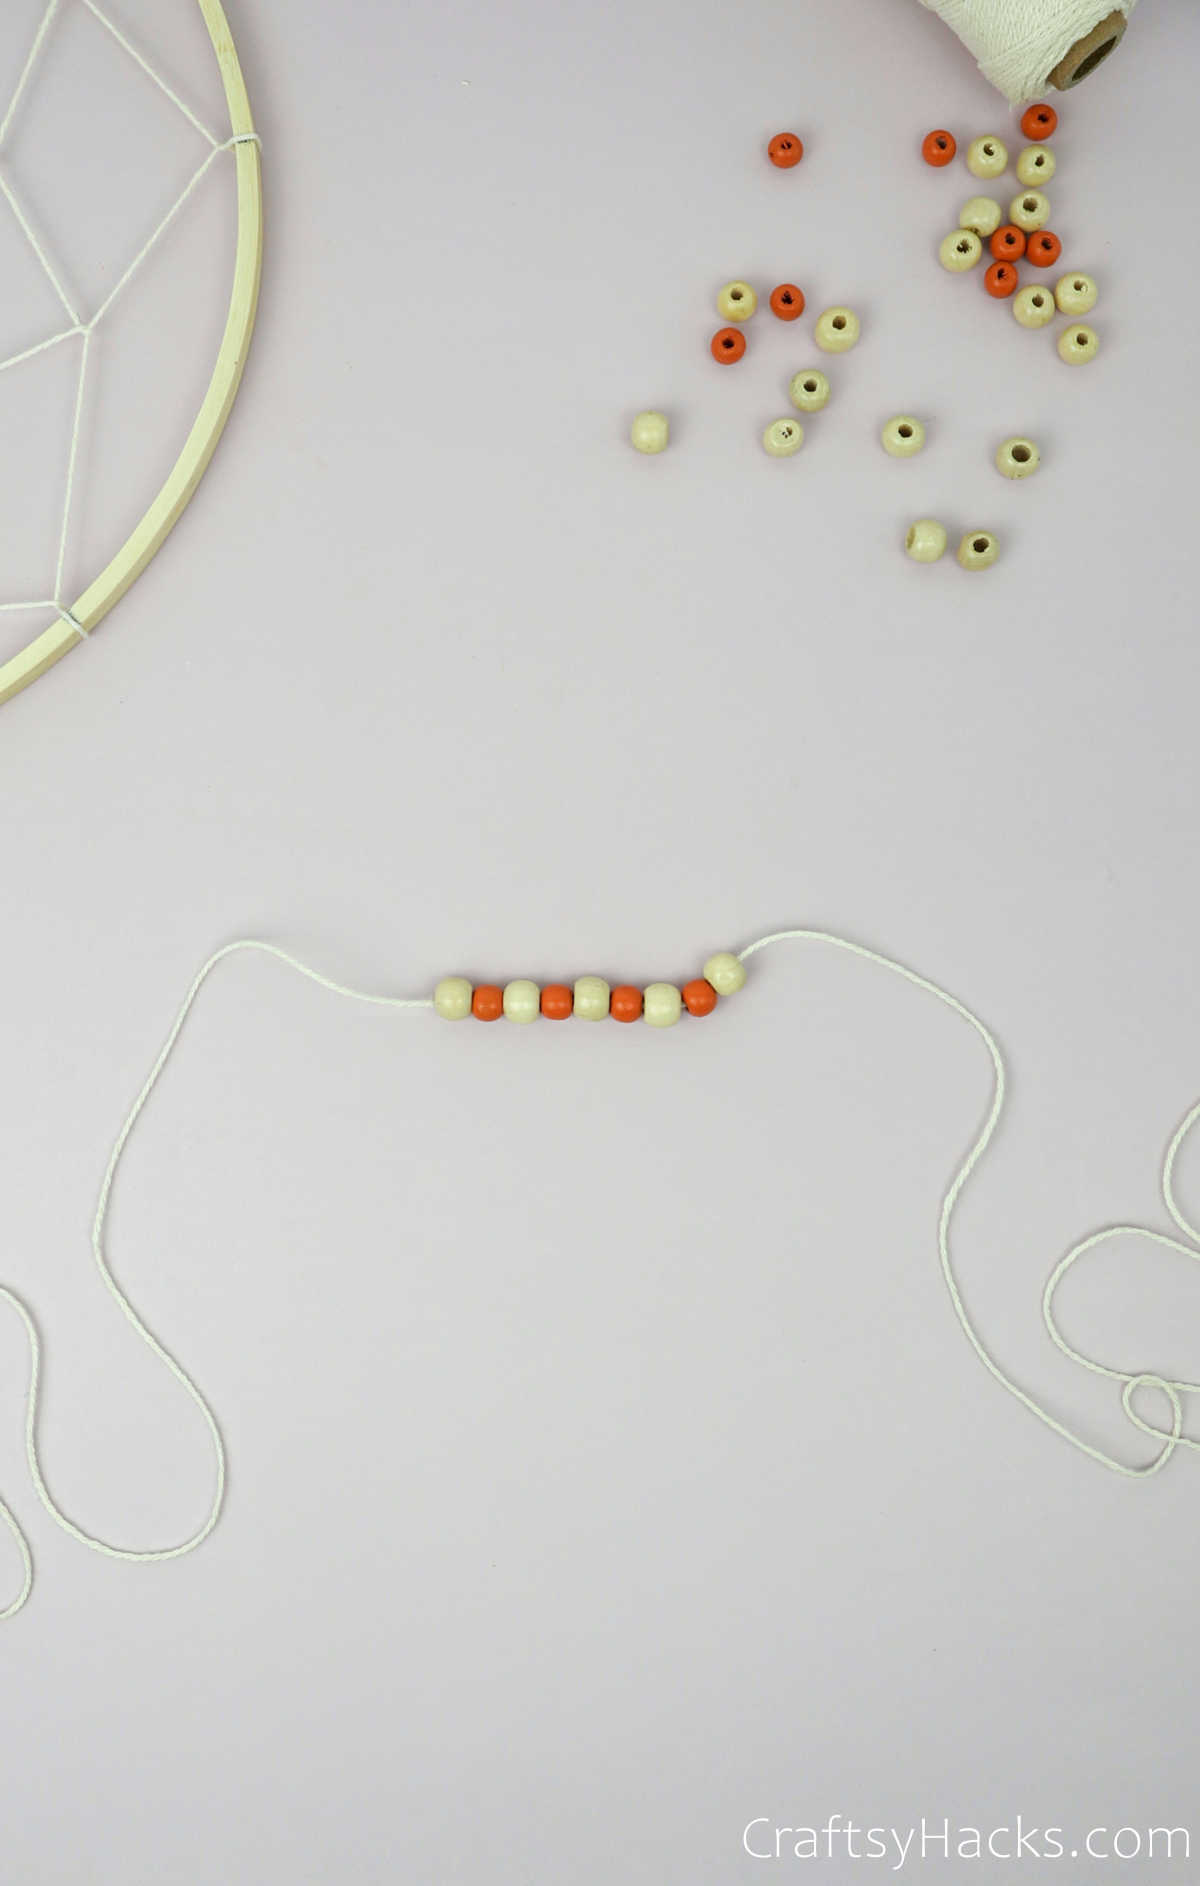
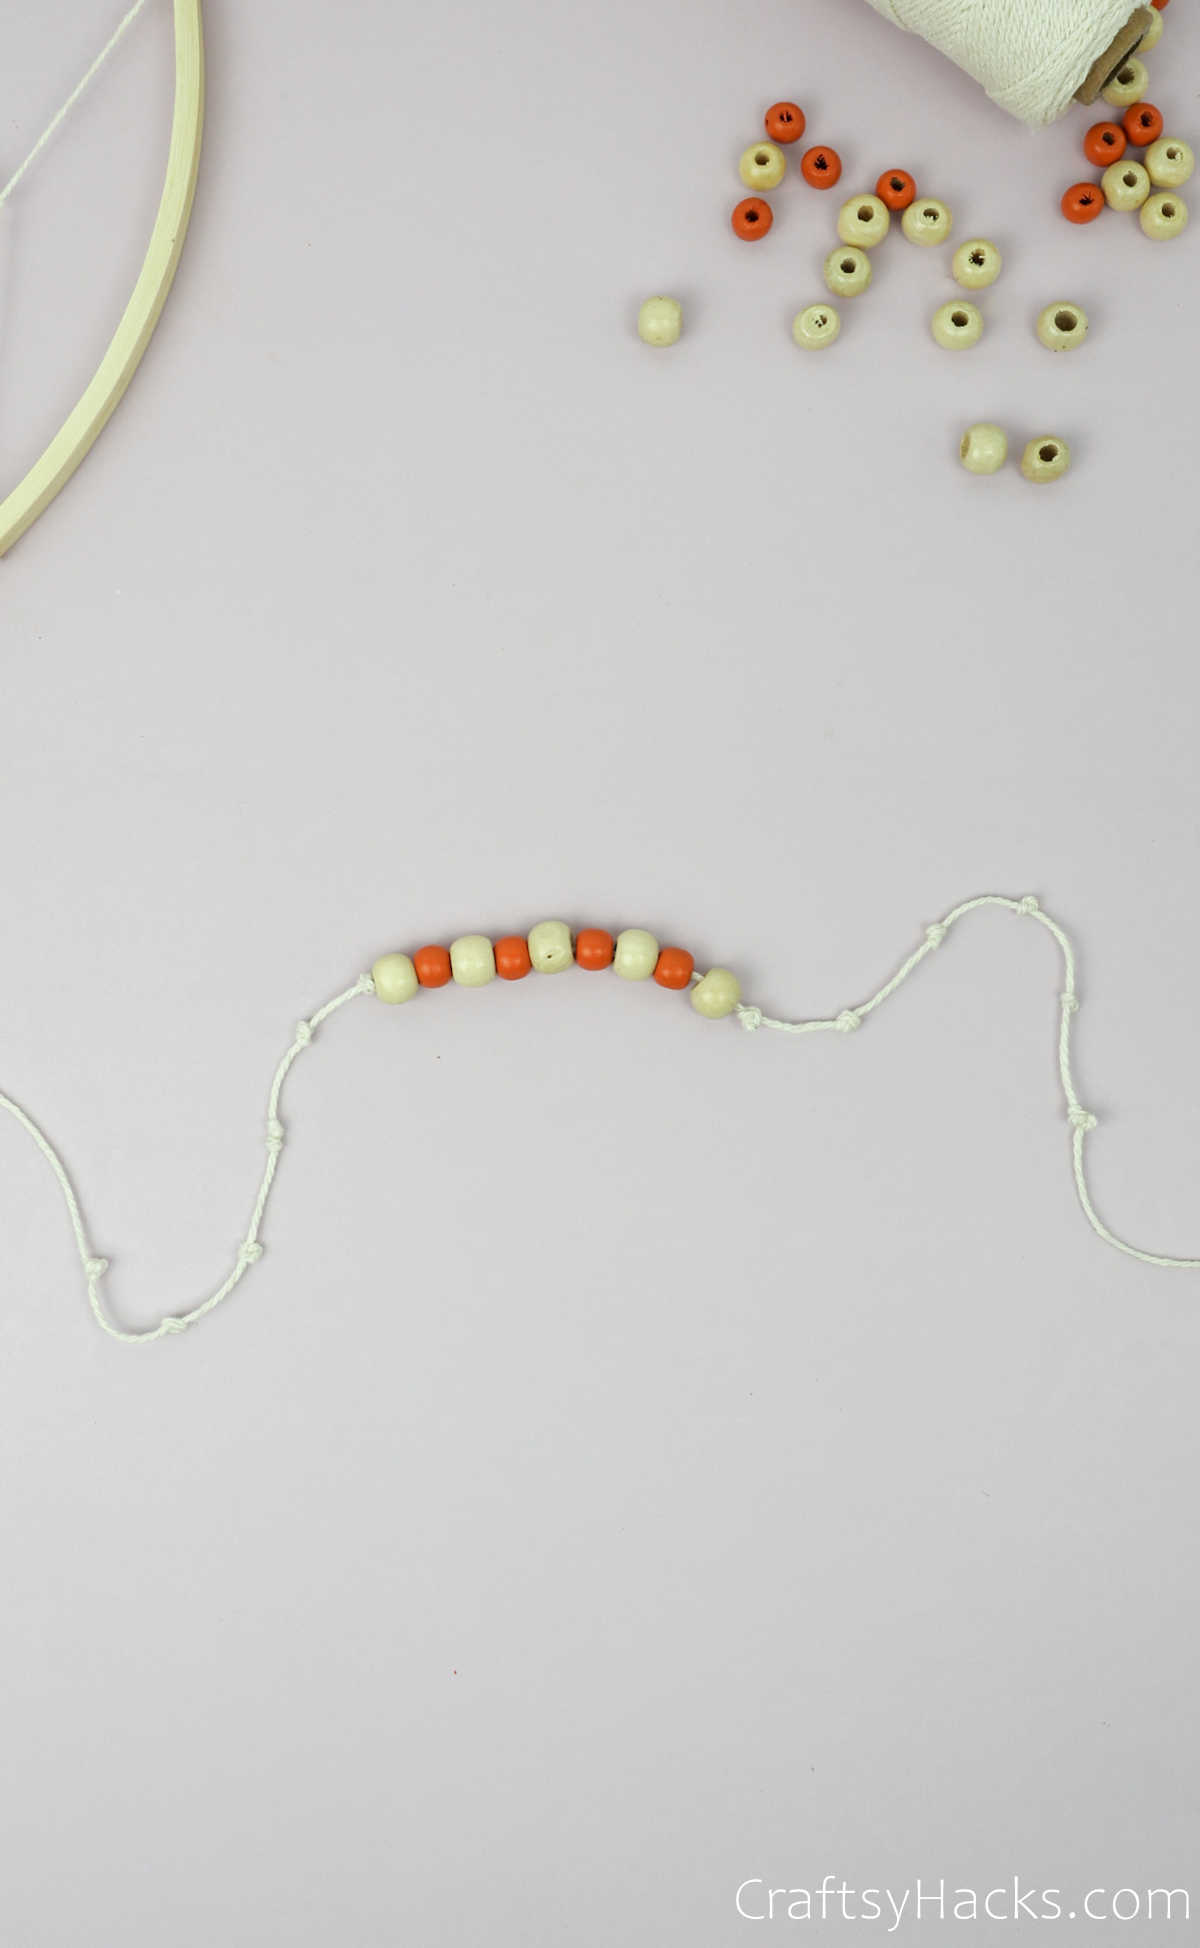
You will have to make several knots along the thread to hold them in place for the beads.
Tie the ends to the frame, as seen below.
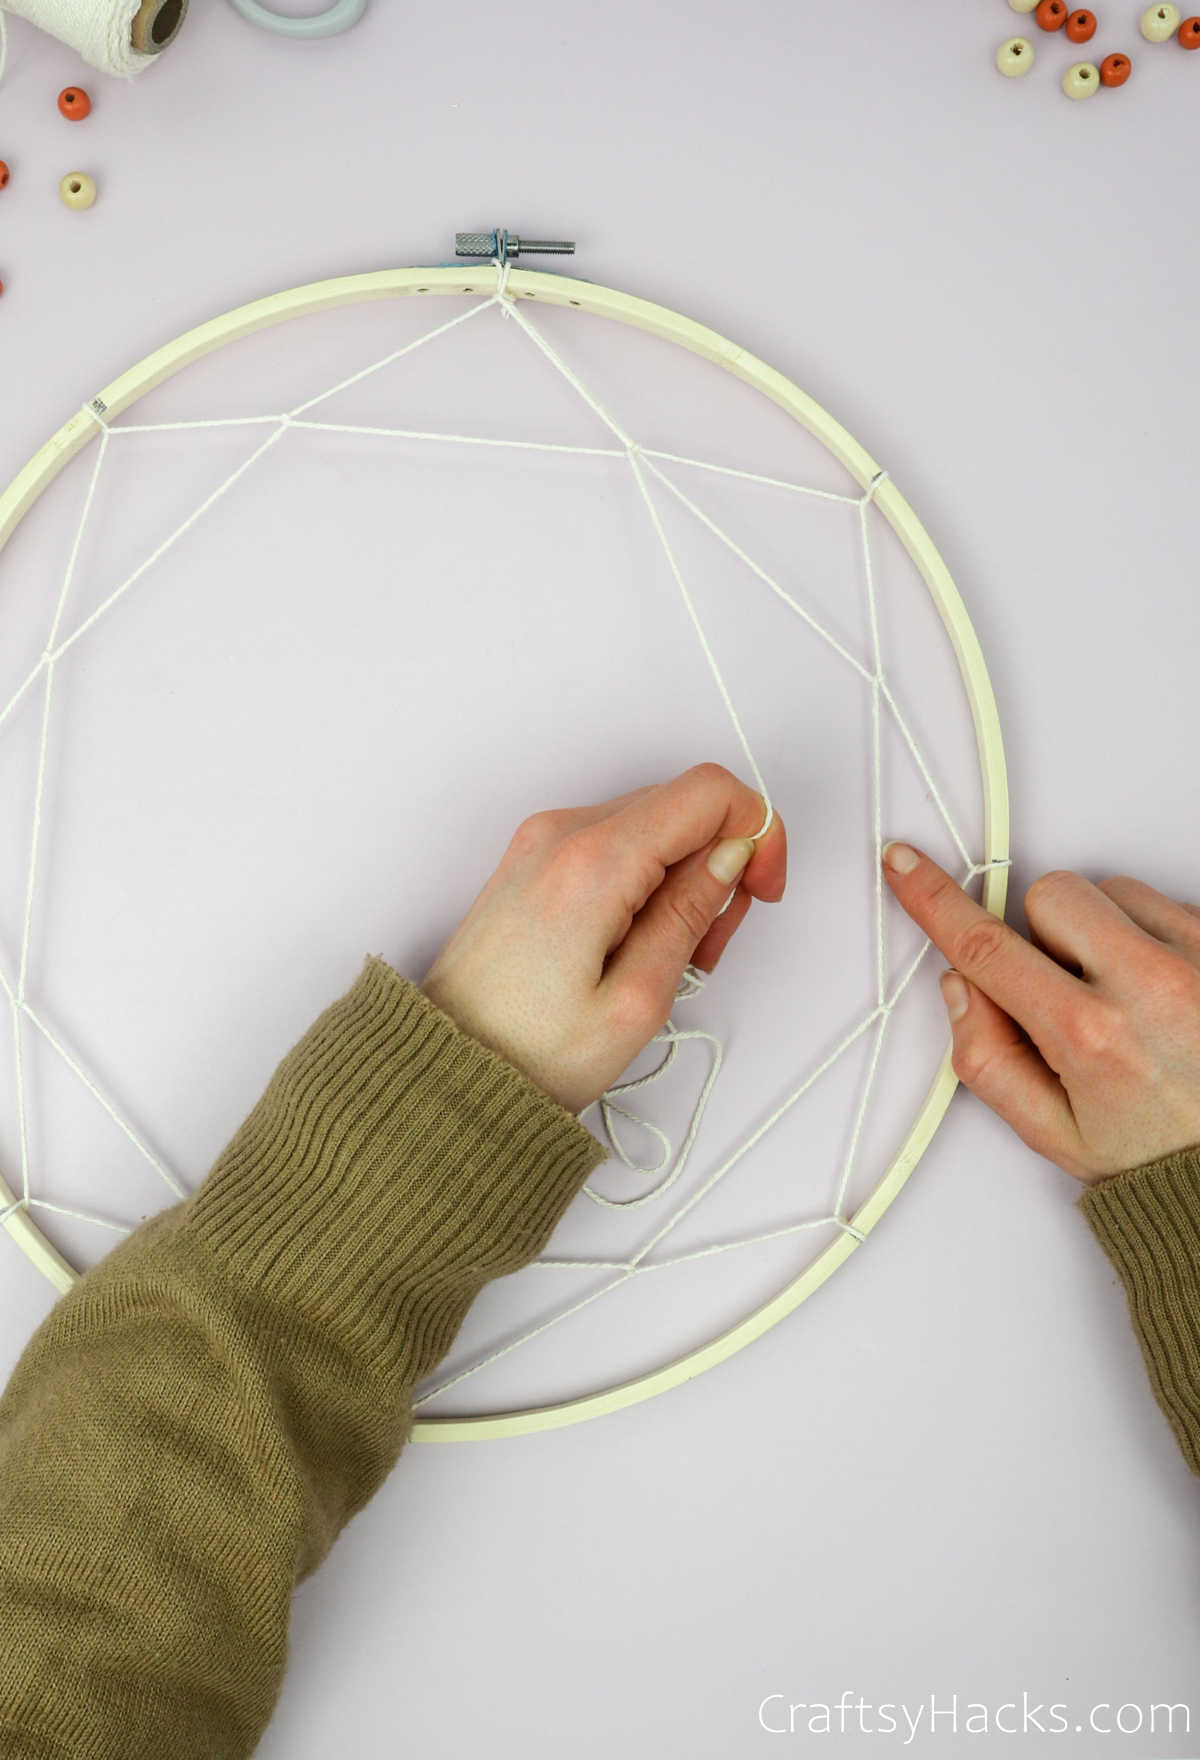
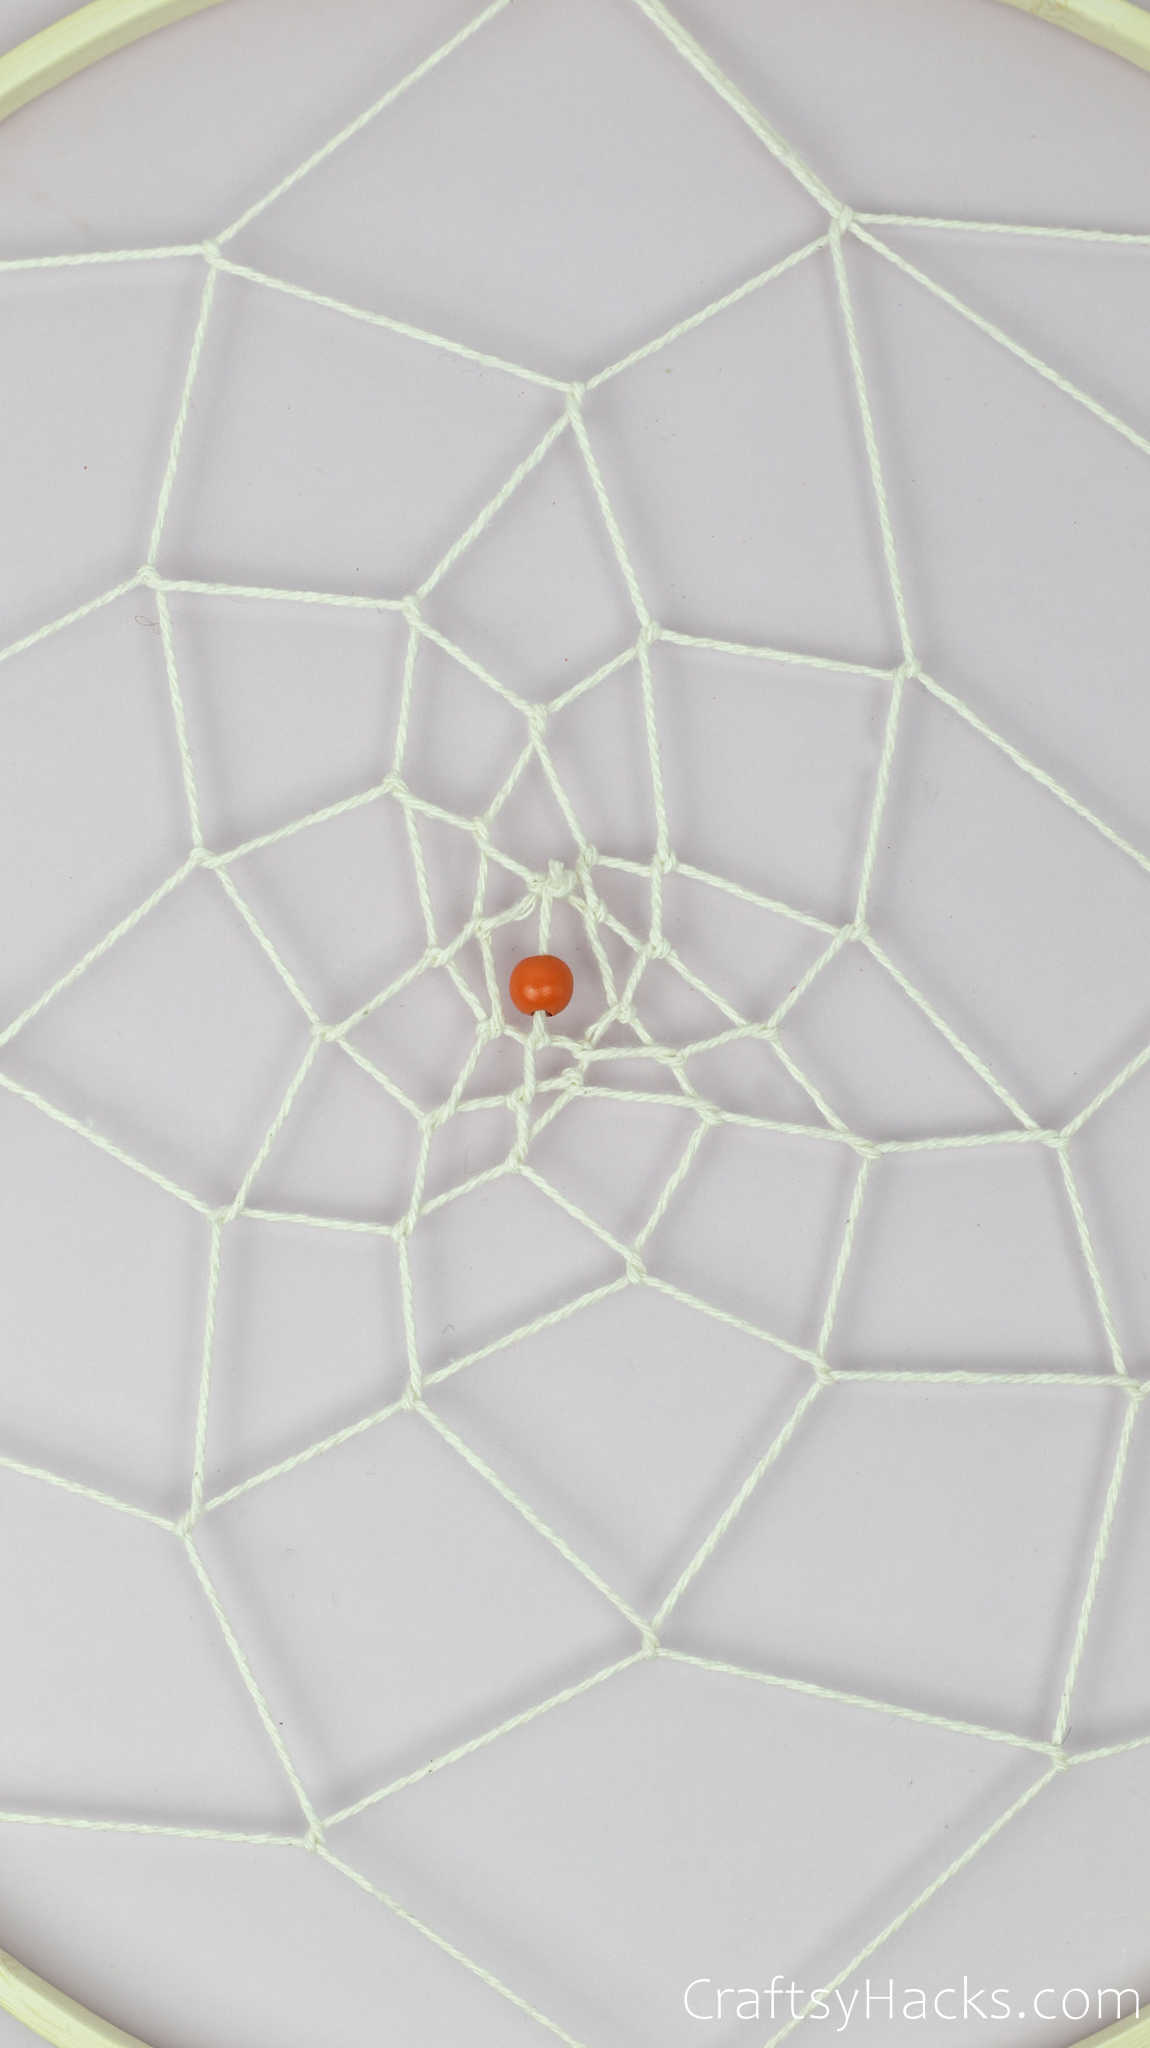
Step 12
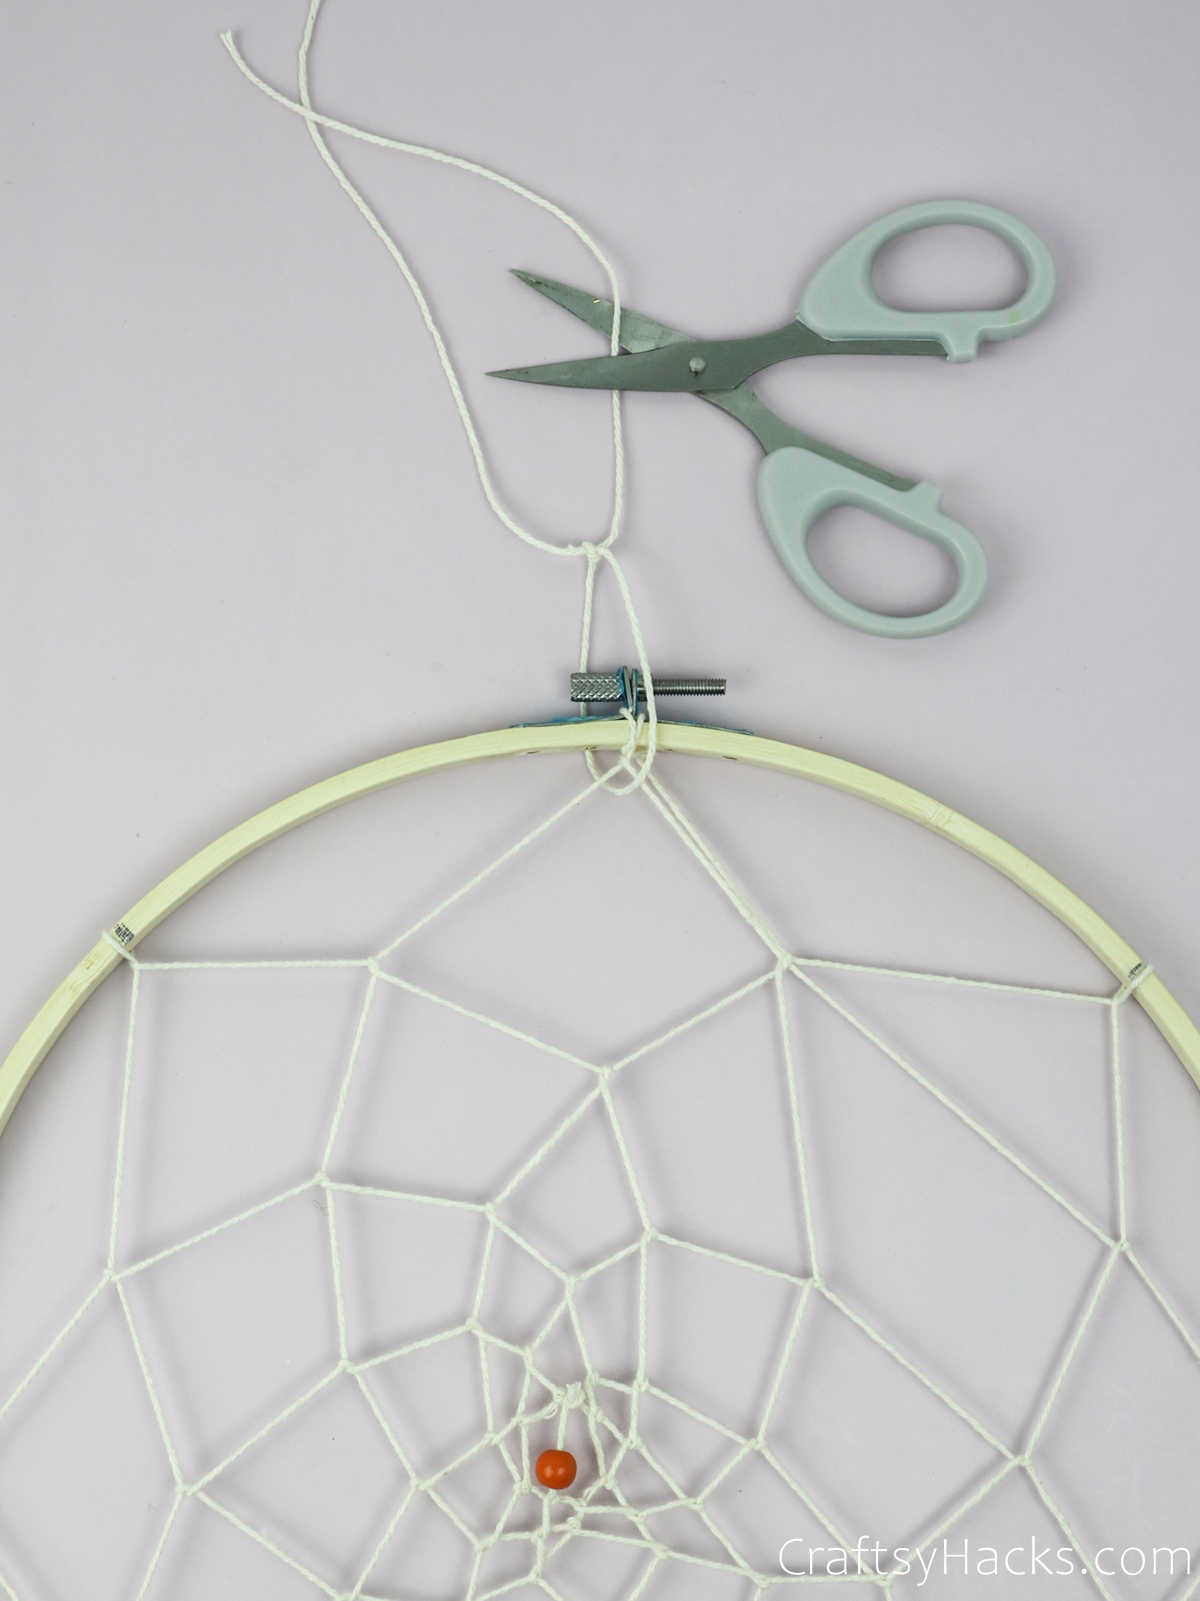
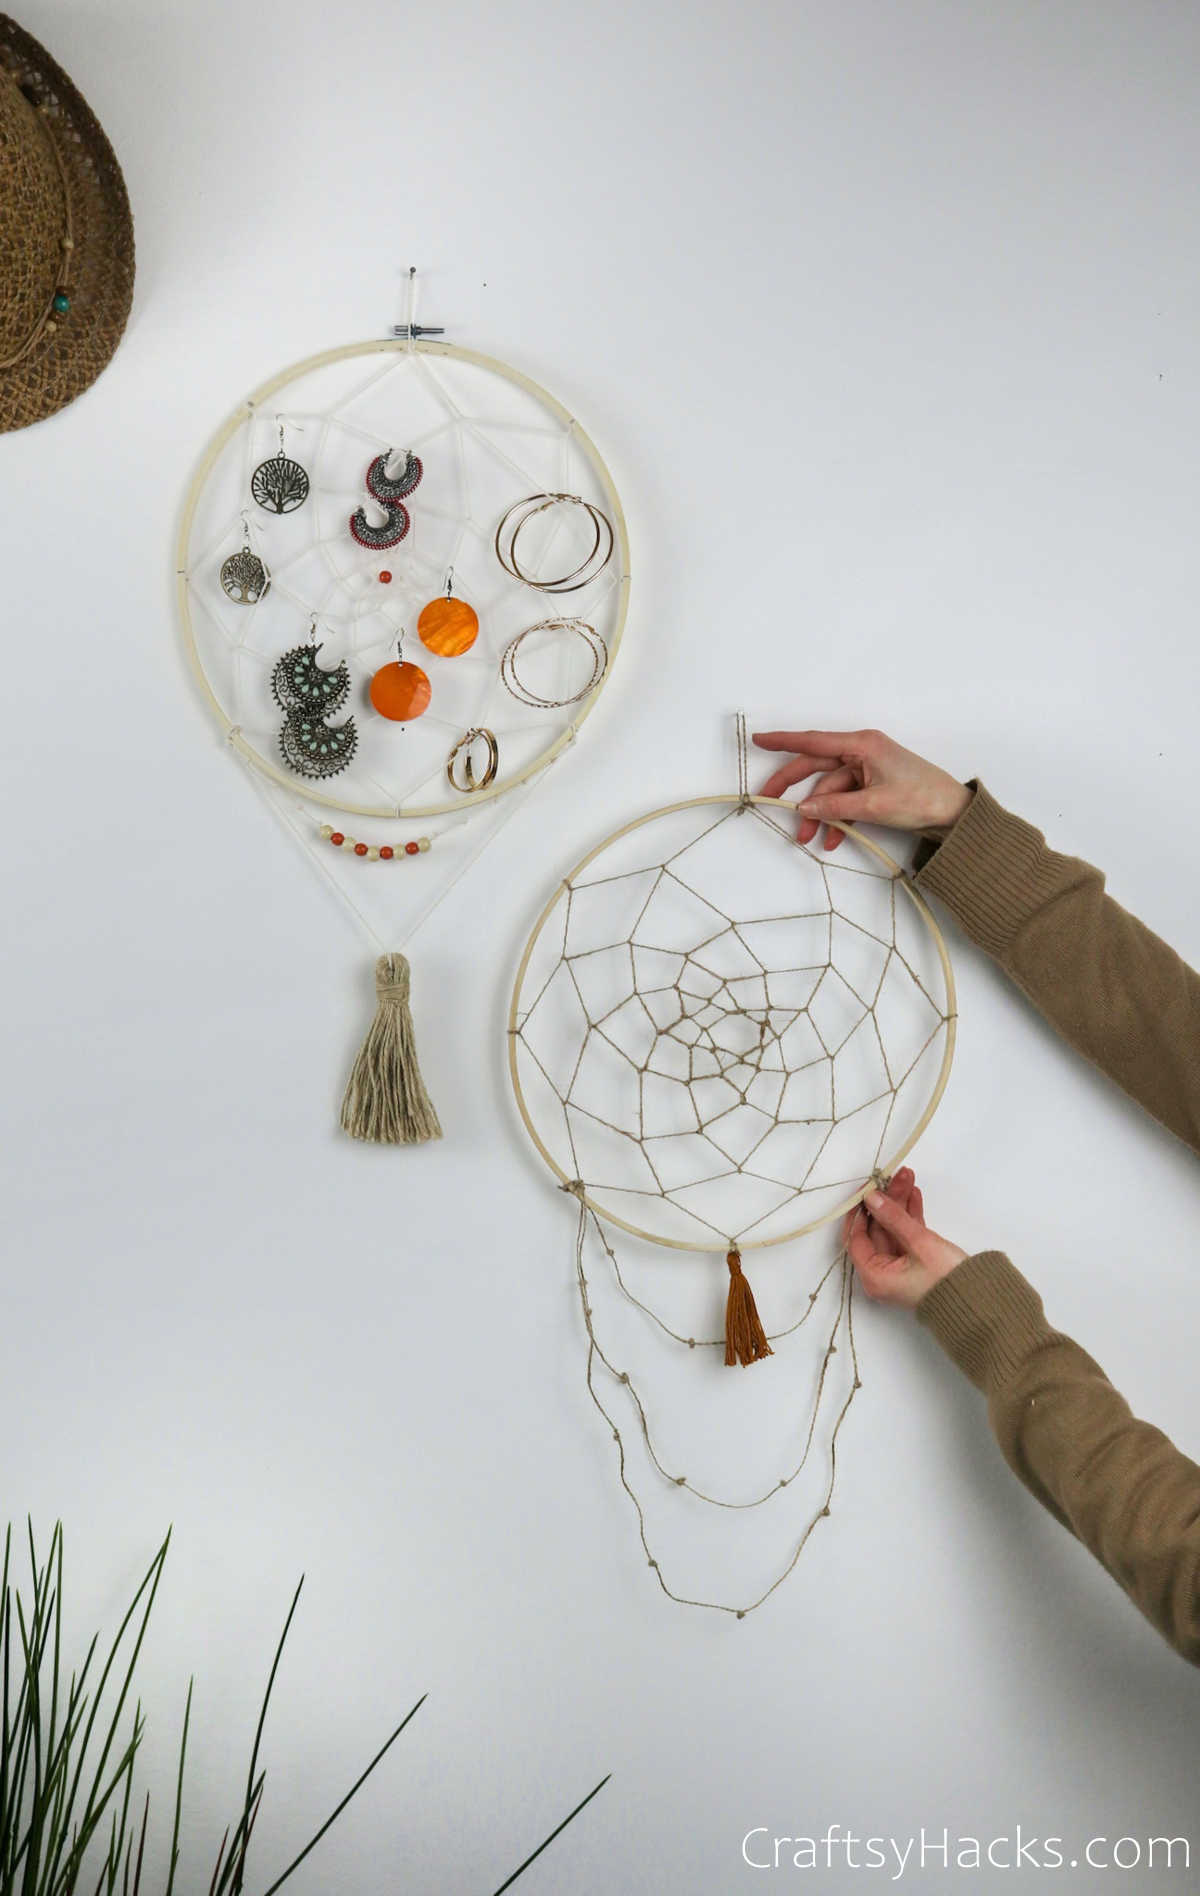
Youre almost done making your DIY jewelry organizer.
Theres just one thing left to do, and thats to make a loop at 12 oclock.
This is what youll be using to hang the dream catcher slash jewelry organiser to the wall.