Its almost been one year since we first became ambassadors with ETI-USA as part of their #ResinCraftsCreativeTeam.
However, we have (and continue to) receive products from ETI.
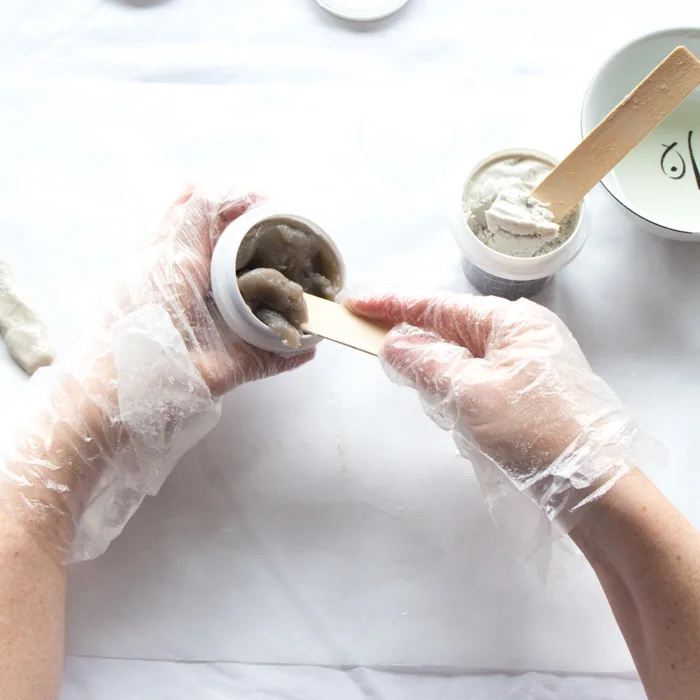
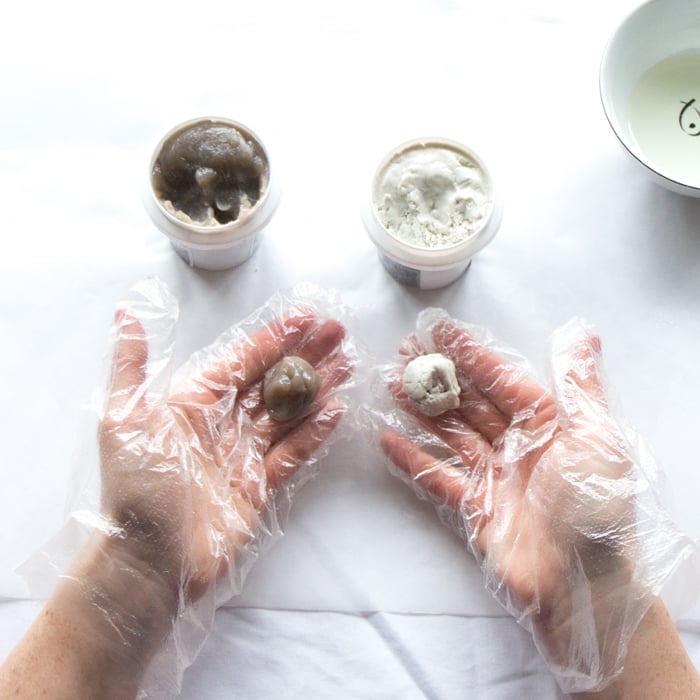
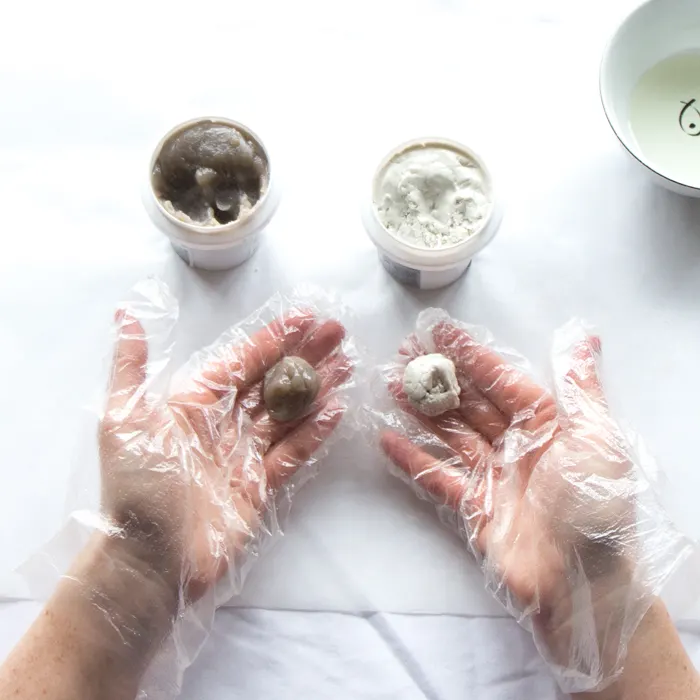
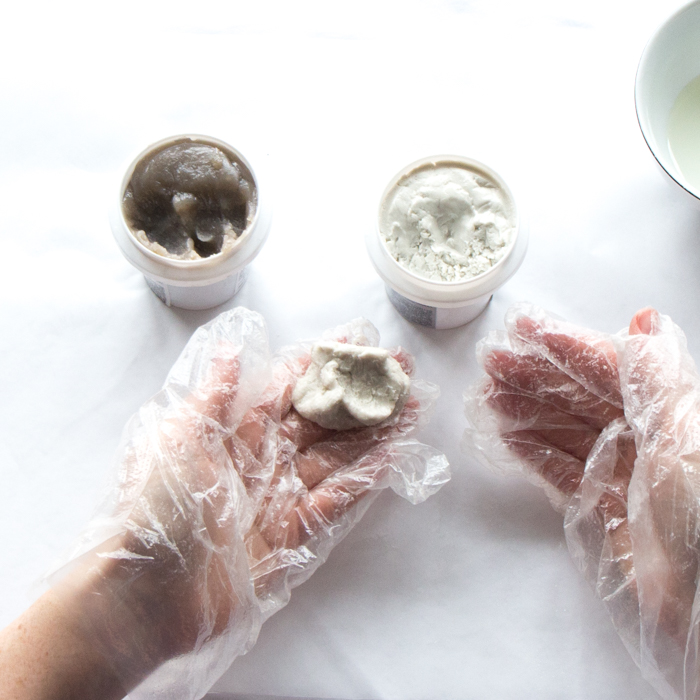
Press together and completely blend the two balls until they are a uniform colour (about 1-2 minutes).
Press out any little clumps to ensure the components are completely combined.
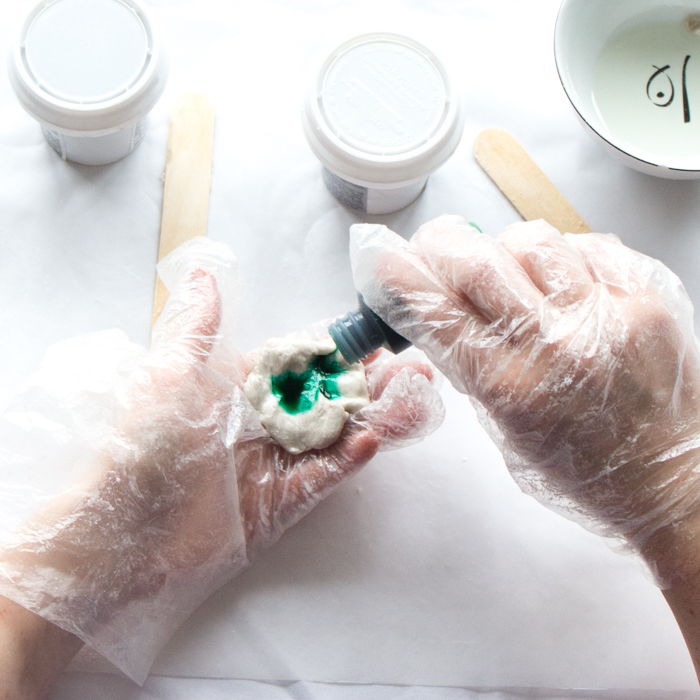
Add three drops of the Transparent Dye in a colour of your choice.
Blend the Dye into the clay just partially to achieve a marbled finish.

The clay will start to get softer and stickier at this point.
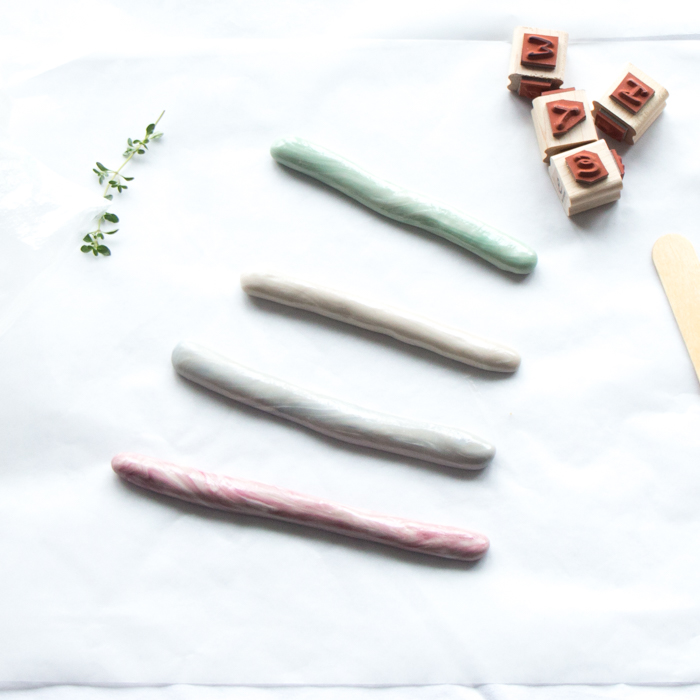
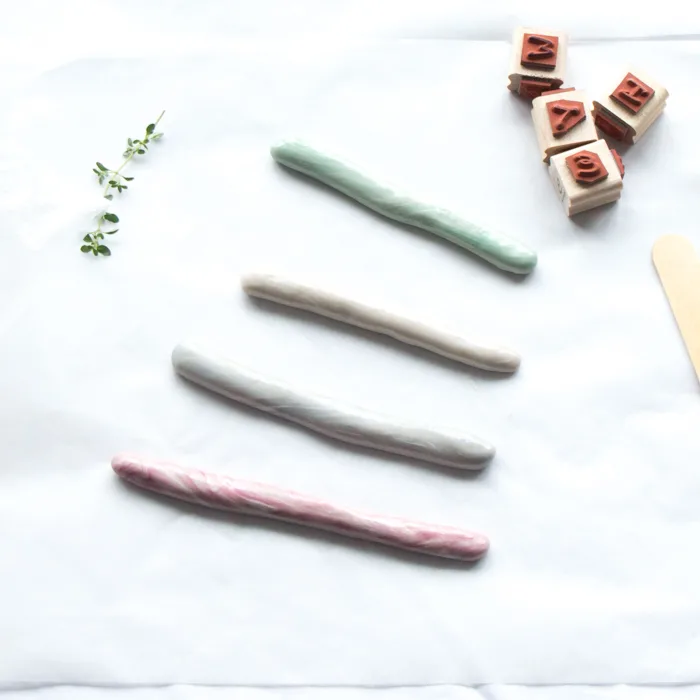
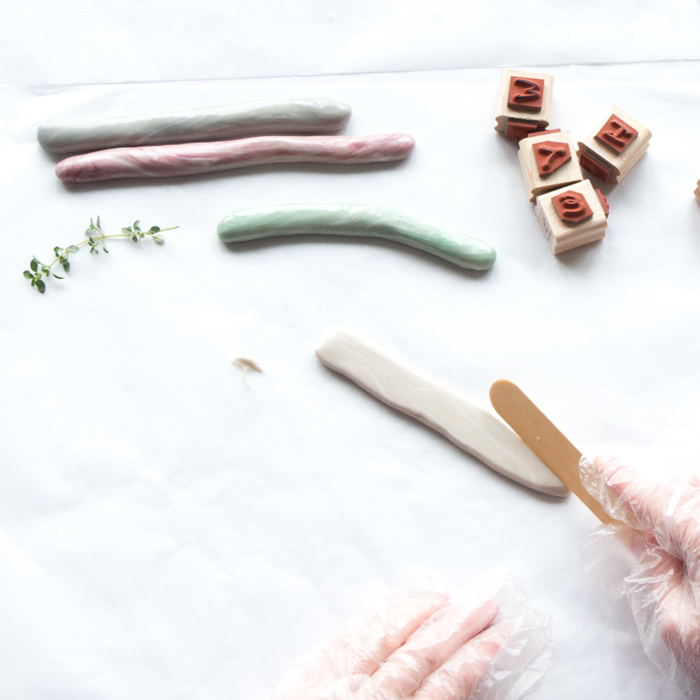
Form the clay roughly into a 6 long cylinder.
Repeat this process to make as many herb garden markers as youd like.

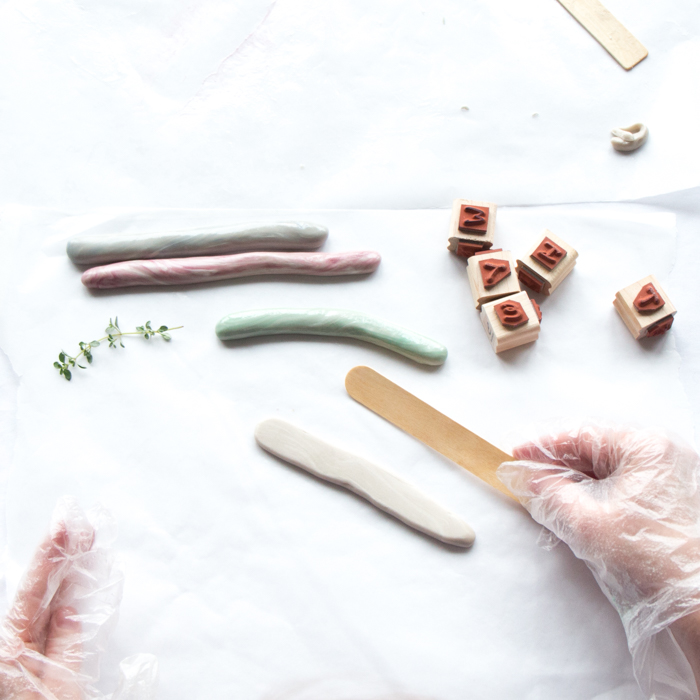
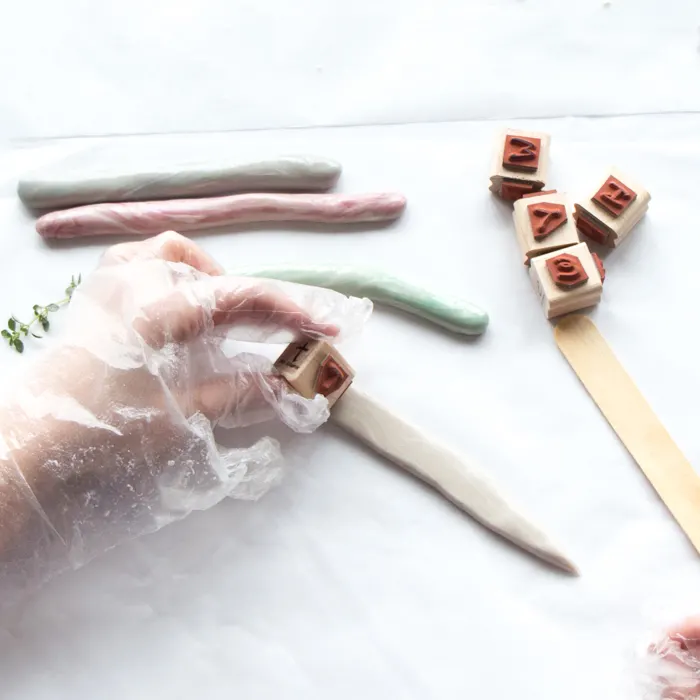
Let the Easy Sculpt clay cure for at least 2 hours before proceeding to the next step.
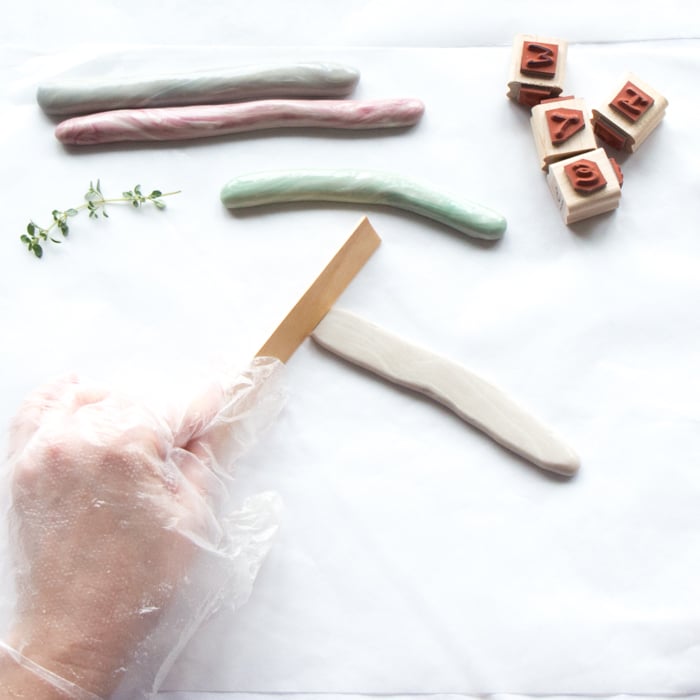
Use a wood craft stick to flatten the clay cylinders to about 1/4 thickness.
Leave the garden markers to cure fully, approximately 72 hours, before using.
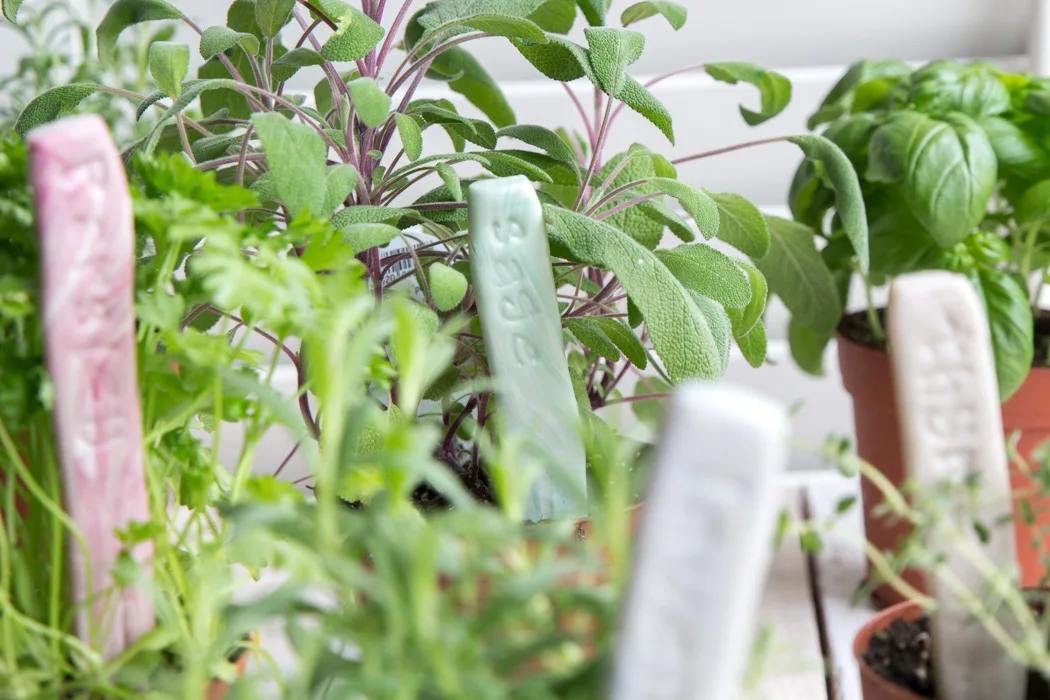
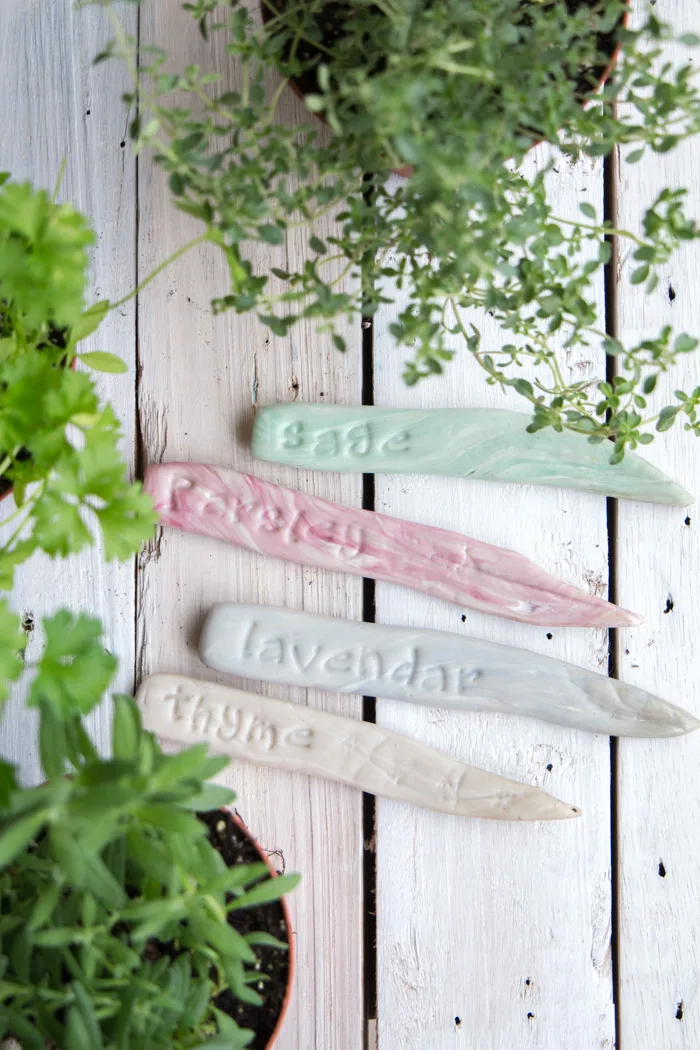
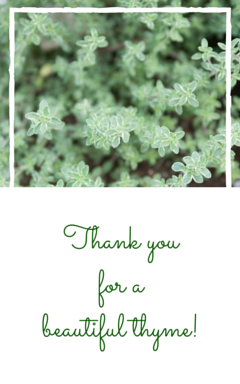
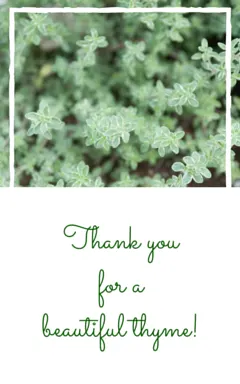
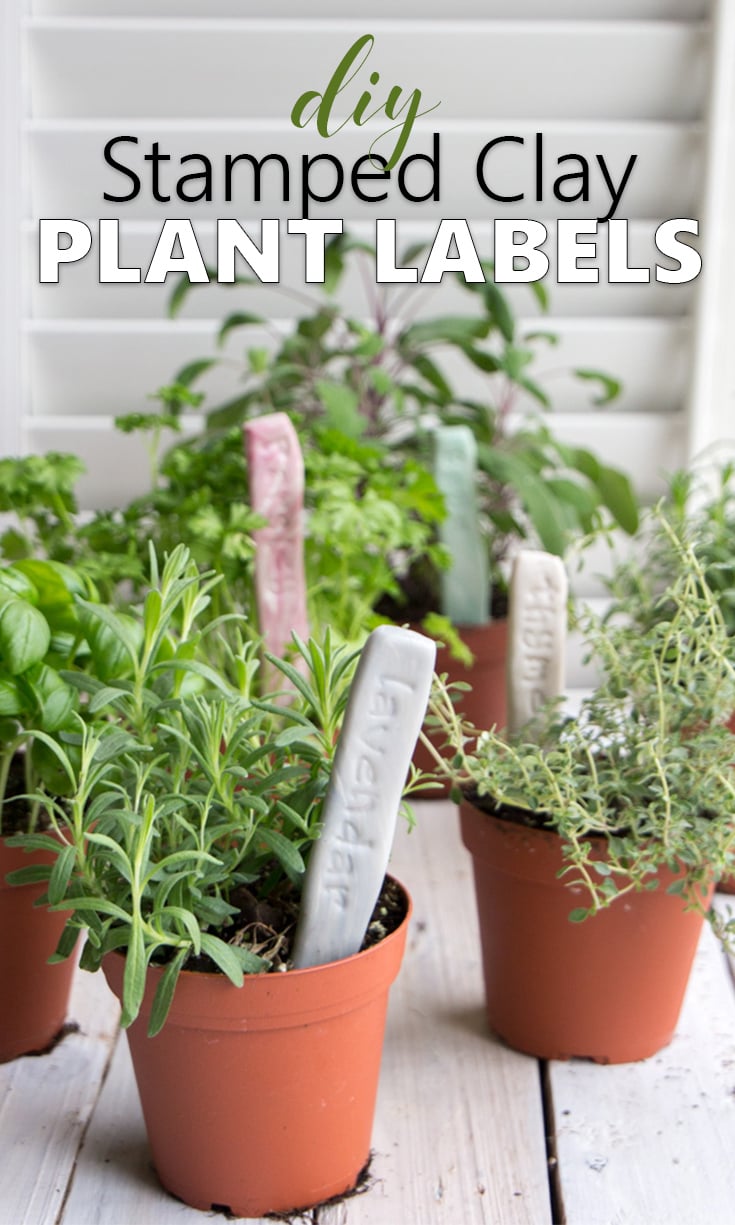
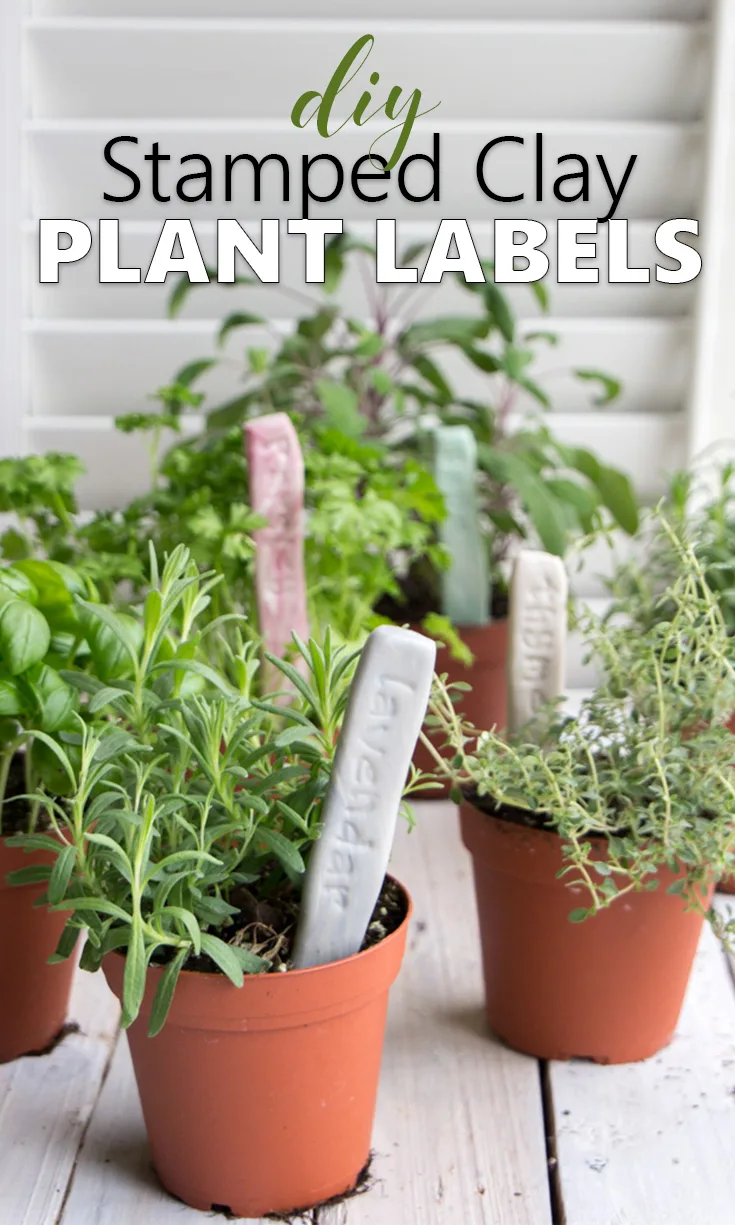
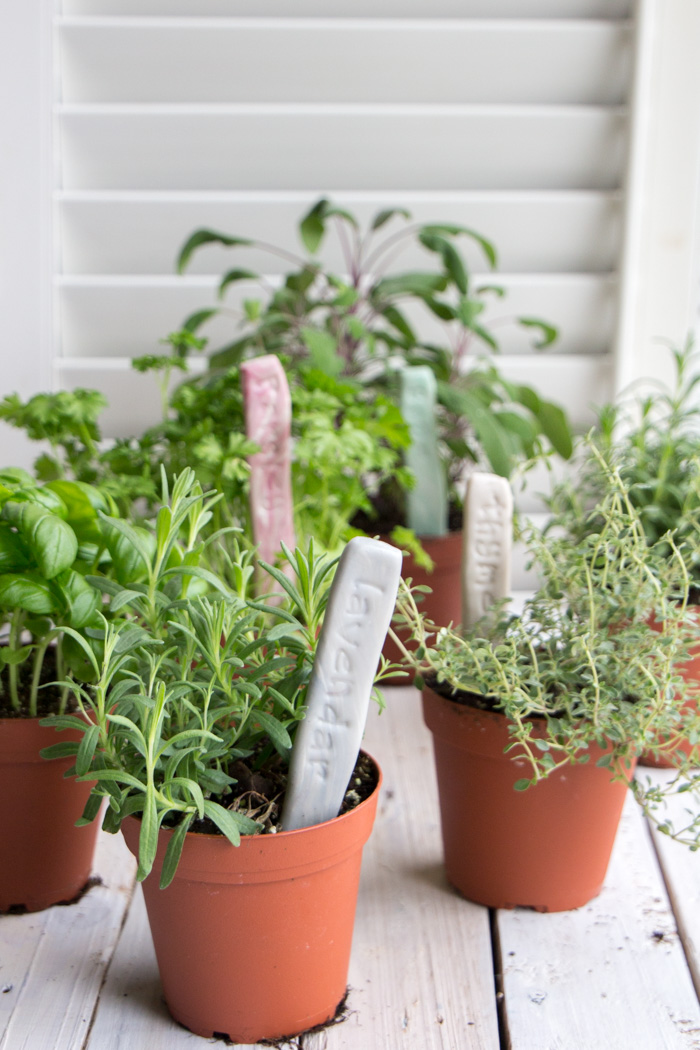
Its thyme to plant those herbs!
Wouldnt these garden markers look adorable along with a little potted herb plant?
Or use them while youre growing peppers from seeds.

Grab your free hostess gift tag printable here.
Pin it for later!