HomeOrganization
This post may contain affiliate links:full affiliate disclosure.
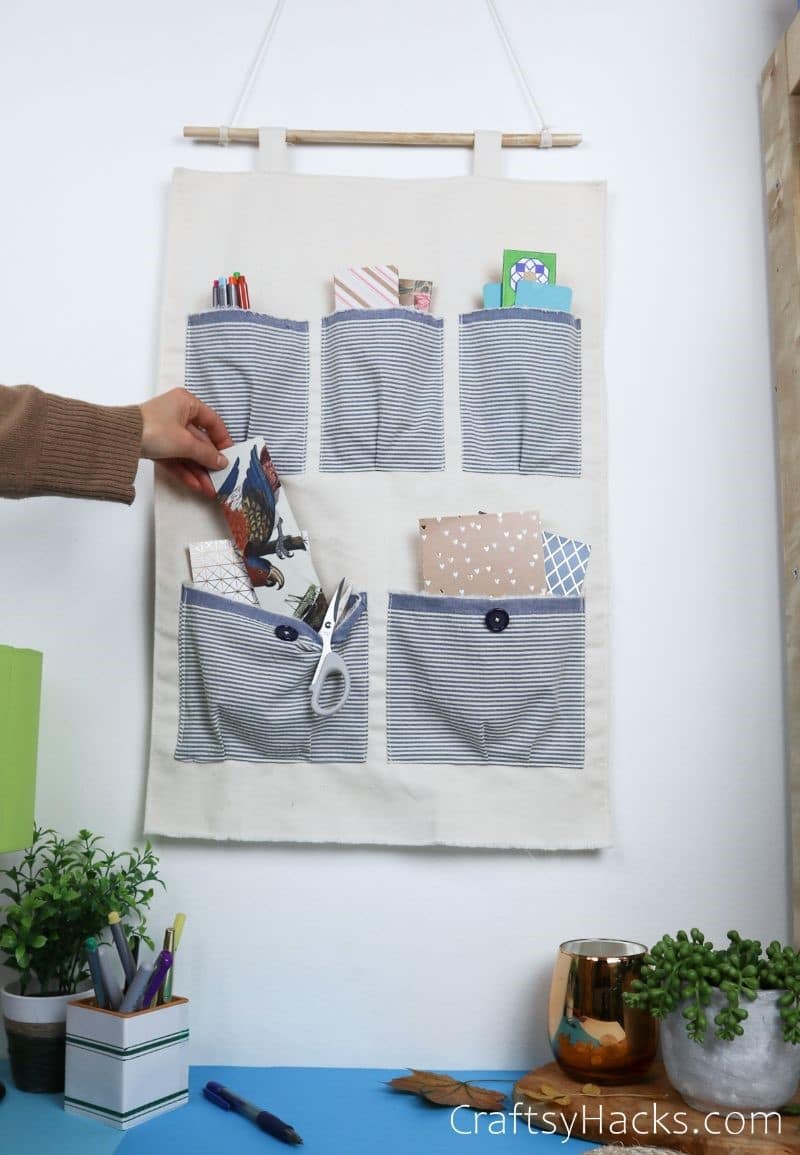
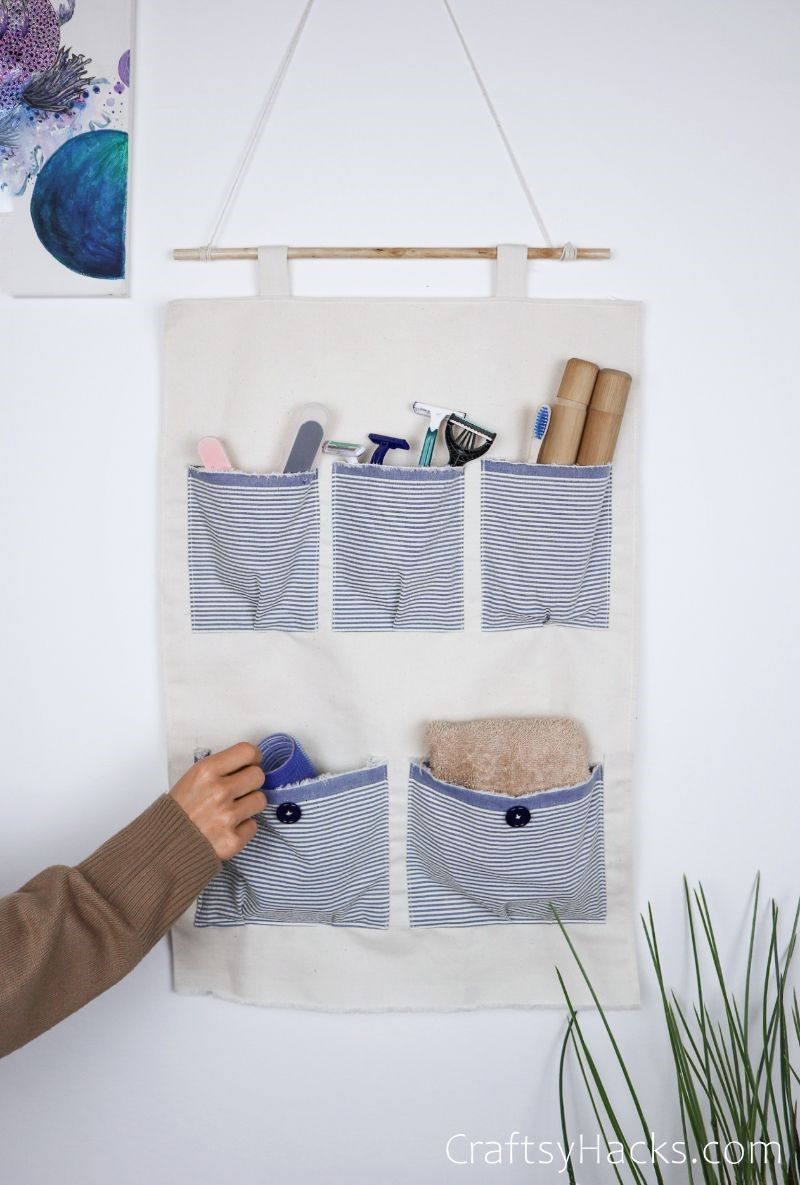
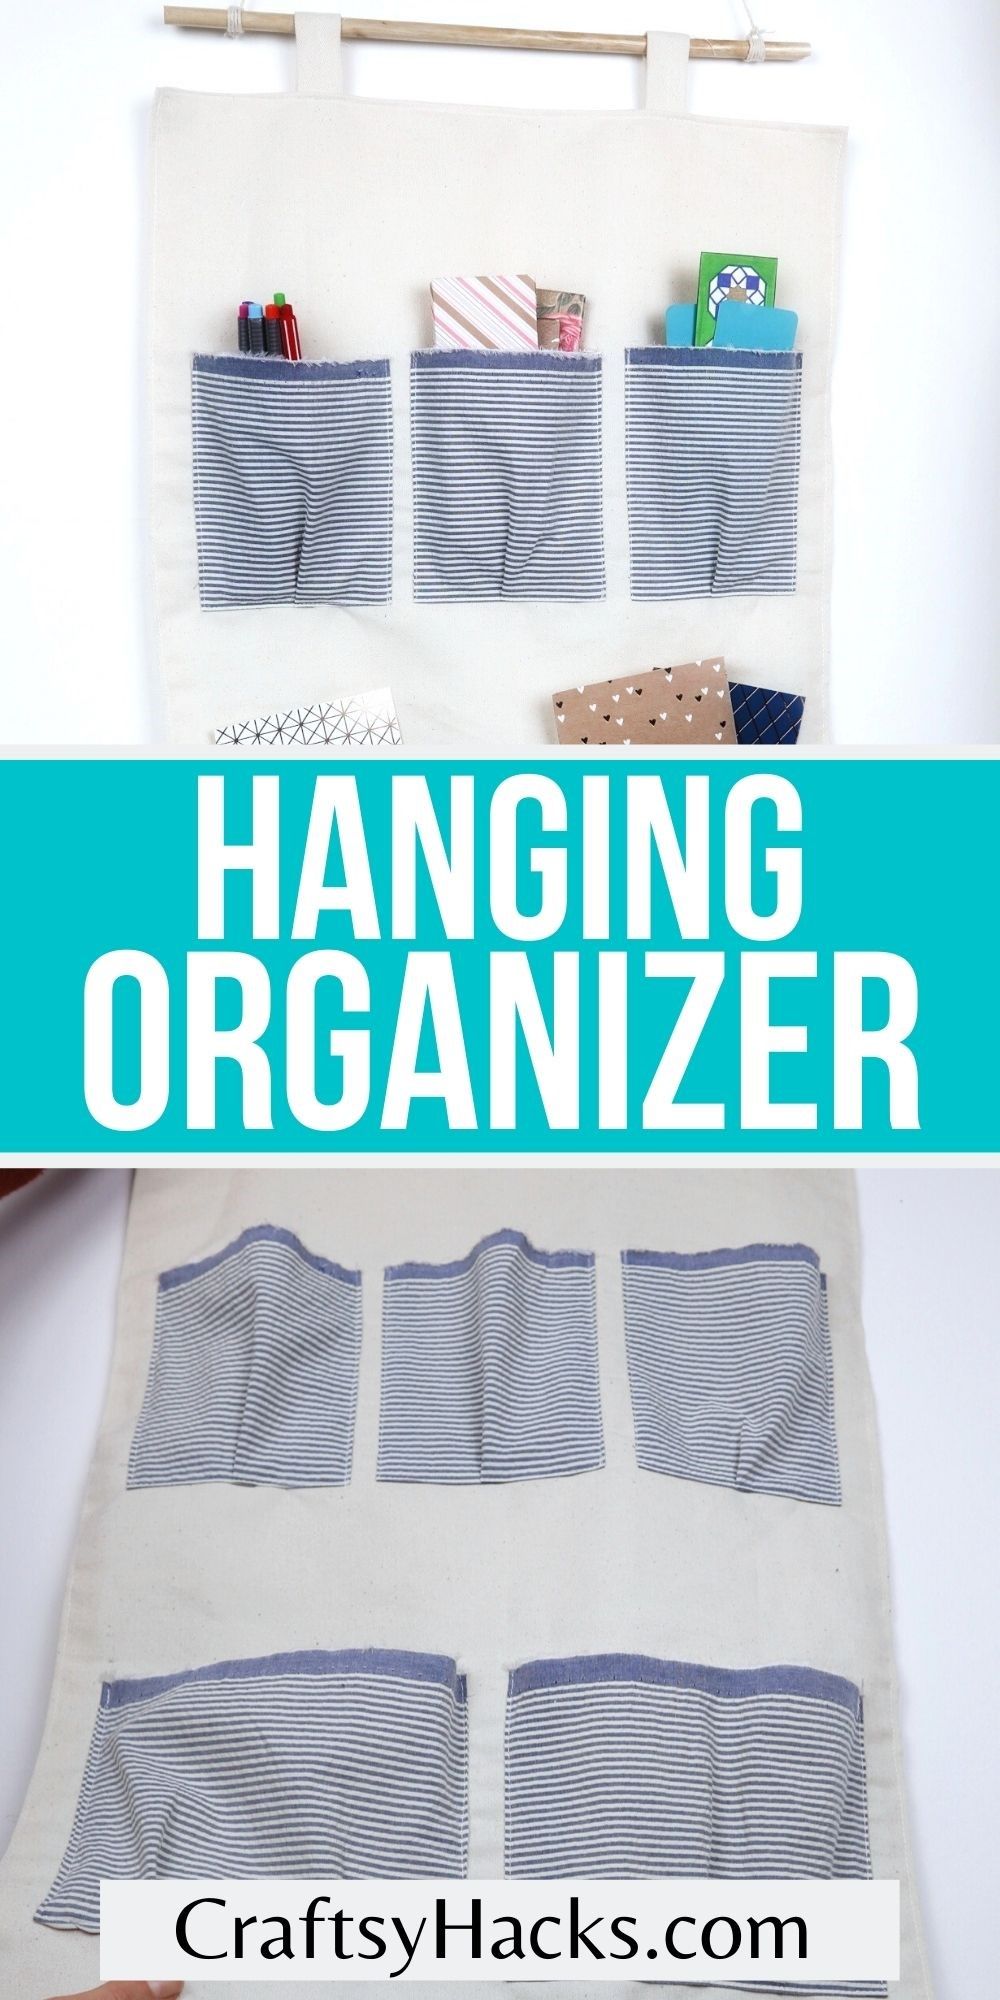
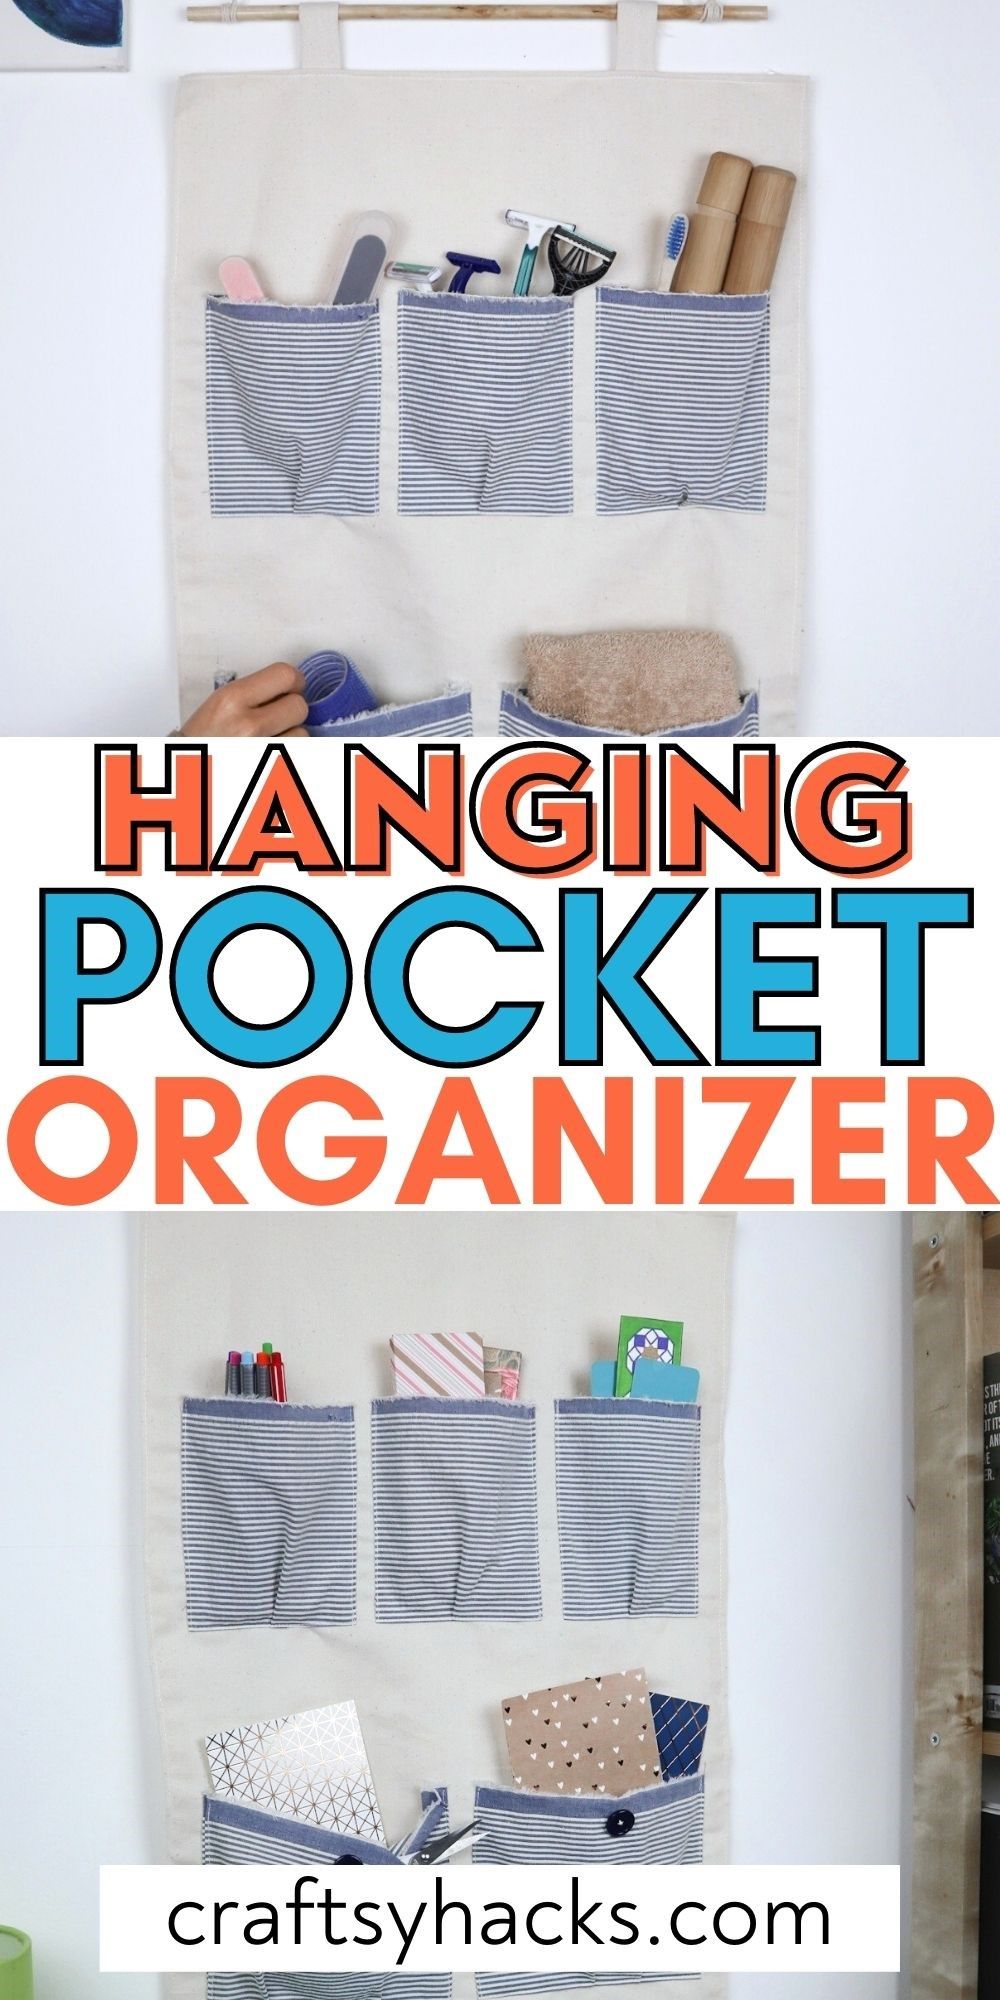
Need a fun, creative organizer for your office, kitchen, or just the living room?
This beautiful DIY hanging organizer is a perfect DIY project to organize your home.

From home offices to craft rooms, theres no doubt thatstoragecomes at a premium.
However, theres one part of the home that often goes underutilized.
Thats right, our walls!
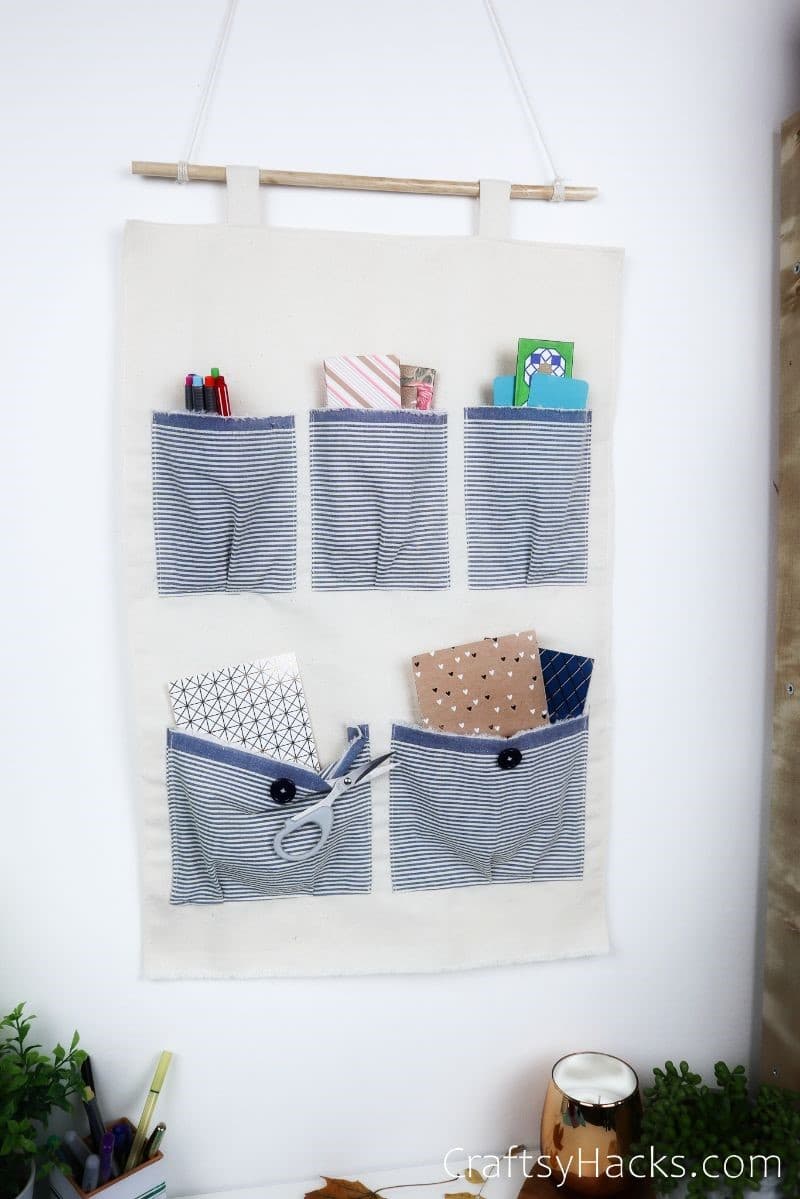
A hanging organizer is fantastic for turning a useless vertical space into usable storage.
Not only that, but youll also be doing it stylishly, all while improving your sewing skills.
If youre a beginner at sewing, this is a great project to test your mettle against.
If youre more experienced, you should fly through this in an afternoon!
What Do You Put in Hanging Organizer?
The usage of this organizer is limited only by your imagination.
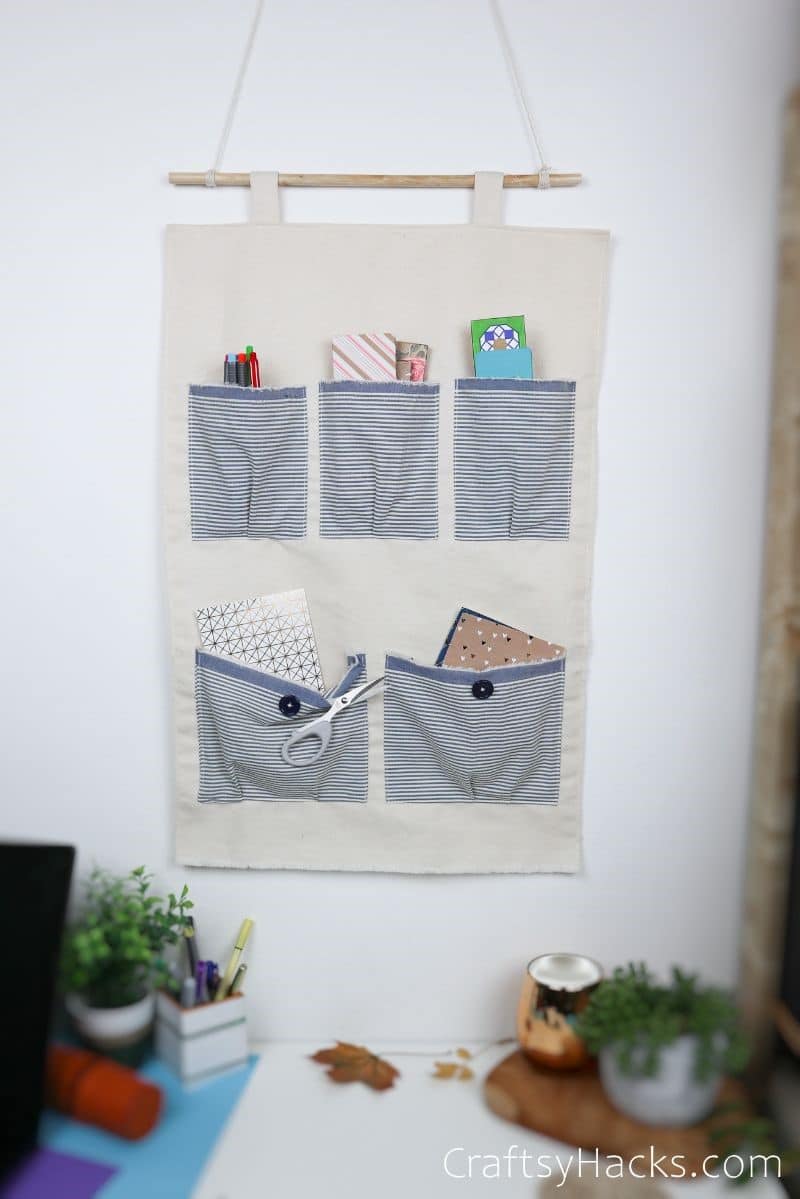
So, it could do as akitchen organizer,office organizeror just extra verticalstorage for a small room.
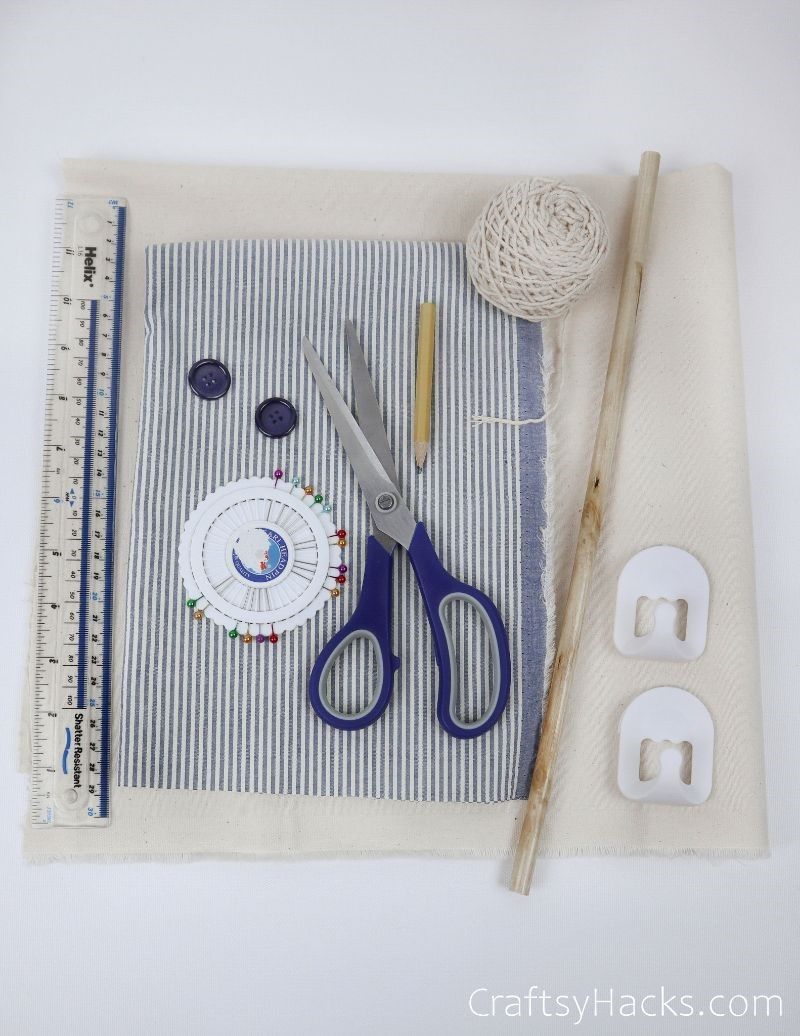
Ideally, youll need a thick textile to act as the base of your organizer.
It would also help to have a sewing machine, but thiscanbe completed by hand.
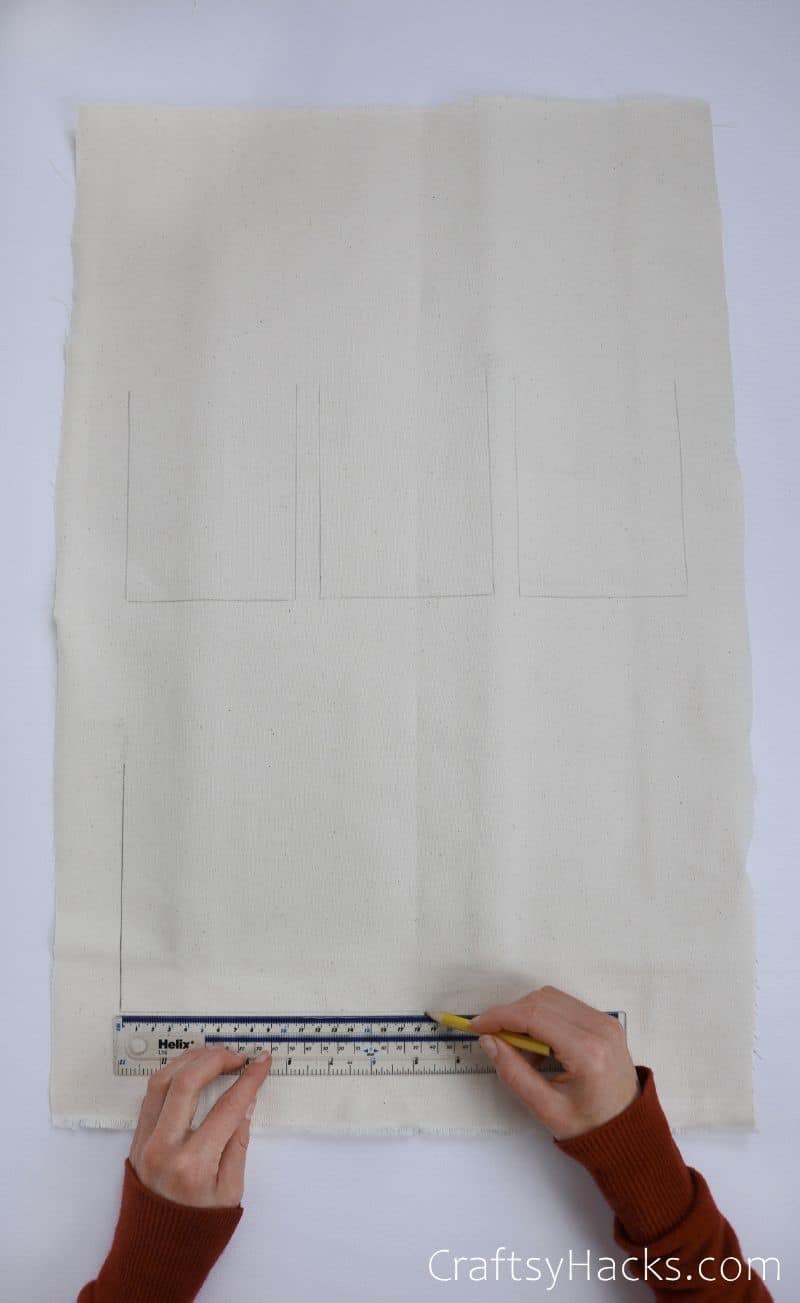
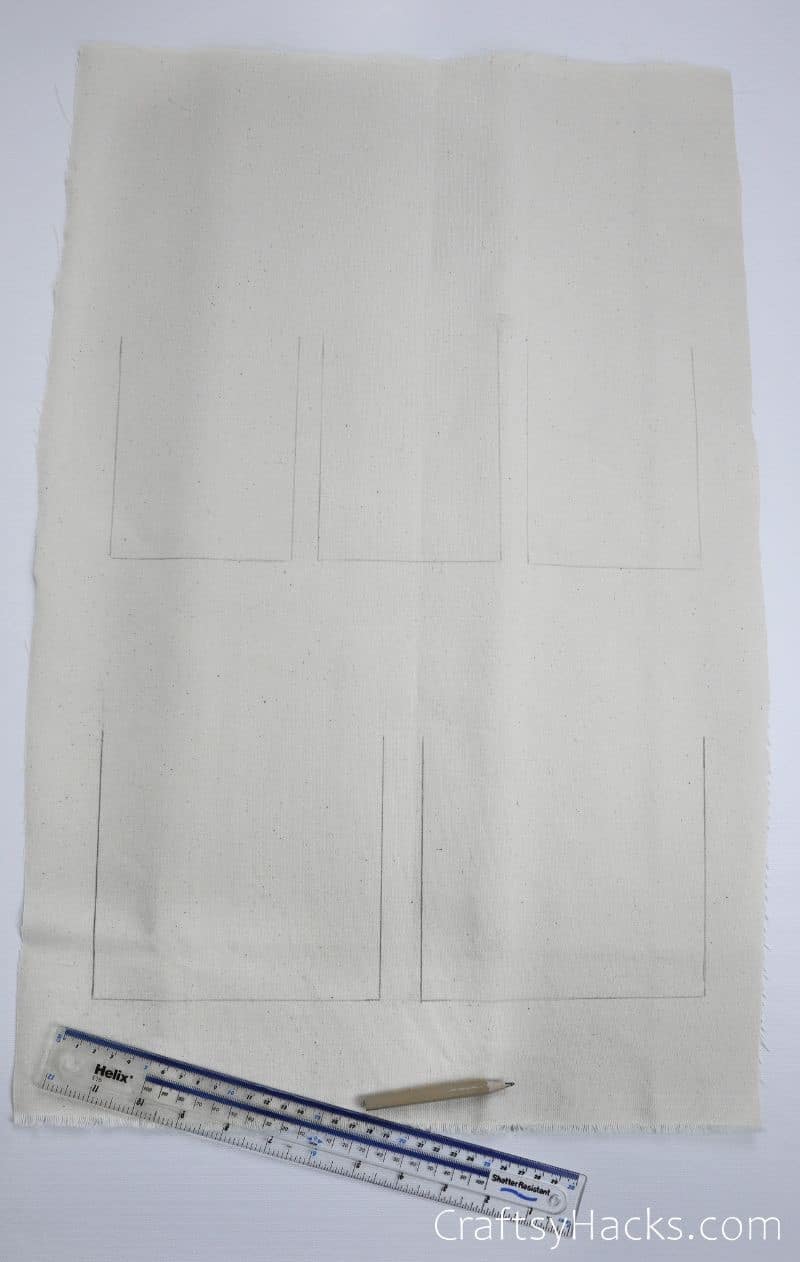
Step 2
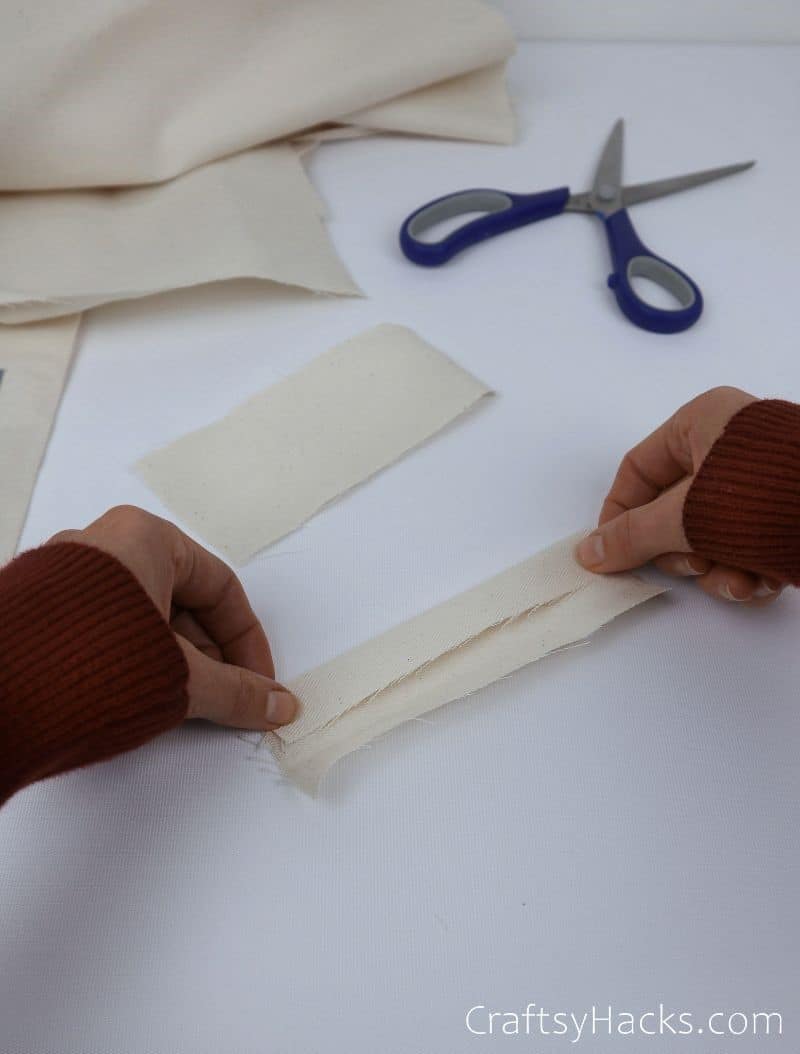
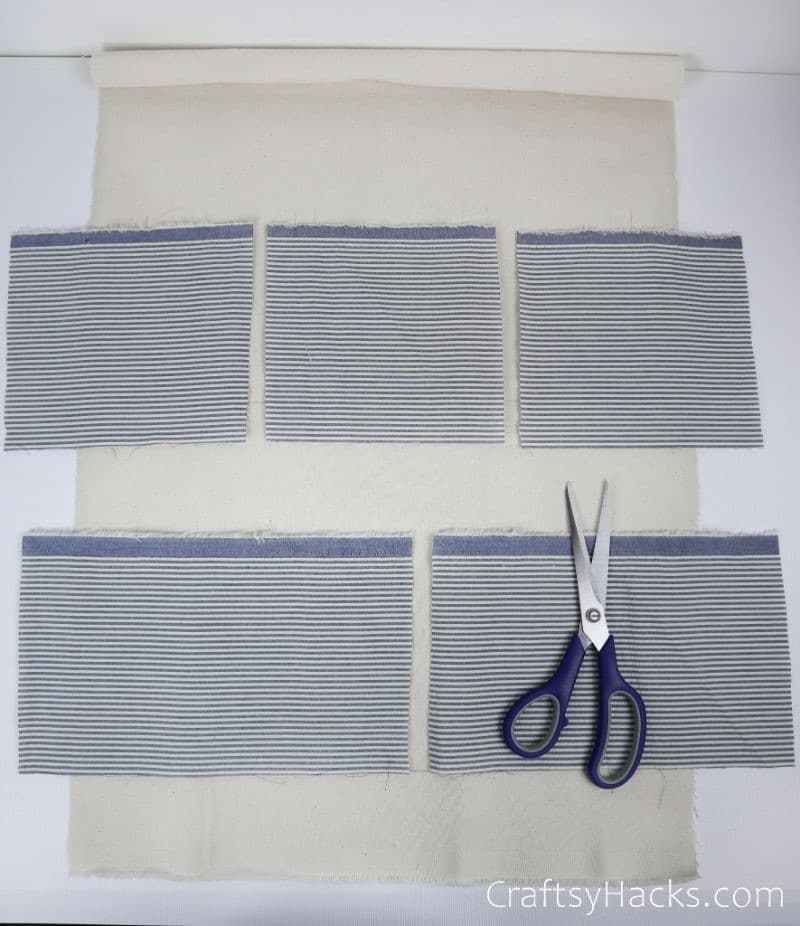
Start by cutting a piece of the heavy textile out for the base.
If this is going inside a wardrobe, measure the doors width and height to find the bases size.
Do the same for a wall hanging.
Its up to your needs.
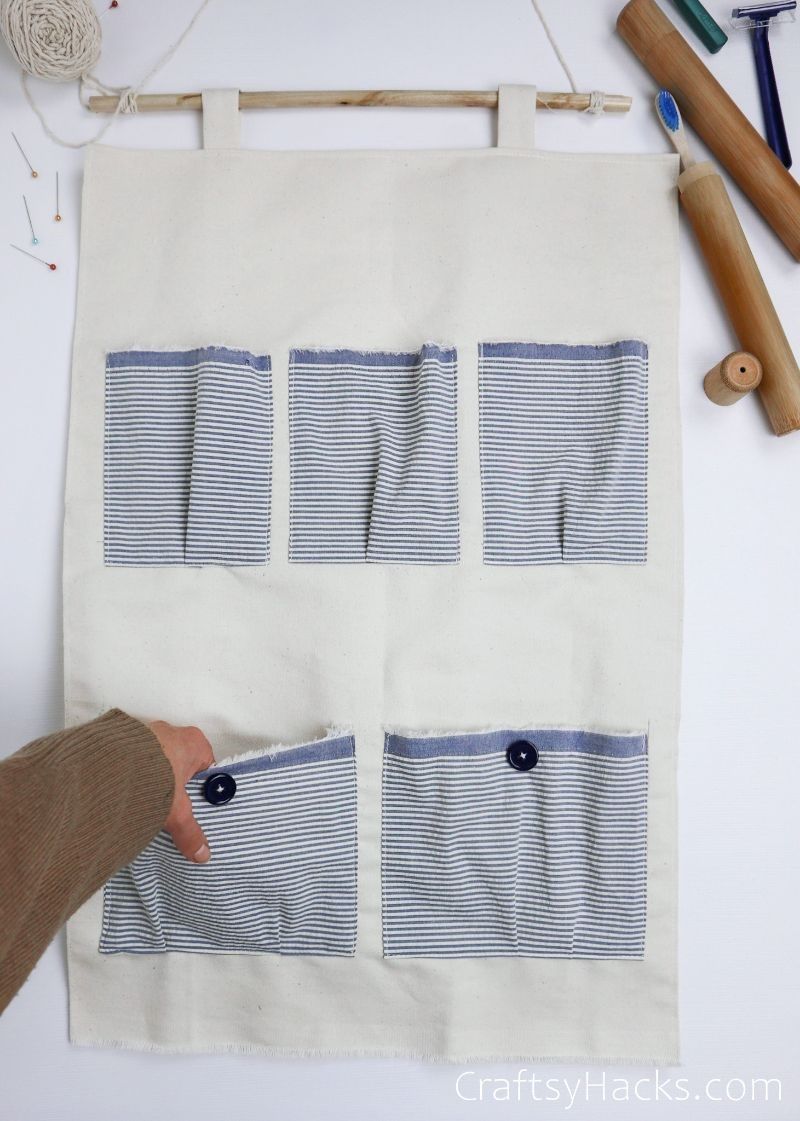
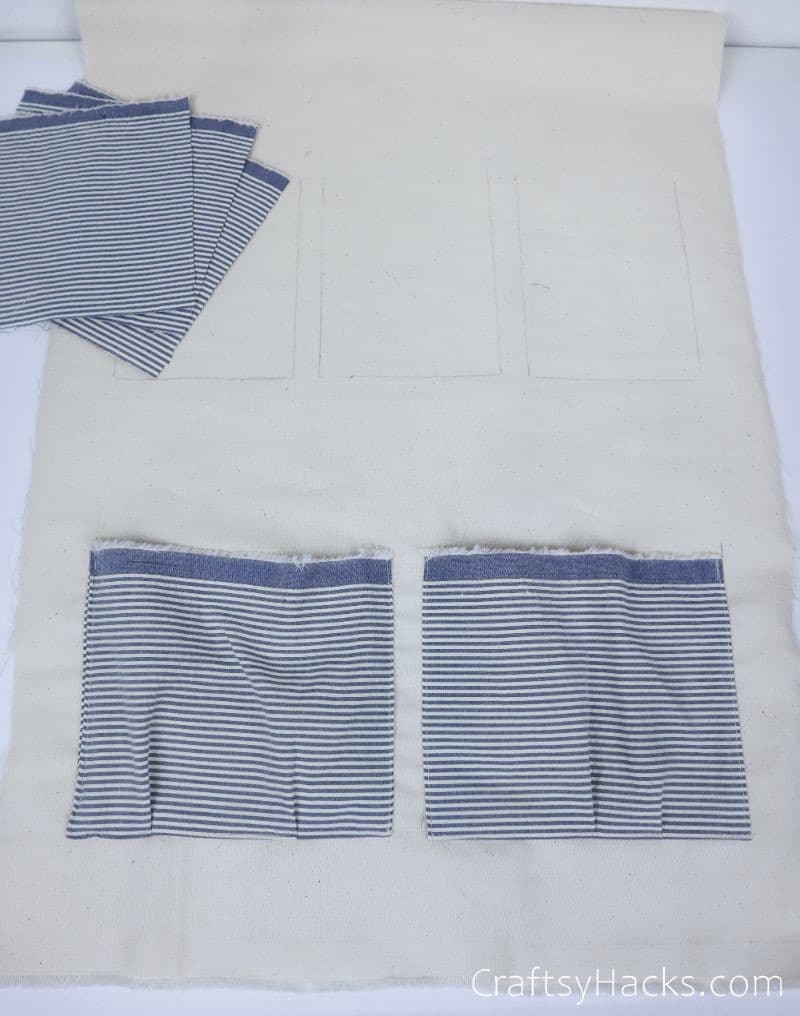
Step 4
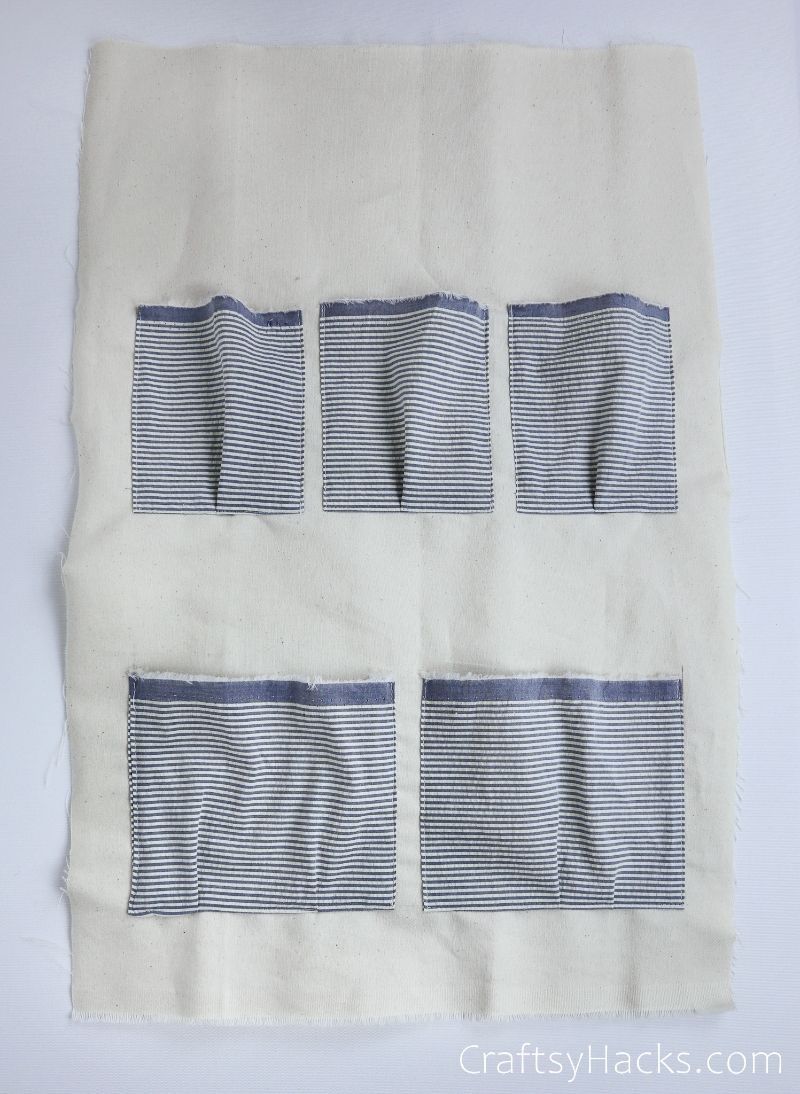
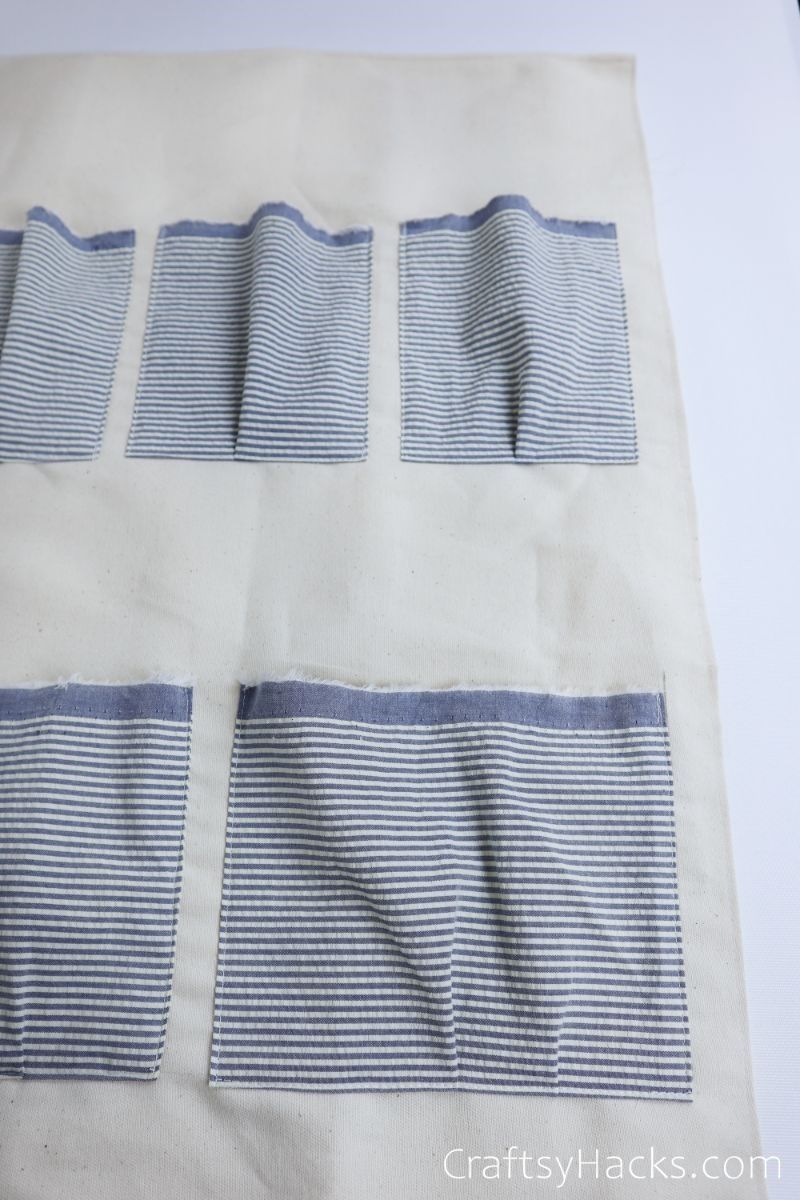
Now its time to cut out the pockets.
However, this is an optional step.
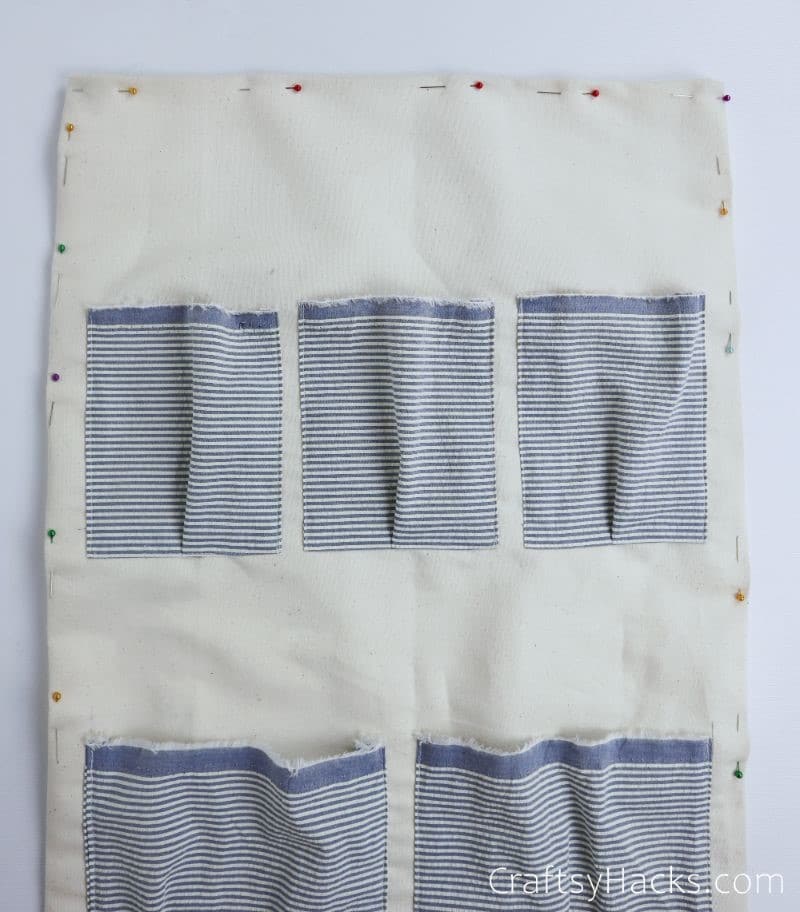
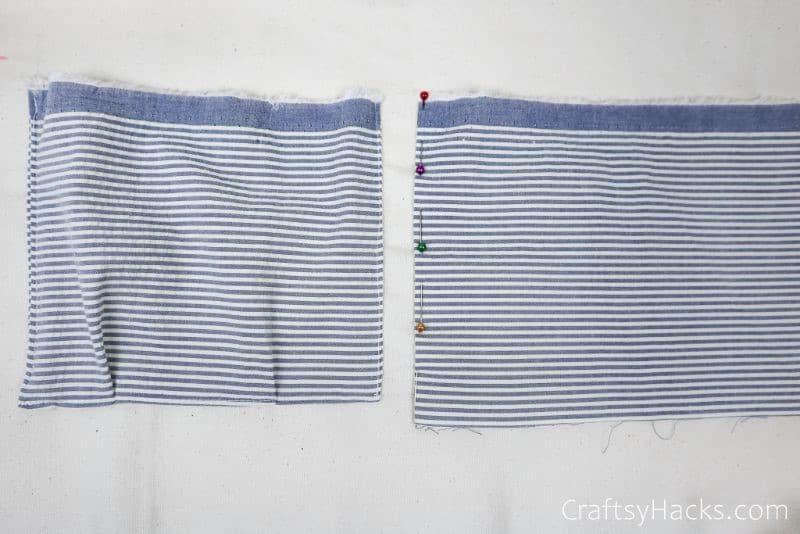
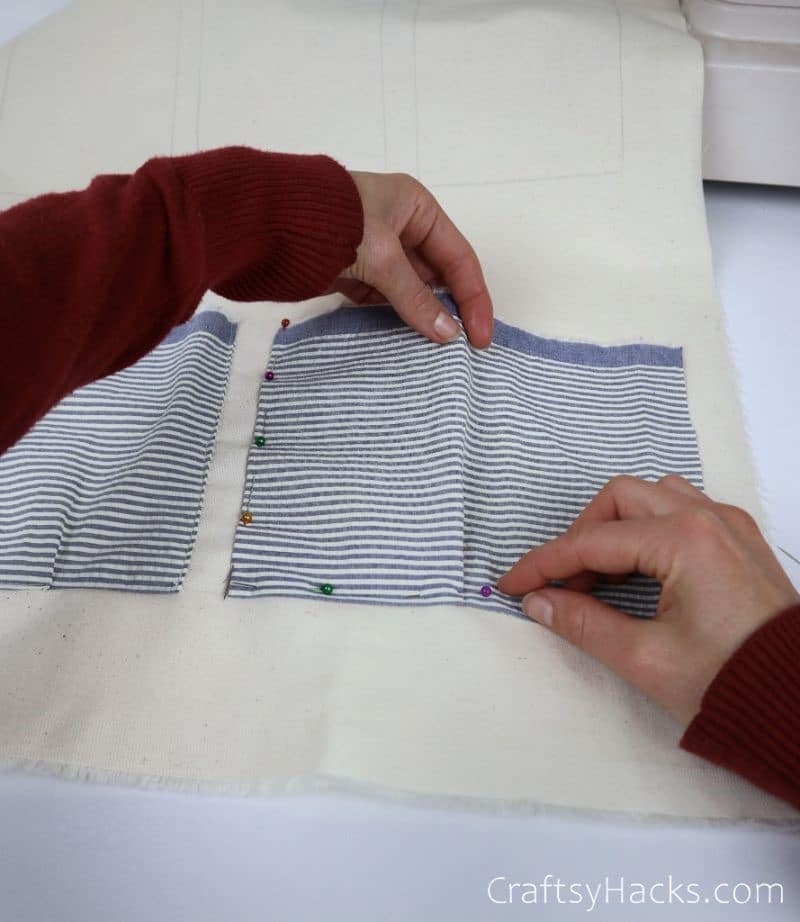
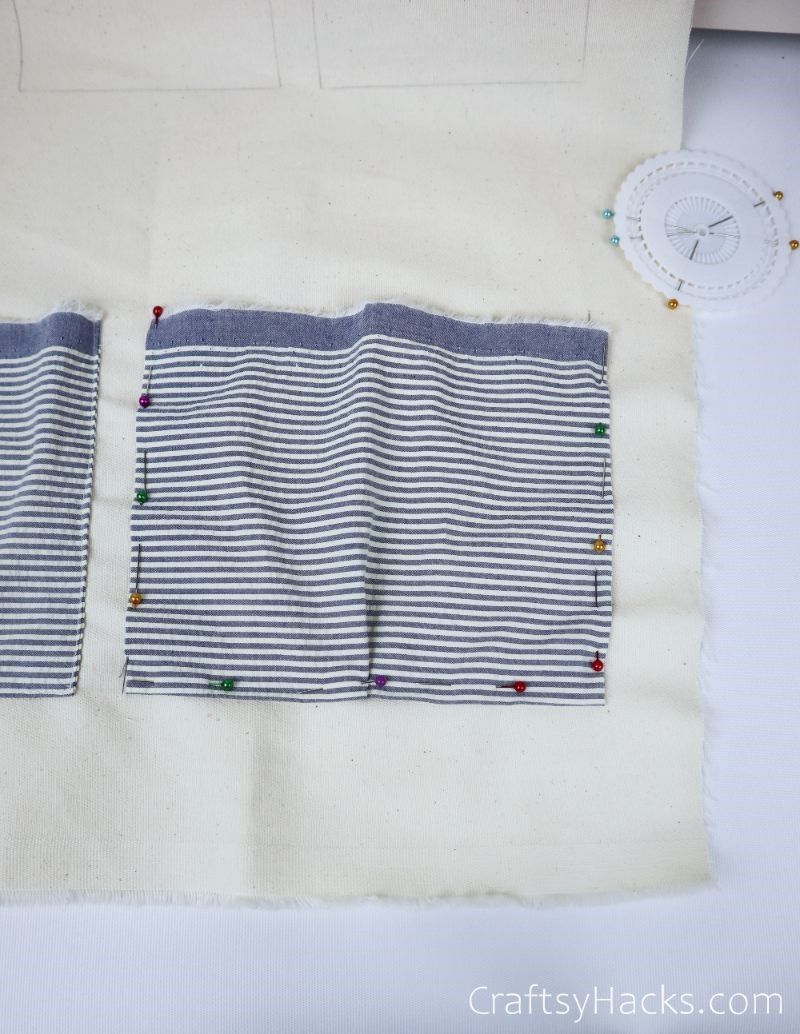
Start by pinning around the outside of the pockets, folding in the raw edges as you go.
you could fold your pleat at the same time.
Sew up the left side, right side, and bottom to create what is called a selvage.
As with all sewing projects, I recommend pressing your bags as you go to make them crisp.
Fold the edges and pin in place, taking care to make the selvage even on all sides.
Pro tip:Iron down the edges as you go before pinning them.
This keeps the fabric in place even better as you sew along the selvage.
Step 10
Now, its time to create your organizers hanging mechanism.
This is super easy.
Just cut out two fabric pieces in the same size (I went with 6.5in x 6in).
These will form the suspenders or loops.
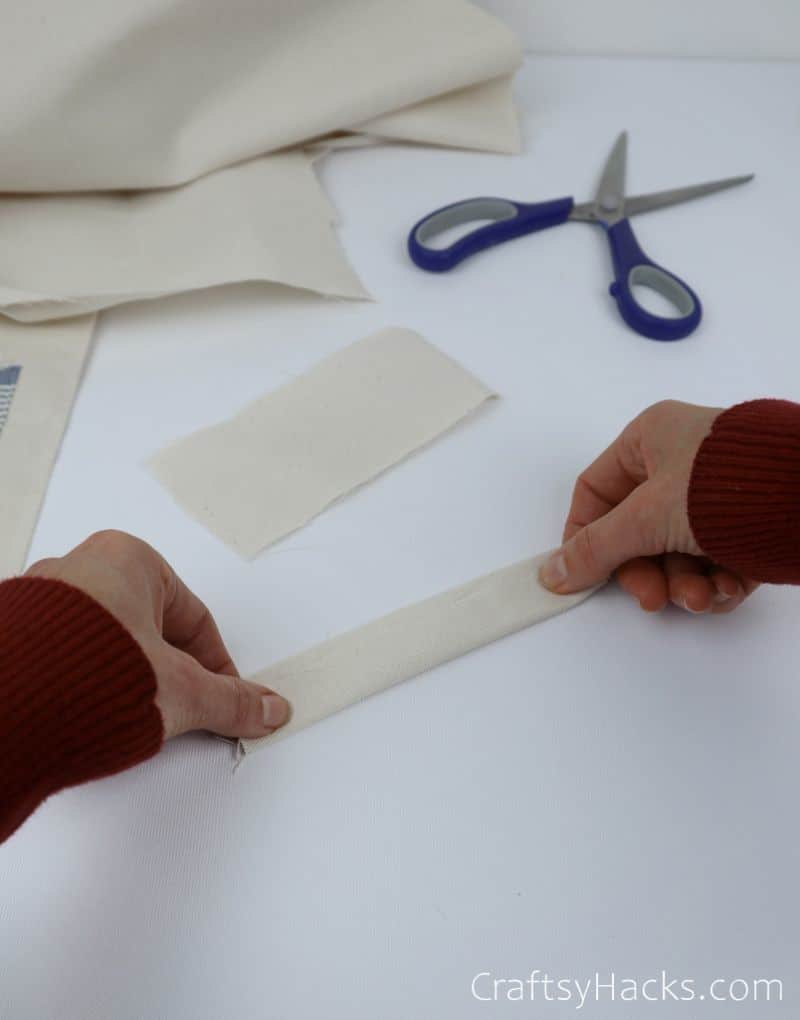
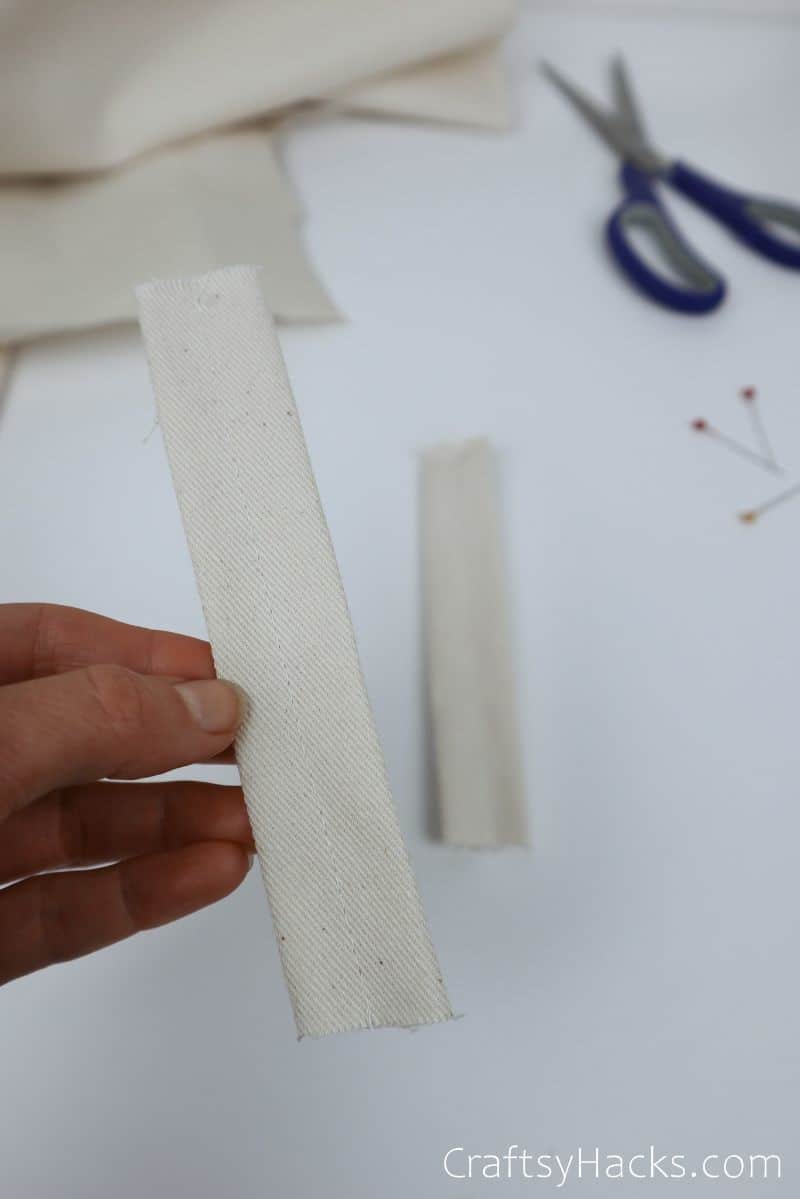
Step 11
Fold the edges into the middle, pressing them smooth as you do so.
Pin the flaps together to form your suspender (it should look like the below).
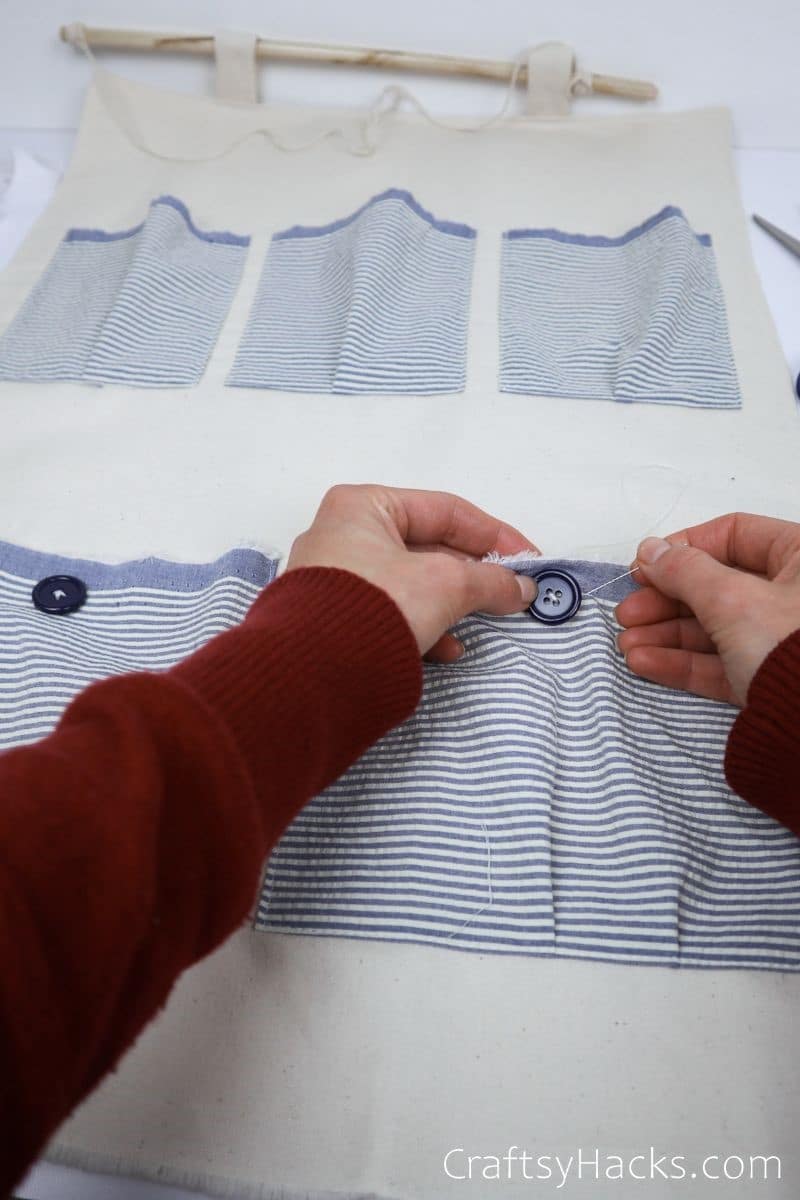
Step 12
Run a quick straight stitch down the middle of each loop to secure them.
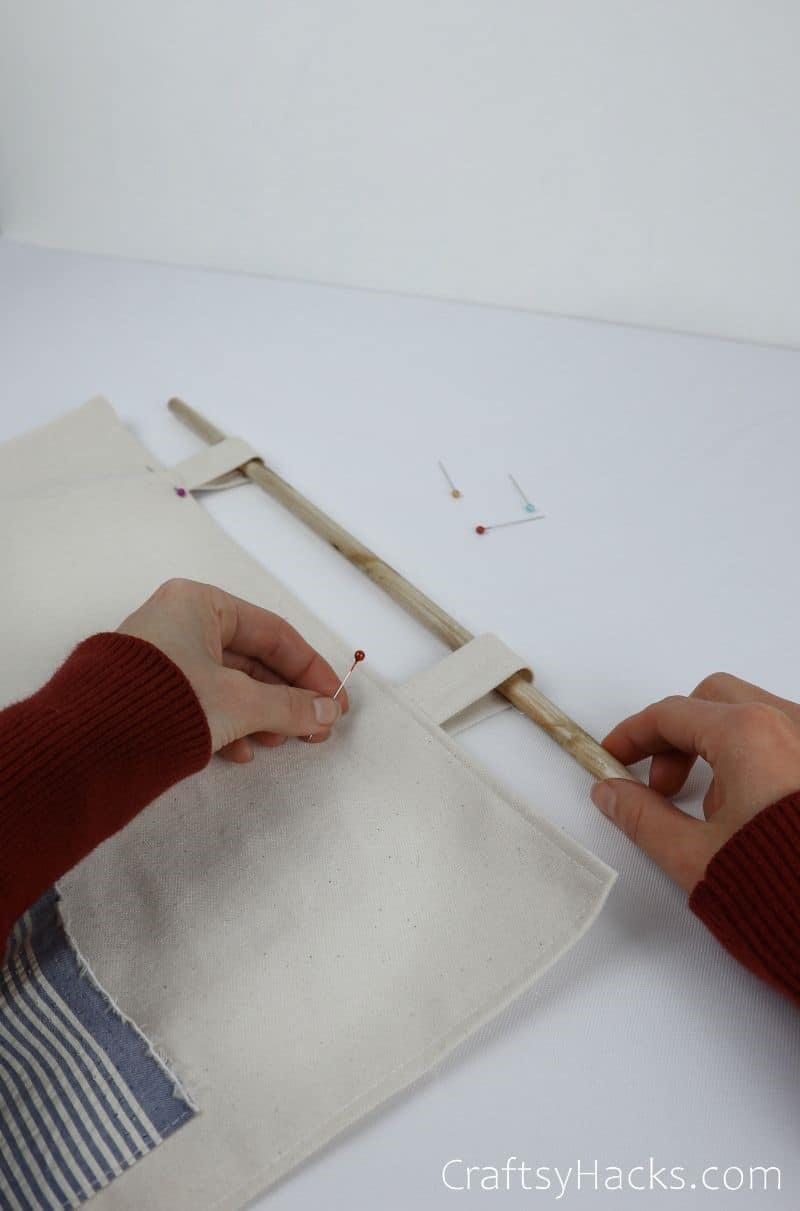
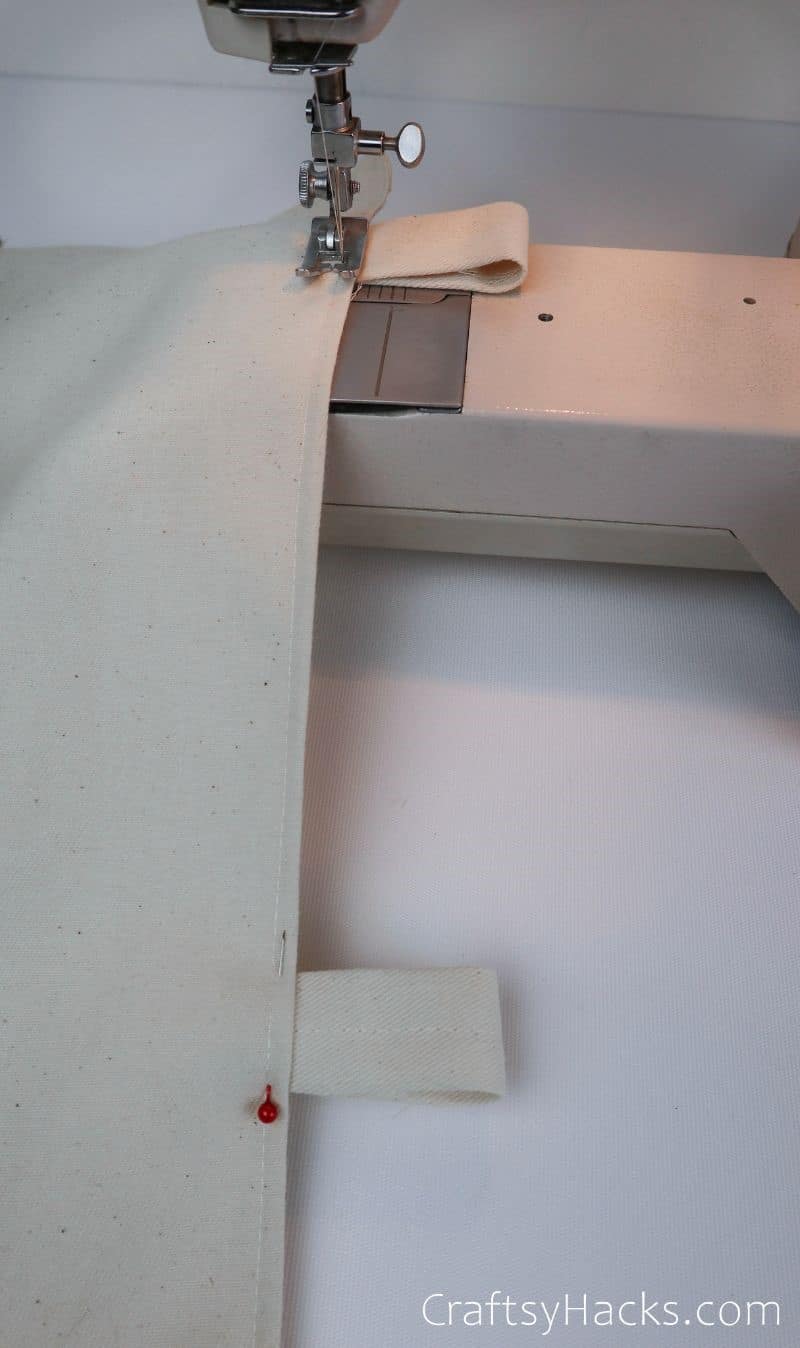
Step 13
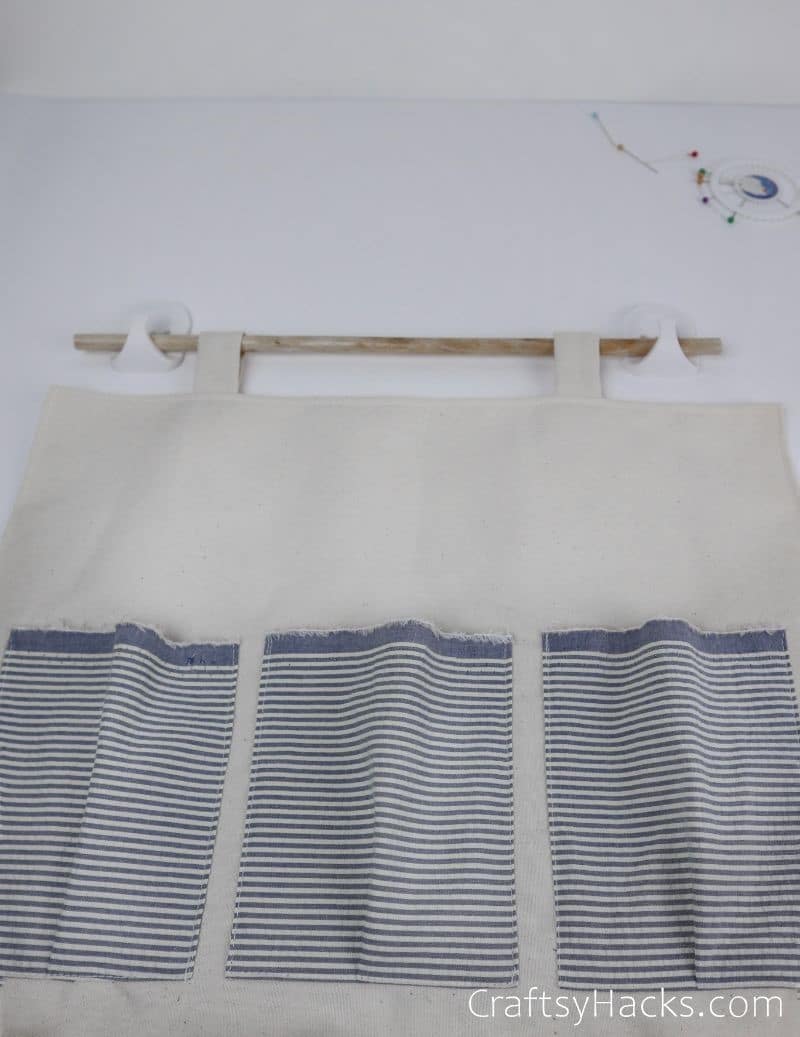
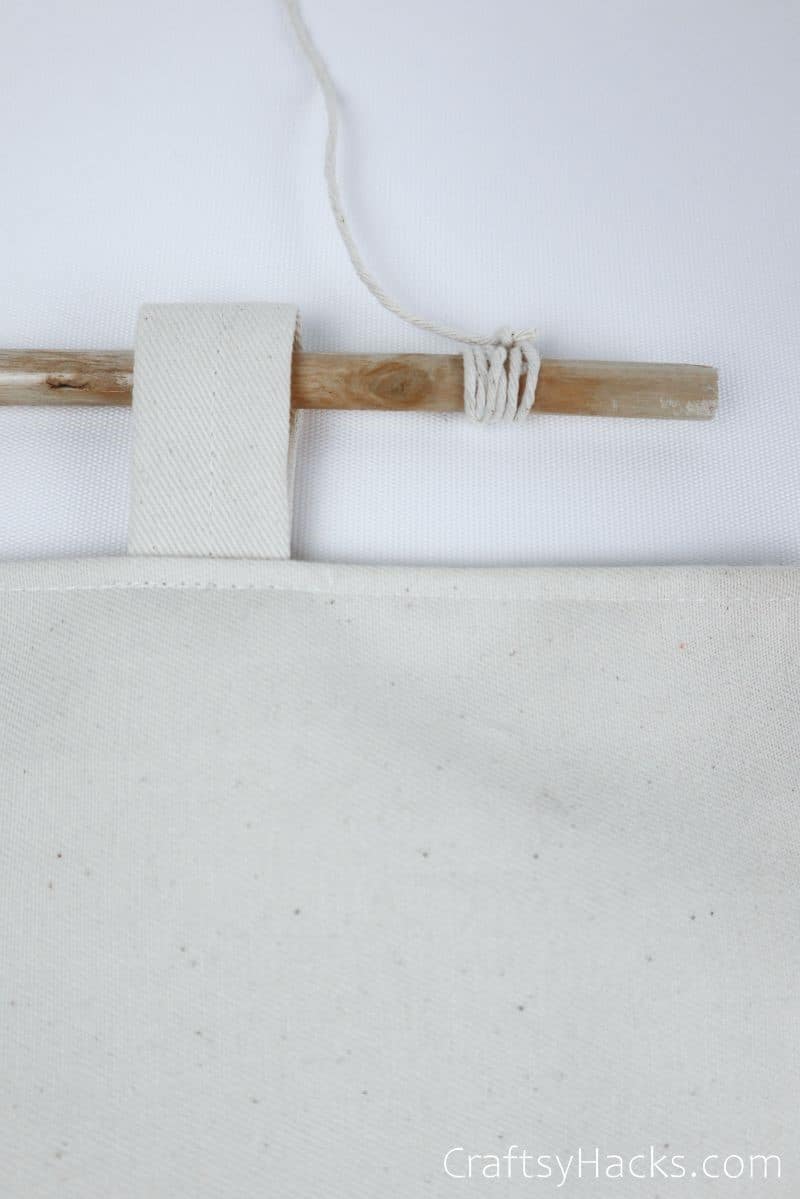
Then, grab your wooden stick!
This is the bar your organizer will hang from.
Once done, simply run another straight stitch along the loops bottom to attach them to your base.
Step 14
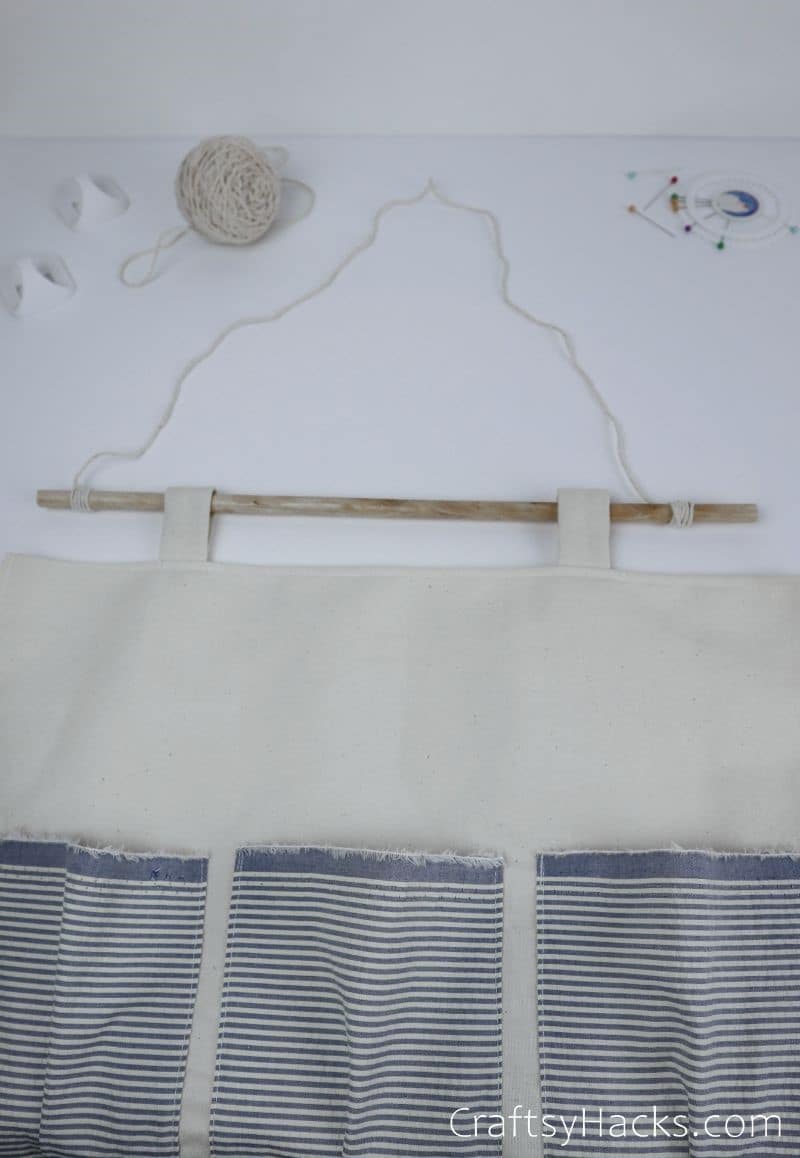
Now, the next step will vary depending on your hanging method.

If youre using command hooks, it’s possible for you to just stop here.
Otherwise, keep following along.
I chose to use a string as my method because I like how it looks!

Attaching some twine is easy as pie, and it looks great hanging on your wall.
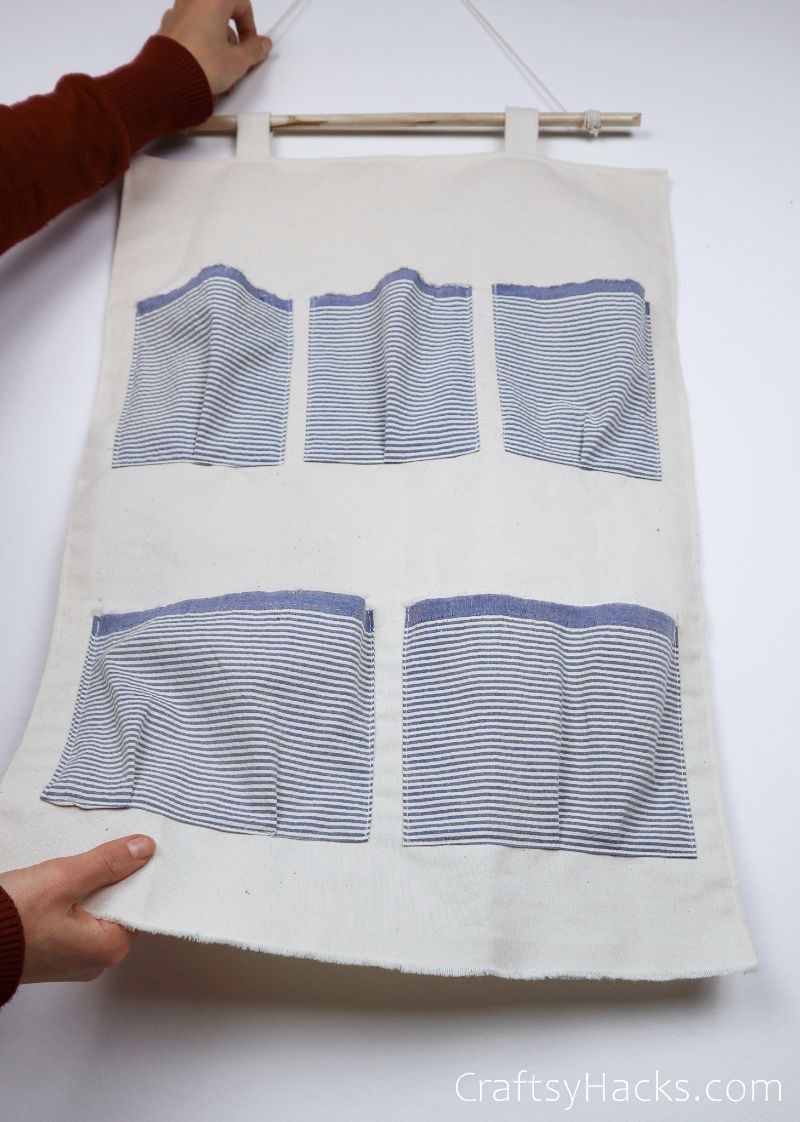
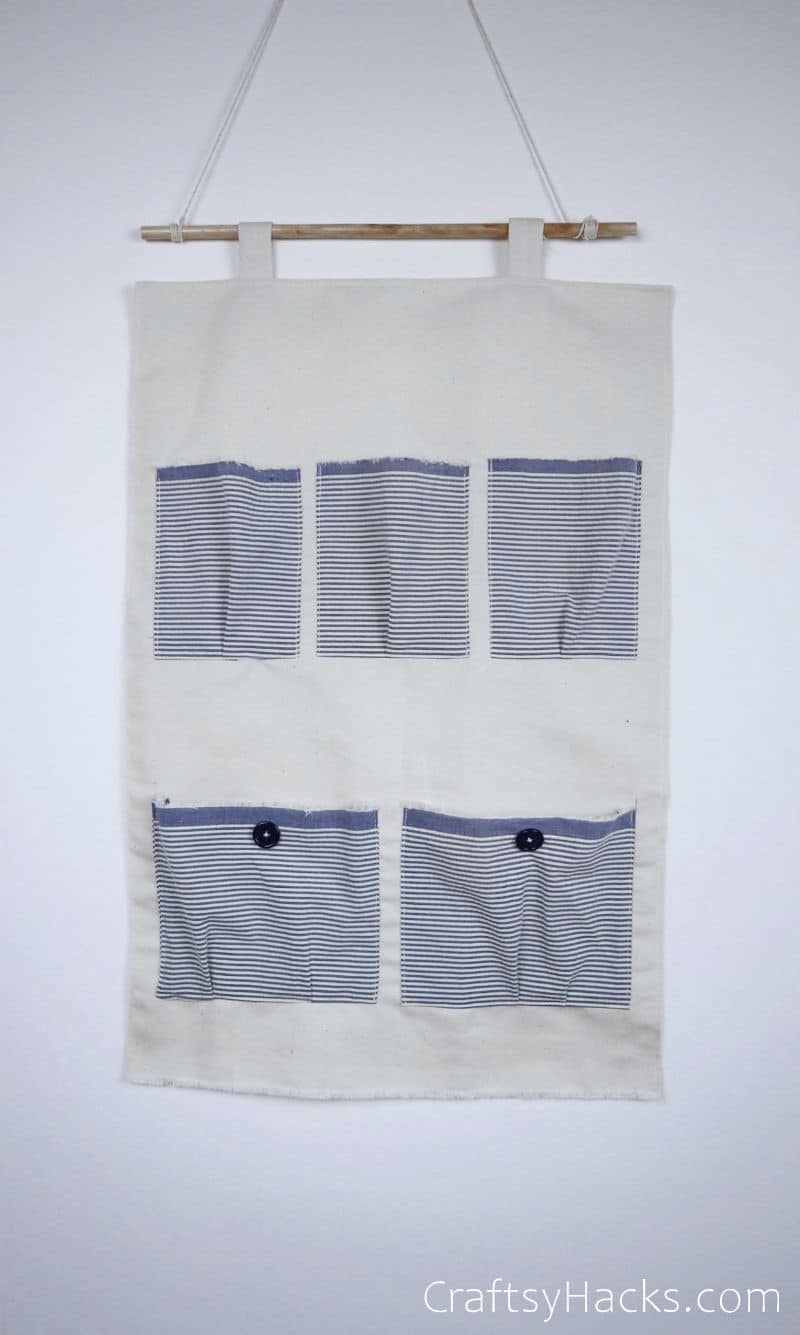
There you have it!
Now, all thats left is to decorate the organizer to your liking.
How Do You Hang Pocket Organizer?
That way, you might be sure the glue wont give up on you unexpectedly.