I like to bring Steve, my boyfriend, along with me to the craft store.
Actually, I dont mind, because hes coming up with craft ideas forHalloween decor.
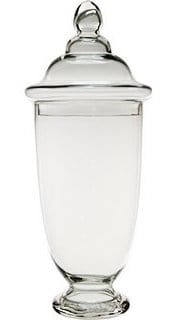
We both noticed the unique shape of this apothecary jar at the same time.
Are you thinking what Im thinking?
Okay, maybe more than just a few minutes, but it really doesnt take long at all.
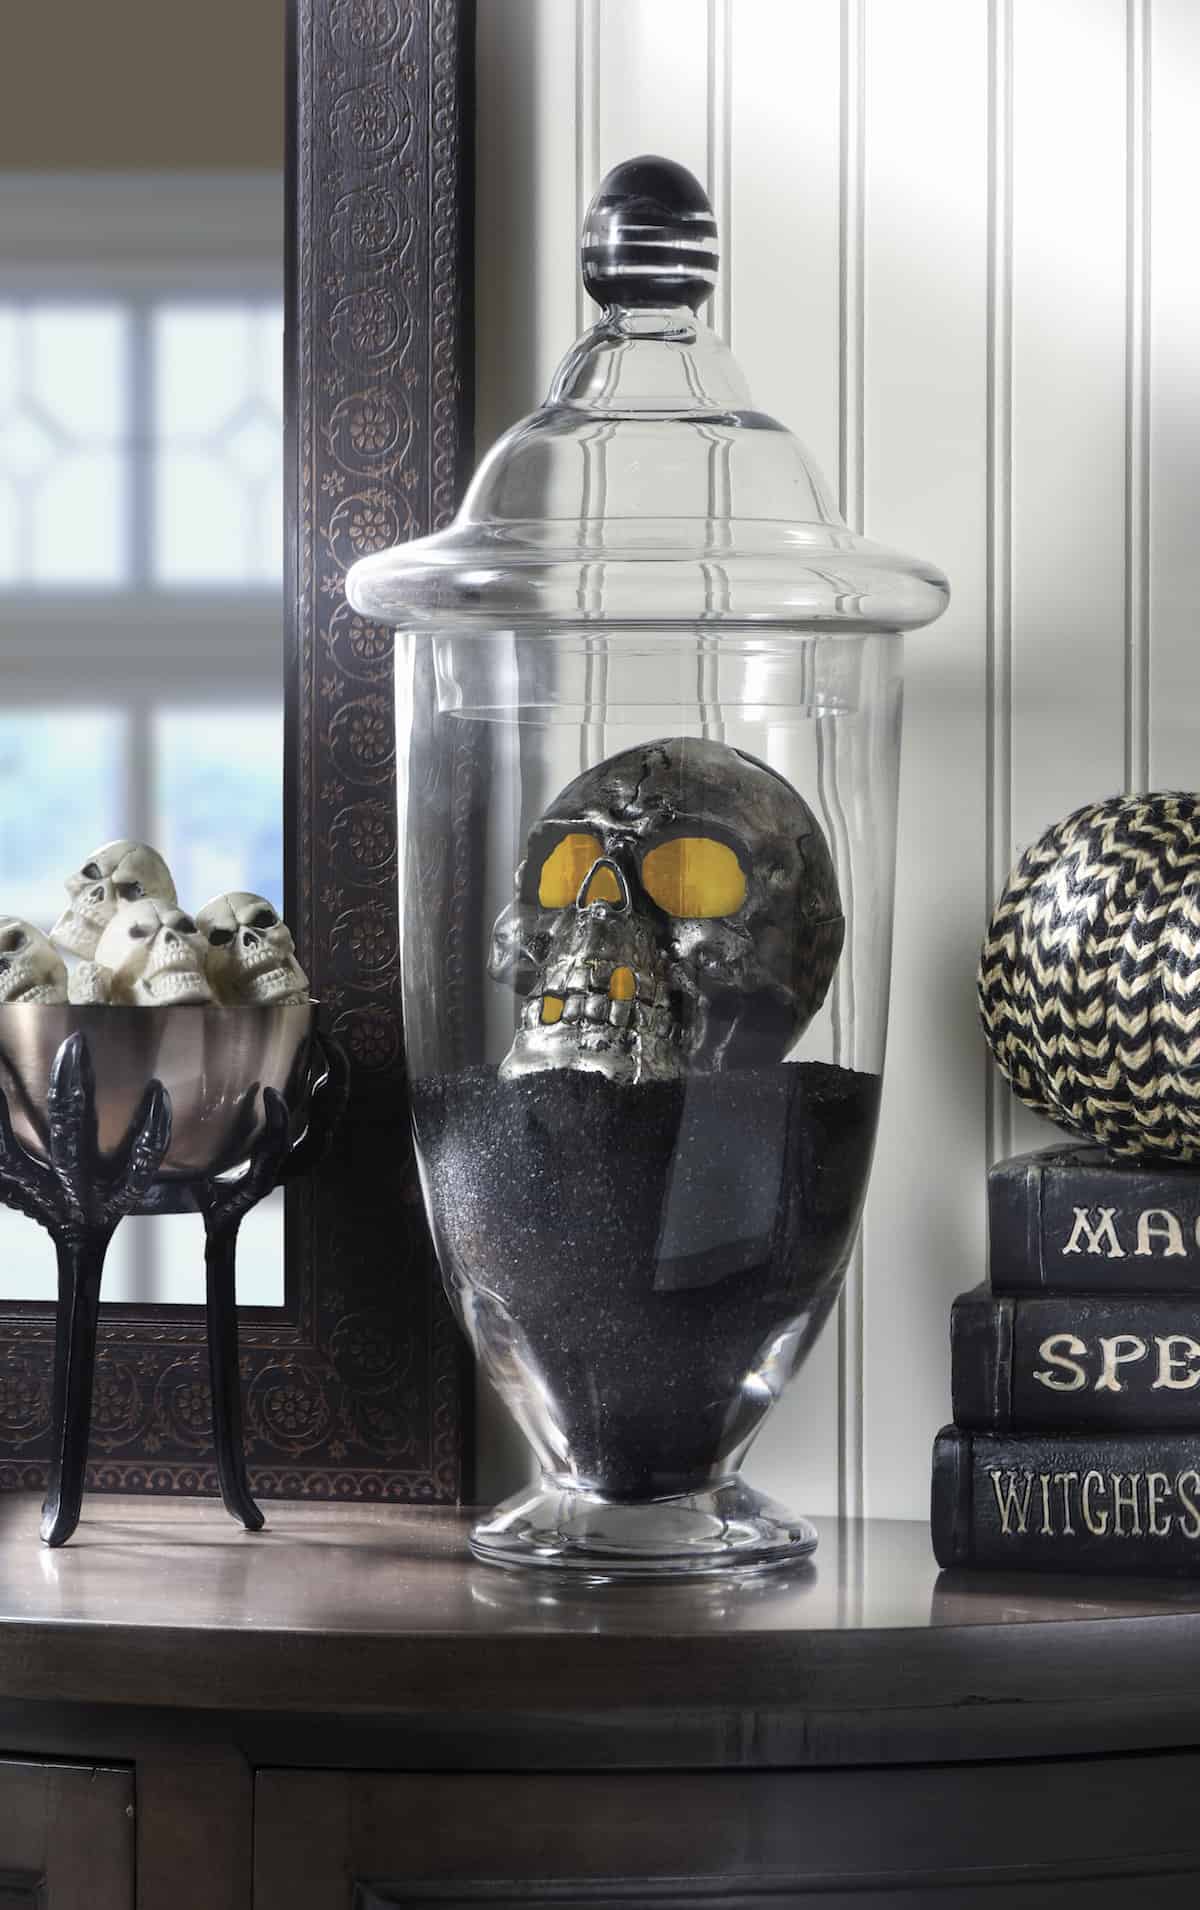
I really love this spooky display and am impressed that Steve came up with it so quickly.
Heres how he made this skeleton craft.
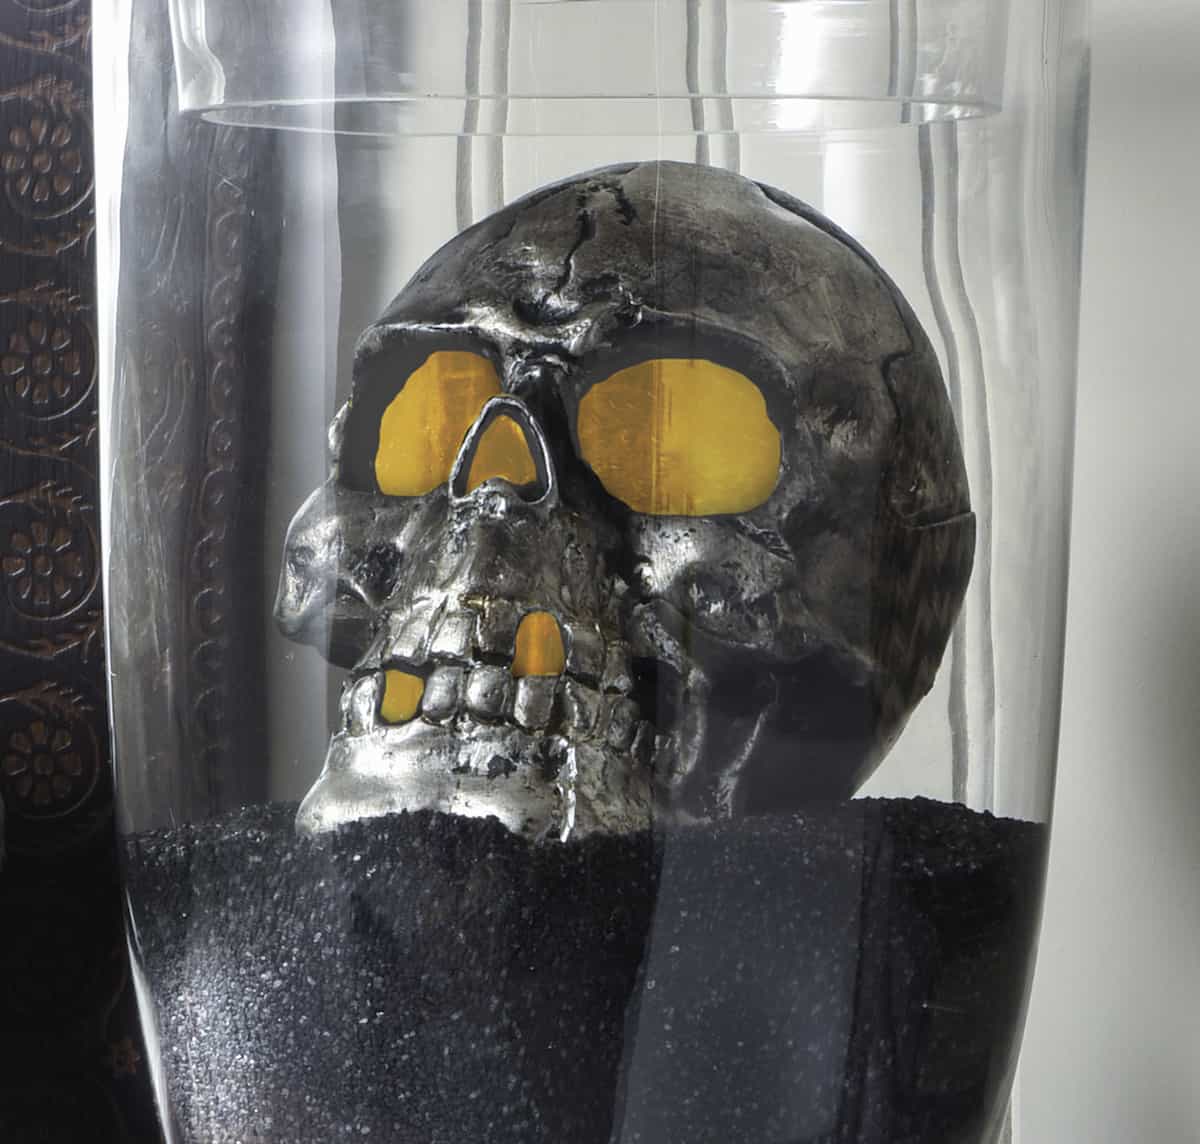
We realized he was perfect and made sure he fit in the jar which he did.
The back of his skull was removable and inside was a place for a votive to sit.
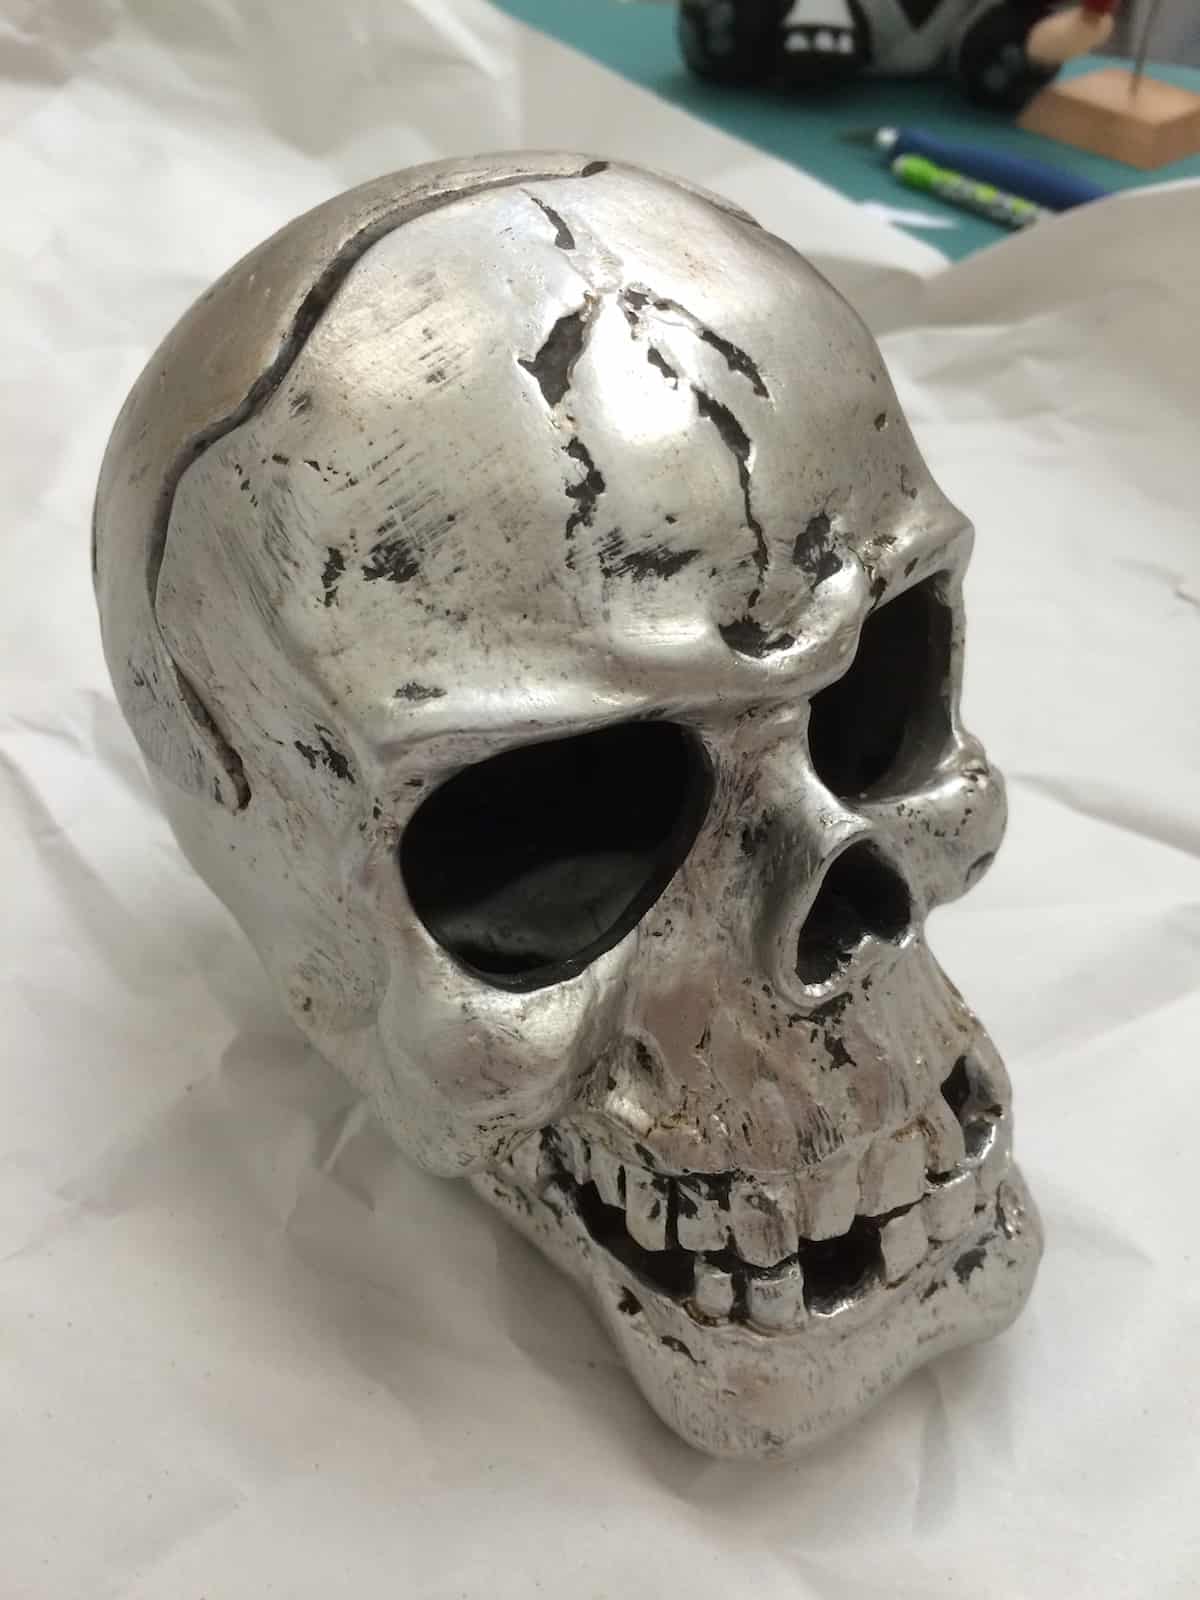
Yet he wasnt spooky enough.
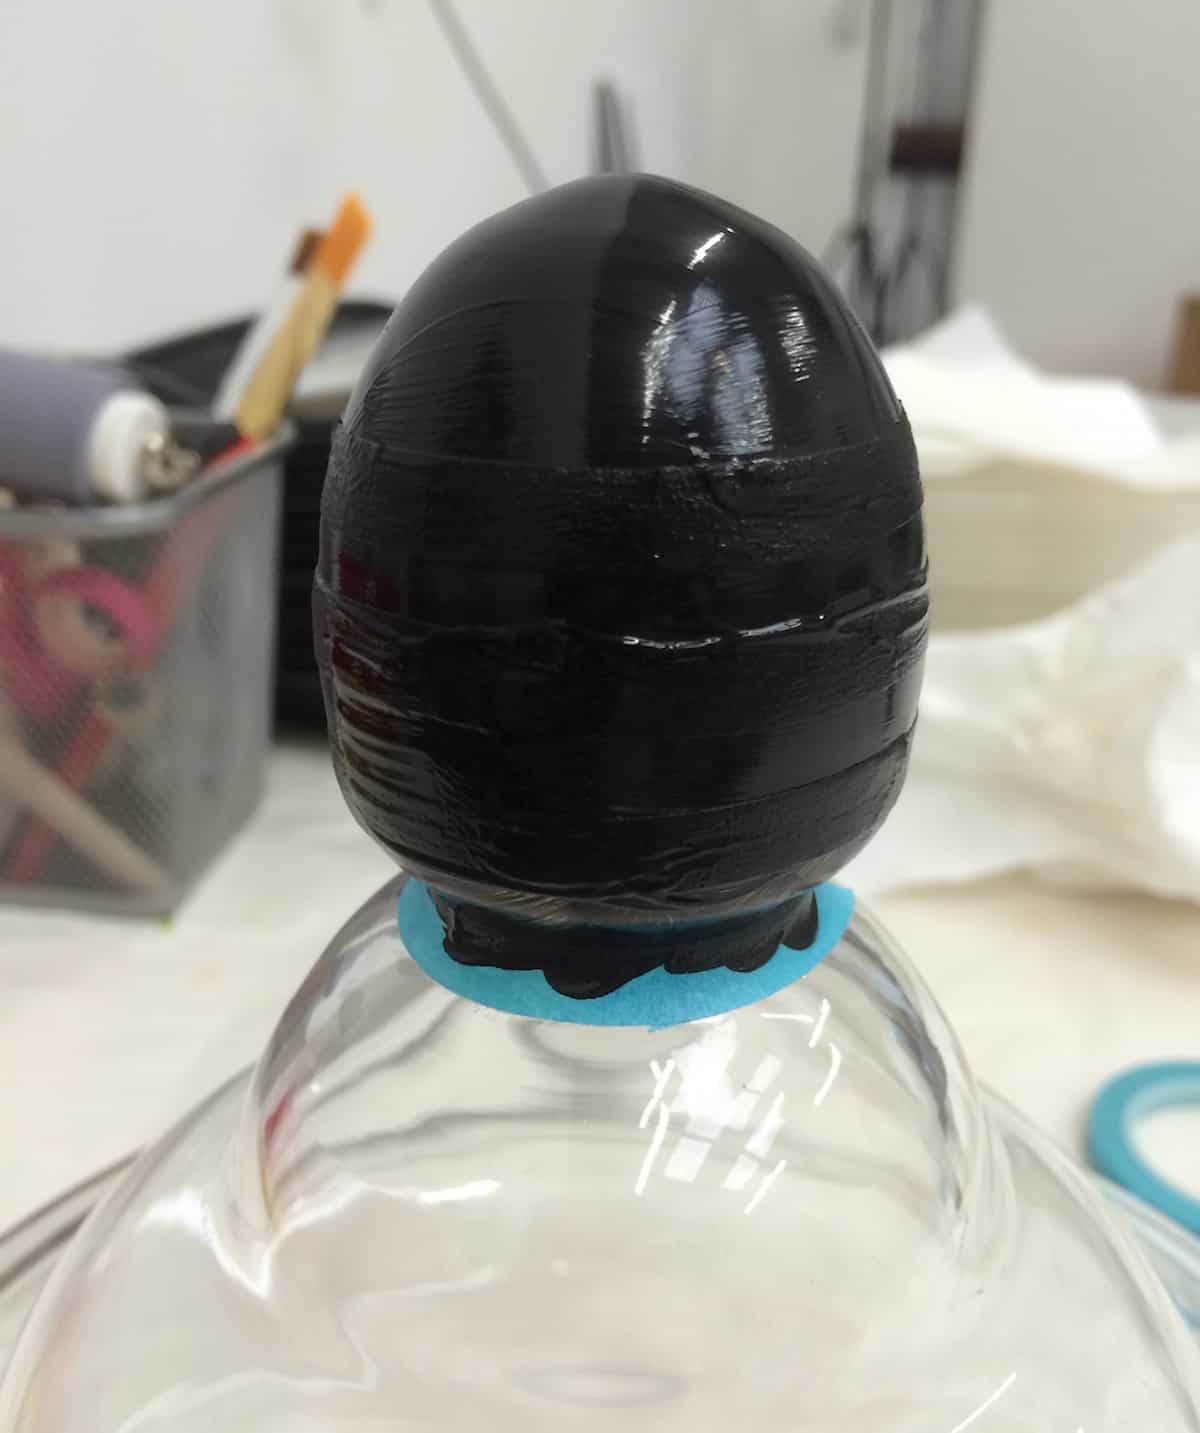
Steve decided to add a bit of a spooky touch with paint!
All you do is cover the skull with black paint .
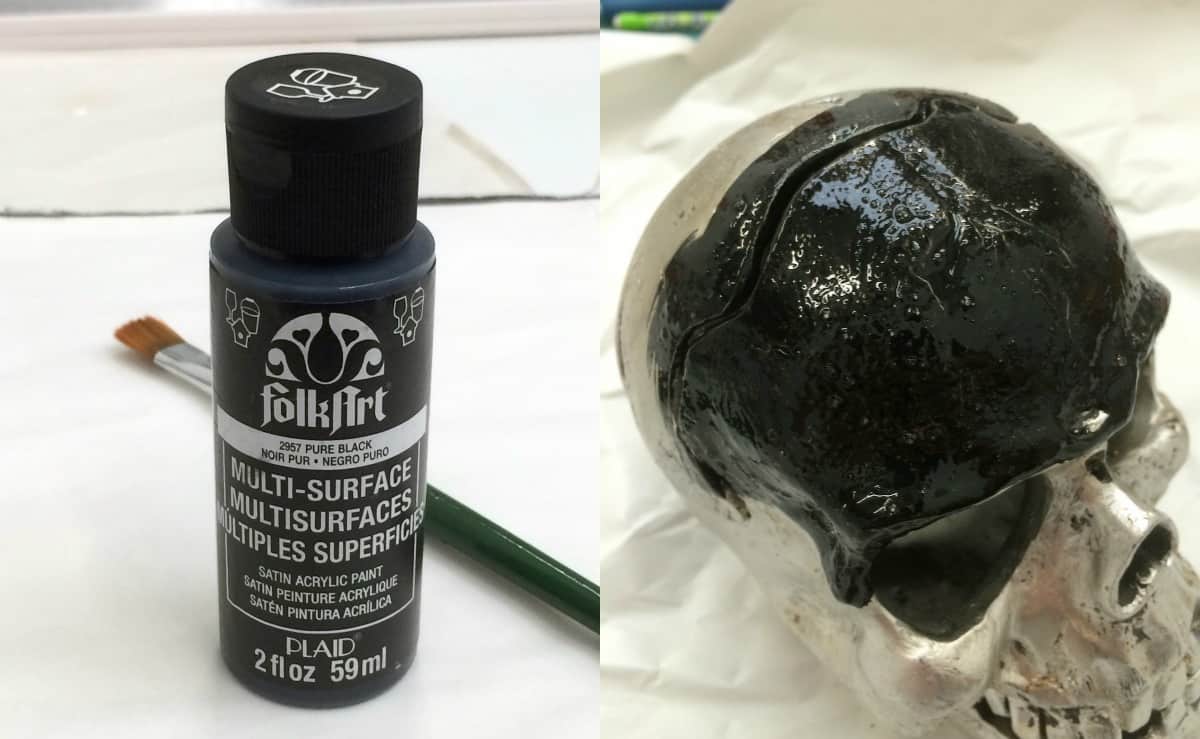
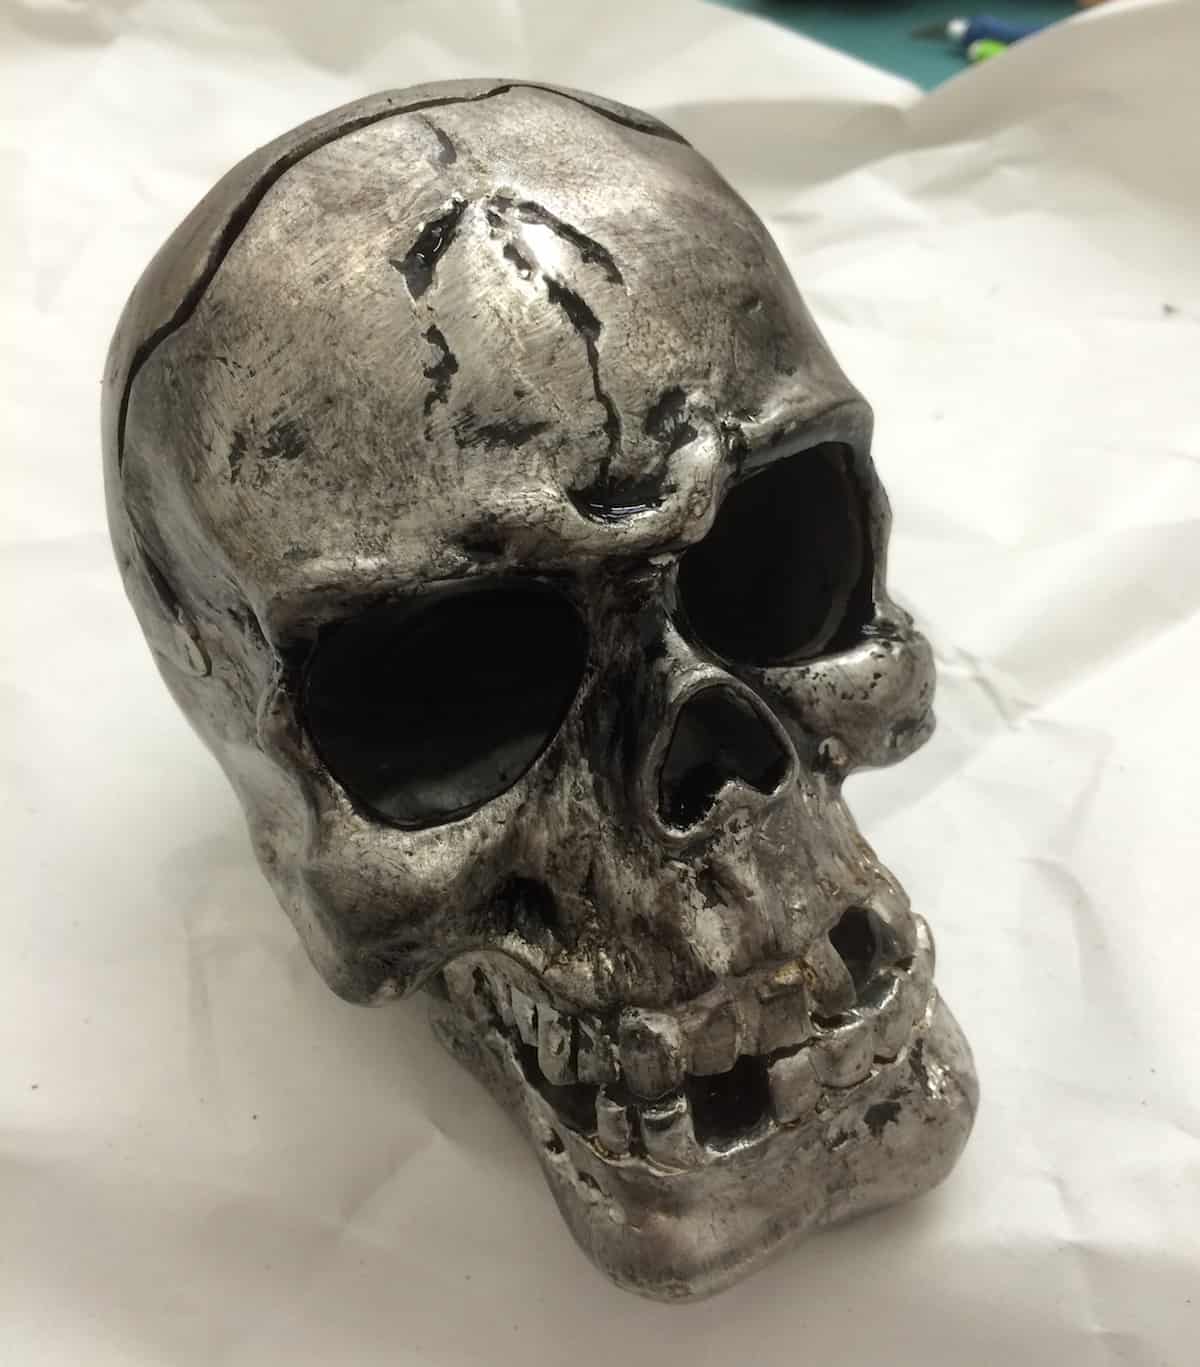
And then before it dries, you wipe the majority away with paper towels.
The next step is totally optional and if you dont do this, the project is even faster.
But Steve wanted to add a little something to the top knob and I wasnt sure .
but when he did it, I love it.
All you do for this part is wrap some 1/4 stencil tape around the knob as shown.
Then paint with your multi-surface paint.
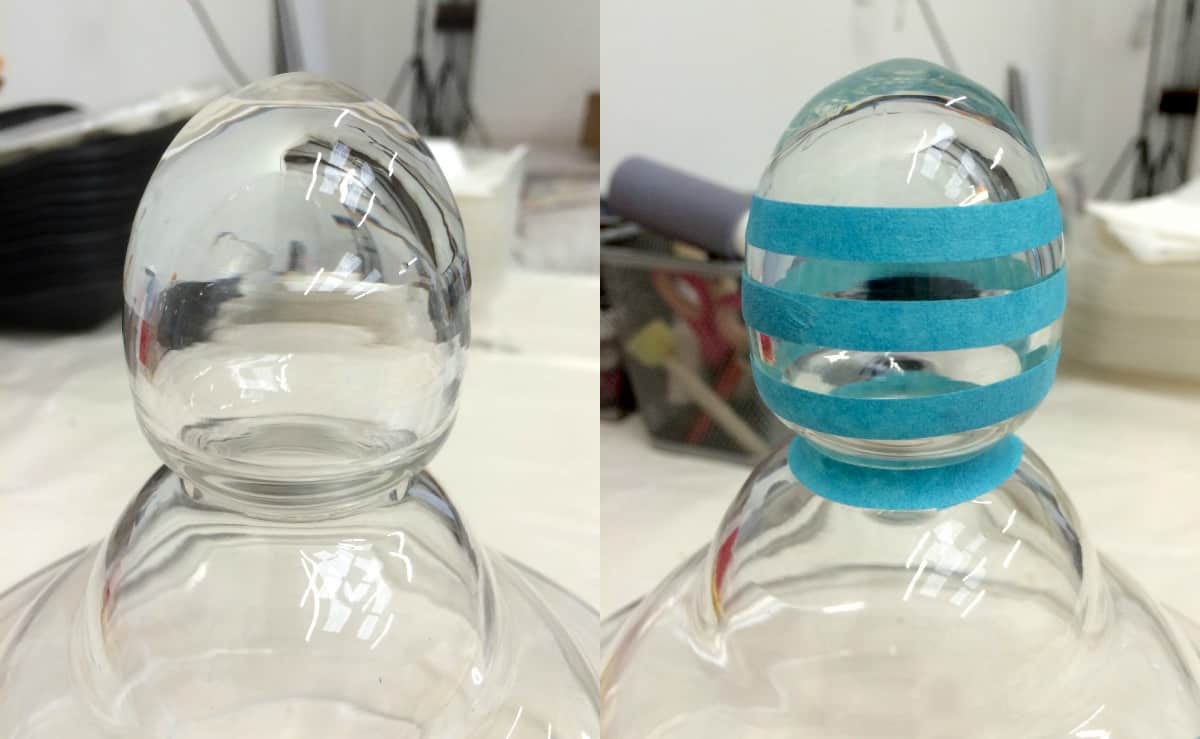
Remove the stencil tape right away and let dry.
This is the last step.
I know can you believe we are almost done with our skull display?
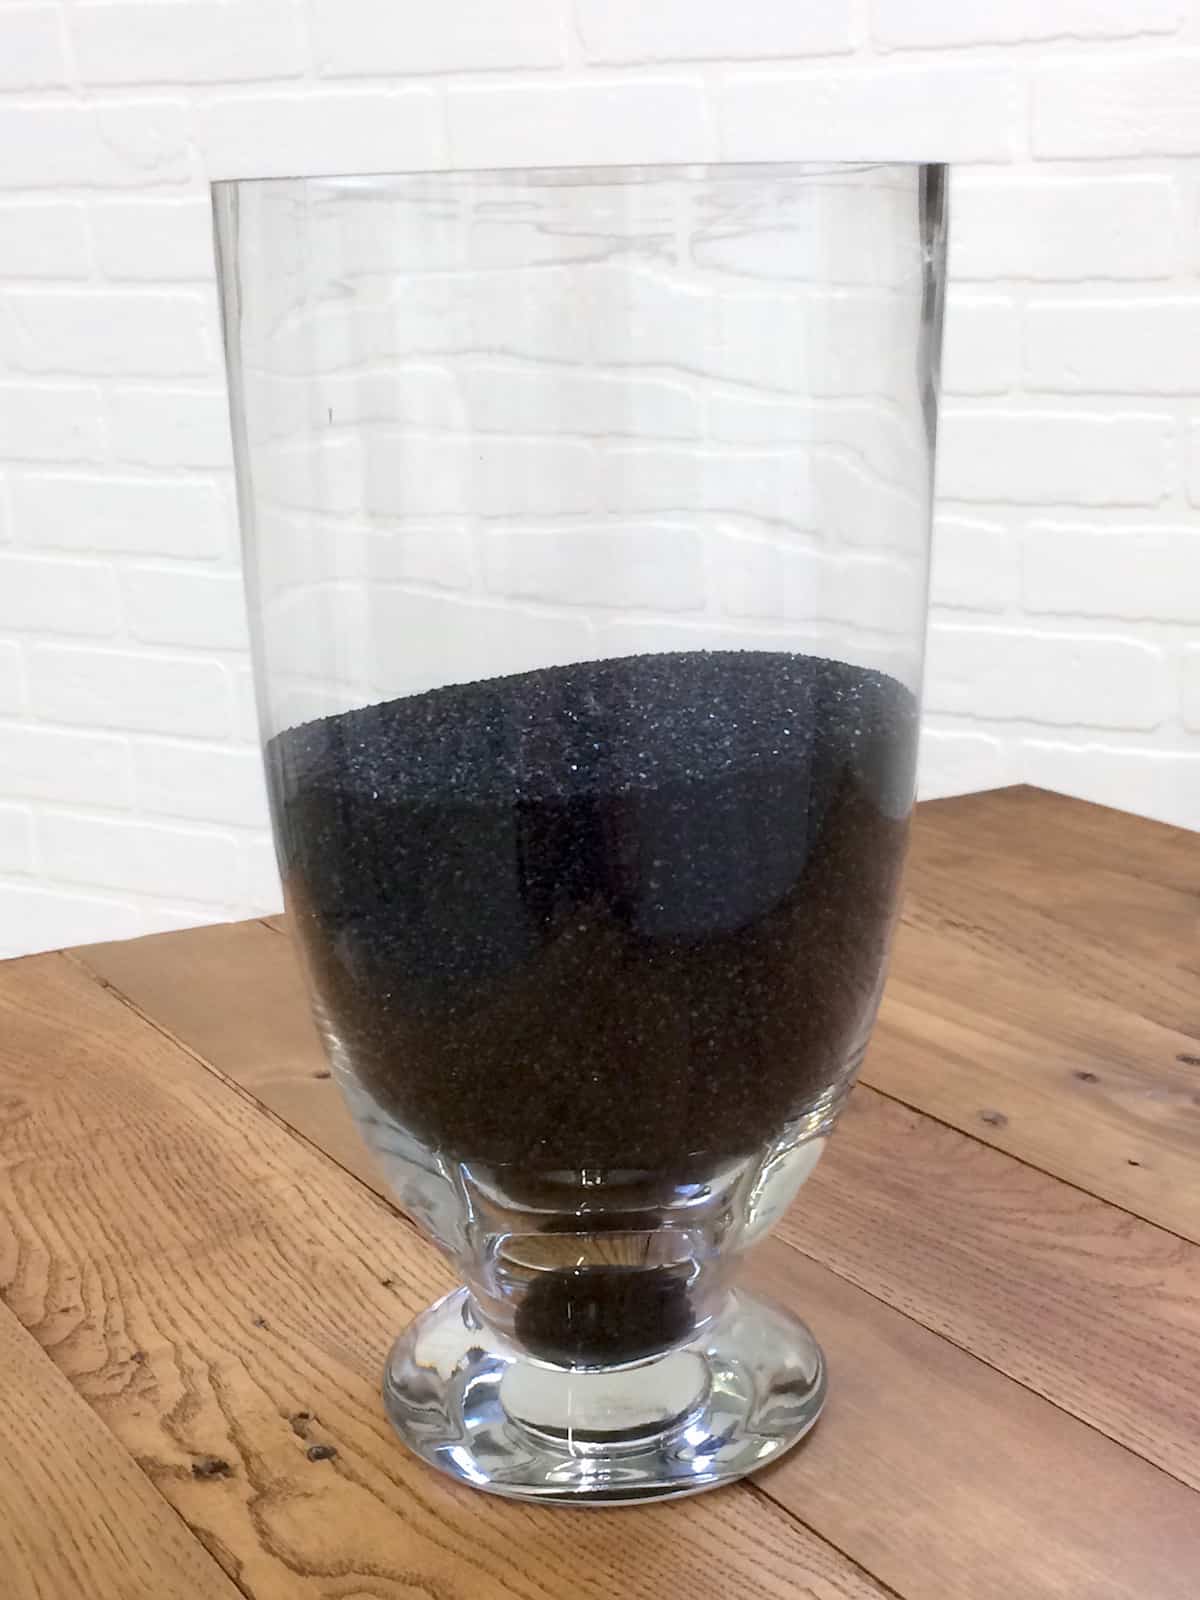
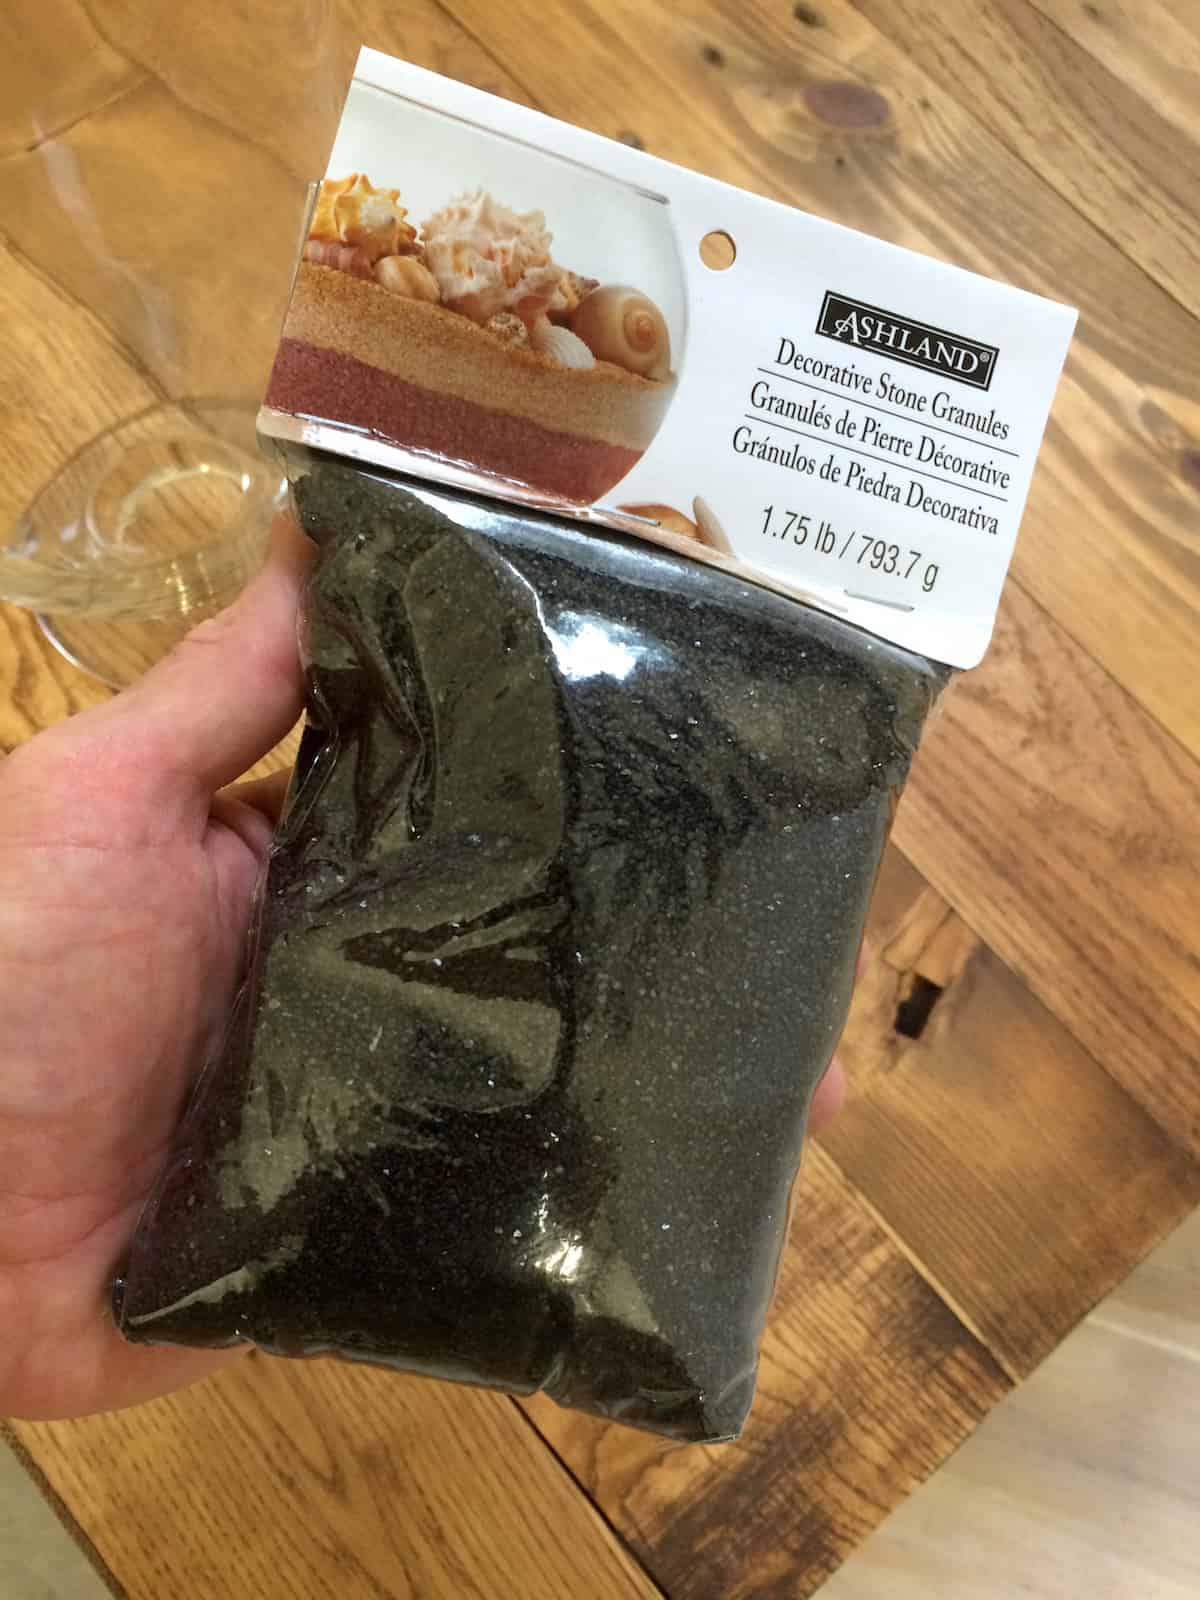
We found this black, sparkly stone granule mixture in the floral section.
So Steve poured it into the vase.
Thats all there is to it!
The glow from the inside of the skull is so perfect for the holiday.