The opinions and text are all our own.
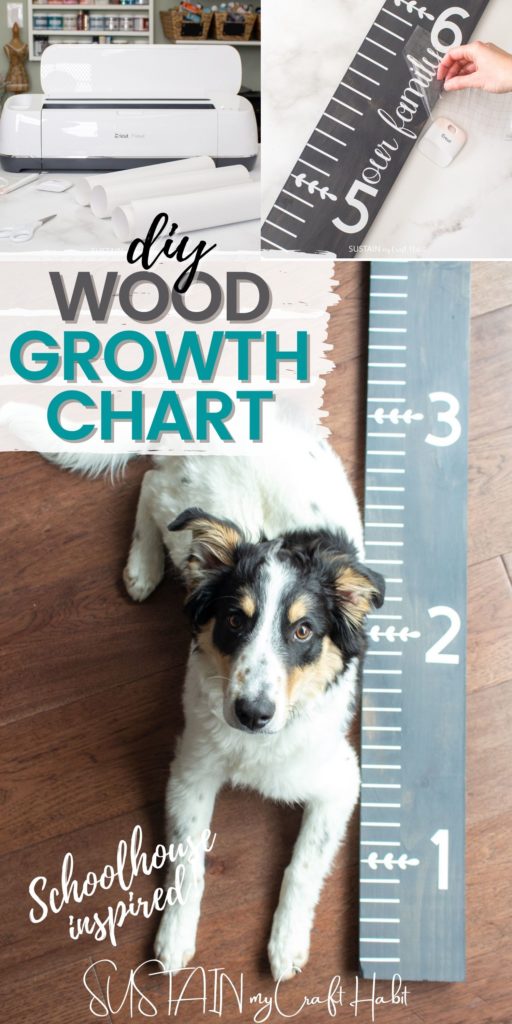
Having already grown so much, itll be a blast to chart his growth over the next few months.
Im hoping to have it ready in time to give to her as a gift for Mothers day.
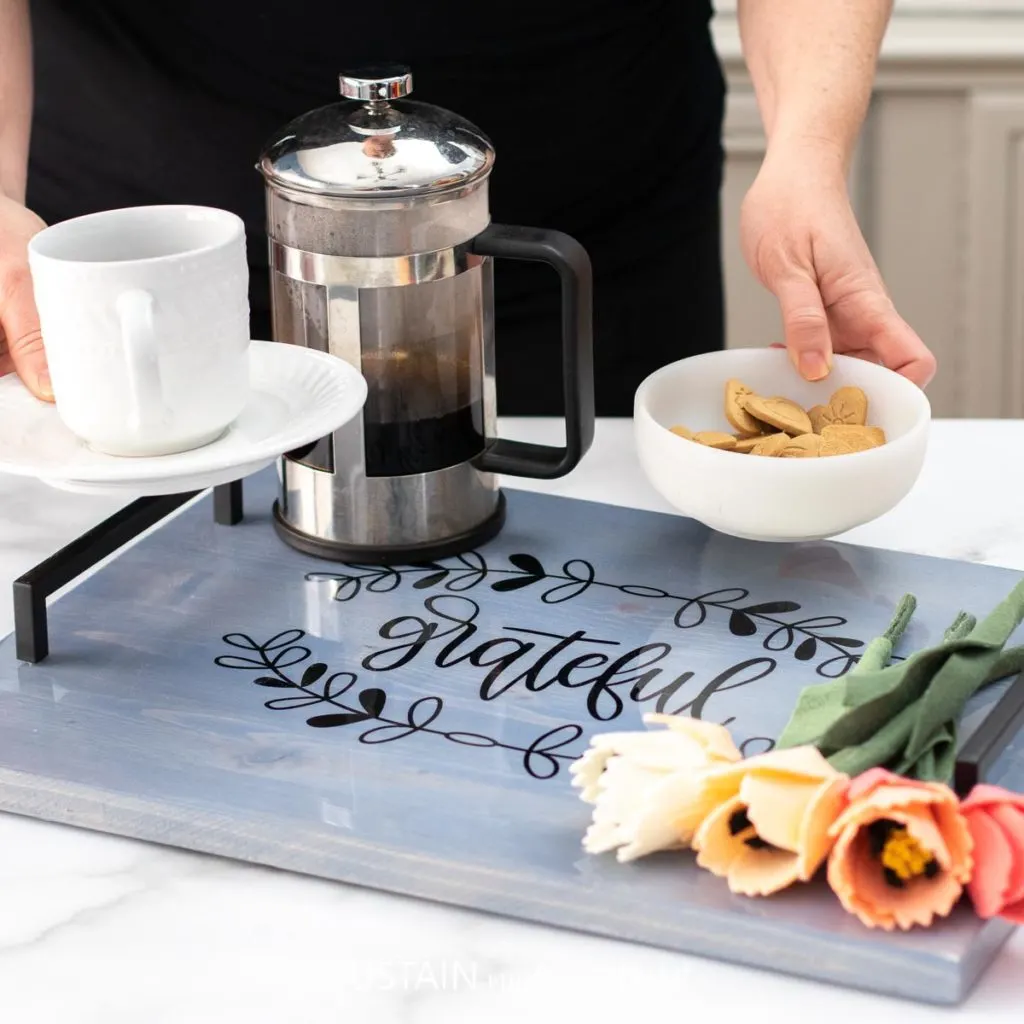
Serving Tray
Furthermore, Ill be able to easily personalize the growth chart with their family name as well.
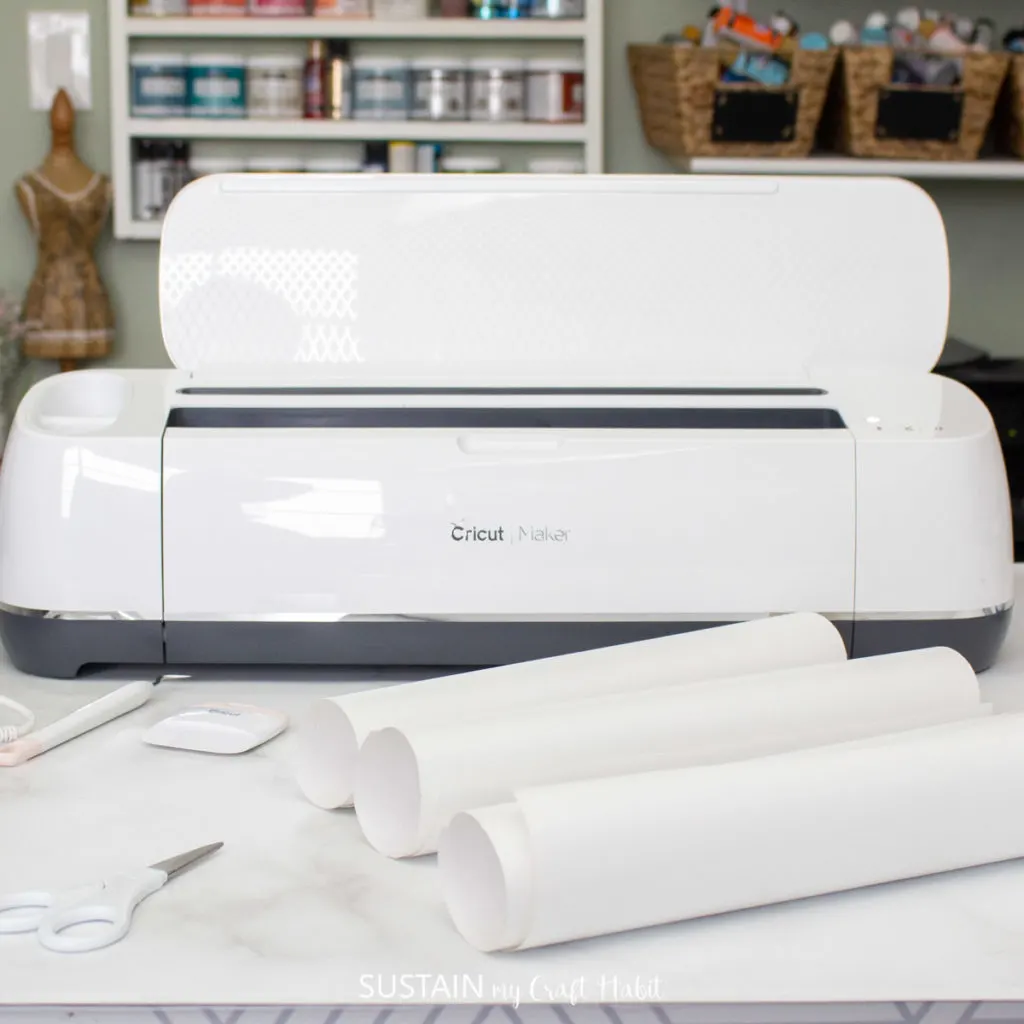
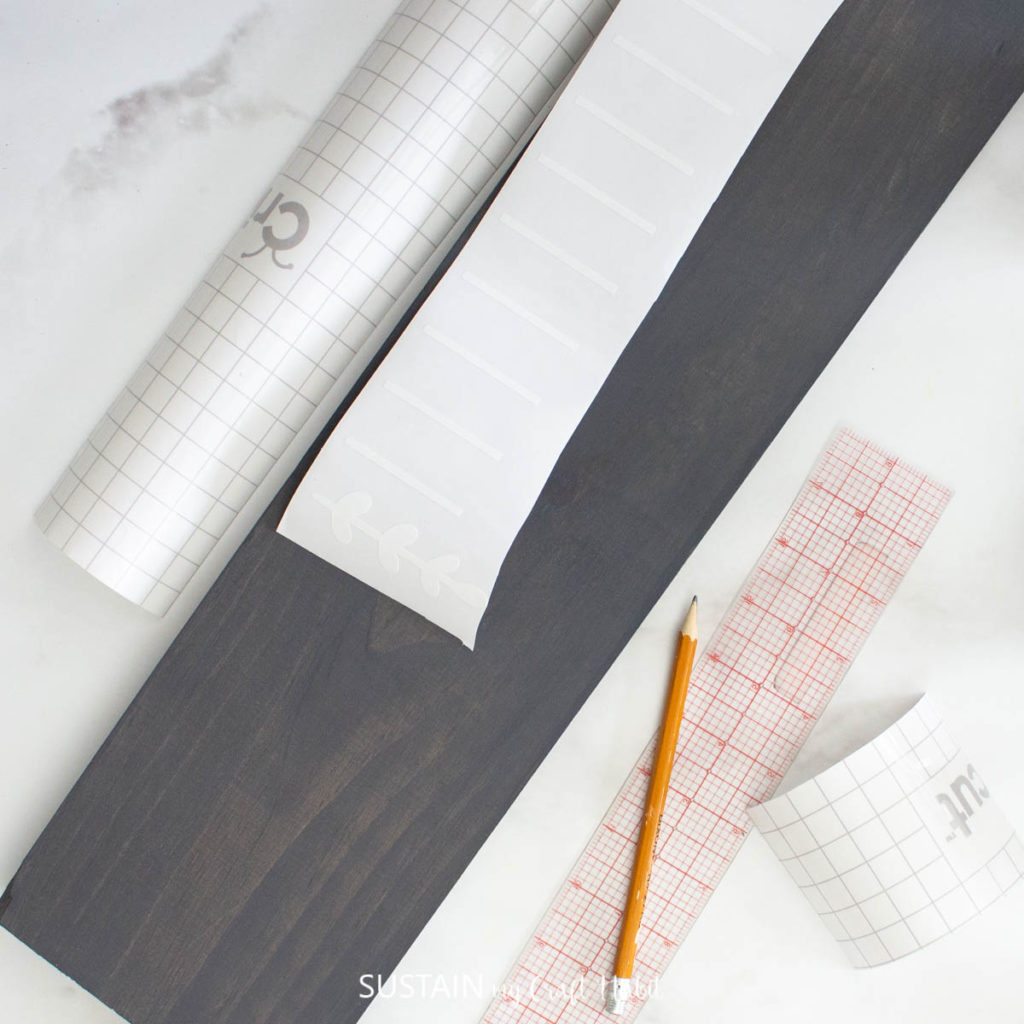
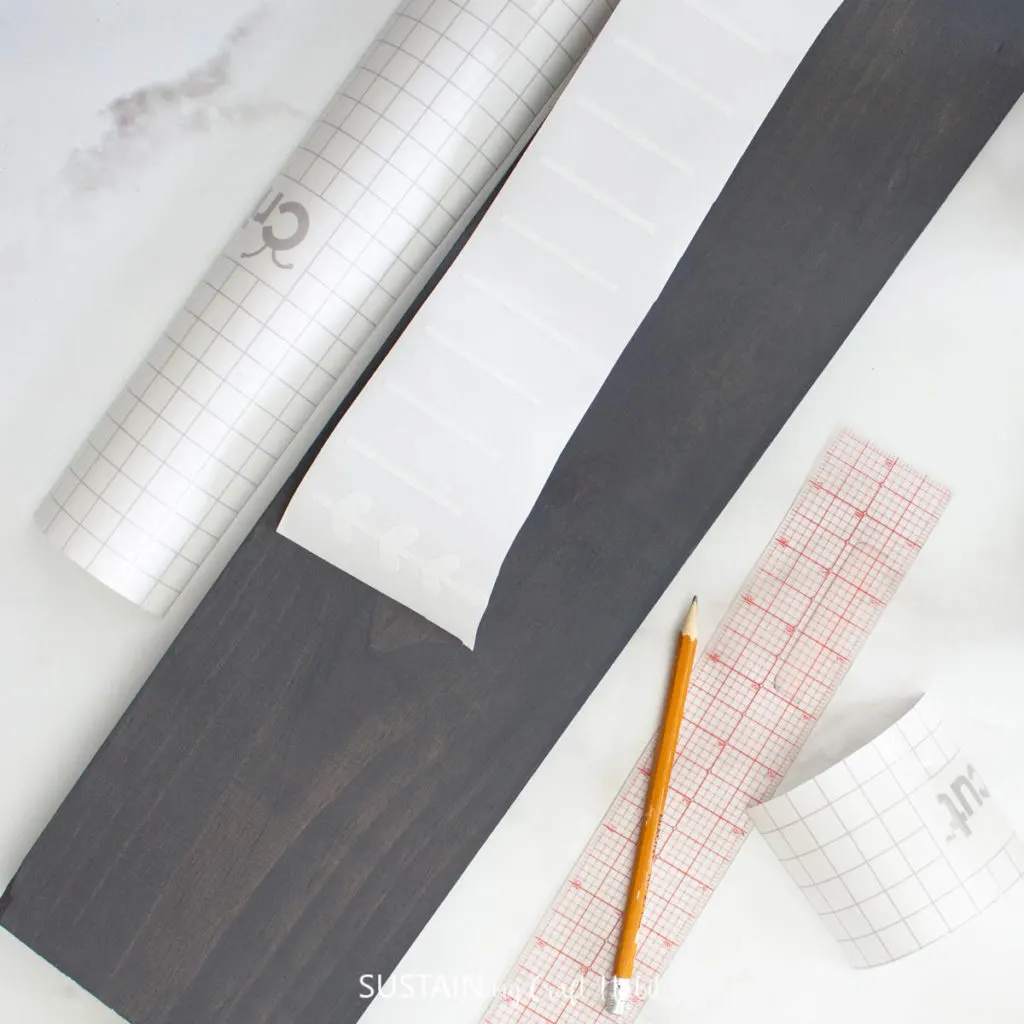
Materials Needed:
Disclosure: This post continues affiliate links for your shopping convenience.
you’ve got the option to find ourfull disclosure policy here.

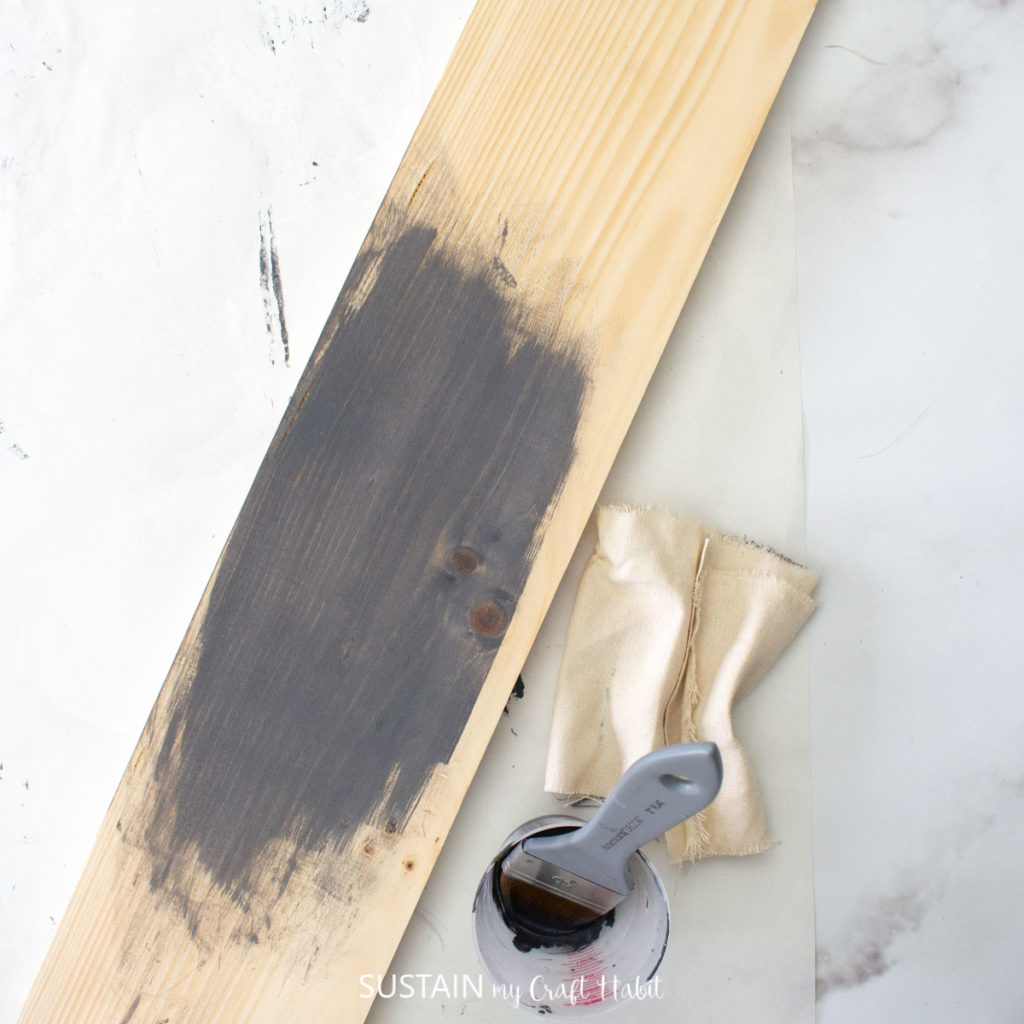
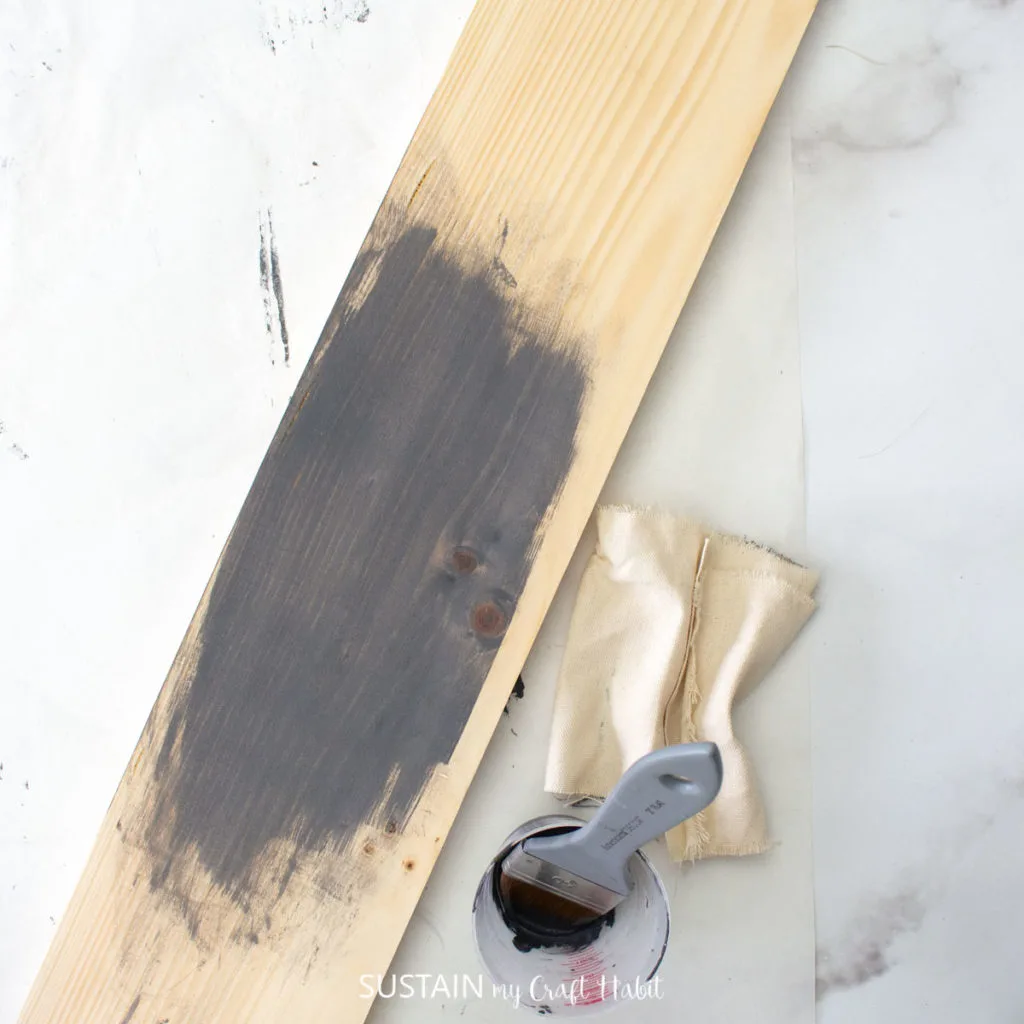
Prepare wood board by applying a stain over the entire surface.
Wipe away the excess paint with a clean rag to give the board a stained appearance.
Continue down the entire length of the board and repeat on all sides.

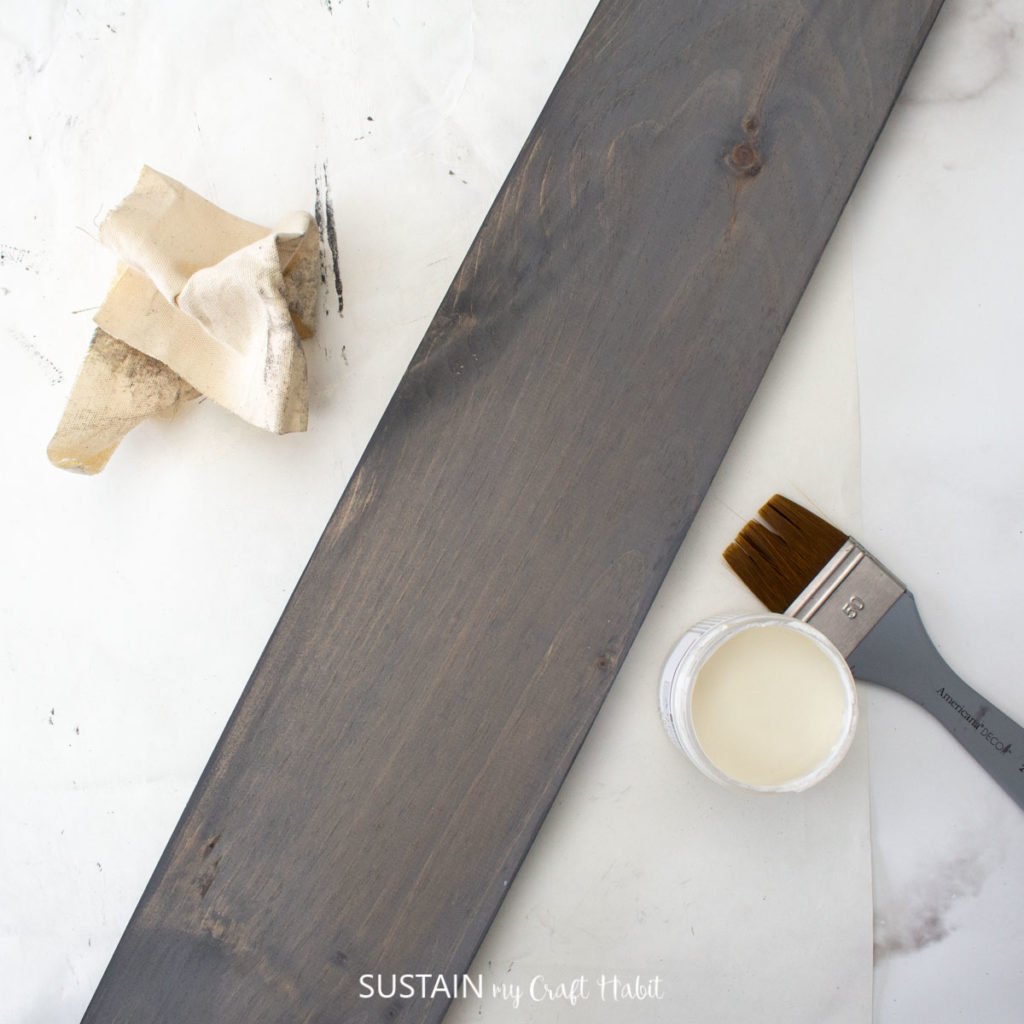
Once dry, apply a clear wax finish to seal the paint.
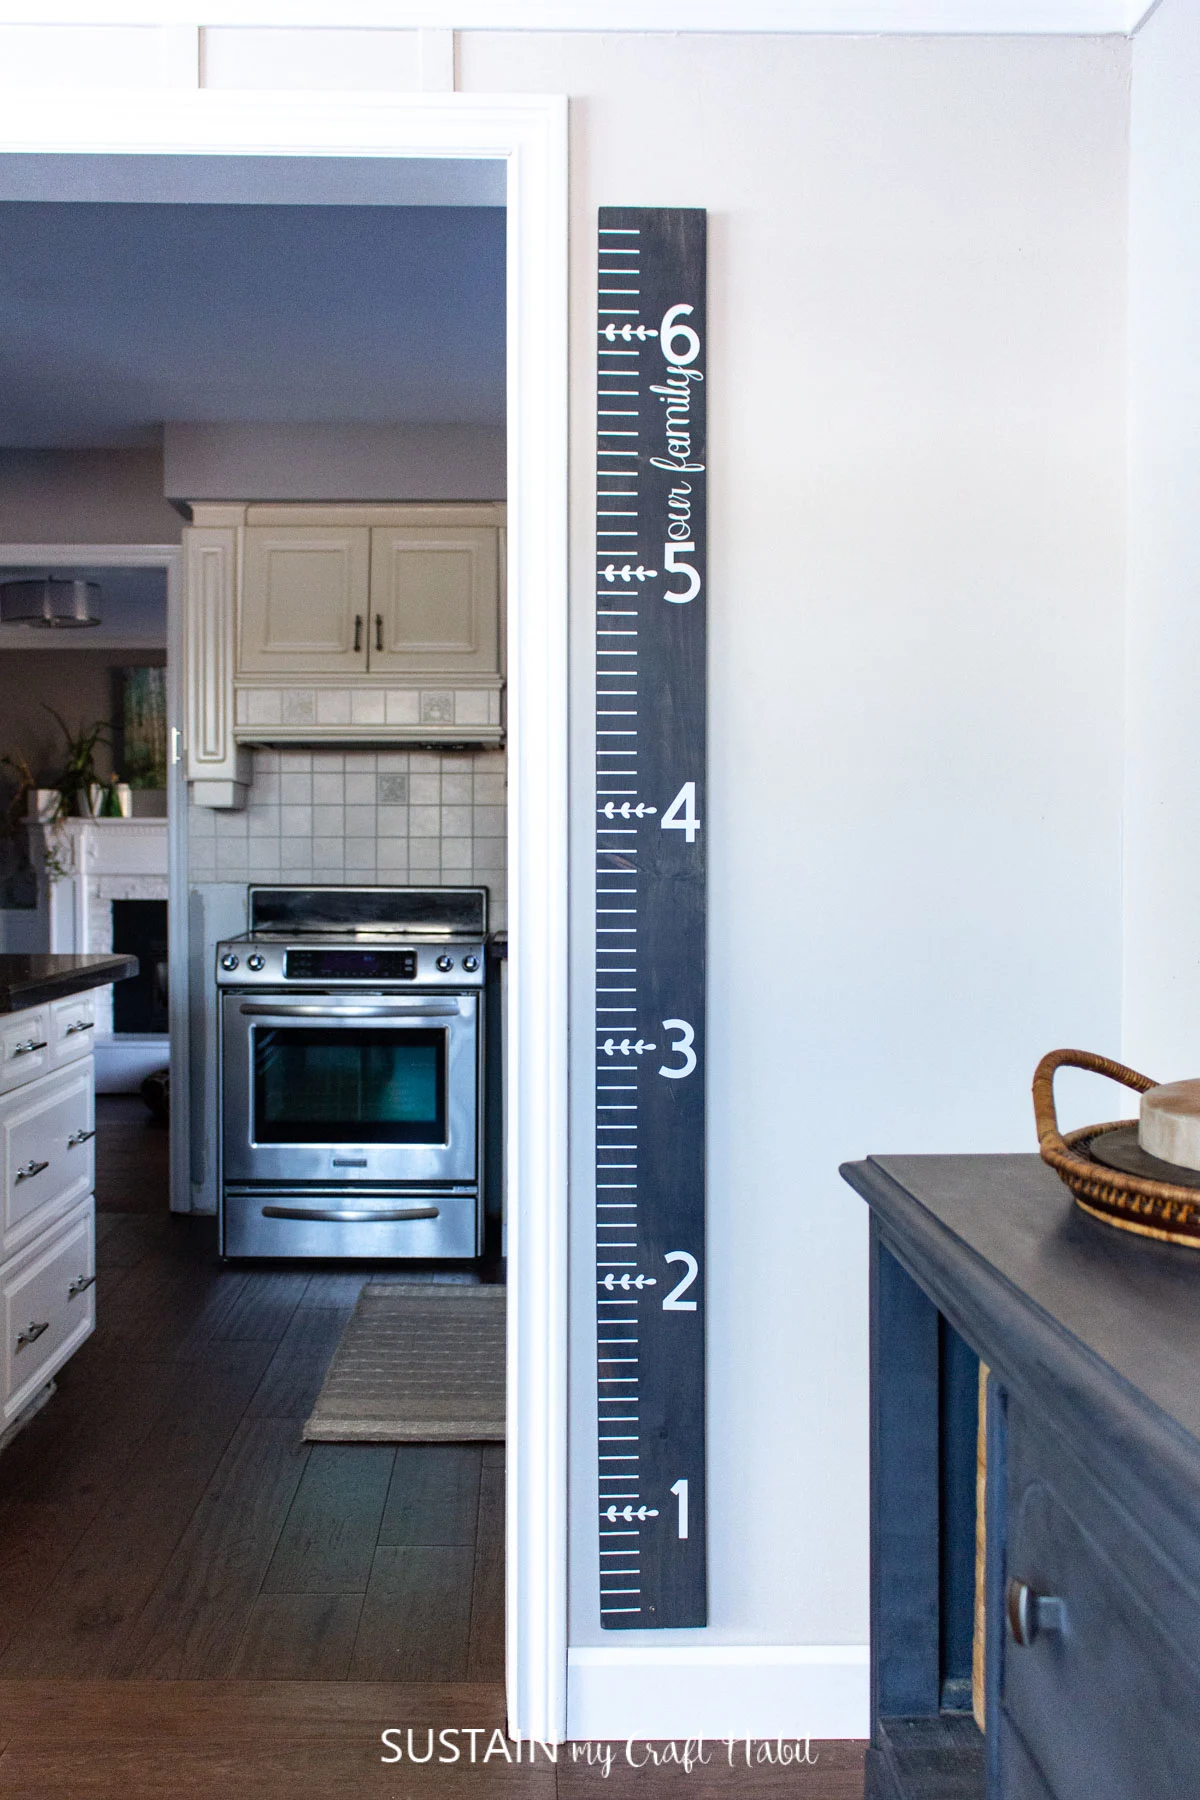
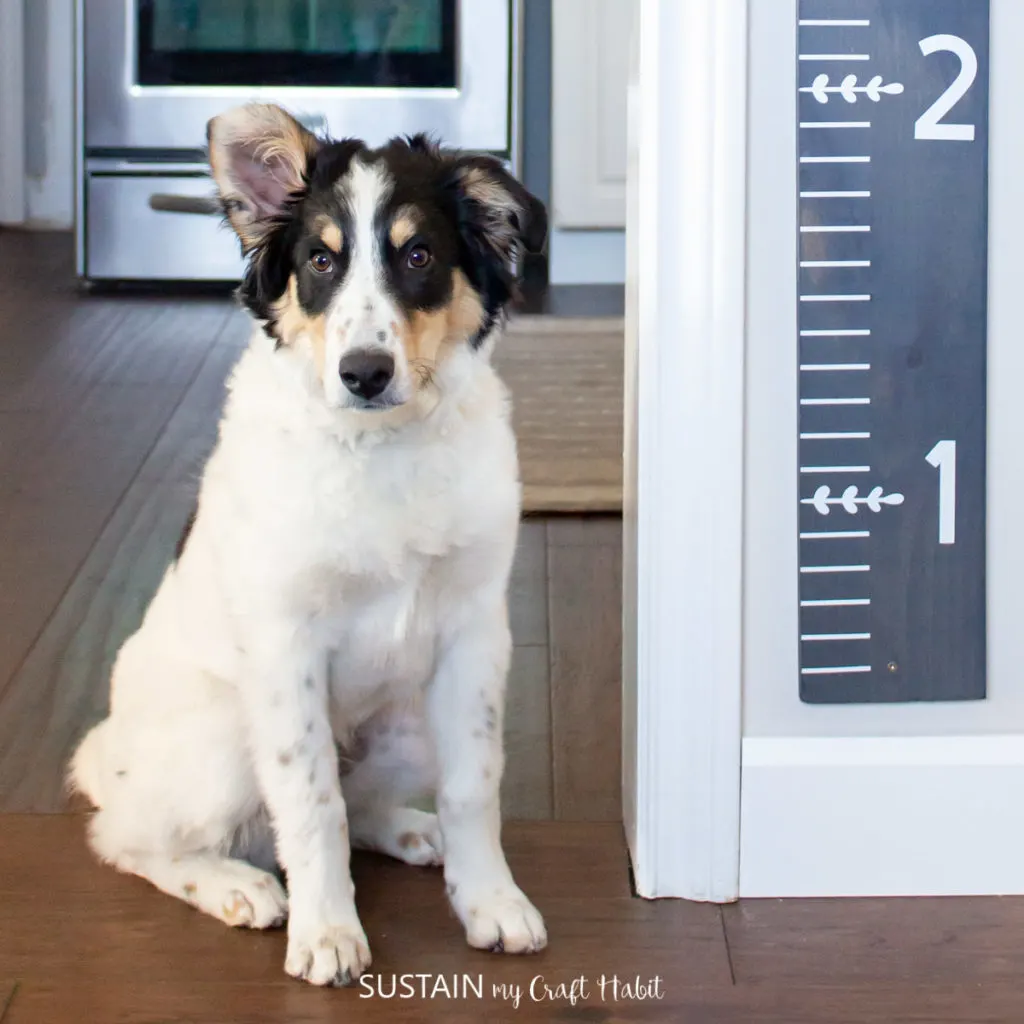
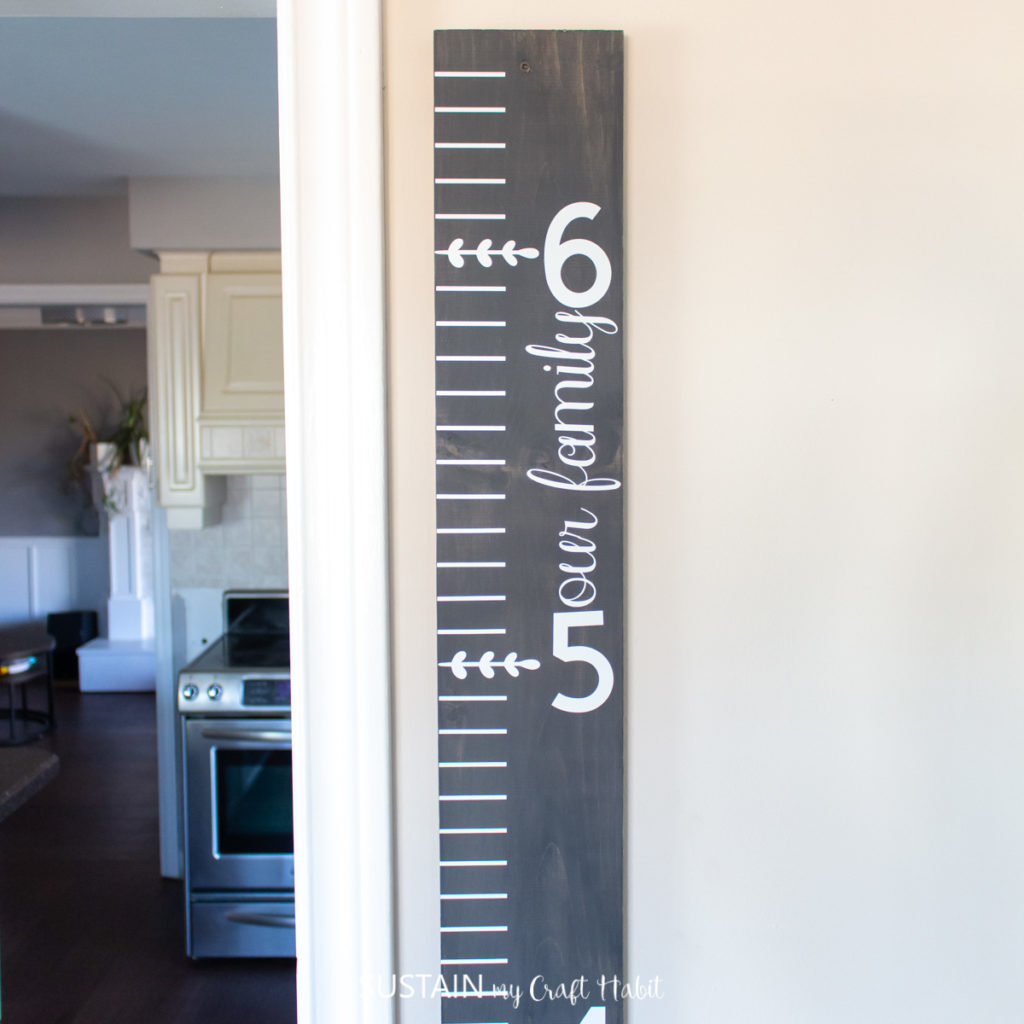
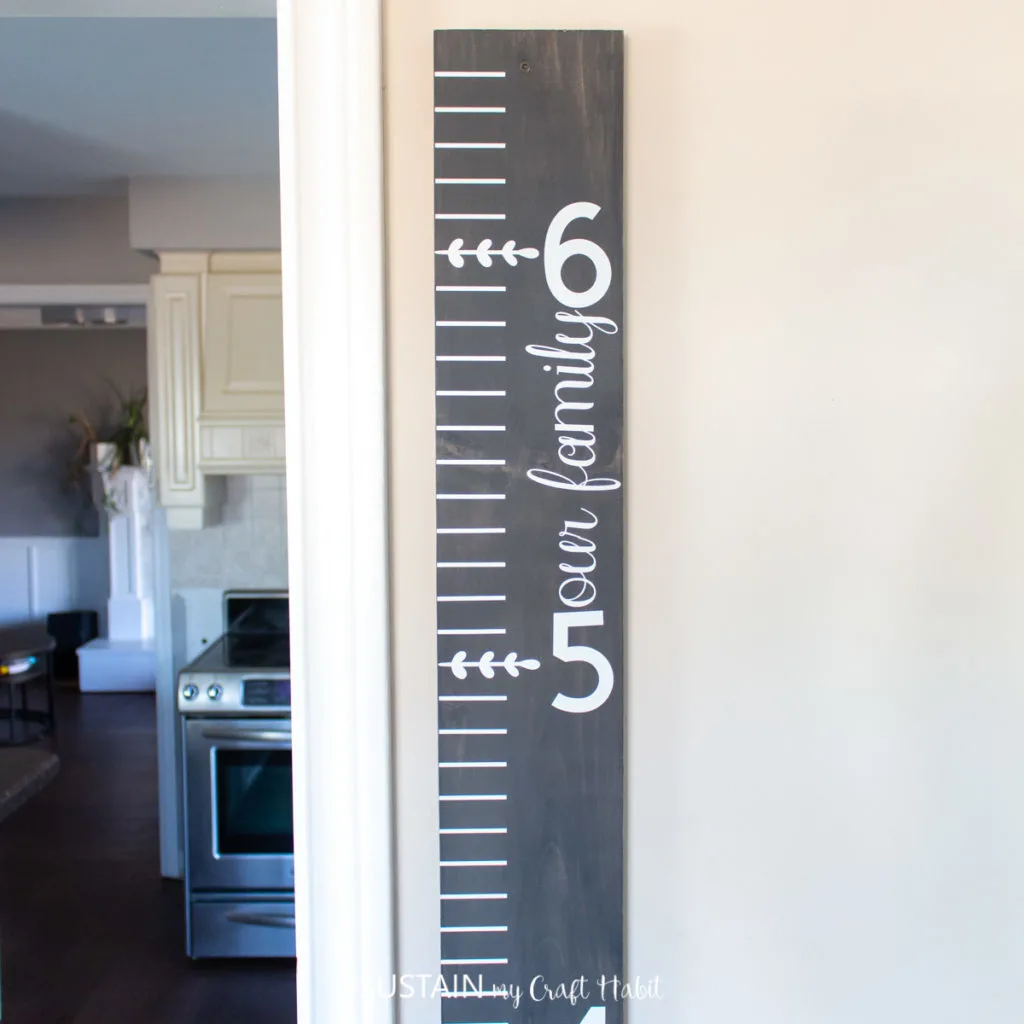
Measuring 6 high, this DIY growth chart is designed to be hung 6 above the floor.
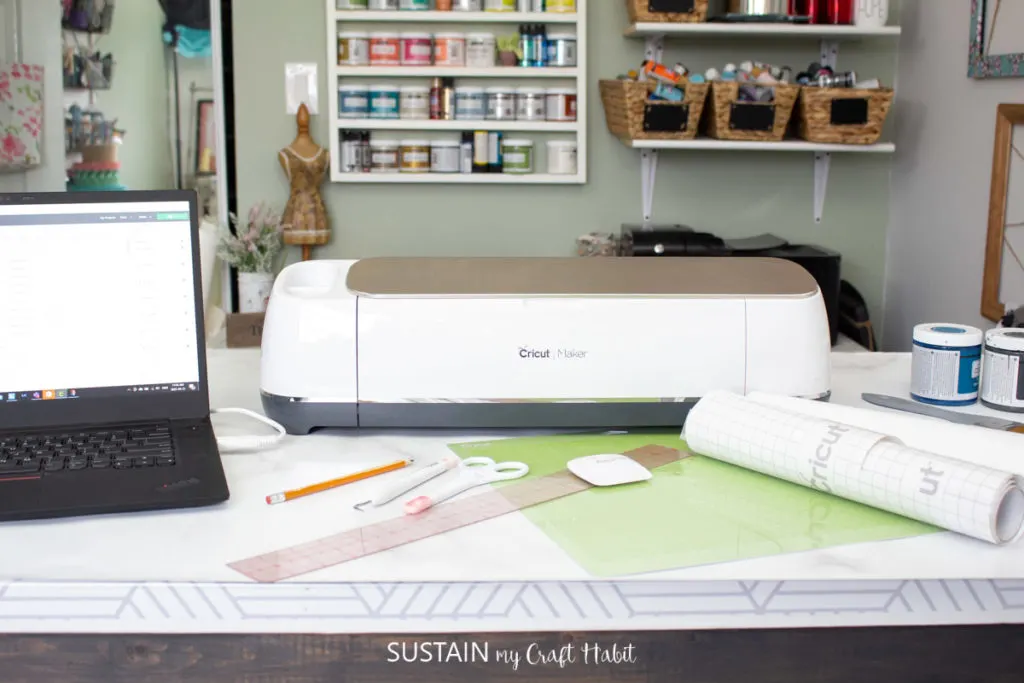
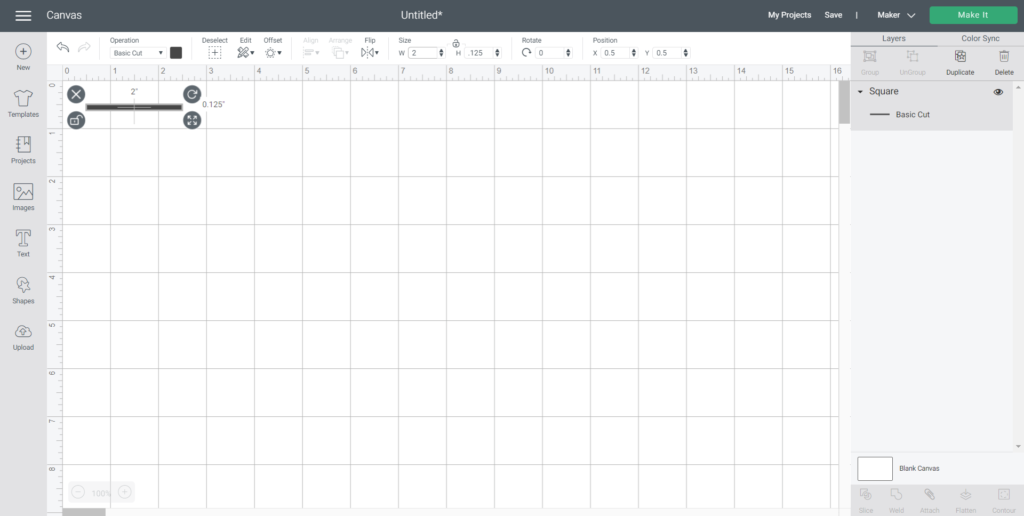
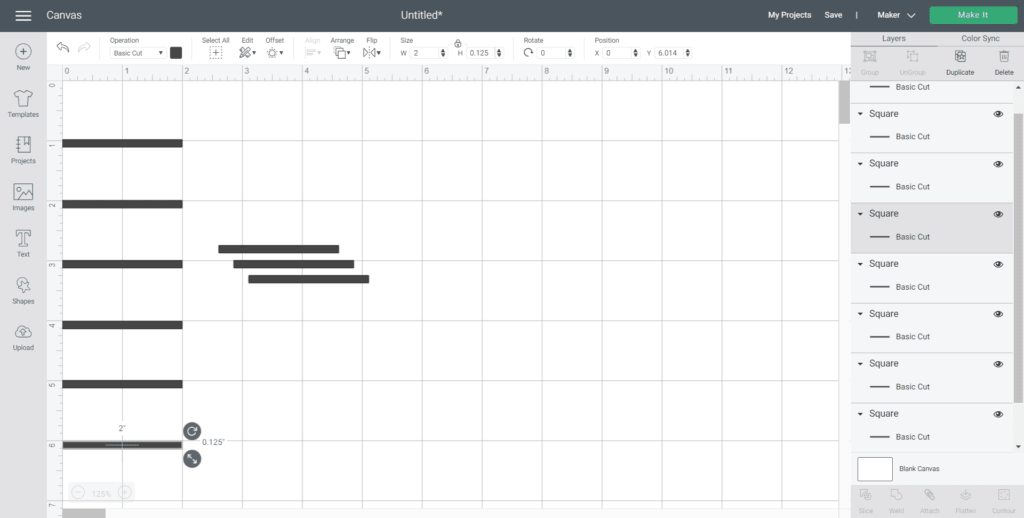
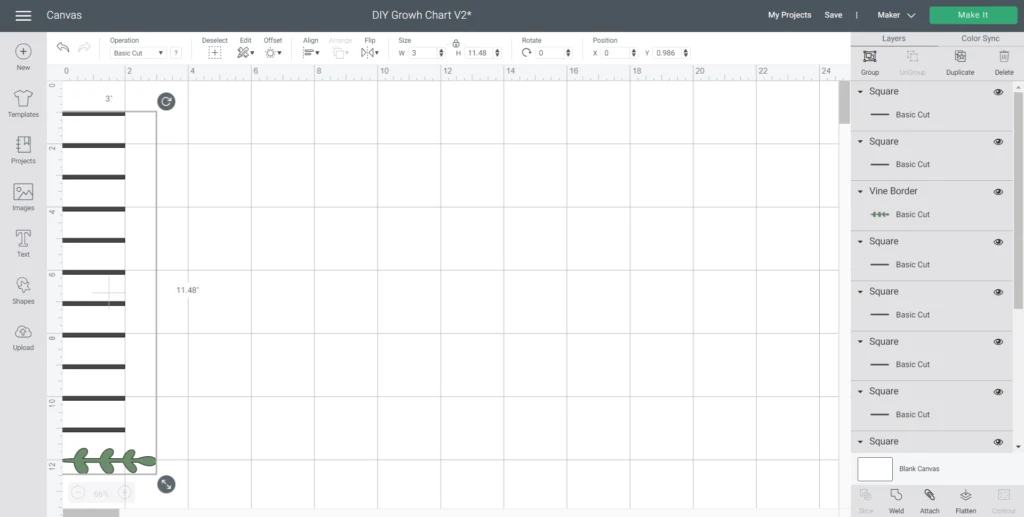
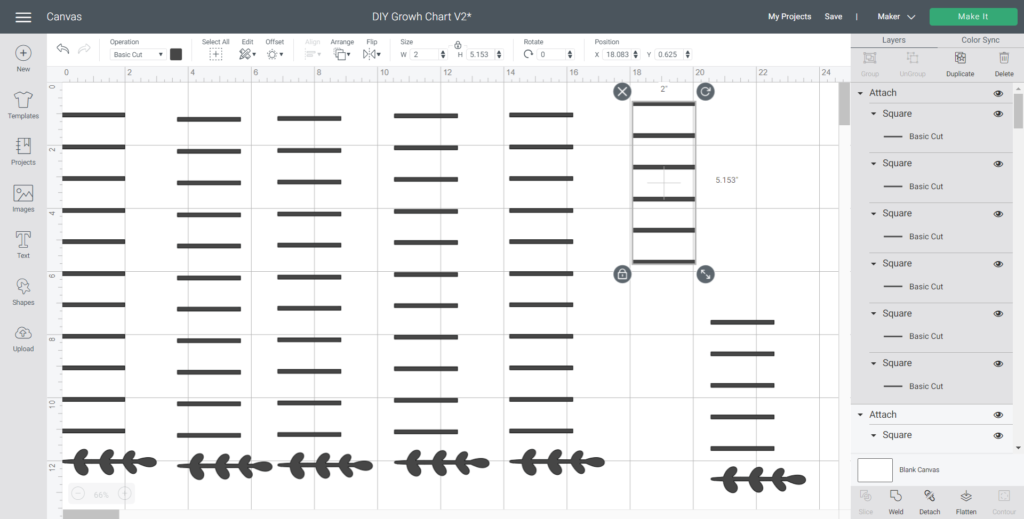
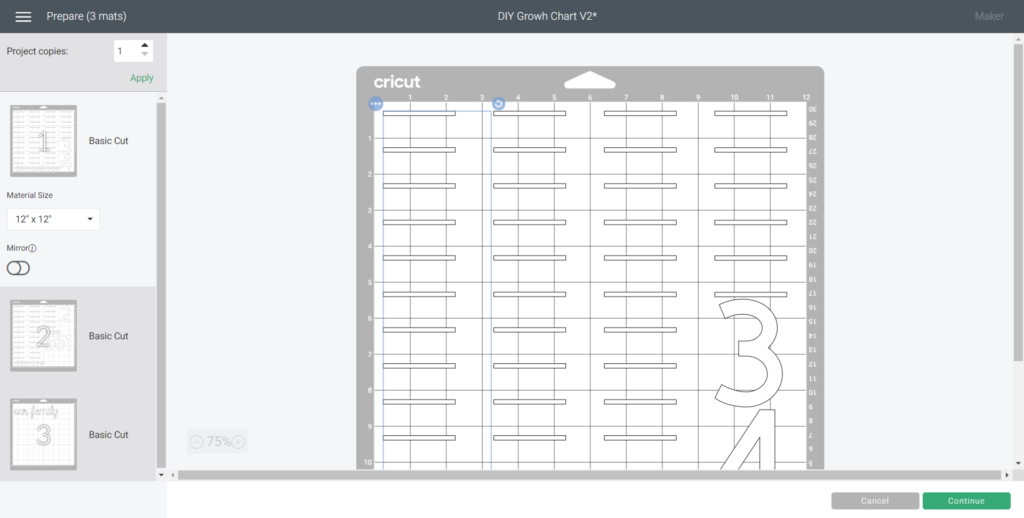
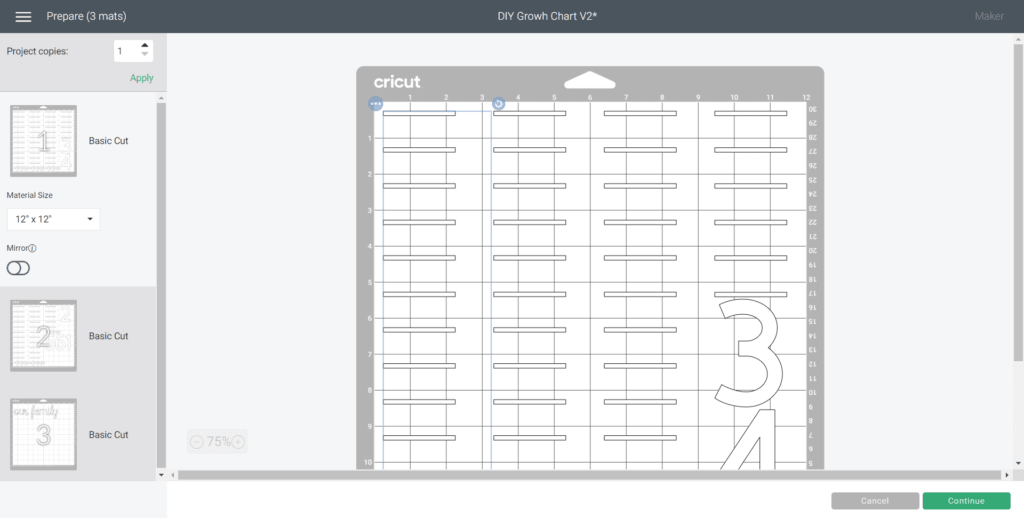
Open Cricut Design Space and select new canvas.
punch and insert a square shape onto the blank canvas.
Adjust the size to 2 wide x 0.125 high.
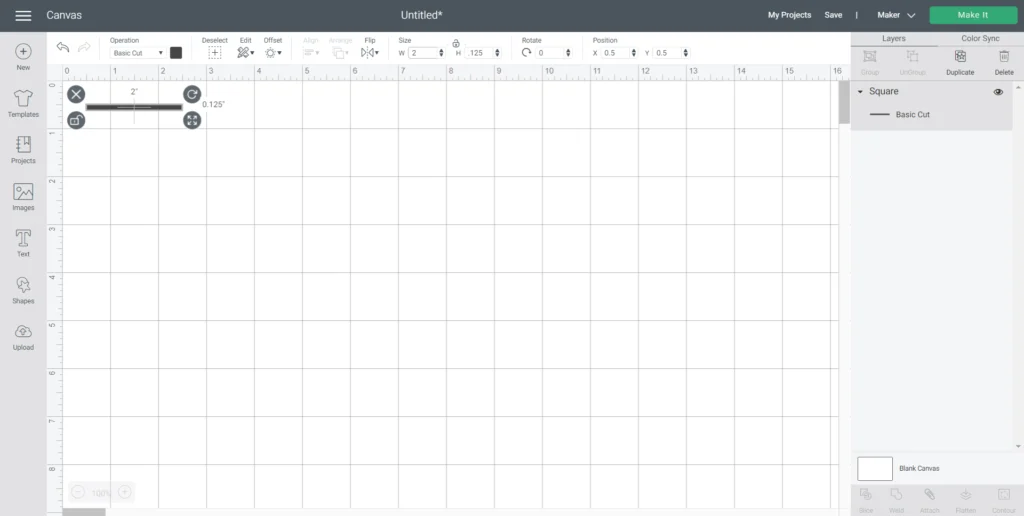
Duplicate the rectangle 10 times.
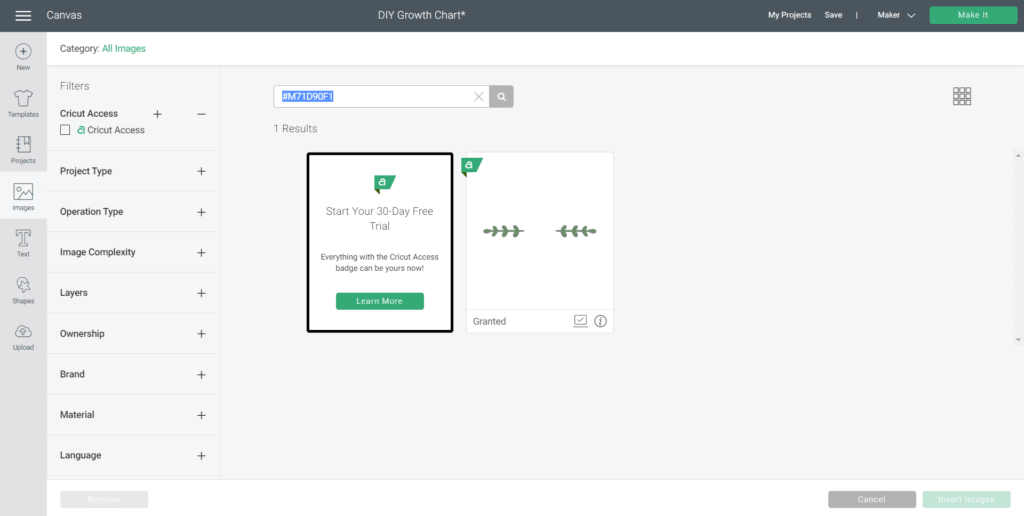
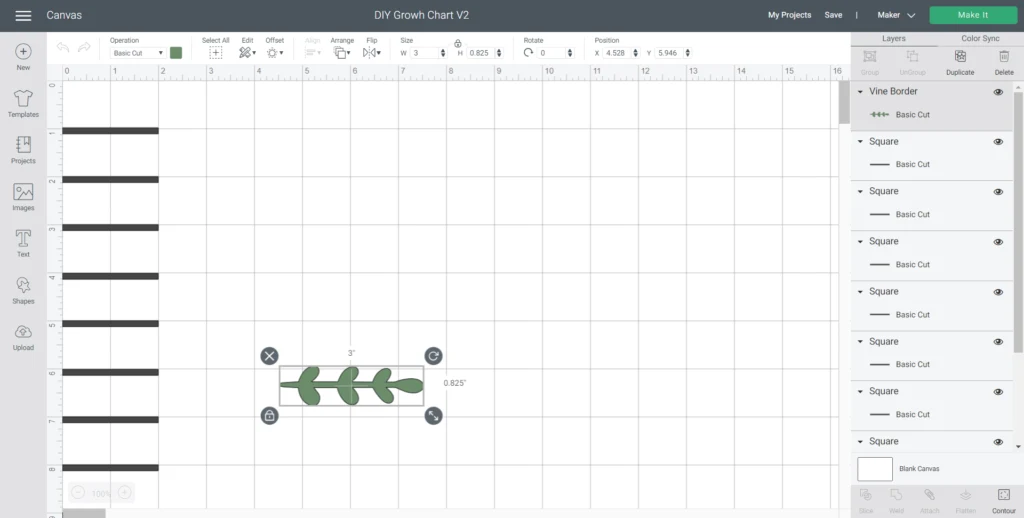
Adjust the size to 3 wide.
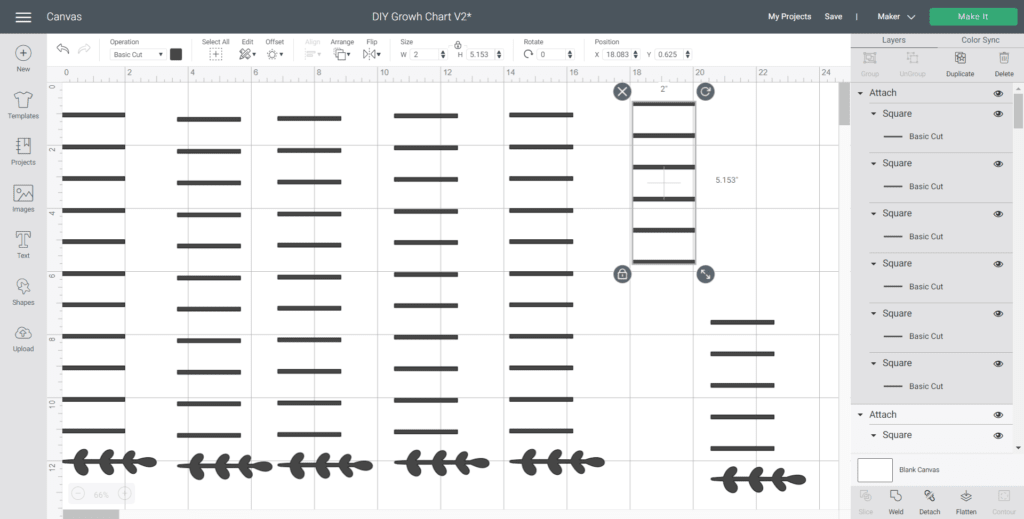
Place the vine border 1 below the bottom rectangle.
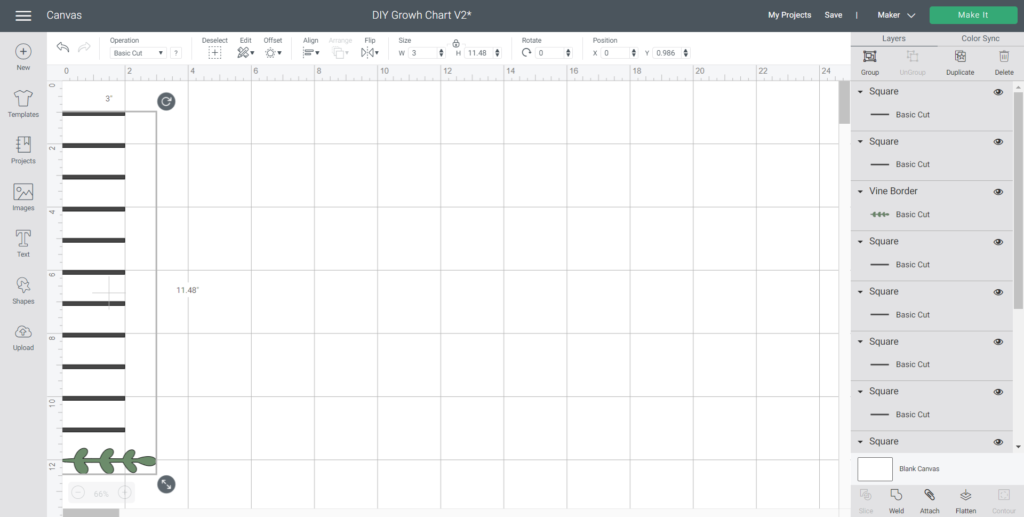
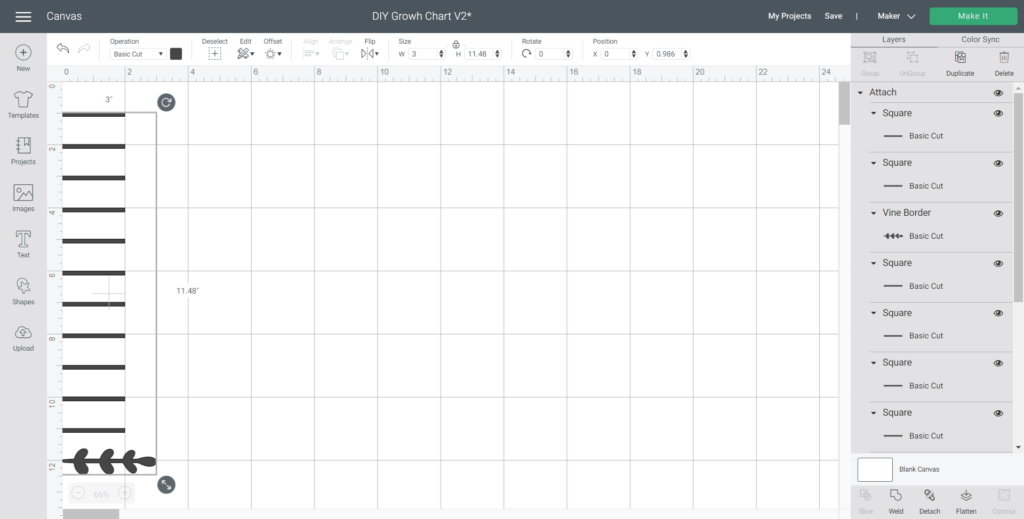
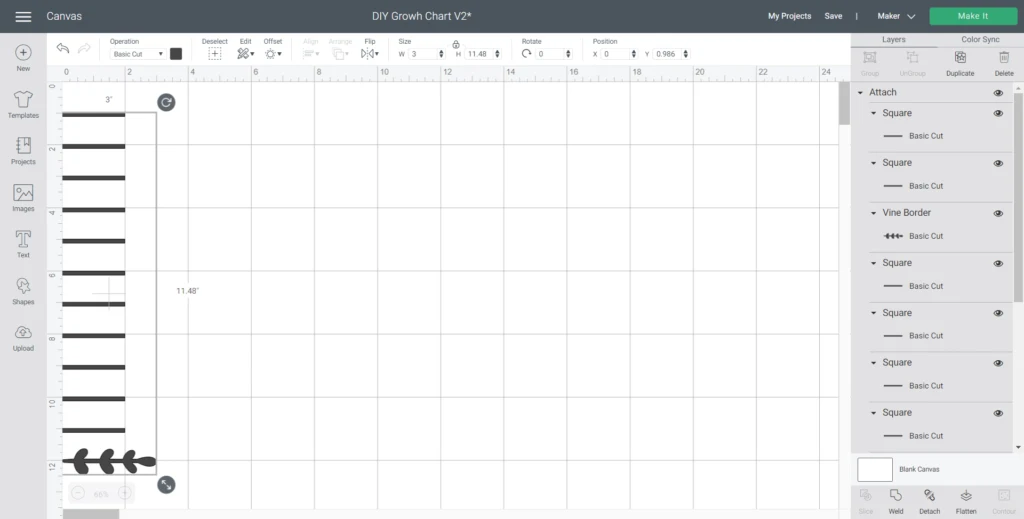
Highlight all the pieces and select attach to hold them together.
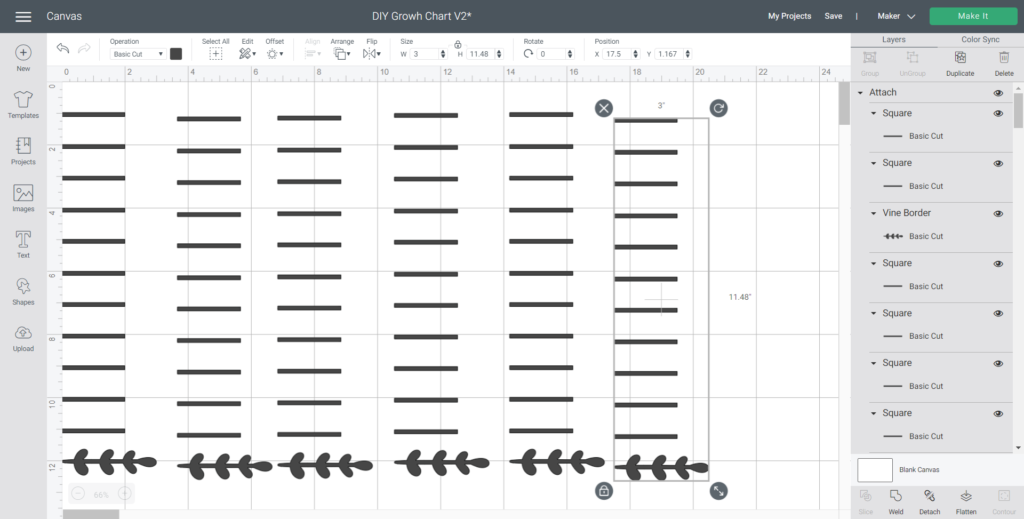
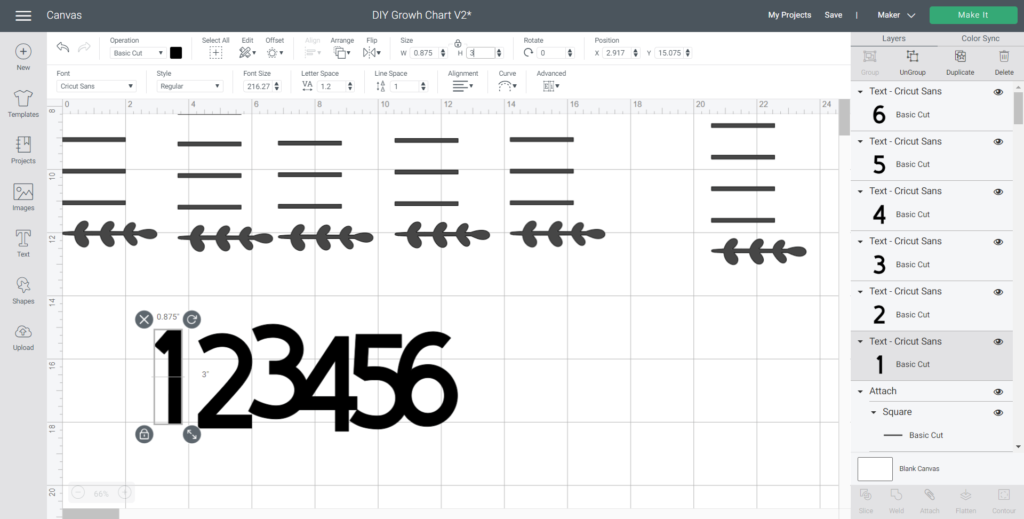
Duplicate the measuring lines 6 times.
Adjust the size to 3 high.
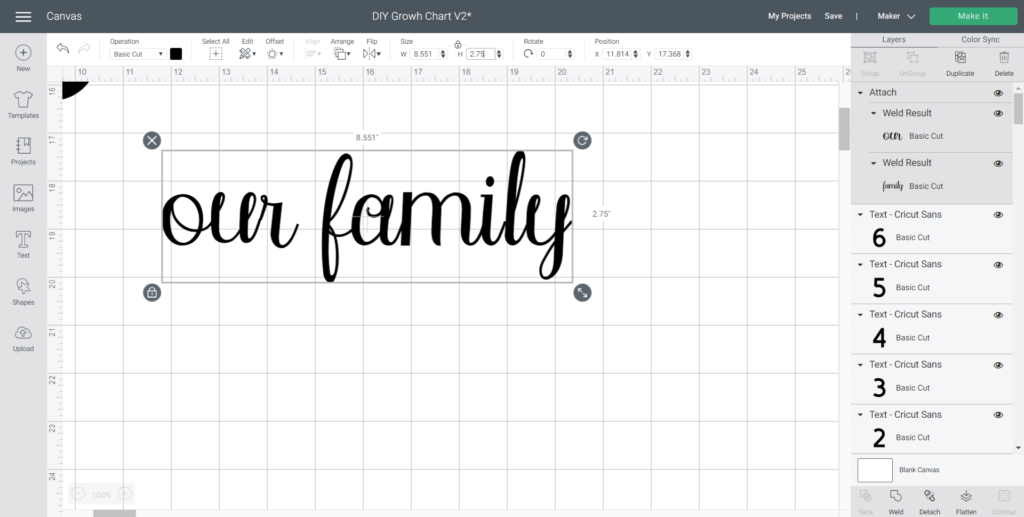
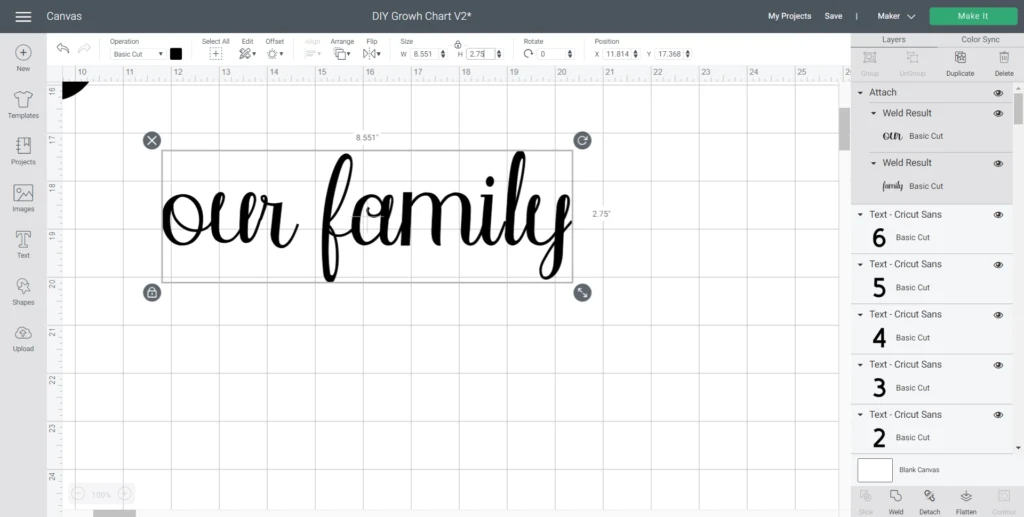
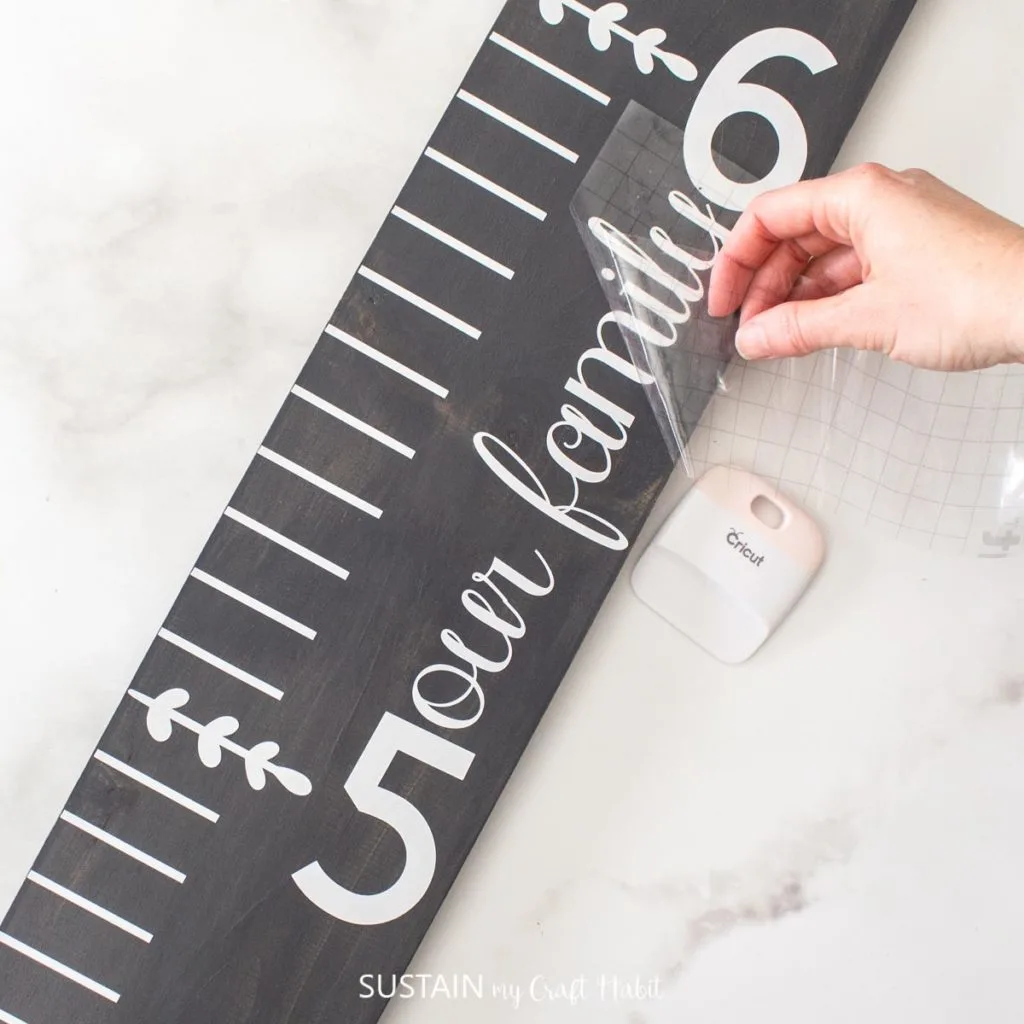
Insert text again and jot down out our family or add your last time to personalize the growth chart.
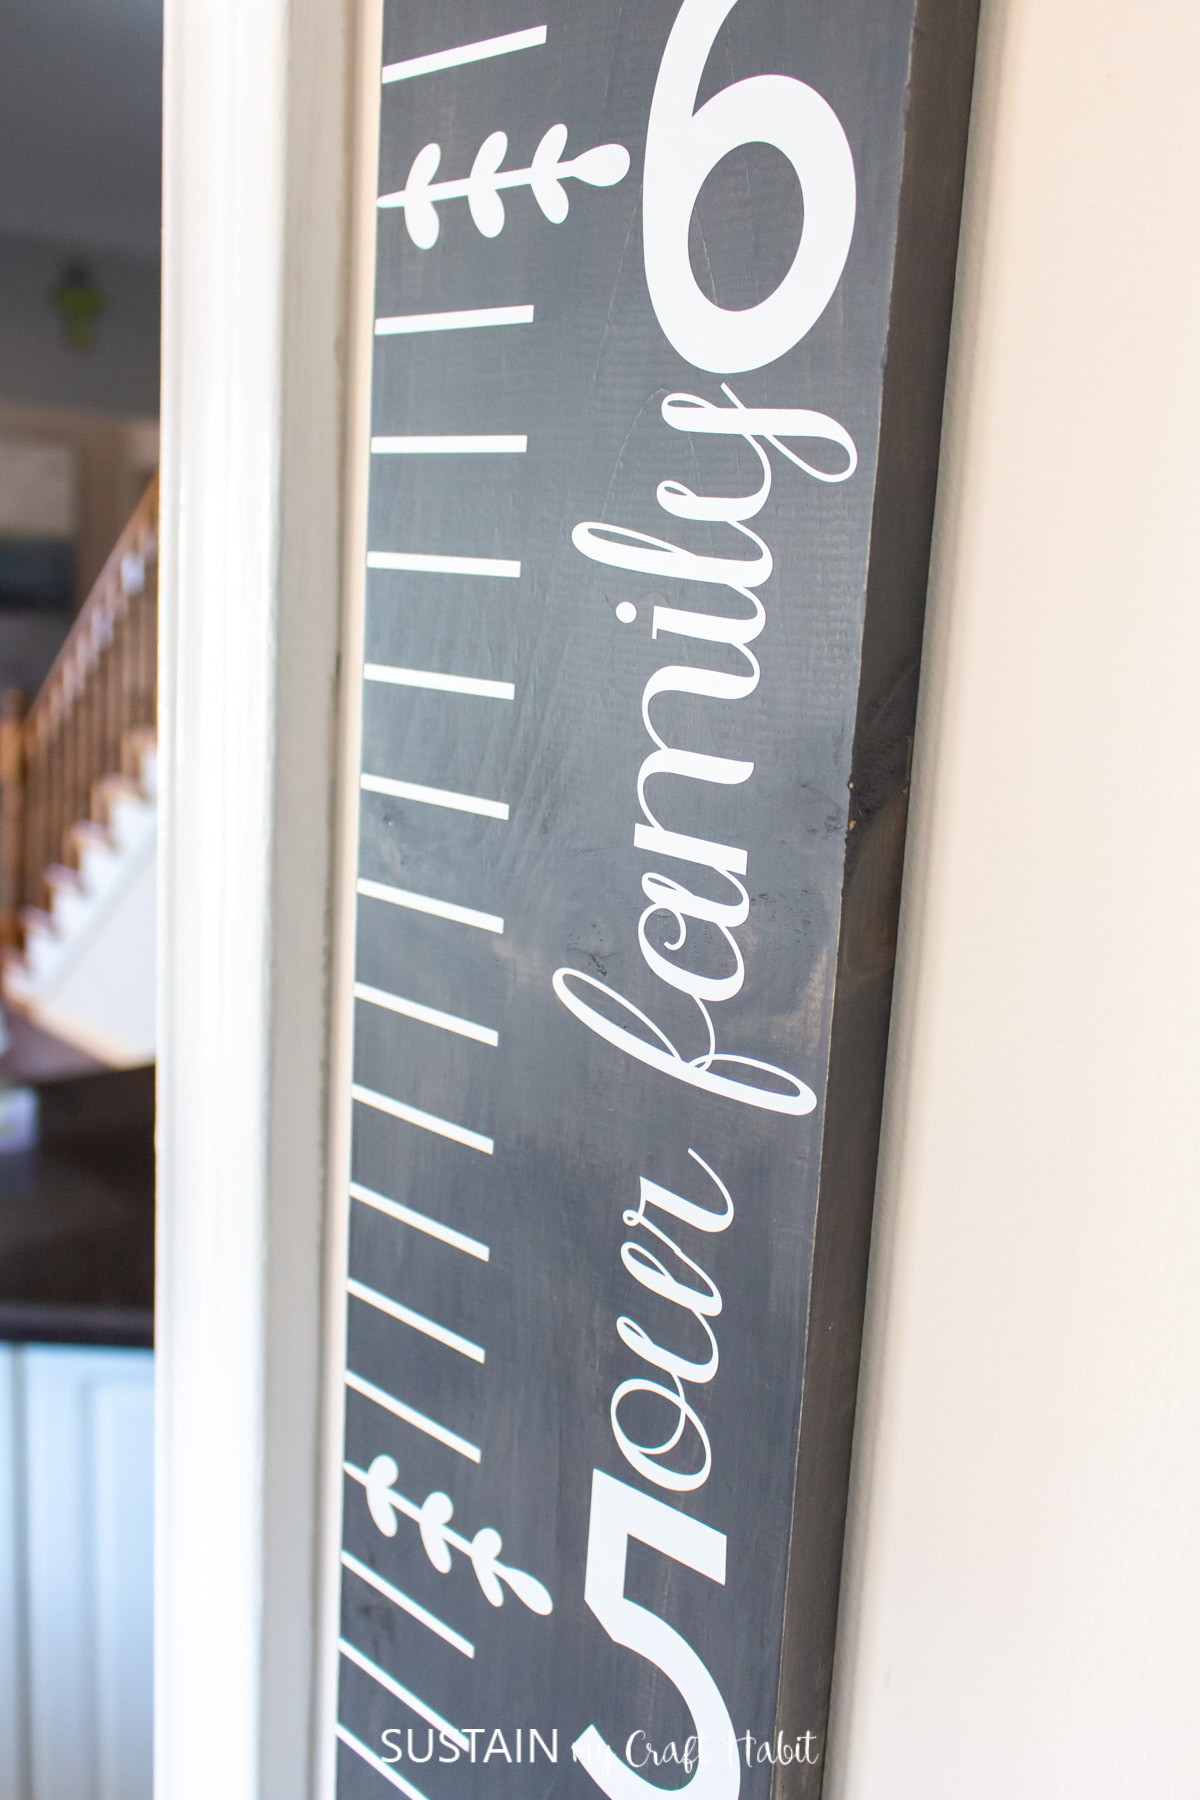
Change the font to Elizabeth Normal, reposition the script letters and weld them together.
Adjust the size to 2.75 high.
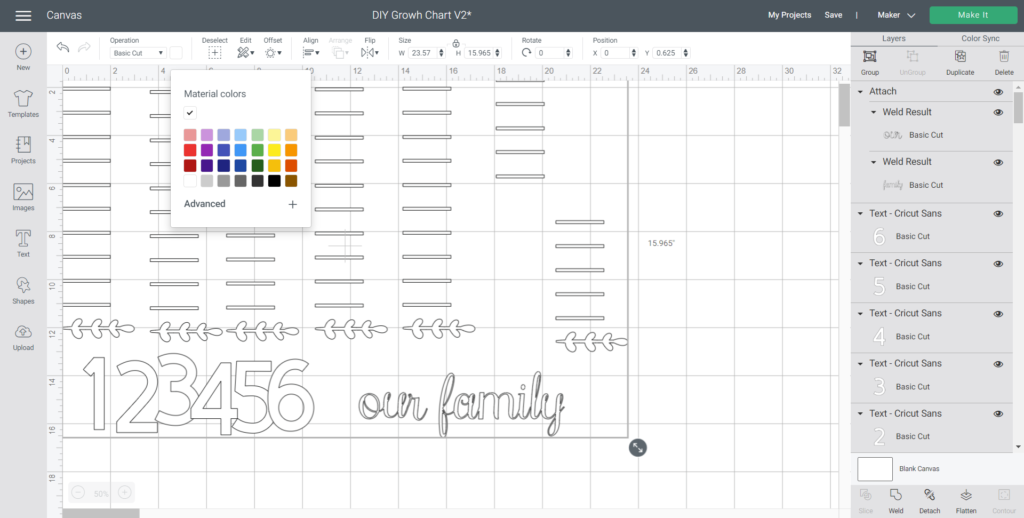
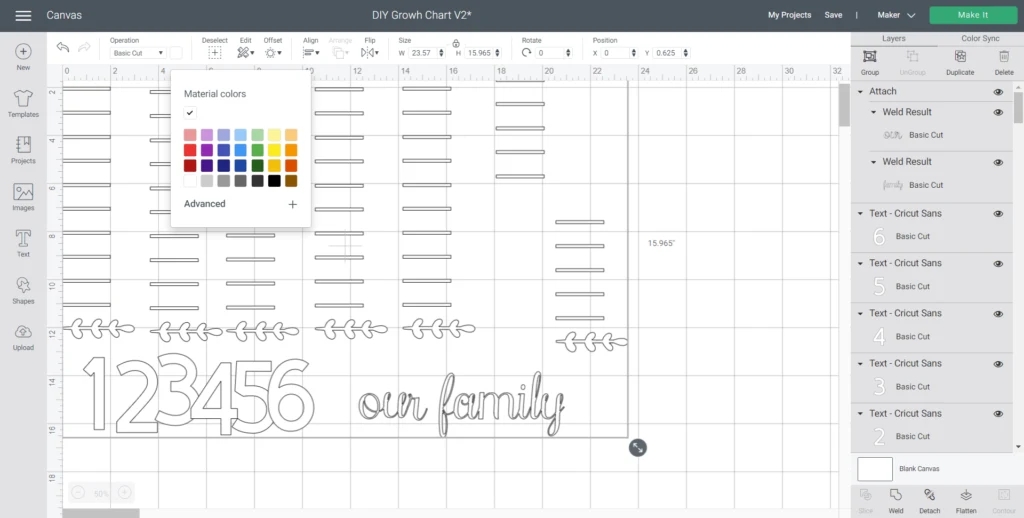
Change the colors to match the material color.

In our case, we are using white Premium vinyl.
Cut the vinyl into 12 long sheets and place one on the standard grip mat for cutting.
Unload and repeat until all pieces are cut.

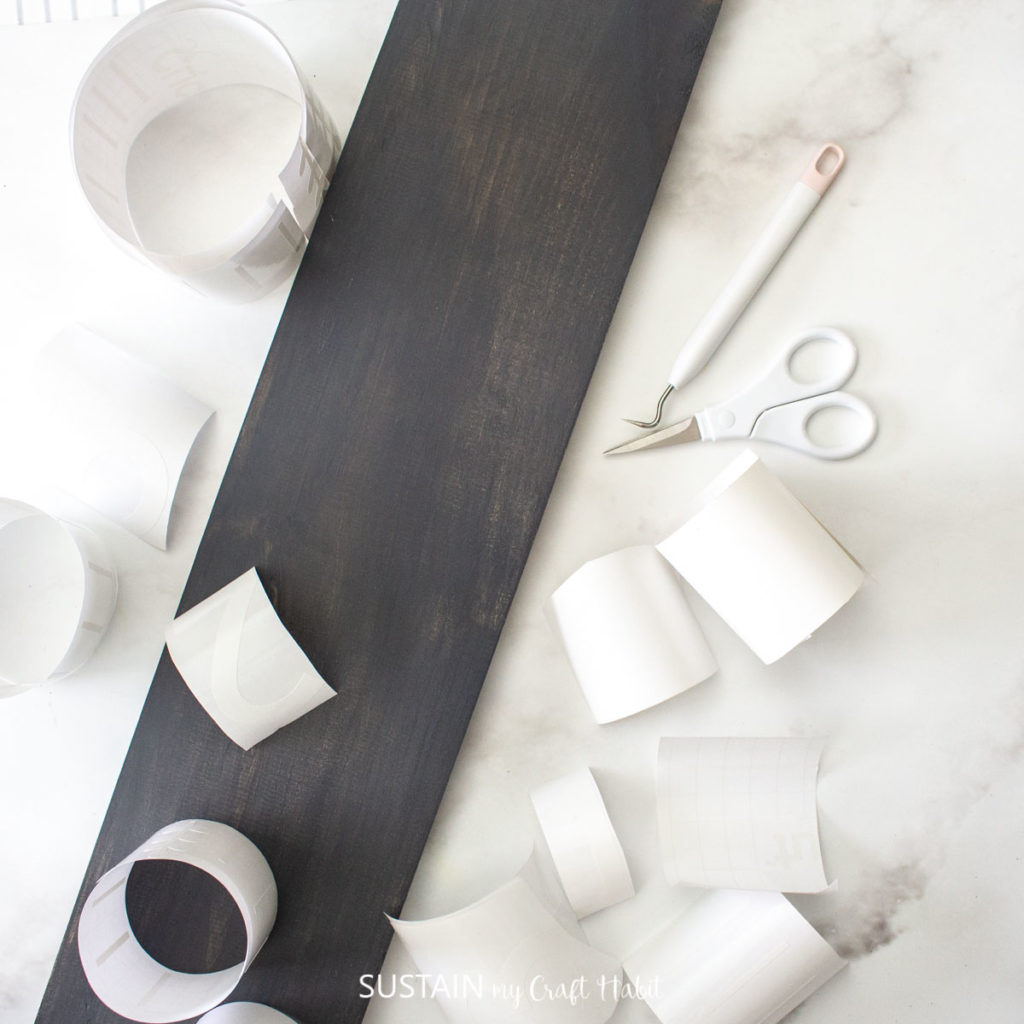
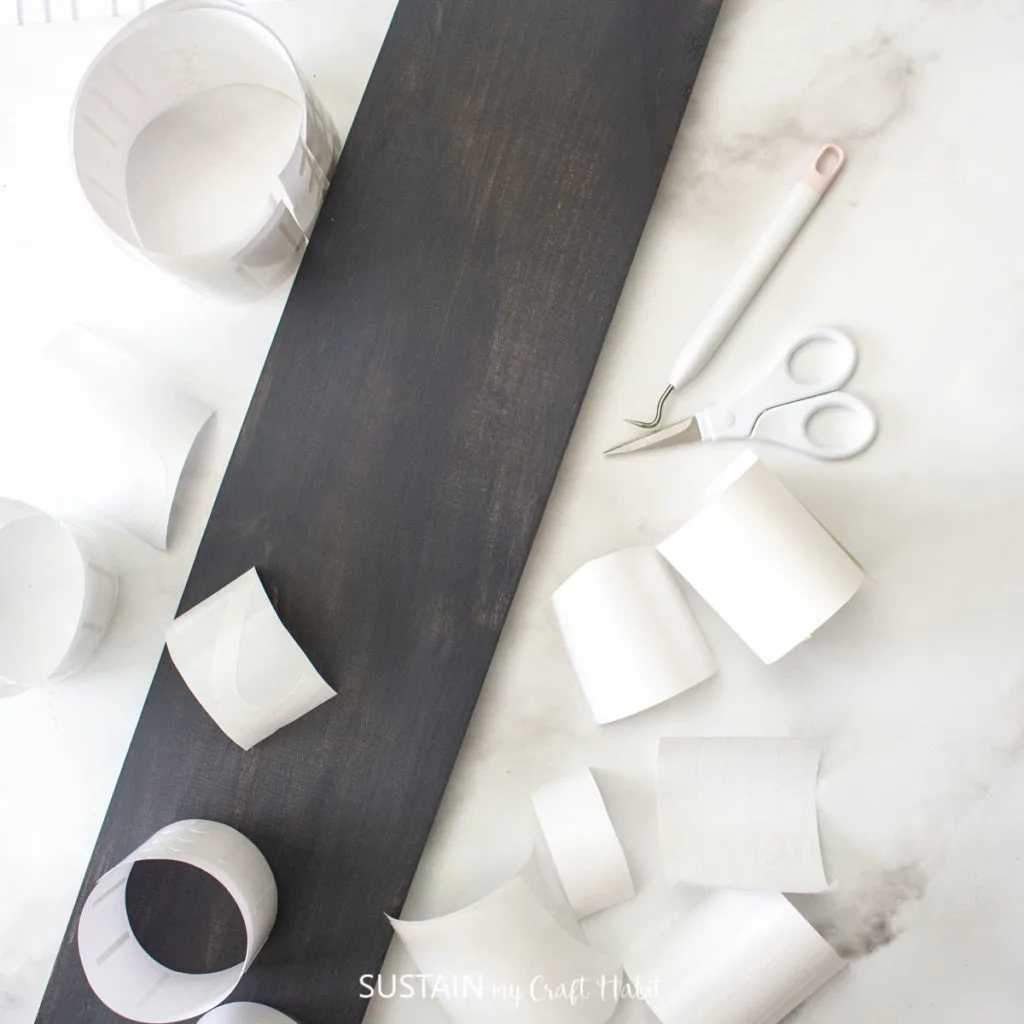
Once finished, use scissors to cut around the images.
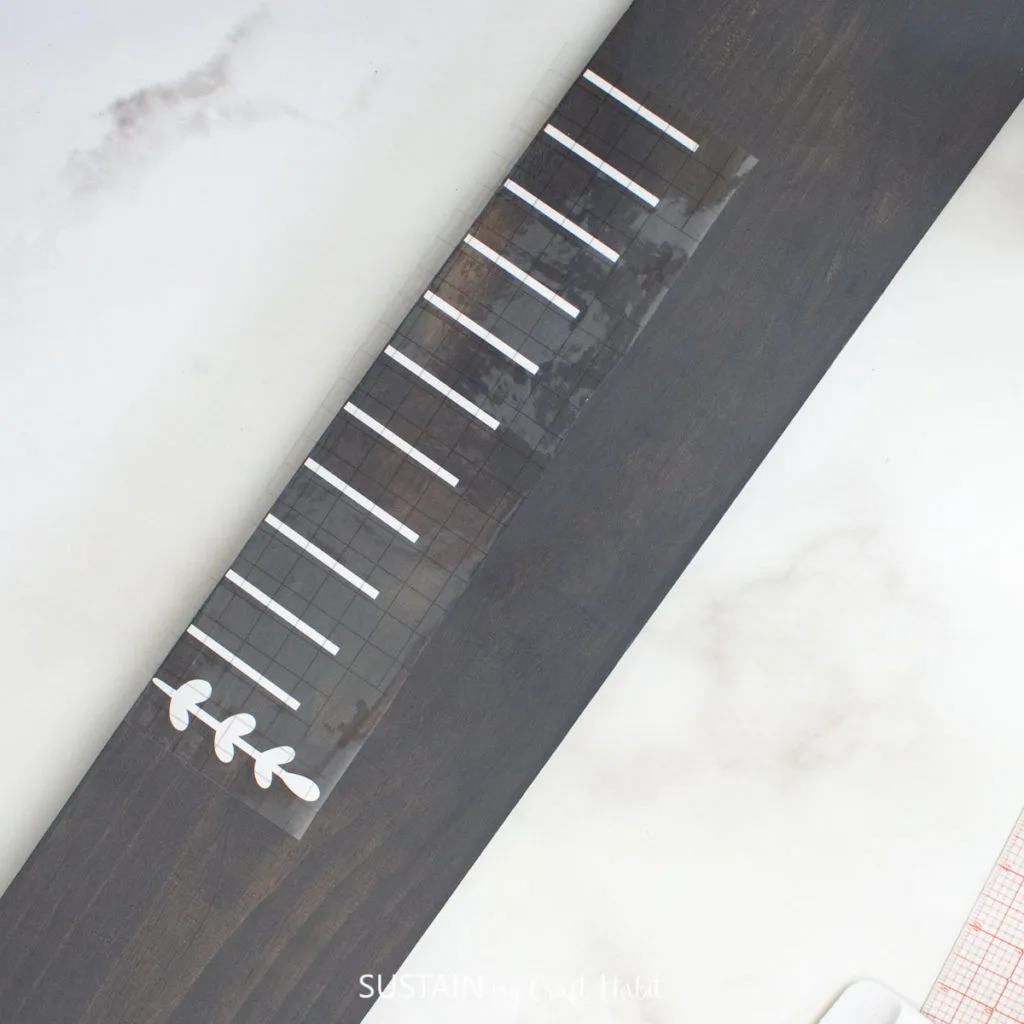
Keep 12 of the measuring lines intact to ensure spacing will be correct.
Cut around the individual numbers.
Peel away the excess vinyl leaving just the images for transaferring on to the growth chart.
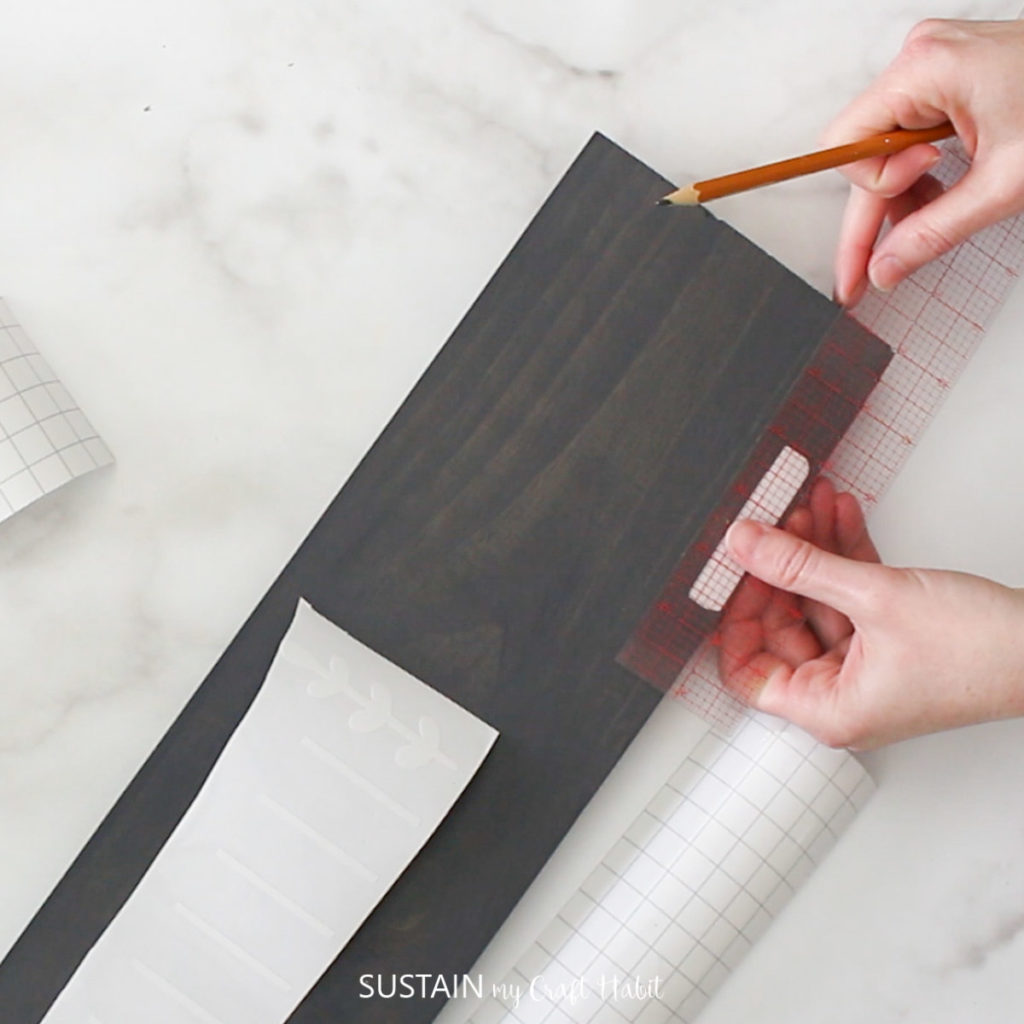
Peel away the transfer tape backing and place the transfer tape overtop of the cut image.
Gently rub the vinyl to help it stick to the transfer tape.
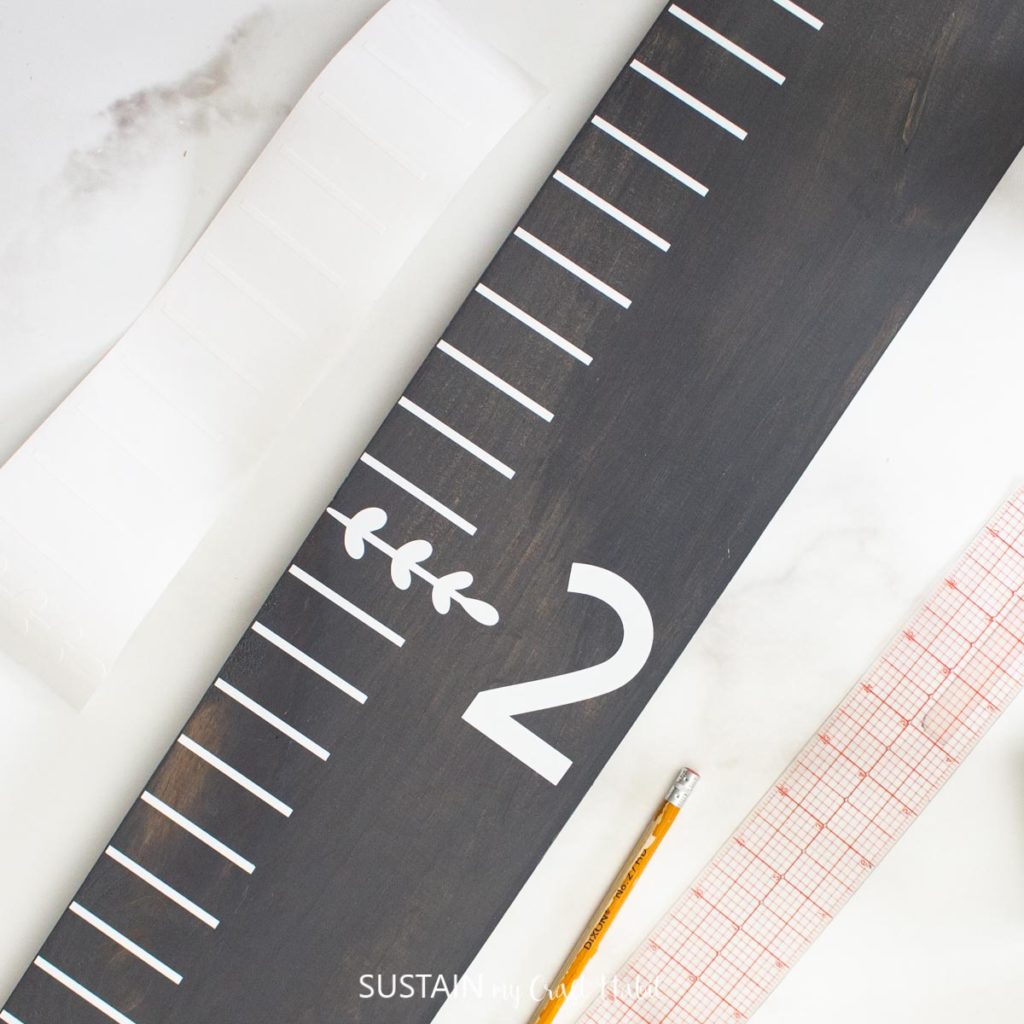
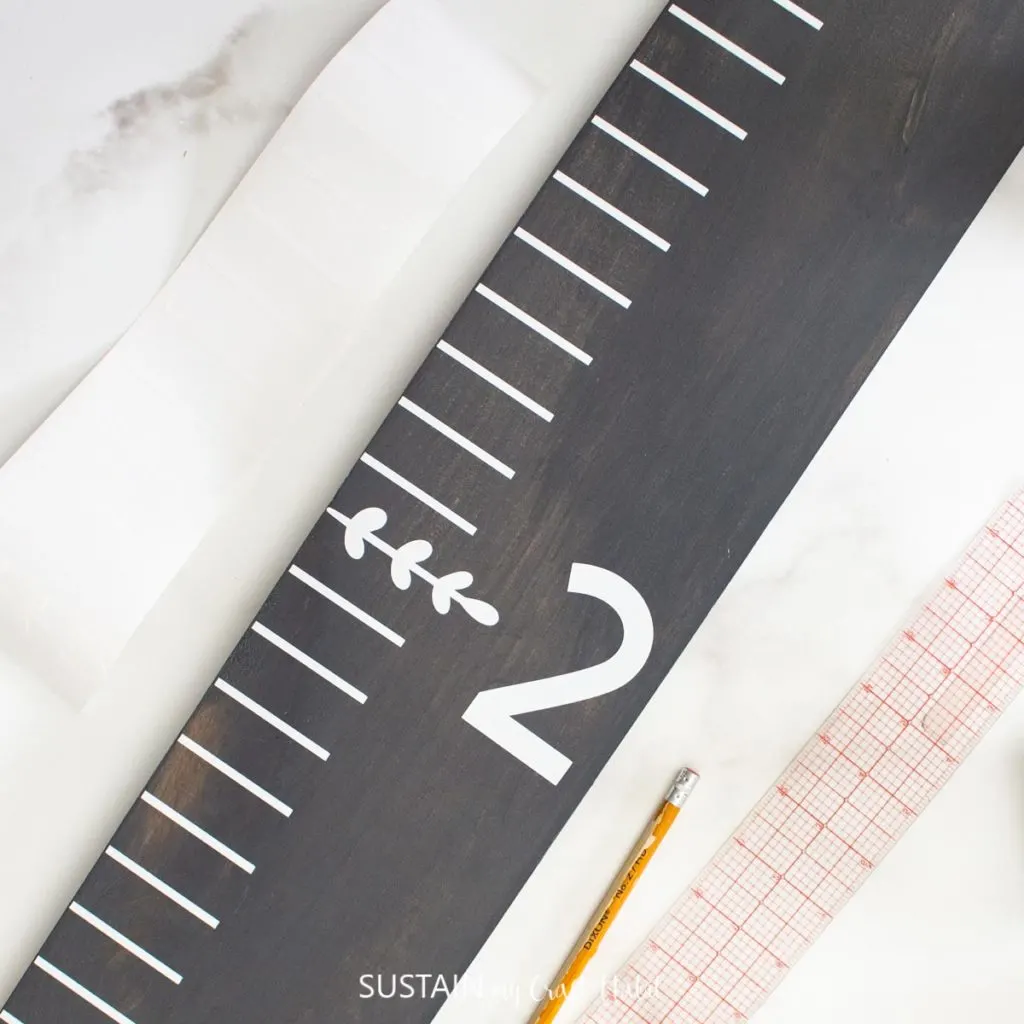
As mentioned before, the growth chart is designed to start 6 above the floor.
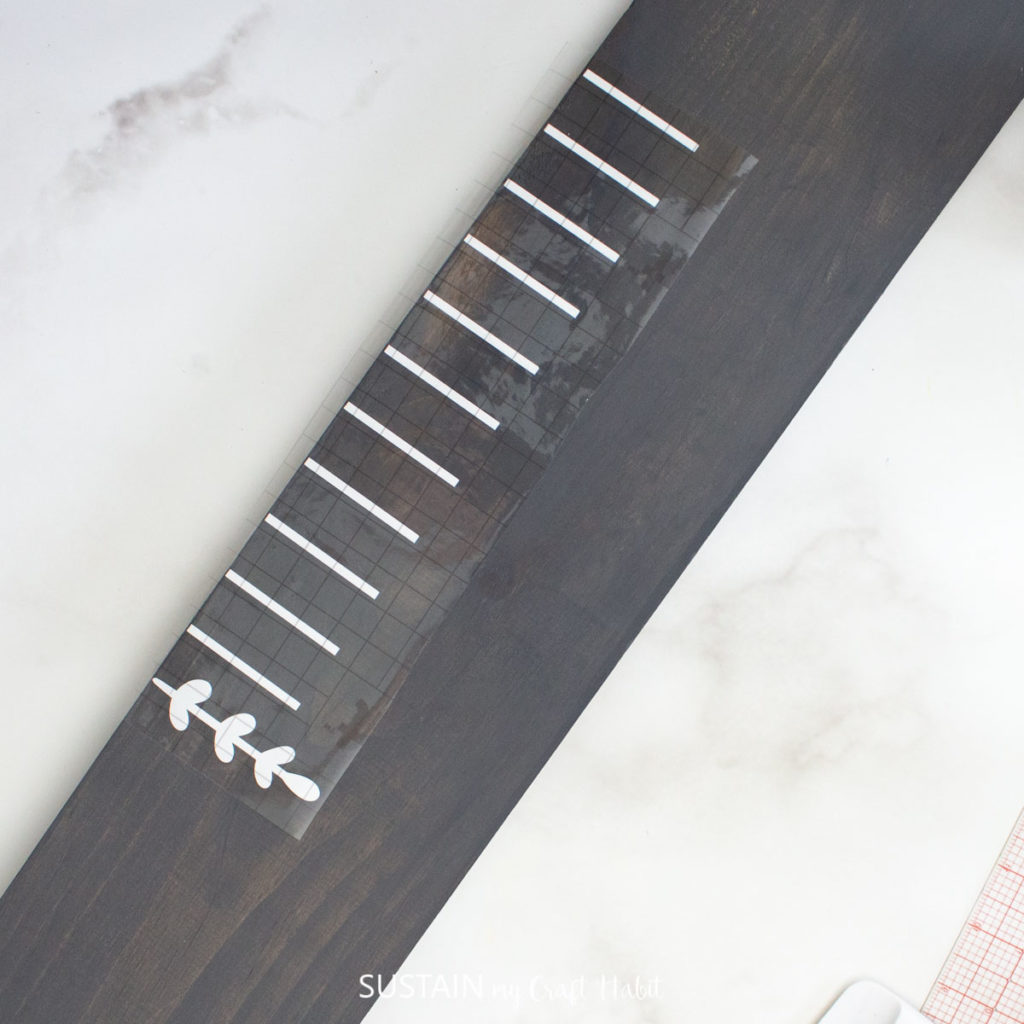
Gently rub the vinyl to help it stick to the wood.
Add the extra rectangles below the 1 mark and above the 6 mark to complete the DIY growth chart.
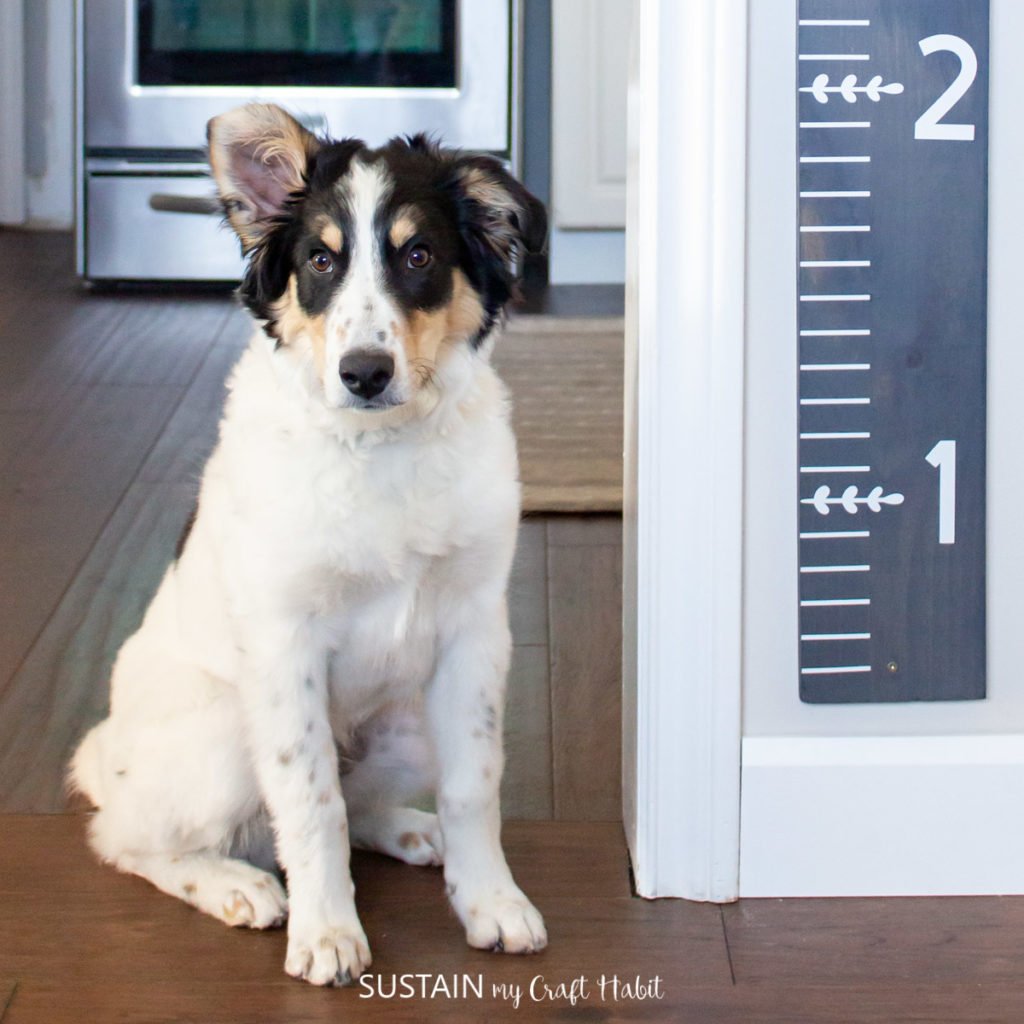
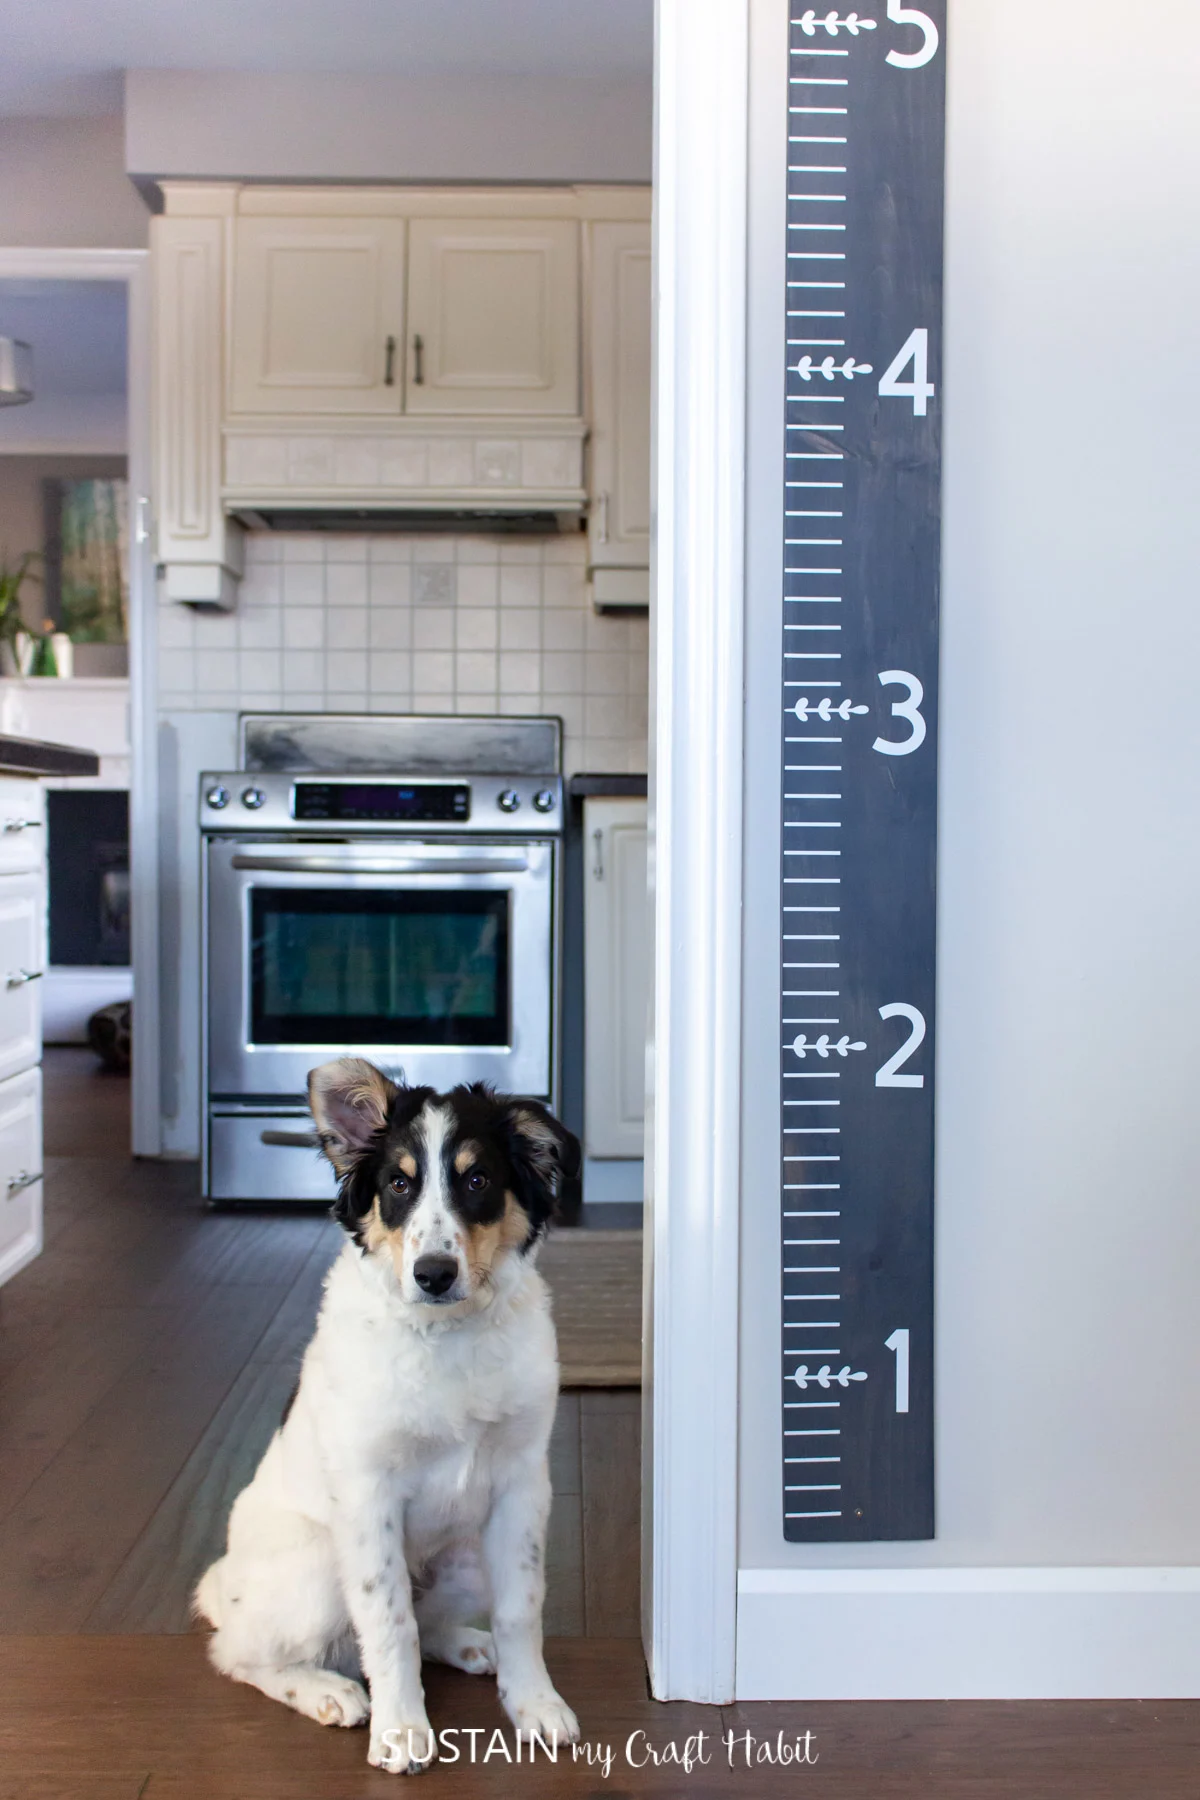
And heres one more picture with my furbaby because well, its just too cute not to include!
How do you keep track of your kids milestones as they grow?
Pin it for later!


Serving Tray
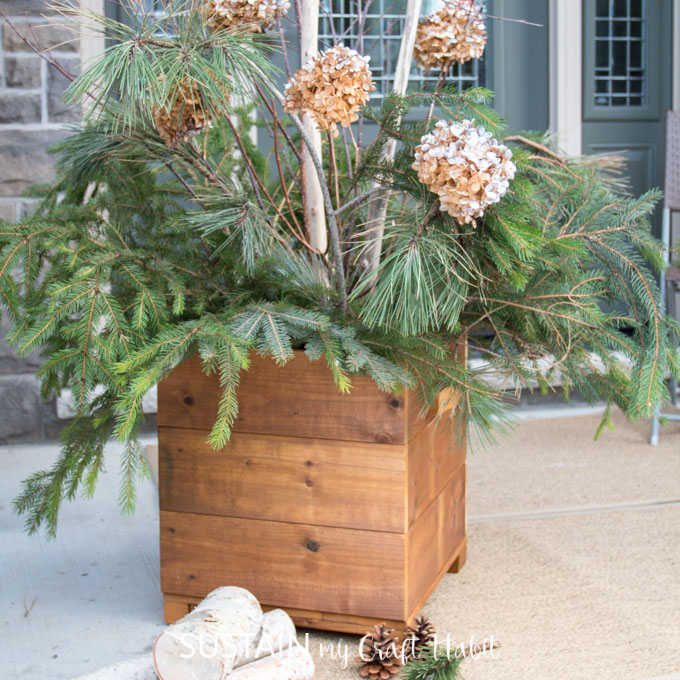
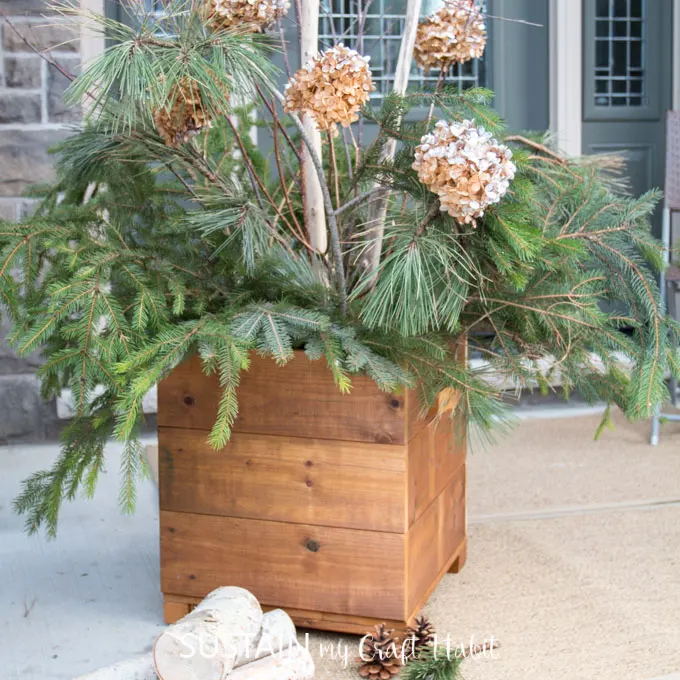
Cedar Planter Box
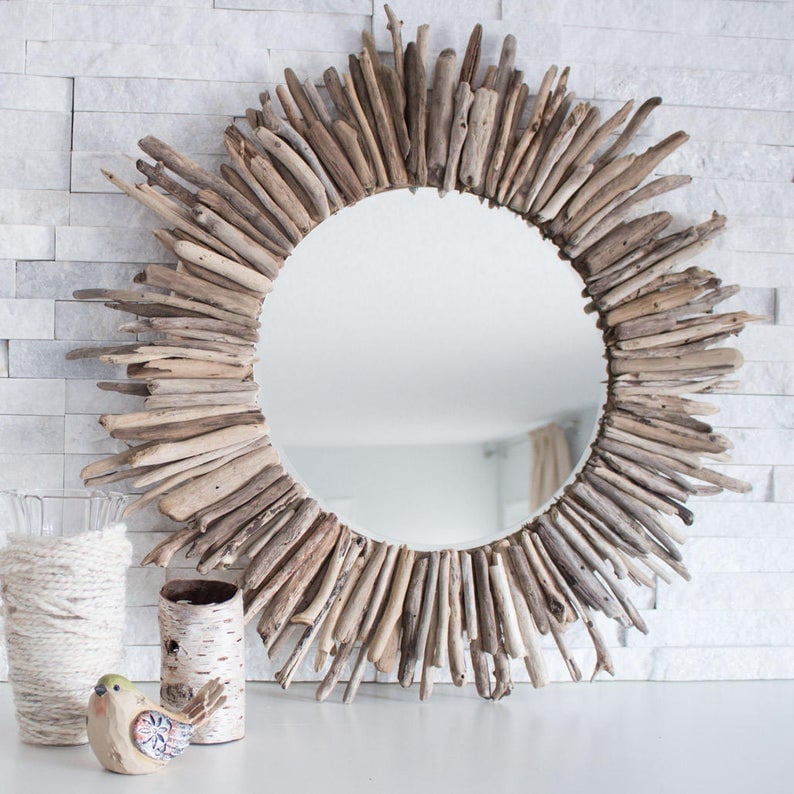
Driftwood Mirror


Bathroom Sign