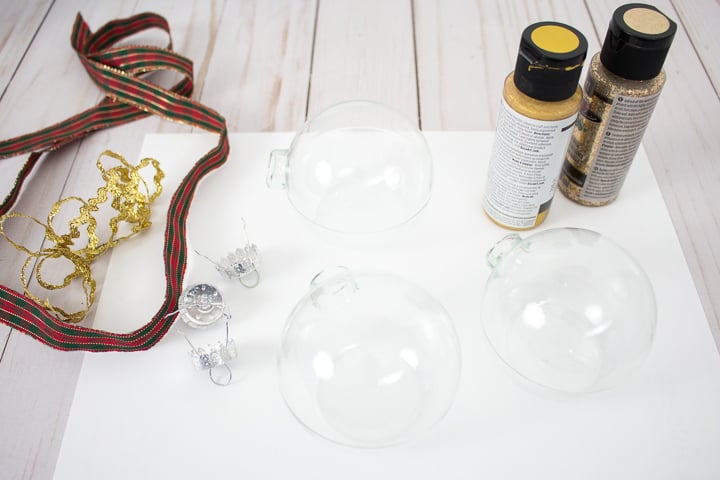
Having boughtclear glass ornamentsafter last years holidays, I couldnt wait to craft with them this year.
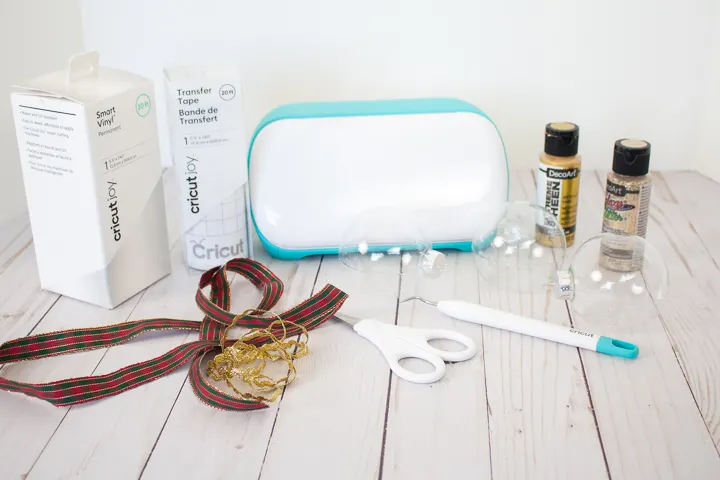
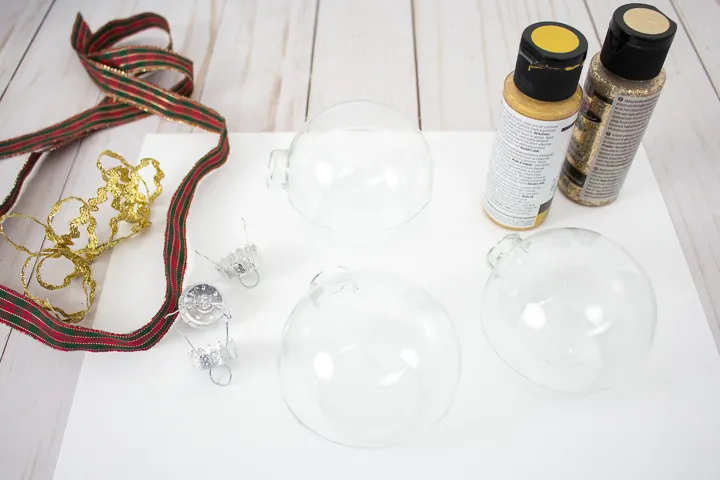
Materials Needed
Disclosure: This post contains affiliate links for your shopping convenience.
it’s possible for you to readour full disclosure policy here.

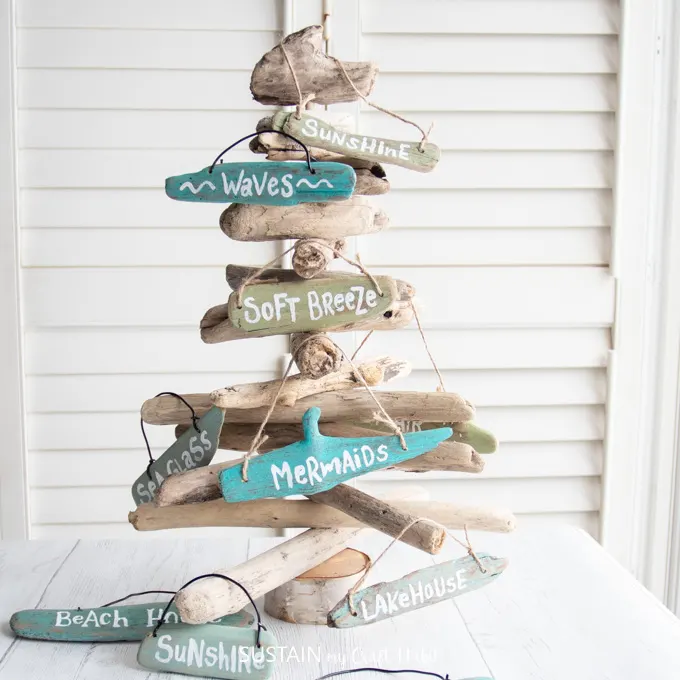
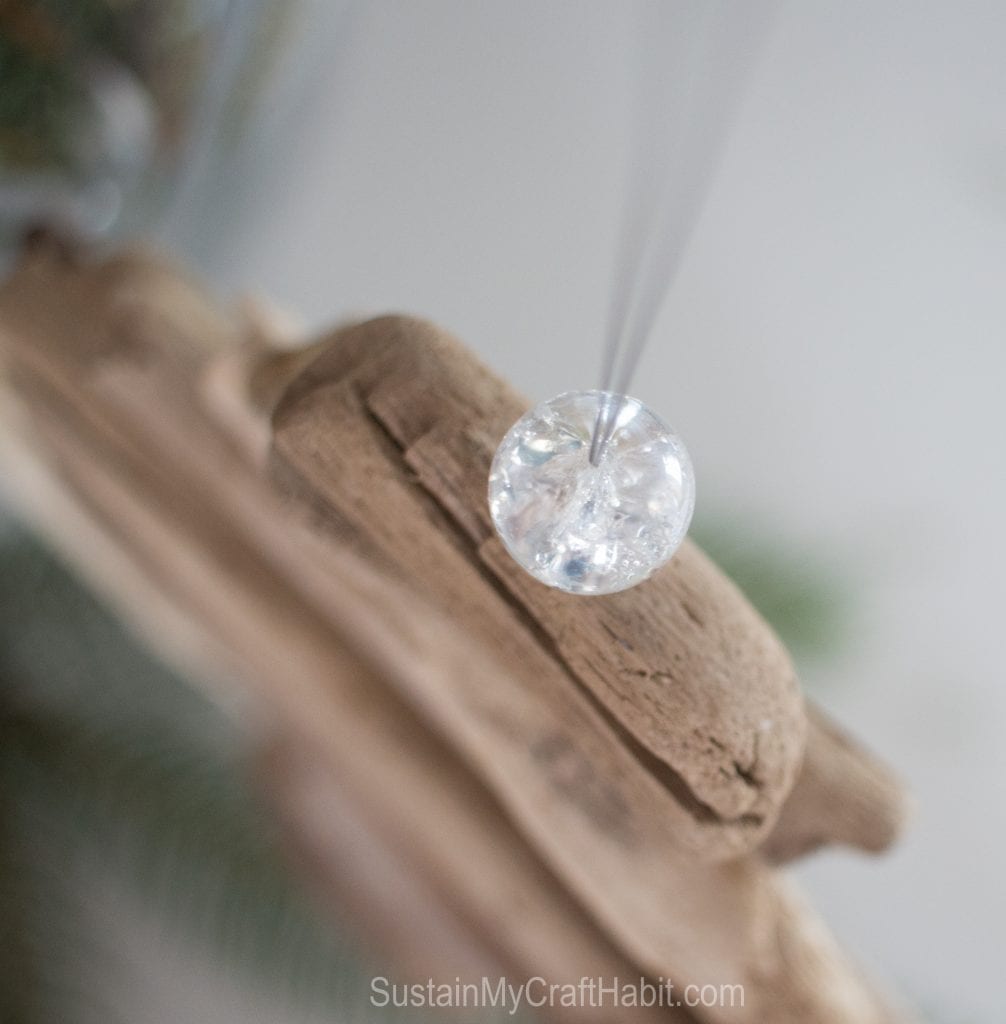
Coastal Ornaments with Driftwood
Making Painted Glass Ornaments for Christmas:
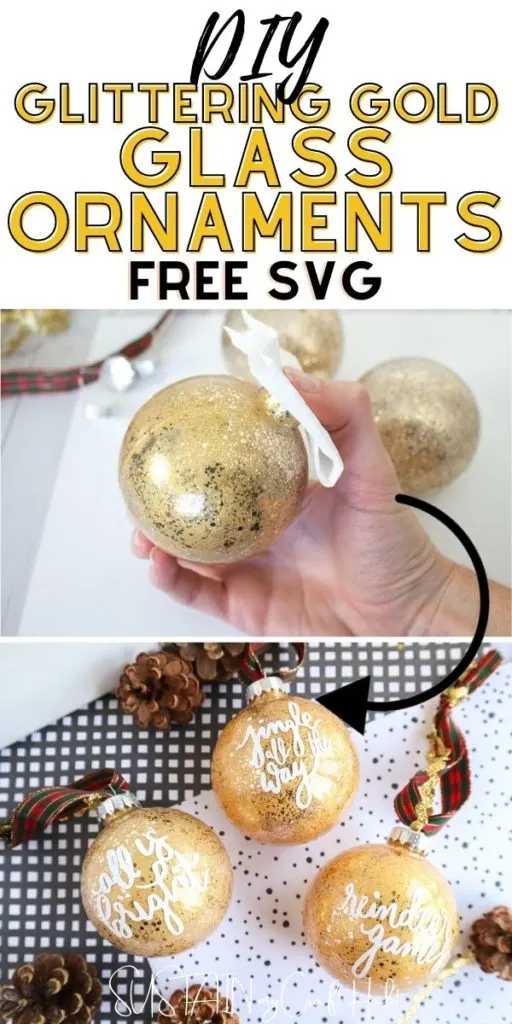
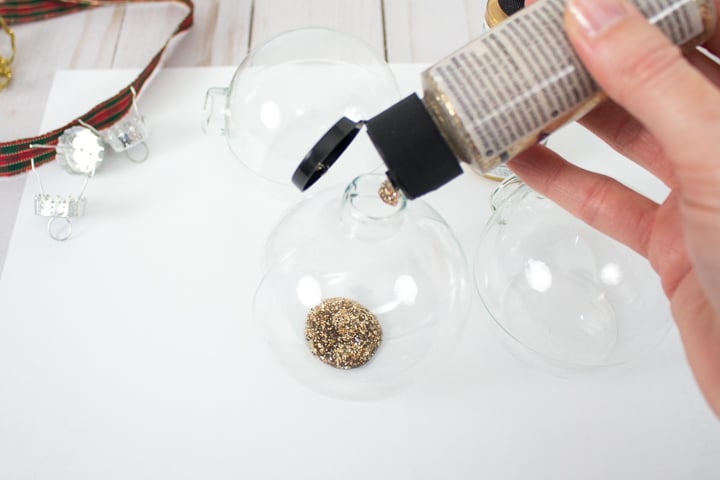
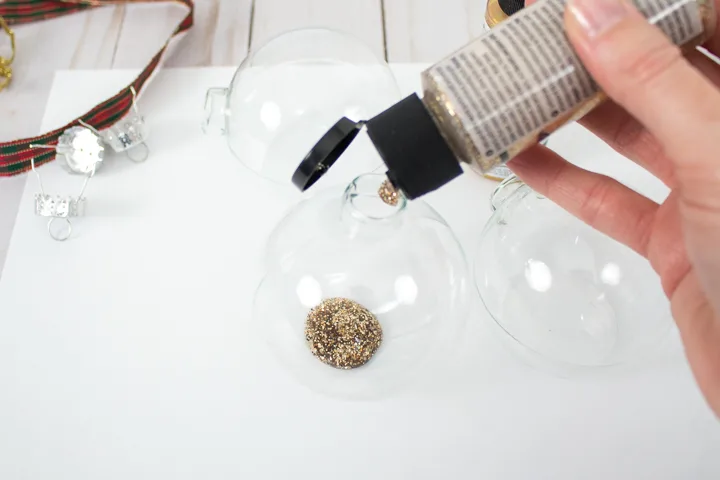
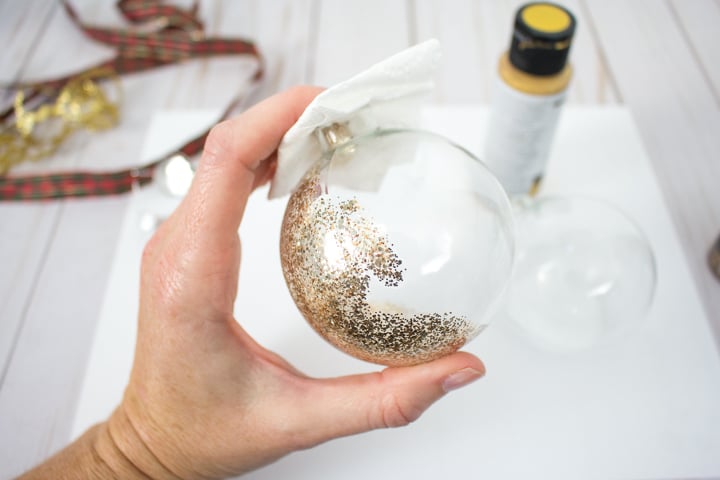
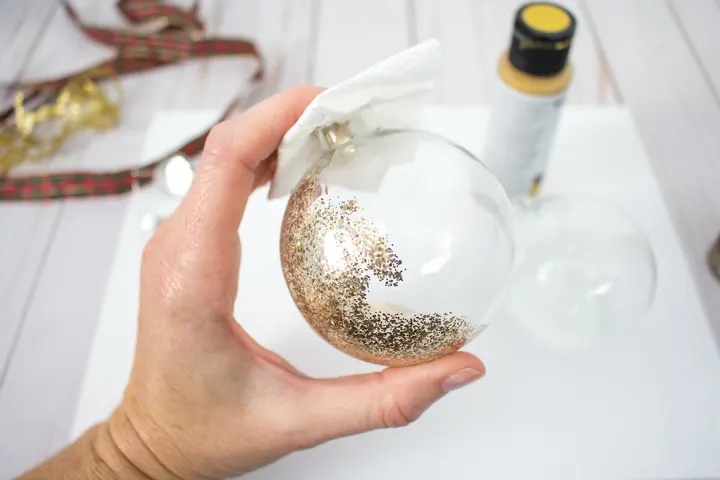
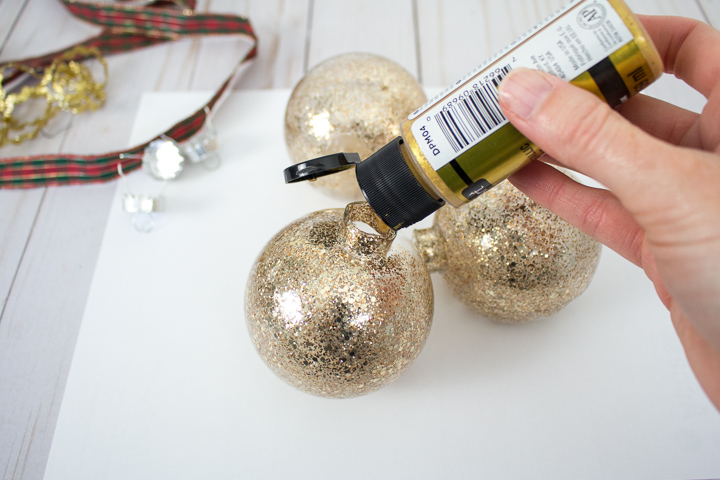
Remove cap from ornament.
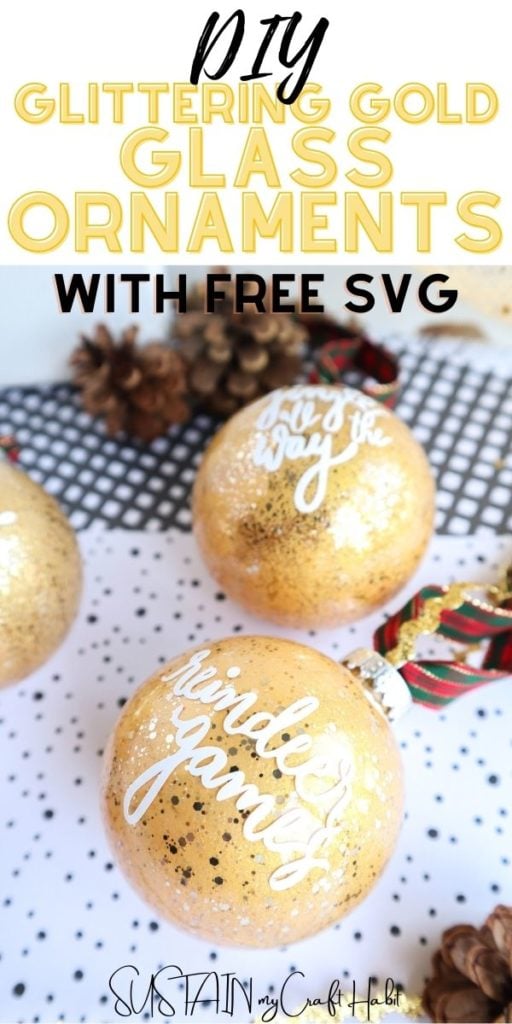
SqueezeGalaxy Glitter Champagnepaint into the opening.
Add more glitter paint and shake if needed.
Allow glitter paint to dry for about 10 minutes.
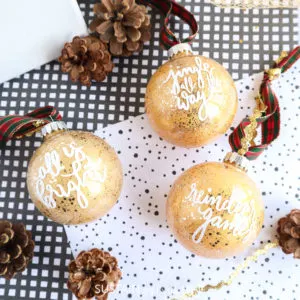
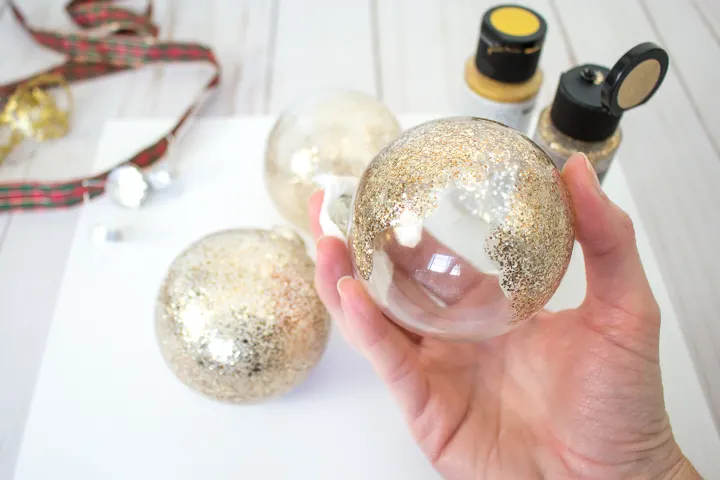
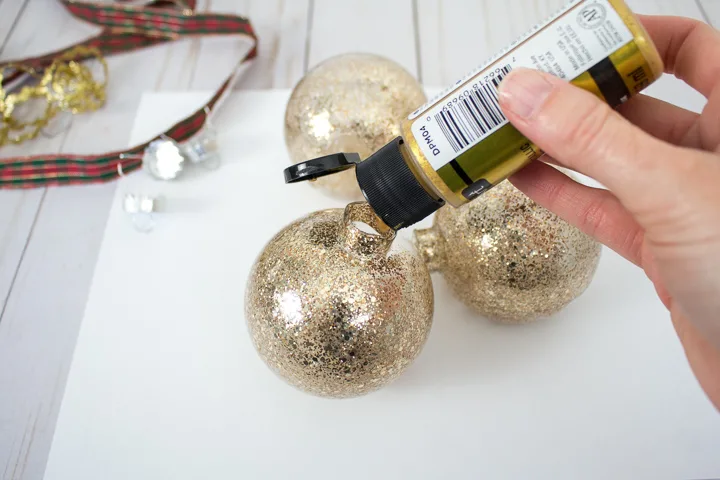
Next, squeeze a good amount ofExtreme Sheen 24K Gold paintinto the ornament.
Add more glitter paint and shake if needed.
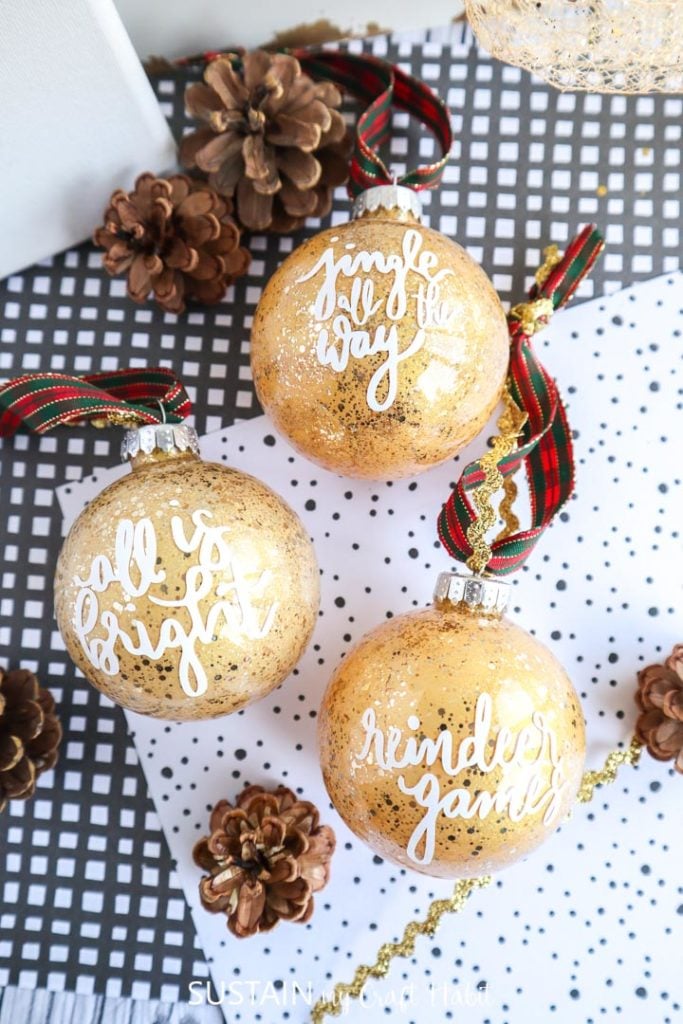
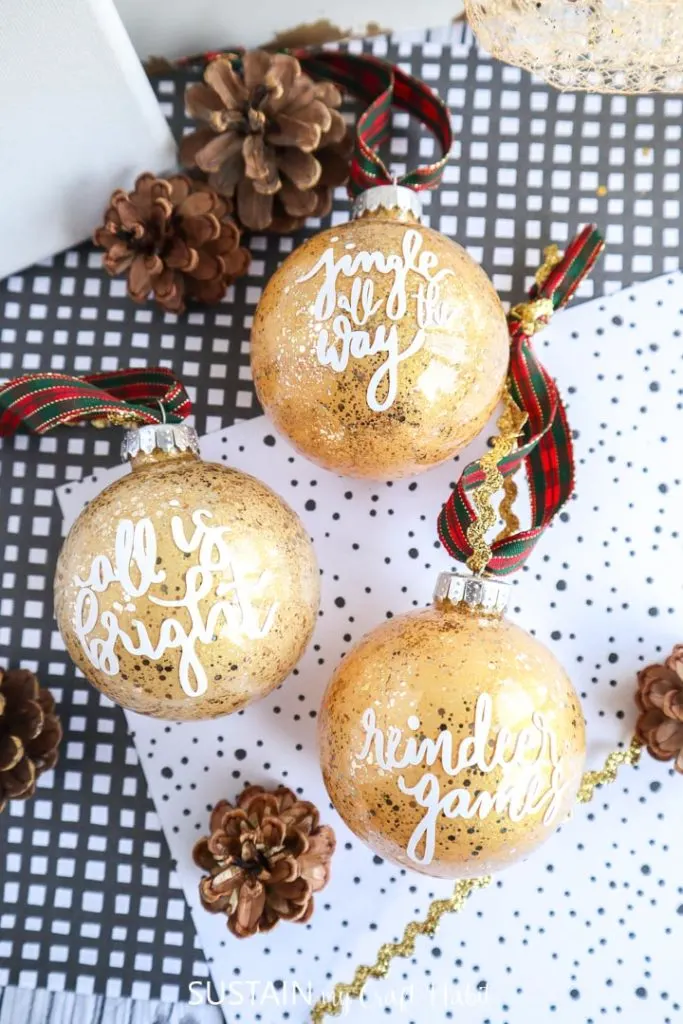
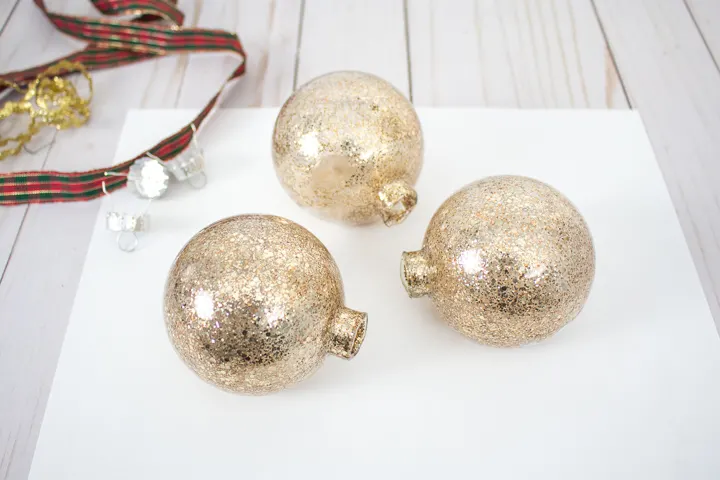
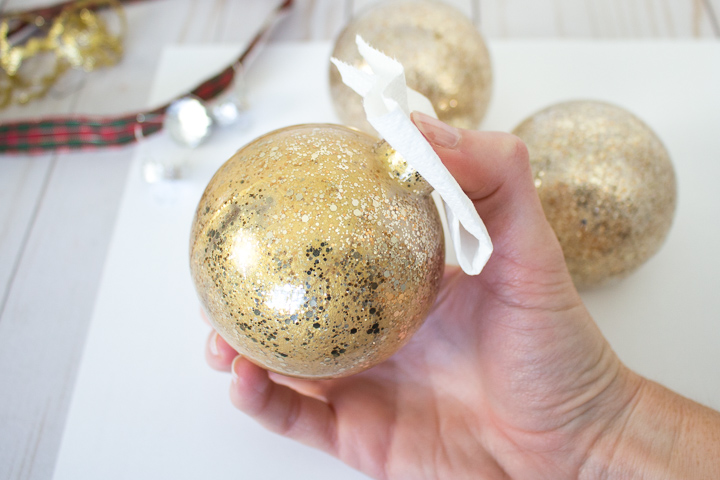
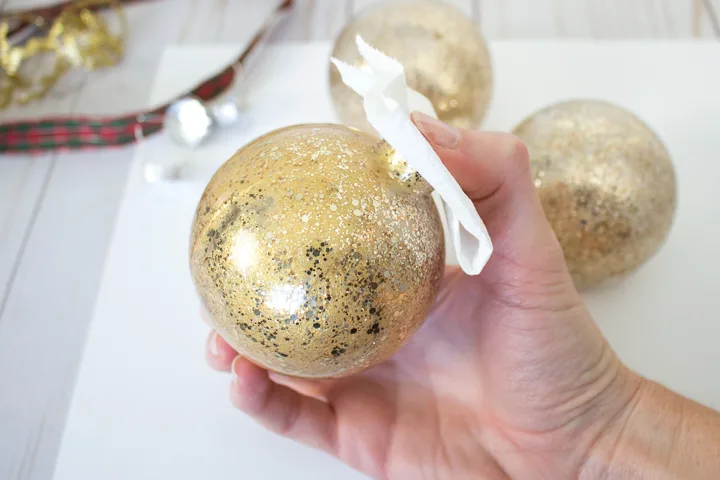
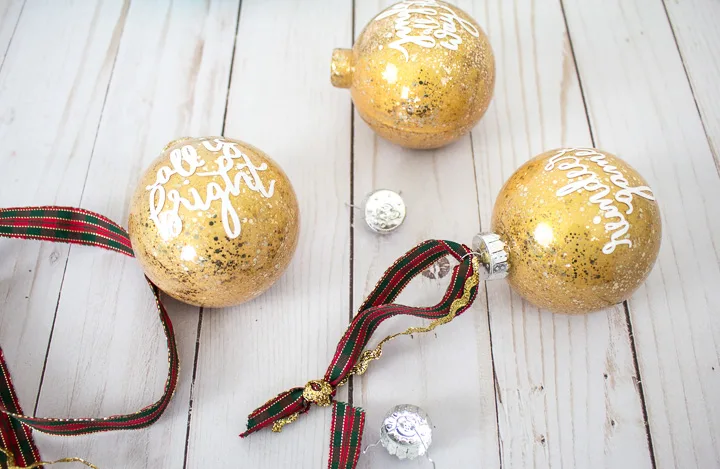
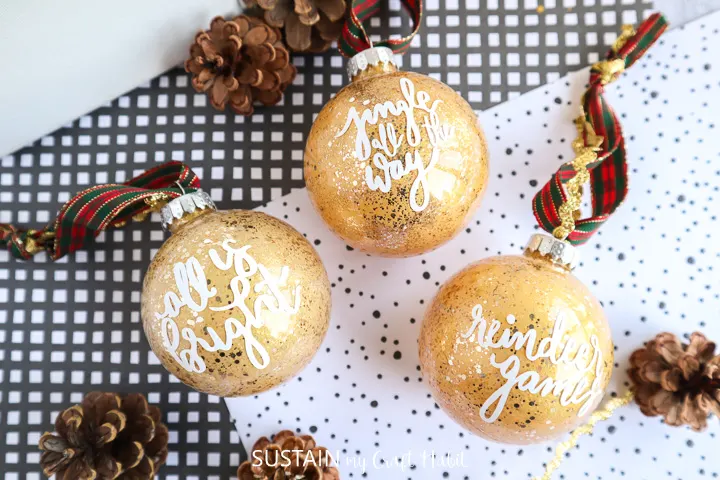
Arent they sooo pretty!?!
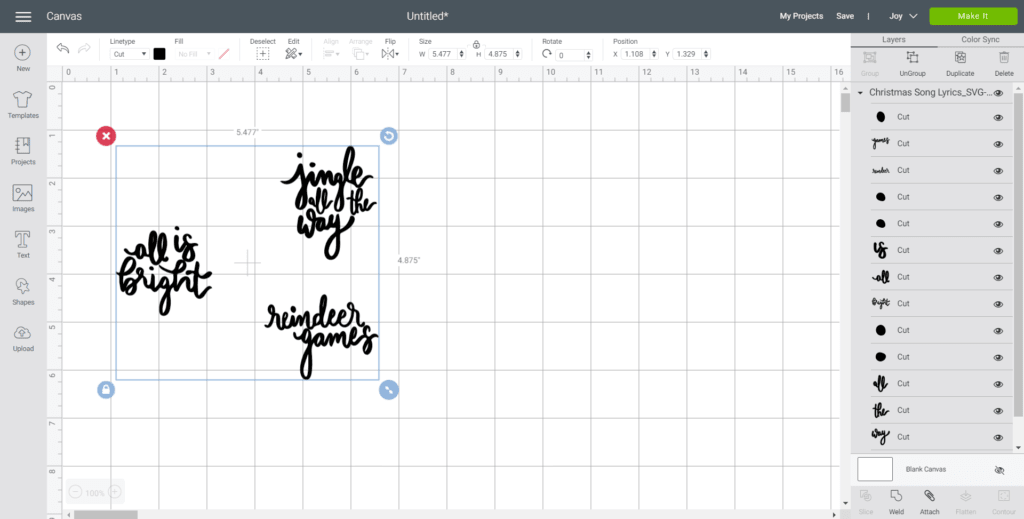
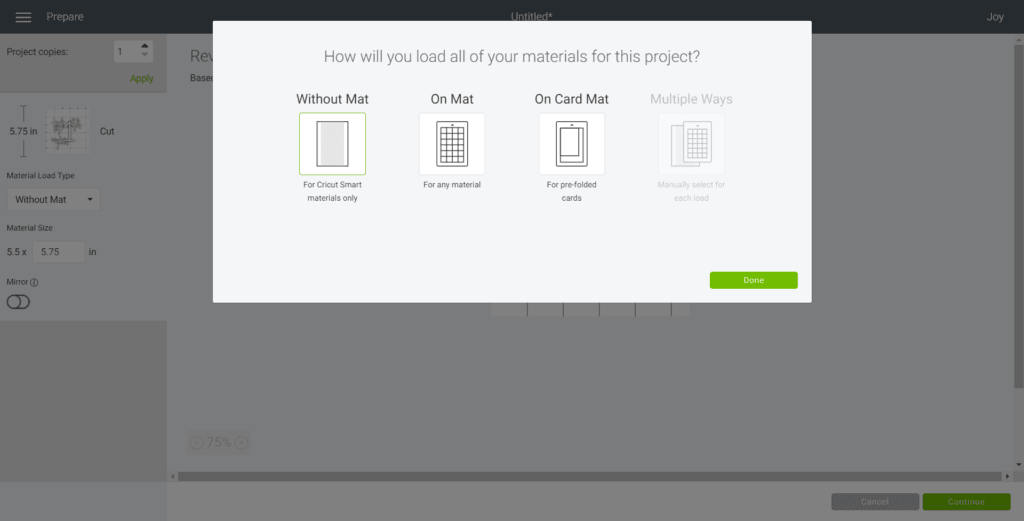
Open Cricut Design Space.
The phrases will appear on the canvas.
With the image selected, choose Ungroup.
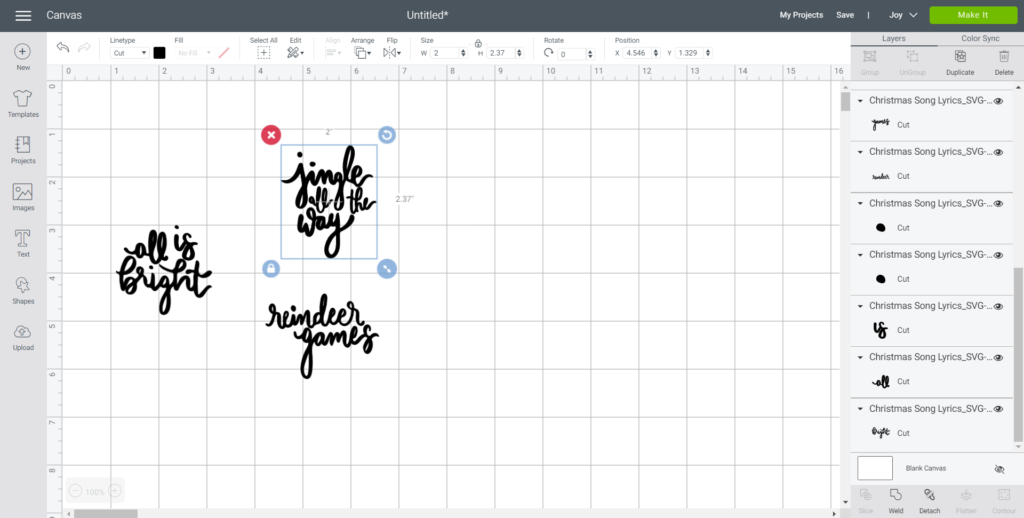
Maintain the size or adjust to fit your ornament.
To adjust the size, highlight the image and punch the size box in the top toolbar.
Change the measurement to suit your ornament size accordingly.
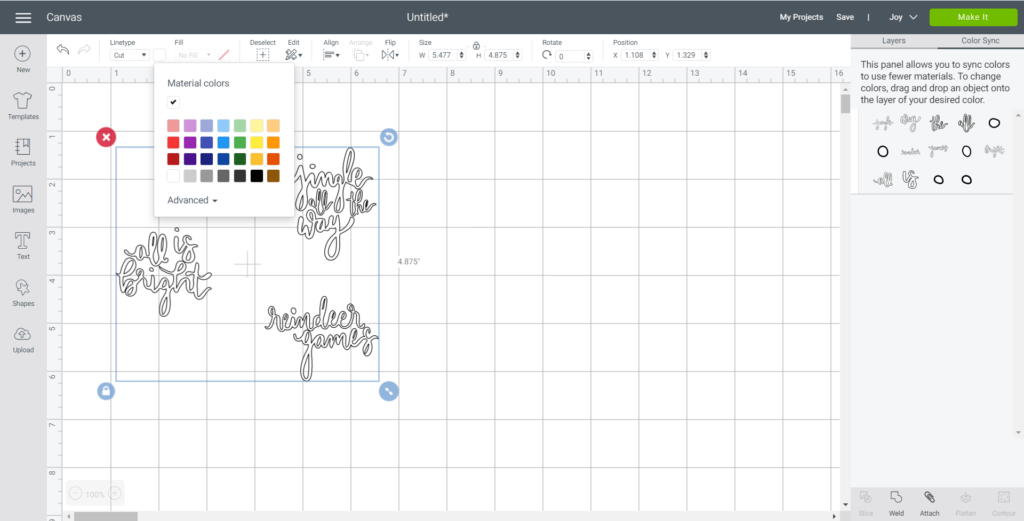
Change the image color if desired to match with the material color.
Select Make It in the upper right corner to proceed with cutting.

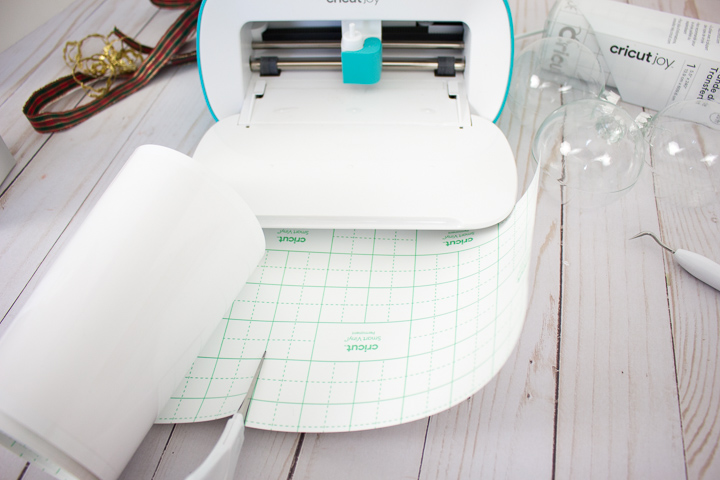
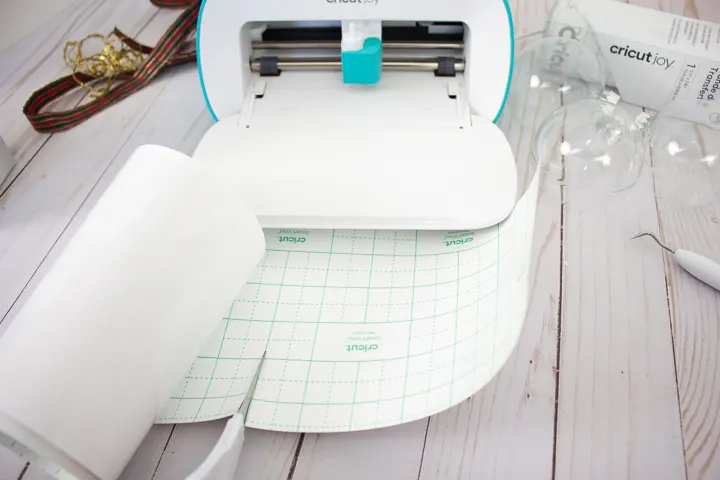
If using Cricut Joy Smart Vinyl, choose no mat for cutting.
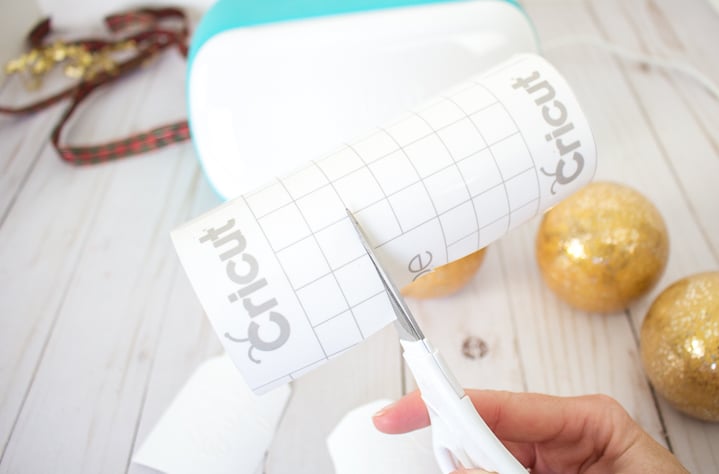
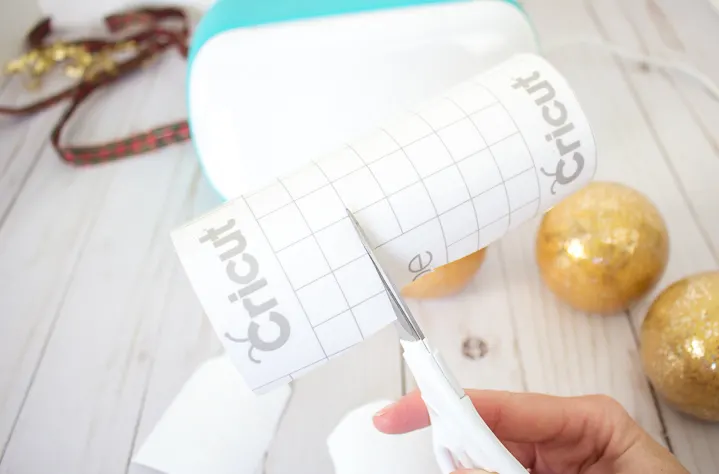
Note the size of the Smart Vinyl needed and cut the length of the vinyl accordingly.
Choose the Smart Vinyl, Permanent from the list of options in the drop down menu.

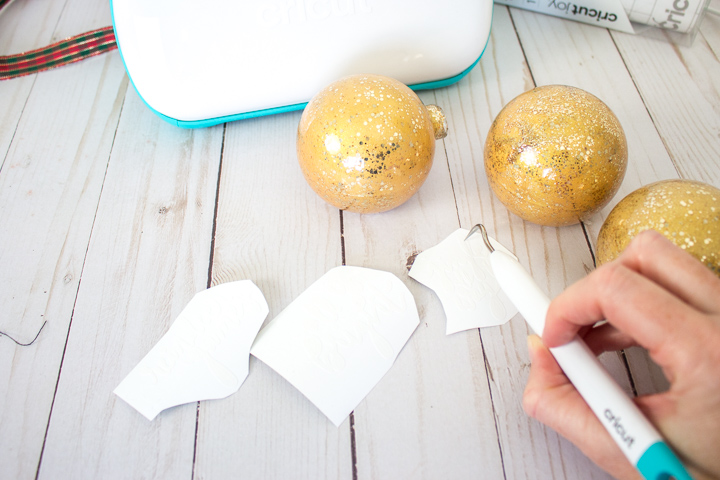
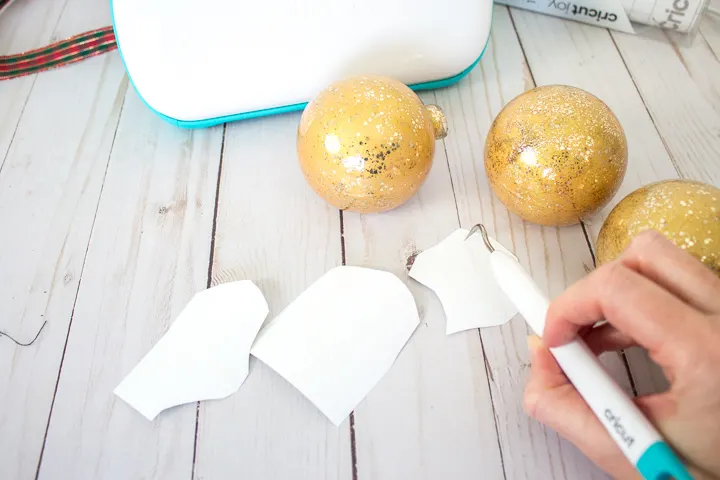
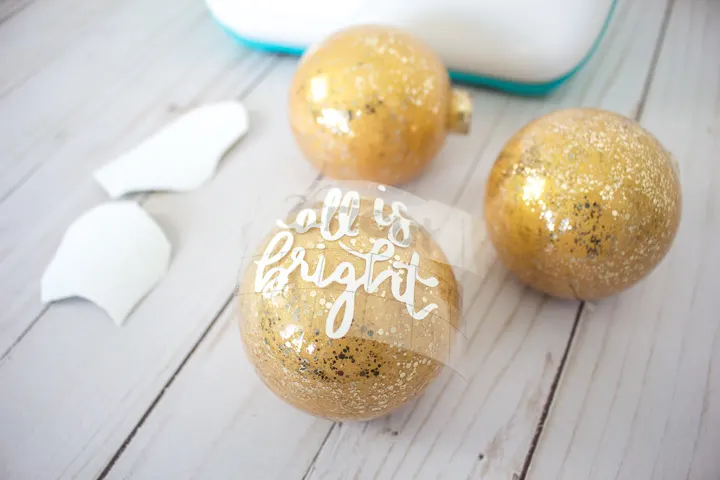
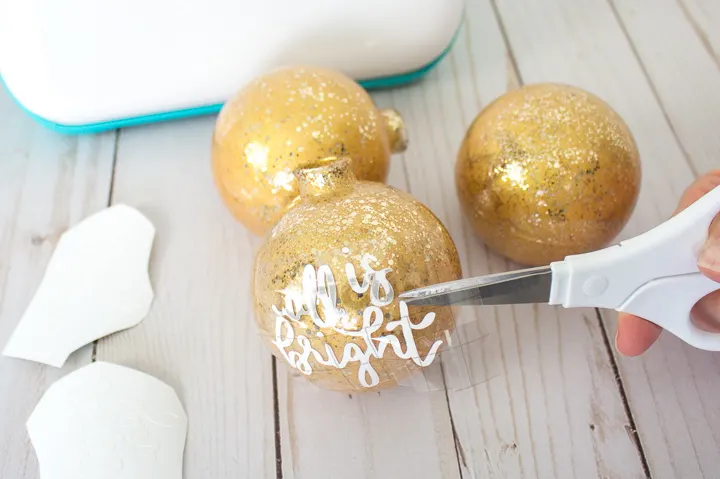
Cut around the phrase with a pair of scissors.
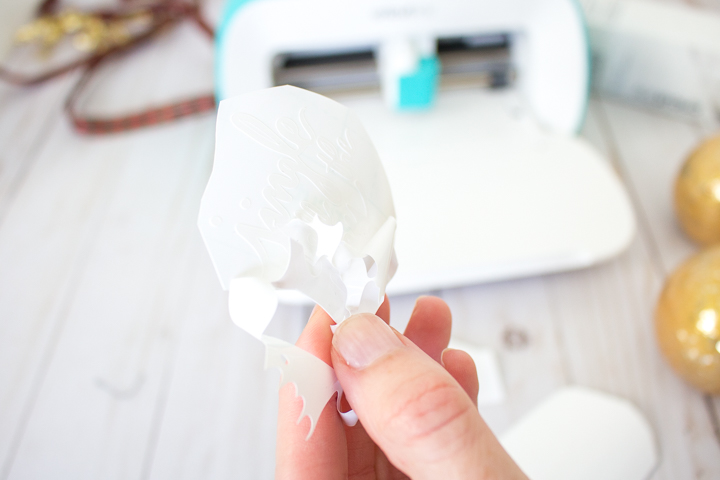
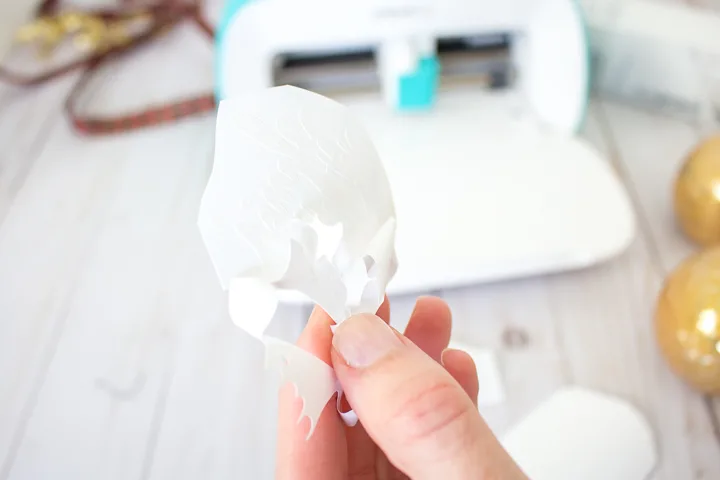
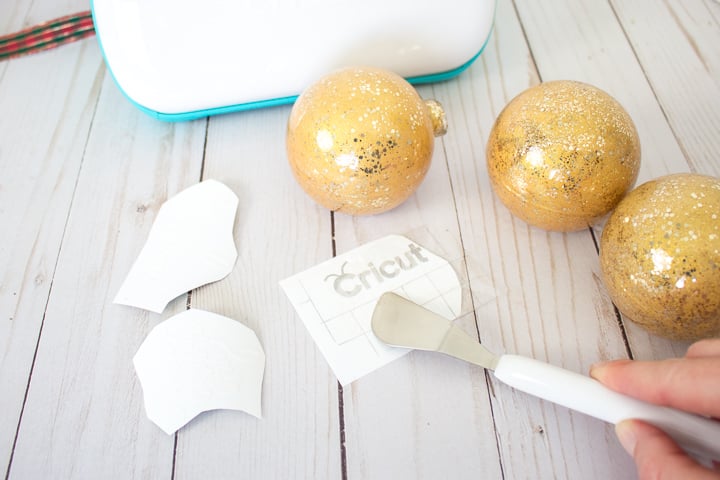
Using the weeding tool, peel away the excess vinyl around the cut images and discard.
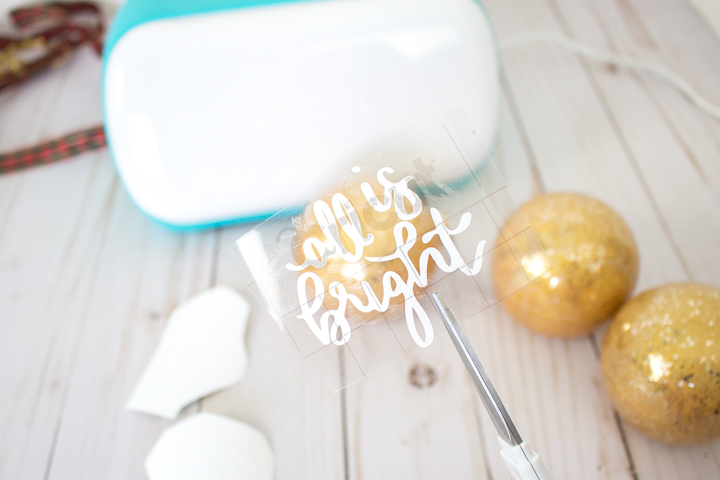
Cut a piece of transfer tape a bit larger than the size of the phrase.
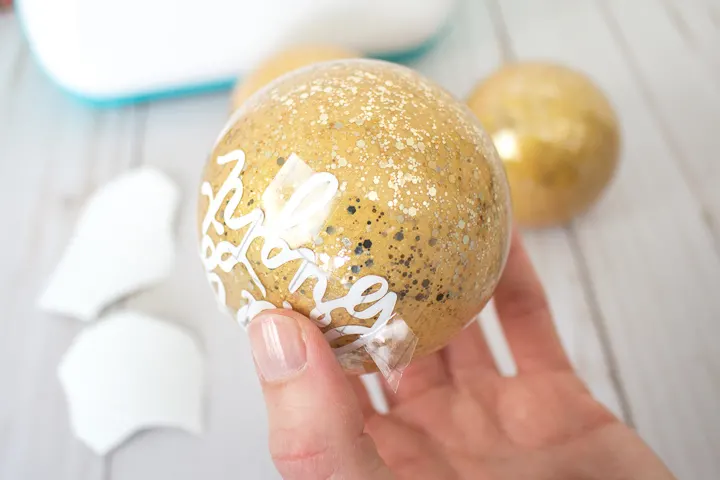
Peel away the transfer tape backing and place the transfer tape overtop of the cut phrase.
Gently rub the vinyl to help it stick to the transfer tape.
Peel away the vinyl backing, leaving just the image adhered to the transfer tape.
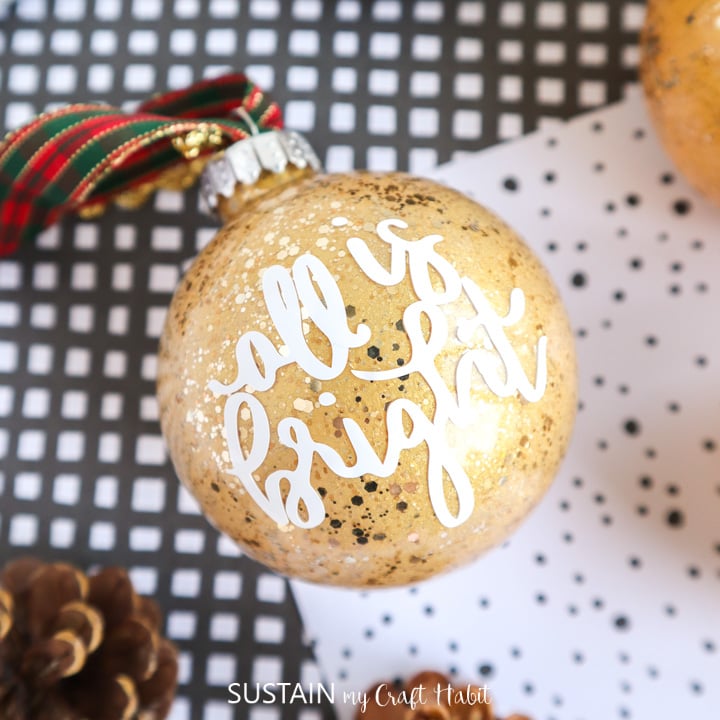
Carefully consider the placement before applying as the permanent vinyl cant be removed if placed incorrectly.
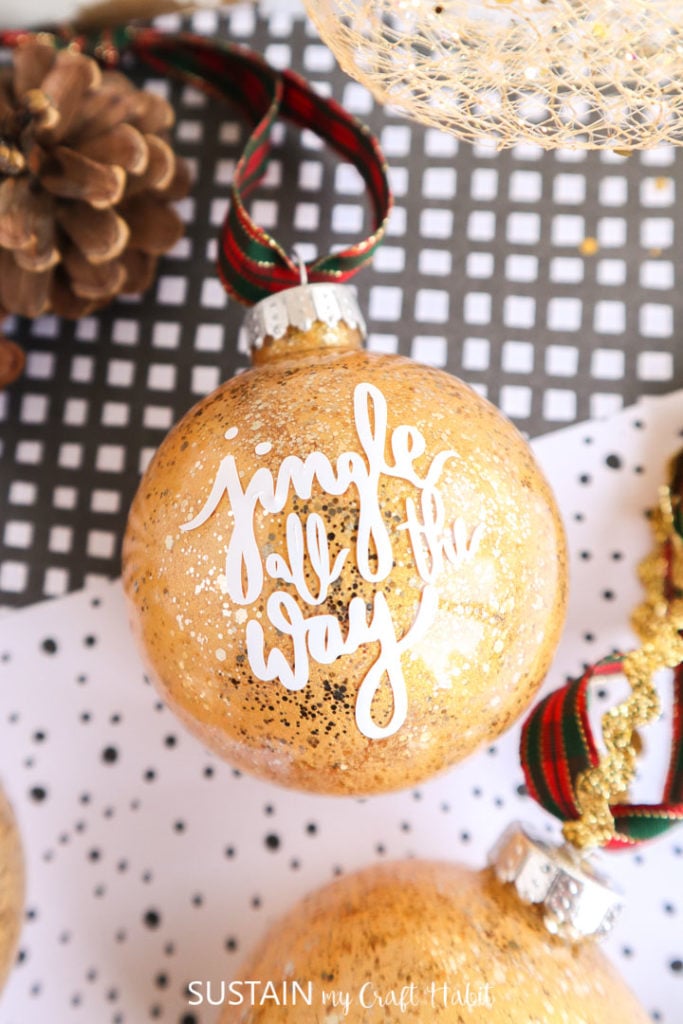
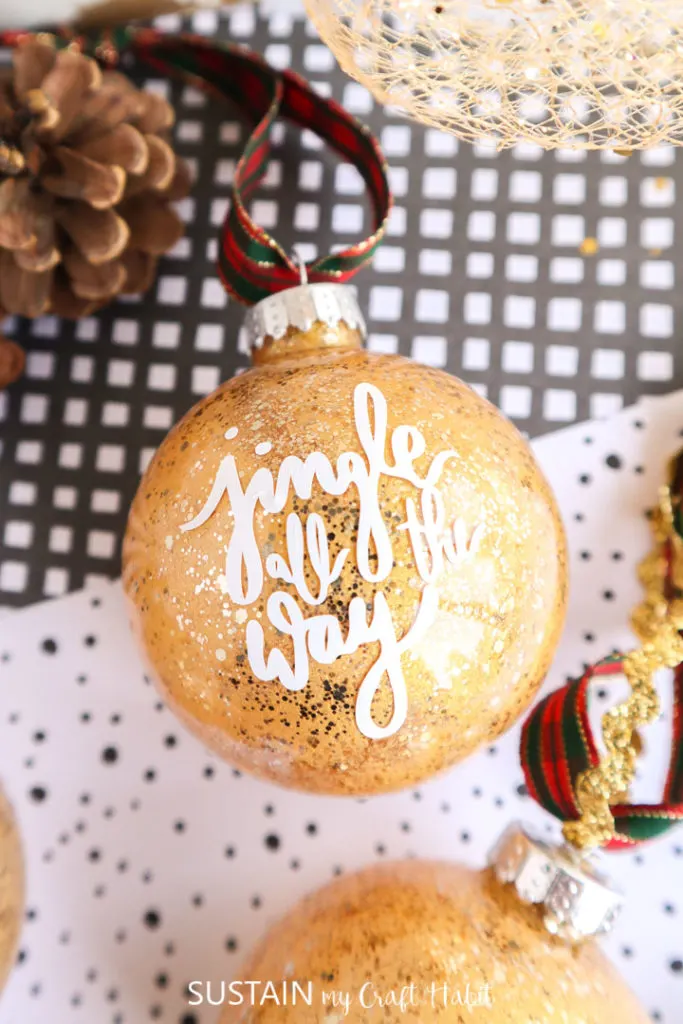
Position the image with the transfer tape on to the ornament and press in place.
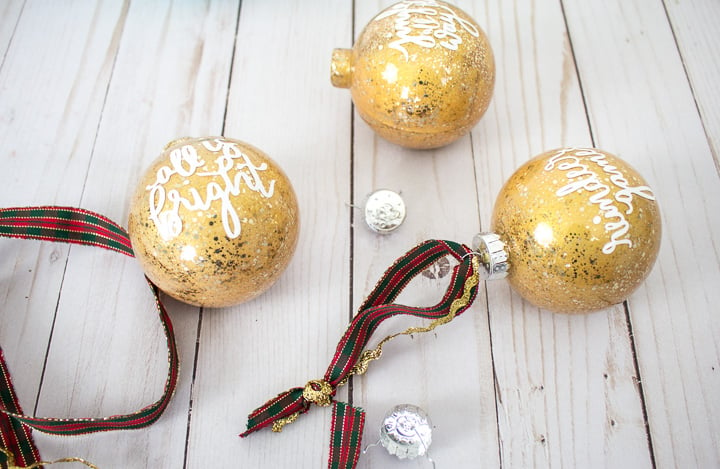
Reattach the ornament caps and tie a piece of decorative ribbon to the top of the ornaments.
Pin it for later!
DIY Glittering Gold Painted Glass Ornaments
Materials
Instructions


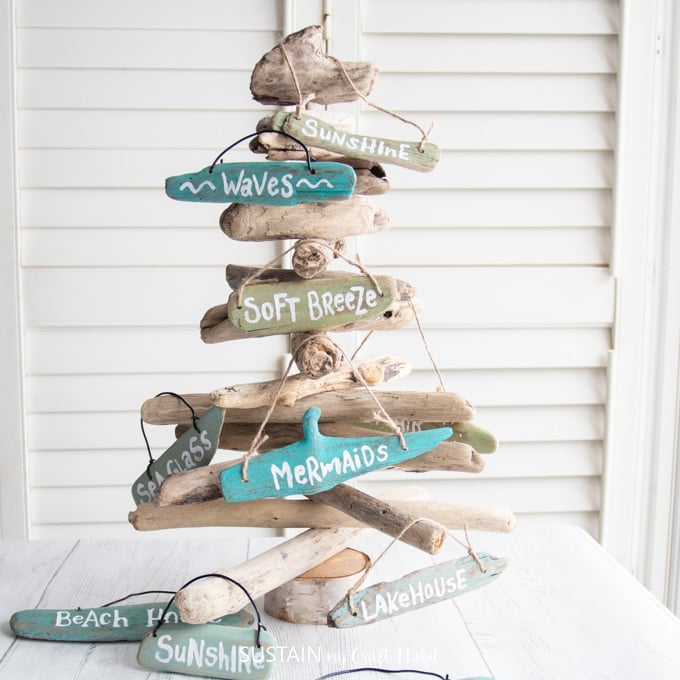
Coastal Ornaments with Driftwood

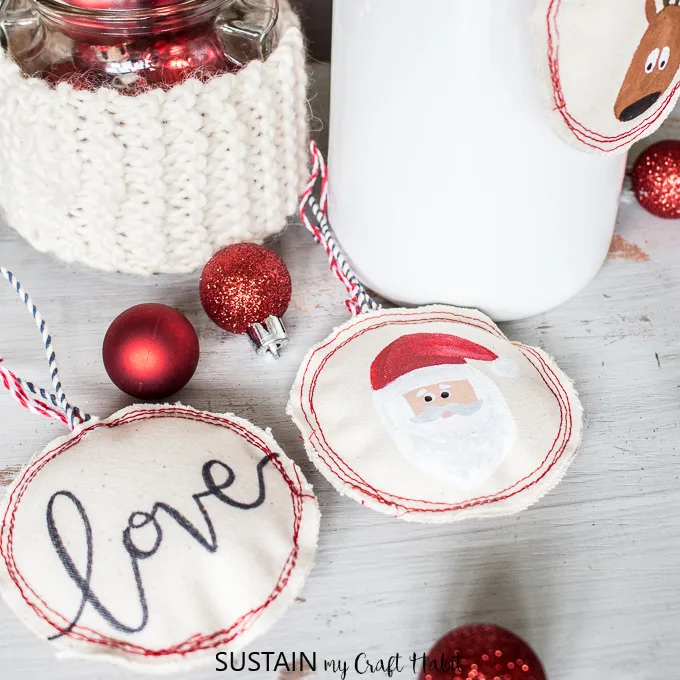
Scrap Canvas Painted Ornaments
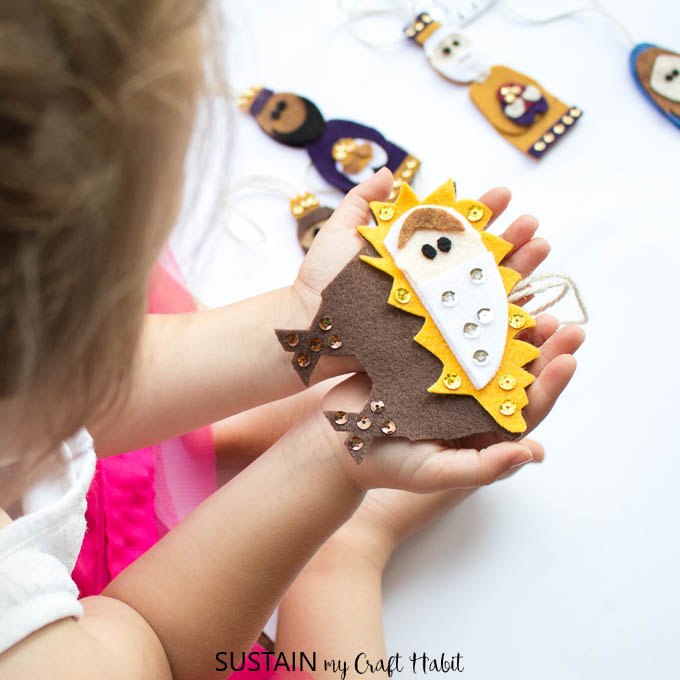
No-Sew Felt Nativity Ornaments

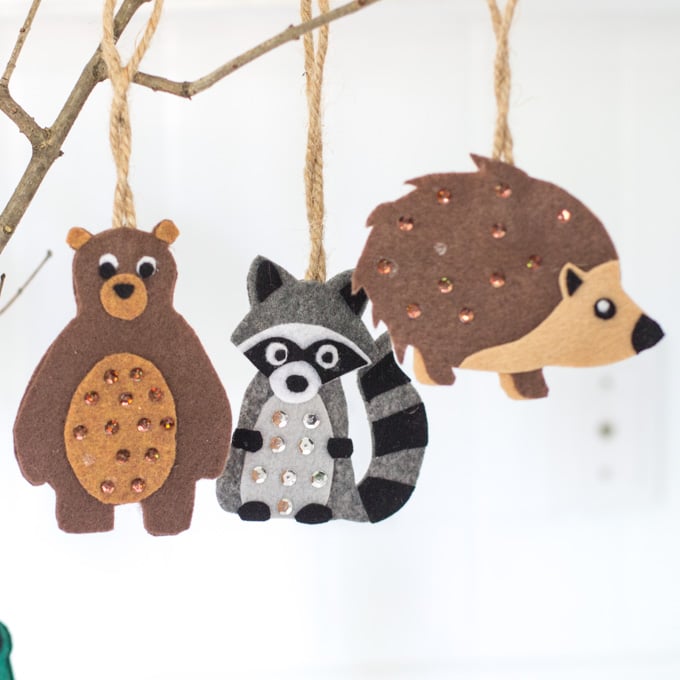
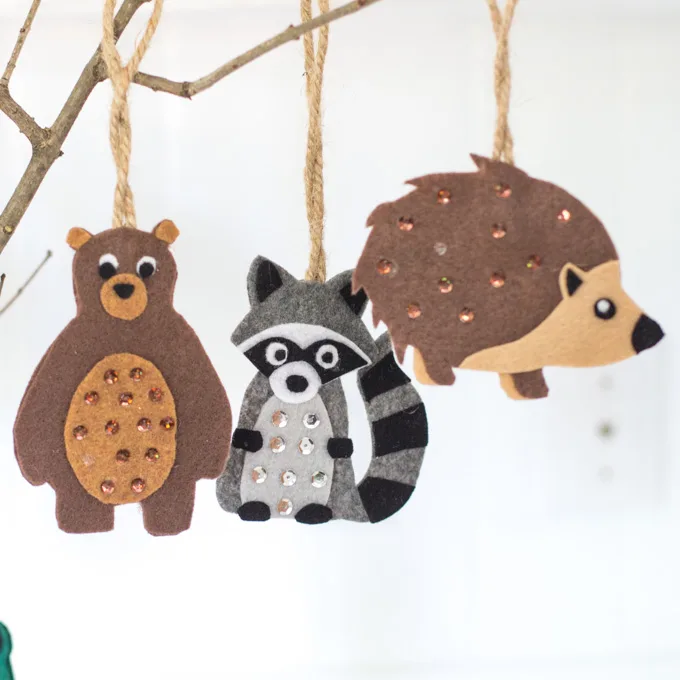
No-Sew Felt Woodland Animals
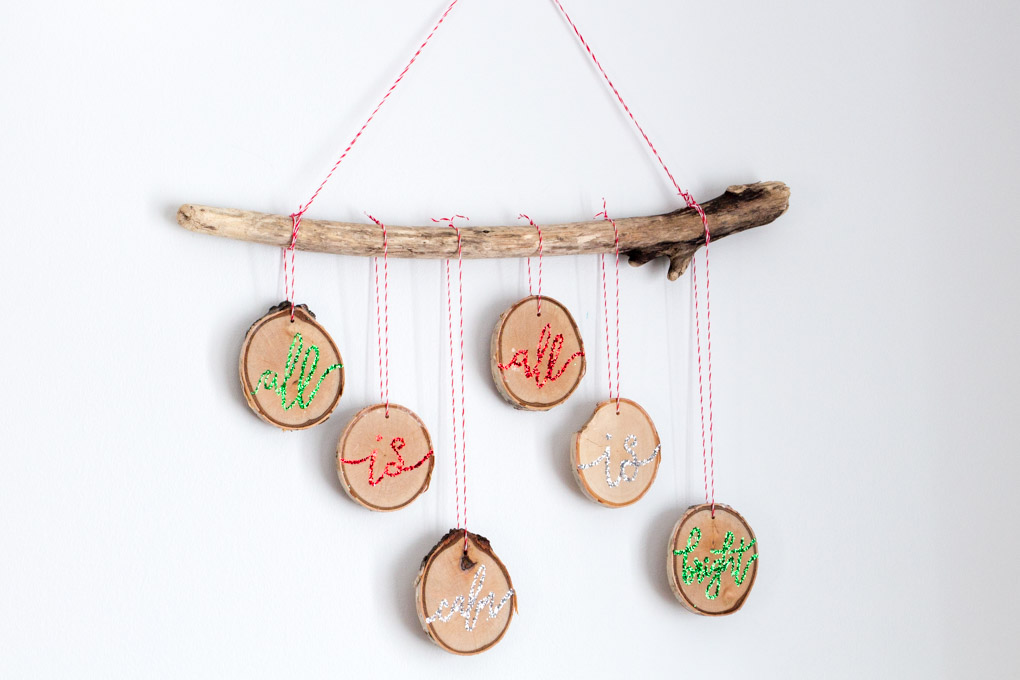
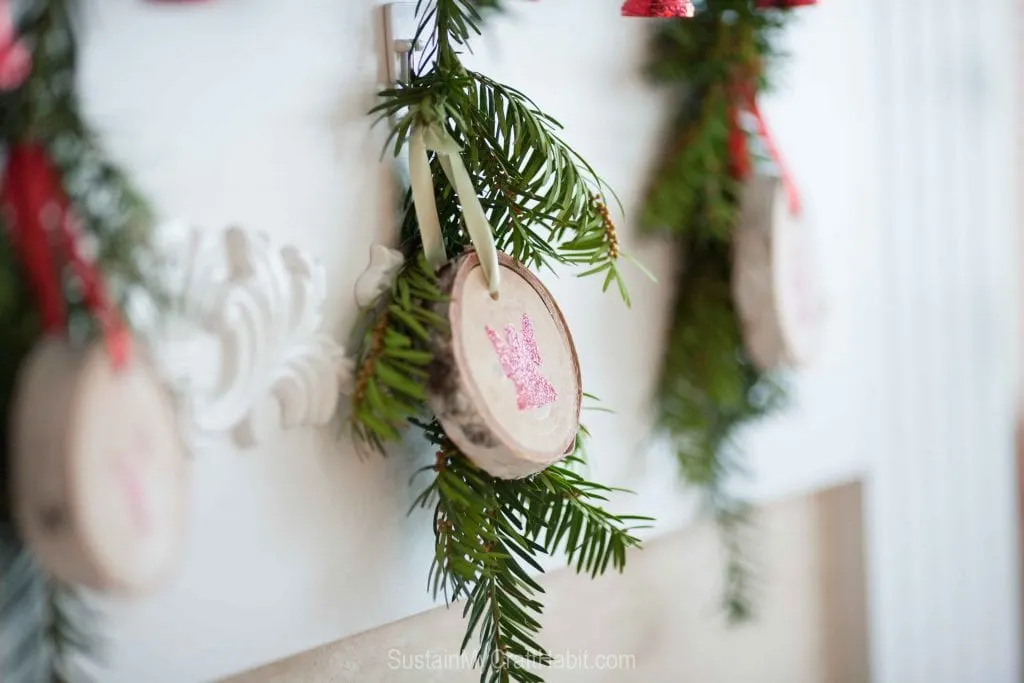
Sparkling Wood Slice Ornaments


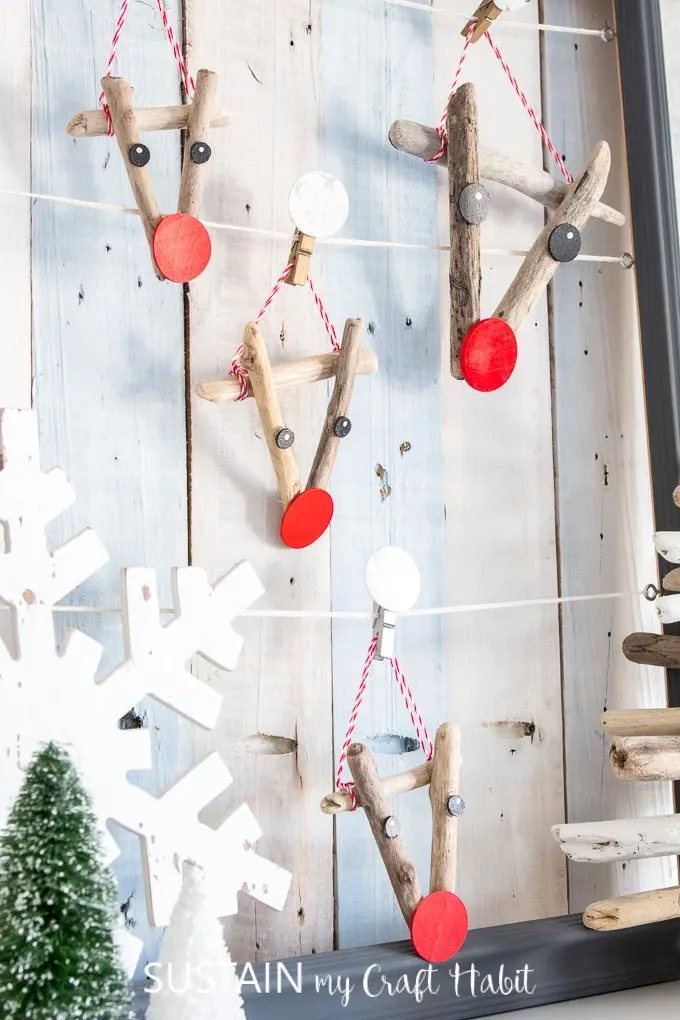
Reindeer Ornaments
Driftwood Tree Ornament

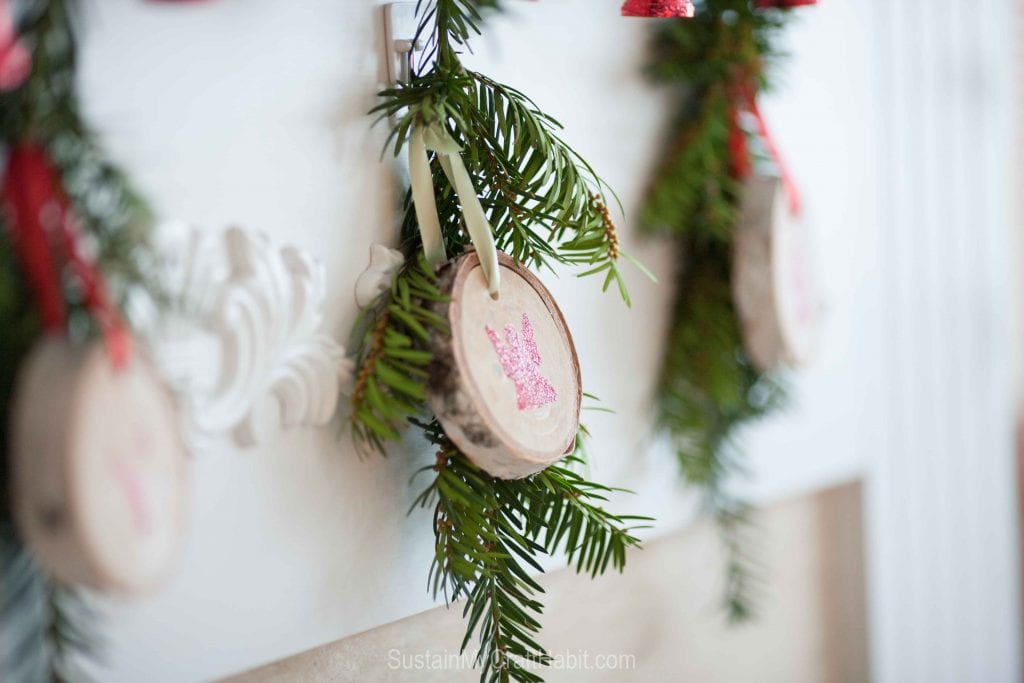
Wood Slice Christmas Ornaments