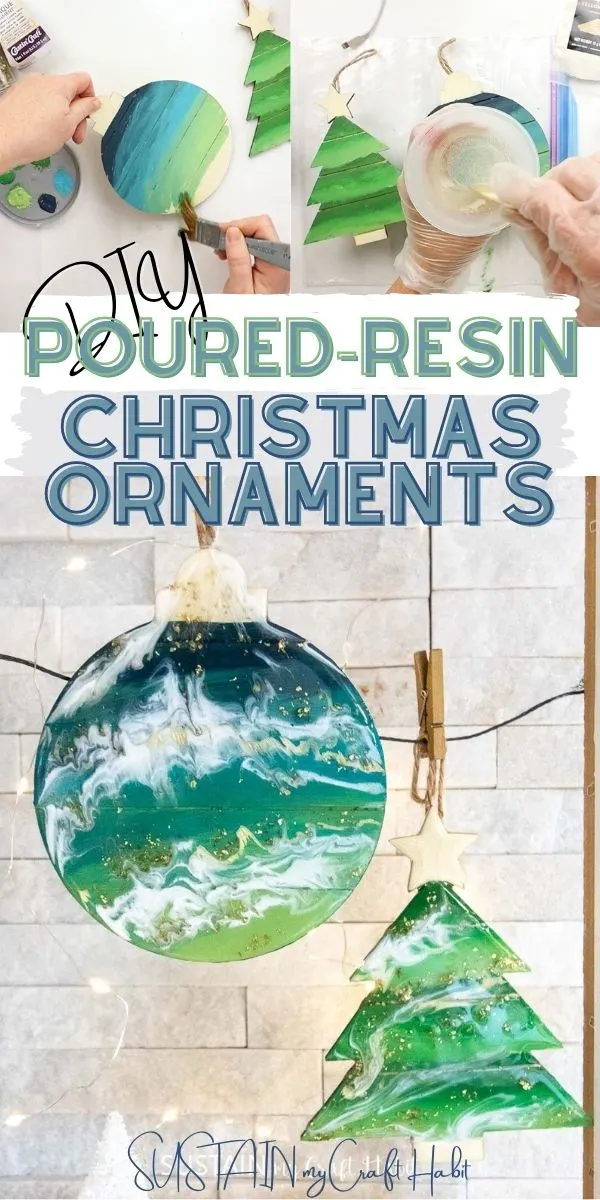
Thesepoured-resin Christmas ornamentsare sure to delight and are easier to make than youd think!
Luckily theres still a couple of weeks to create something beautiful for those special people on your gift list.
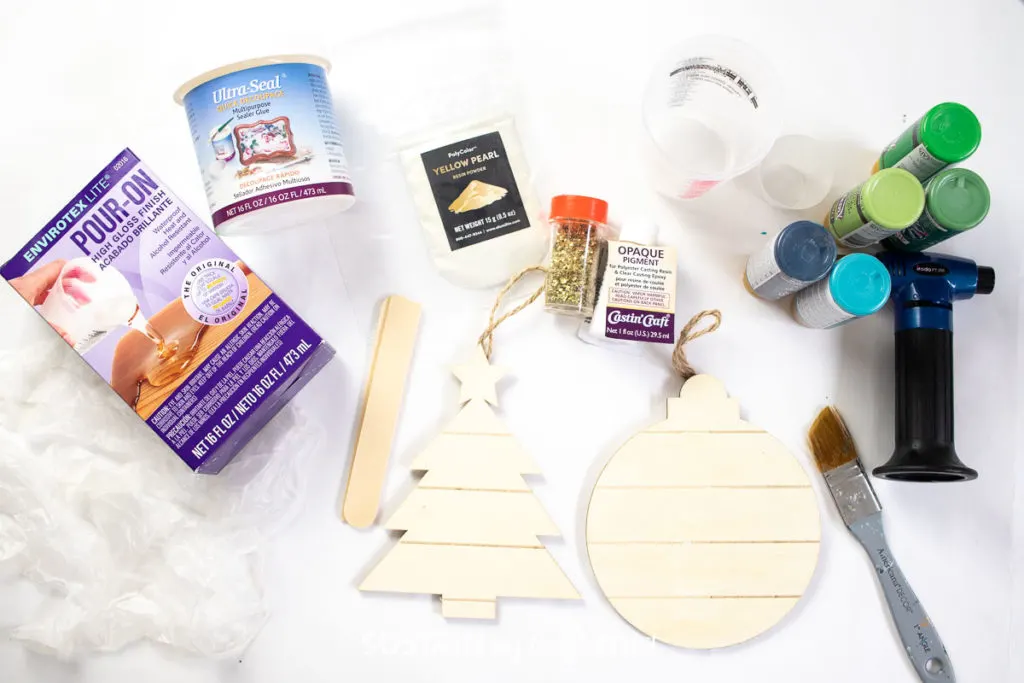
EnvirotexLite resin is our go-to for all of our resin projects.

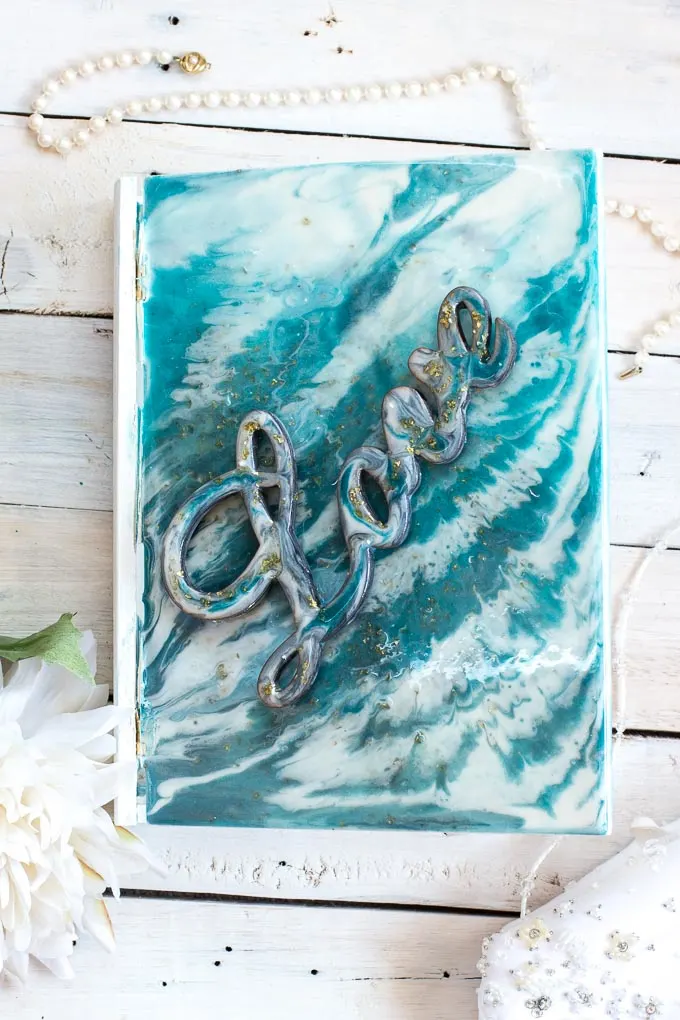
Resin Pour Memento Box
Its really easy to work with and produces flawless, dependable results.
Somehow the projects always turn out better than we imagine they will, even when were simply experimenting.
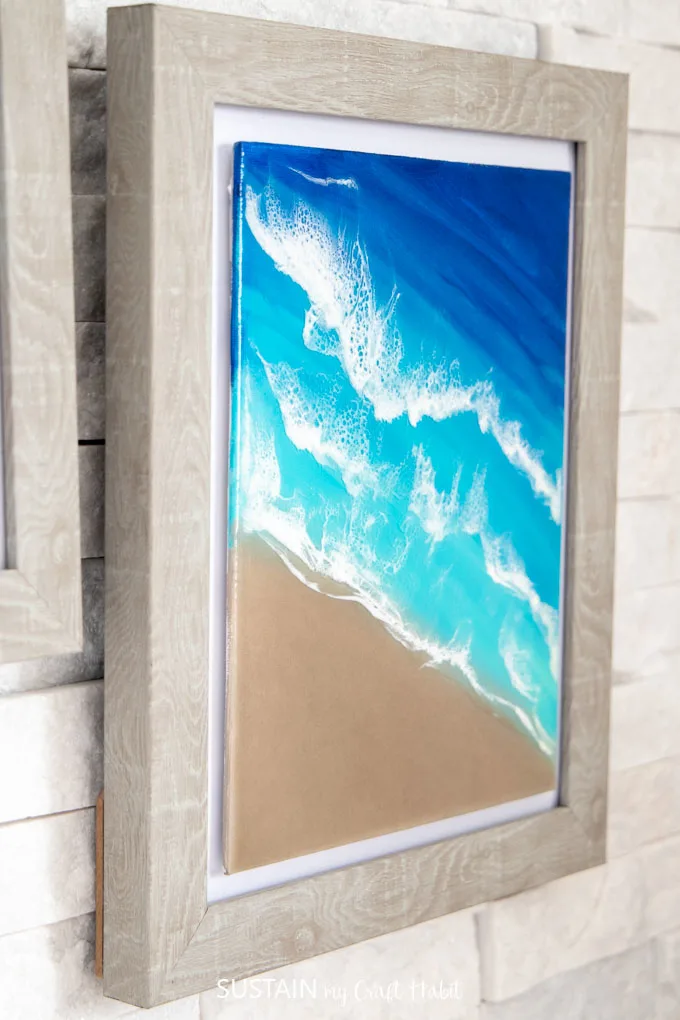
Ever since we made this beautifulseascape-themed cutting boardswith resin Ive been wanting to try the technique again.

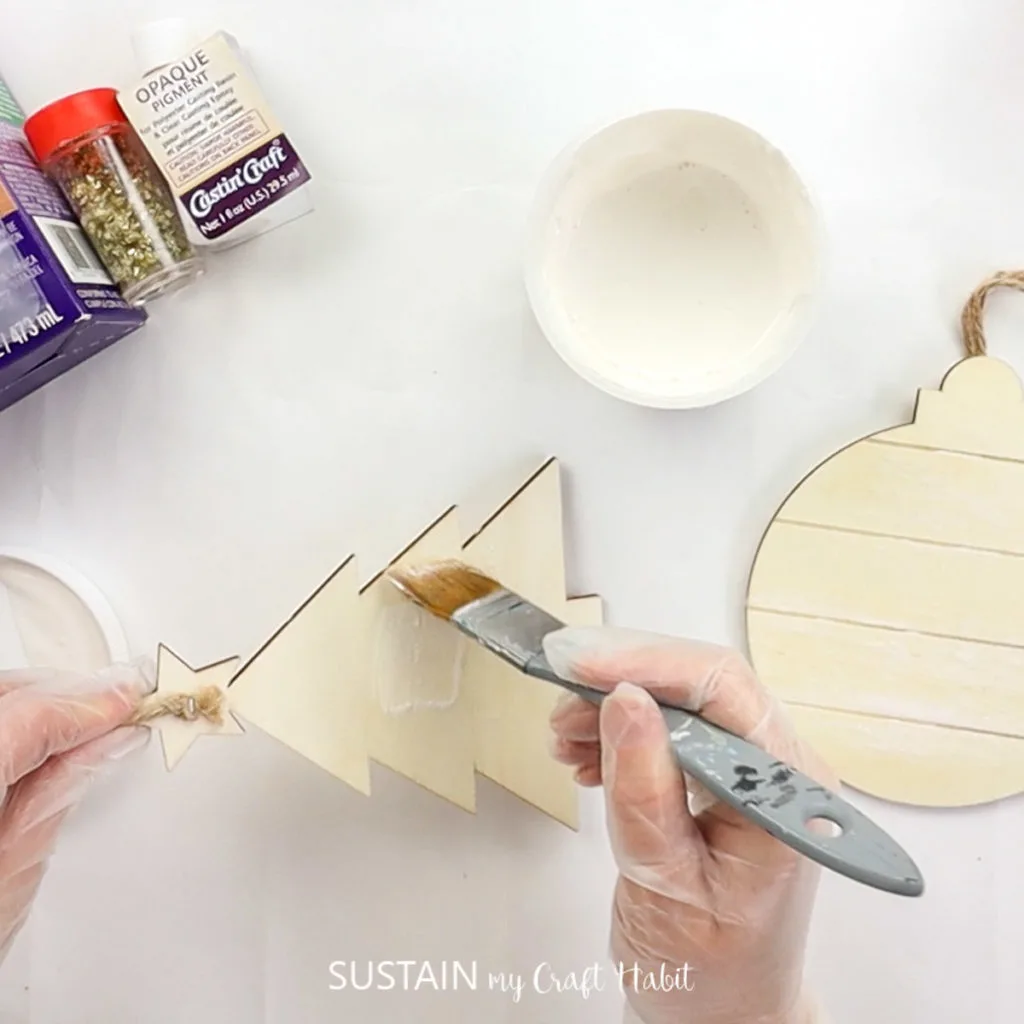
Always use gloves and work in a well-ventilated area on a surface protected with plastic or newspaper.
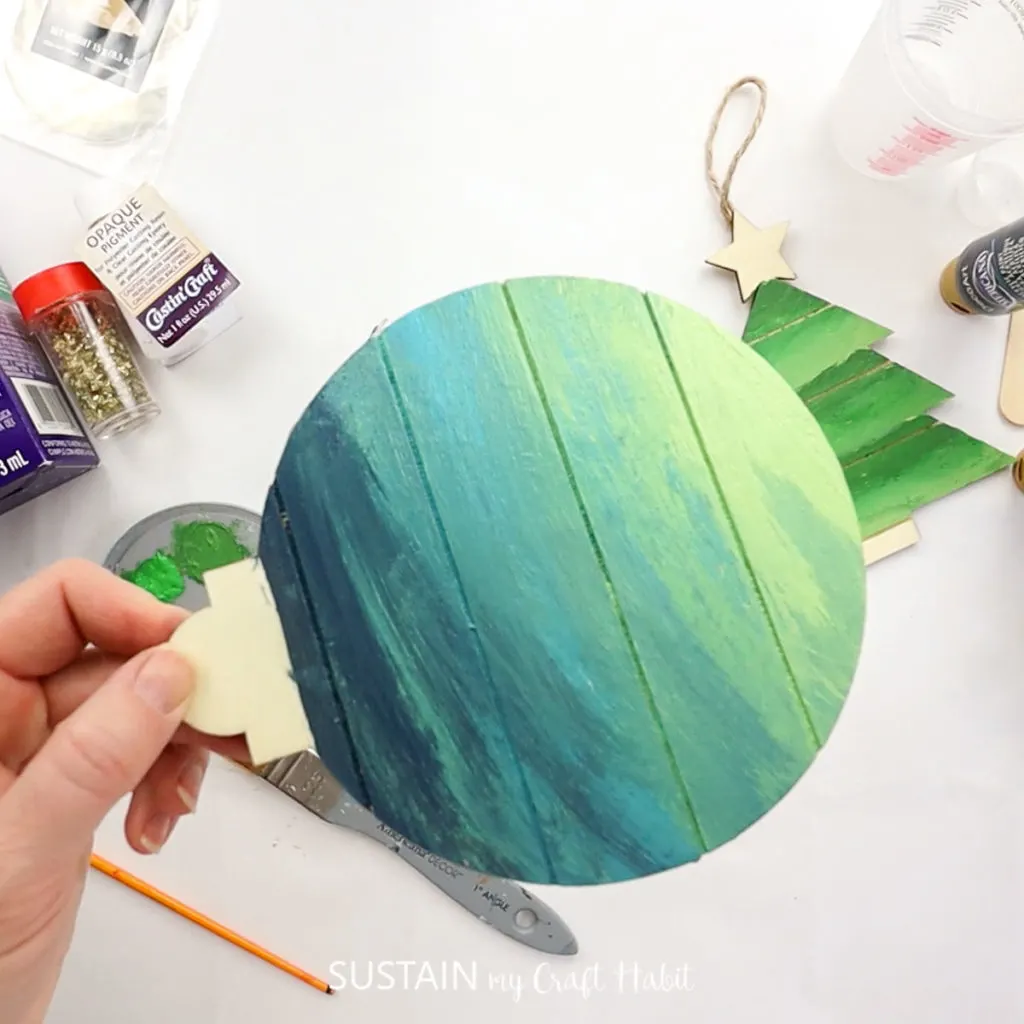
Start by sealing the wood ornaments with a clear-drying sealer.
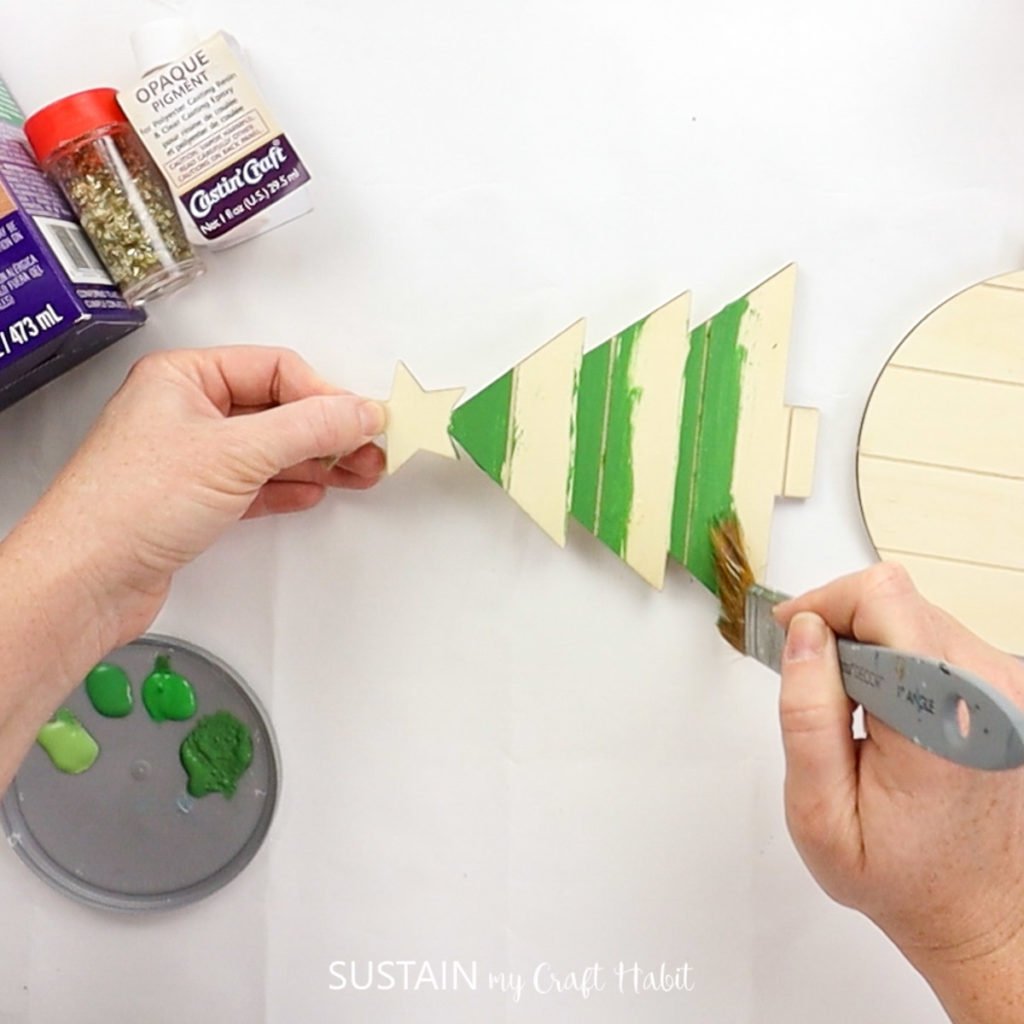
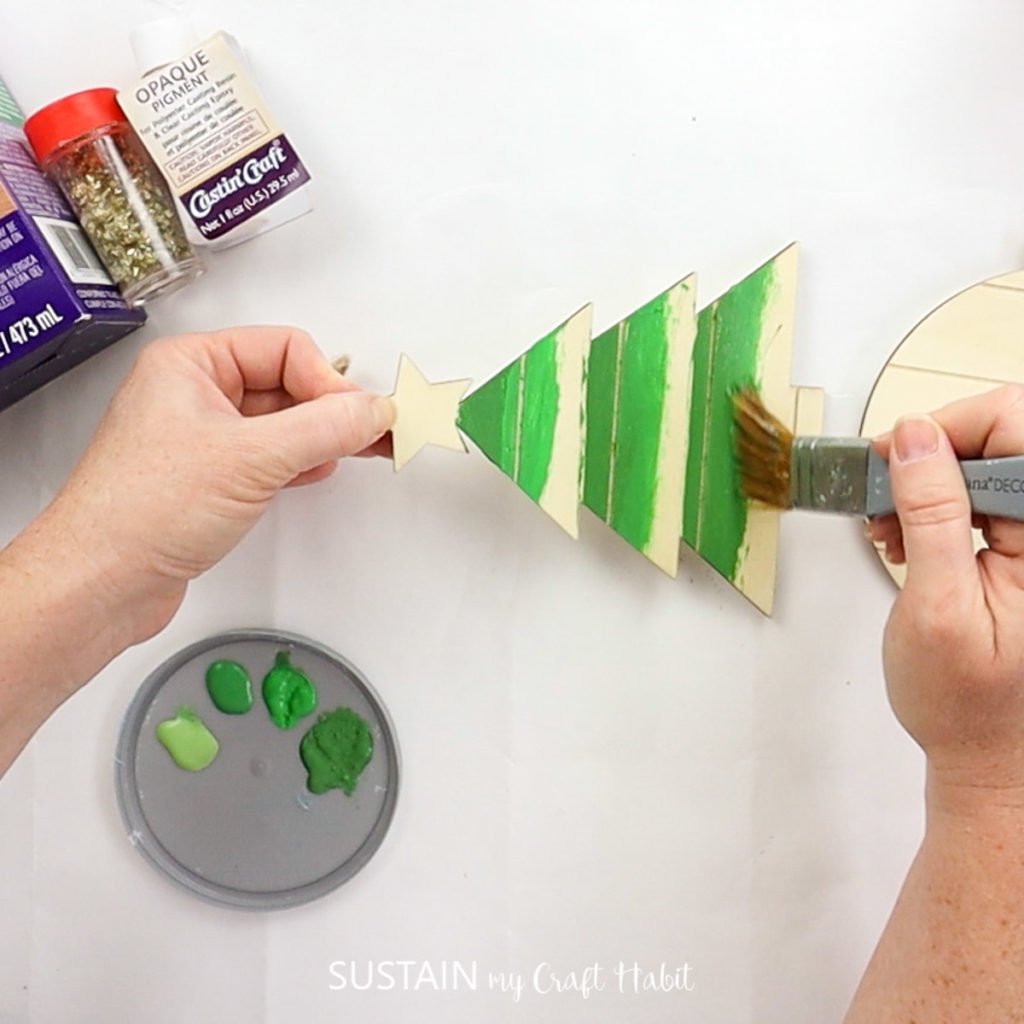
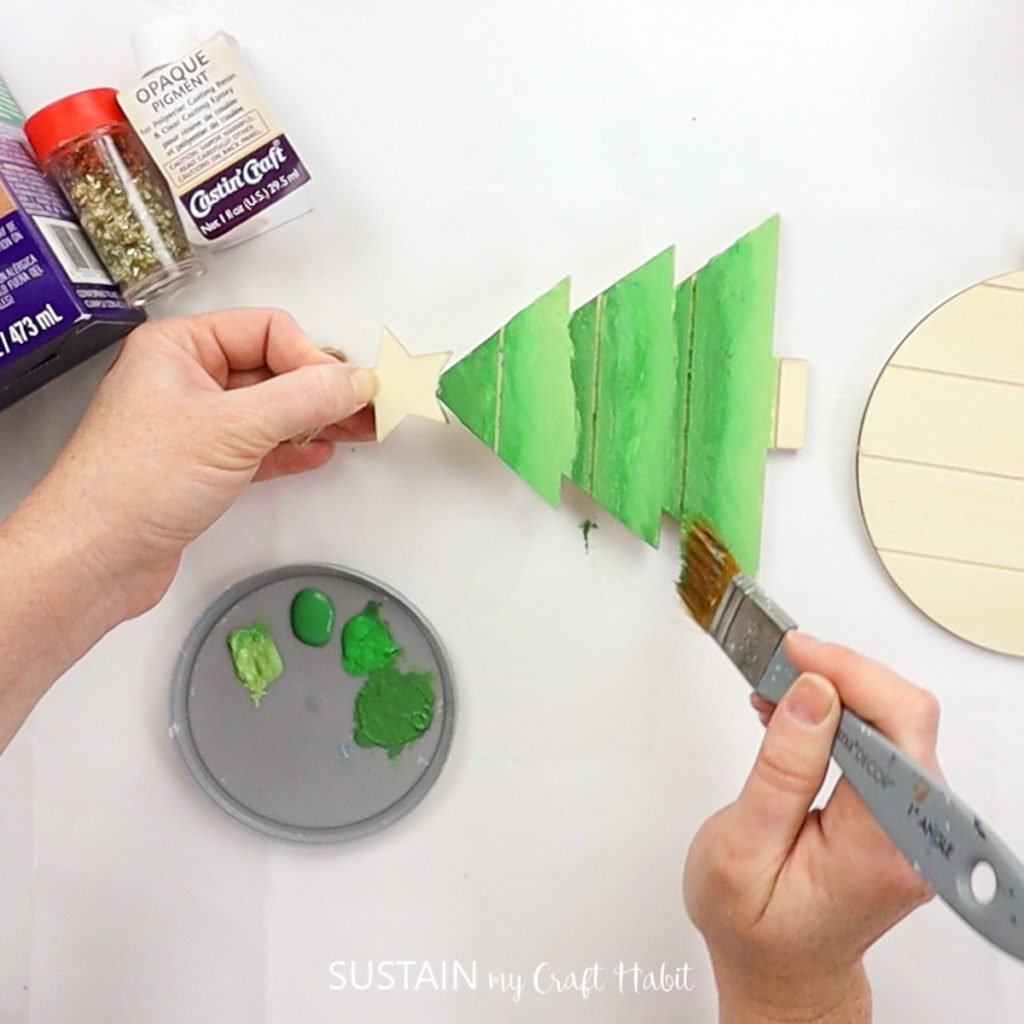
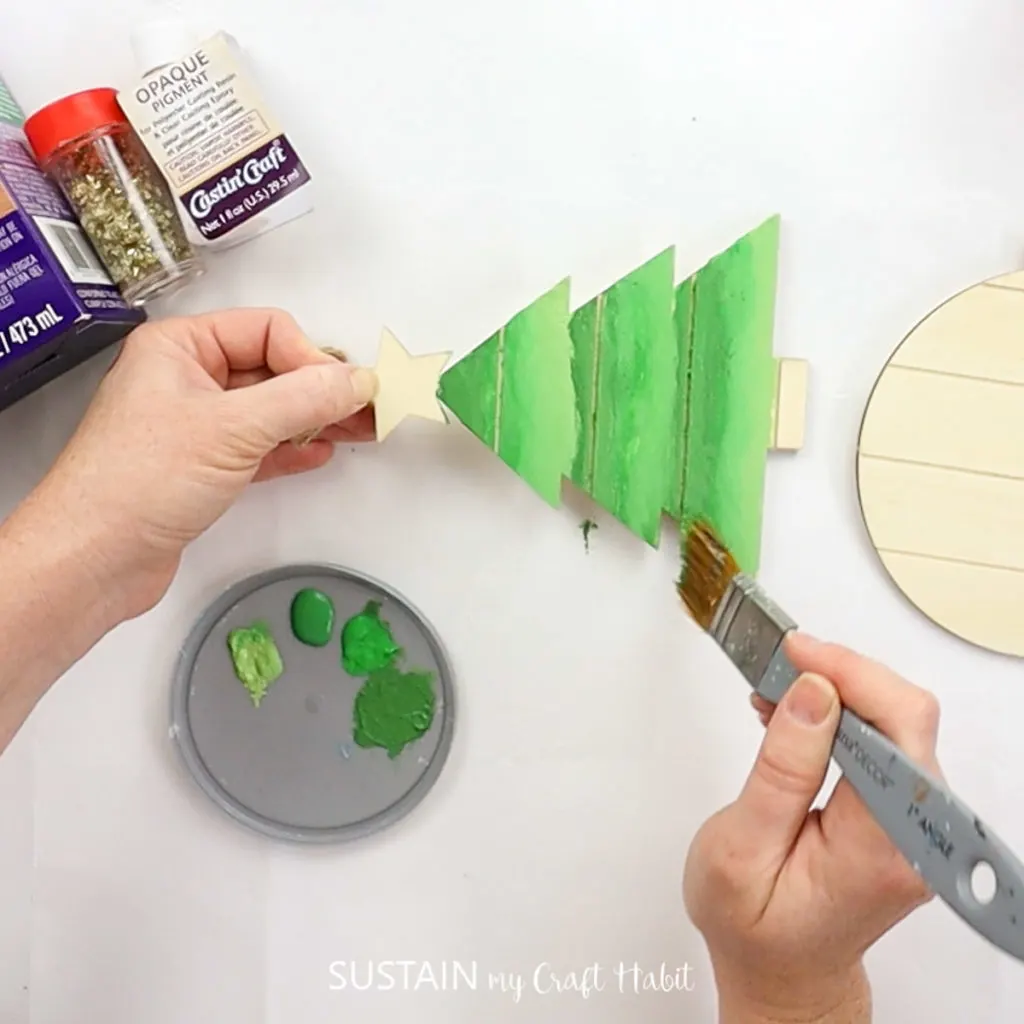
Use three shades of green to paint the tree ornament.

Start with the darkest green.
Blend in the medium green and finally the light green.
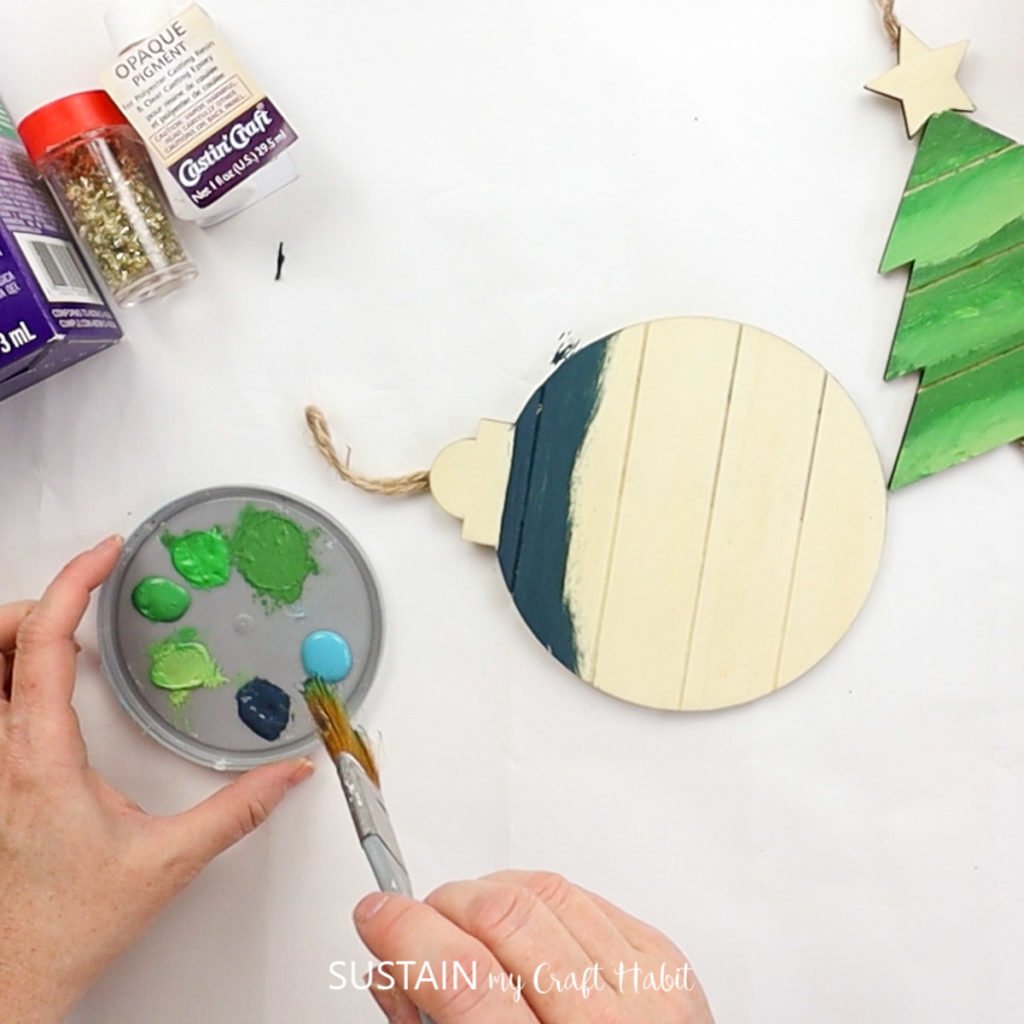
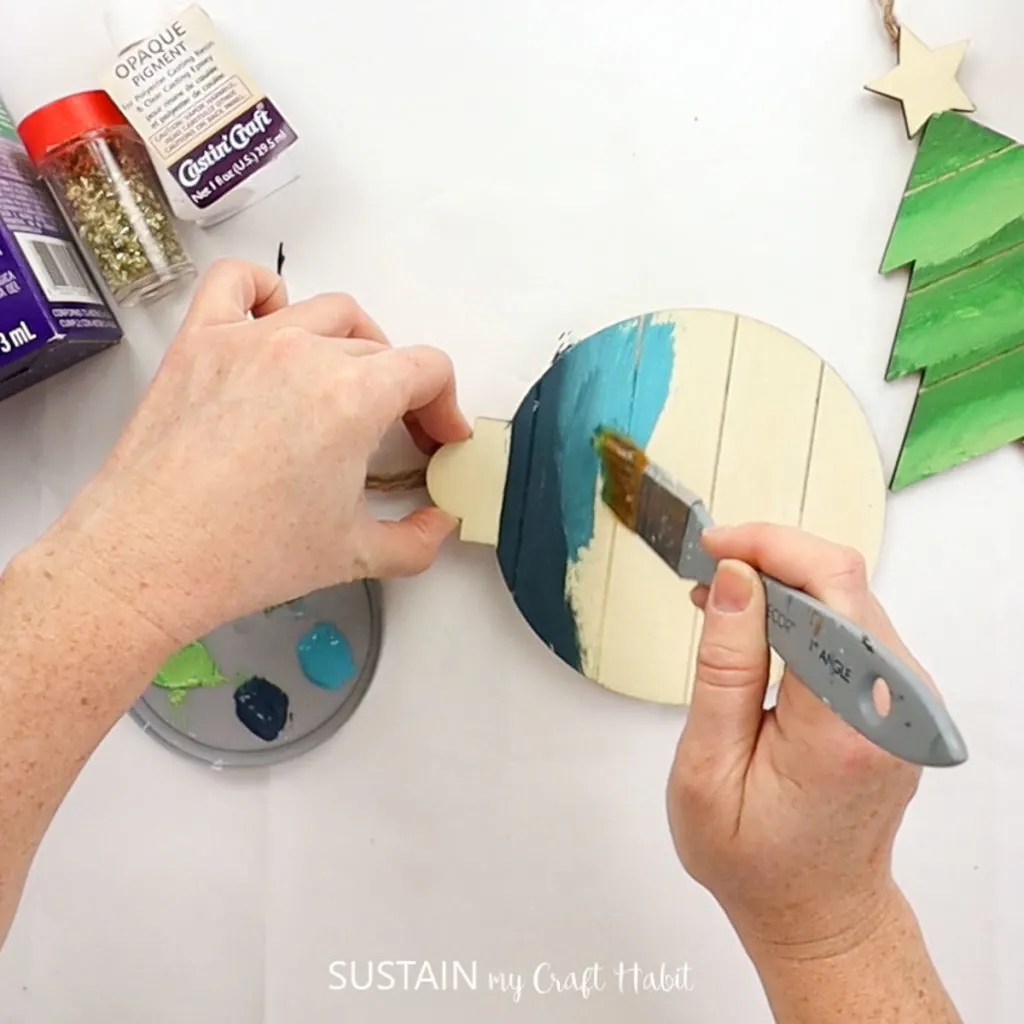
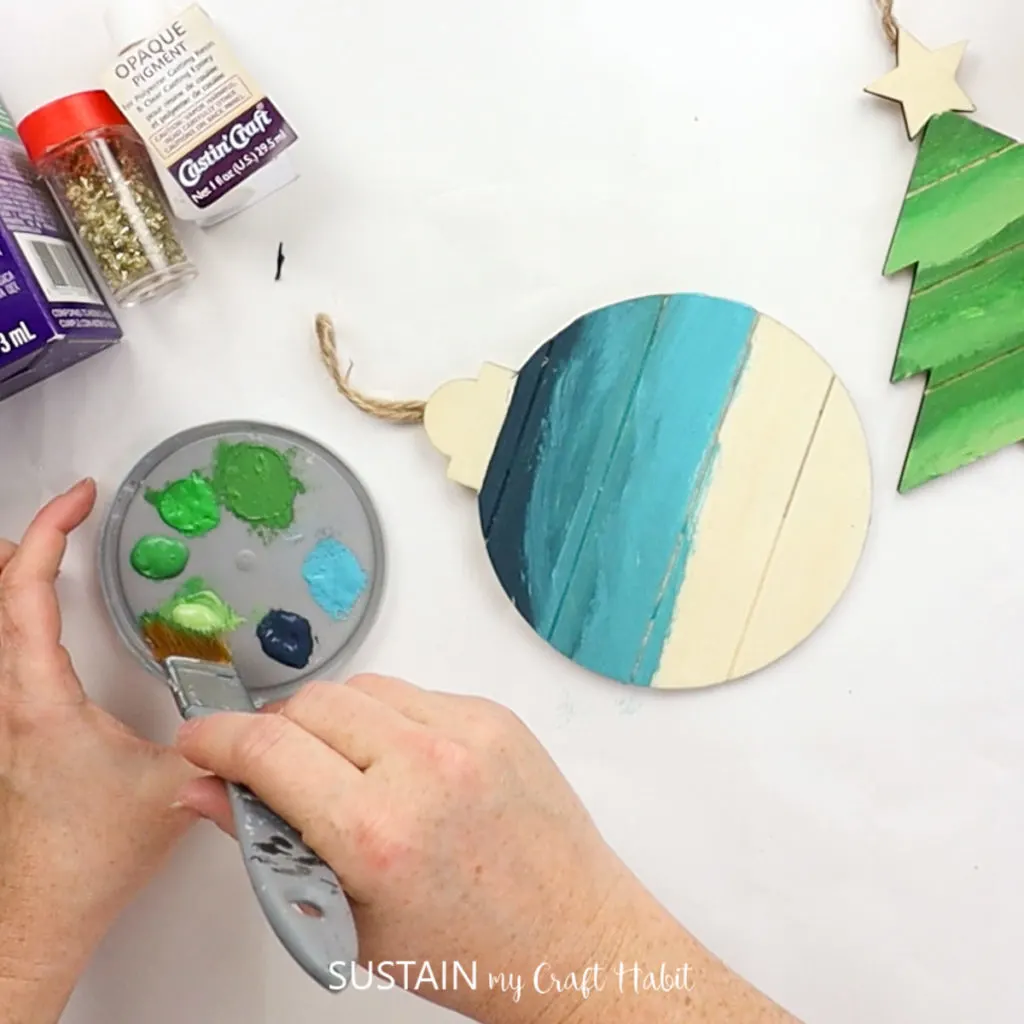
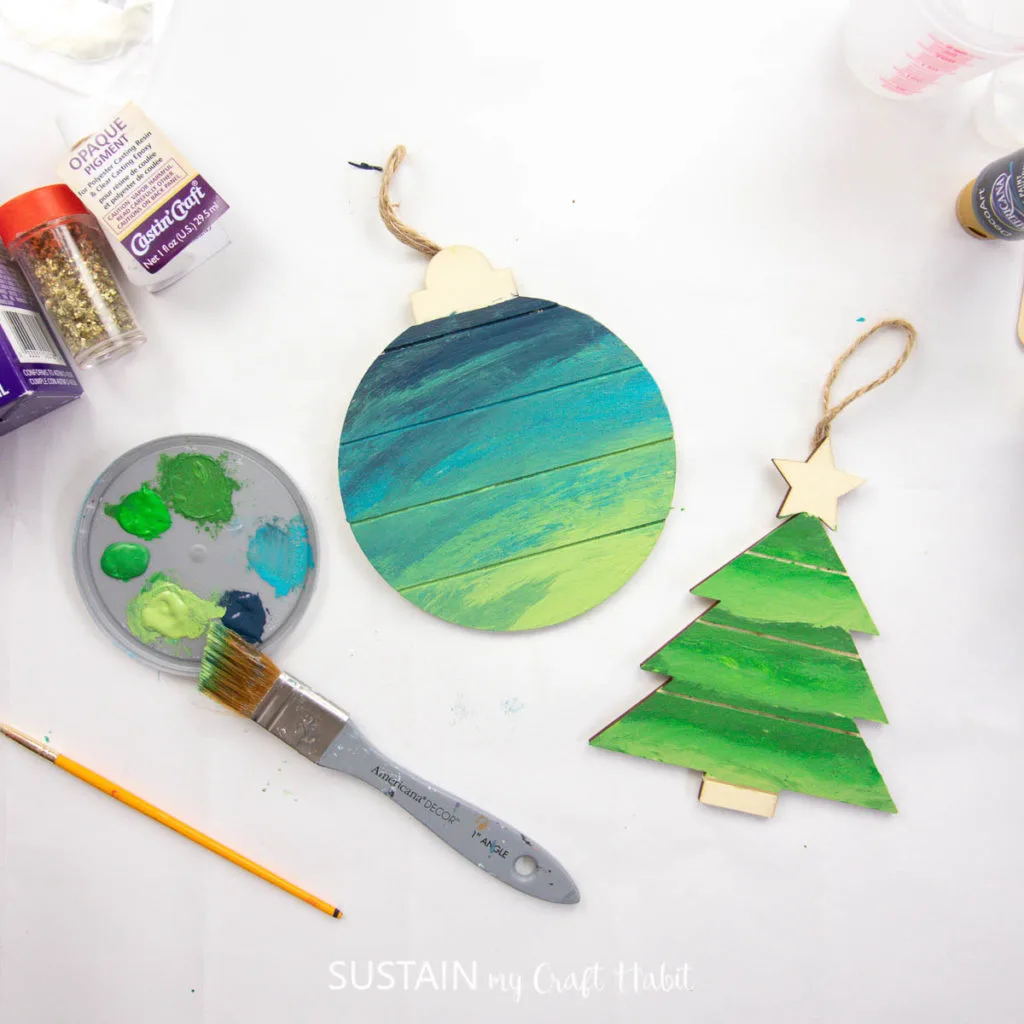
Repeat the painting process with the round wood ornament.
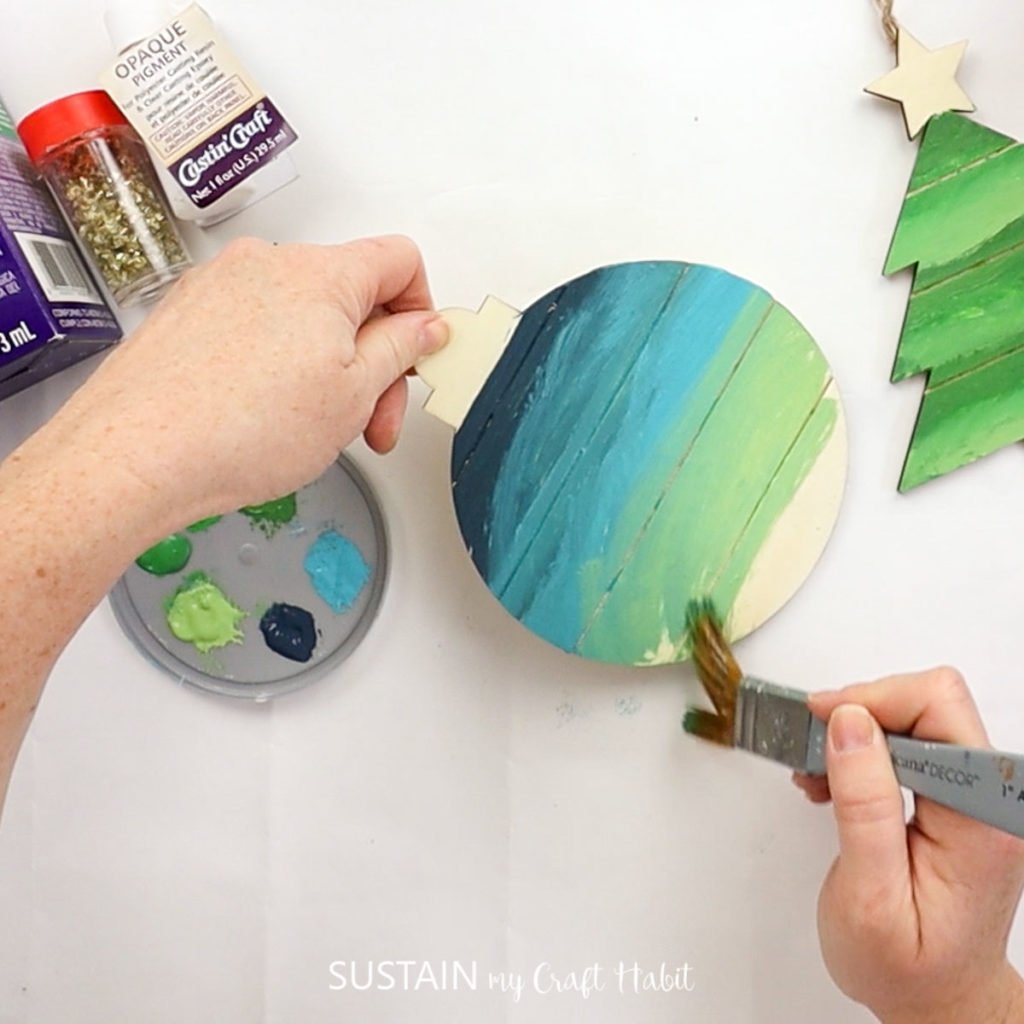
Start with dark blue at the top, layer in turquoise next and then light green on the bottom.
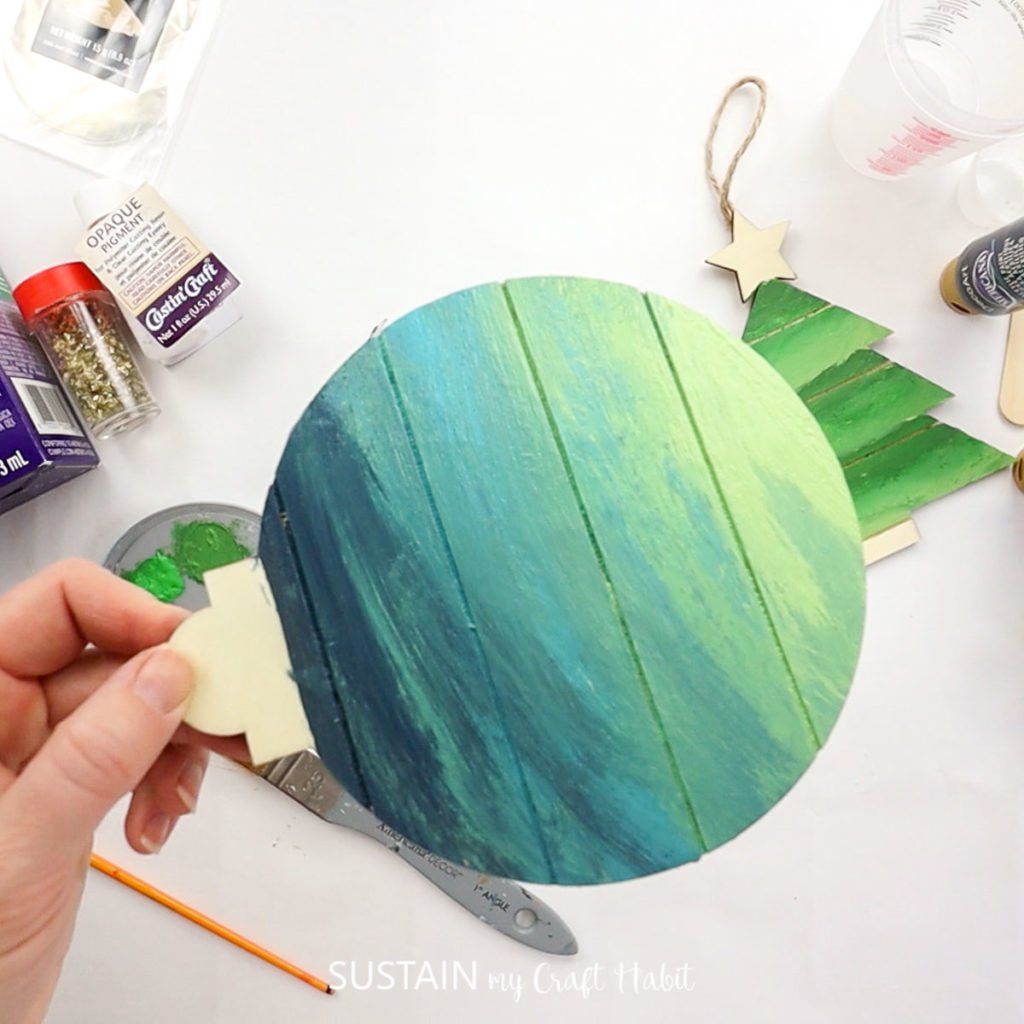
Blend the colors together.
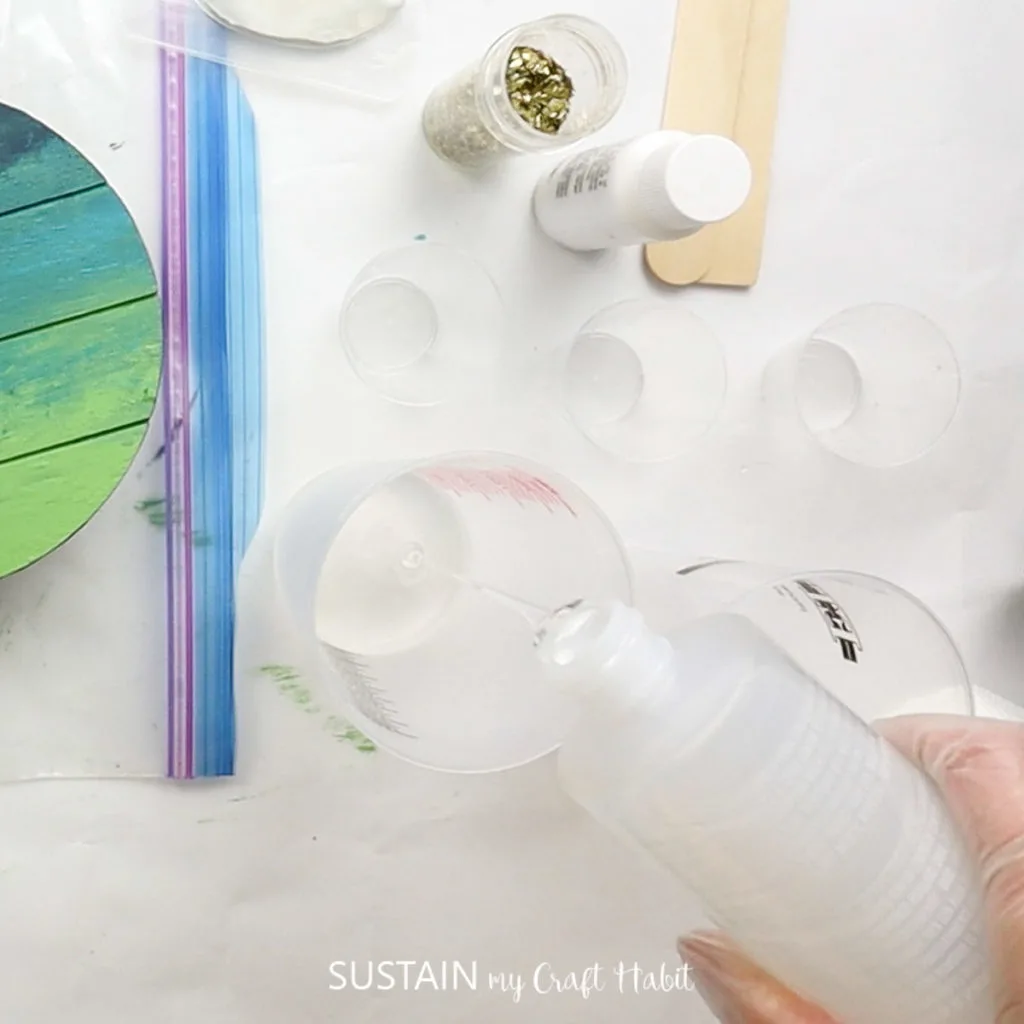
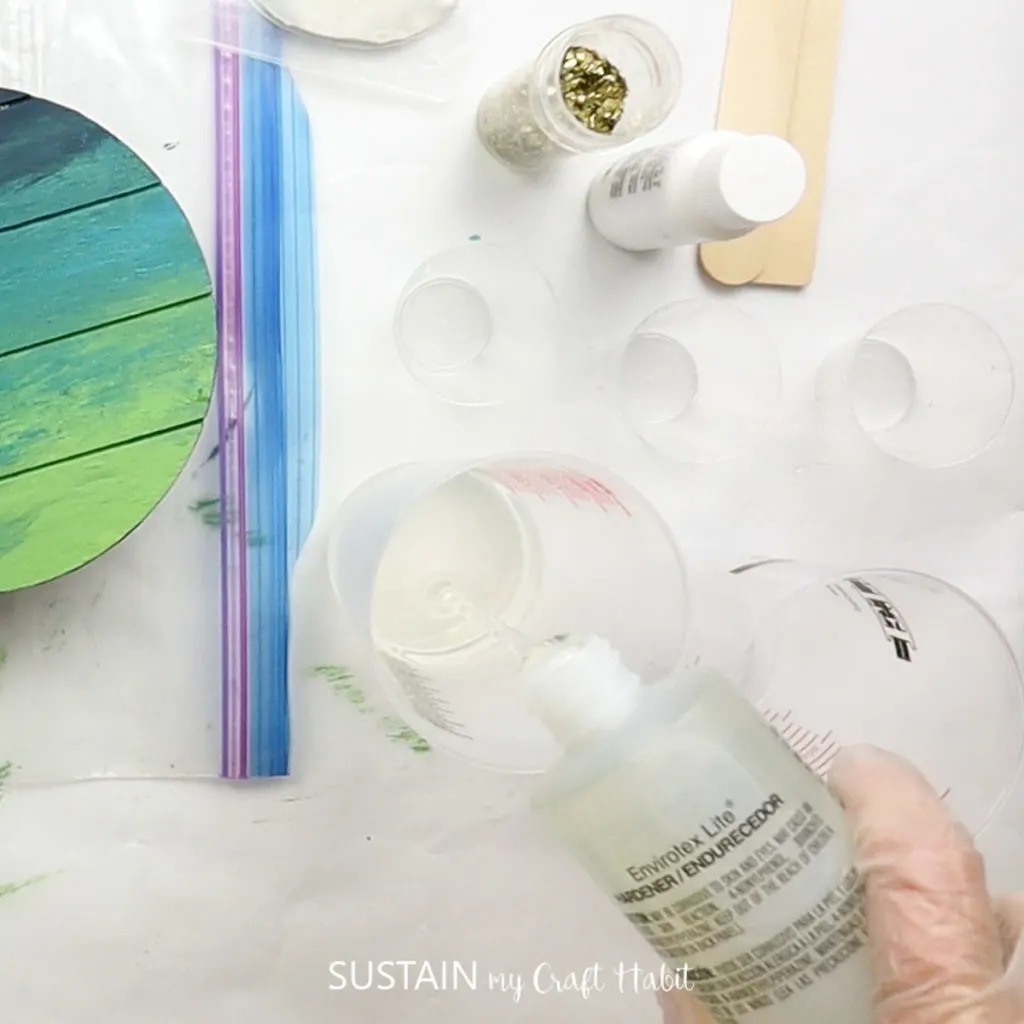
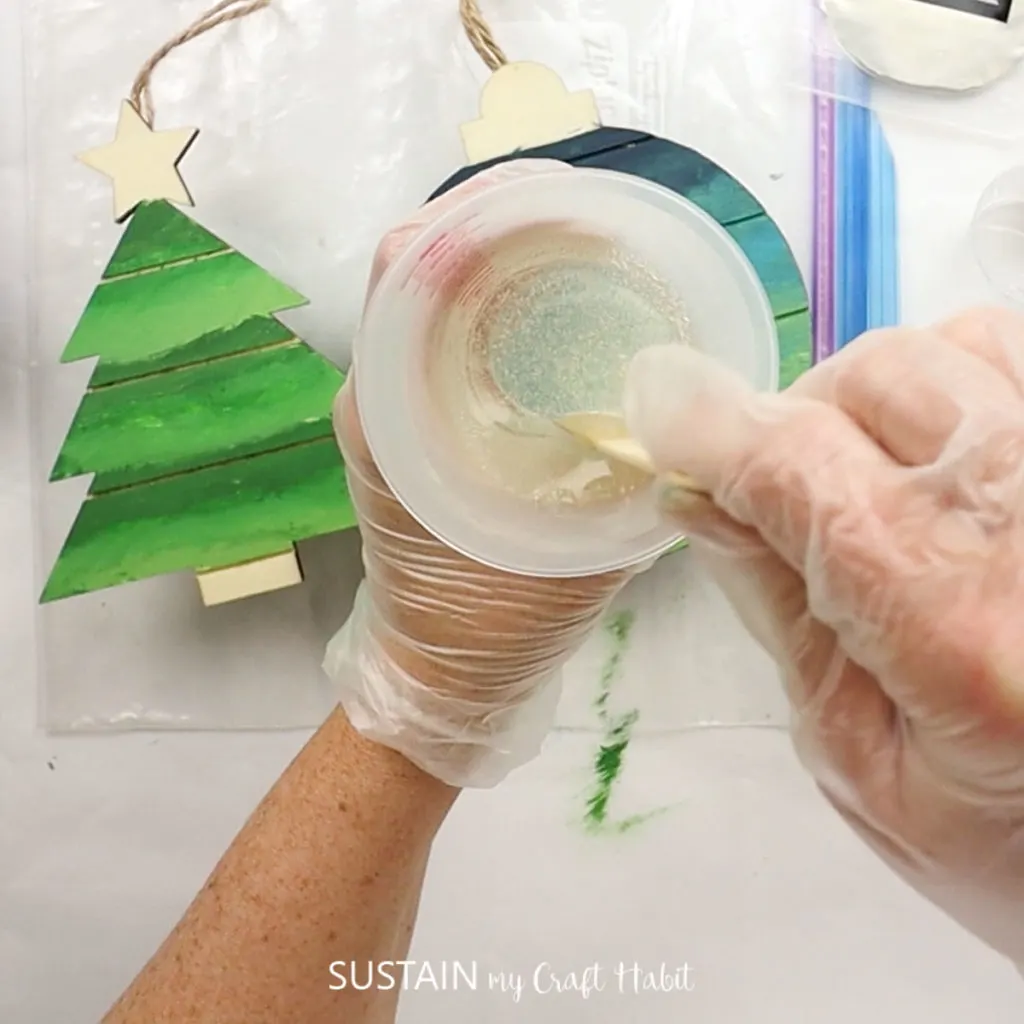
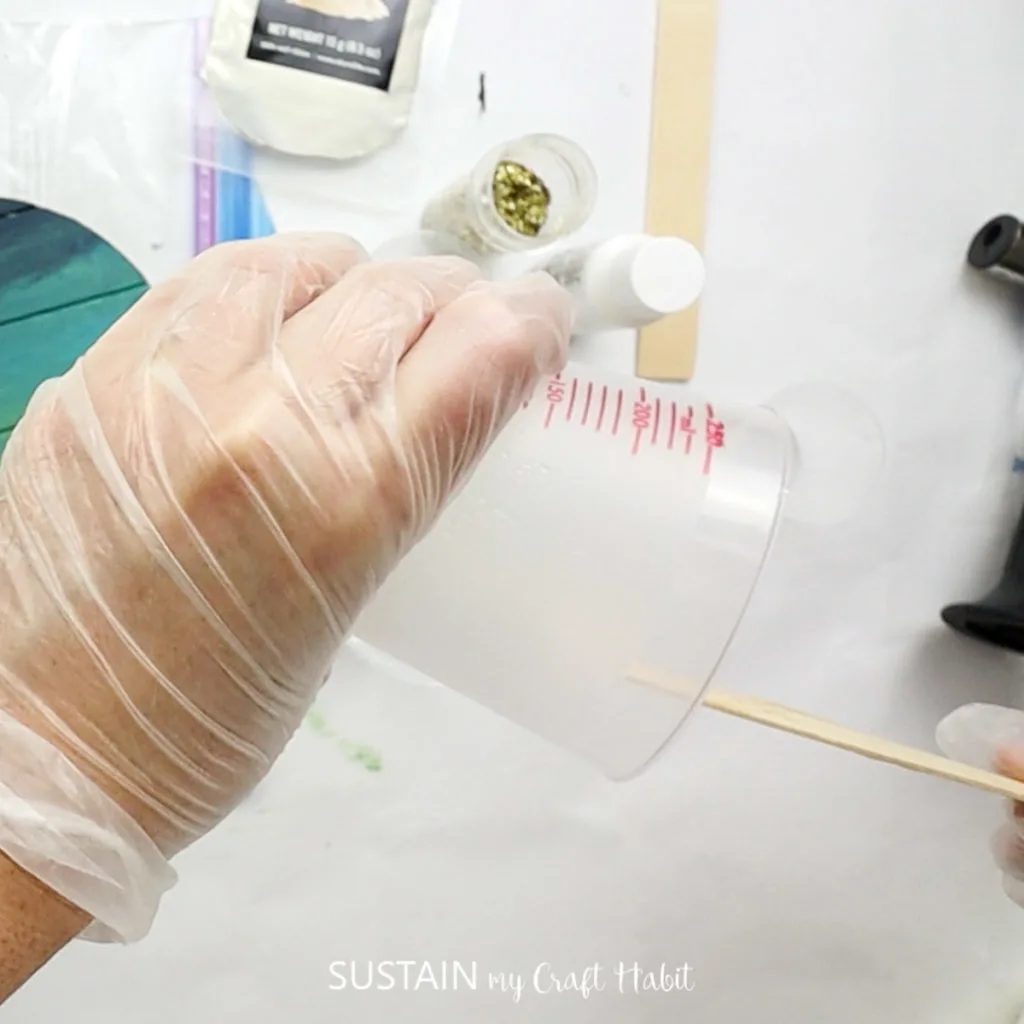
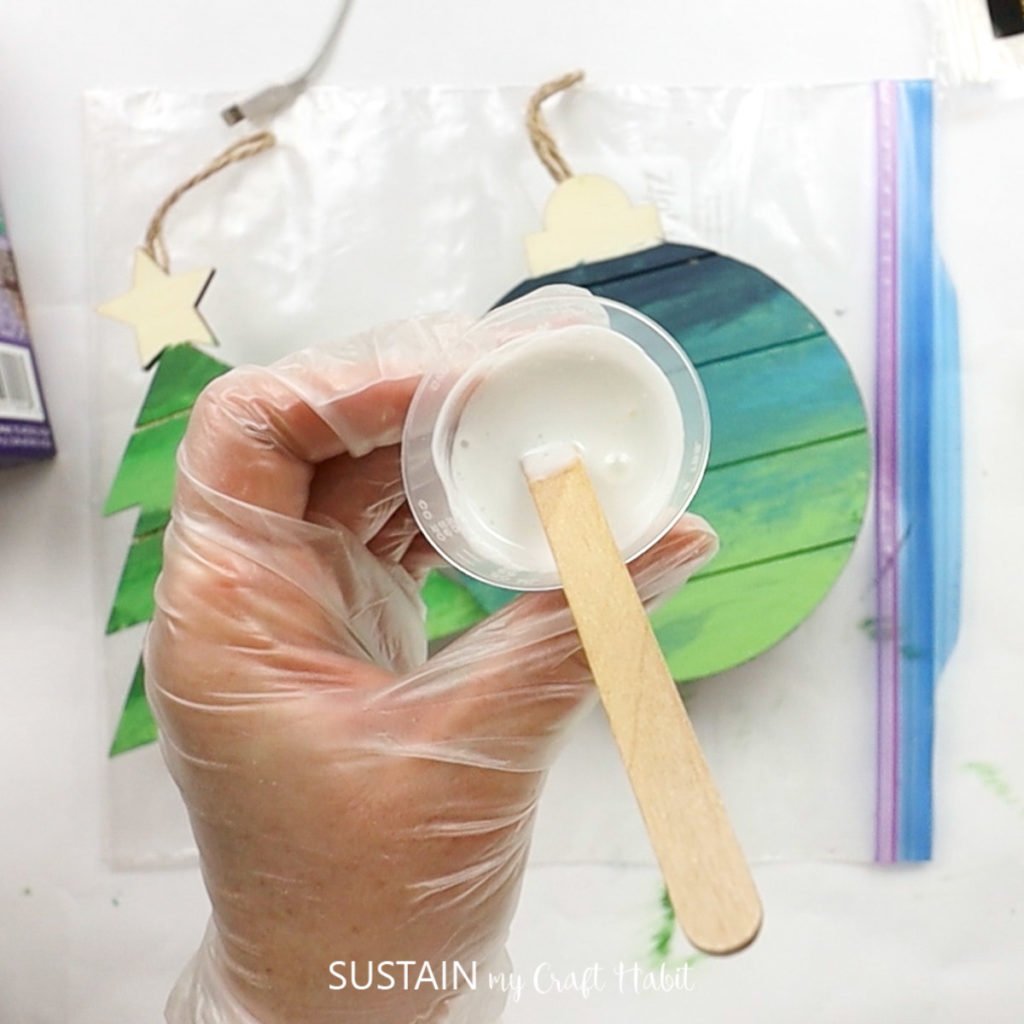
Pour 1oz of resin into a large measuring cup.
Add in 1oz of hardener.
Stir together completely for 2 minutes, scraping bottom and sides of the cup.
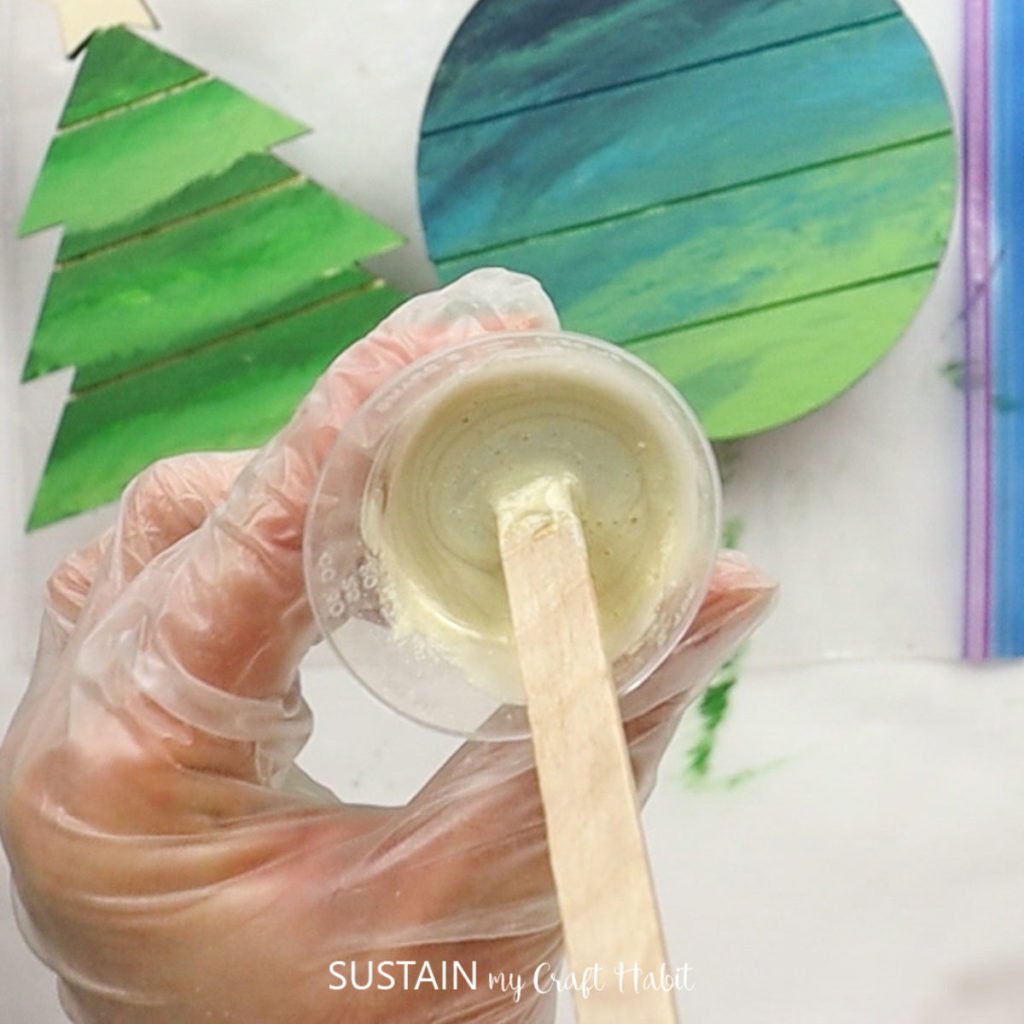
Pour the mixed resin into a second cup.

Stir for another minute with a clean mixing stick.
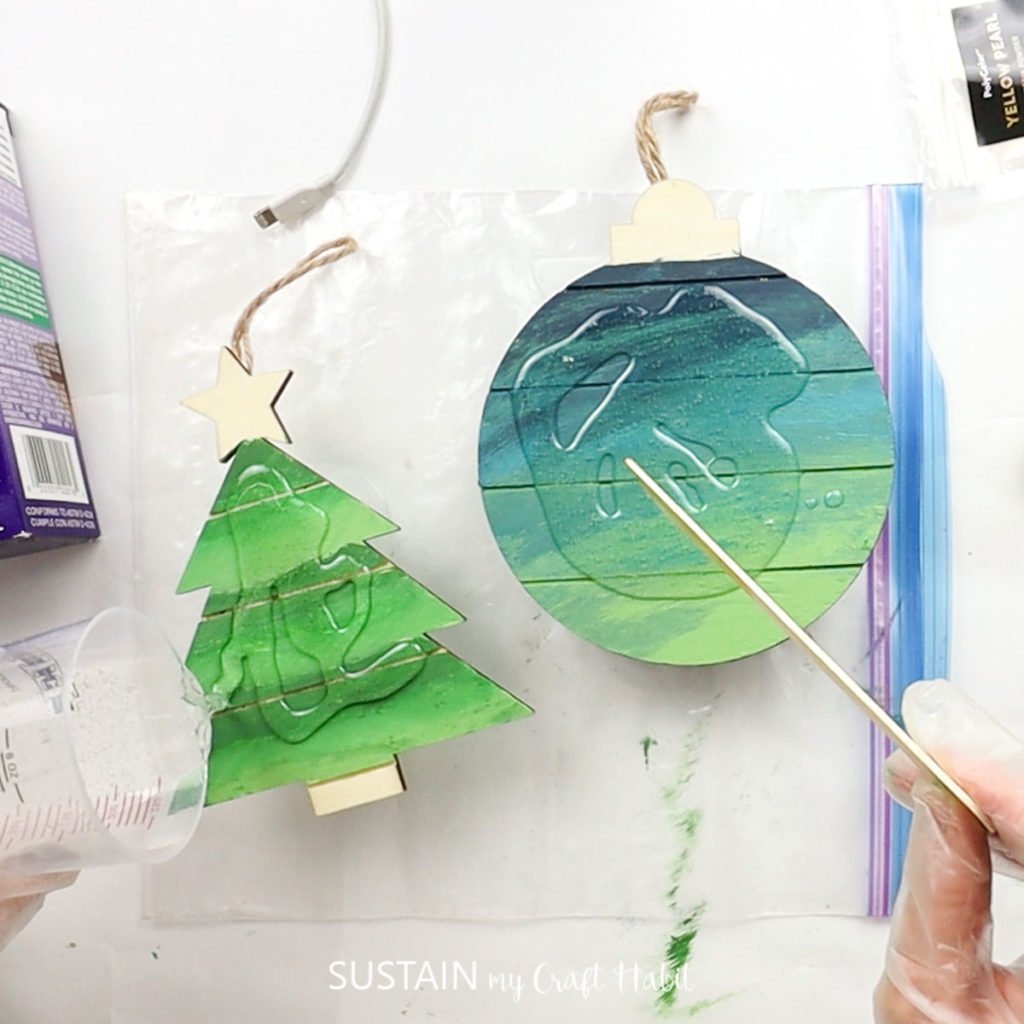
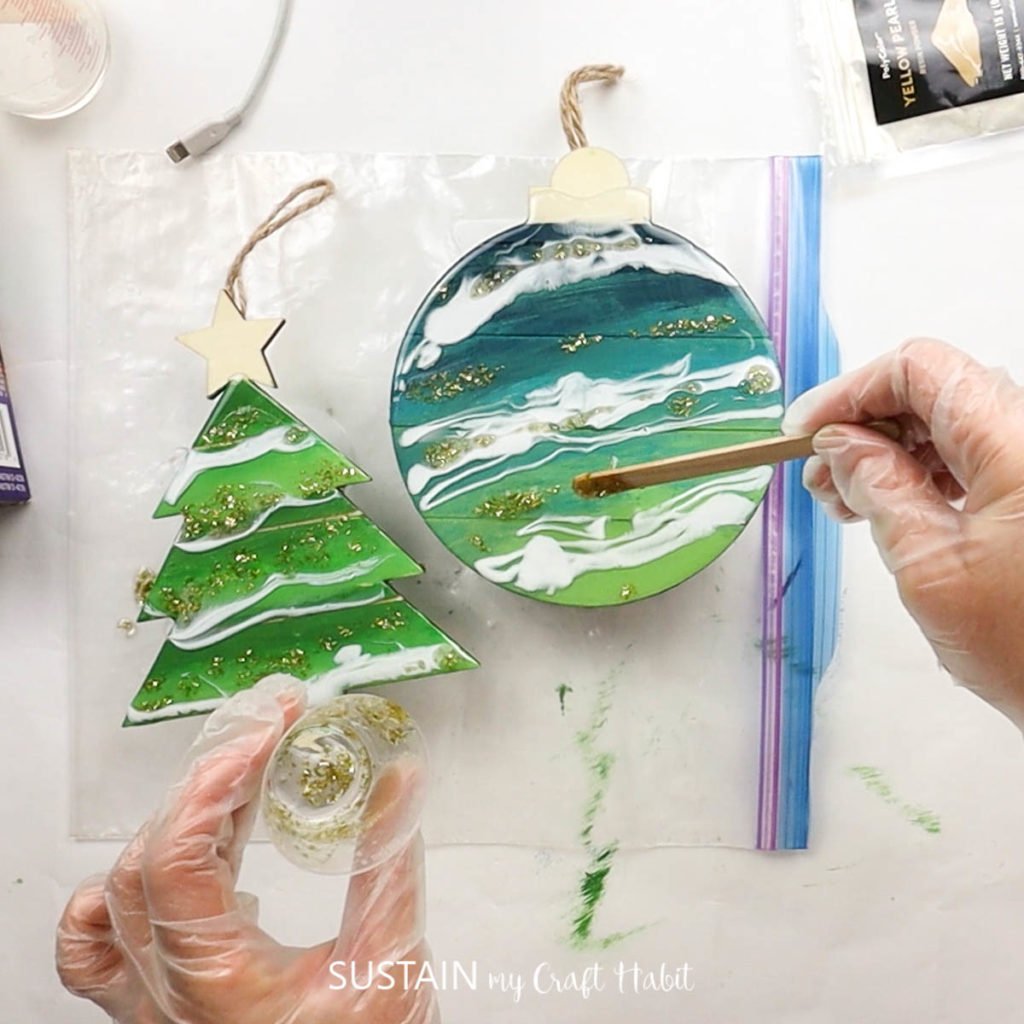
Pour clear resin to cover the surface of the painted ornaments.
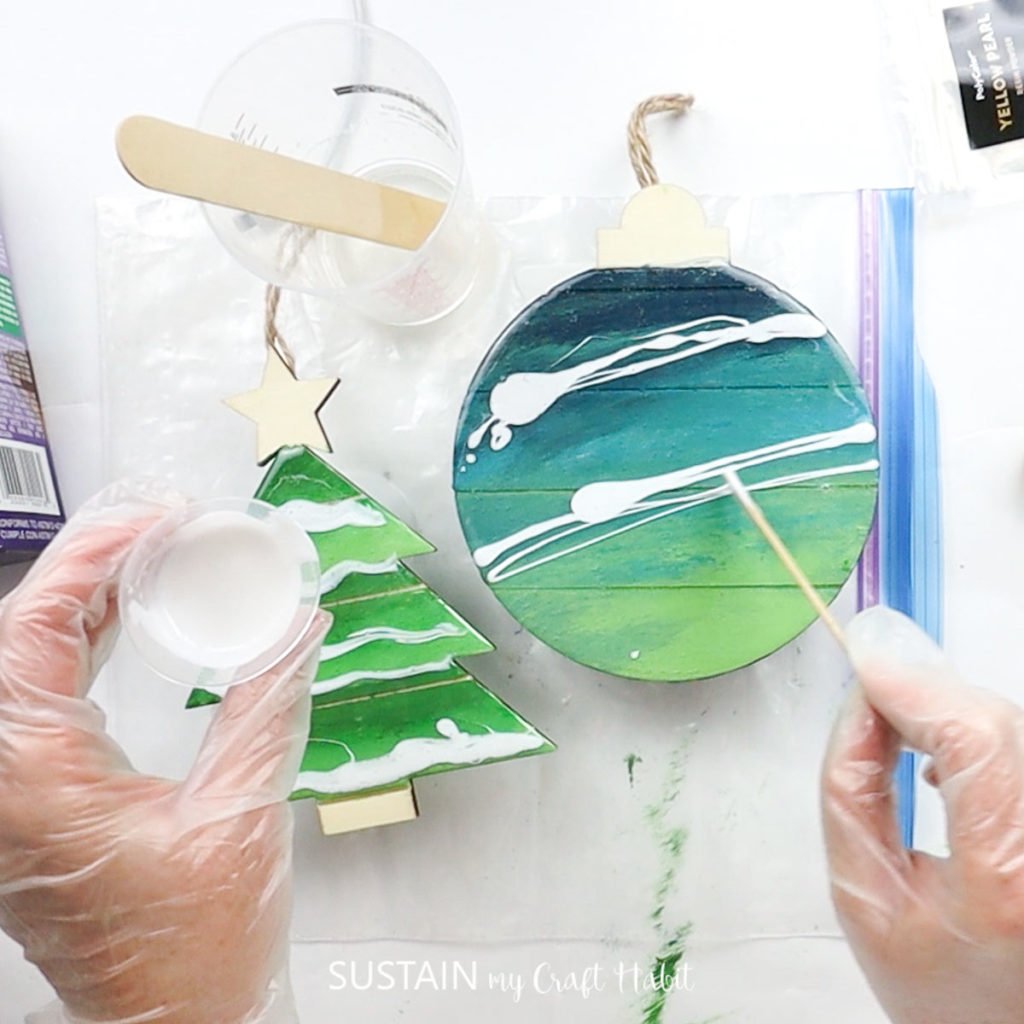
Add threads of white tinted resin.

Resin Pour Memento Box
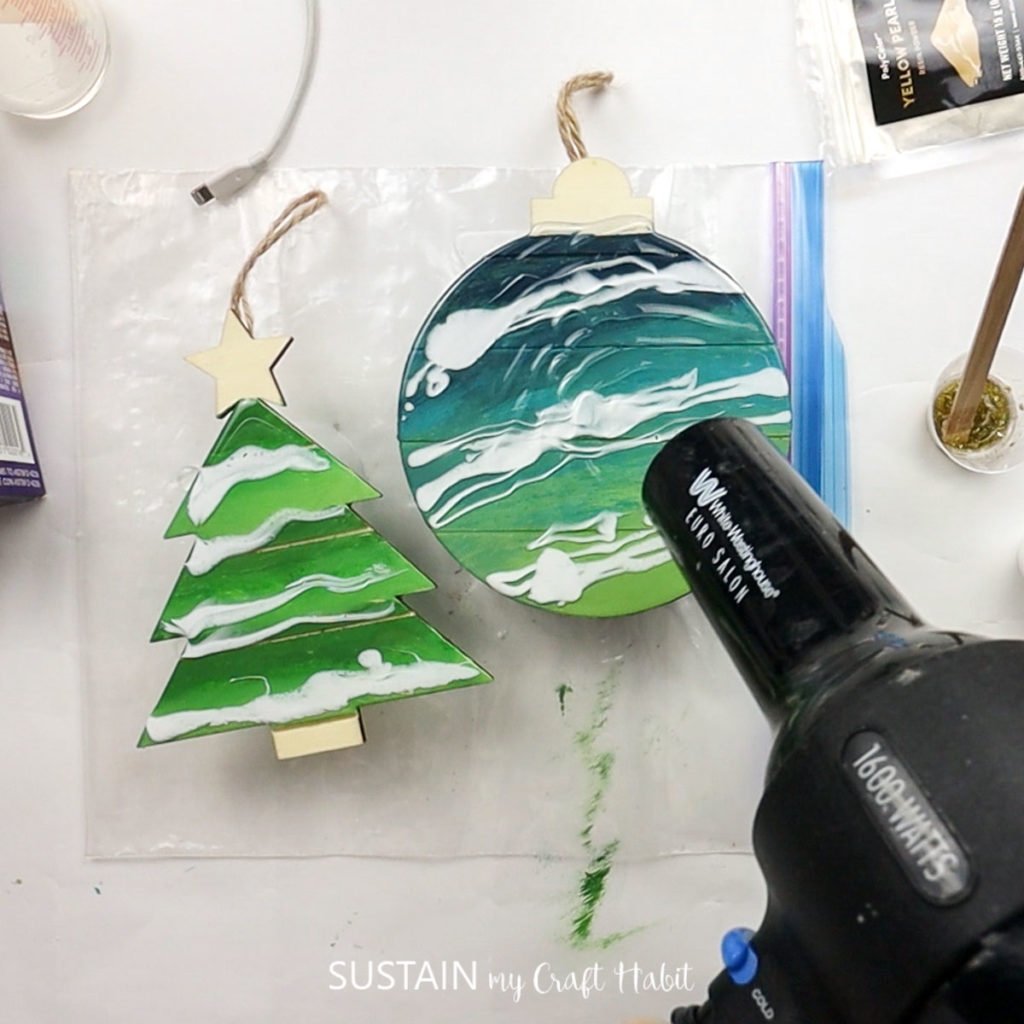
Use an air source such as a blow dryer to gently blend tand soften the white resin.
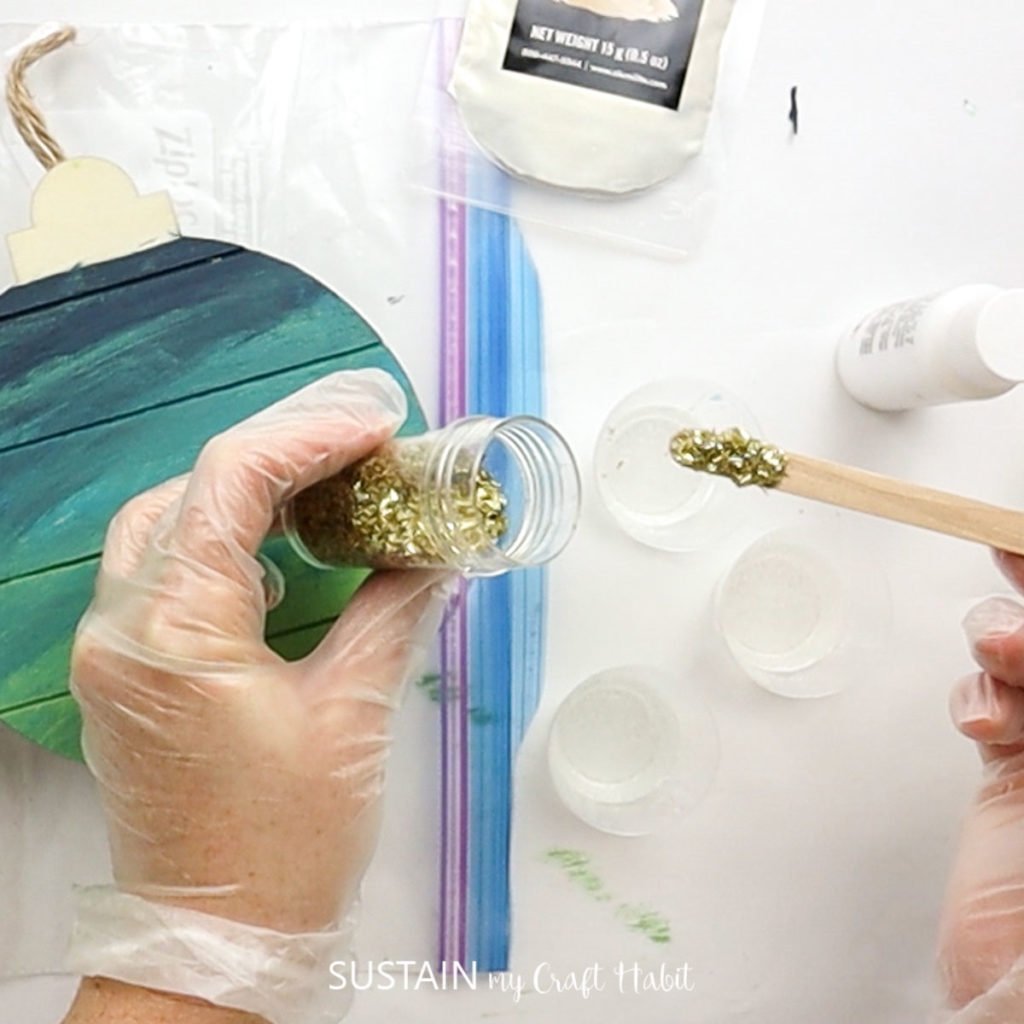
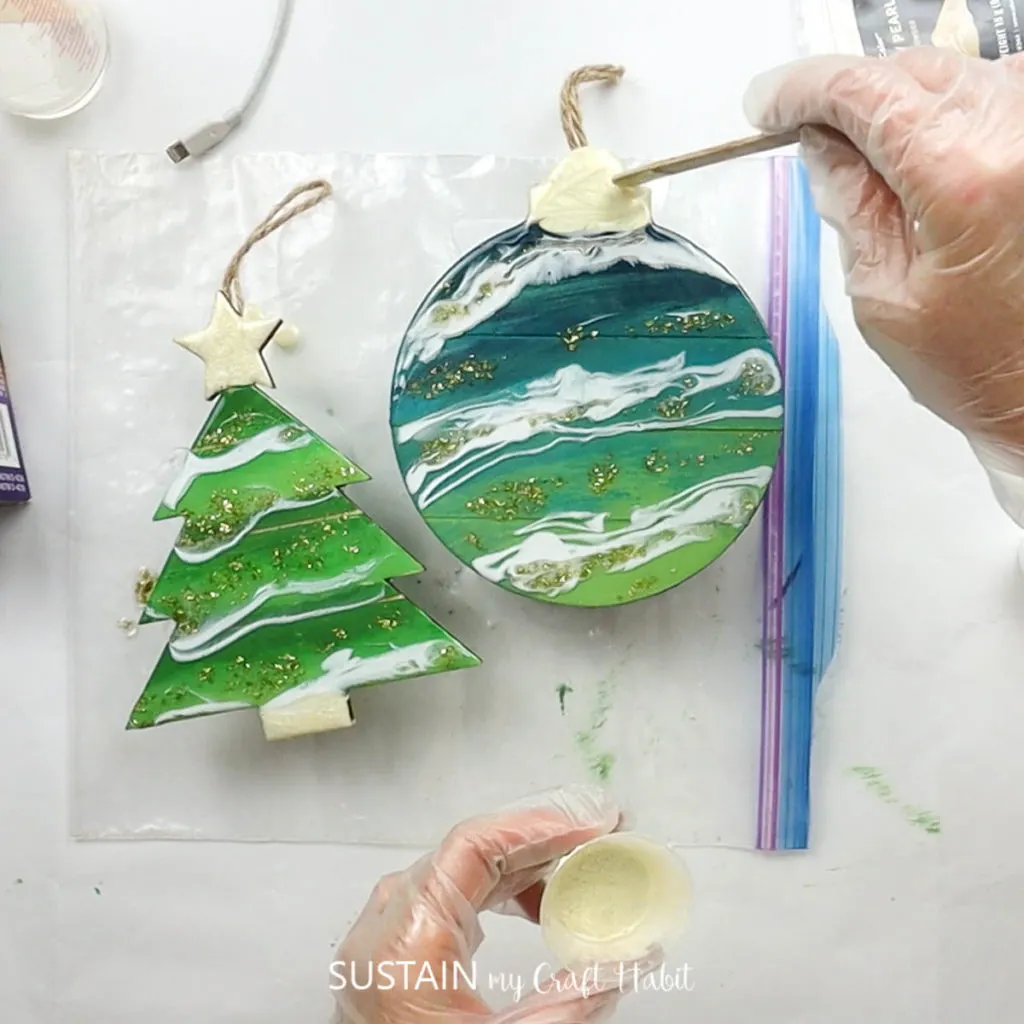
Drop in thread of resin with gold flakes.
Pour pearl resin on star and stump of the tree ornament and top of round ornament.
If desired, use stir sticks to add swirls into the resin.
Let cure for at least 24 hours (soft cure) and 72 hours for full cure.
If desired, repeat this process with the other side of the ornament.
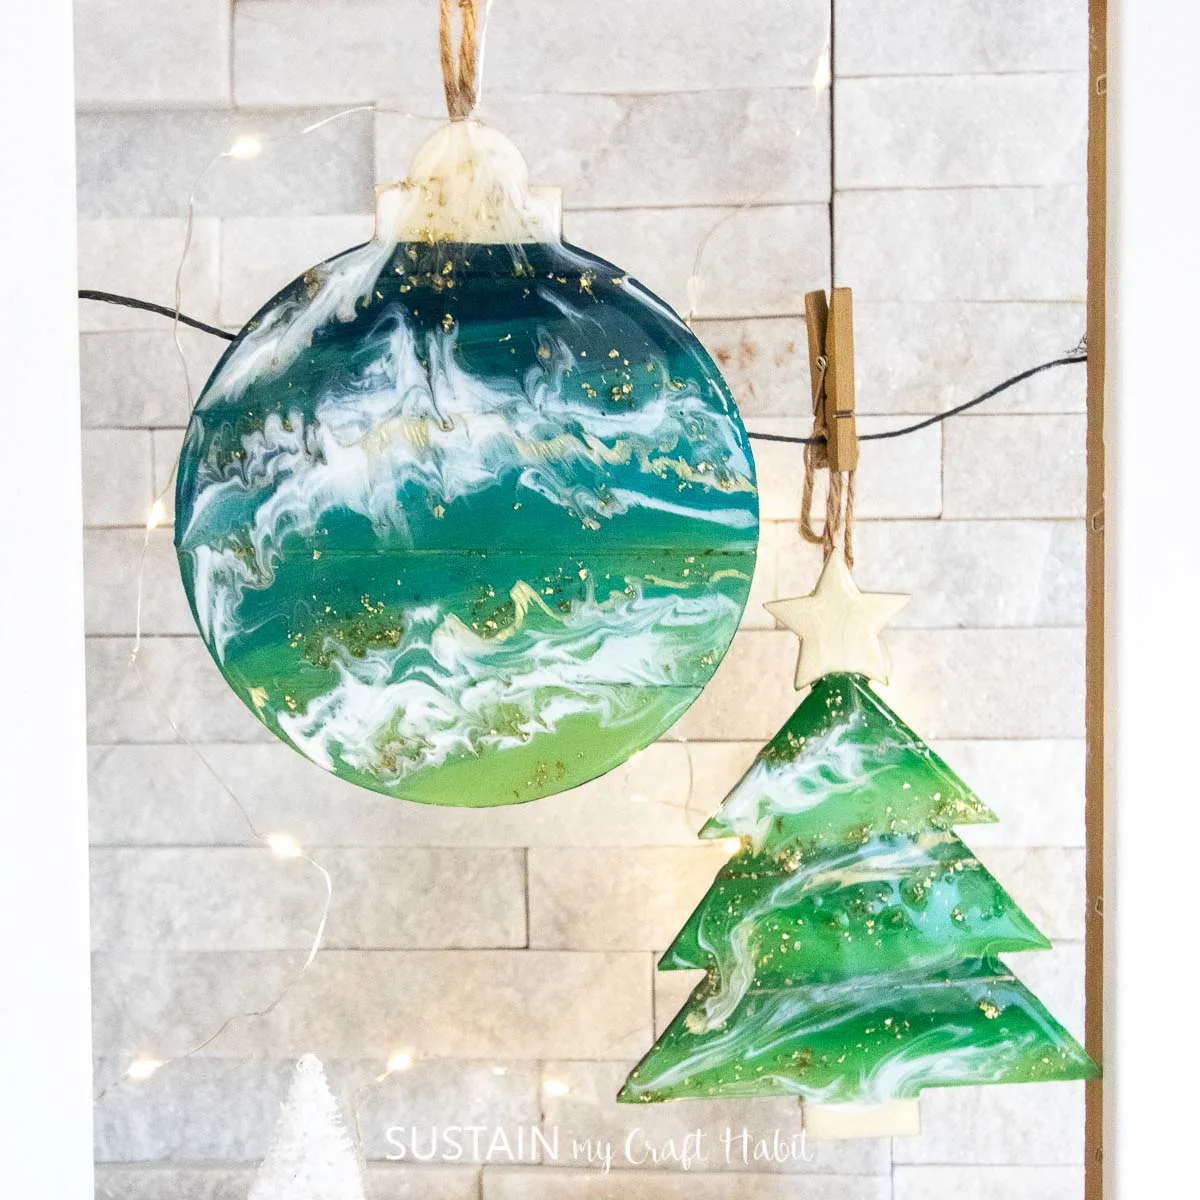
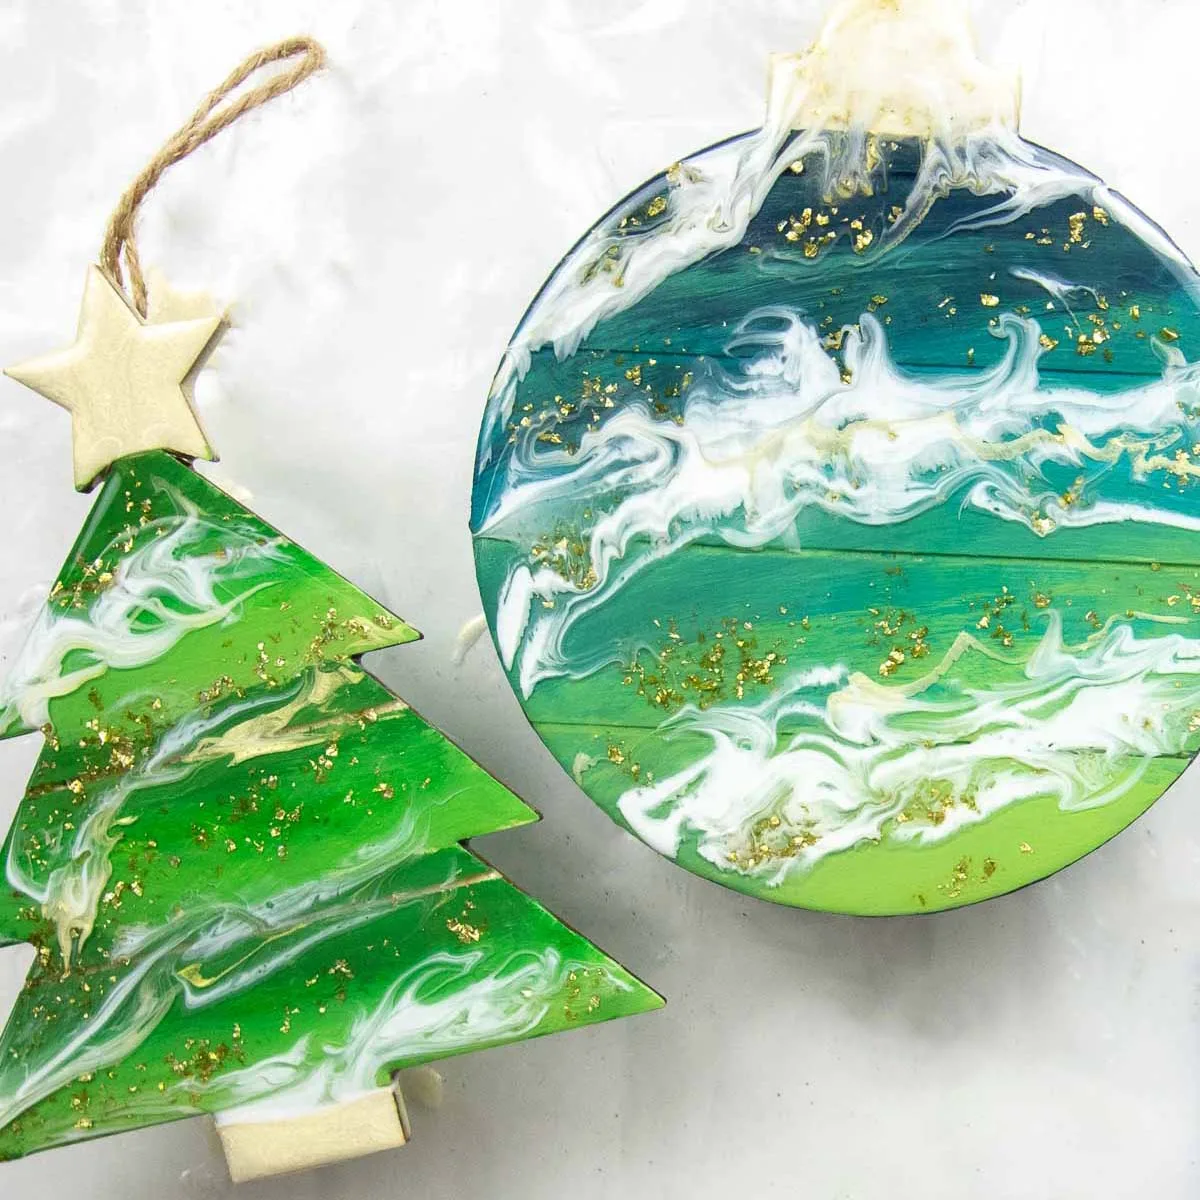
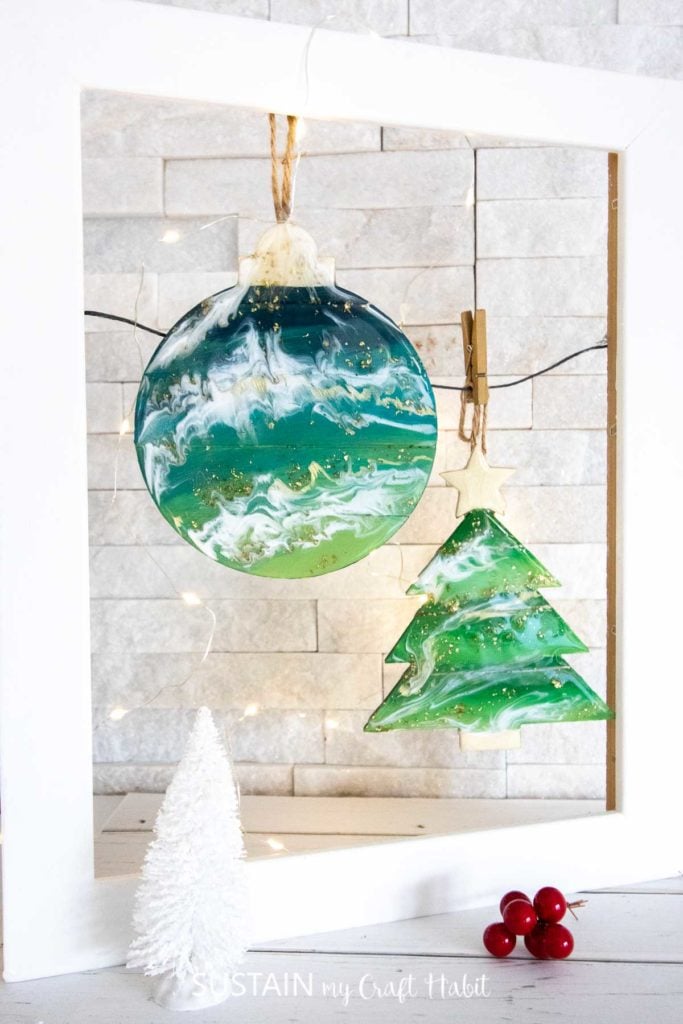
As usual, these poured-resin Christmas ornaments turned out even better than I imagined they would.
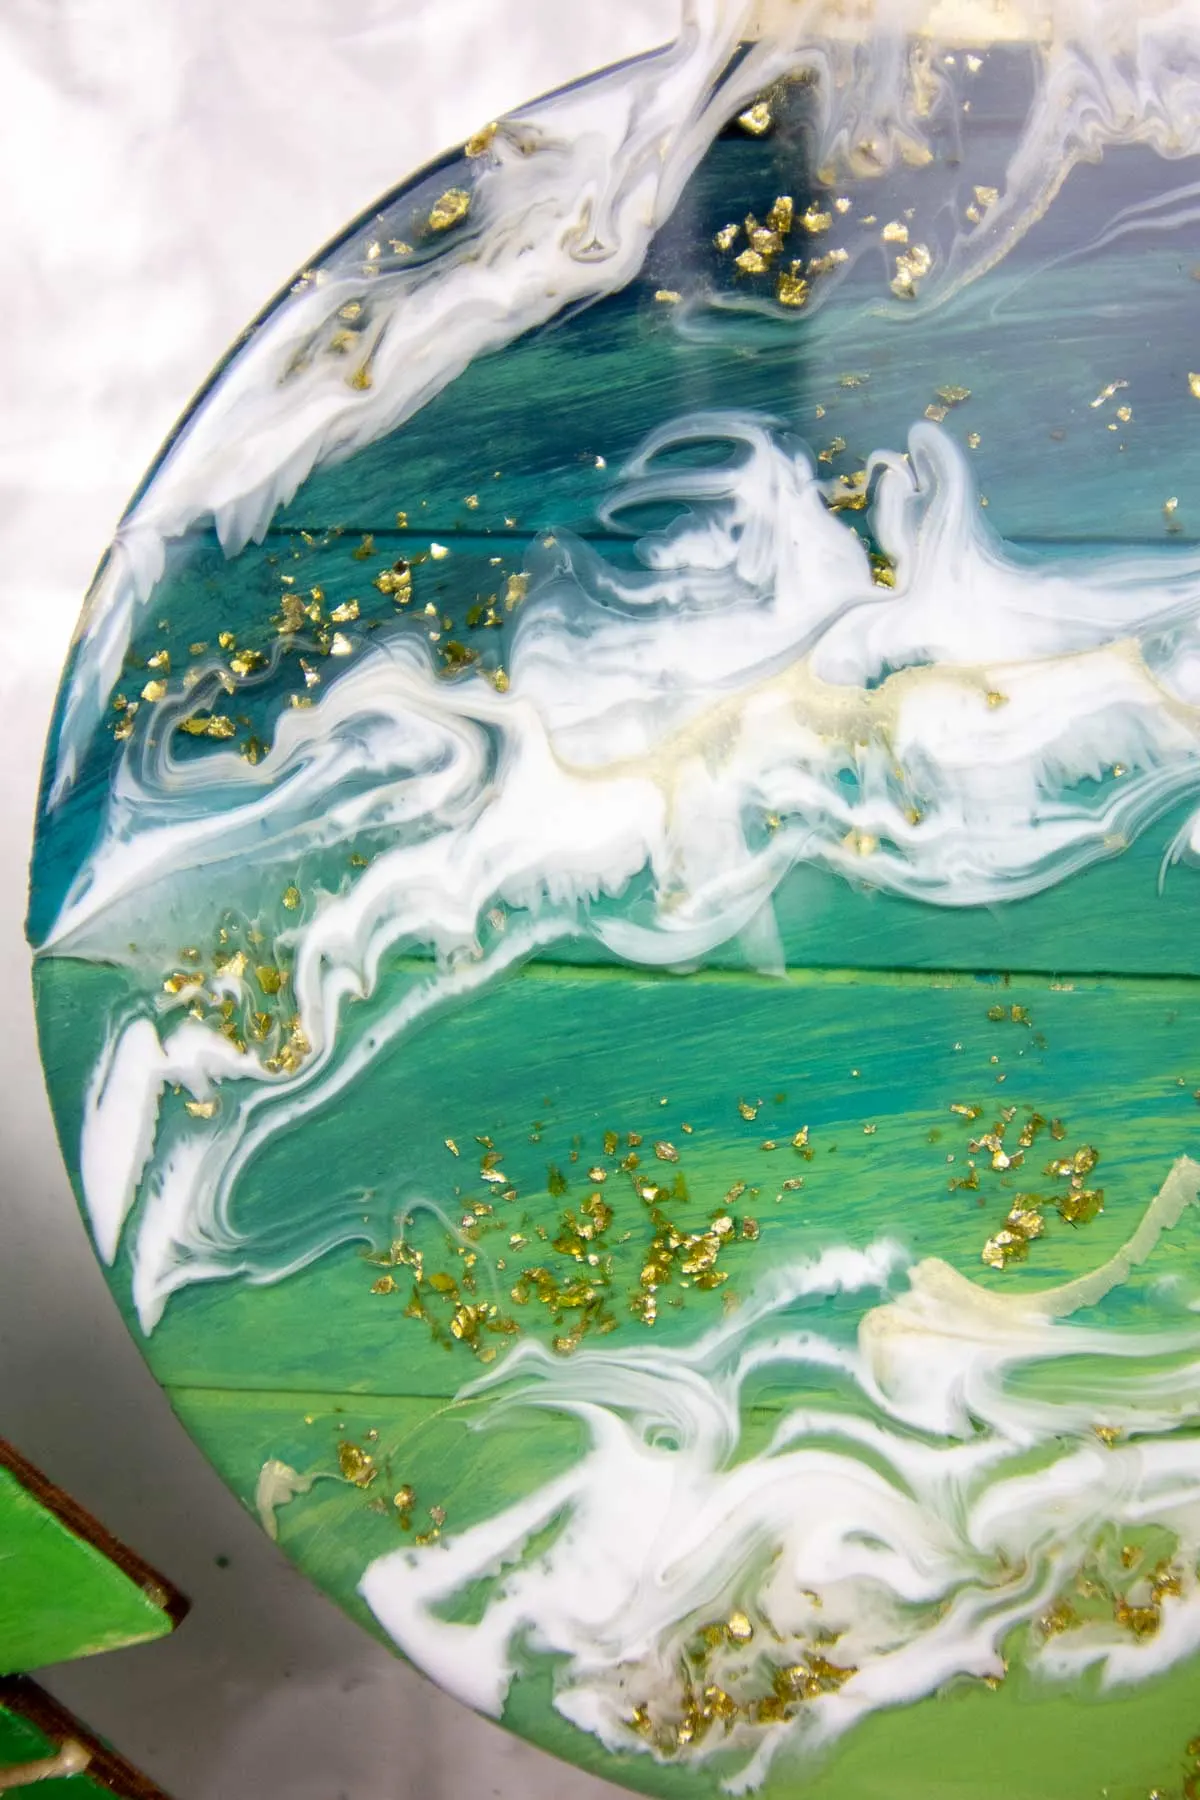
The rich colour gradients were intensified by the resin.
The swirls of white and pearl with gold inclusions are just so interesting and beautiful to see.

Pin it for Later!

Resin Pour Memento Box