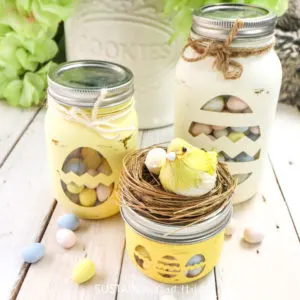
HomeHoliday CraftsEaster CraftsDIY Easter Candy Jars with Cricut Joy
Hi friends!
If you dont have a Cricut machine, consider making thisdecorative Easter jar version.
you might find ourfull disclosure policy here.

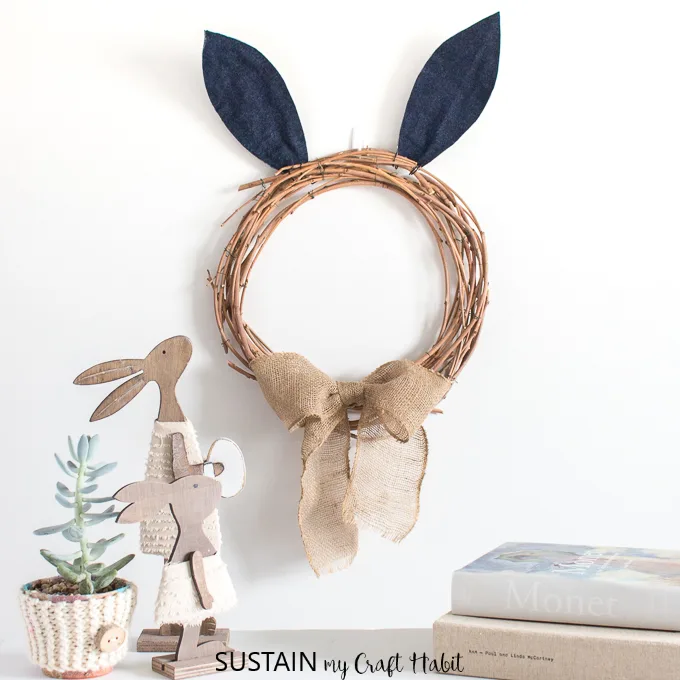
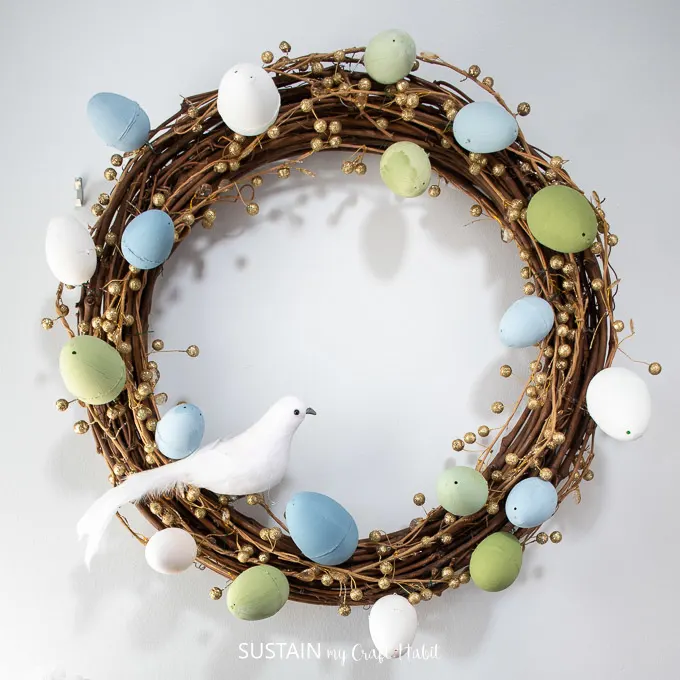
DIY Easter Wreath
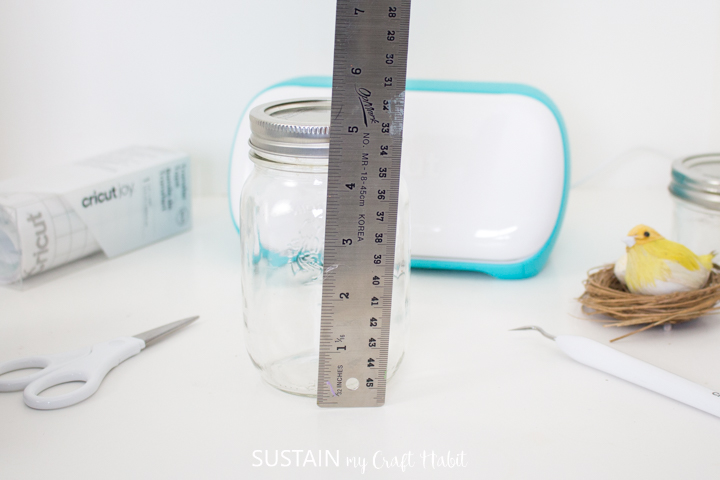
Its also a good idea to wipe the jars with rubbing alcohol to get rid of any greasy spots.
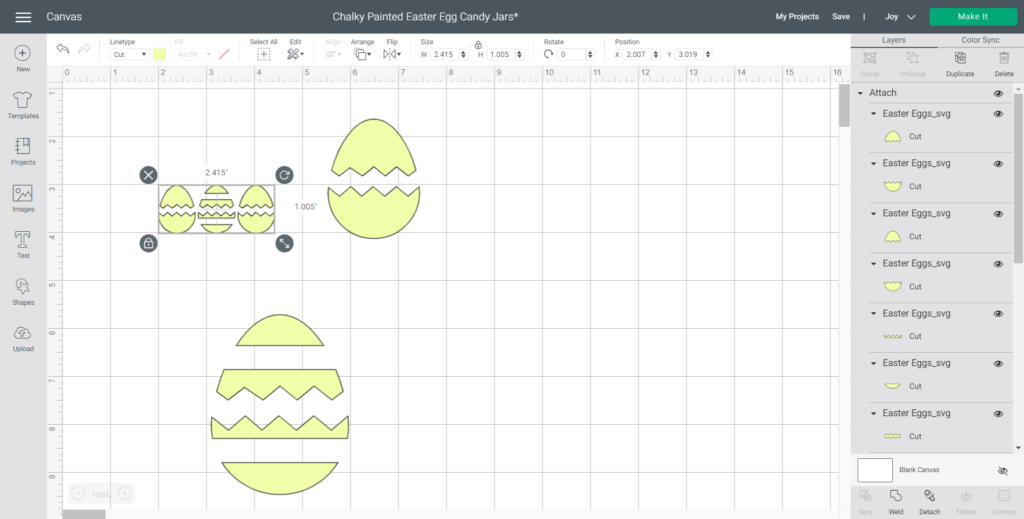
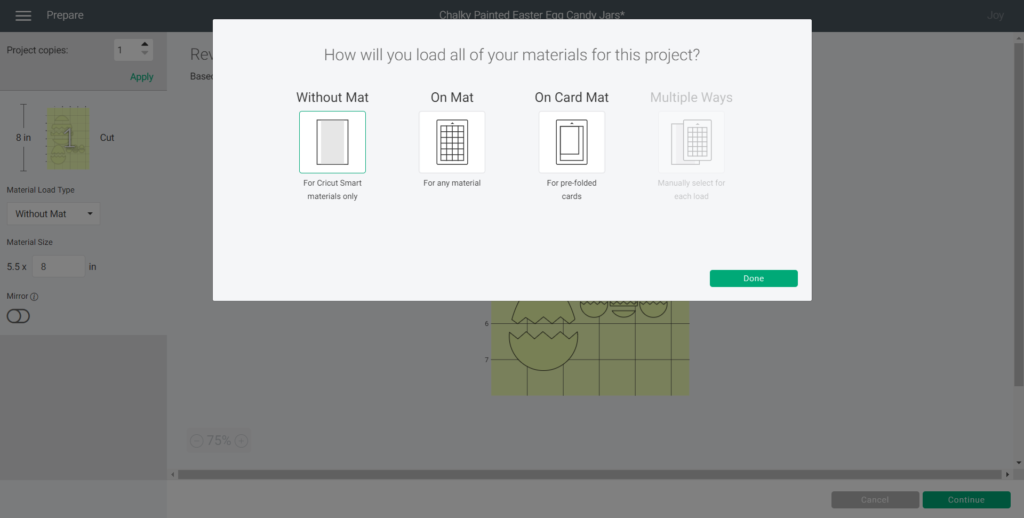
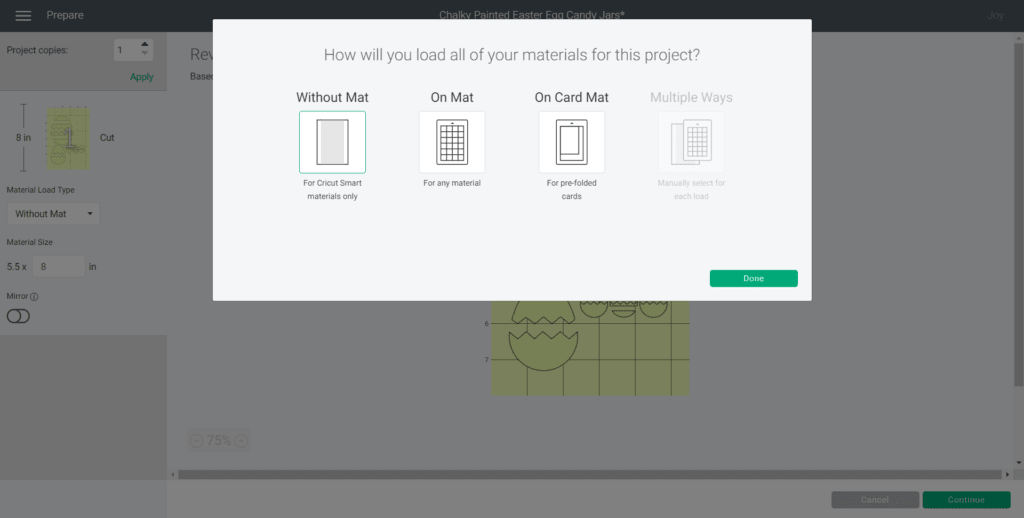
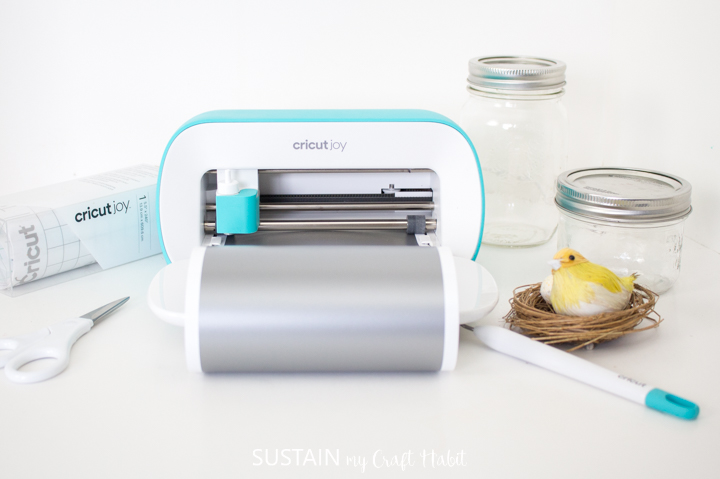
Select Make It in Design Space and choose to cut without a mat.
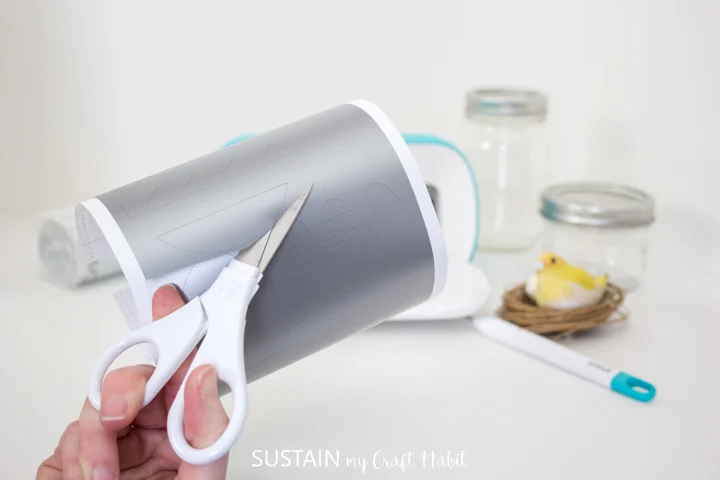
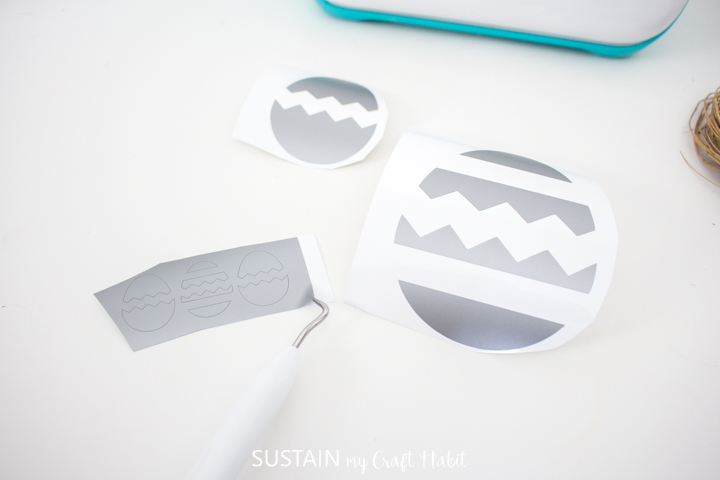
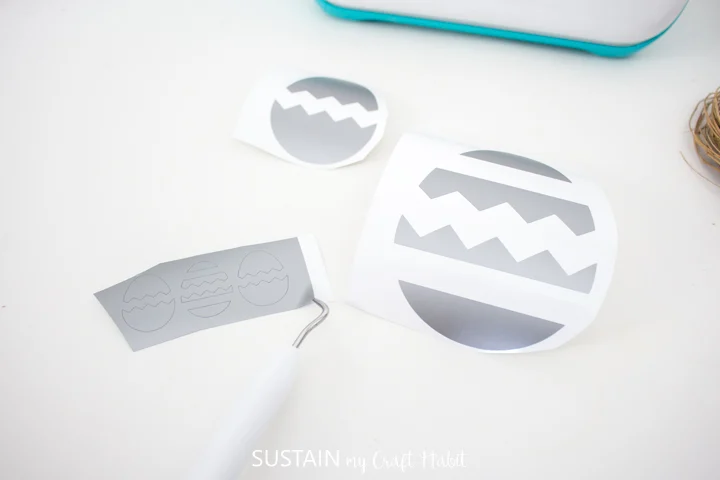
Cut around each egg image with a pair of scissors.

Using the weeding tool or your fingernails, peel away the excess vinyl around the vinyl-cut images and discard.
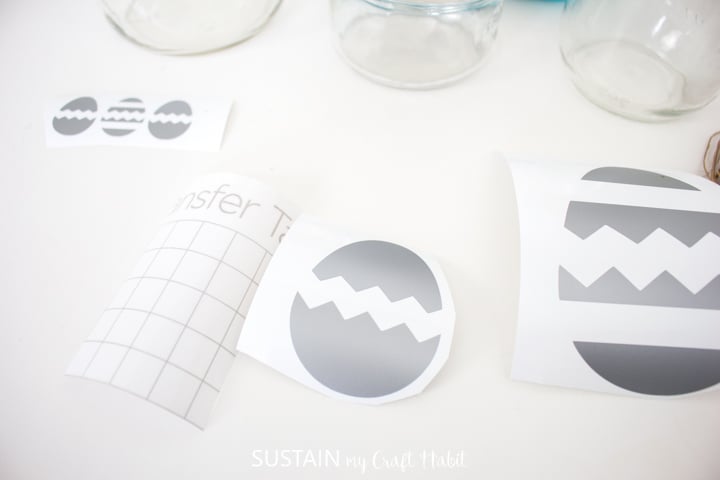
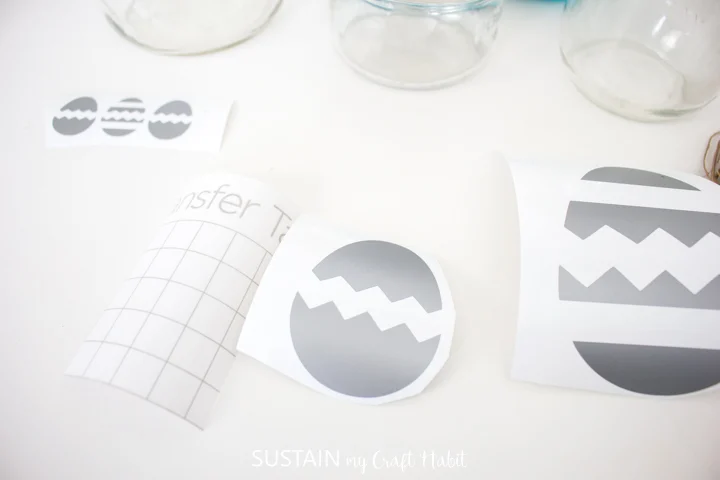
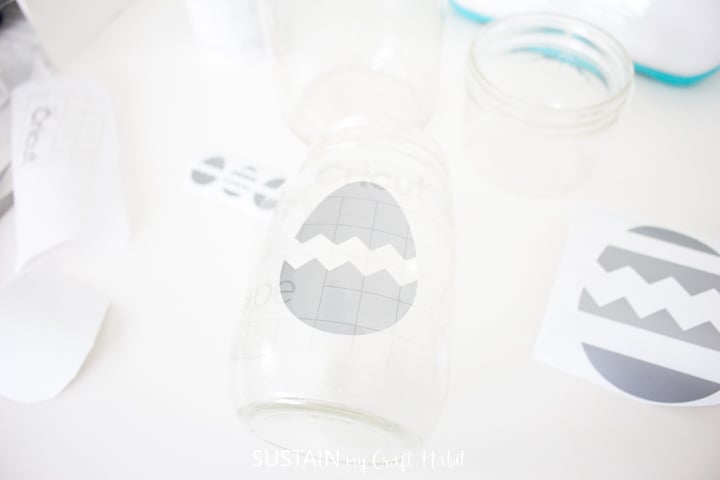
Cut a piece of transfer tape a bit larger than the egg.
Peel away the transfer tape backing and place the transfer tape overtop of the vinyl image.
Gently rub the vinyl to help it stick to the transfer tape.
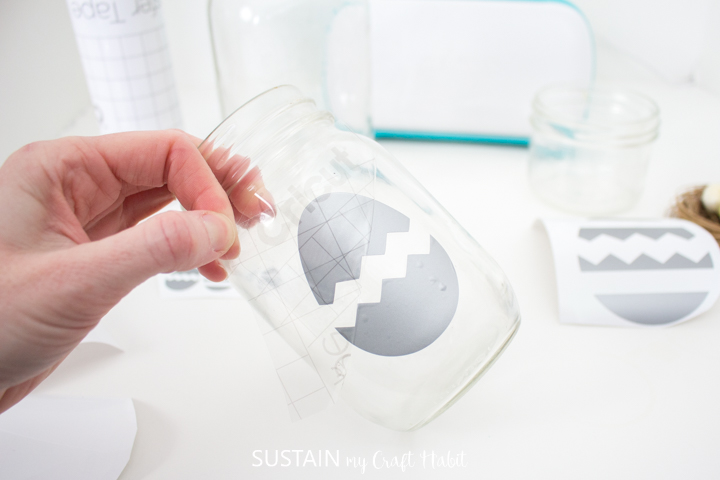
Peel away the backing, leaving the egg adhered to the transfer tape.
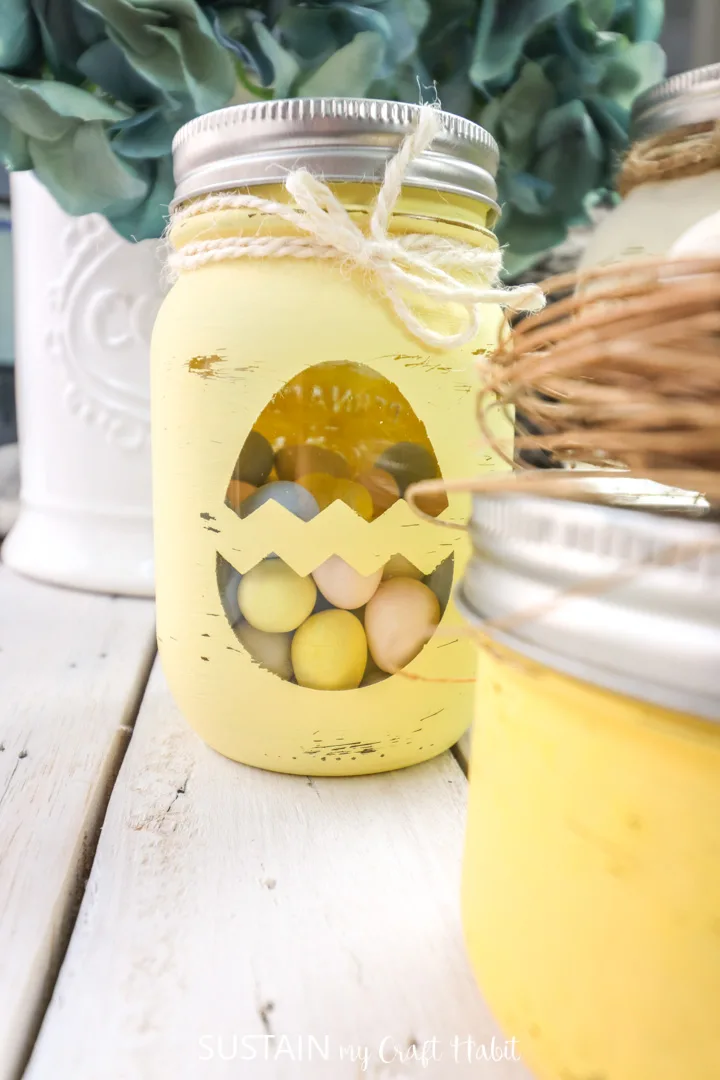
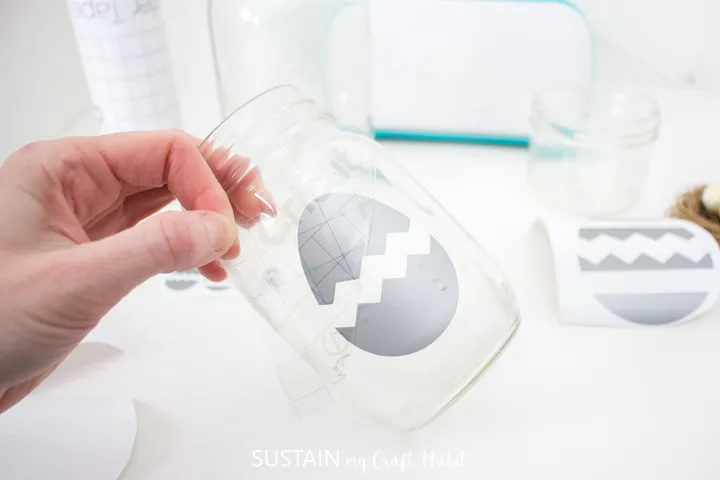
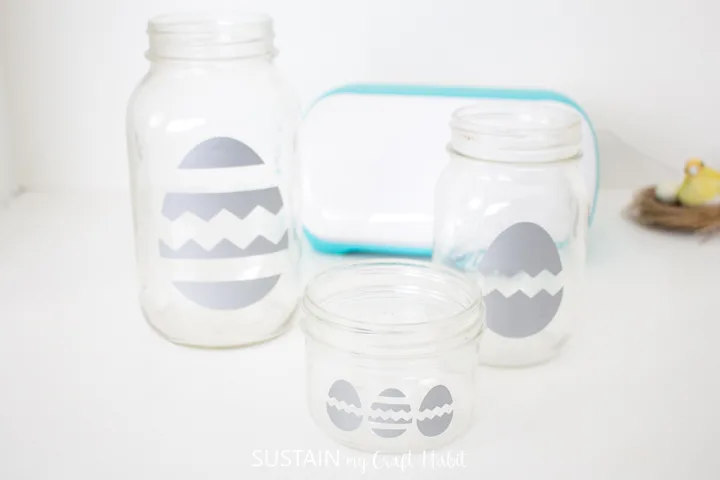
Slowly and carefully remove the transfer tape leaving the vinyl egg design on the jar.

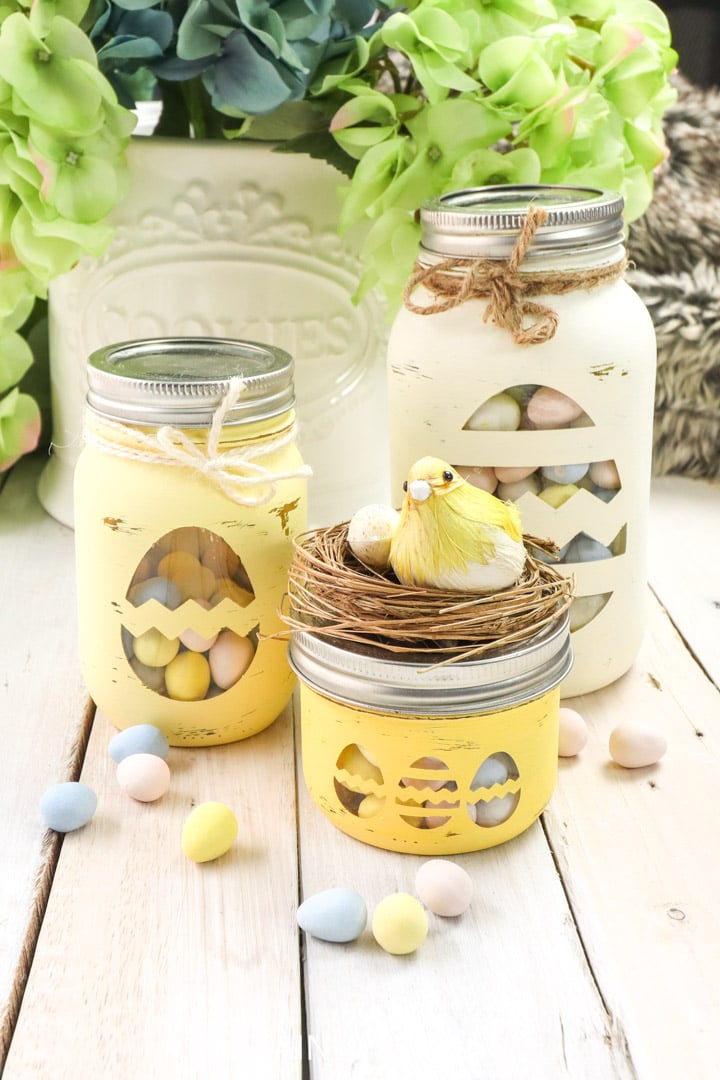
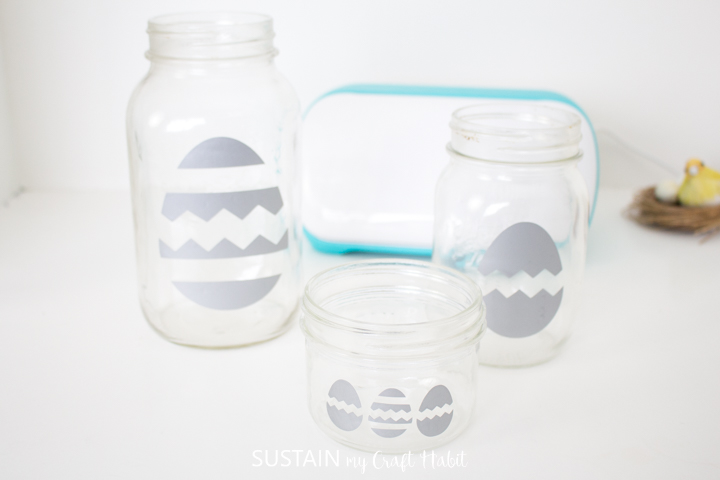
Similarly, position the other eggs on to the remaining glass jars.
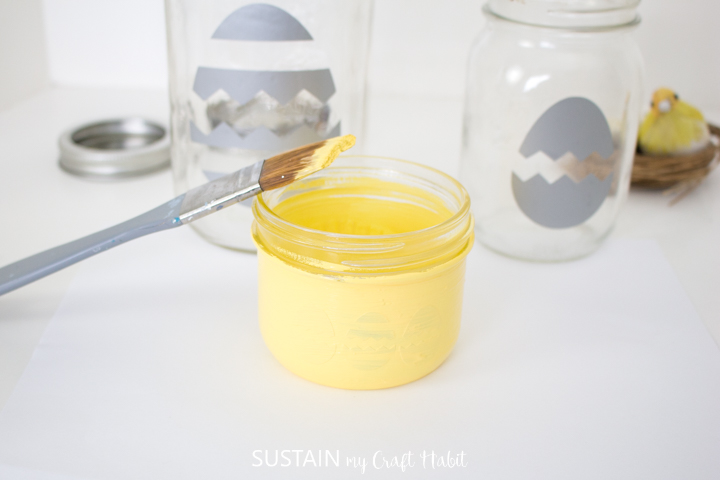
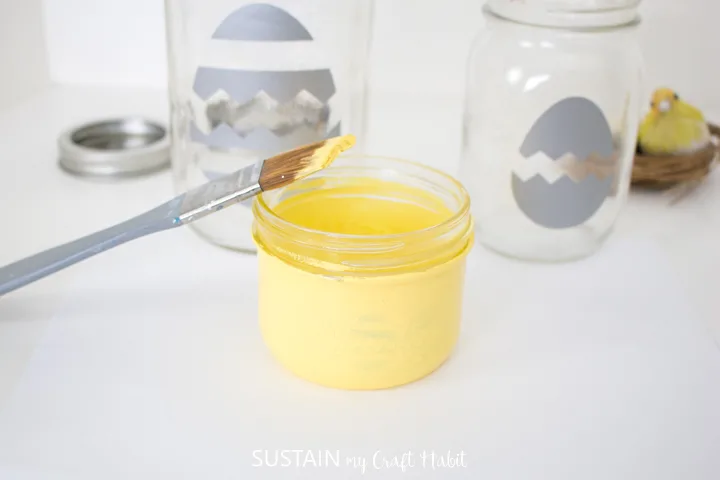
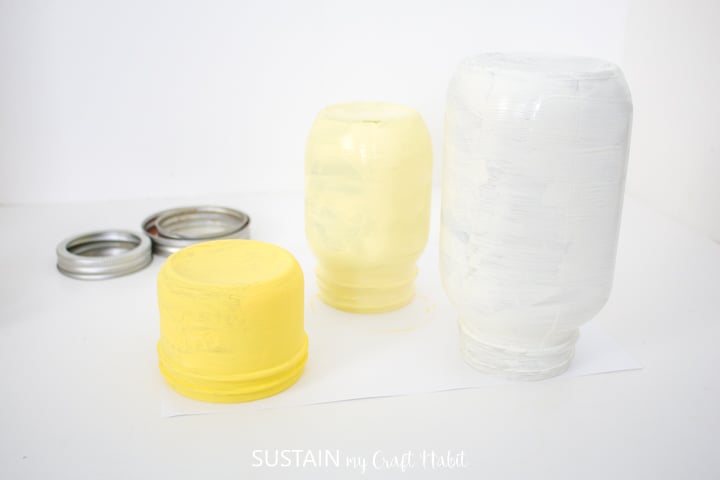
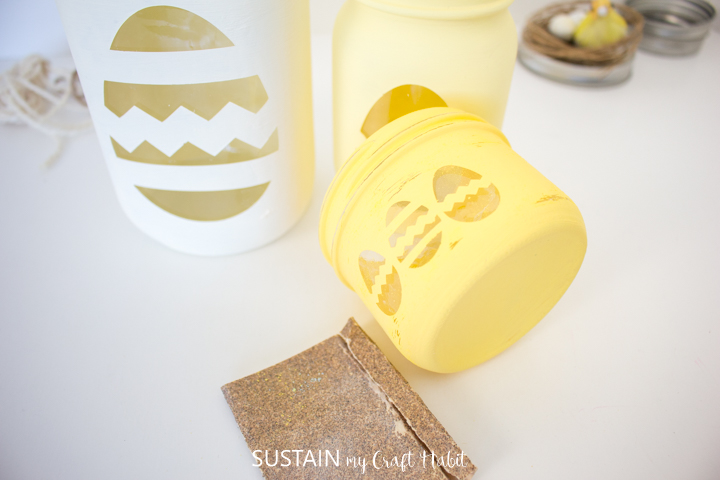
Allow it to fully dry before applying a second coat of paint.
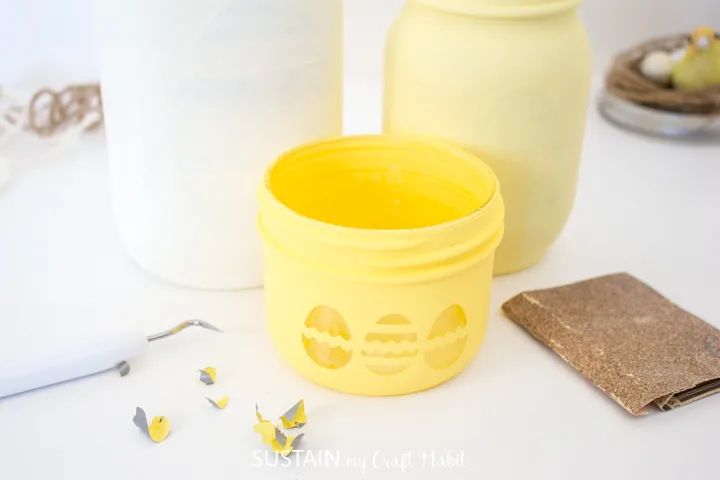
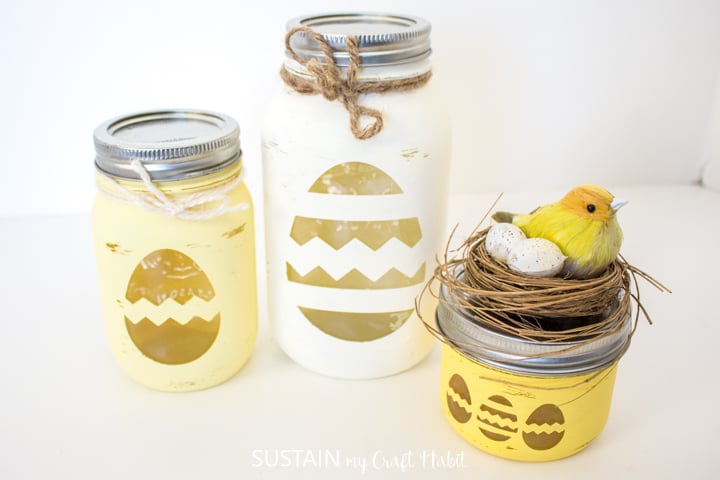
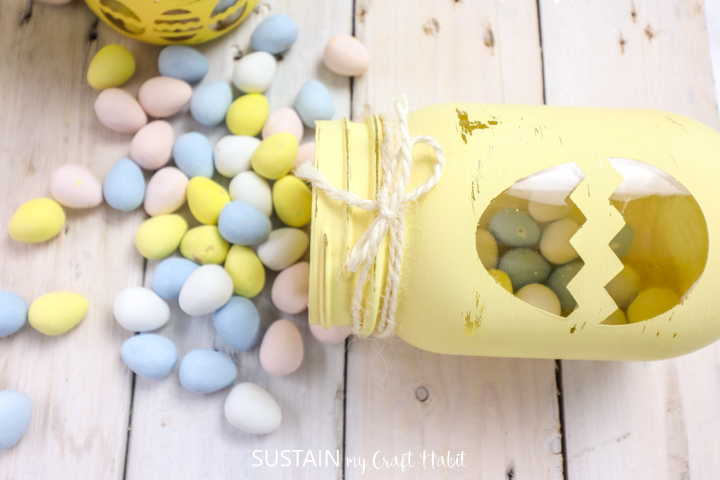
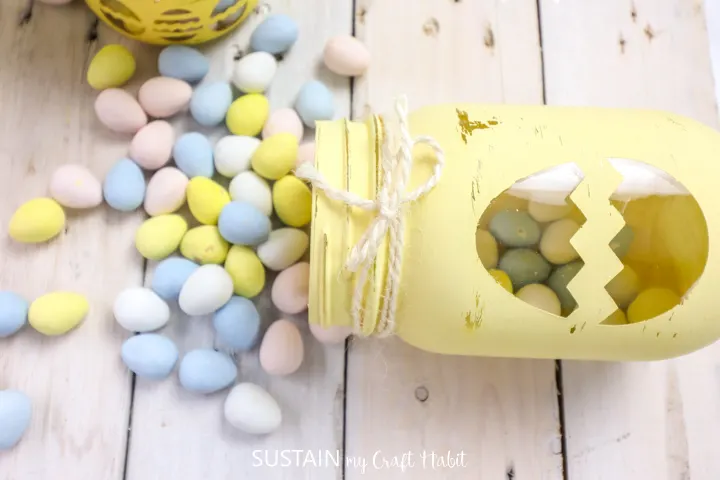
Paint the medium sized jar in Delicate and the largest jar in Lace color.

Fill with chocolate eggs or other Easter treats to enjoy!
More Easter Crafting Ideas!
Pin it for later!
DIY Easter Candy Jars with Cricut Joy
Materials
Instructions


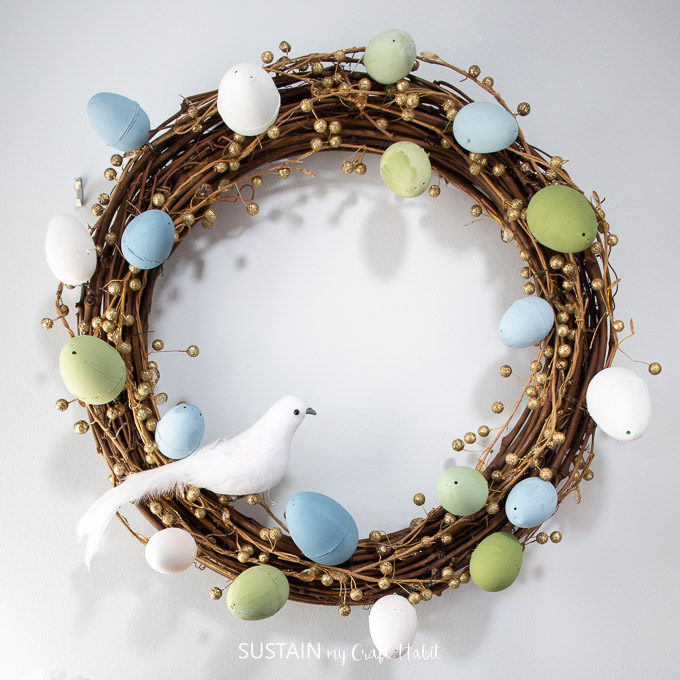
DIY Easter Wreath

Mini Felt Easter Baskets

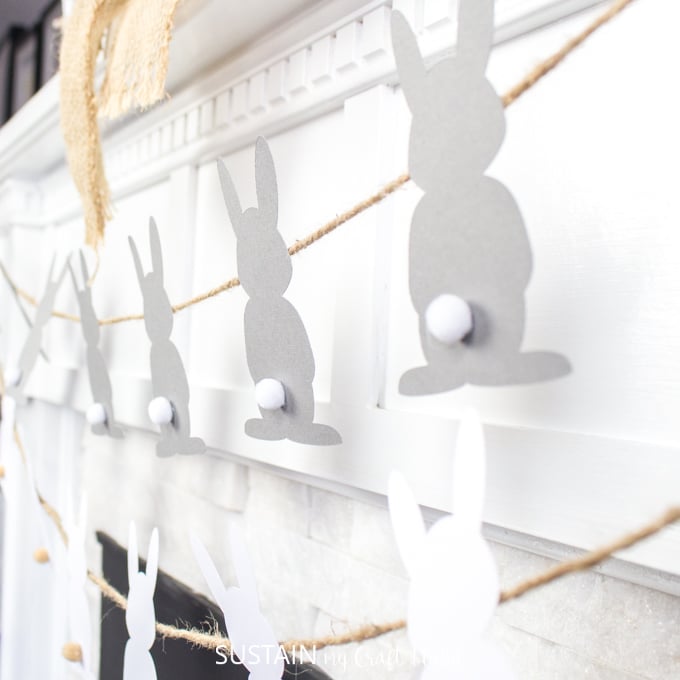
DIY Easter Garland with Paper Bunnies


Bunny Ears Wreath