HomeOrganization
This post may contain affiliate links:full affiliate disclosure.
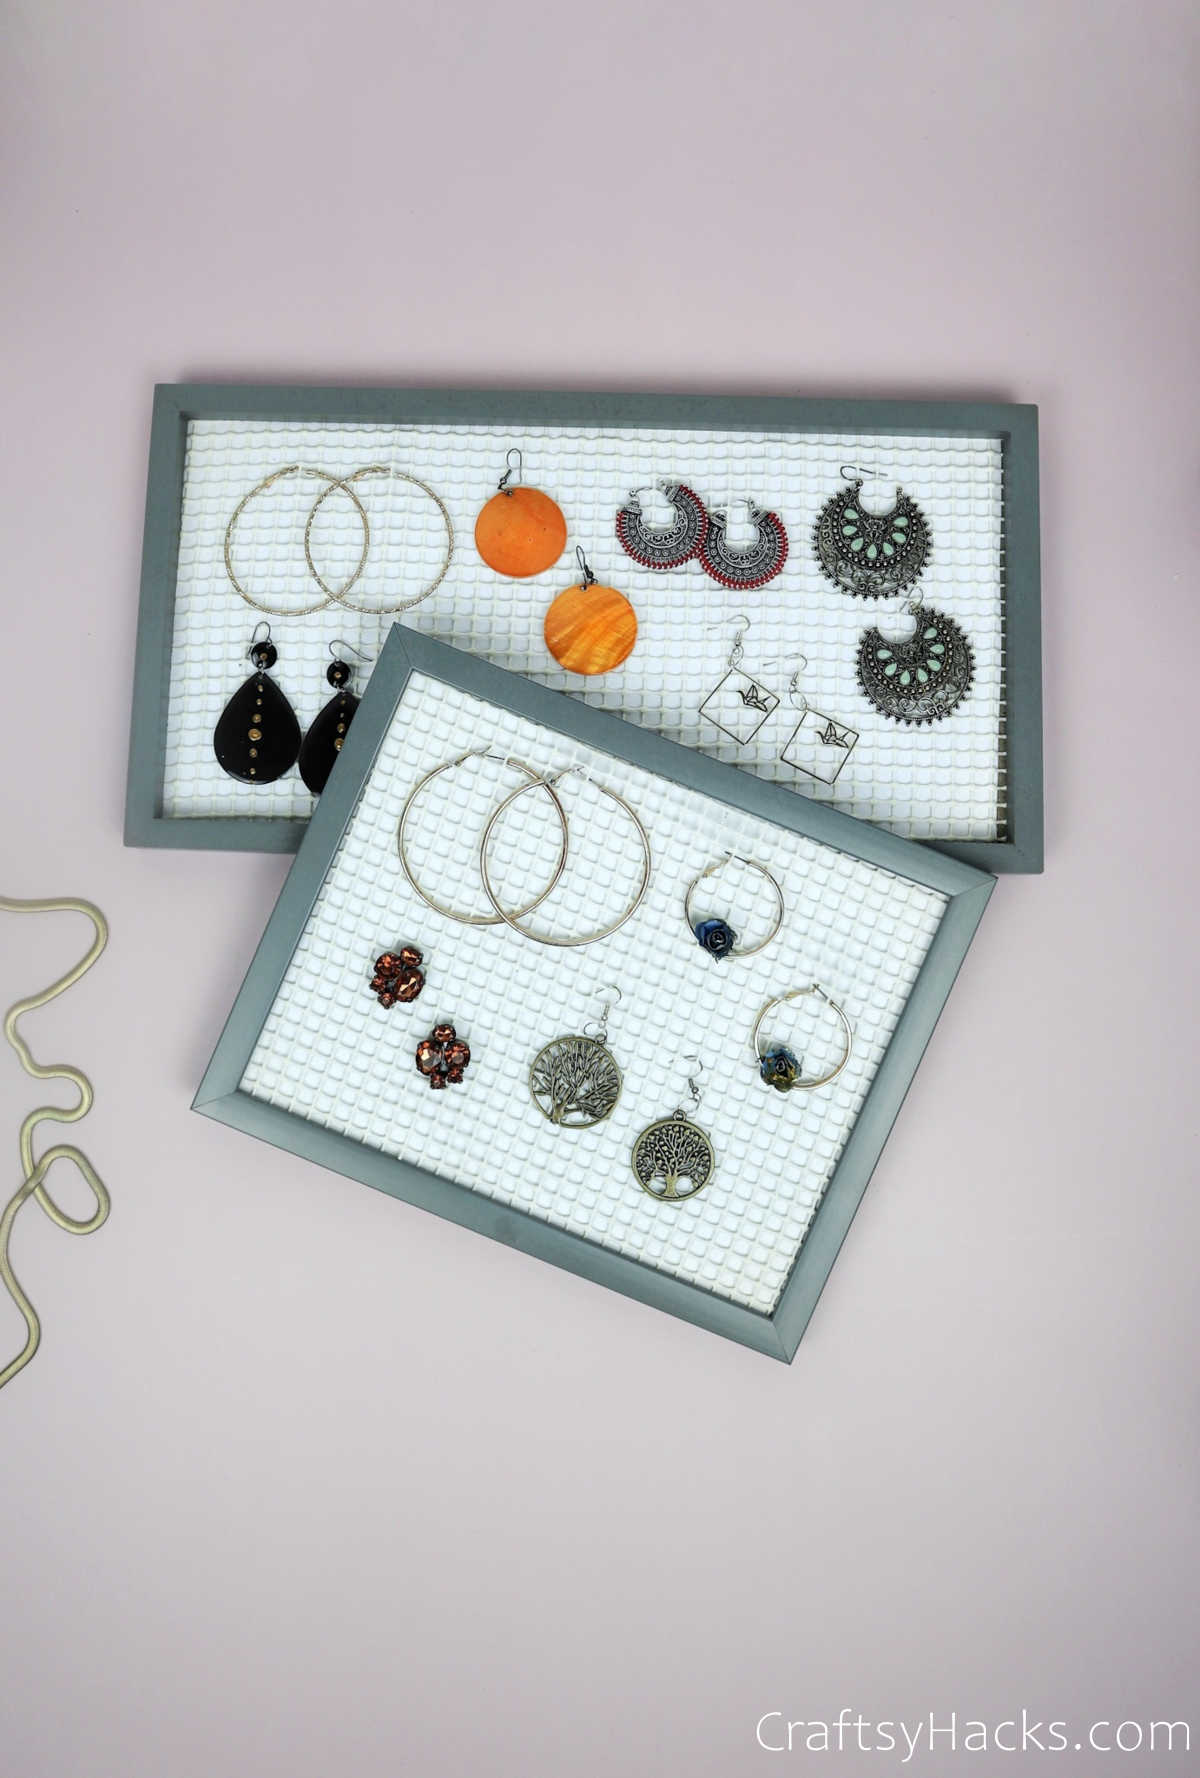
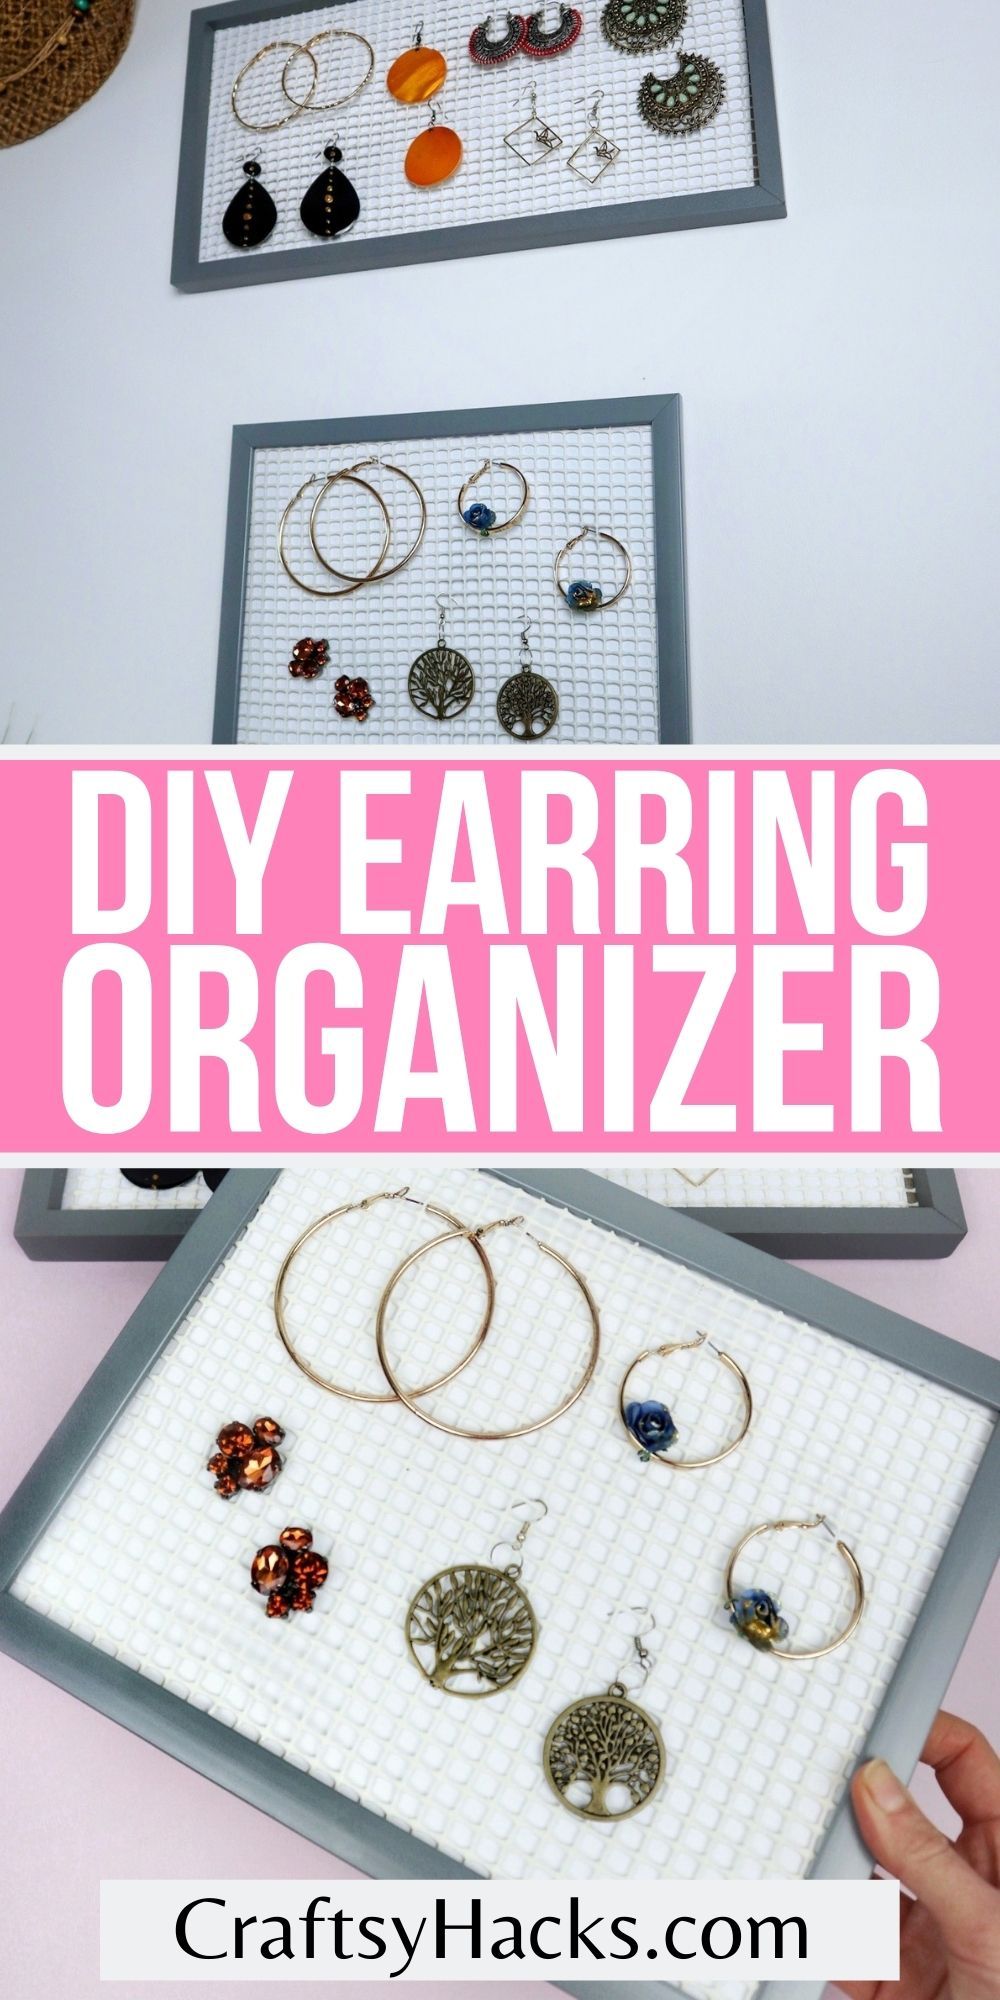
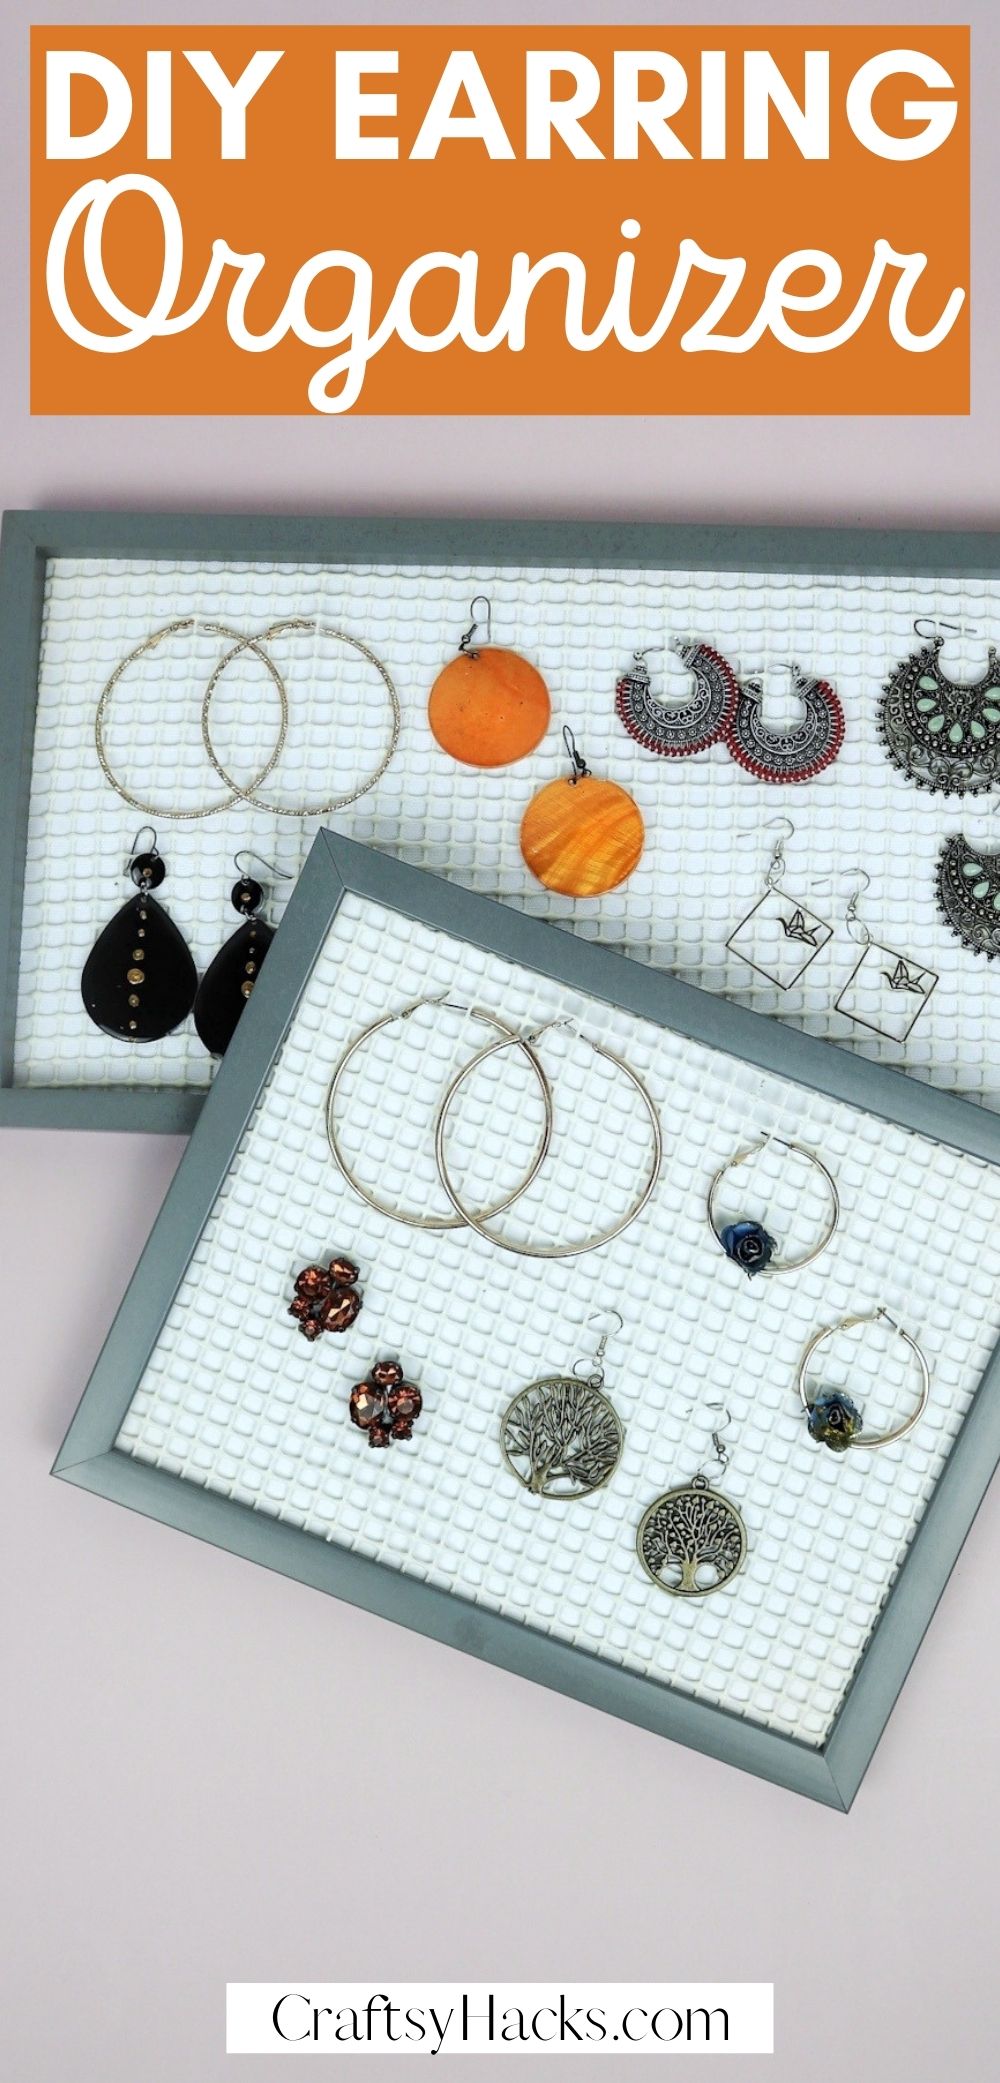
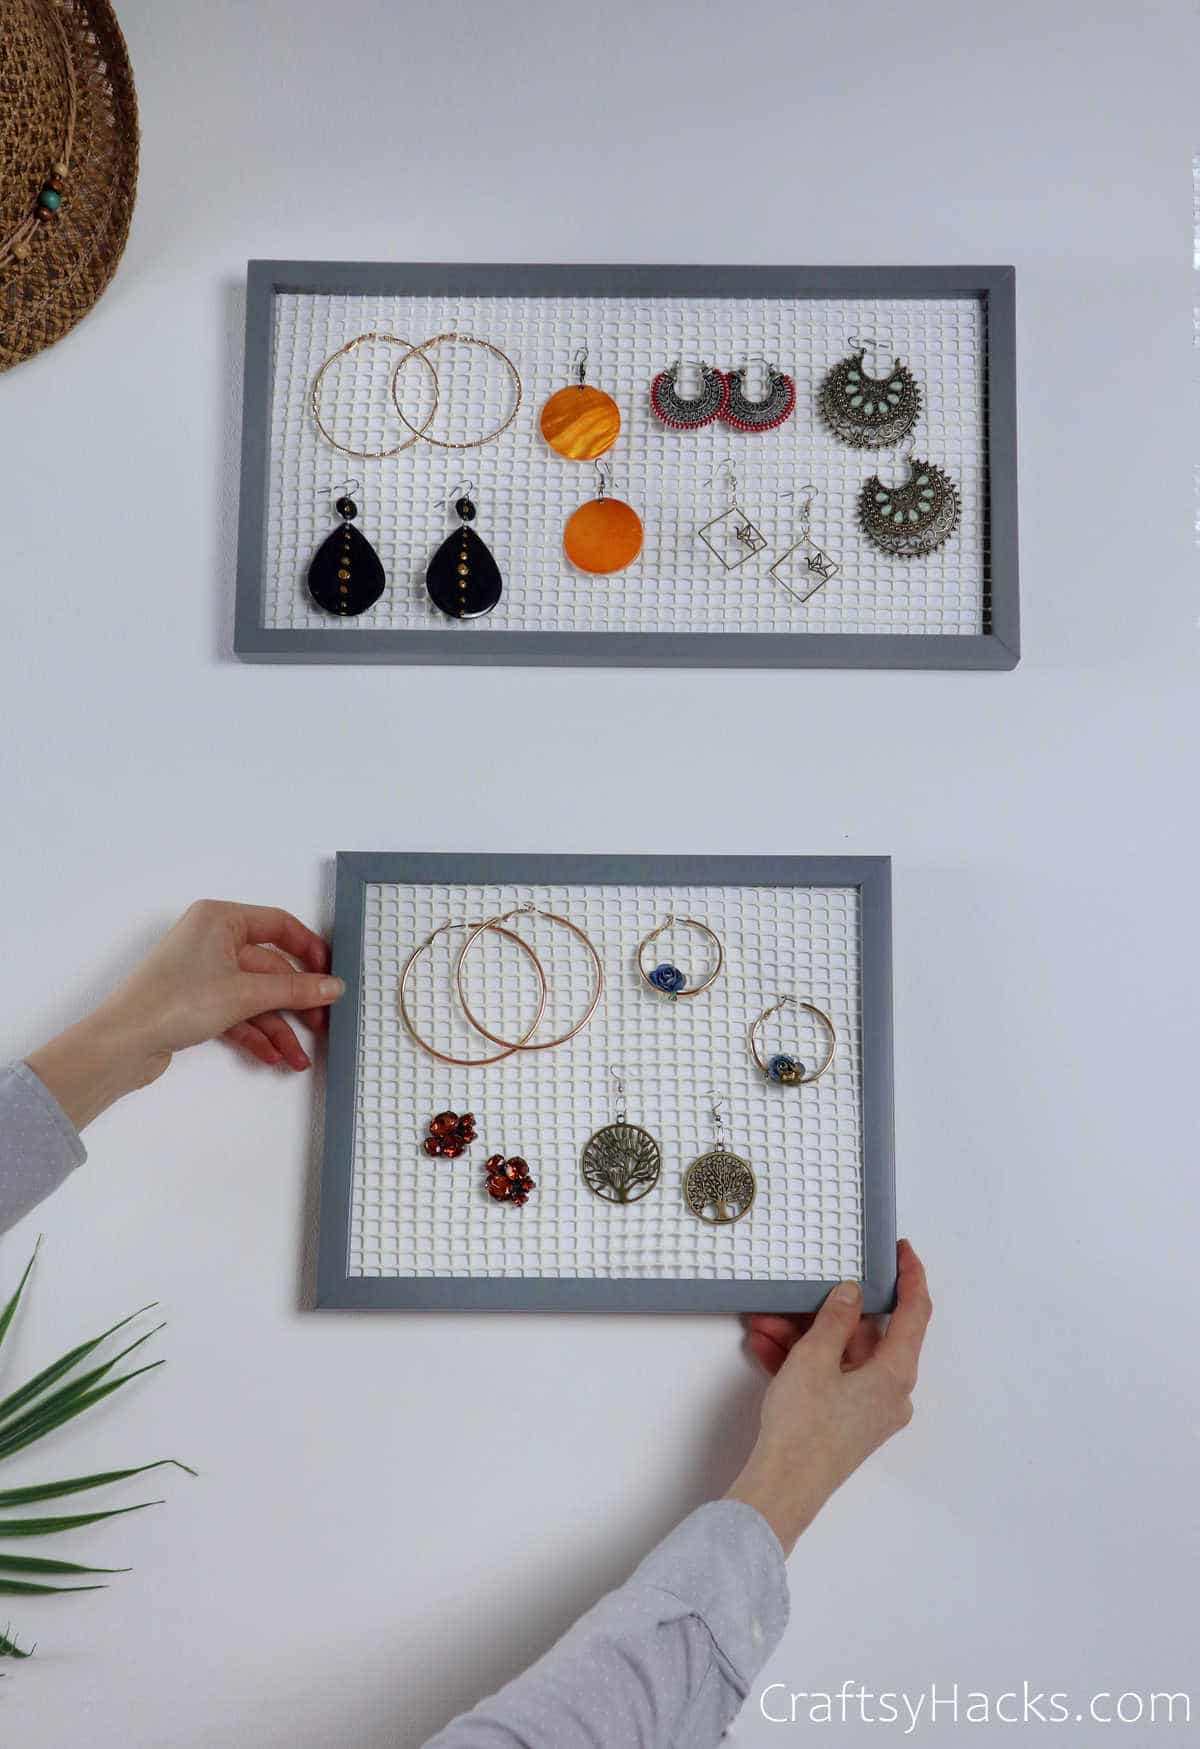
Use photo frames to make your very own DIY earring organizer.
Its a simple, creative craft that will help you keep your jewelry in an order.
Thats why you need something likethisDIY earring organizer to keep your earrings organizedandin an accessible place.
How to Make an Earring Organizer
This particular DIY is as simple as it gets.
Lets get right to it.
Step 1
First, start by measuring out the dimensions of your photo frame.
You will need the exact measurements to help you when youre cutting out the shelf liner.
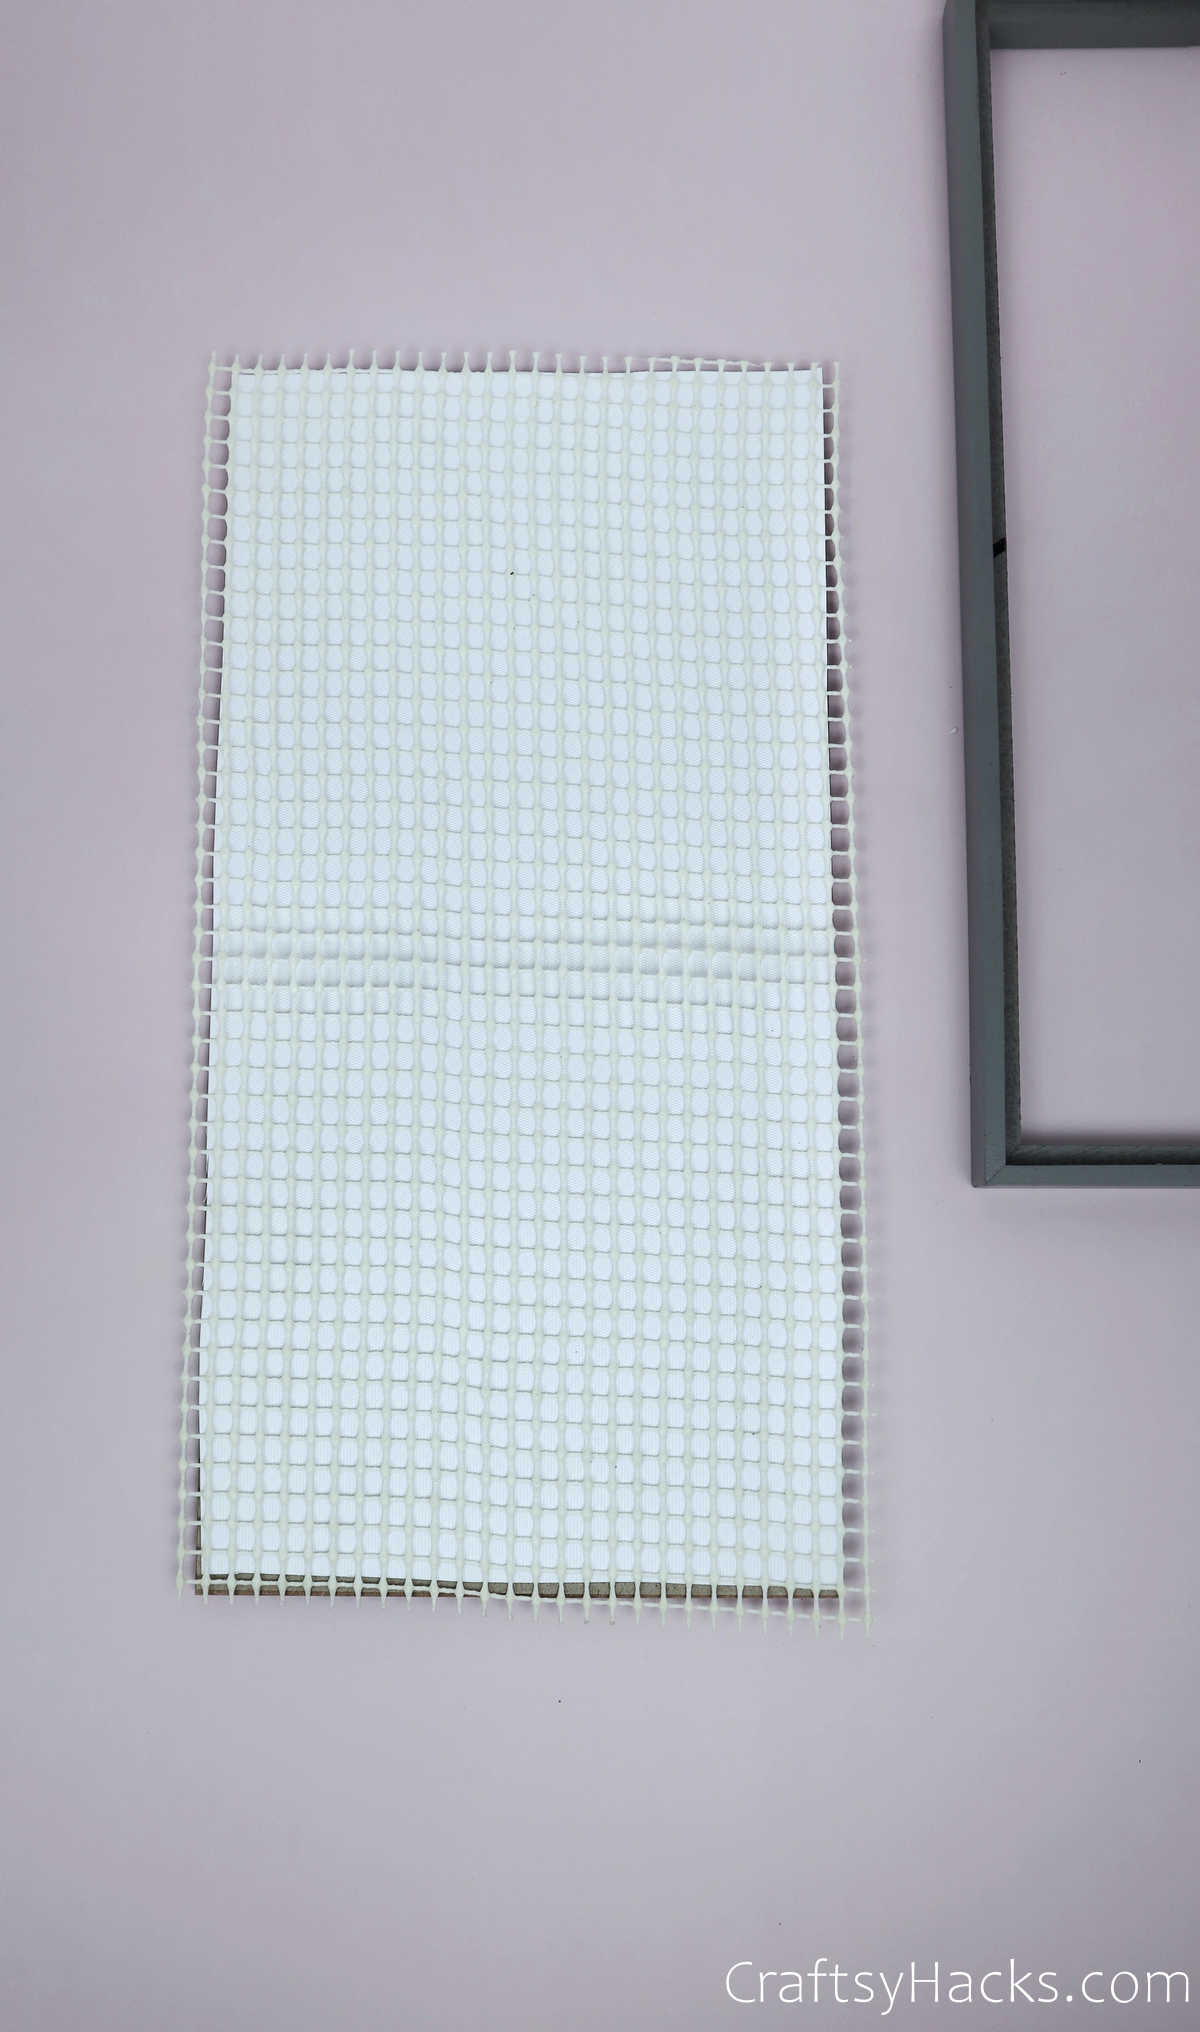
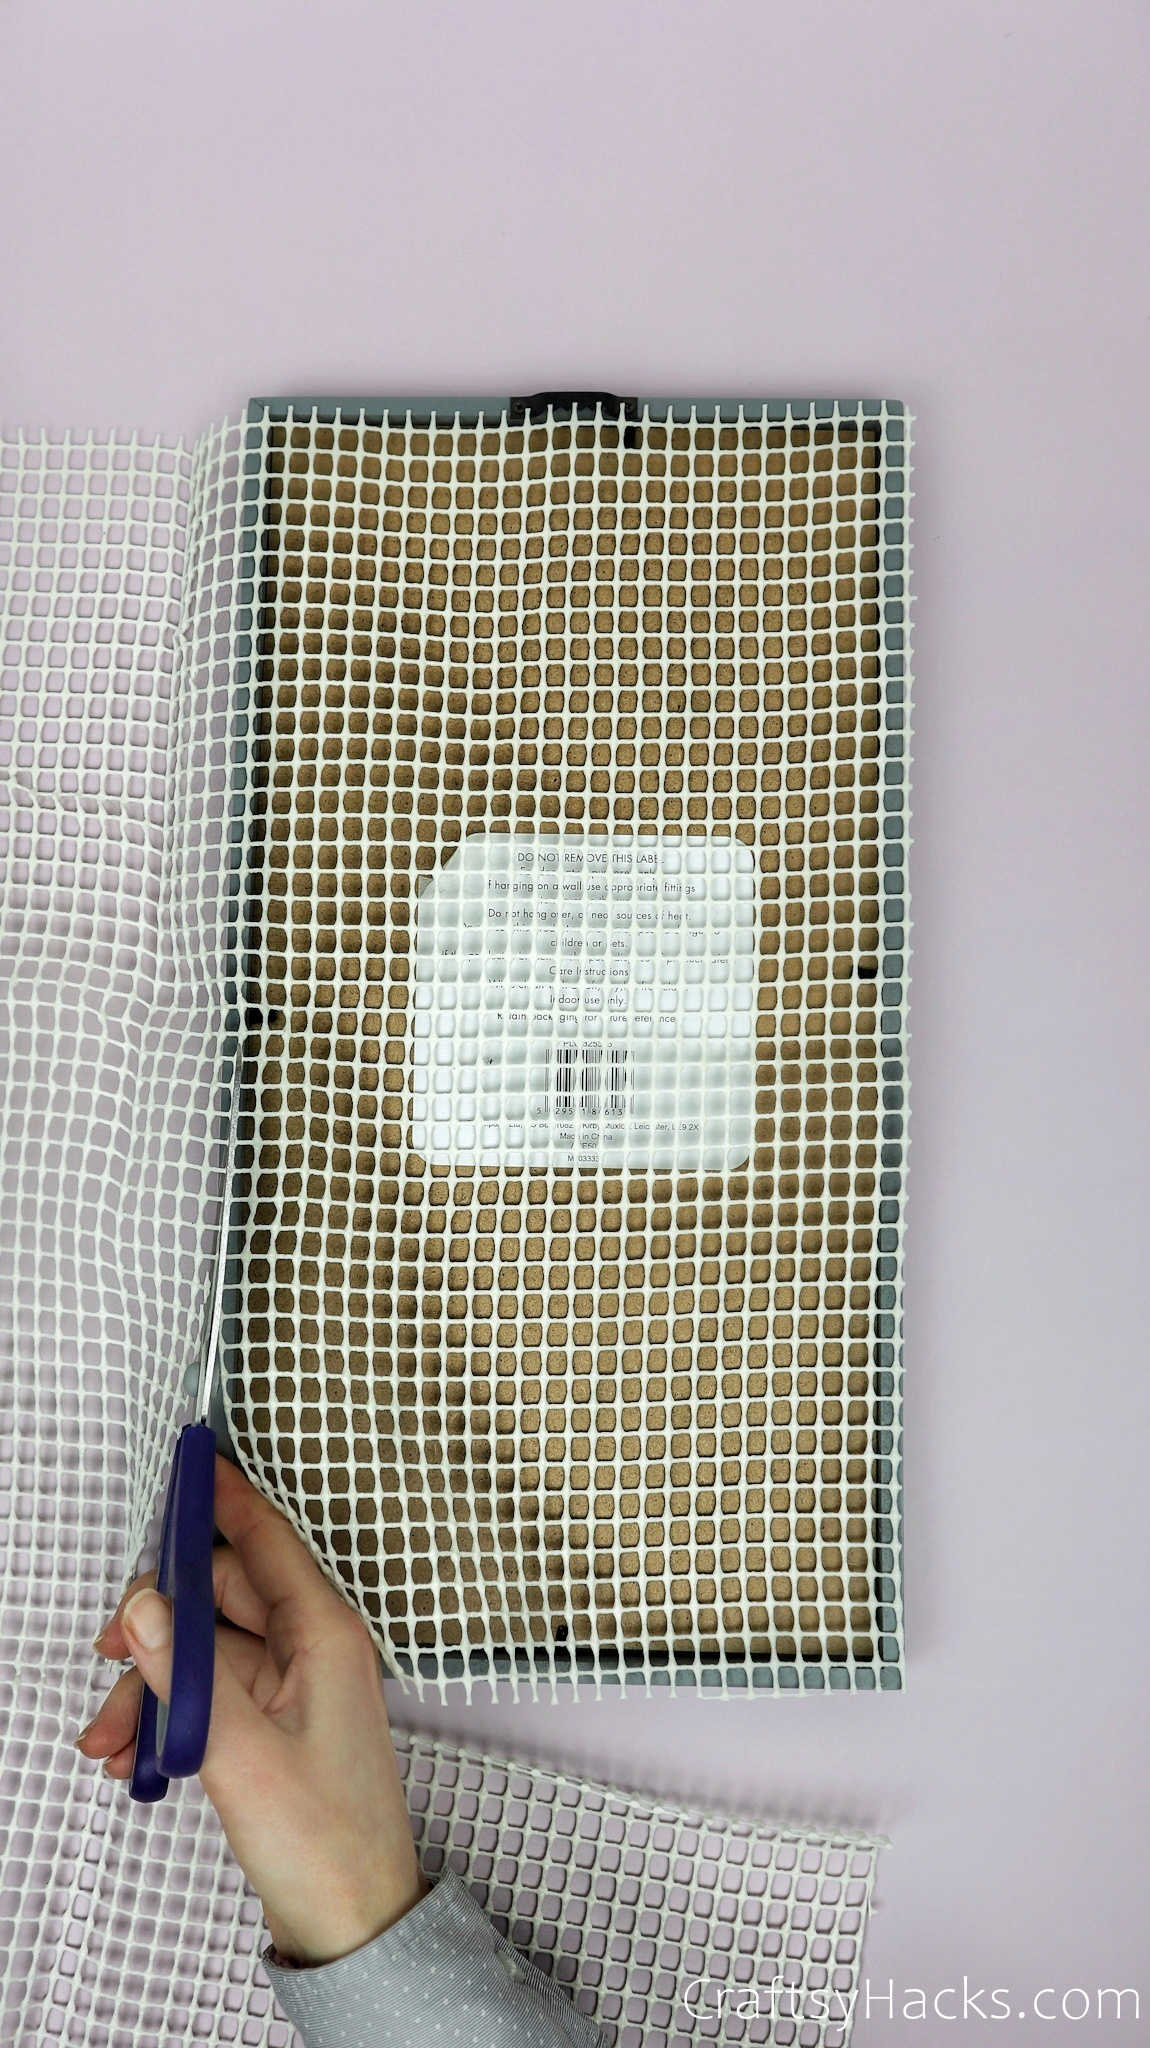
Step 2
Cut the shelf line according to the measurements you took.
Remember to cut the liner a little bigger than the actual frame.
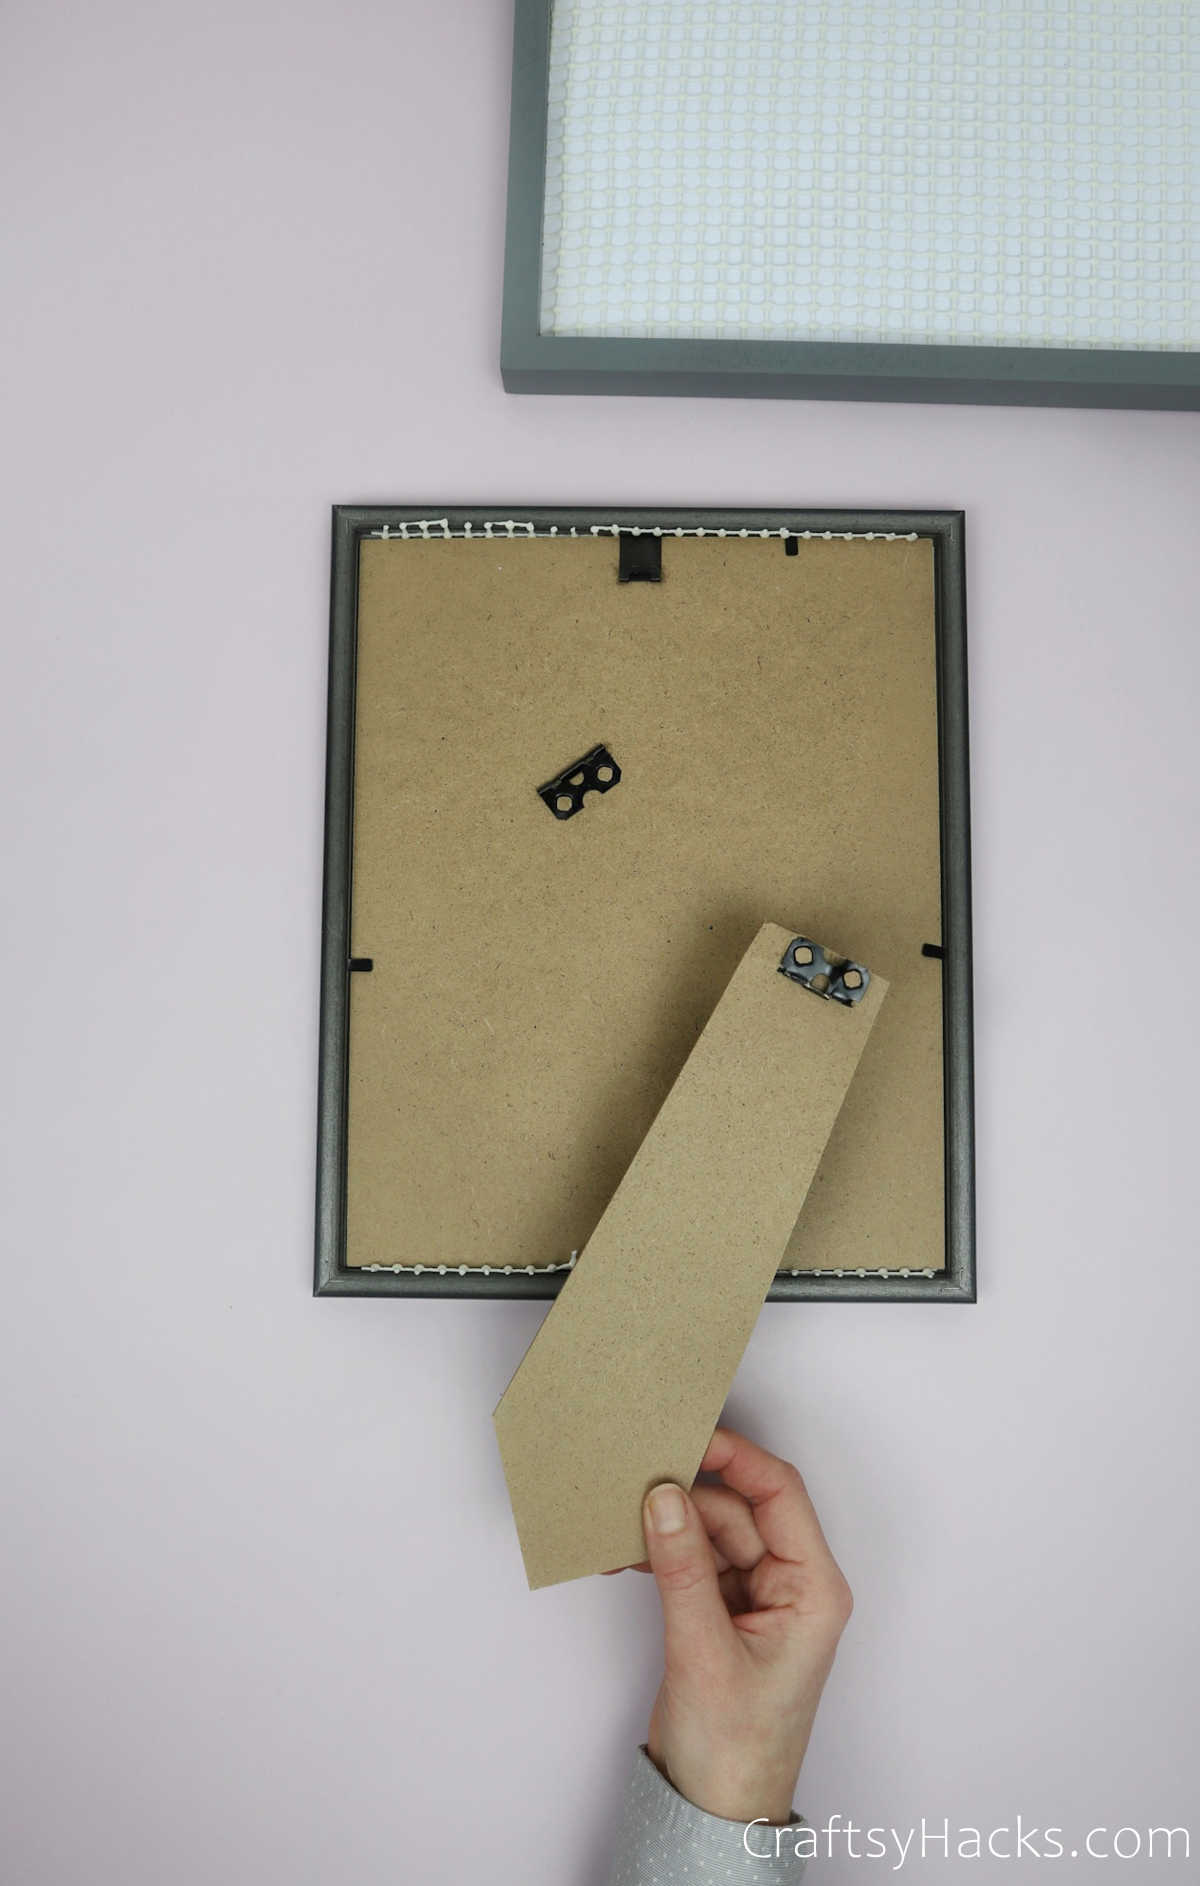
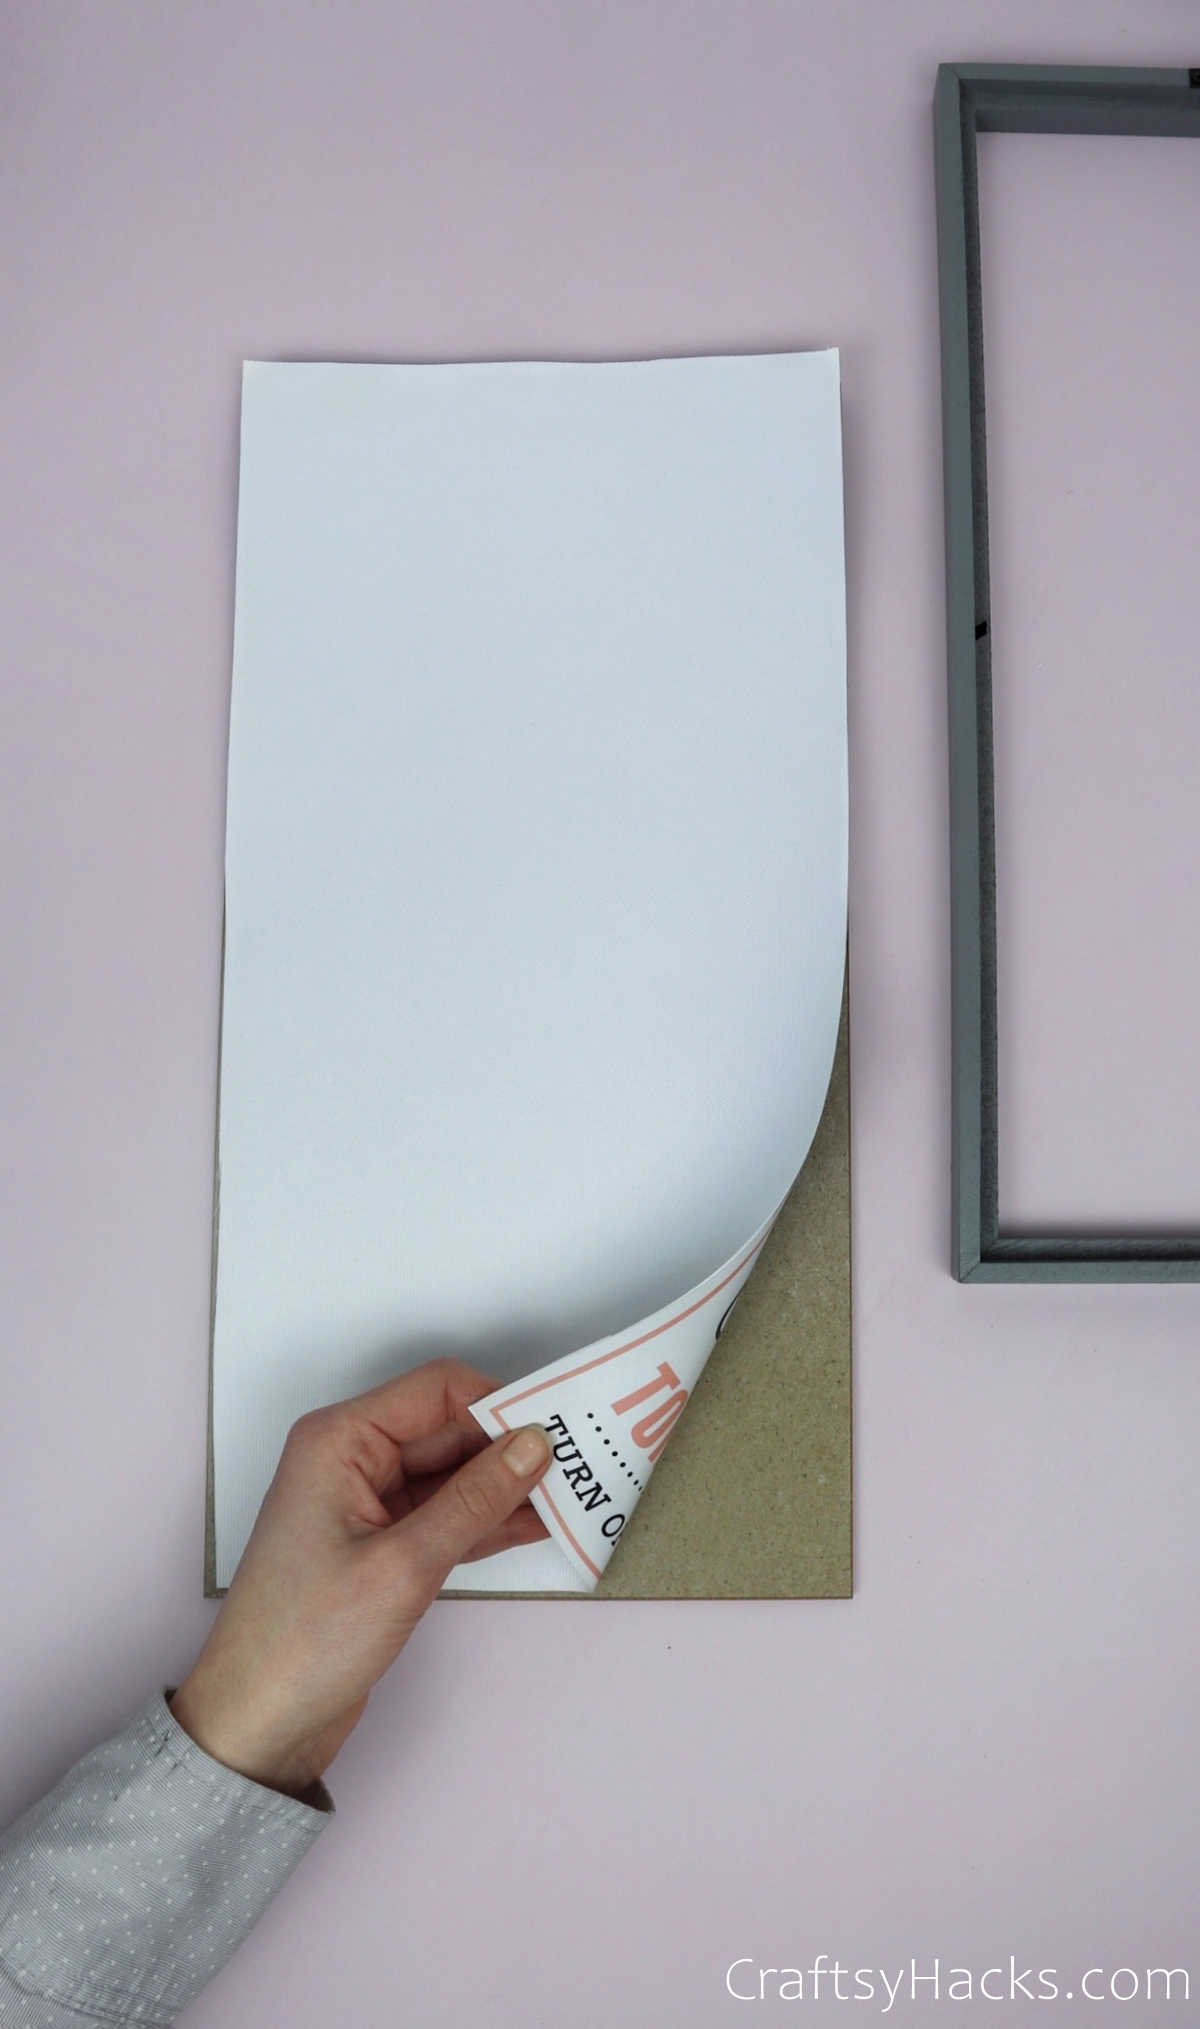
Step 3
You know how picture frames come with a generic photo in them?
Well, it’s possible for you to turn that around, so you have a plain white background.

Perhaps you want to make things a little more creative?
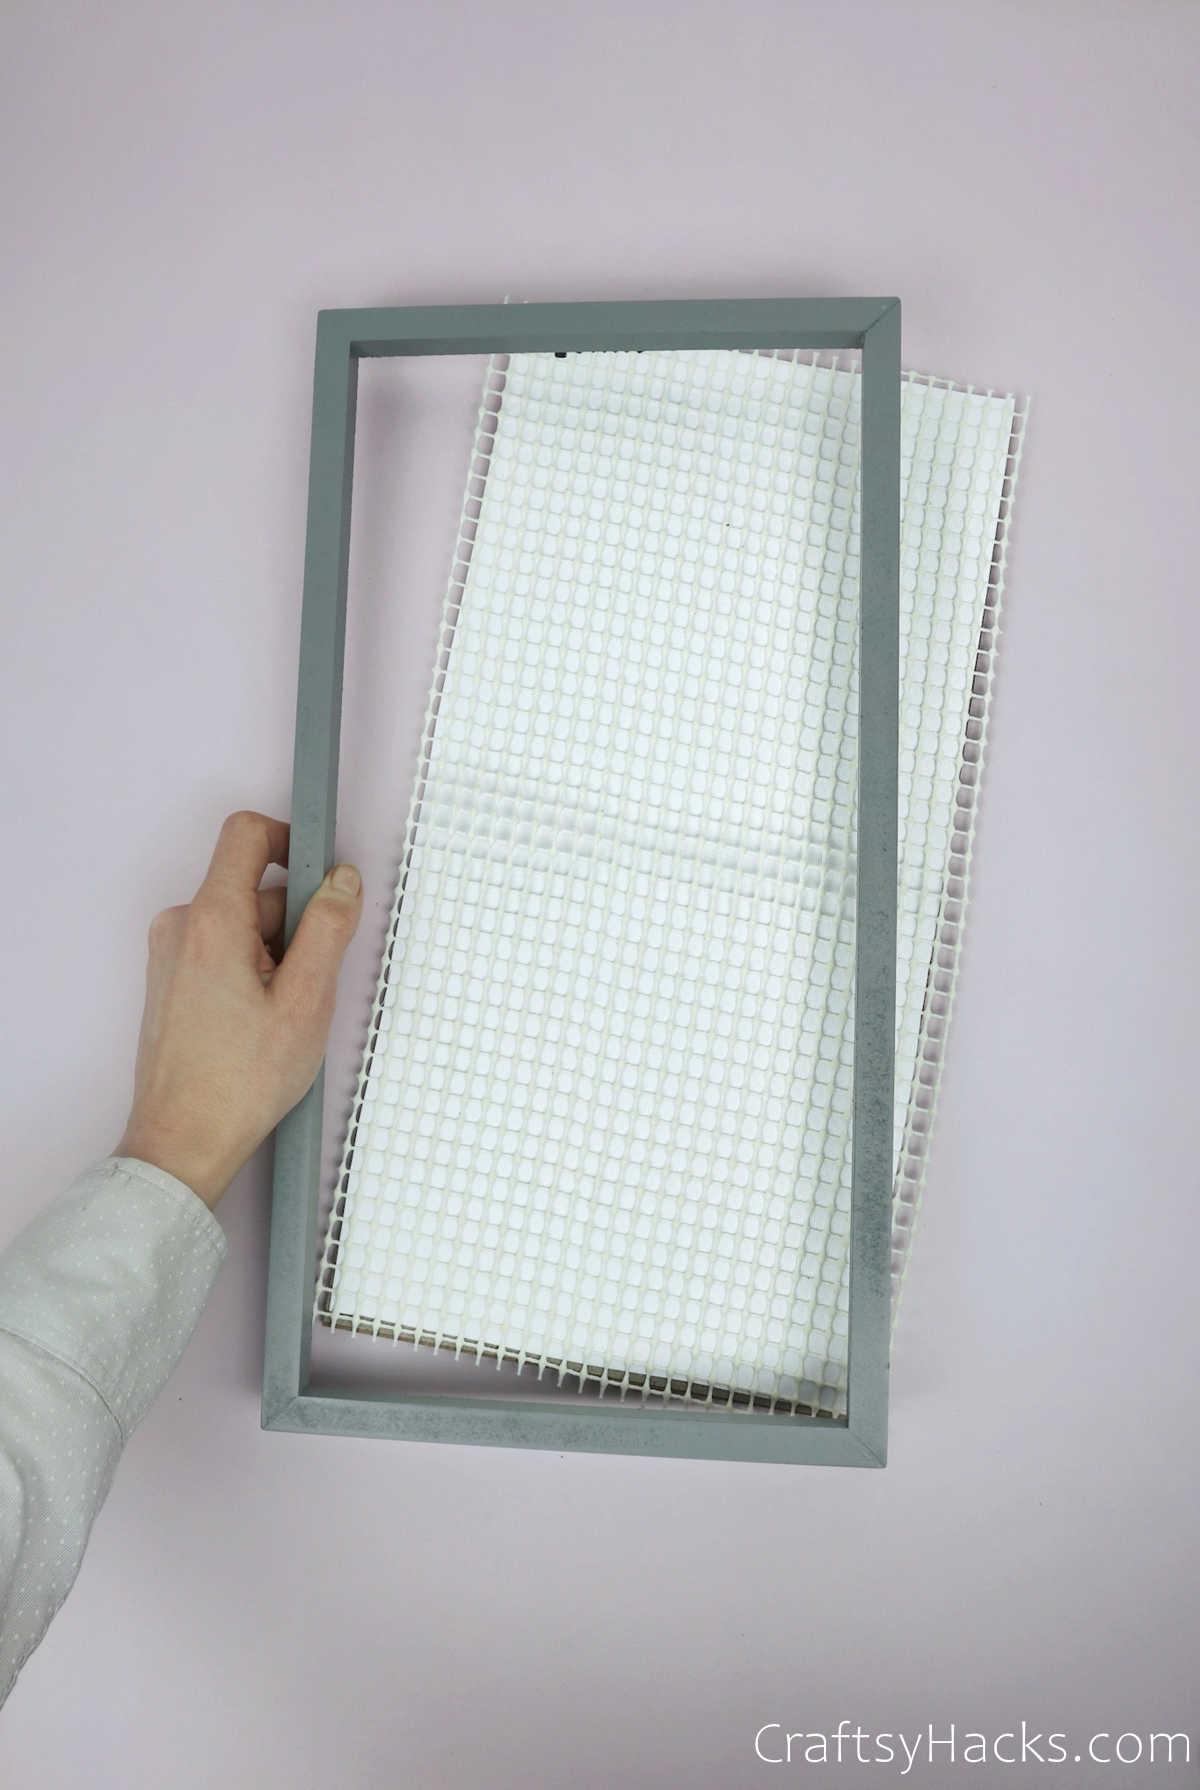
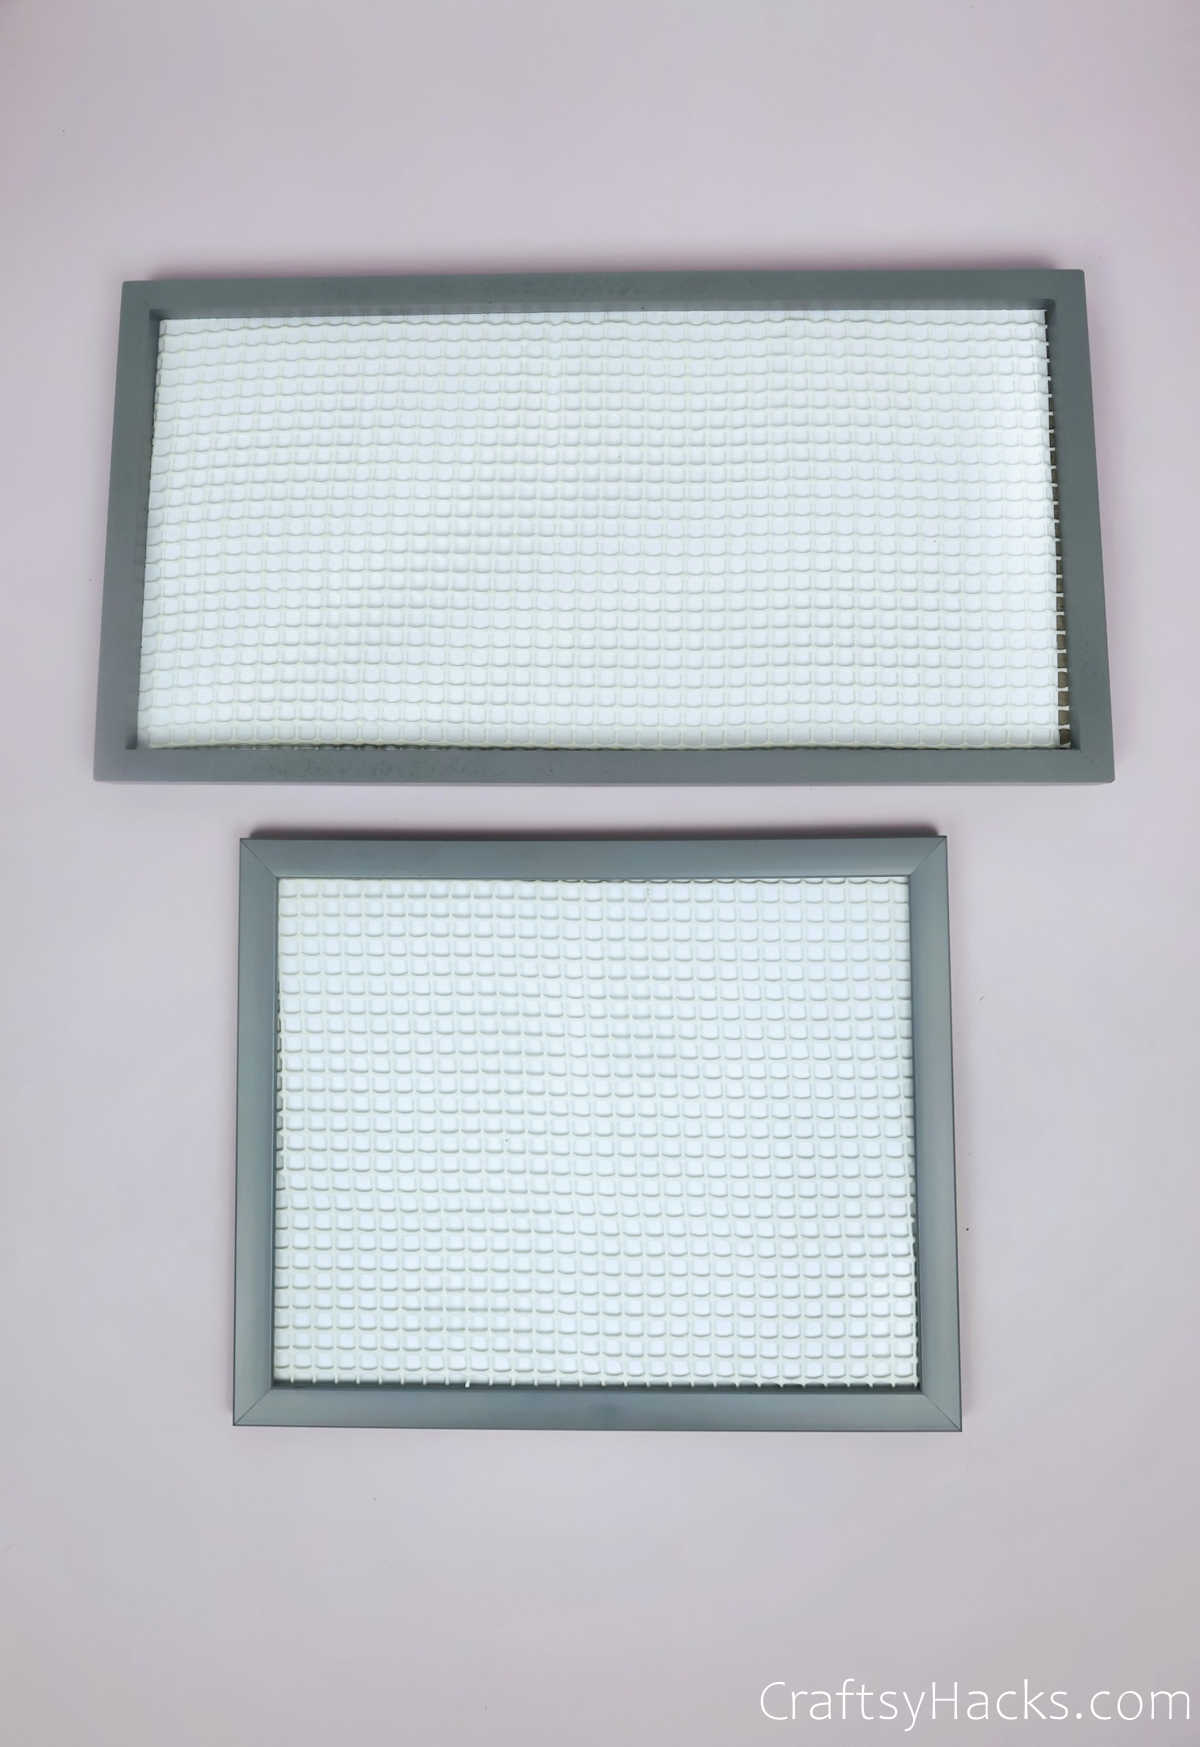
Step 4
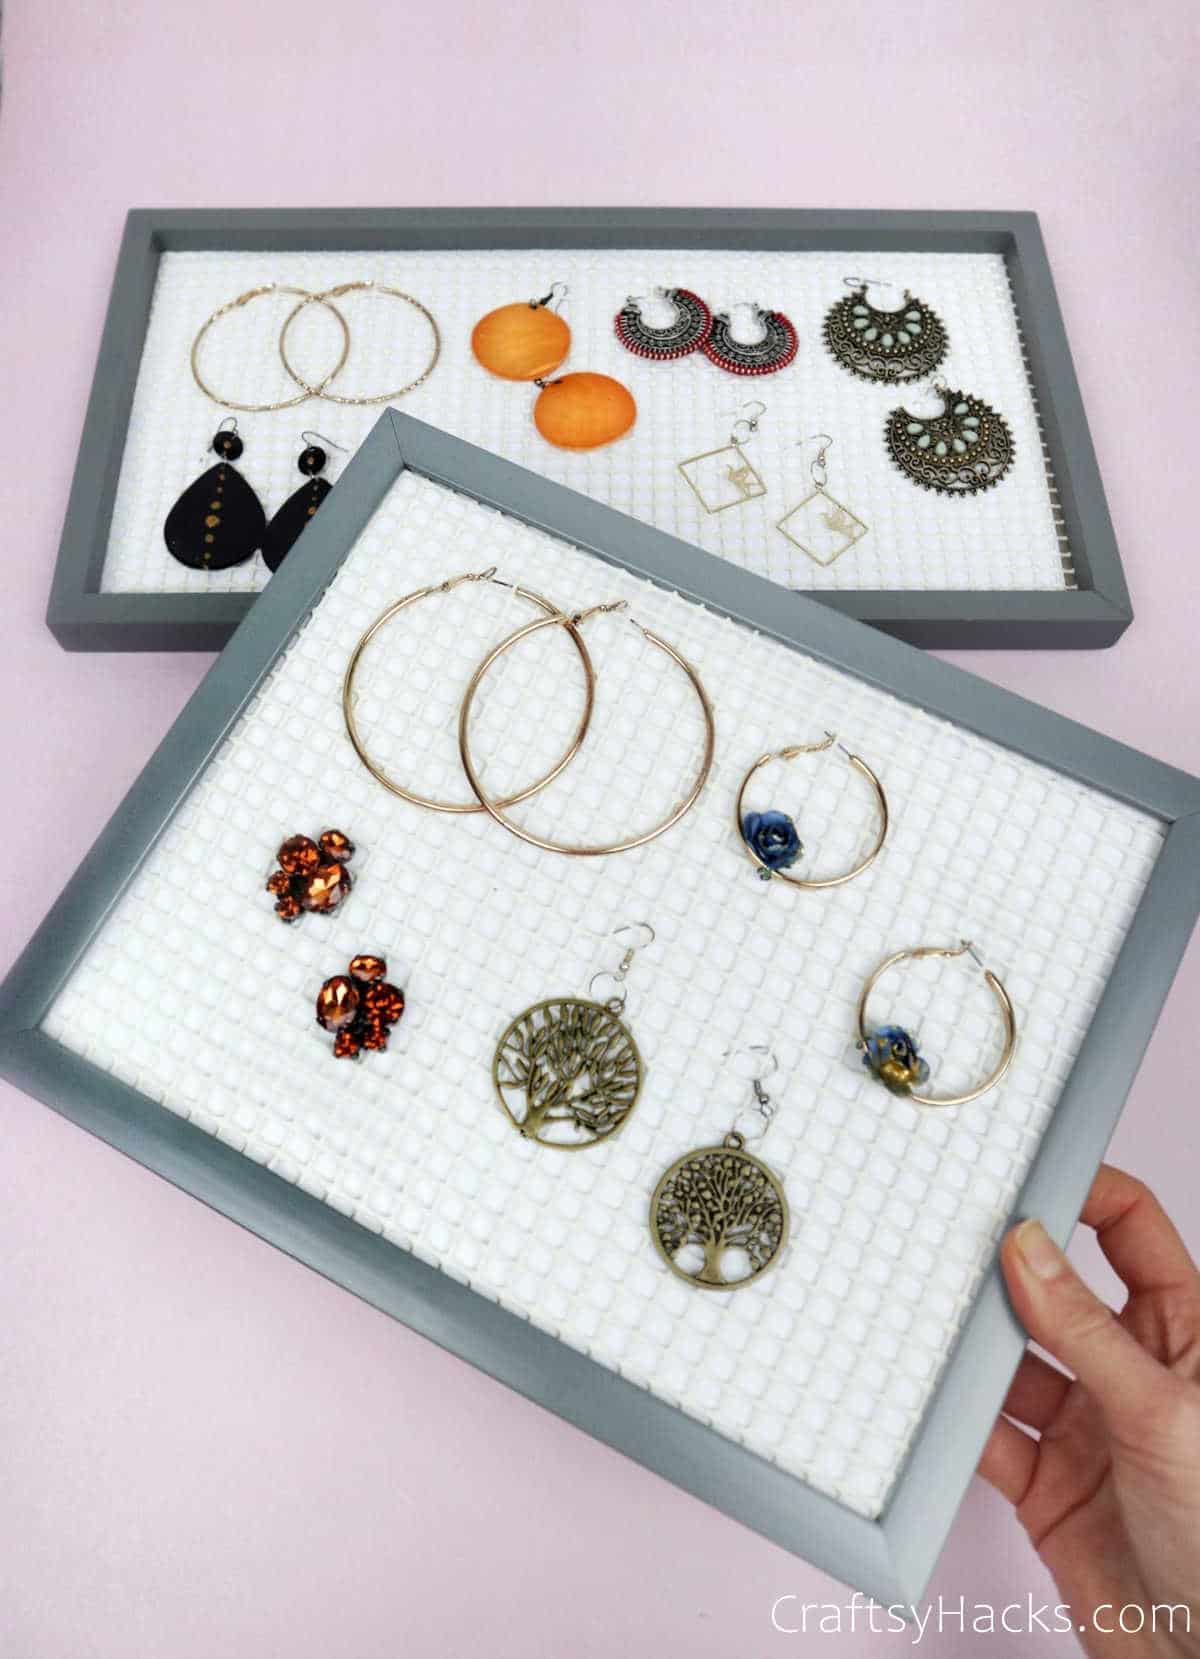
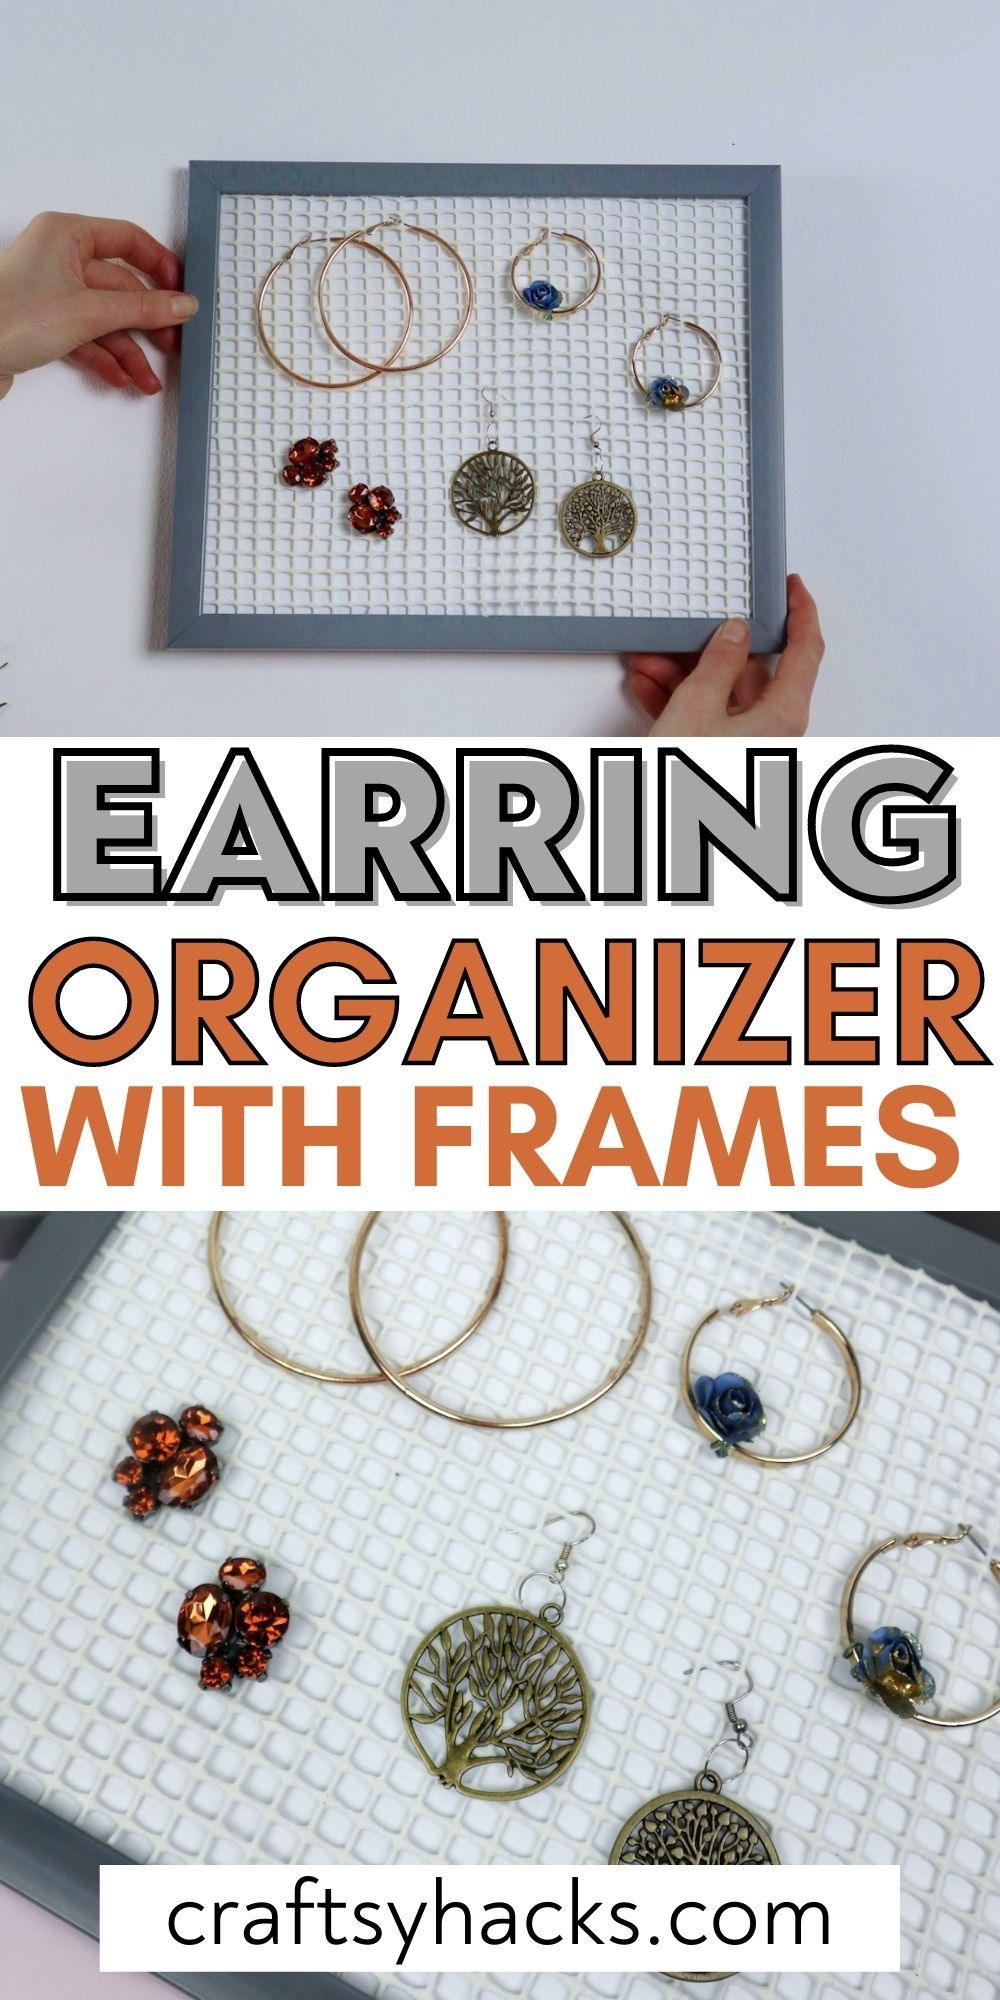
Place the liner over the white paper as you might see down below.
Just keep in mind that your liner needs to be stretched out across the length of the frame.

If you dont secure it tight and snug, the liner will begin to sag.
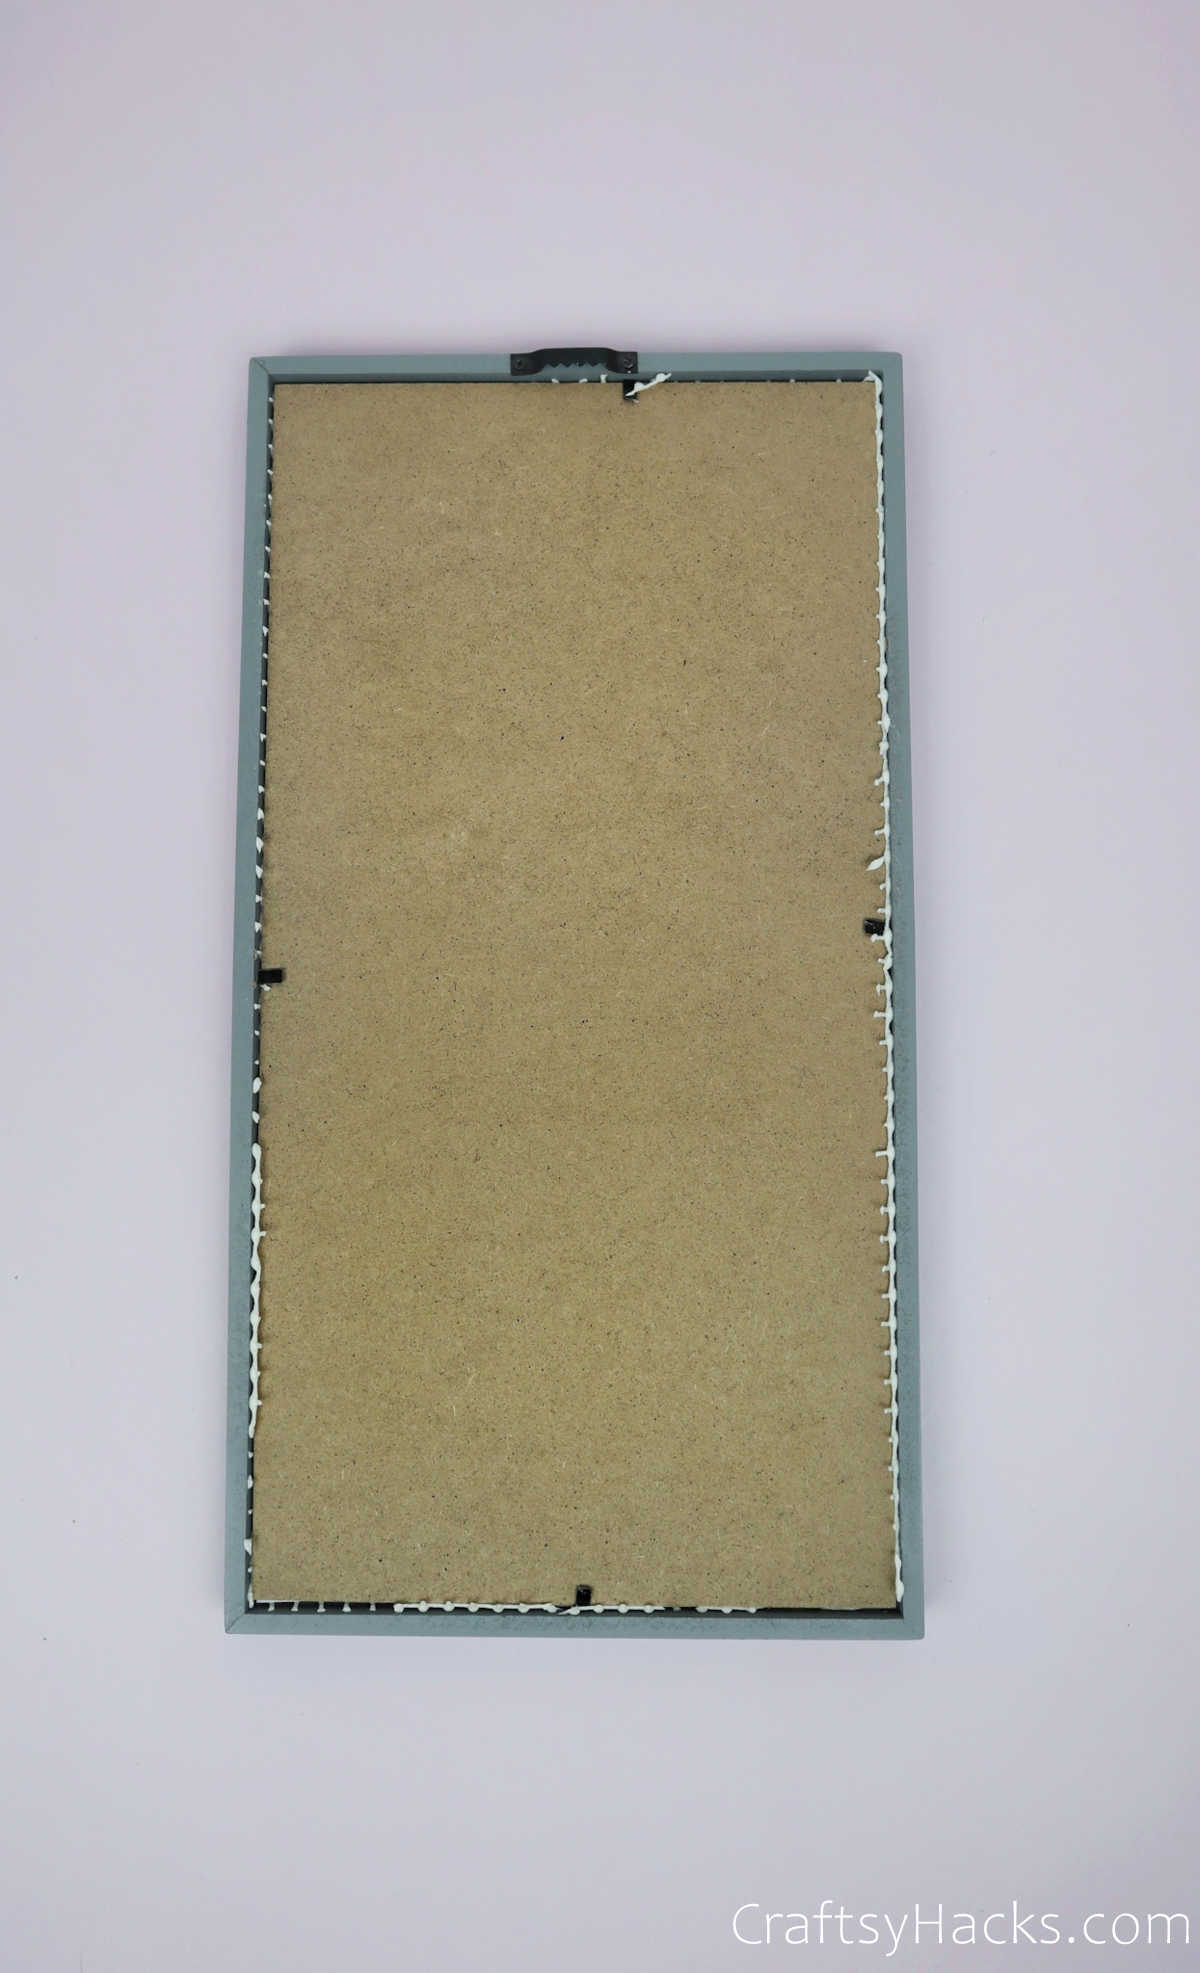
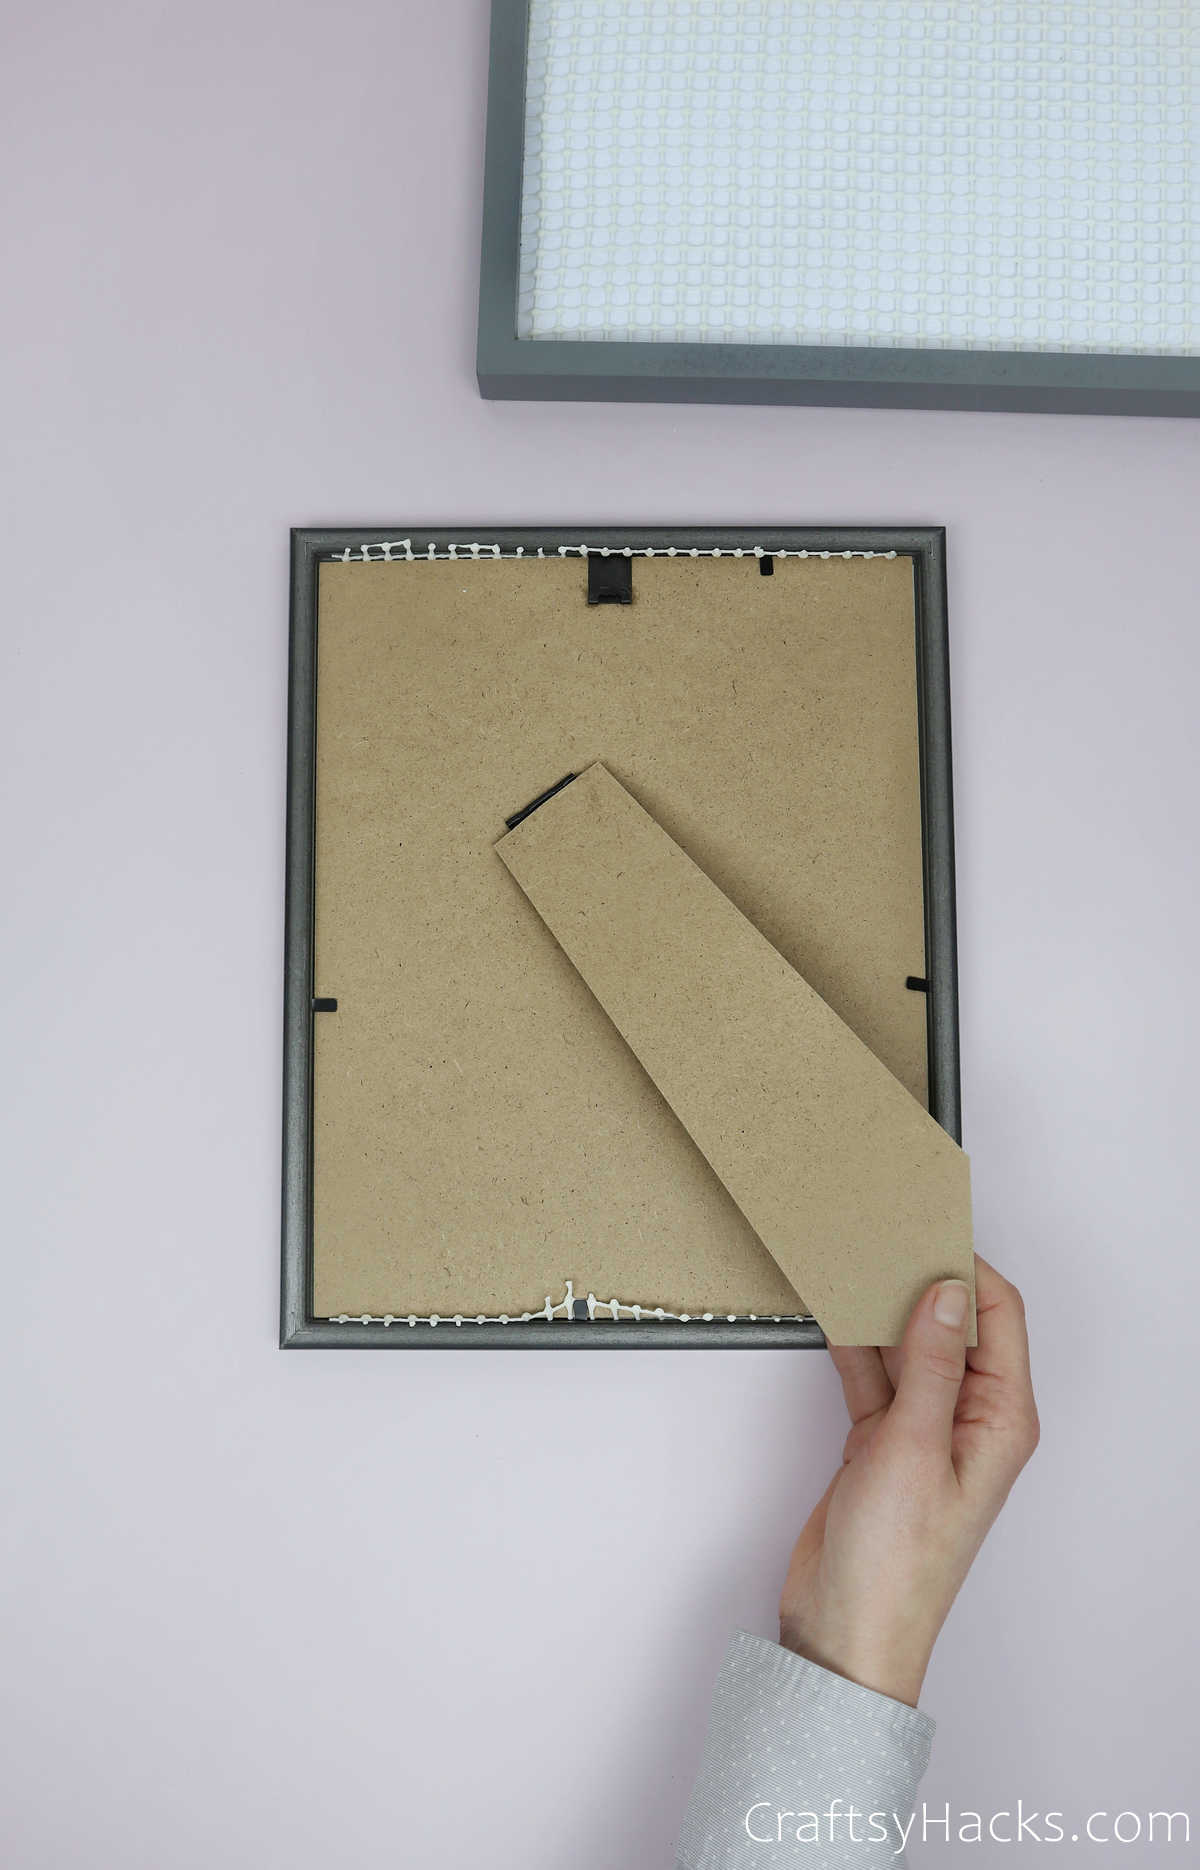
Dont forget to secure the paper and liner in place with the cardboard holder!
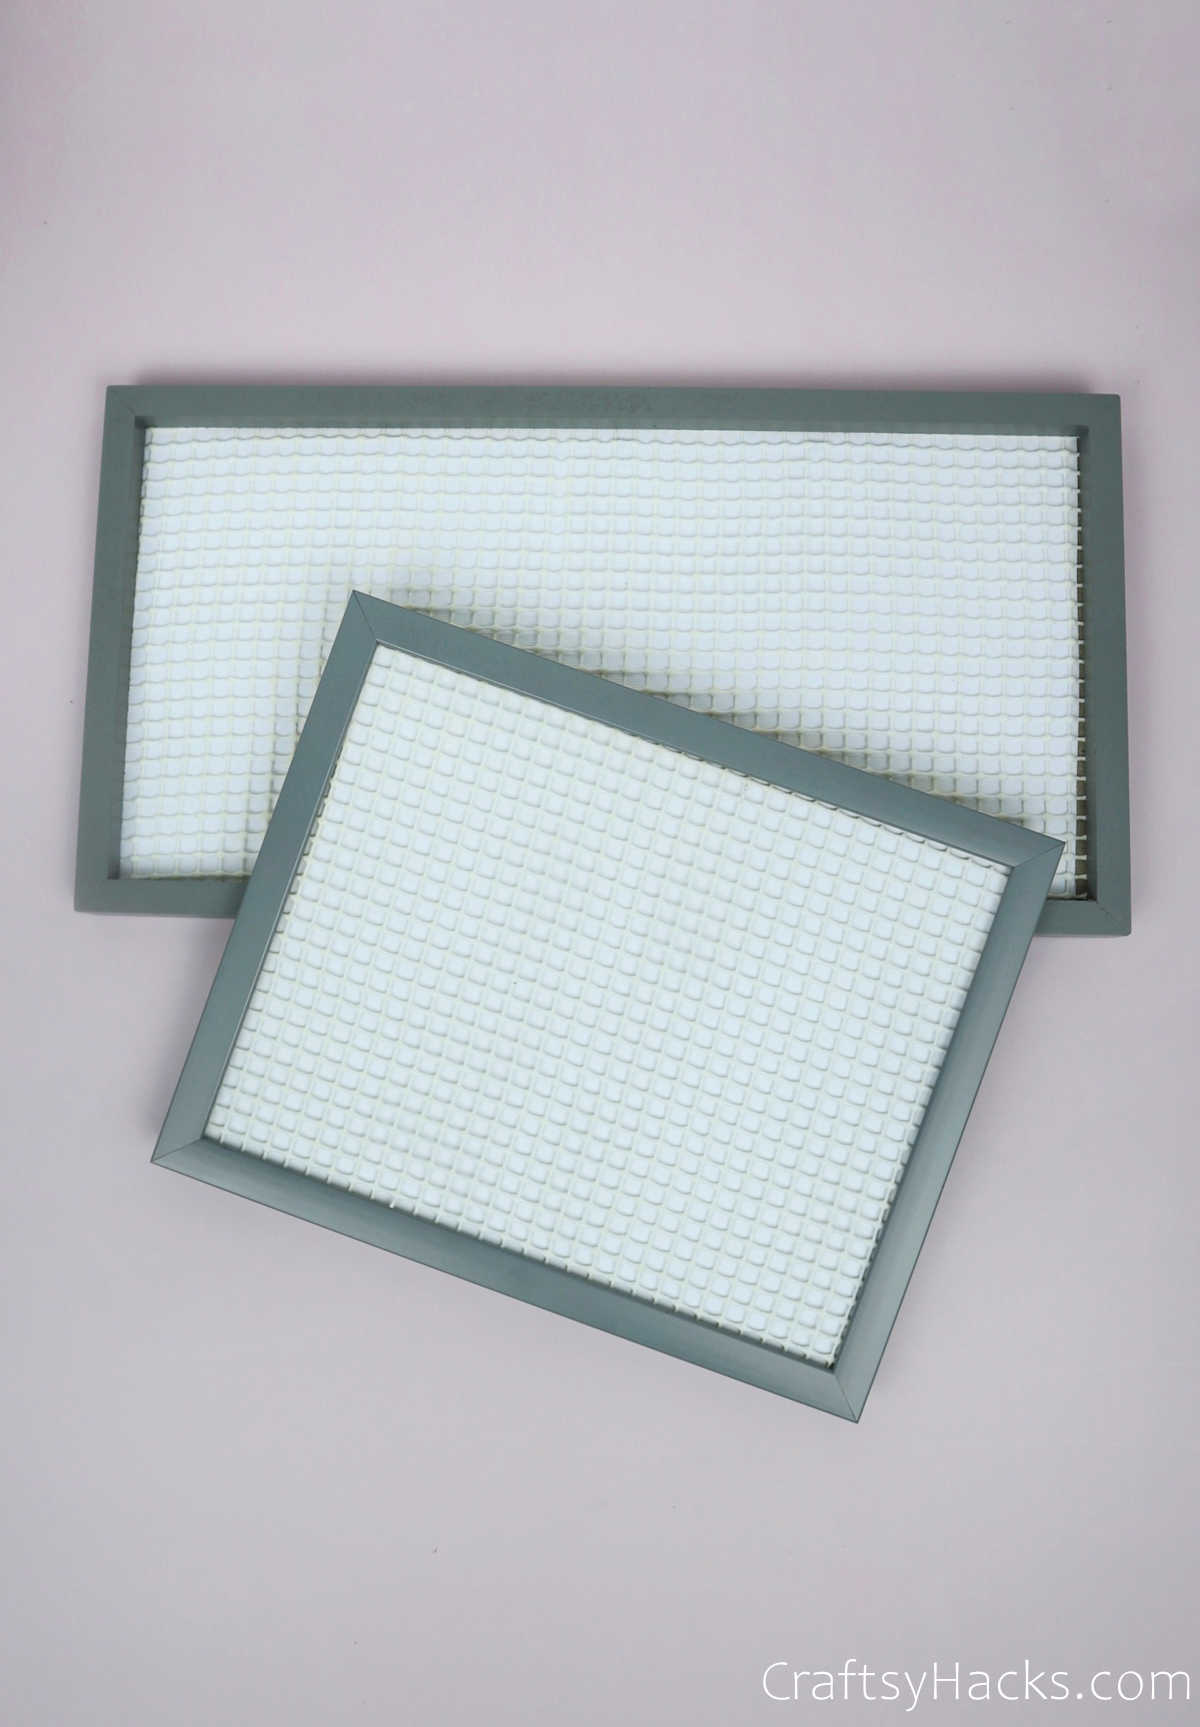
Step 6
The final step?
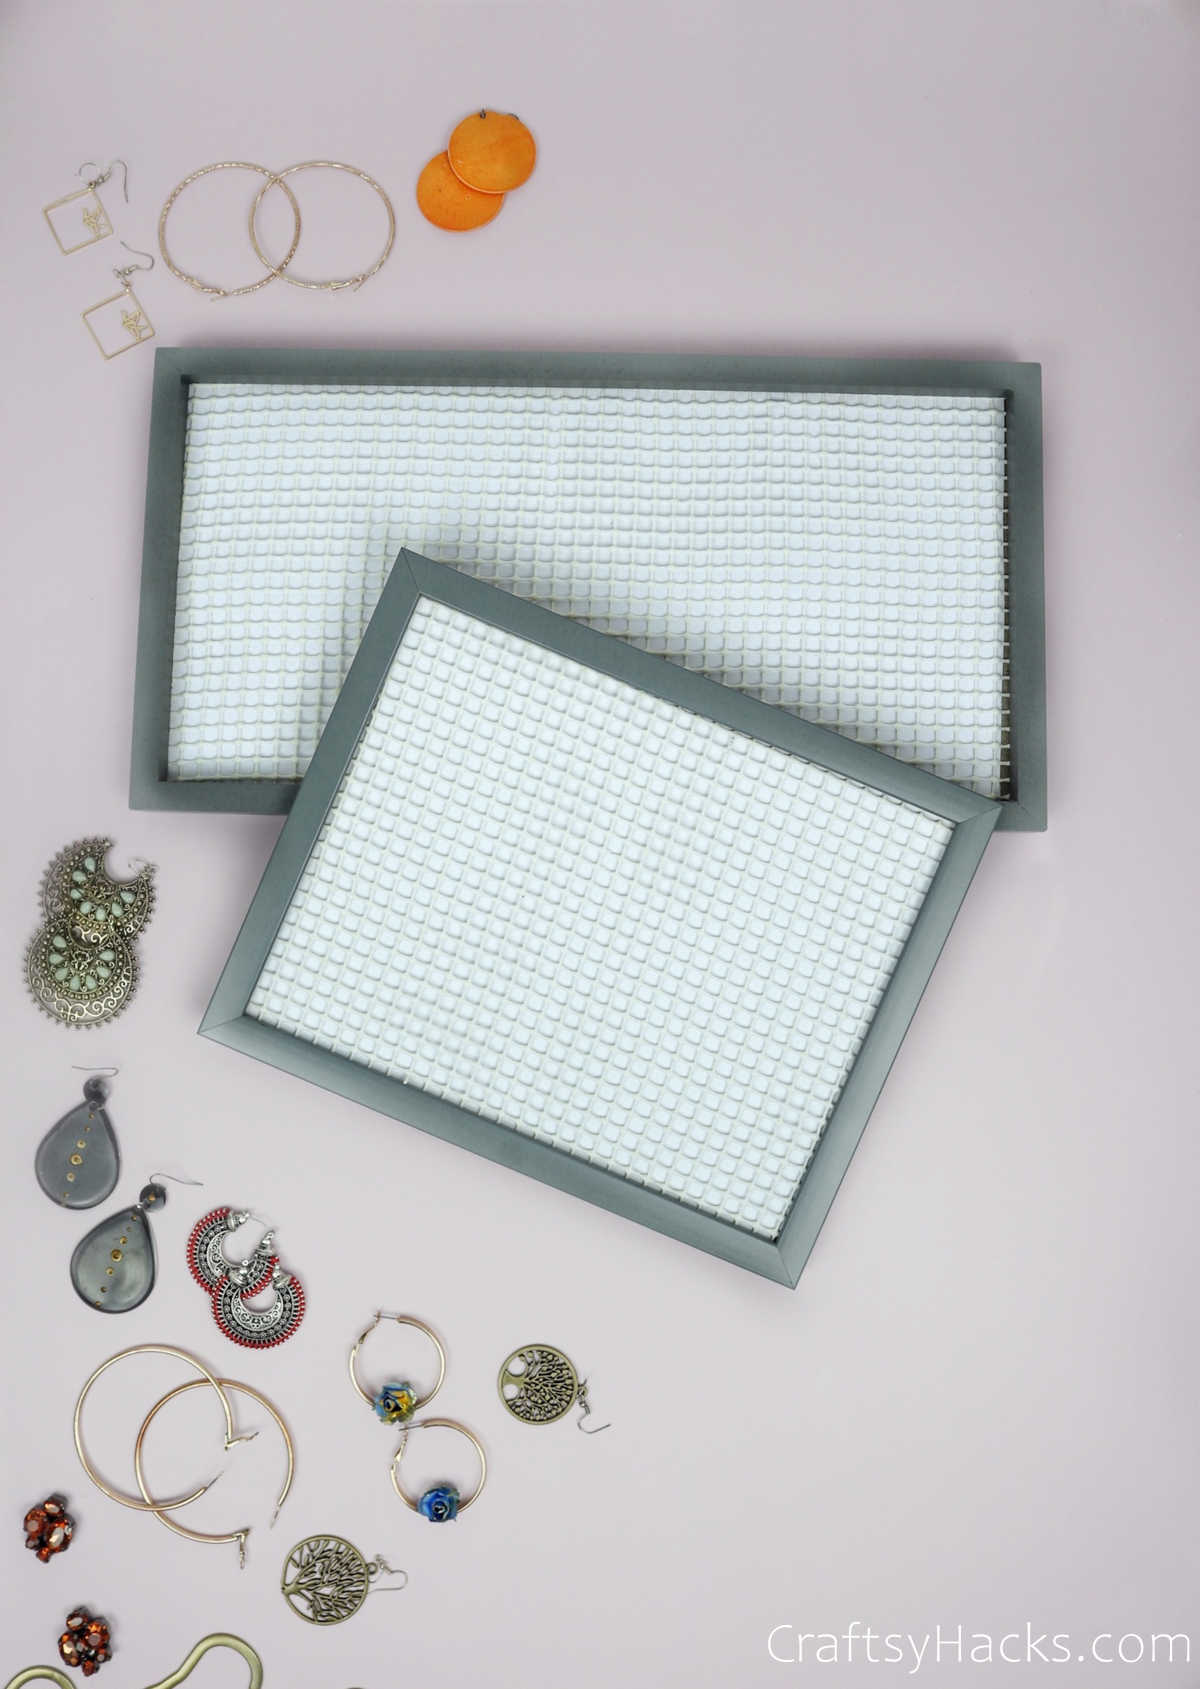
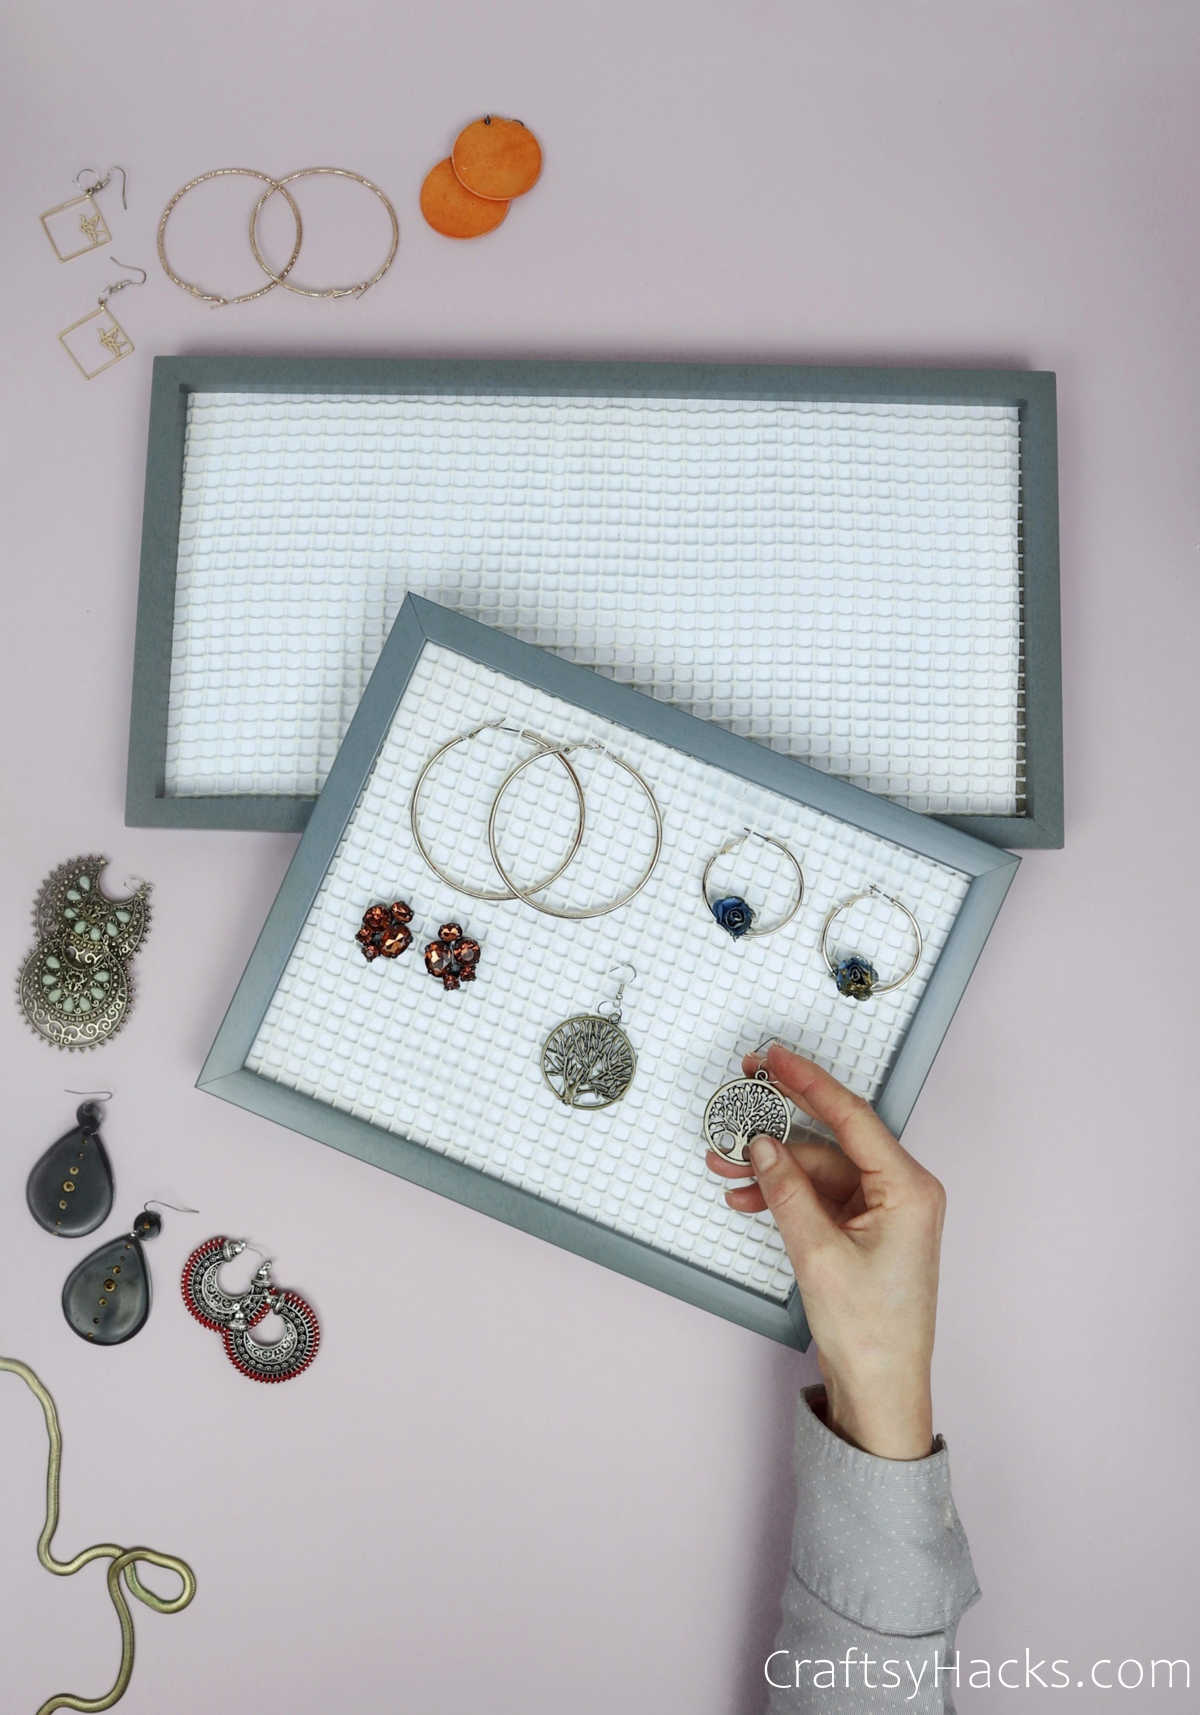
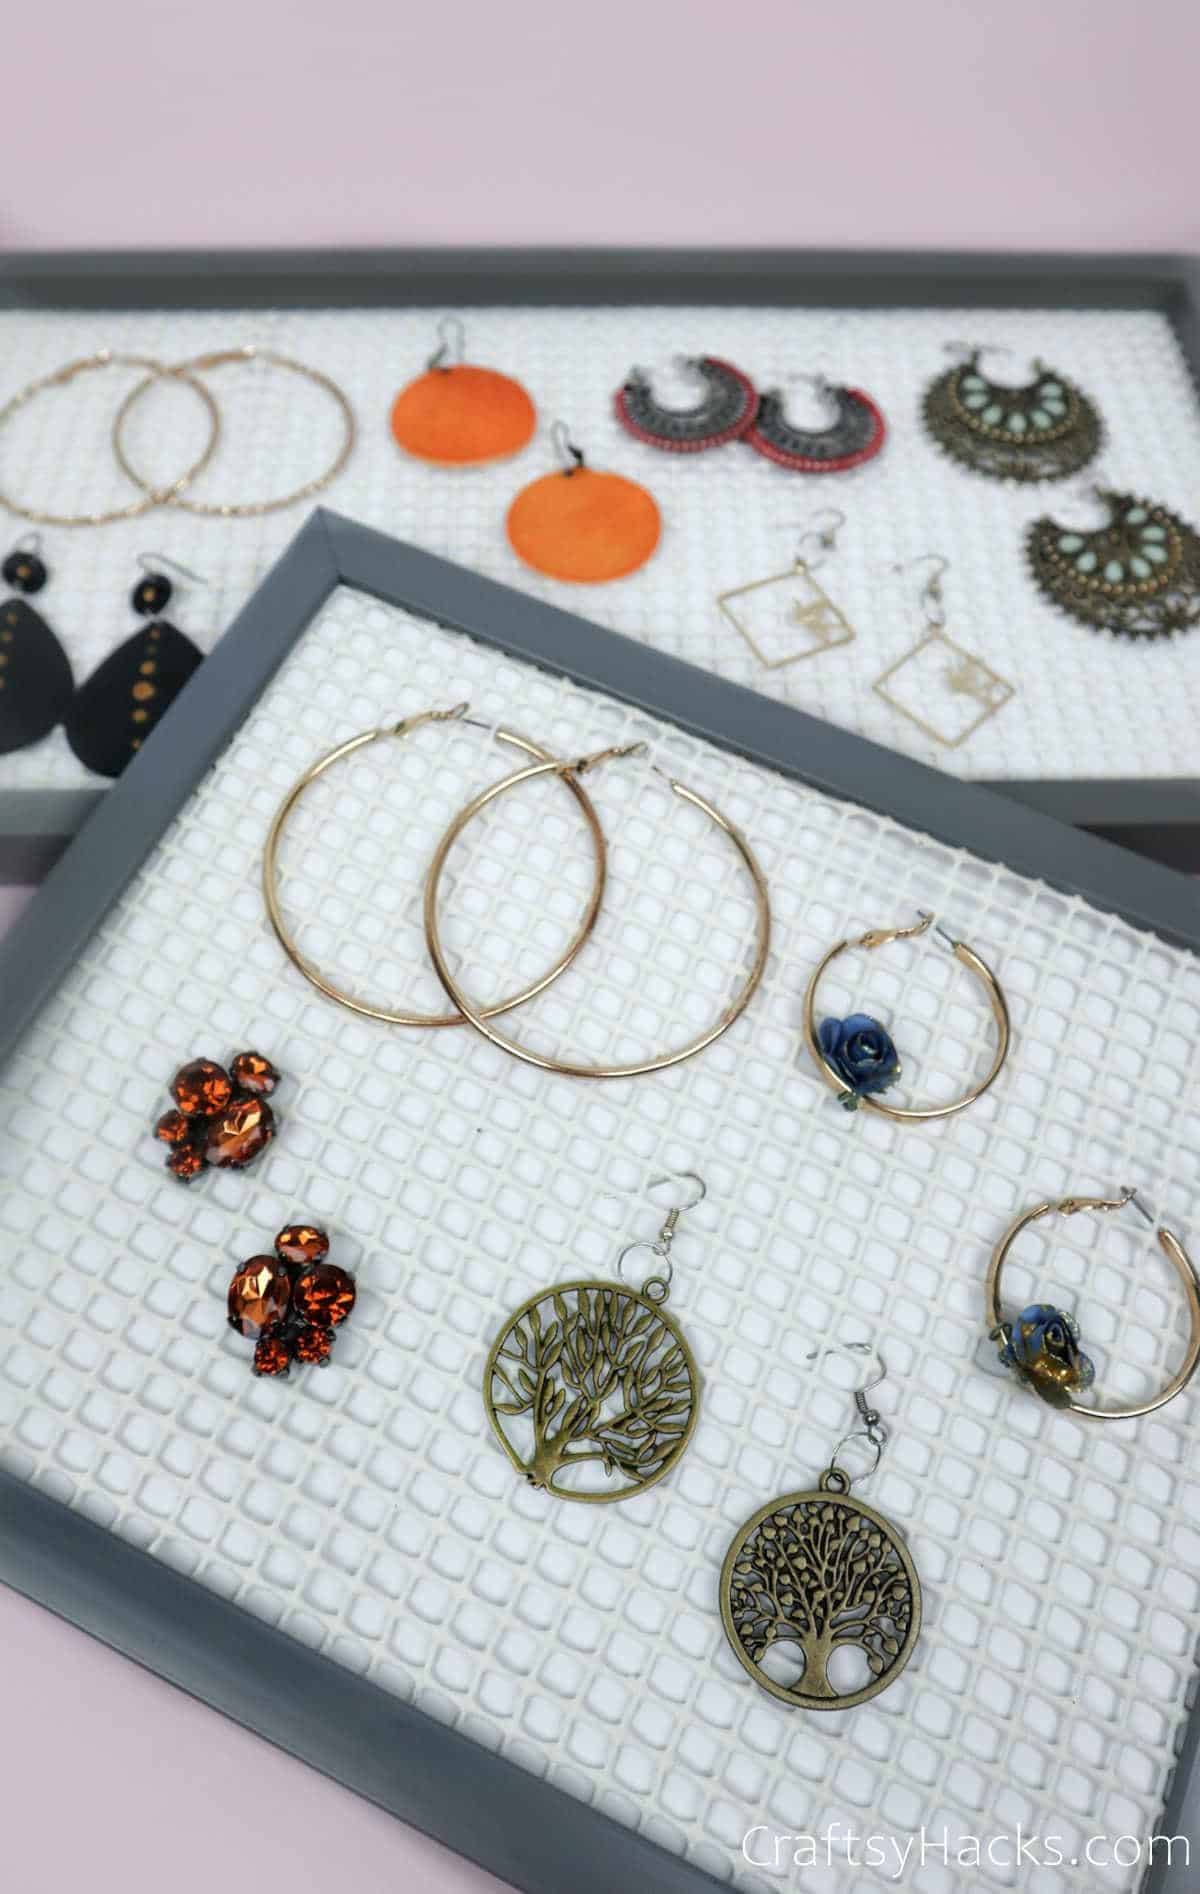
Just sort your jewelry out and hang them along the liner!
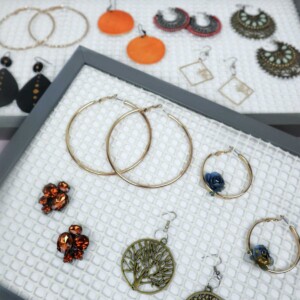
Your DIY earring organizer is ready!
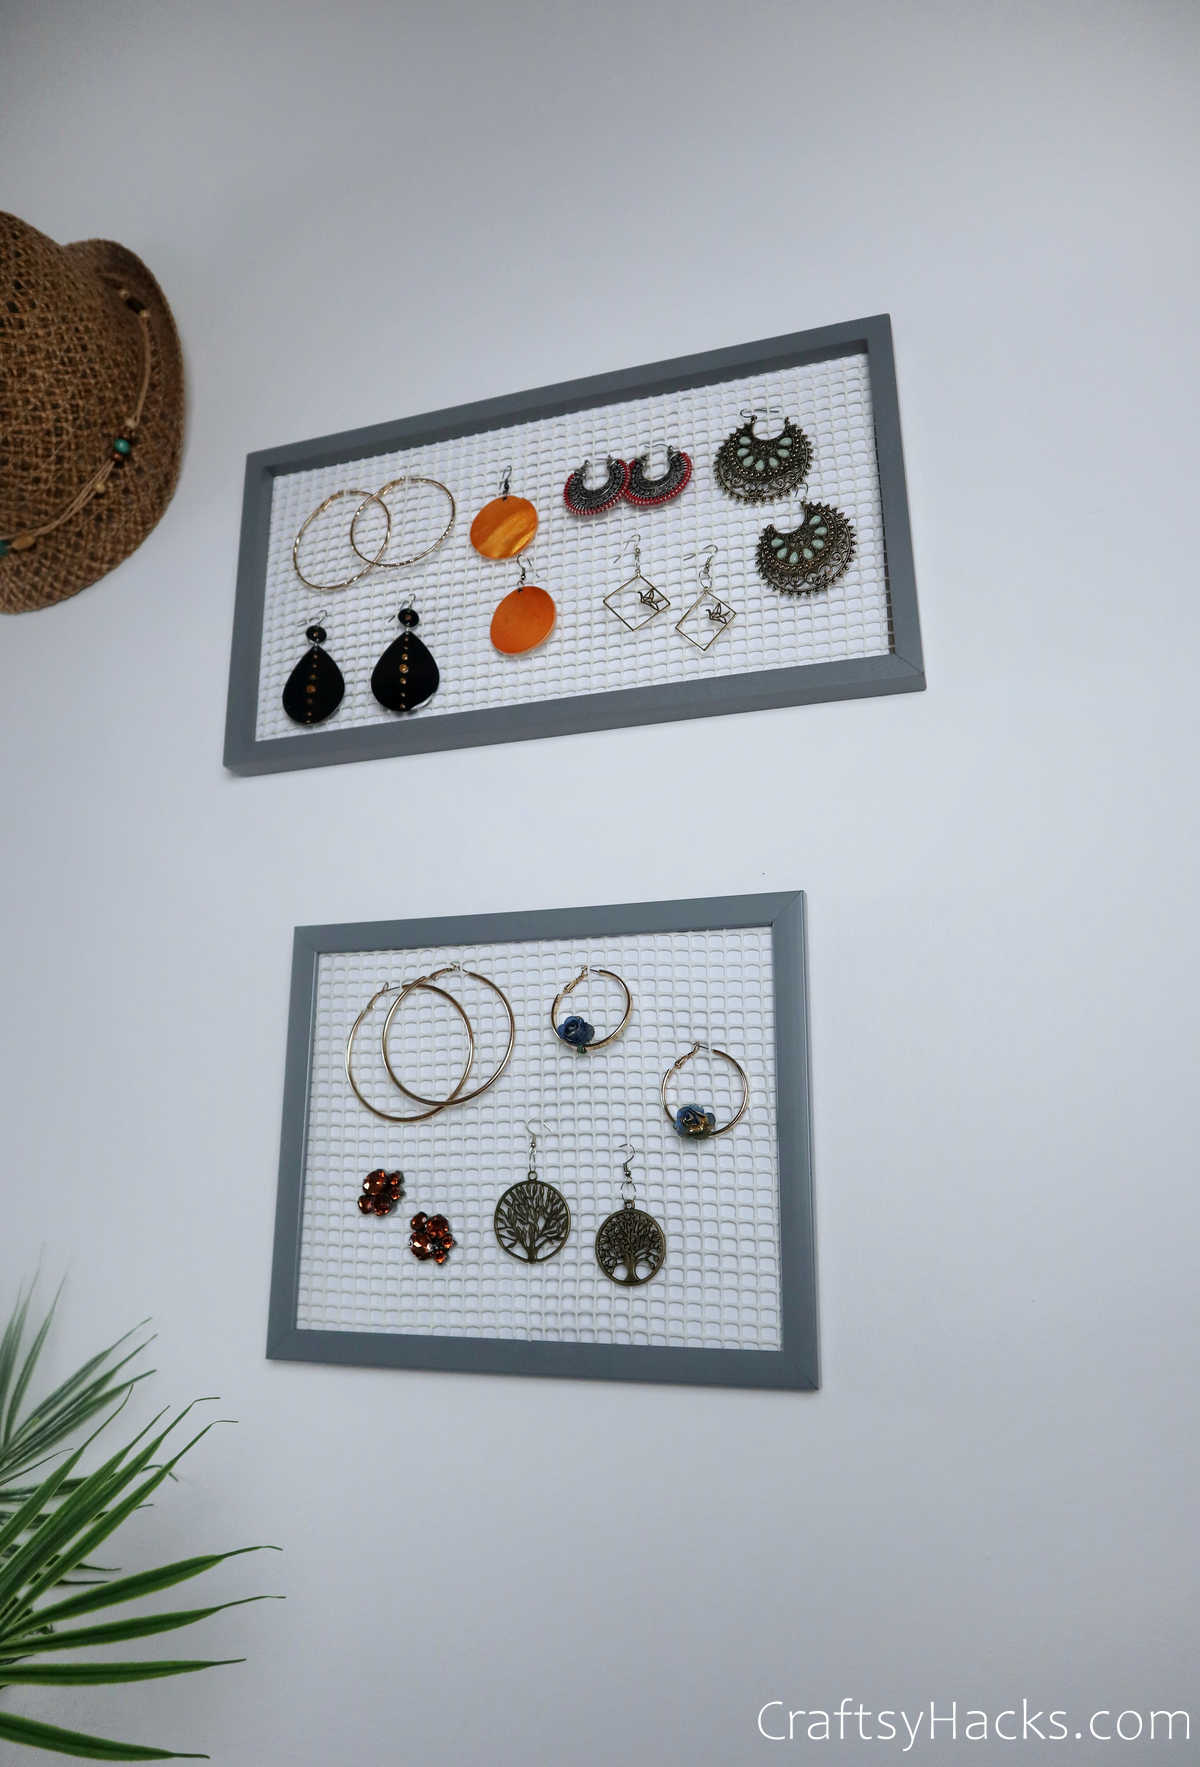
Mount it up on your table or hang it on your wall to display your amazing organization skills!
Here are47 ingenious organization ideasto help you stay clutter-free and organized all over your home!