Learn how to make a DIY drawer organizer in about 15 minutes usingscrap wood!
This DIY drawer divider has no nails or screws required.
I agreed and then had a light bulb moment: aDIY drawer organizer.

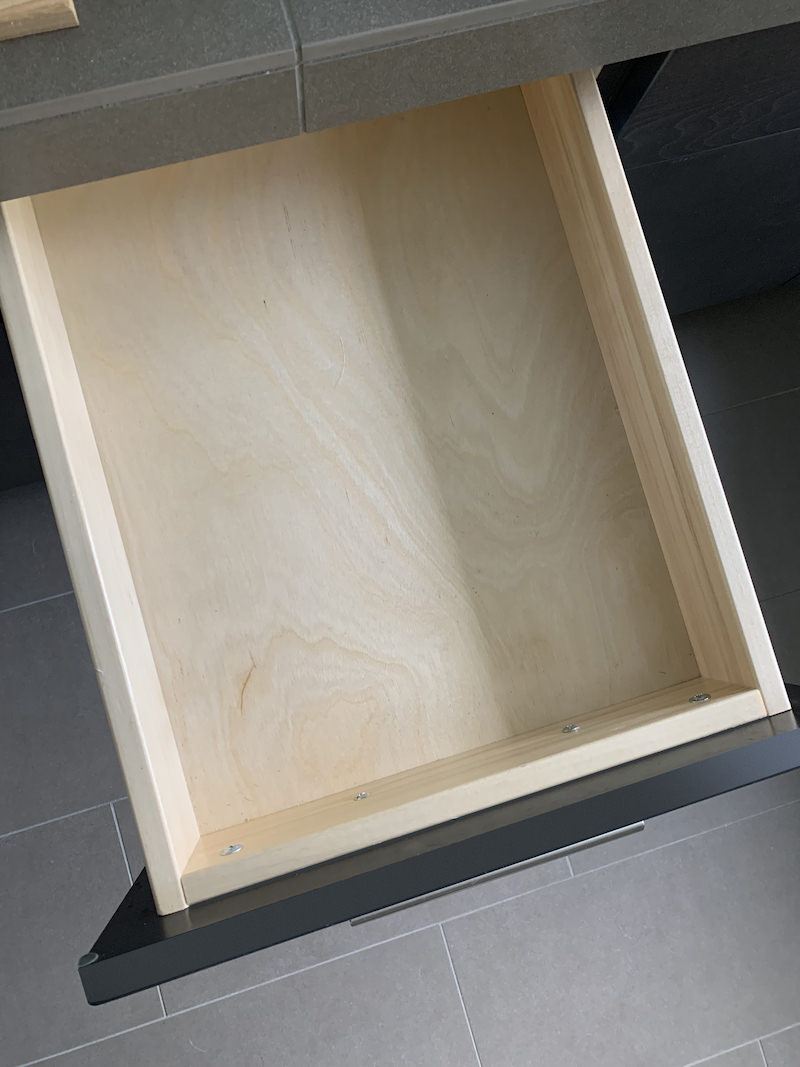
Organize and straighten out a crowded drawer; 2.
Use up some of my wood leftovers.
This is so simple to make!
If you likeeasy woodworking projects, give this a try.
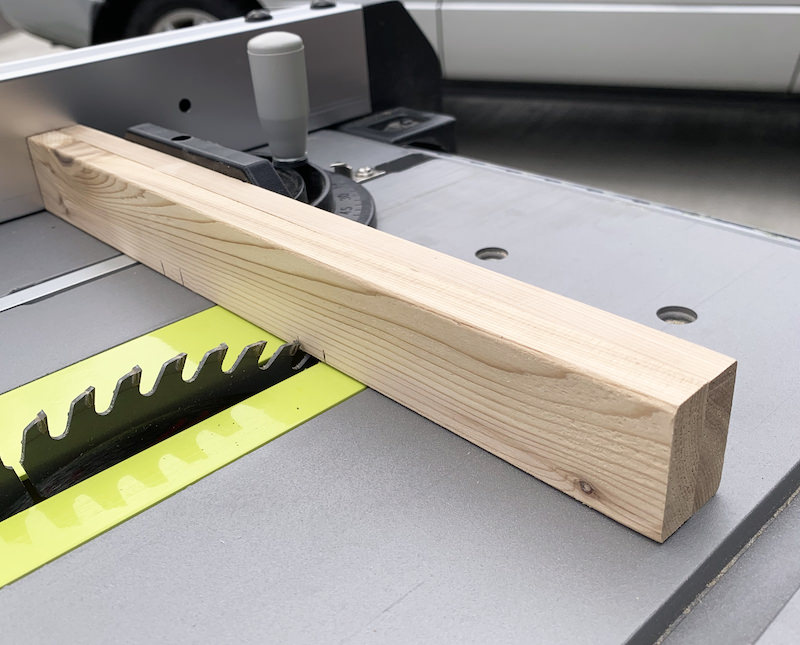
I decided to use some leftover pieces of cedar I had on hand.
Cedar has some water resistant properties and would resist warping from humidity created from showering.
This will switch on the organizer to be removed and replaced for occasionalcleaning.
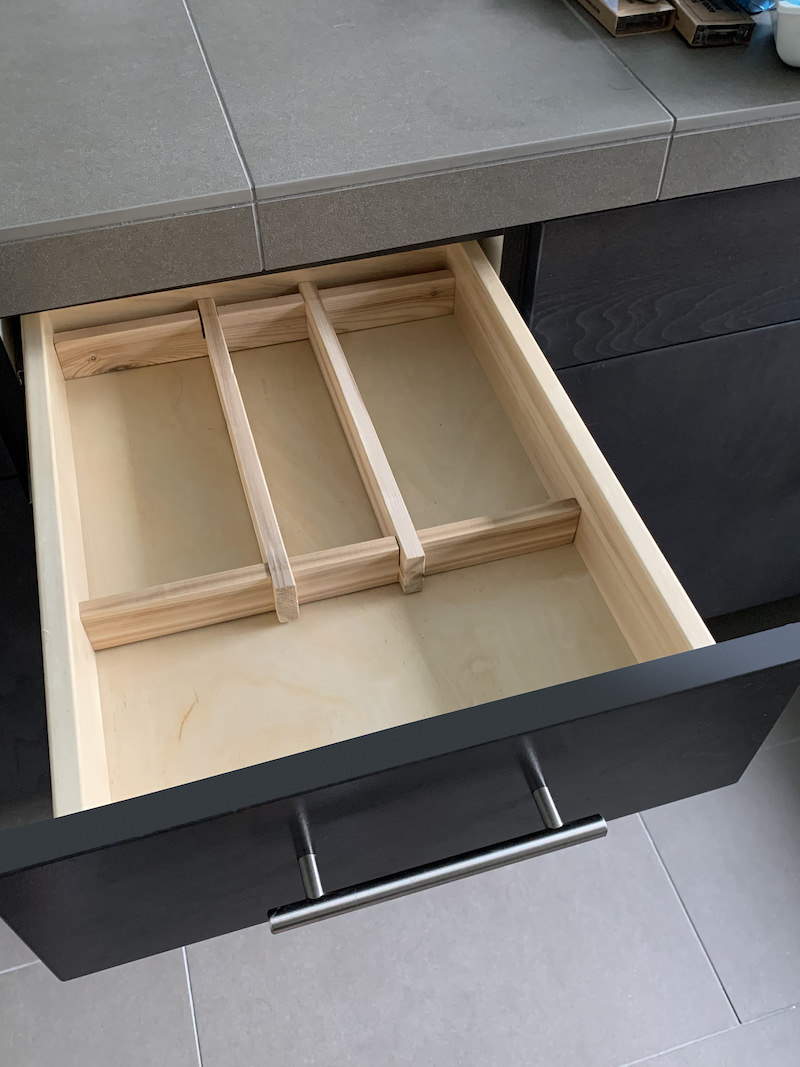
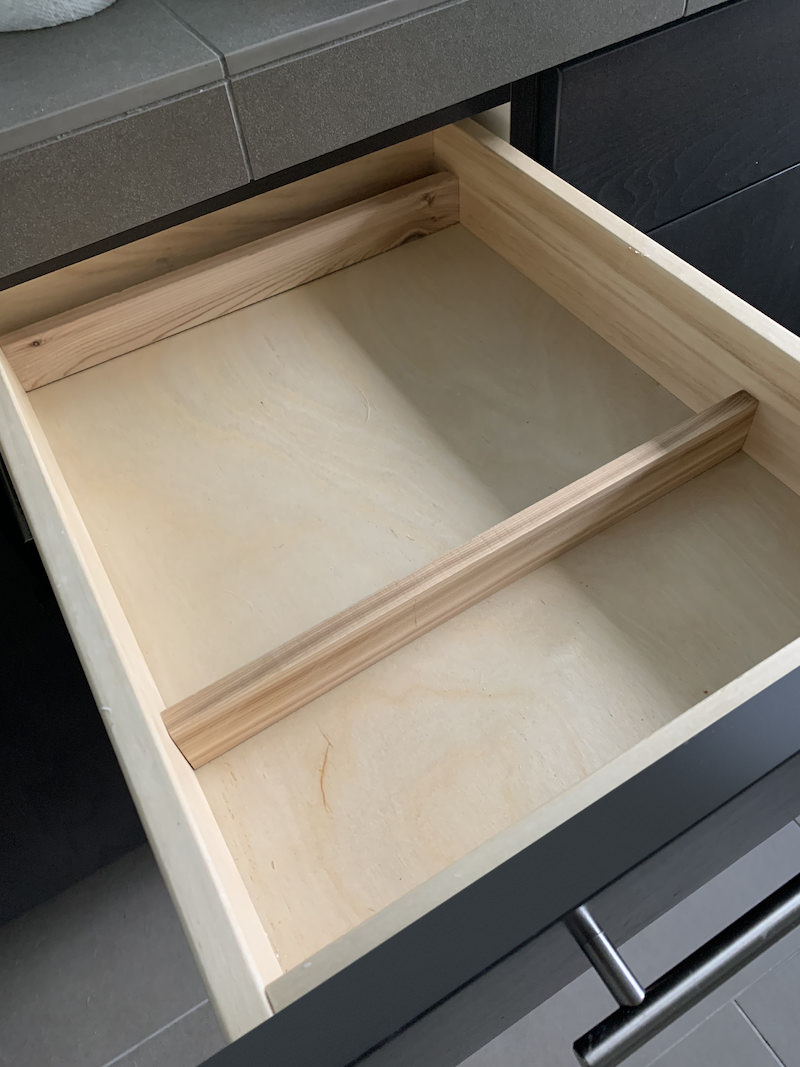
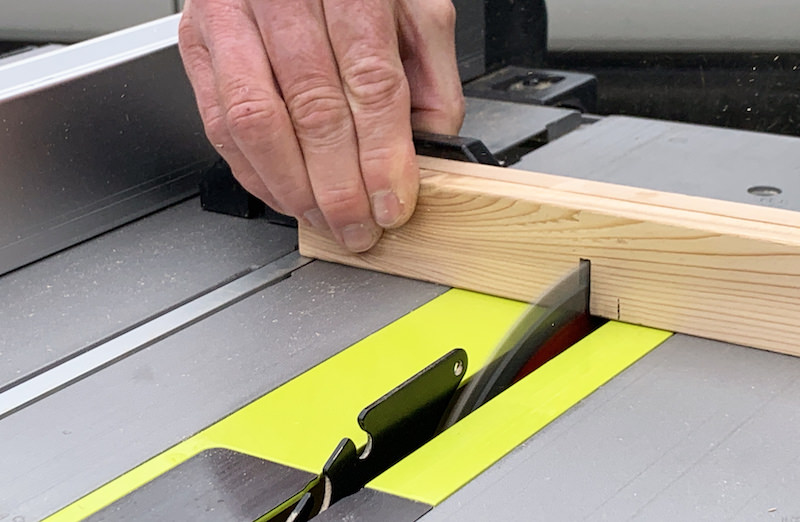
Use your table saw to cut notches in your cross pieces to lock them together.
Next you will want to cut notches in your divider pieces.
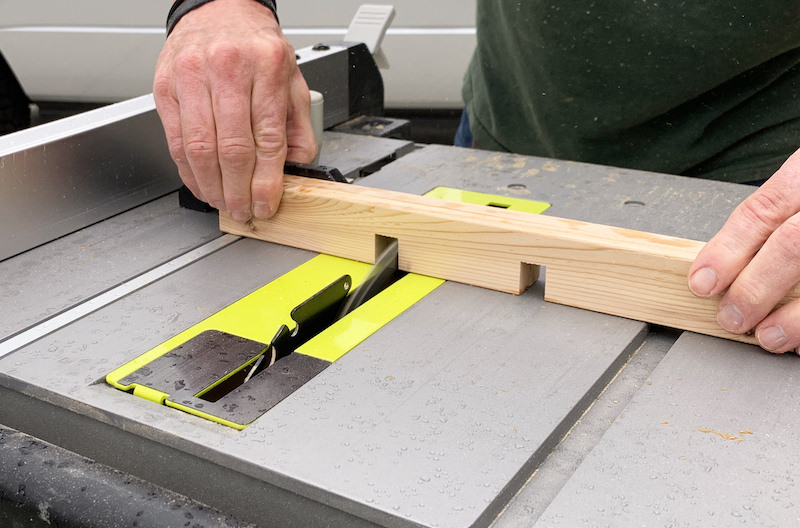
STEP THREE
You will lock your DIY drawer divider pieces together using your notches.
They should lock together tightly without nails or glue.
Heres a quick video of this technique in action below!
Only one more step for your DIY drawer organizer.
STEP FOUR
This is the best step of all because its the easiest step .
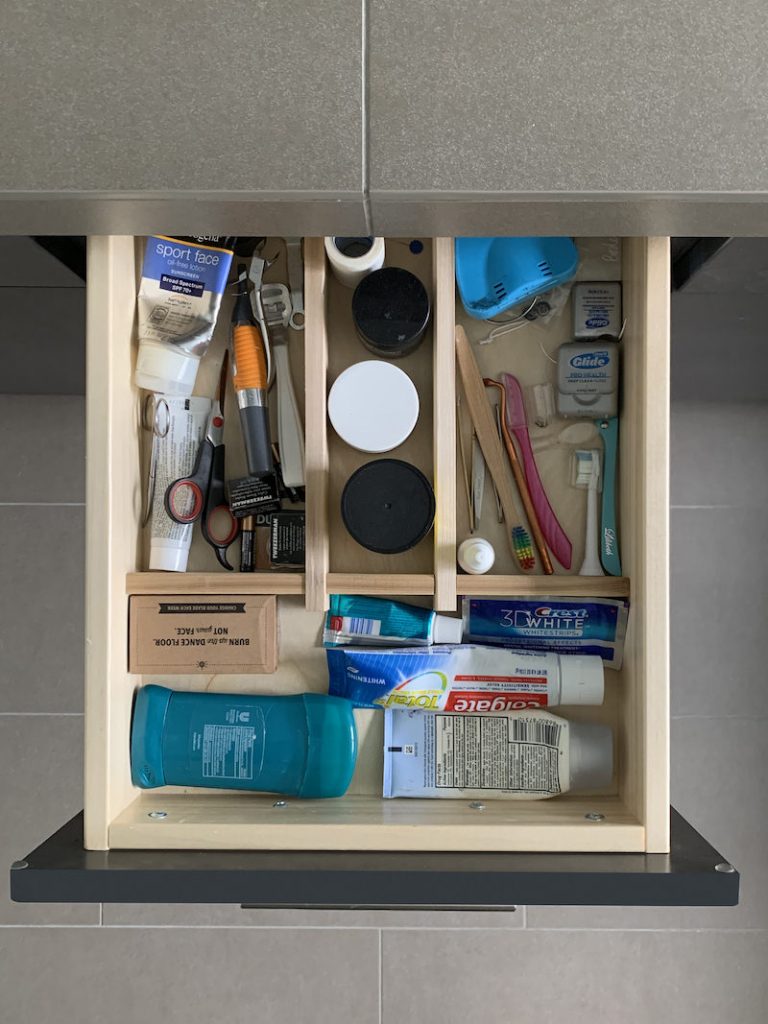
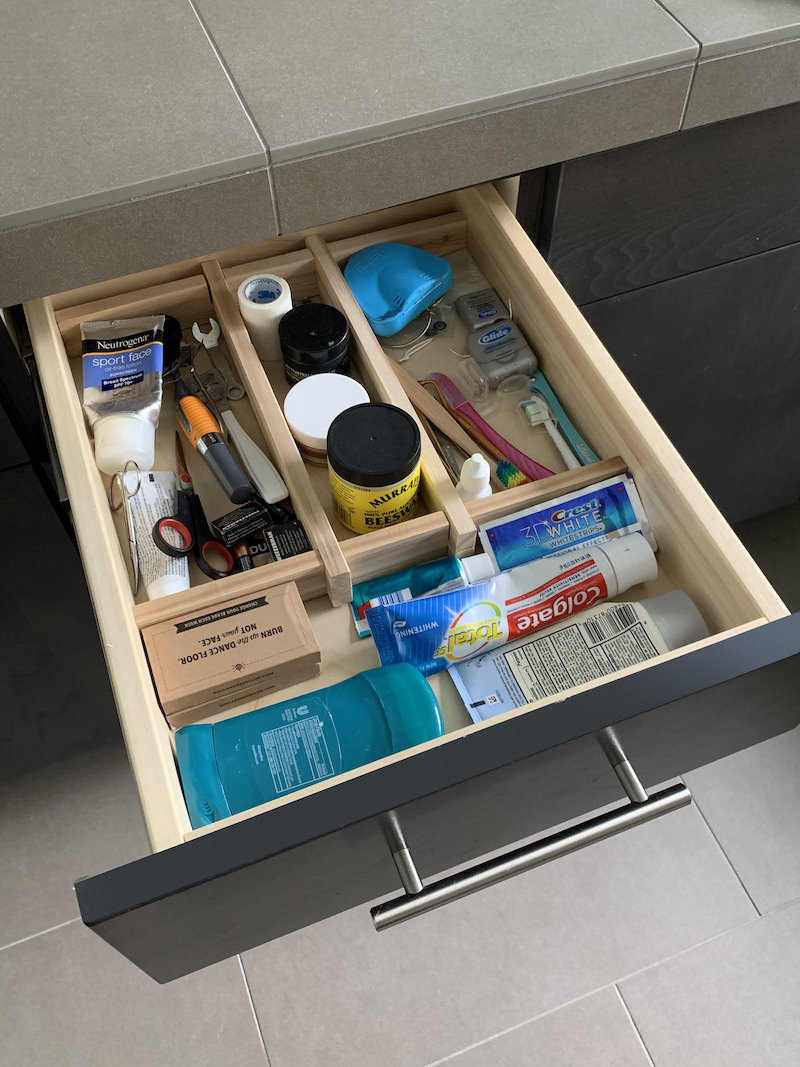
You simply add your drawer divider to the drawer!
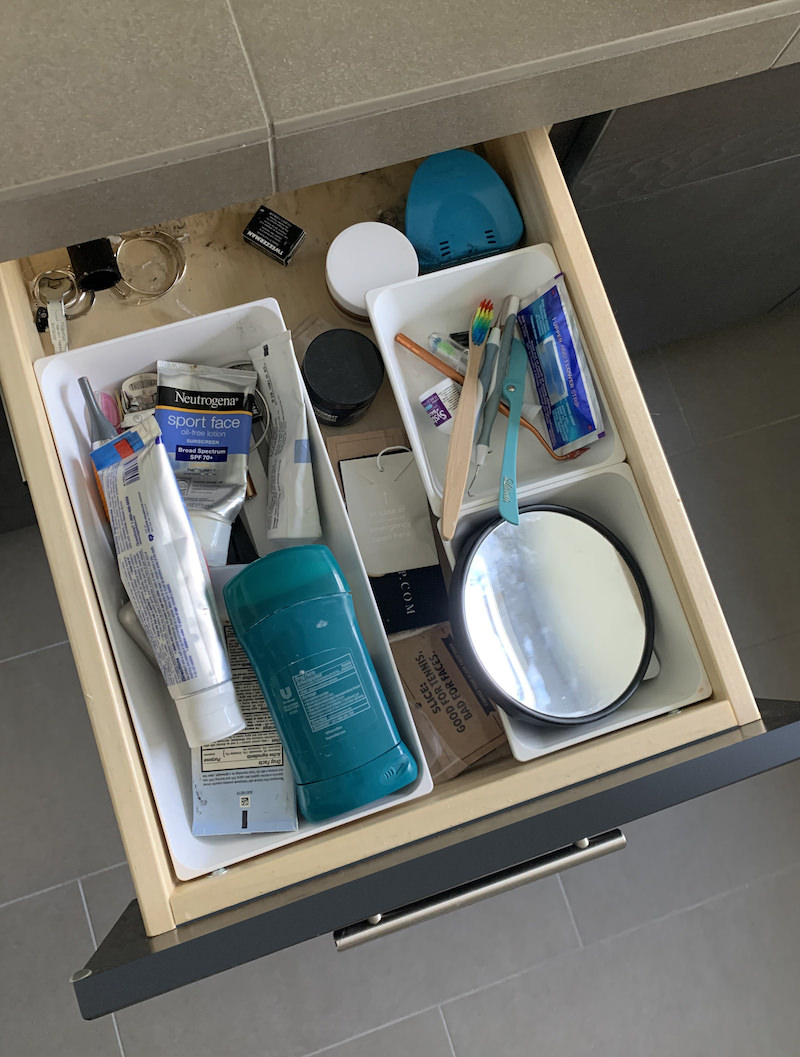
Then, put all your crap back in the drawer, like so.
The DIY drawer organizer just makes it feel so much more .
Nothing is sliding around anymore, which is really nice.
So much better dont you think?
Id love for you to try this project!