HomeOrganization
This post may contain affiliate links:full affiliate disclosure.
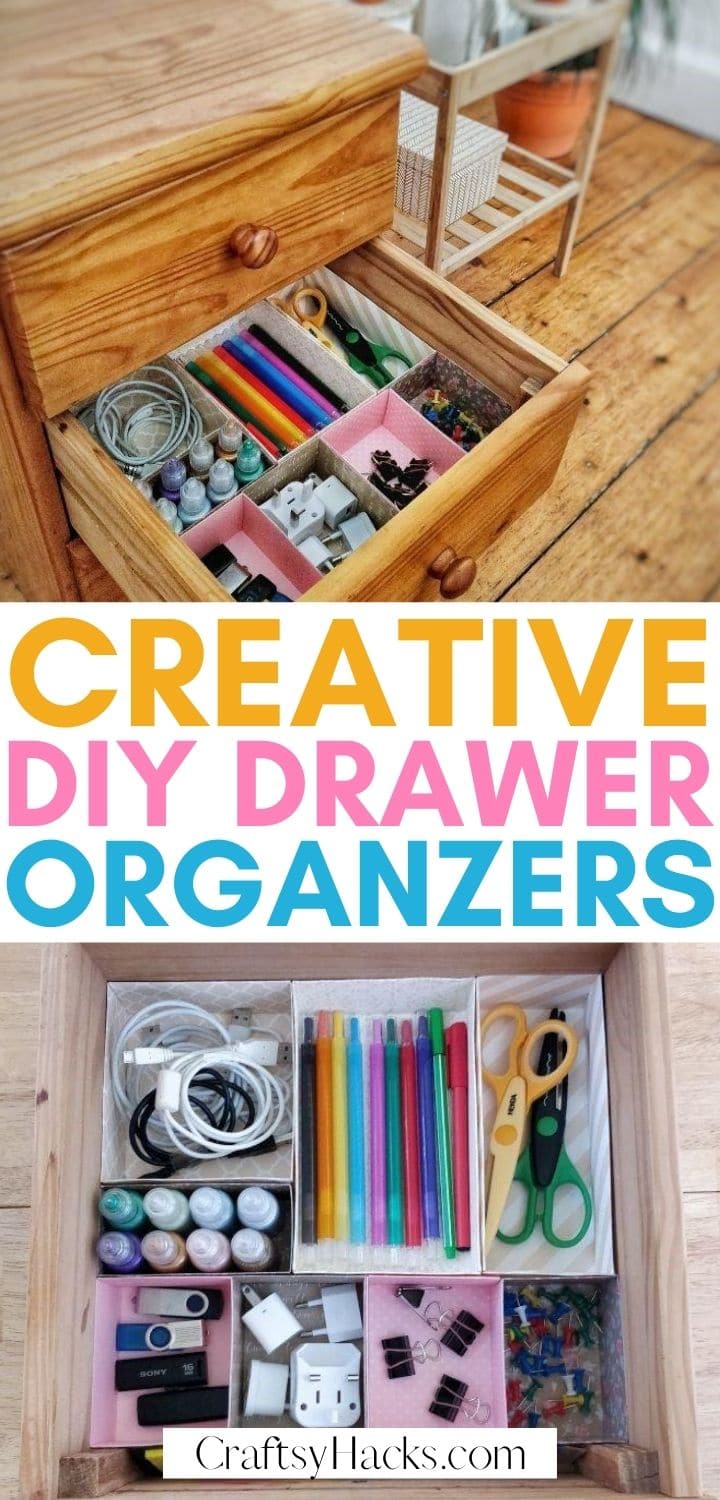
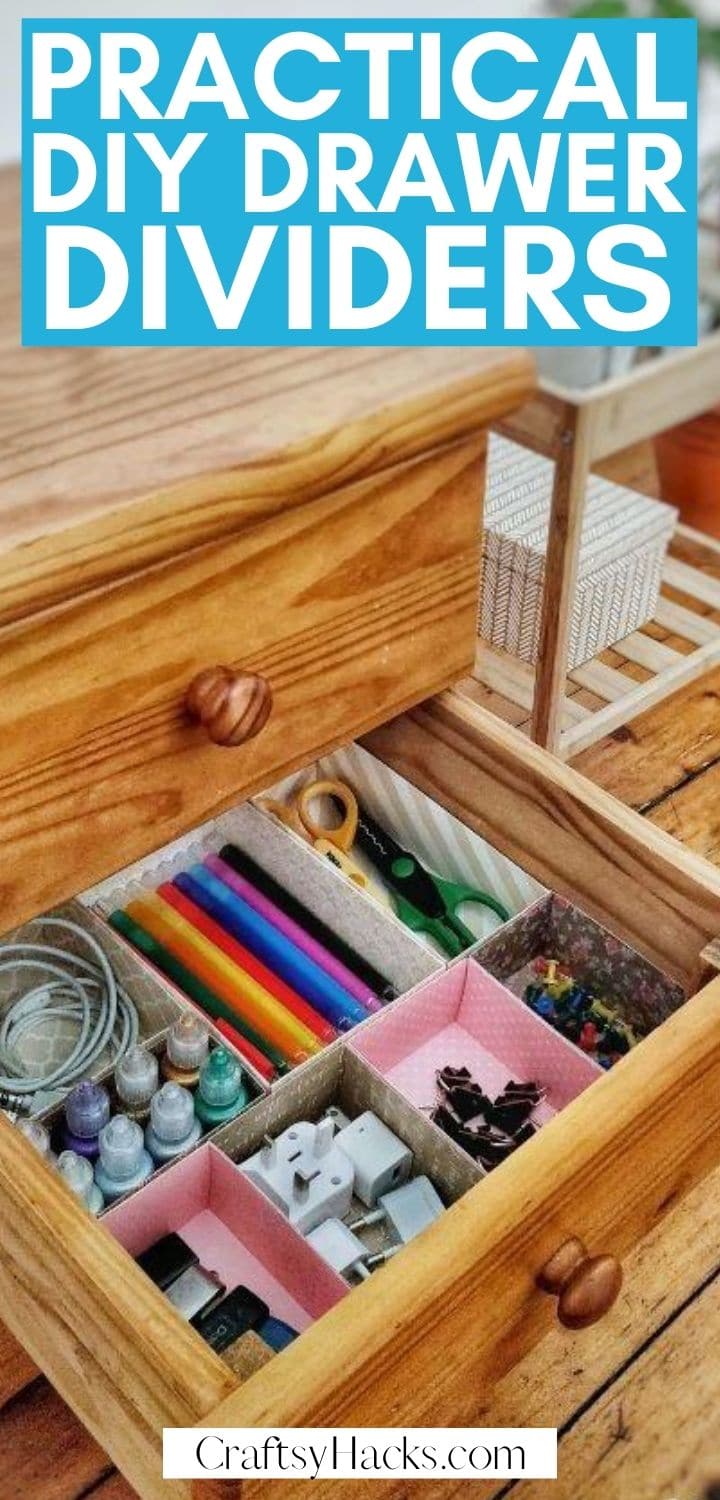
Fun easy DIY drawer dividers you’re able to make out of cardboard.
Organize your drawers on the budget and keep your office decluttered.
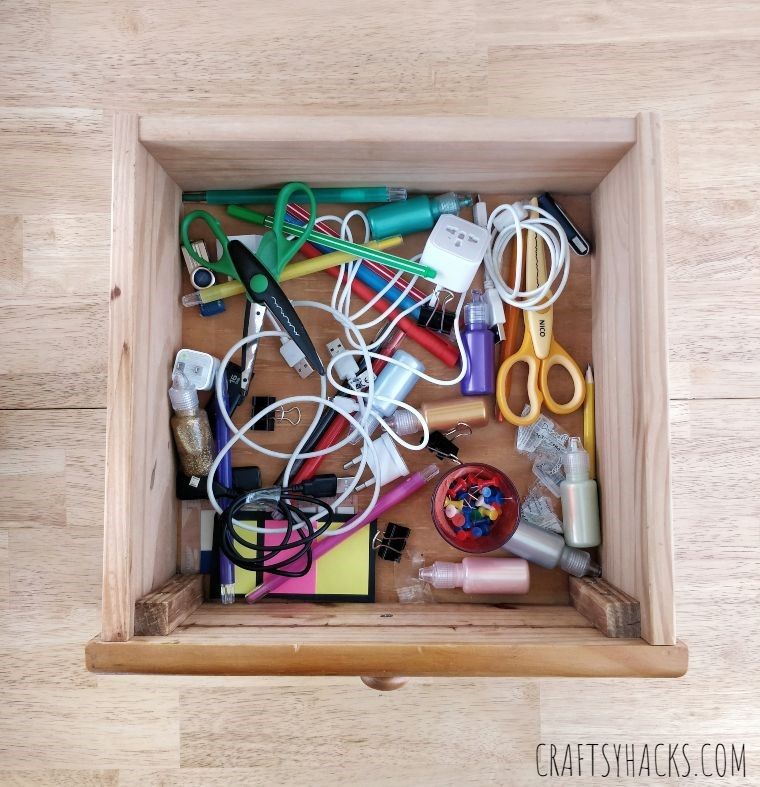
A disorganized drawer is pretty much a useless drawer.
At least thats what I think.
Sure, you’re able to use a drawer to store almost anything that fits.
Keep on reading to see how I decluttered my drawers using DIY dividers.
There is nothing more satisfying thanorganizing office space!
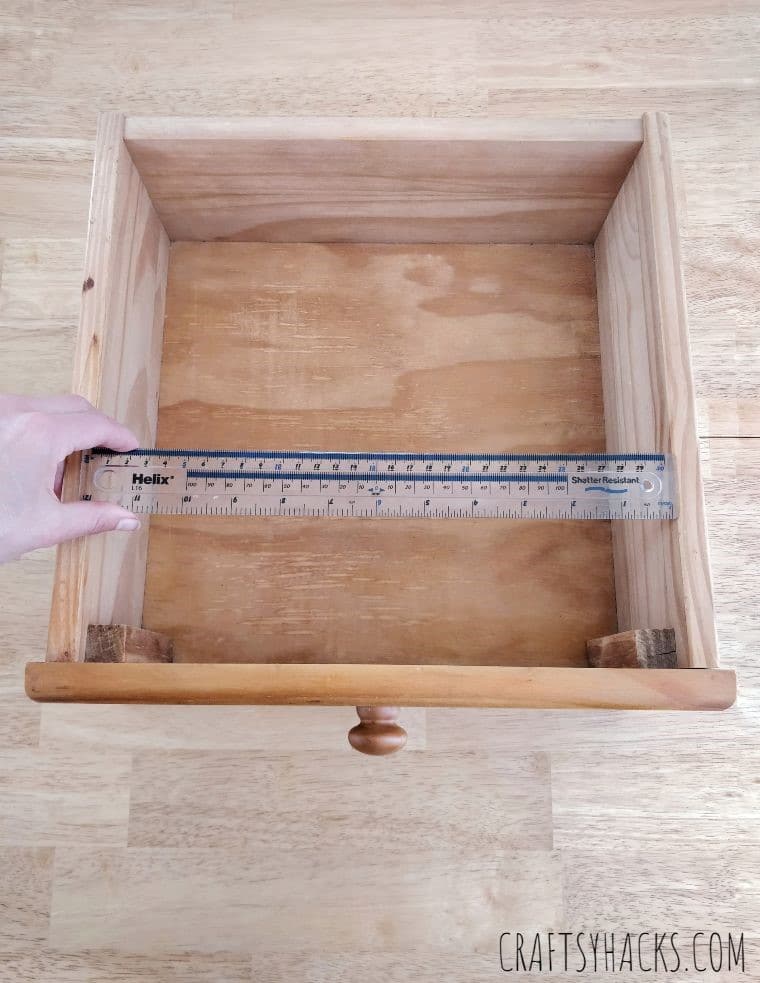
STEP 2
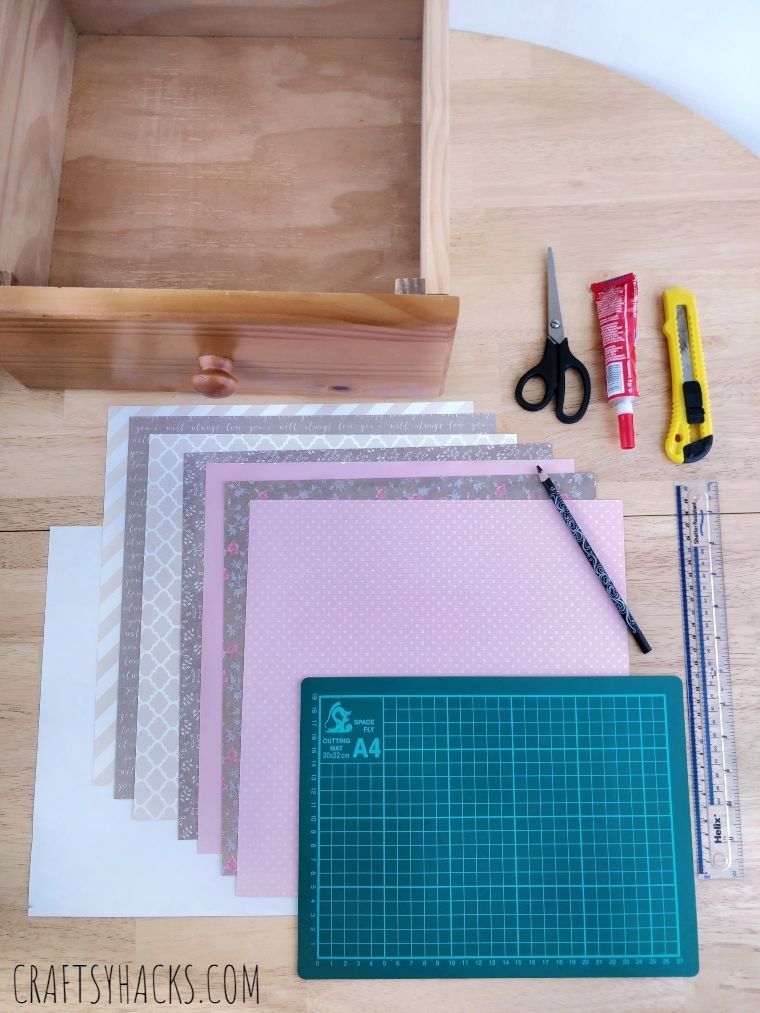
Next, use a ruler to measure the inside of the drawer.
Use this measurement to cut one card stock to serve as the base of your drawer.
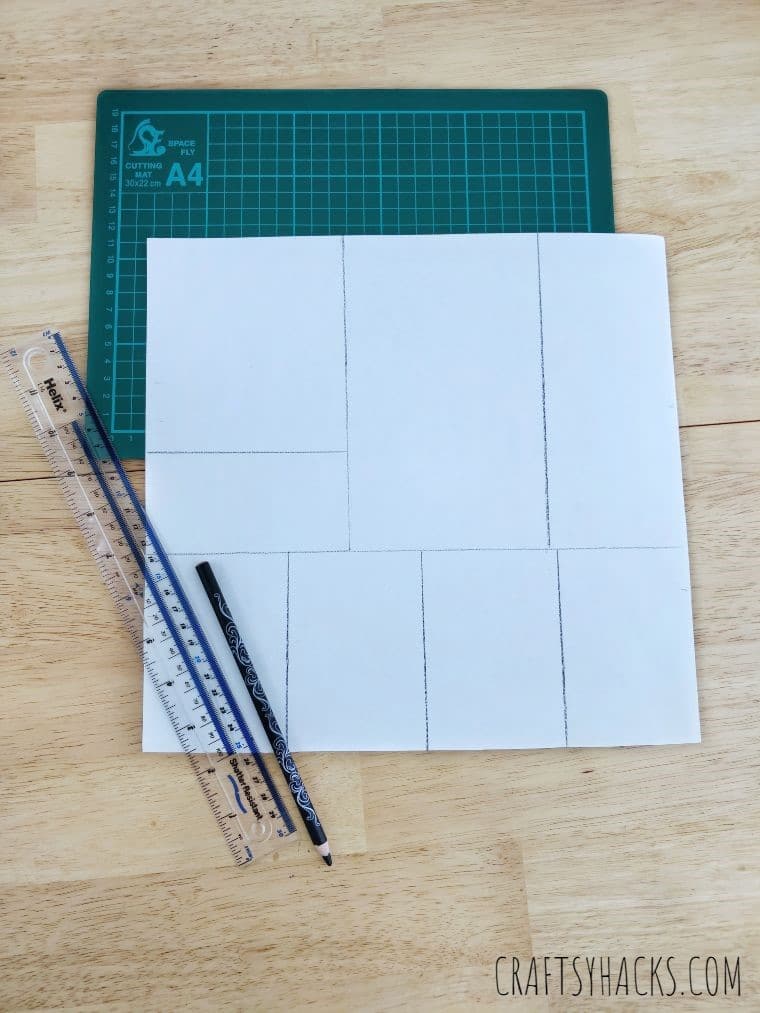
STEP 3
Place the cutting mat on your tables surface.
Grab the base card stock and place this below the cutting mat.
Remember to use the cutting mat as a visual guide to separating the contents.
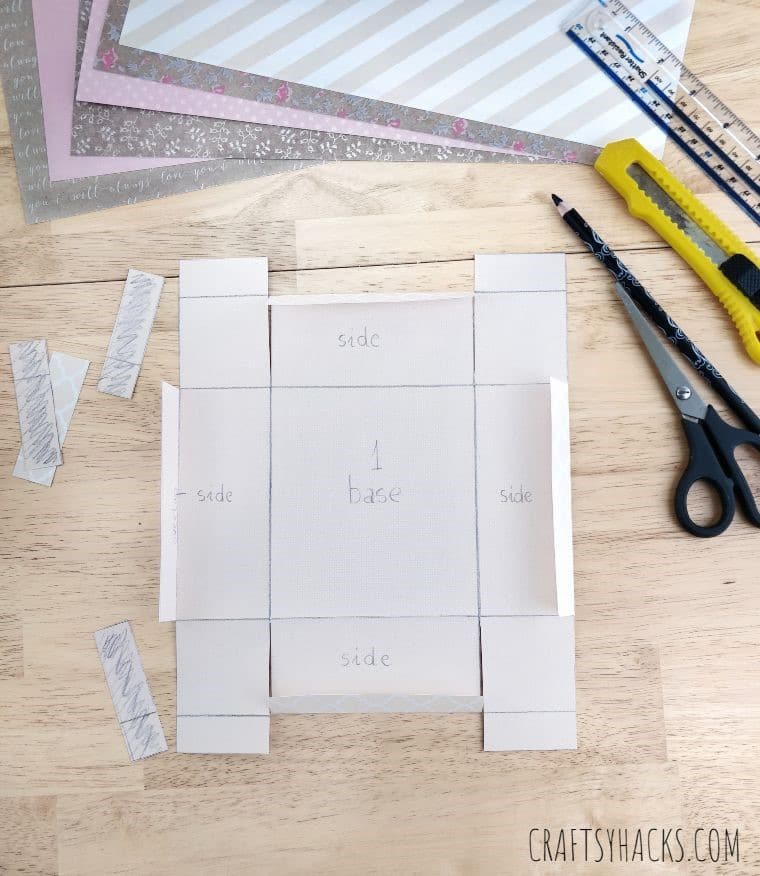
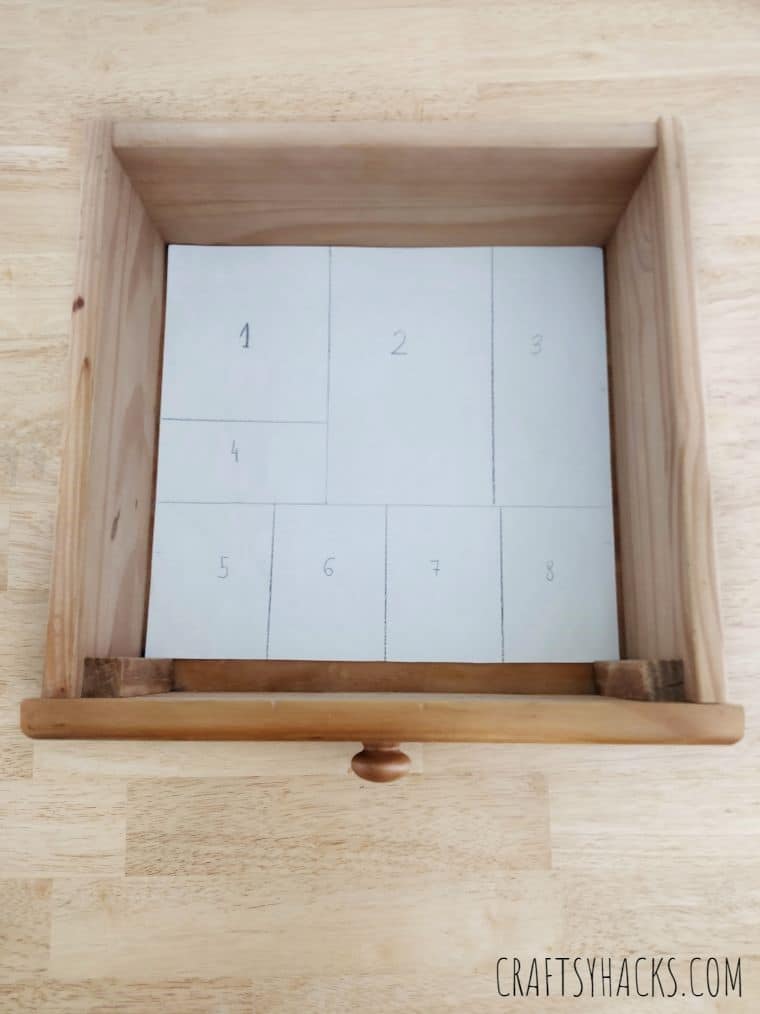
Once youve straightened out all lines, number each compartment.
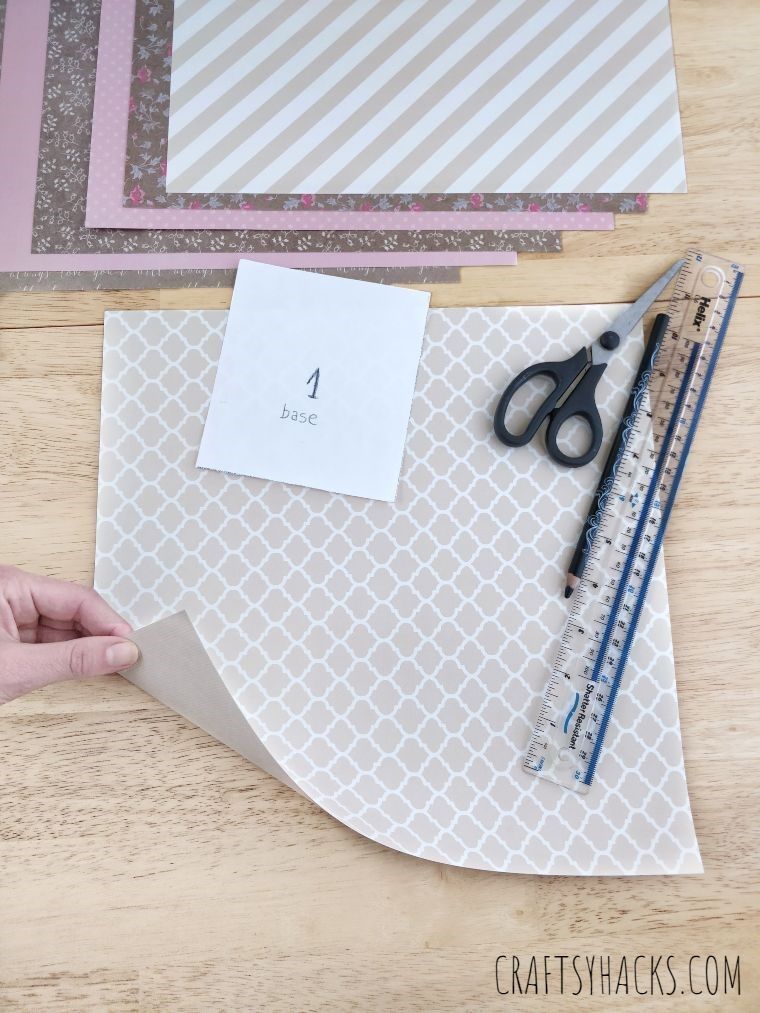
Start with compartment one by choosing your preferred card stock design for that divider.
Place your first compartment cut out on this surface and position it in the middle.
Use a pencil to draw a rough outline of this cut.
This will serve as your dividers base.
Use the ruler to take off 2 mm from all sides of your rough outline.
This gives enough adjustment for all your compartments to fit when fully assembled.
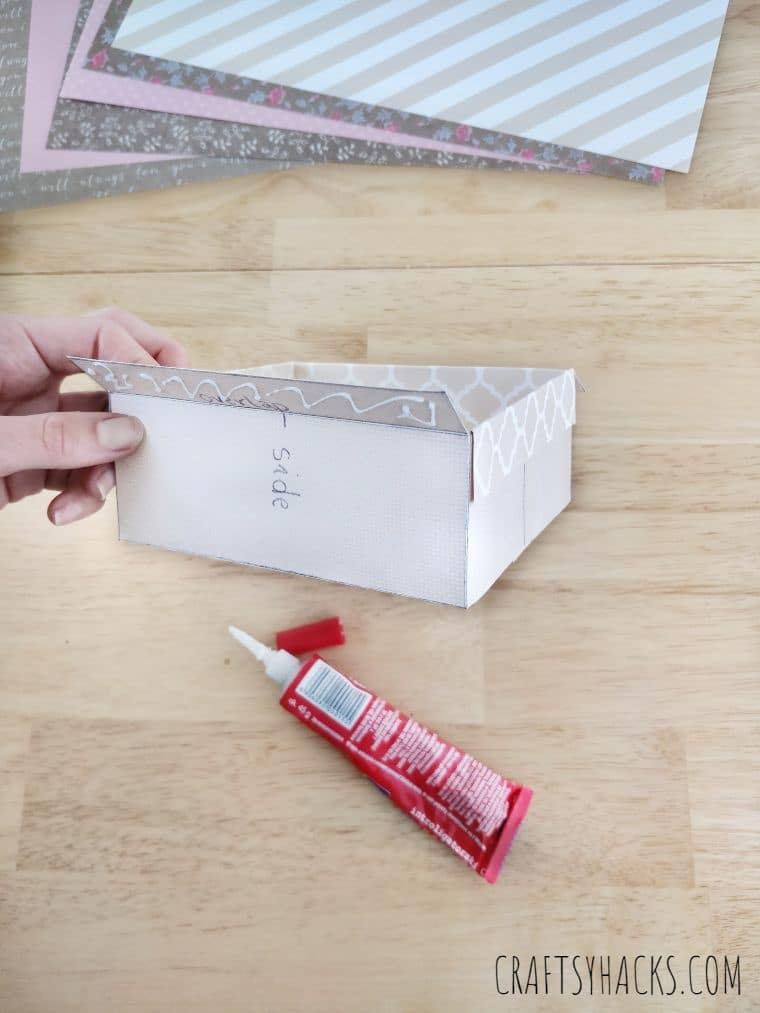
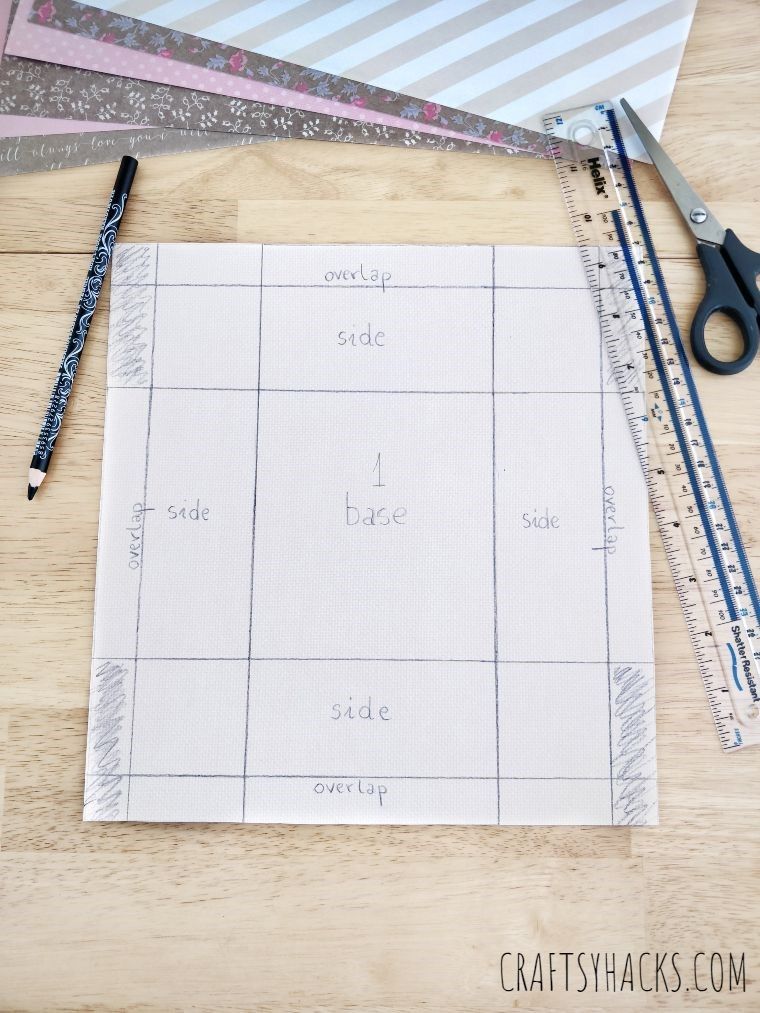
Decide on your dividers height and measure this on to your cardstock.
Your cardstock should have all these sides outlined in this order: overlap-side-base-side-base-overlap, as seen in the photo.
STEP 10
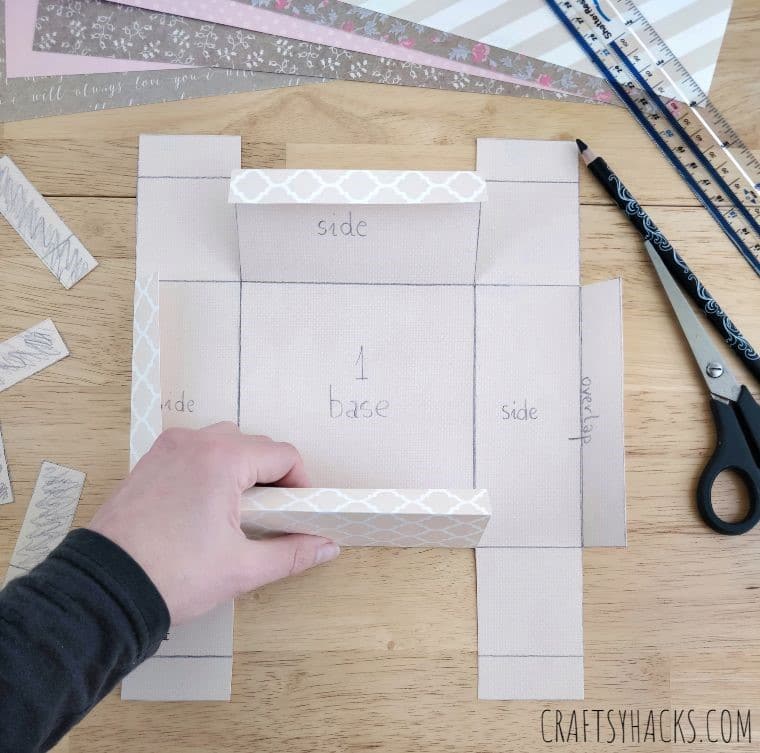
Fold the overlaps inwards on all four sides of your divider.
STEP 11
Flip the card stock over, revealing the patterned side.
STEP 12
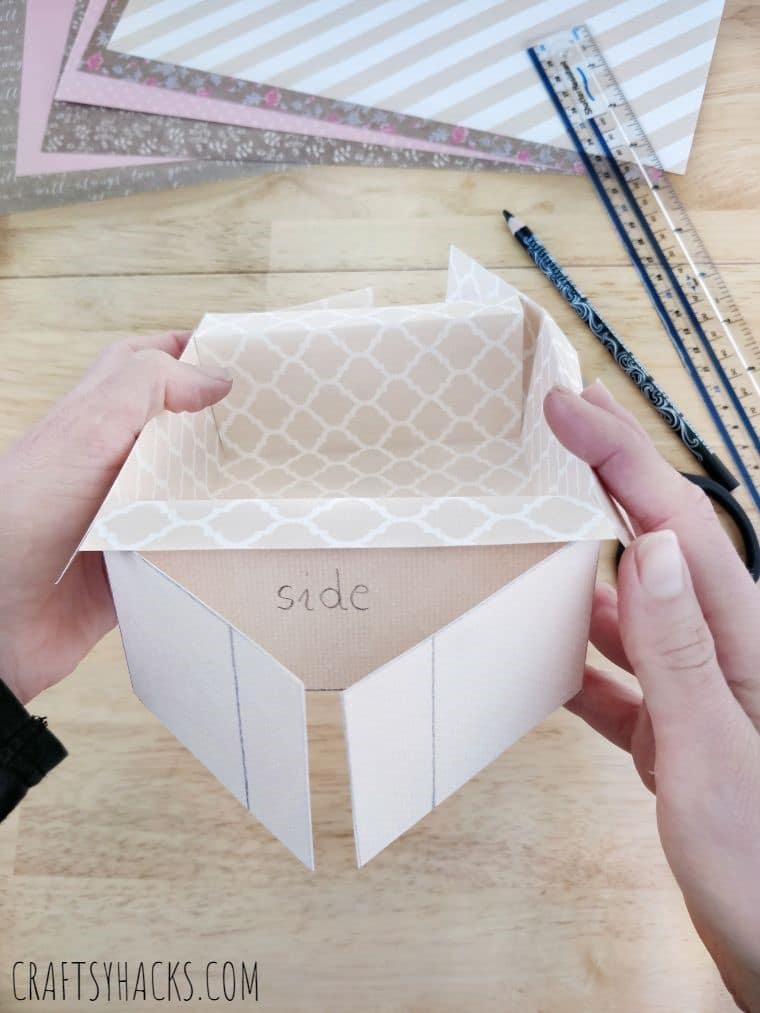
Build your divider by folding your sides up, following the outlines youve drawn.
STEP 13
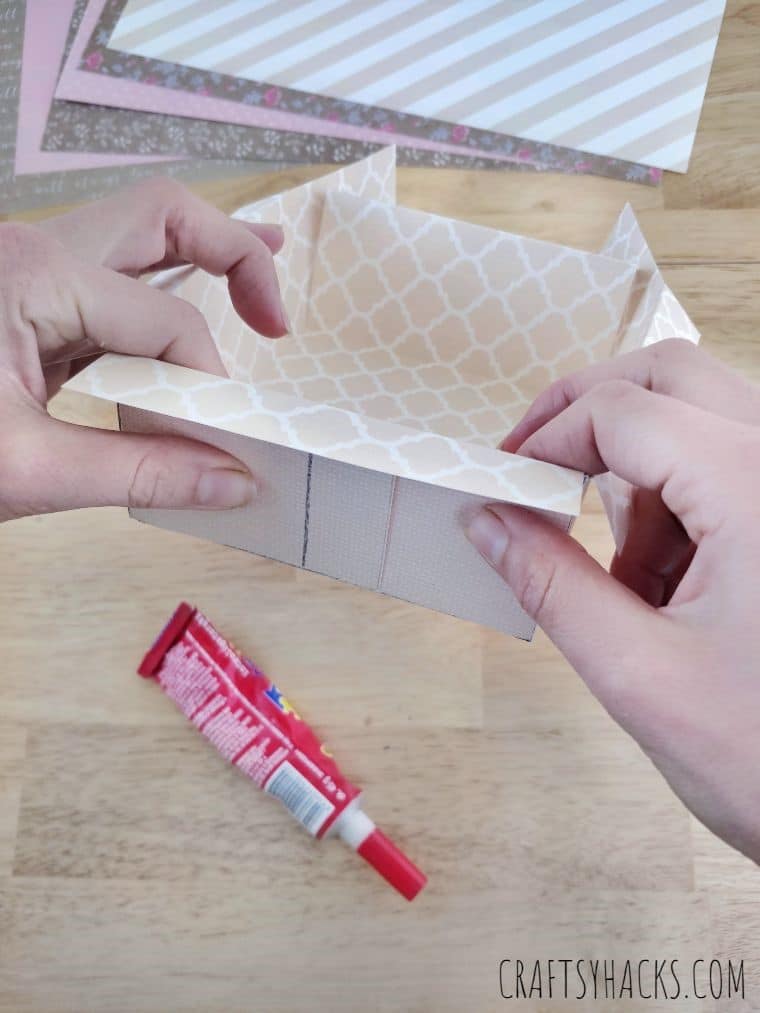
You will be left with excess flaps along the sides of the divider.
Fold this neatly on top of each other and secure in place with glue.

STEP 15
Repeat the same process on all the overlaps.
Repeat steps 1 to 15 for the rest of your dividers.
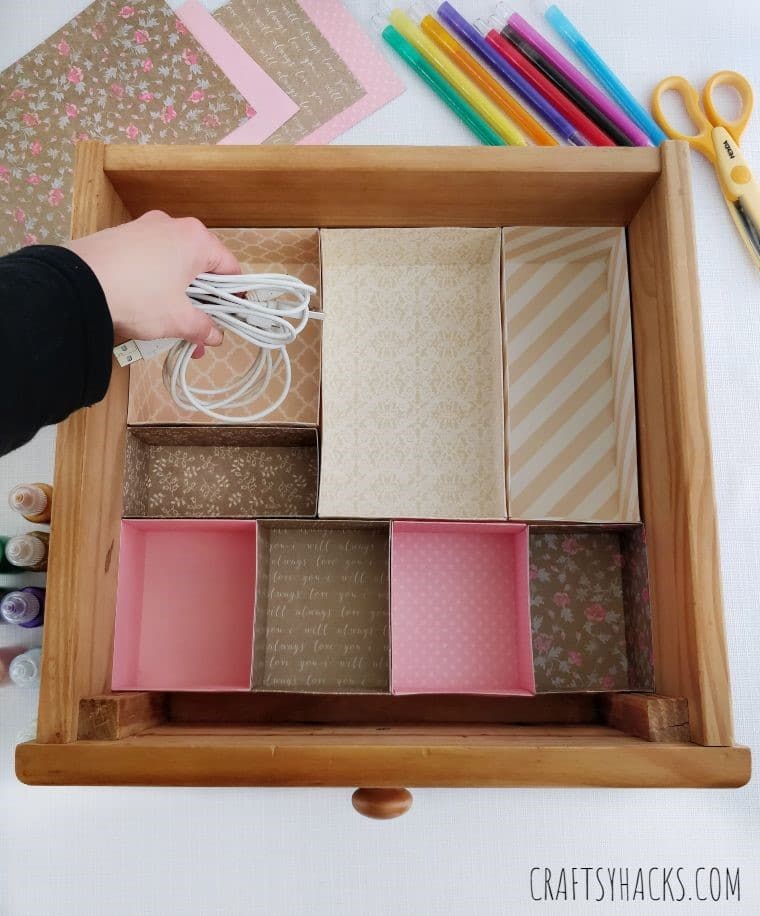
STEP 16
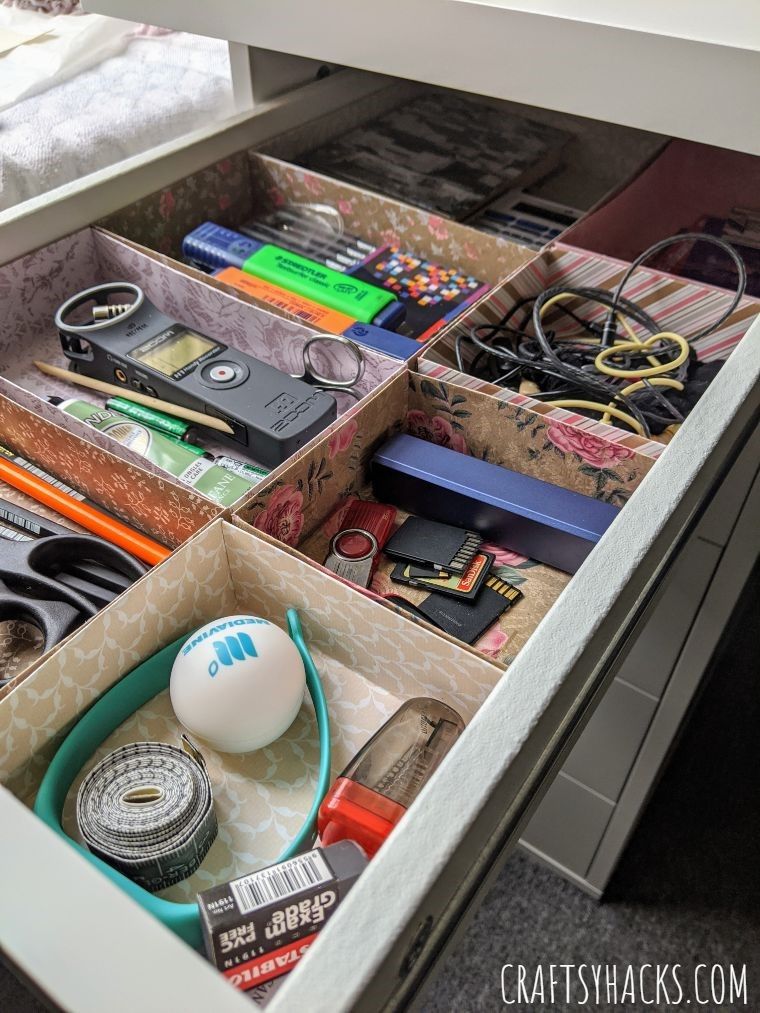
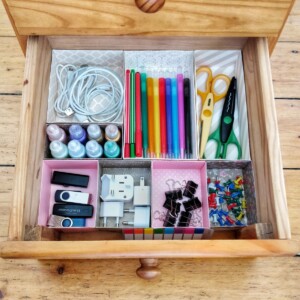
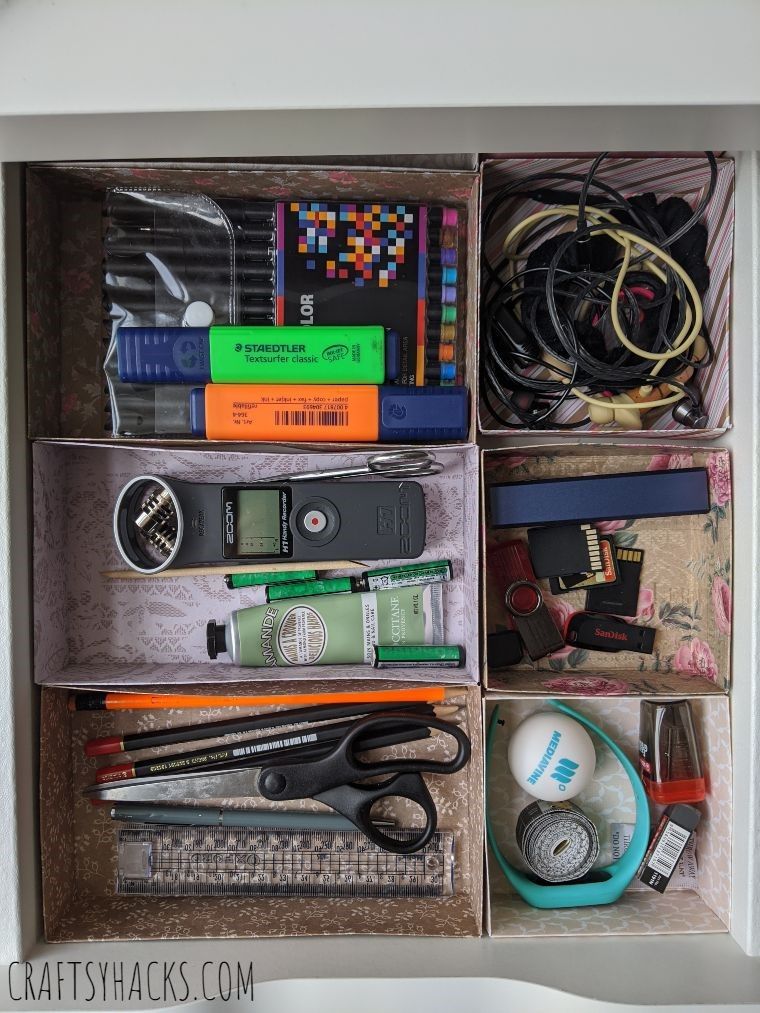
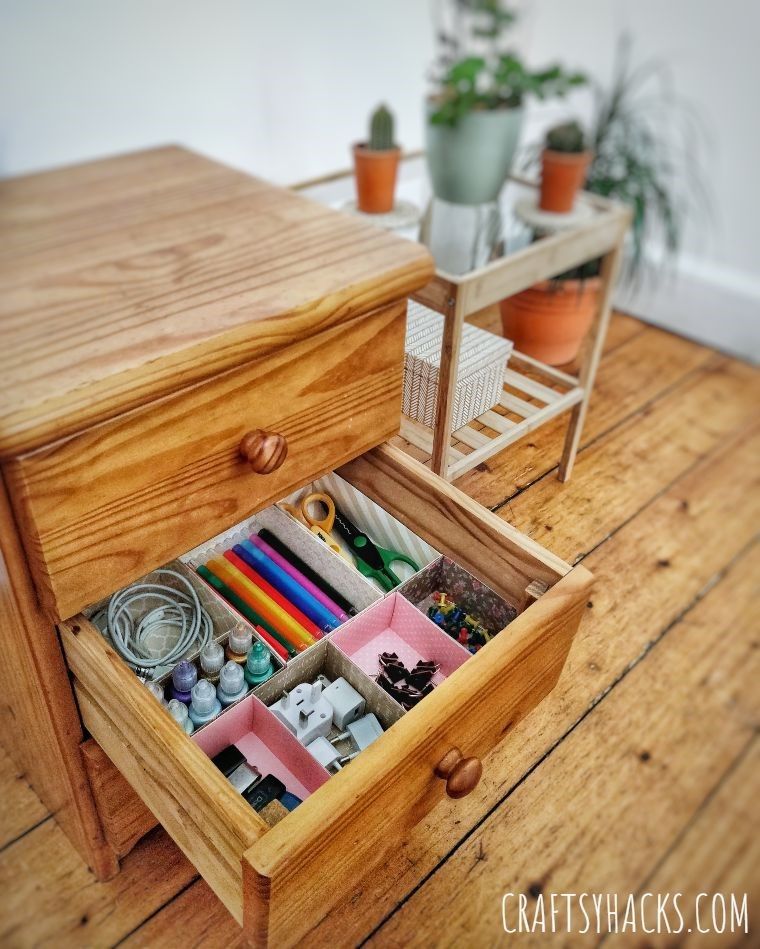
Line your dividers on the drawer according to your planned layout.
Grab your drawer contents and neatly place them into their respective dividers.
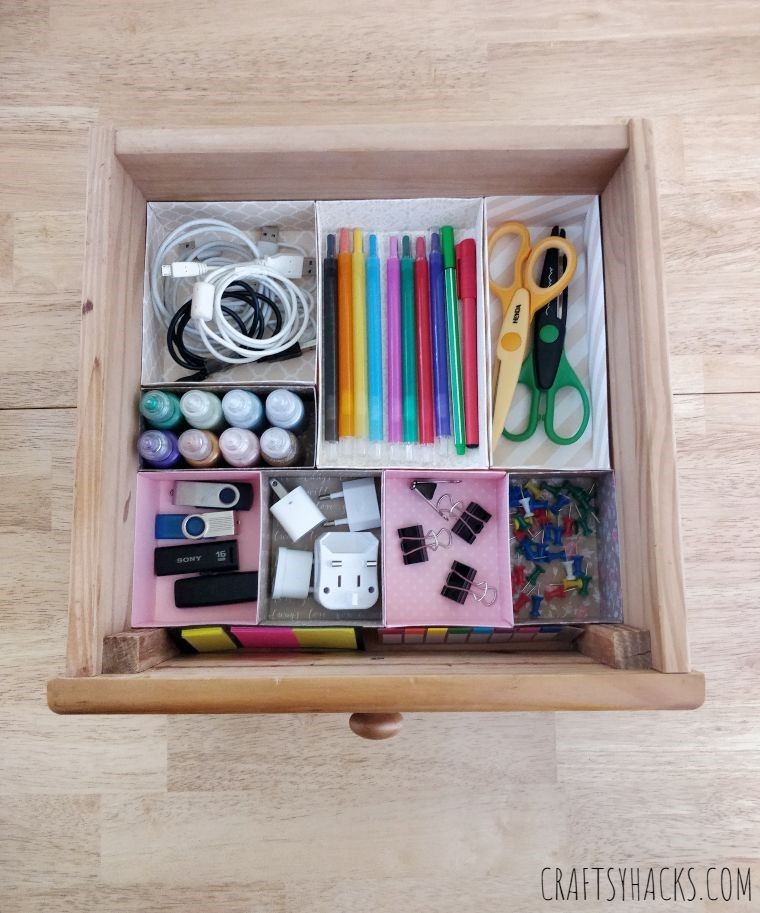
Taa Daa!!!
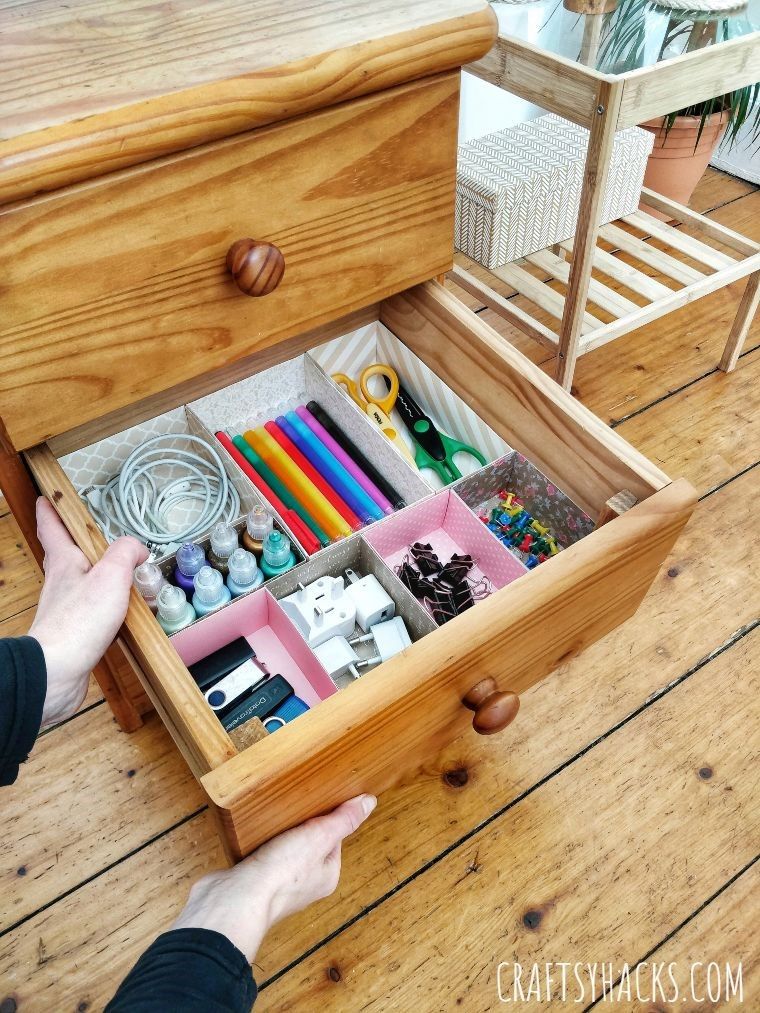
Your drawer is now fully functional, clutter-free, and super easy on the eyes!
Trust me, doing this will make yours and the rest of the familys lives easier.
The craft was inspired byThe Crafting Nook!