HomeOrganization
This post may contain affiliate links:full affiliate disclosure.
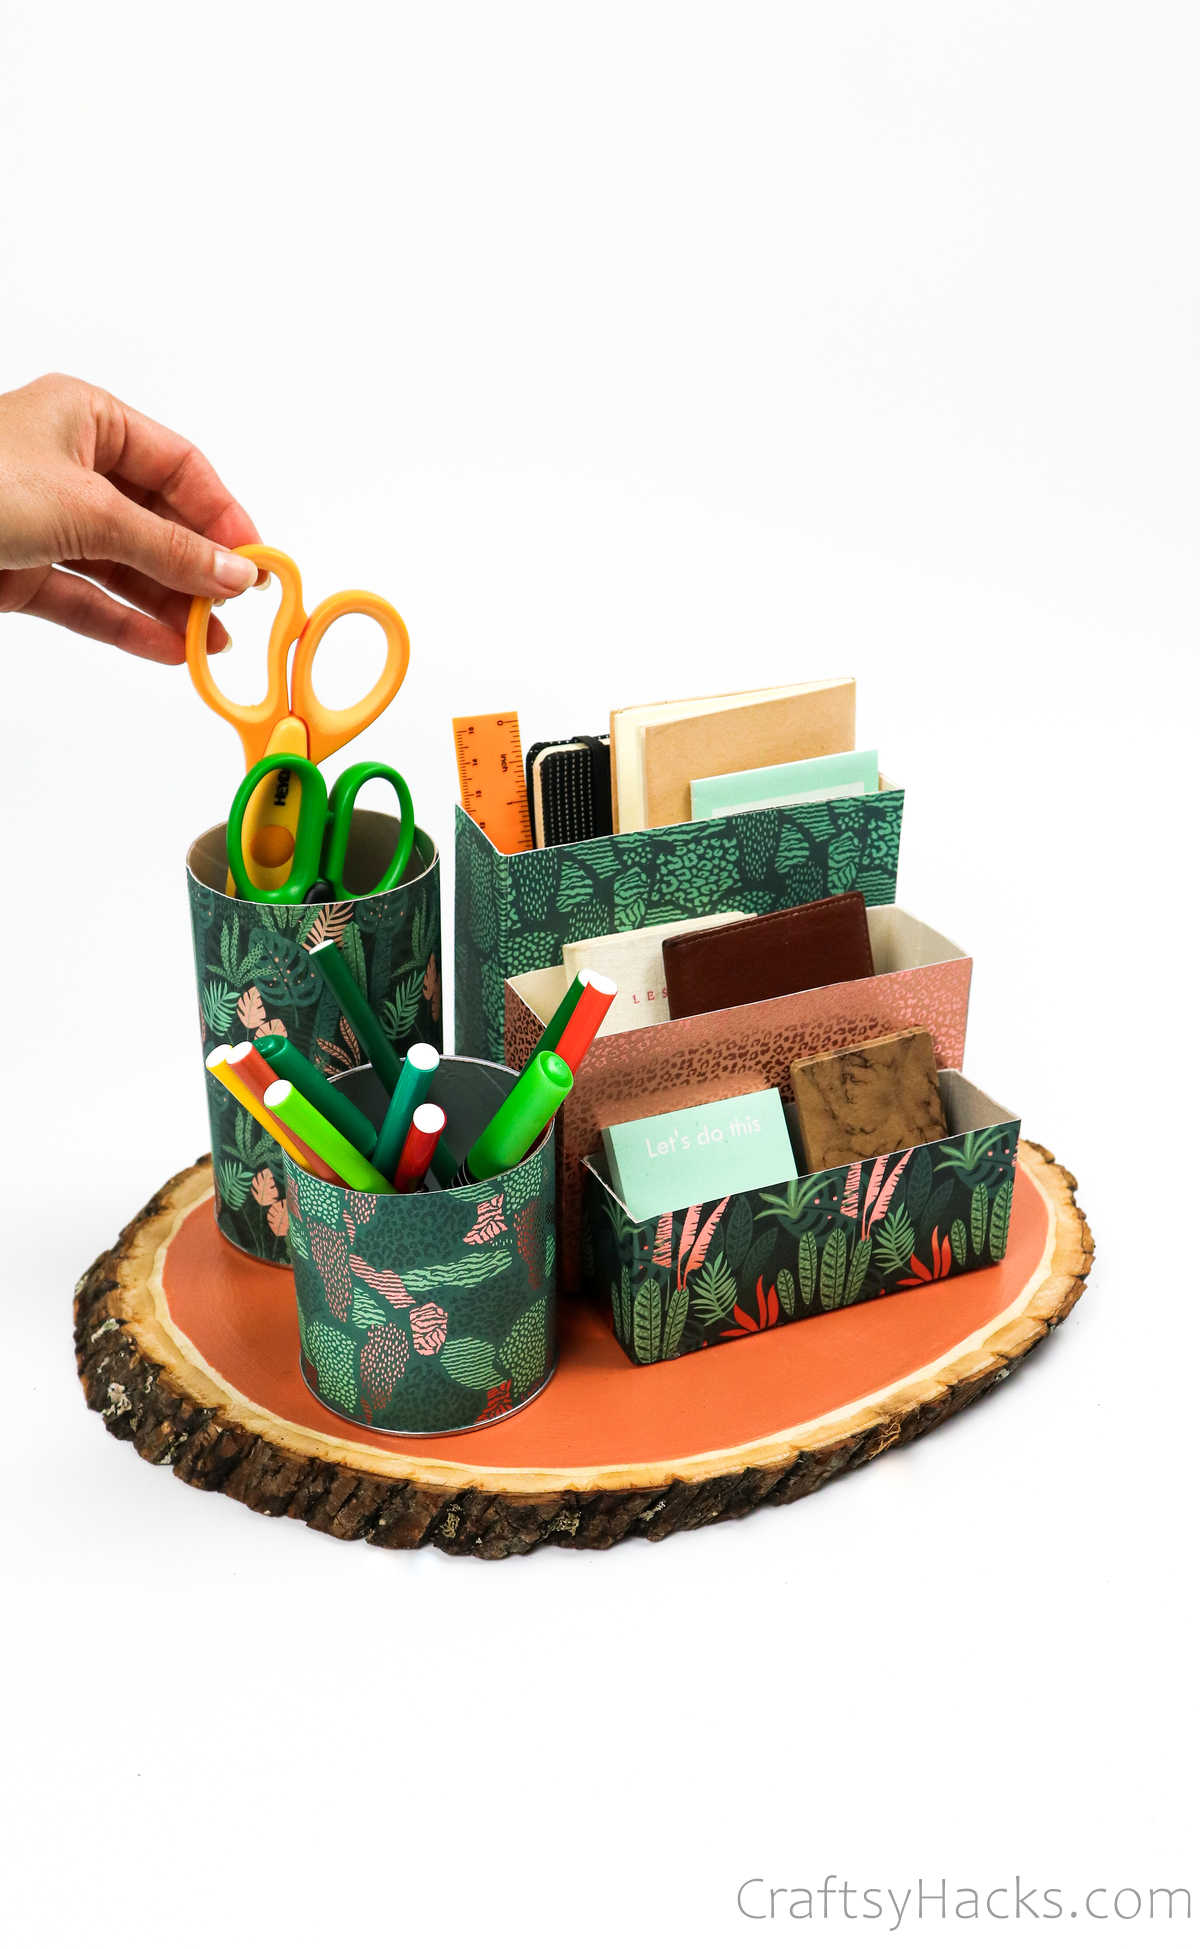
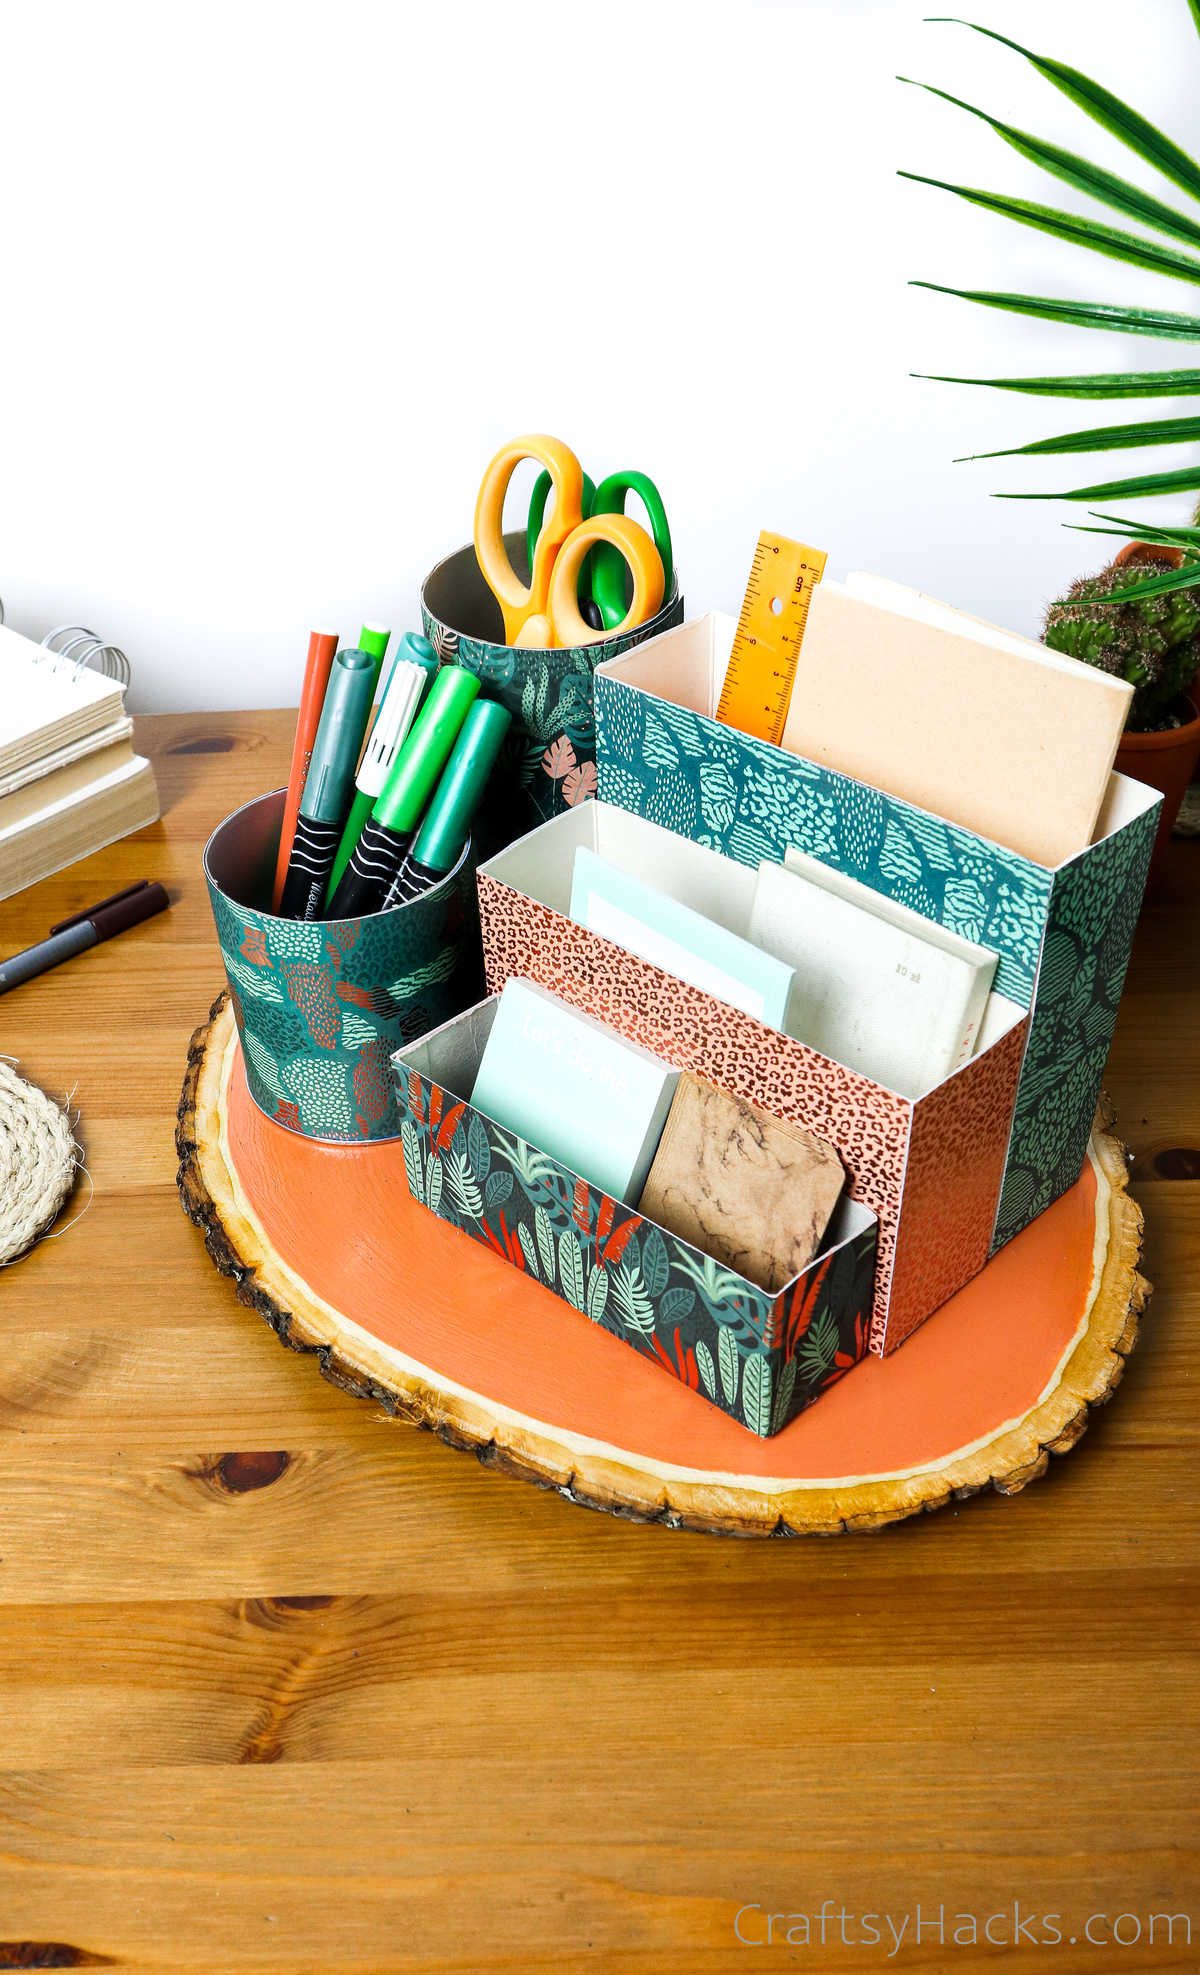
Put all that leftover food packaging to good use with this DIY desk organizer.
Its an upcycled organizer anyone can make and use to declutter your office space.
But if you keep everything on your desktop, then youll have to contend withvisibleclutter, too.
Its time to organize everything and set up a working system, once and for all.
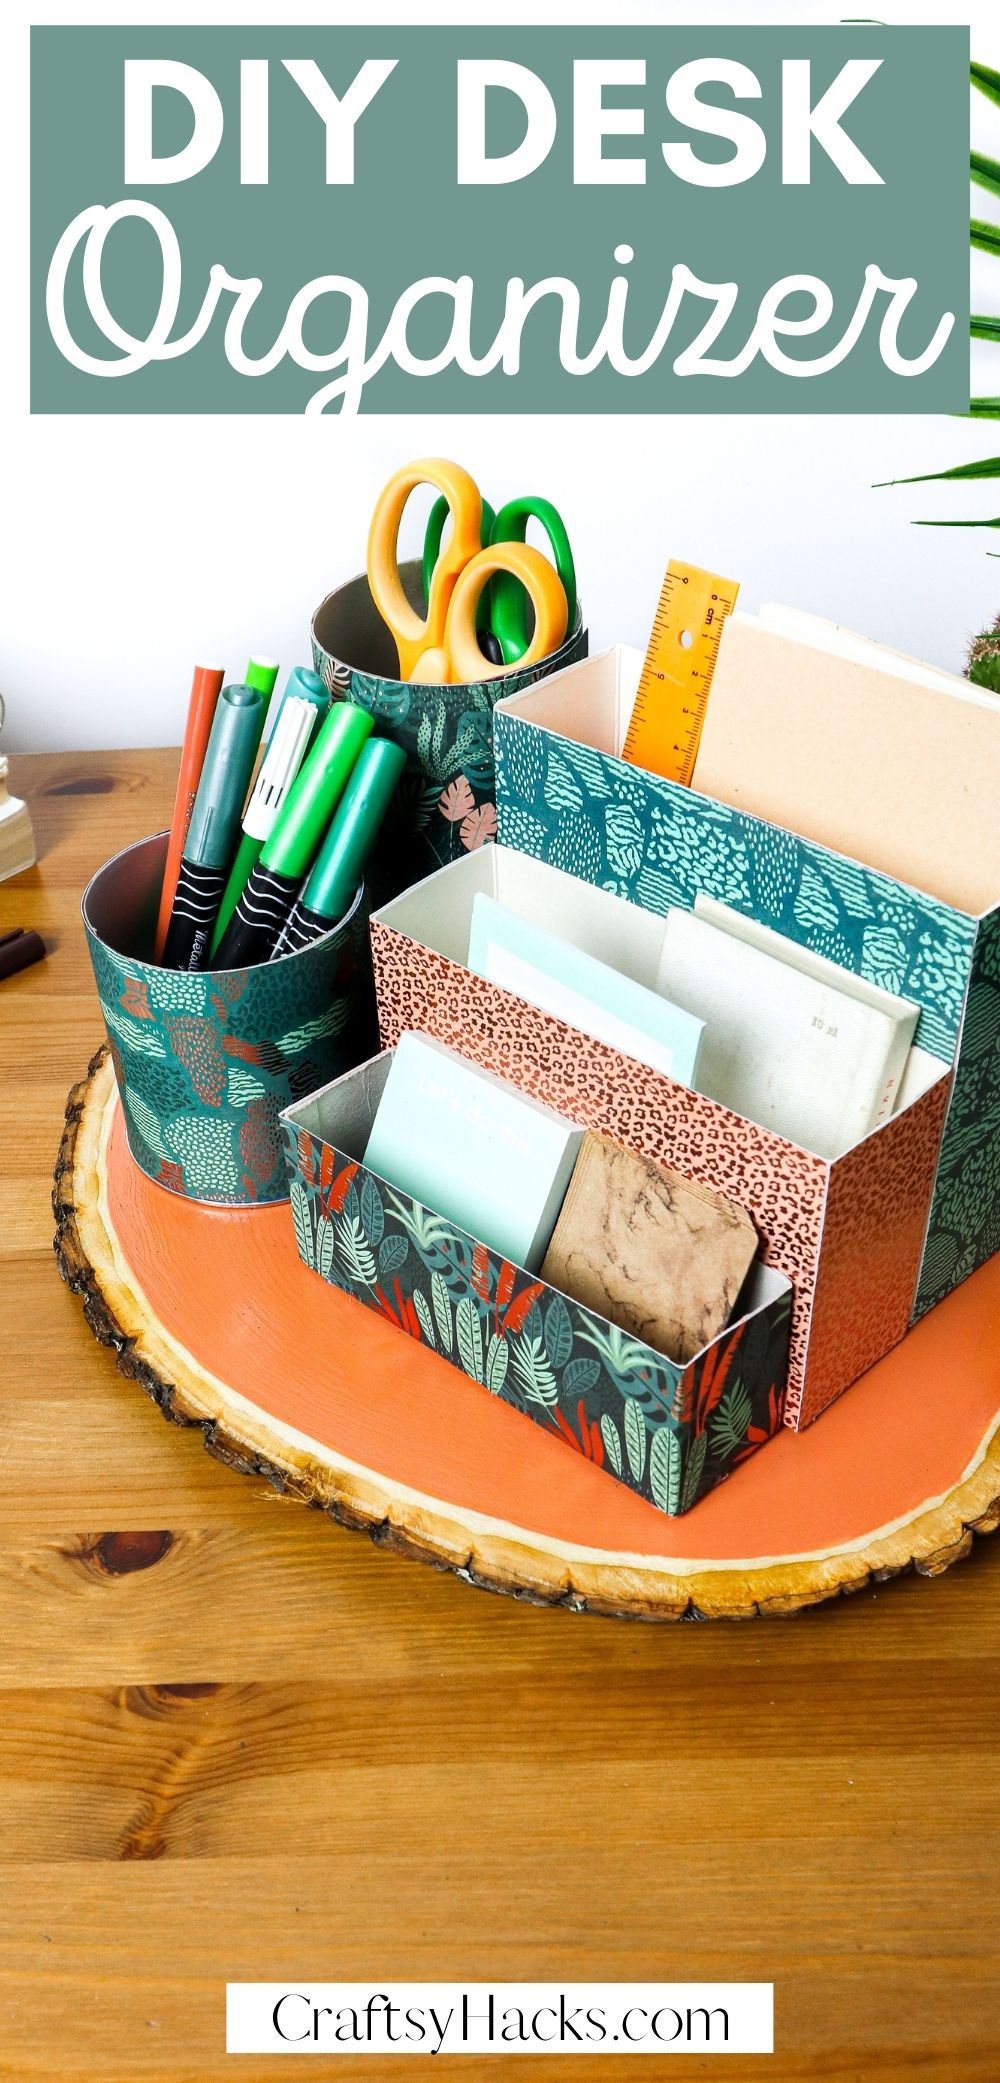
Well, perhaps this DIY desk organizer can help you?
Did I mention that youre going to be upcycling food boxes to make them?
Well, it isnt just important to have desk organizers on your desk.
you gotta ensure your desk organizers stay organized too.
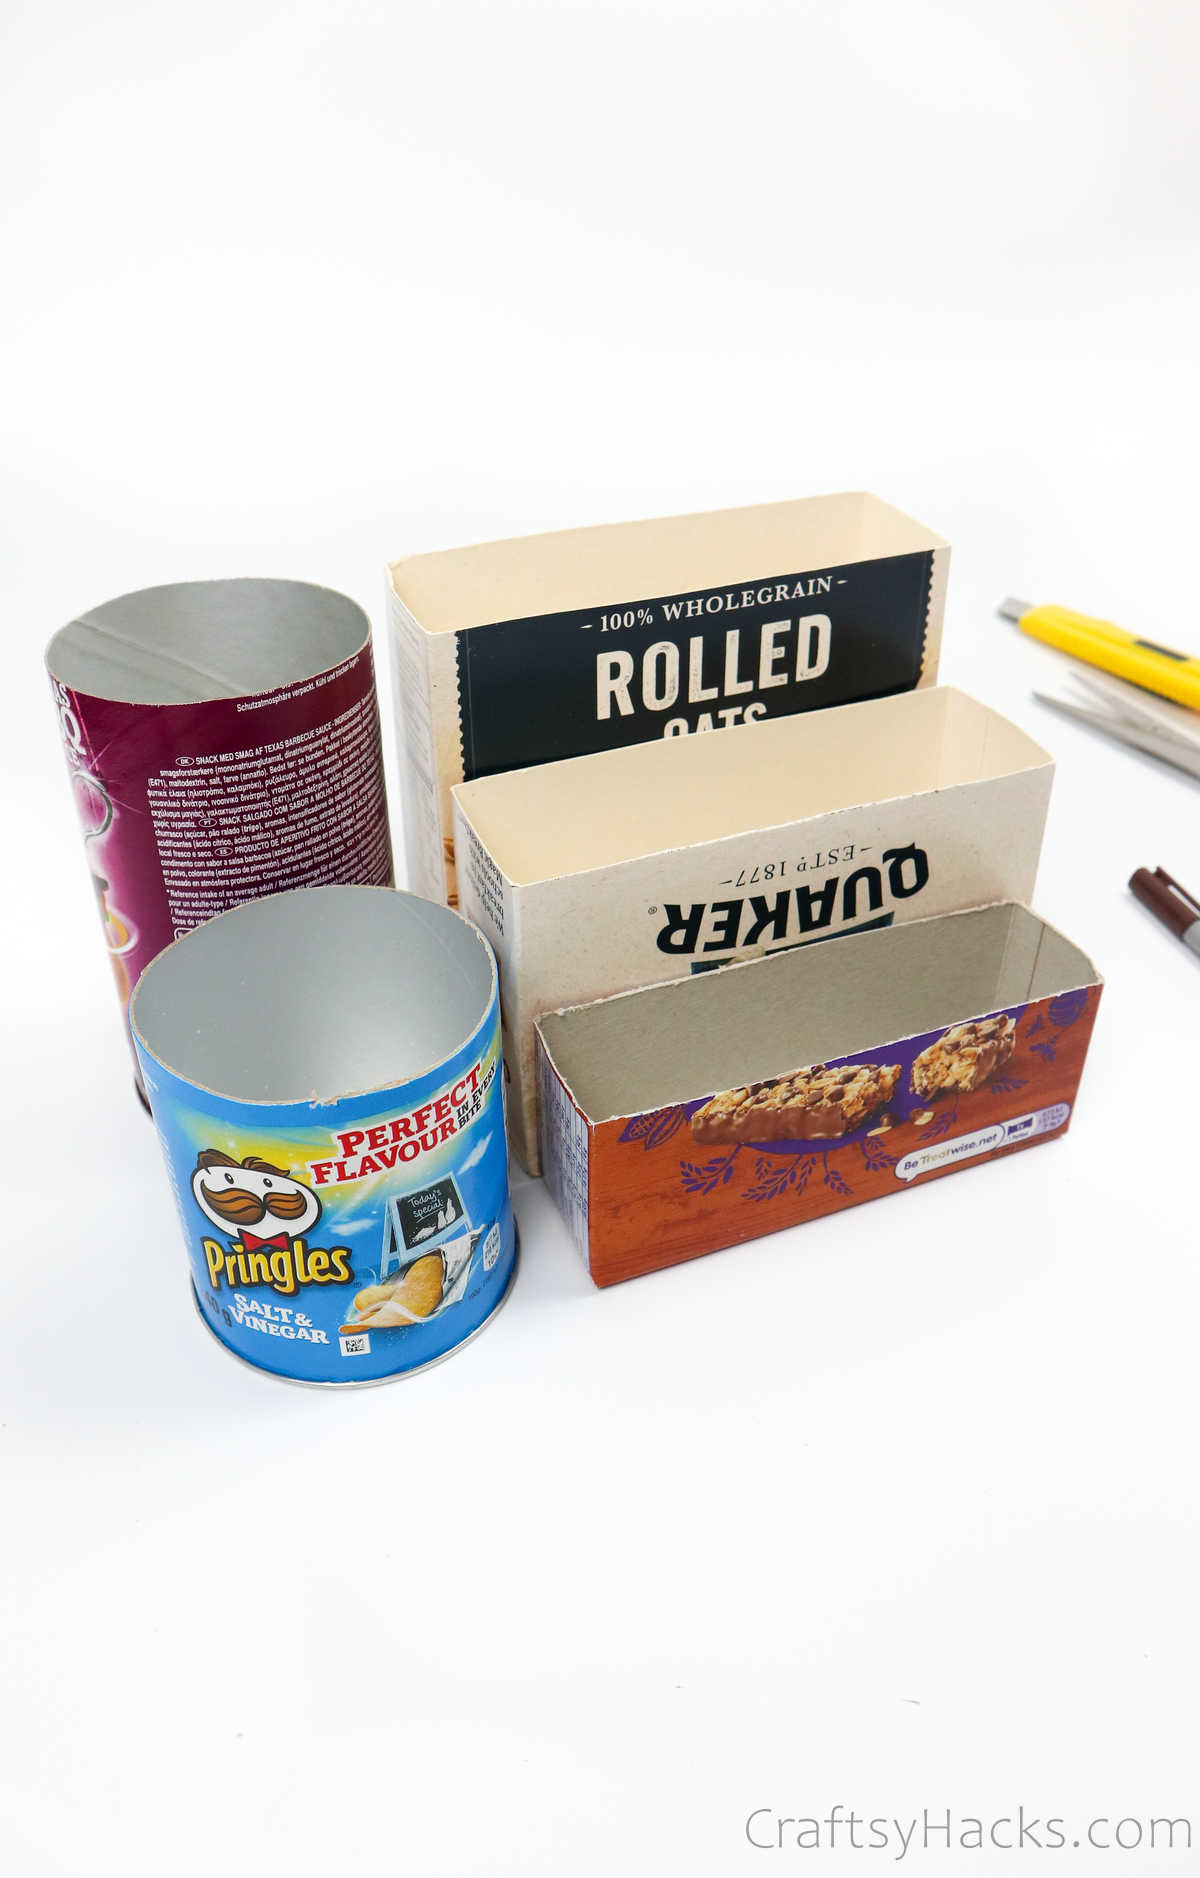
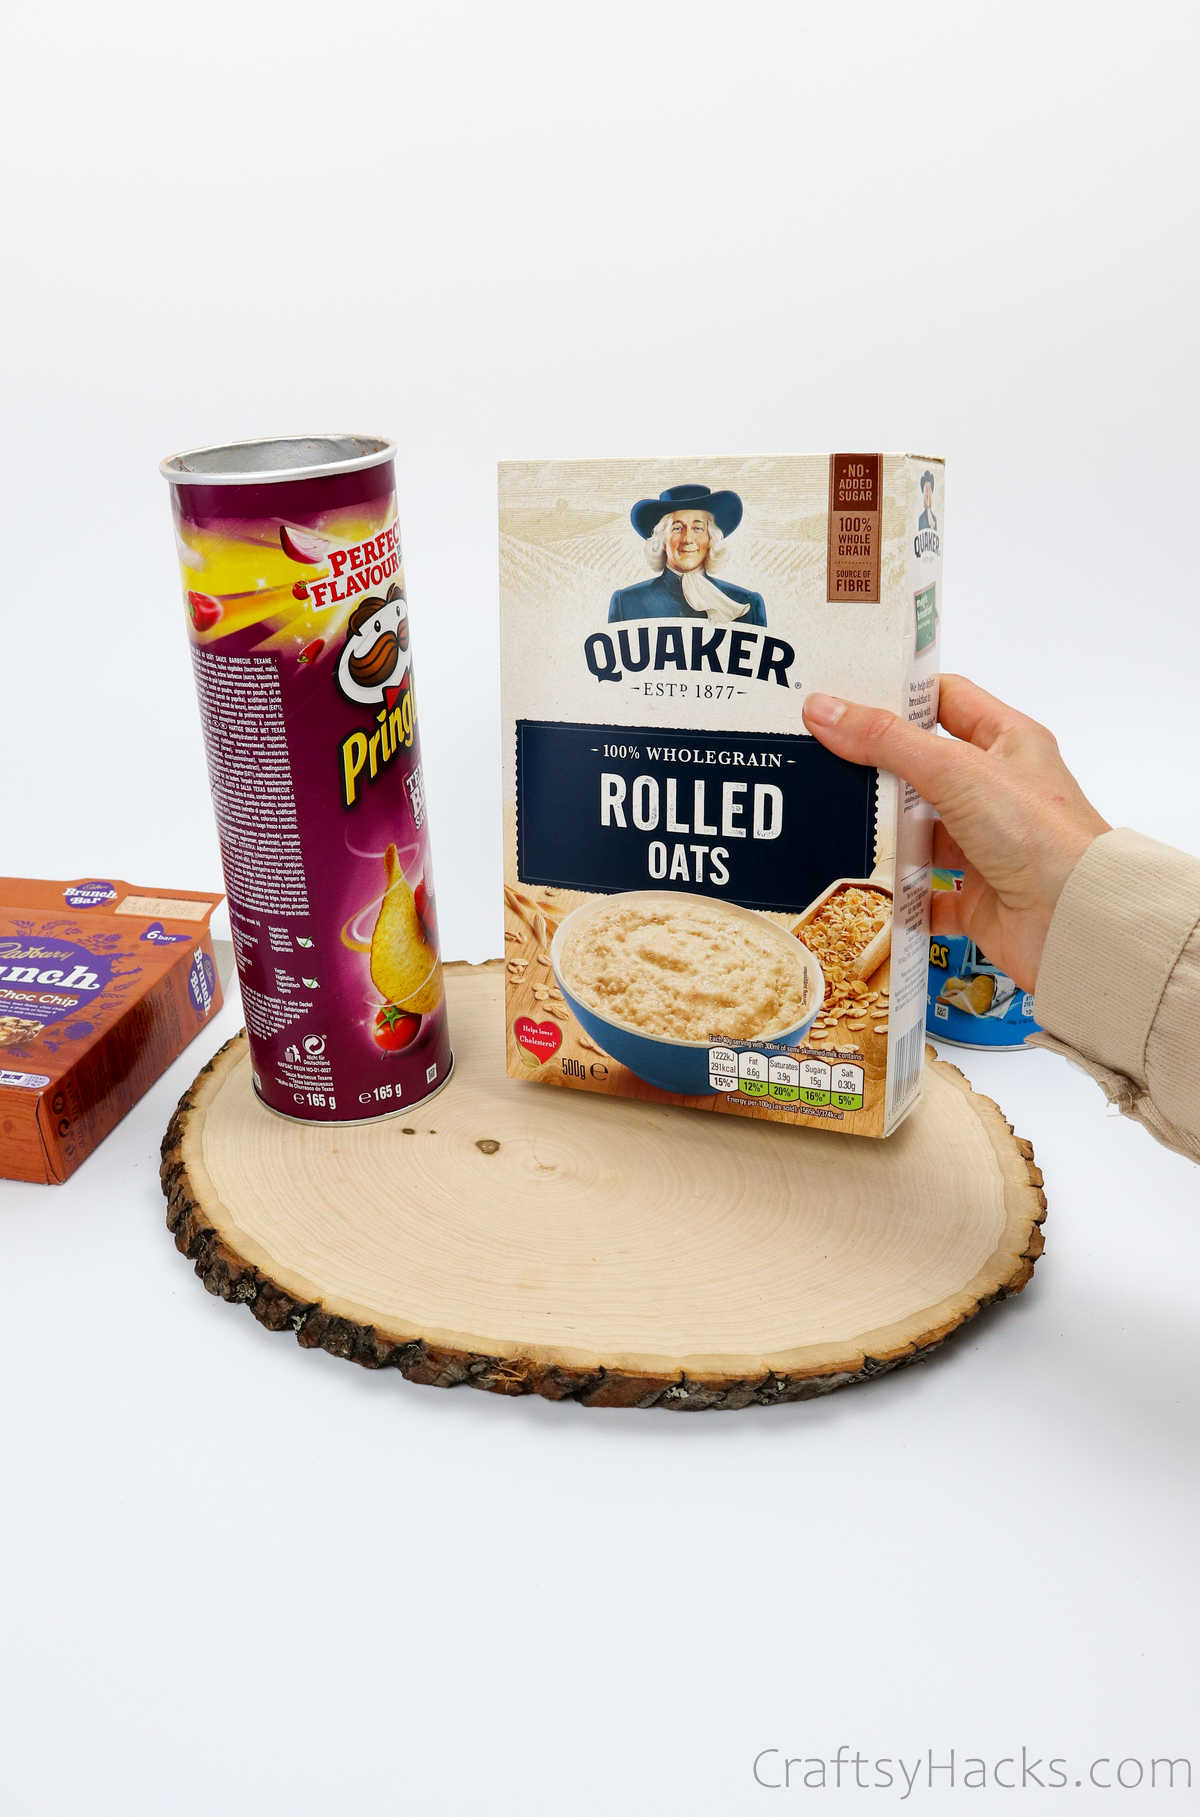
Step 1
The first order of business?
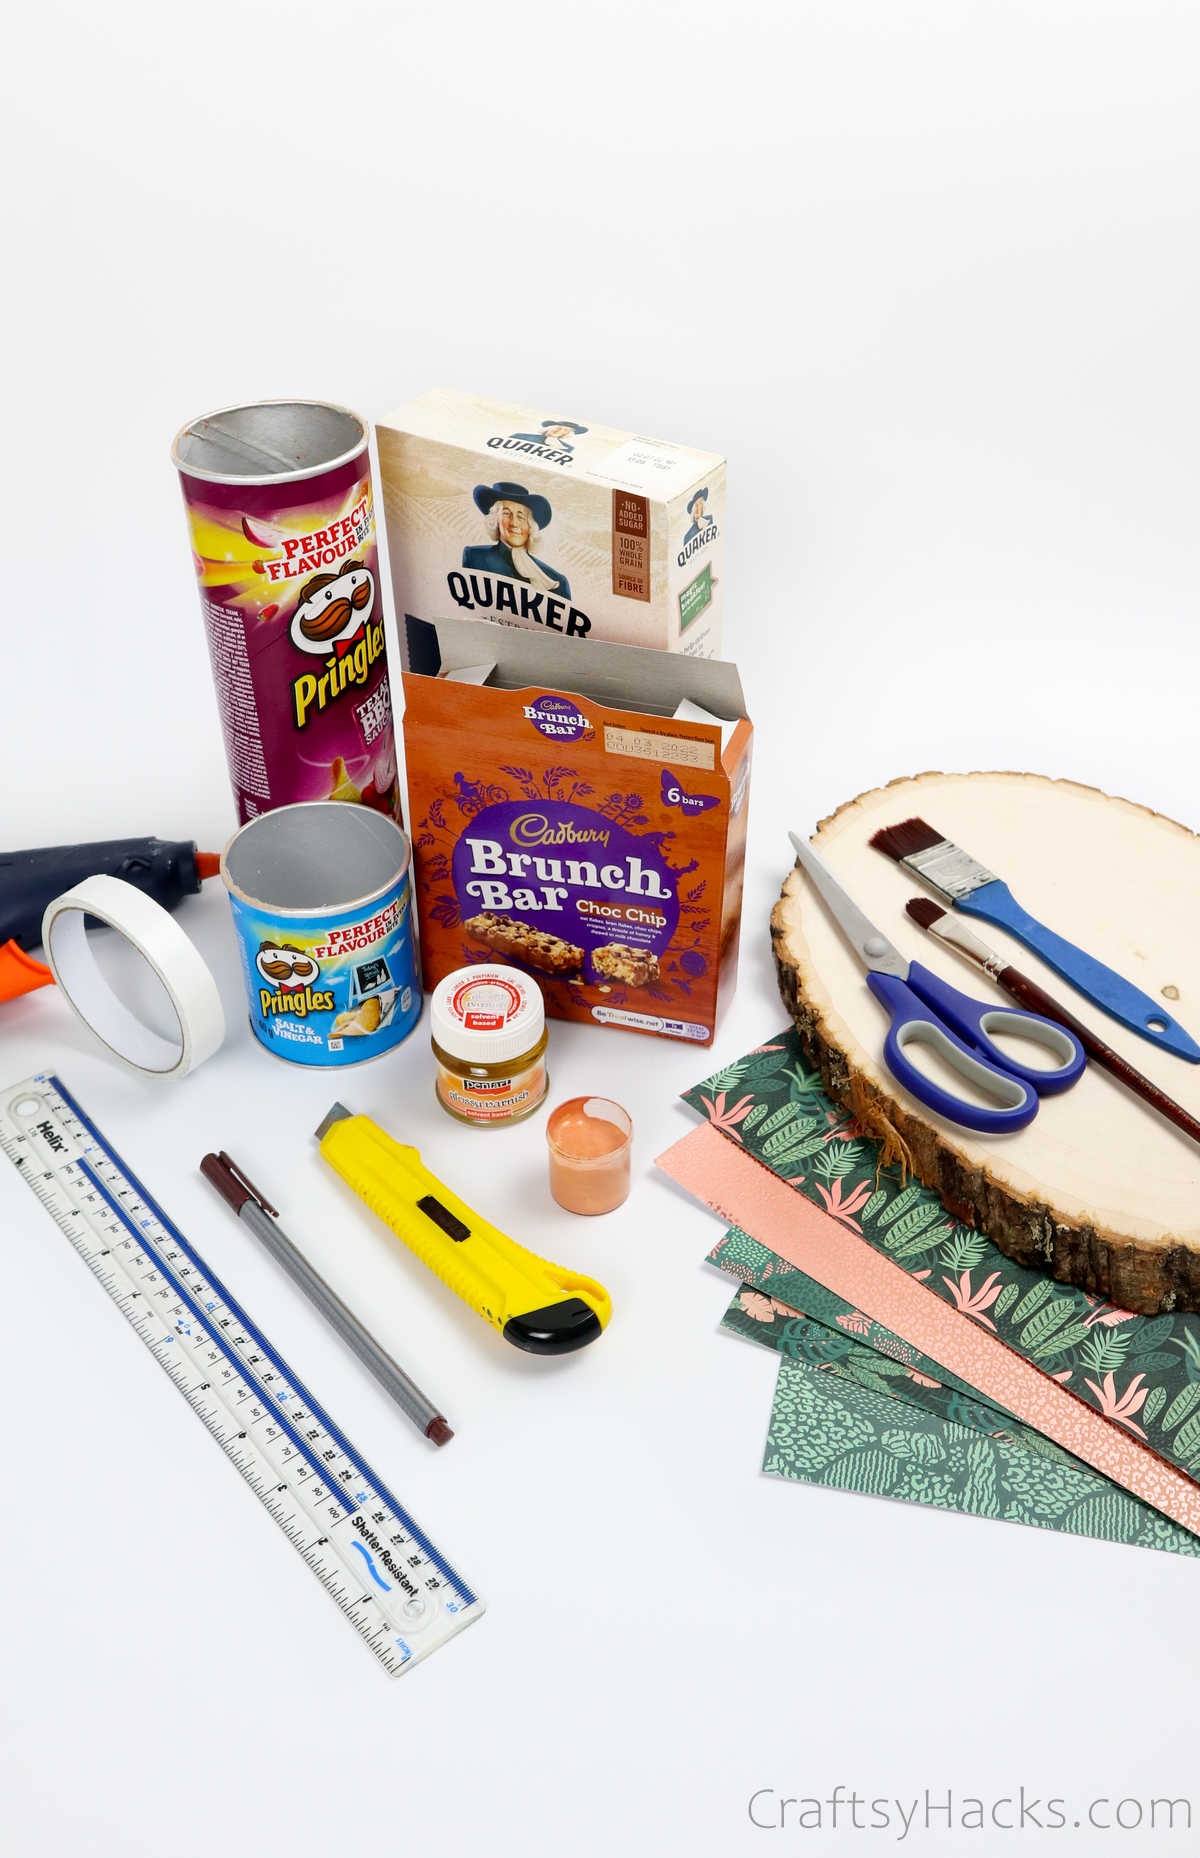
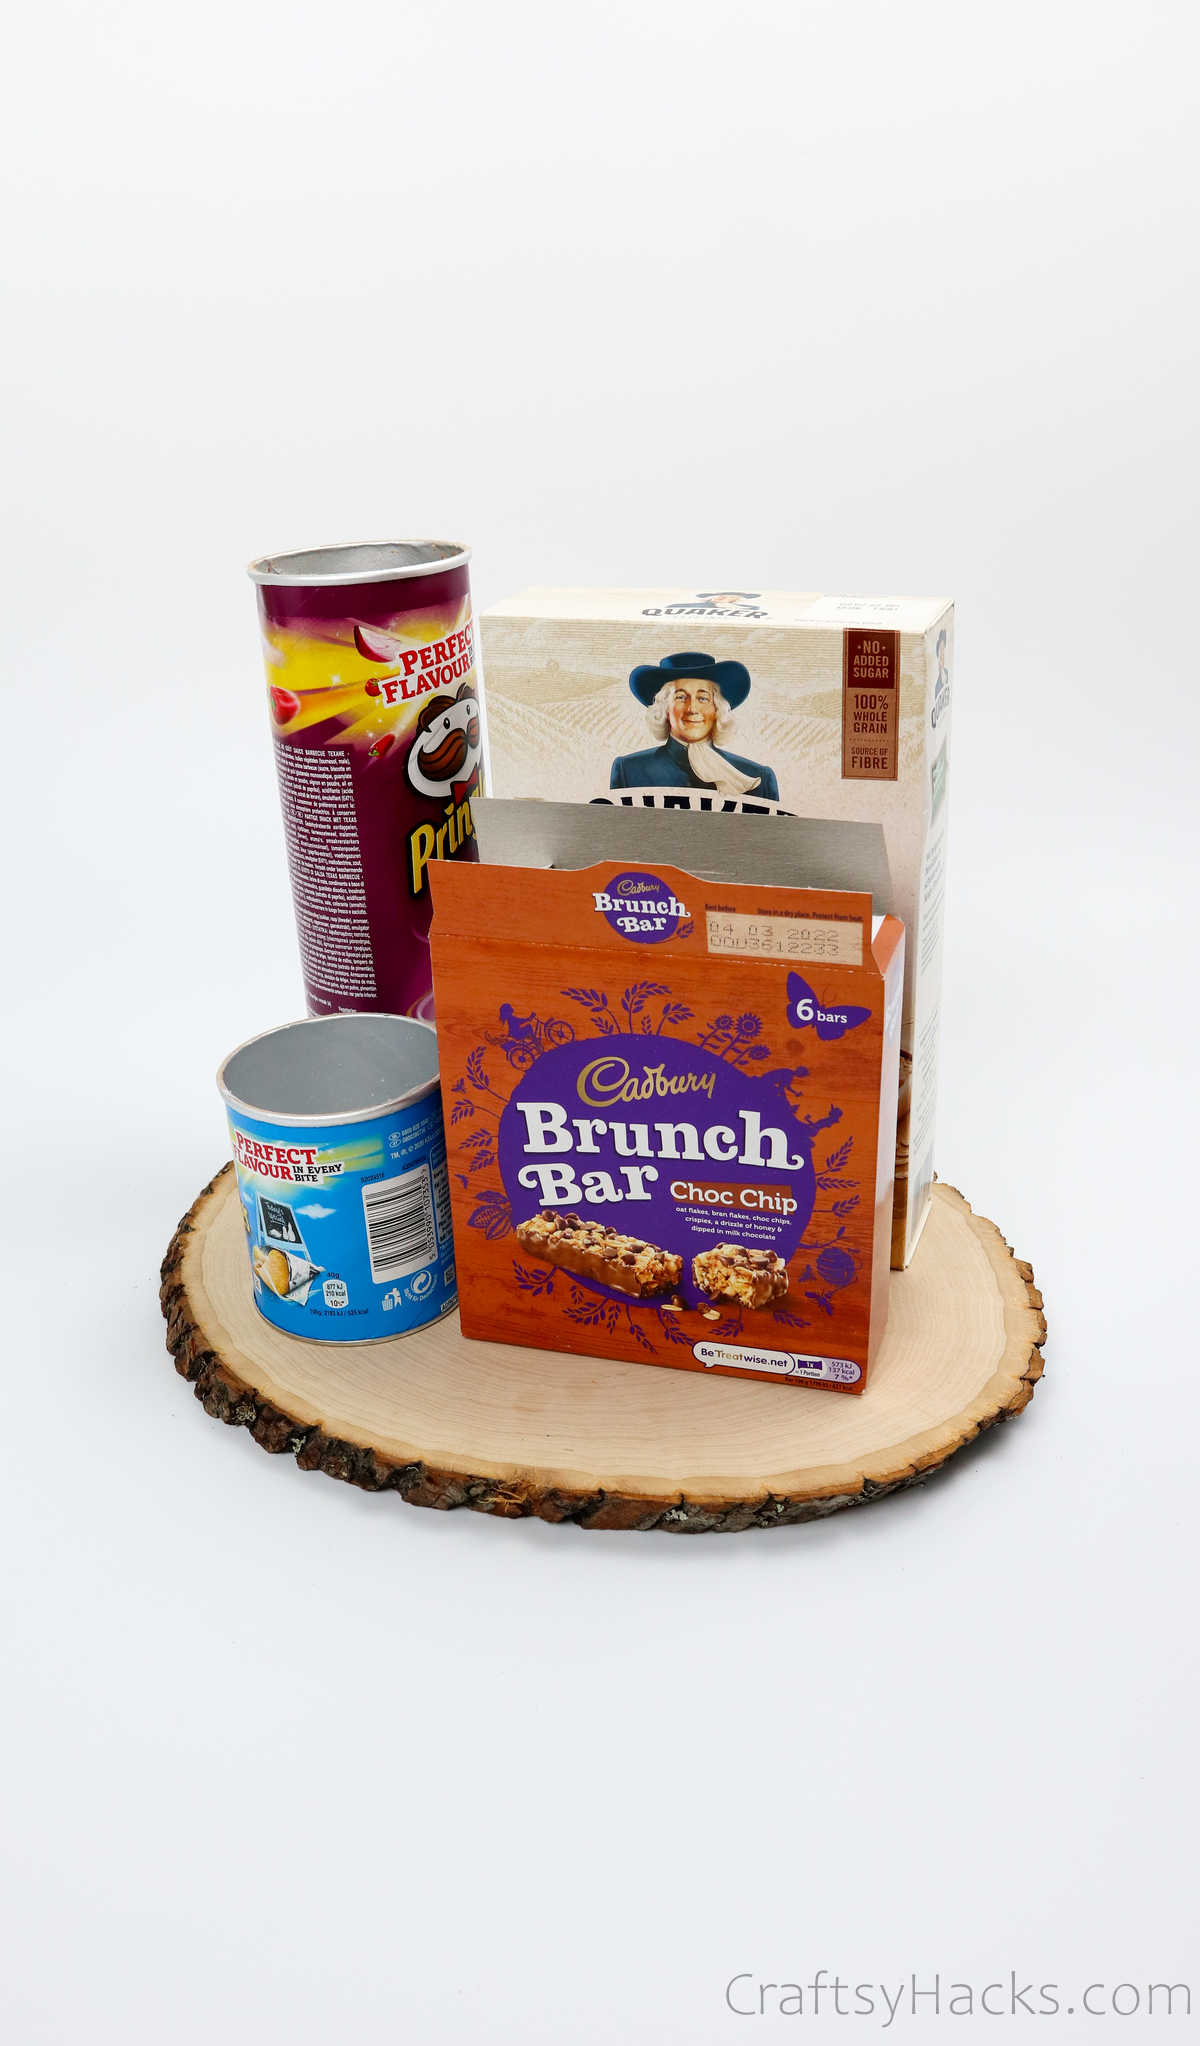
Youre going to grab all the boxes you plan on using and place them on the wood board.
Youll be planning exactly where each piece is going to go and also check to verify everything fits.
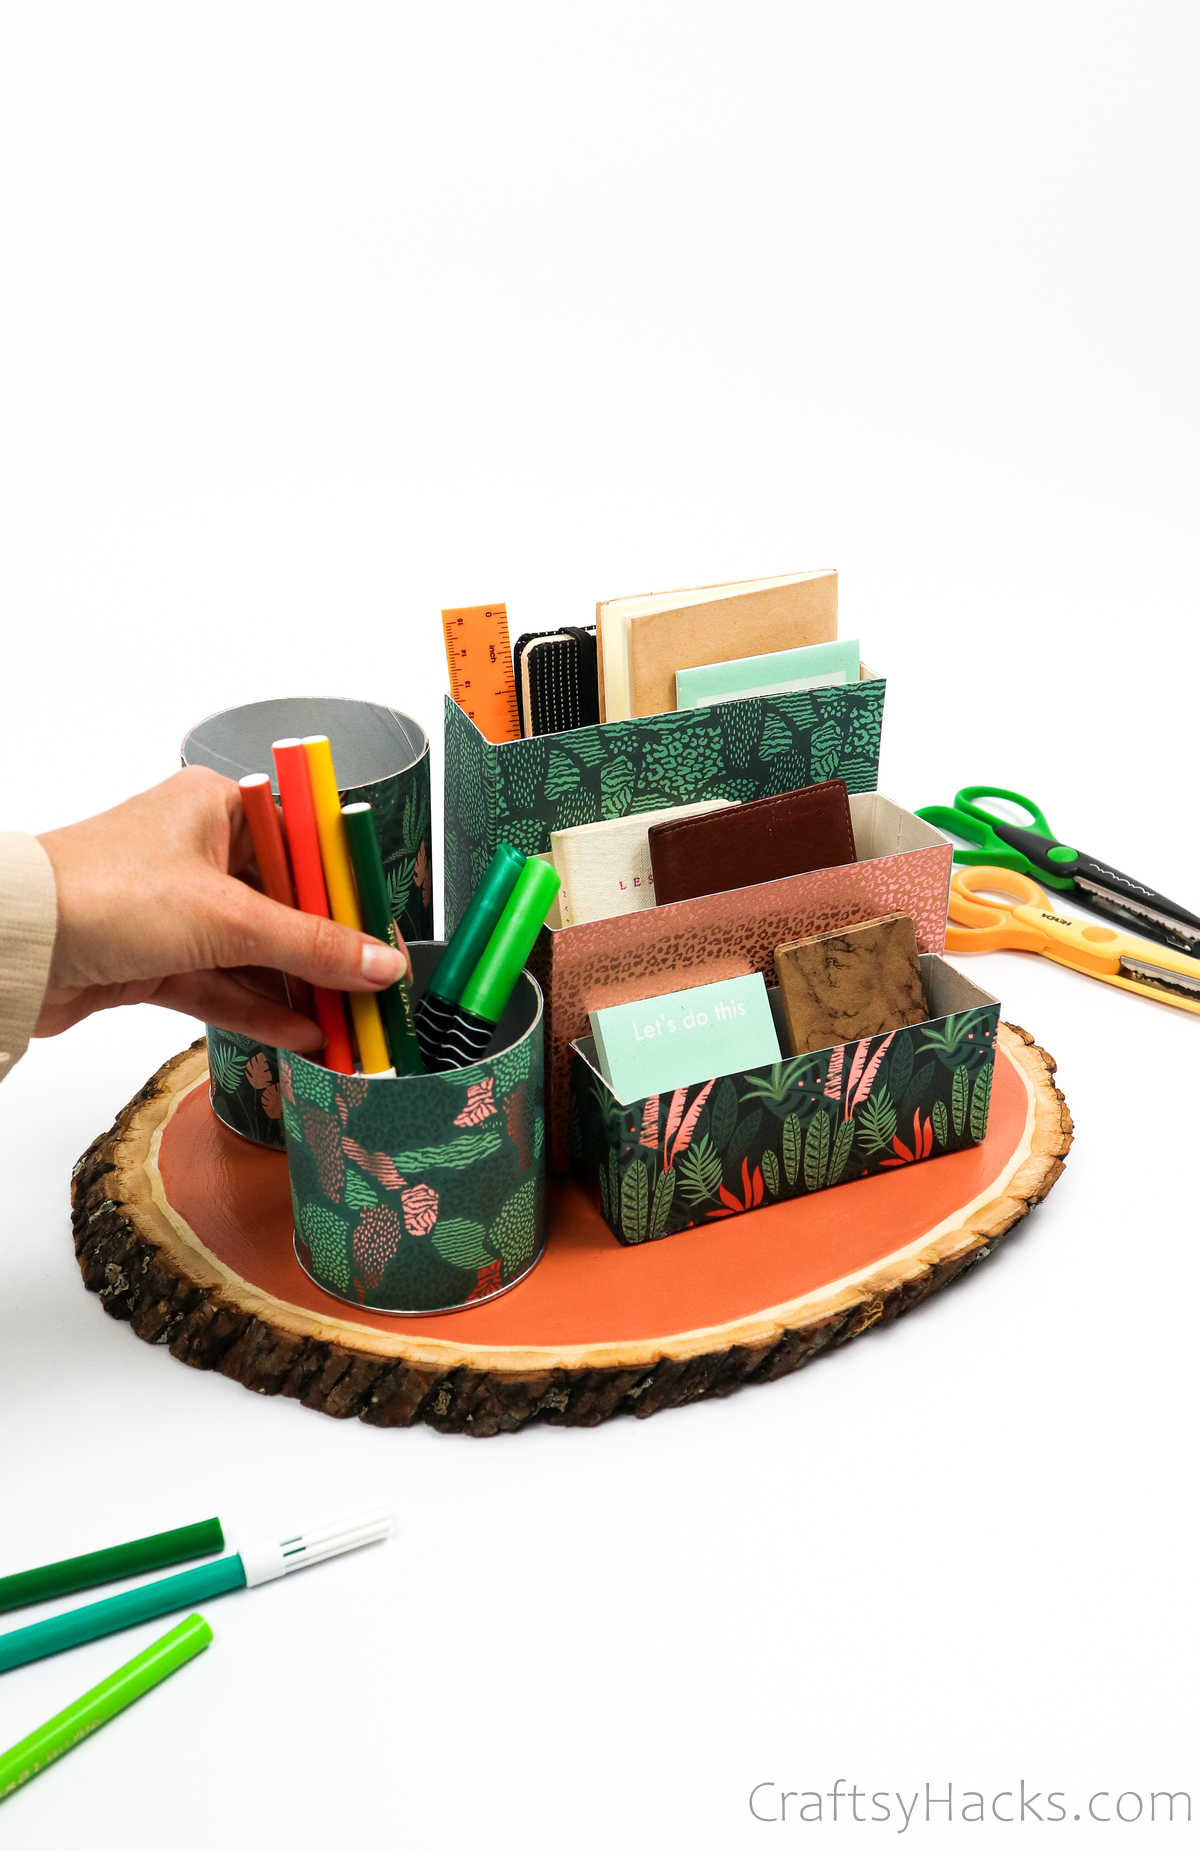
Once you jazz these containers up, theyre going to look like a million bucks!
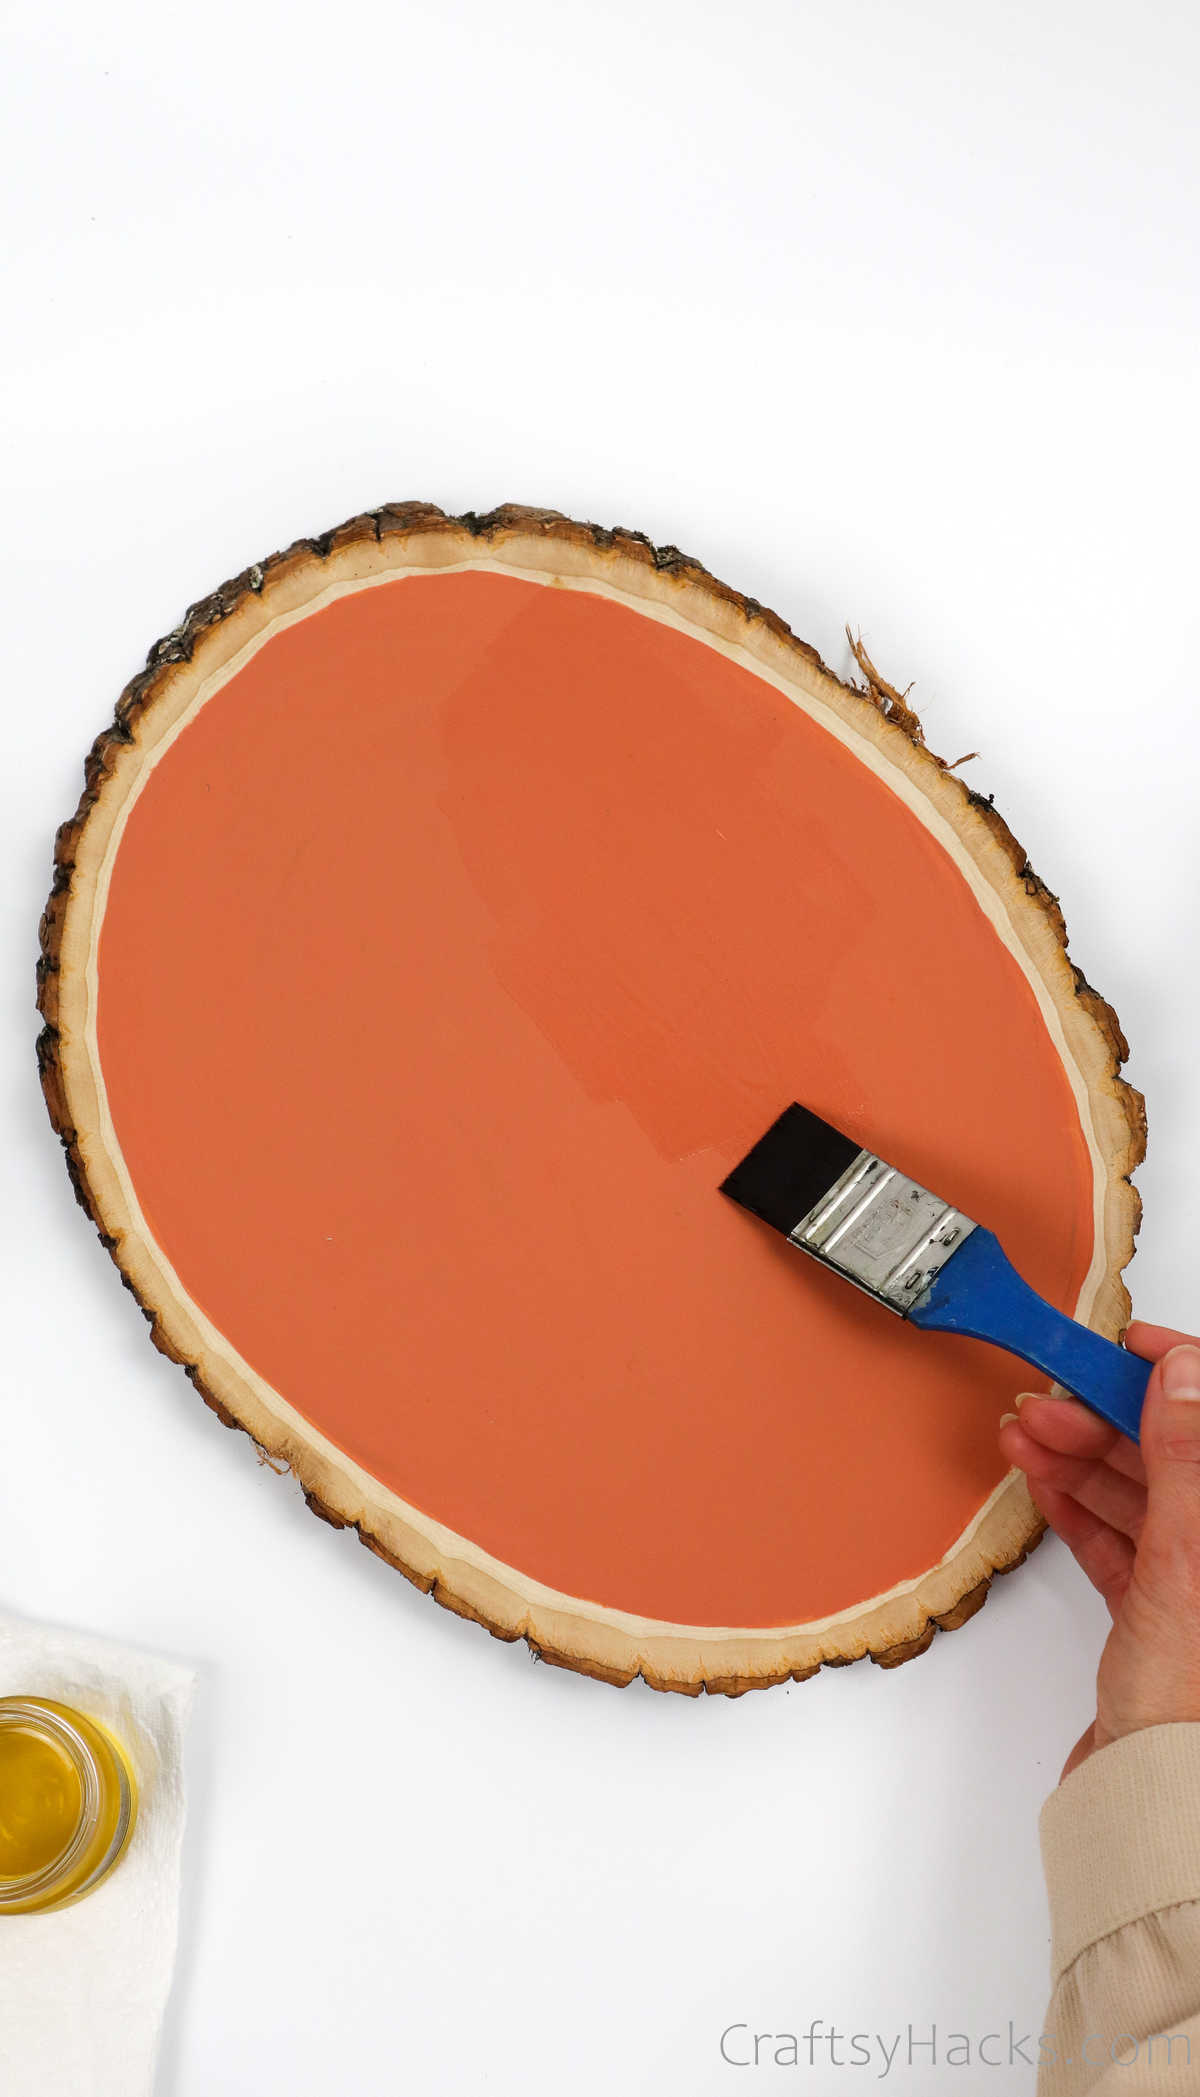
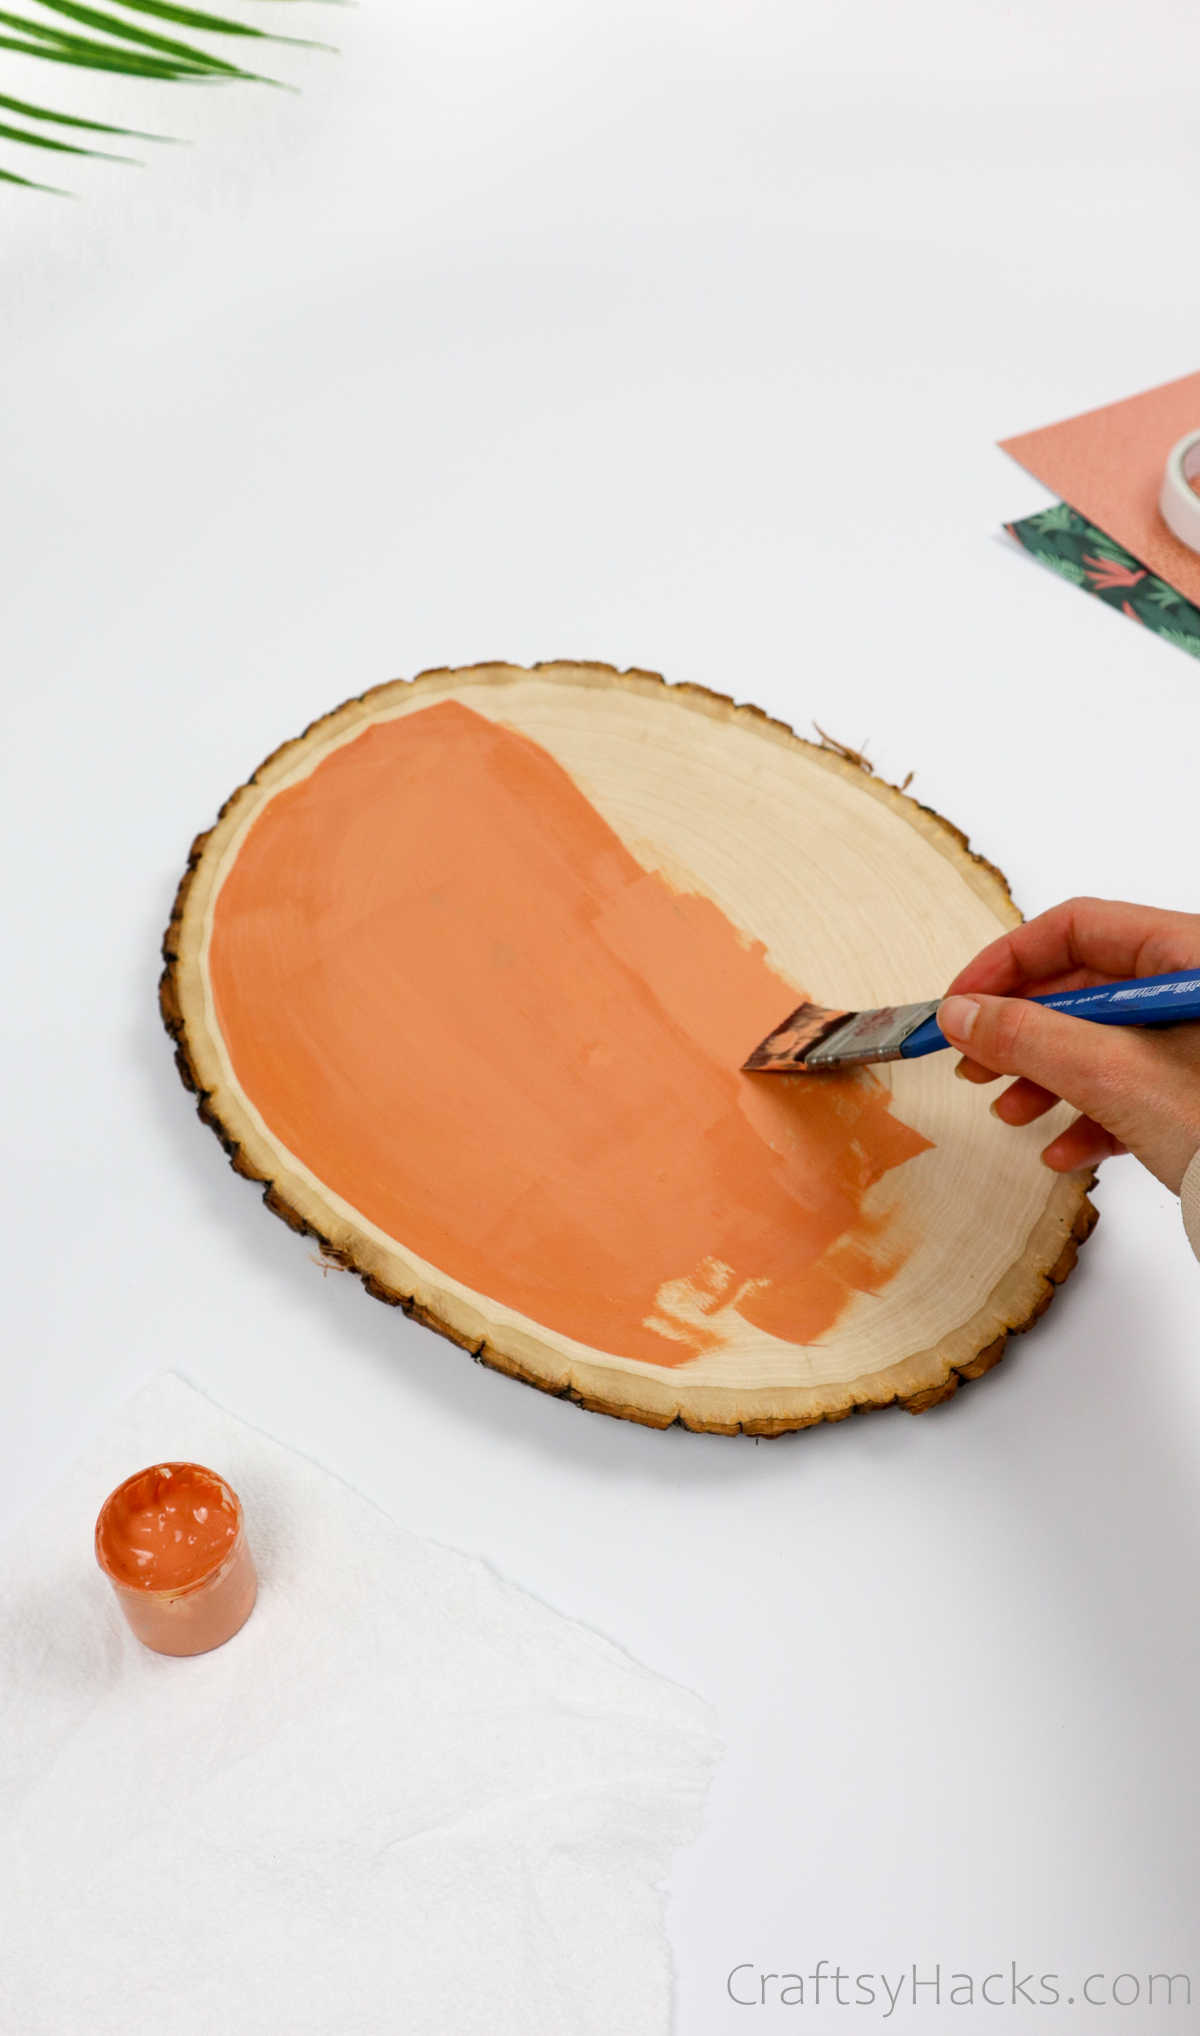
Step 2
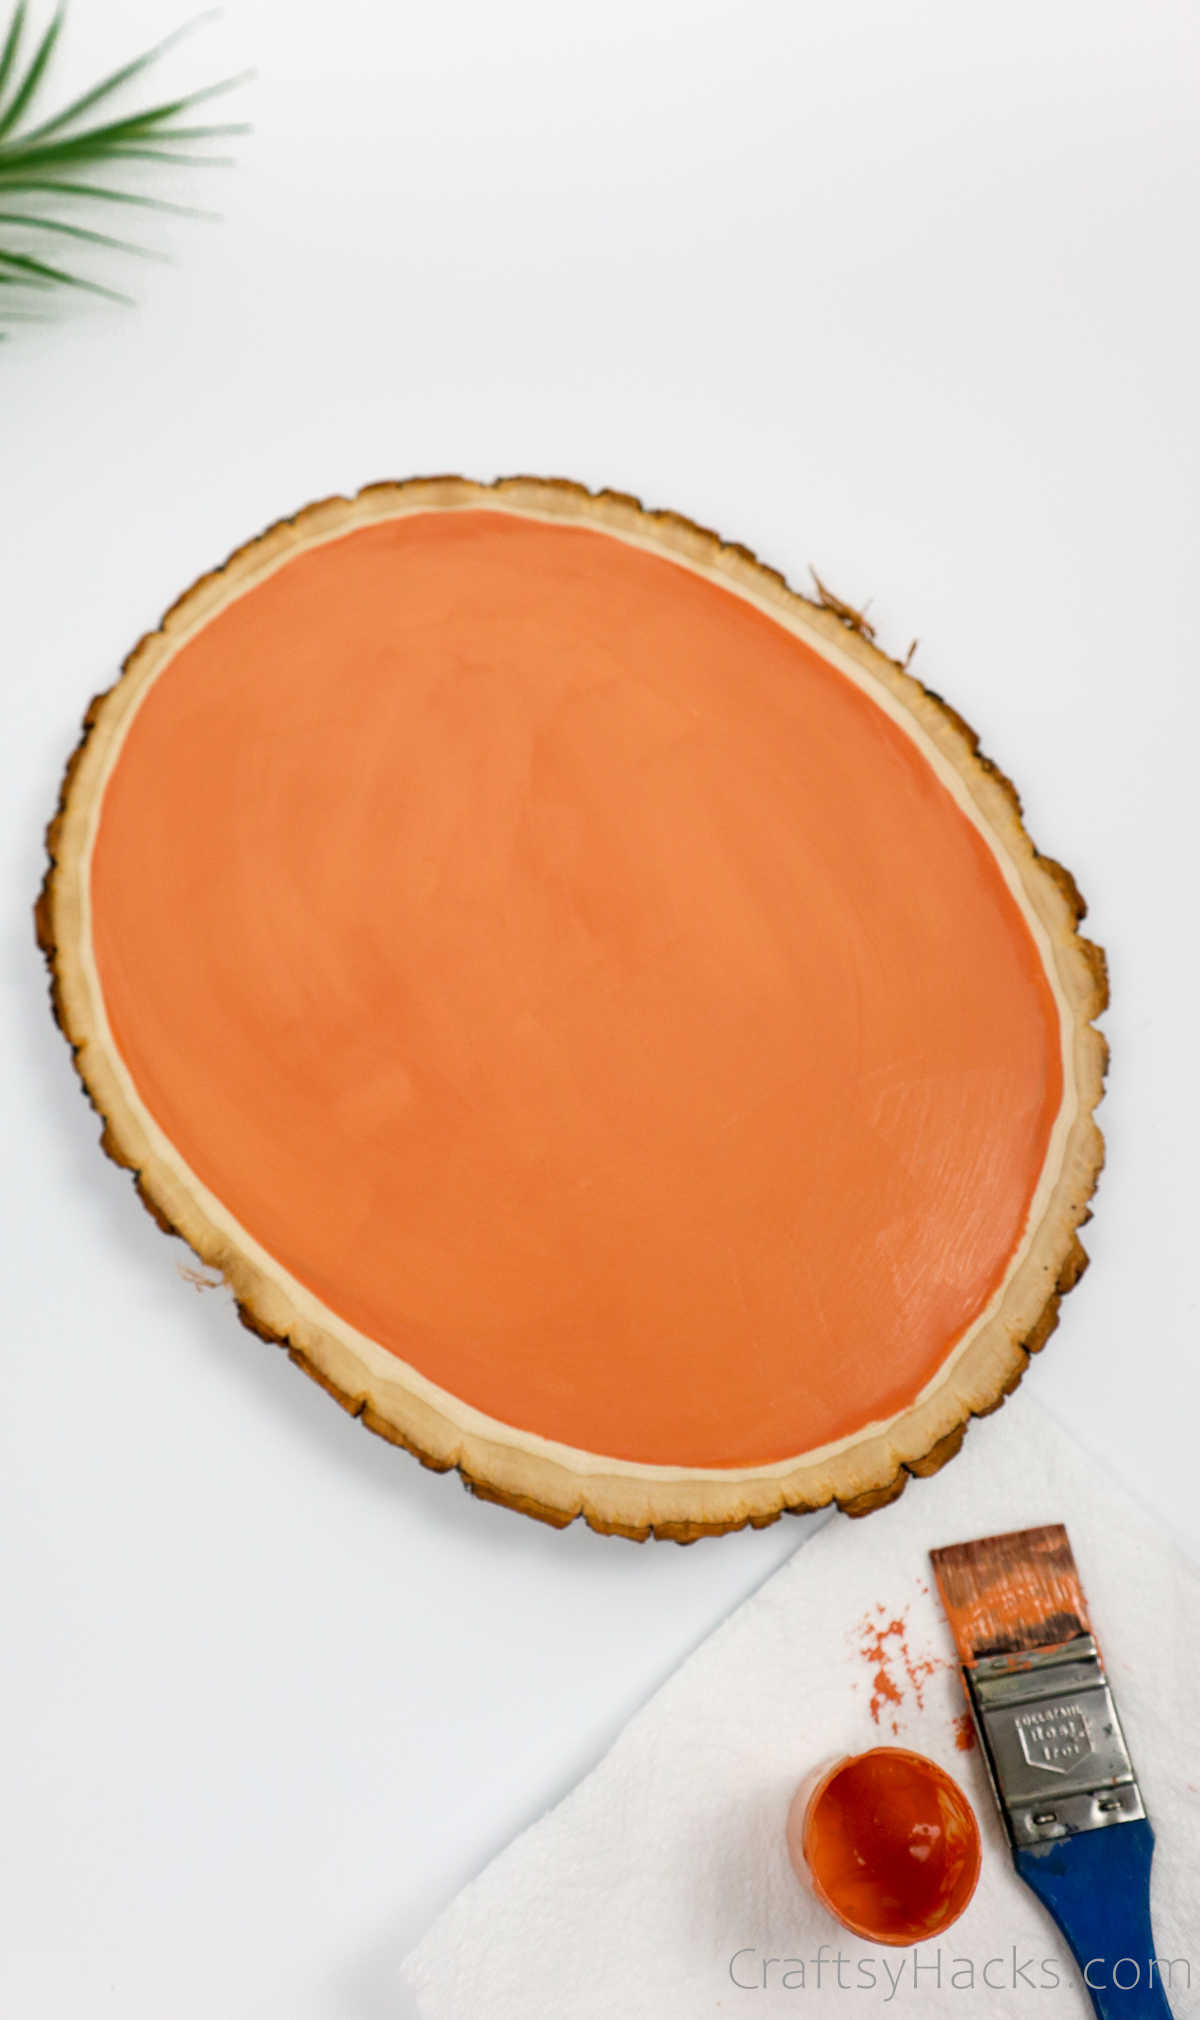
Grab a bottle of your favorite color of acrylic paint and a flathead brush.
Youre going to paint the wooden boardtwo to three coats should work nicely.
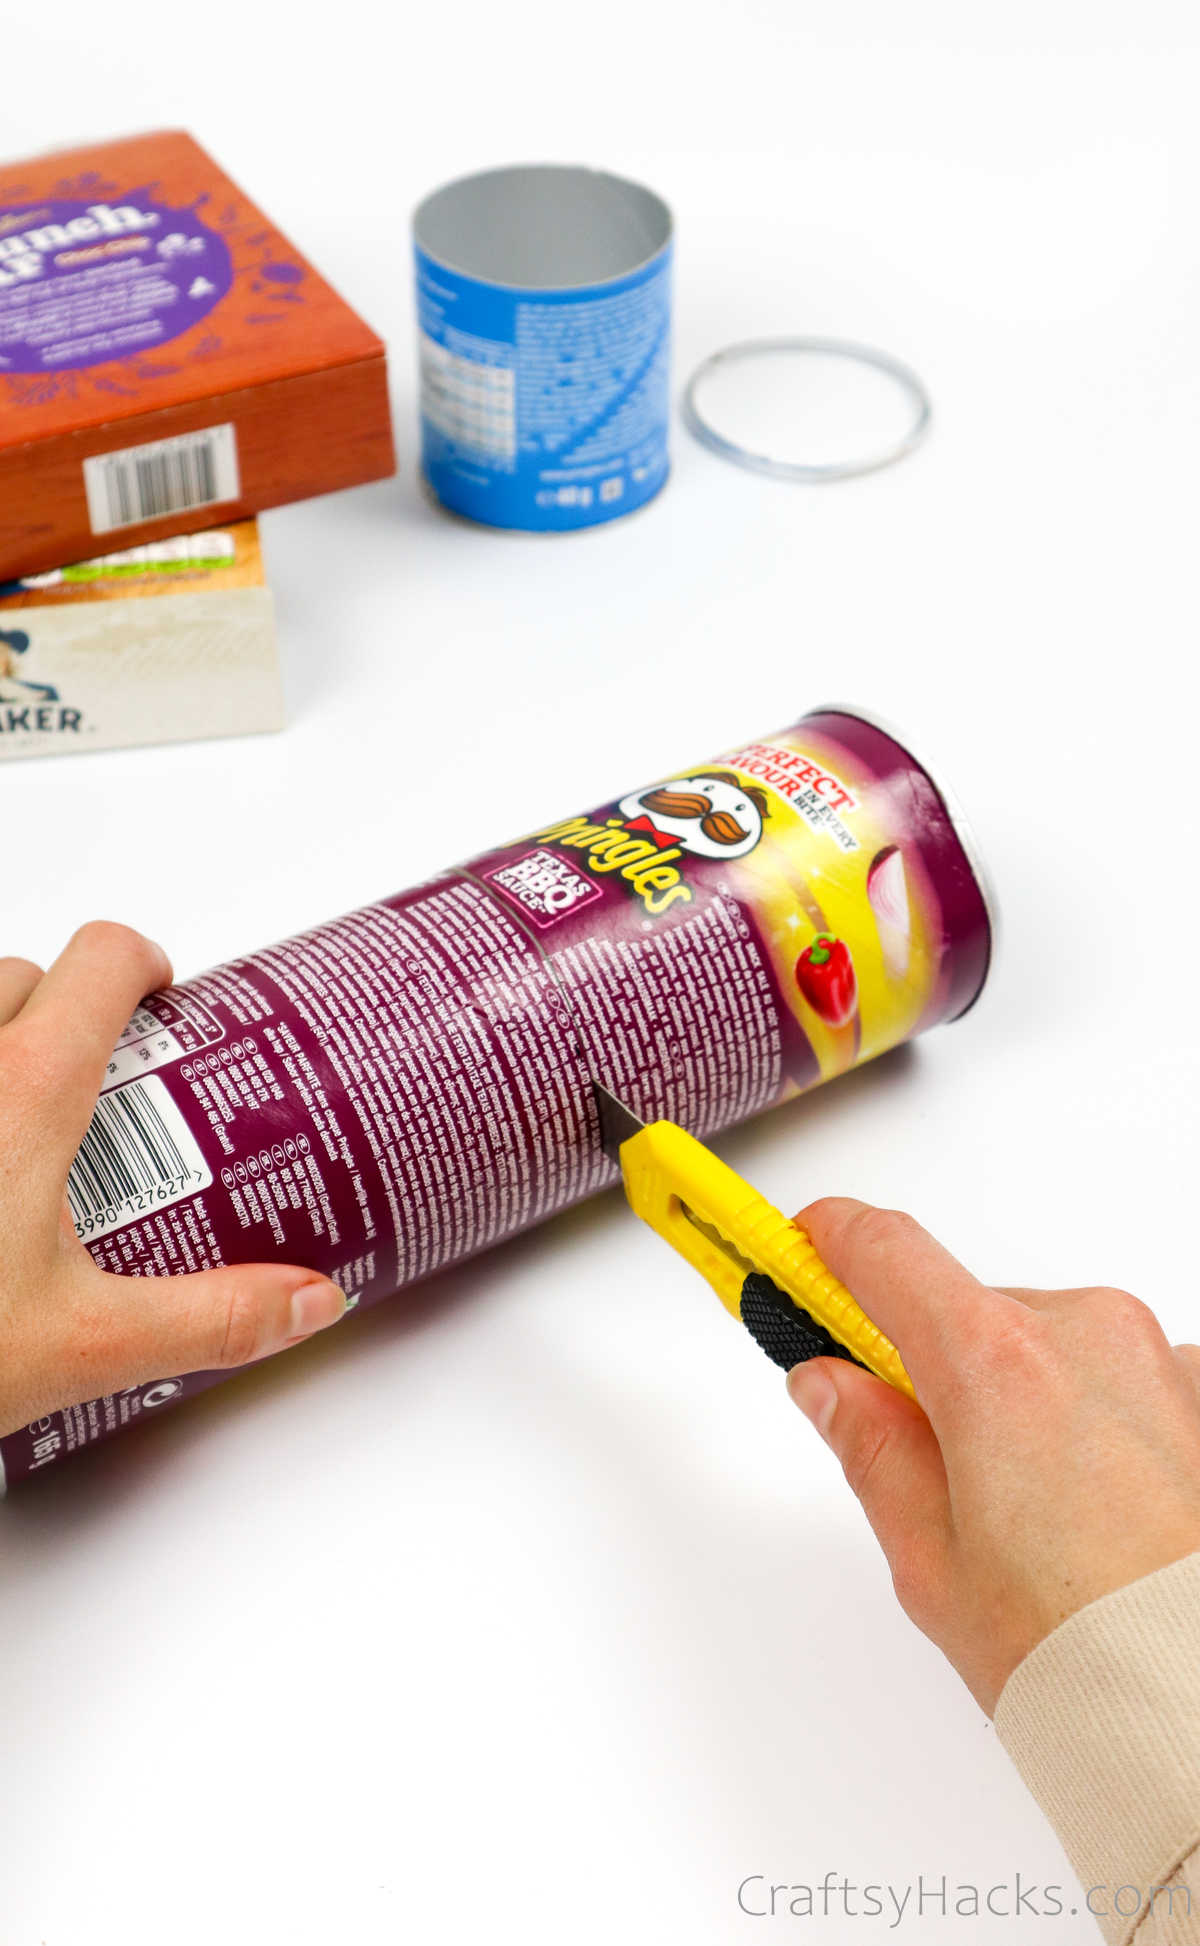
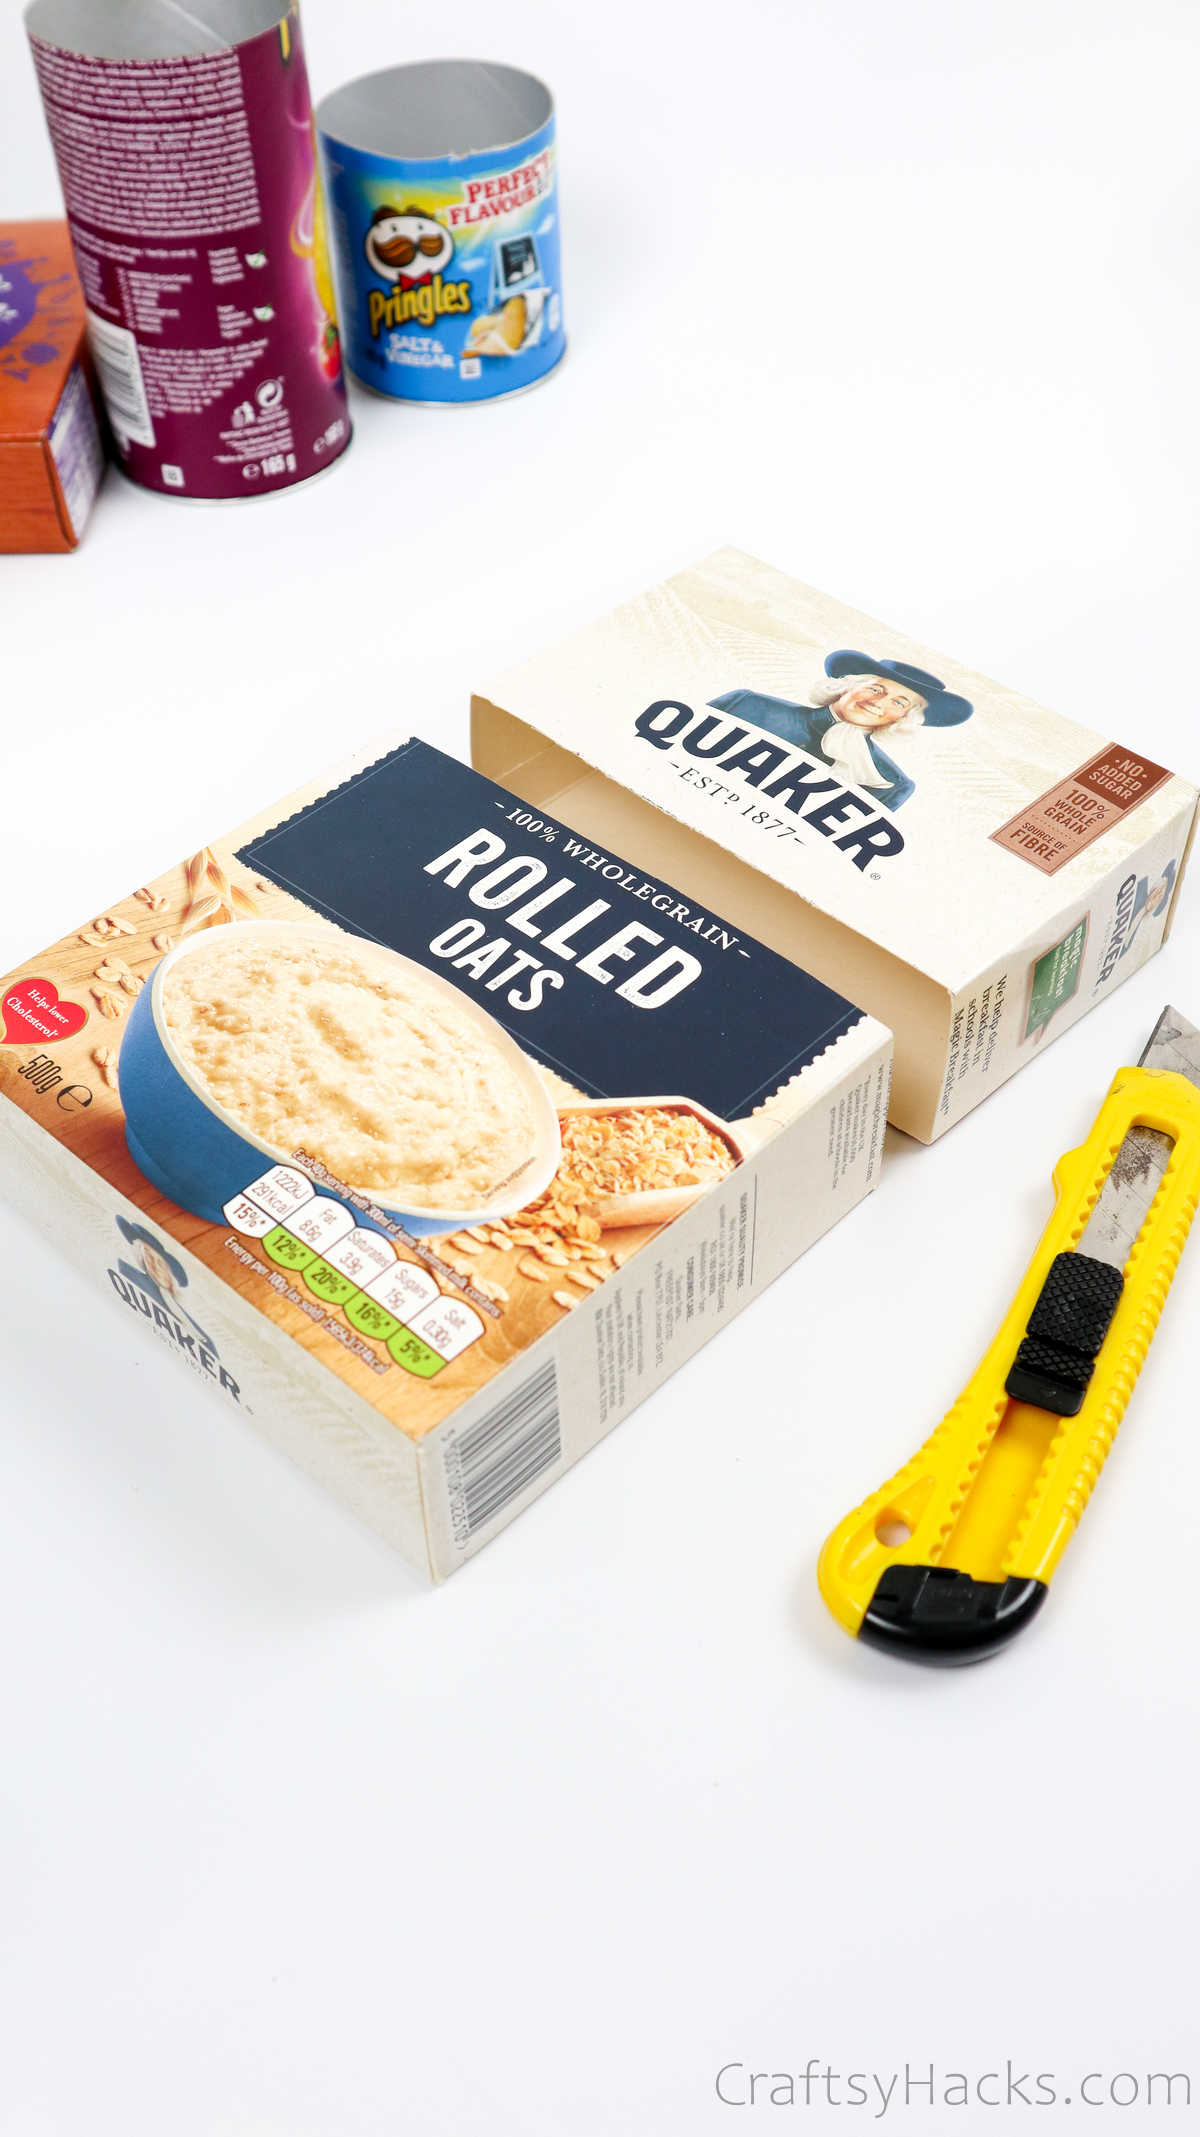
Step 3
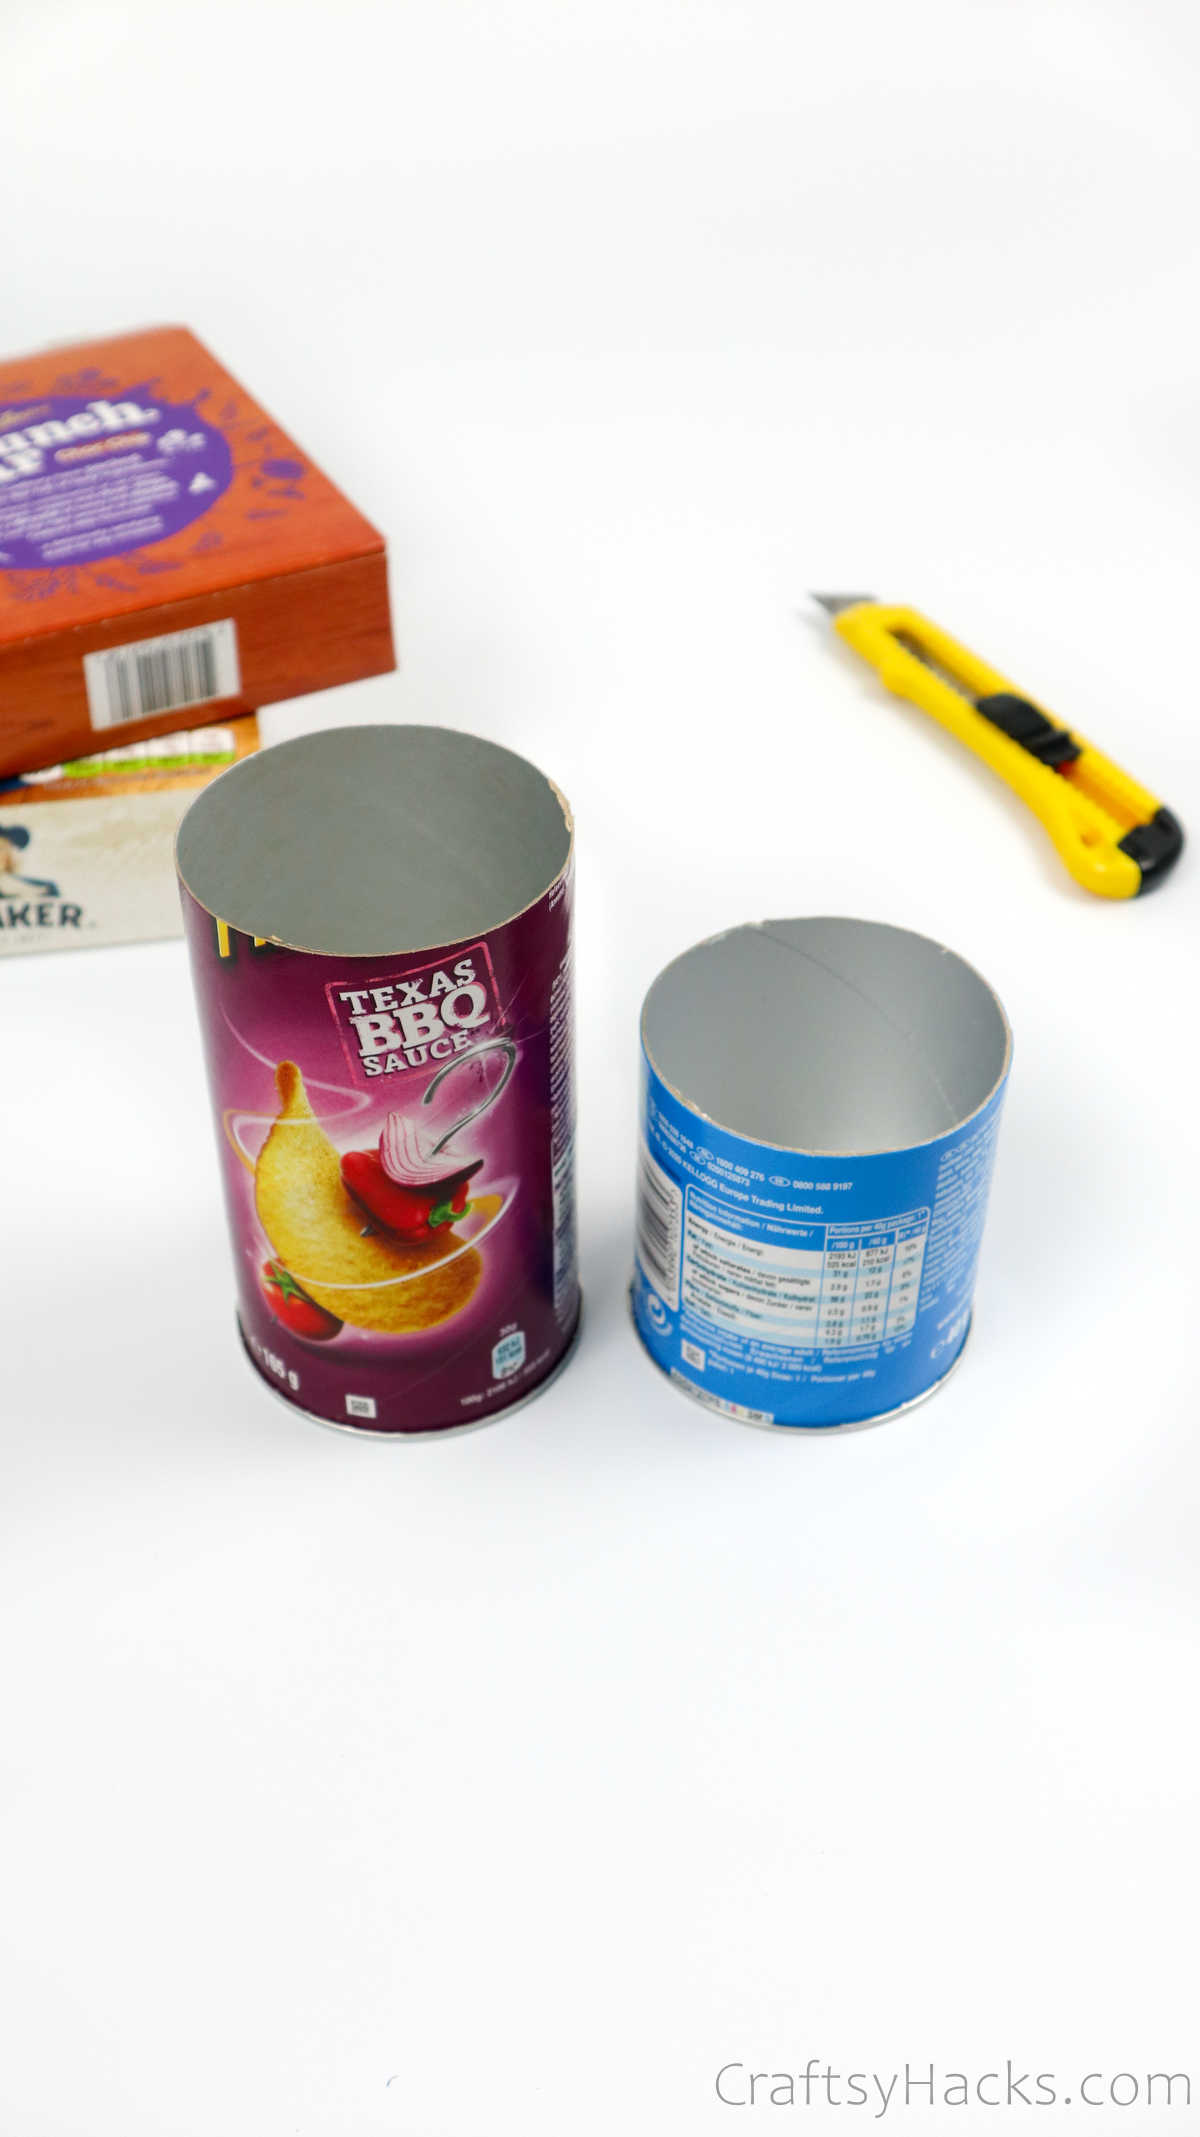
Next, grab your retractable knife and start cutting the boxes.
This will help you cut the edges evenly.
Dont throw away the top part of the box; youll be using that one, too!
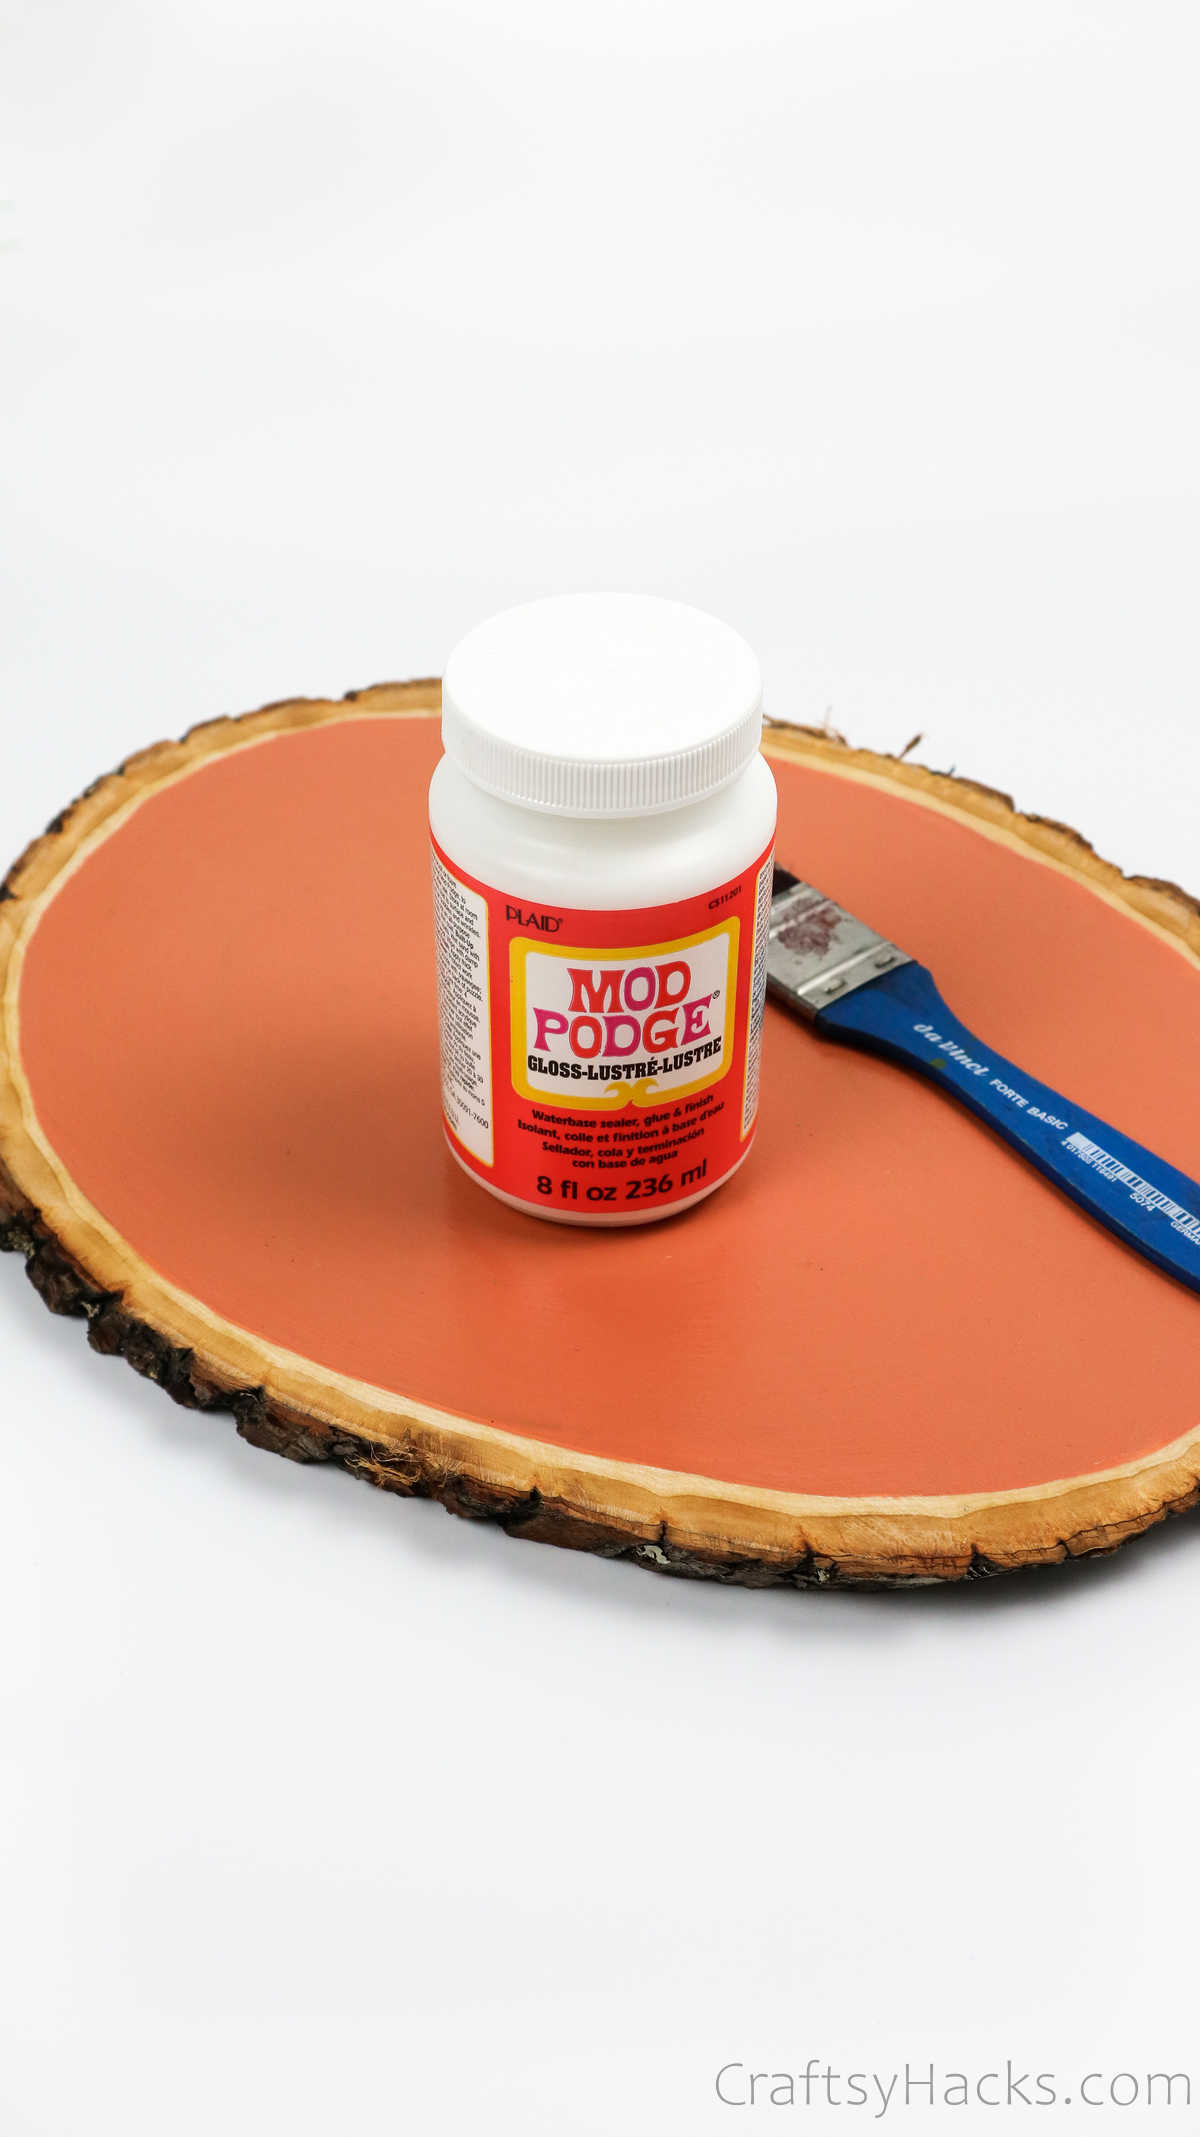
you’re able to choose between a clear matte finish or a shiny and glossy finish.
Step 5
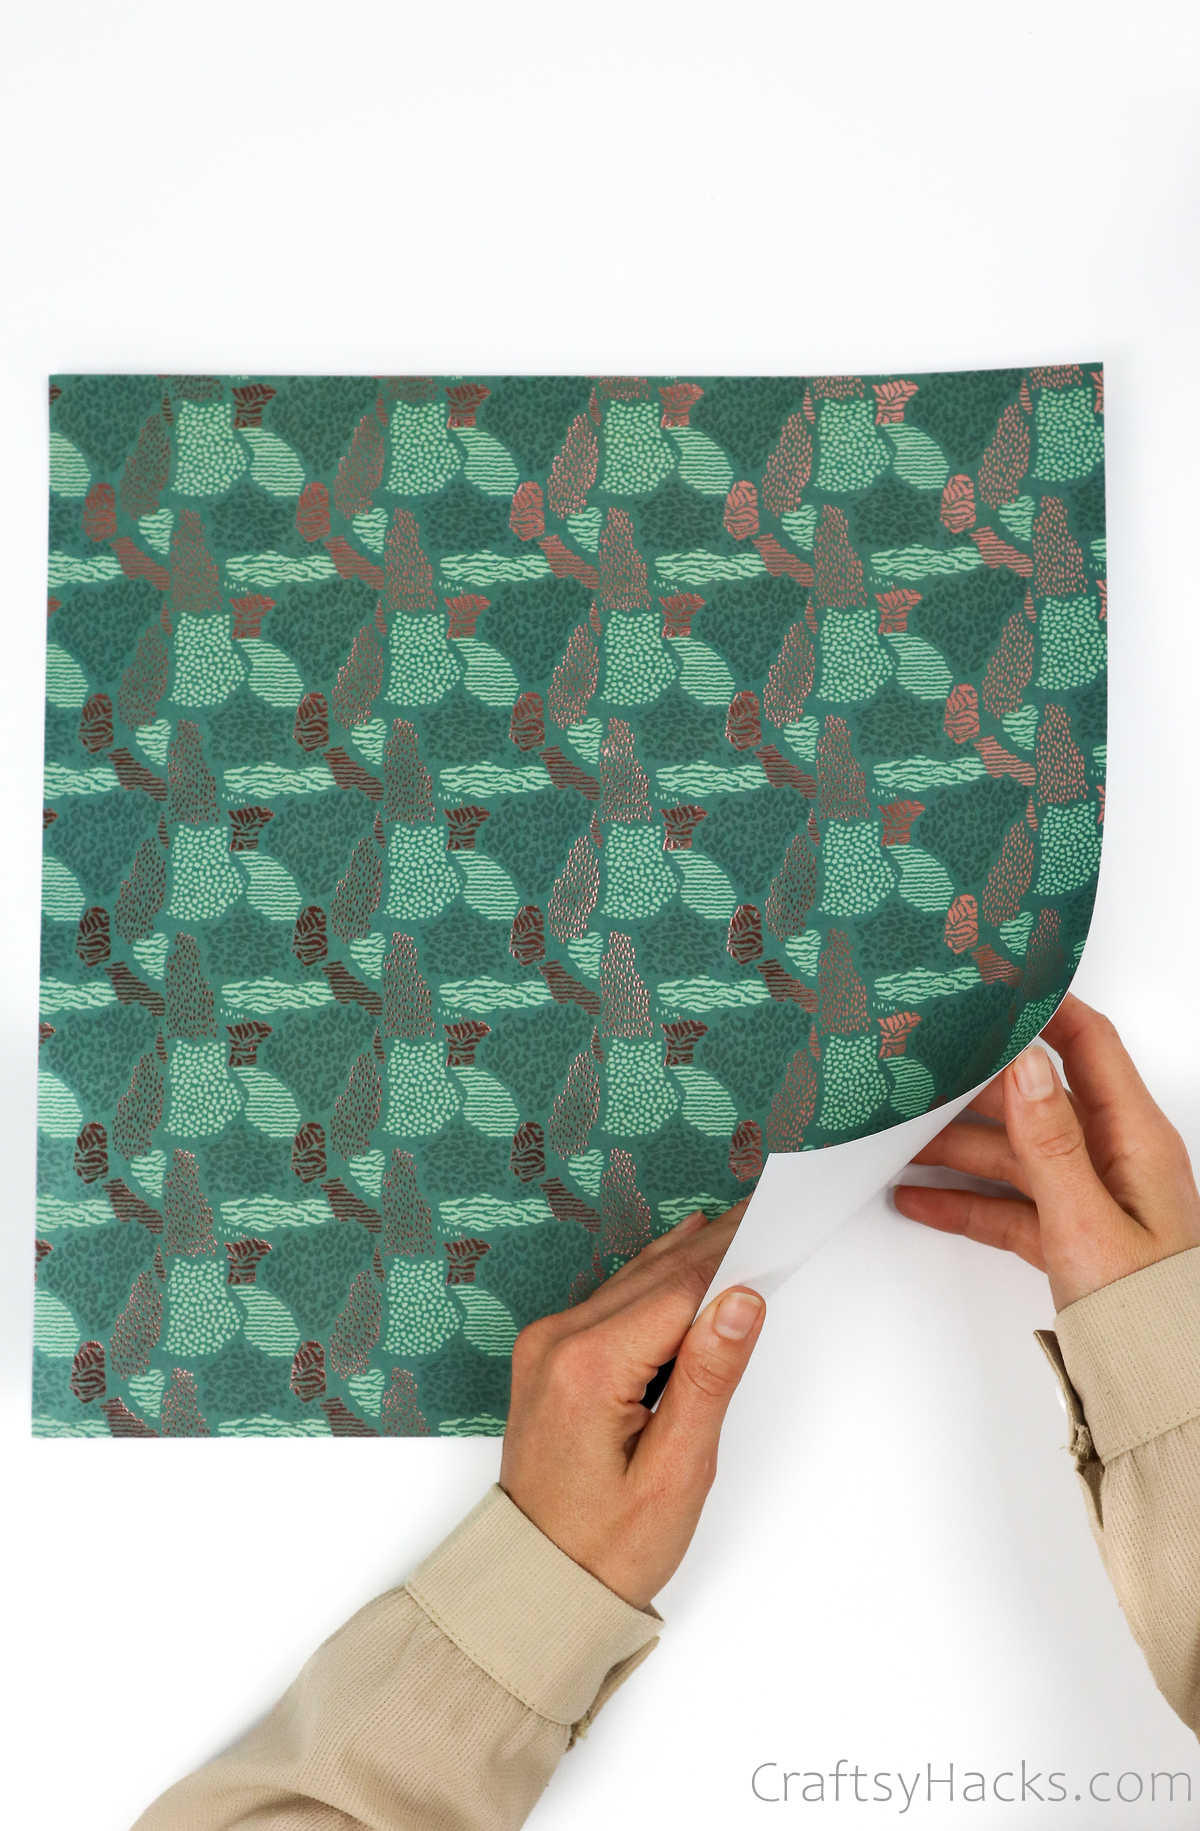
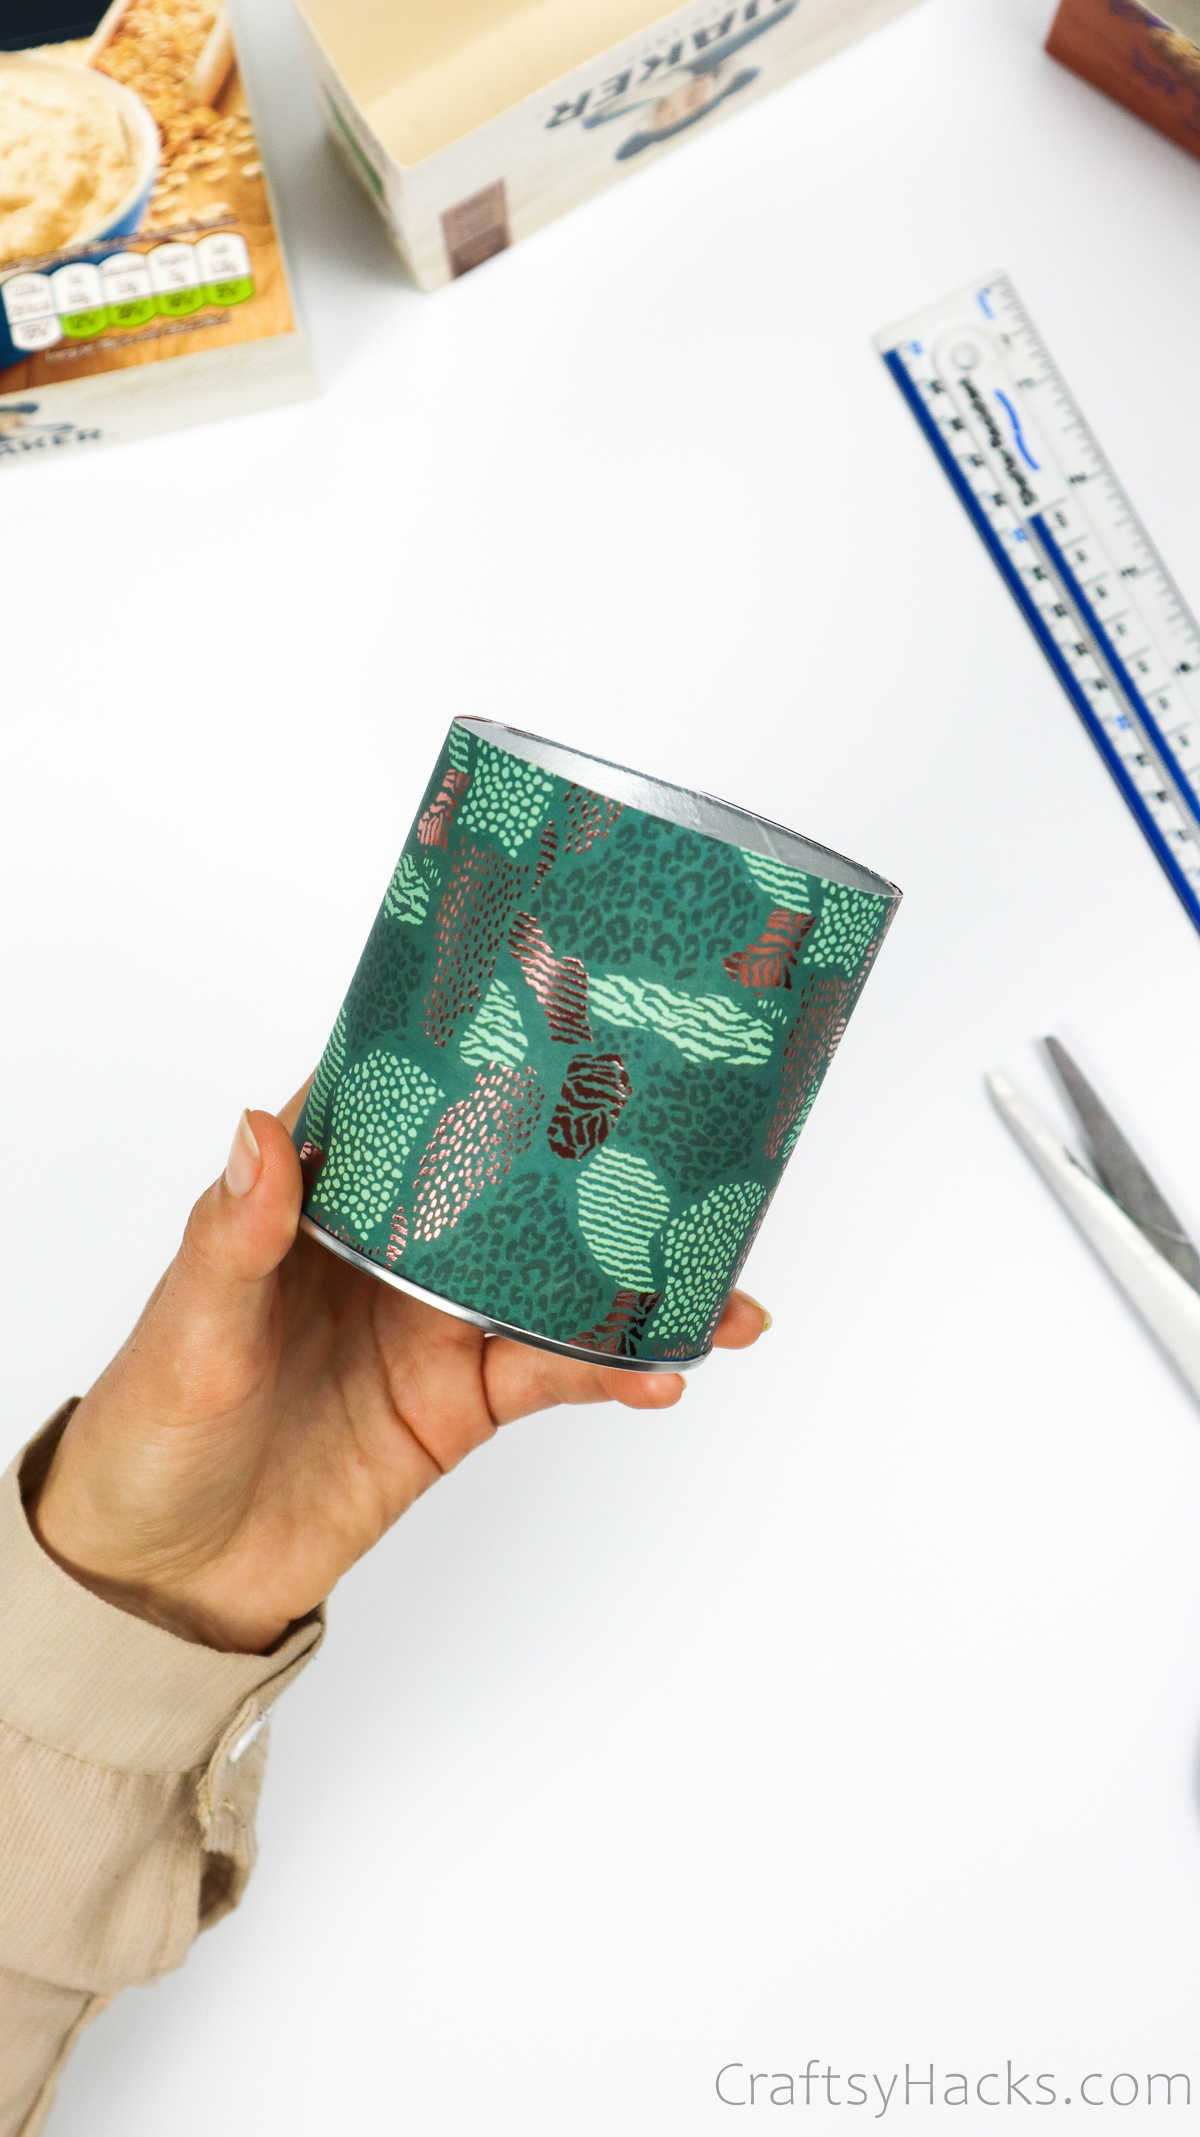
This step is always super fun: its time to wrap up your organizer boxes!
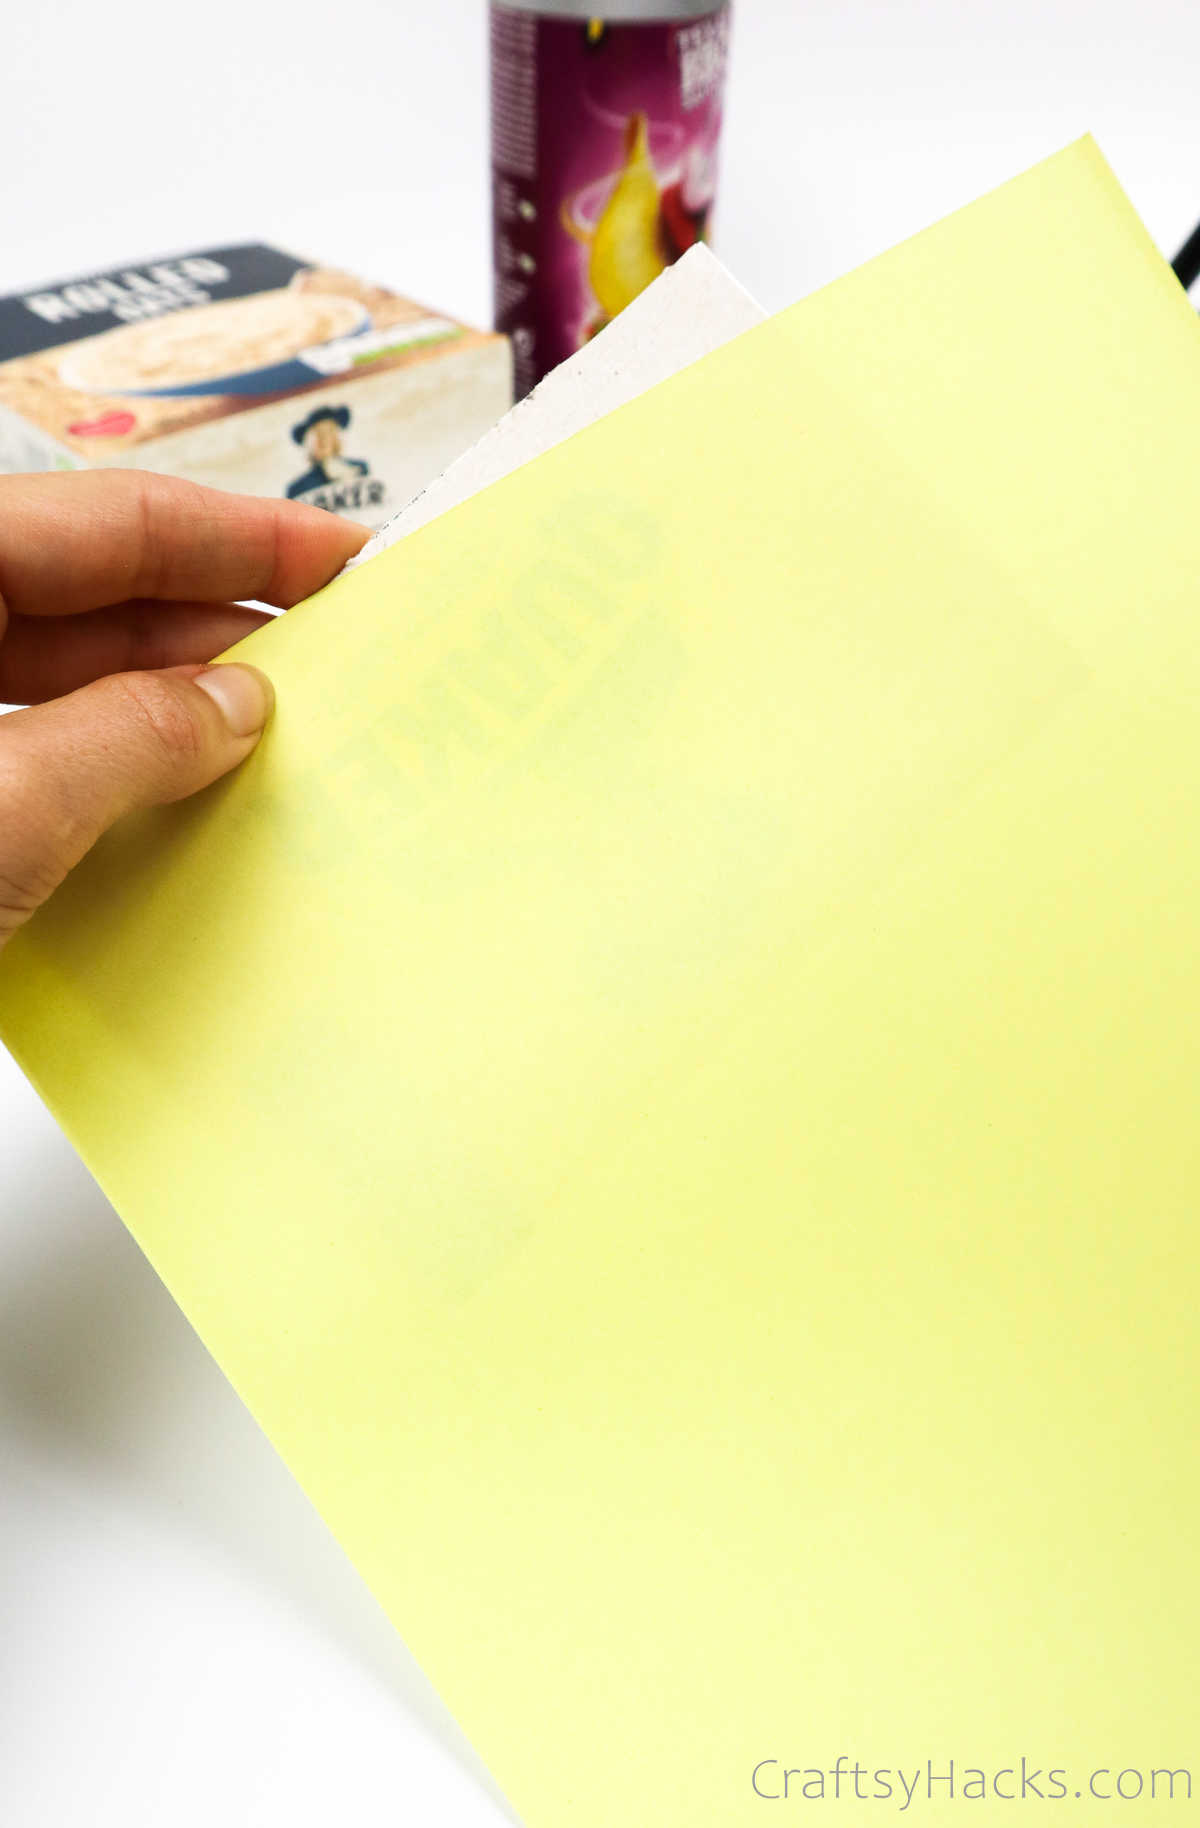
Picking out colored, textured, and patterned paper to wrap your boxes with is always entertaining.
Just one word of caution: make a run at choose paper that isnt too thin or transparent.
You dont want the cereal box to be visible through the wrapping.
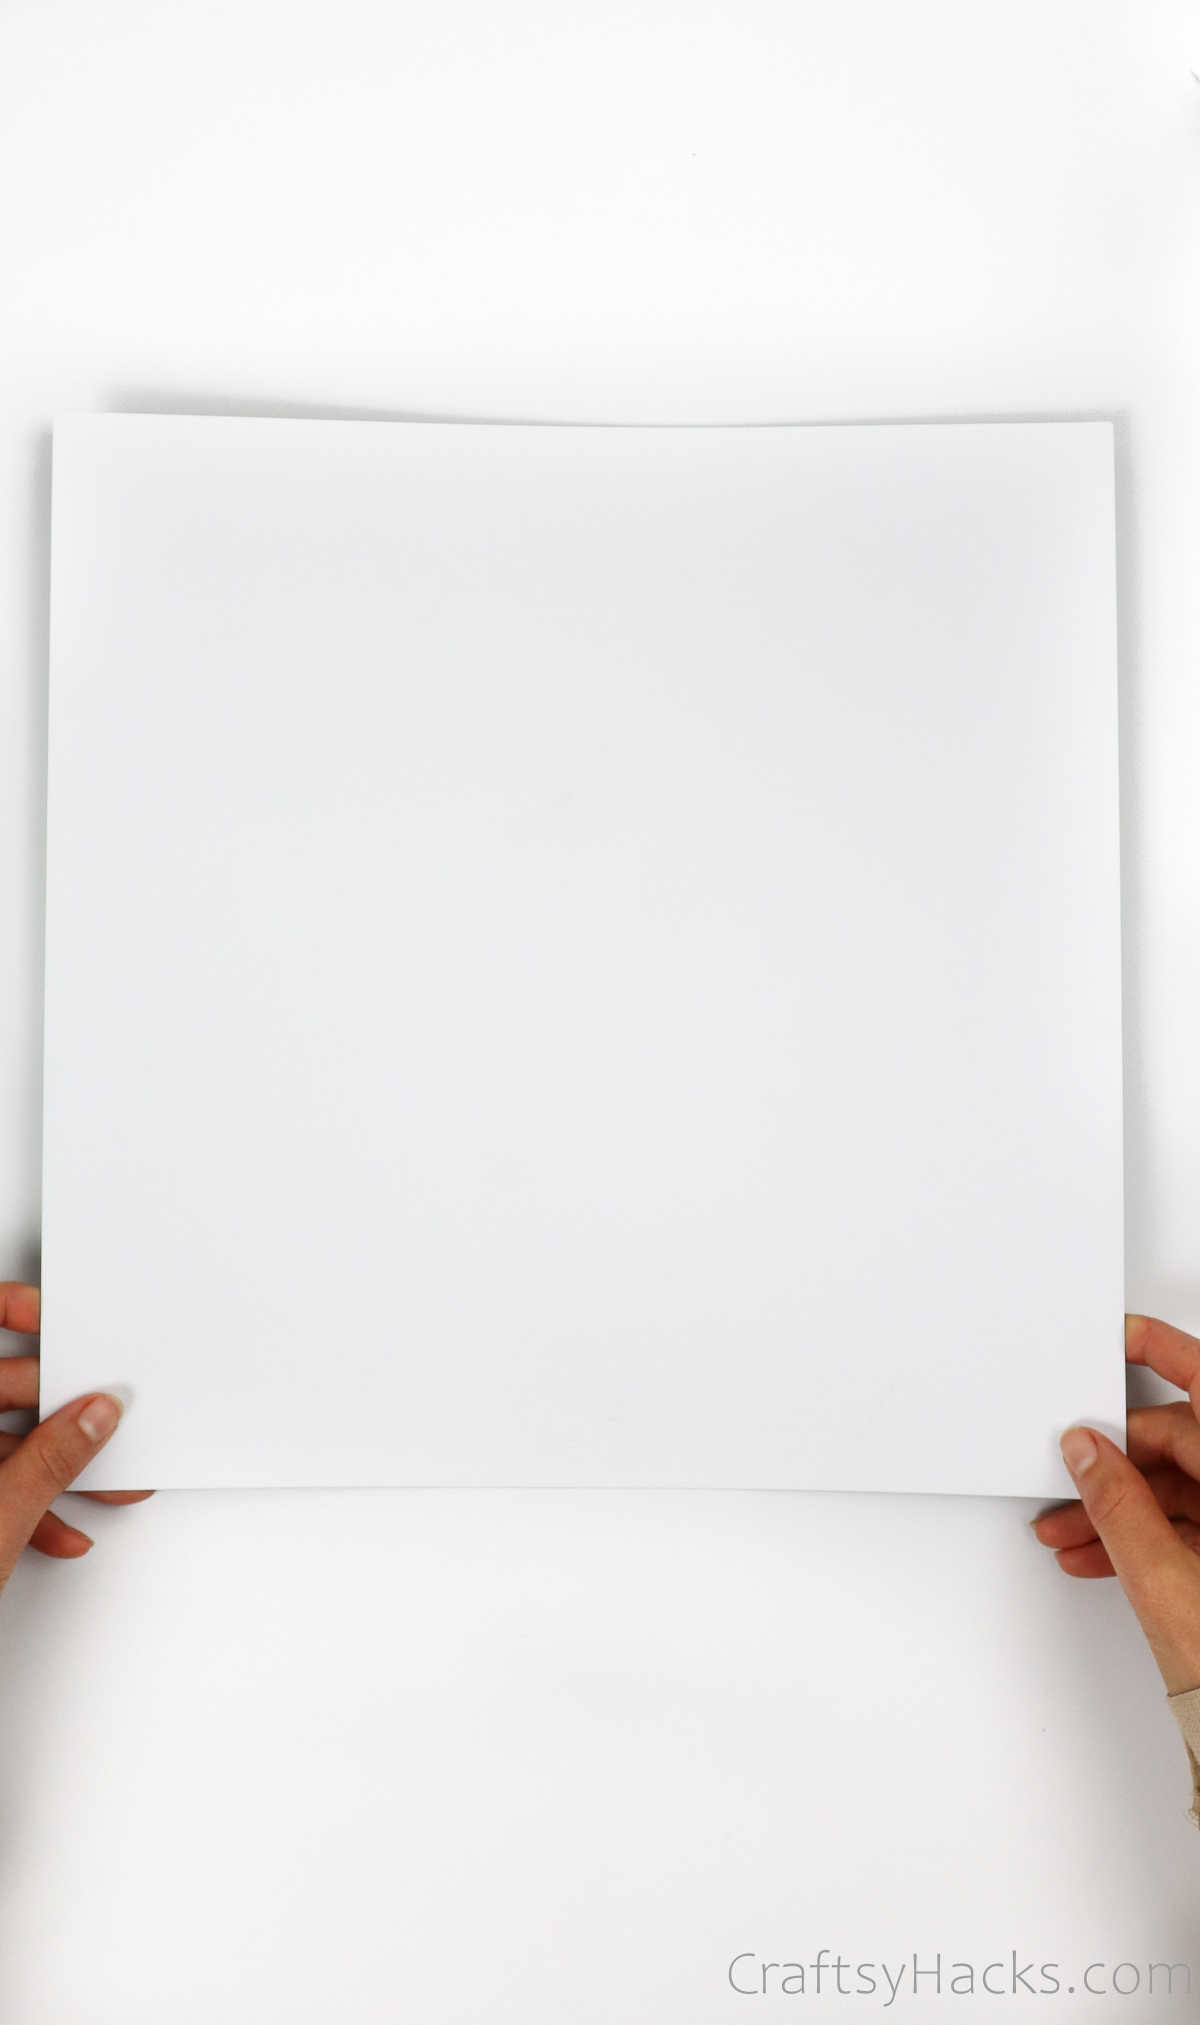
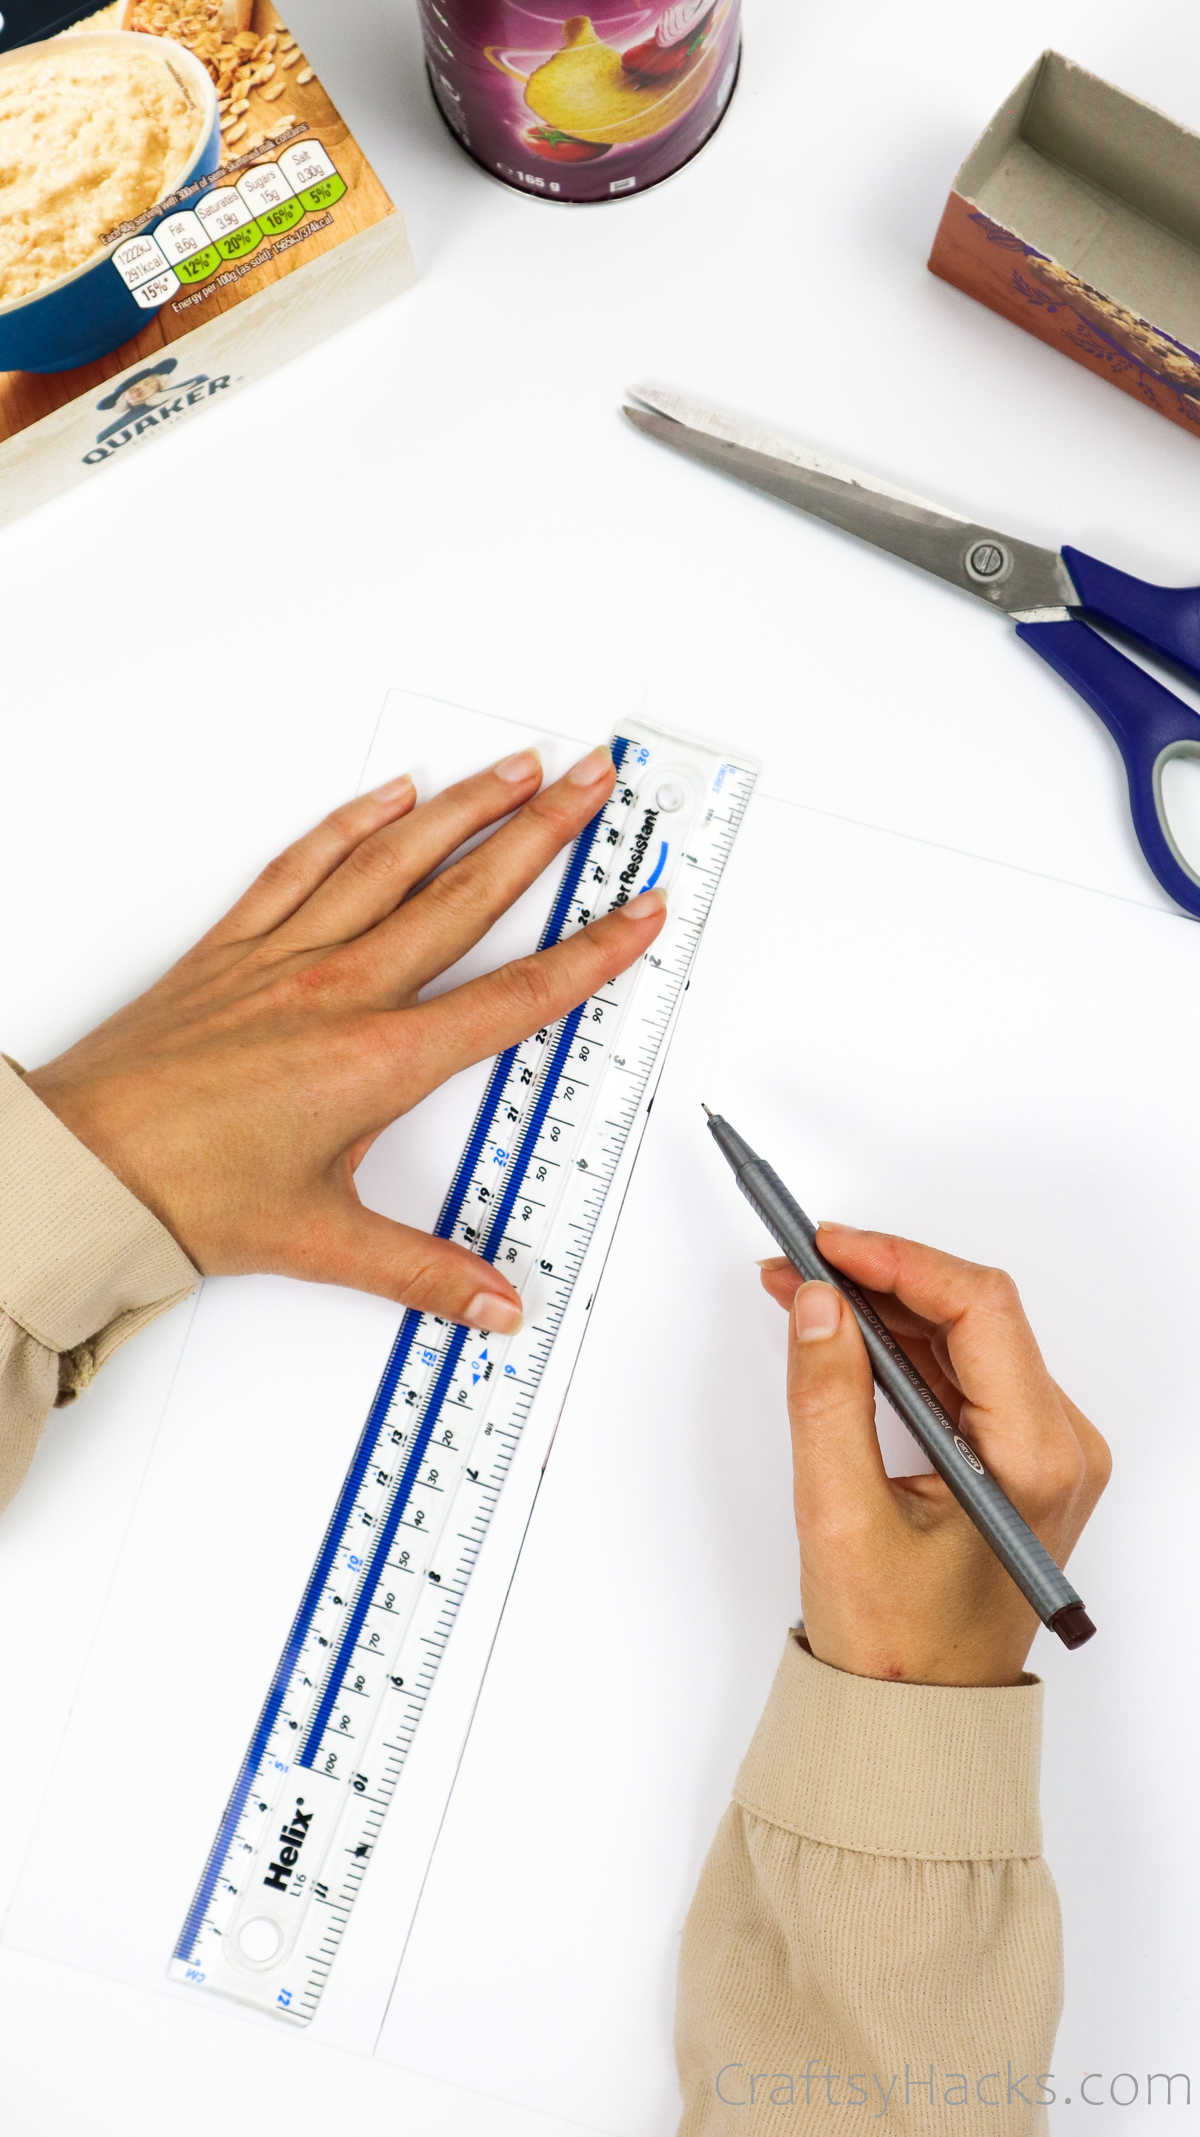
Lay the wrapping paper on your work surface with the wrong side facing up.
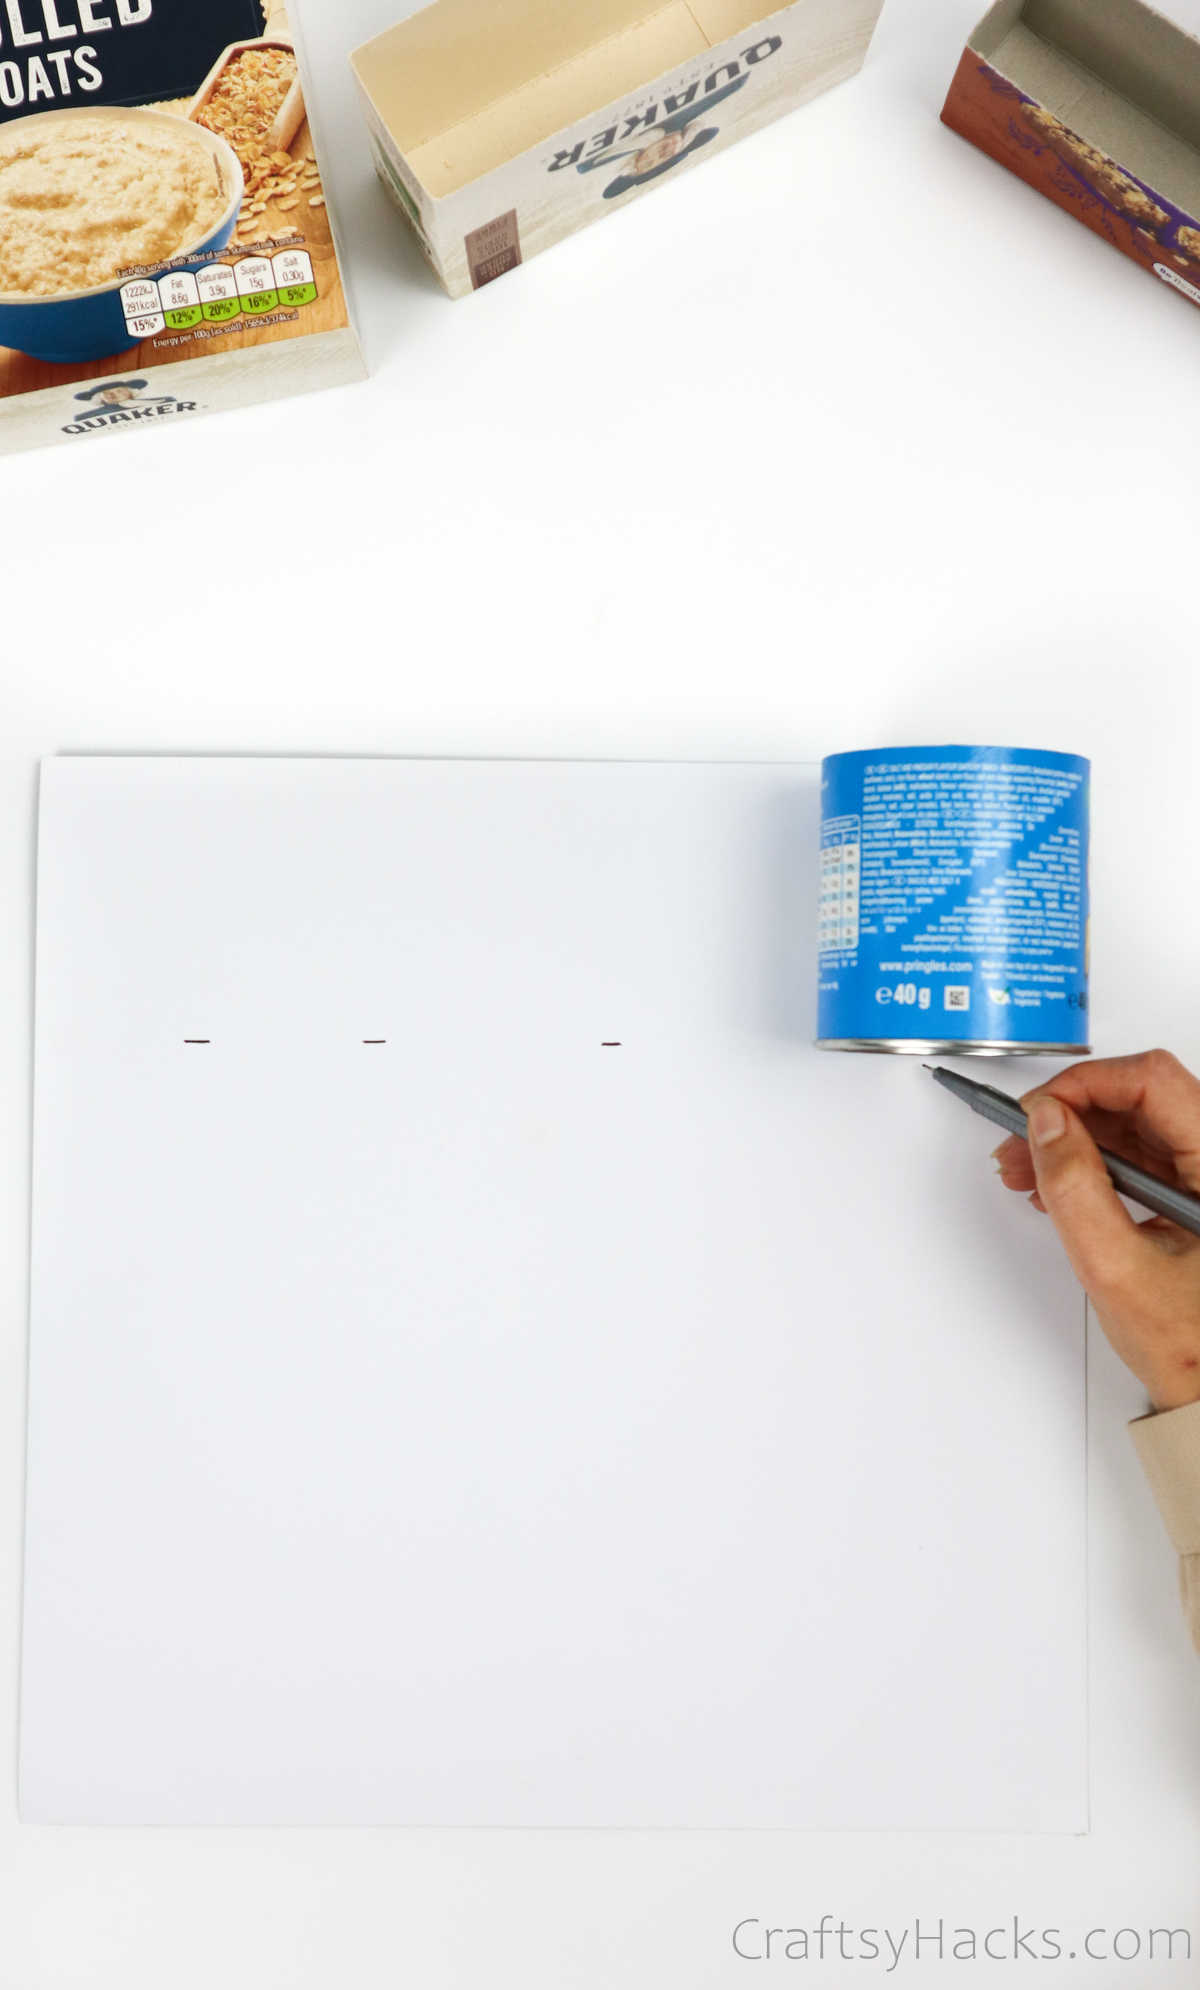
Mark the height as well.
Draw a line across the paper and connect your markings.
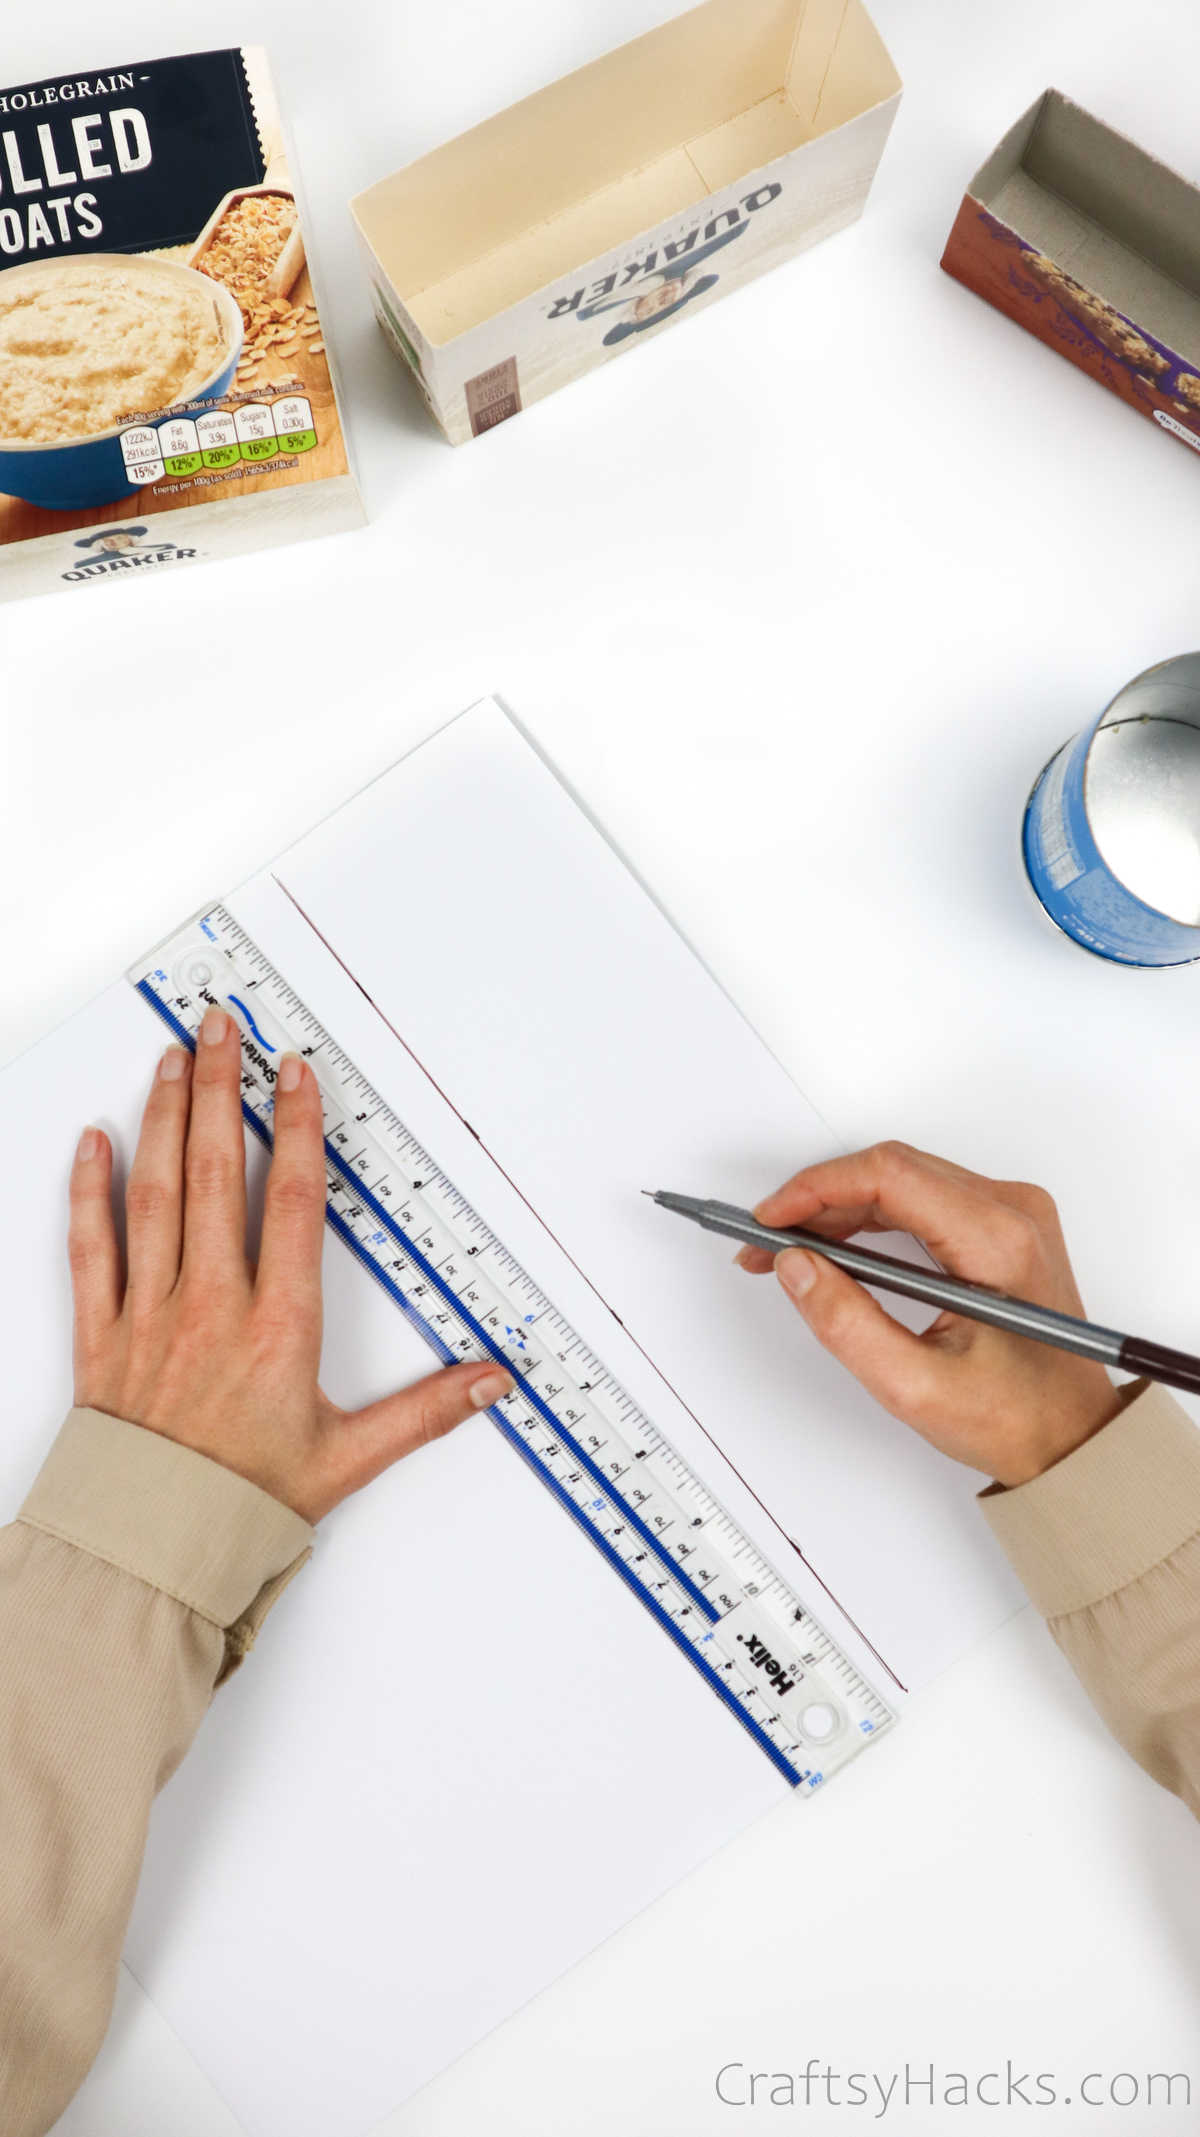
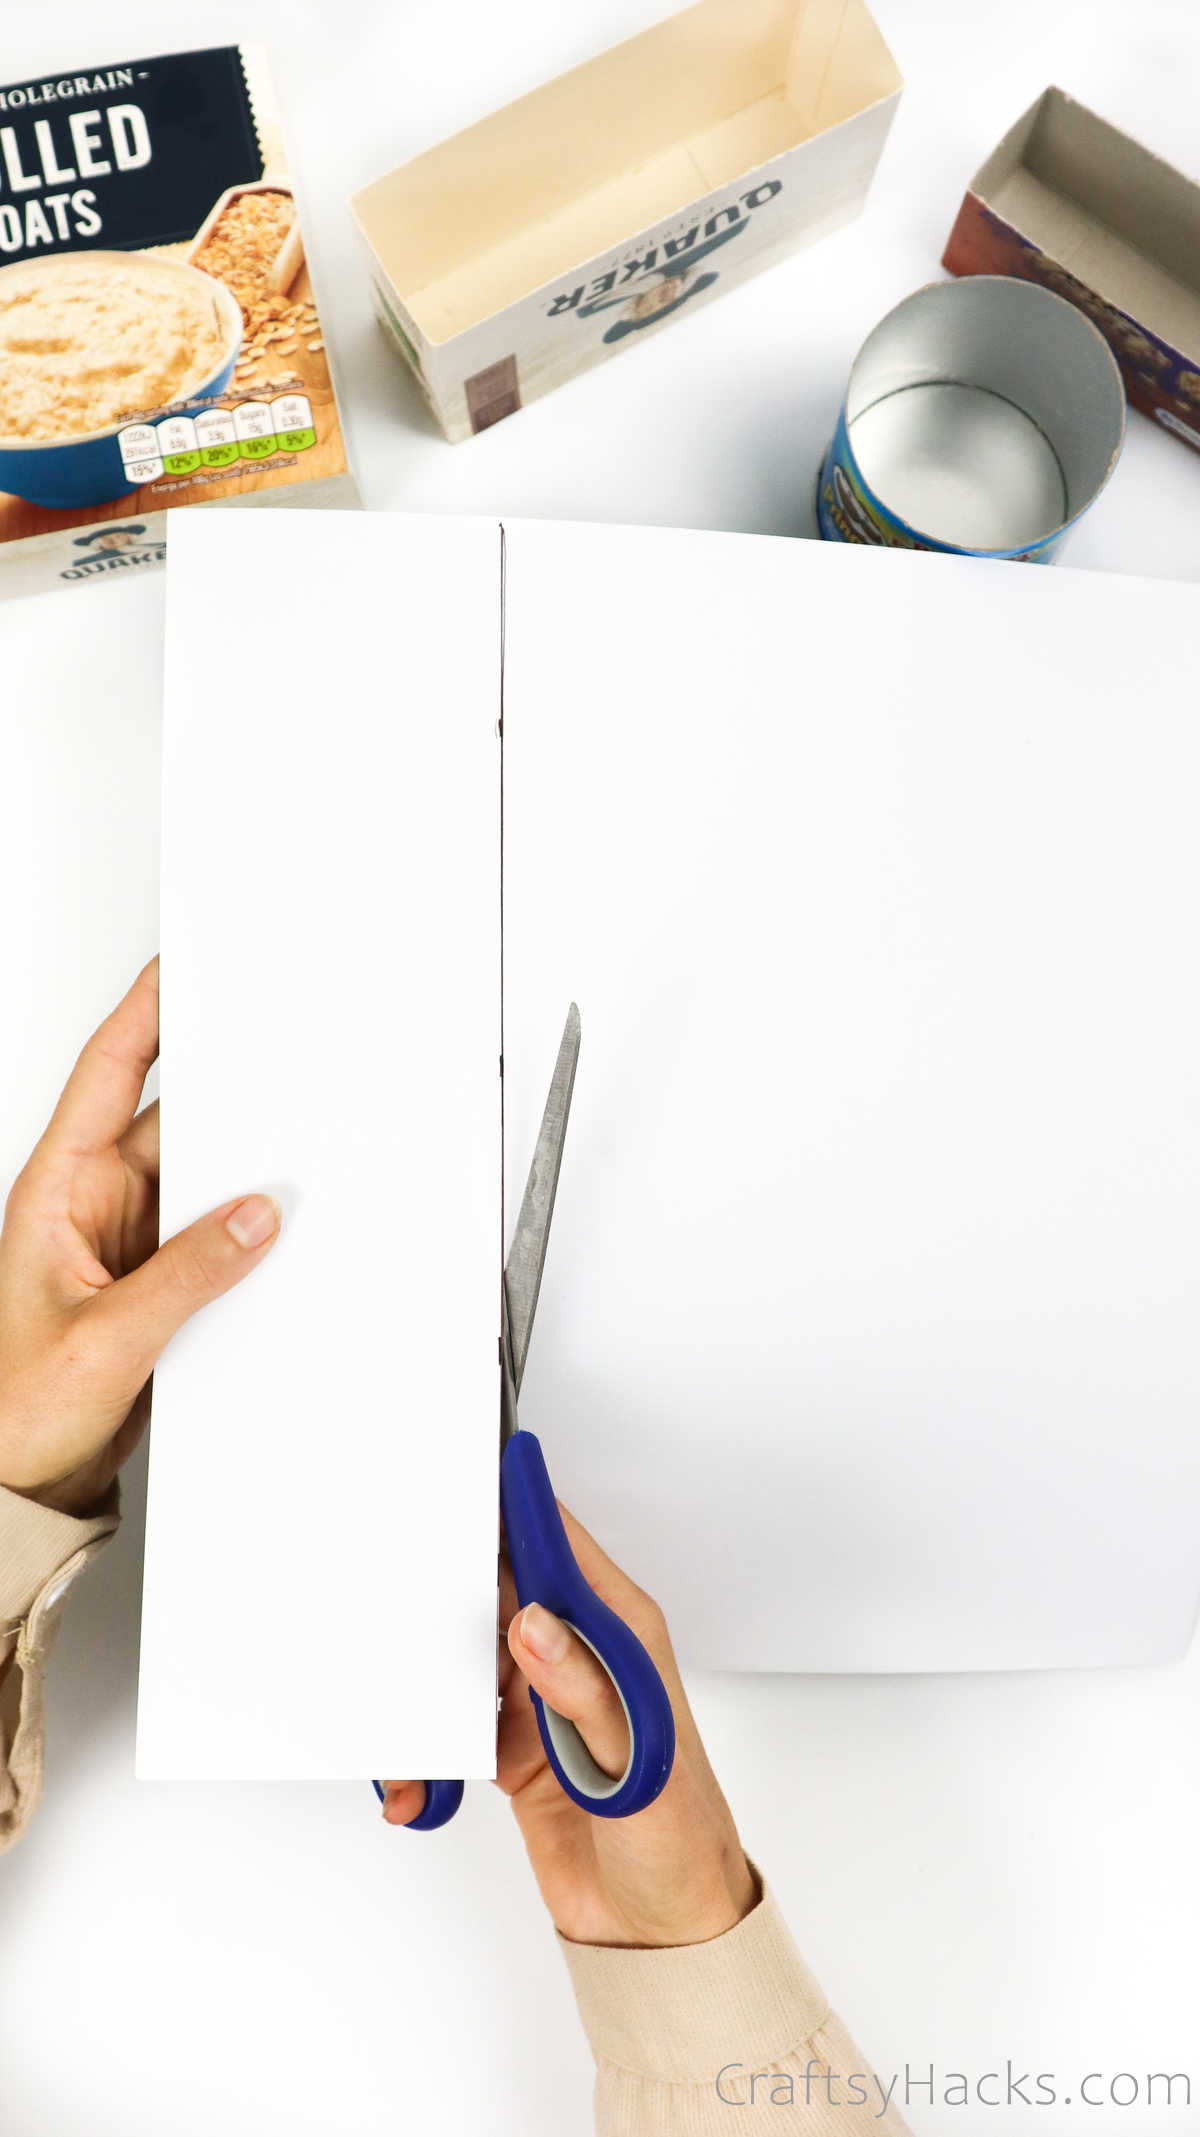
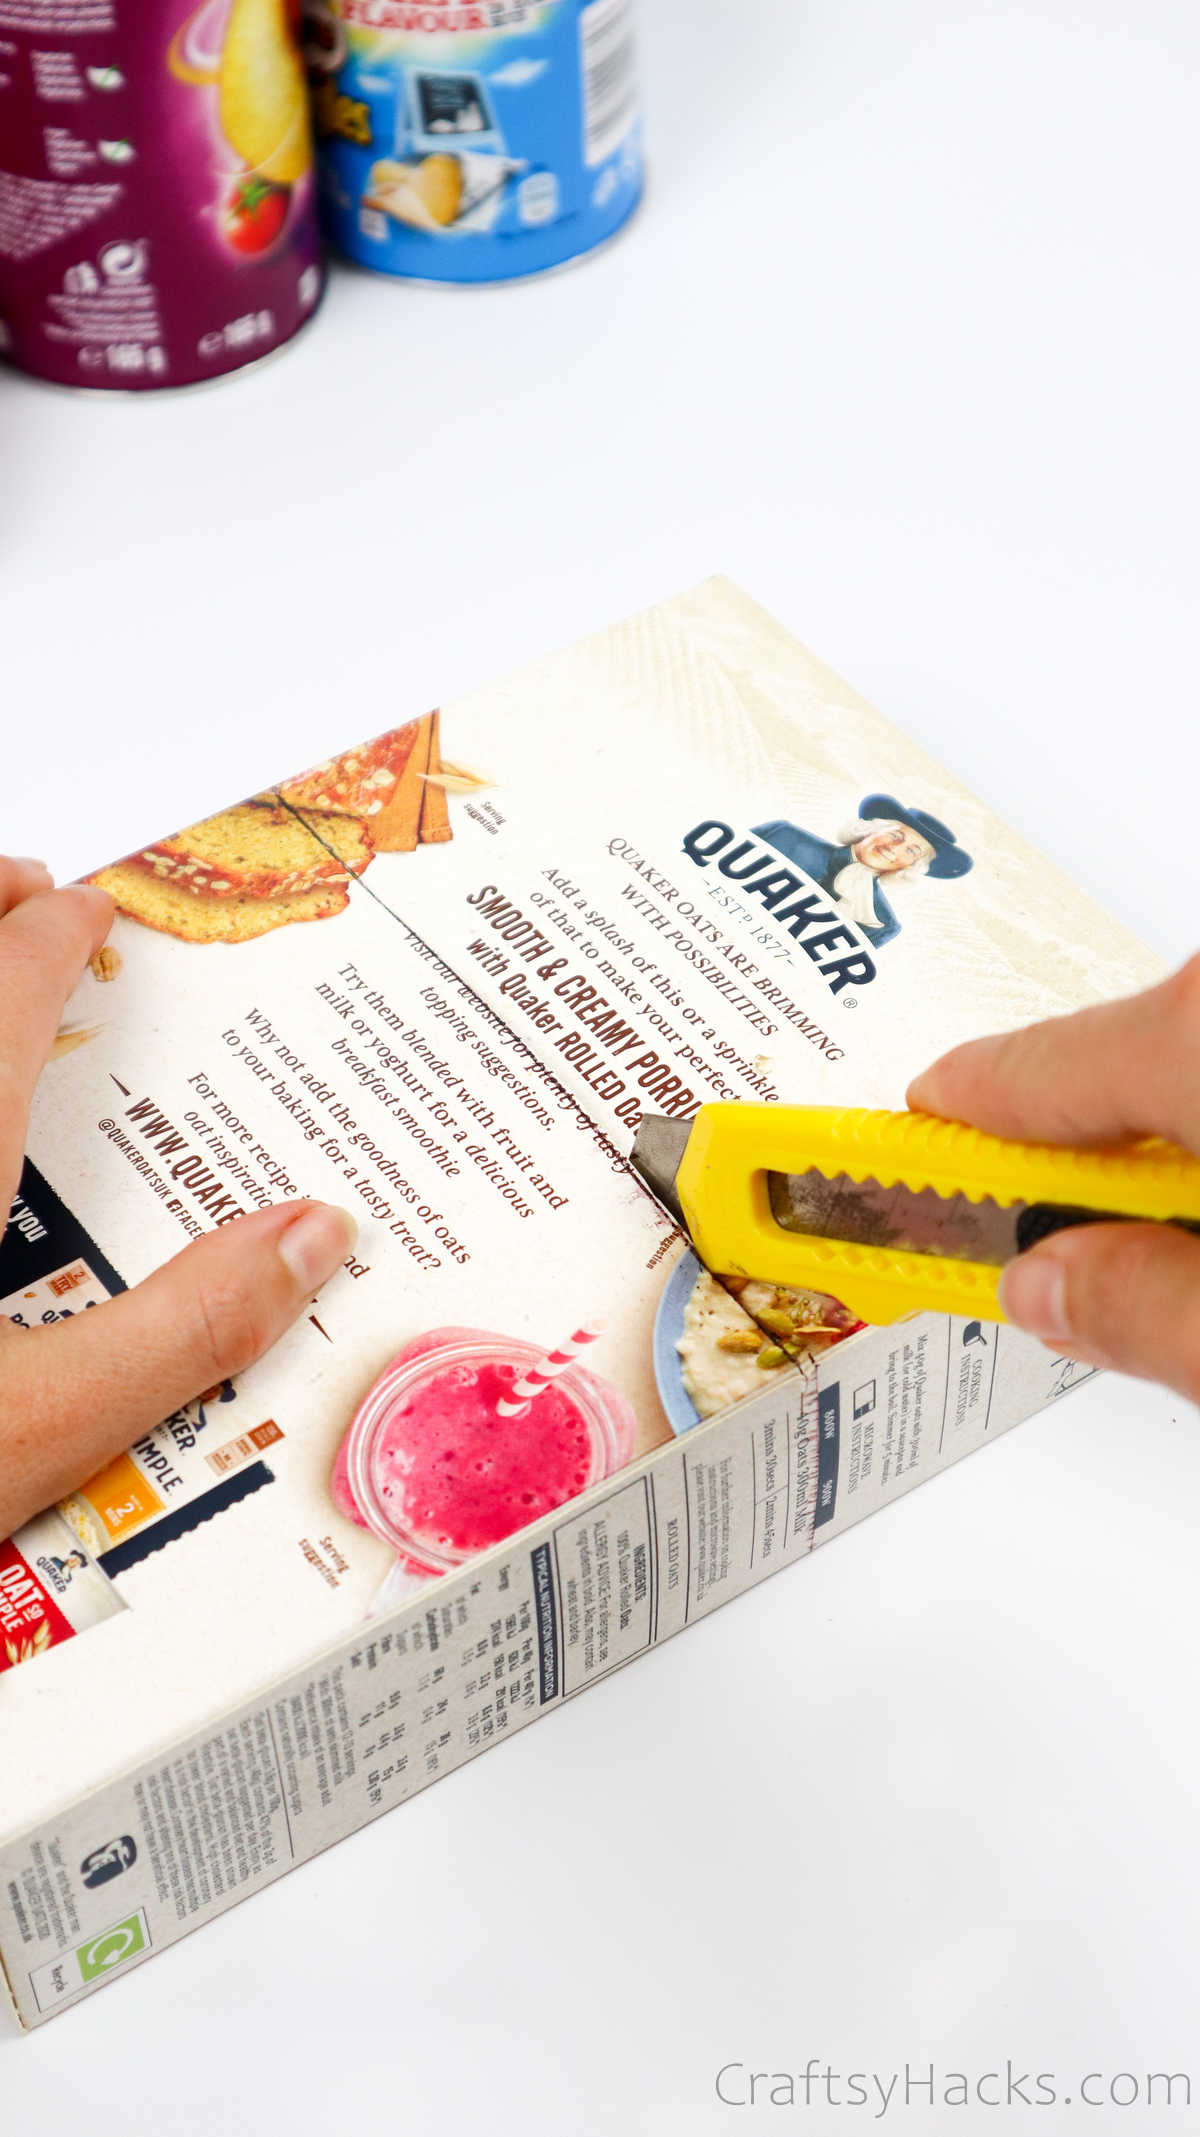
Step 7
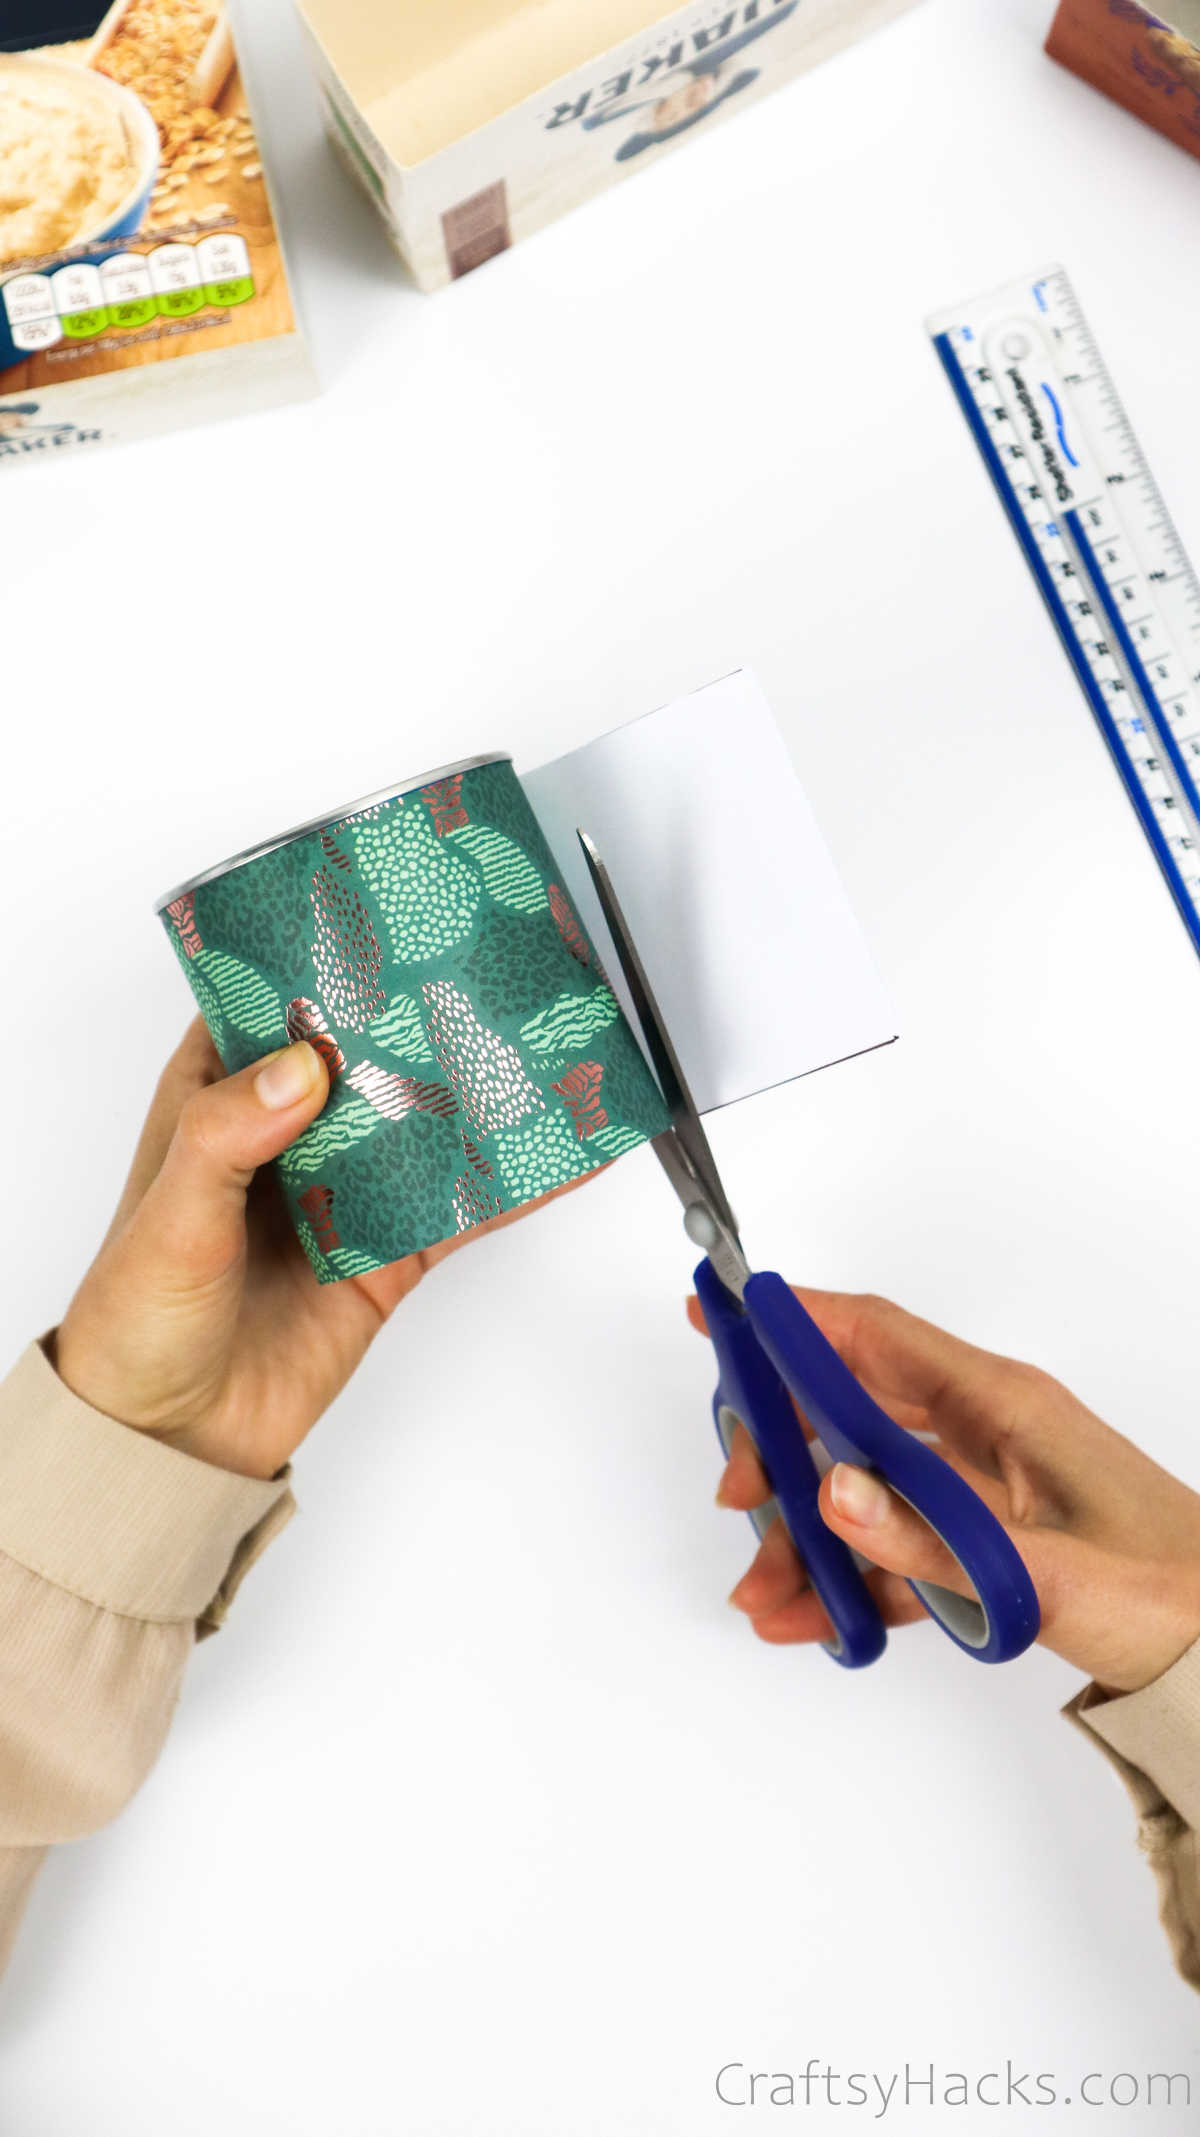
Grab a pair of scissors and cut along the line you drew.
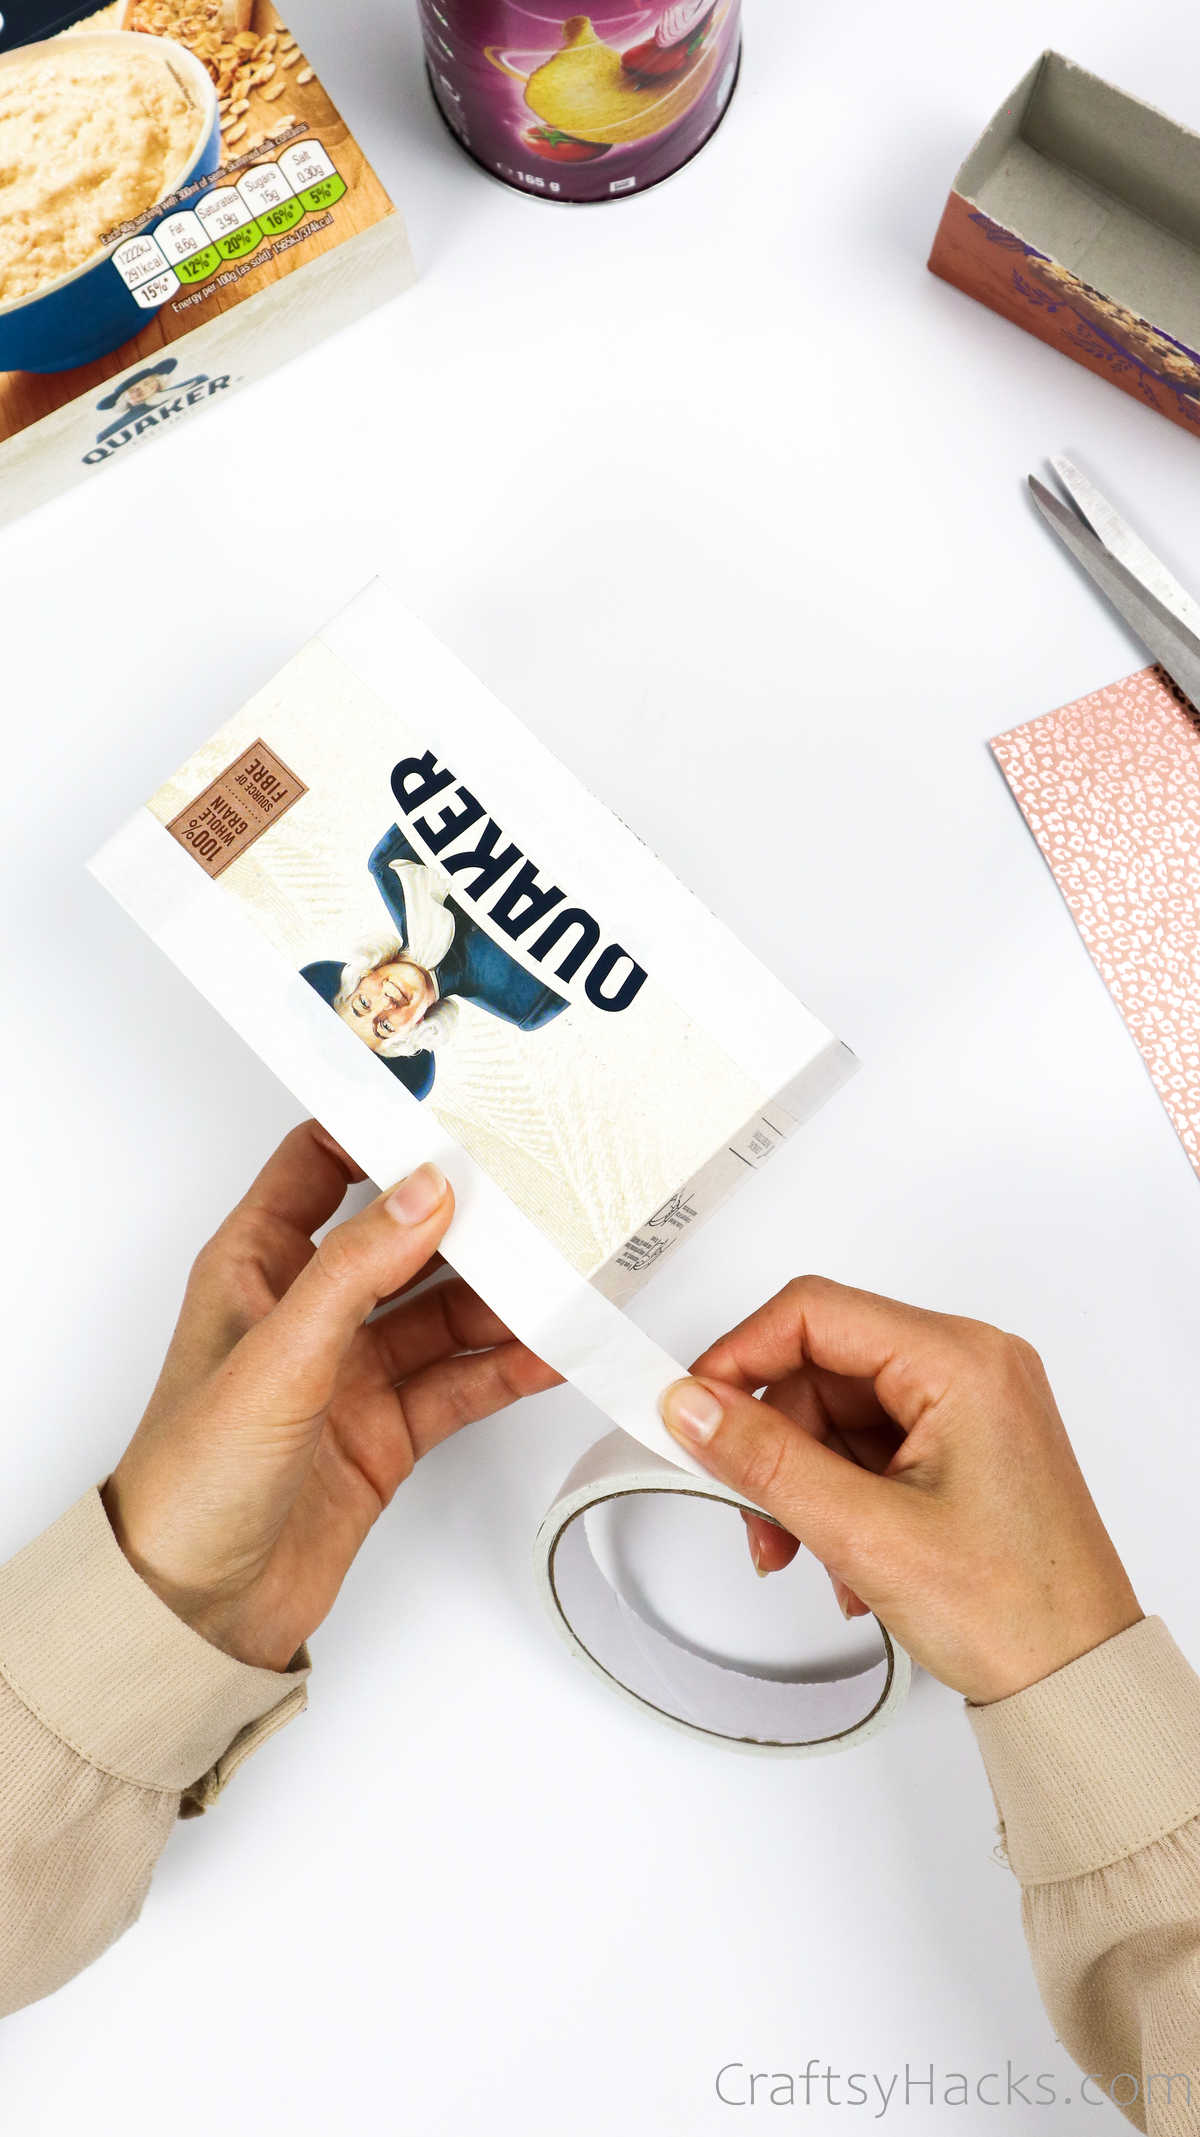
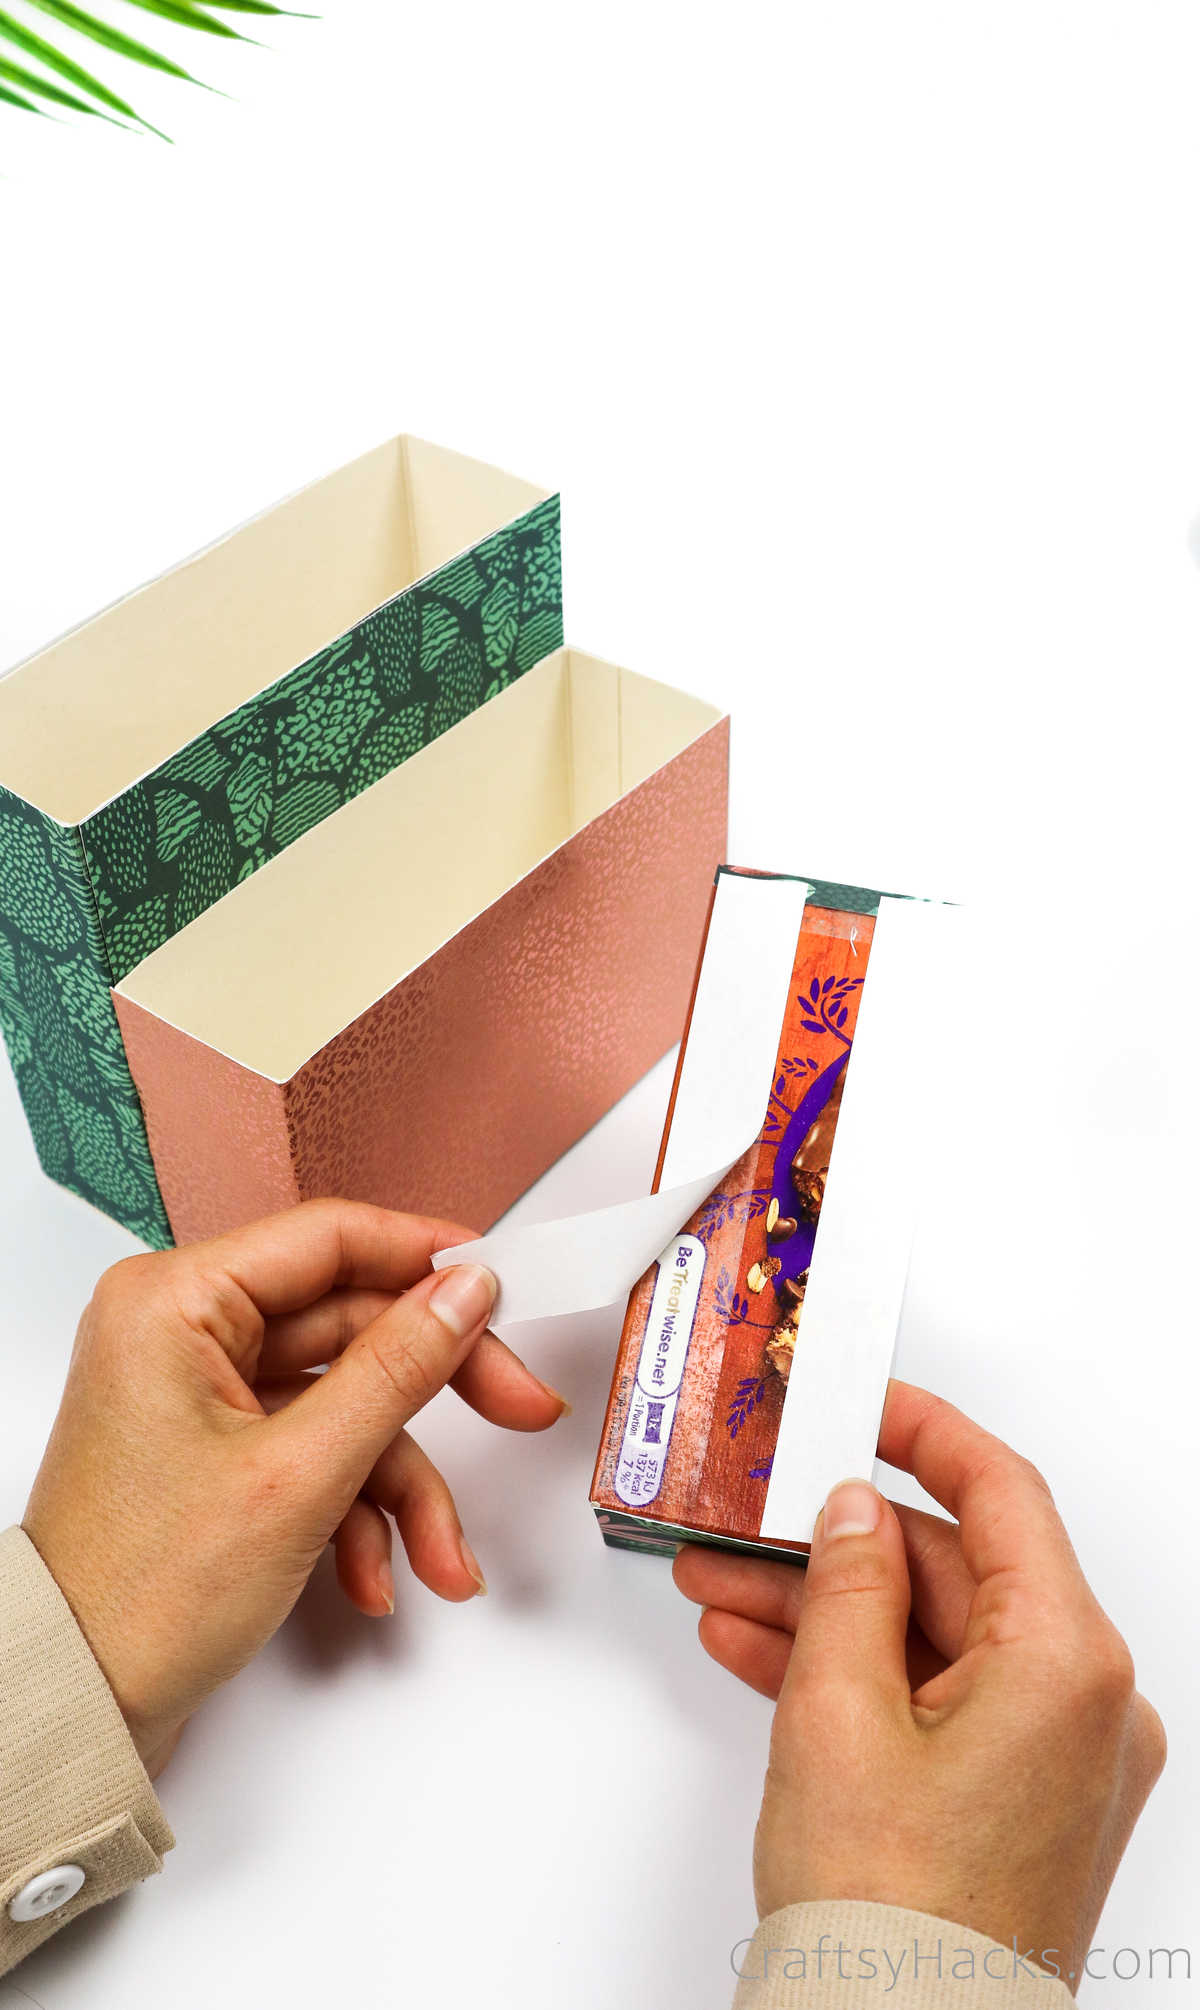
Then, line the top and the bottom of the container with double-sided tape.
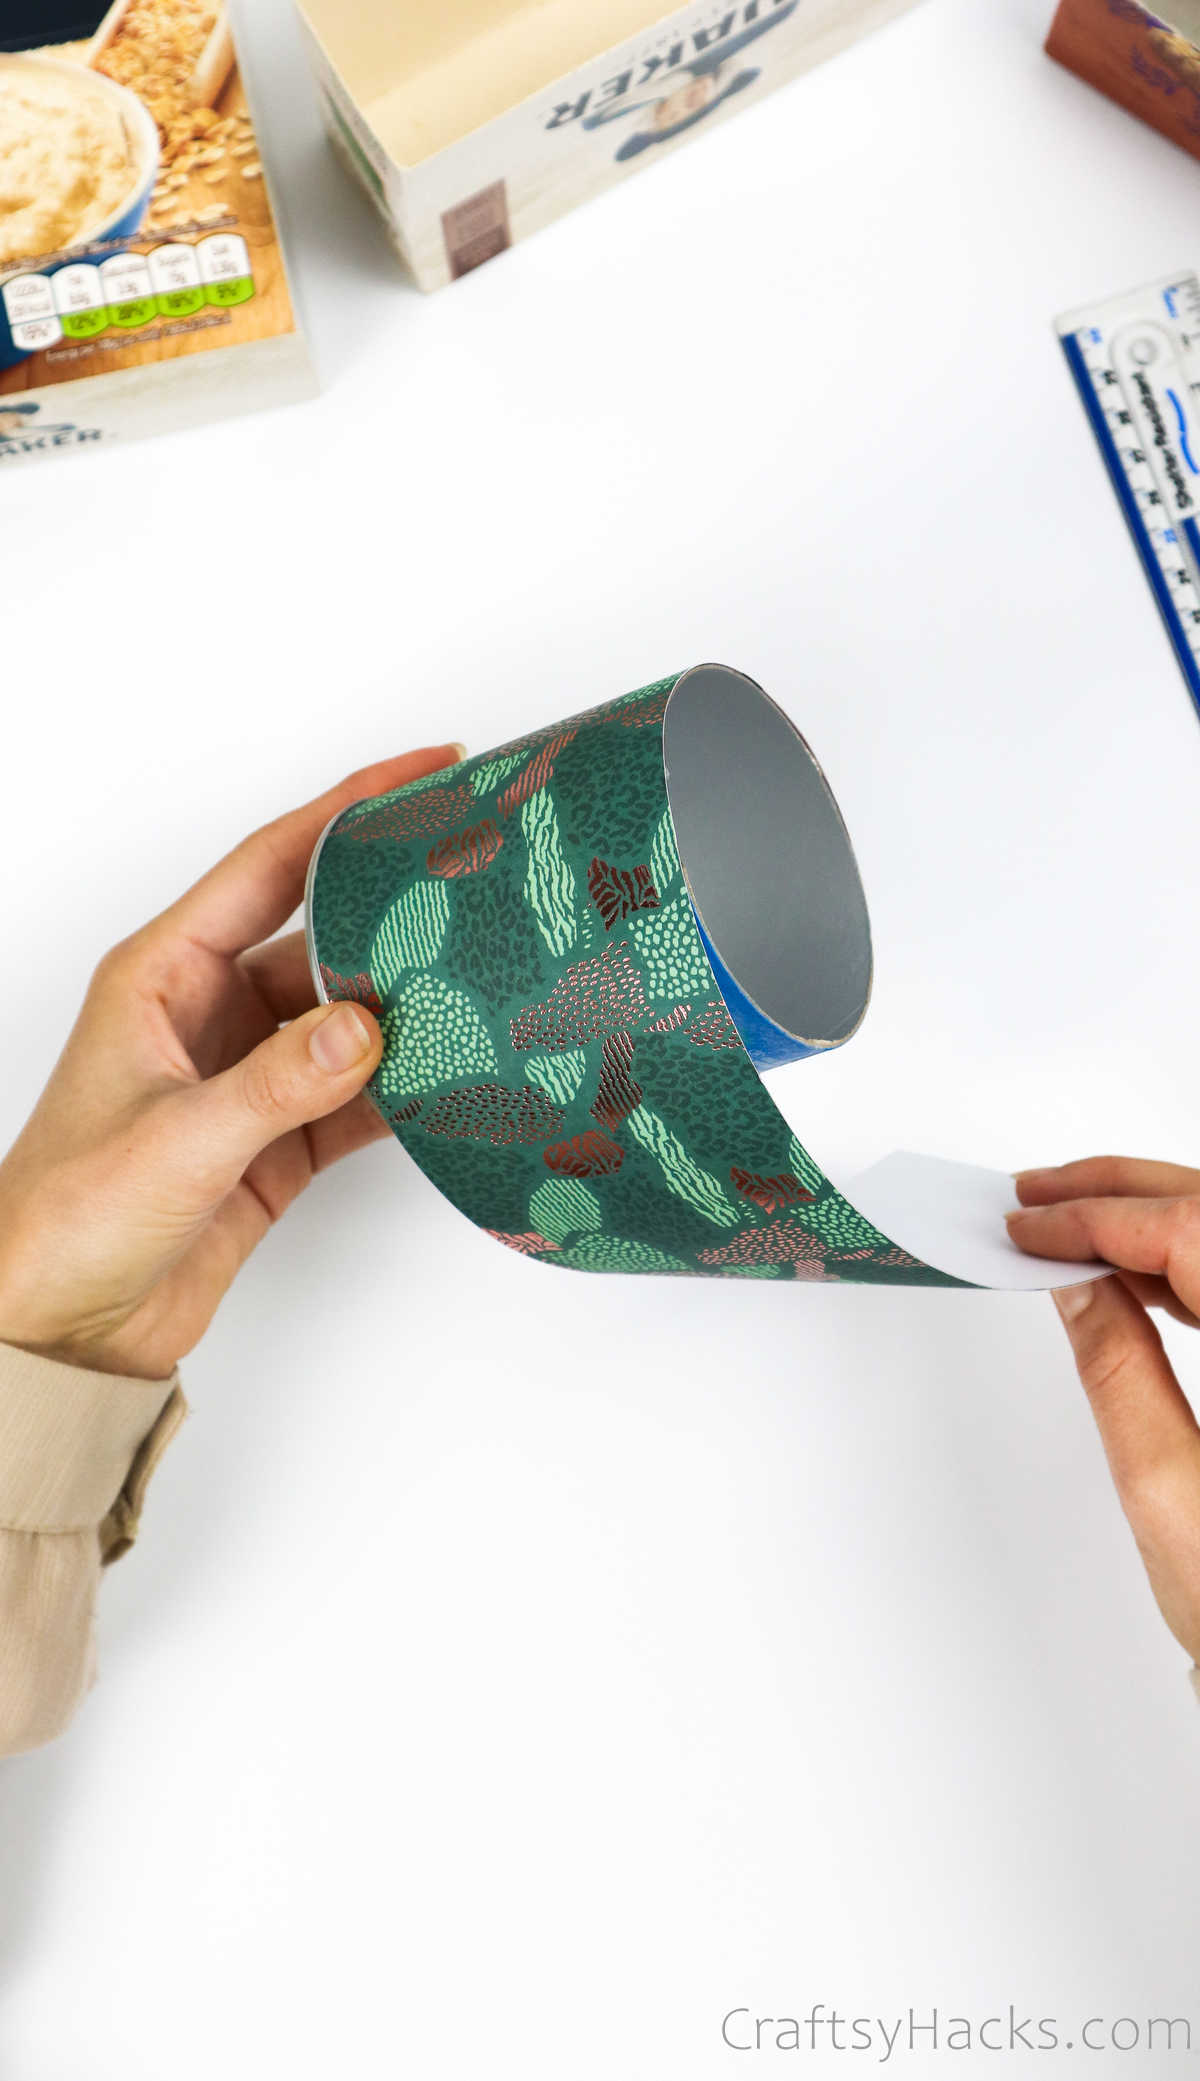
Trust me; this will make it so much easier to stick the paper onto the container.
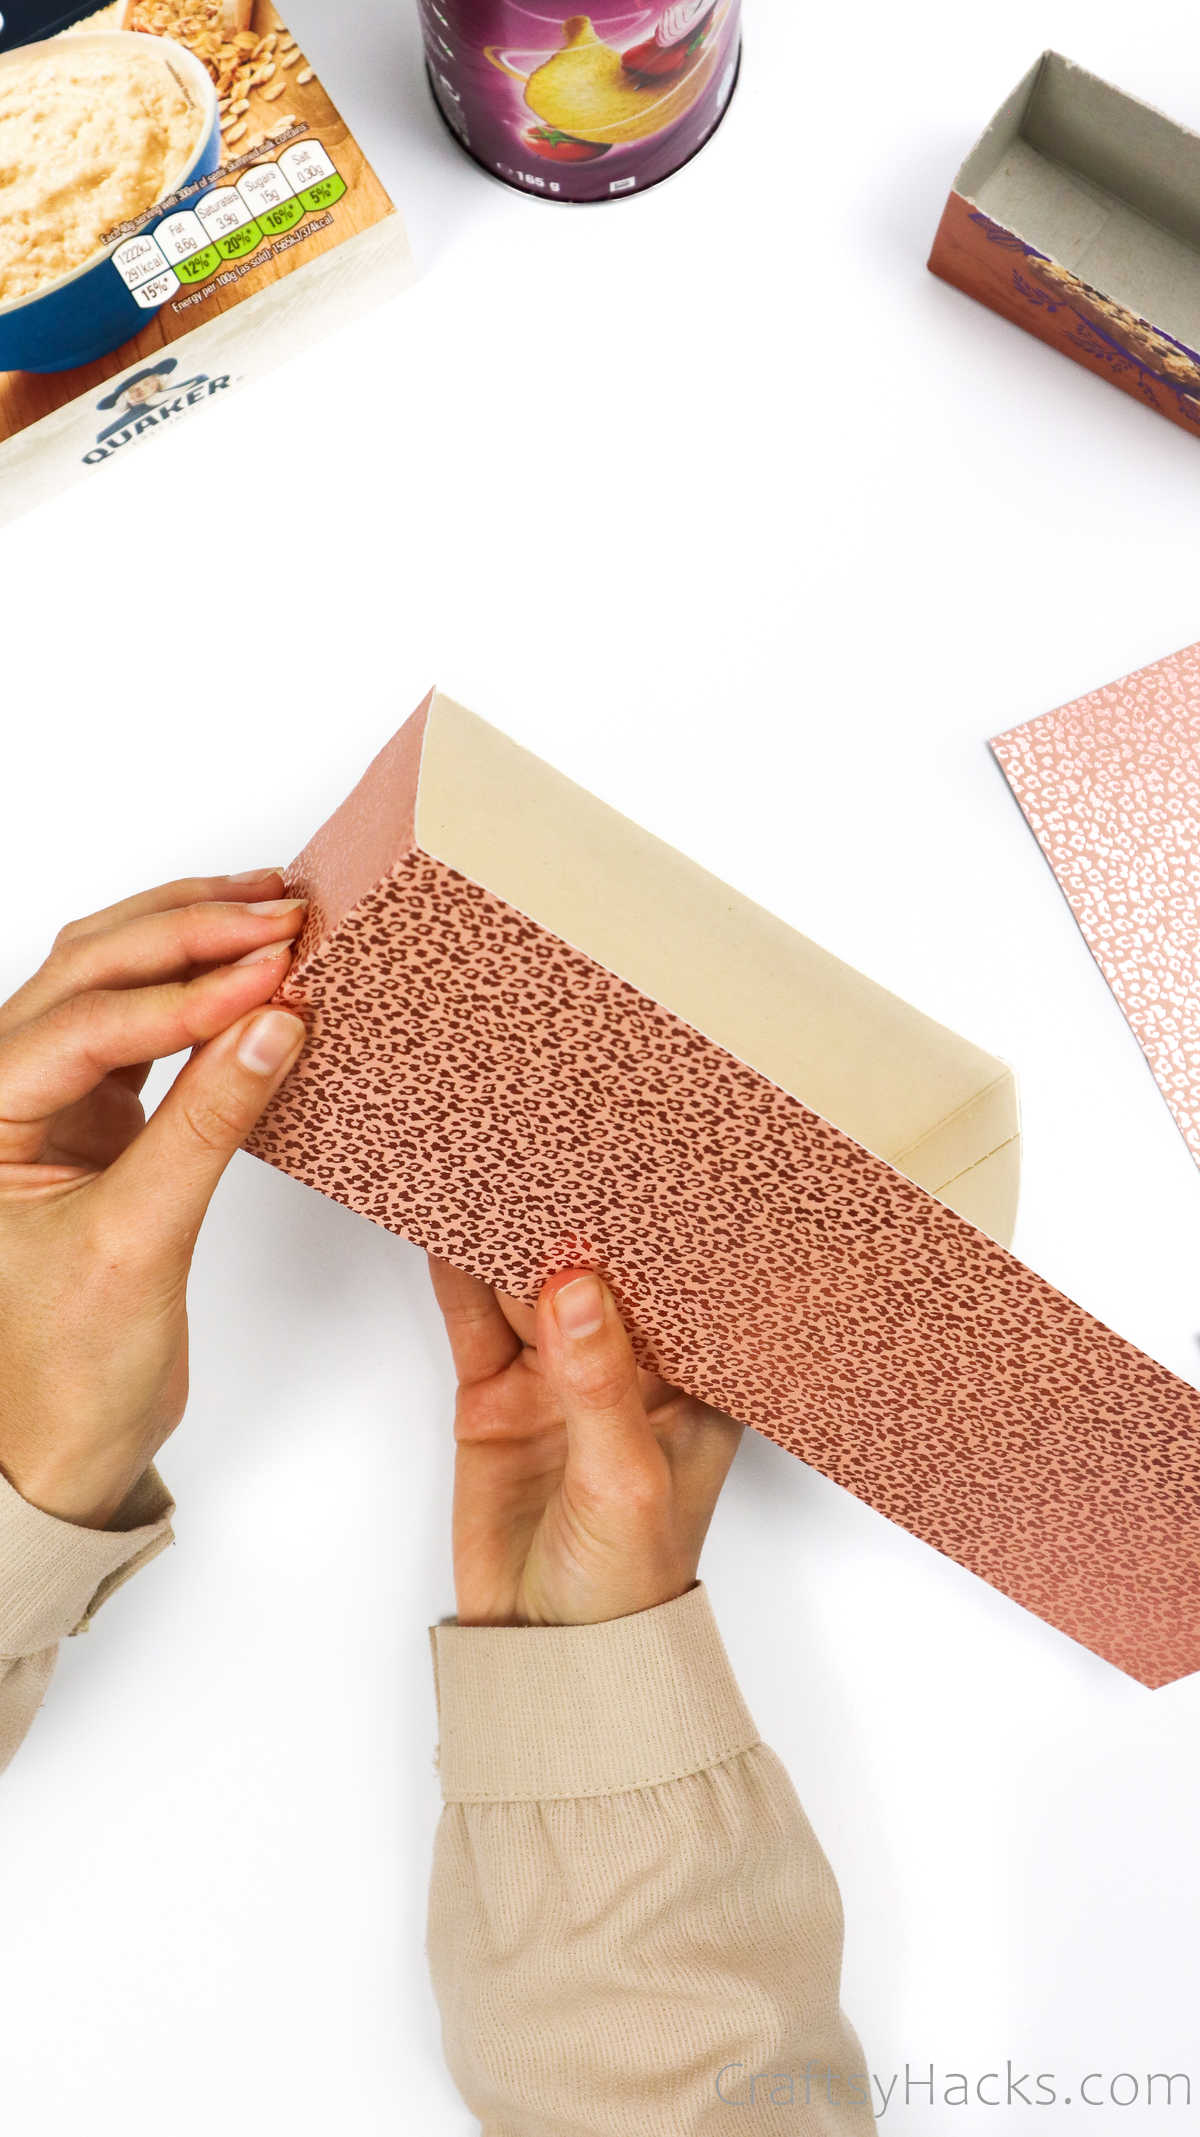
Next, just line the paper up with the container and roll it around to wrap it up.
Press the paper down firmly to smoothen out any creases that may appear!
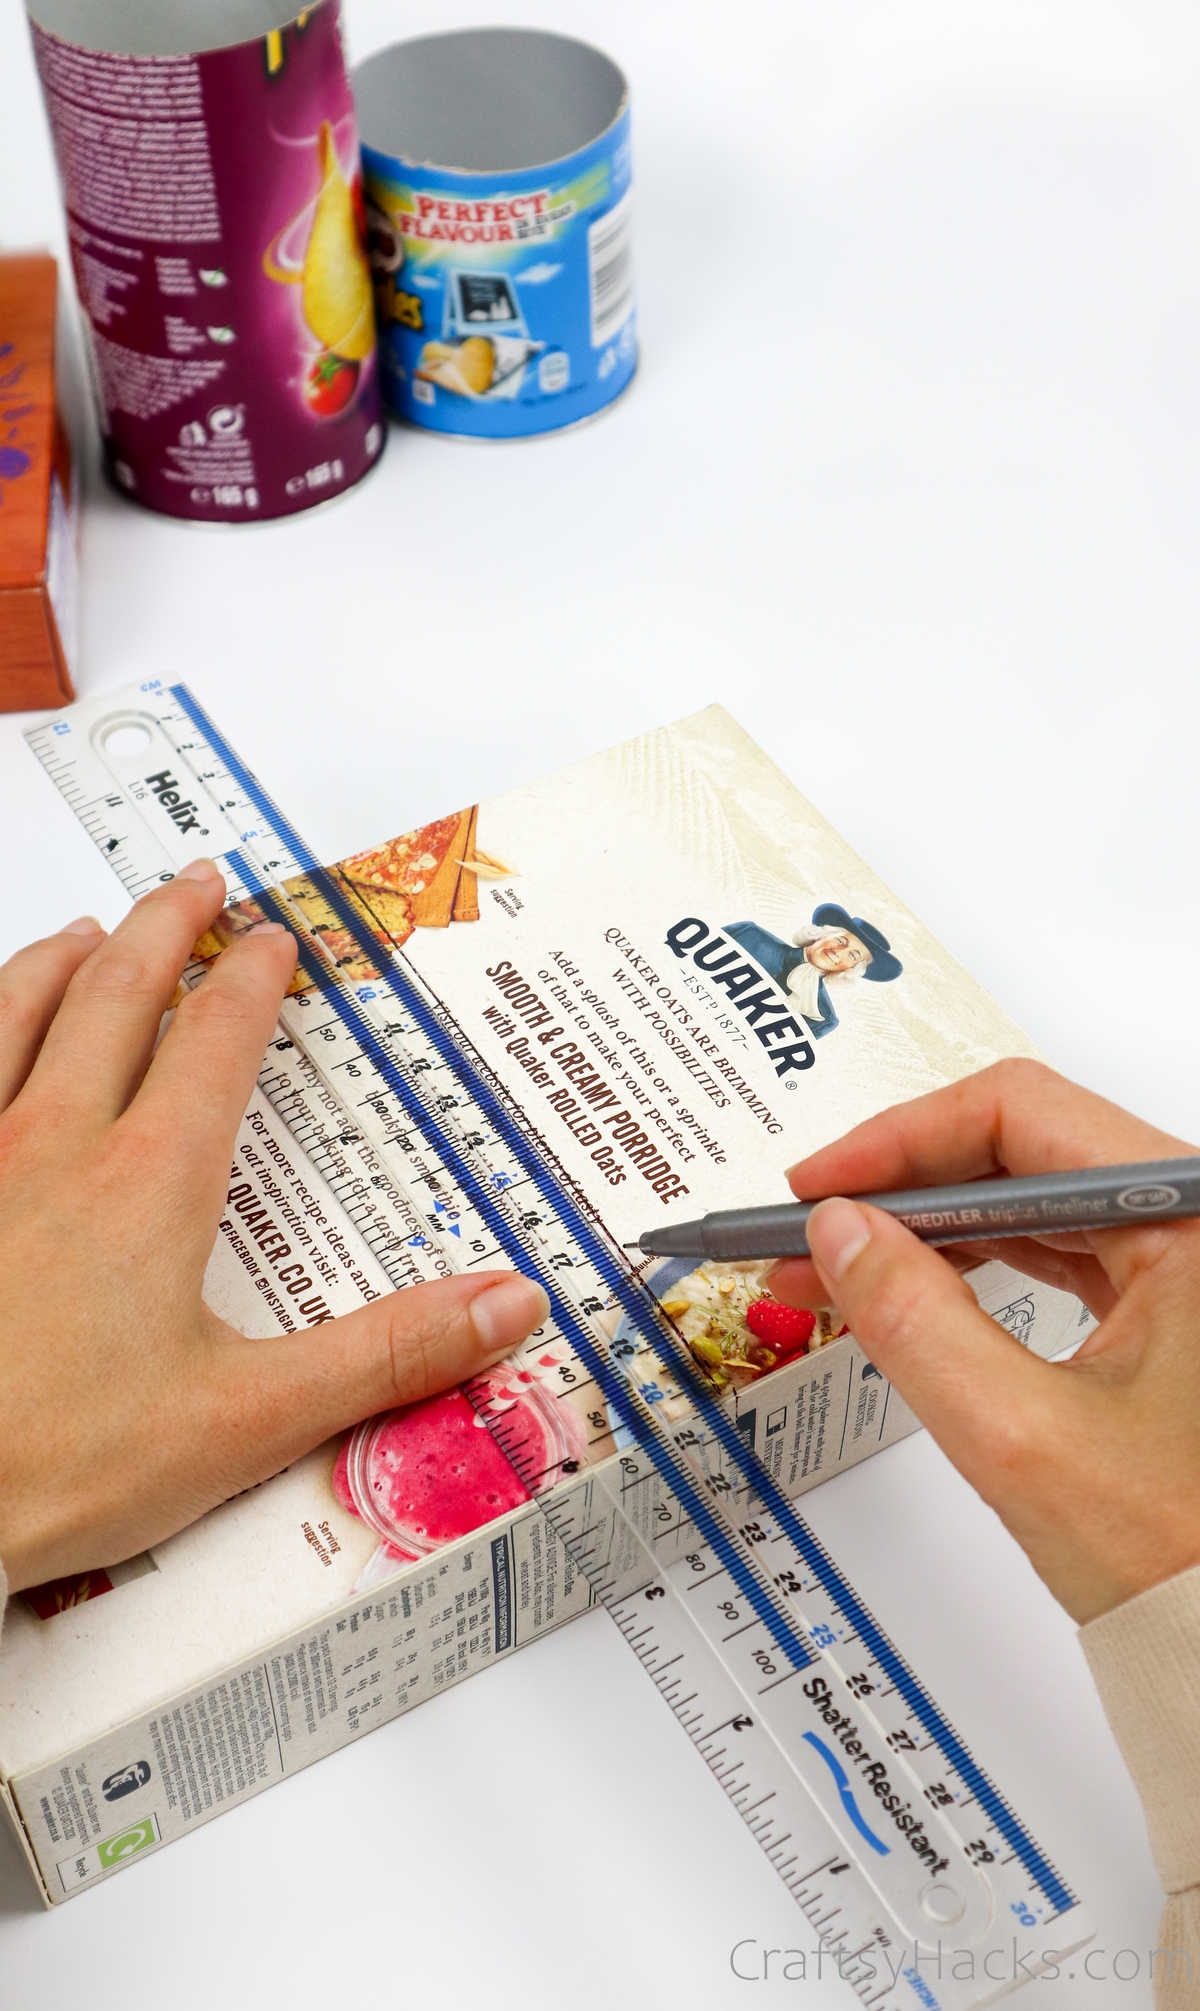
Step 8
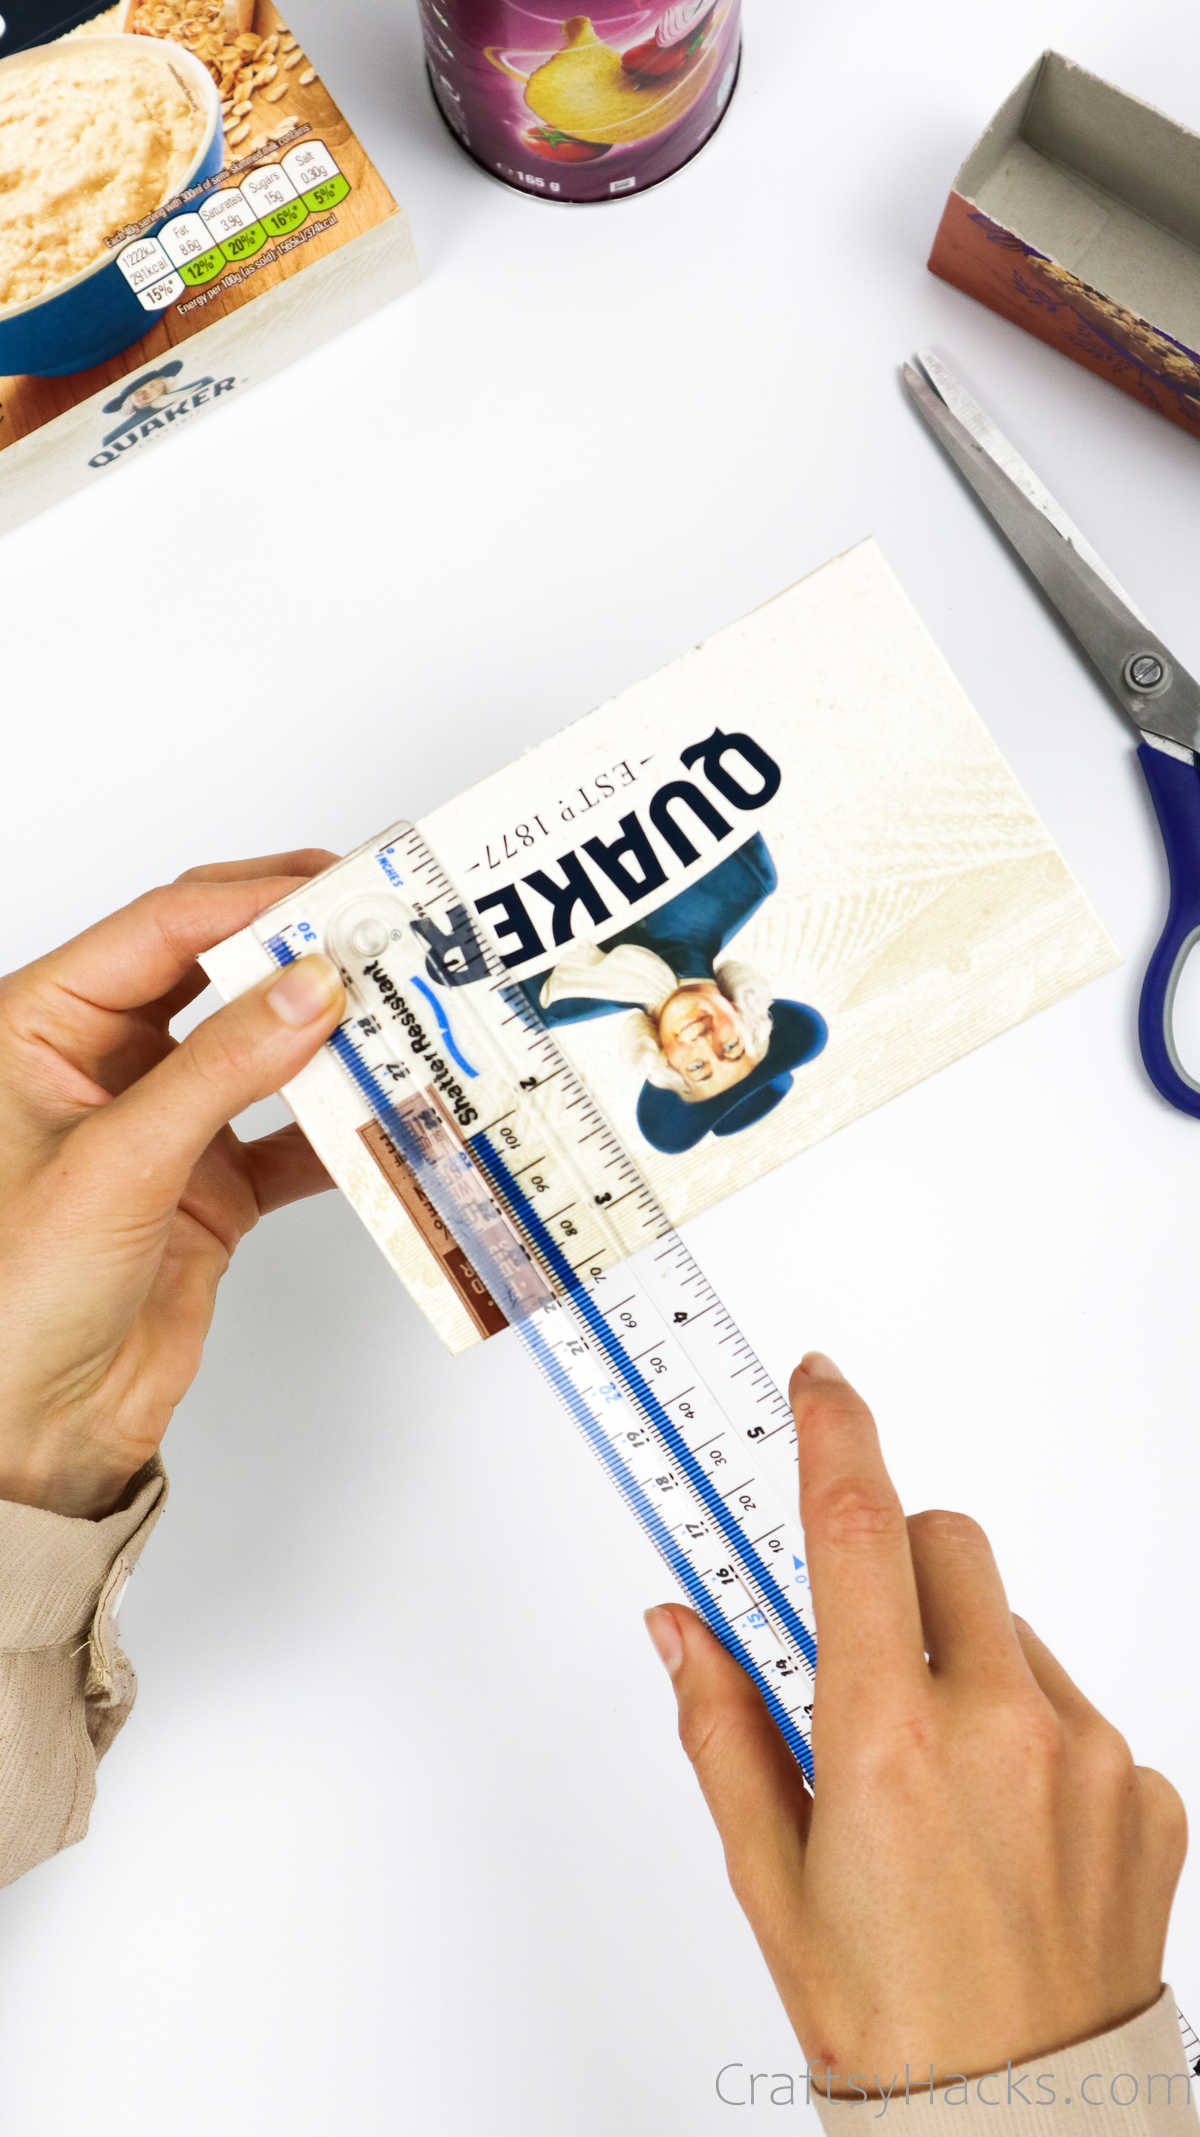
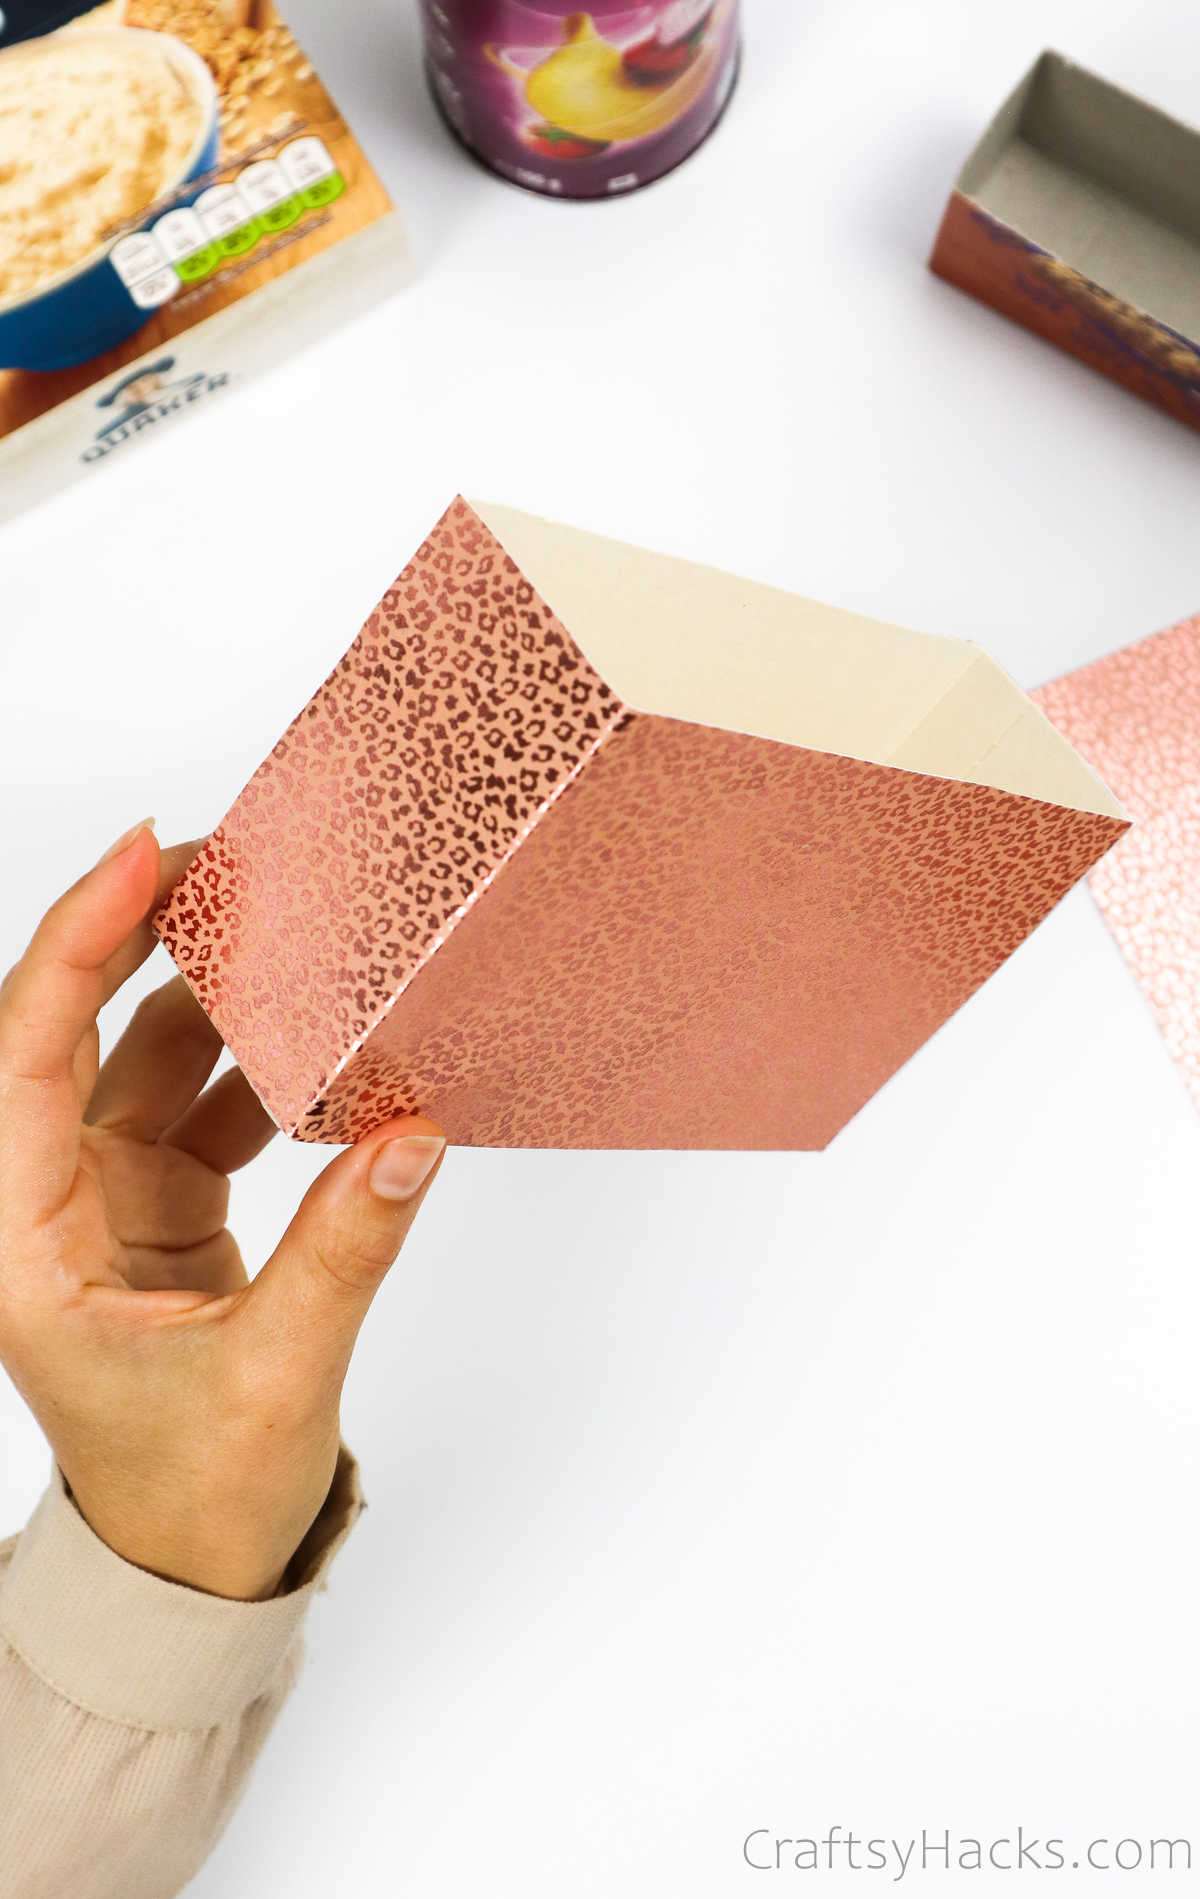
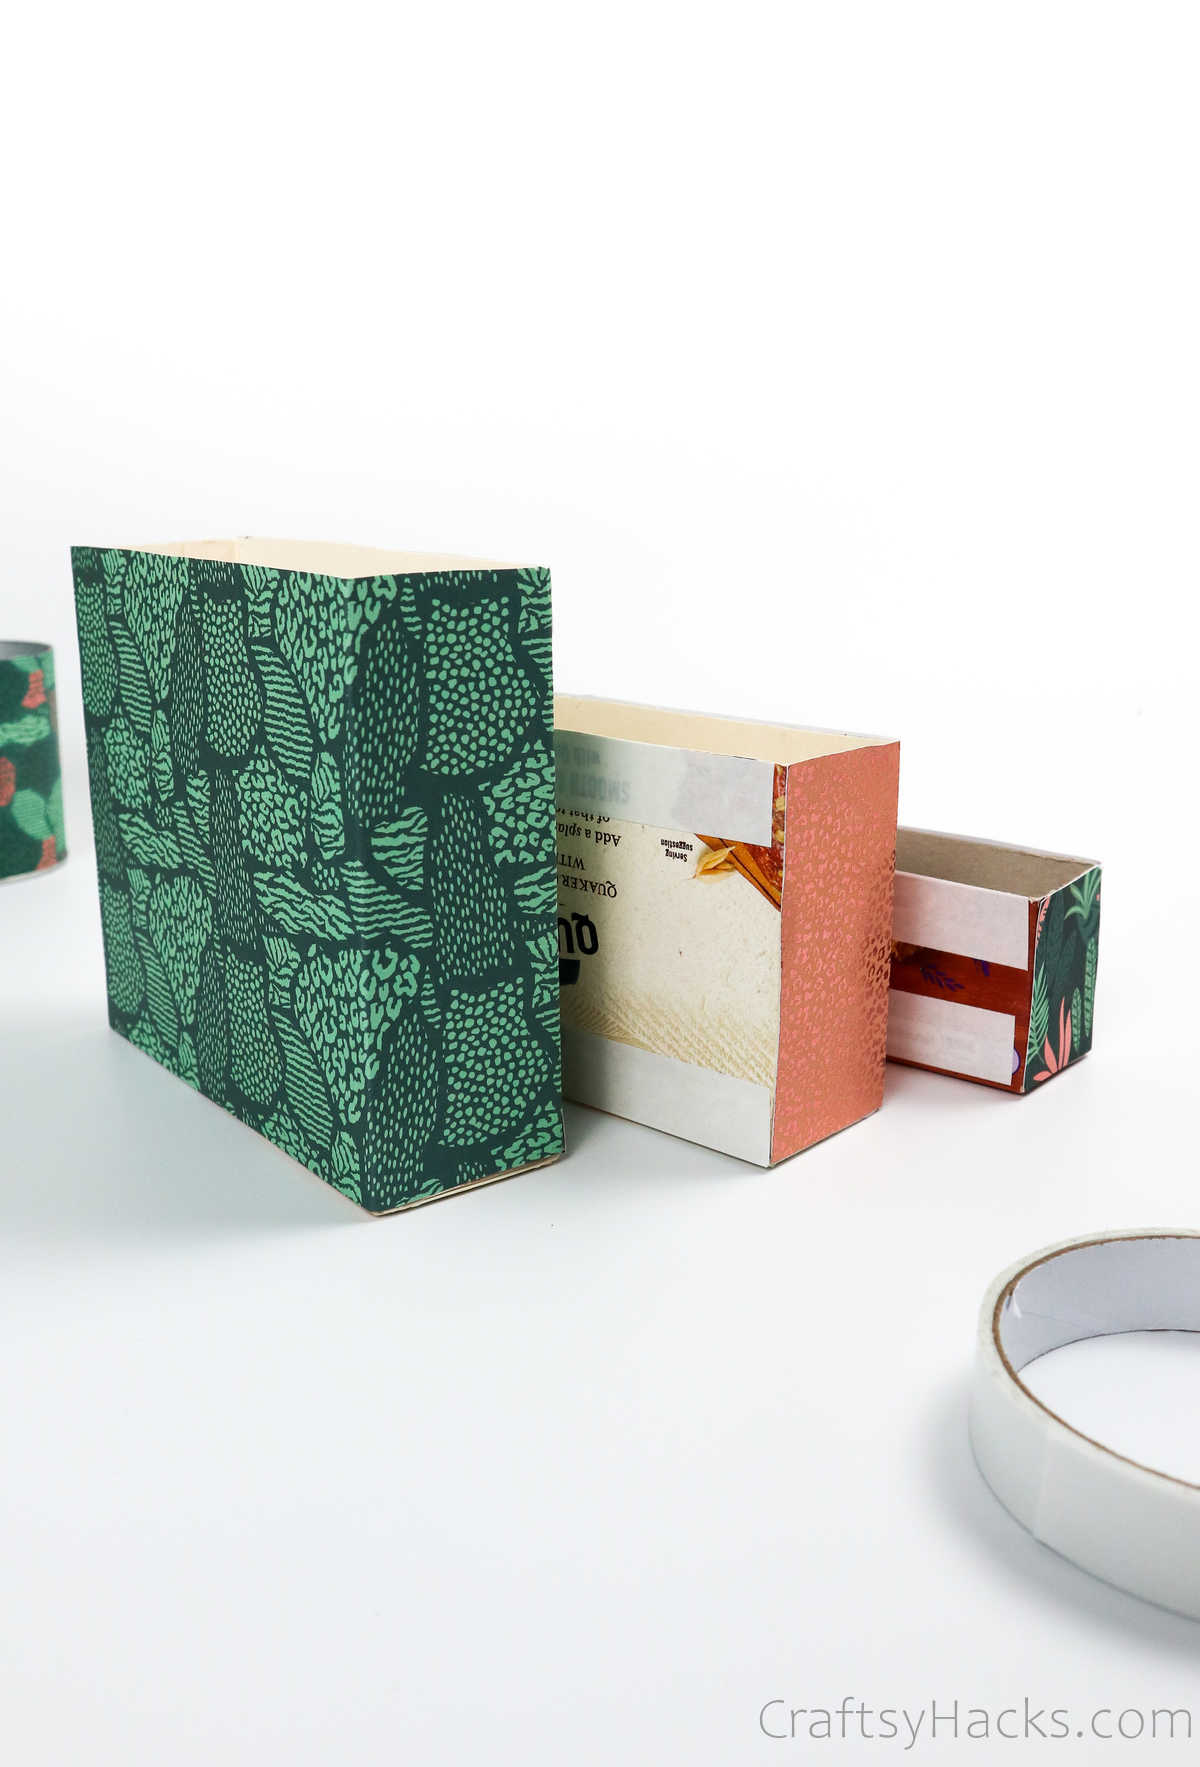
Now its time to wrap the other boxes.
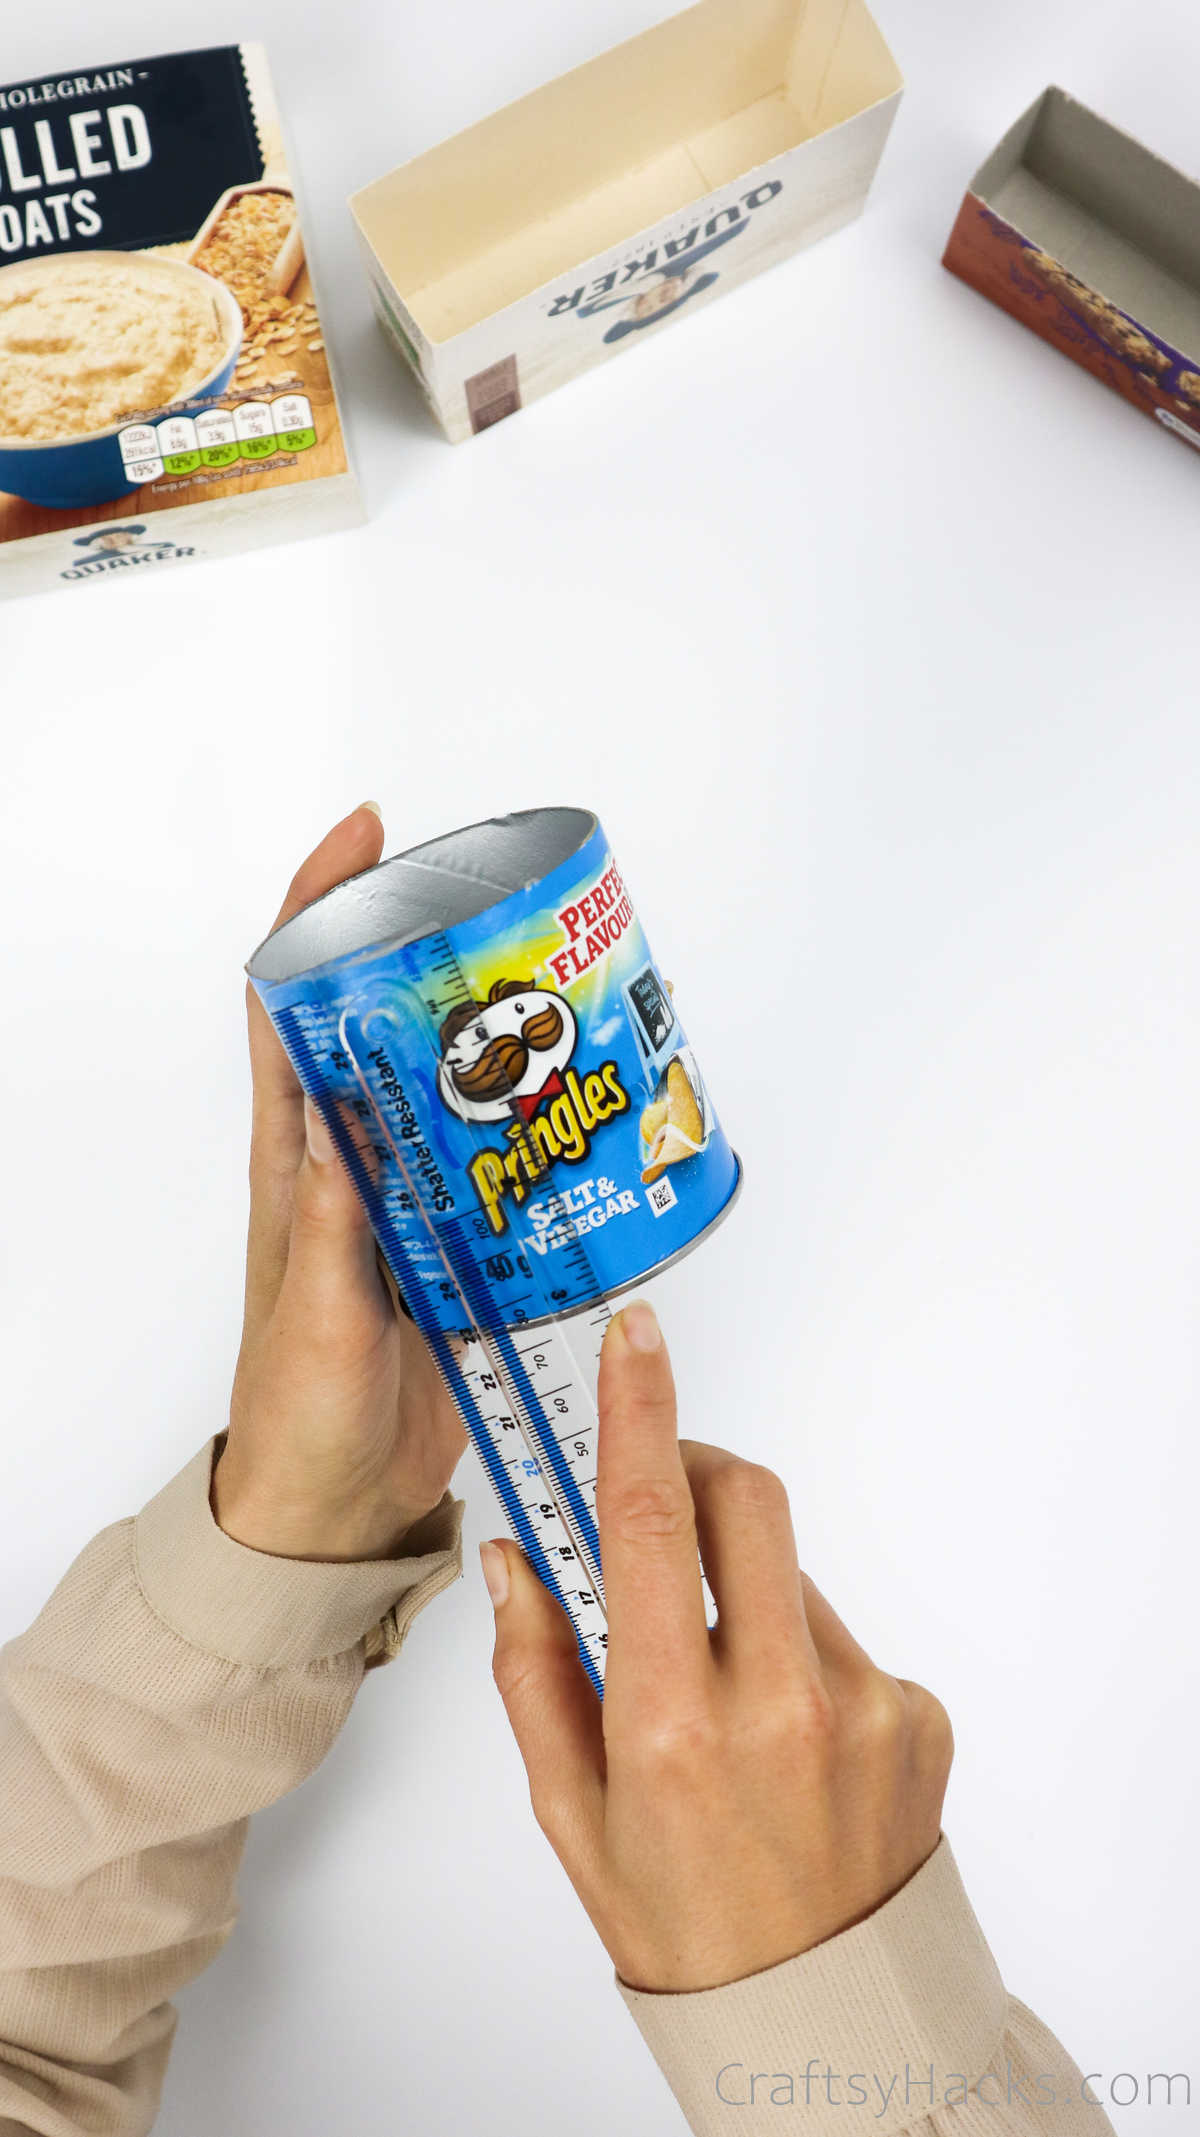
Grab a ruler and measure the dimensions of the box, as indicated.
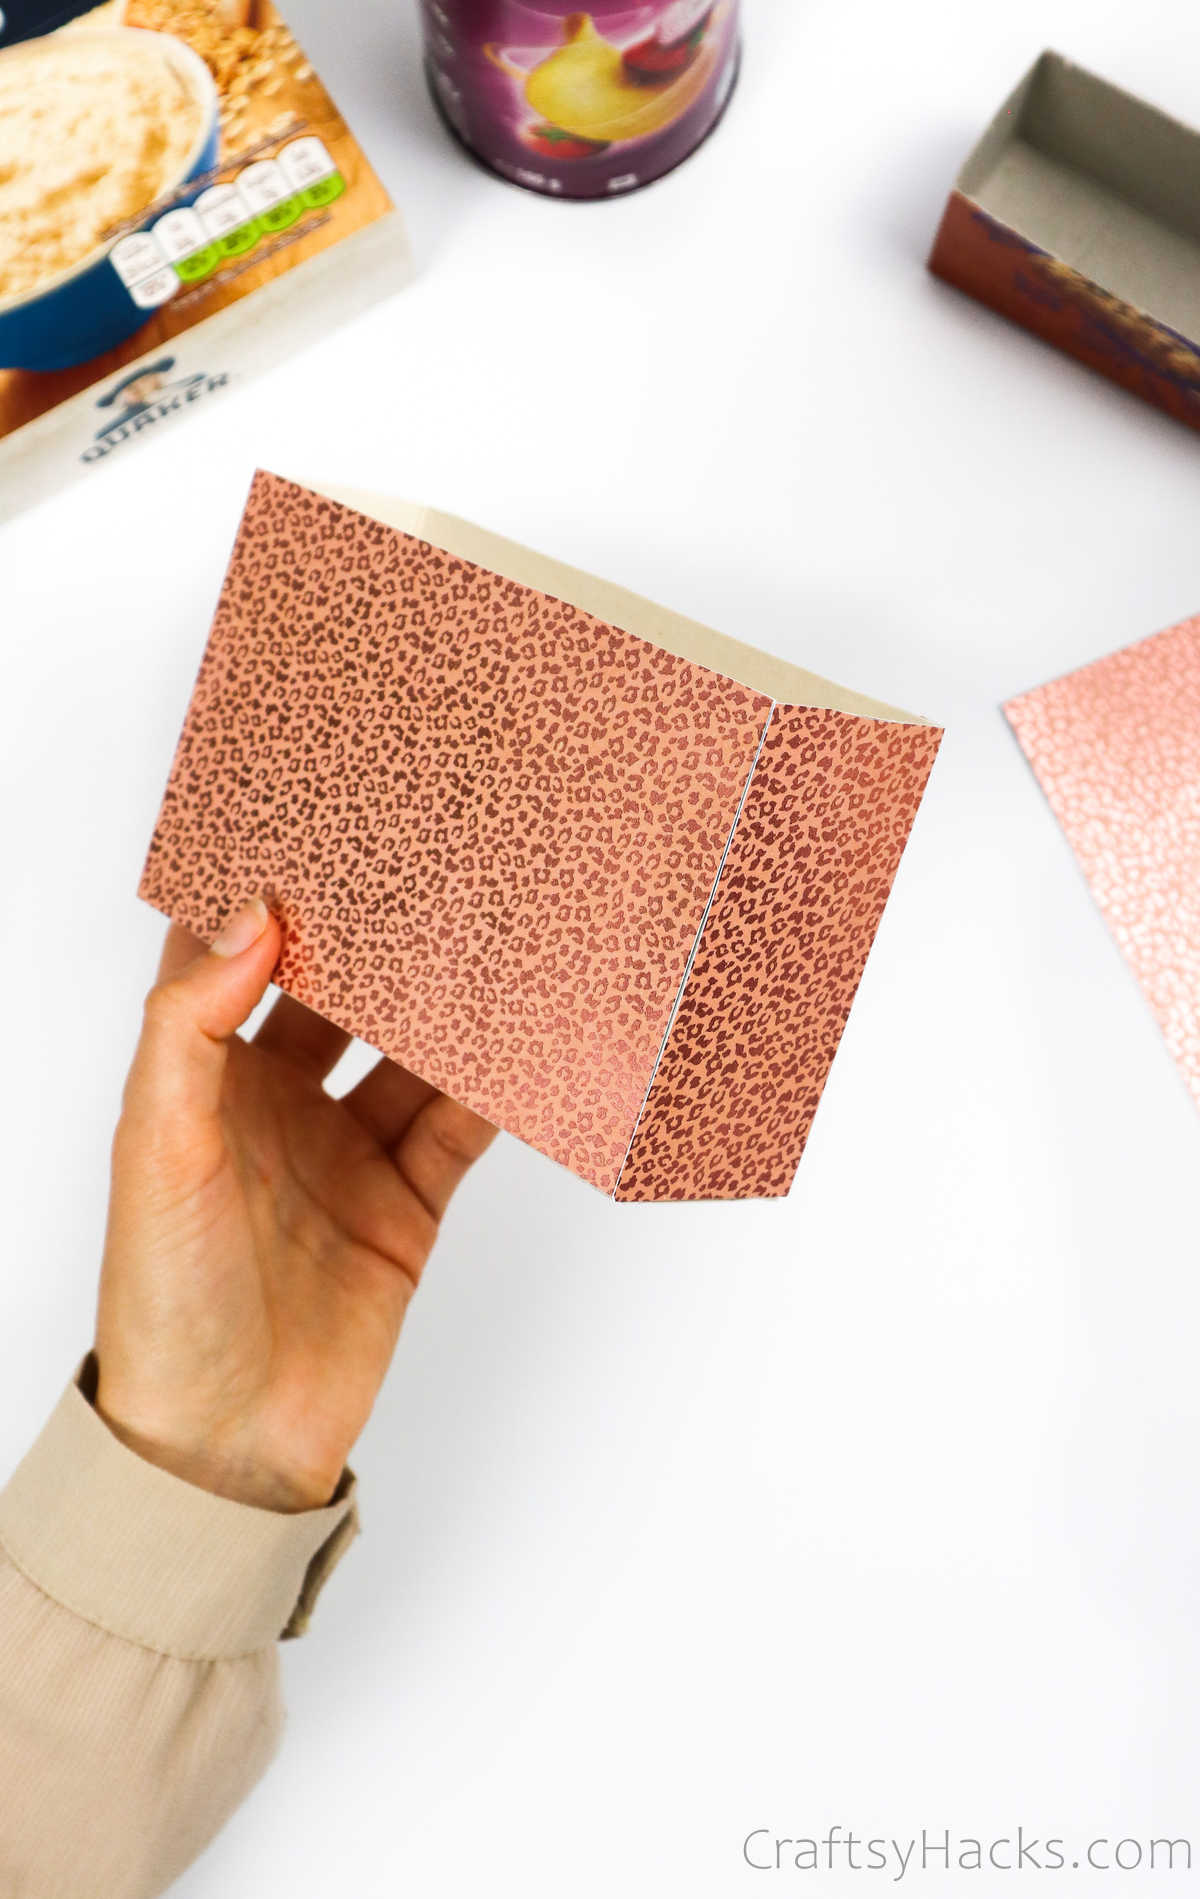
Then, line the edges with double-sided tape.
Wrap the container, making sure to press down the corners.
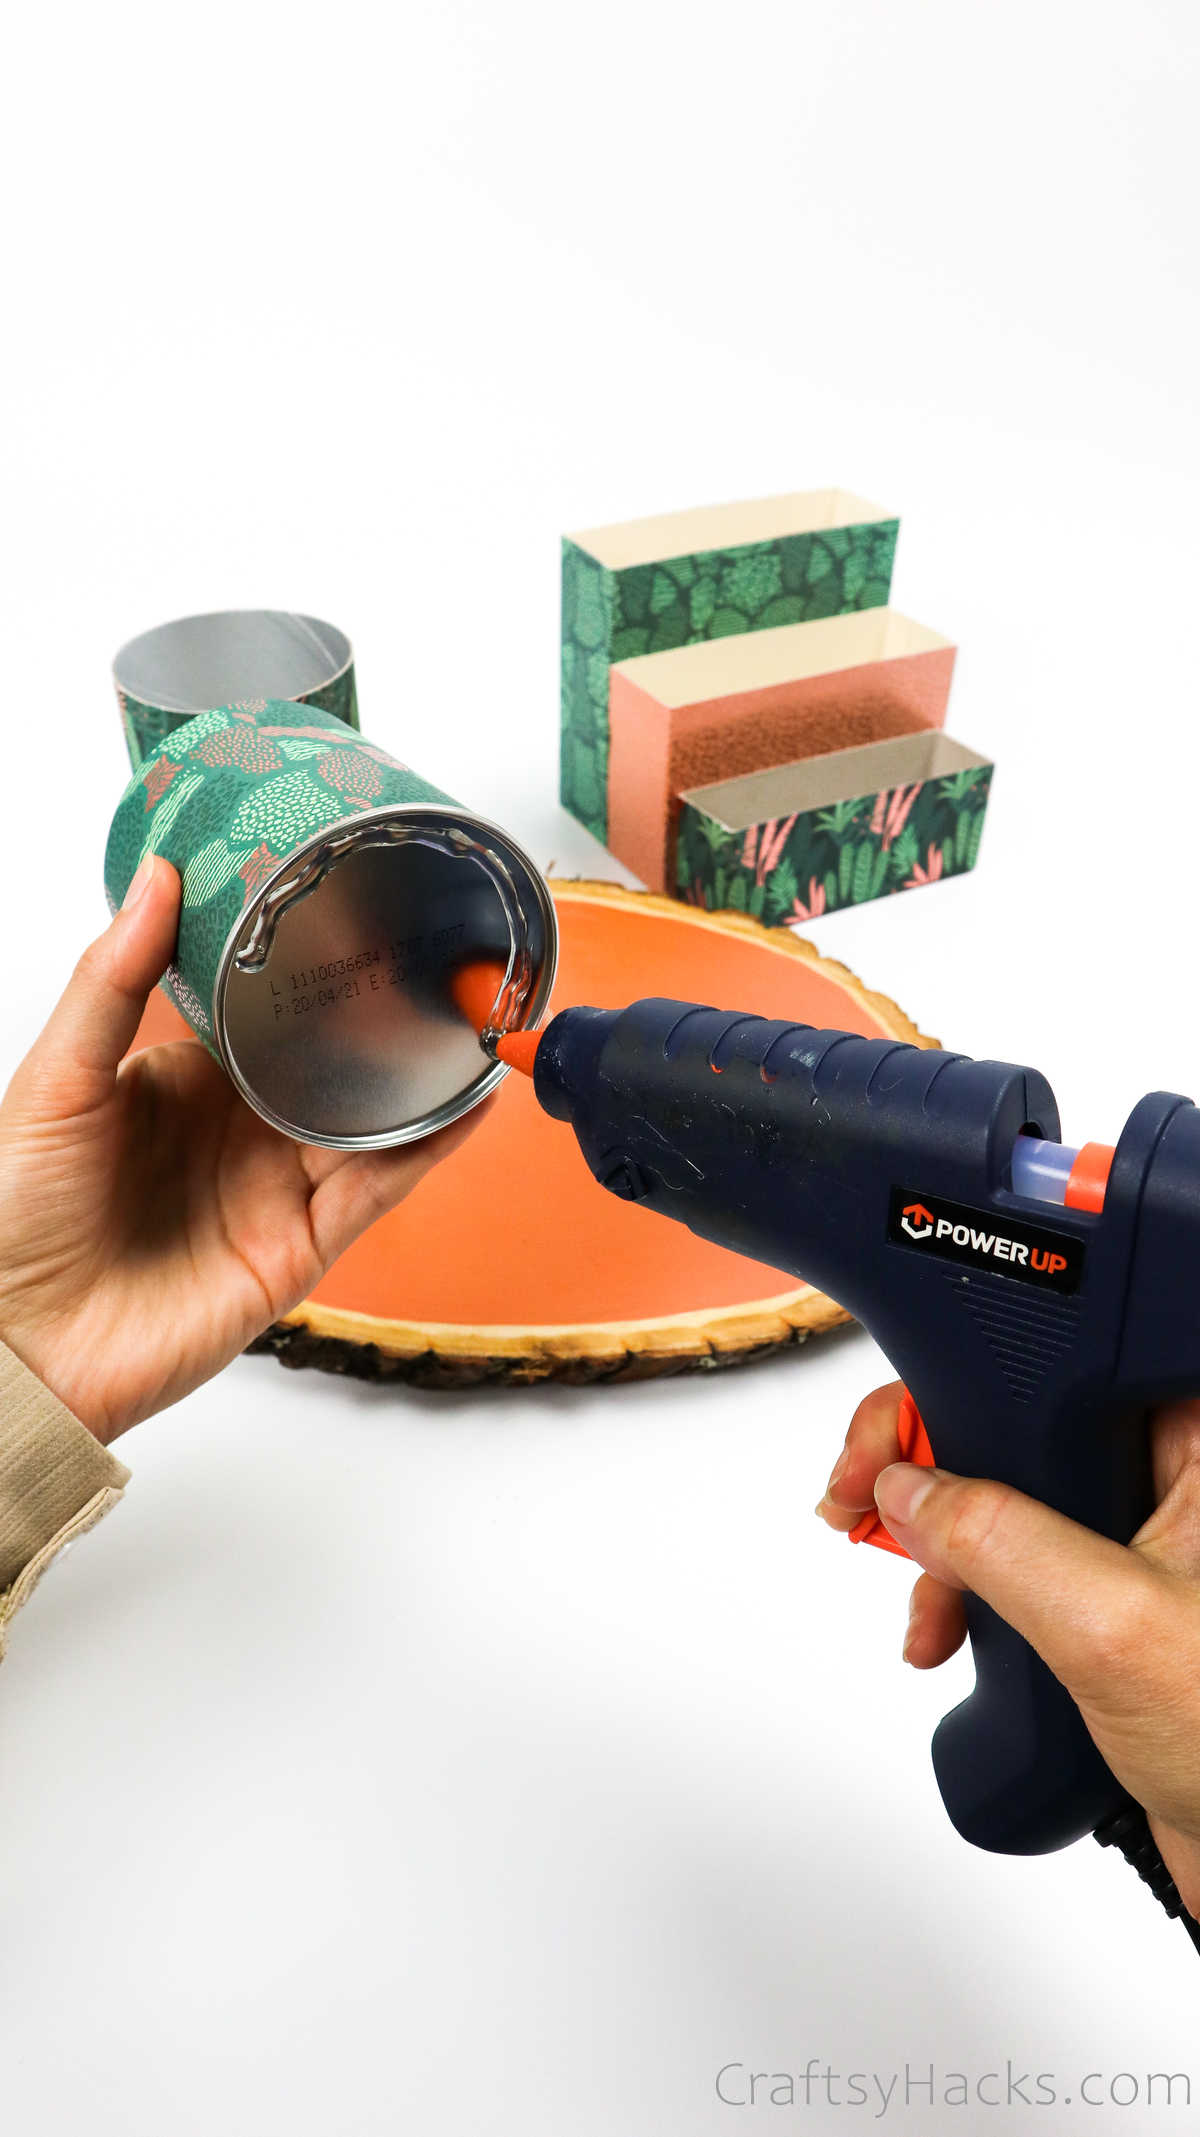
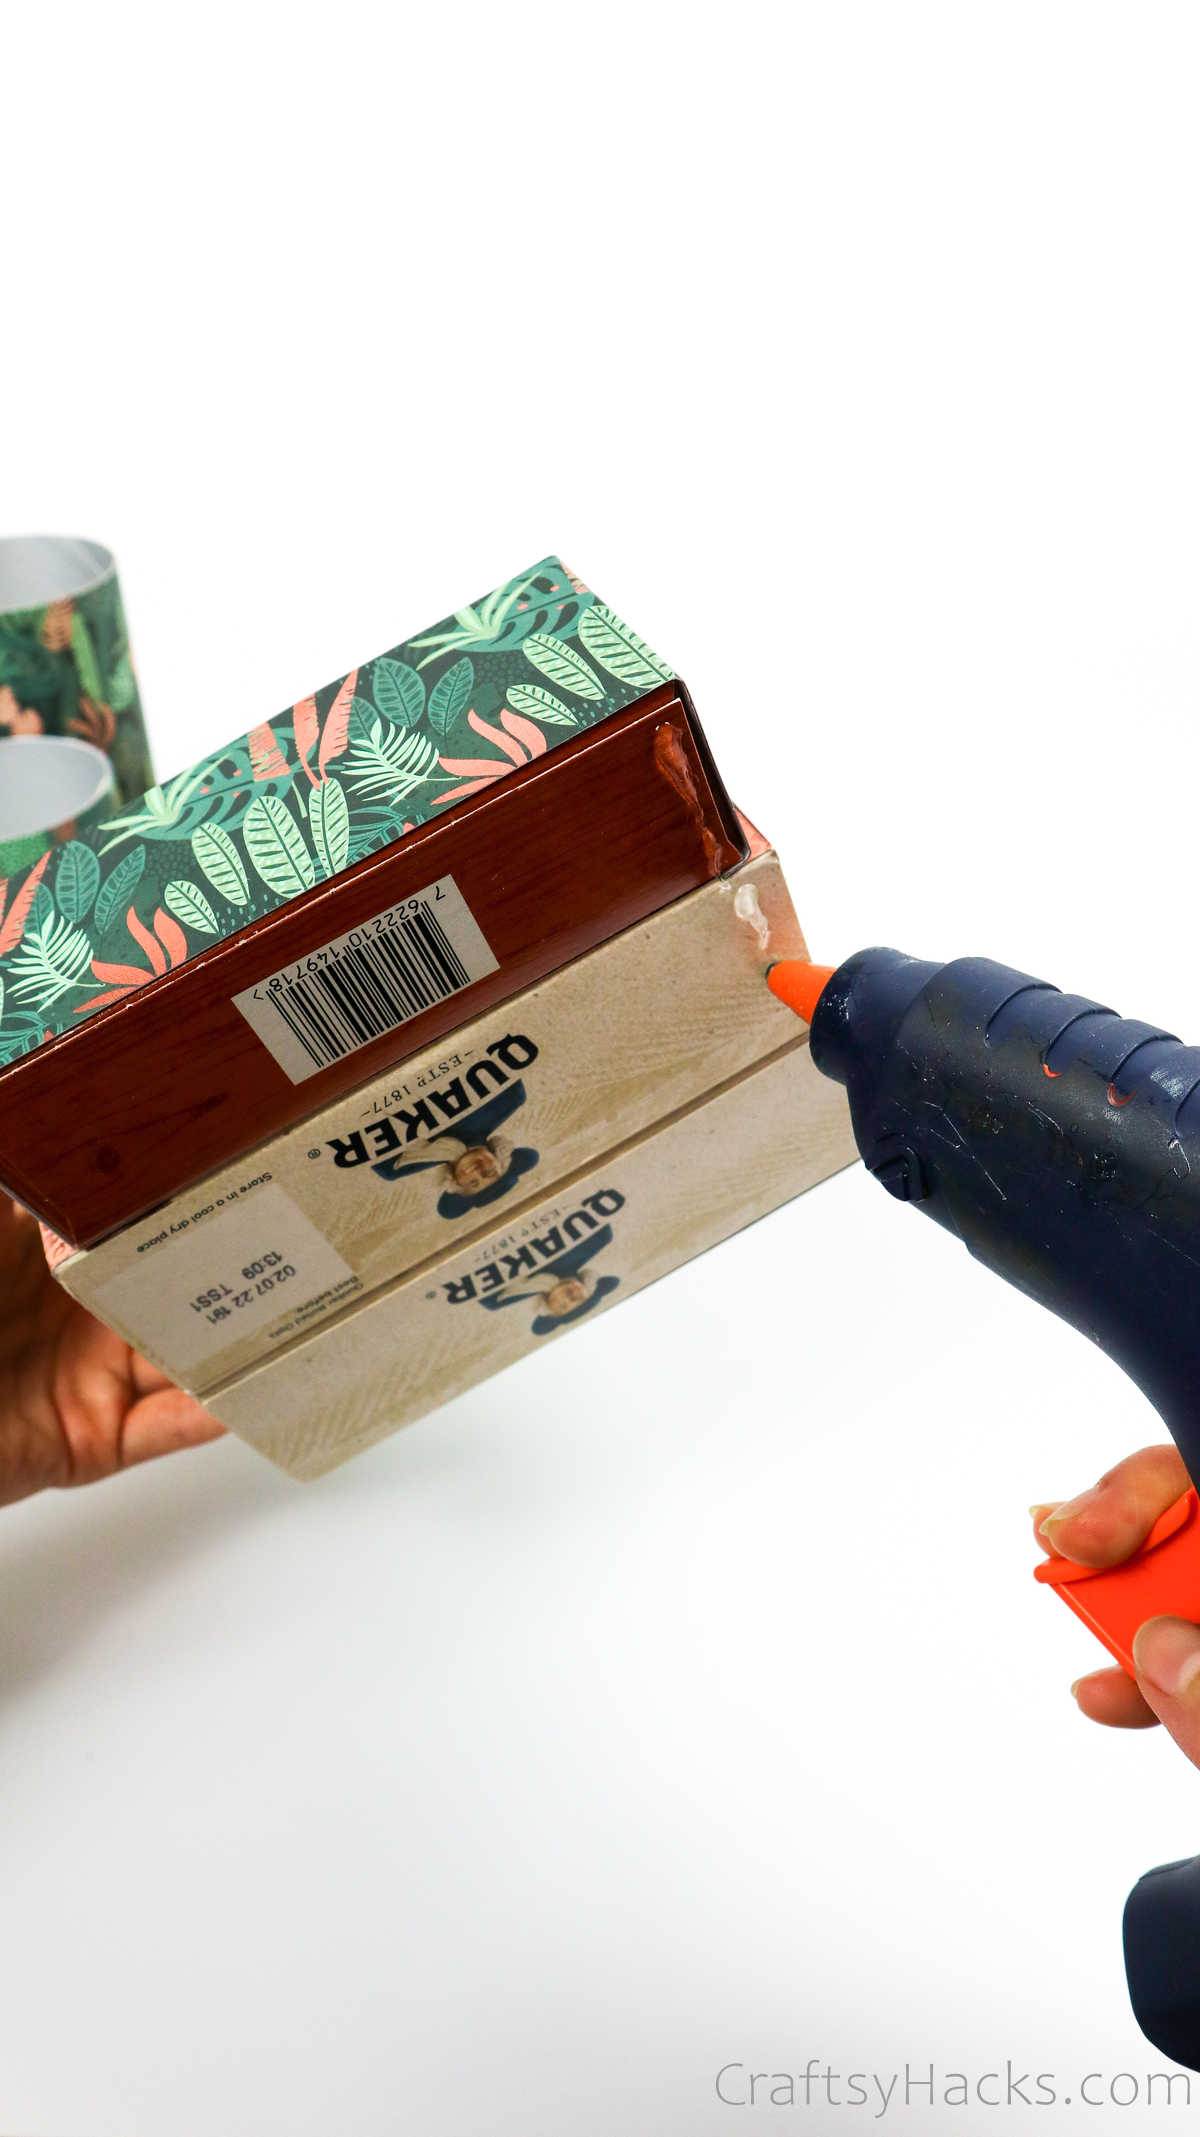
Step 9
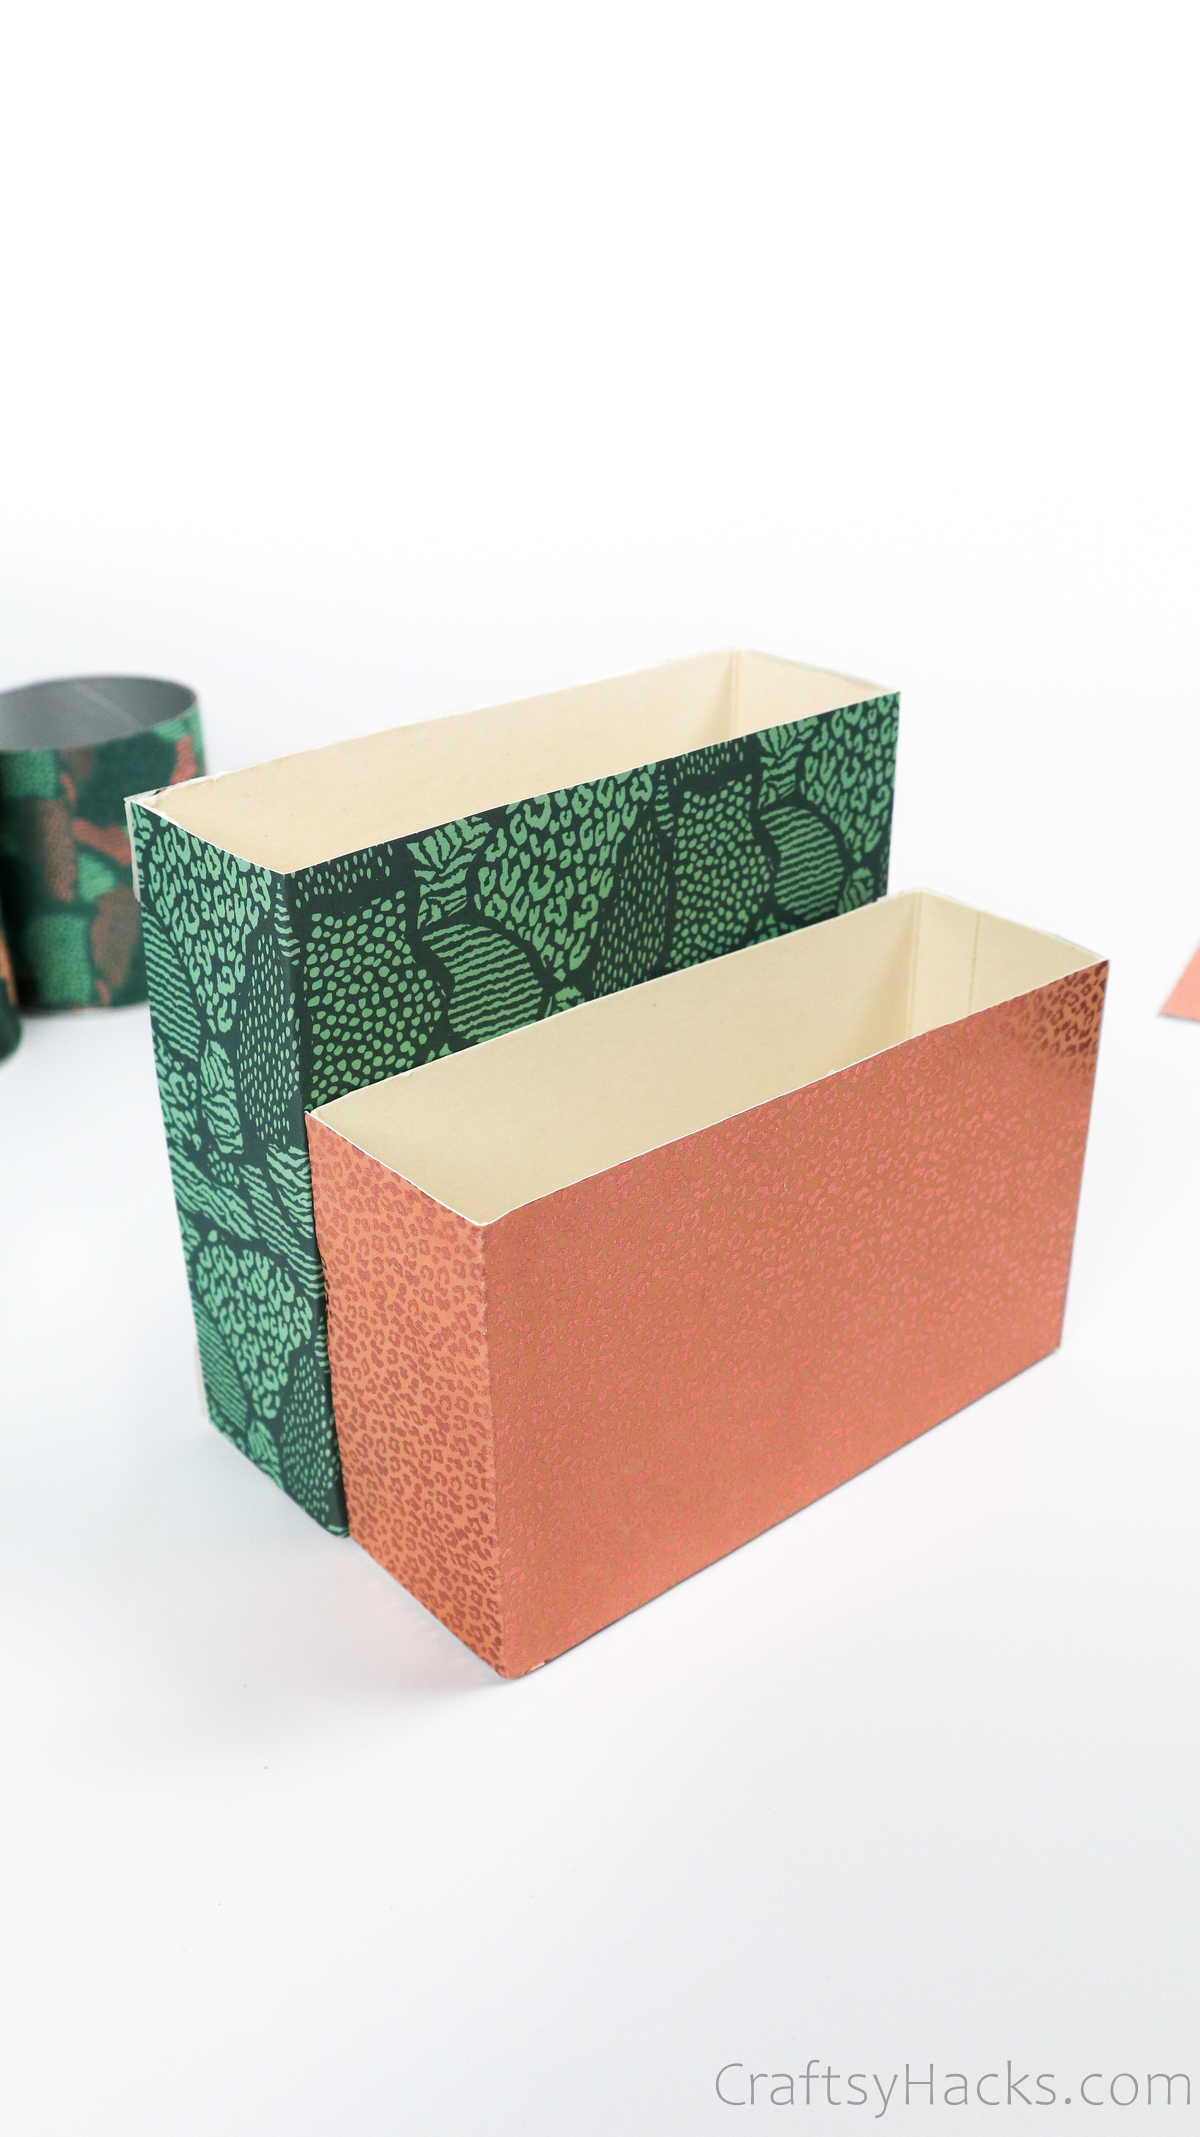
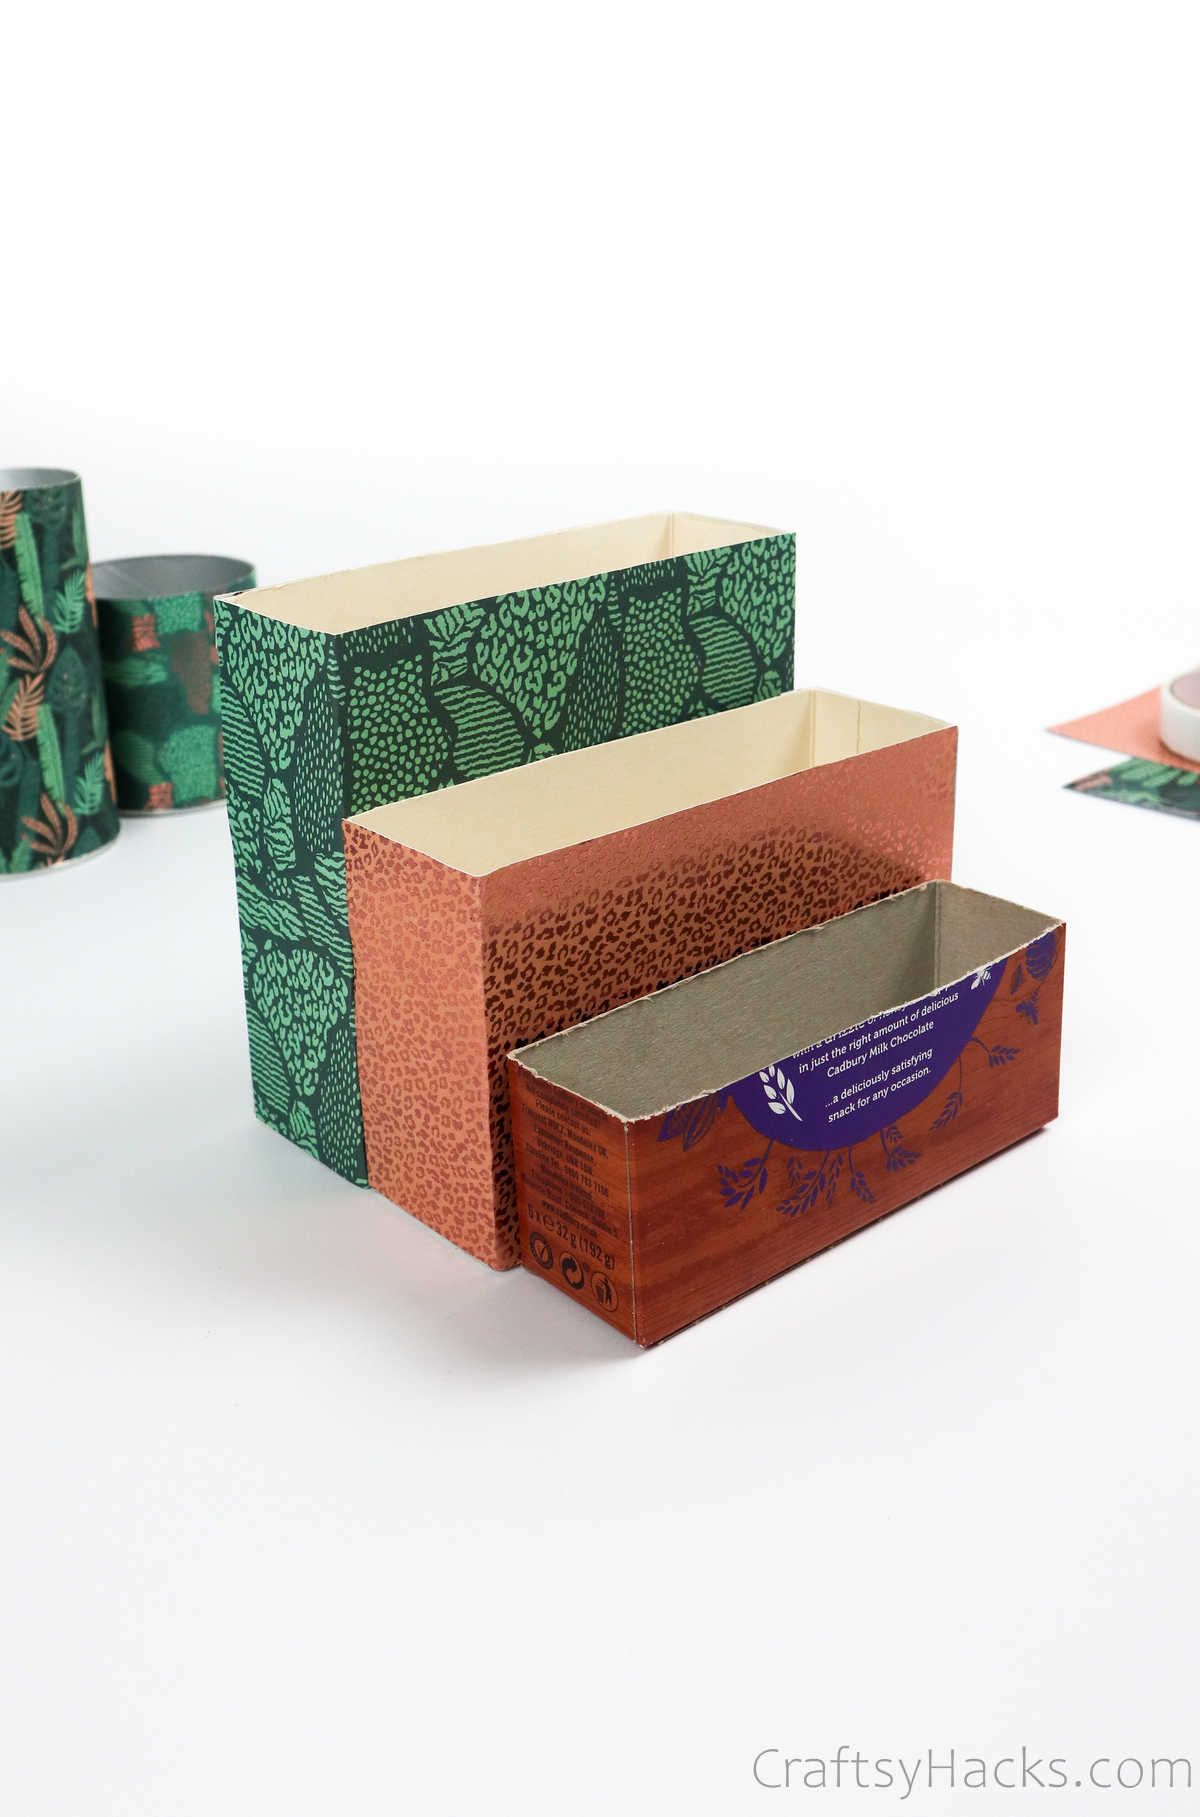
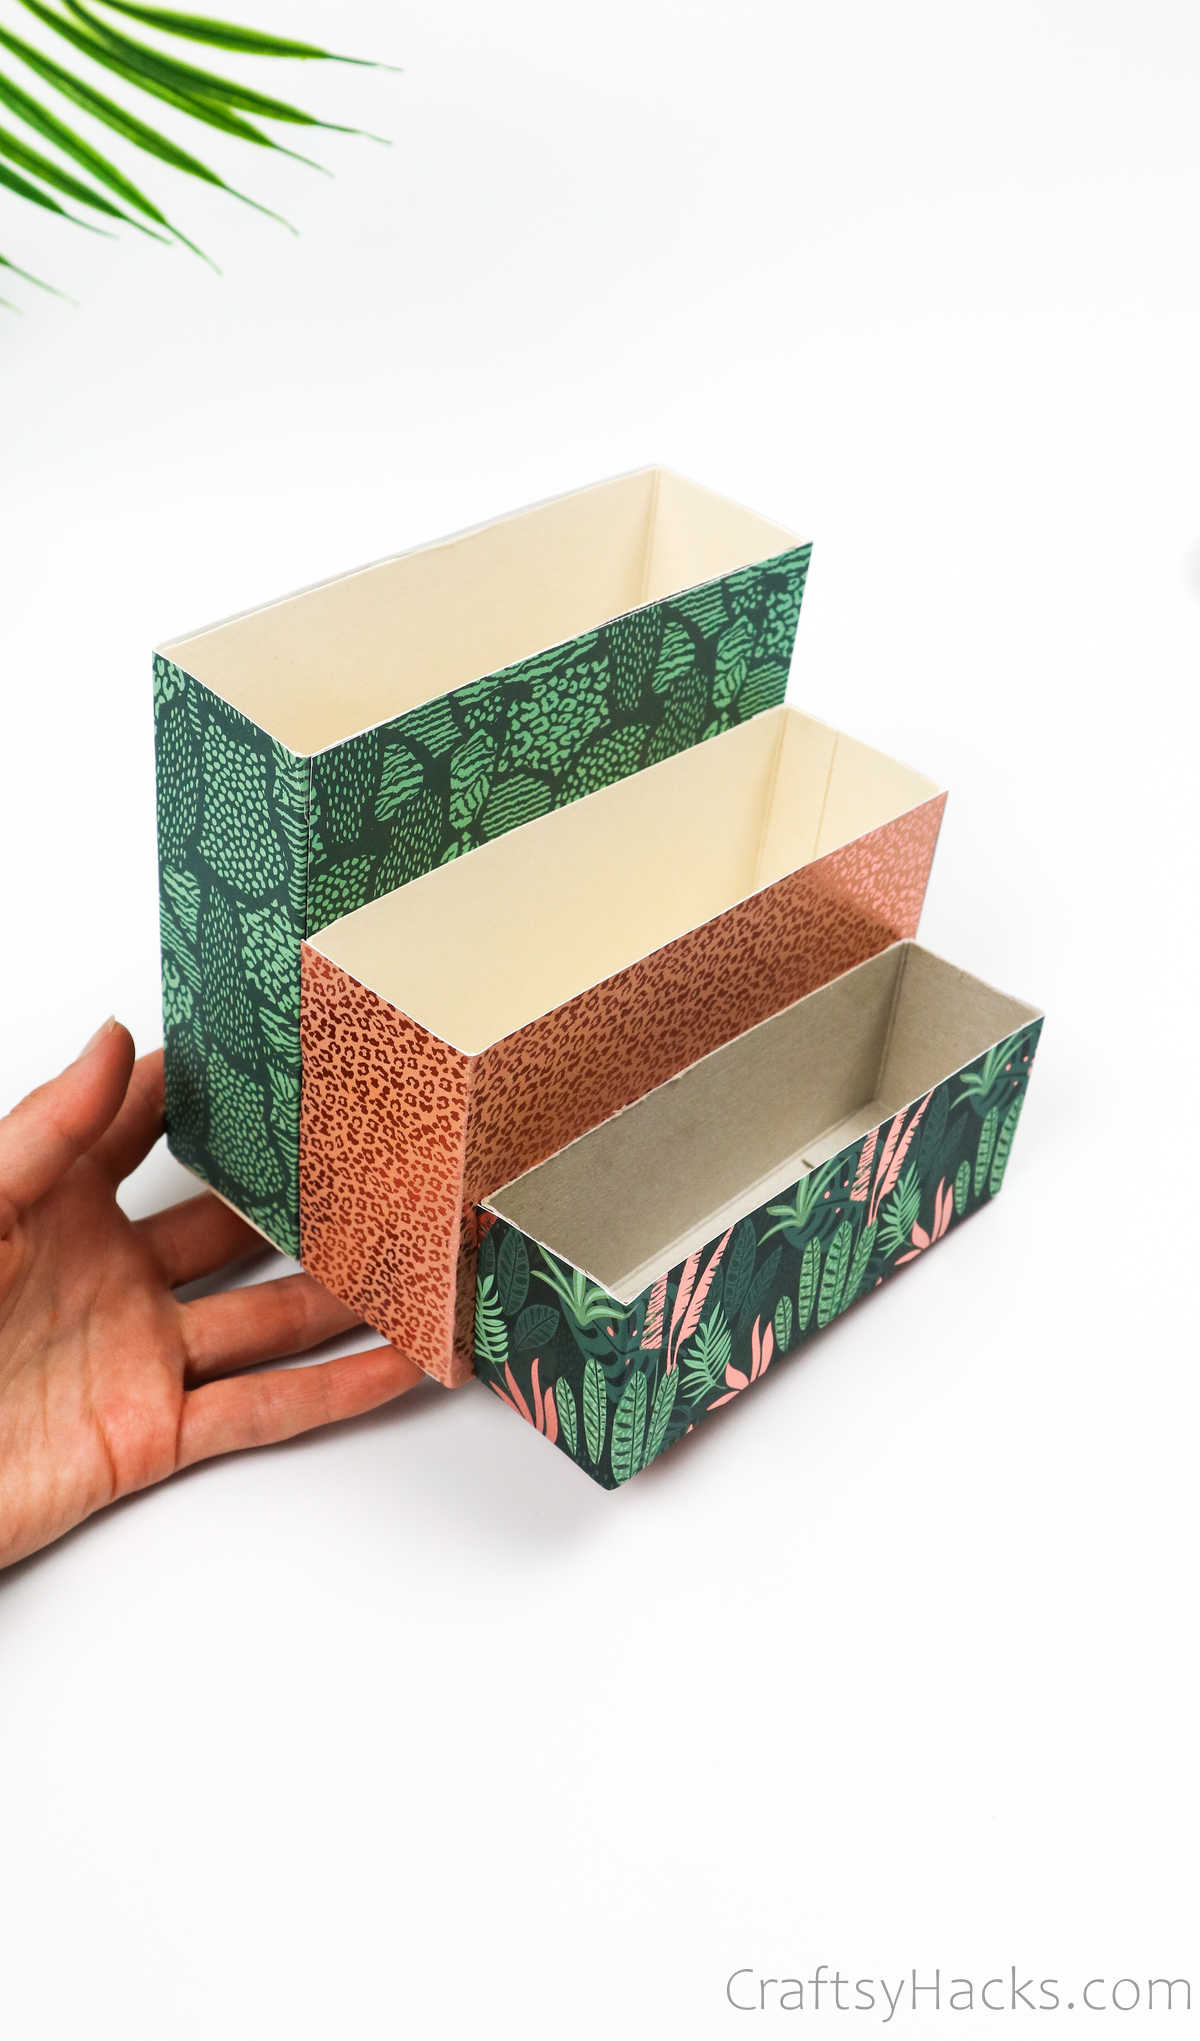
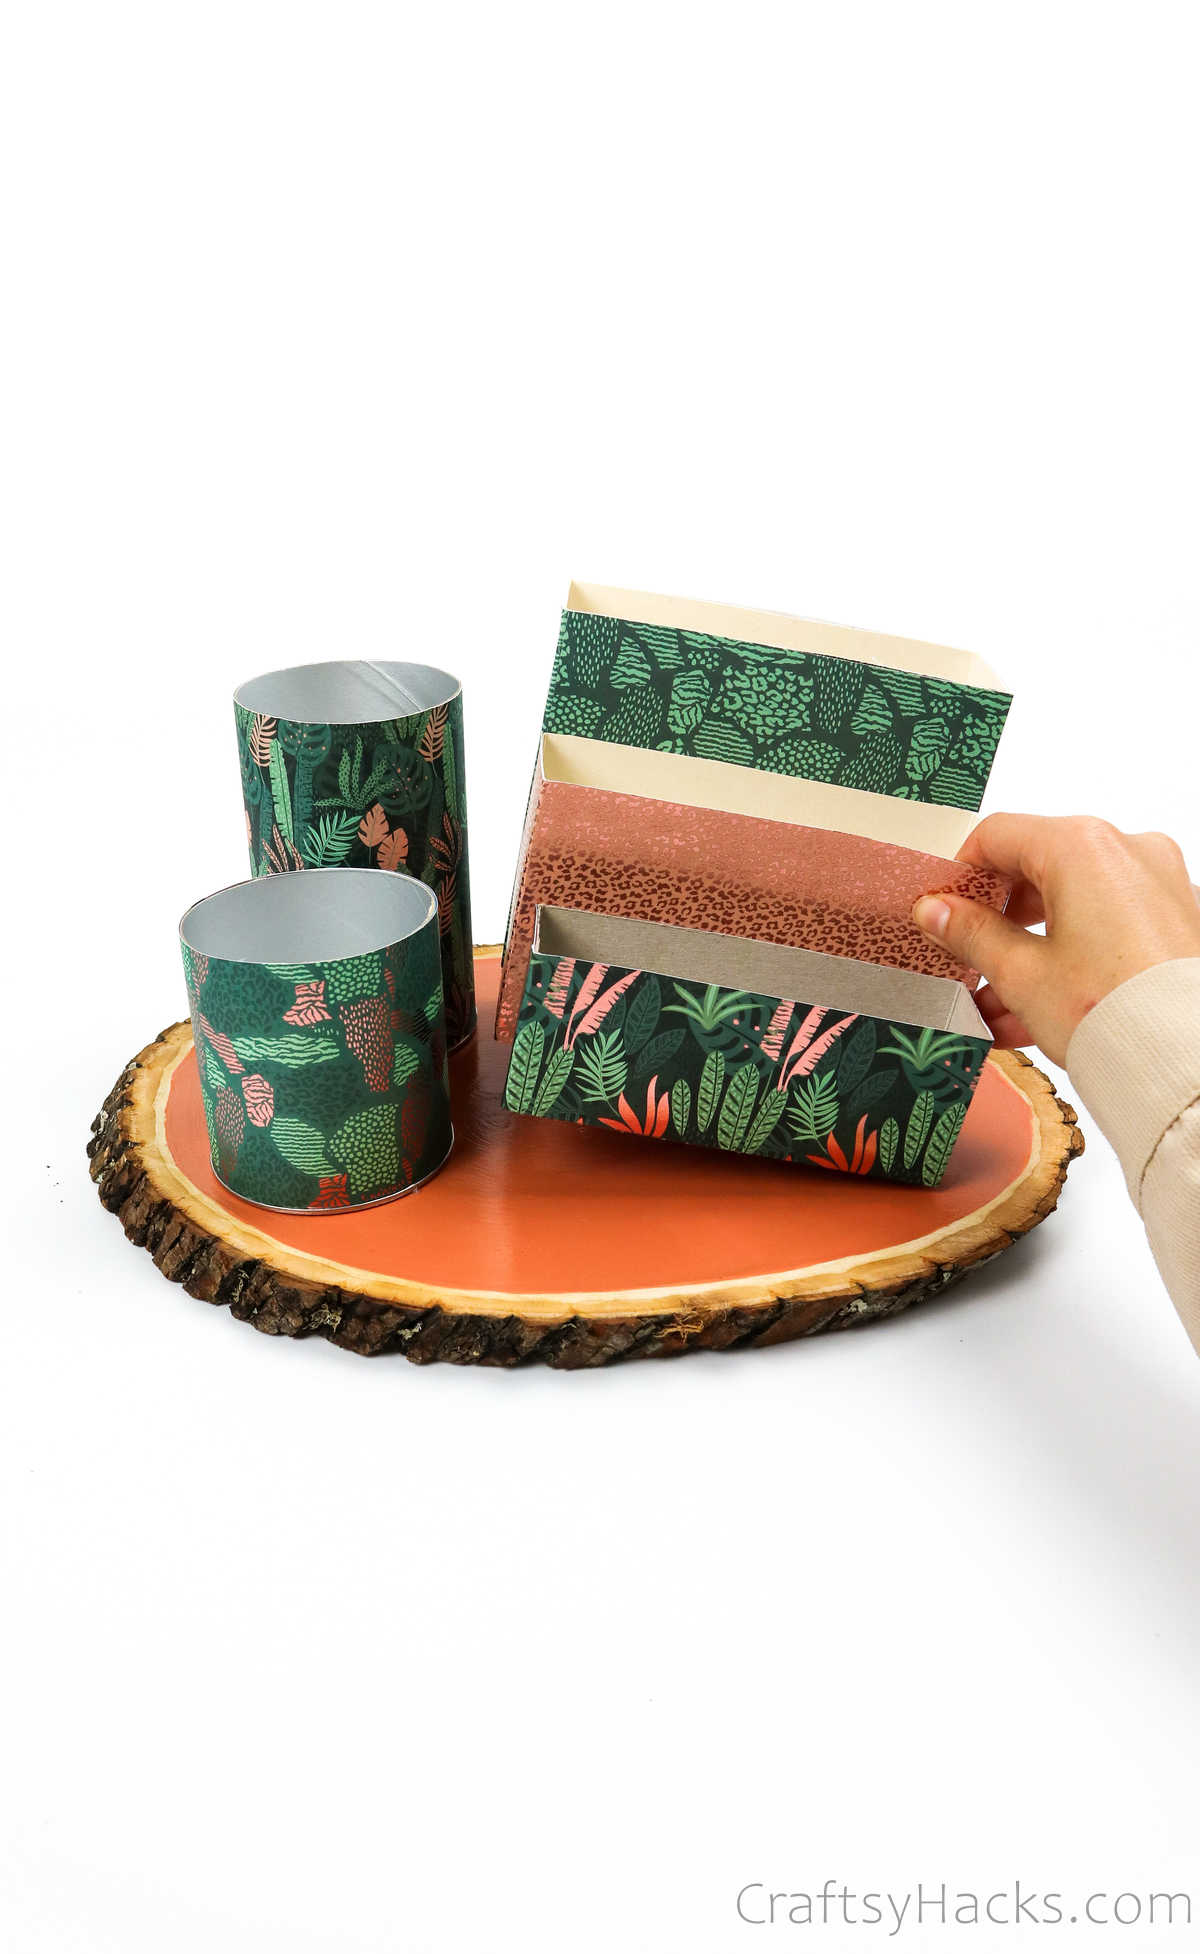
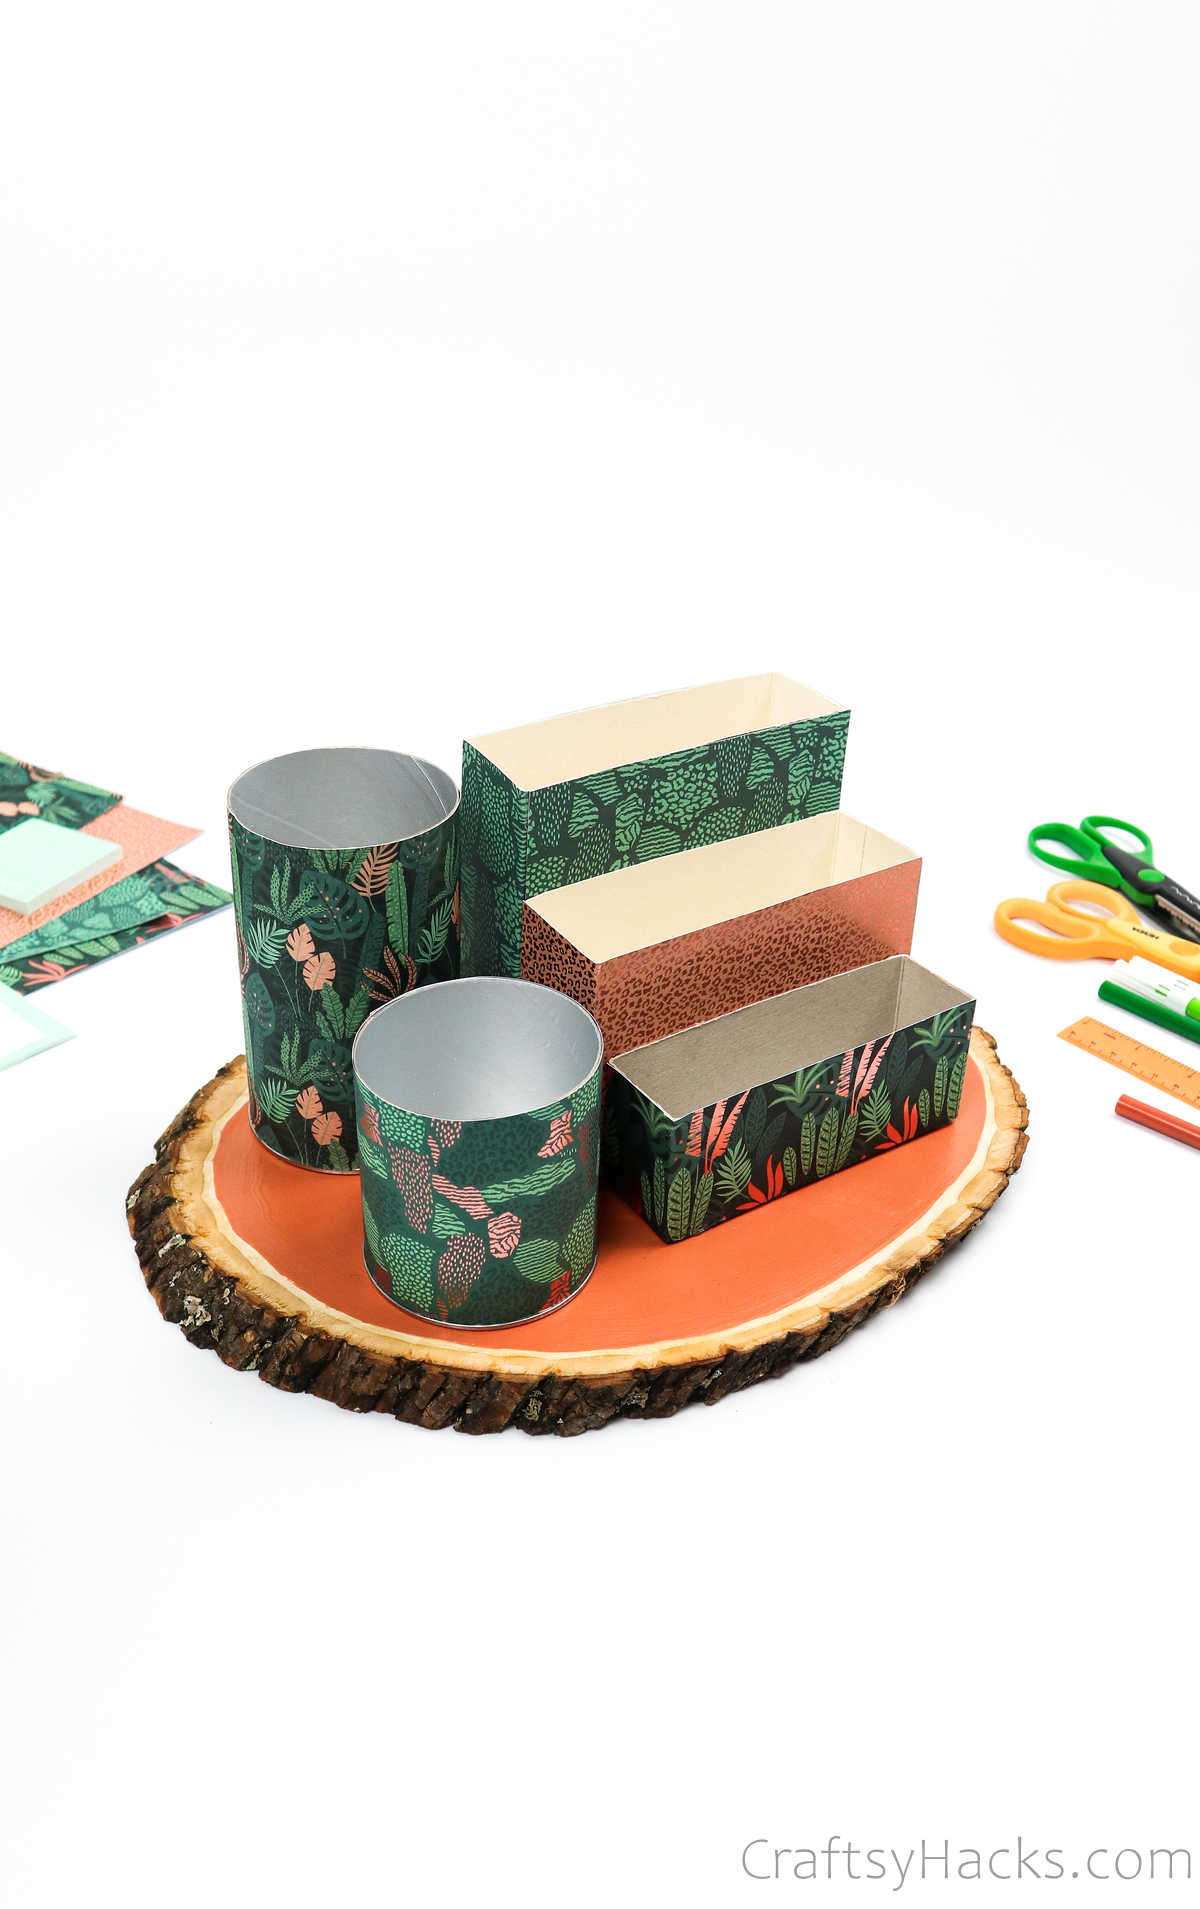
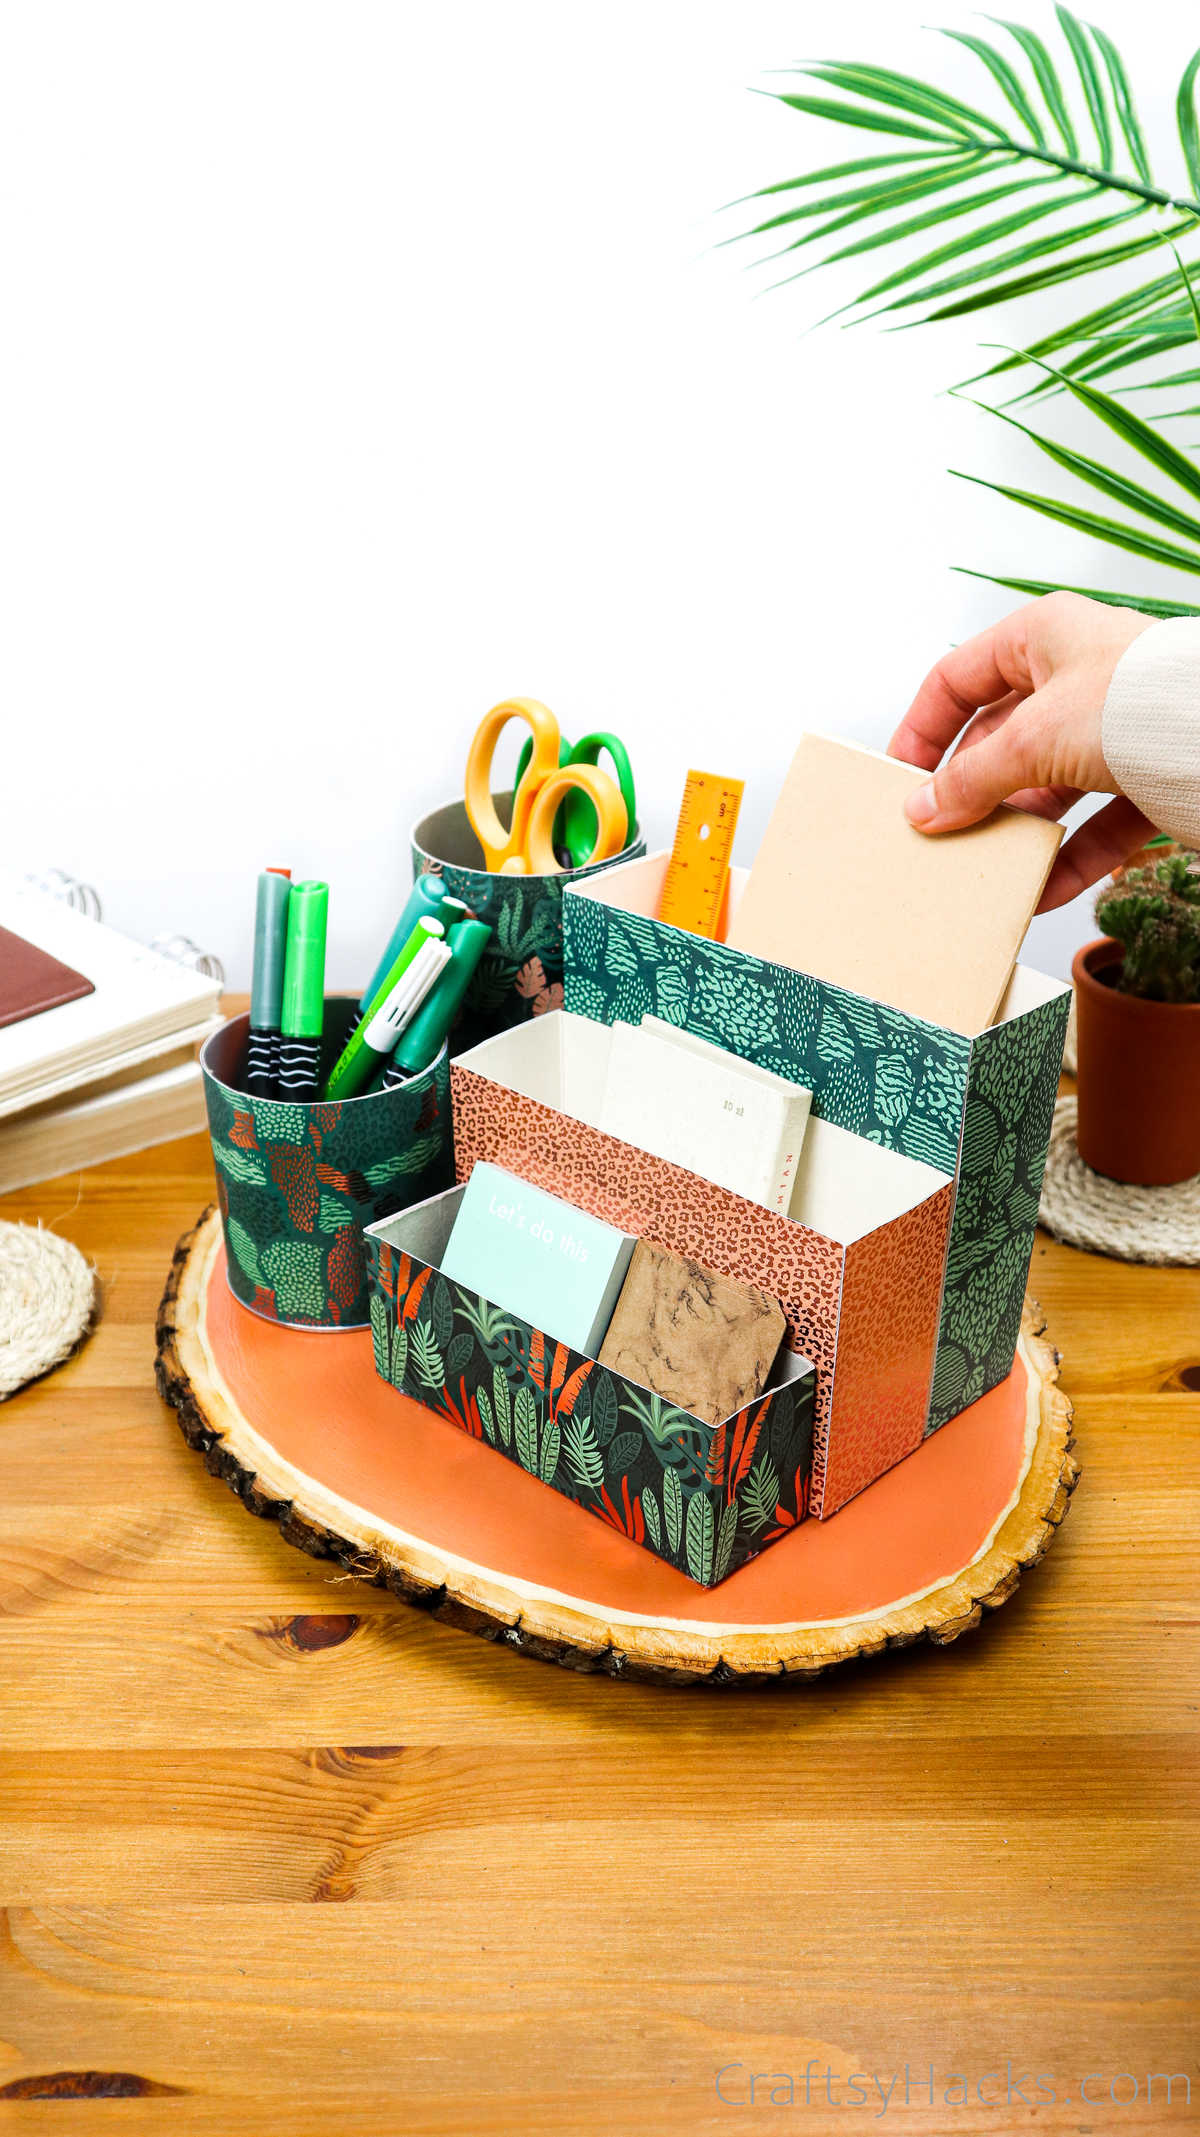
Once youve wrapped all the box containers, its time to stick them together.
Line all three containers in descending order of size.
You either tape the boxes together, or you glue them in placeits up to you.
However, using double-sided tape will give you a smoother finish.
Repeat this step to hot glue the wrapped cereal boxes to the wooden board, too.
Watch Video: DIY Desk Organizer
For more visual learners a full tutorial on video!
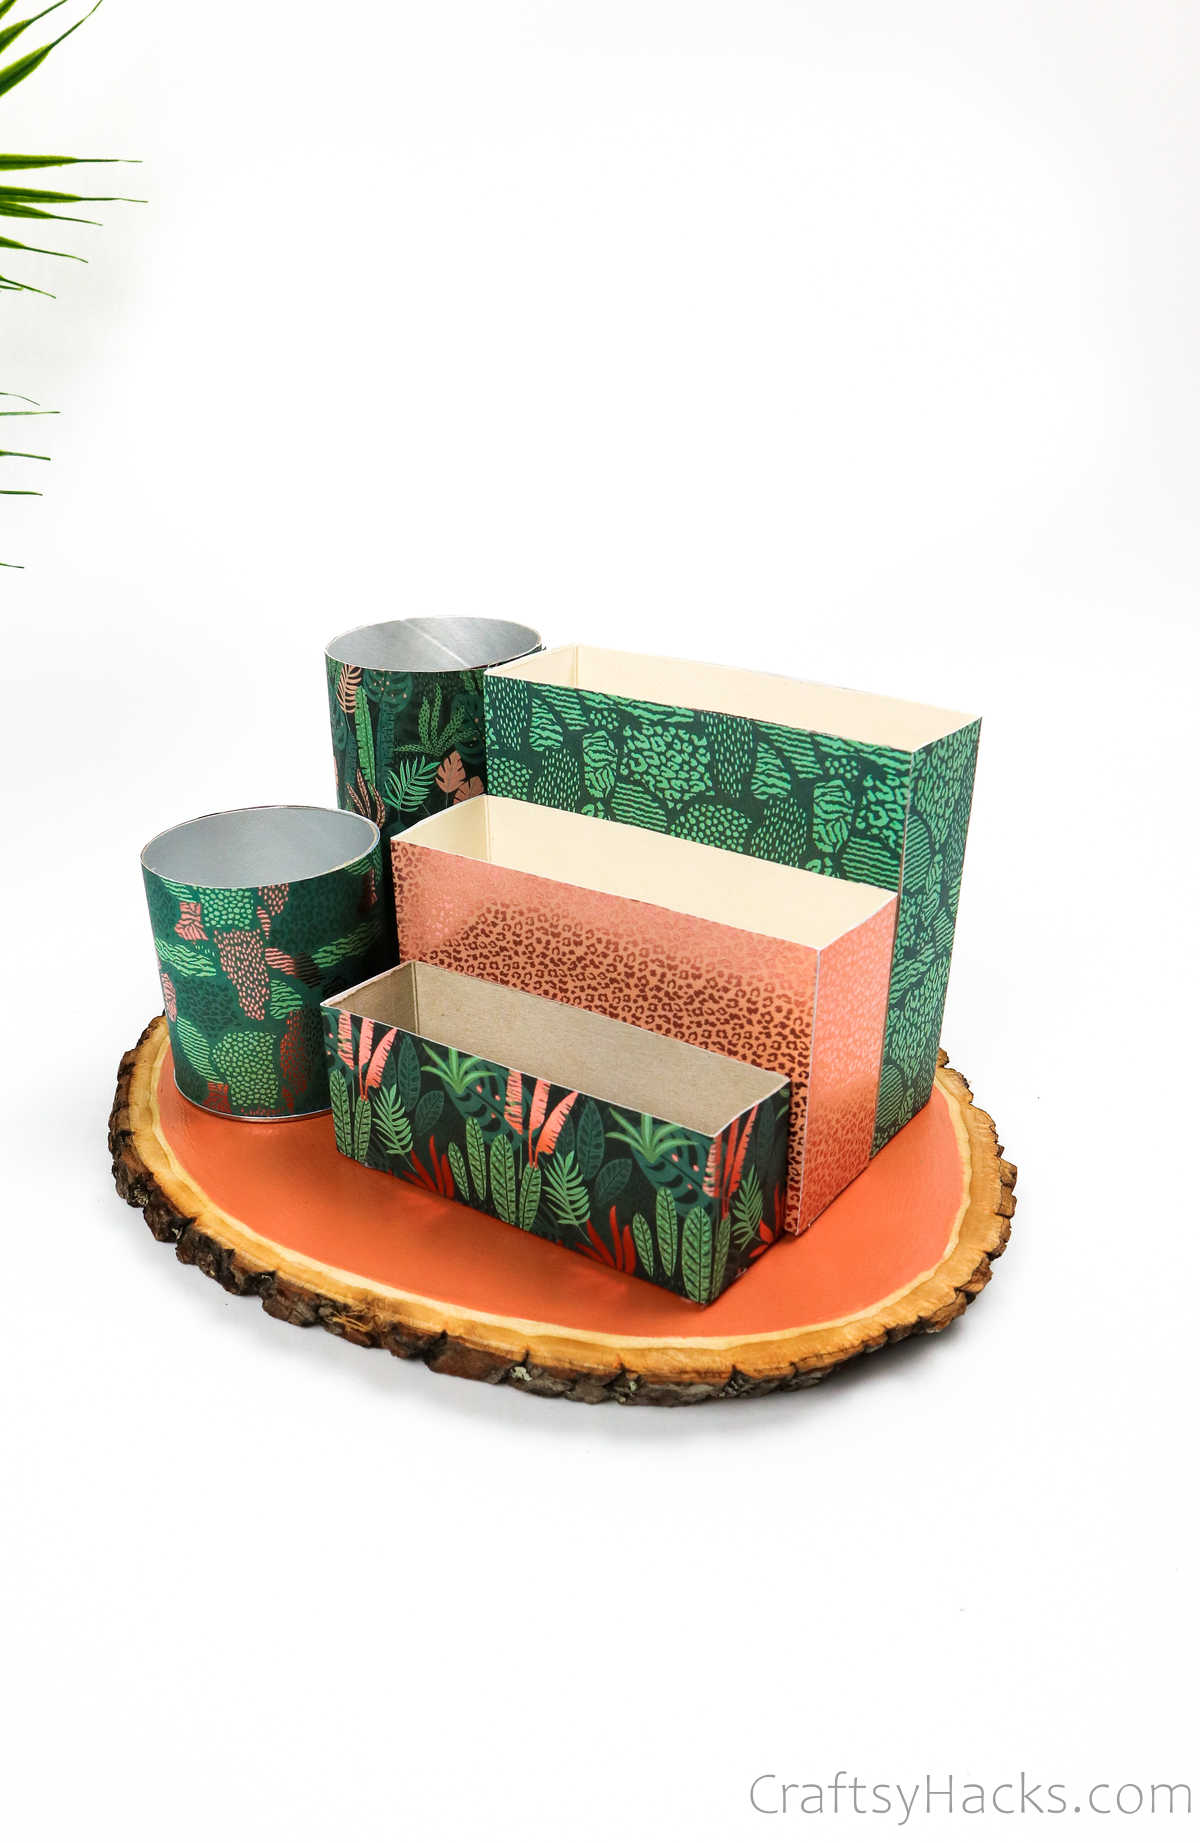
What Can You Store In This Organizer?
This organizeris perfect to place on your study table, work table, or craft table.
It can hold and organize all your items.
you might also use it in your kitchen if you customize the containers accordingly.