Build a farmhouse style DIY coffee table with storage underneath!
This table is gorgeous, very sturdy, and works perfectly with rustic or industrial decor.
This post completely guides you through the process.

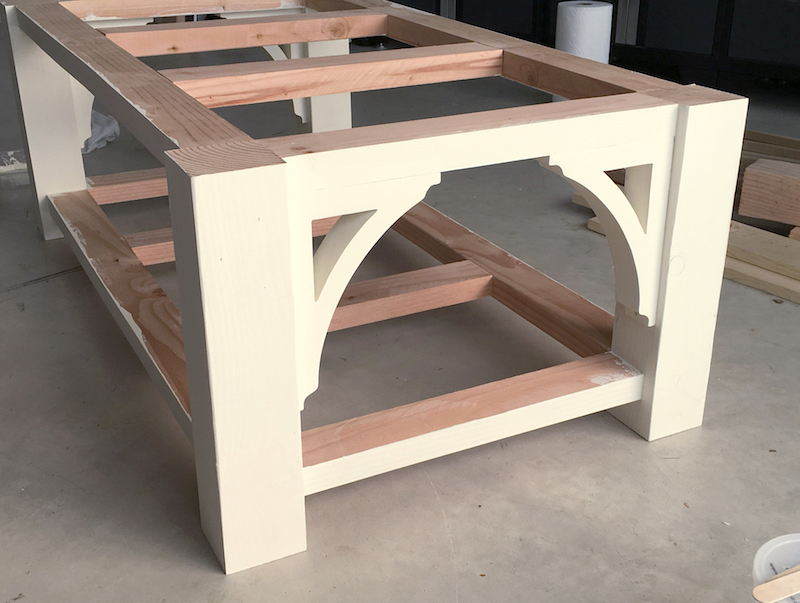
Paint or stain it in any colors you like.
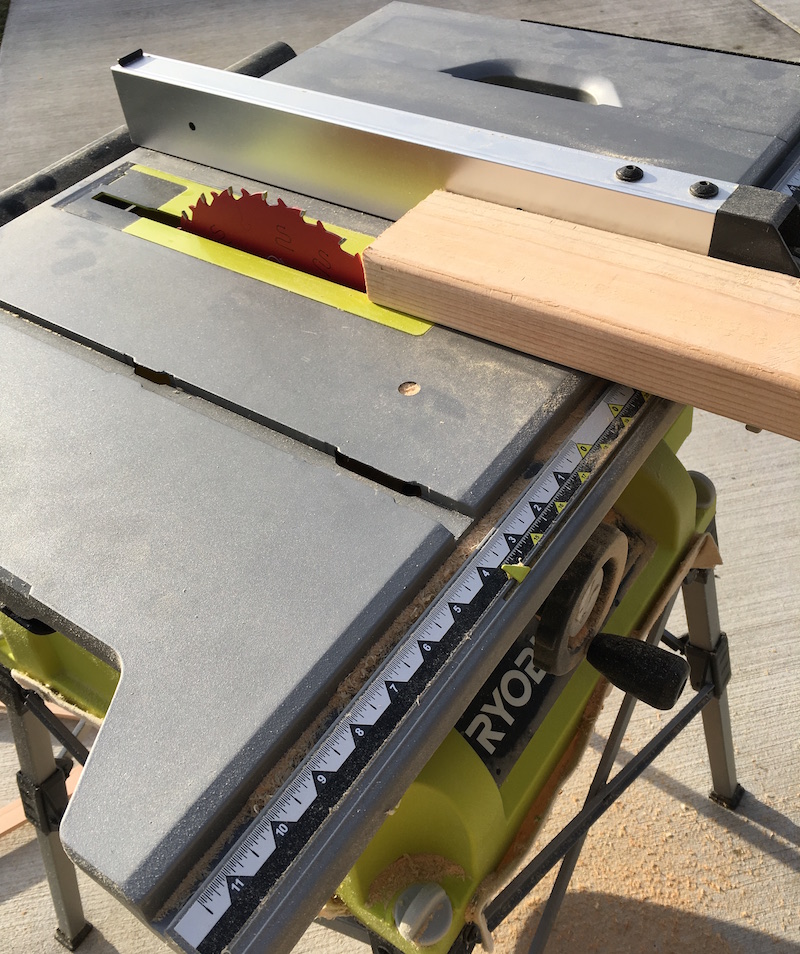
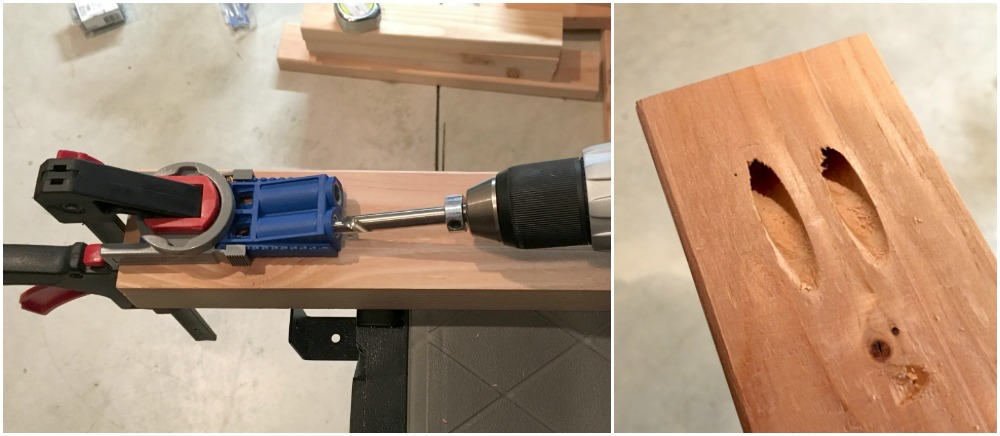
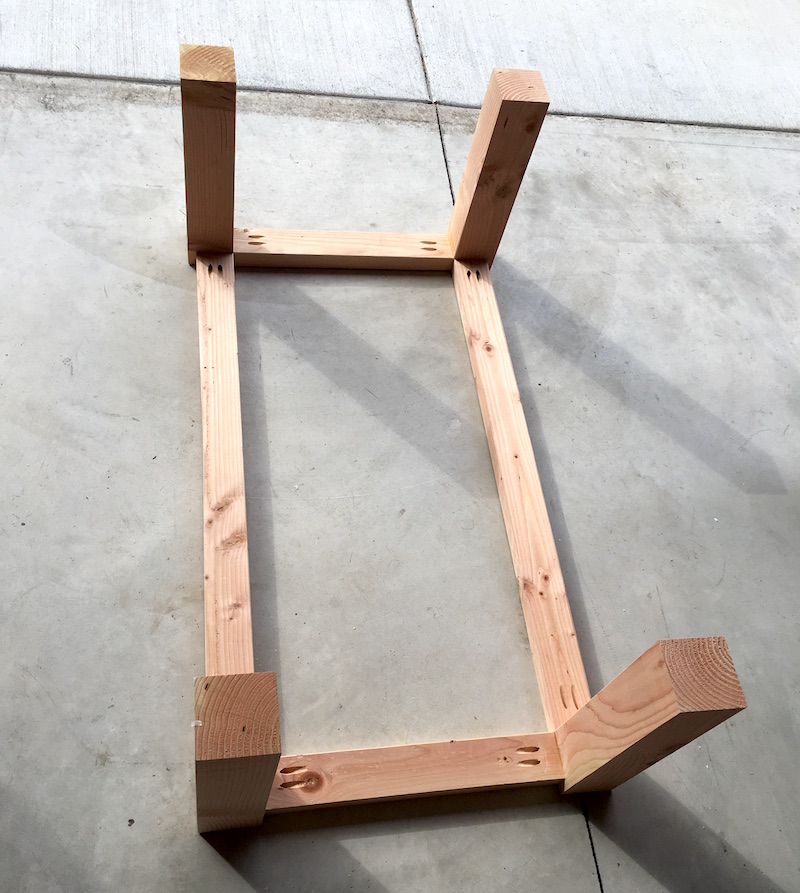
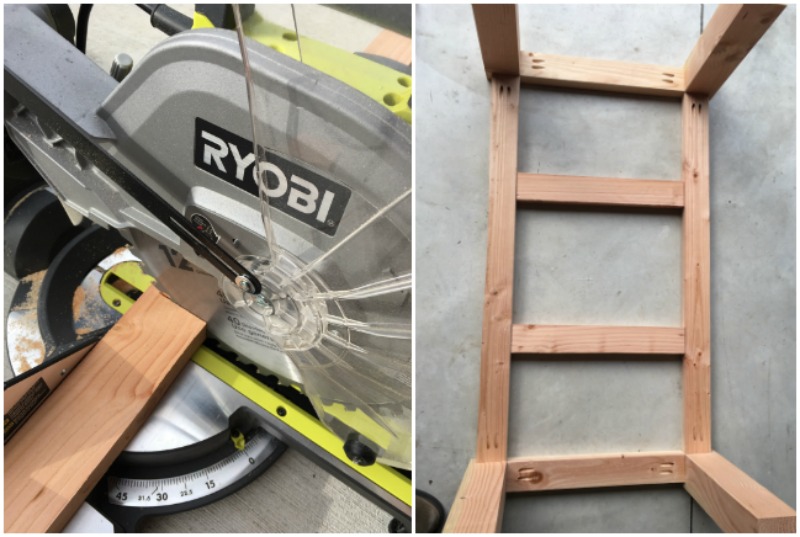
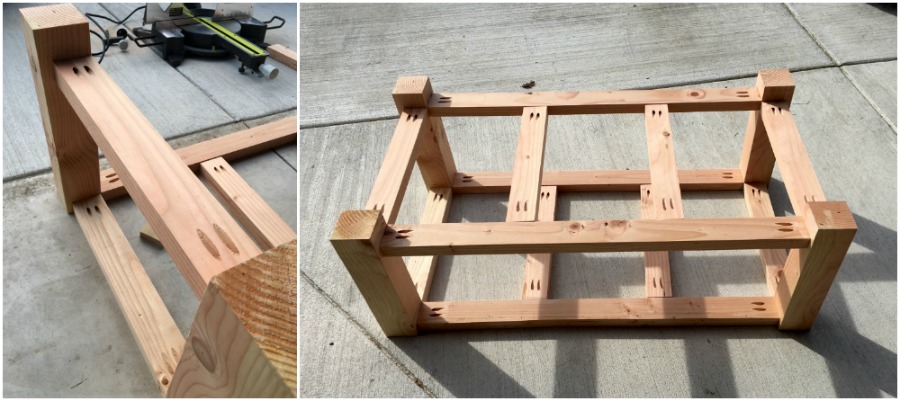
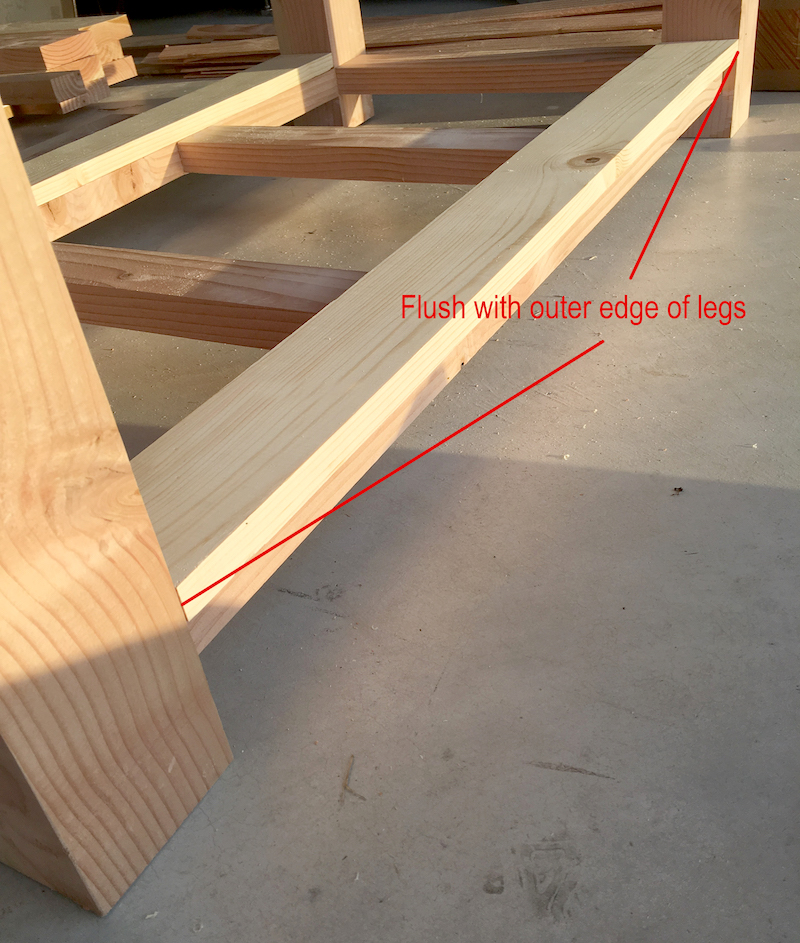
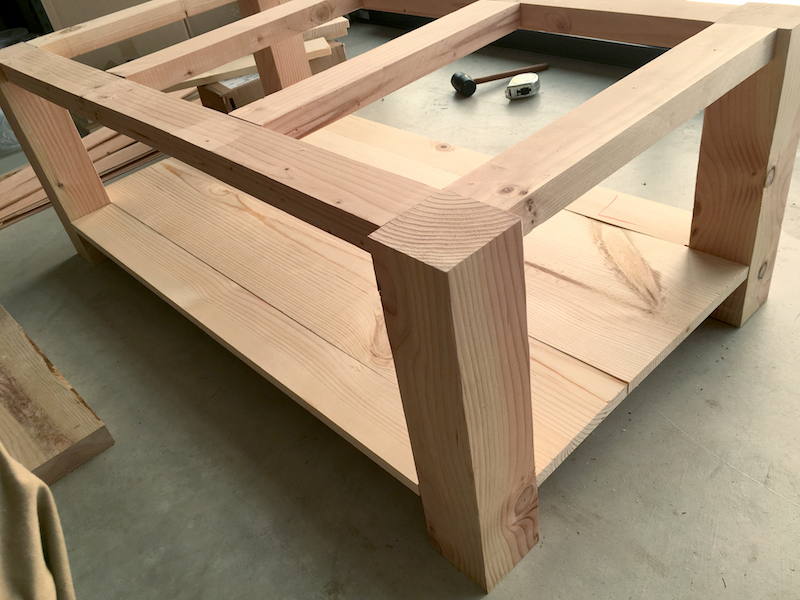
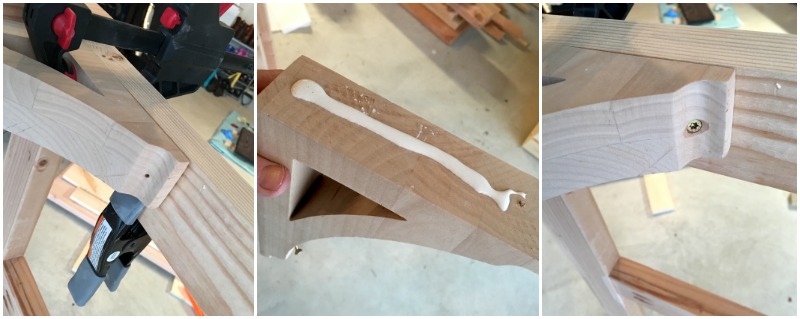
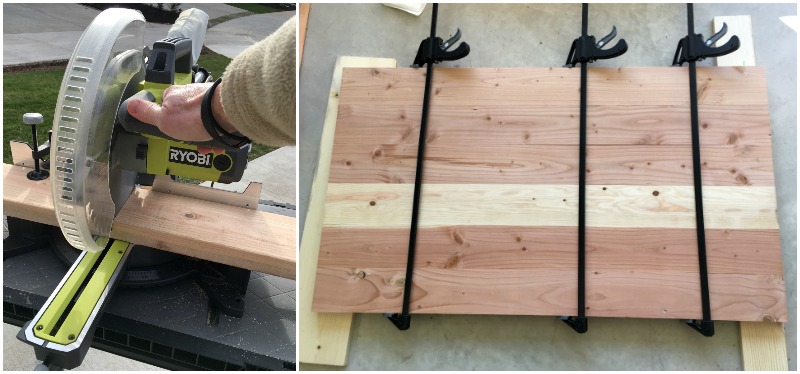
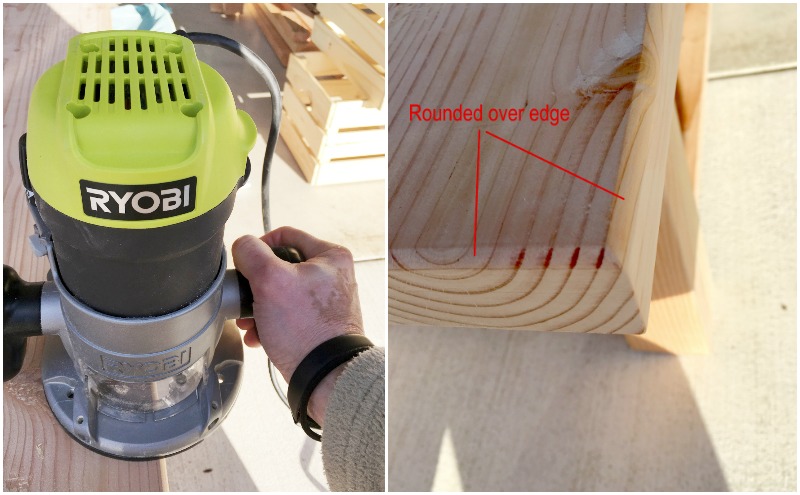
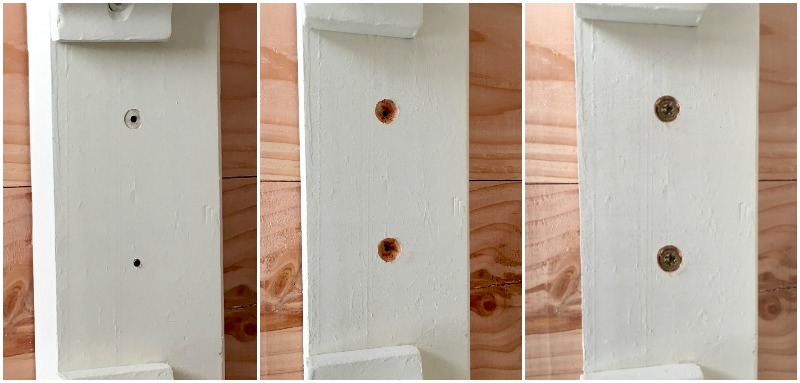
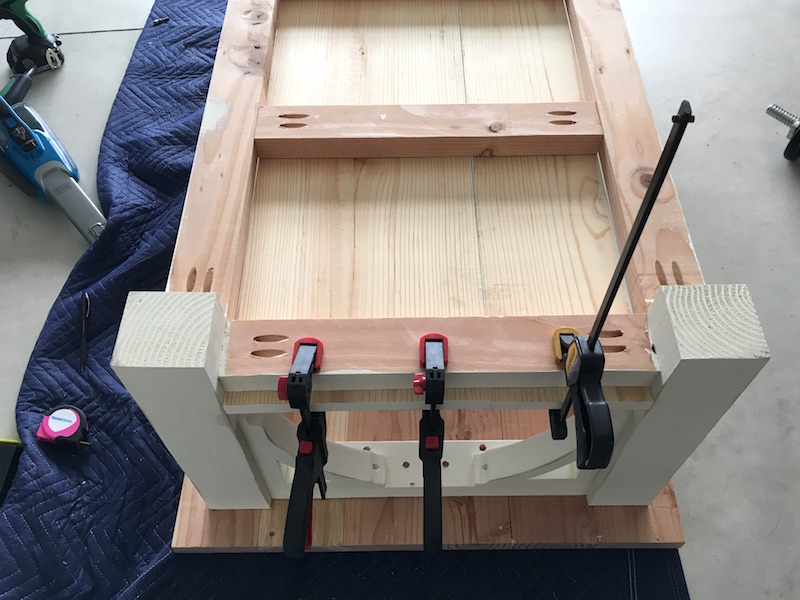
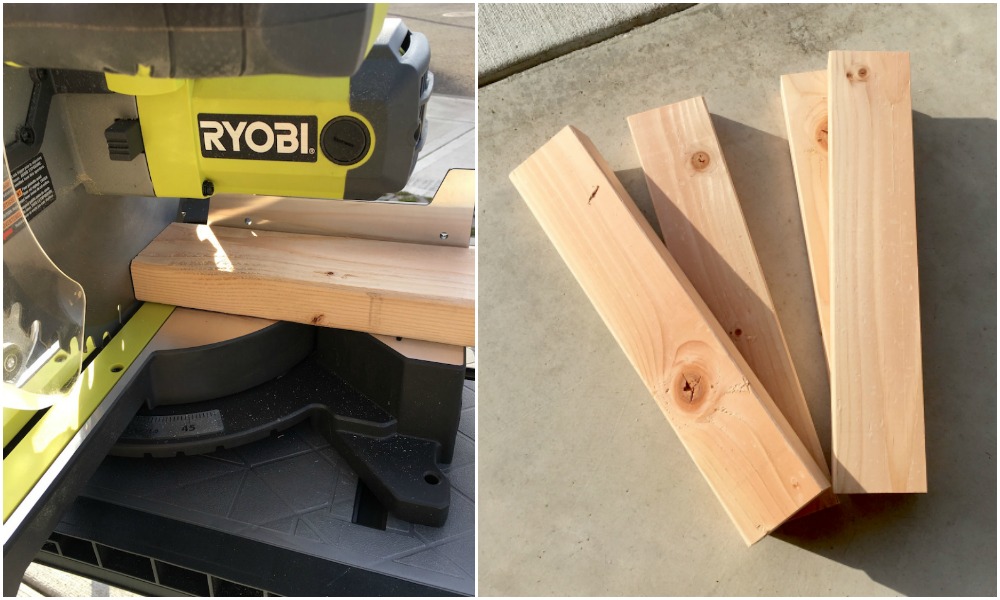
Youll be doing some gluing and screwing and lots of measuring.
You want to know the funny thing about this project?It went in reverse.

Thewooden crateswere purchased first and then the table was built around them.
If you want to build coffee table with storage, thats the way I recommend doing it.
The only consideration we had to take into account for this build was the crates.

They are theKnagglig box, made of pine, 18 x 12 1/4 x 9 3/4.
If you dont live near an IKEA, never fear!
you’re able to get your wood crates fromCrates and Pallet.

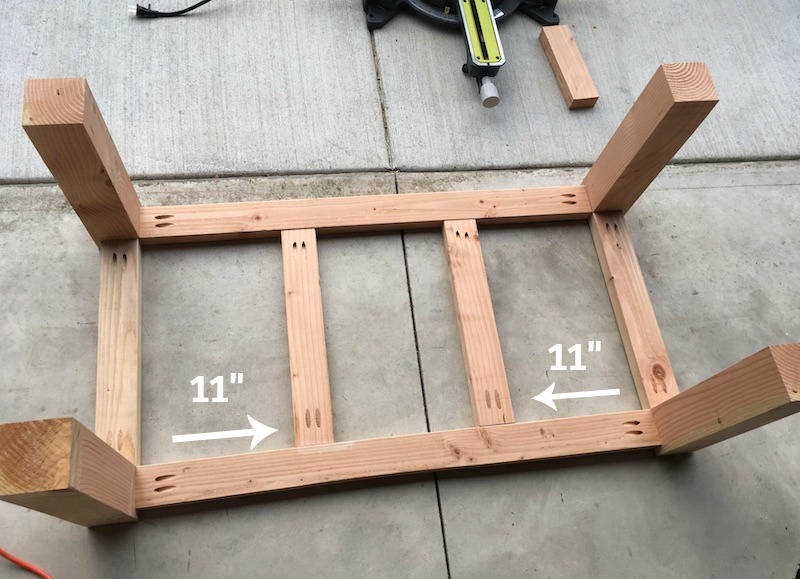
So your EXACT measurements may vary, though they will be close.
Its your job to trim them down tot he sizes we specified.
Wood and Where to Purchase
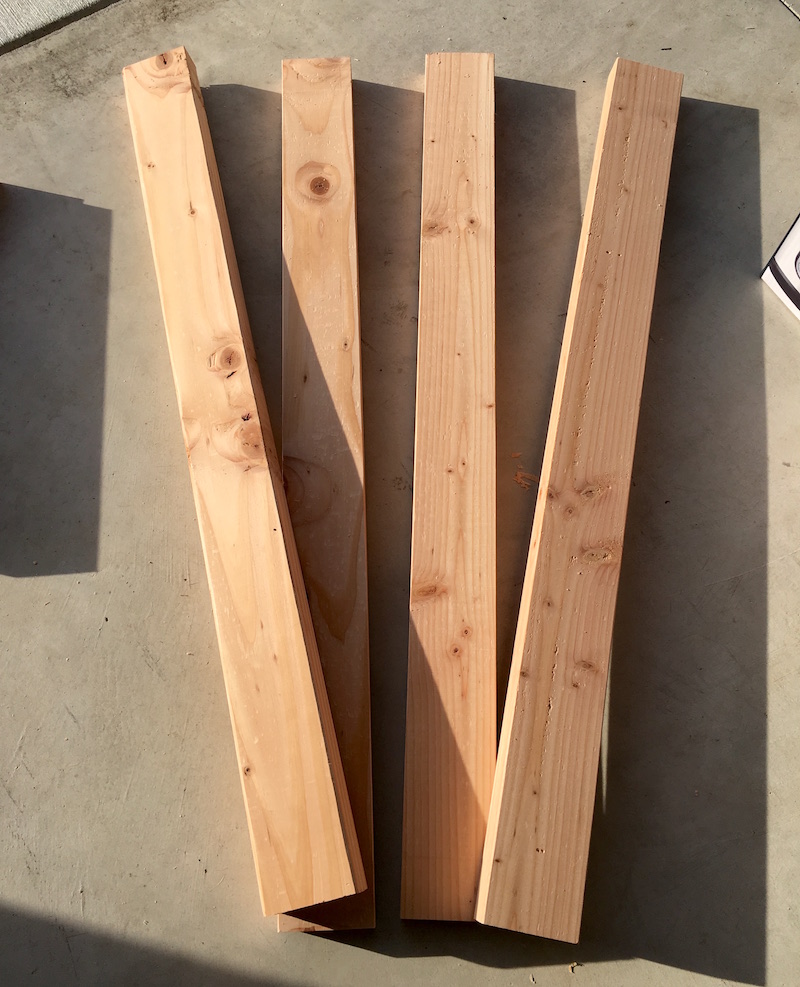
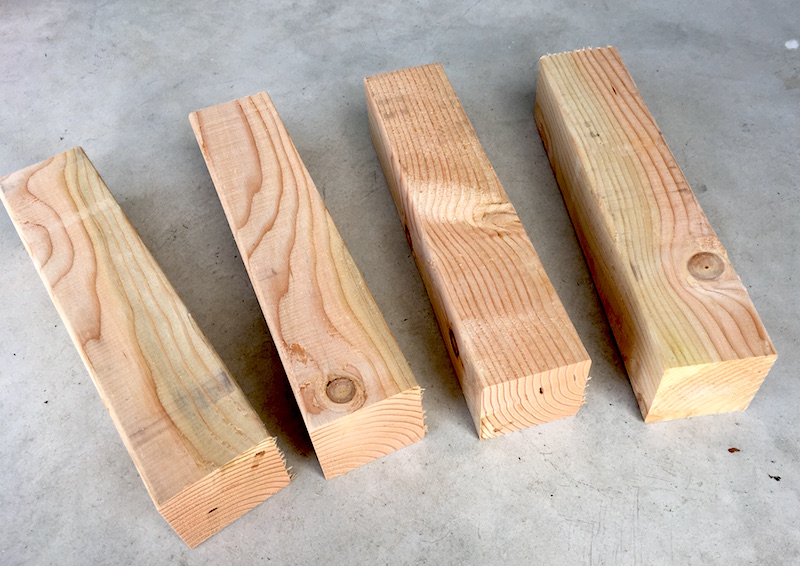
We purchased Douglas Fir fromHome Depot.

We wanted a wood that was relatively inexpensive and would look naturally distressed.
Wood Corbels
The corbels were purchased from Amazon.com (see themhere).
The brand, Ekena Millwork, has several sizes and finishes.
We wanted to use them to add that special decorative touch to this farmhouse coffee table.
The corbels keep the crates from sliding out the sides too.
Of course you dont need to use them, but I think youll agree they look pretty awesome.
So Ill leave that up to you.
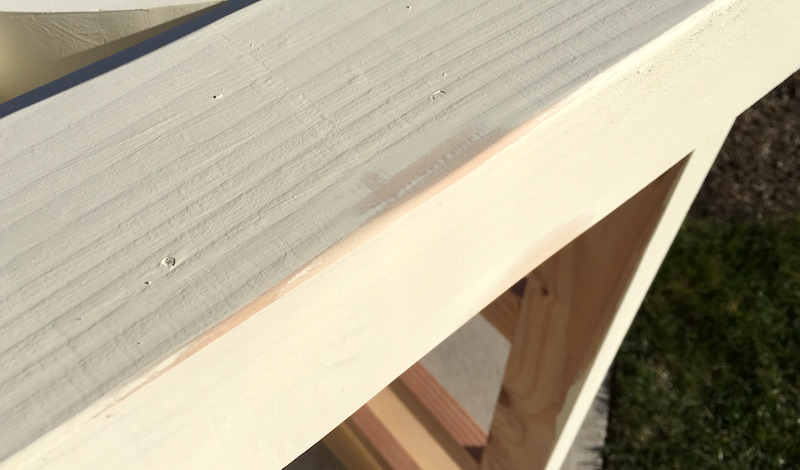
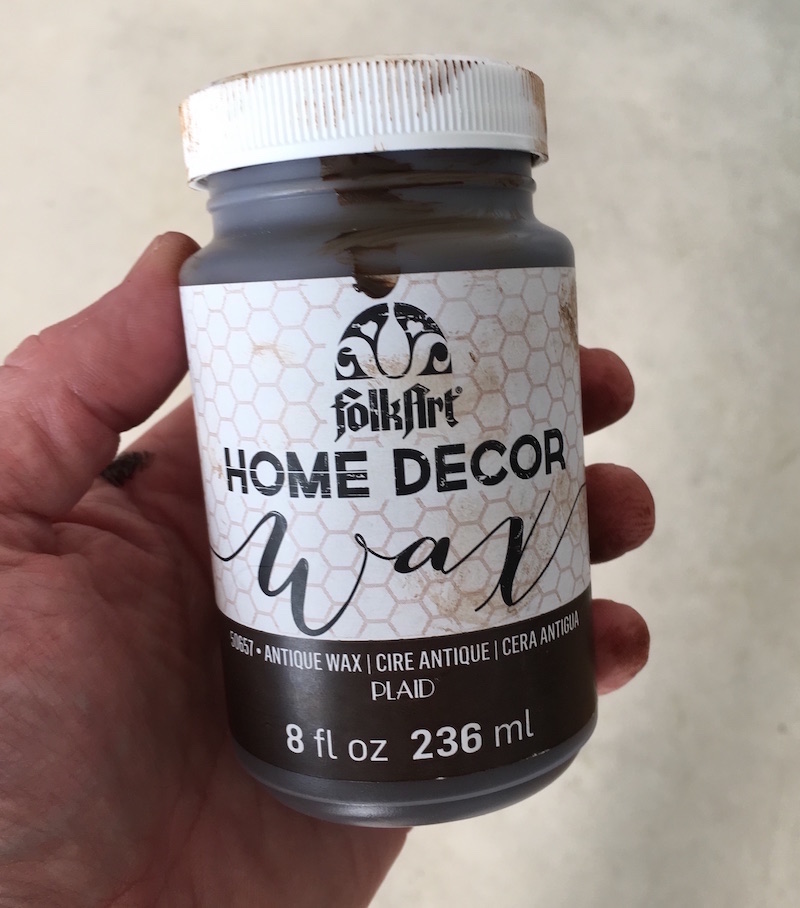
Its areallyawesome paint that goes on so smoothly .
and coverage is perfect (plus the colors are good!!).
Its our favorite furniture paint by far.
Are you ready to learn how to build this project?
Check out your farmhouse coffee table instructions below.