The SVG cutting file is ready for uploading to Design Space to get you making gifts right away.
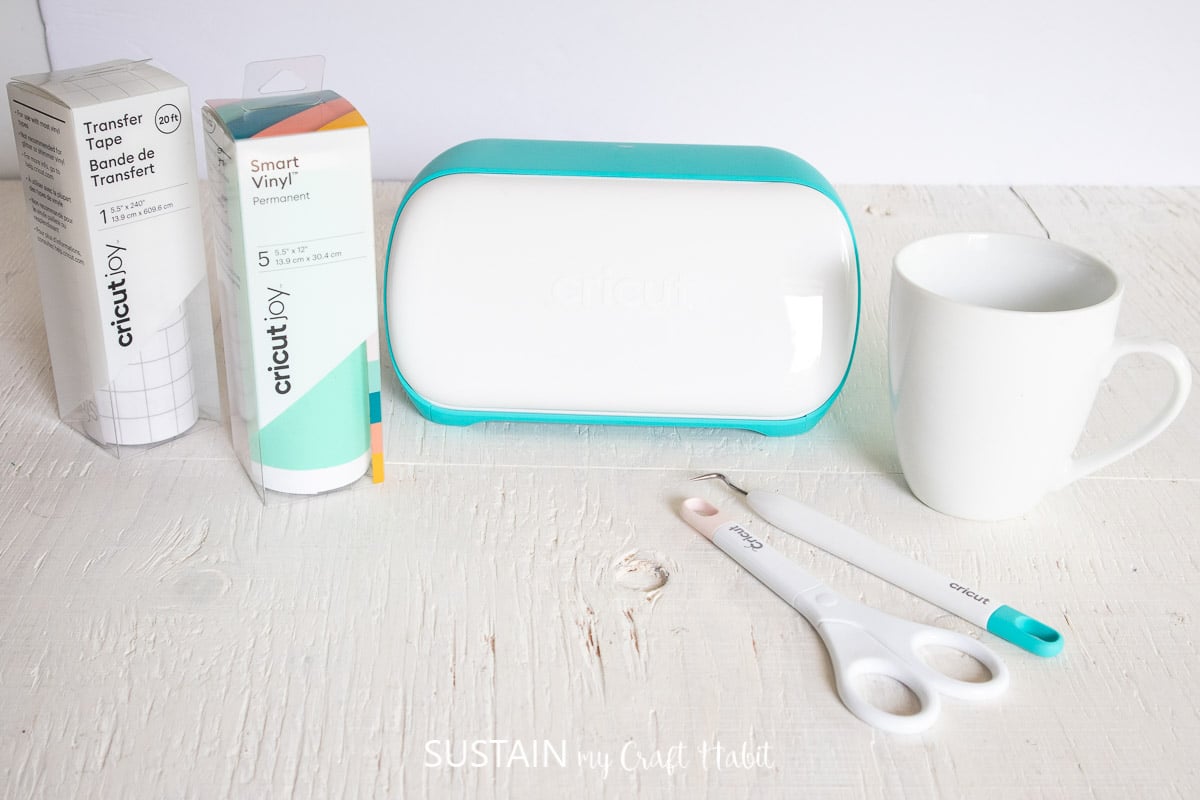
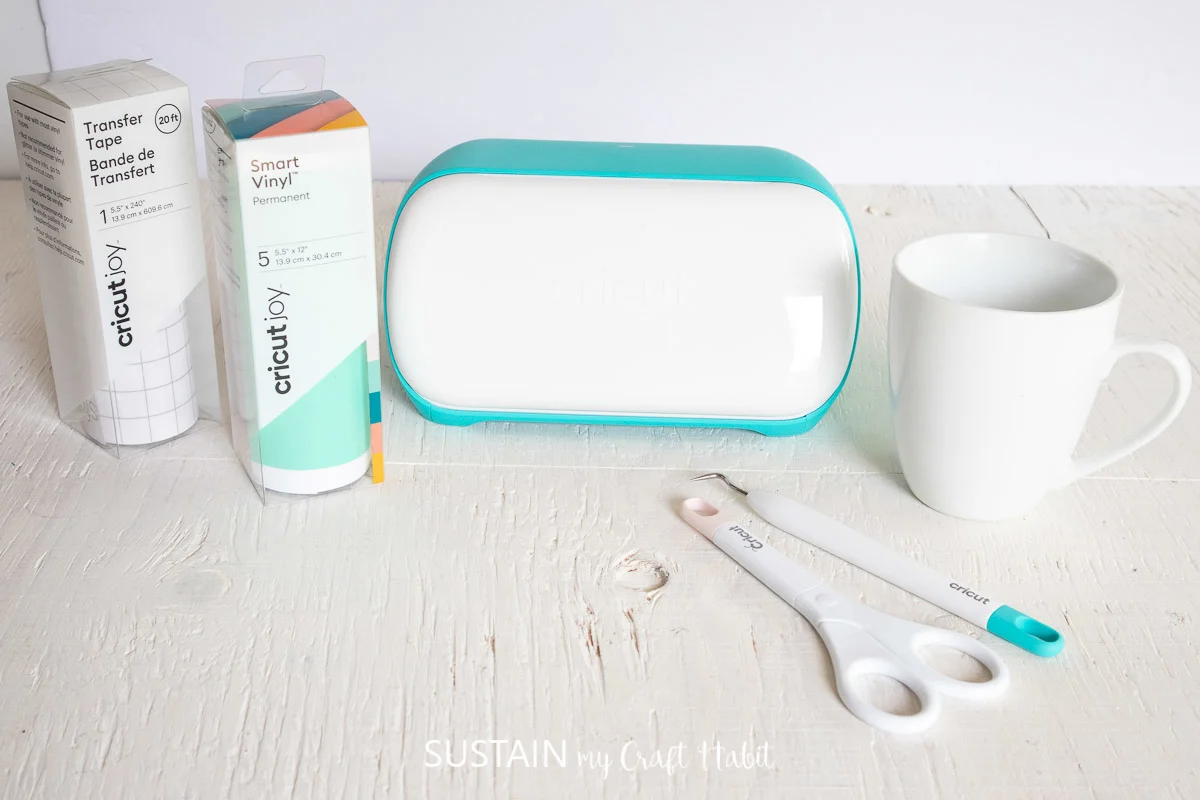
Materials Needed:
Disclosure: This post continues affiliate links for your shopping convenience.
you could find ourfull disclosure policy here.
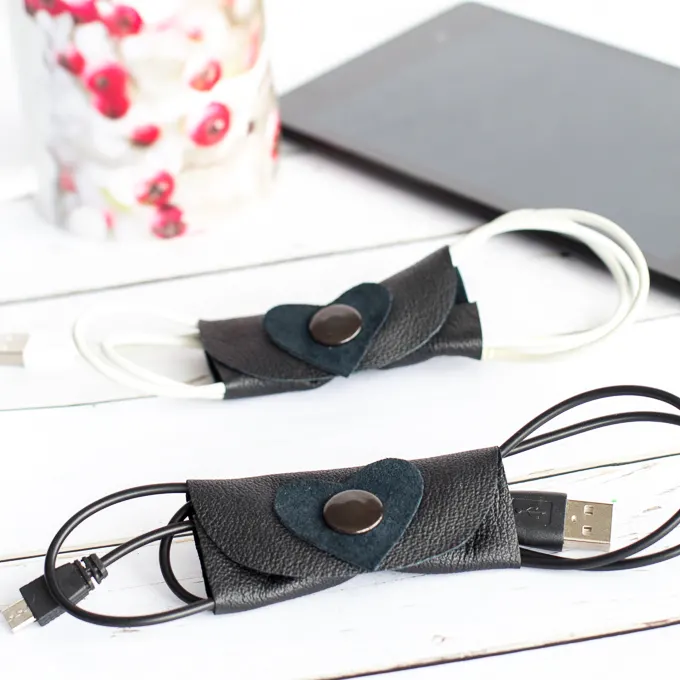
DIY leather cord organizers
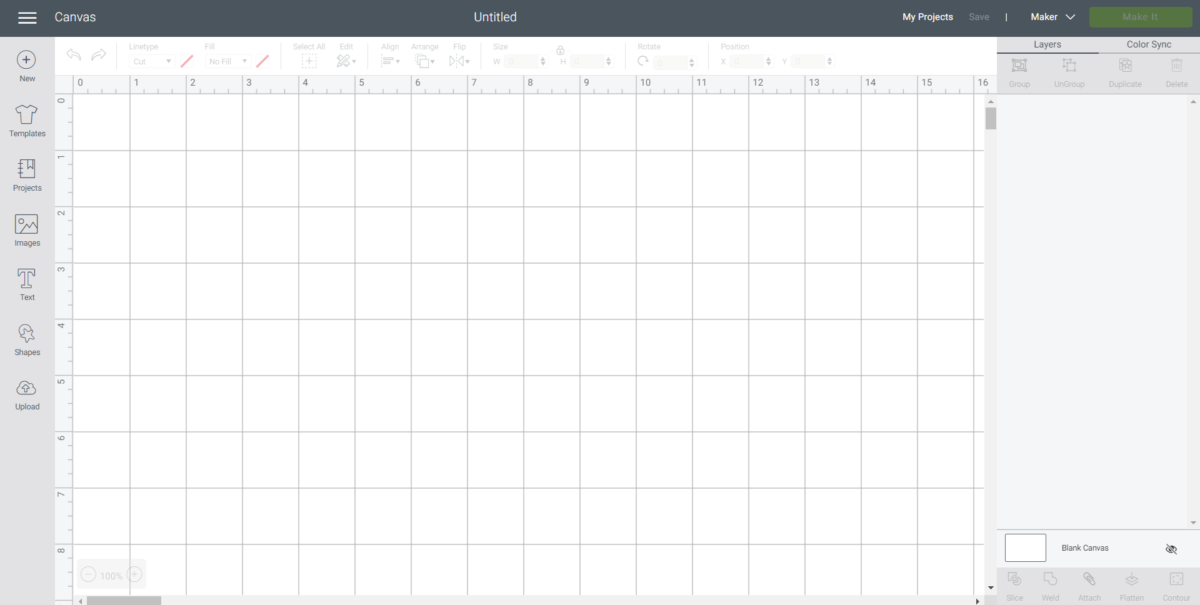
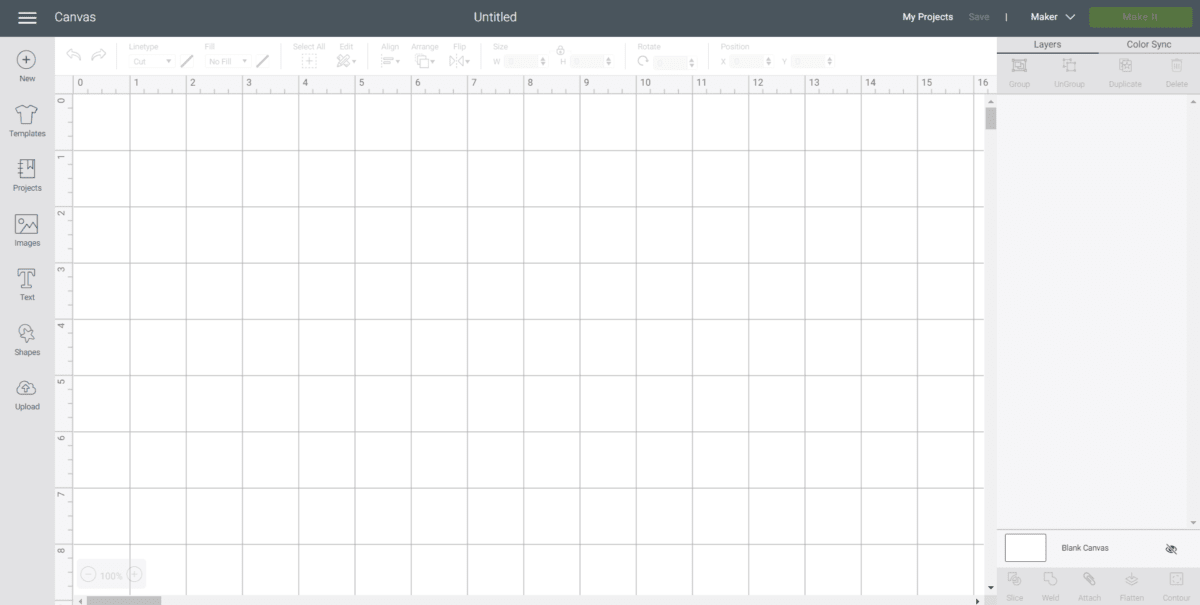
grab the Upload button from the toolbar and browse your downloaded files to insert the SVG file.
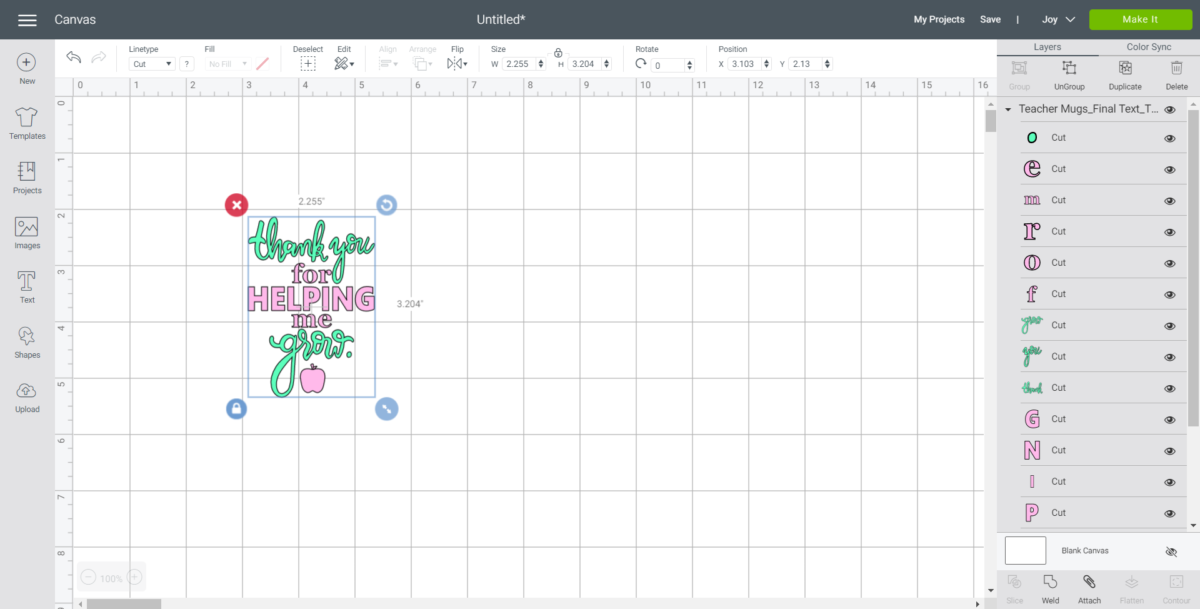
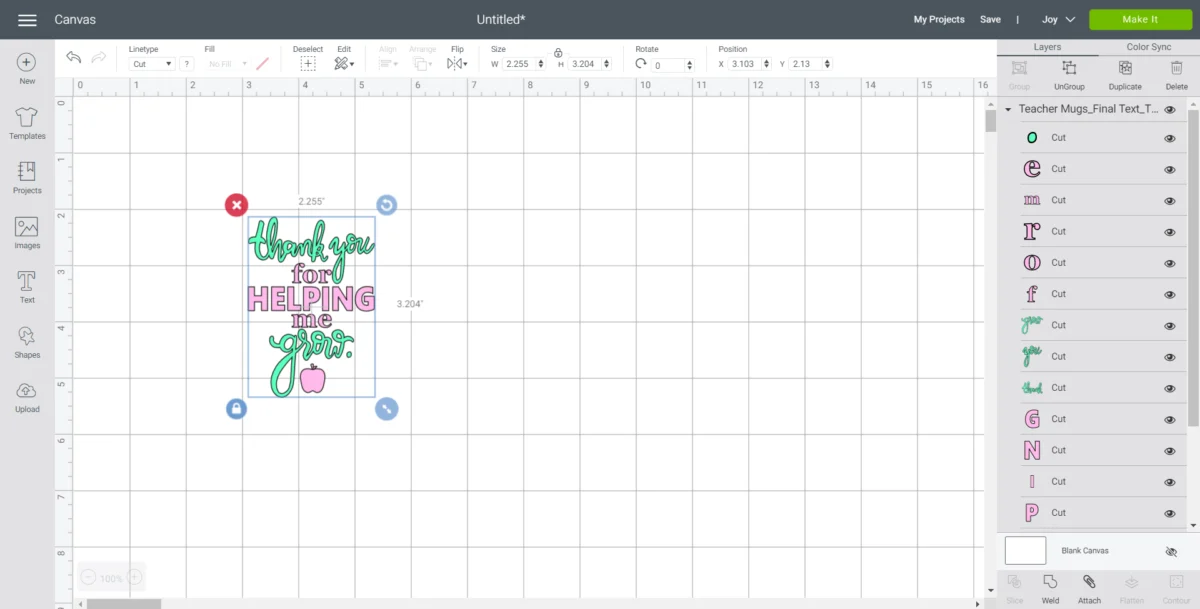
The cut image will appear on the canvas.
With the image selected, press the Ungroup button.

Next, punch each individual layer with the same coloring and punch the Attach button.
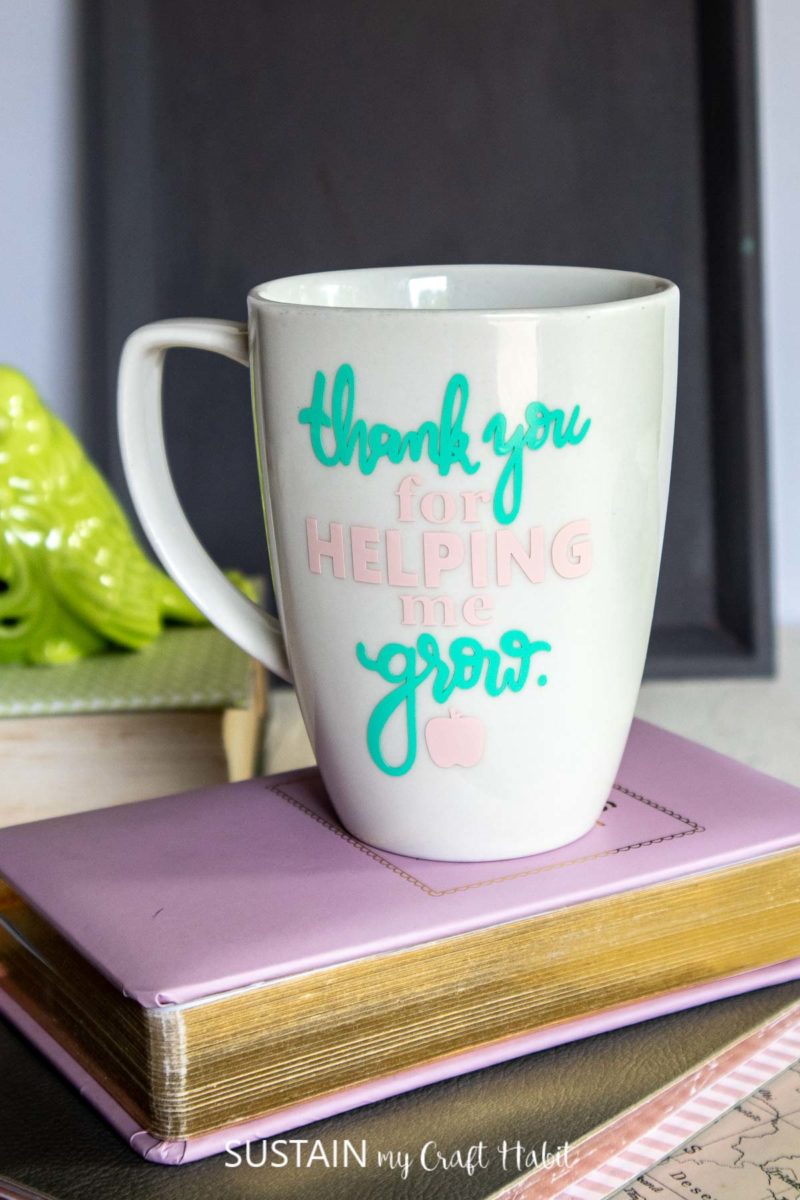
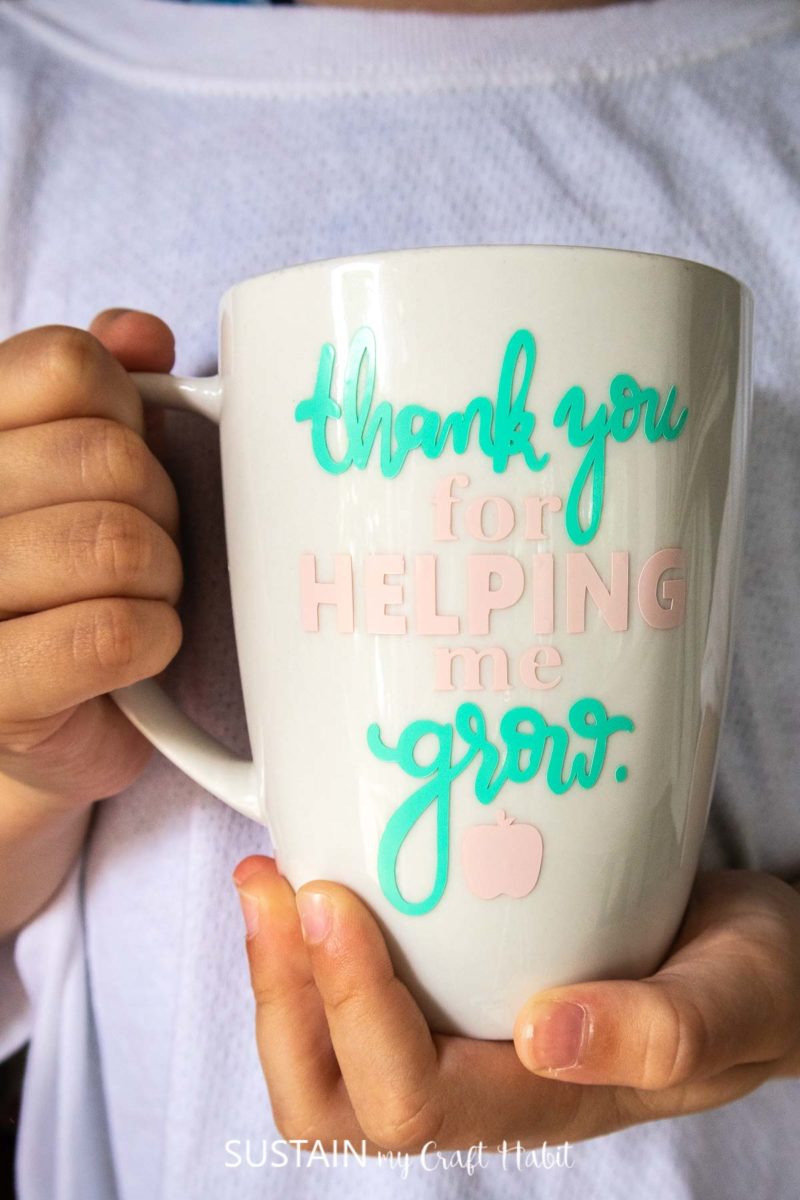
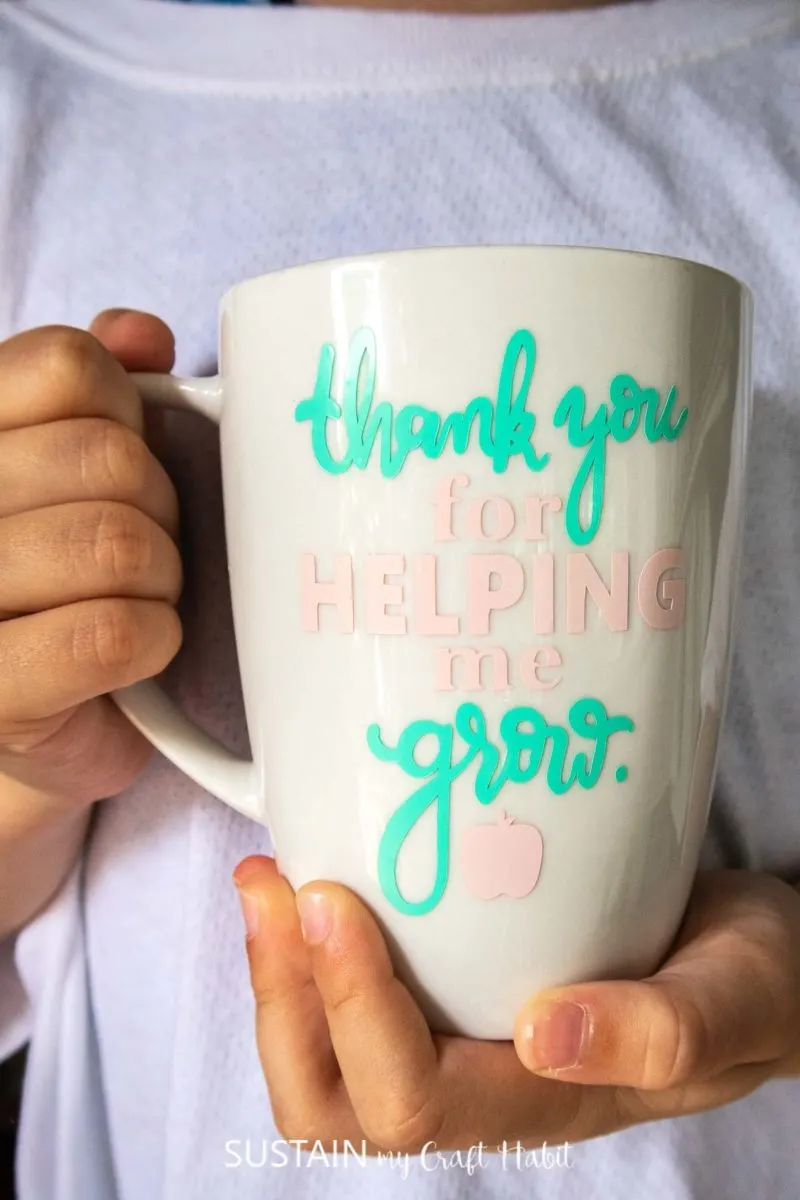
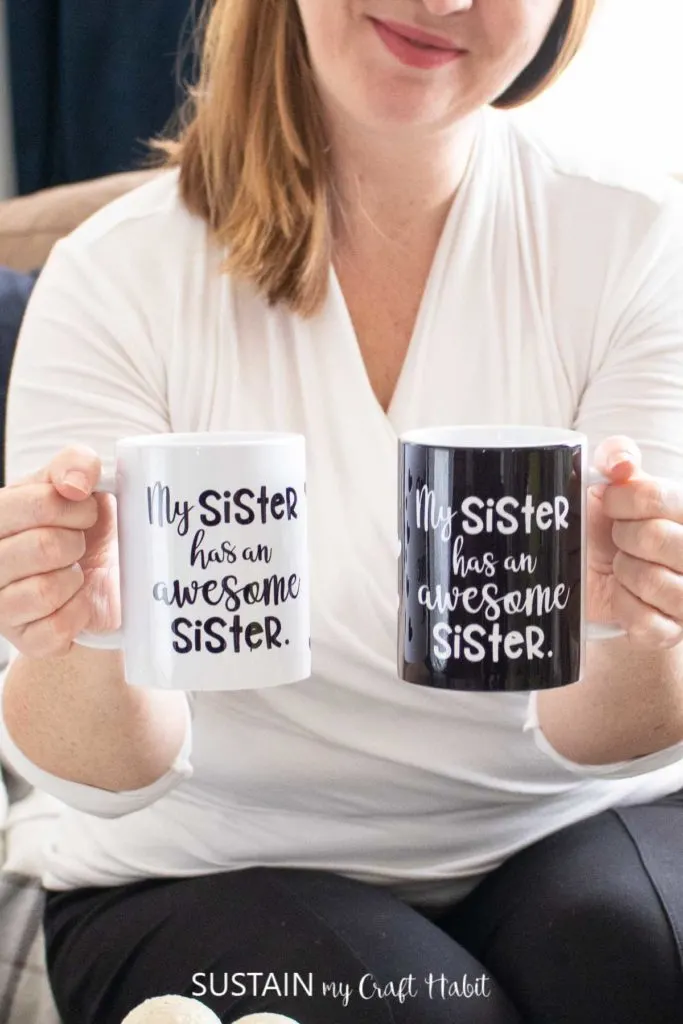
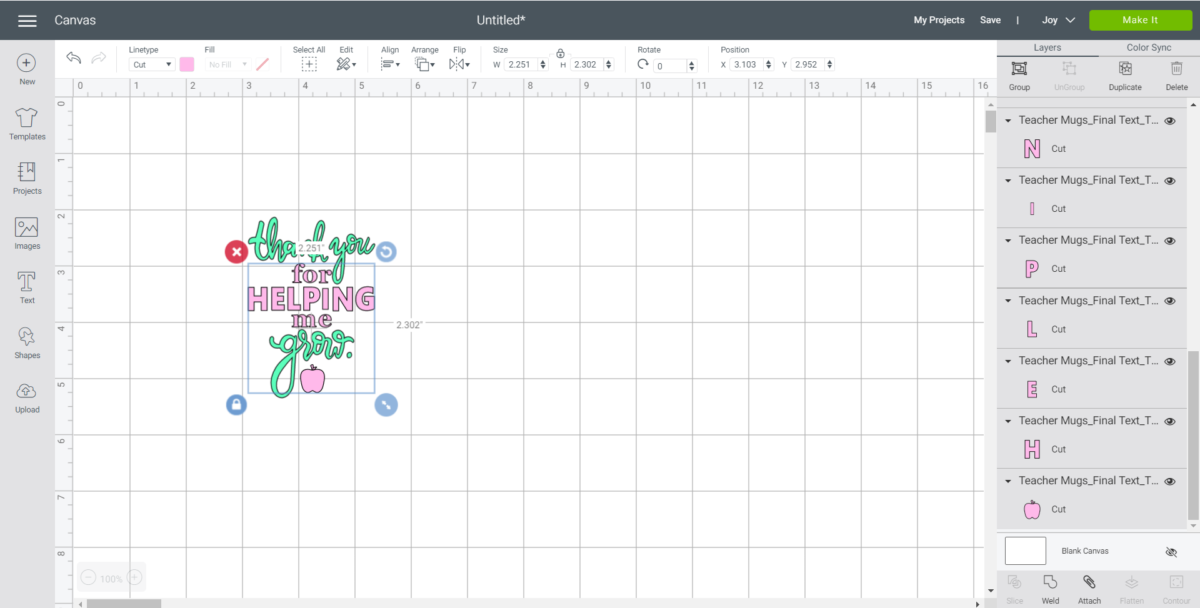
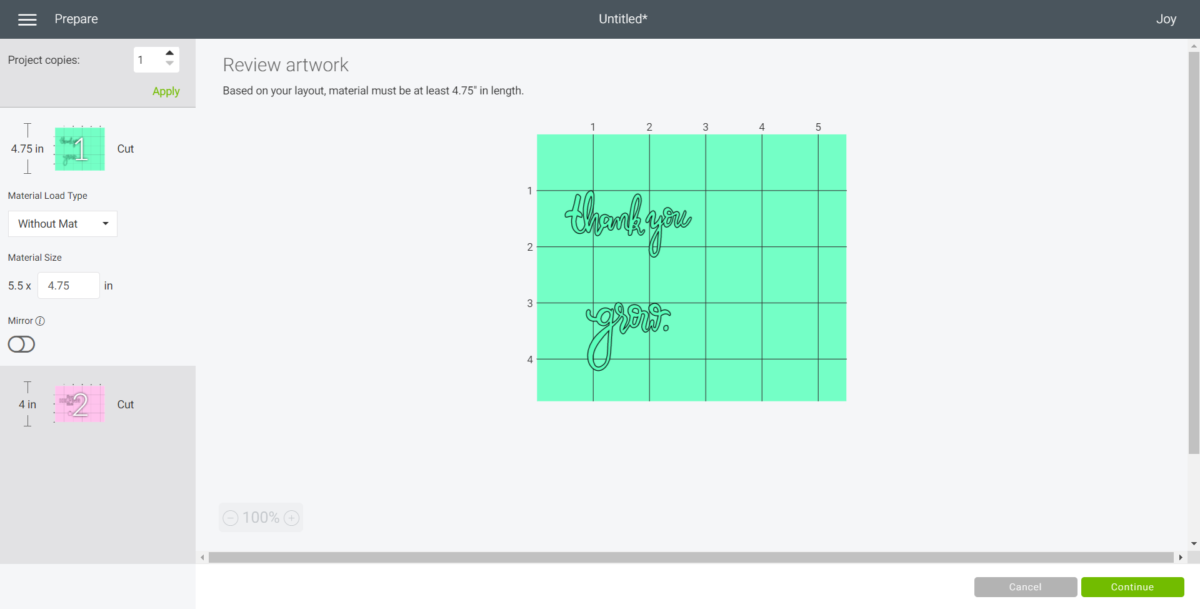
Maintain the size or adjust to fit your mug.
To adjust the size, highlight the image and choose the size box in the top toolbar.
Change the measurement to suit your mug size accordingly.
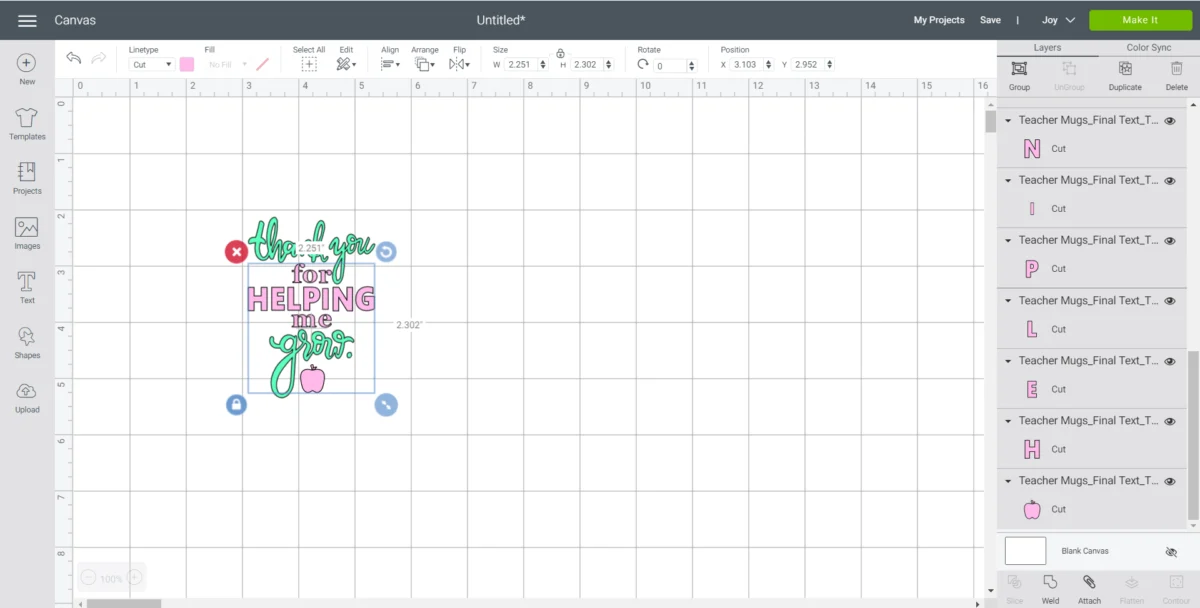
Change the image color if desired to match with the material color.
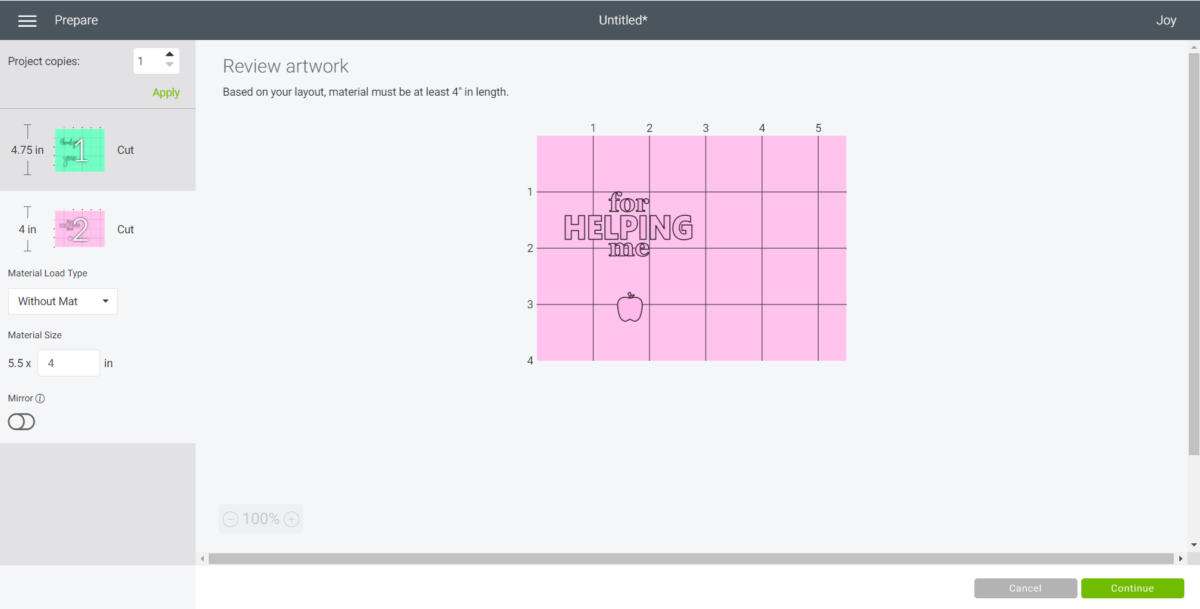
Select Make It in the upper right corner to proceed with cutting.
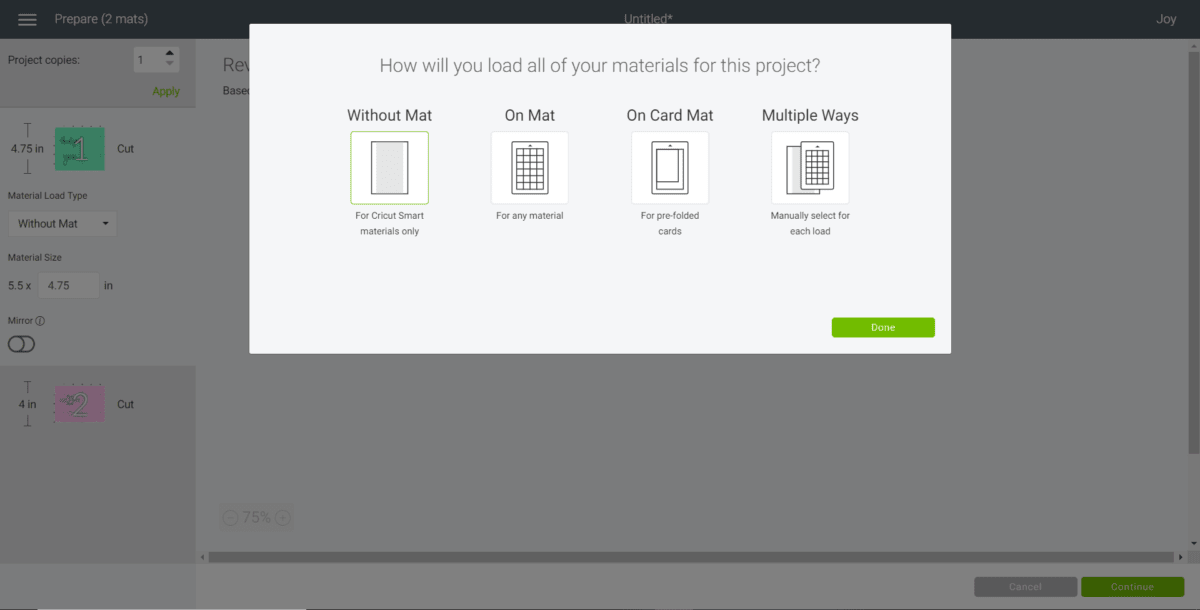
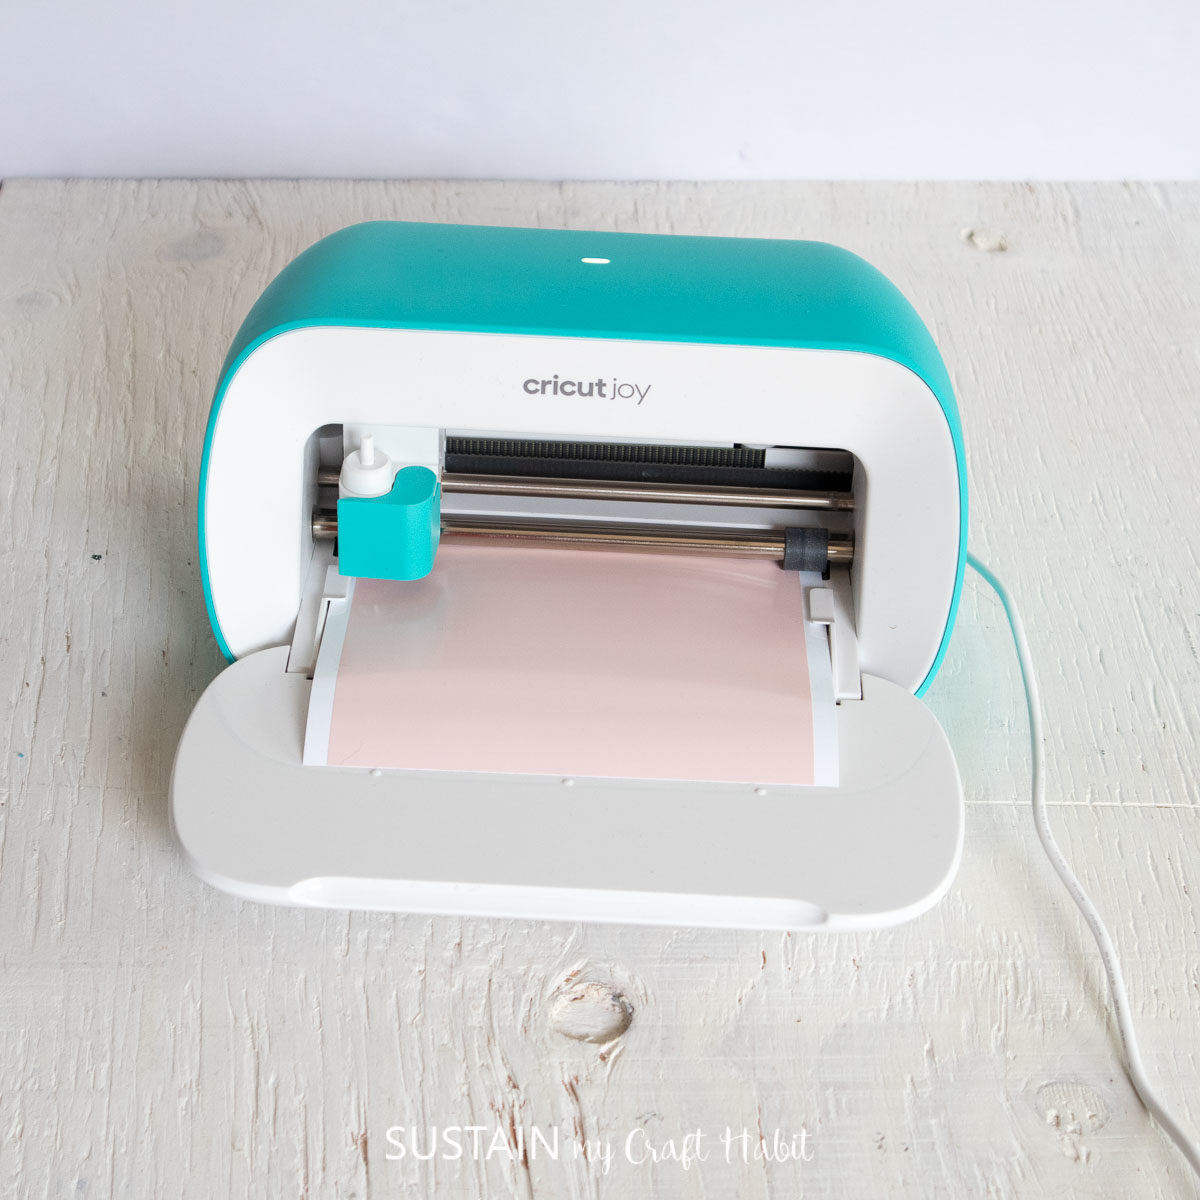
If using Cricut Joy Smart Vinyl, choose no mat for cutting.
Choose the Smart Vinyl, Permanent from the list of options in the drop down menu.
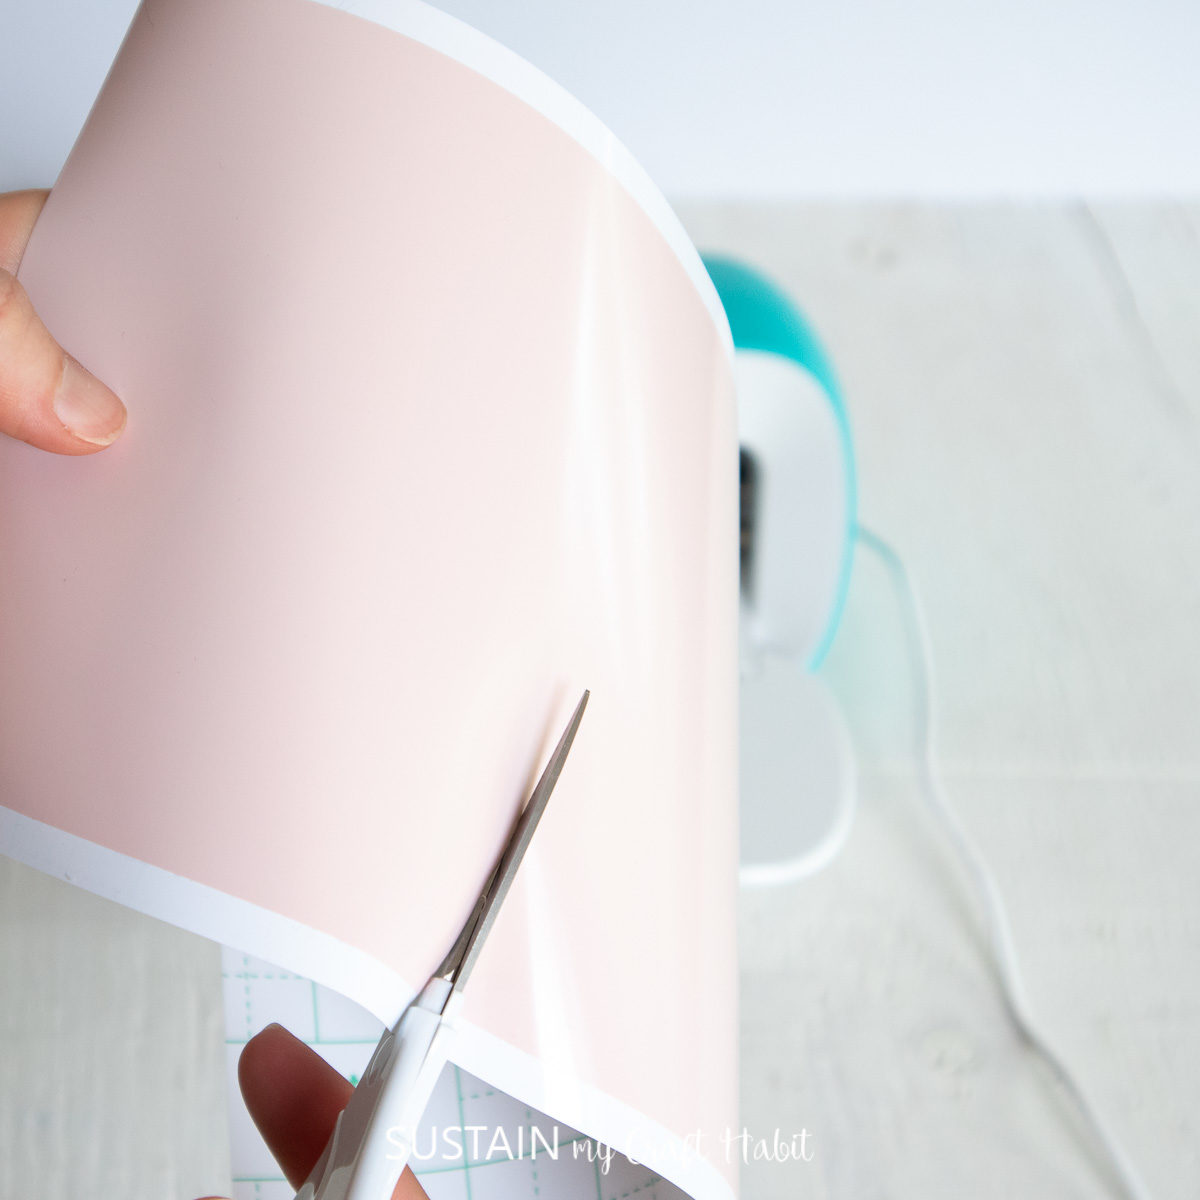
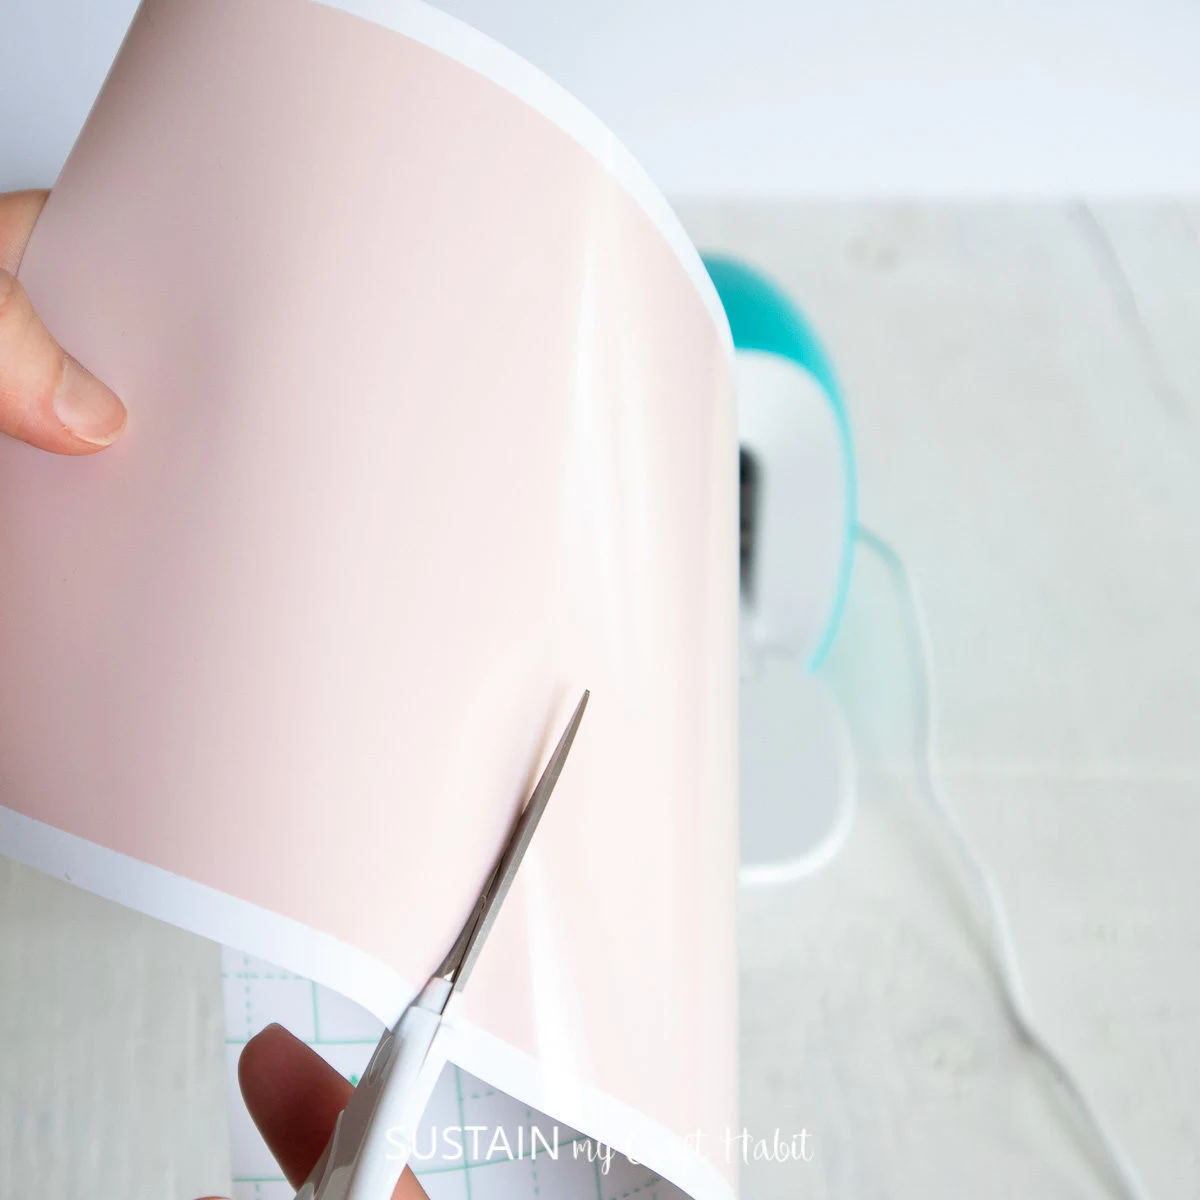
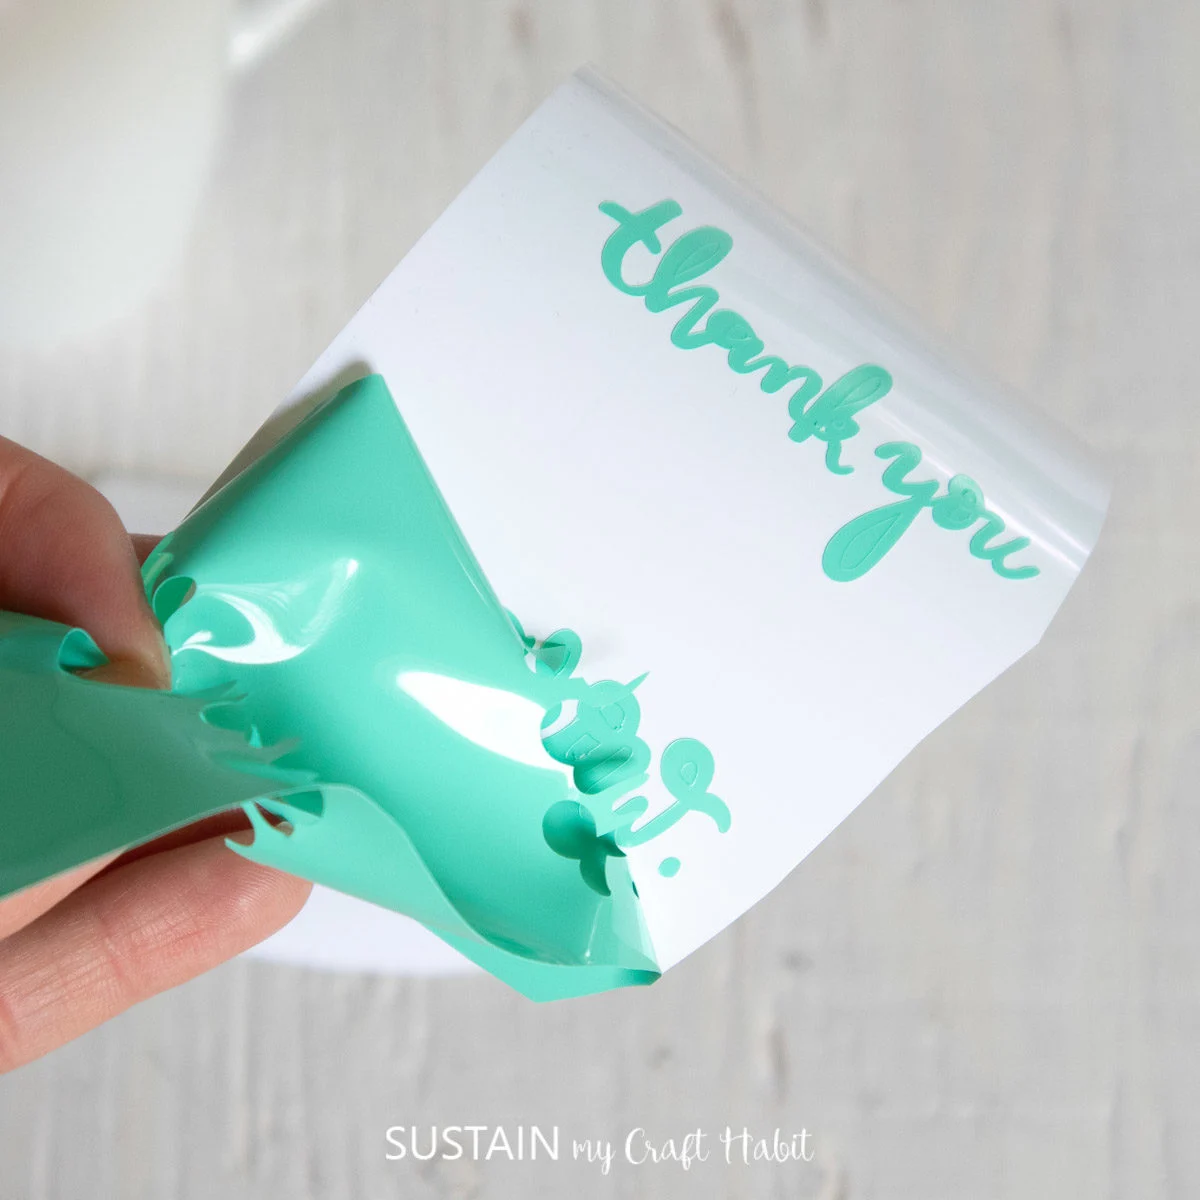
Cut around the images with a pair of scissors.

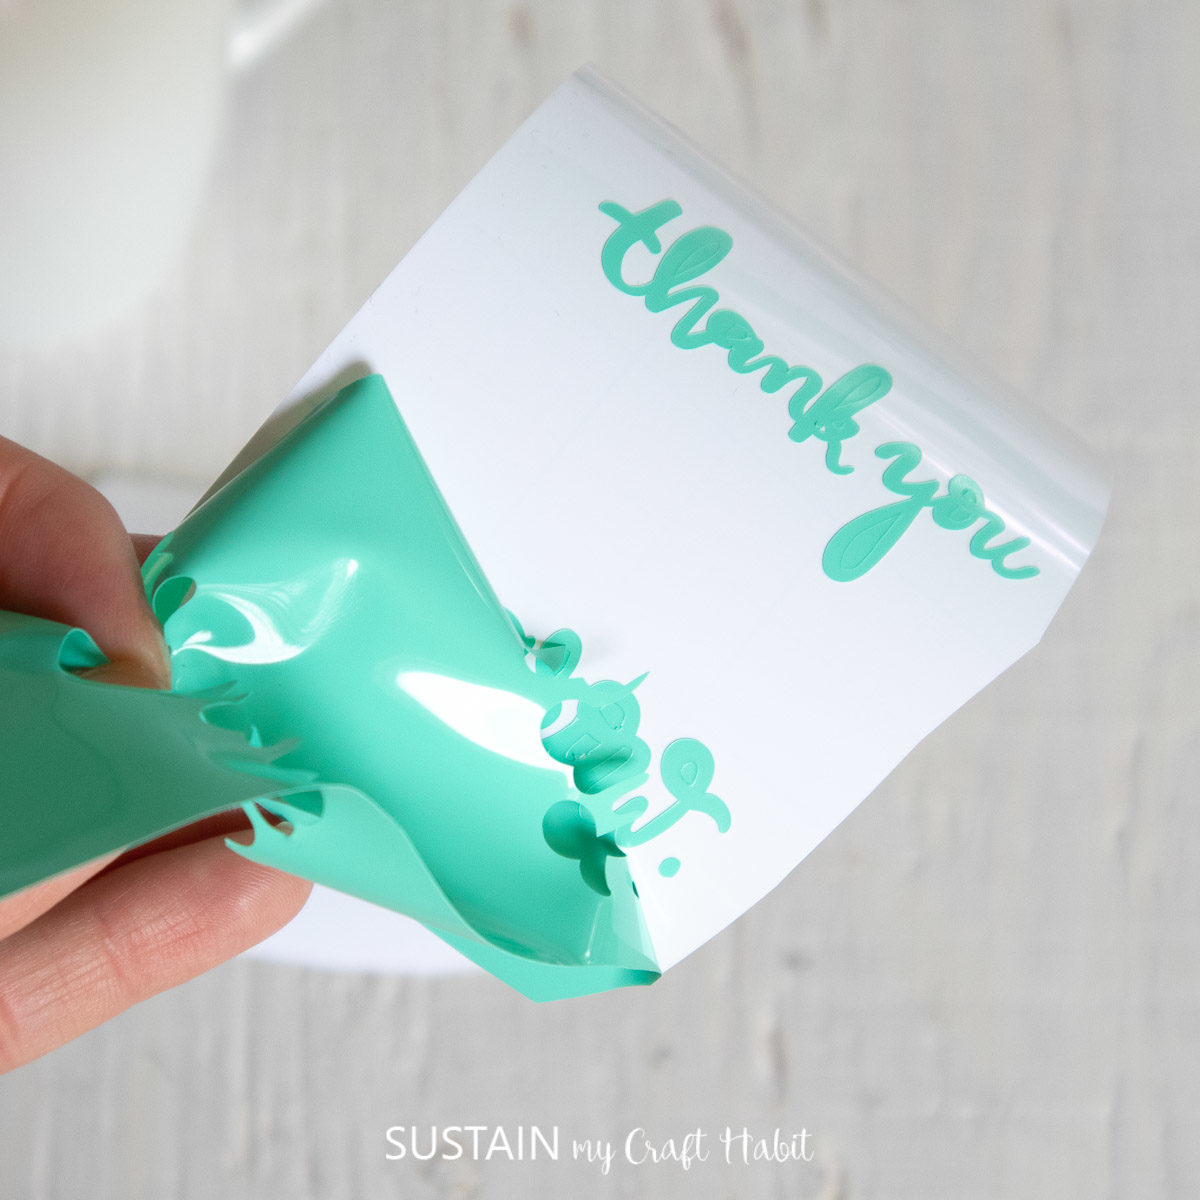
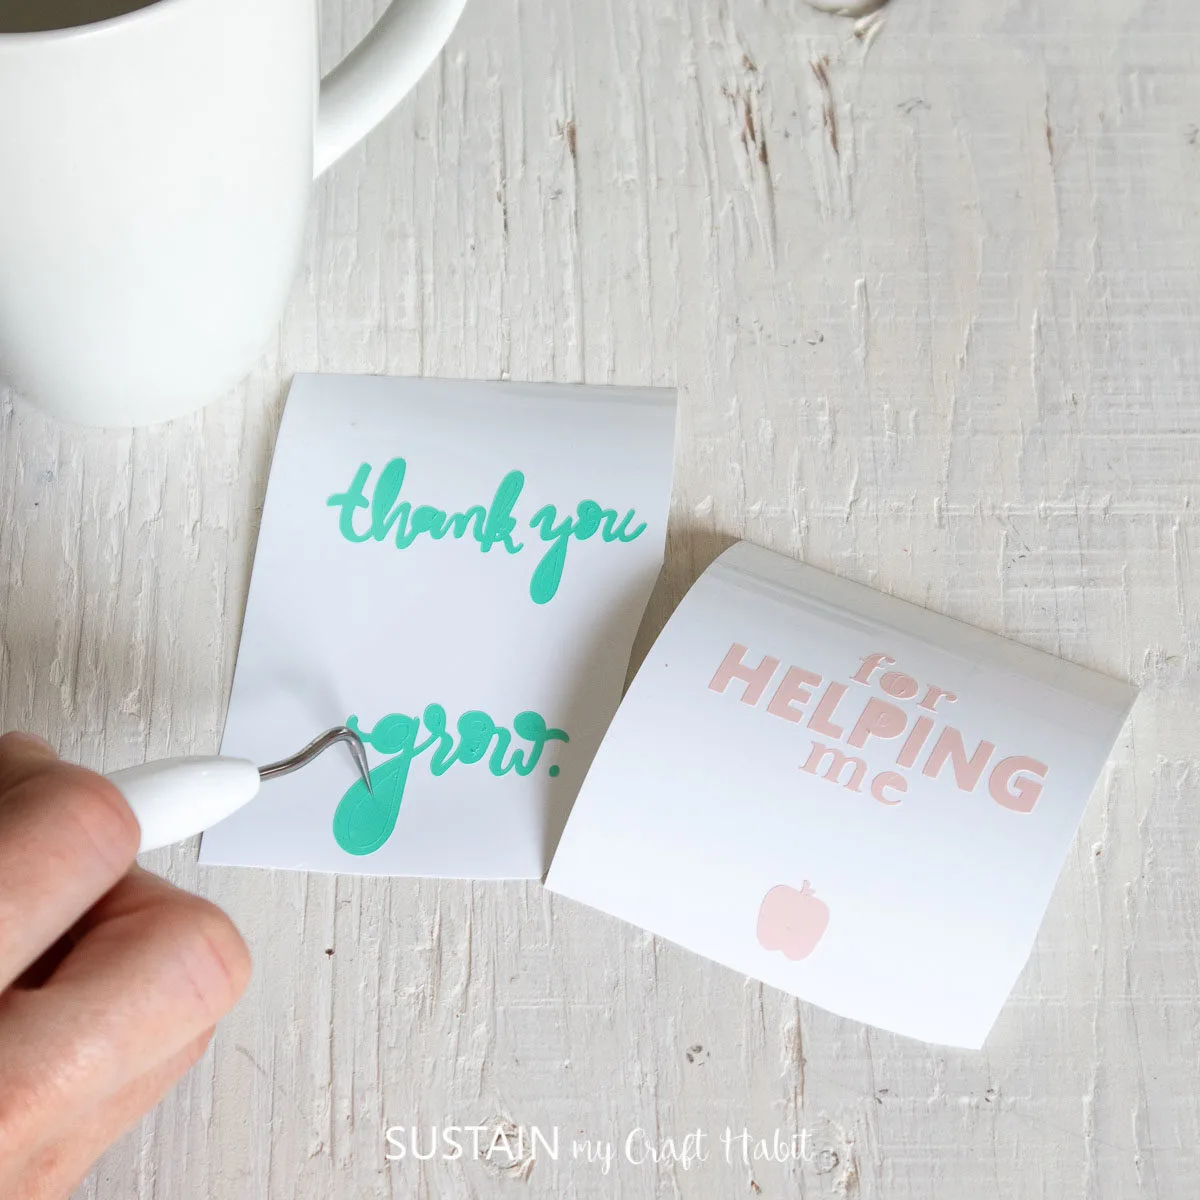
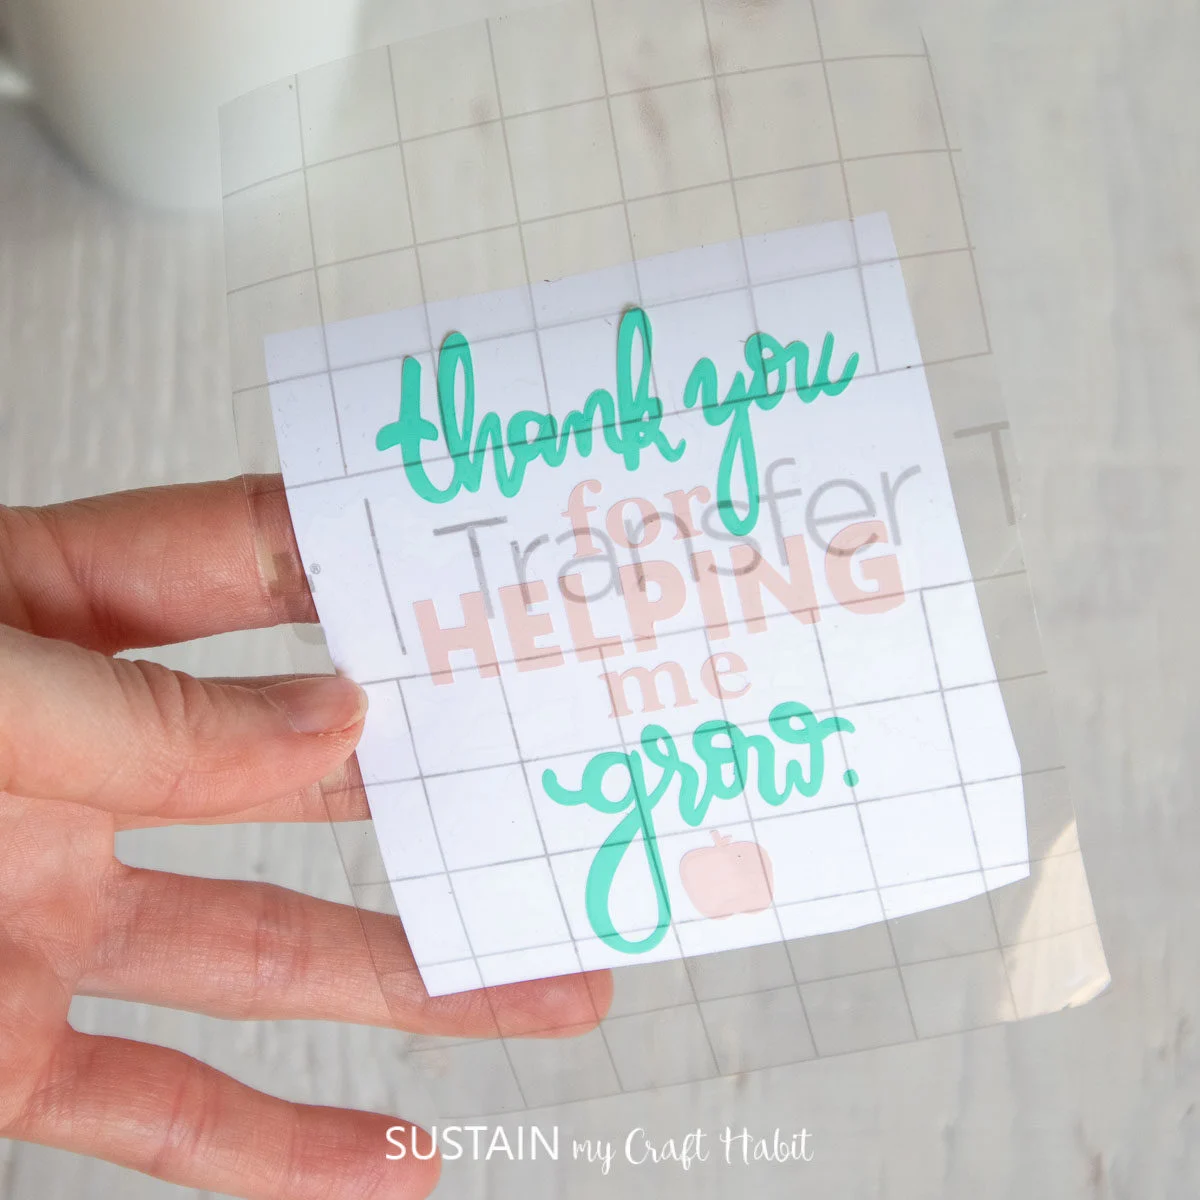
Using the weeding tool, peel away the excess vinyl around the cut images and discard.
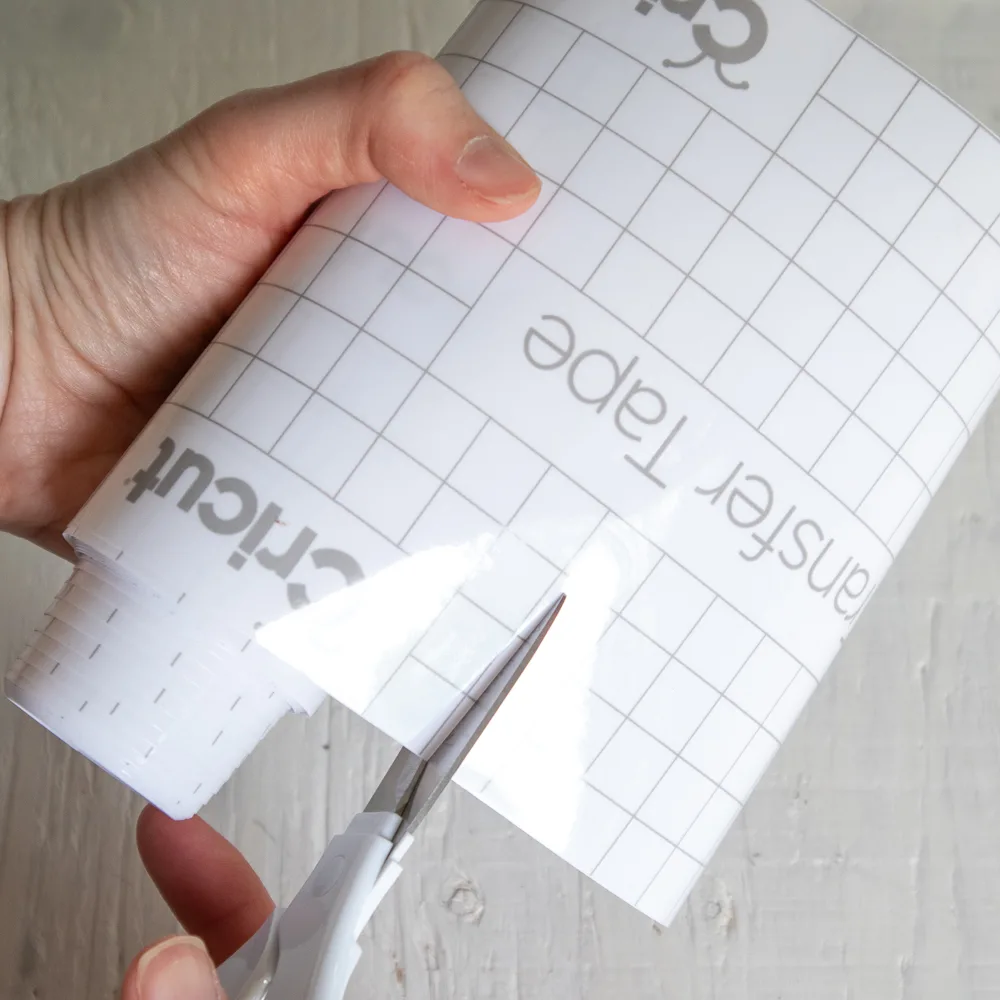
Cut a piece of transfer tape a bit larger than the full size of the image combined.
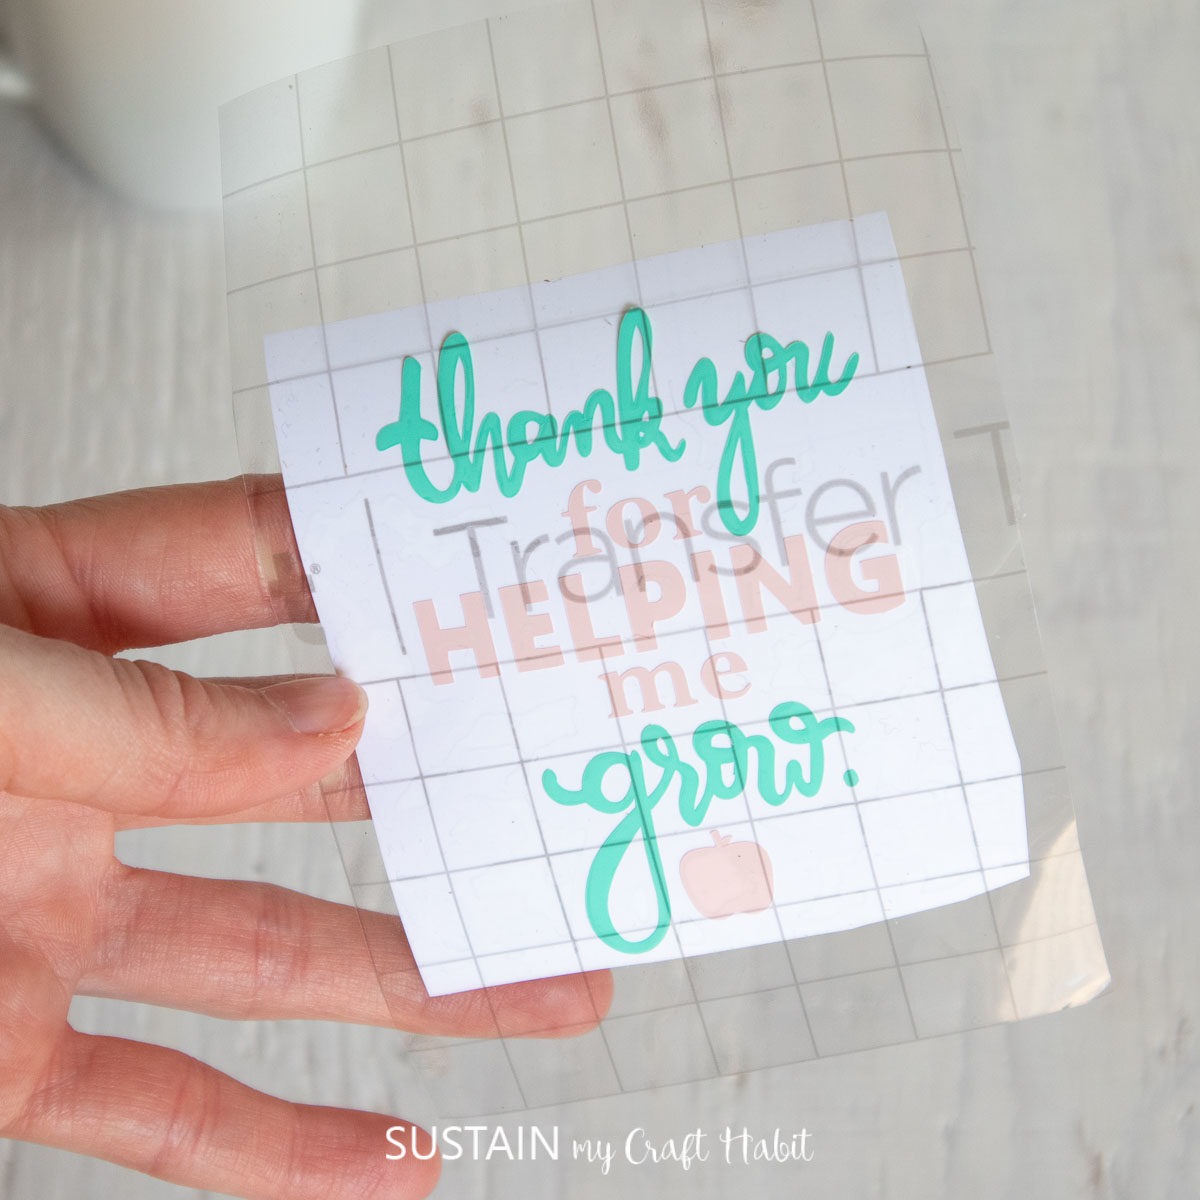
Peel away the transfer tape backing and place the transfer tape overtop one of the cut images.
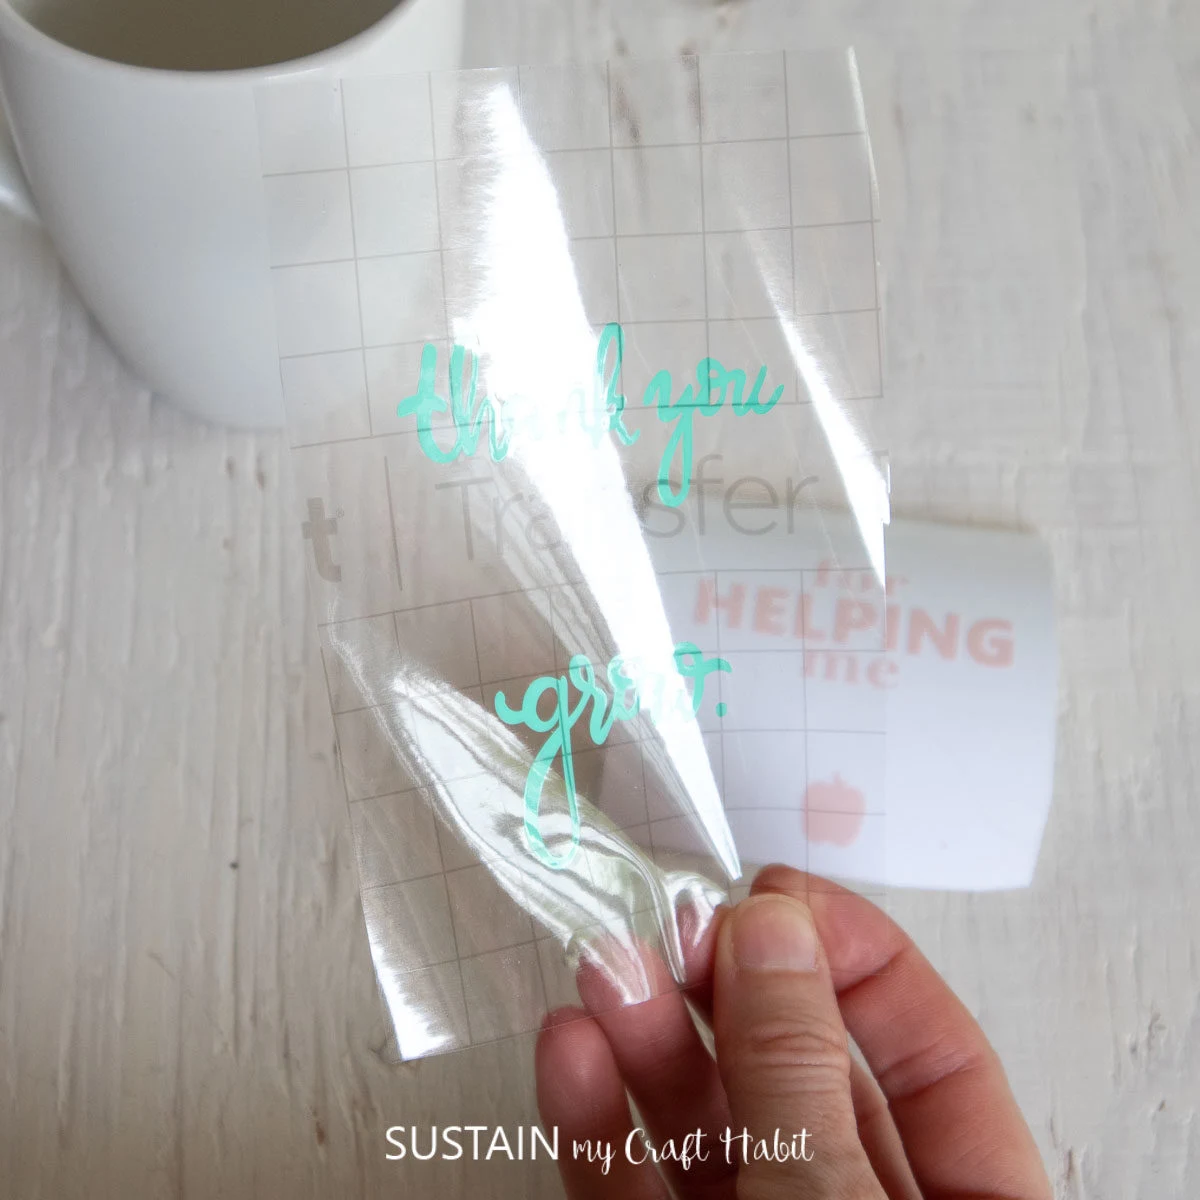
Gently rub the vinyl to help it stick to the transfer tape.
Peel away the vinyl backing, leaving just the image adhered to the transfer tape.
Gently rub the vinyl to help it stick to the transfer tape and peel away the vinyl backing.
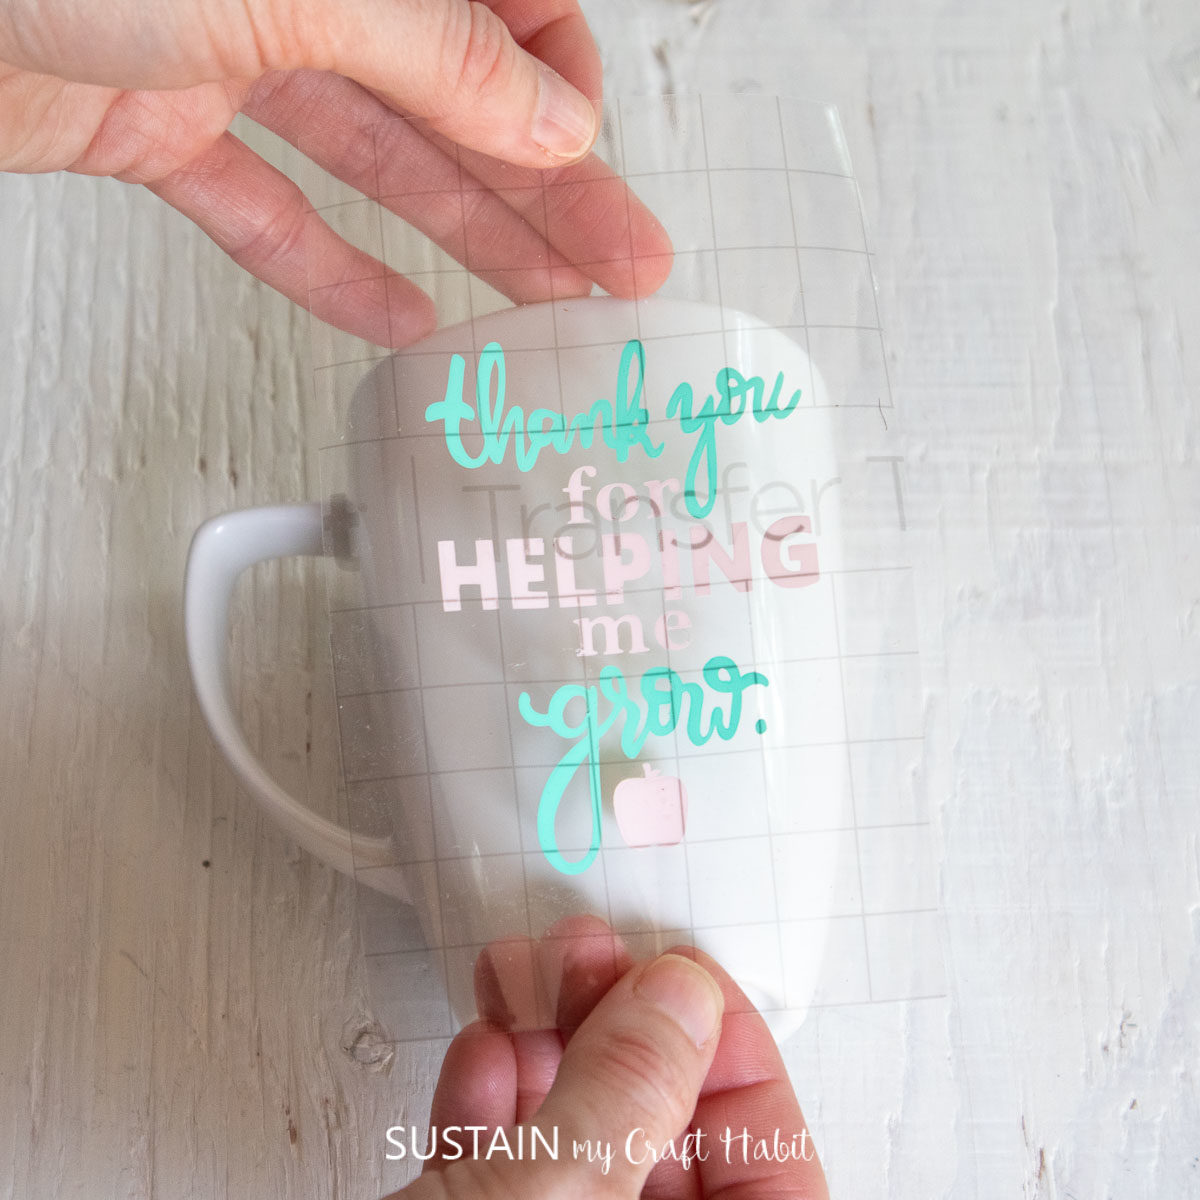
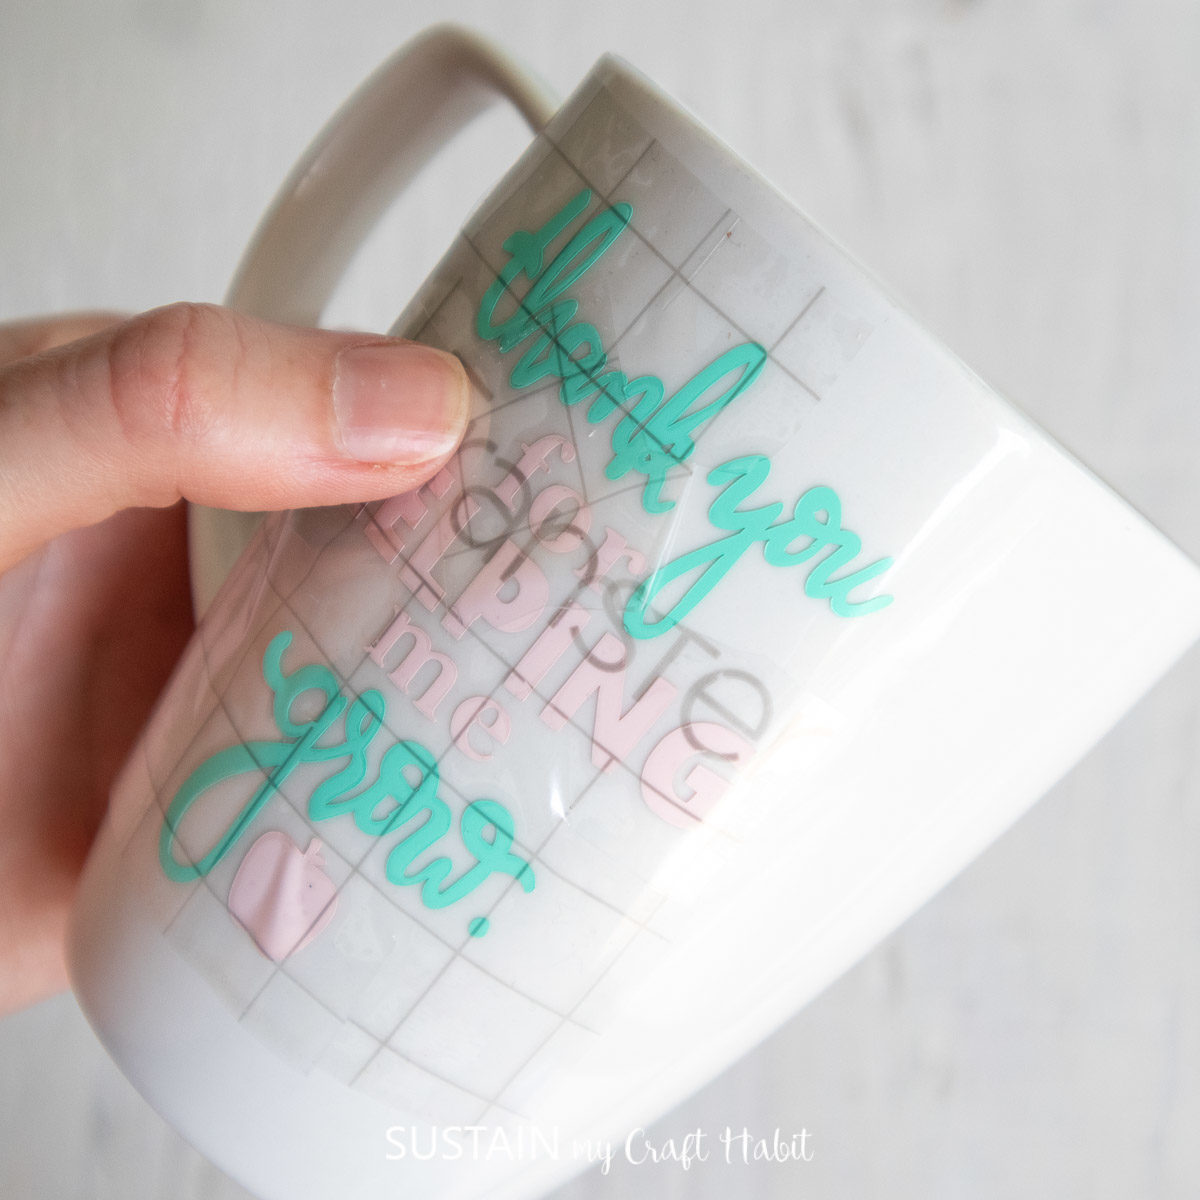
Carefully consider the placement before applying as the permanent vinyl cant be removed if placed incorrectly.
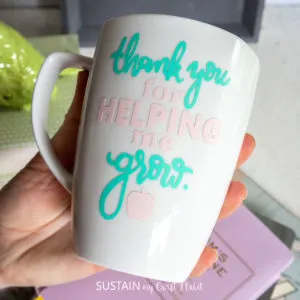
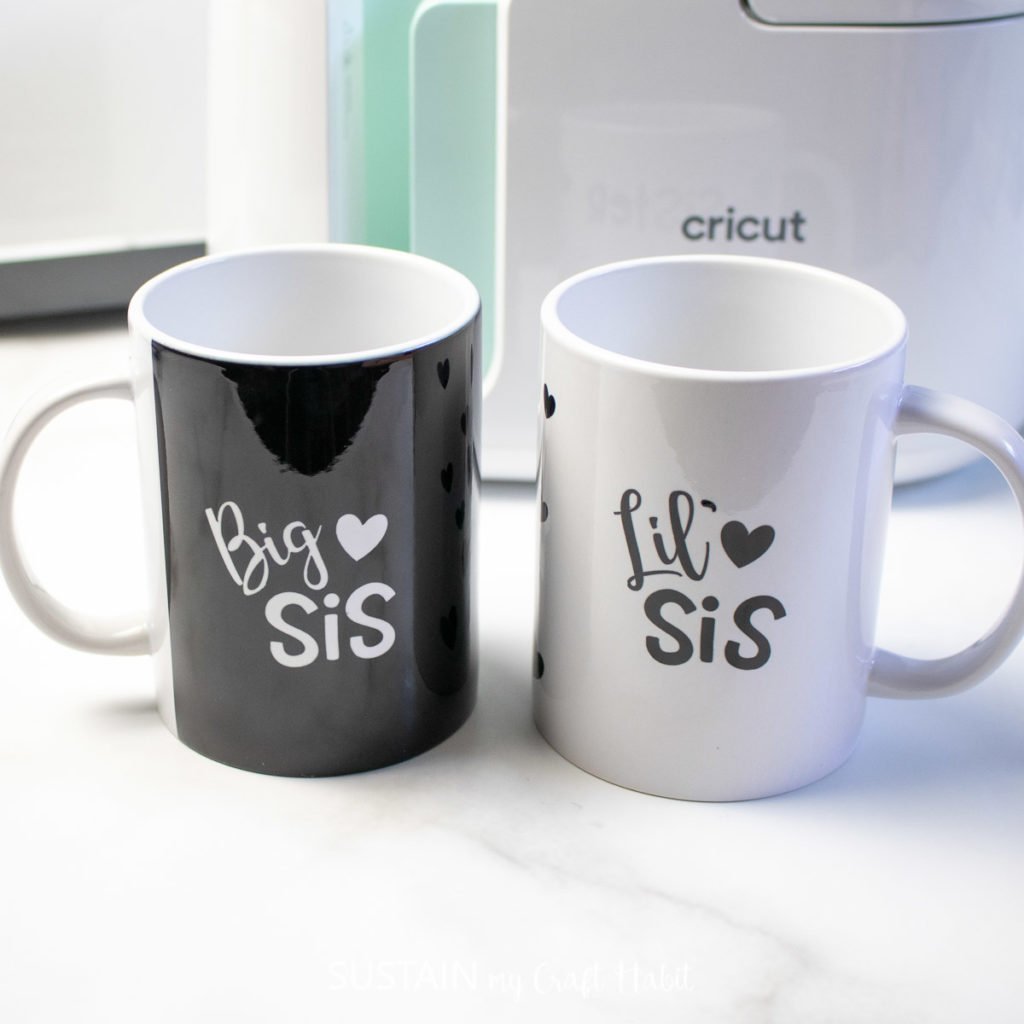
Position the image with the transfer tape on to the smooth side of the mug and press in place.
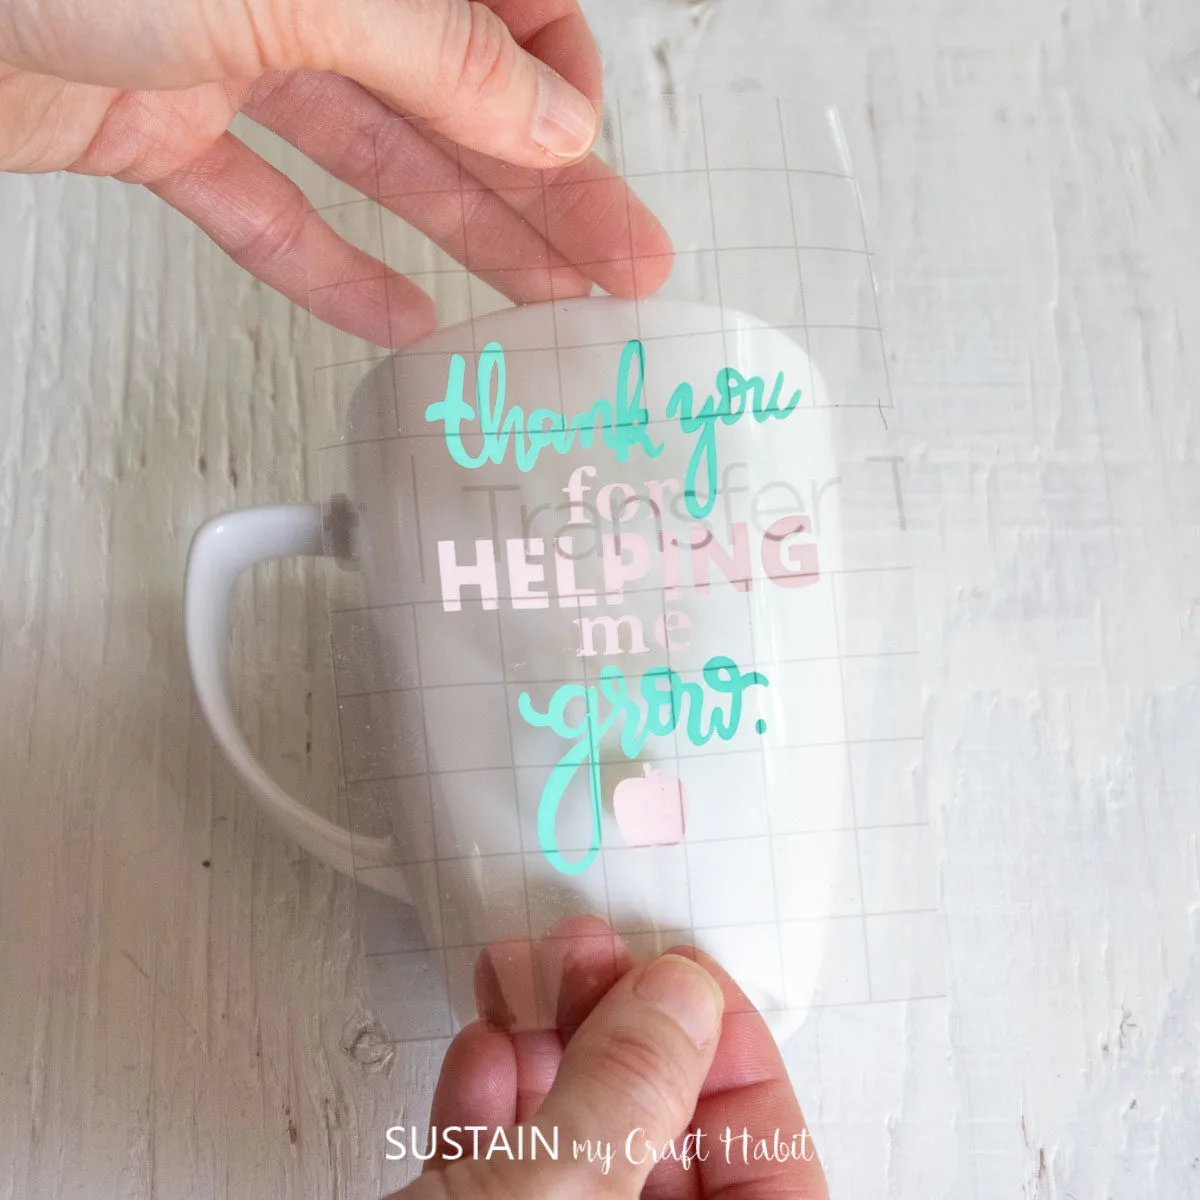
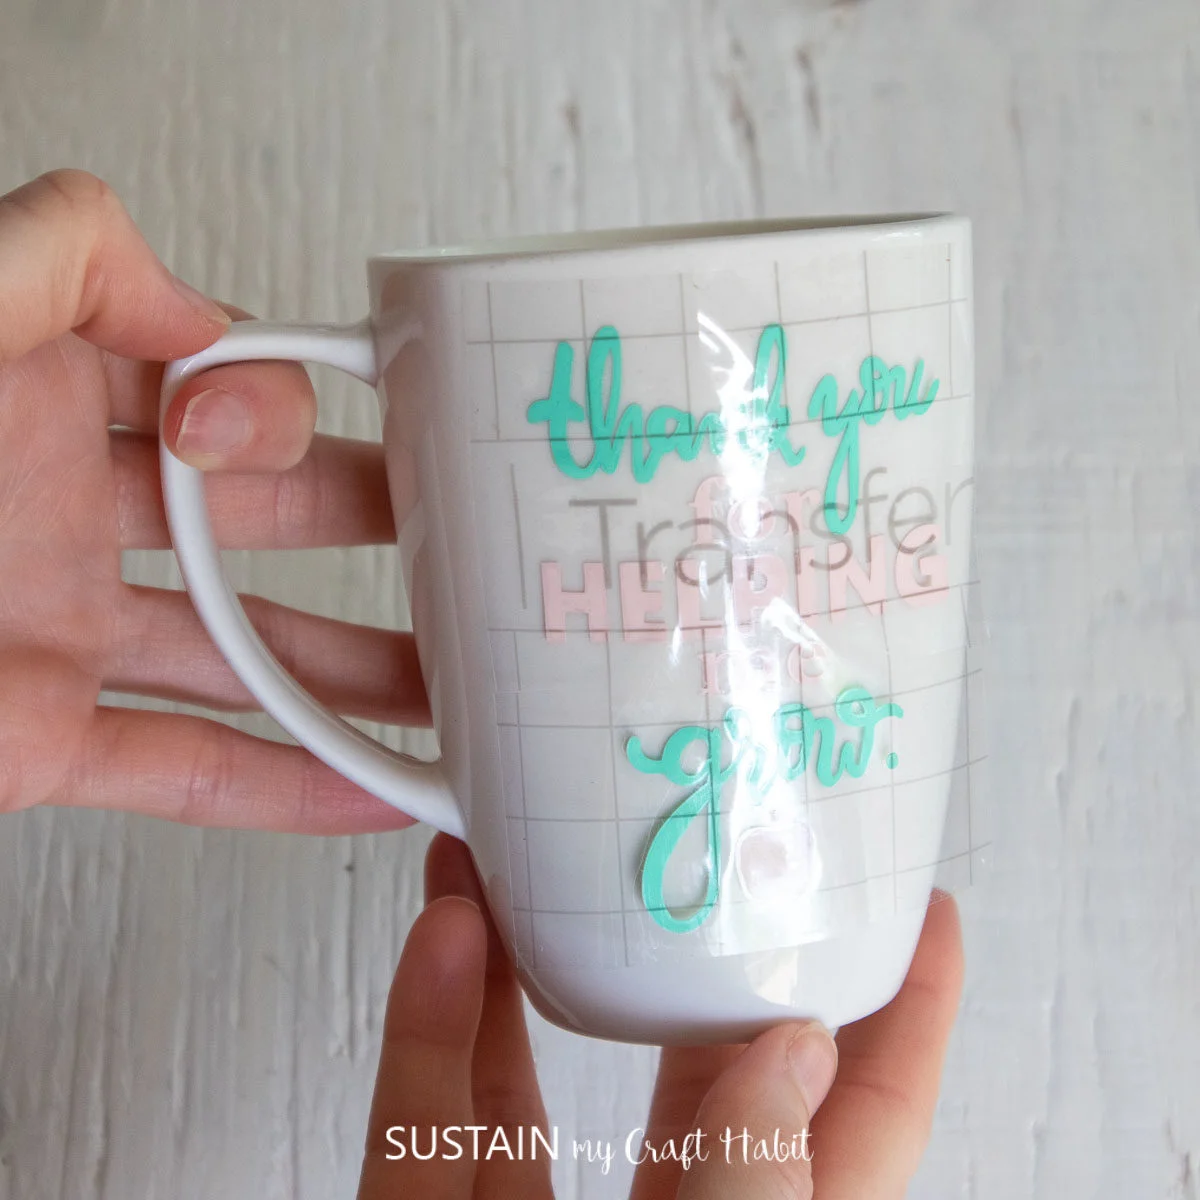
Press the image down with your fingers to help it to stick to the mug.
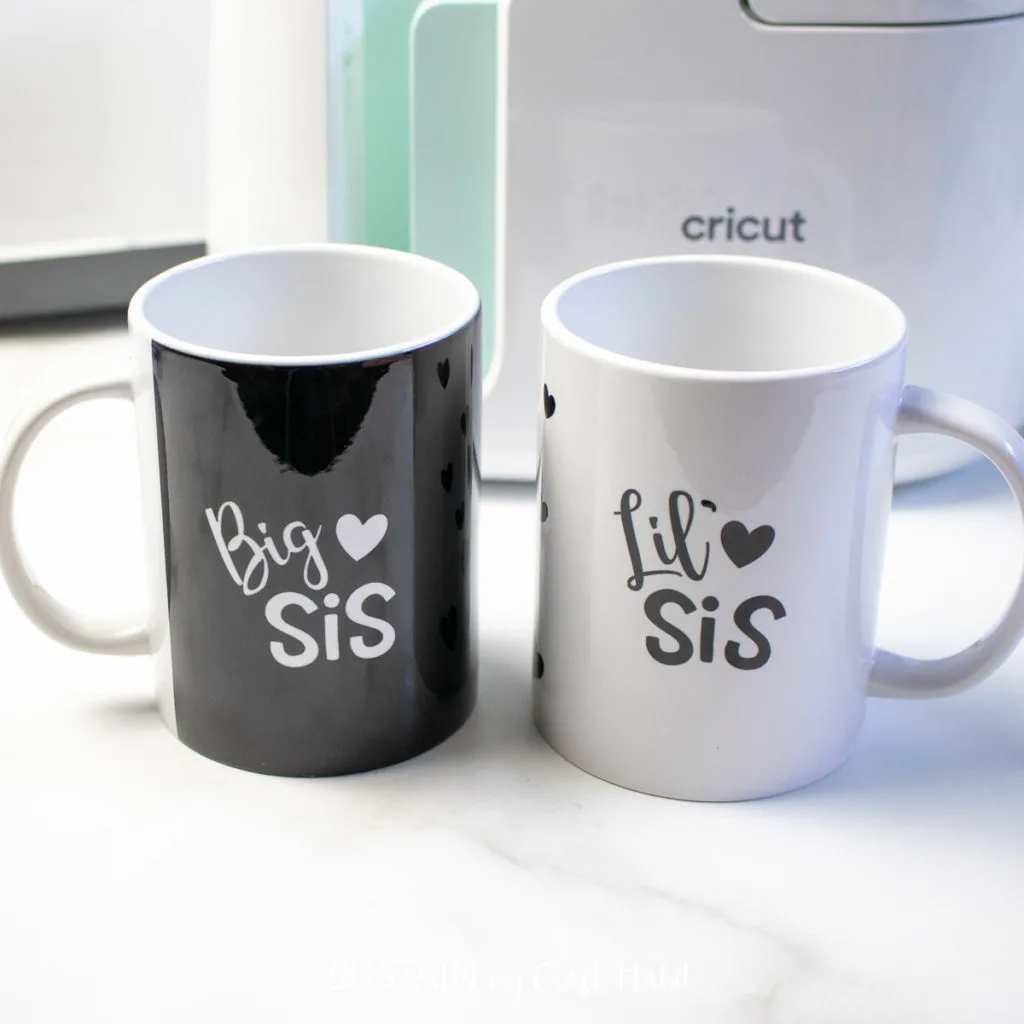
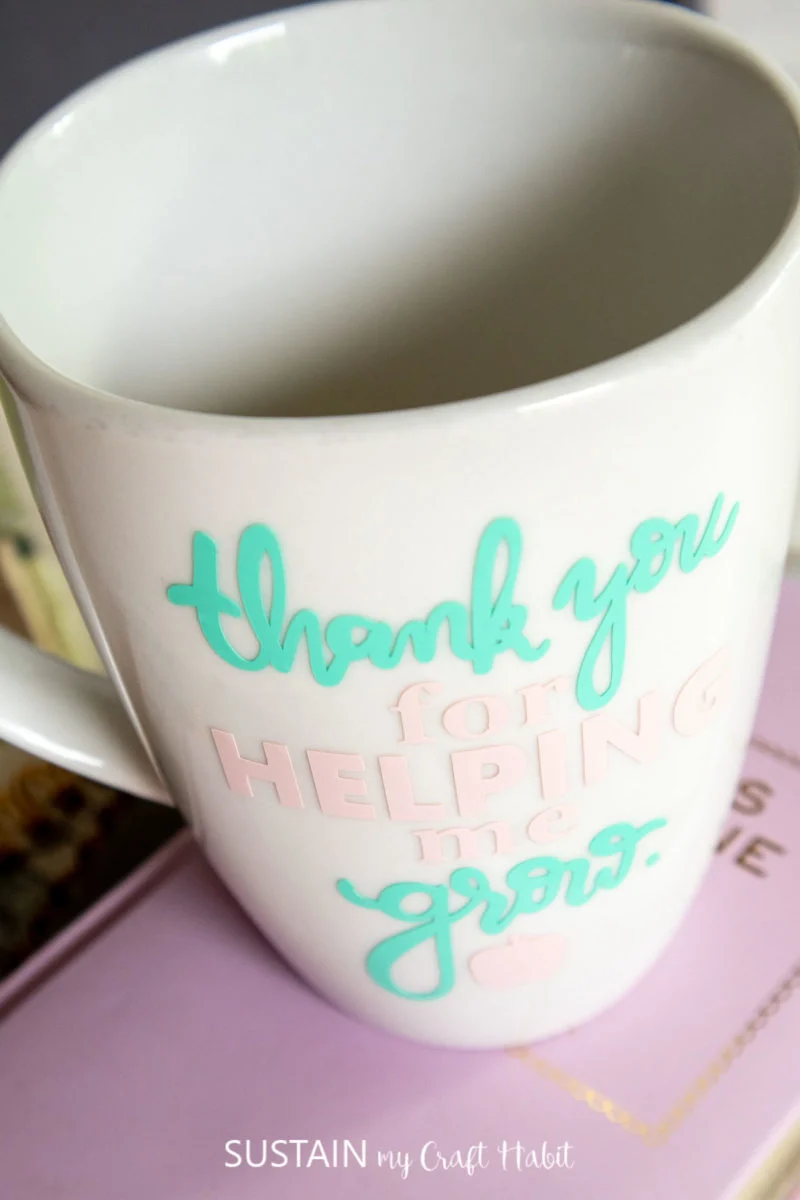
Slowly remove the transfer tape leaving the vinyl image on the mug.
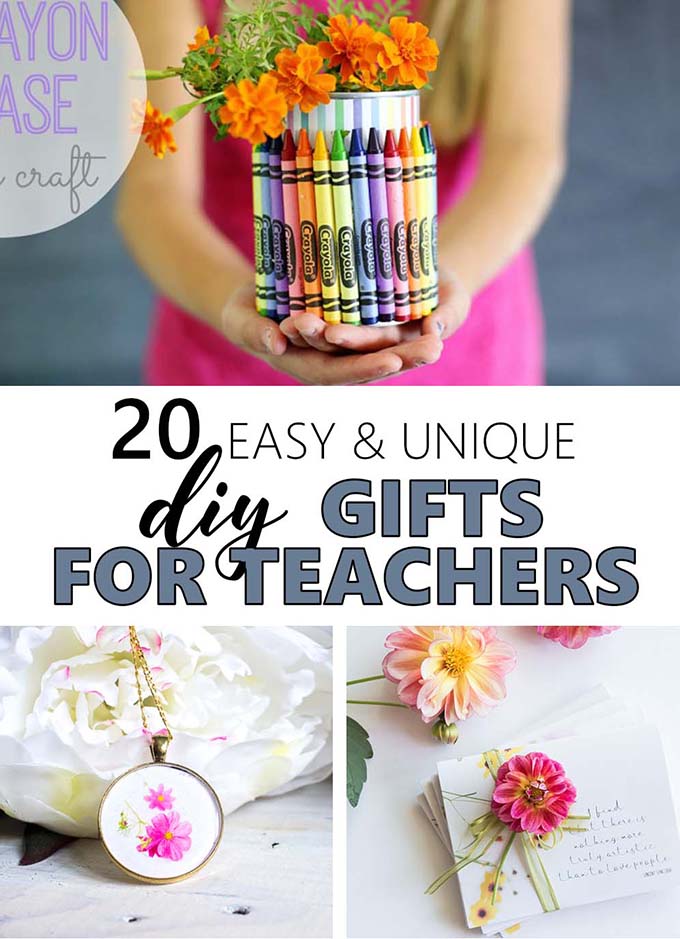
Need More Teacher Gift Ideas?
Nothing says thankyou quite as much as a handmade gift!
So be sure to check out these DIY gift ideas to show them just how much you appreciate them!
Pin it for later!
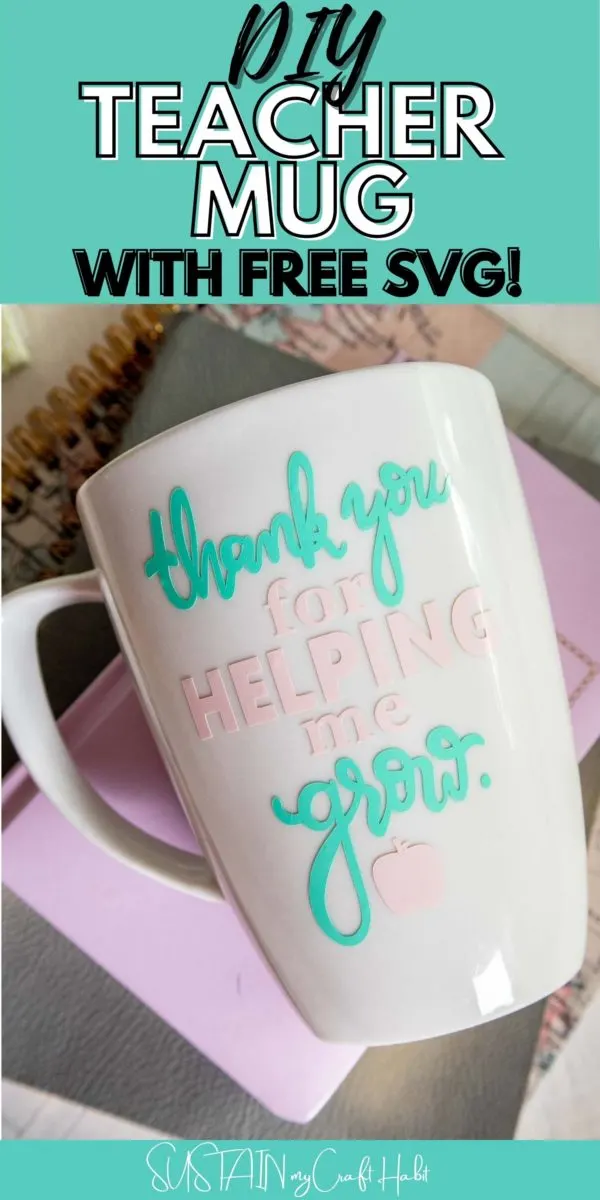
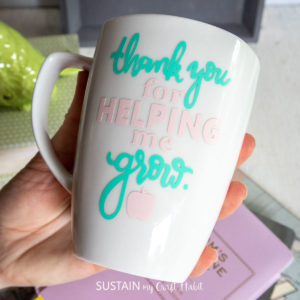
DIY Coffee Mug for Teachers
Materials
Instructions


DIY leather cord organizers
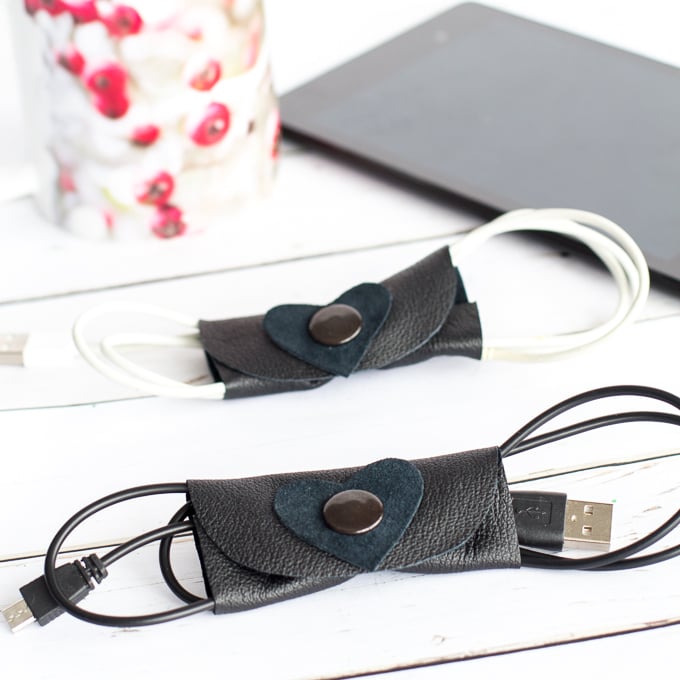
DIY leather cord organizers

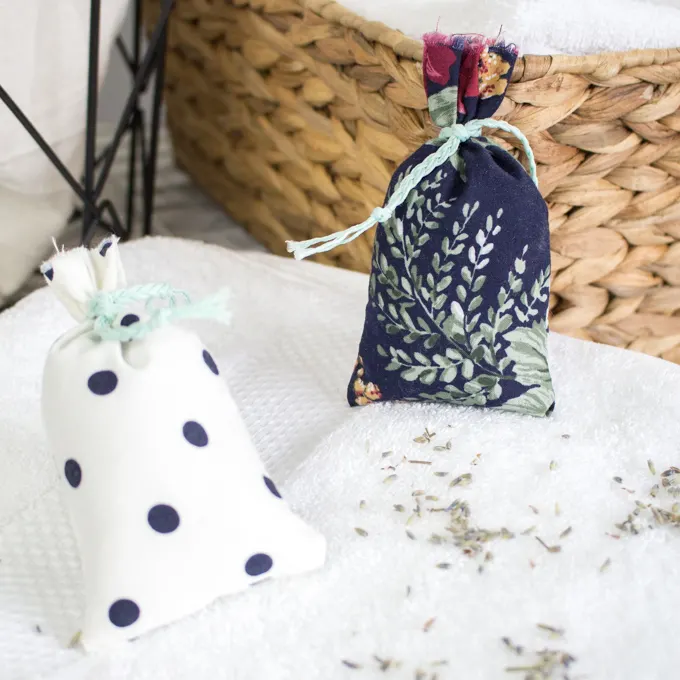
Lavender Sachet