No surface is safe :).
This craft came together on a recent Facebook Live video which you canwatch along here.
Its so fun to craft together with others making the decisions as we go.
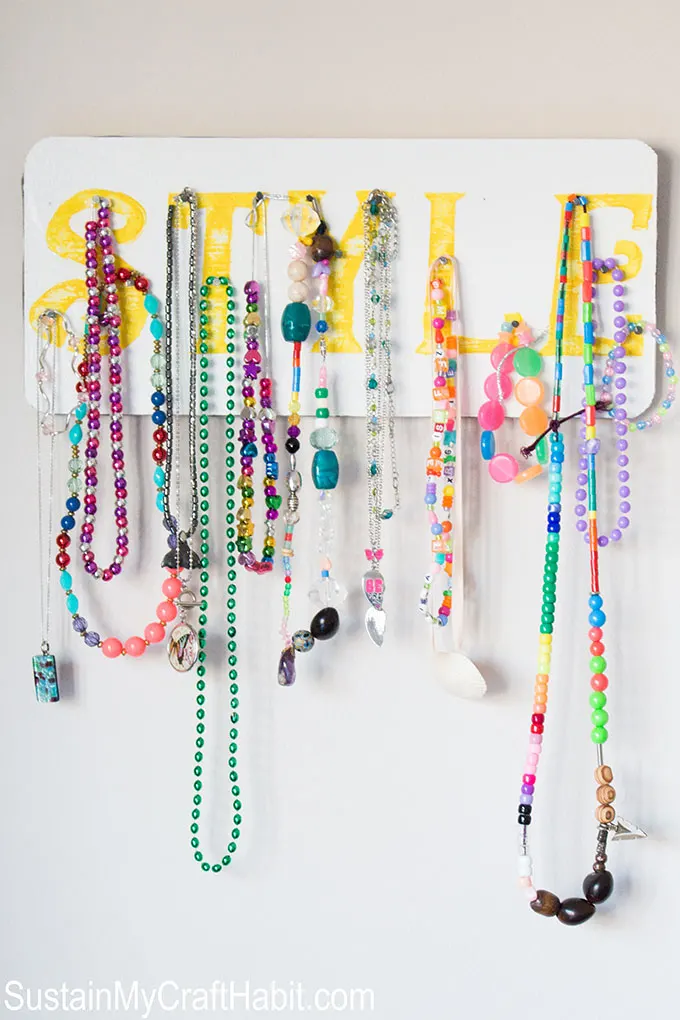
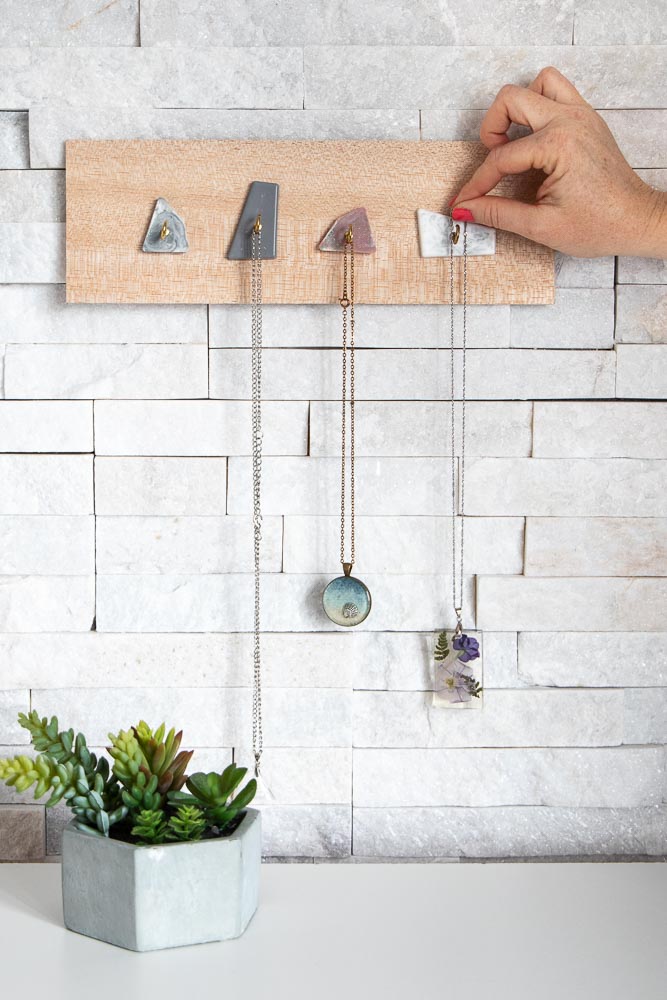
Accessory Organizer
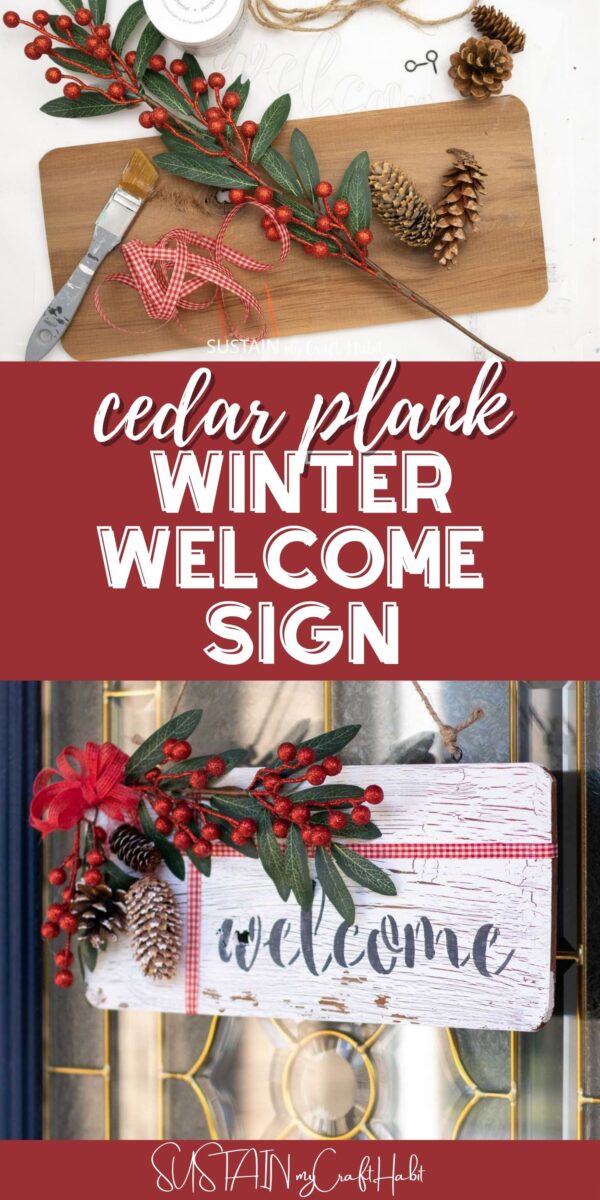
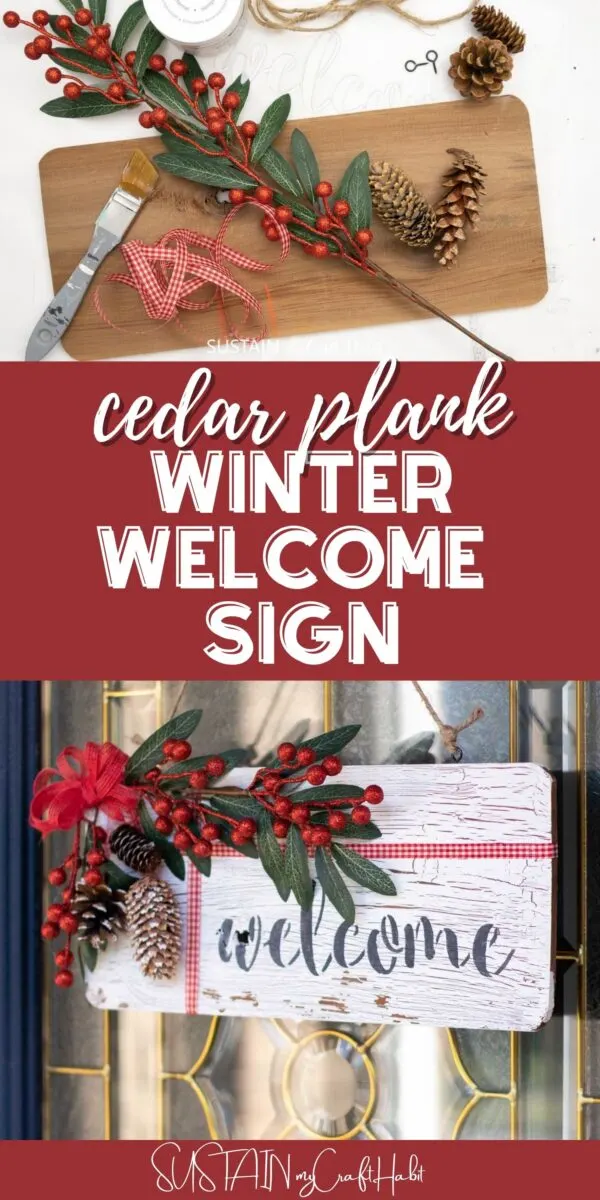
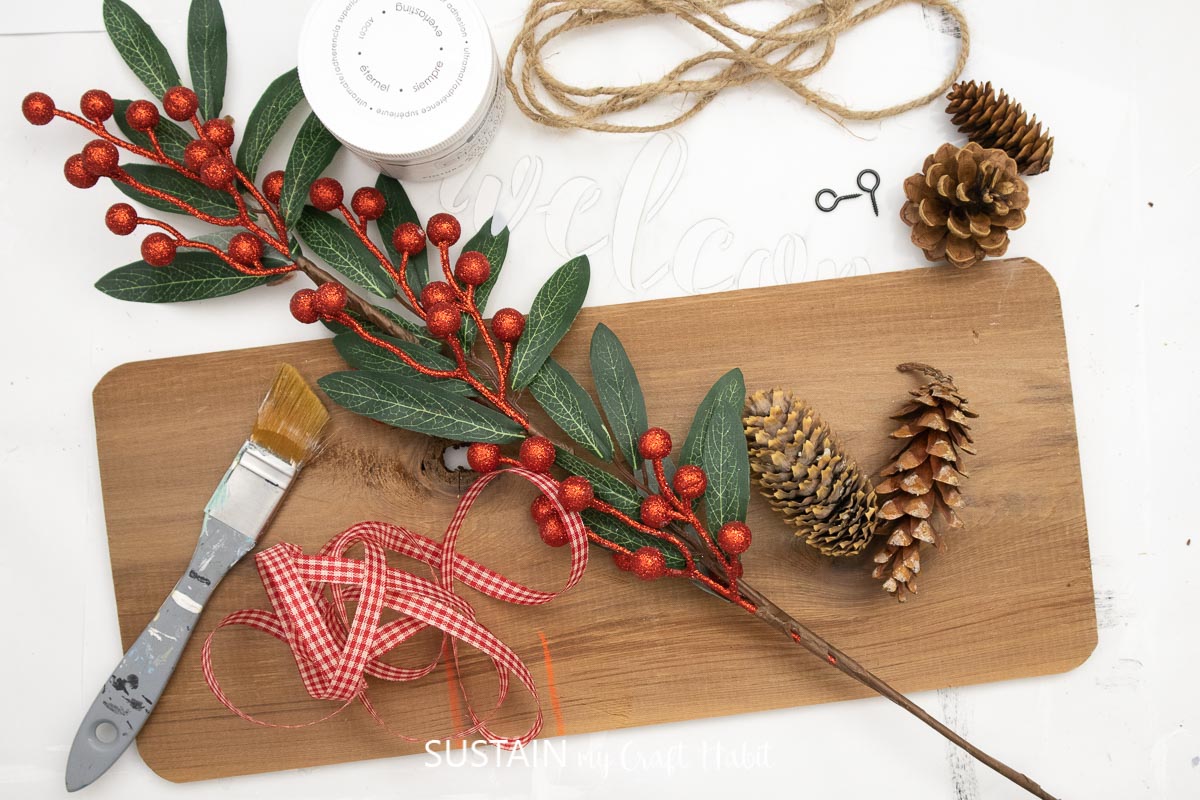
Materials Needed
Disclosure: This post contains affiliate links for your shopping convenience.
you could readour full disclosure here.
Or if you prefer the photo tutorial, continue reading below.
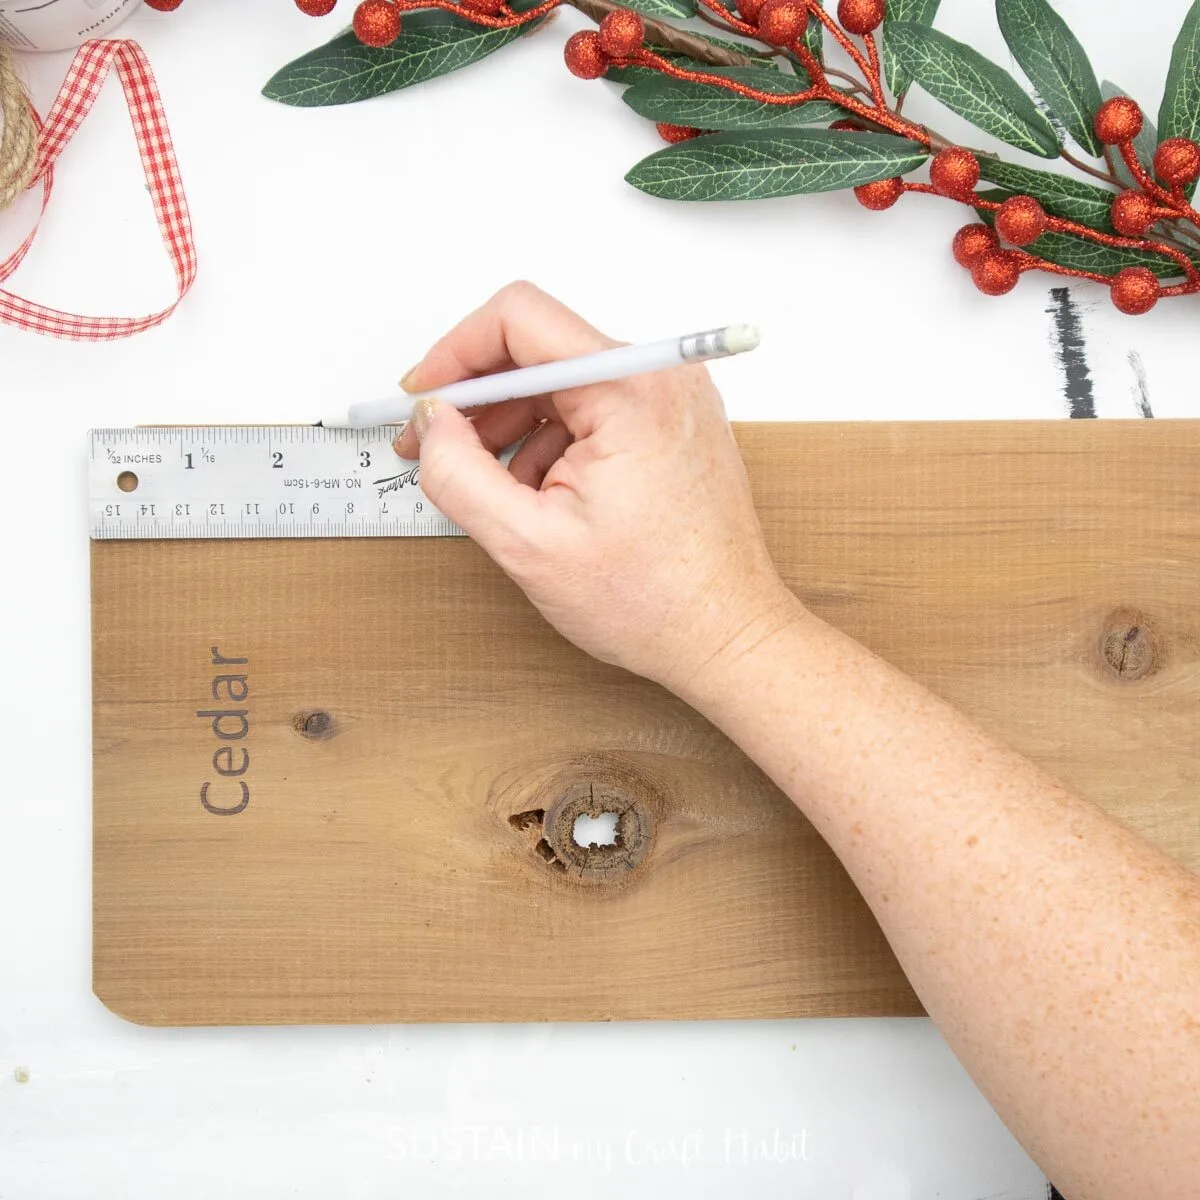
Measure 2.5 inches from either end of plank and drill small holes along the top edge.
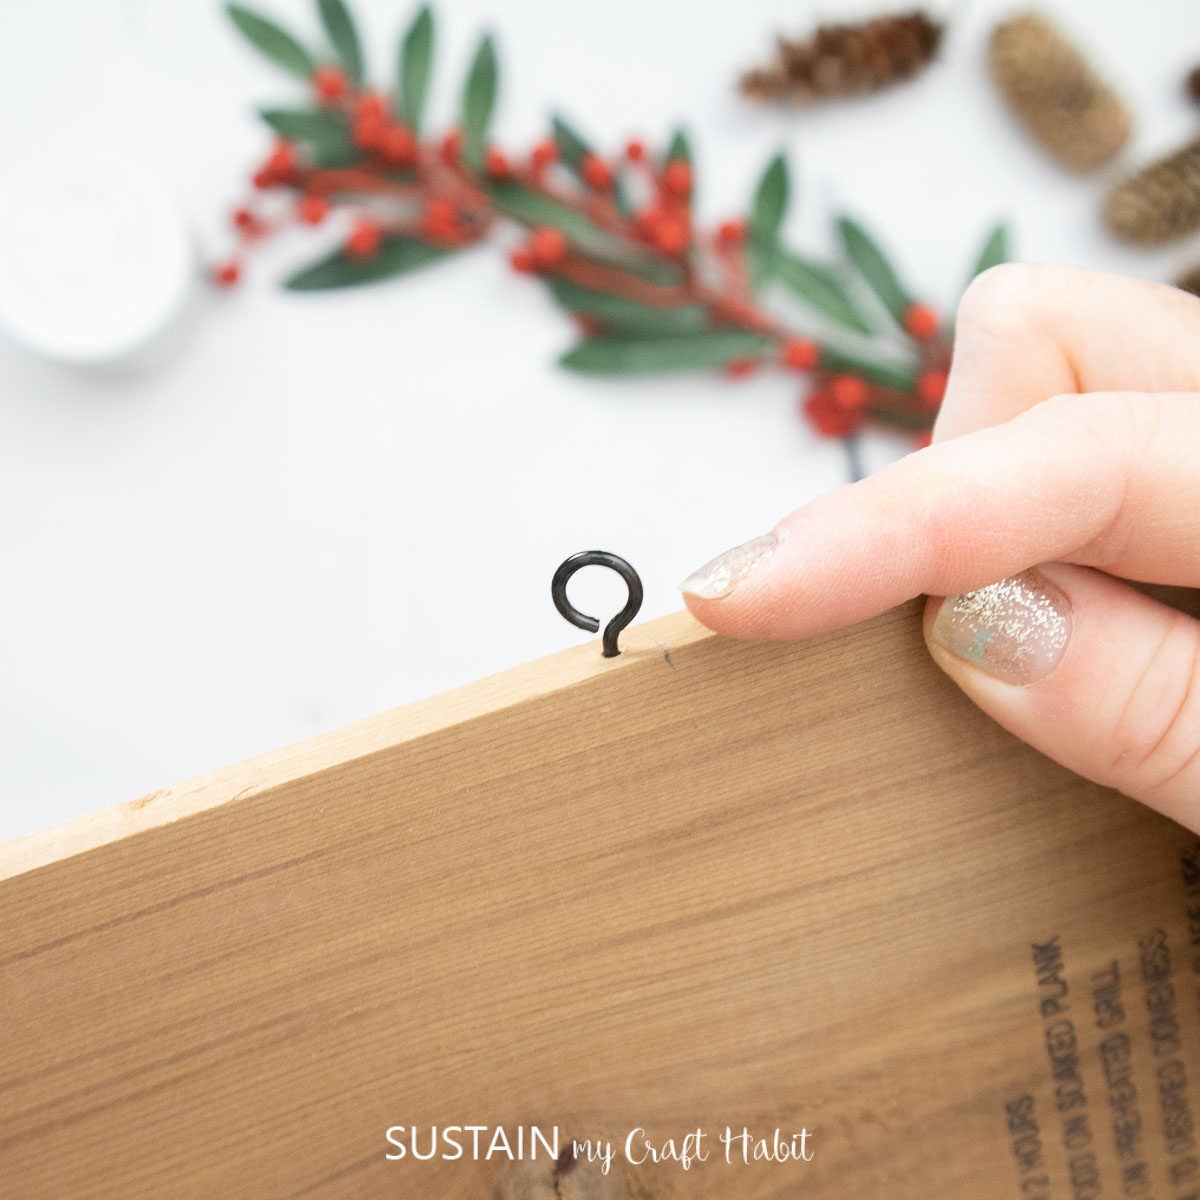
Screw in small eyelets.
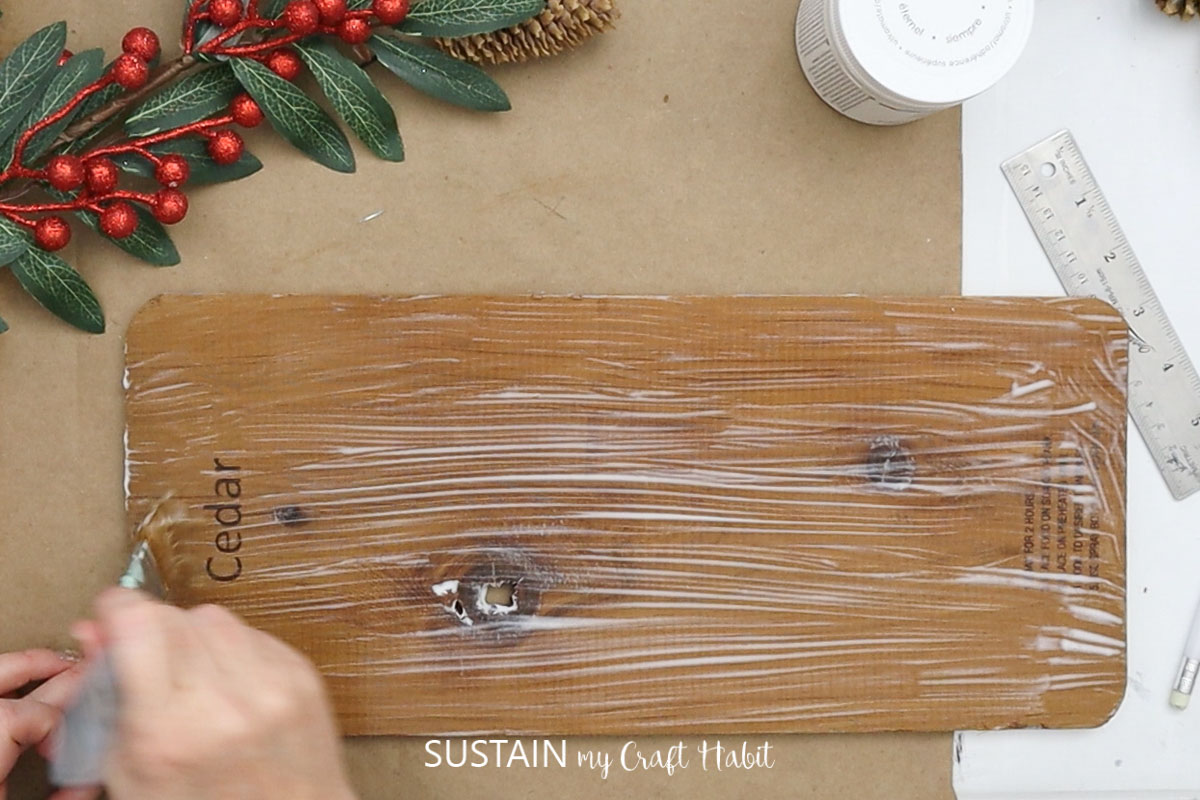
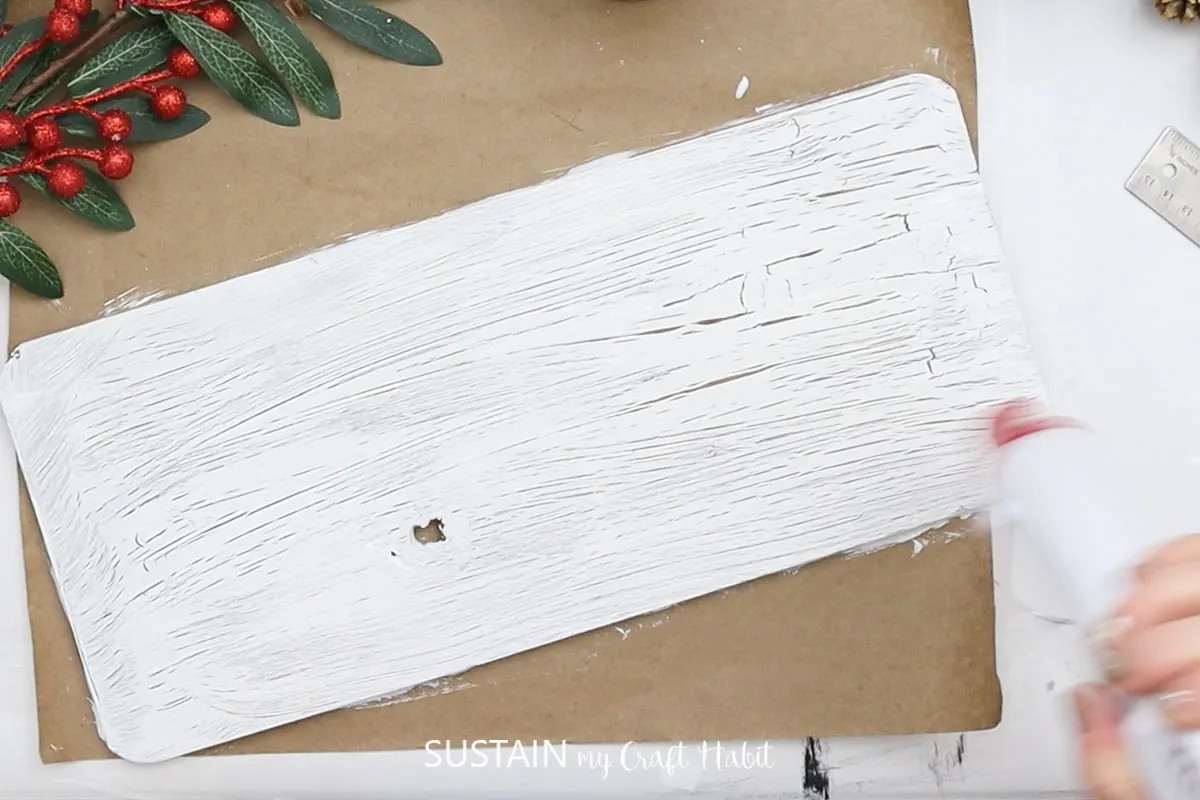
Paint a generous coat of glue on one surface.
Let dry just until the glue is tacky but still wet.
Brush a generous coat of white chalky finish paint over the glue.
As the paint dries it will create a lovely crackle effect.

Let the glue and paint dry completely.
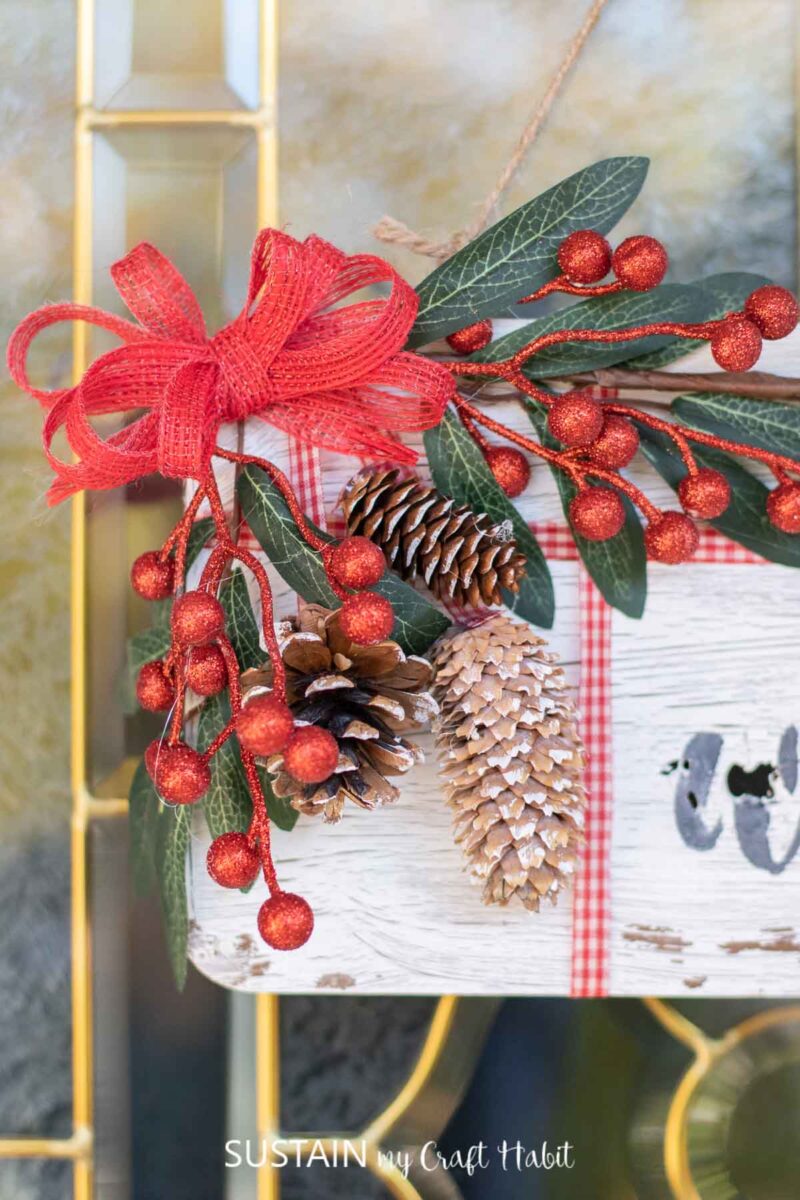
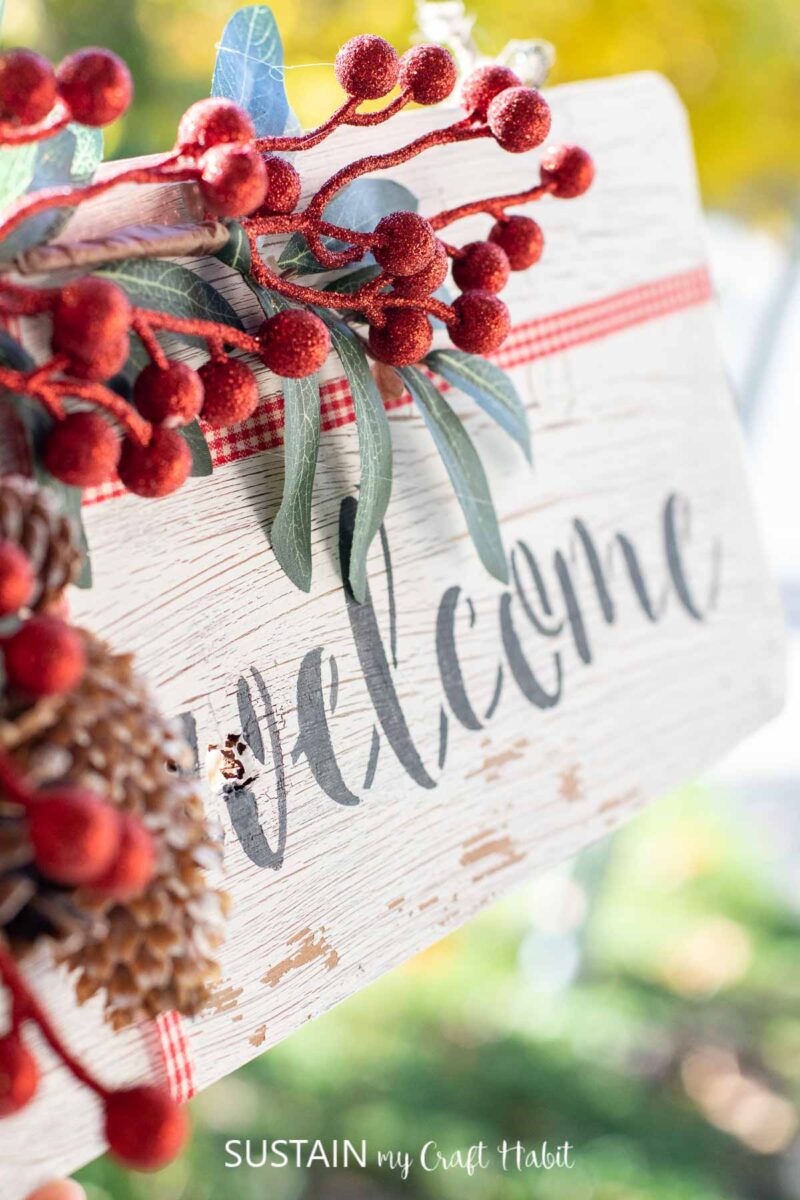
Cut 2-3 pieces of ribbon to 2-3 long each.
Glue to the ends of 2-3 pinecones and set aside.
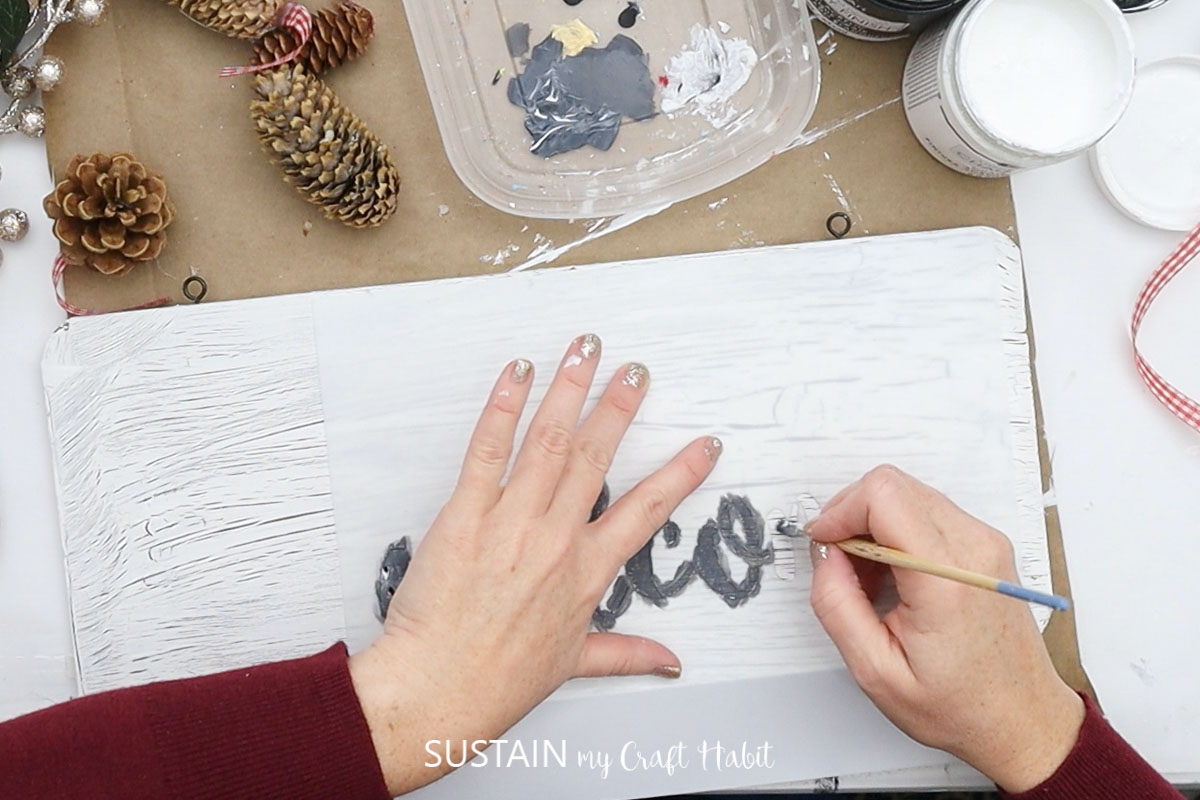
Mix a bit of black and white chalky paint (or use grey).
Remove the stencil and let the paint dry completely.
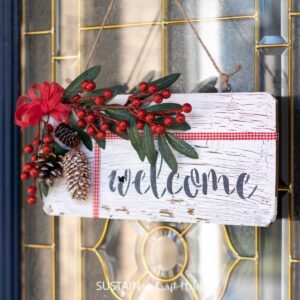
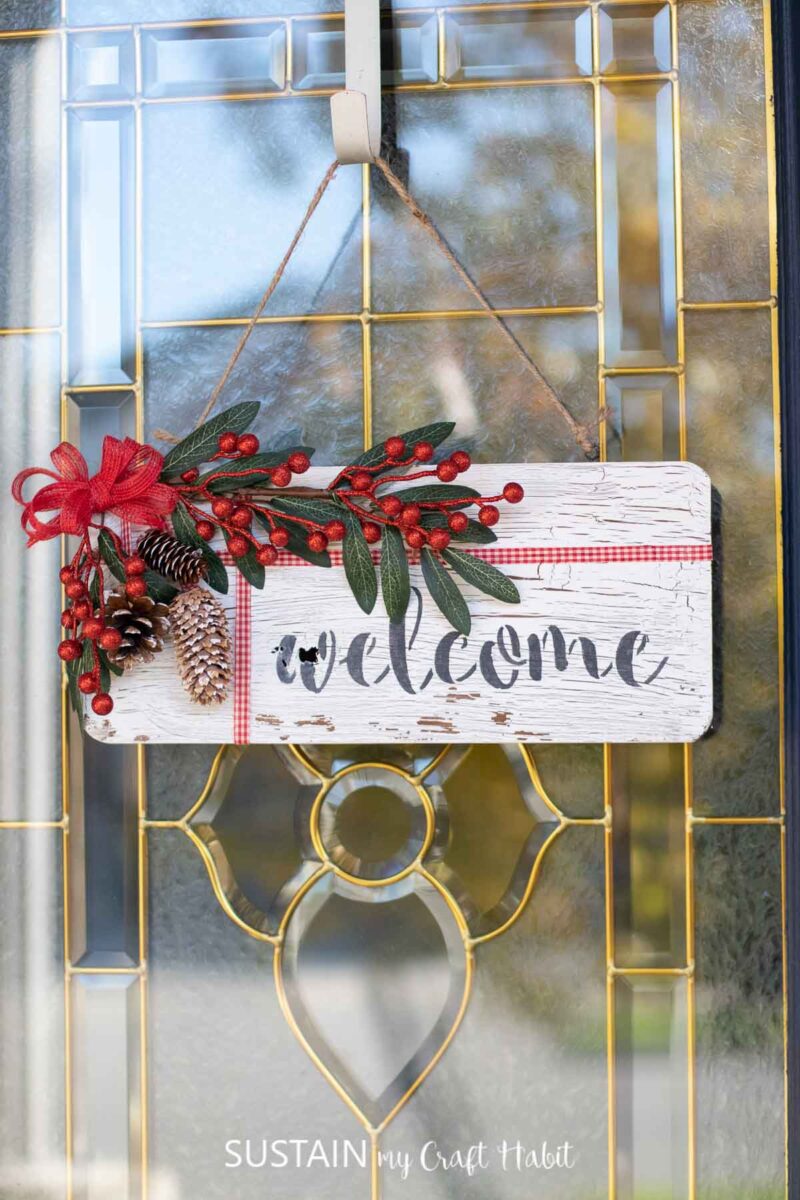
Cut a piece of the floral stem to about 23 of the width of the sign.

Glue to the top left corner of the sign.
Attach twine to the eyelets and hang your sign.
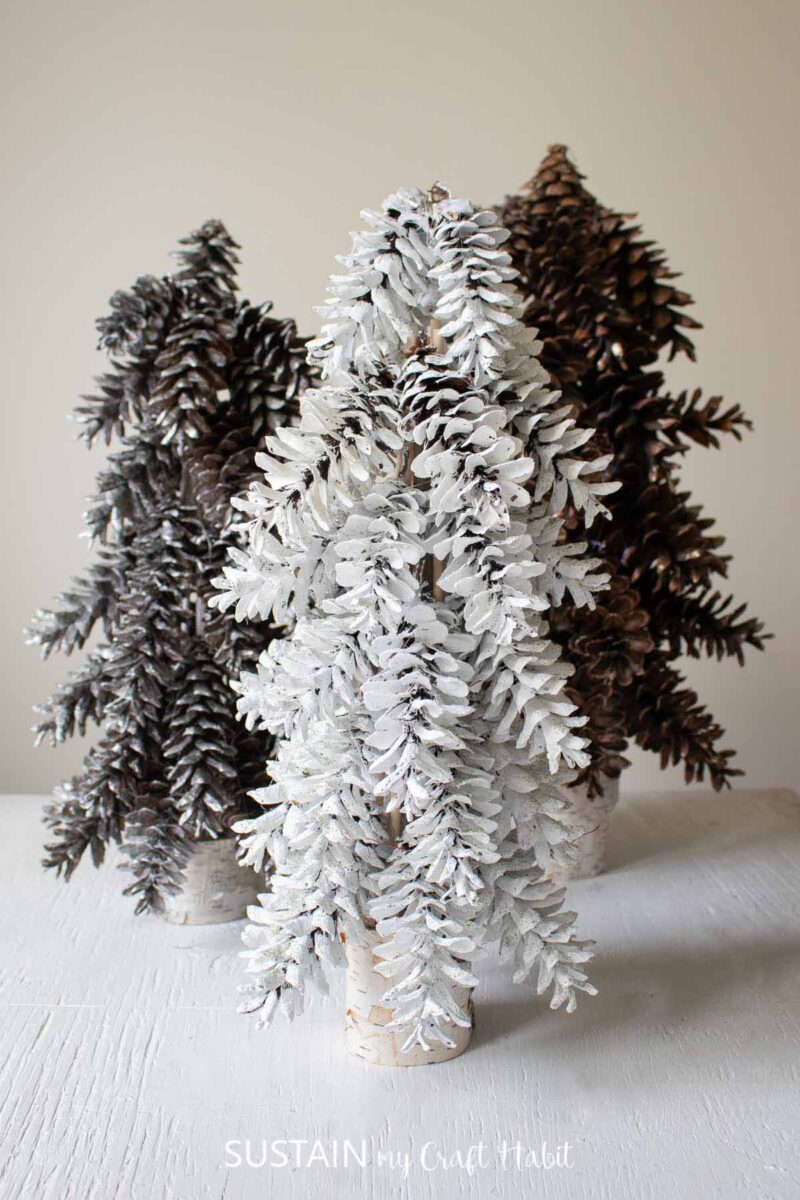
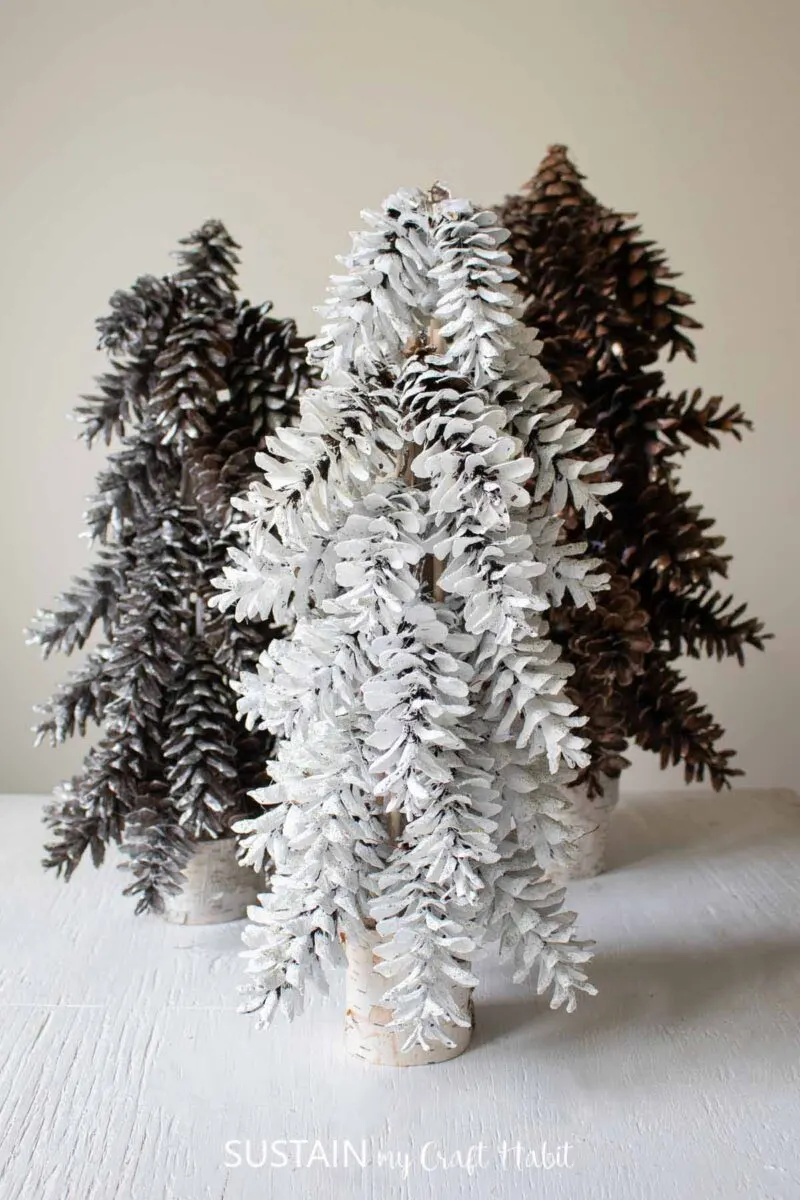
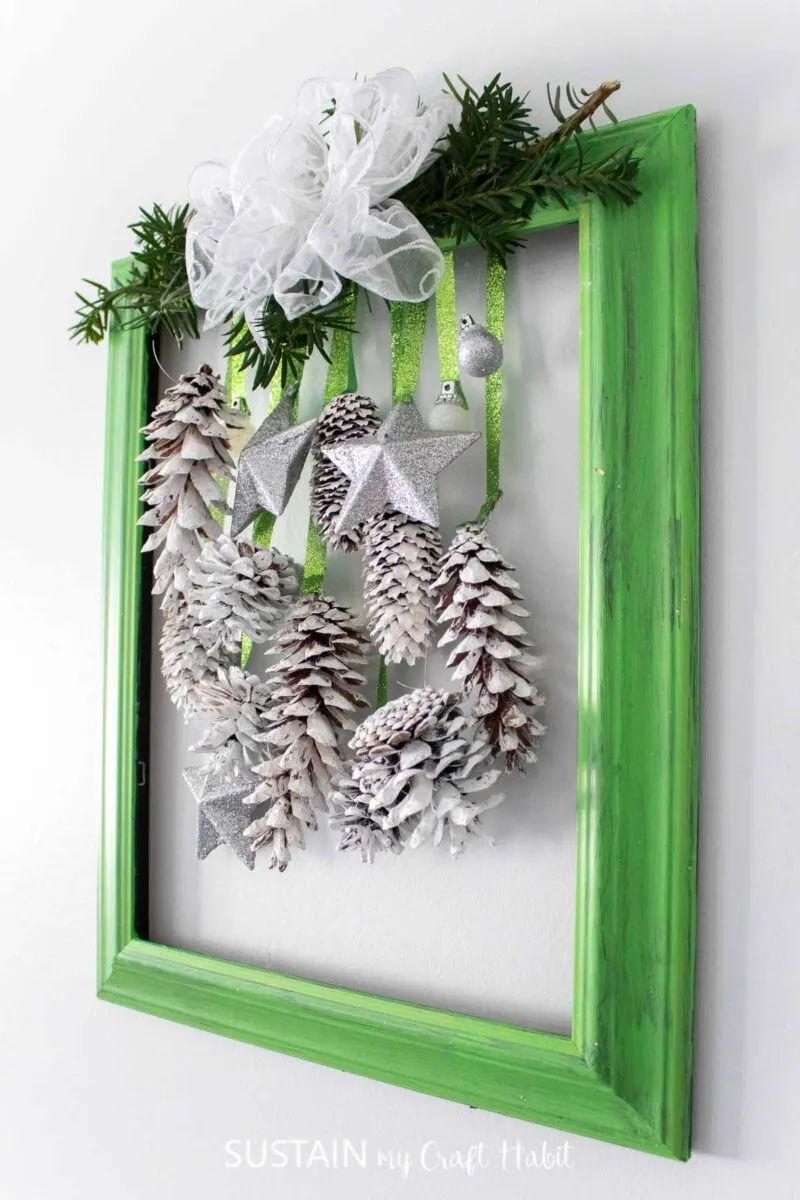
Check out these fun ways to repupose these versatile pieces of wood.
Pin it for later!
DIY Cedar Plank Winter Welcome Sign
Materials
Instructions


Accessory Organizer
Anthropology-Inspired Faux Marble Display

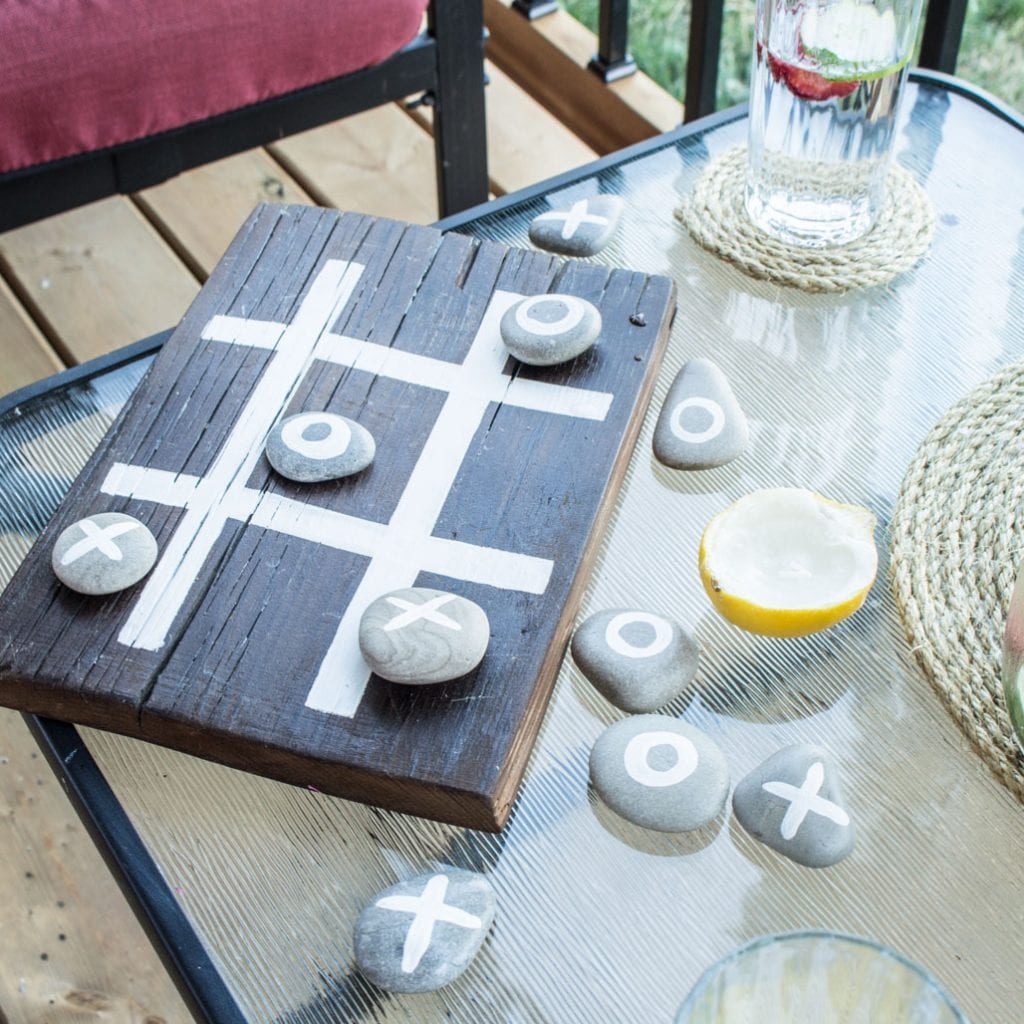
Tic-Tac-Toe Game