HomeOrganization
This post may contain affiliate links:full affiliate disclosure.
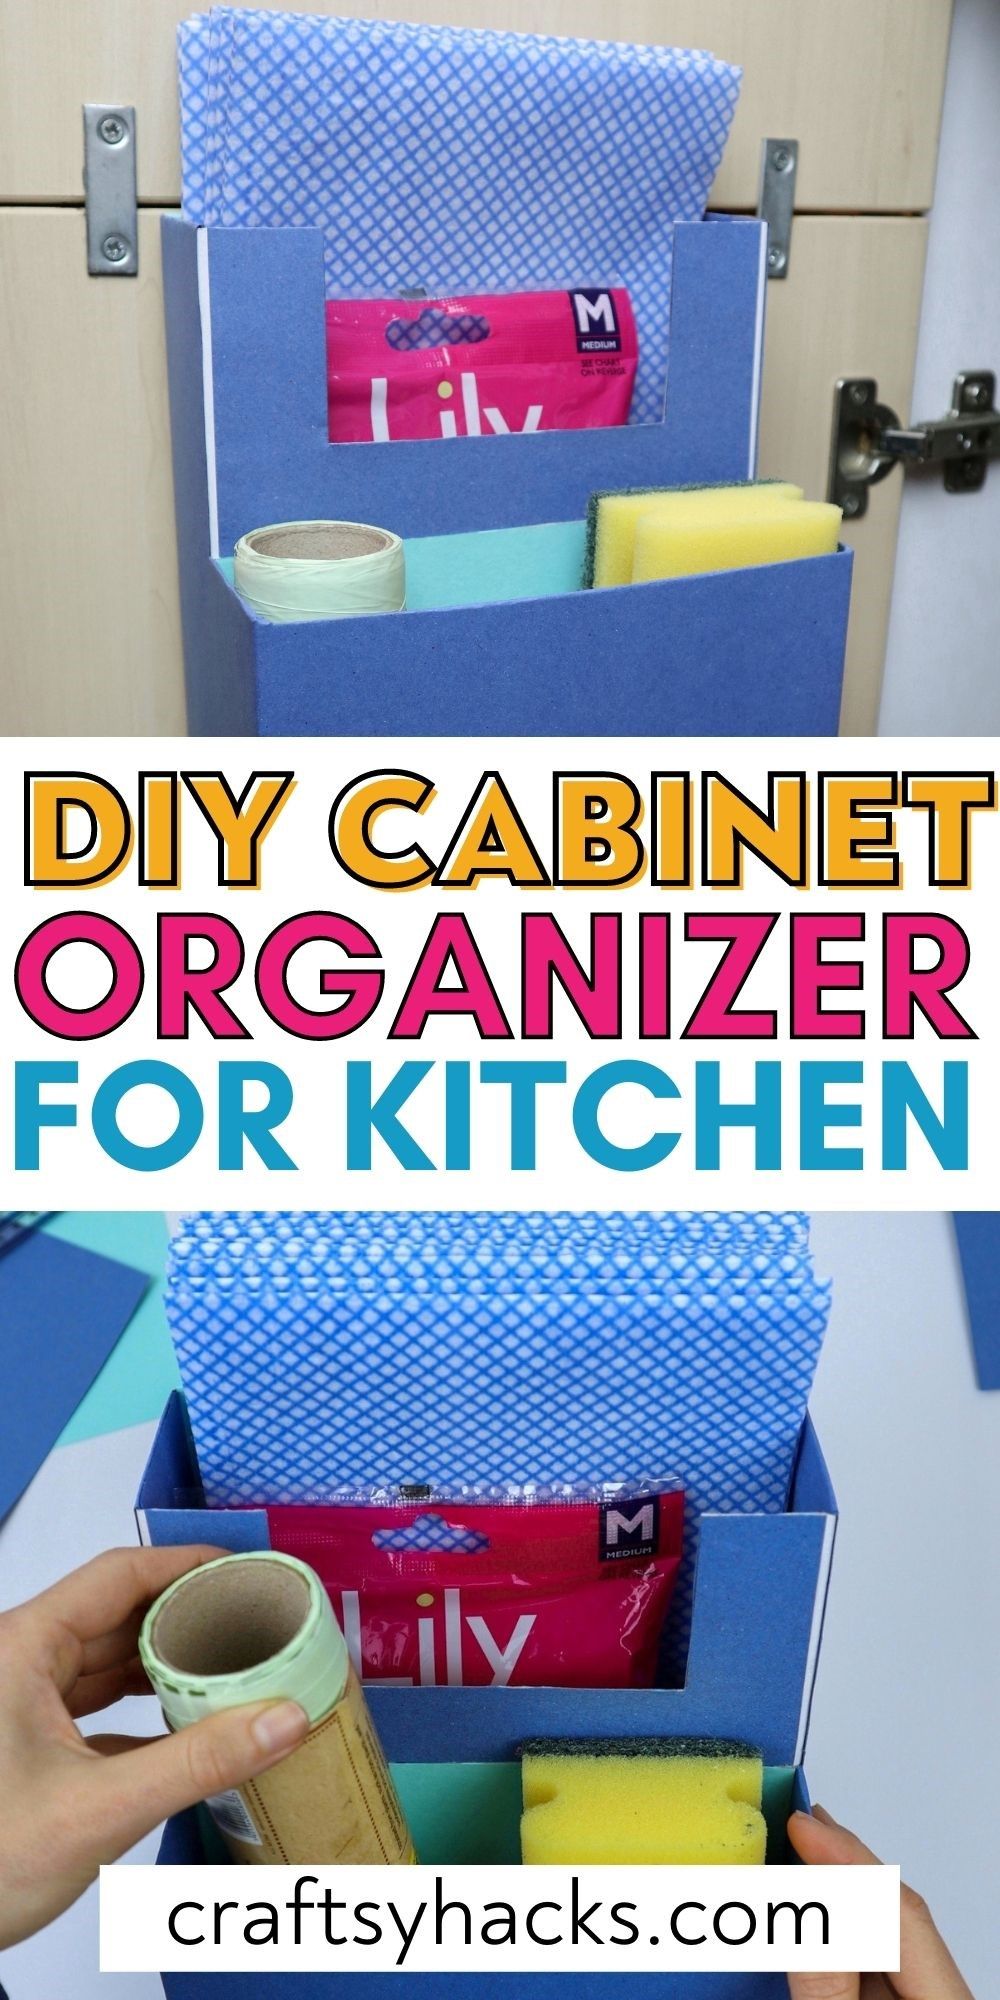
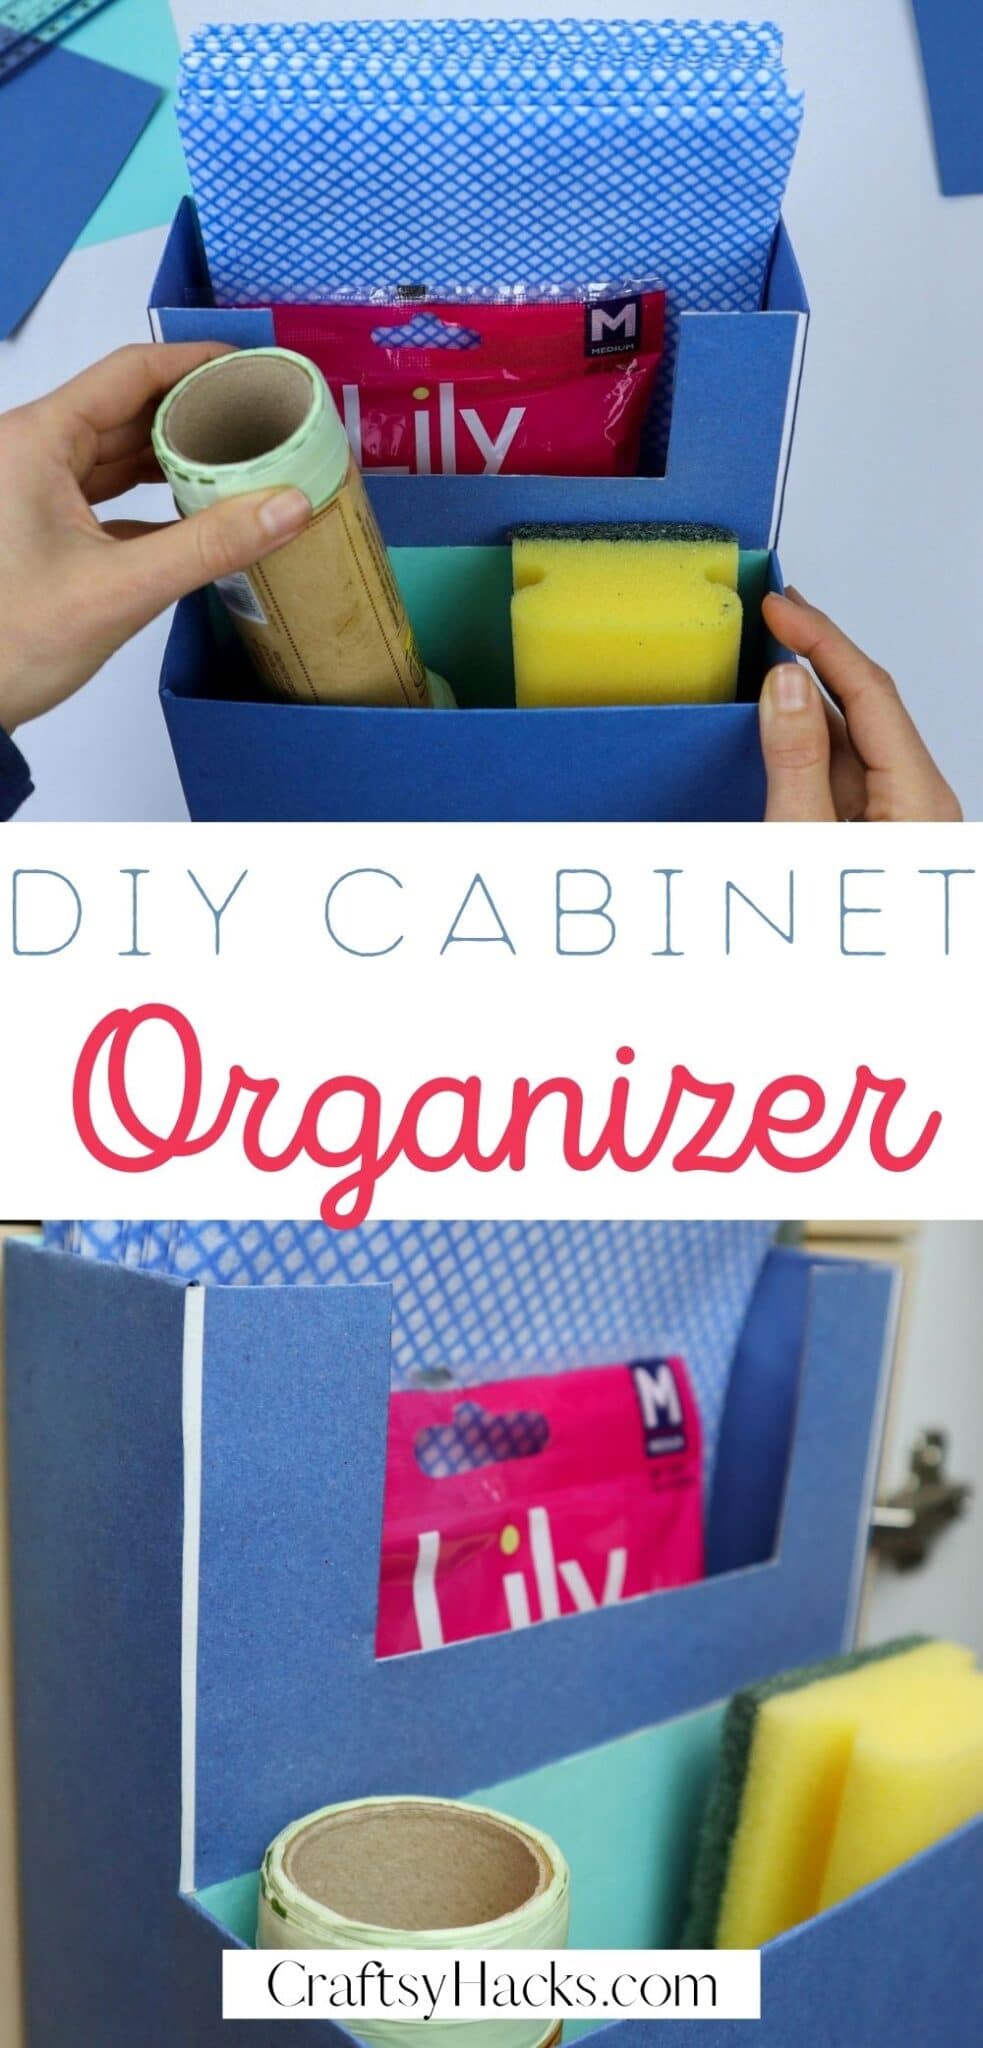
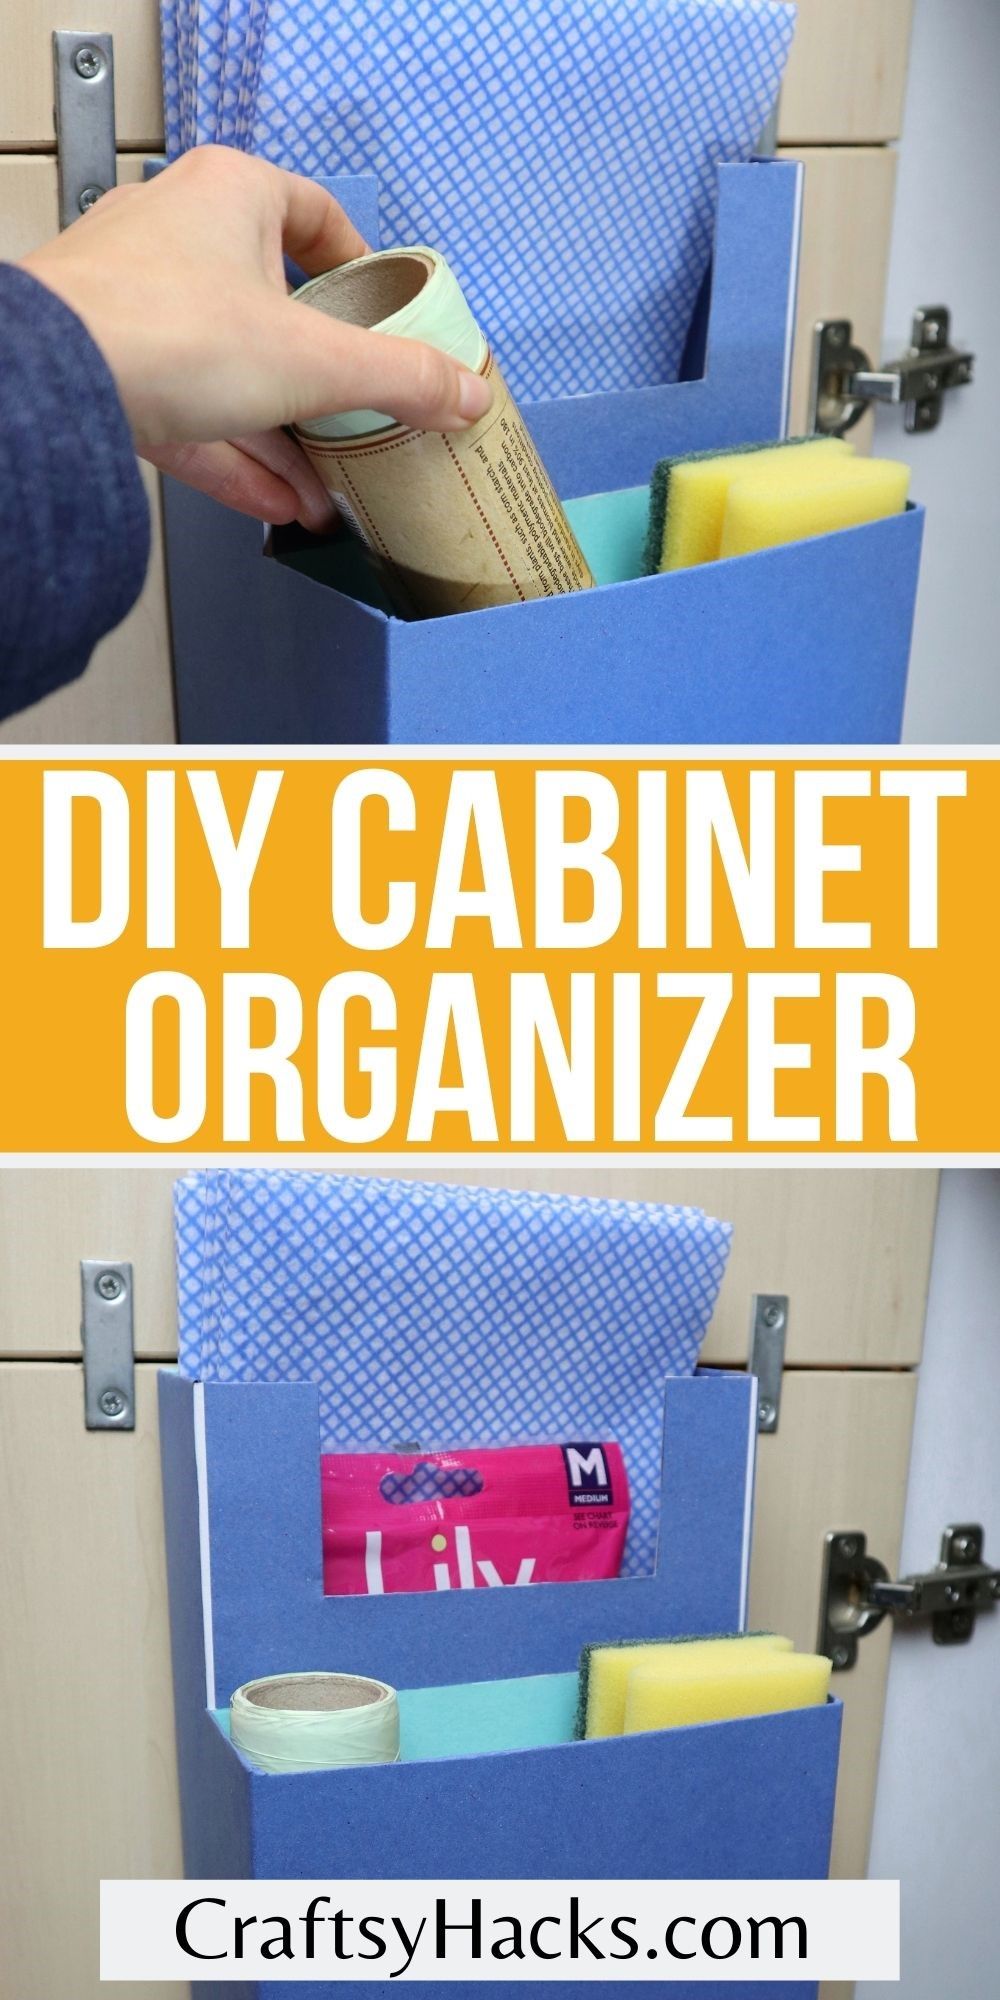
Upcycle cereal boxes to make this DIY cabinet organizer.
Perfect to increase storage in your kitchen, under the sink.
If youre like me, then you also think a house with sub-par storage is just… the worst.
Especially in the kitchen, where we store so many cleaning supplies!
Eventually, I got sick of the clutter undermysink and came up with this nifty hack.
This is so simple to make, so cheap, and takes no time to complete.
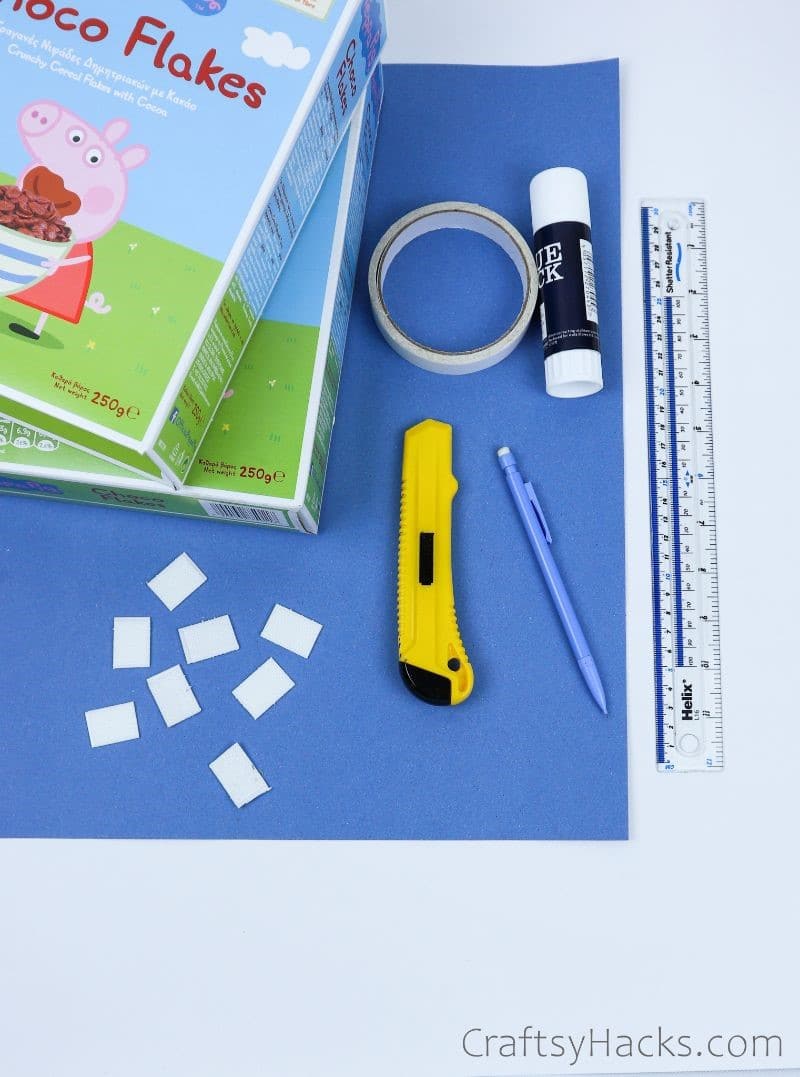
Supplies for the Organizer
How to Make an Organizer
Alright, lets get organizing!
Step 1
Start by gathering all your supplies.
Its best if the cereal boxes are the same size.
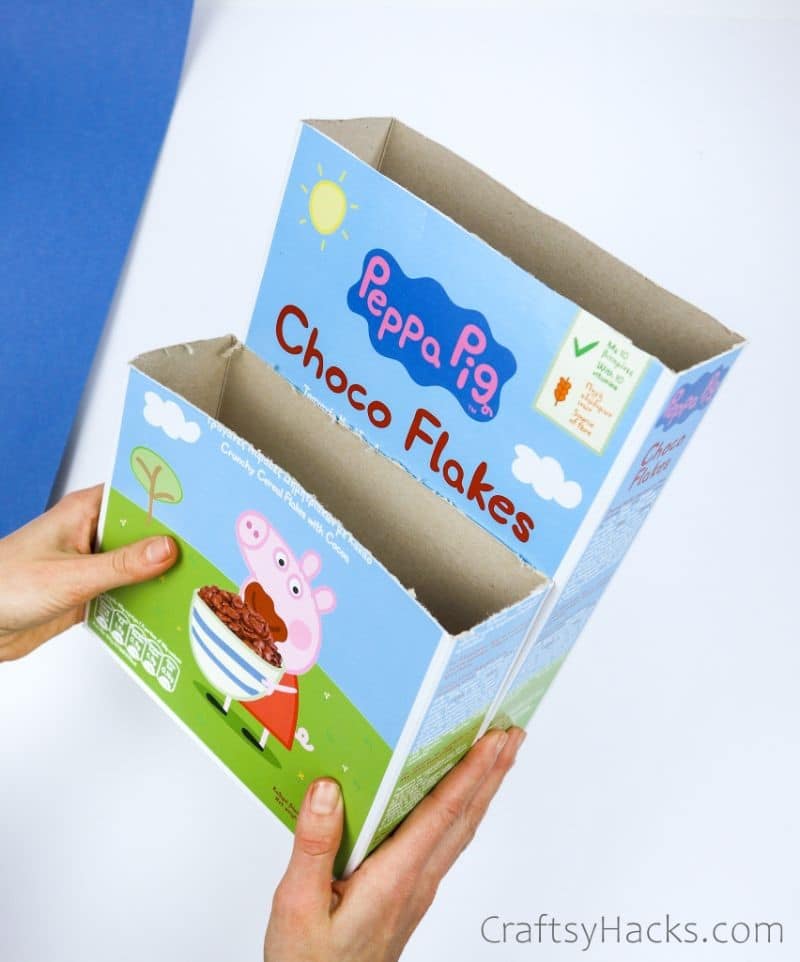
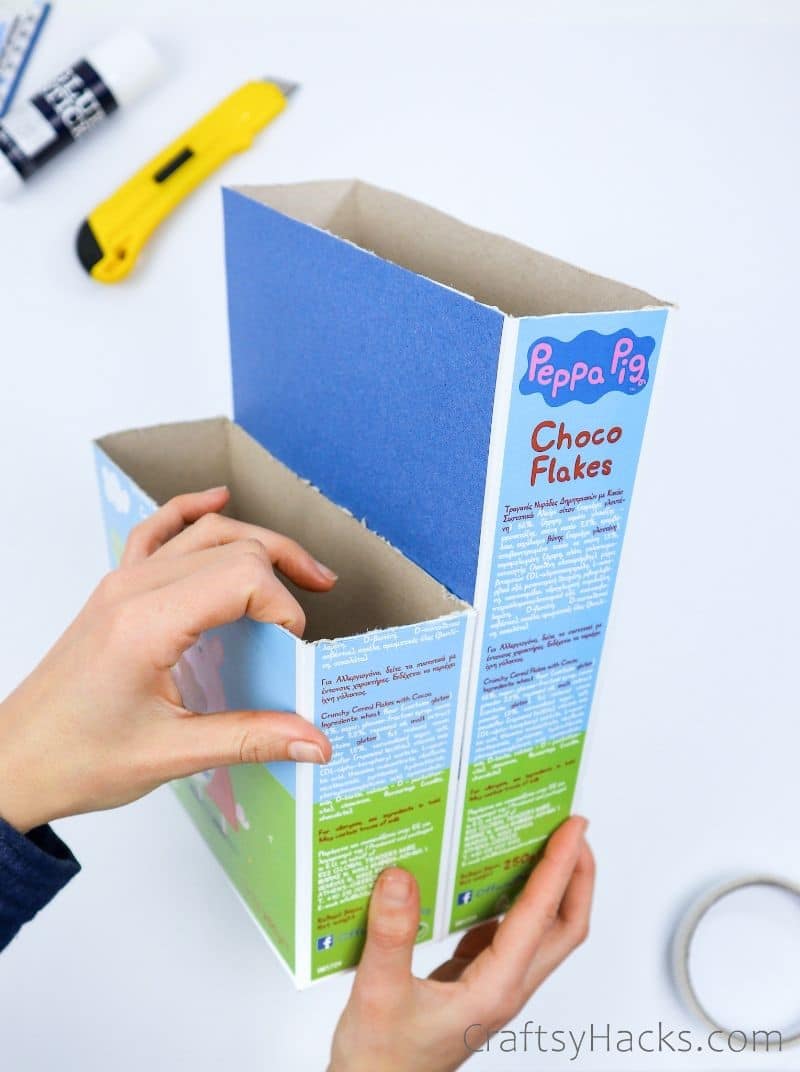
This will be the front slot on your organizer.
Step 4
Do the same thing for your other cereal box.
Make this one taller than the first, as well be cutting a notch into it later.
Step 5
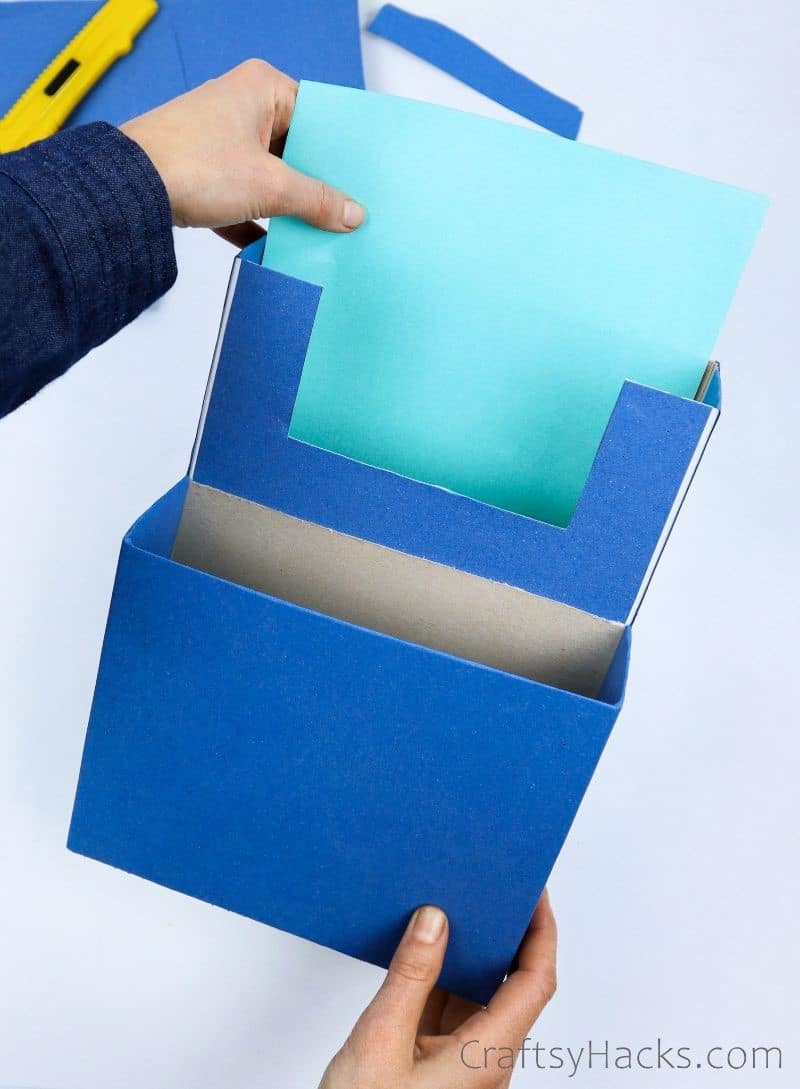
Next up, lets start customizing!
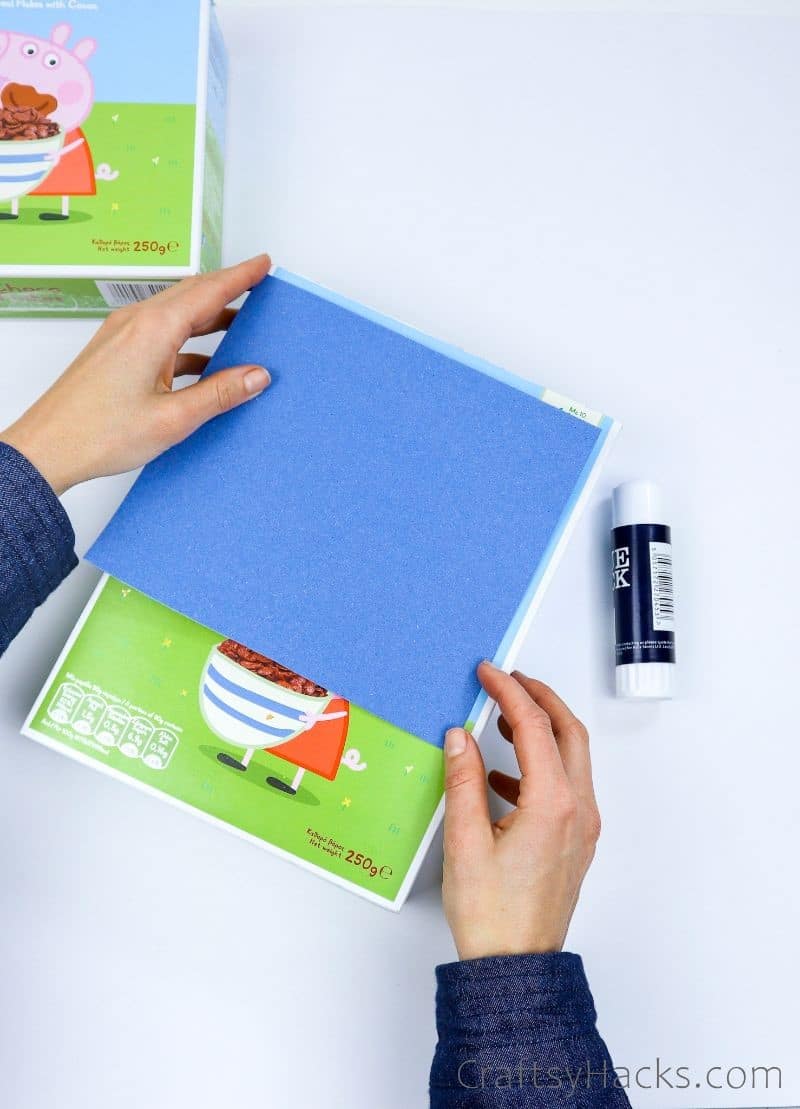
Simply cut a sheet of construction paper the width of the tall box.
You dont need to cover the entire thing, though!
Just cut it long enough to reach behind where the smaller box will sit.
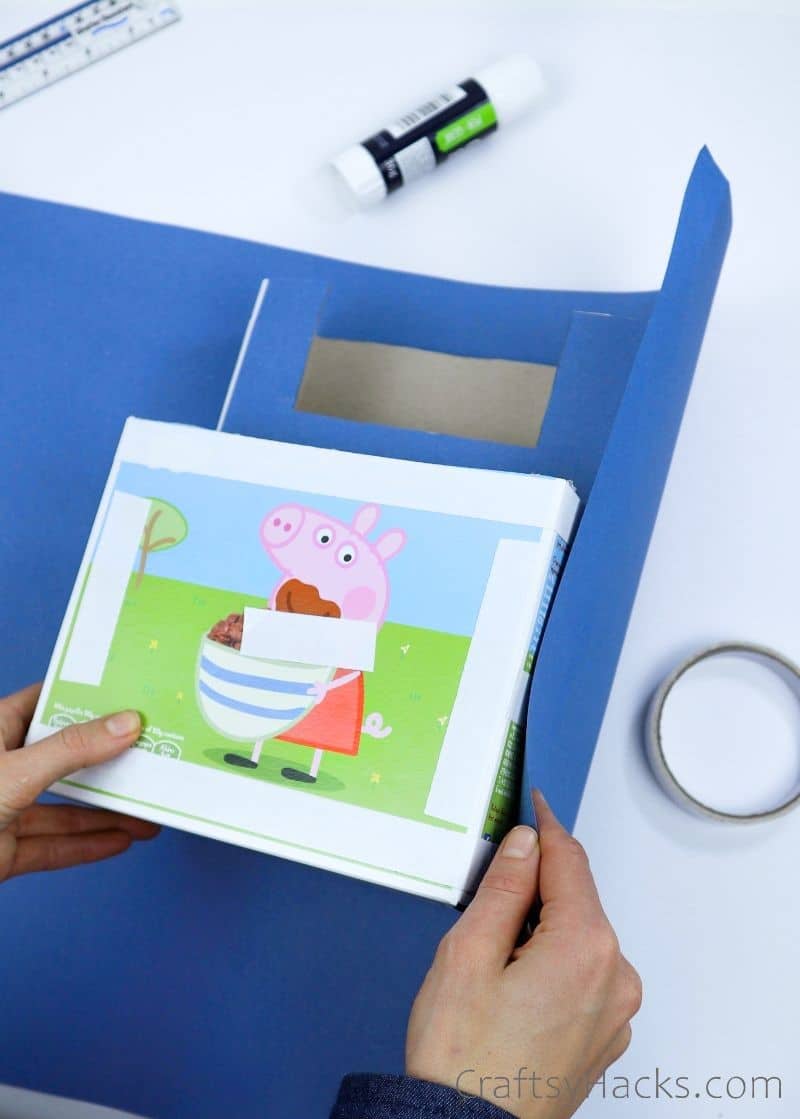
Step 6
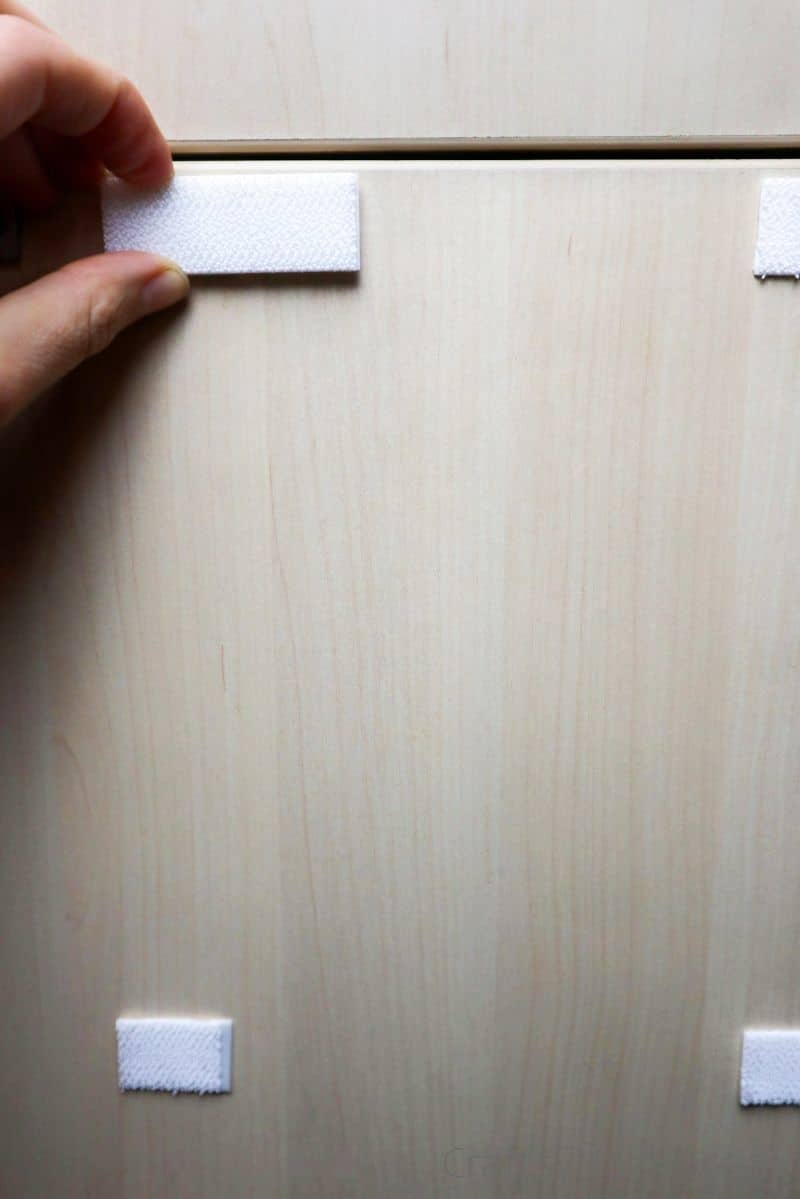
Then, were going to use some adhesive strips to mount the smaller box.
I recommend drawing a light line where the little boxs top will reach to check that you dont overshoot.
We want the organizer to look like a single piece.
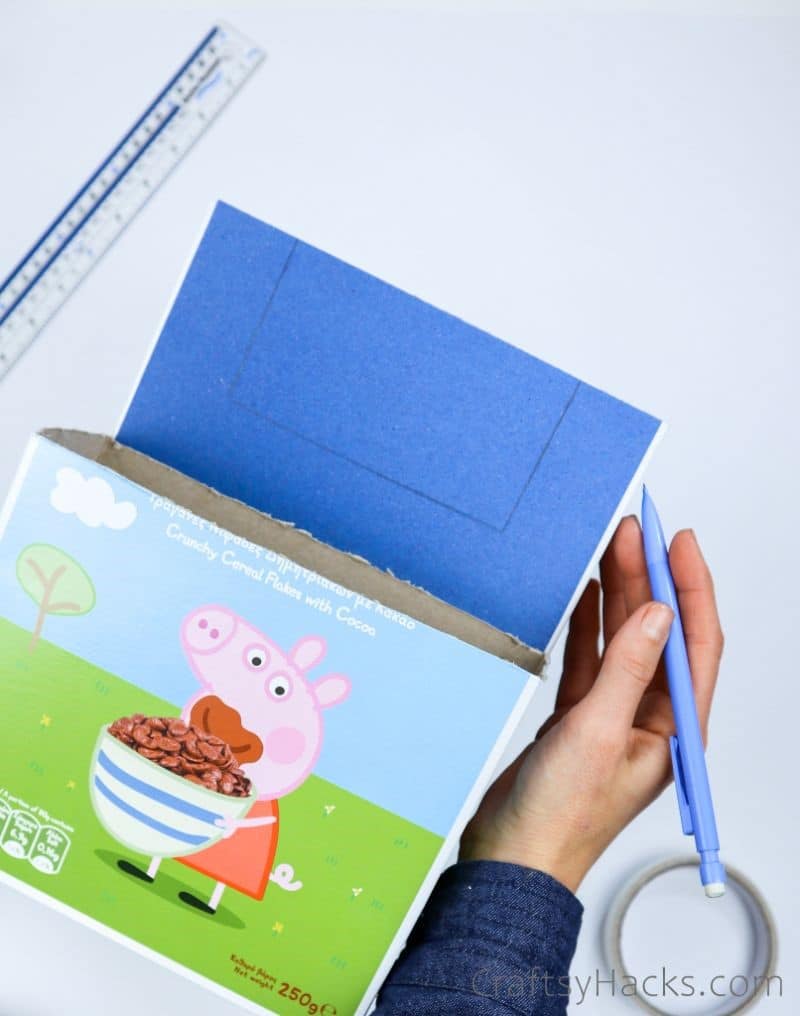
Step 8
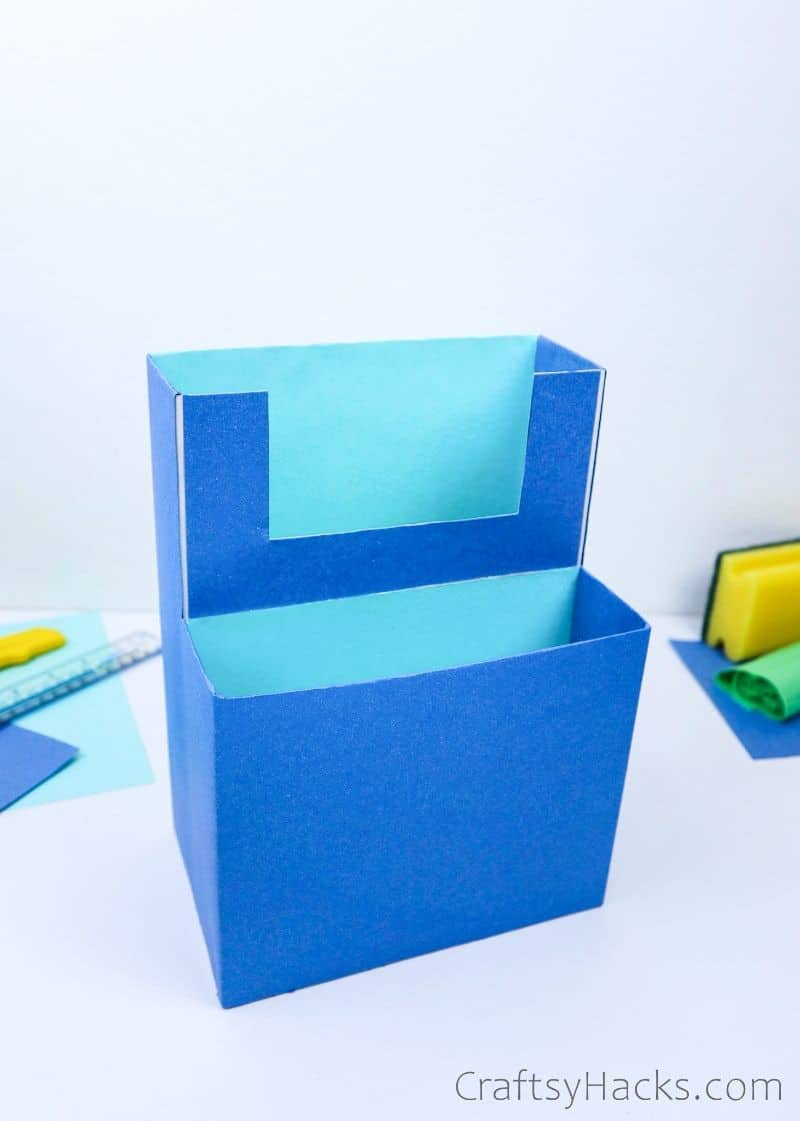
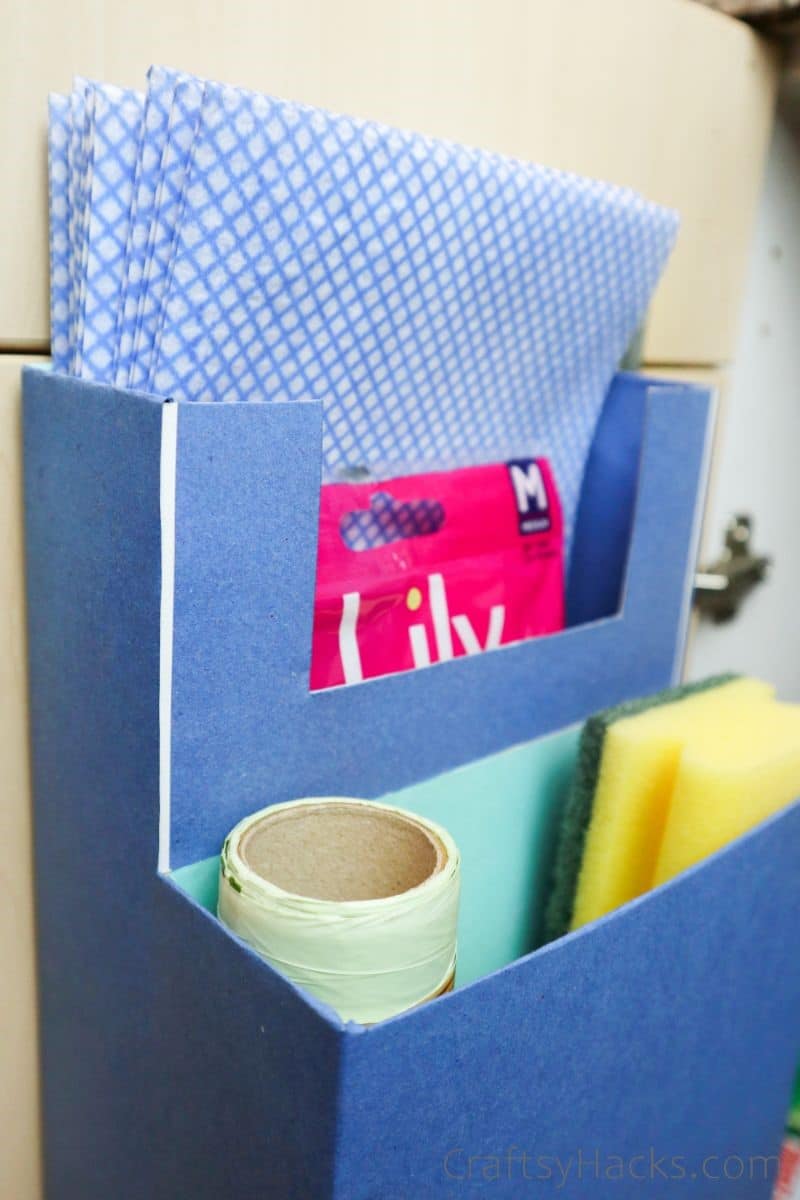
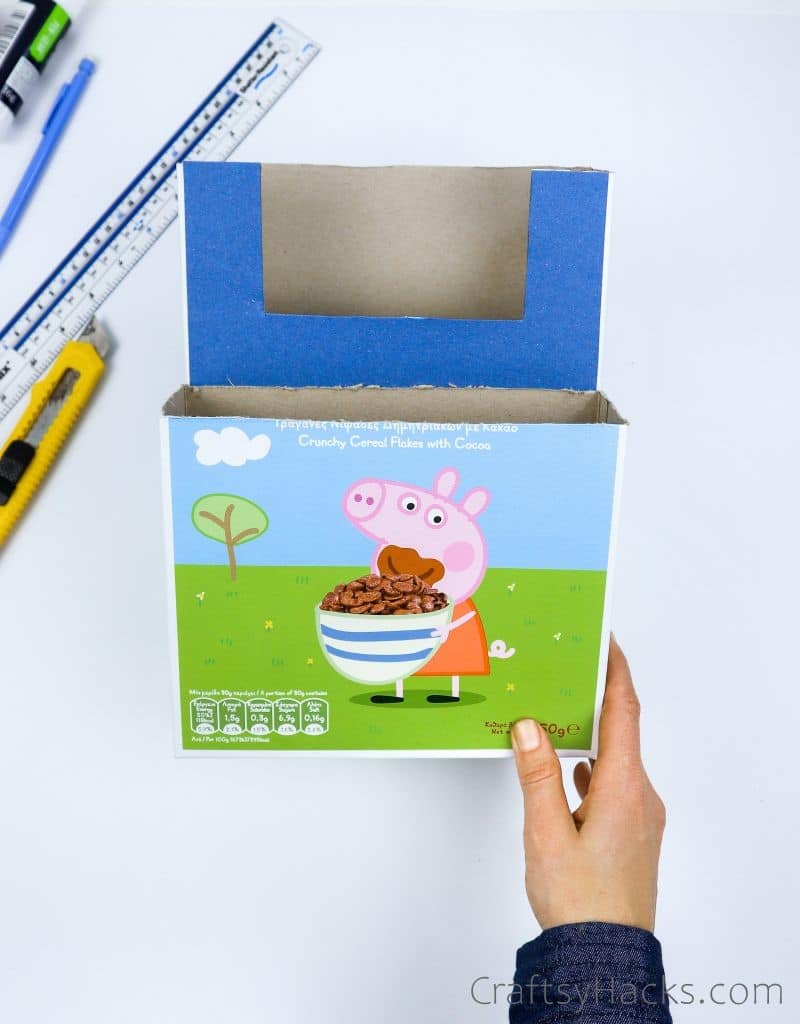
Next on the agenda is a notch.

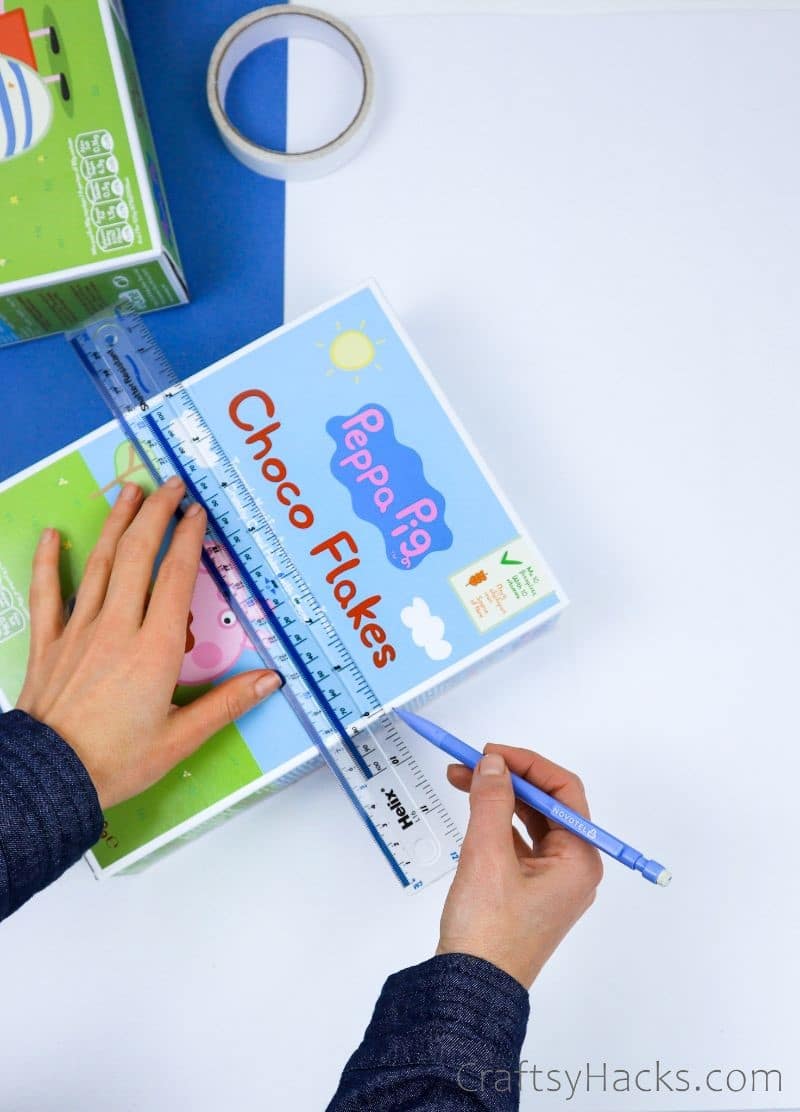
Start by drawing a rectangle on the top box, taking care to keep the edges even.
I drew mine about 1.5 inches in from every side except the top.
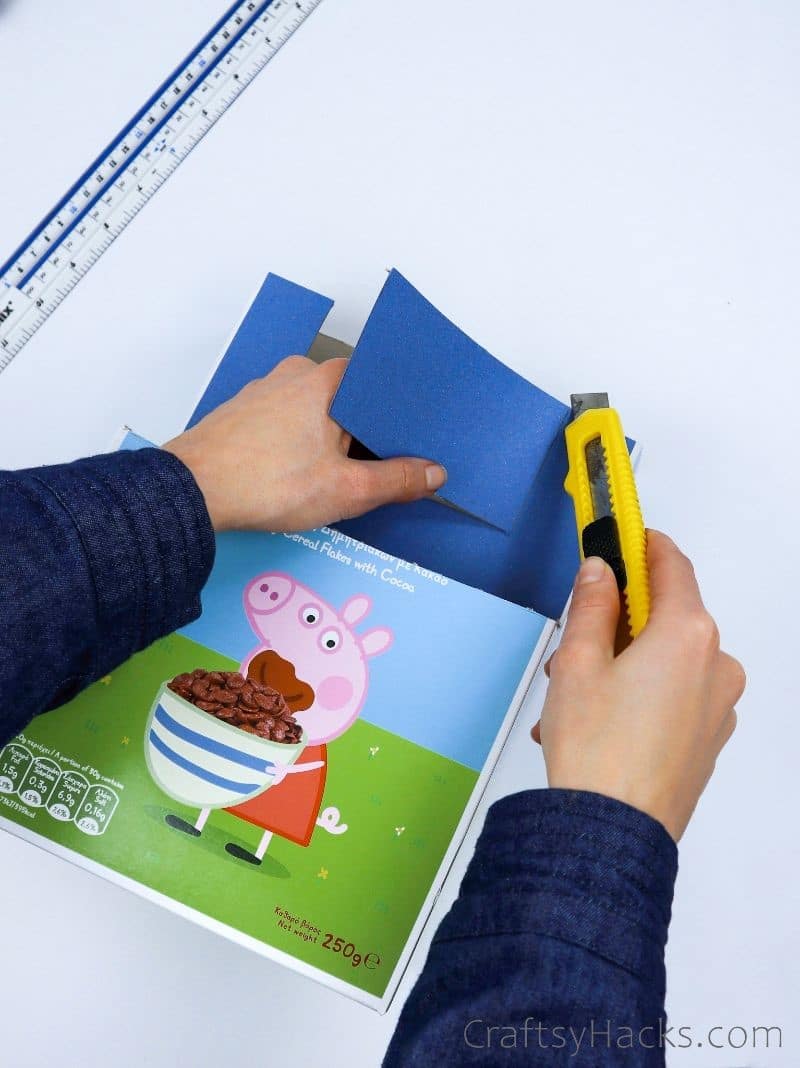
Step 9
Then, whip out your craft knife!
Cut carefully along your rectangle lines to create a window.
If youre confident with a craft knife, consider making the corners rounded for a sleeker look.
It should end up looking like this.
Its up to you, but I went with the former.
Dont worry about the back!
You should have something that looks like this.

Step 11
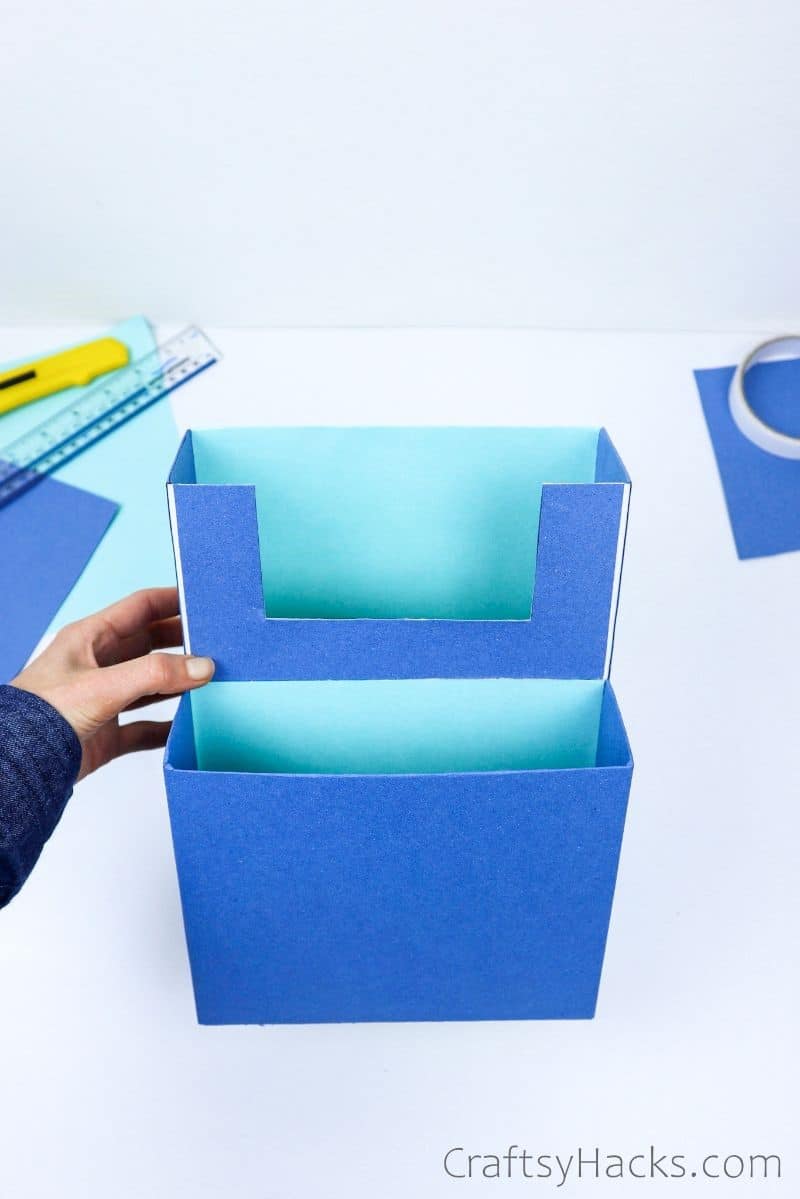
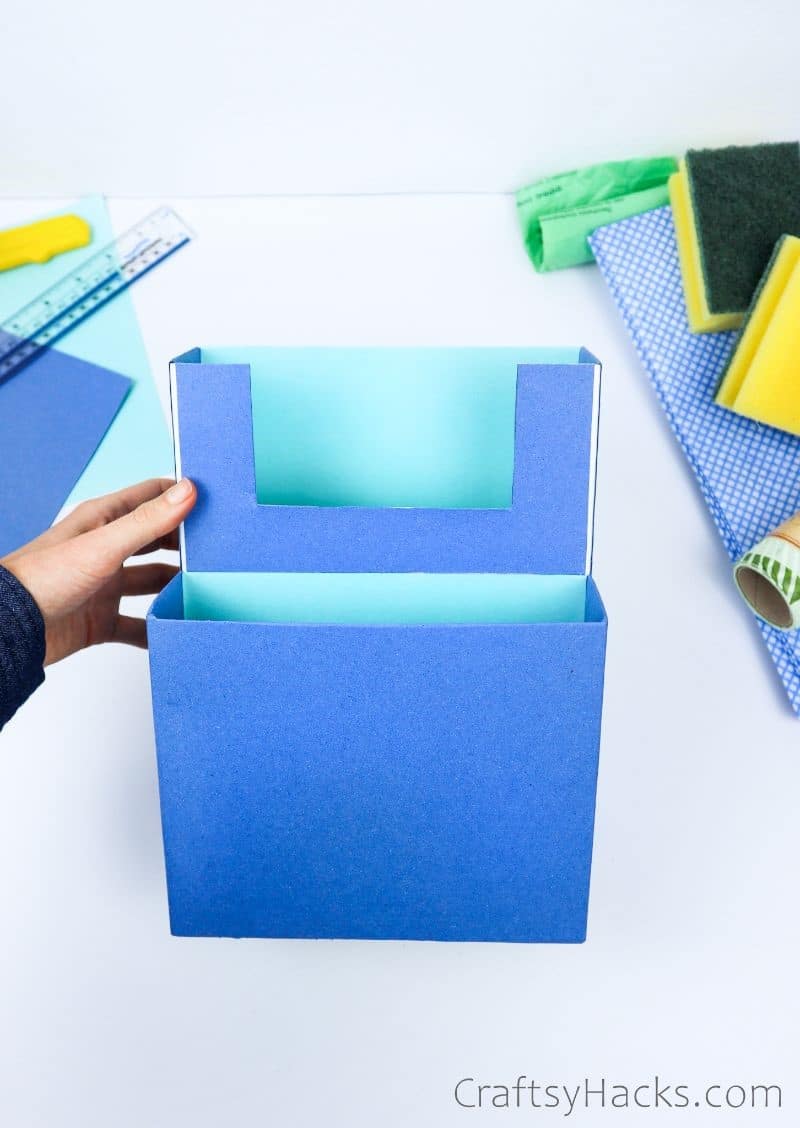
Now, we cant forget the inside!
Lets cover that nasty cereal box grey.
Using a contrasting or lighter shade of paper, line the interior back of both segments.
I just used the tape again here.
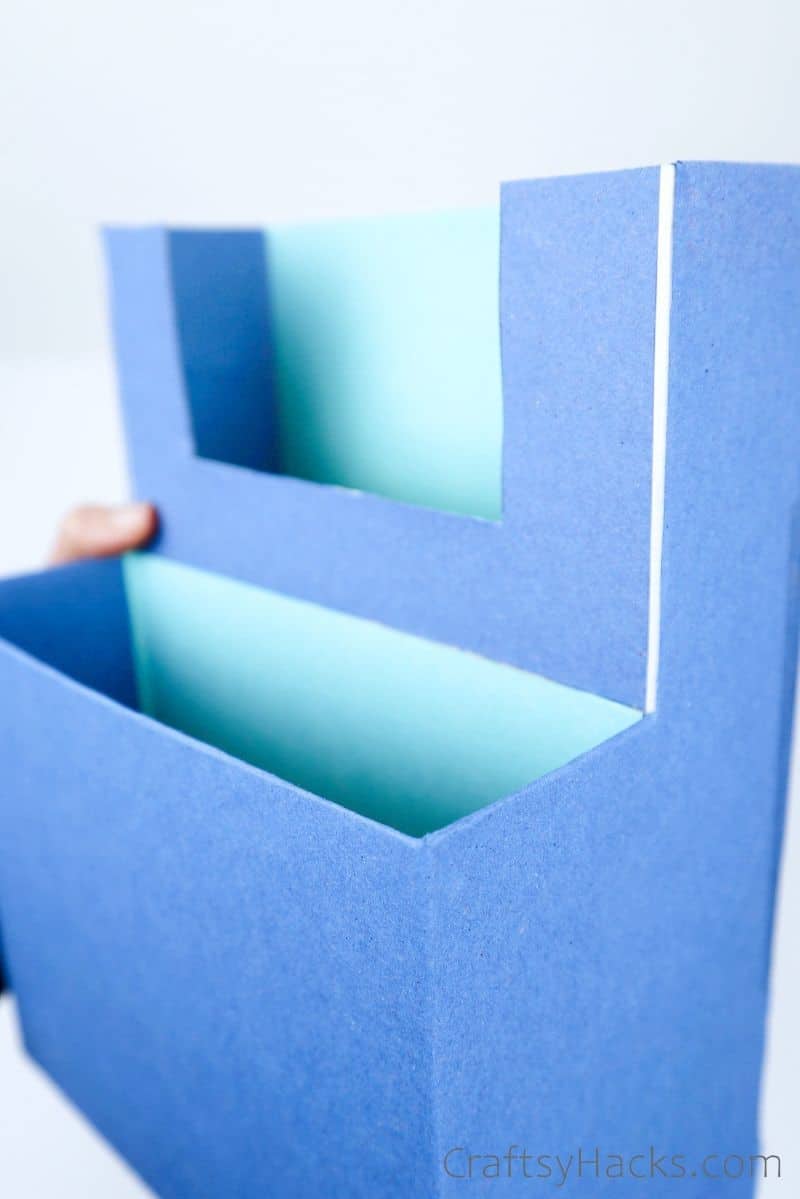
Step 12
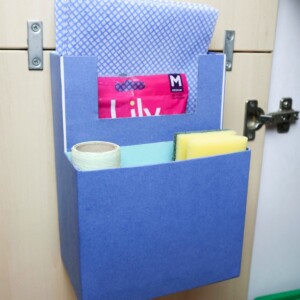
after you grab something that looks like this, youve officially created your organizer!
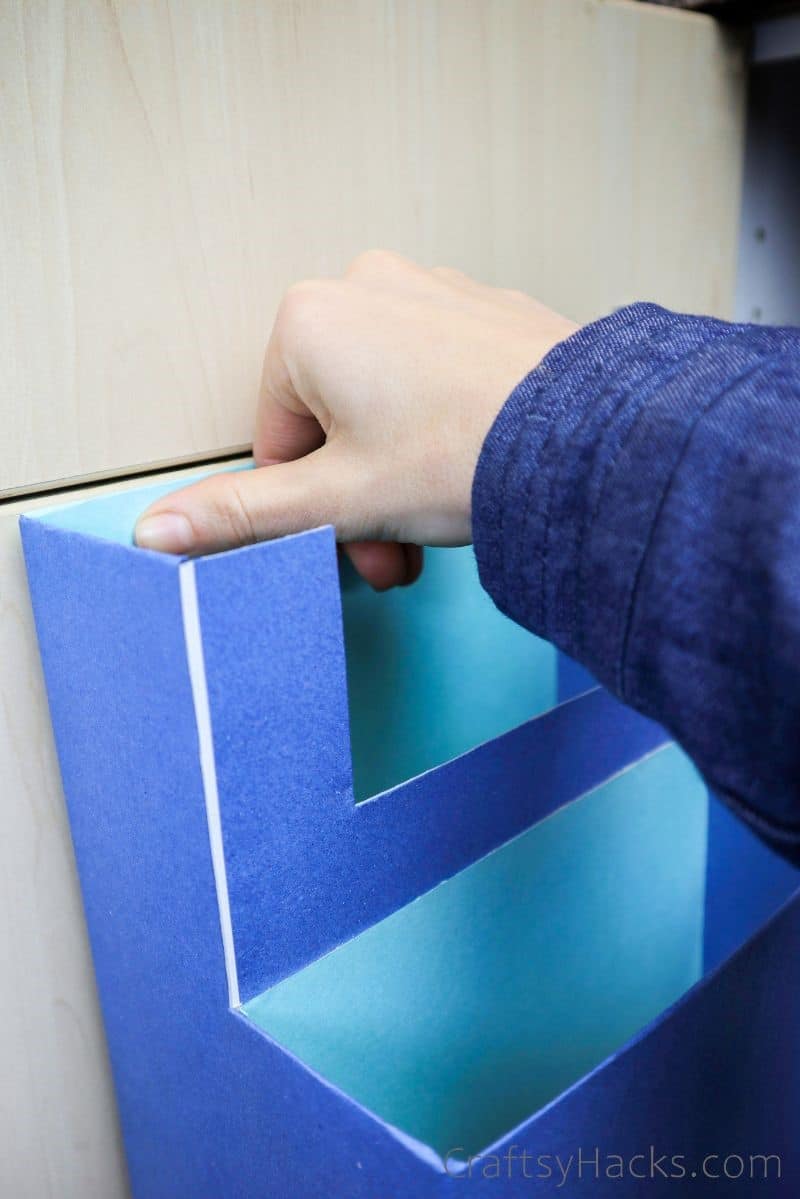
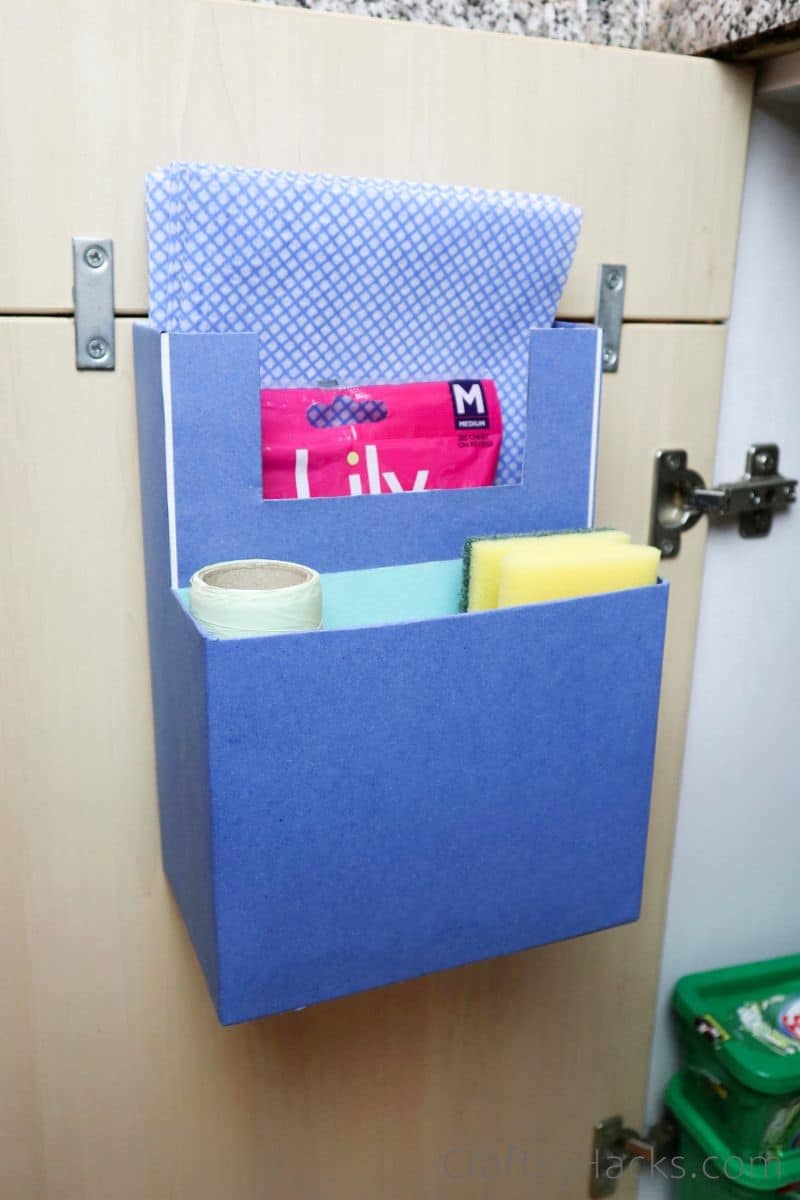
All thats left to do now is mount it inside your kitchen cabinet door.
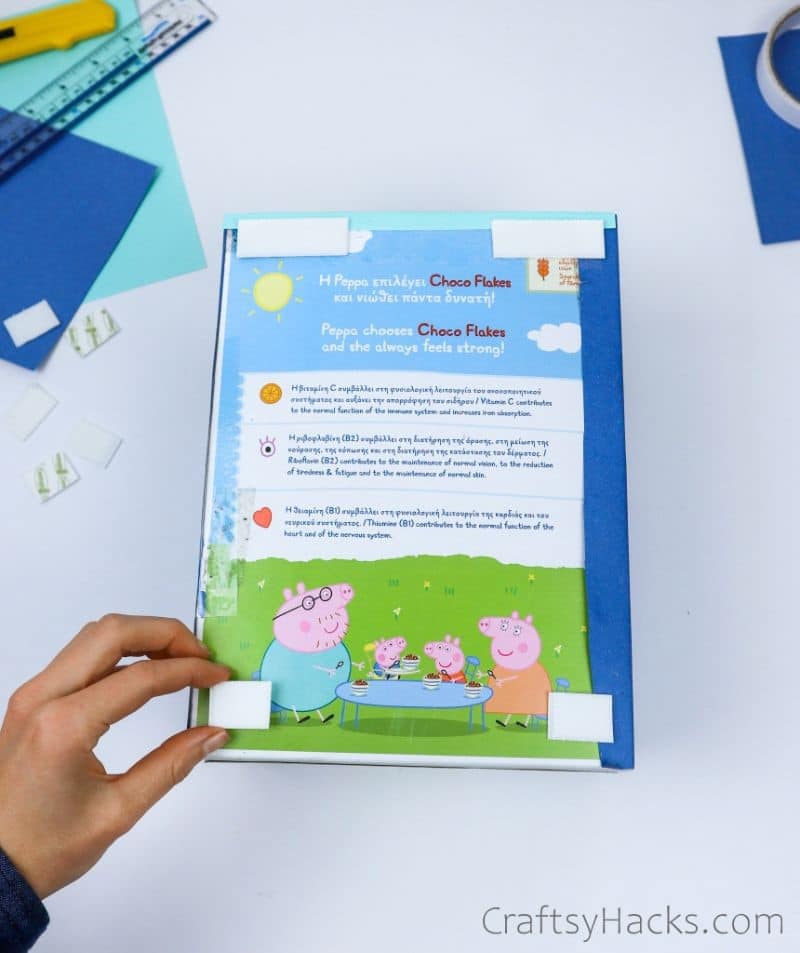
Step 13
I used Velcro mounting strips to hang my organizer.
Use that as a mounting guide.
Step 14
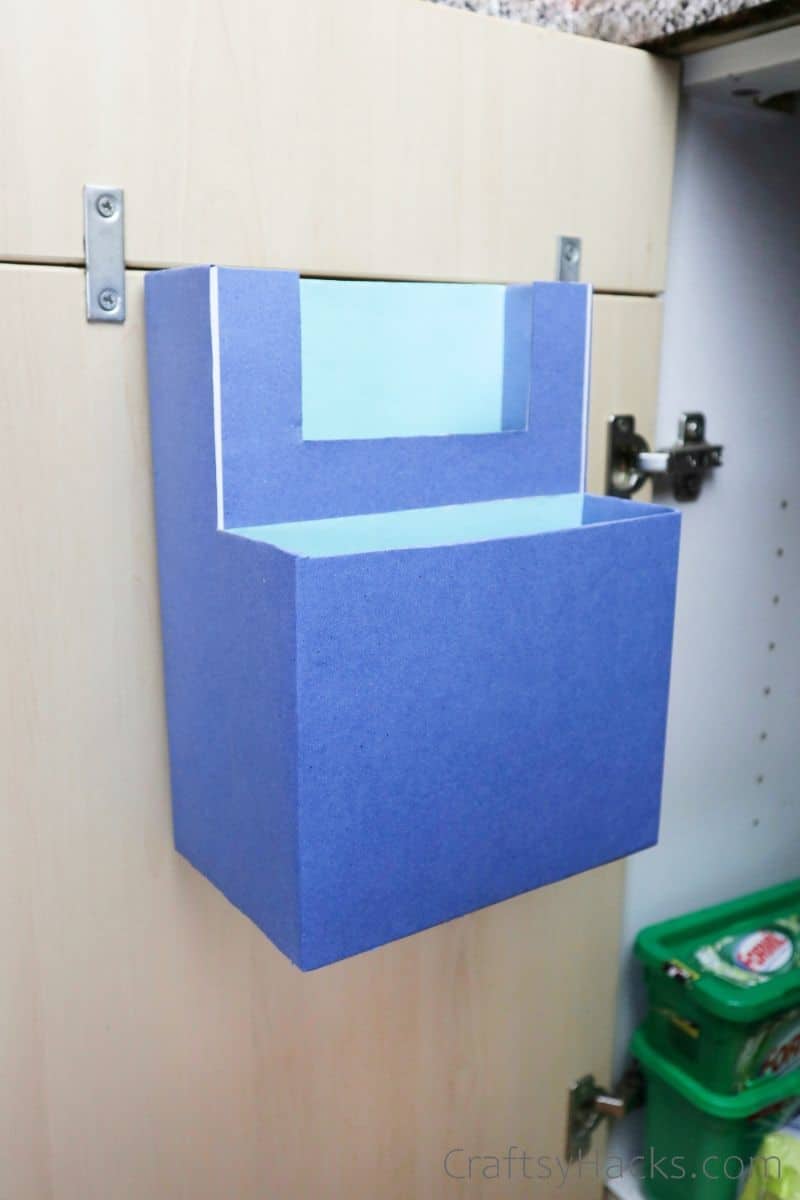
There you have it!
A completely customized, super helpful kitchen organizer for your cramped, storage-free spaces.
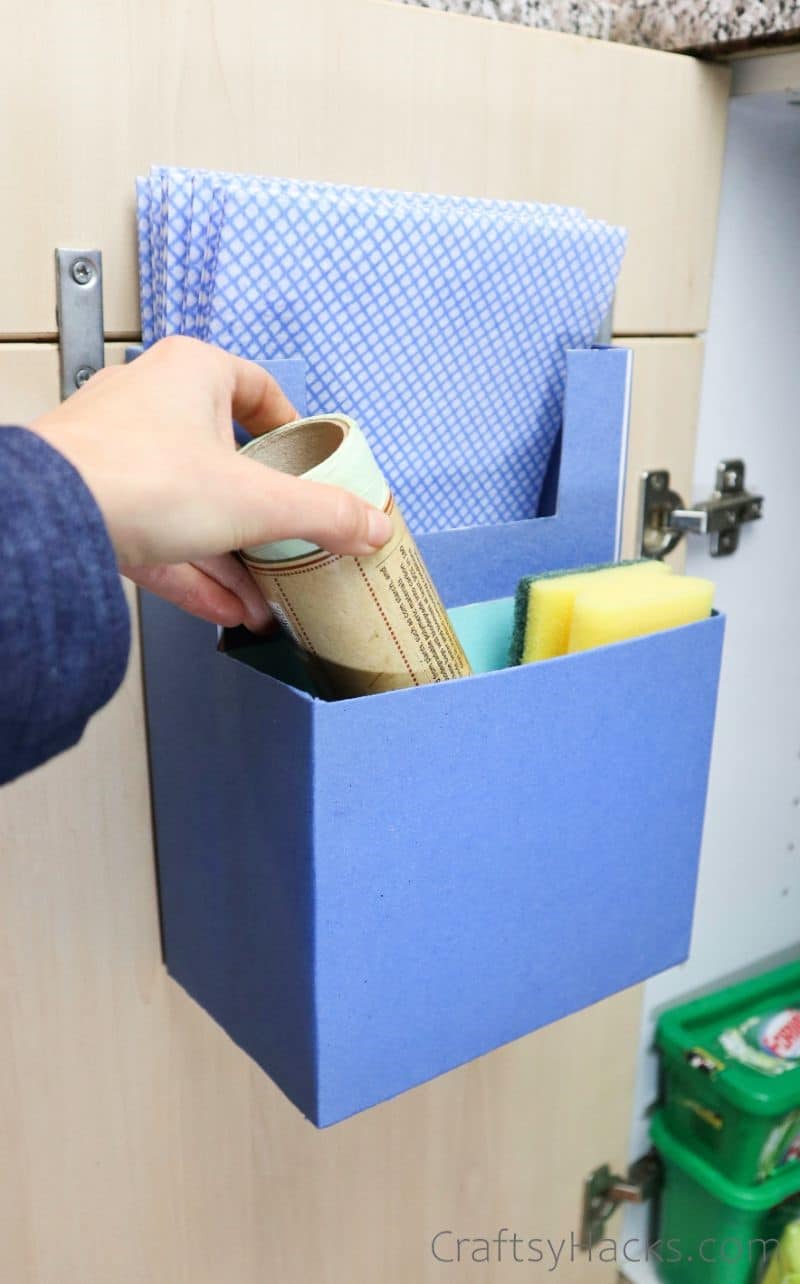
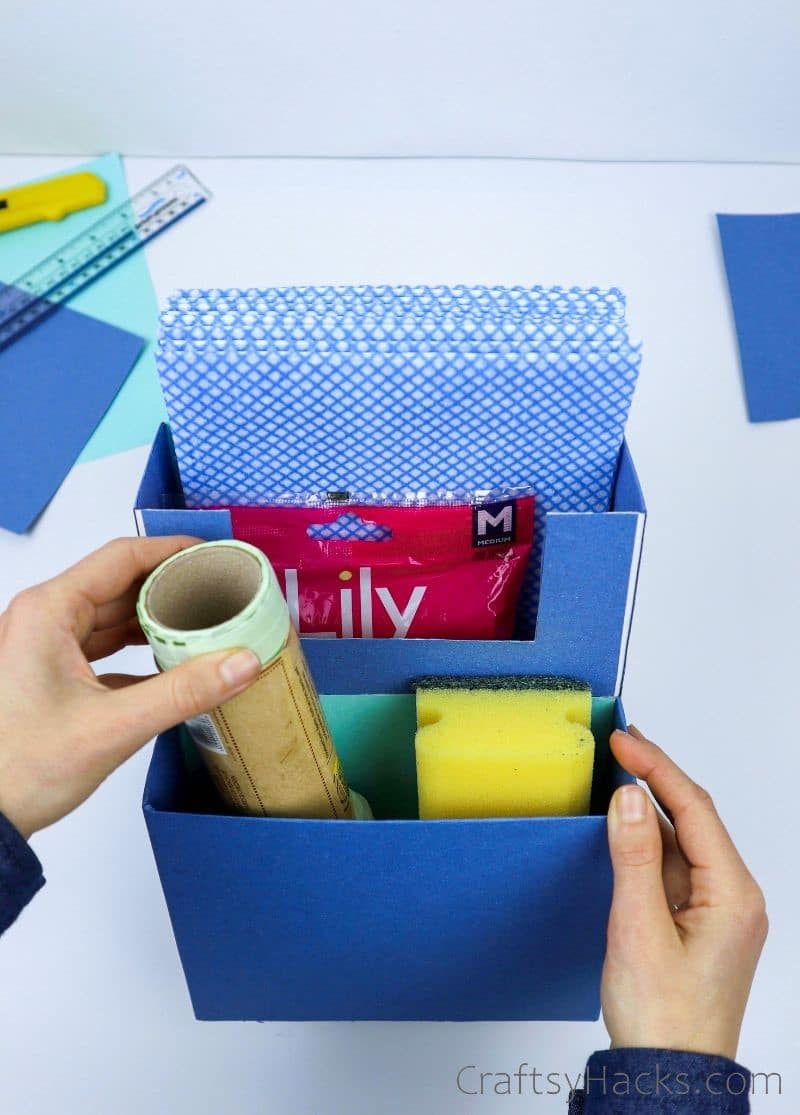
What to Store in This Under Sink Organizer?
This organizer is perfect for the lighter things in your cleaning repertoire.
Theres a little slot for everything, from new sponges and dishrags to garbage bags and scrub brushes.
If youre hanging this in your pantry, you’re free to use it for lighter items.
Mount it on your fridge as a convenient spot for all your mail or bills.
Here are more pantry organizing ideasif you need them!
Organize Kitchen Cabinet Without Shelves
This is absolutely perfect for decluttering underneath your kitchen sink!
Theyre a great way to re-use old boxes.

Go forth andorganize your kitchen cabinetto your hearts content!