HomeDIY
This post may contain affiliate links:full affiliate disclosure.
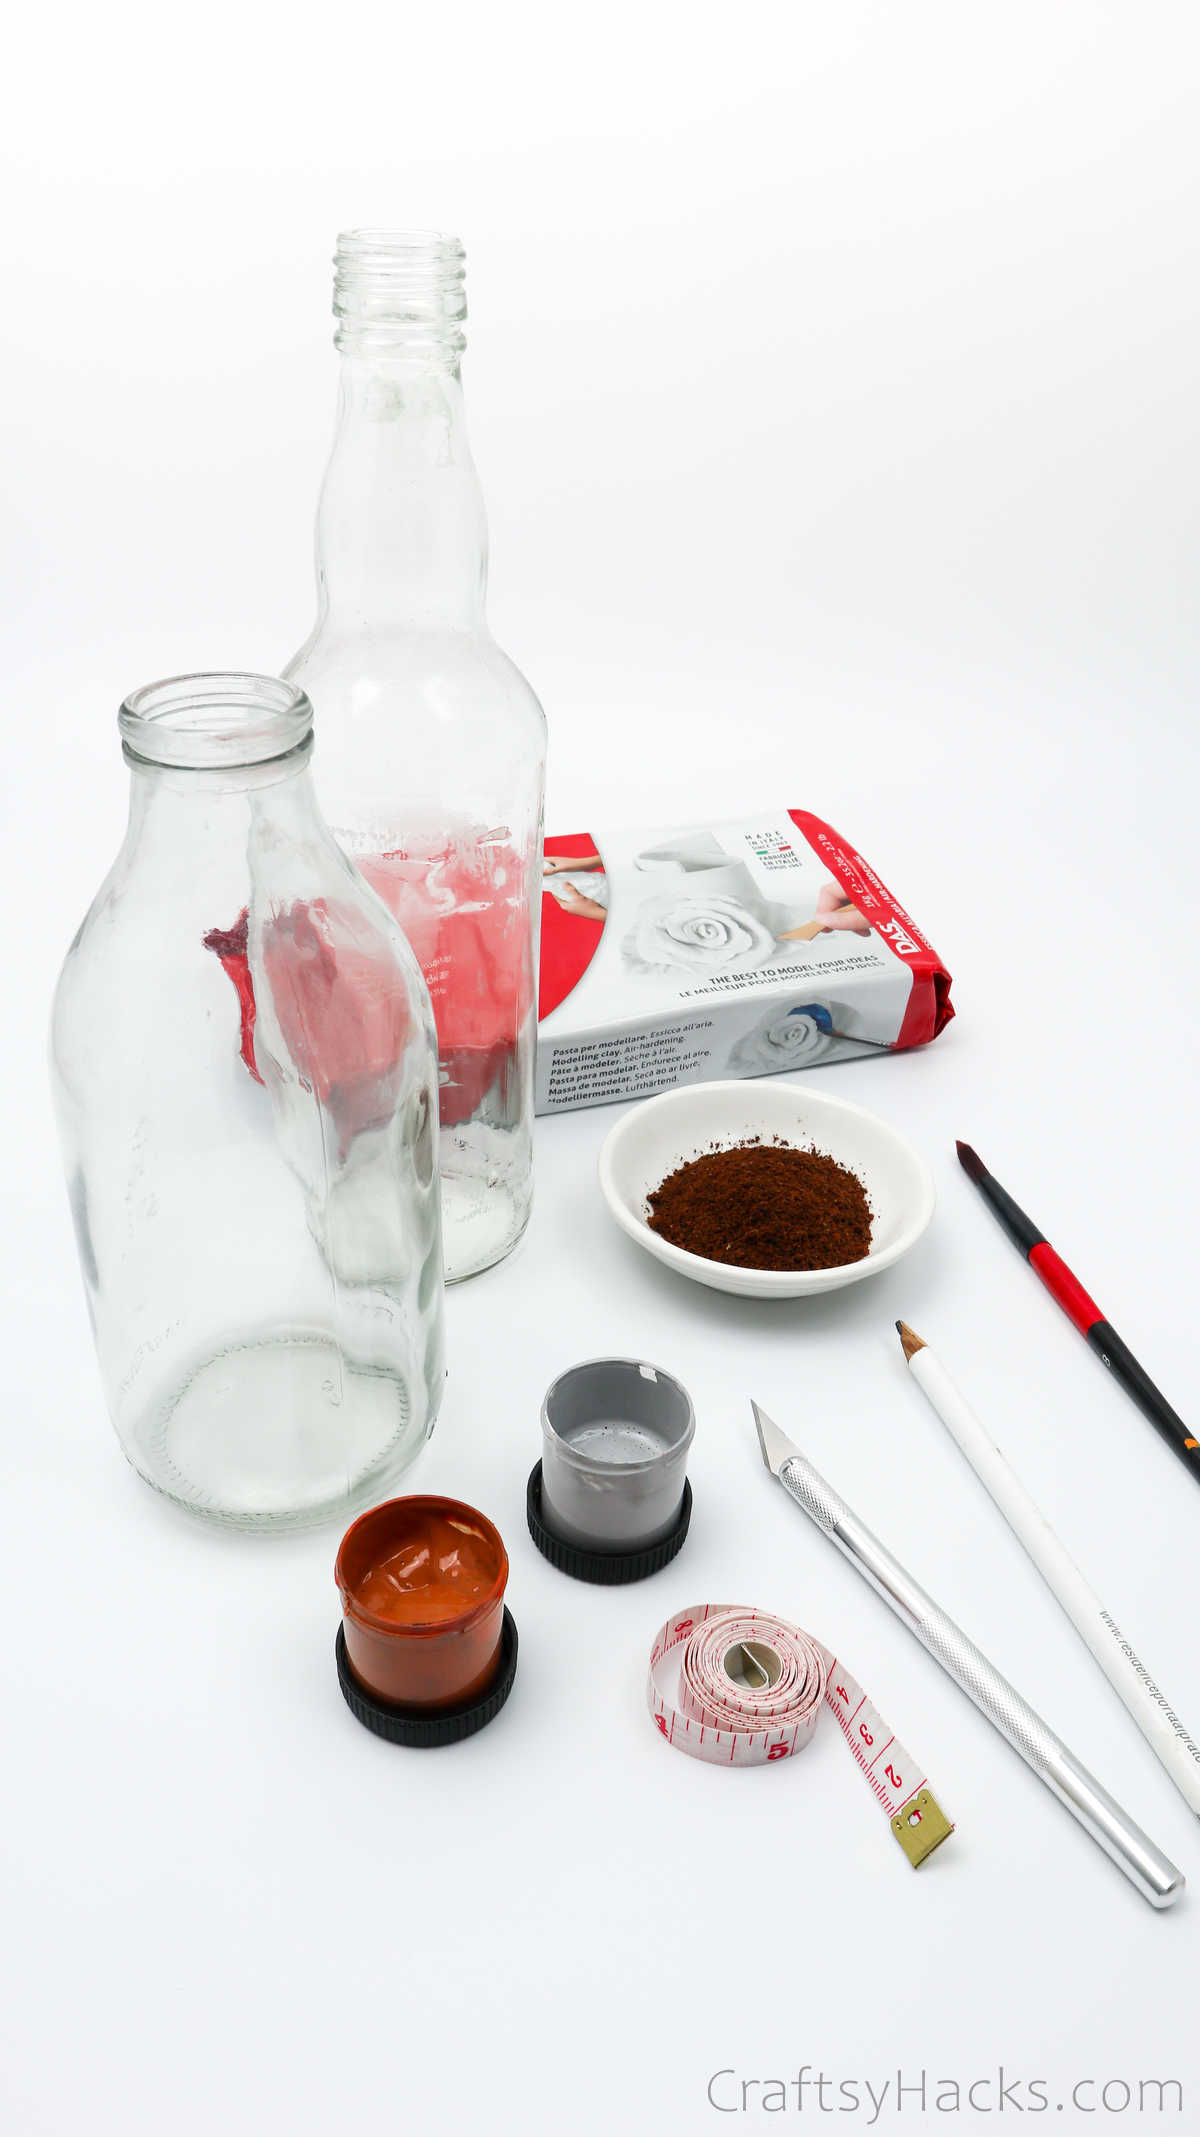
Feel like upcycling your glass bottles?
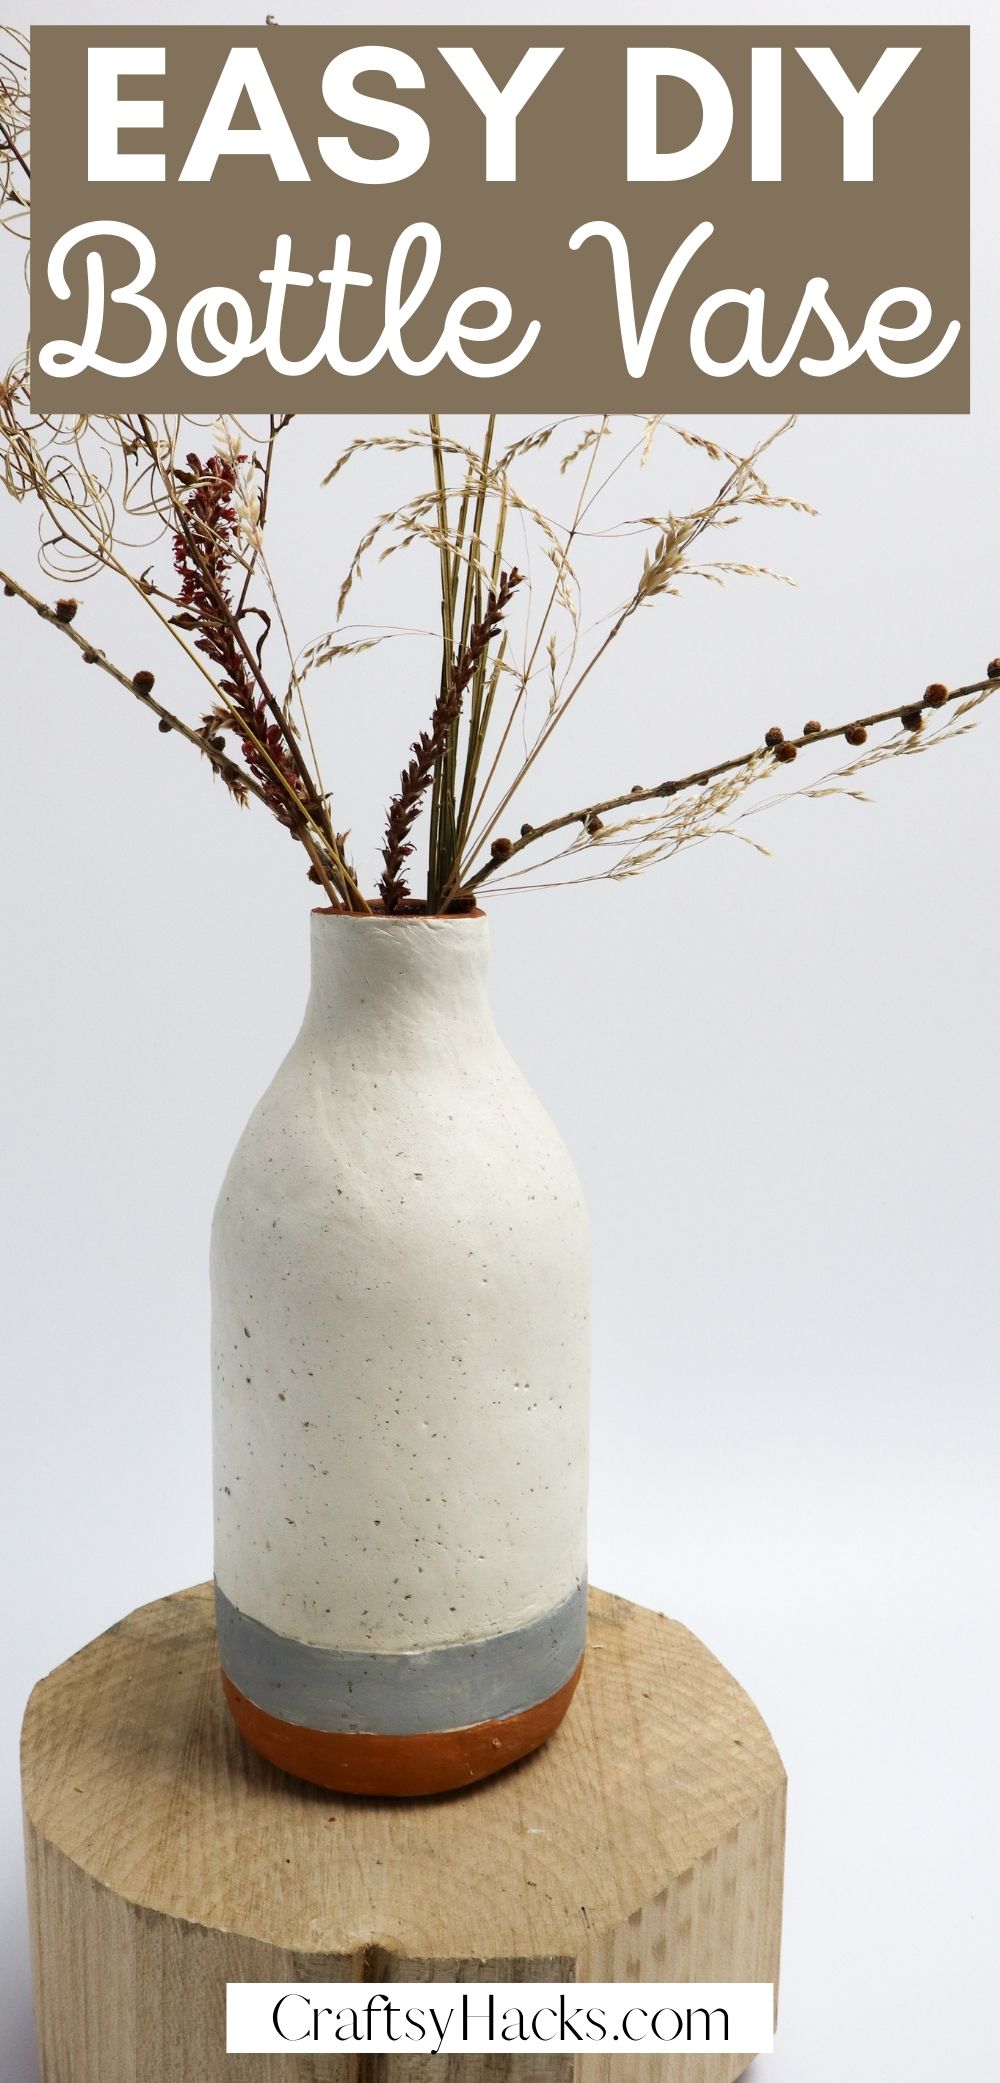
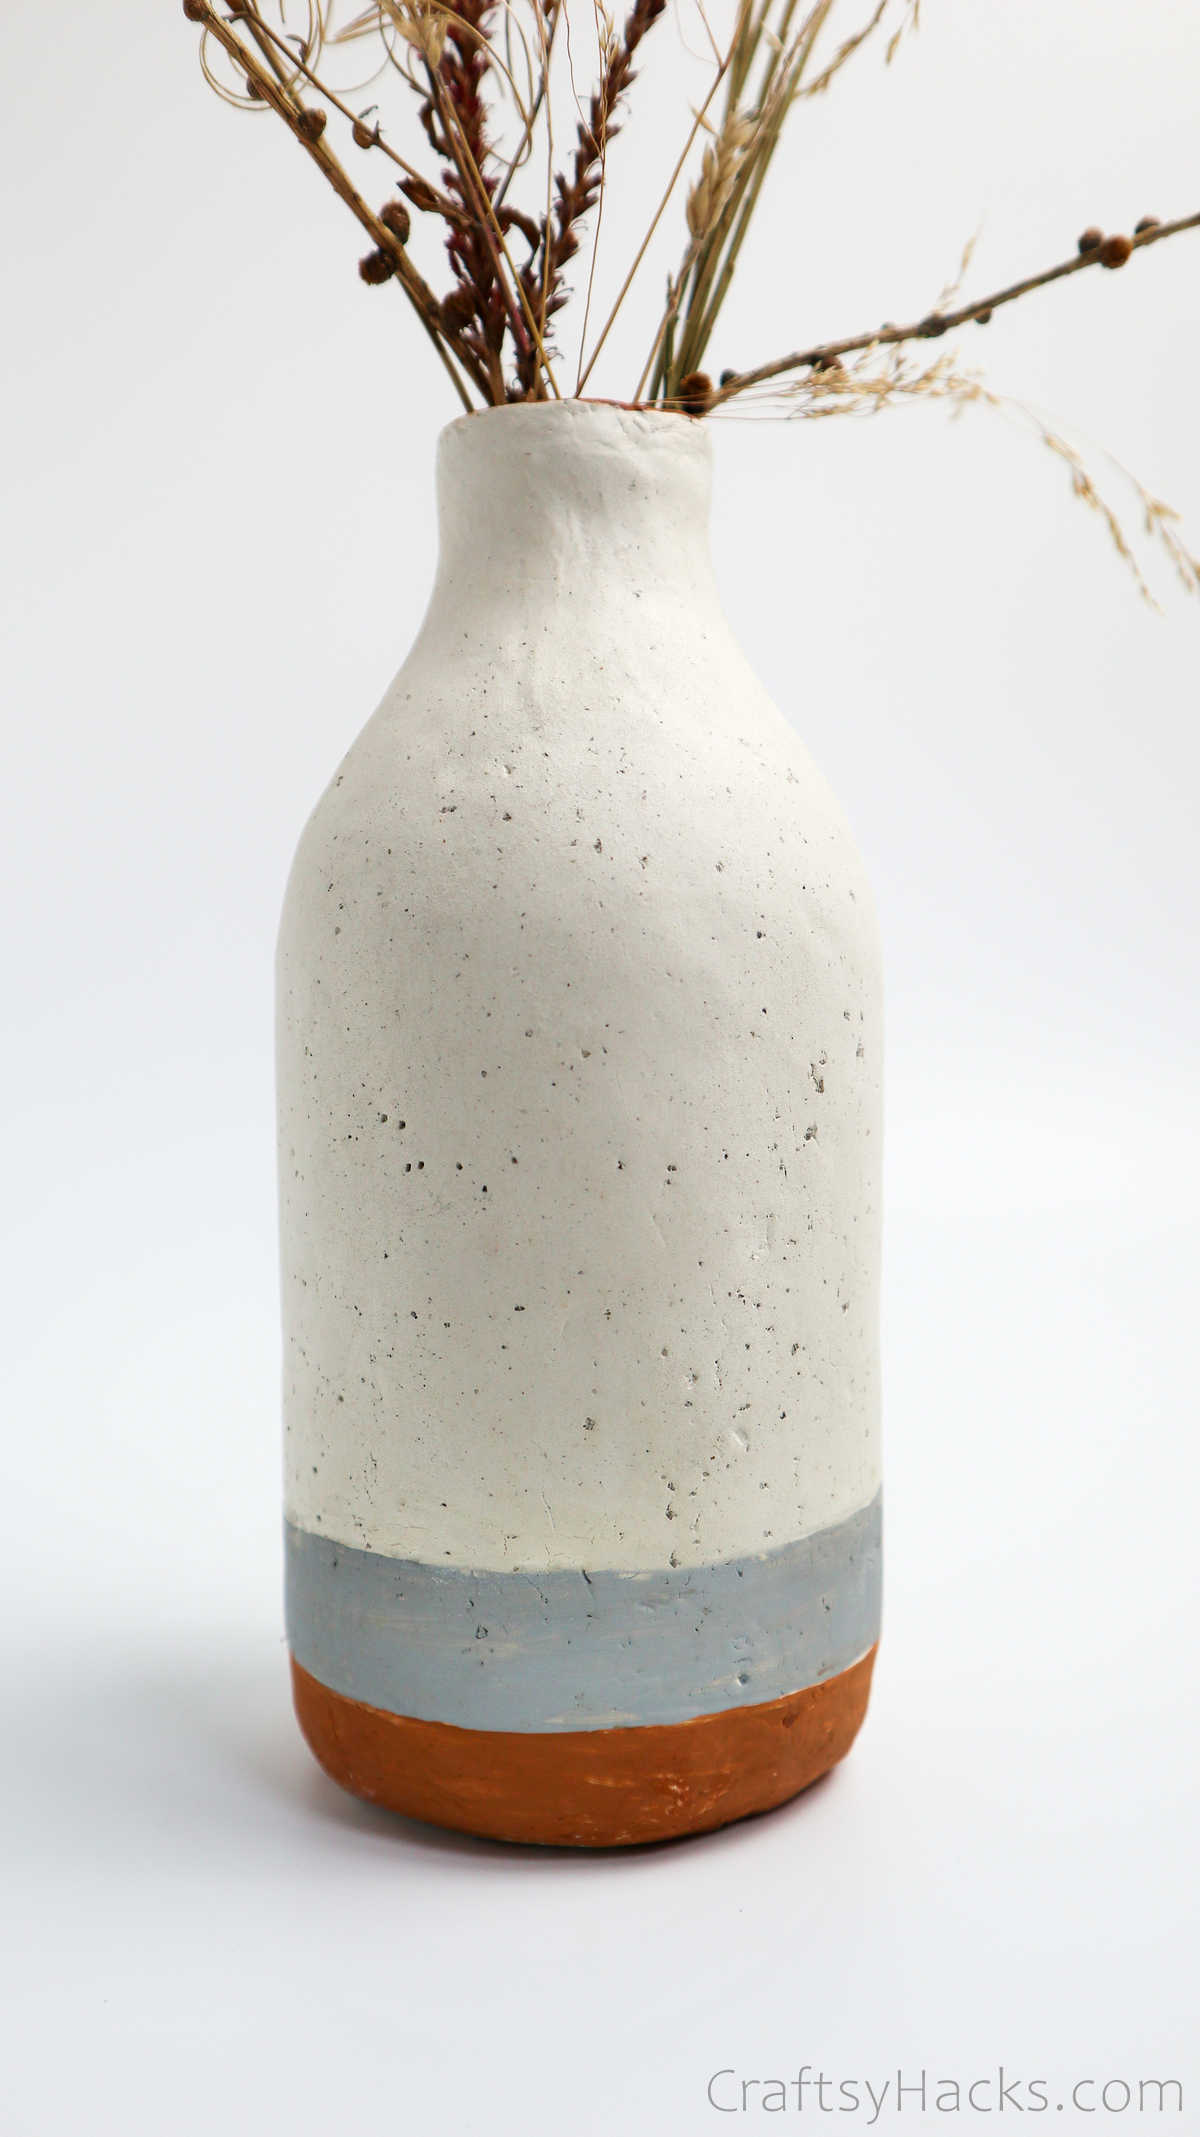
Make your very own DIY bottle vase with air-drying clay and decorate your home with a creative touch.
Youcannothave too many vases around your house.
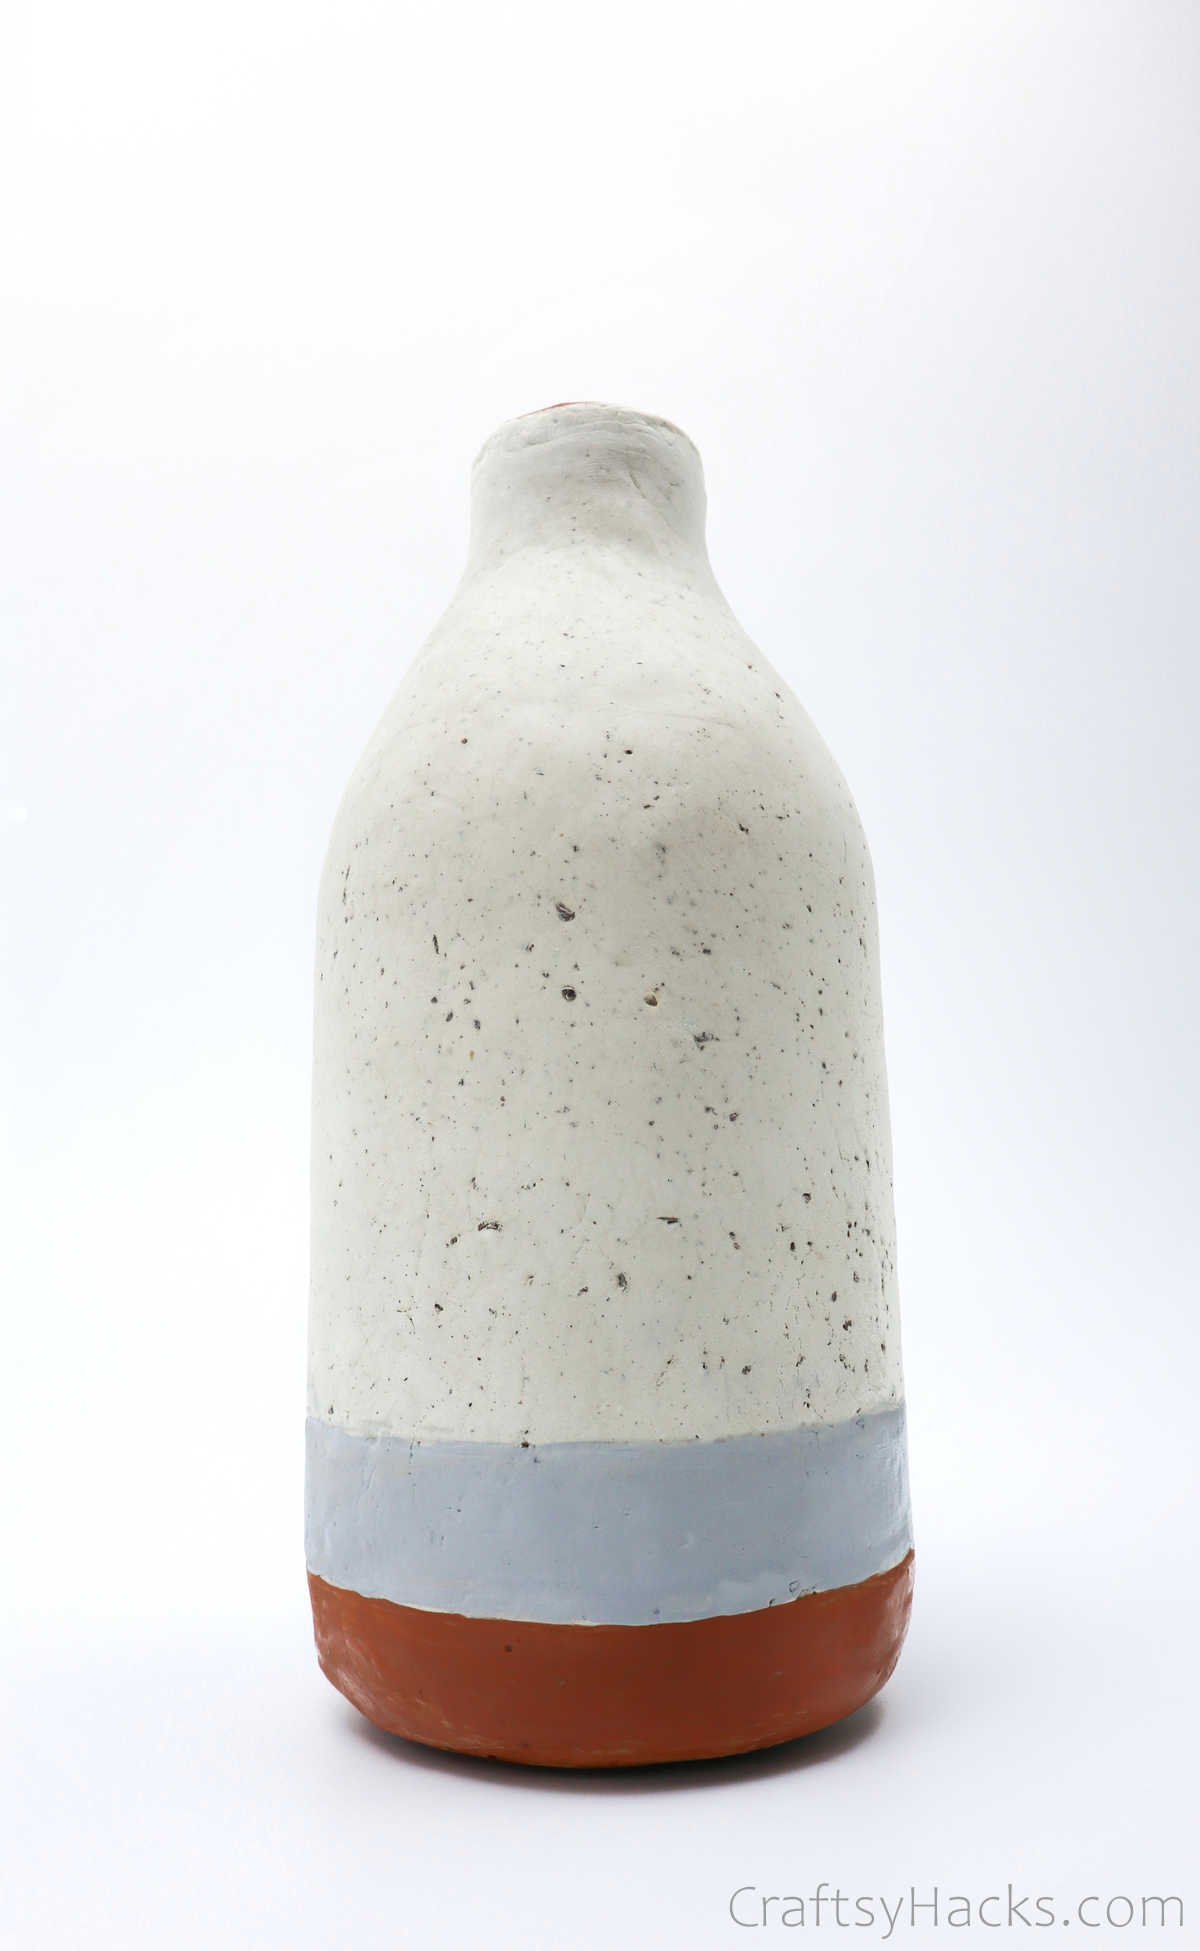
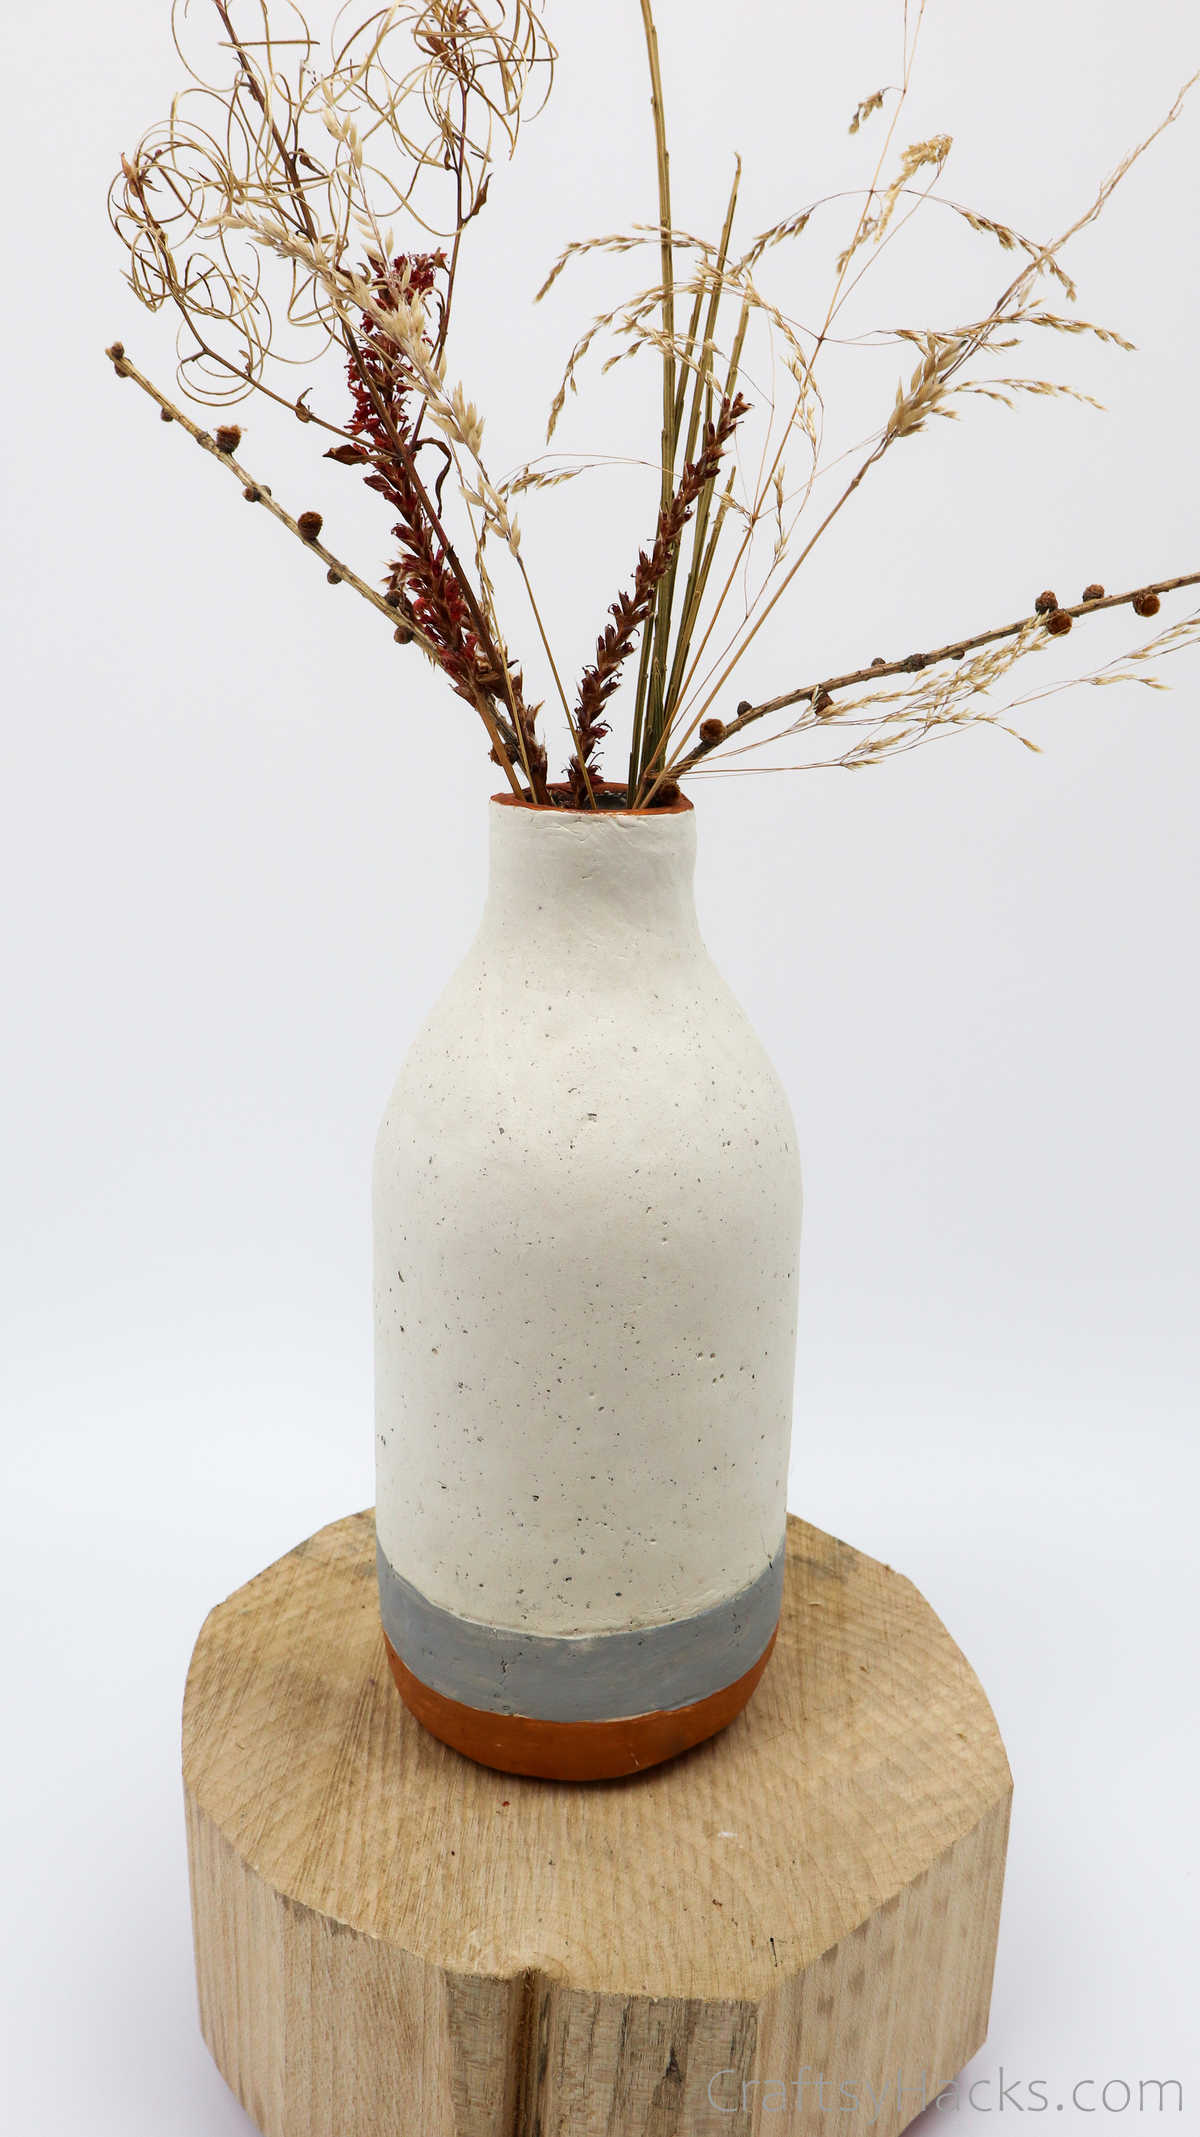
Either way, its a stunning piece that will bring out elegance and will fit any home decor.
Most importantly, it will give you bragging rights because you have made it all by yourself.
Now whats better than that?
How Do You Make a Bottle Vase?
Air-drying clay is what turns a run-of-the-mill glass bottle into that chic and rustic vase you see.
Well, then lets take a look at how to make this vase!
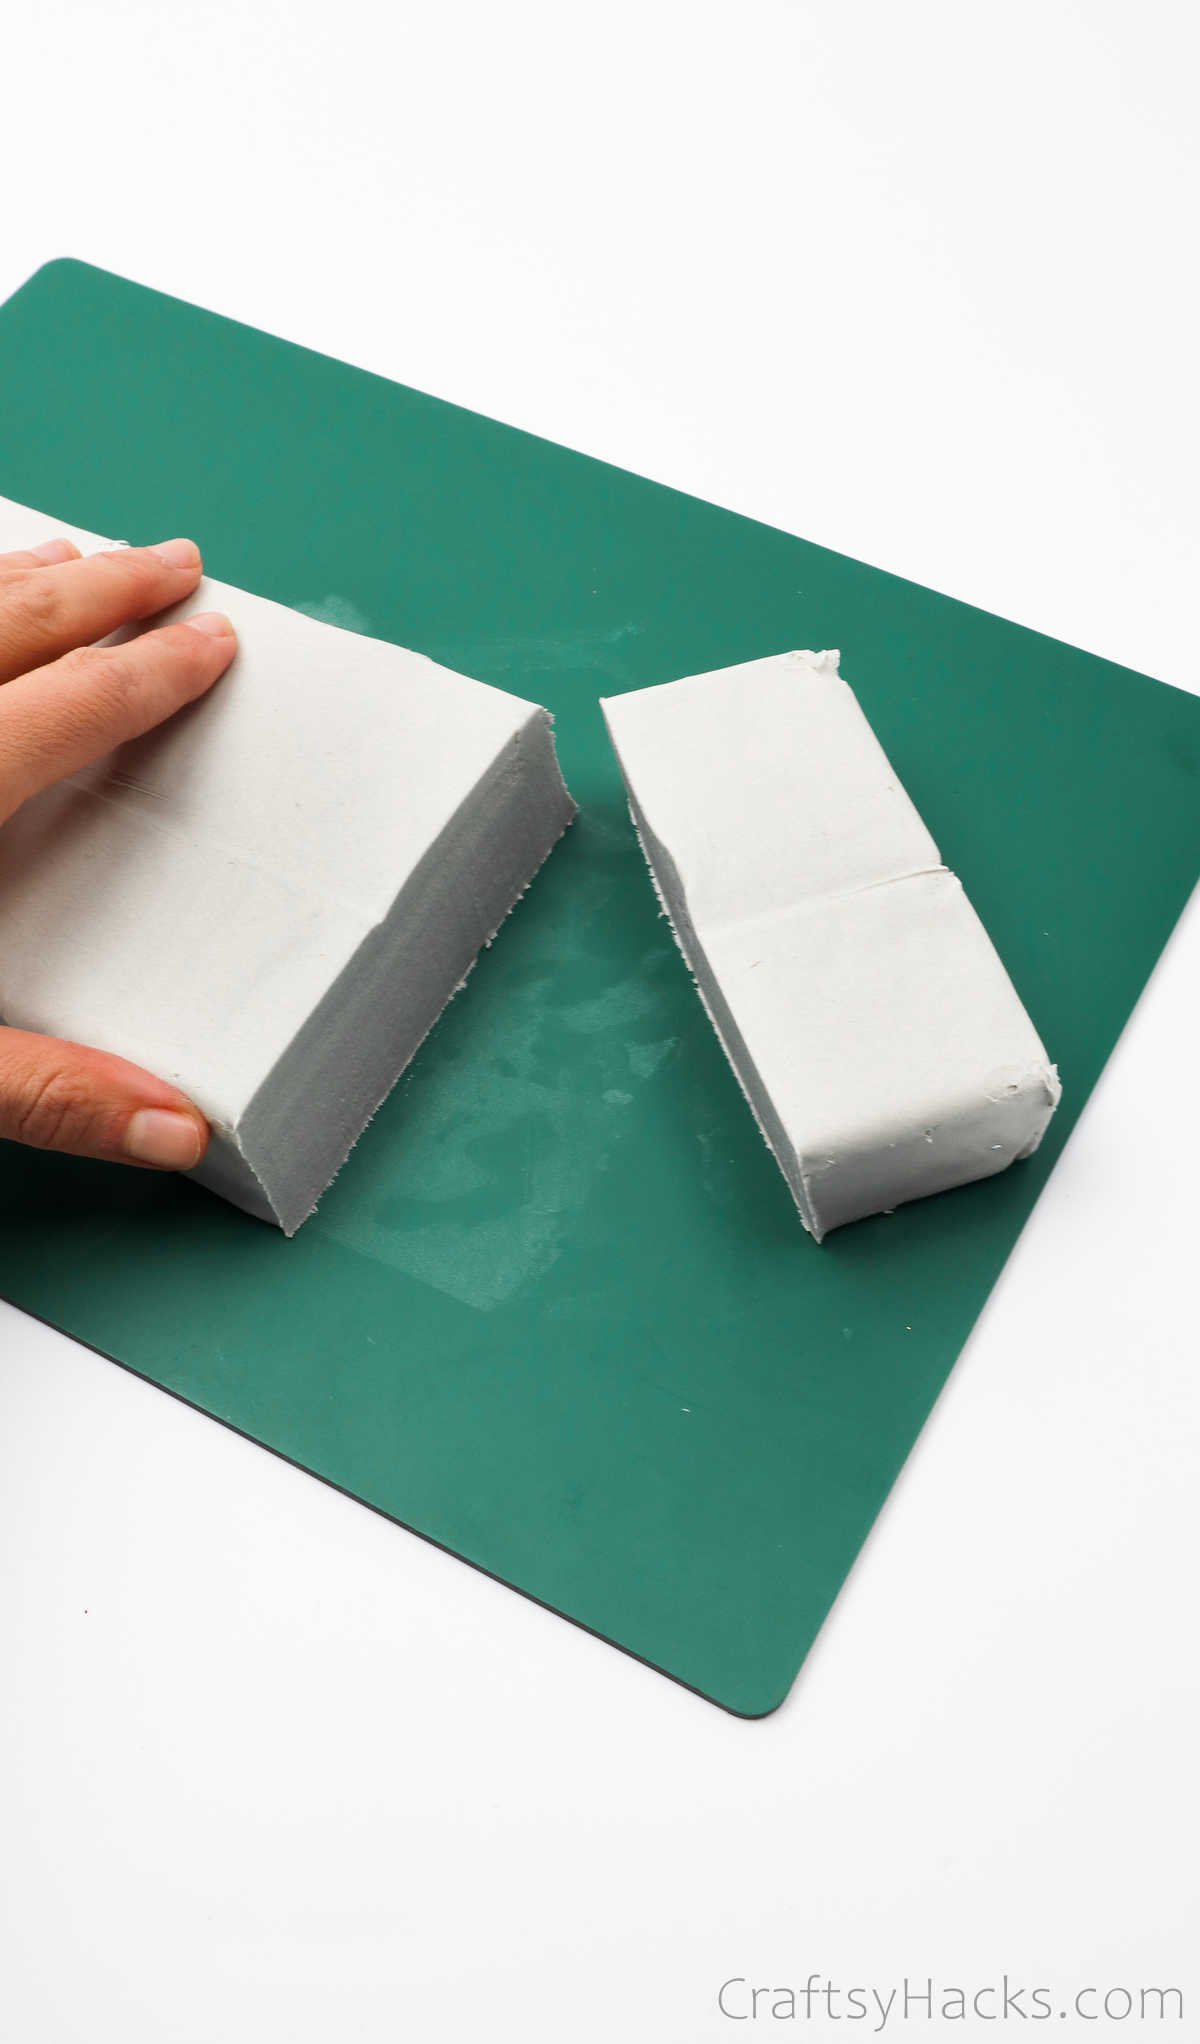
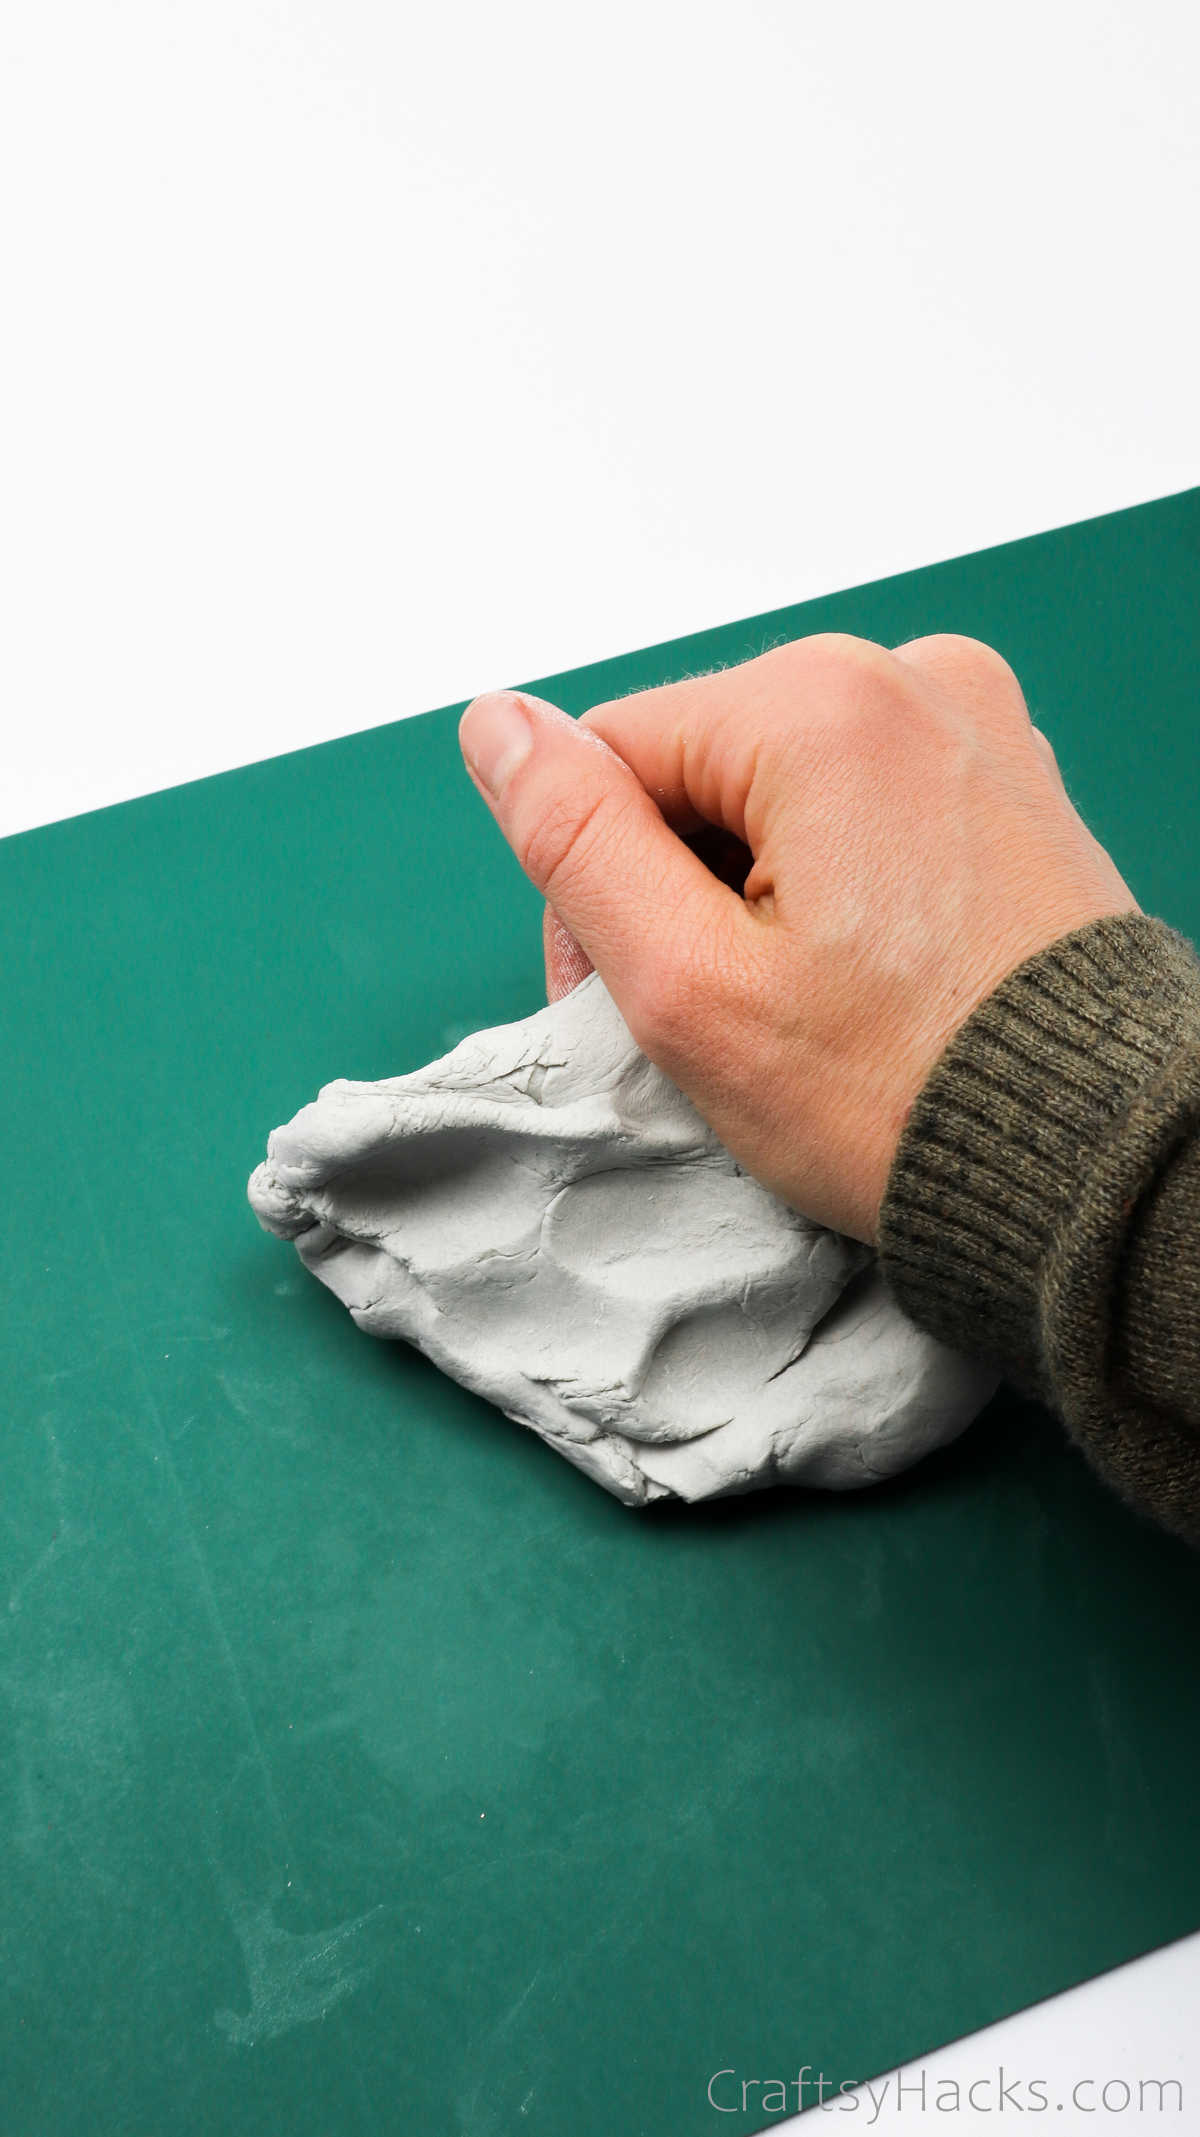
Use your palms to knead the clay until it becomes lump-free, soft, and pliable.
Use a rolling mat over your work surface to keep it clean.
Step 2
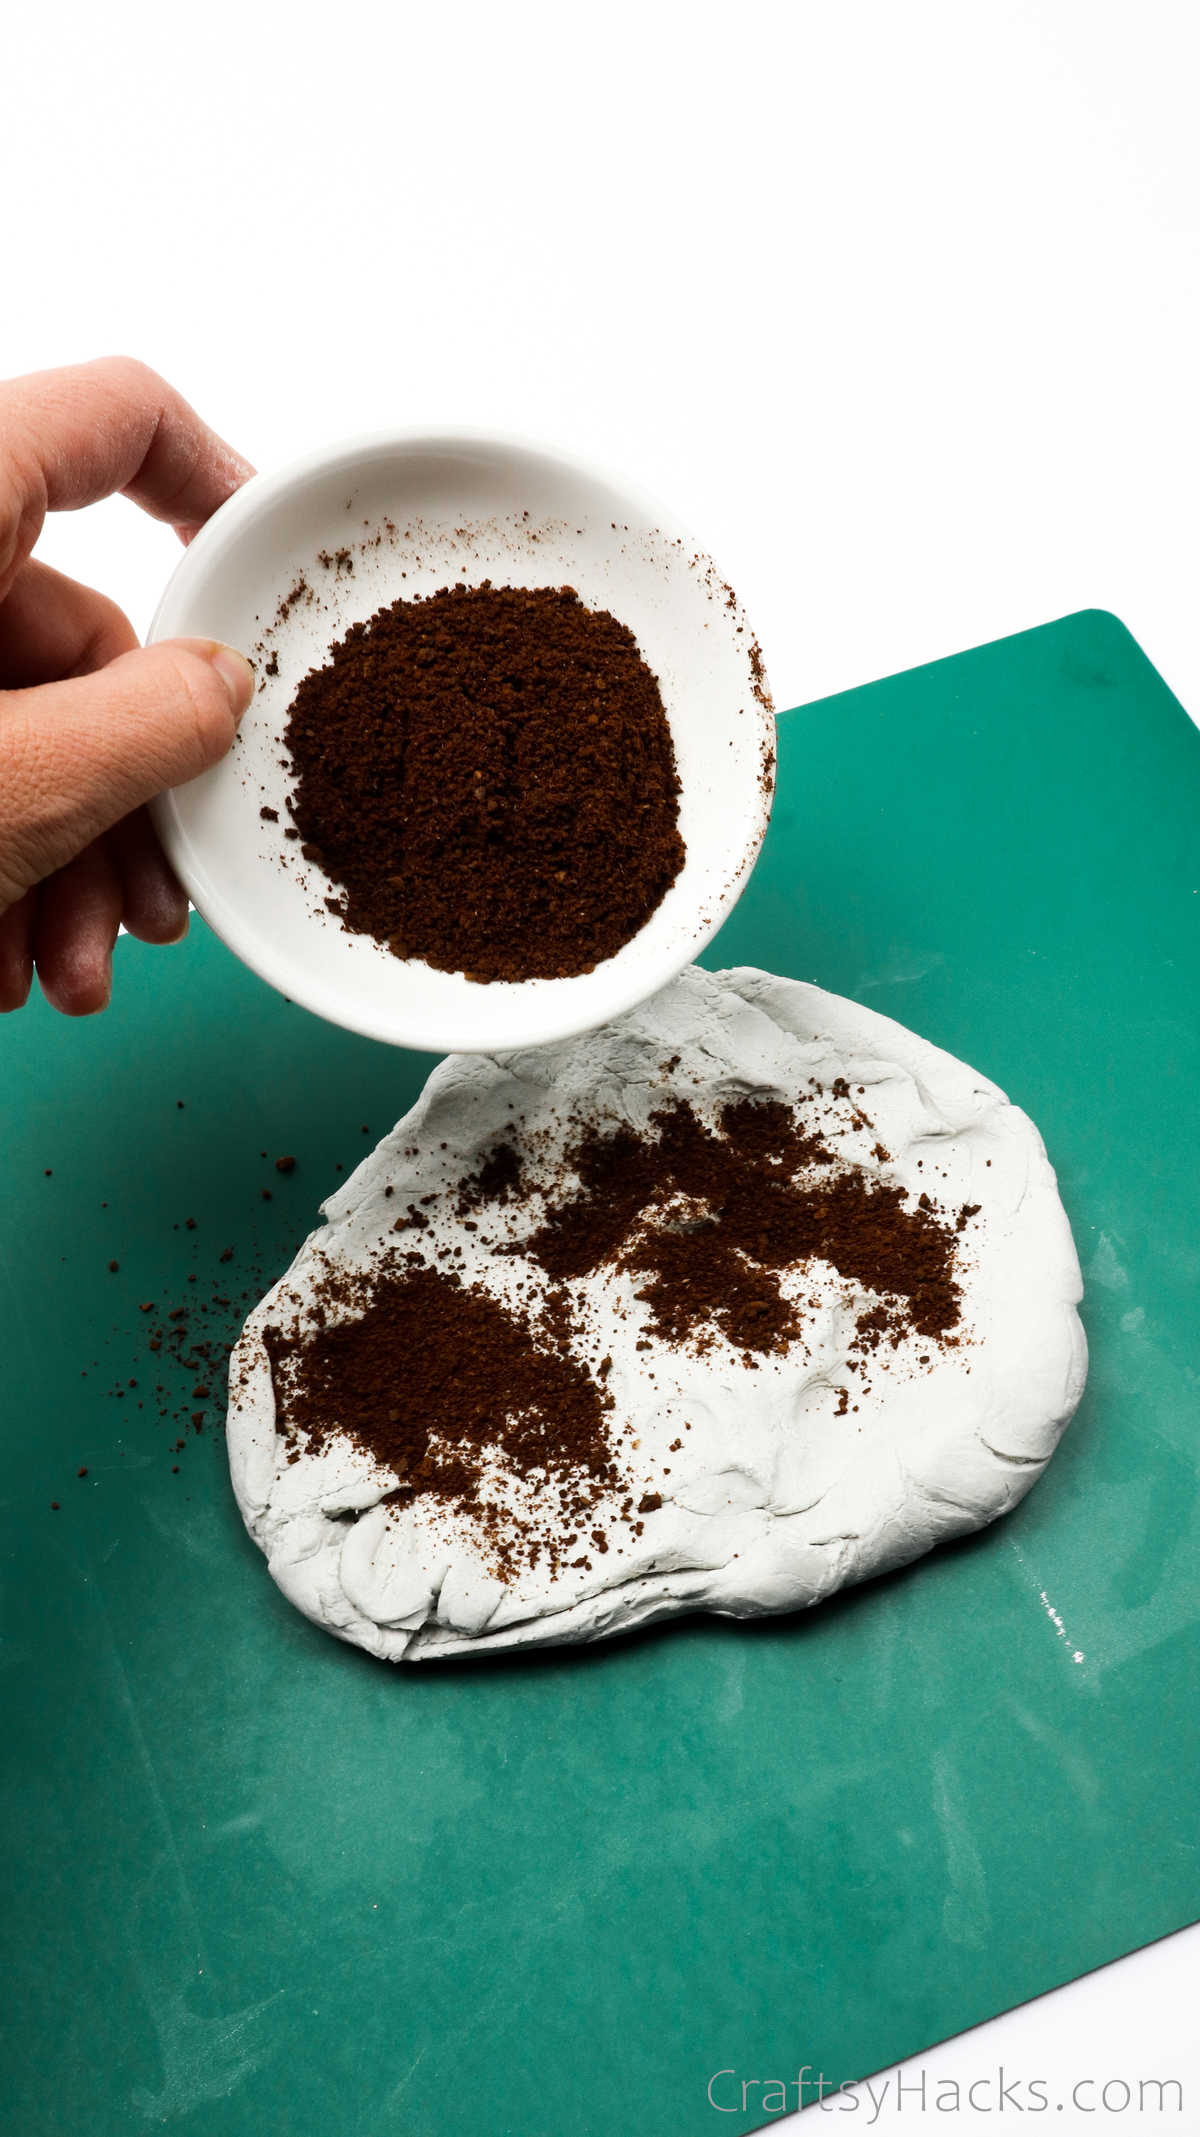
Remember when you were wondering how the clay looked speckled?
Well, this is how you do it.
Now, this step is completely optional, of course.
But doesnt it look fabulous?
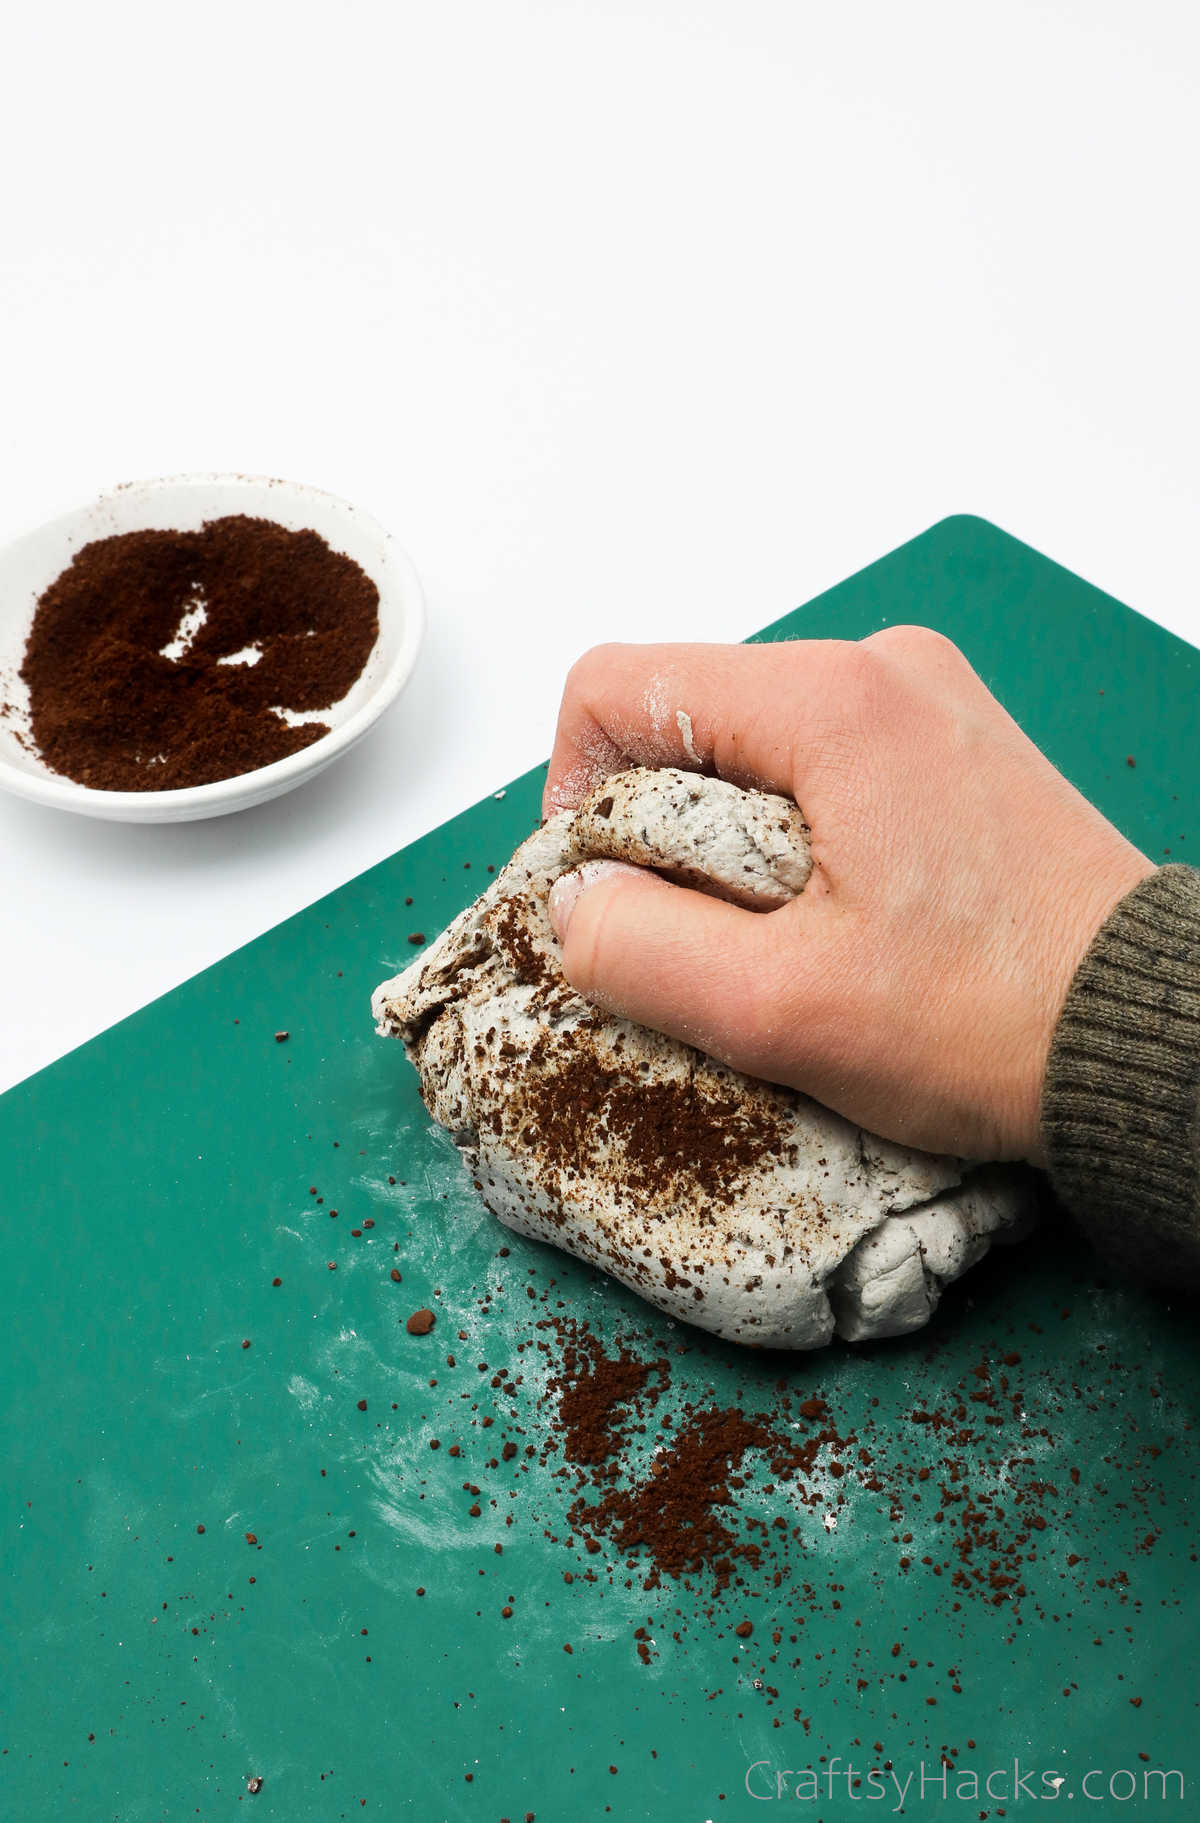
Step 3
Work the coffee grounds into the clay by kneading it till it has spread evenly.
Keep an eye out for possible coffee clumps.
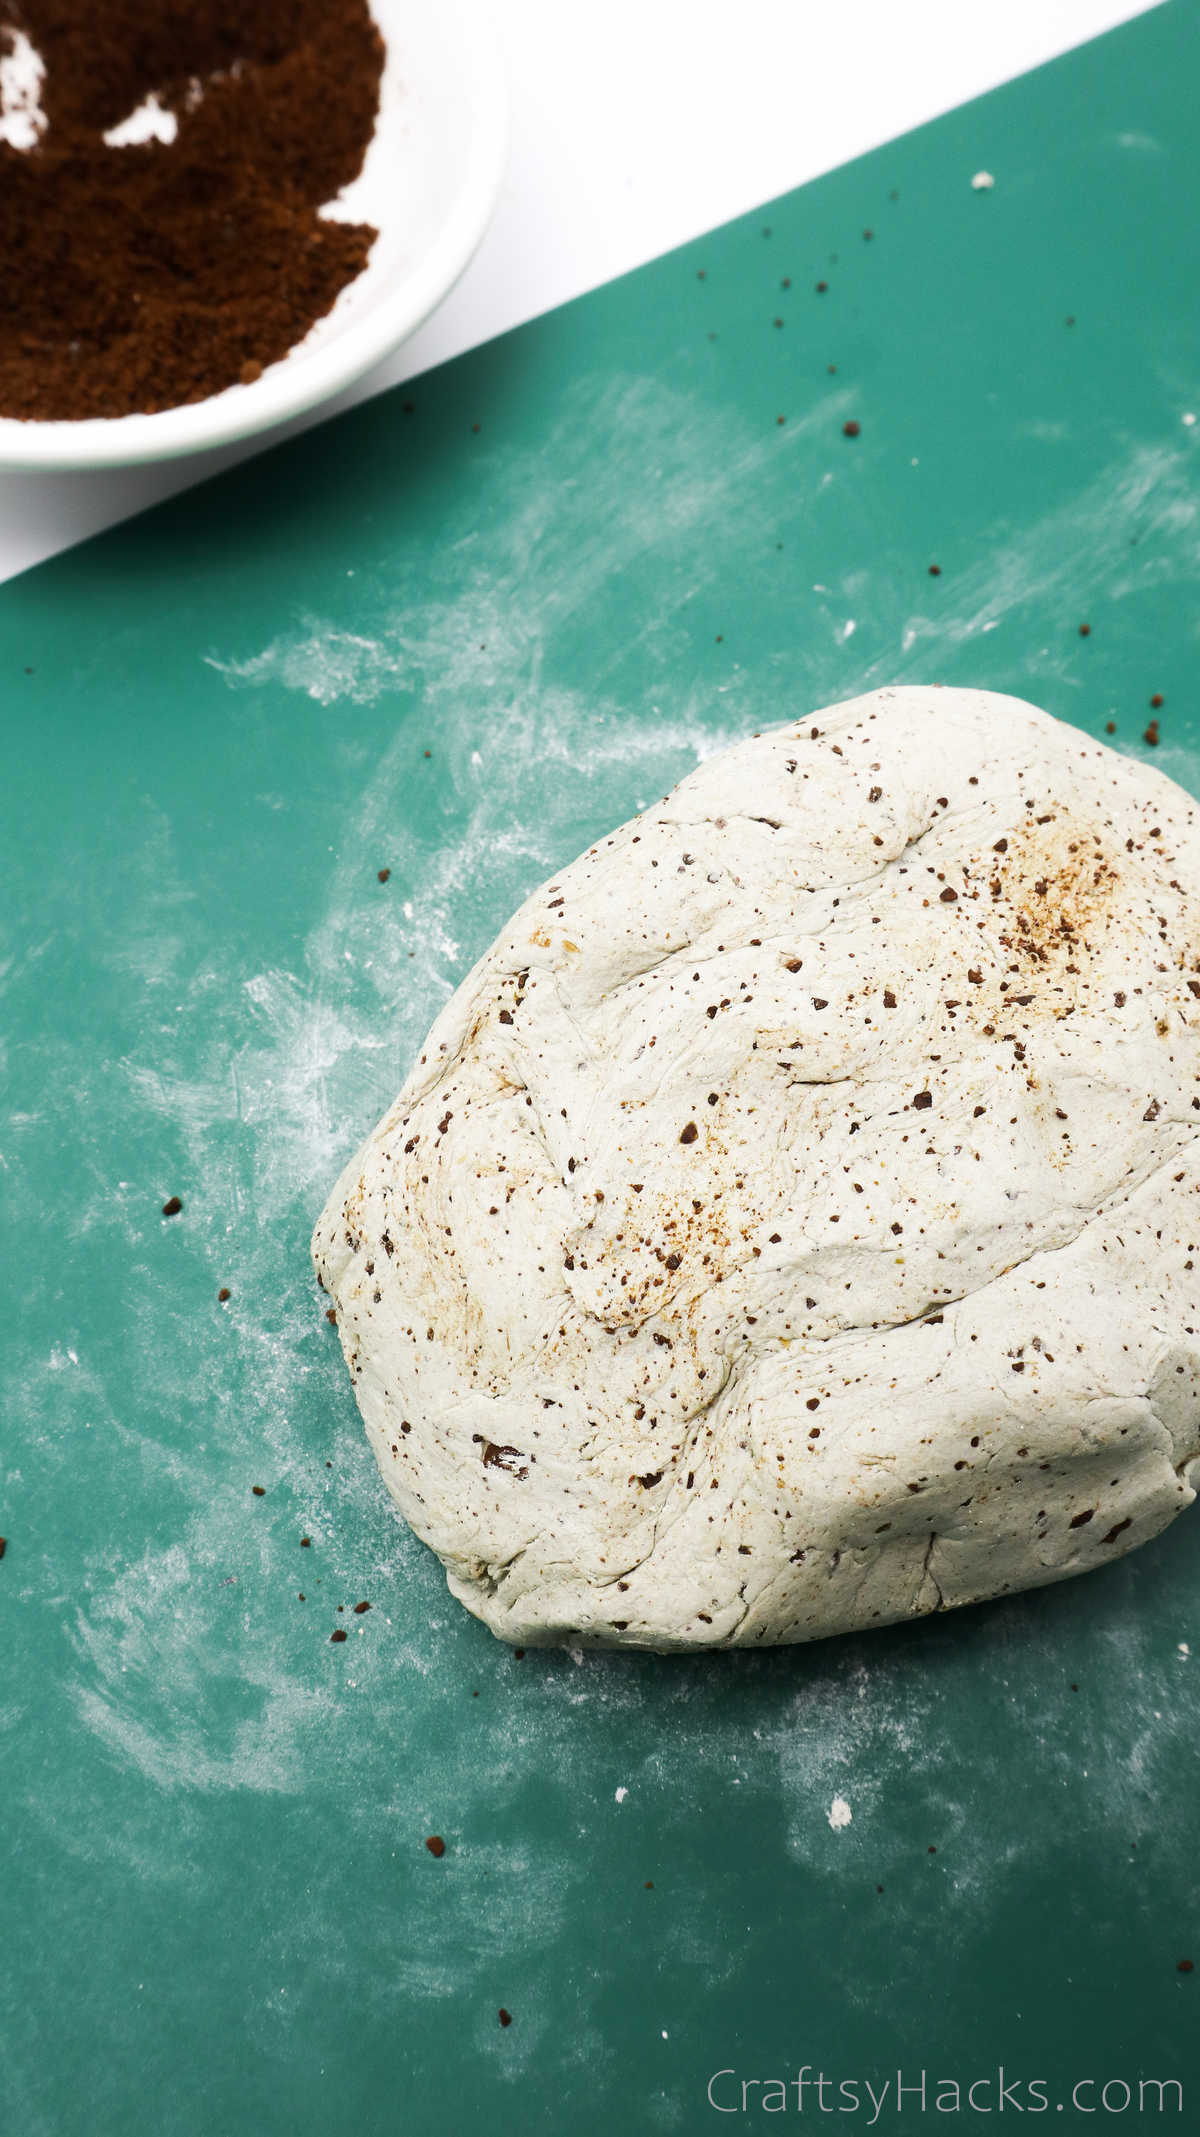
Your clay should look like this when youre done kneading it.
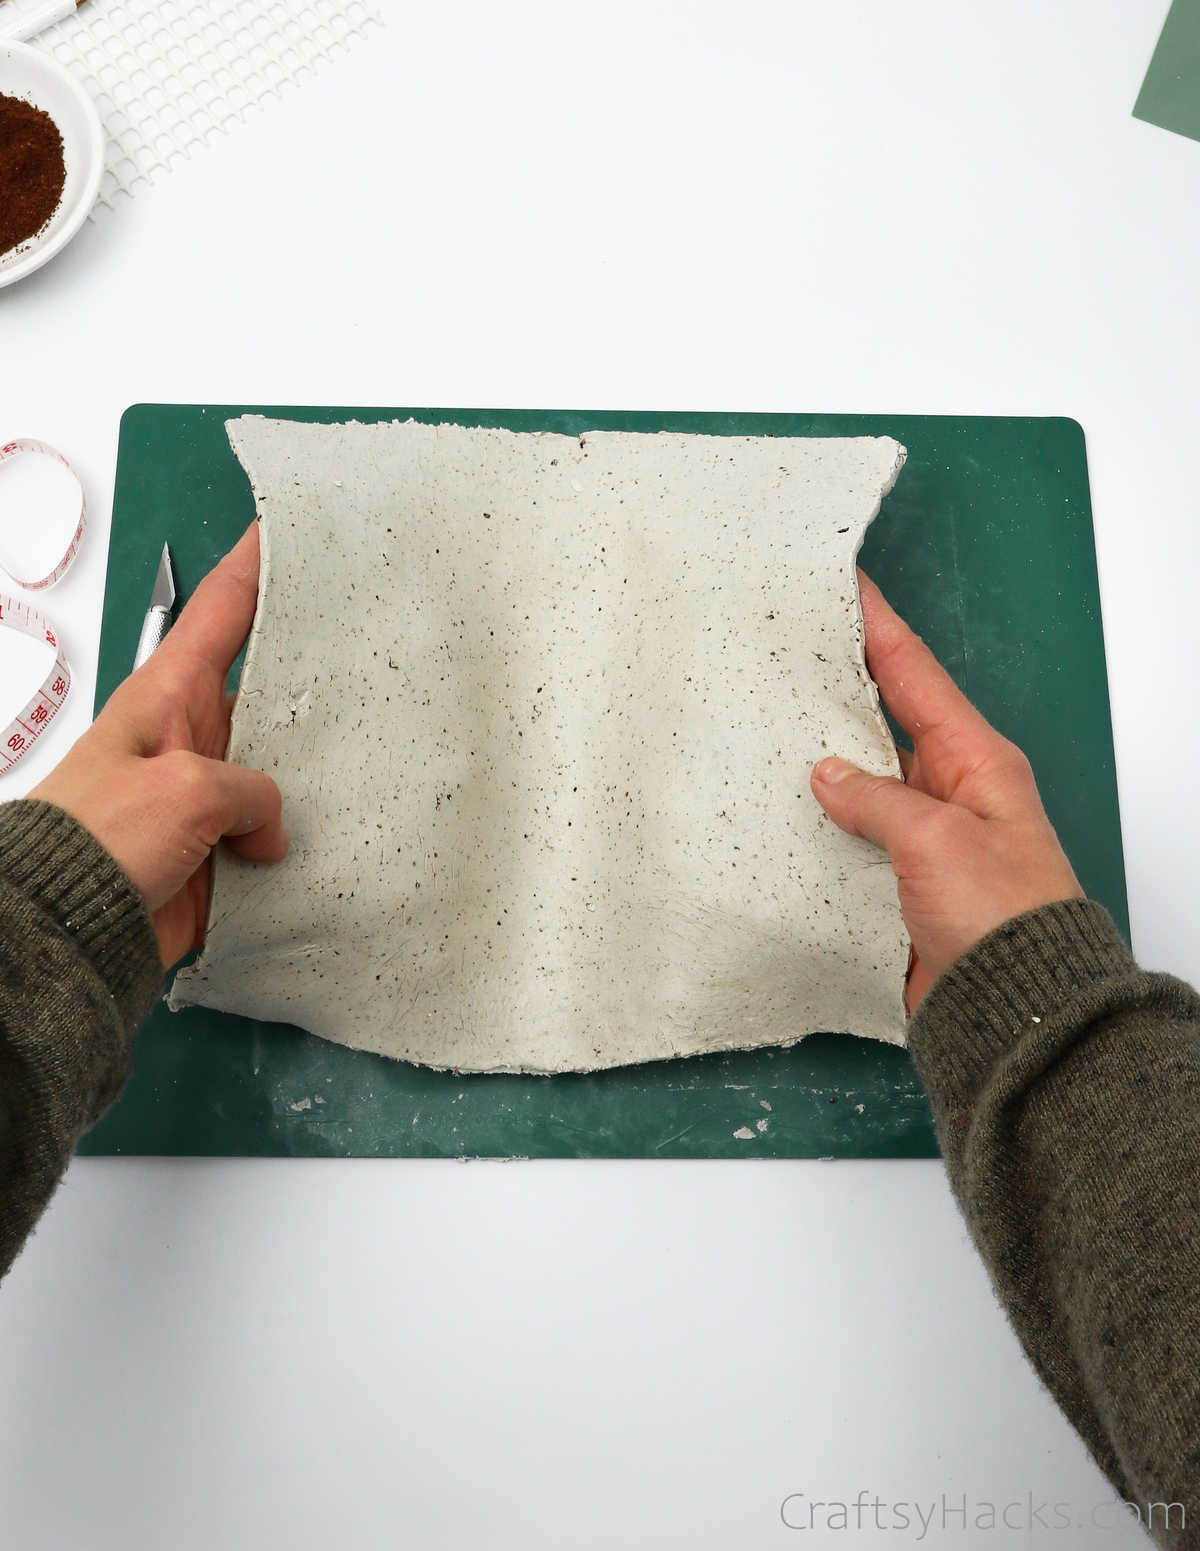
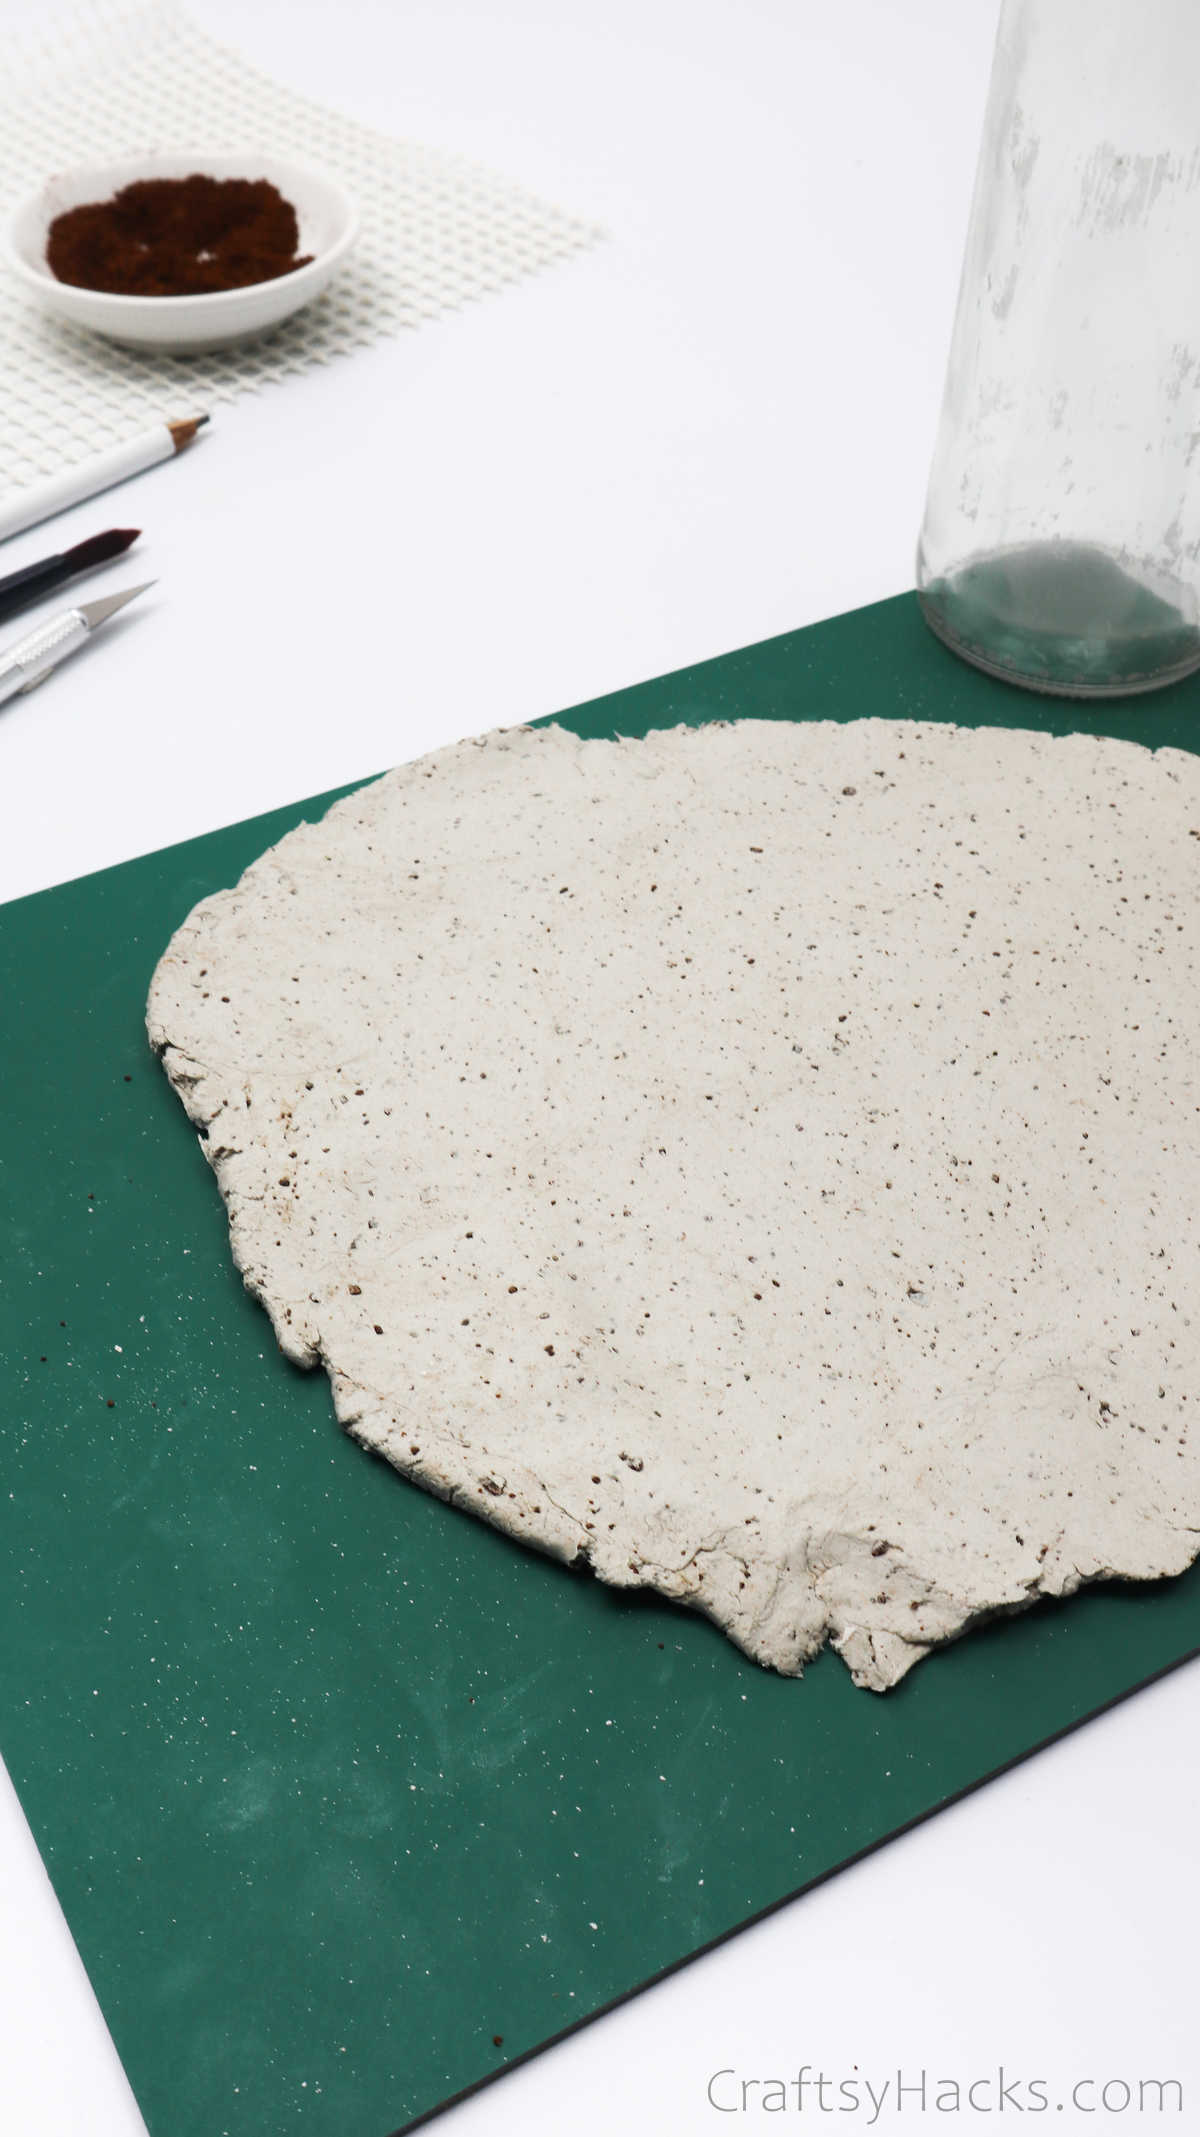
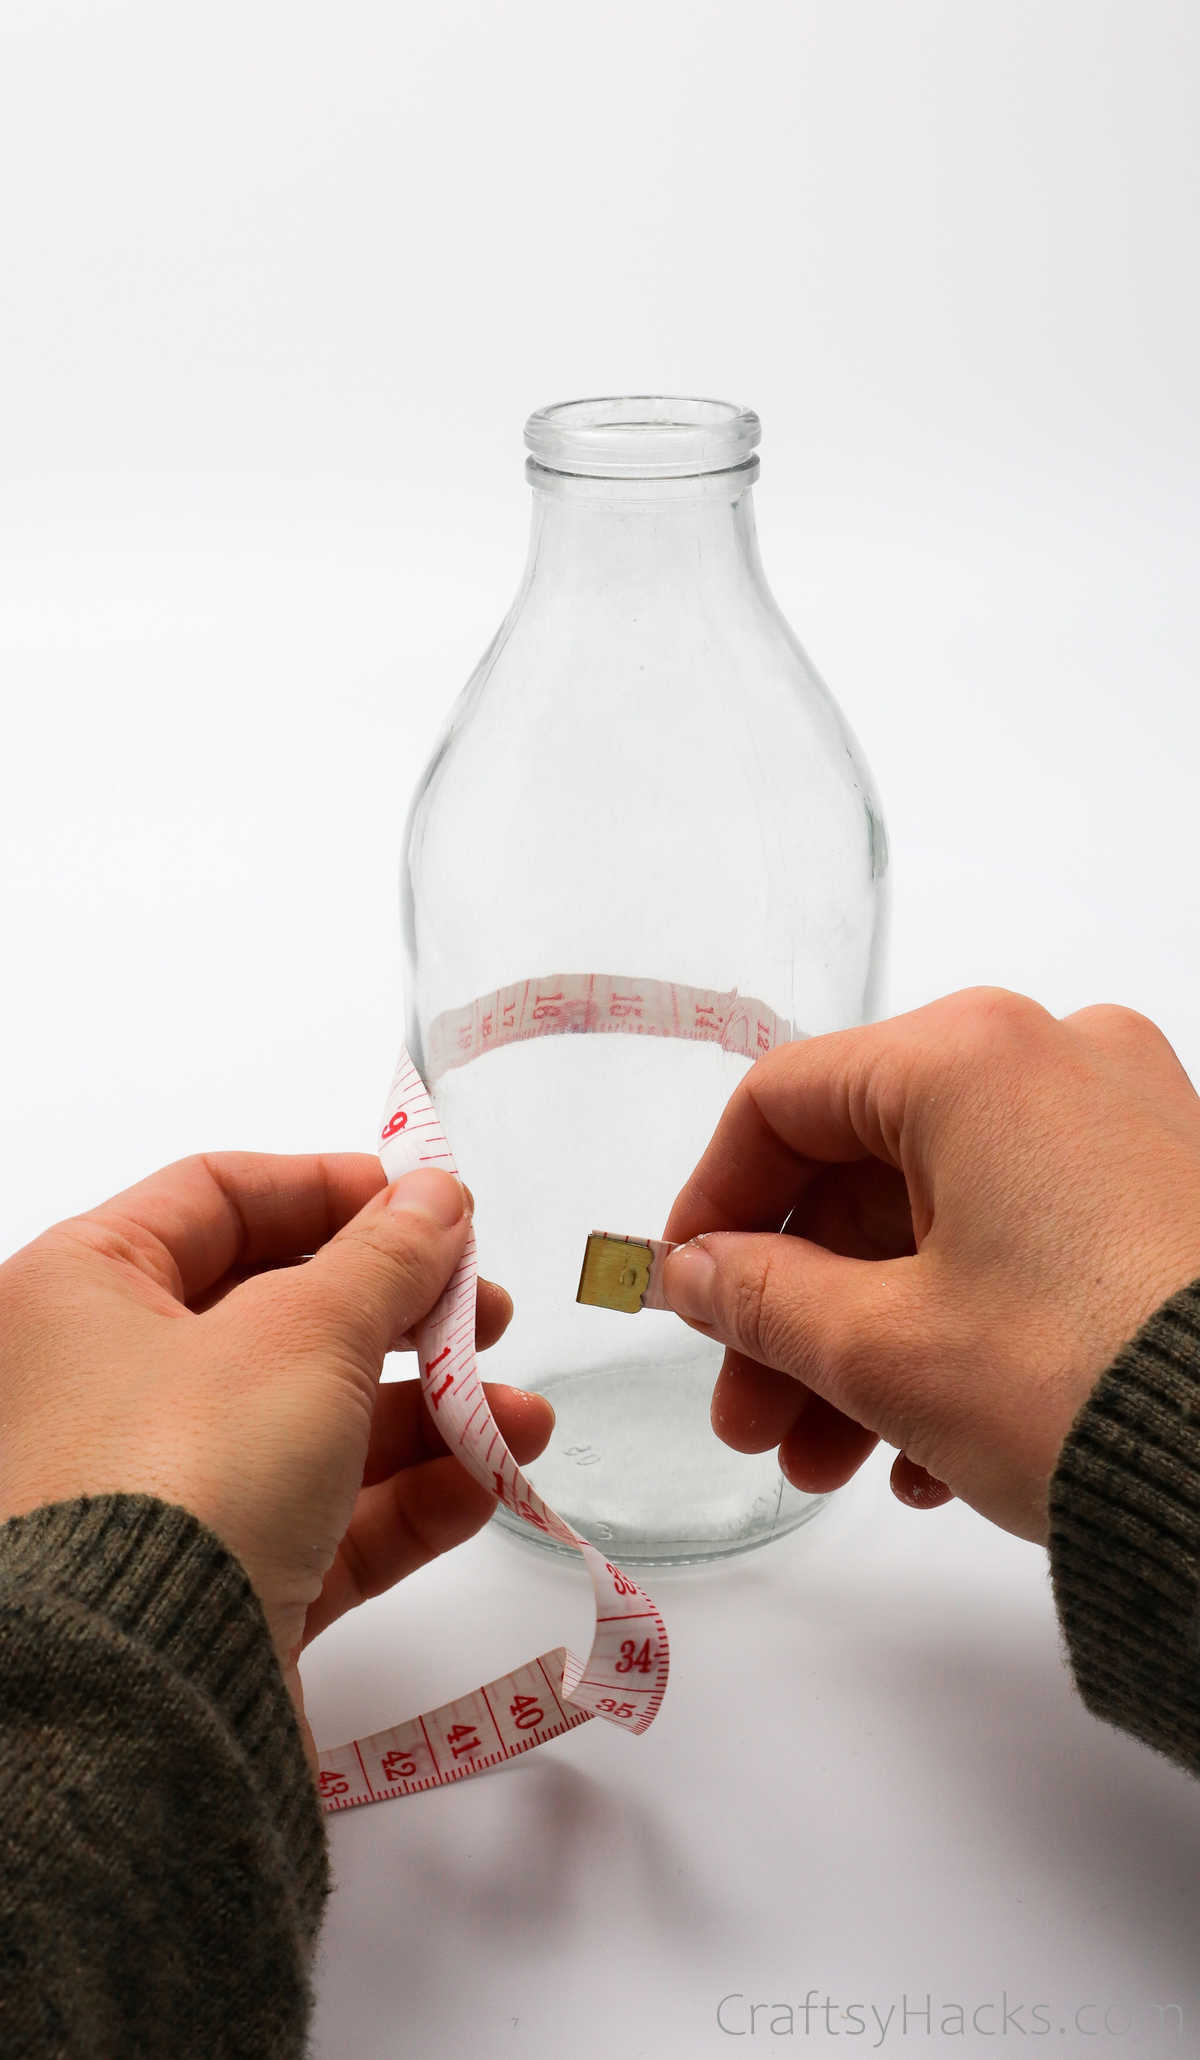
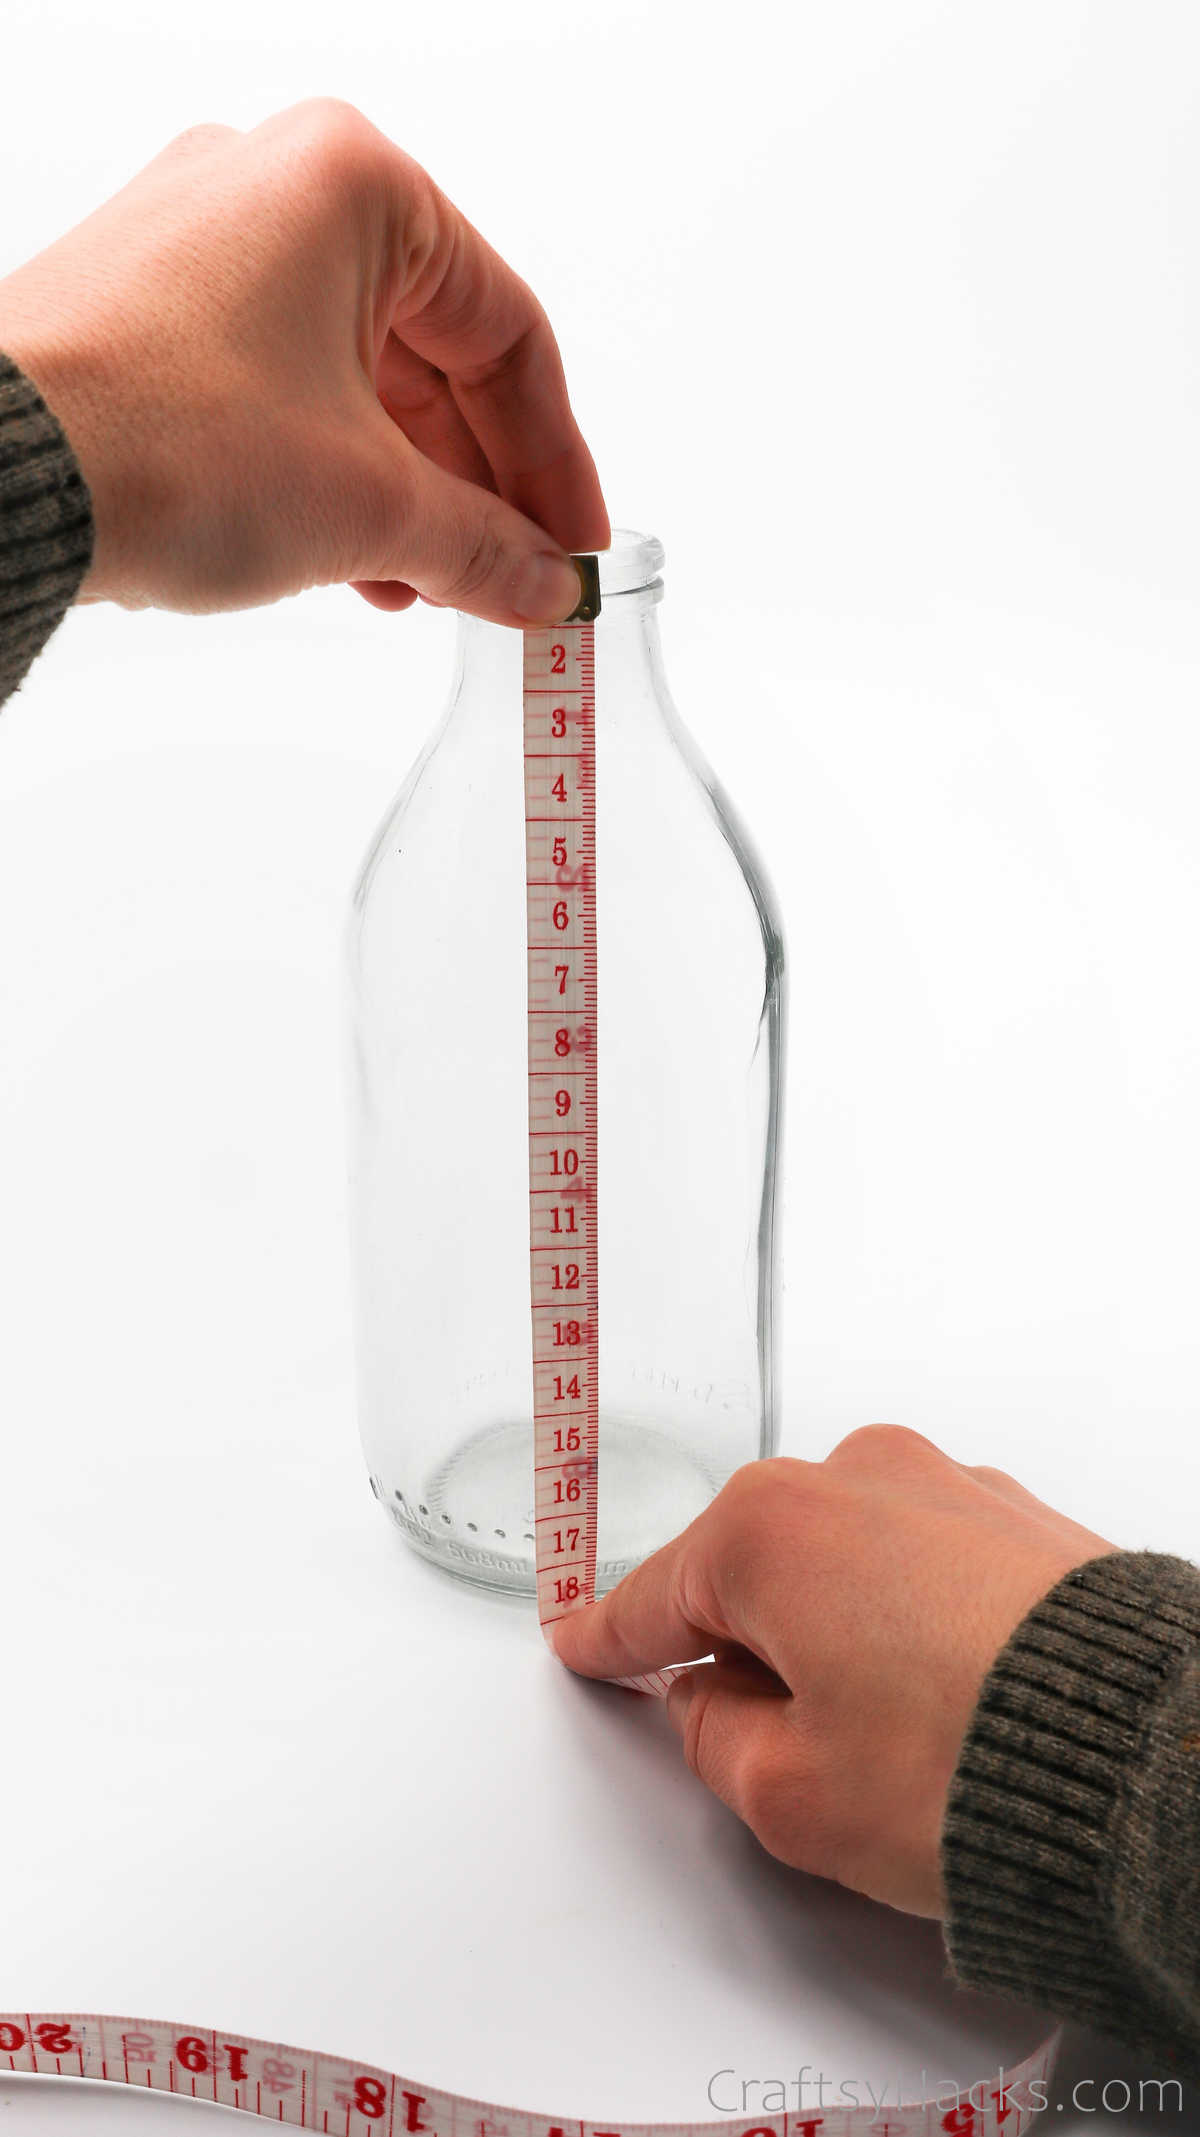
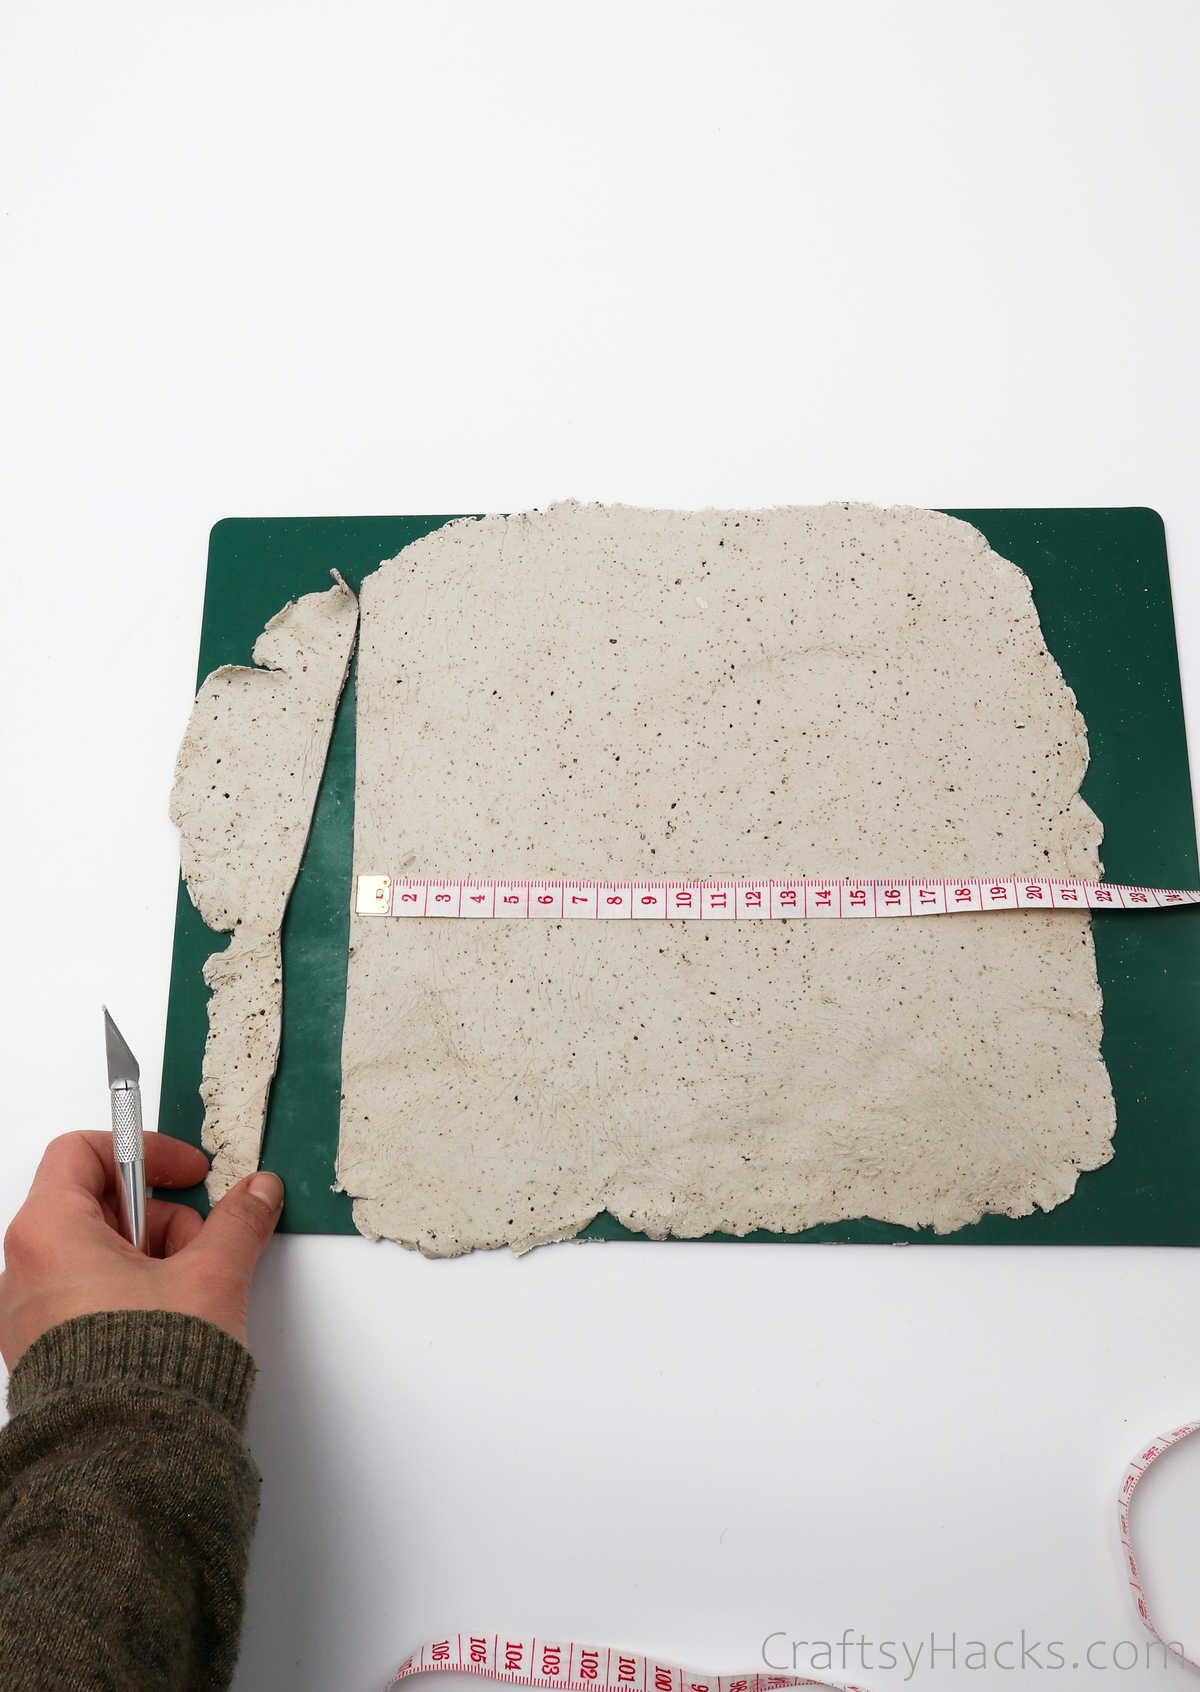
Dont roll it too thin or too thick.
Now consider the clay you rolledwill it be enough?
Then, remove the excess clay and set it aside to use later.
Id recommend that you cover it up nice and tight so it doesnt dry.
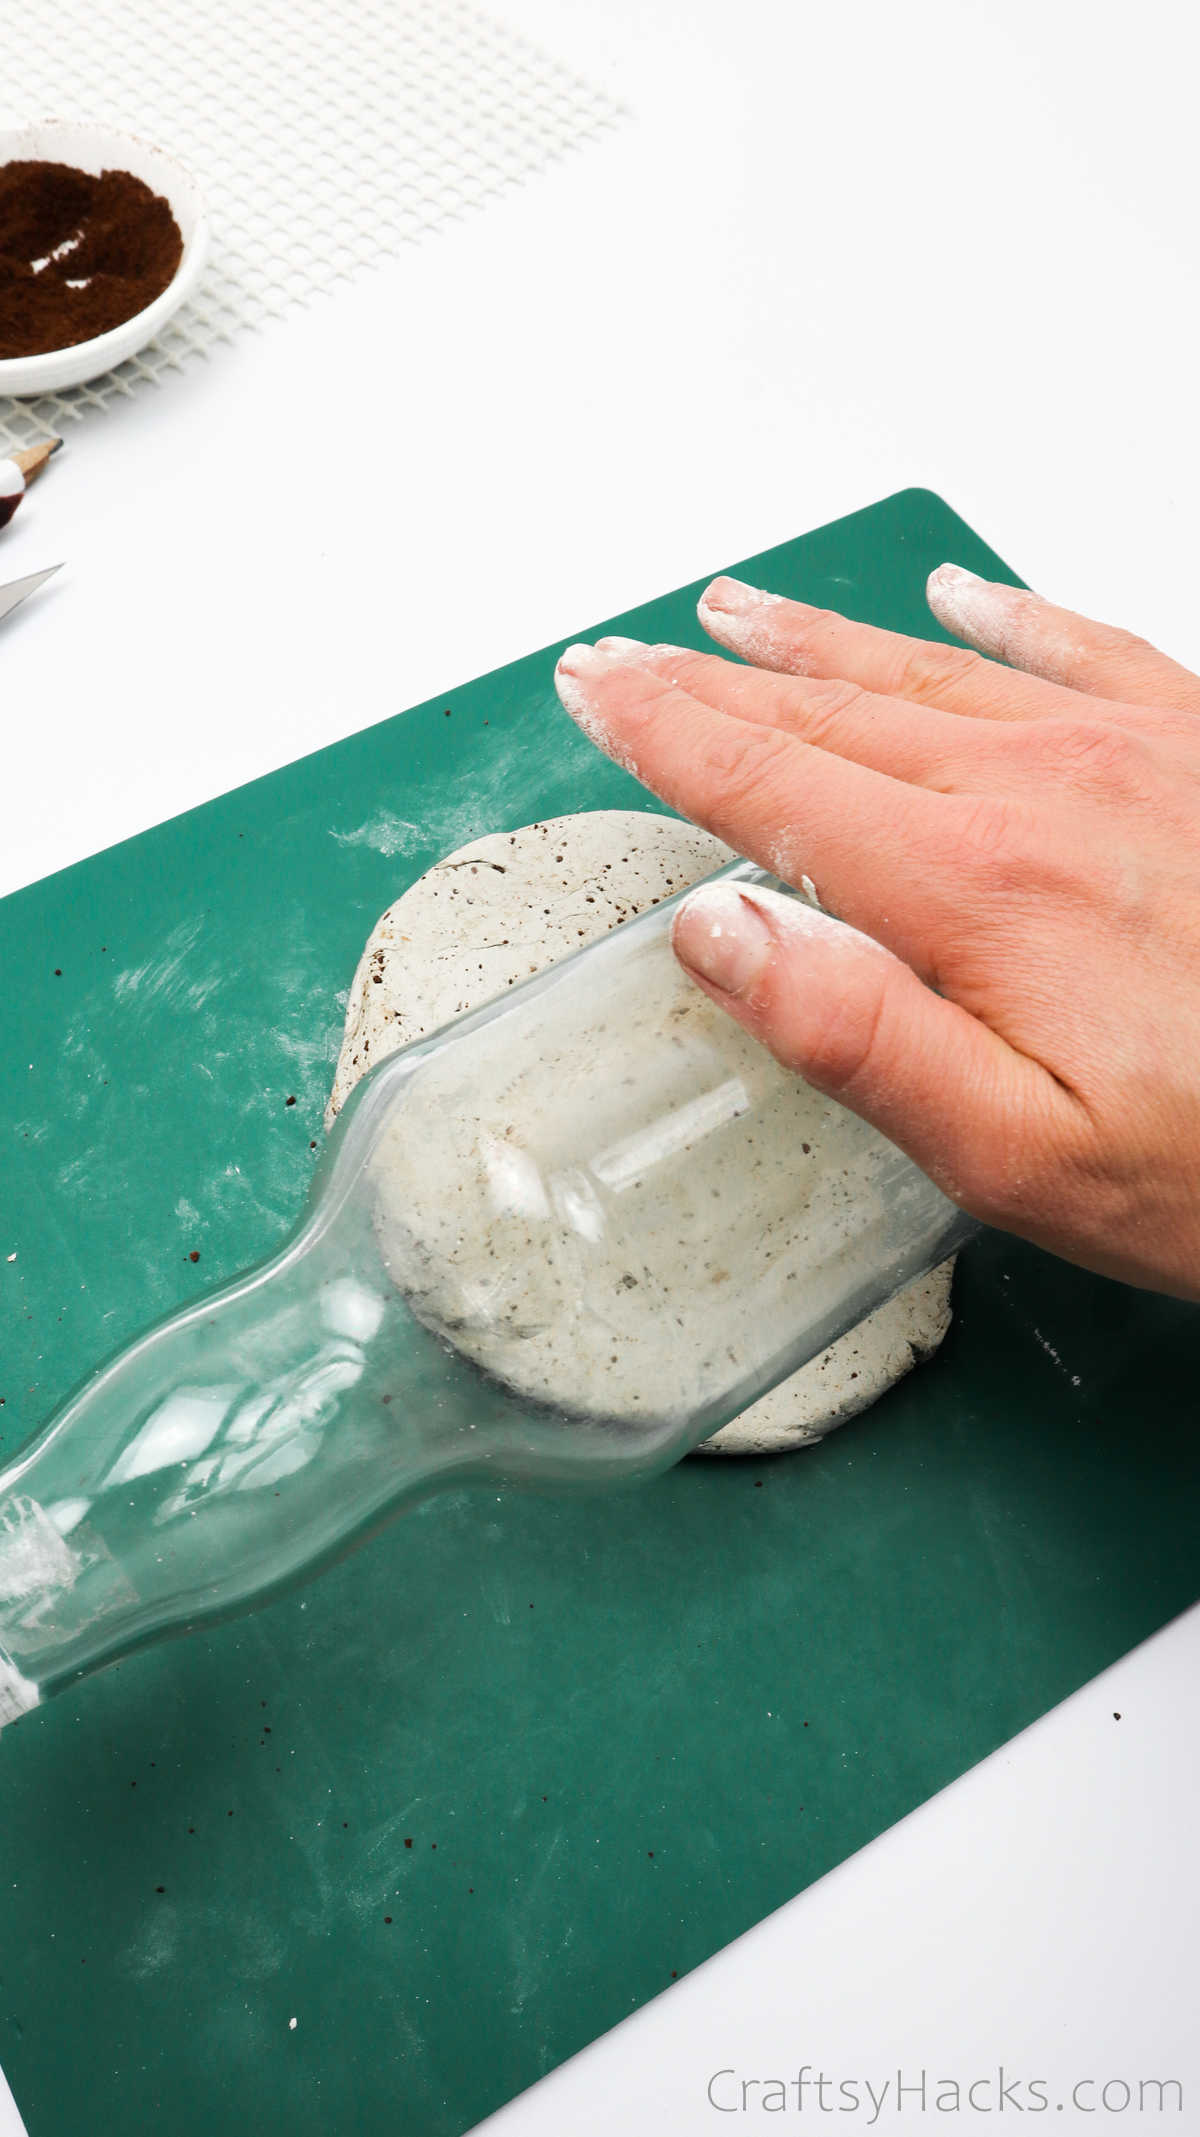
Place the bottle over the clay you just cut to check for size.
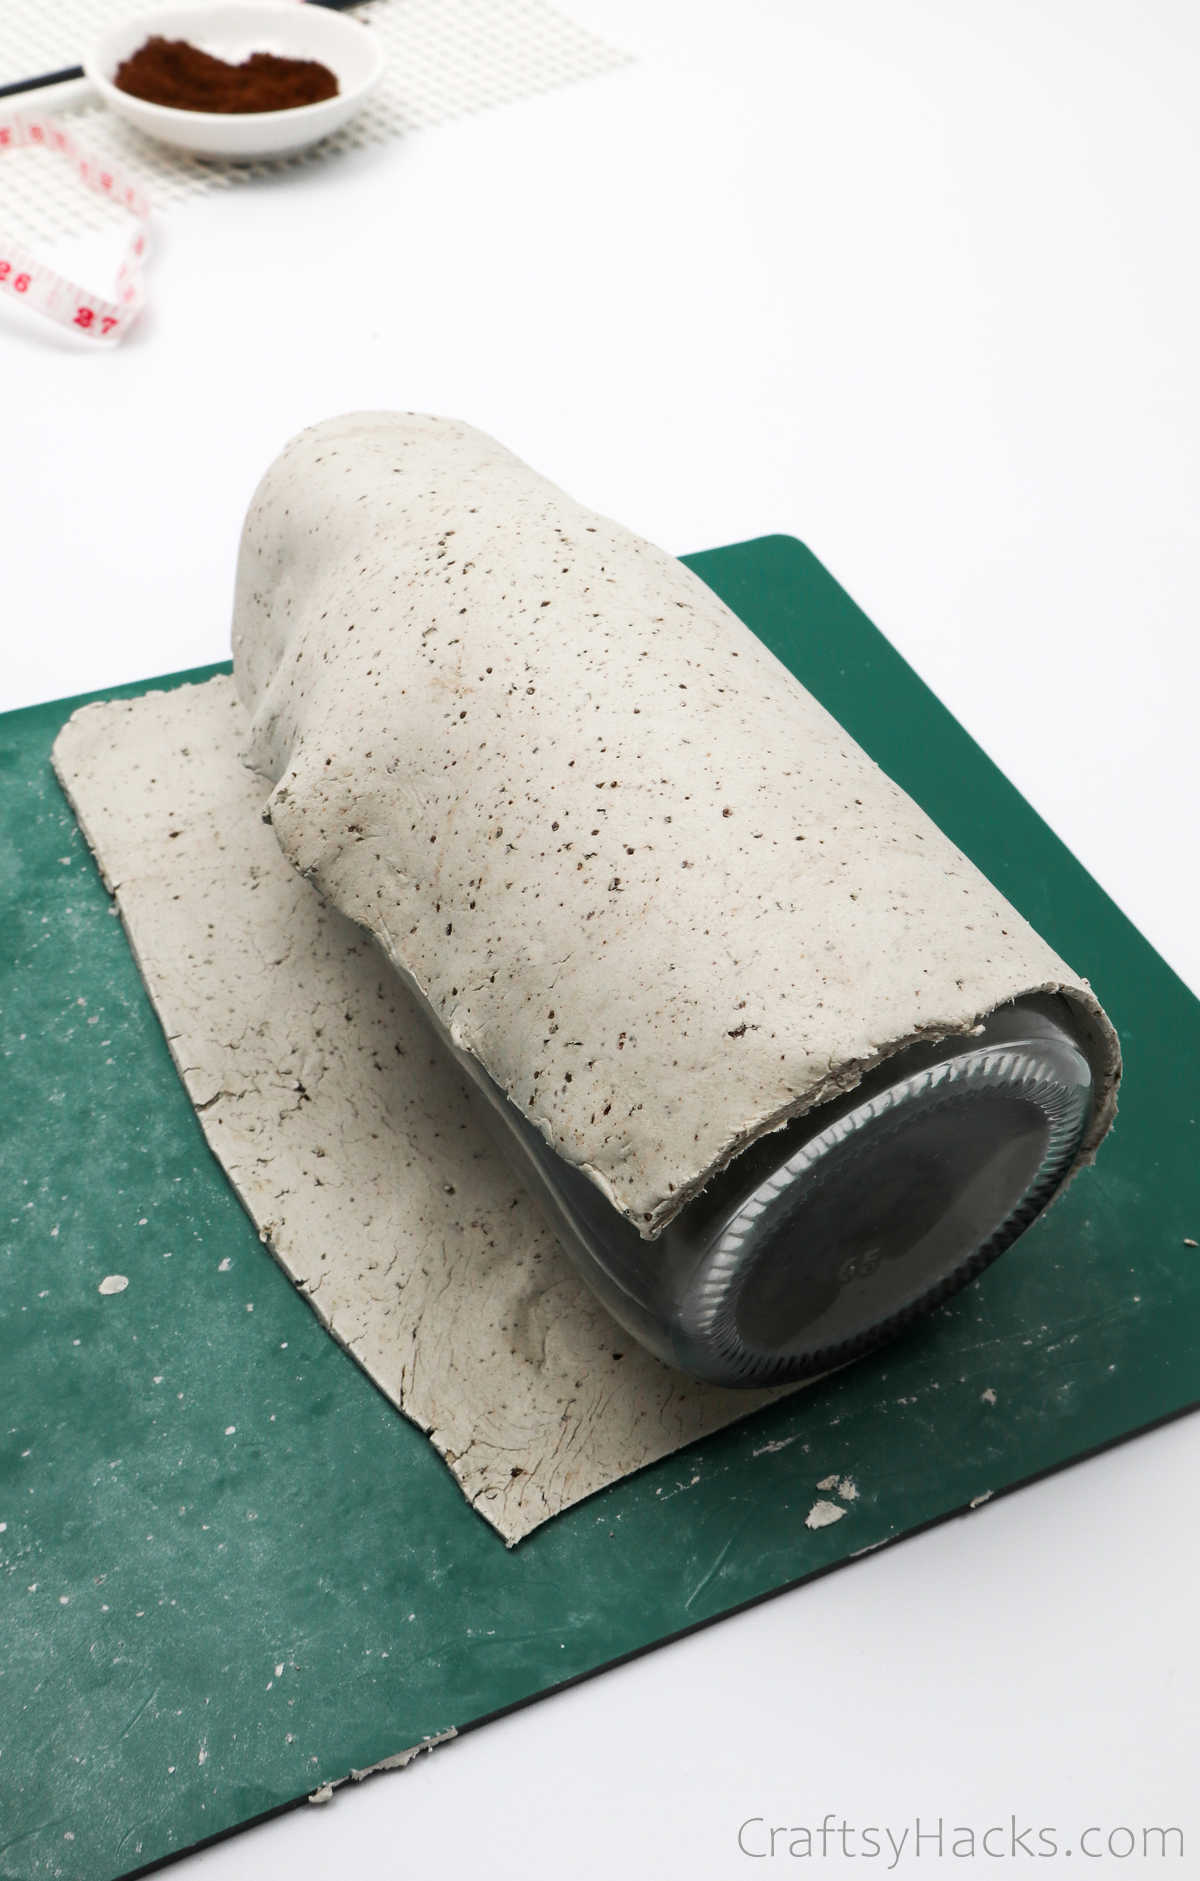
Its pretty similar to working with fondant and cake if you think about it.
Keep an eye out for any fold, wrinkles, or cracks.
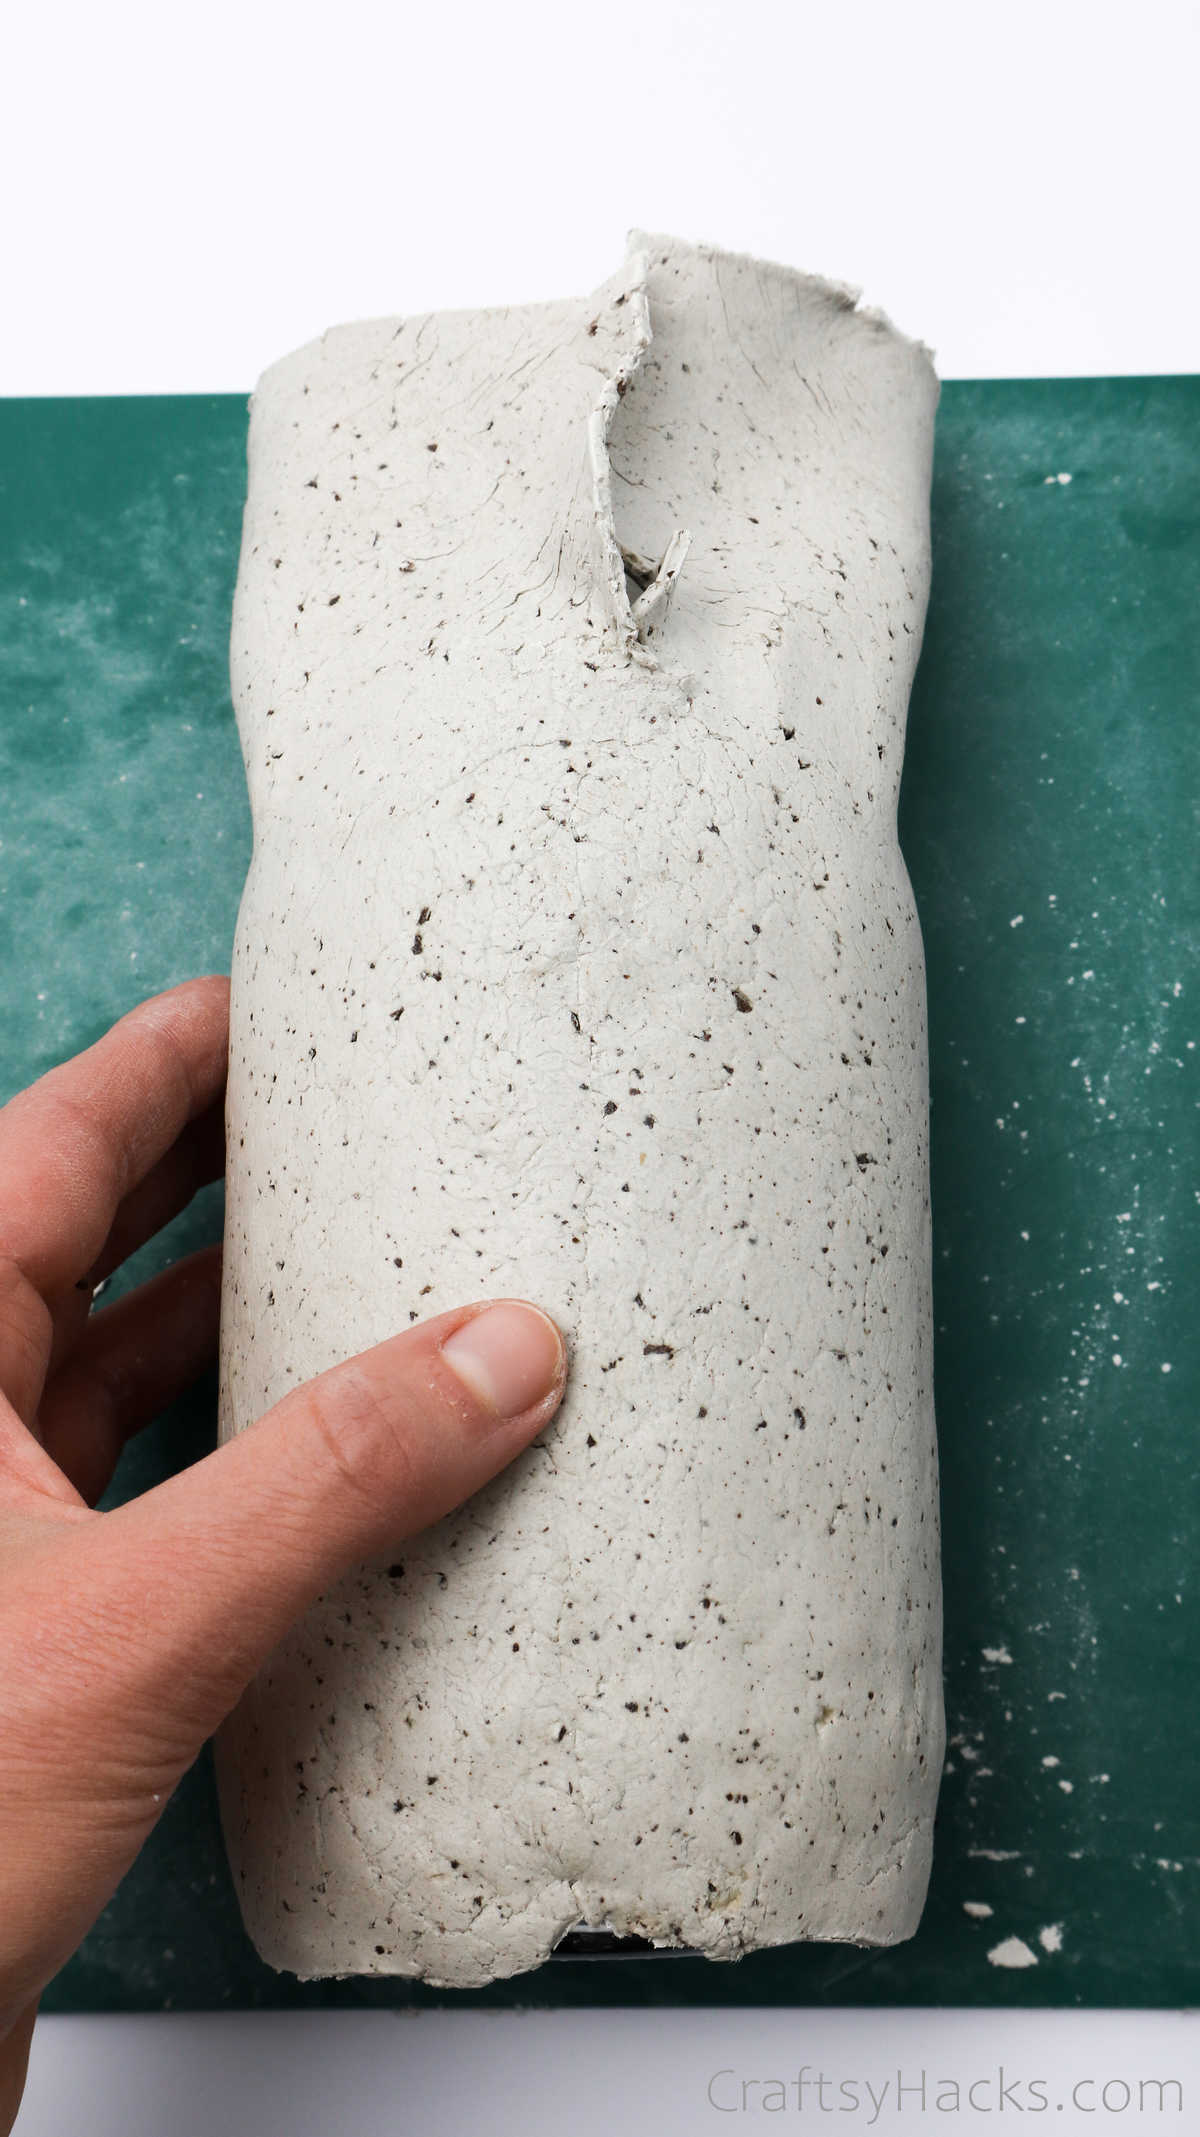
Roll the bottle around so that the clay sheet completely covers it.
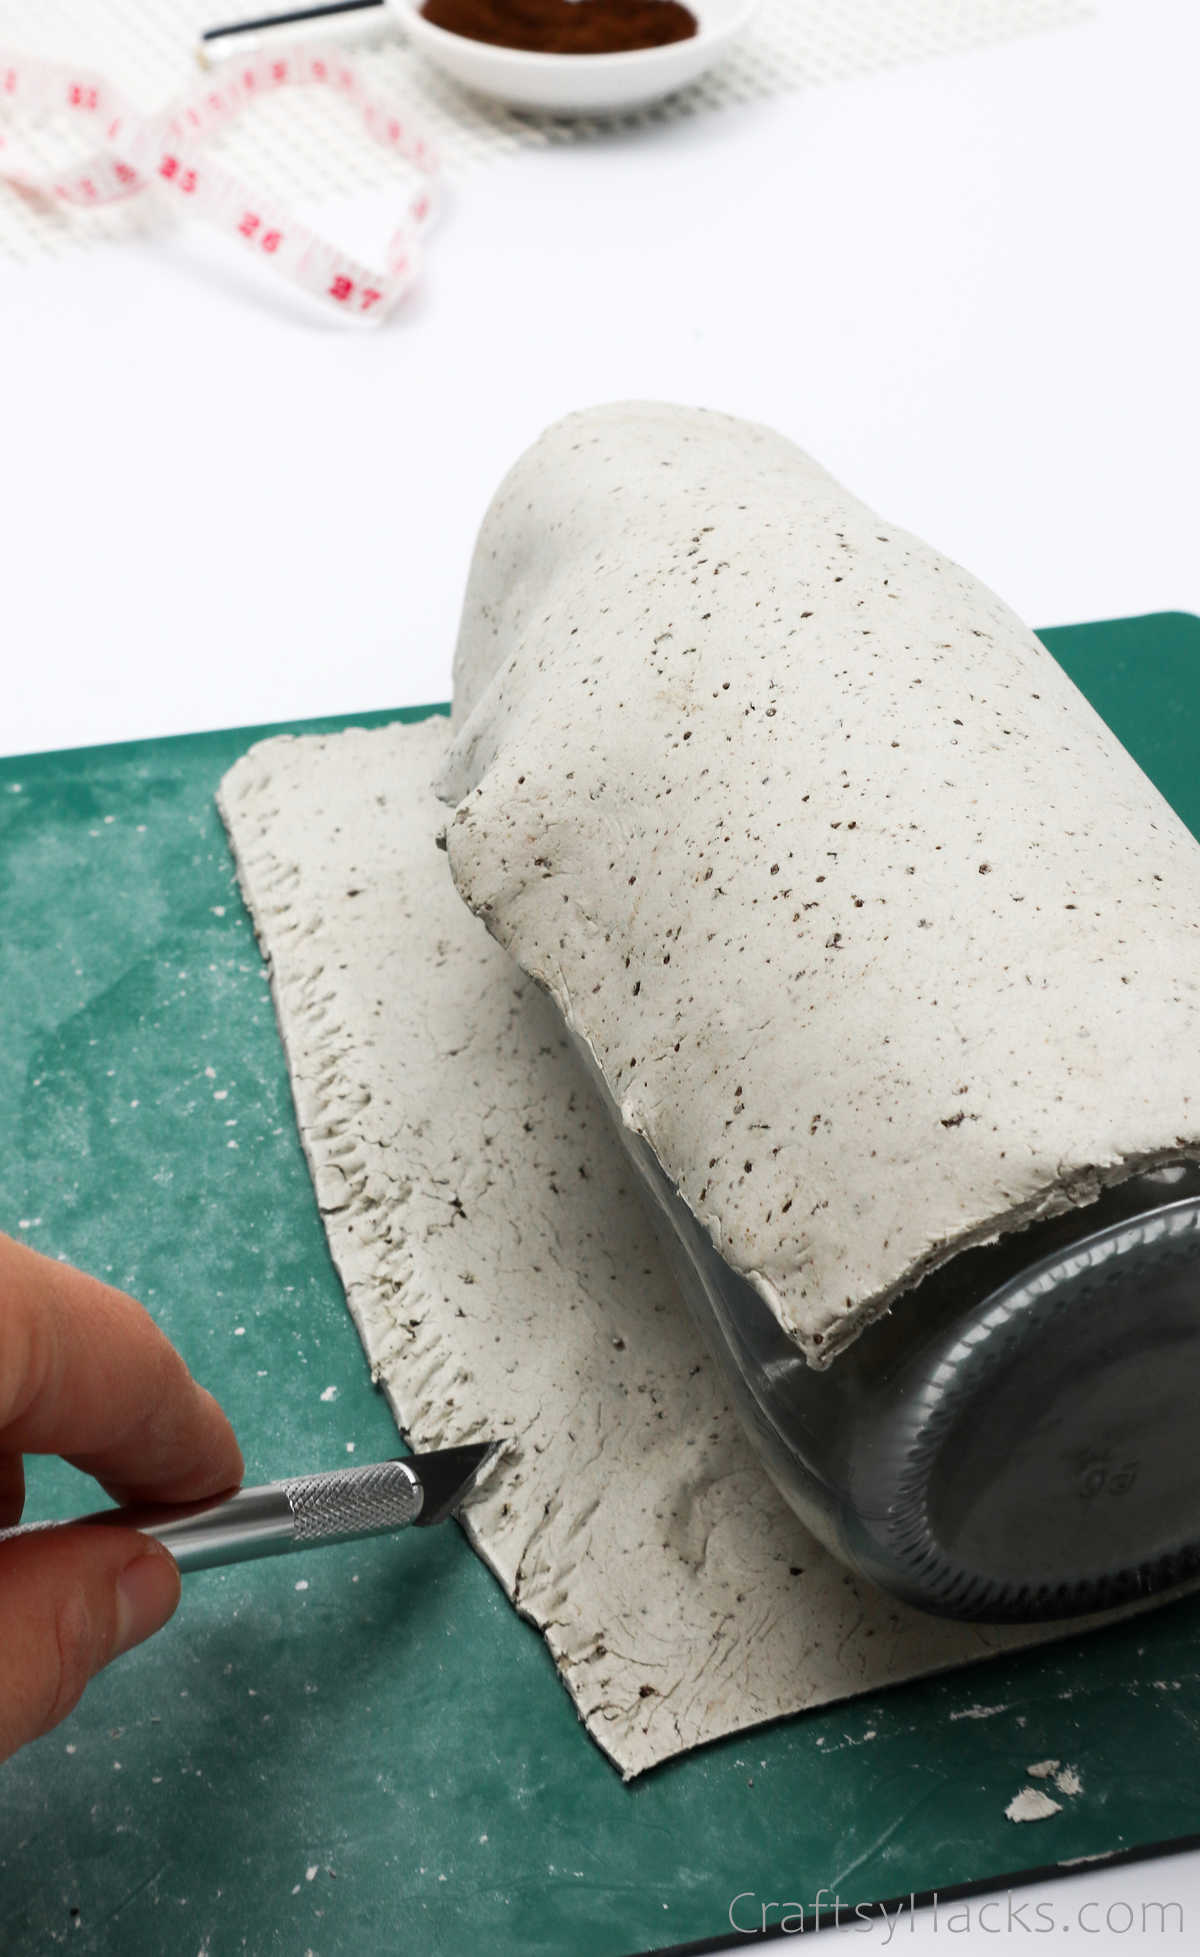
Take your craft knife and slice a few notches on one end of the clay sheet.
This will help you stick the ends together more effectively, trust me.
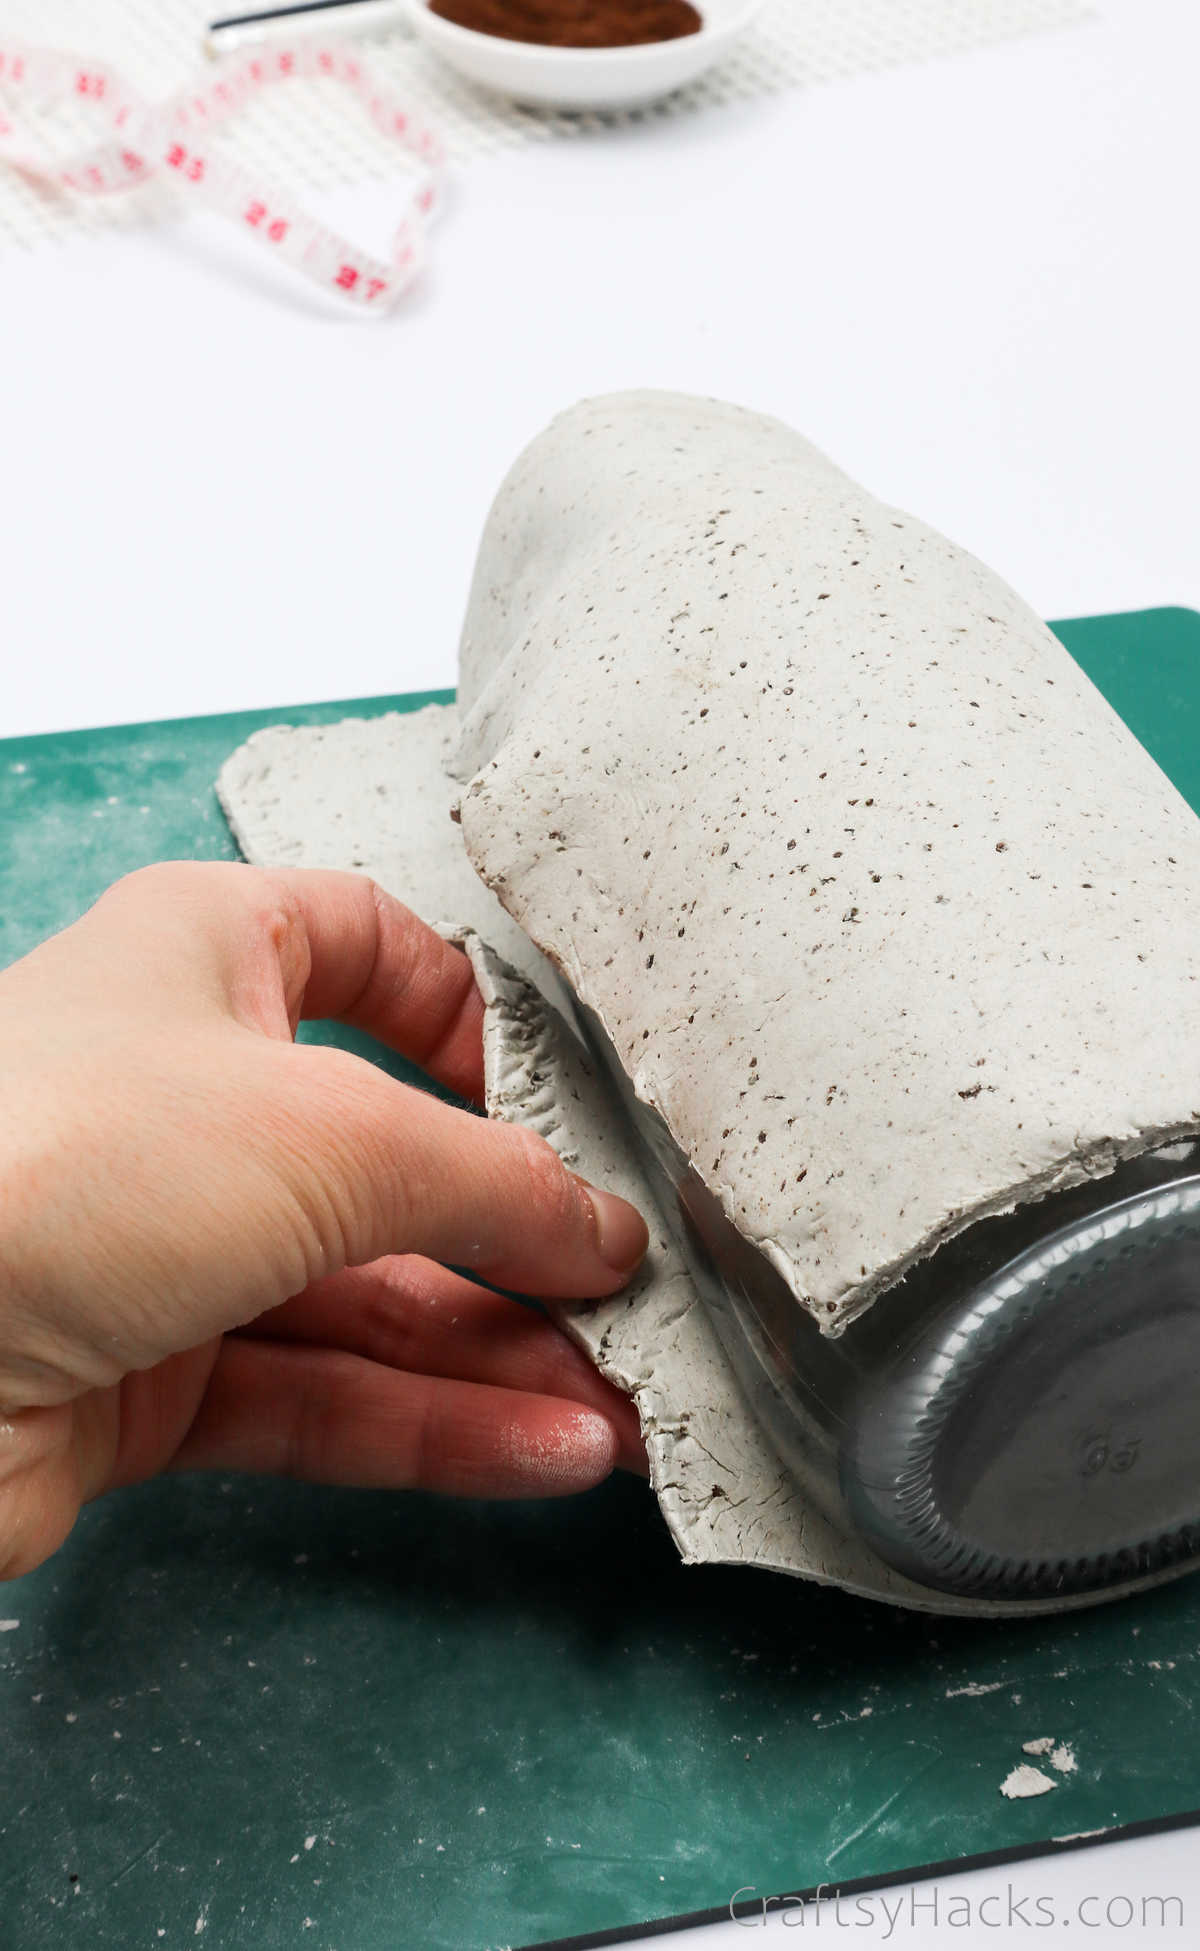
Gently press the clay to blend both sides together.
You should verify that theres no visible or demarcating line indicating where you joined both ends together.
So be extra careful when you smoothen out the clay.
Step 8
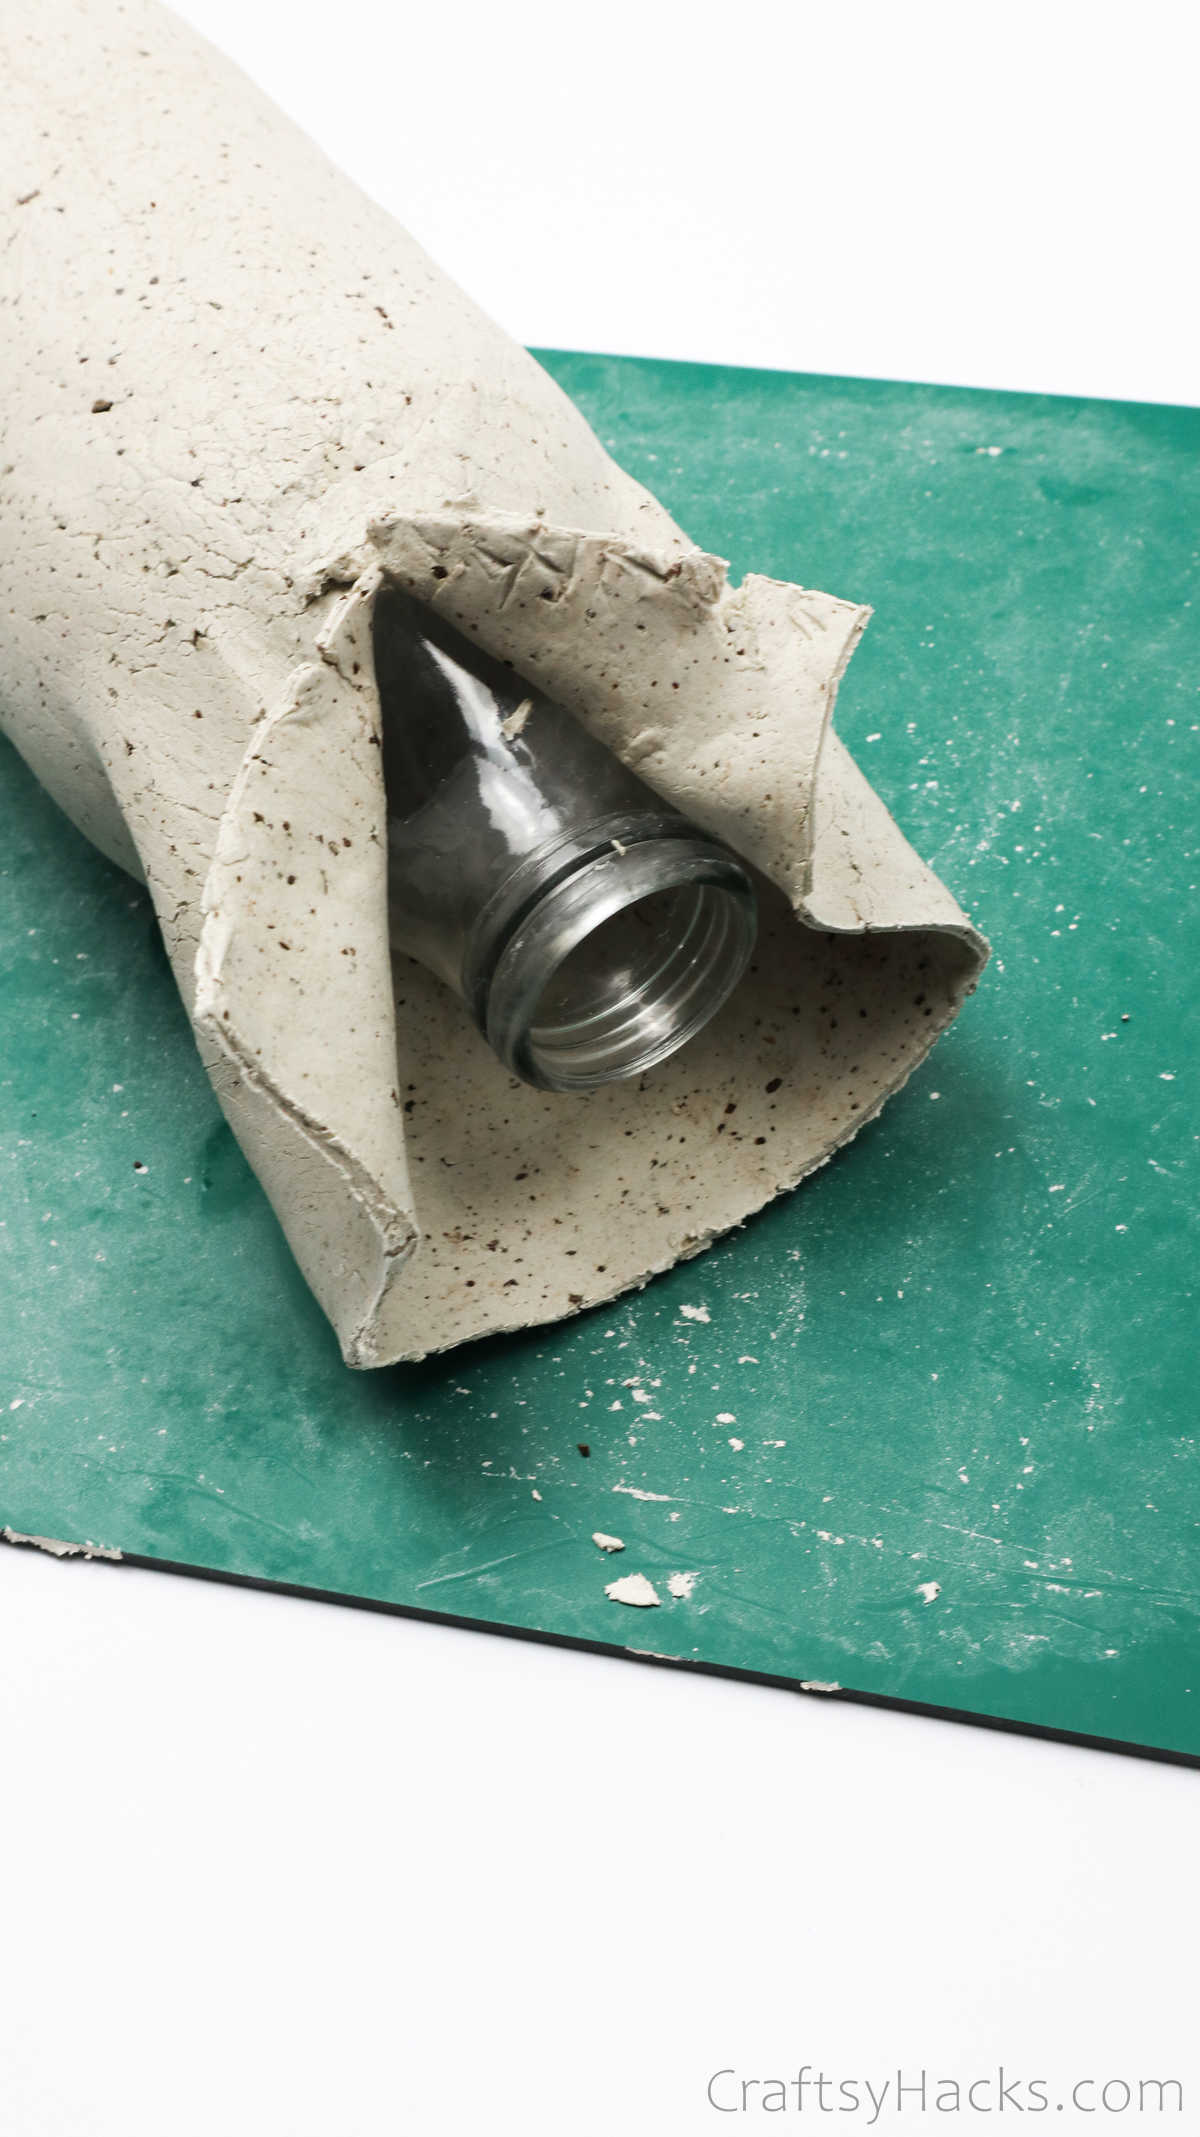
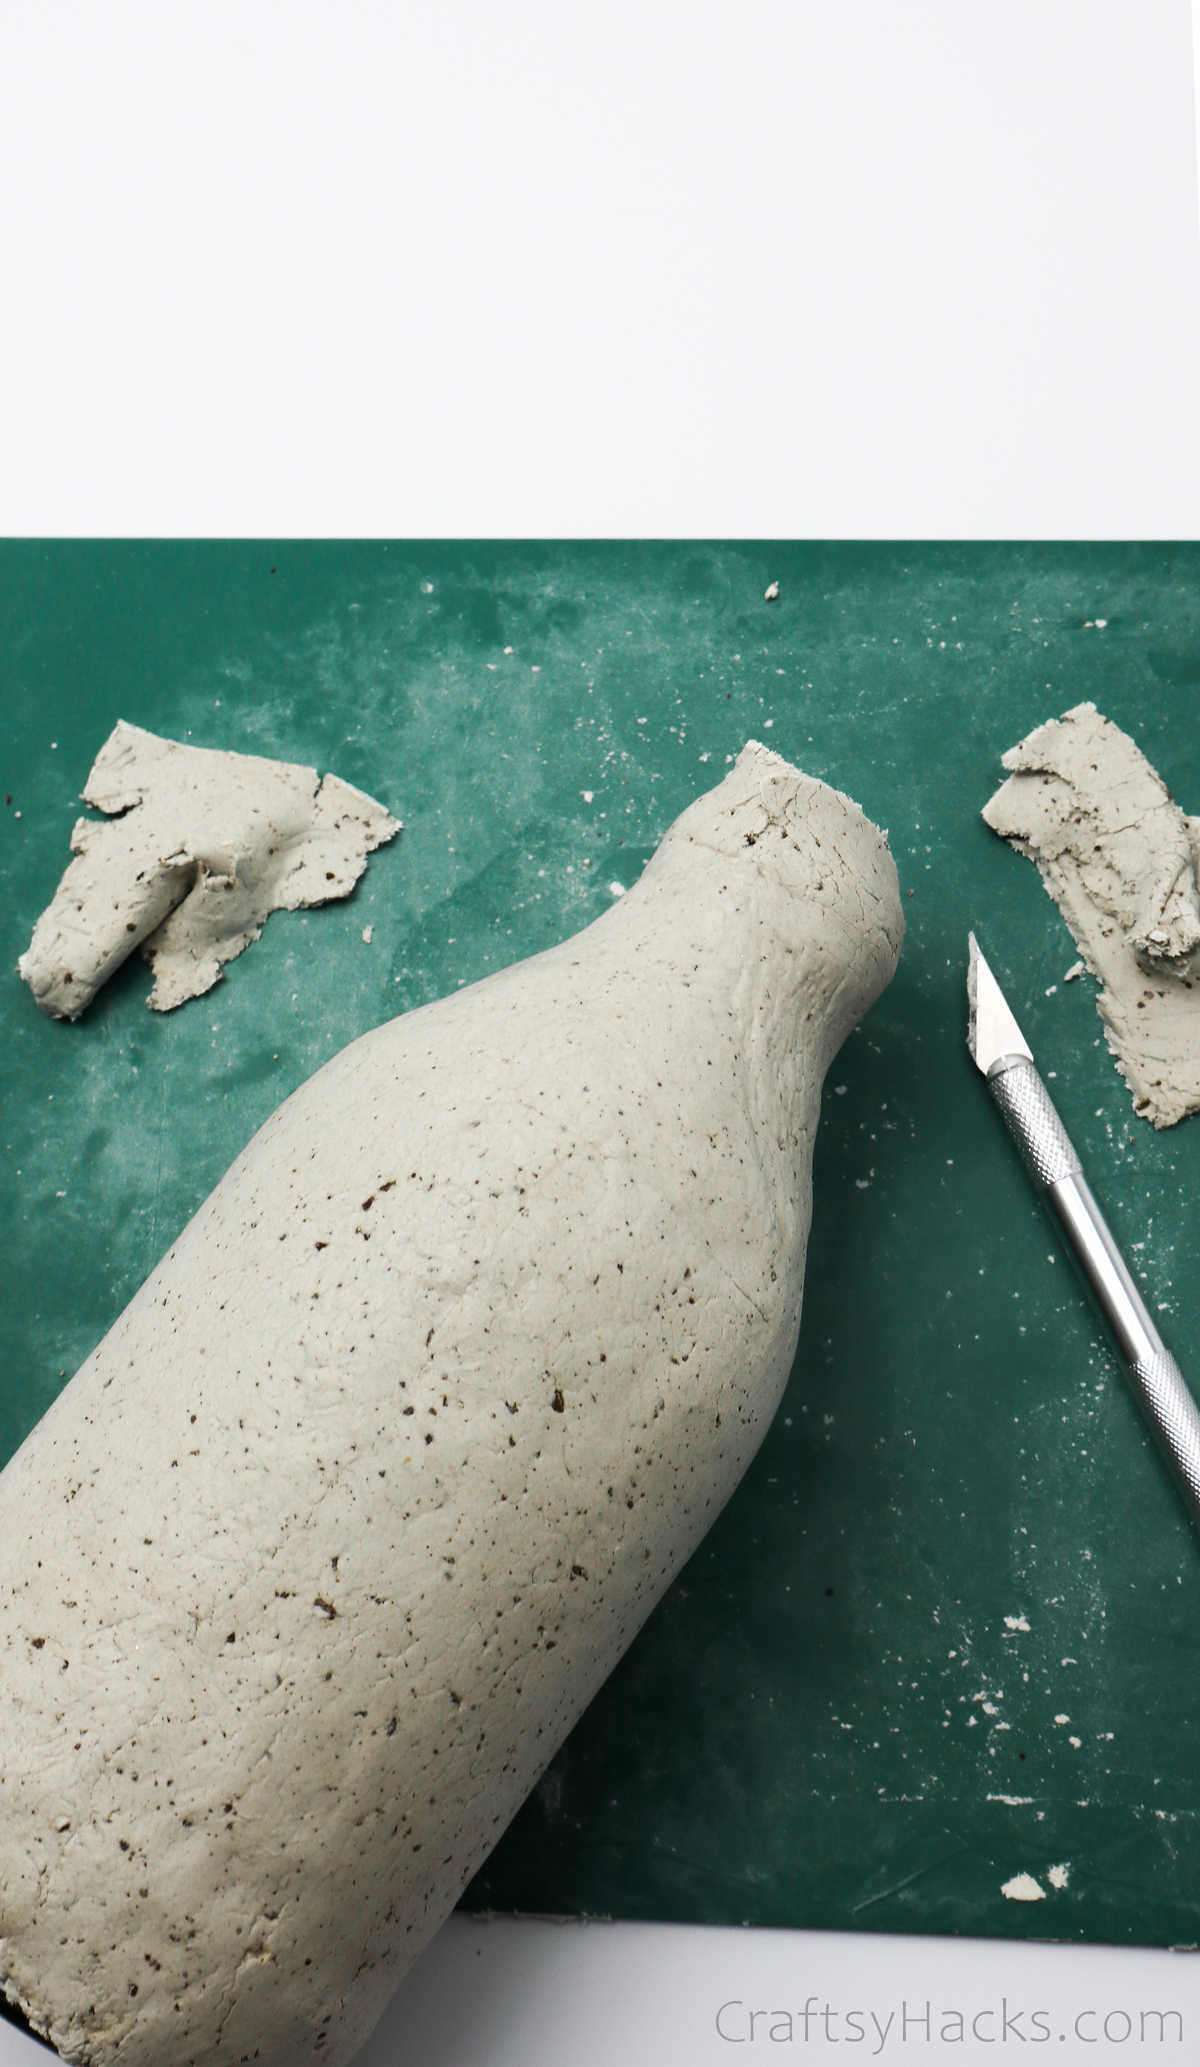
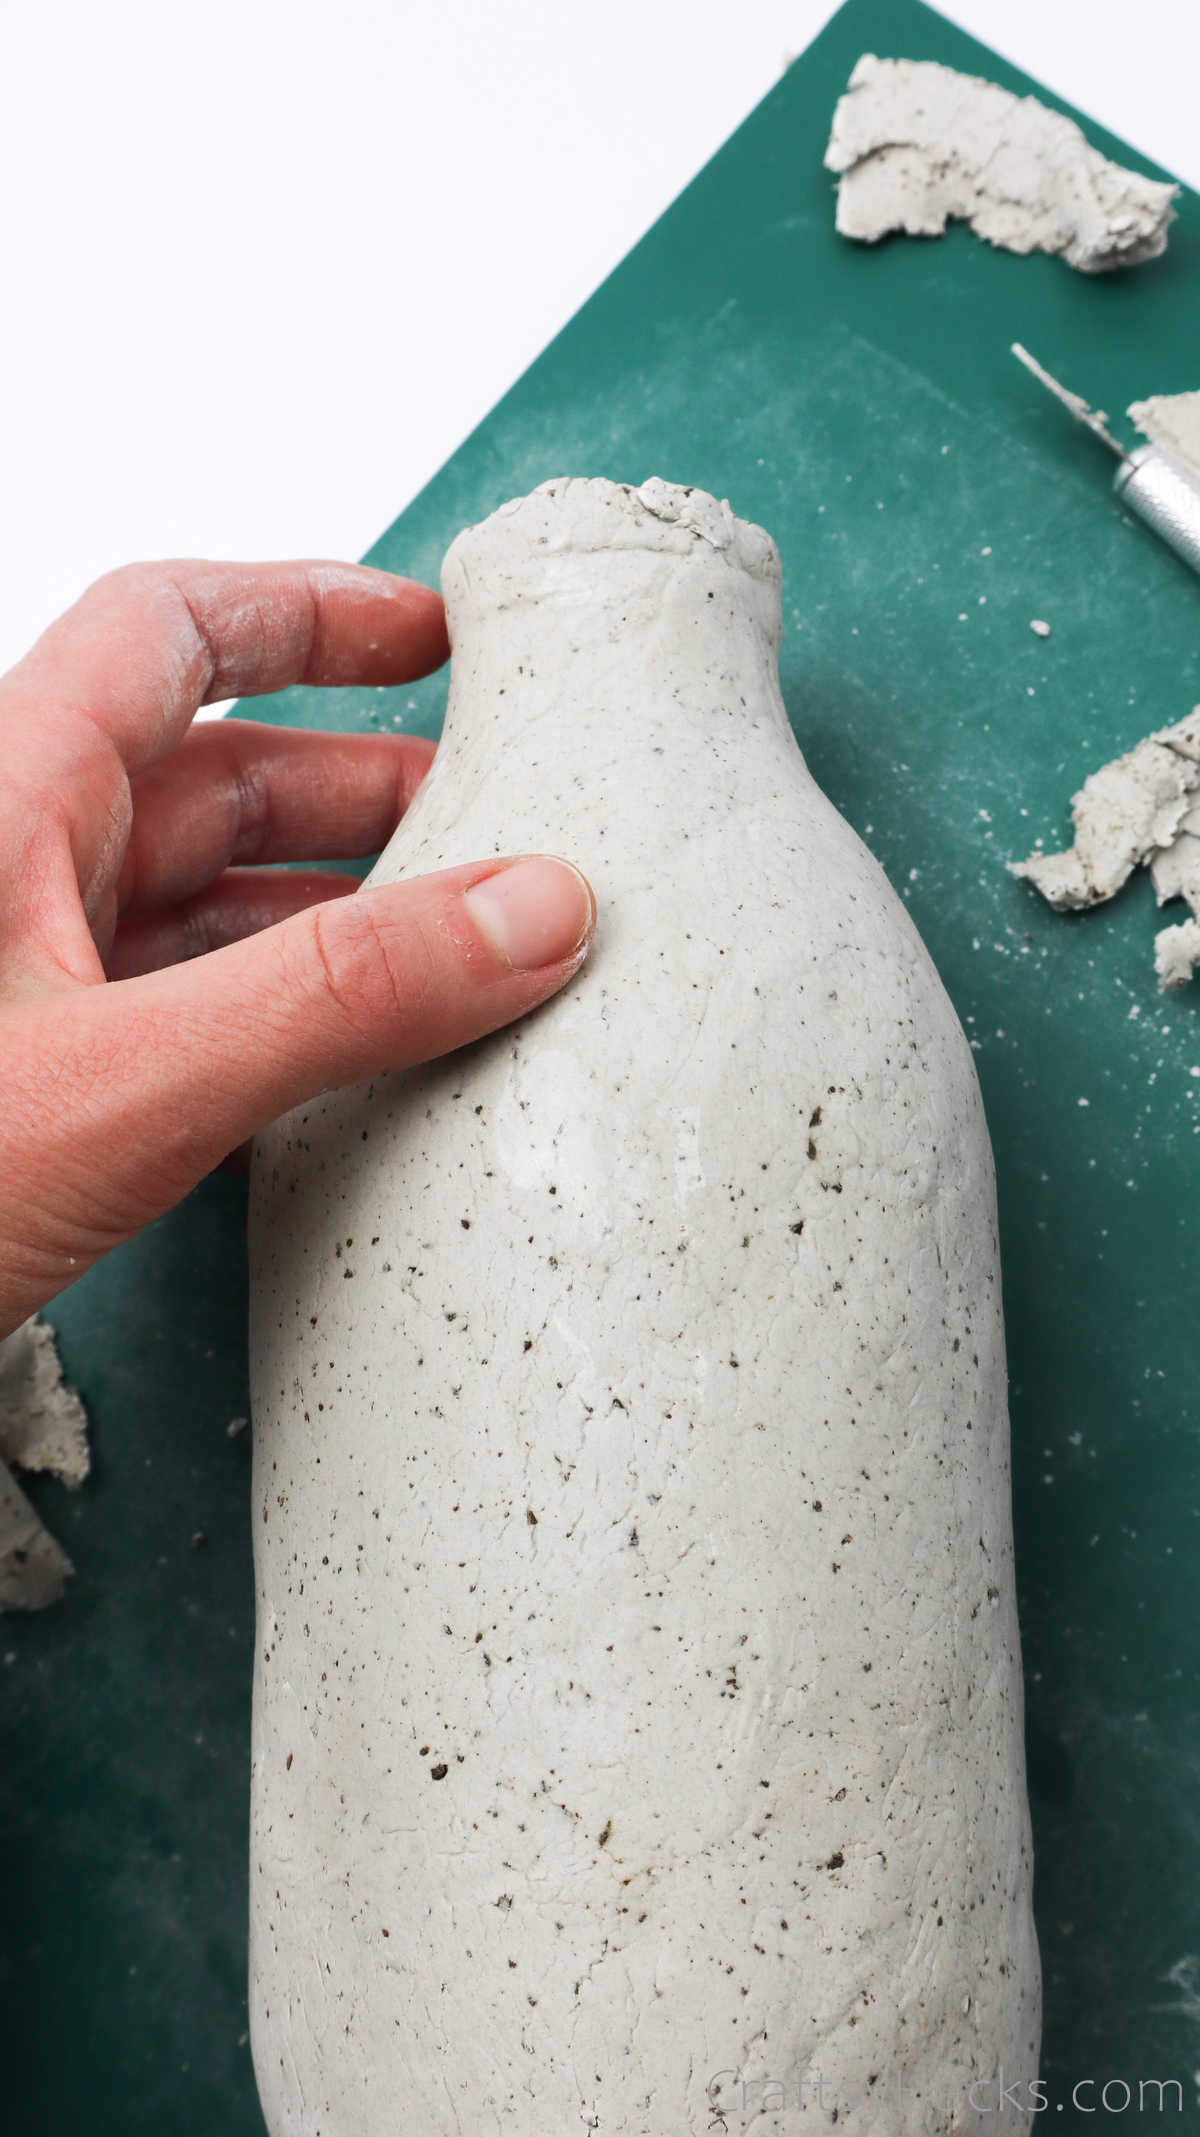
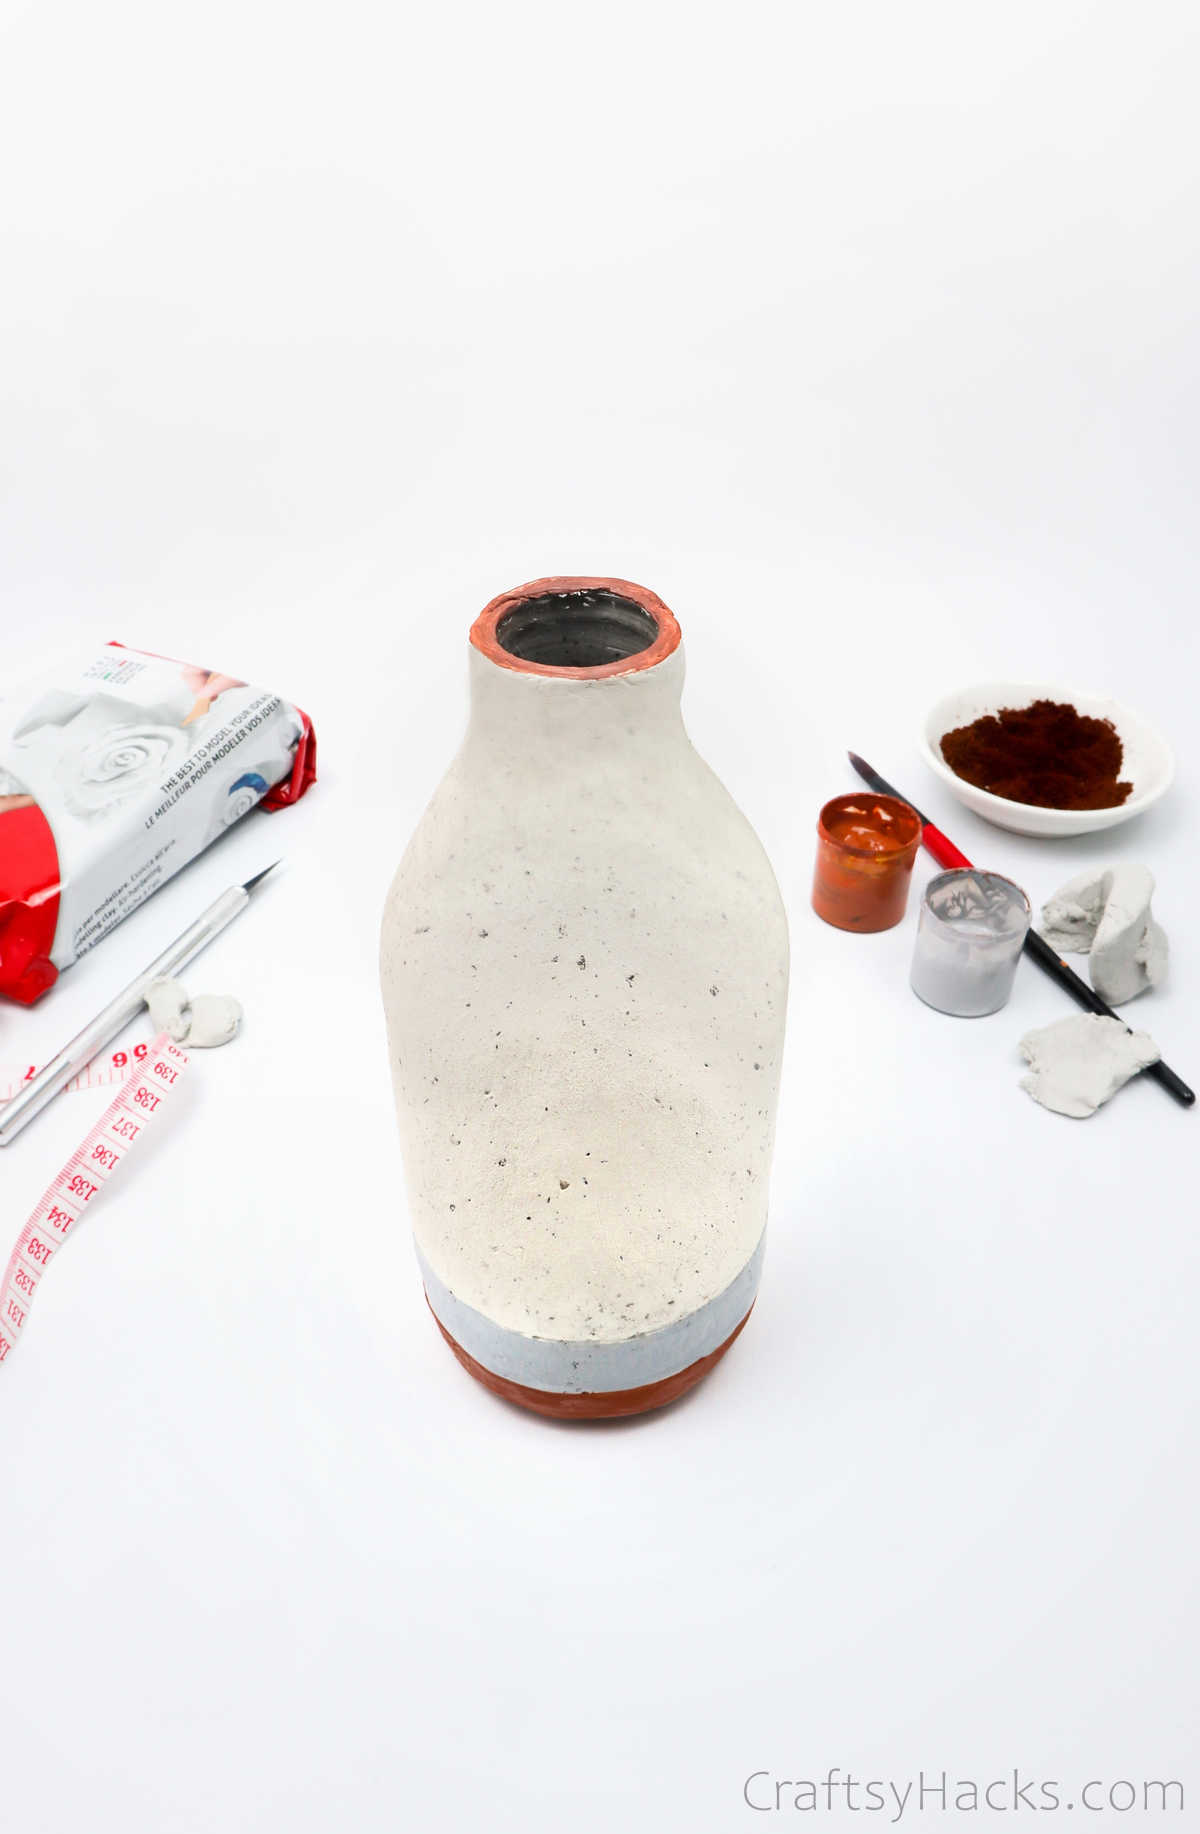
Youll notice that the neck and the mouth of the bottle are still exposed.
This part can get a little tricky so pay extra attention to it.
Use your thumb to mold the clay effectively.
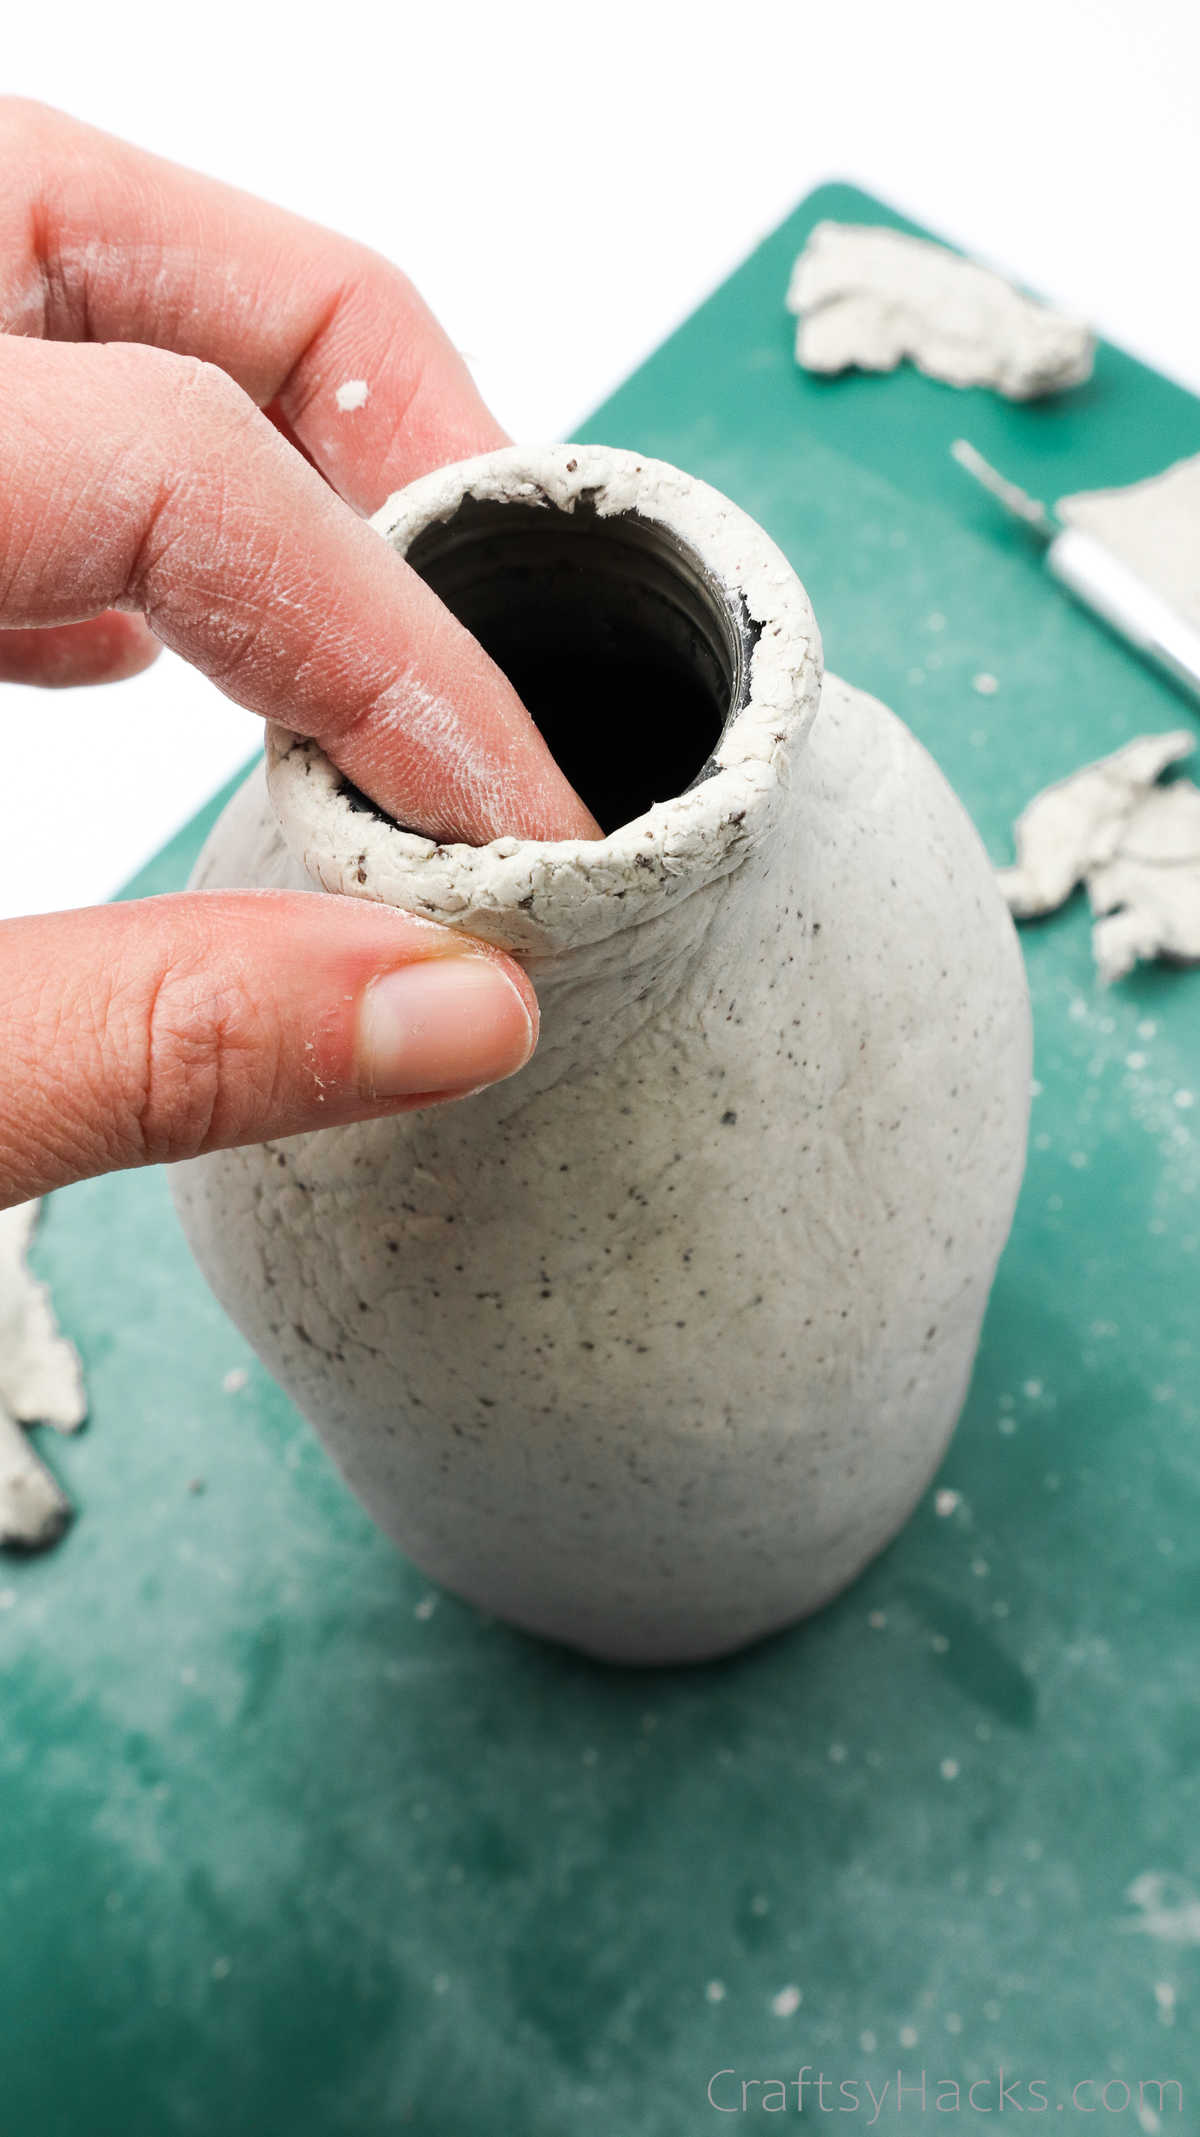
Also, remember to cover the rim of the mouth with clay, as well.

take a stab at smoothen it out as much as possible, but dont worry too much.
you’ve got the option to also use the knife to even out the clay around the rim.
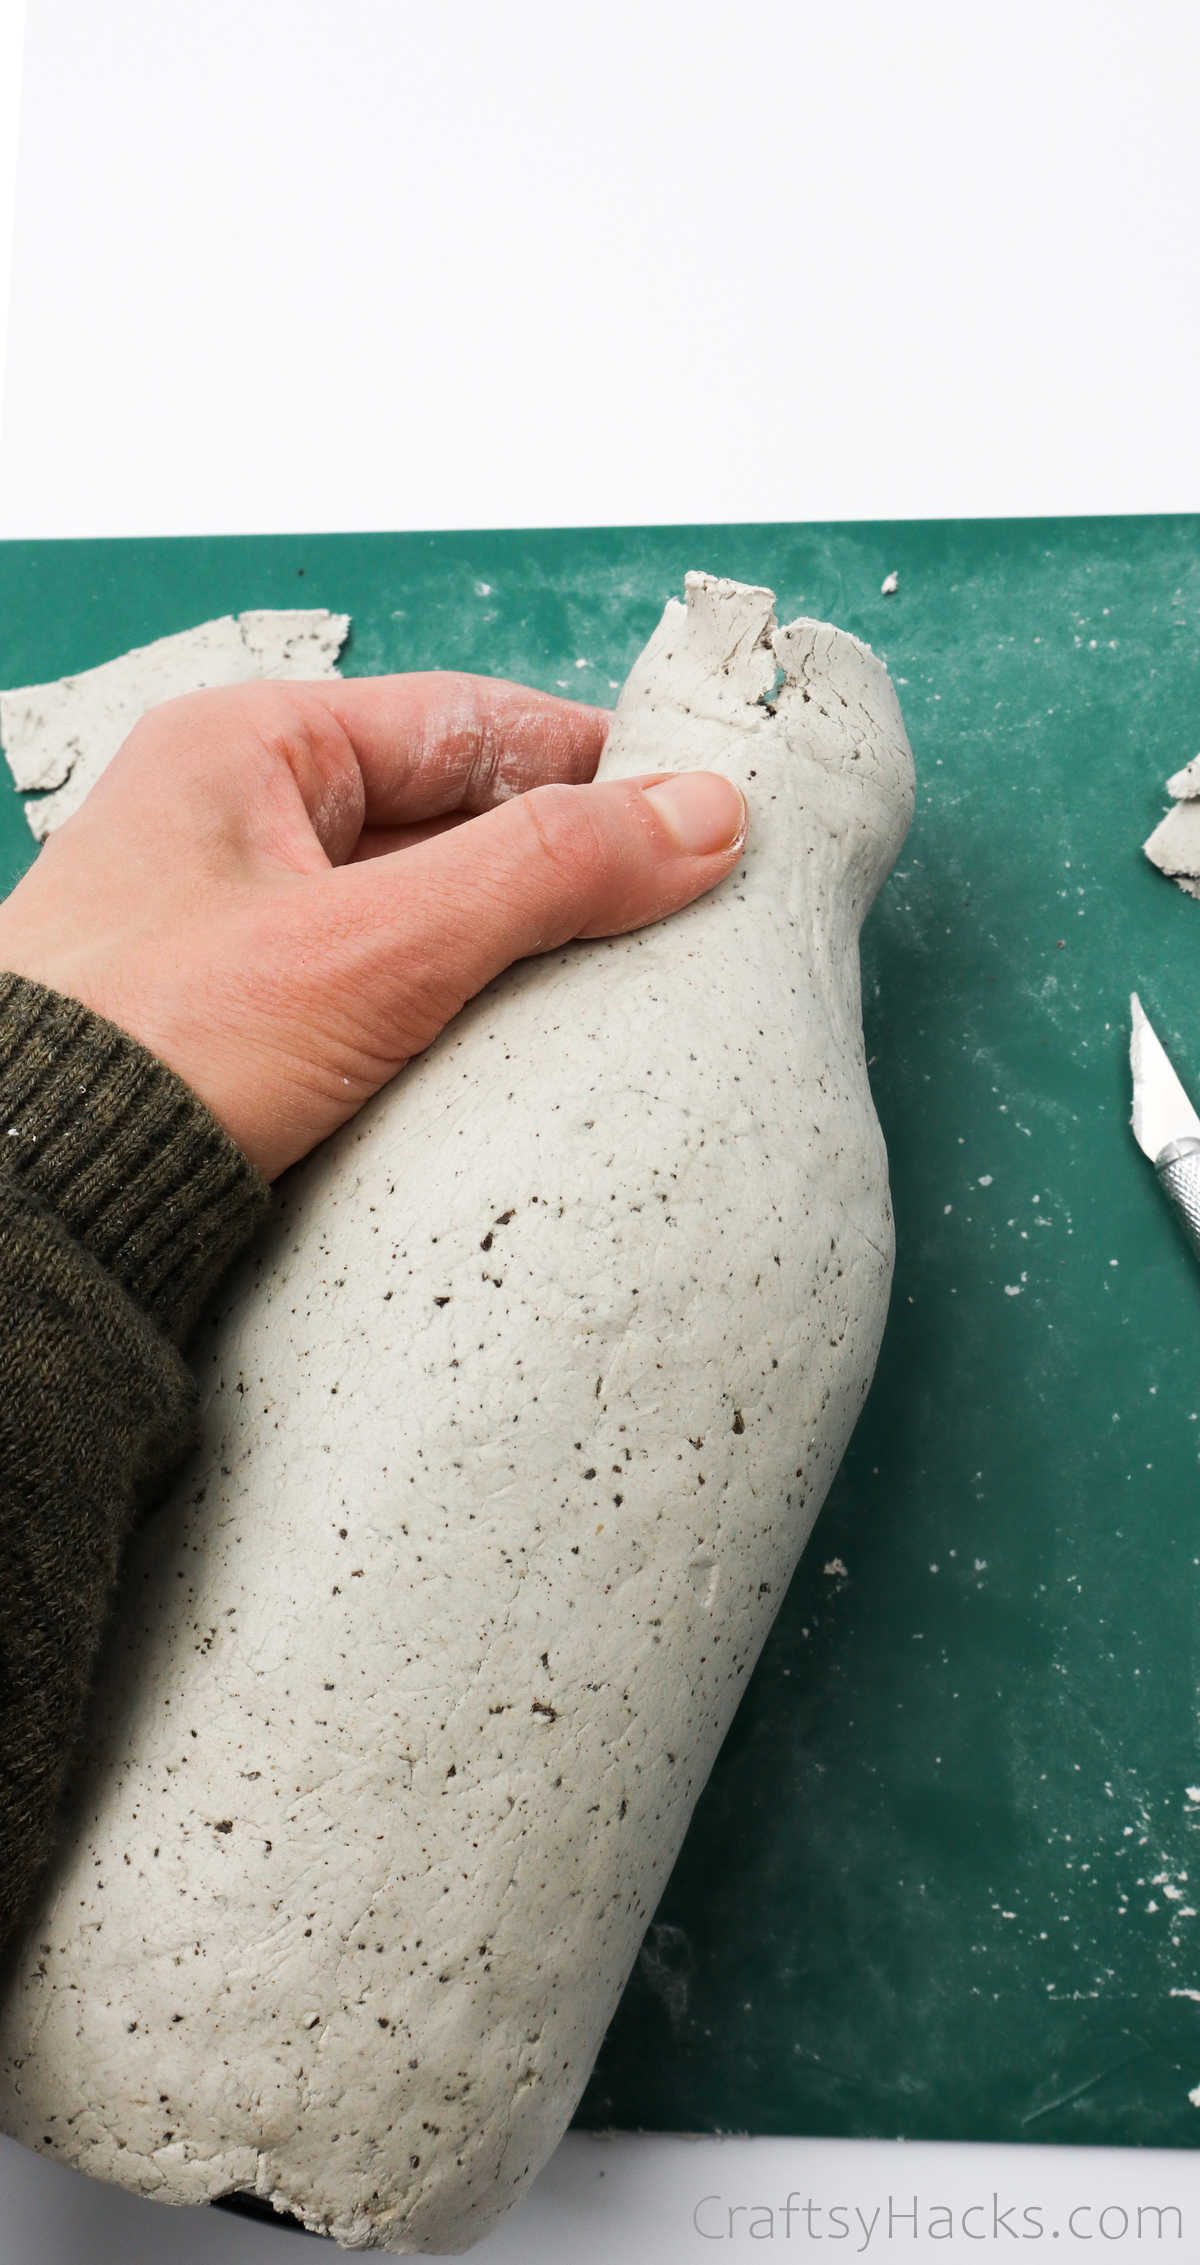
Your clay-clad bottle should look something like this when youre done.
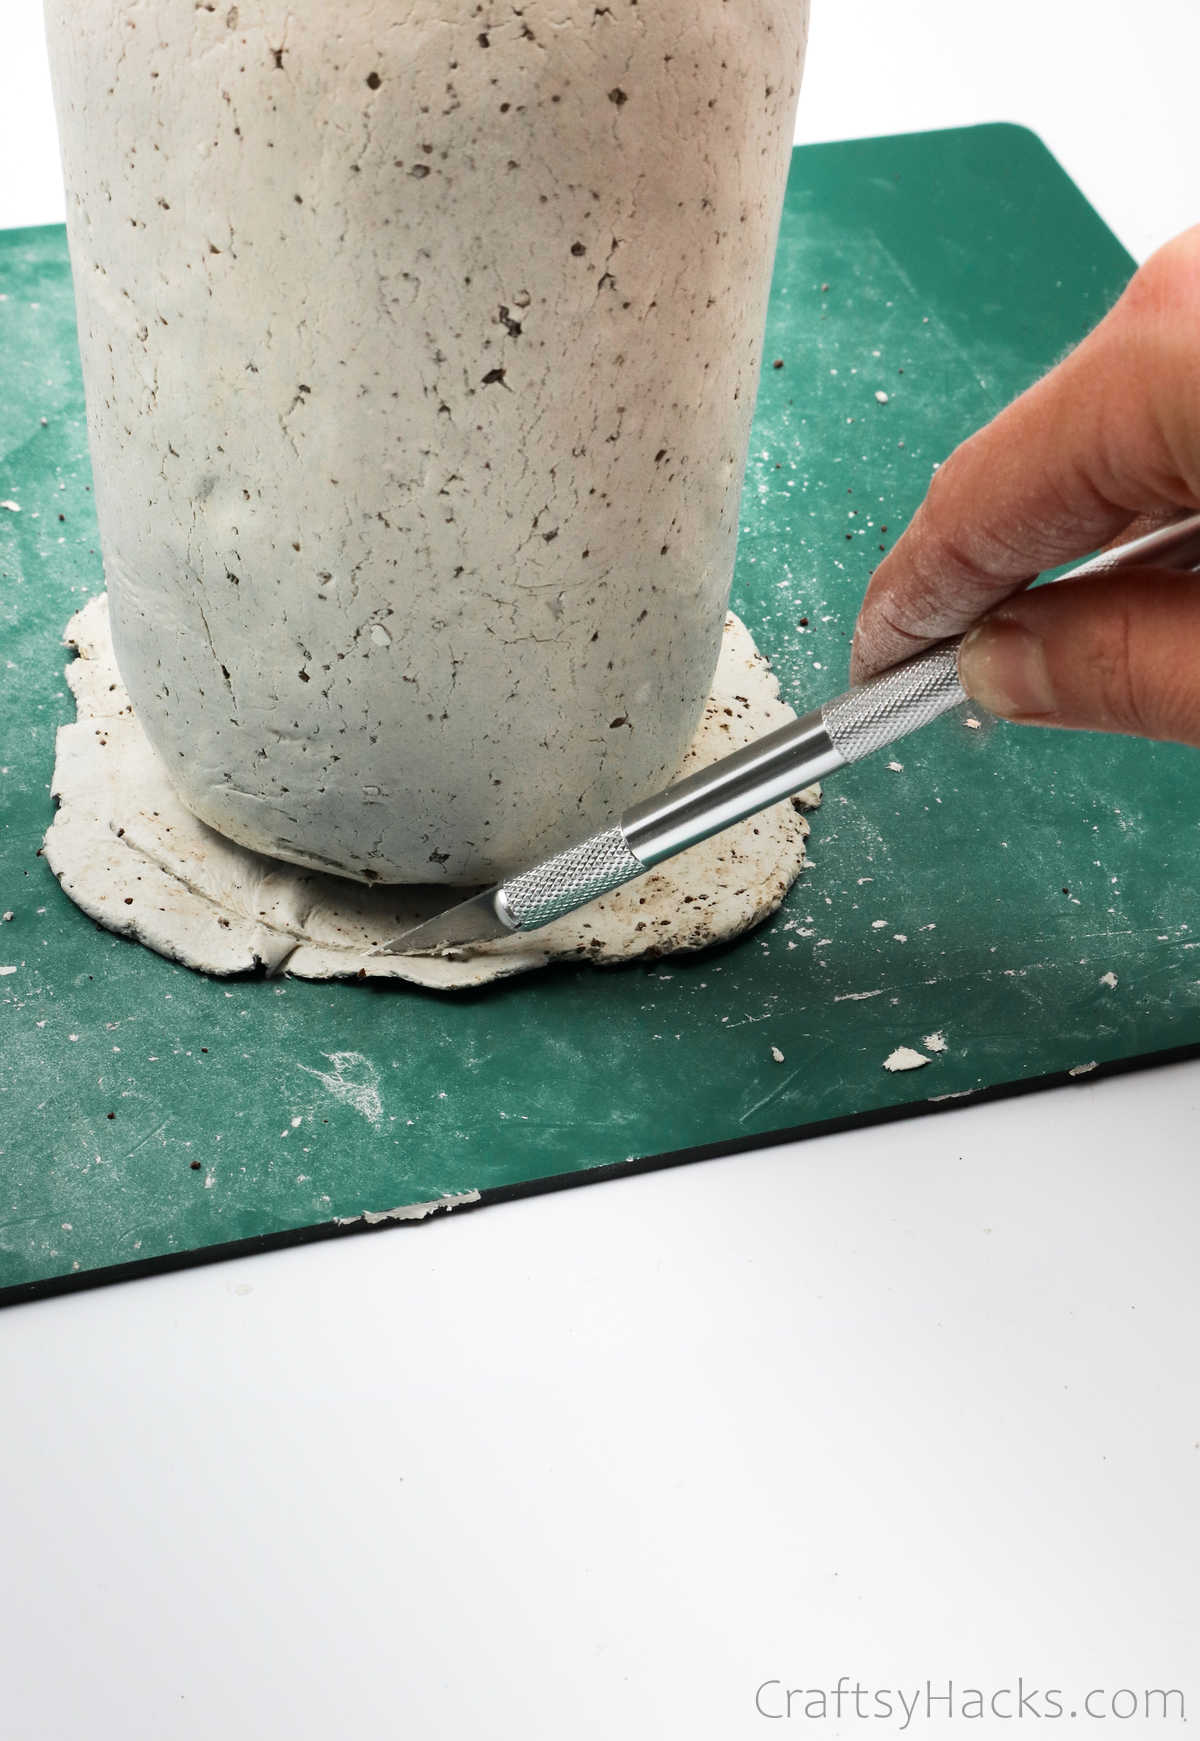
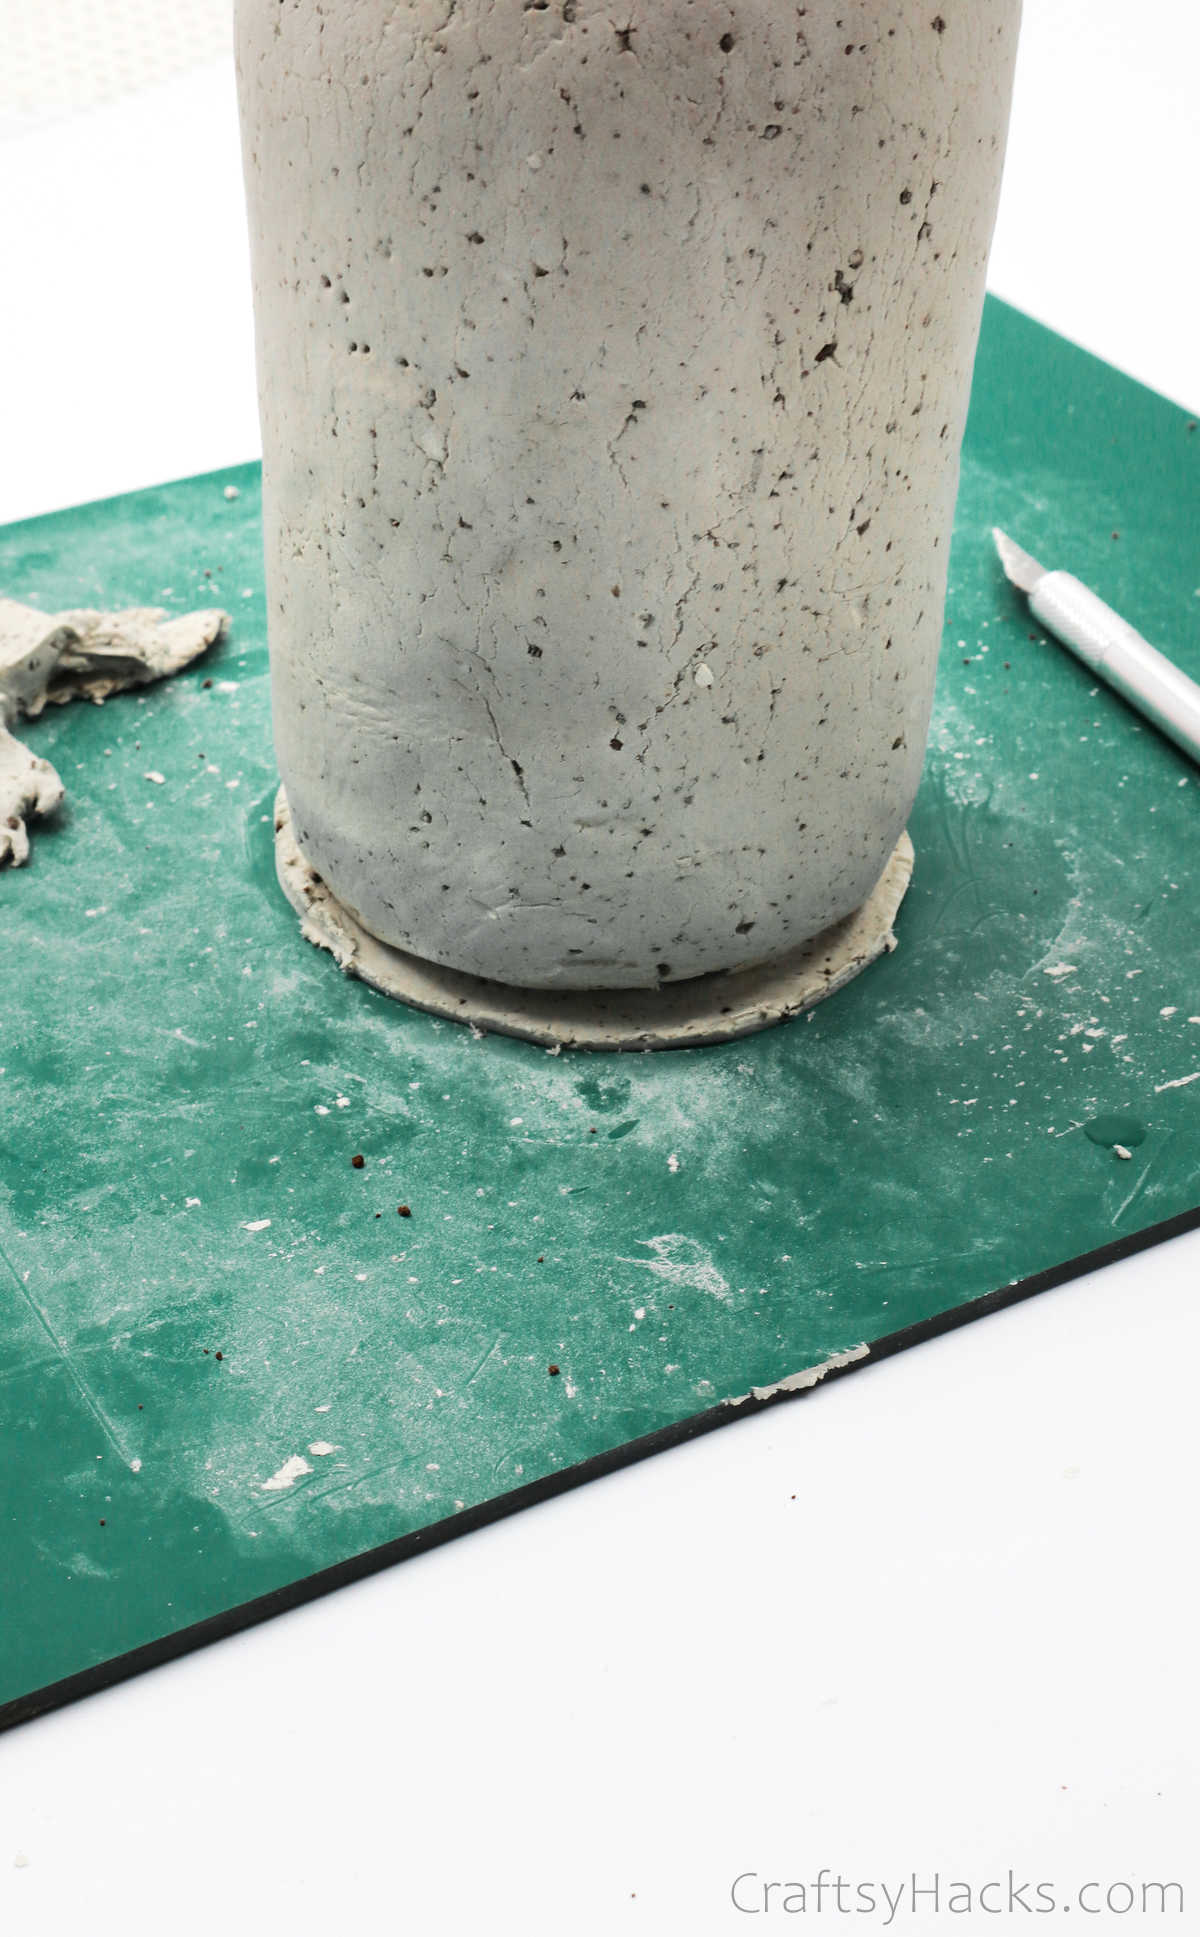
First, roll it out evenly and then place the bottle over it.
Use your craft knife to cut the clay around the bottle, as you might see here.
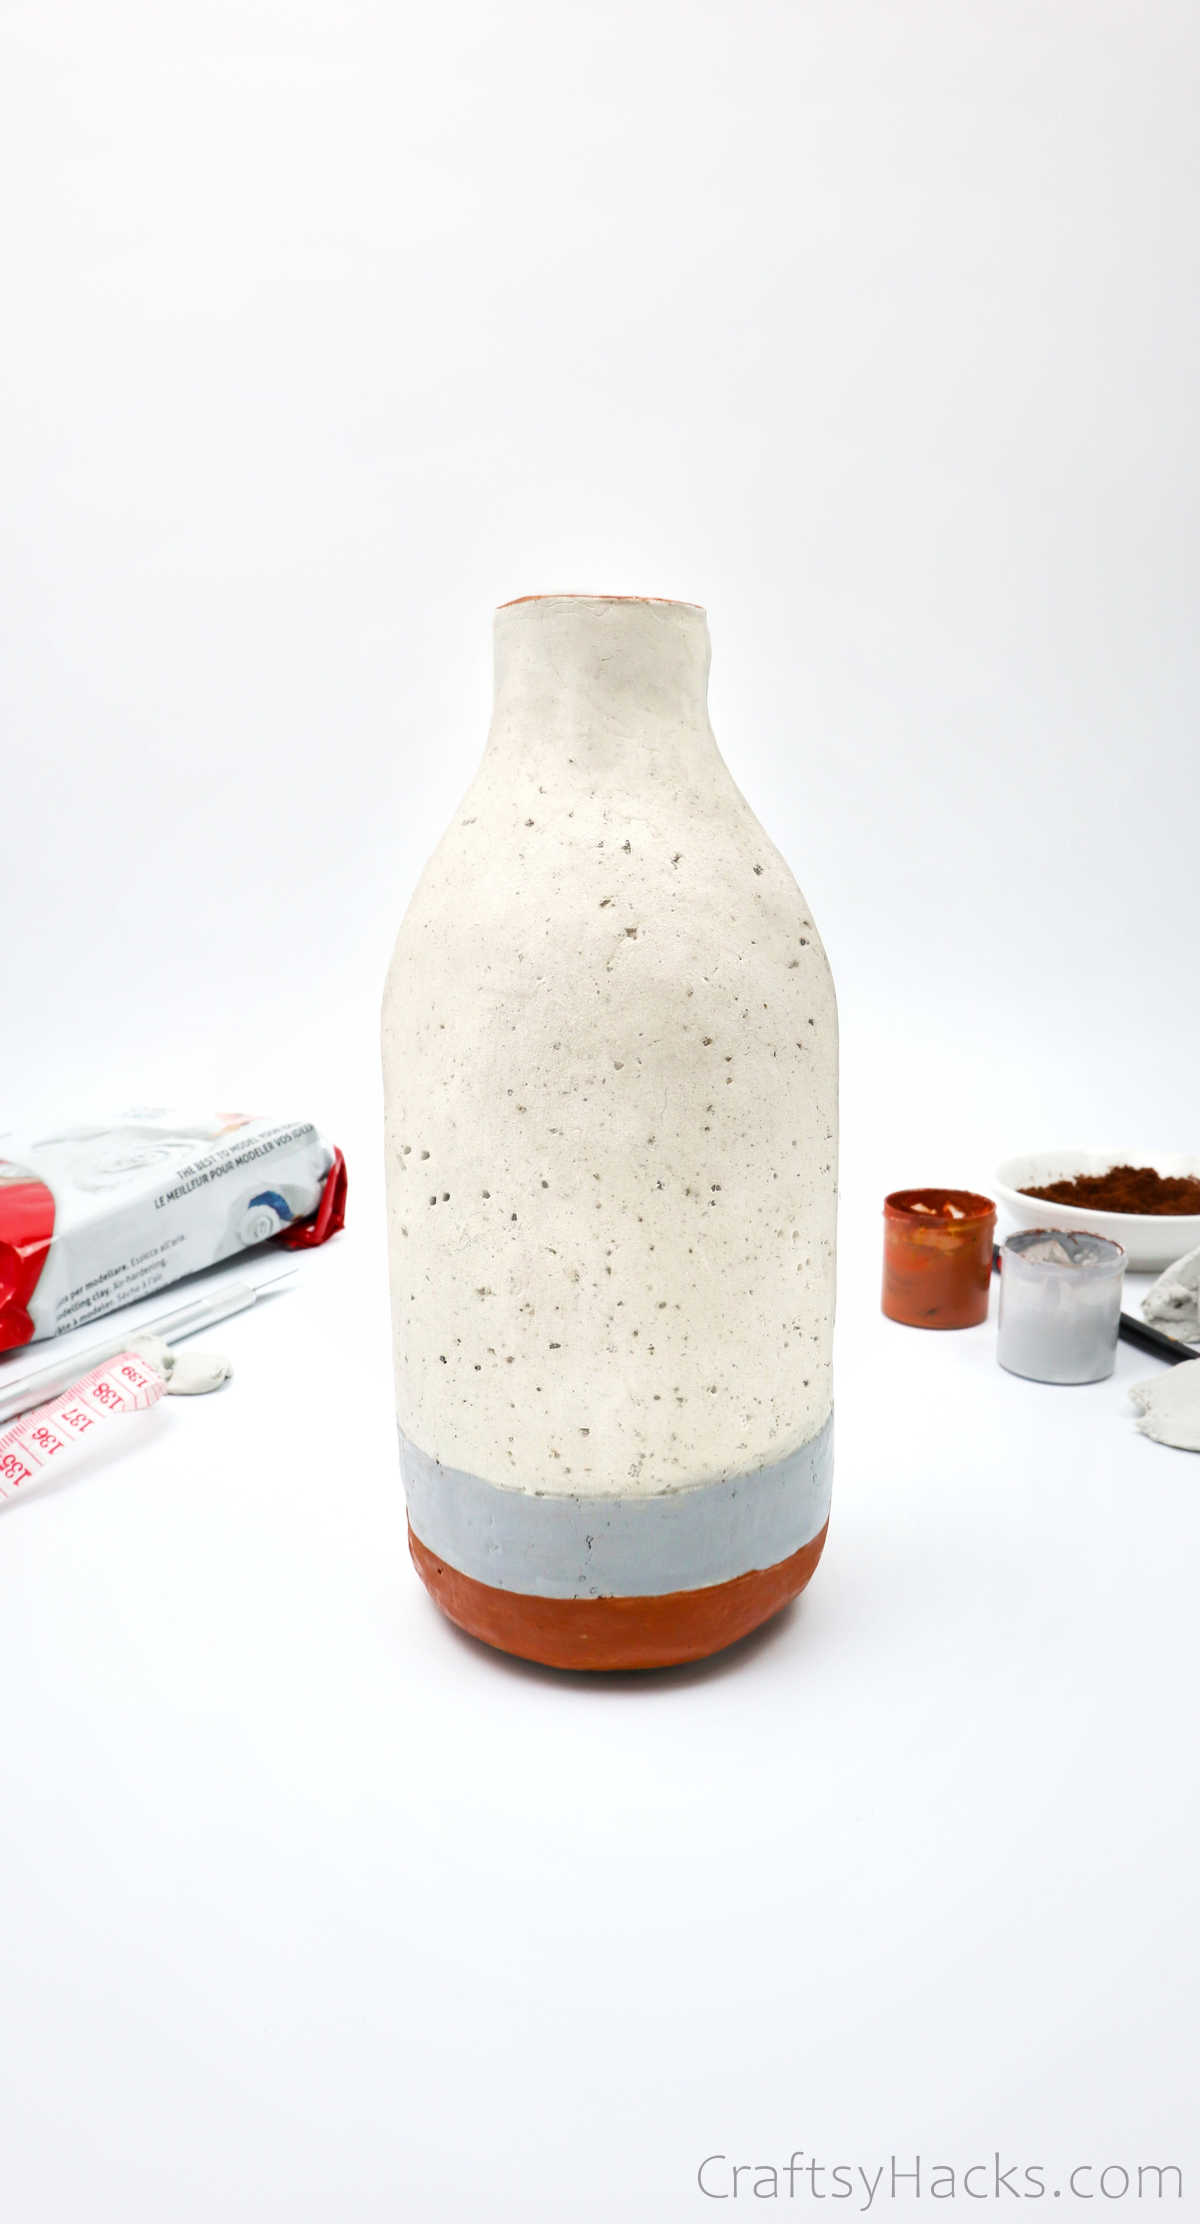
Step 10
Its time to allow the clay to dry.
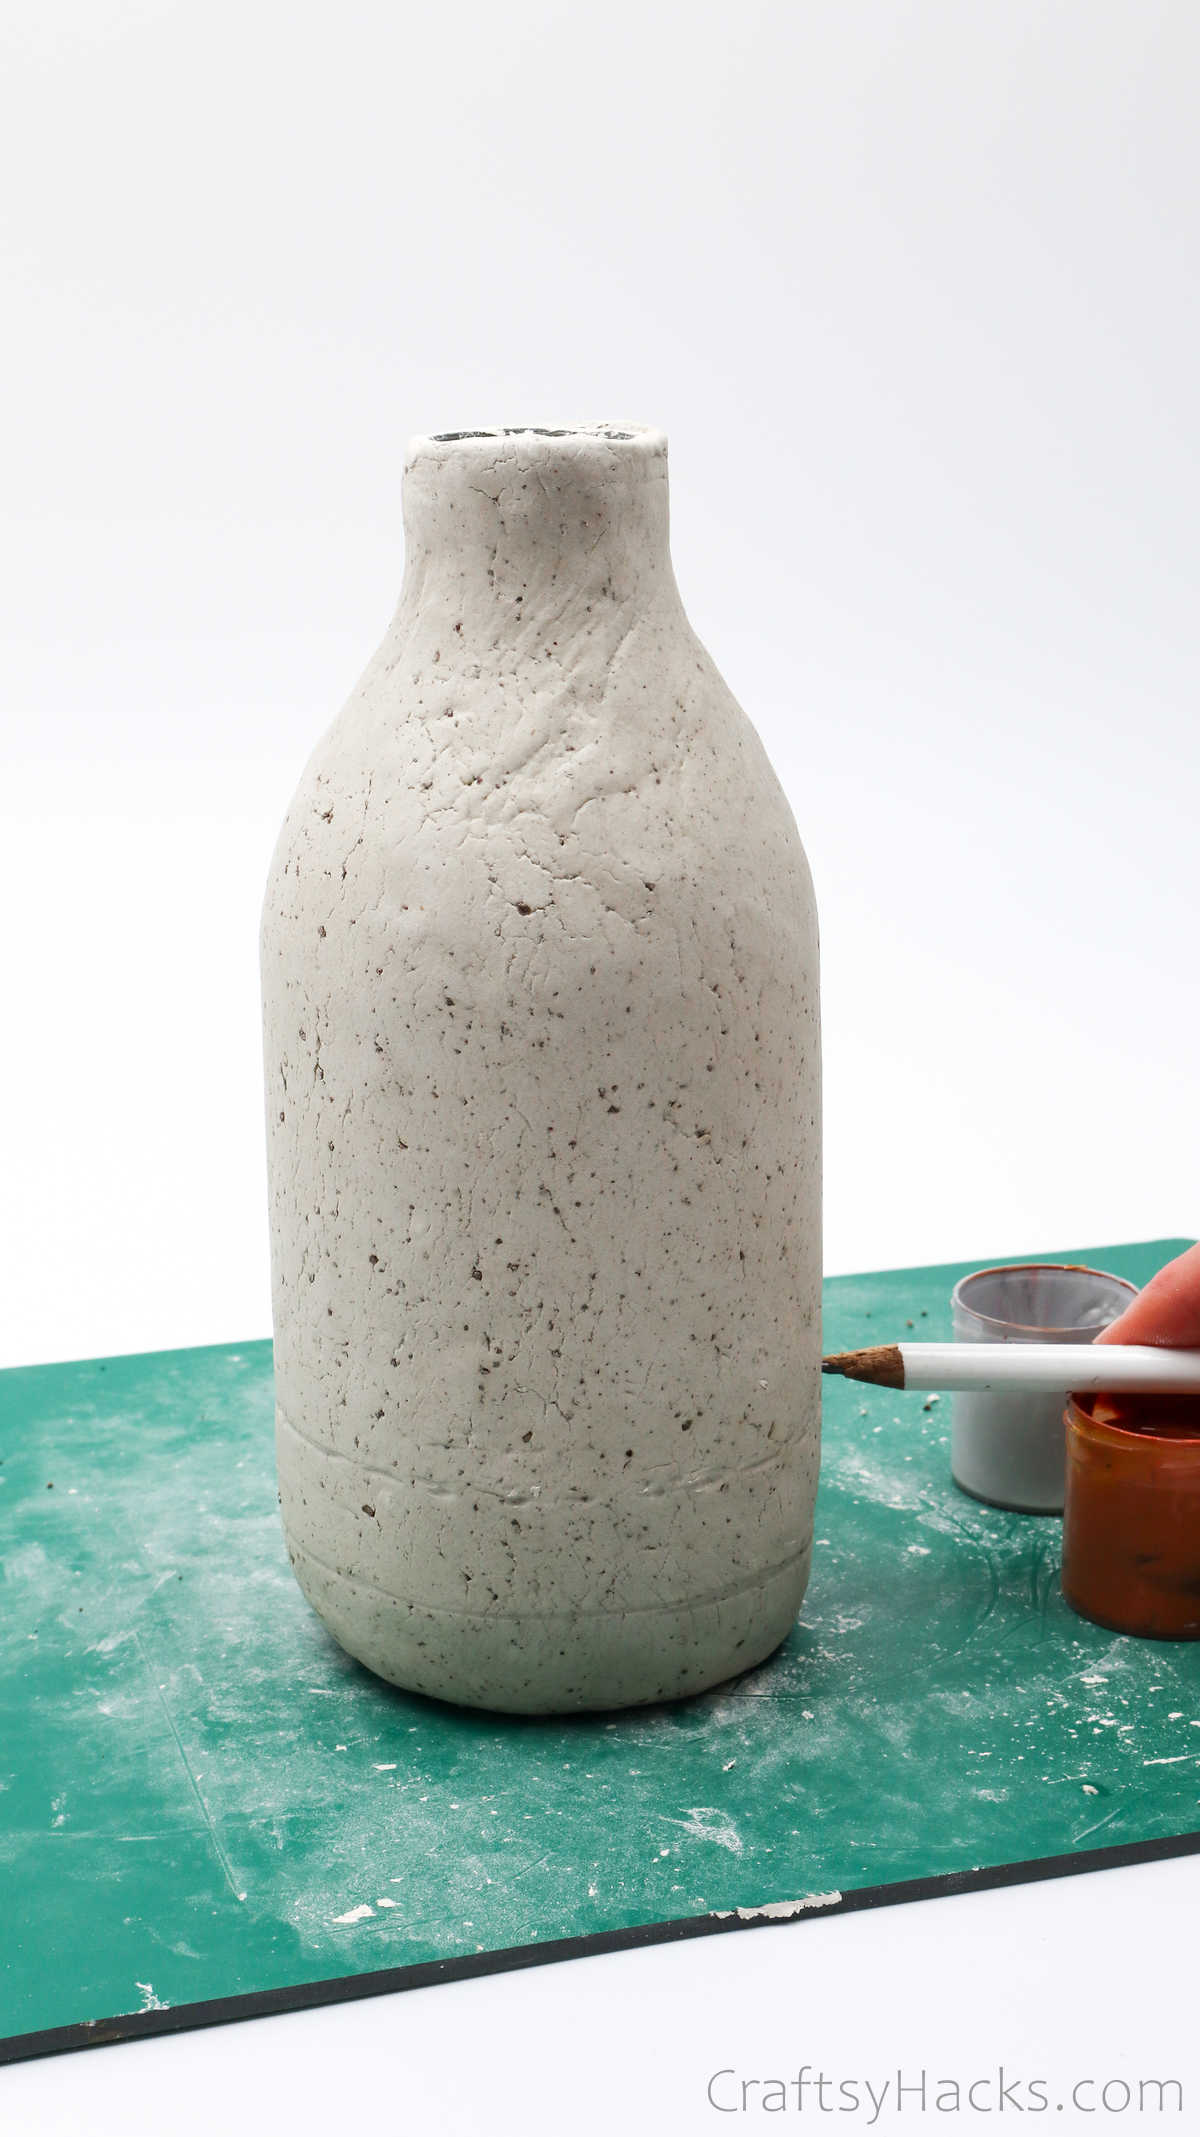
Grab a pencil and draw two lines around the bottom of the bottle, as you see here.
Heres a tip: place the pencil on the clay and hold it steady.
Step 12
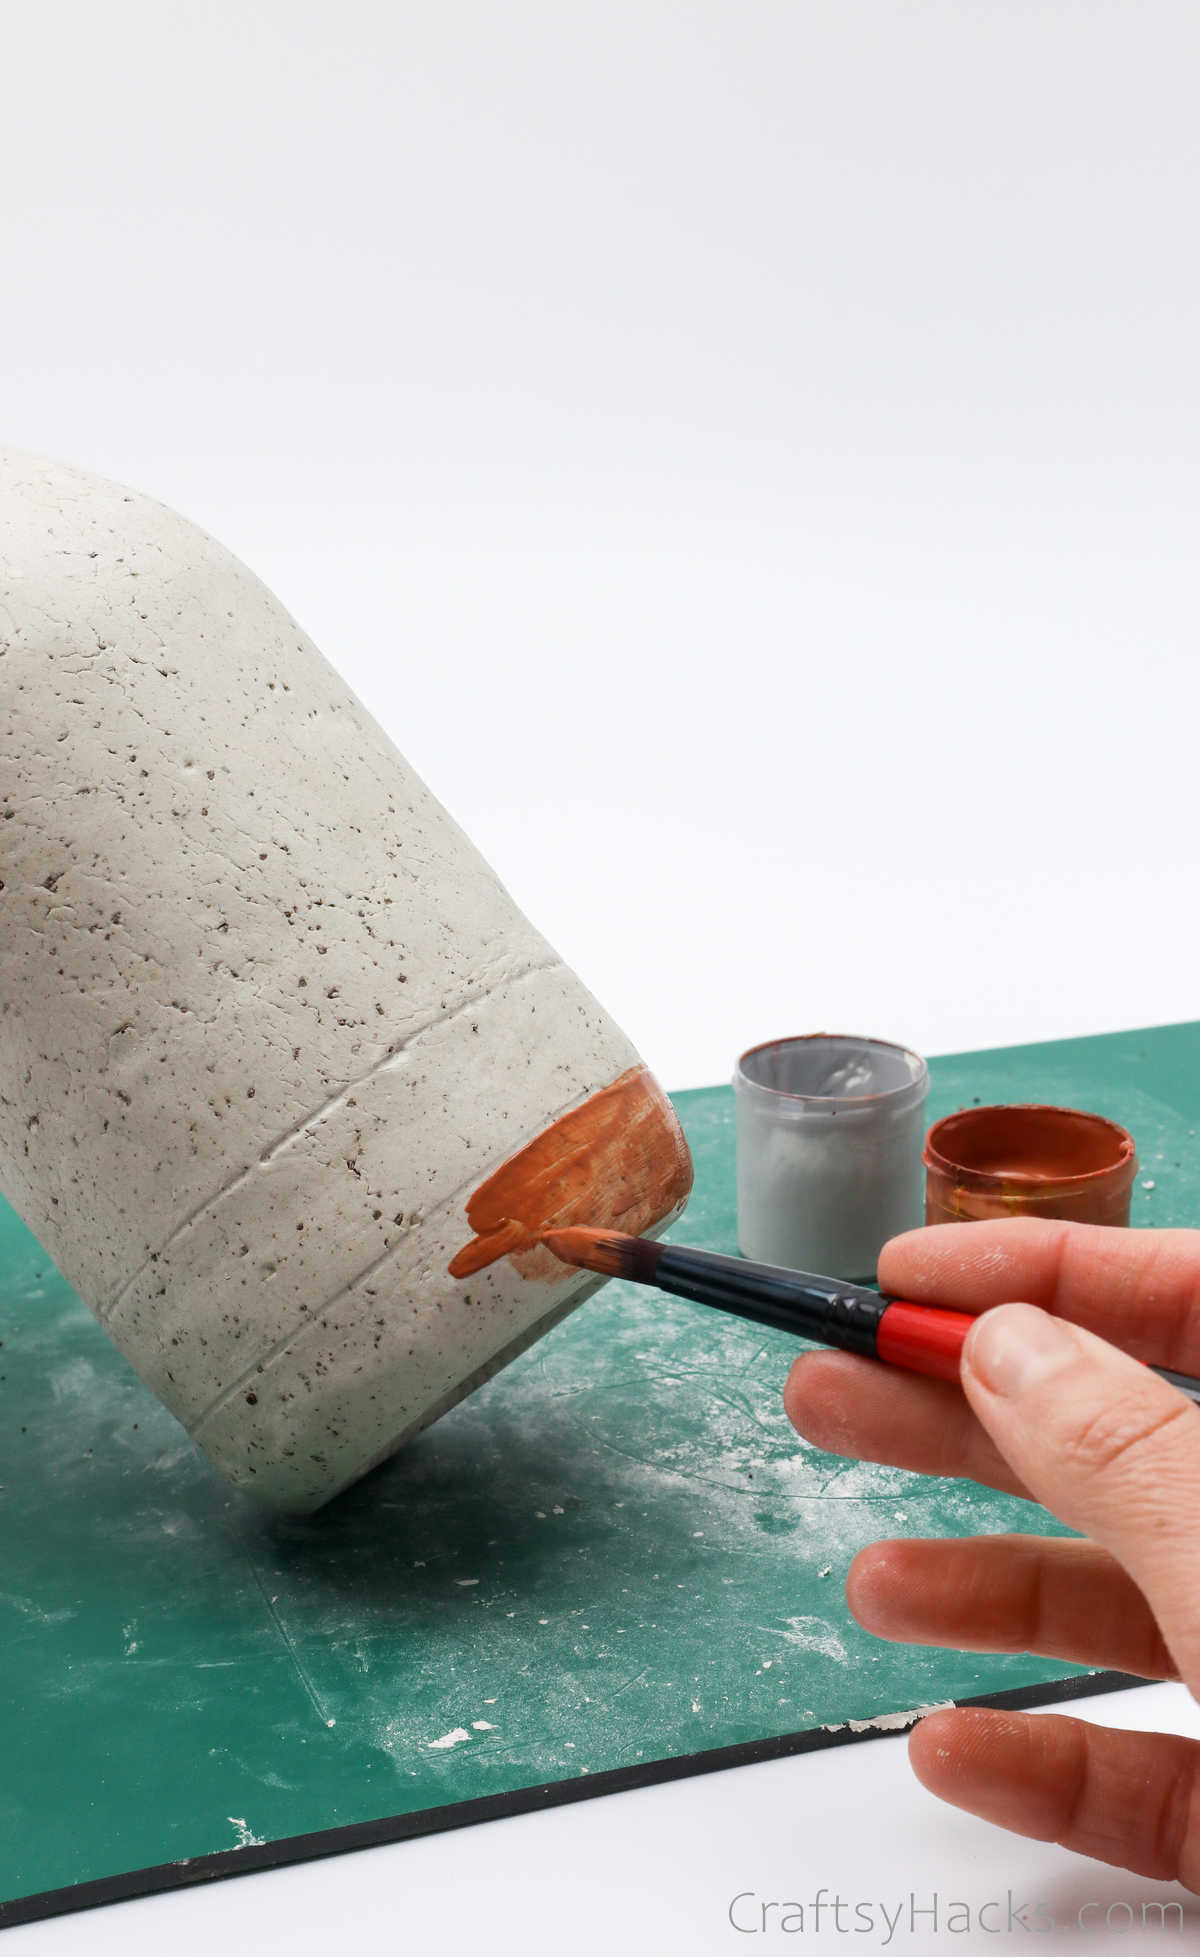
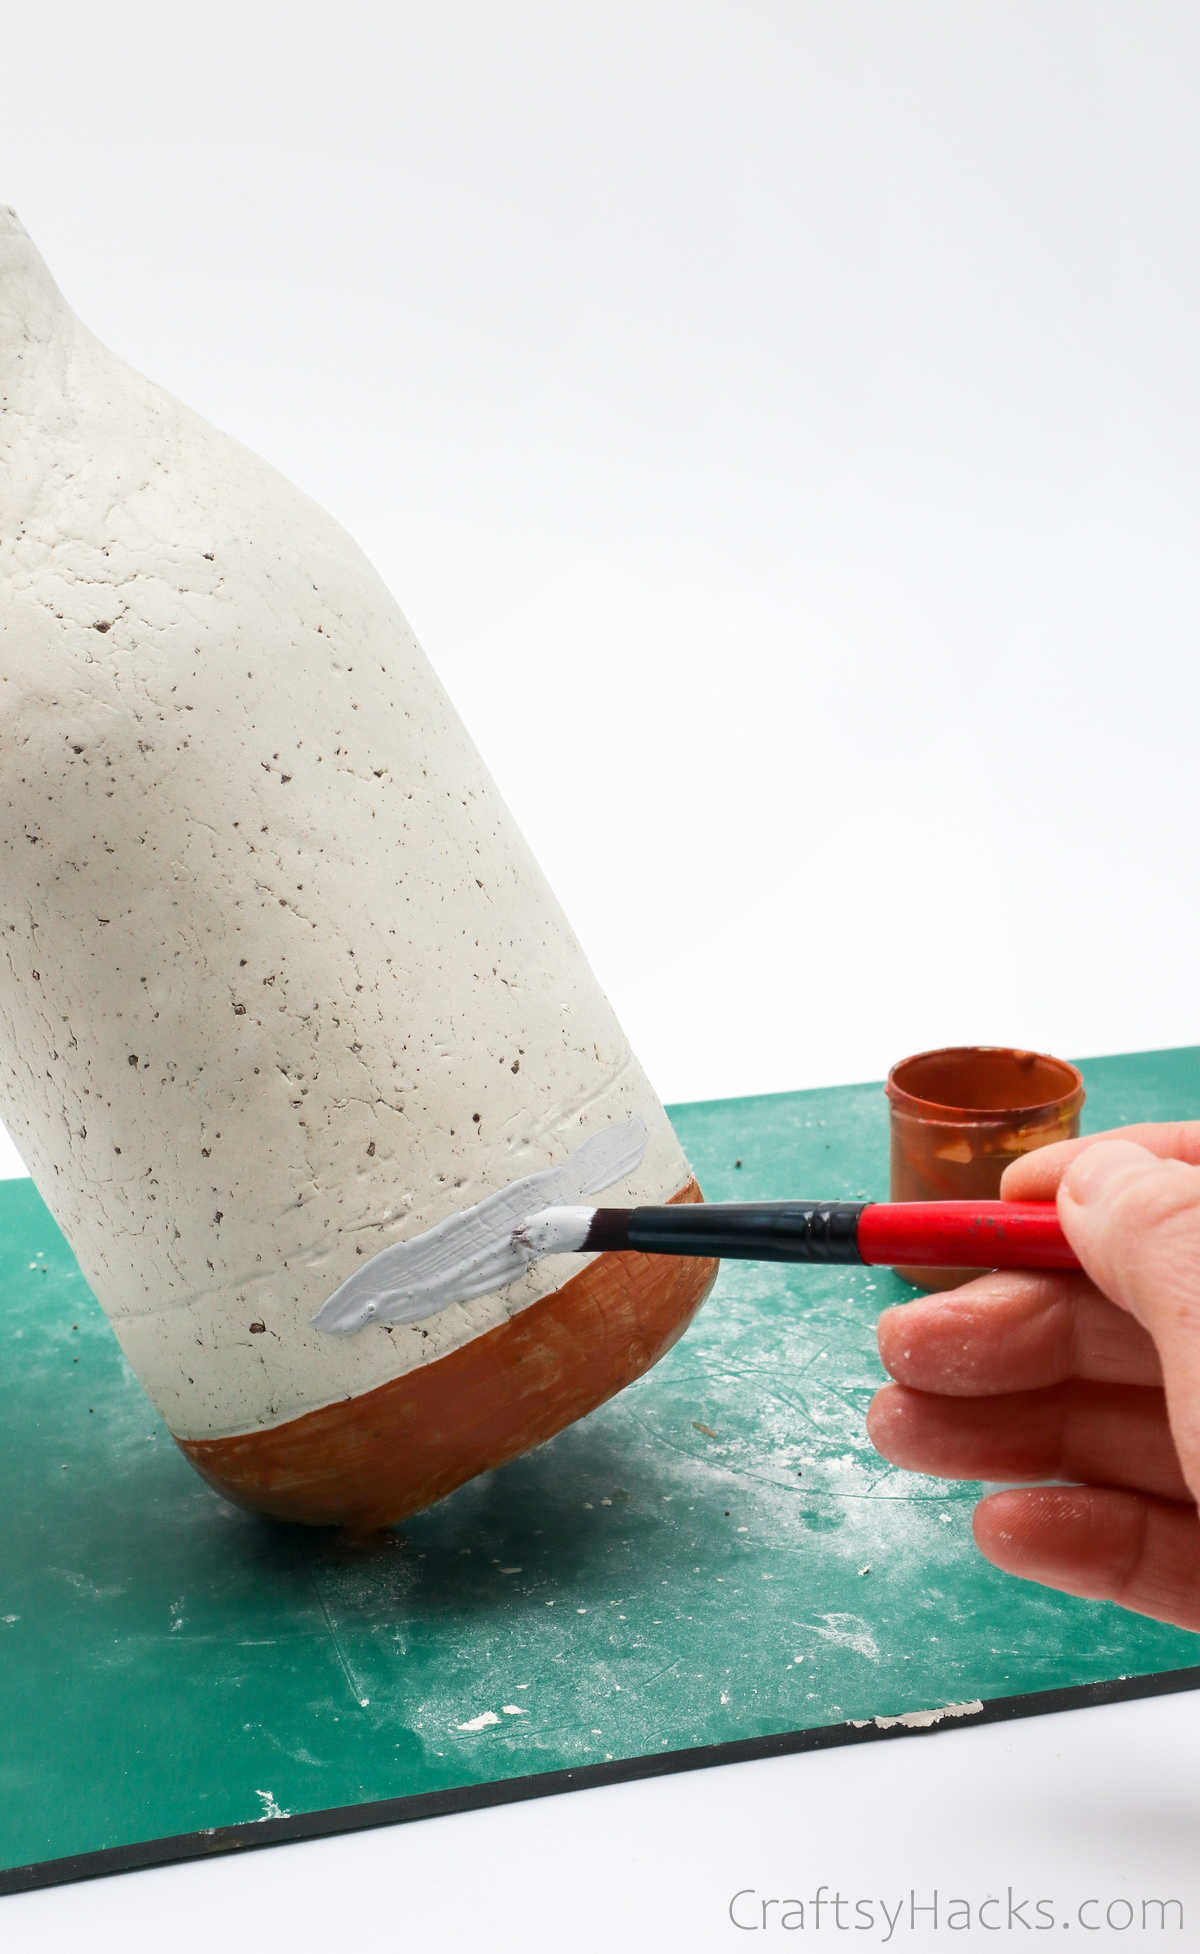
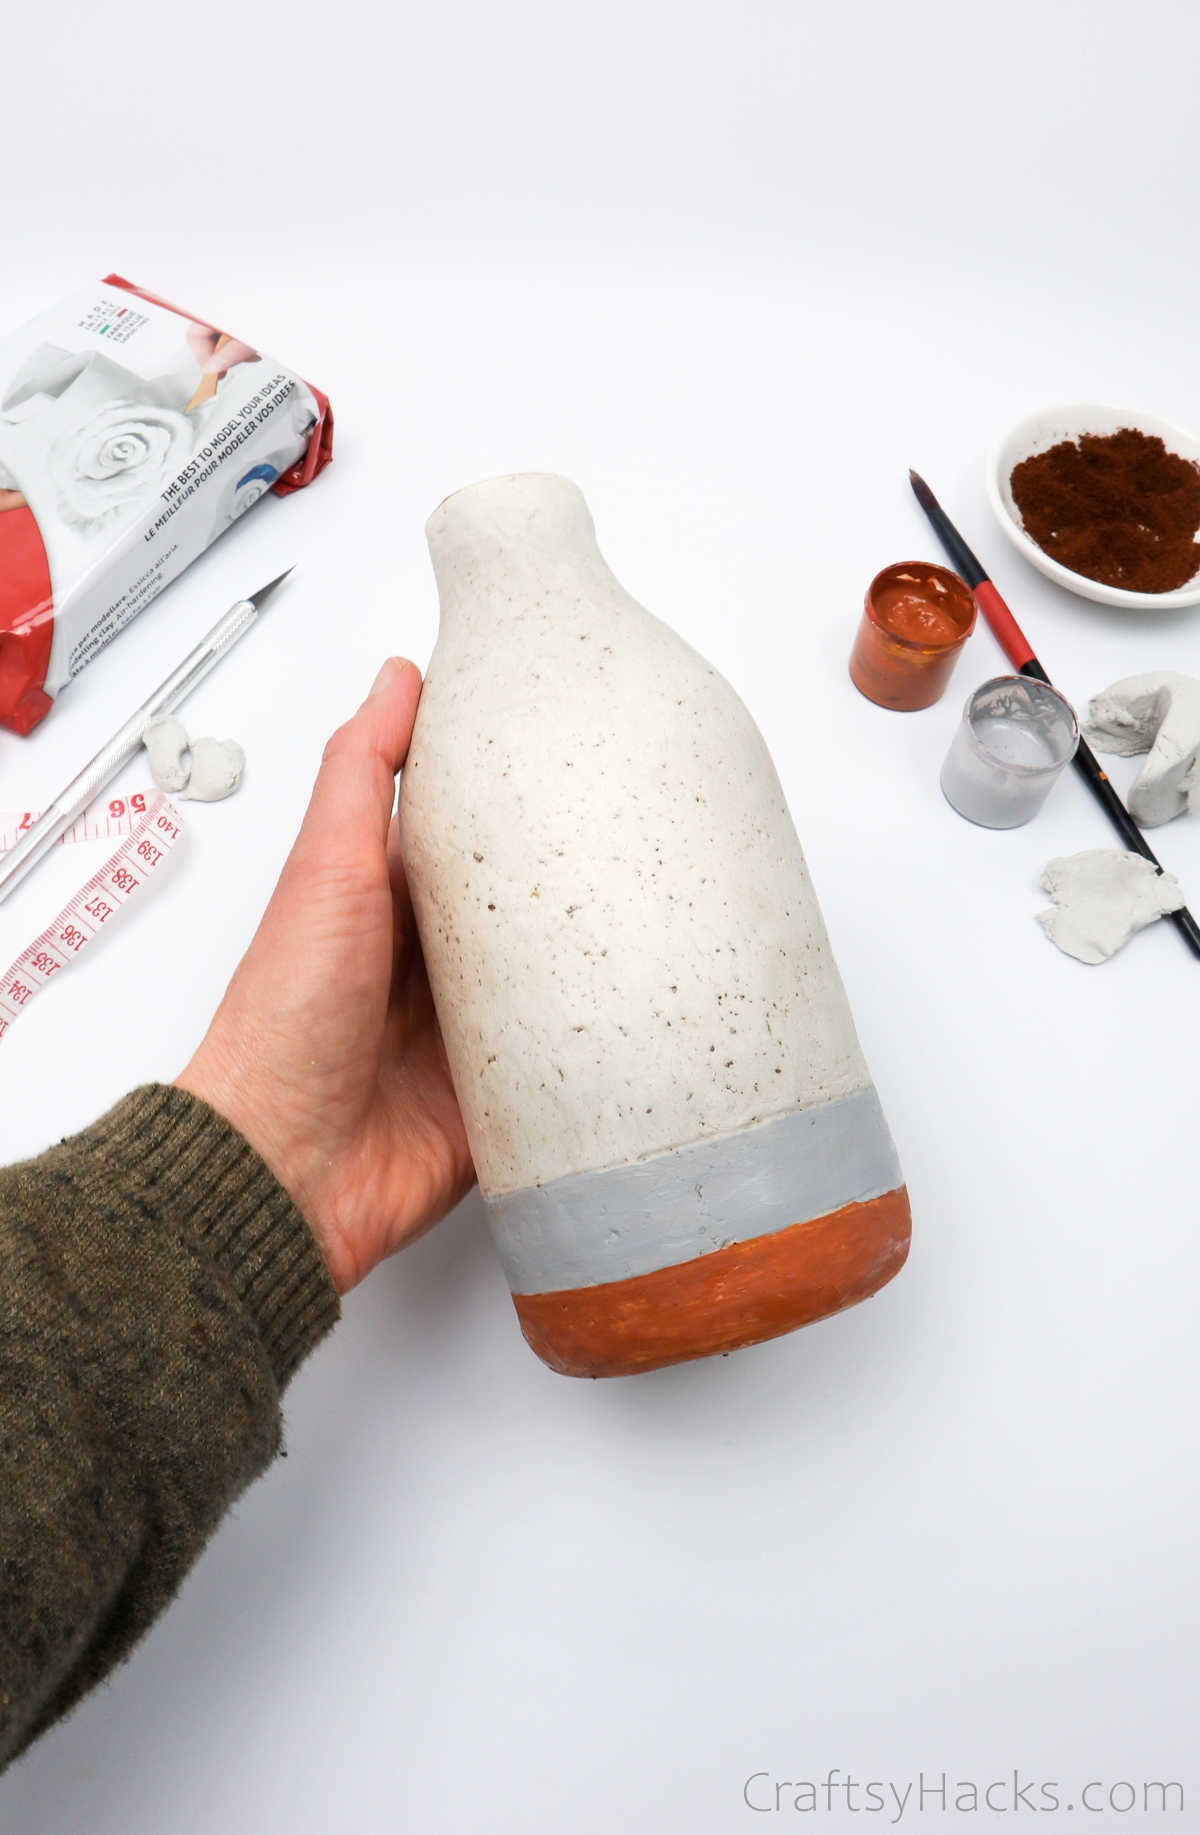
Grab your paints and brushes and paint the bottle any way you like.
check that you allow each coat to dry completely before you apply the next.
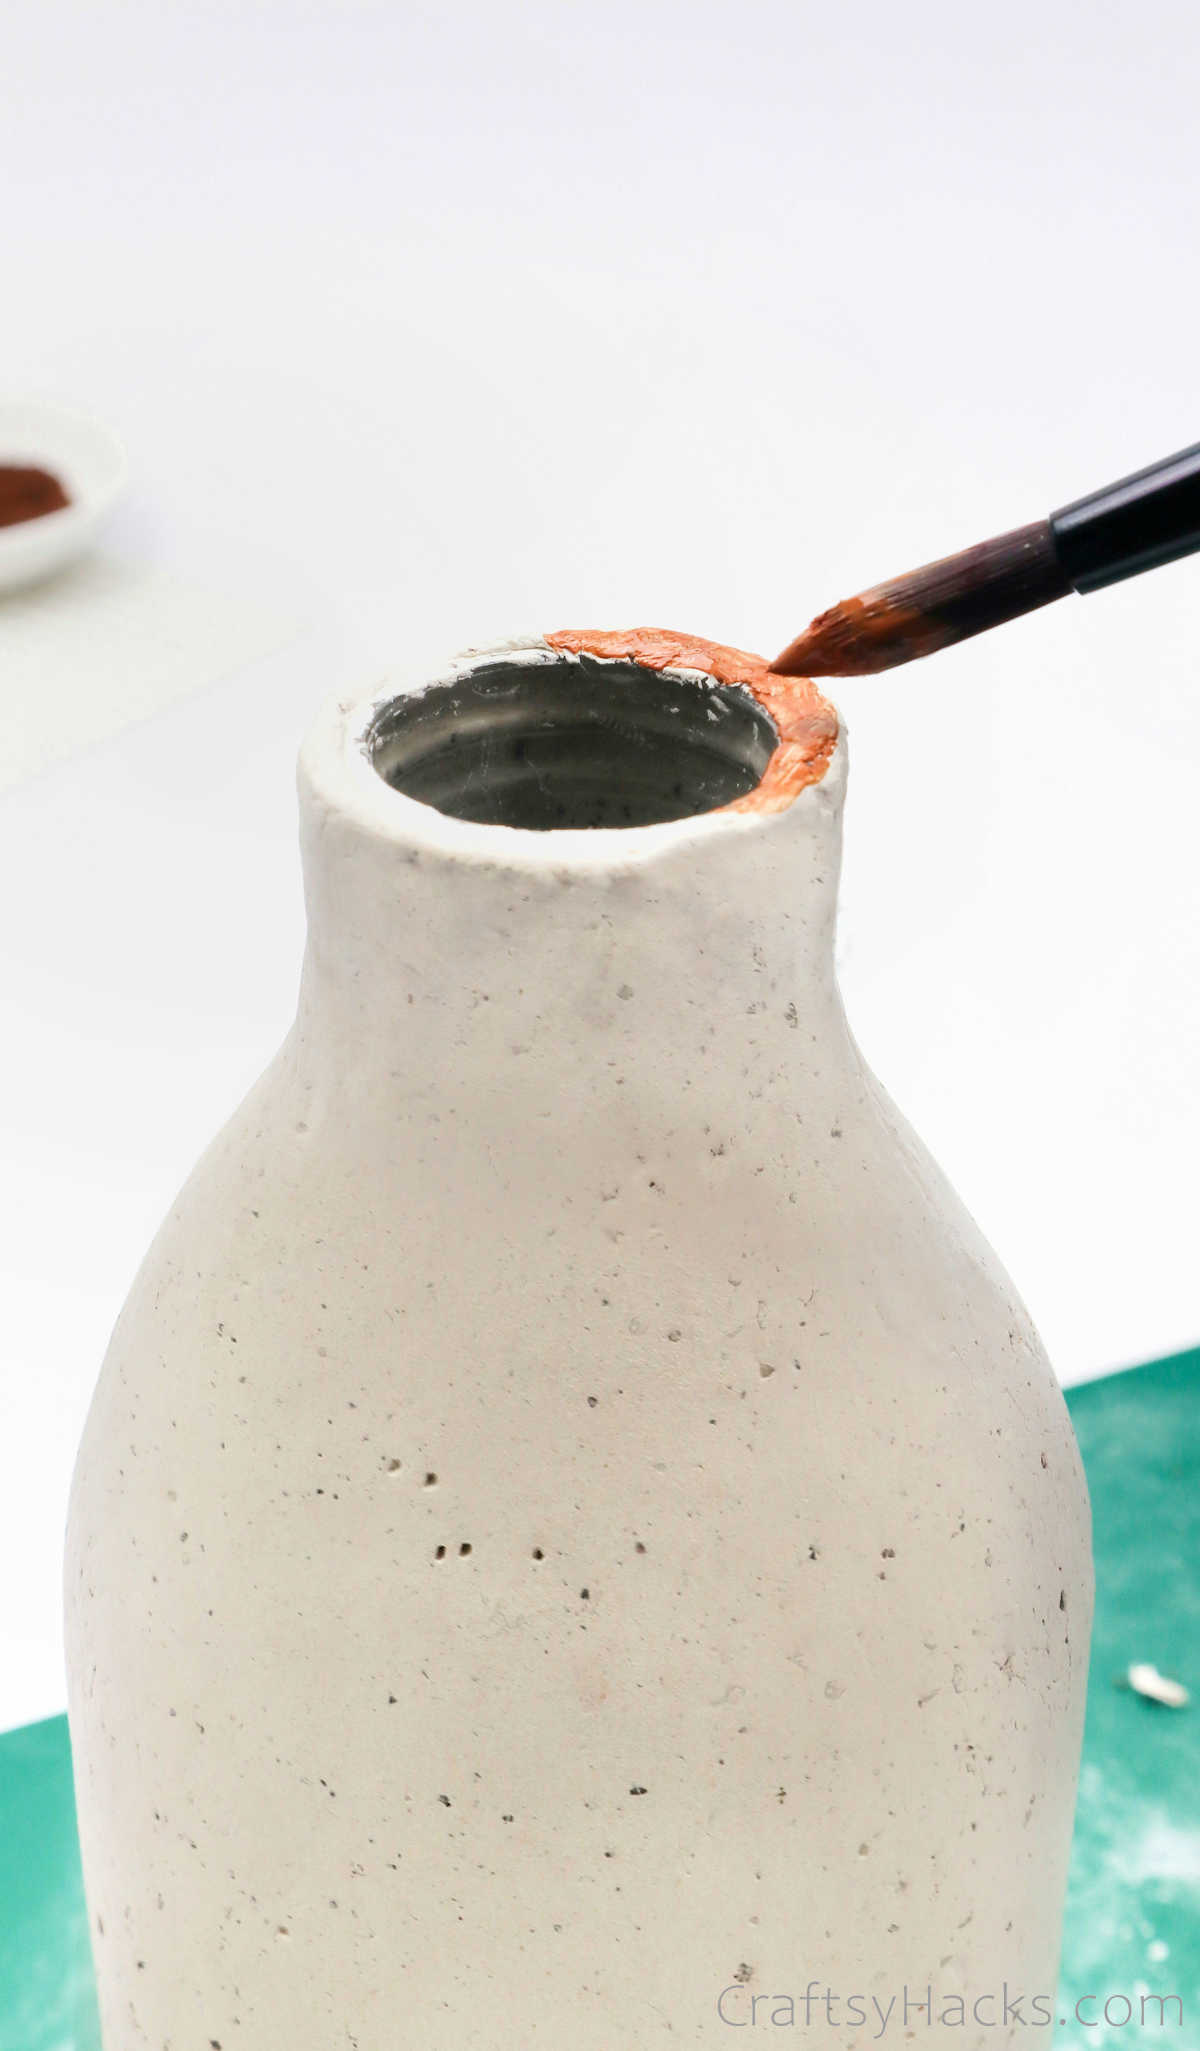
you’re able to also paint the rim of the bottle if you like.
Just allow the paint to dry completely first.
you could also consider applying a layer of sealant over your bottle.
But, if you prefer a matte finish, then just let it be.
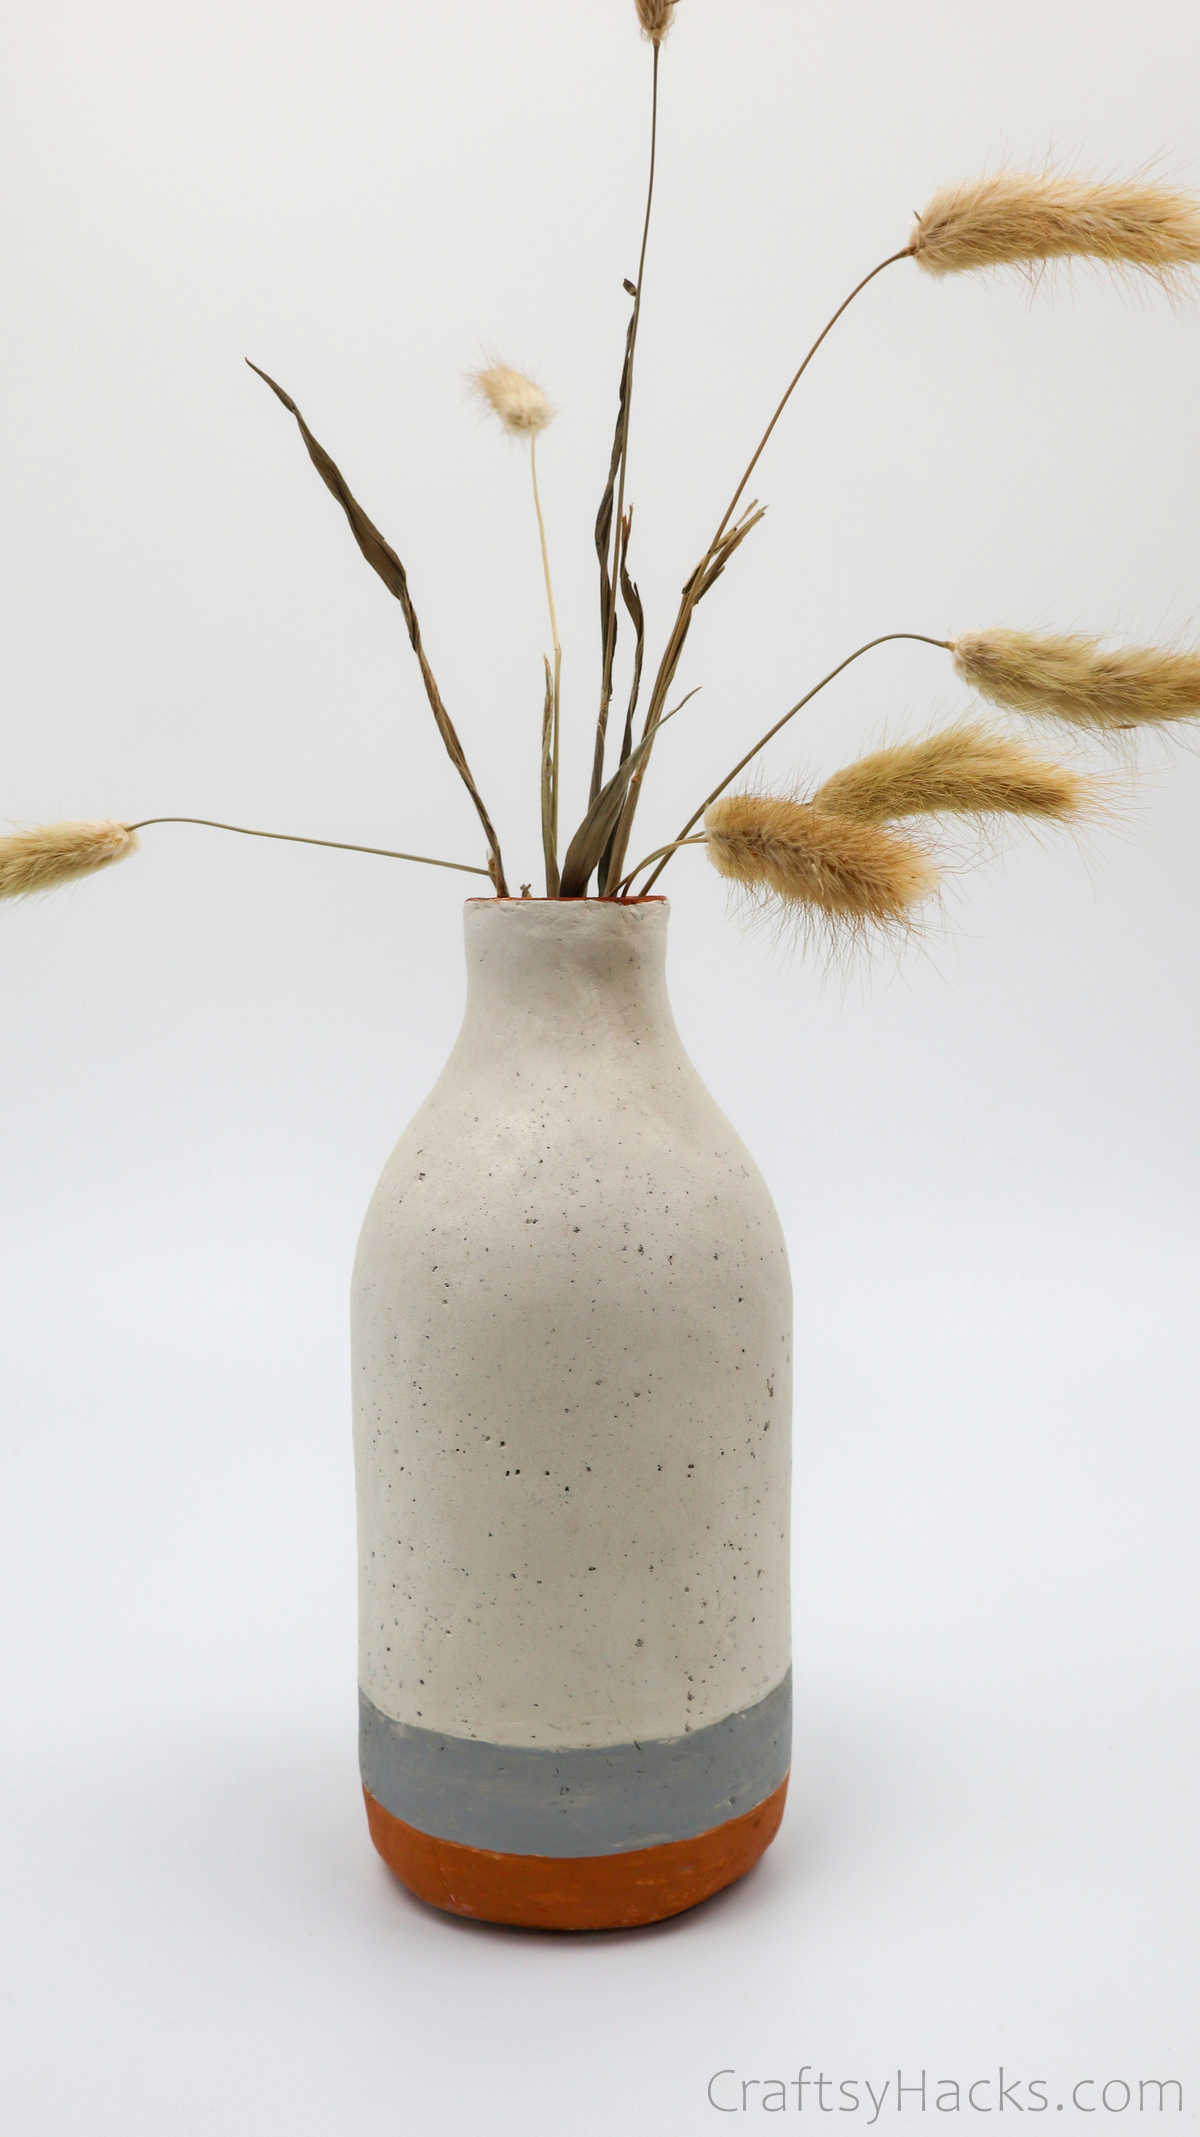
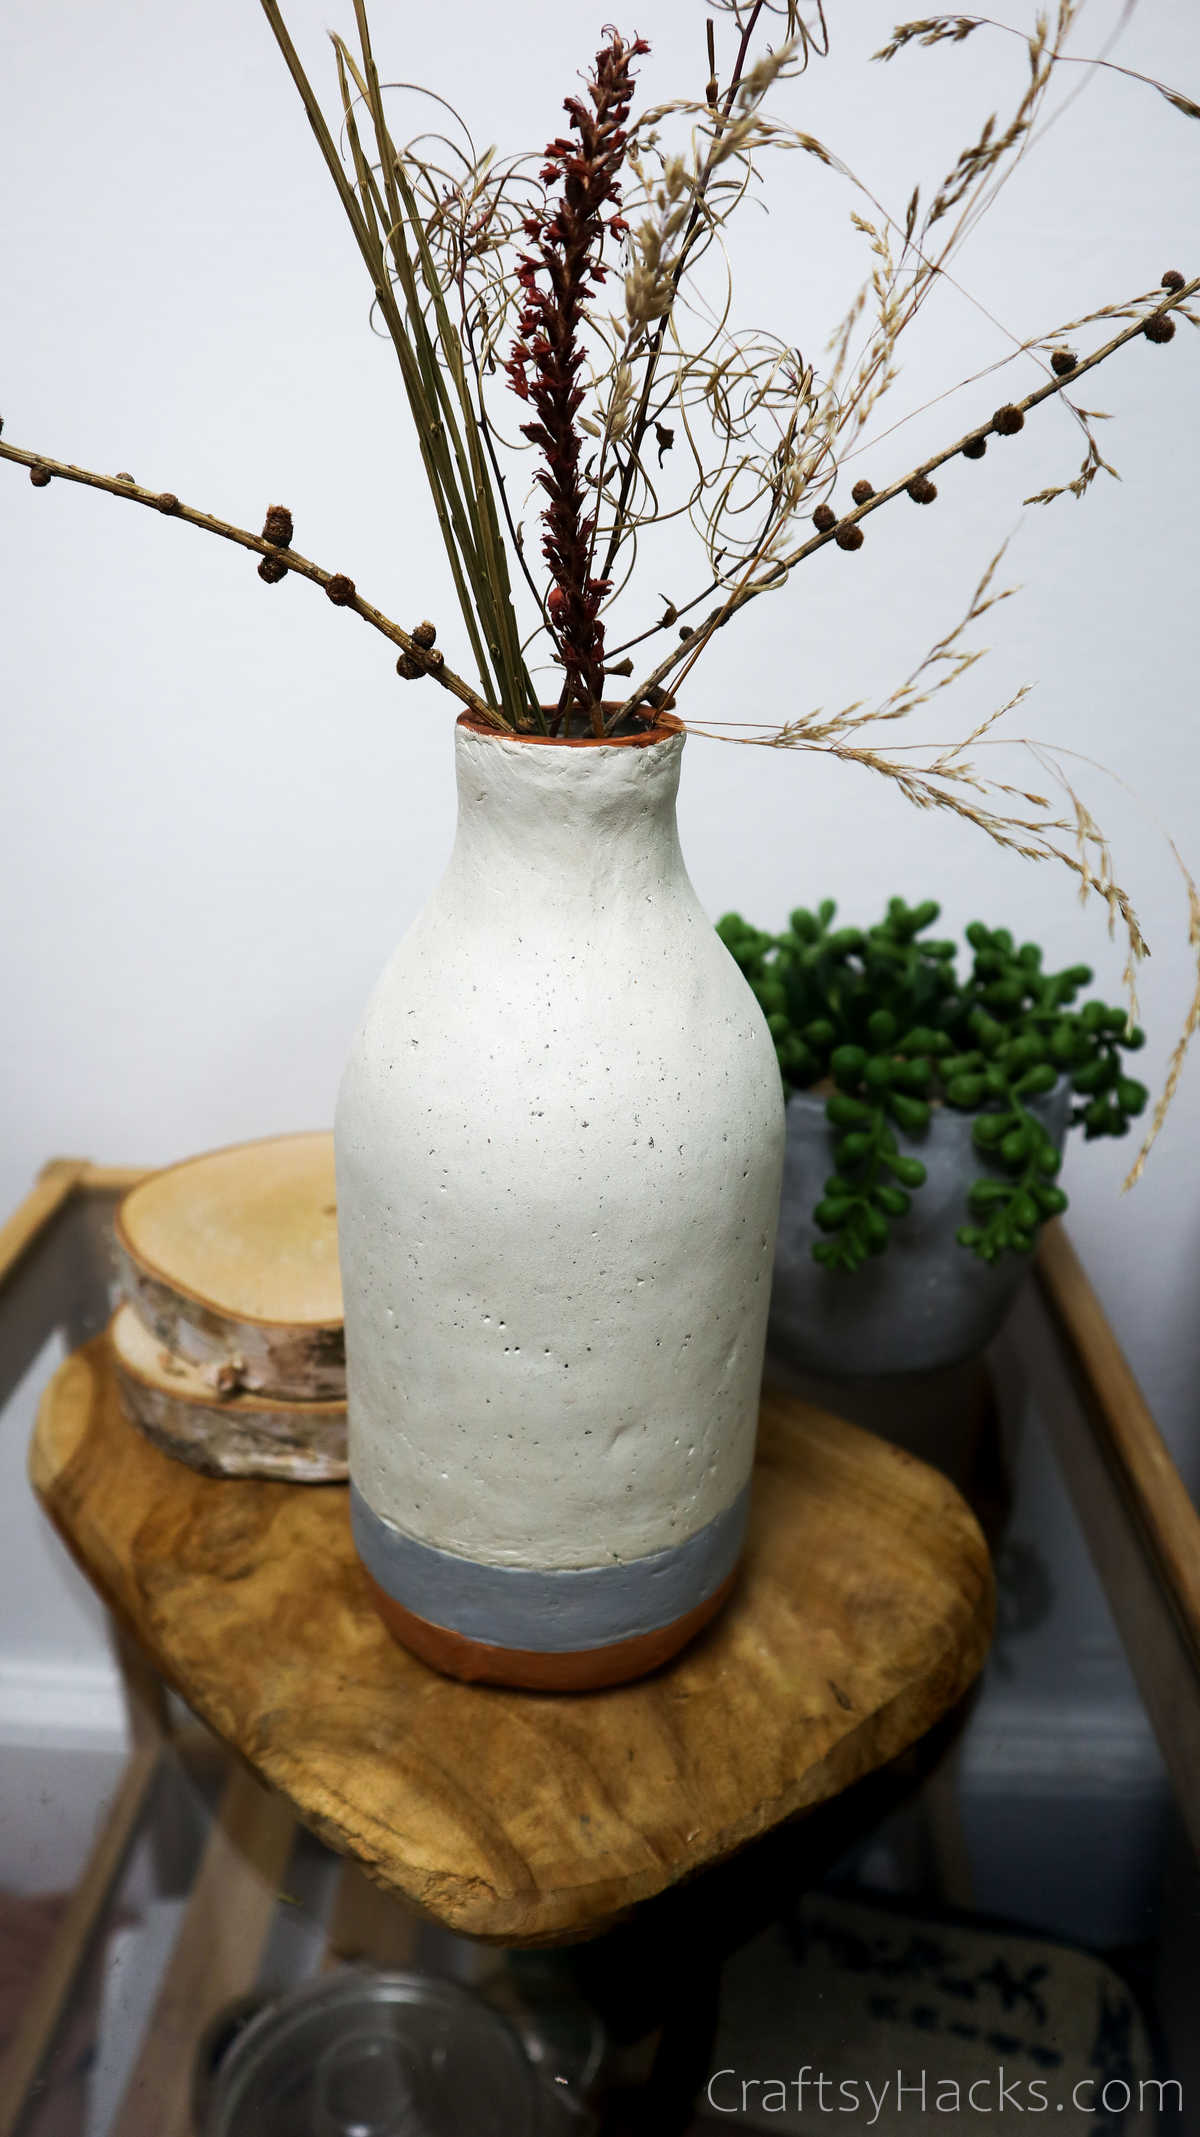
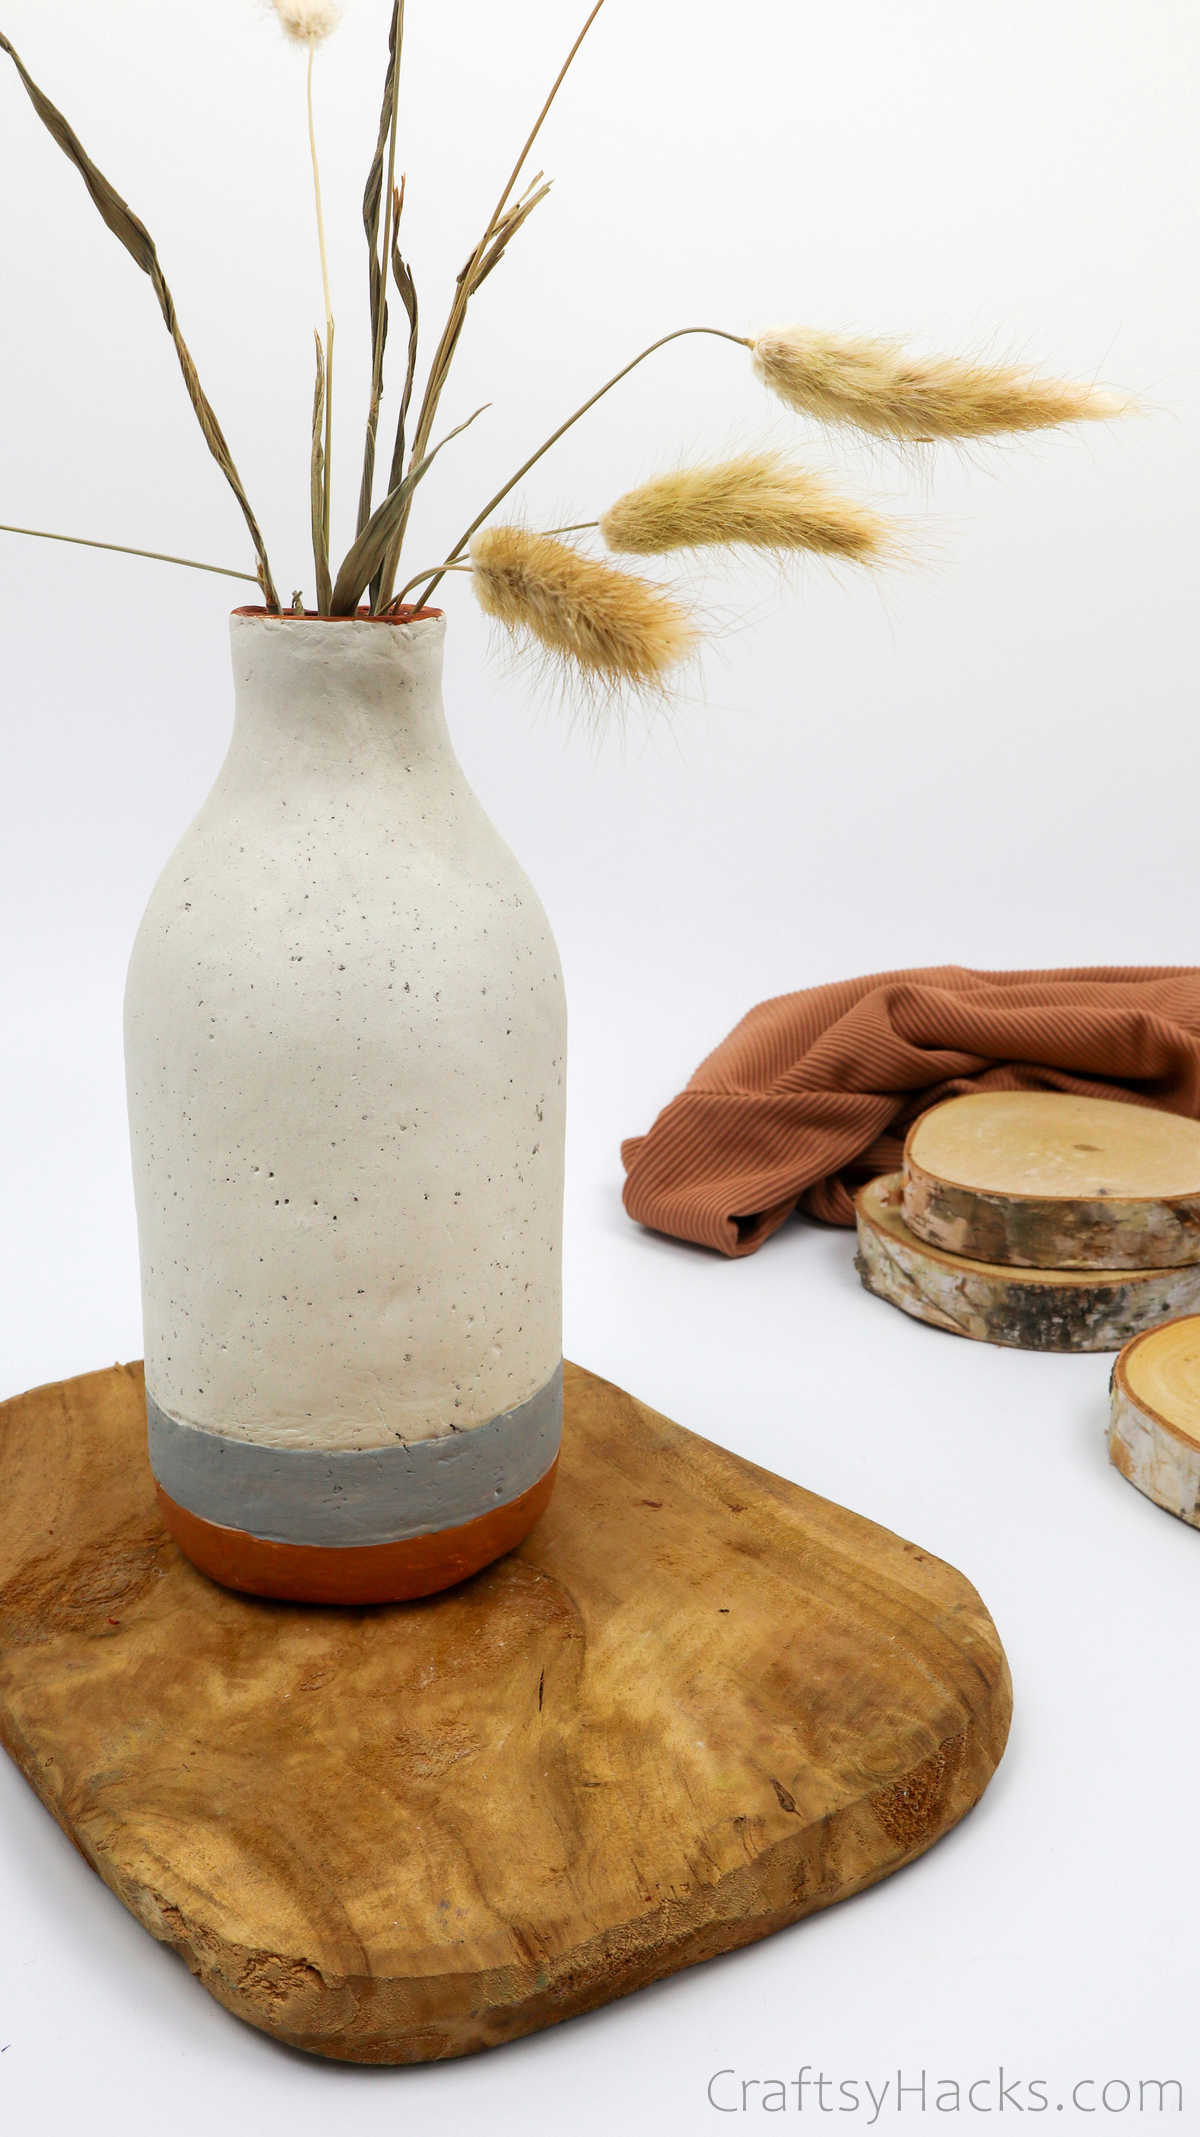
And there you go; your gorgeous DIY bottle vase is ready to use.

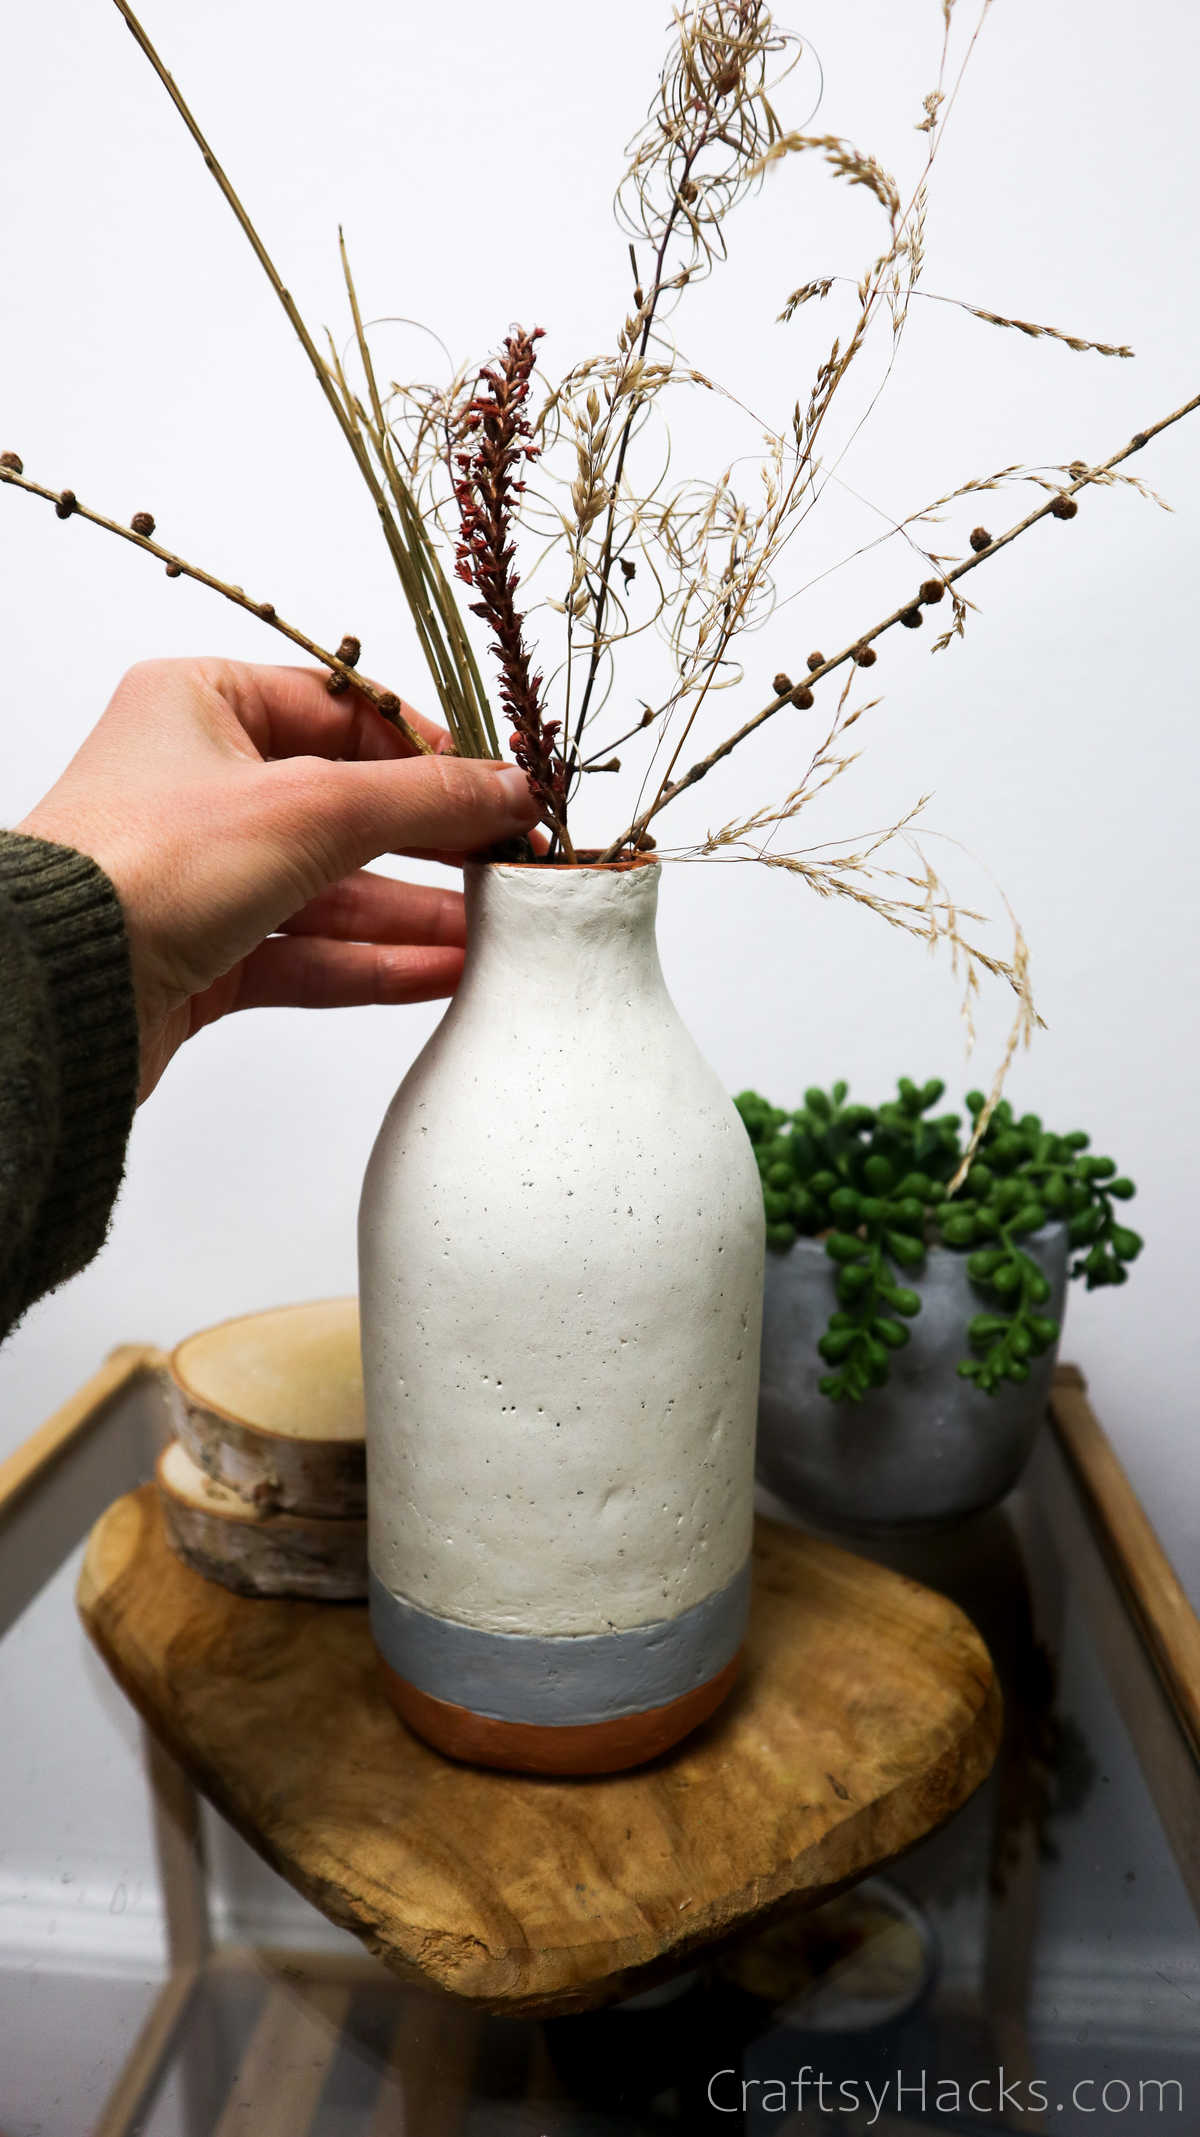
How Can I Decorate My Vase?
Other Crafts You Might Like Making
How Do I Display the Vase?