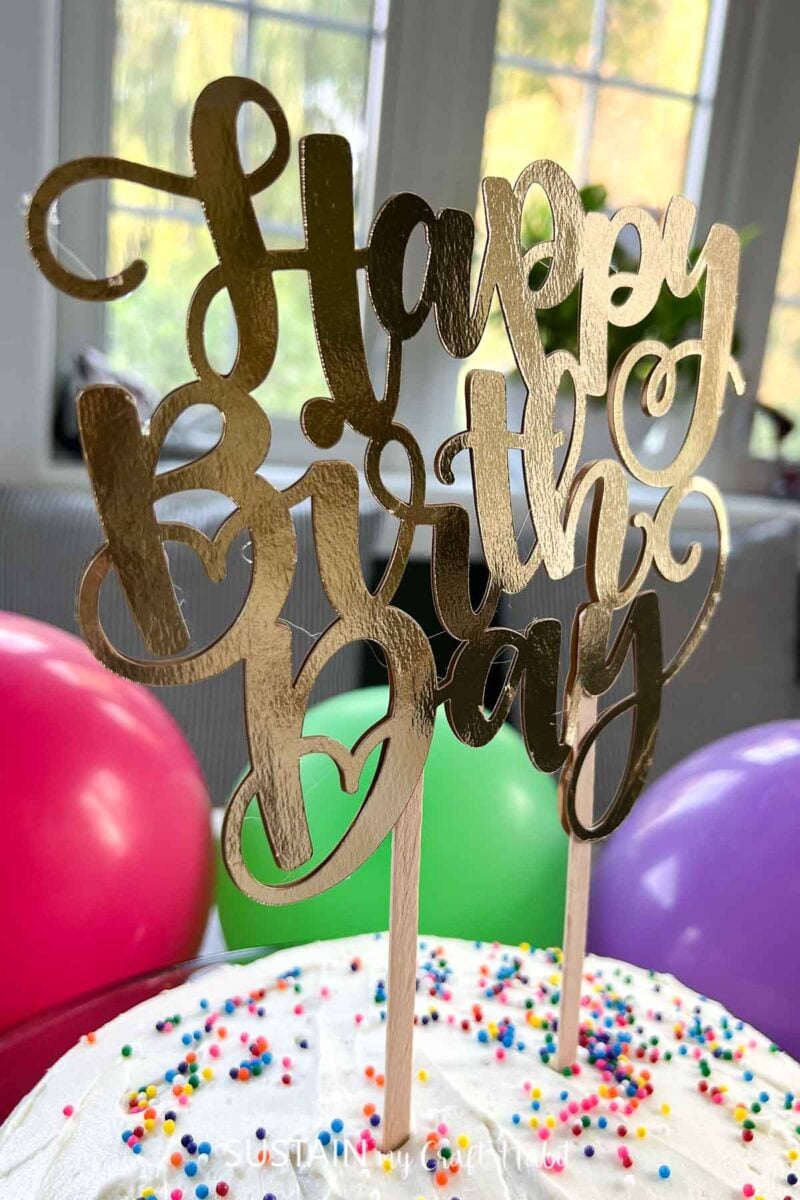
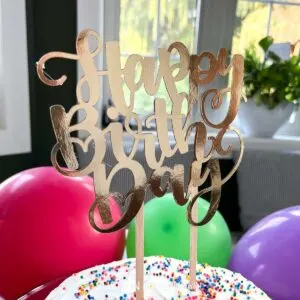
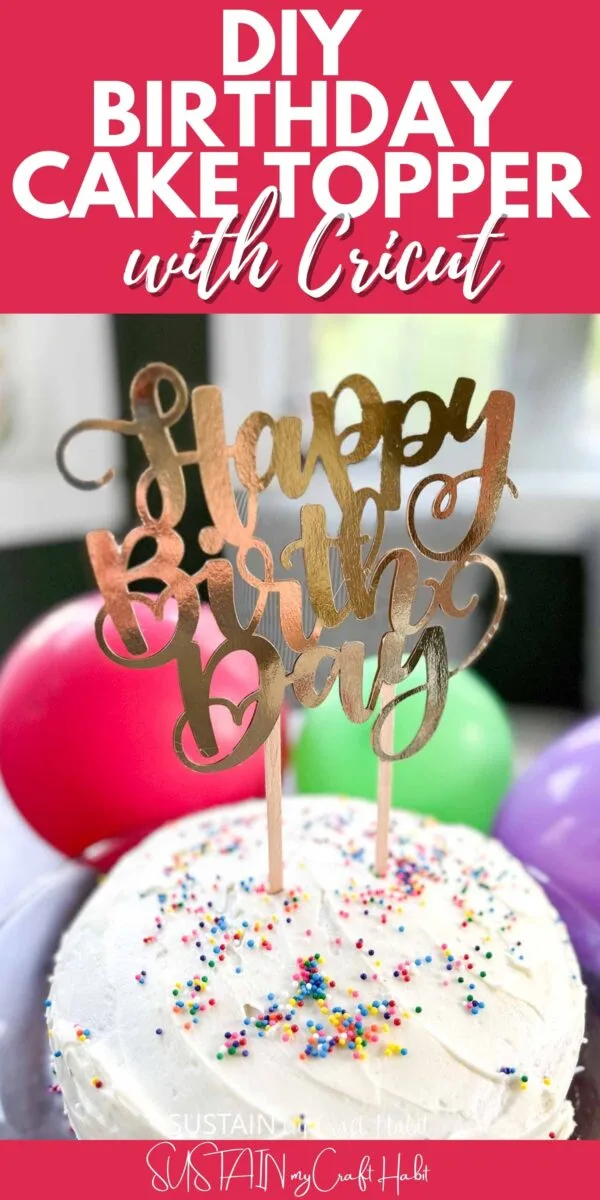
Look no further than making your ownDIY birthday cake toppers with cricut!
From elegant designs to fun and whimsical creations, the possibilities are endless.
Get ready to elevate your cake game and make a statement at your next birthday party.

With Cricuts precision cutting technology, you might achieve professional-looking results that rival store-bought cake toppers.
Remember to test your chosen material with your Cricut machine to ensure compatibility and optimize prefs for cutting.
Want to receive a ton of inspiration and money-saving ideas for decorating, gift-giving, and crafting?
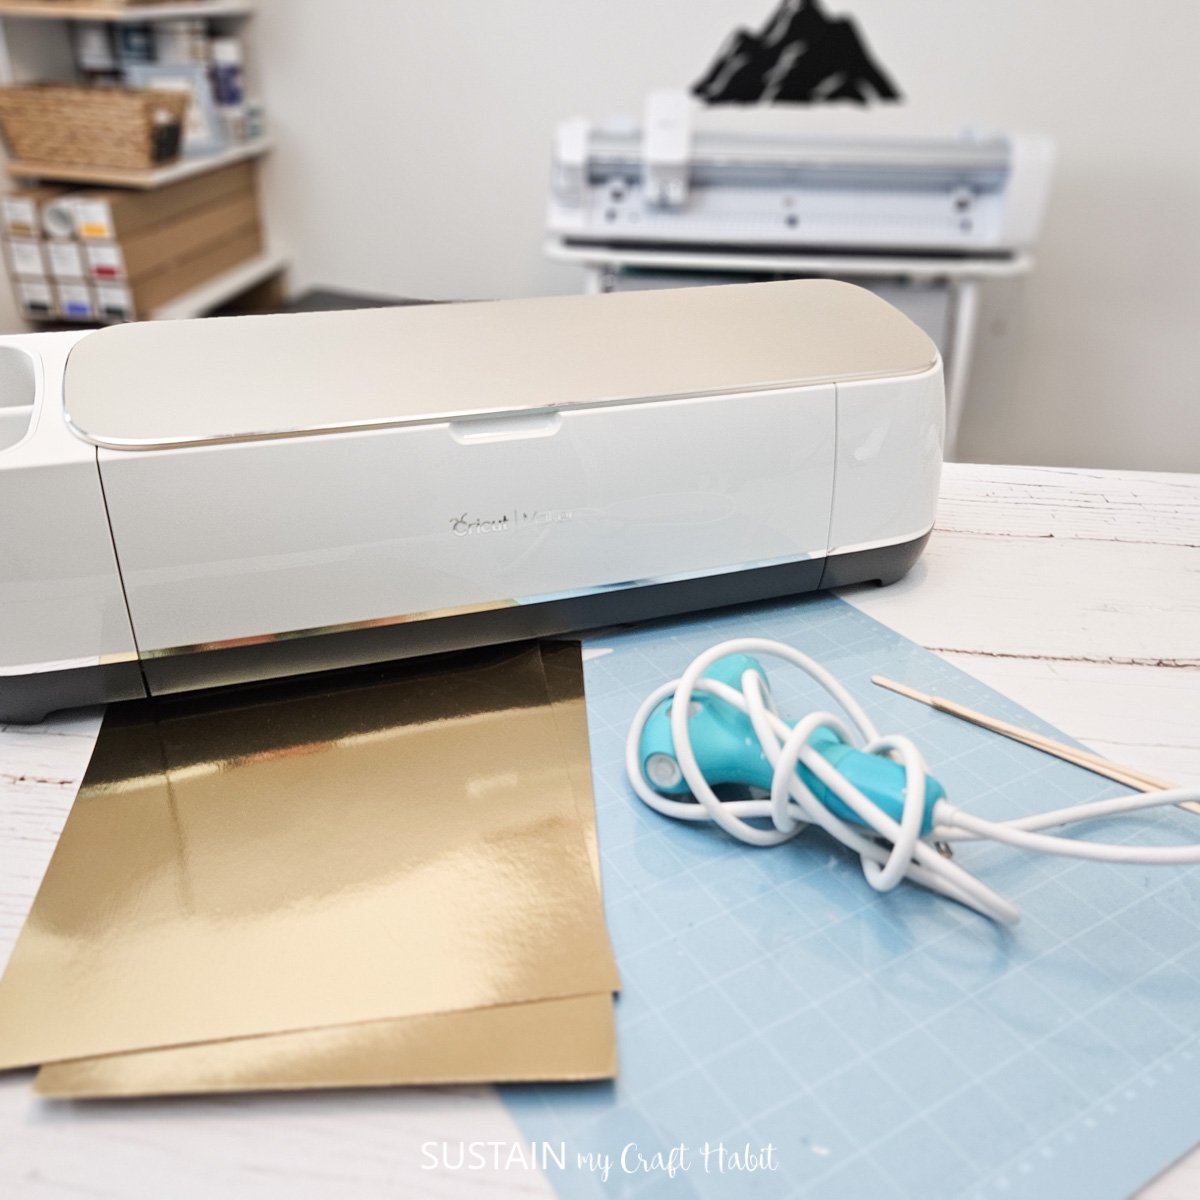
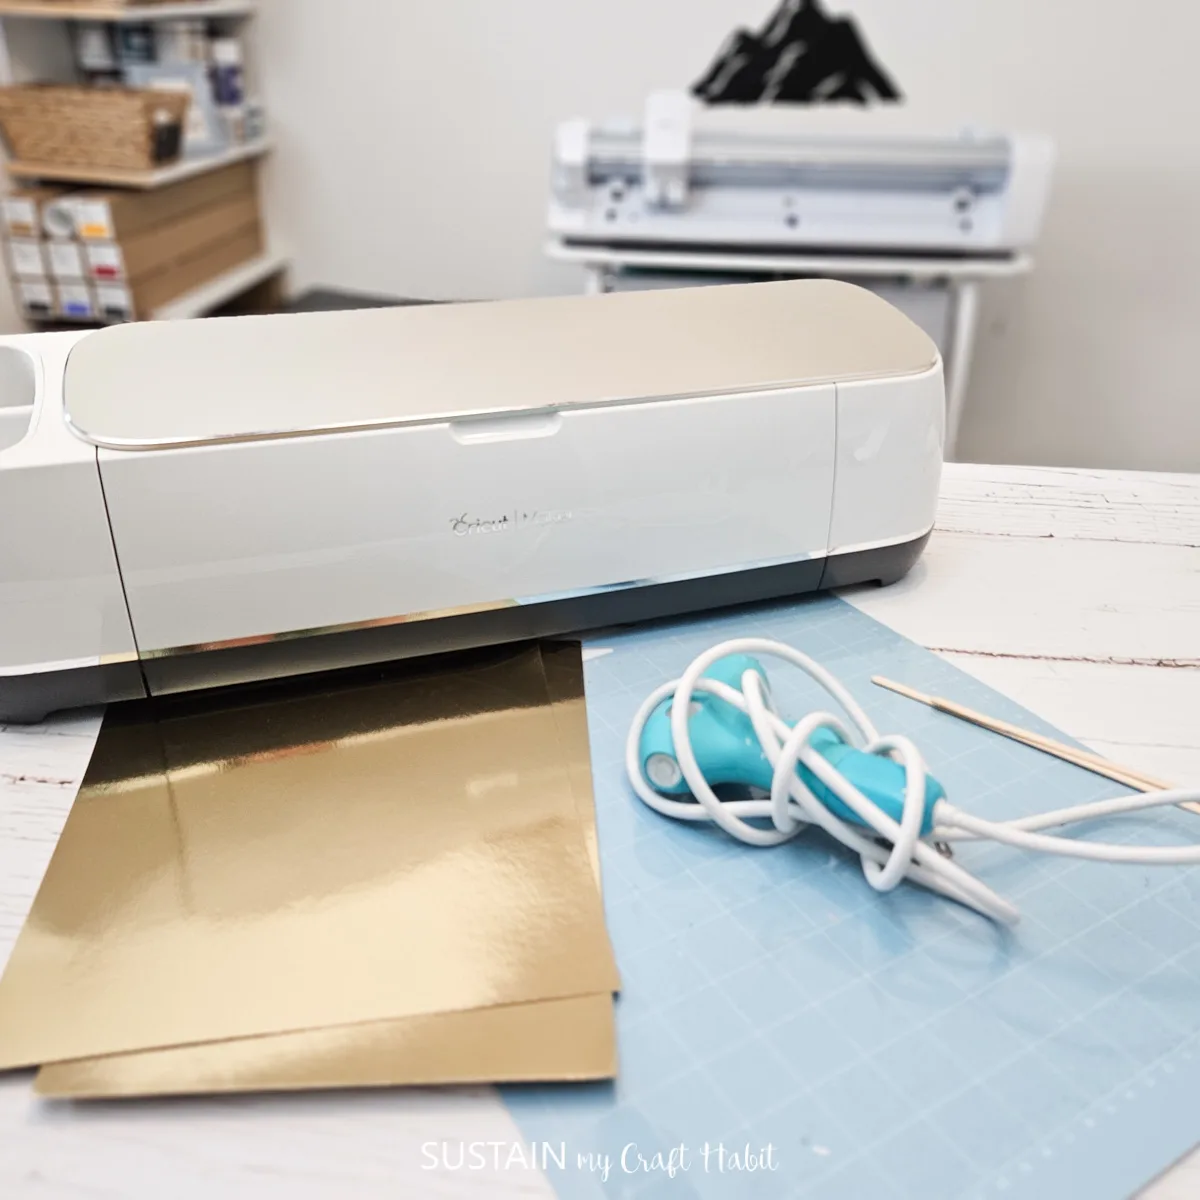
Materials Needed
Disclosure: This post contains affiliate links for your shopping convenience.
you’ve got the option to readour full disclosure policy here.
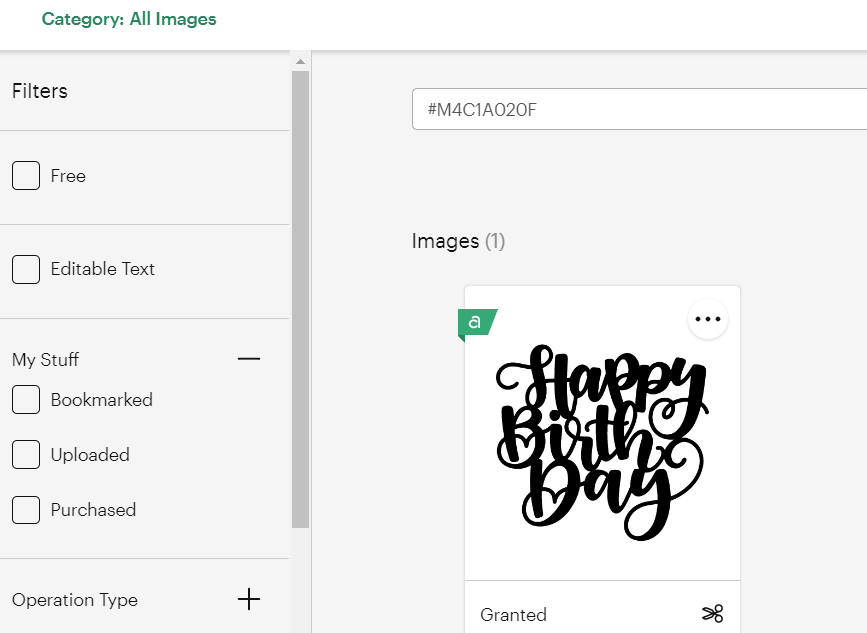
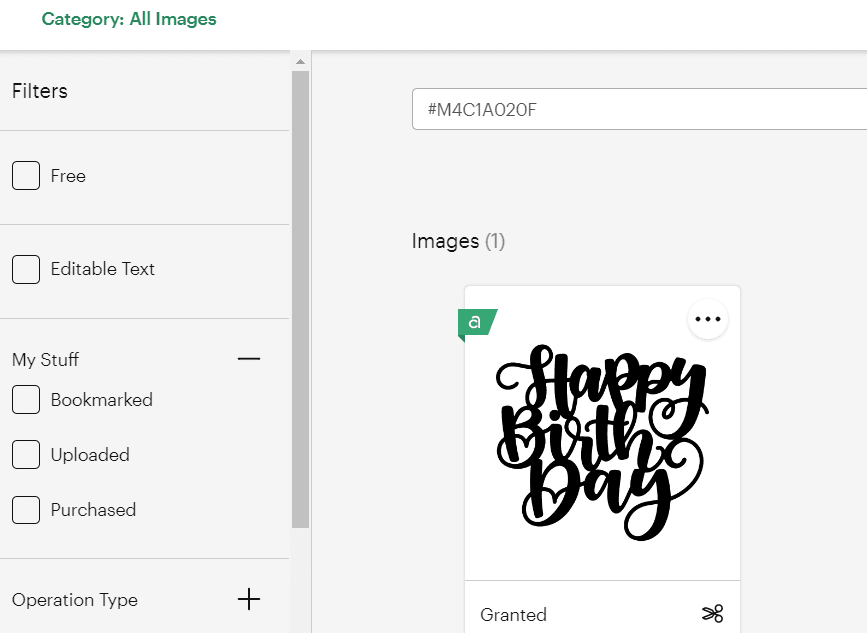
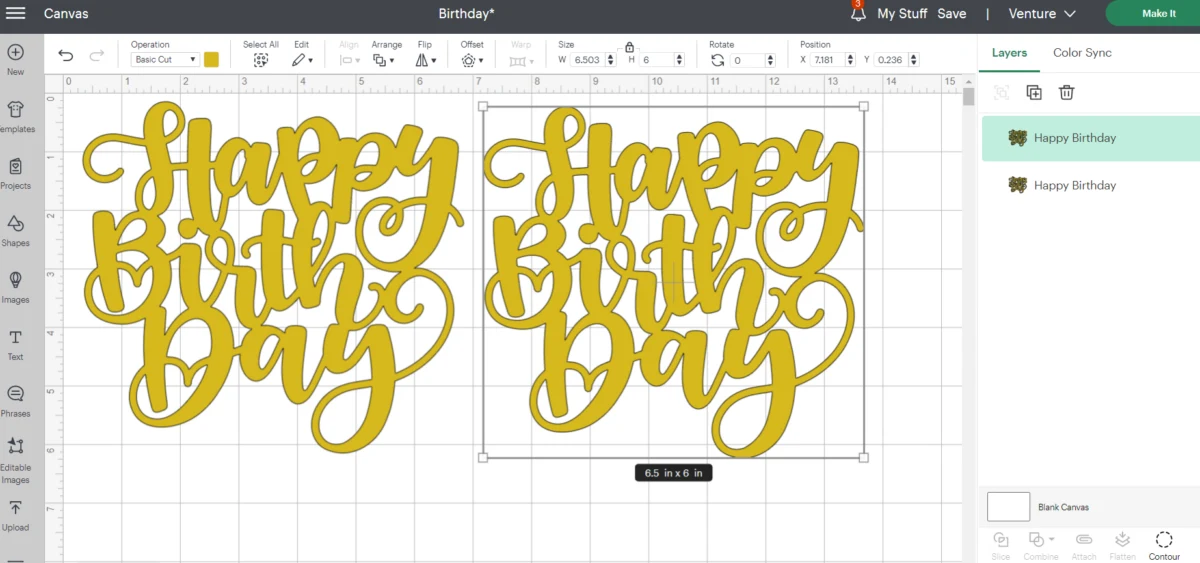
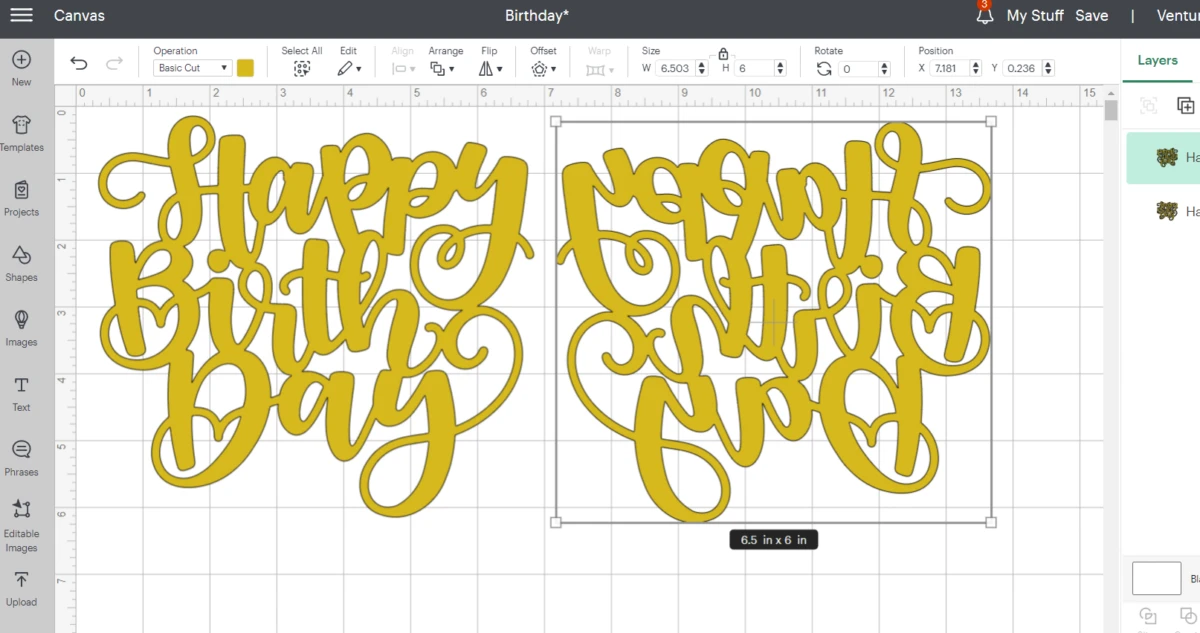
Resize the phrase to 6 high or whatever size you want the cake topper to be.

Duplicate the image so two are showing on the canvas.
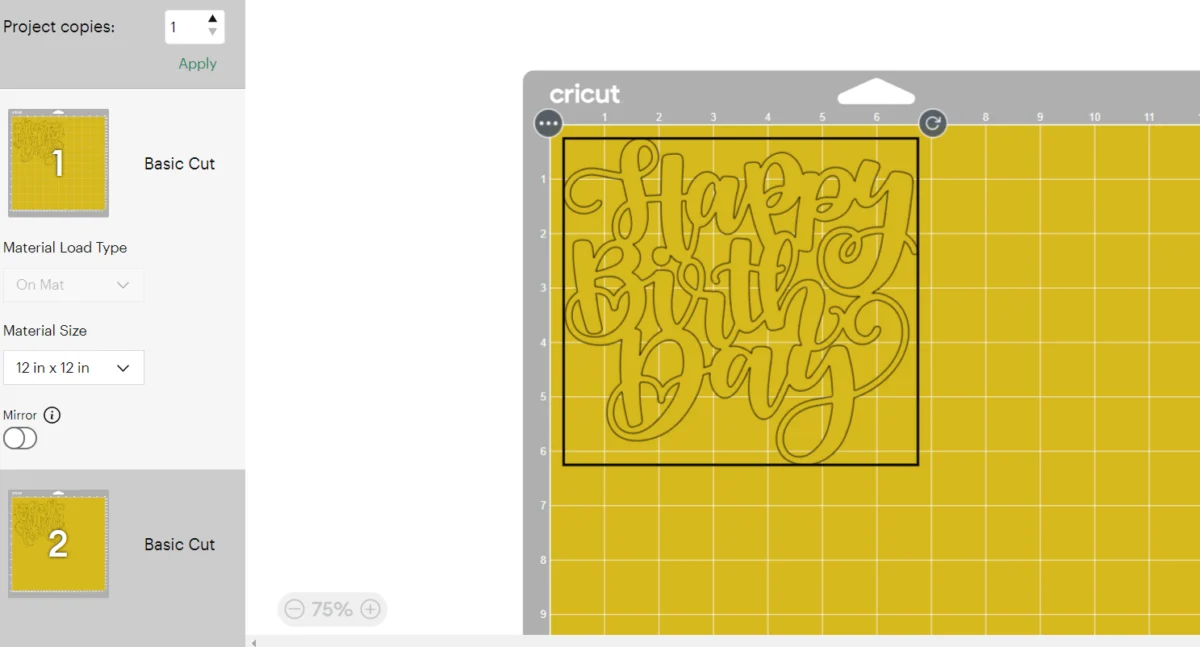
With the machine set to Cricut Maker, select Make It in Design Space.
Set material key in to Foil Paper.
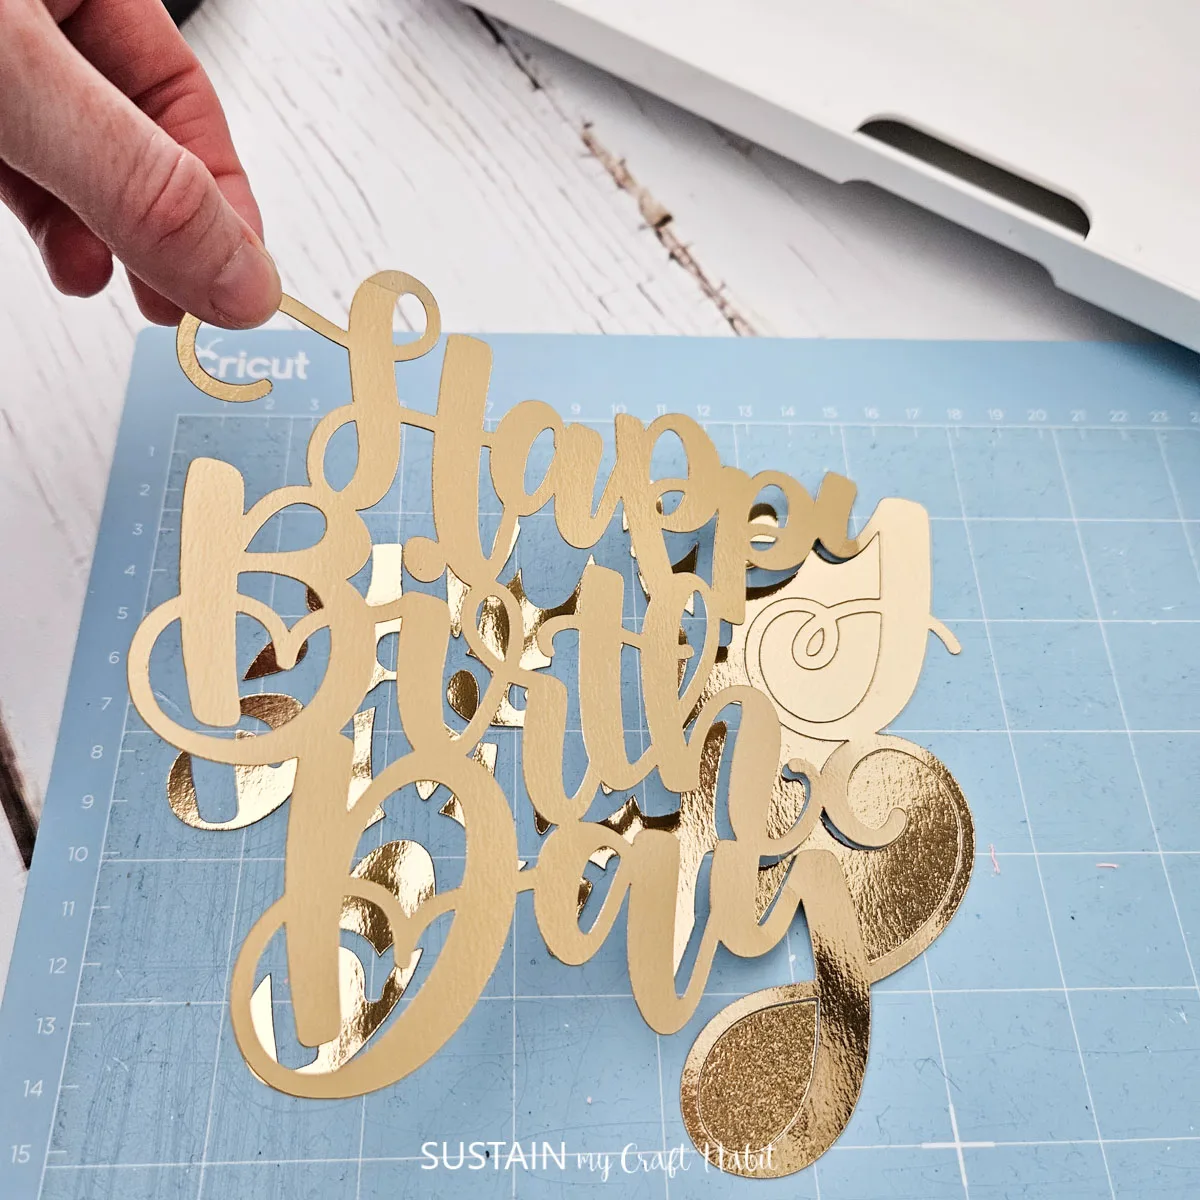
Place the gold paper onto the light grip mat.
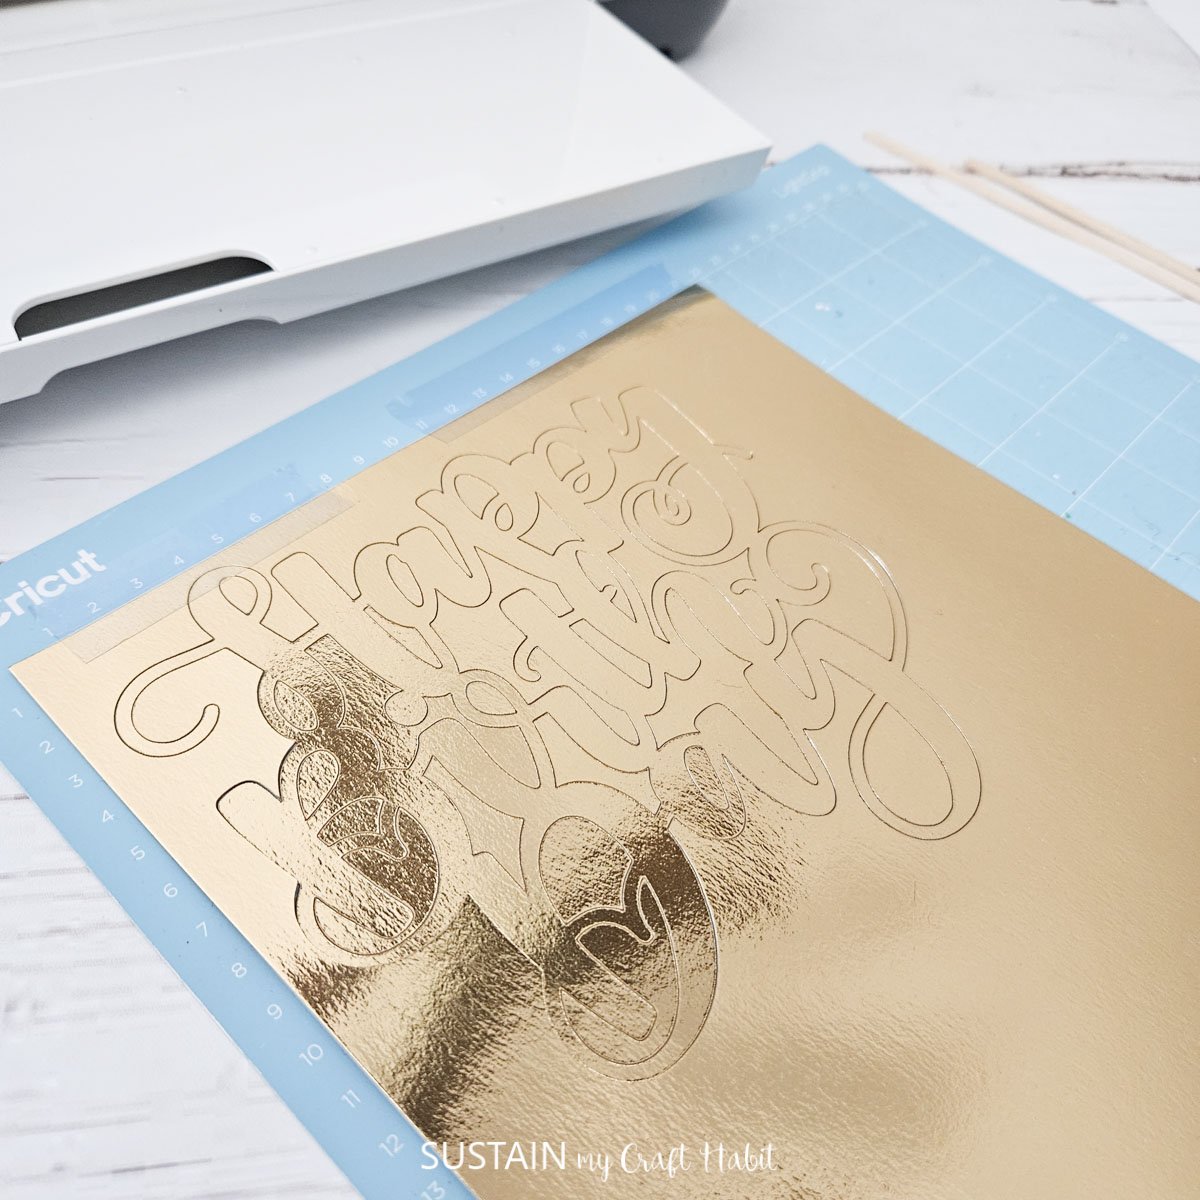
Remove the cut pieces from the cutting mat.
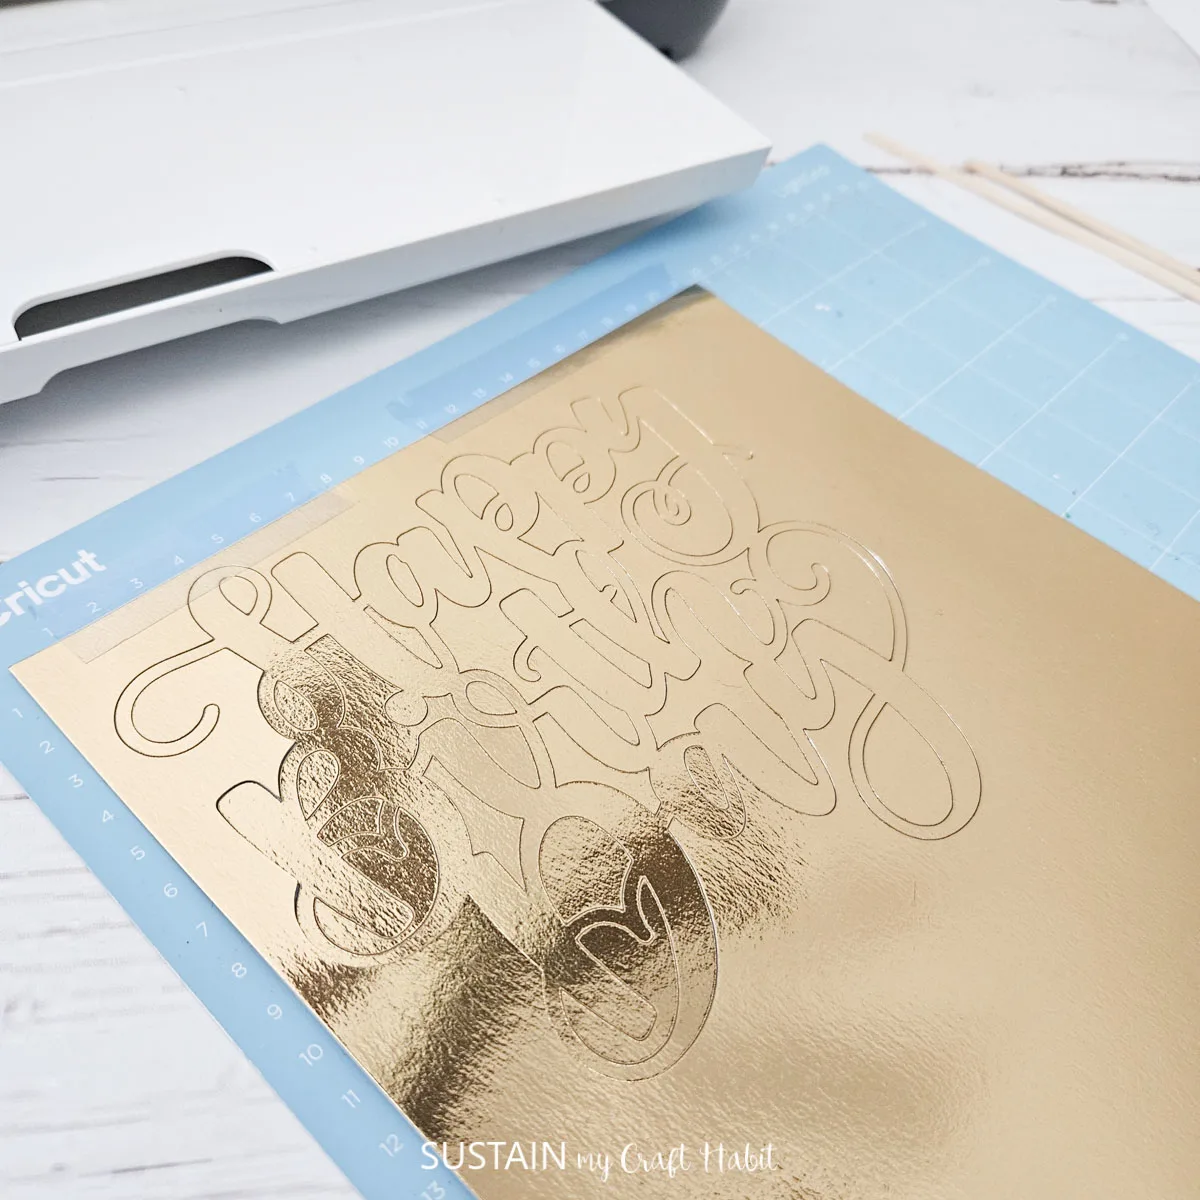
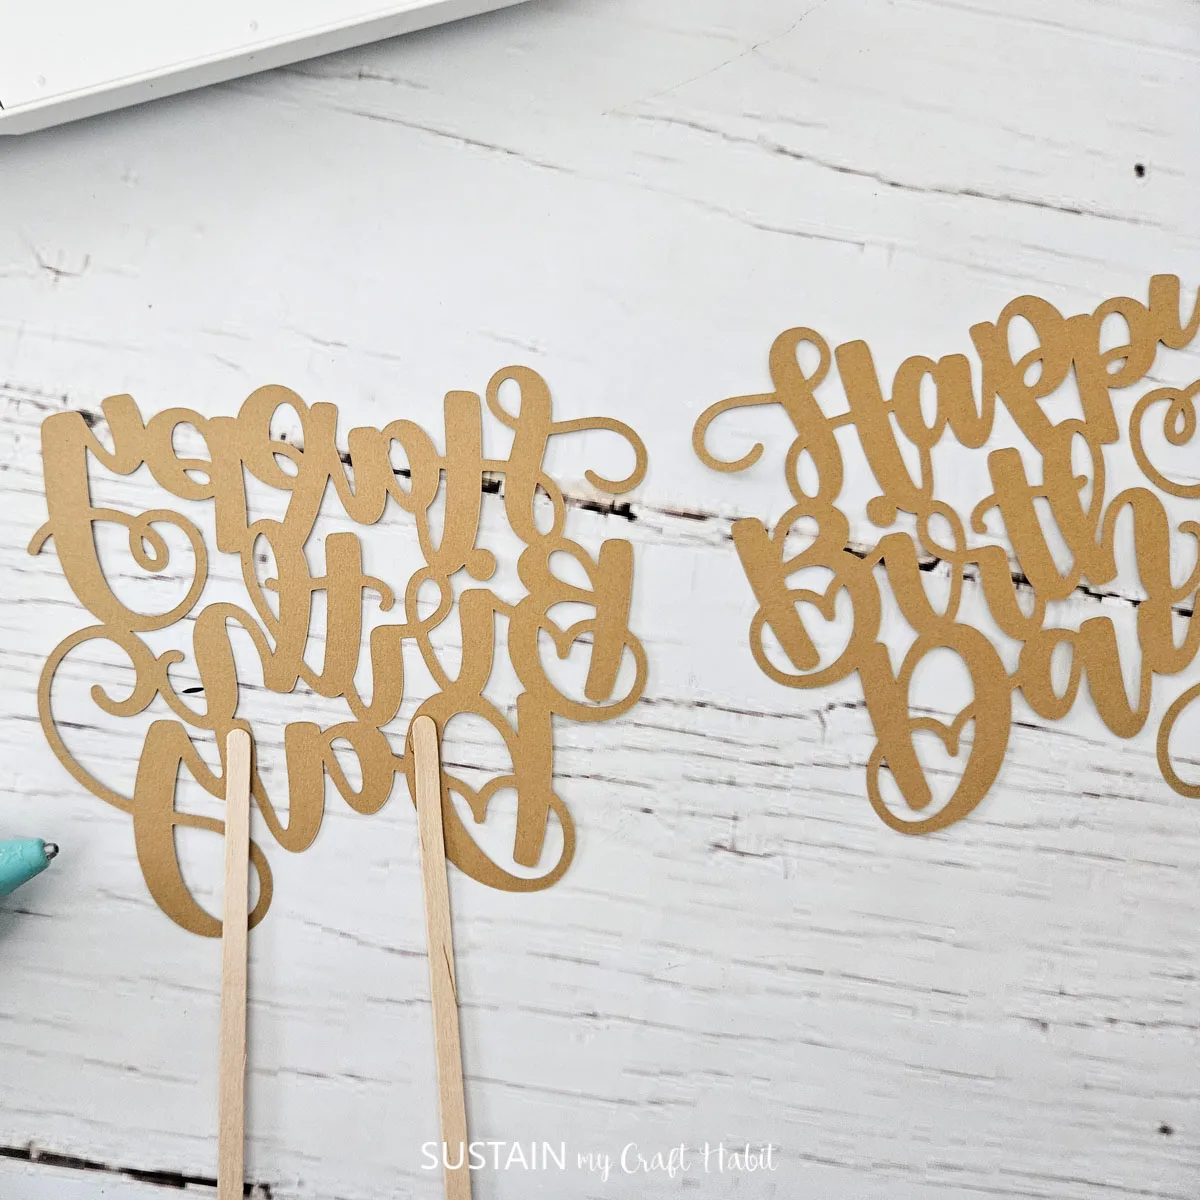
Turn on the mirror toggle button to flip the happy birthday phrase.

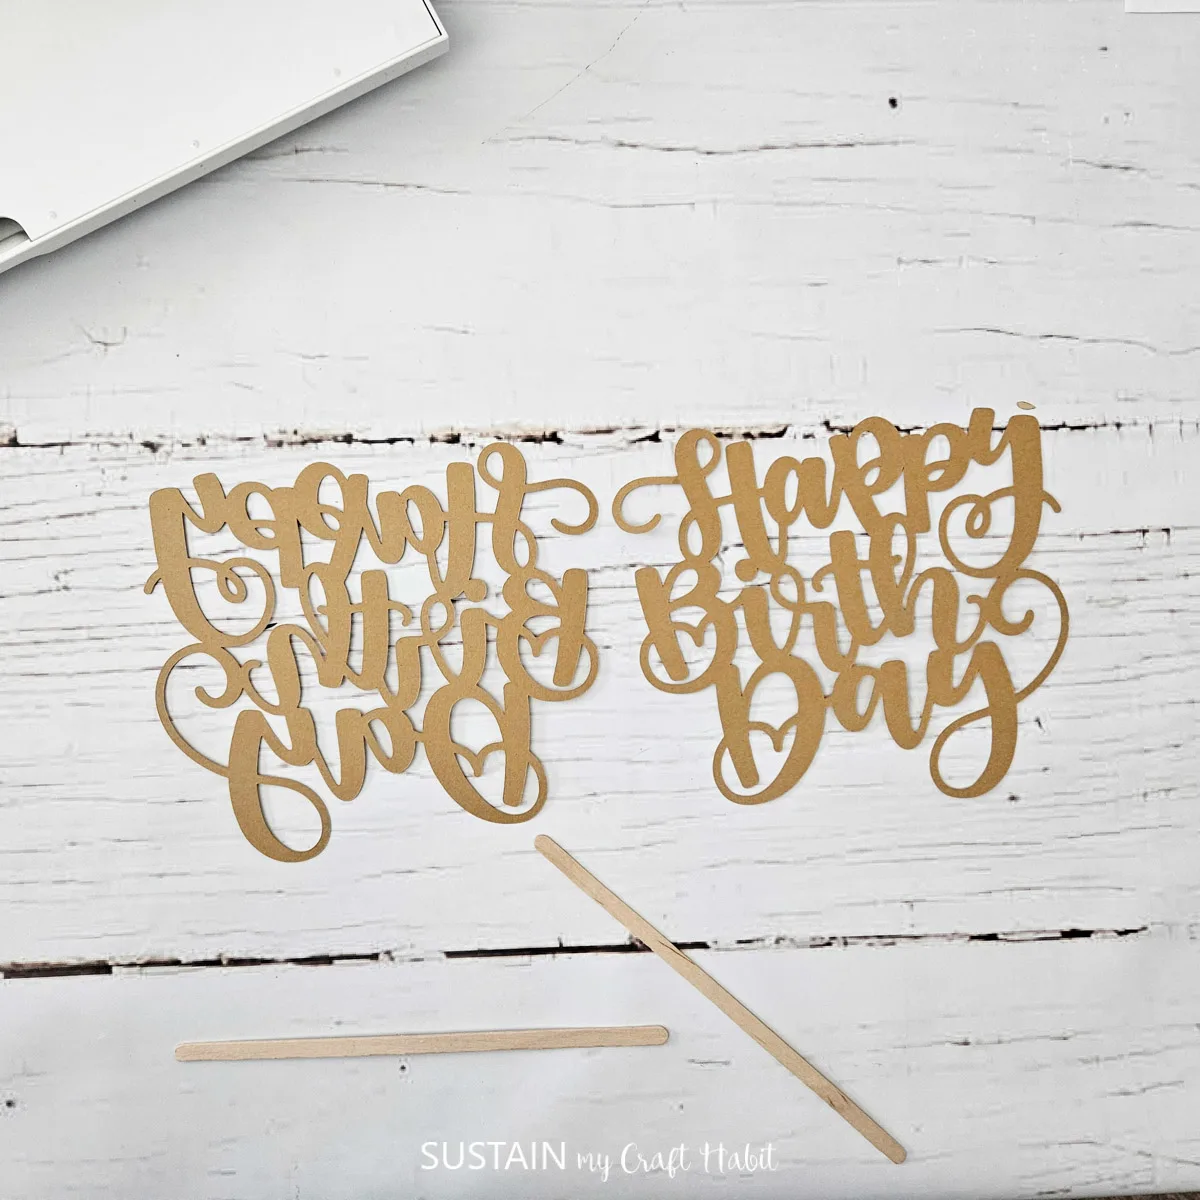
And repeat cutting instructions to finish the second happy birthday cut-out.
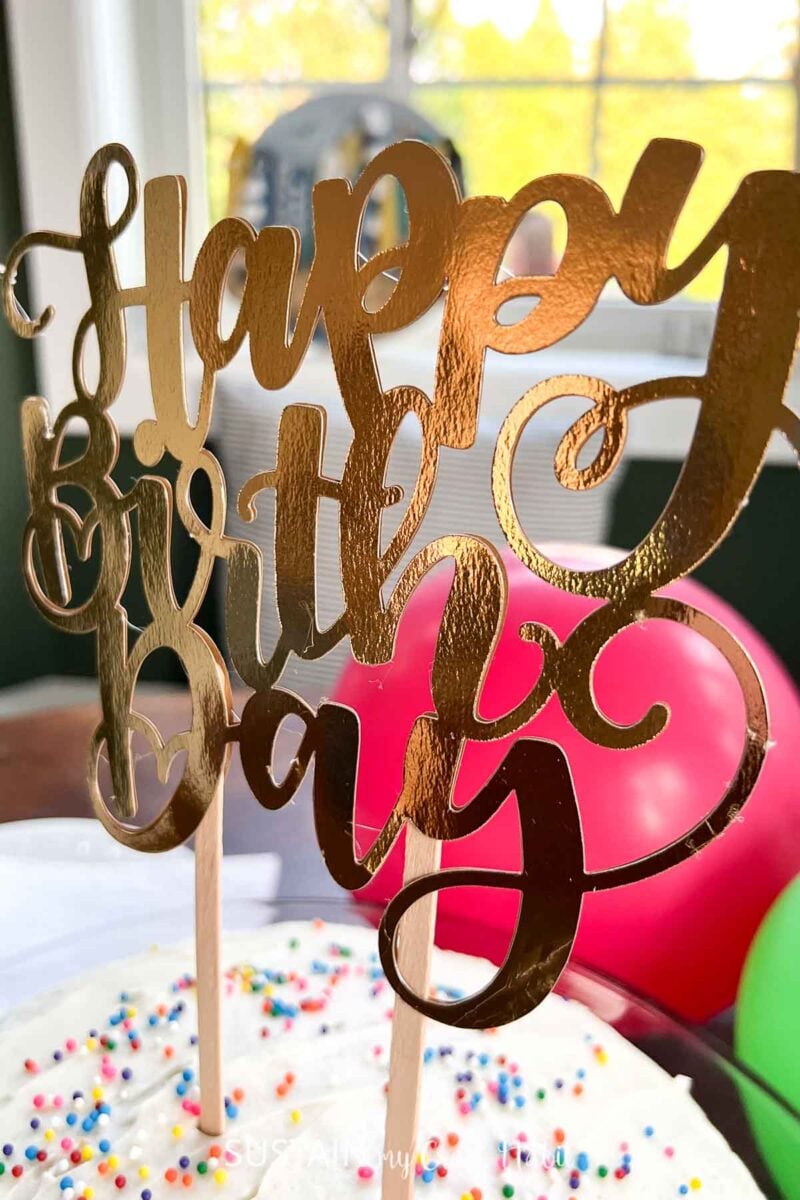
Place both cut pieces down on a flat surface with the gold side facing down.
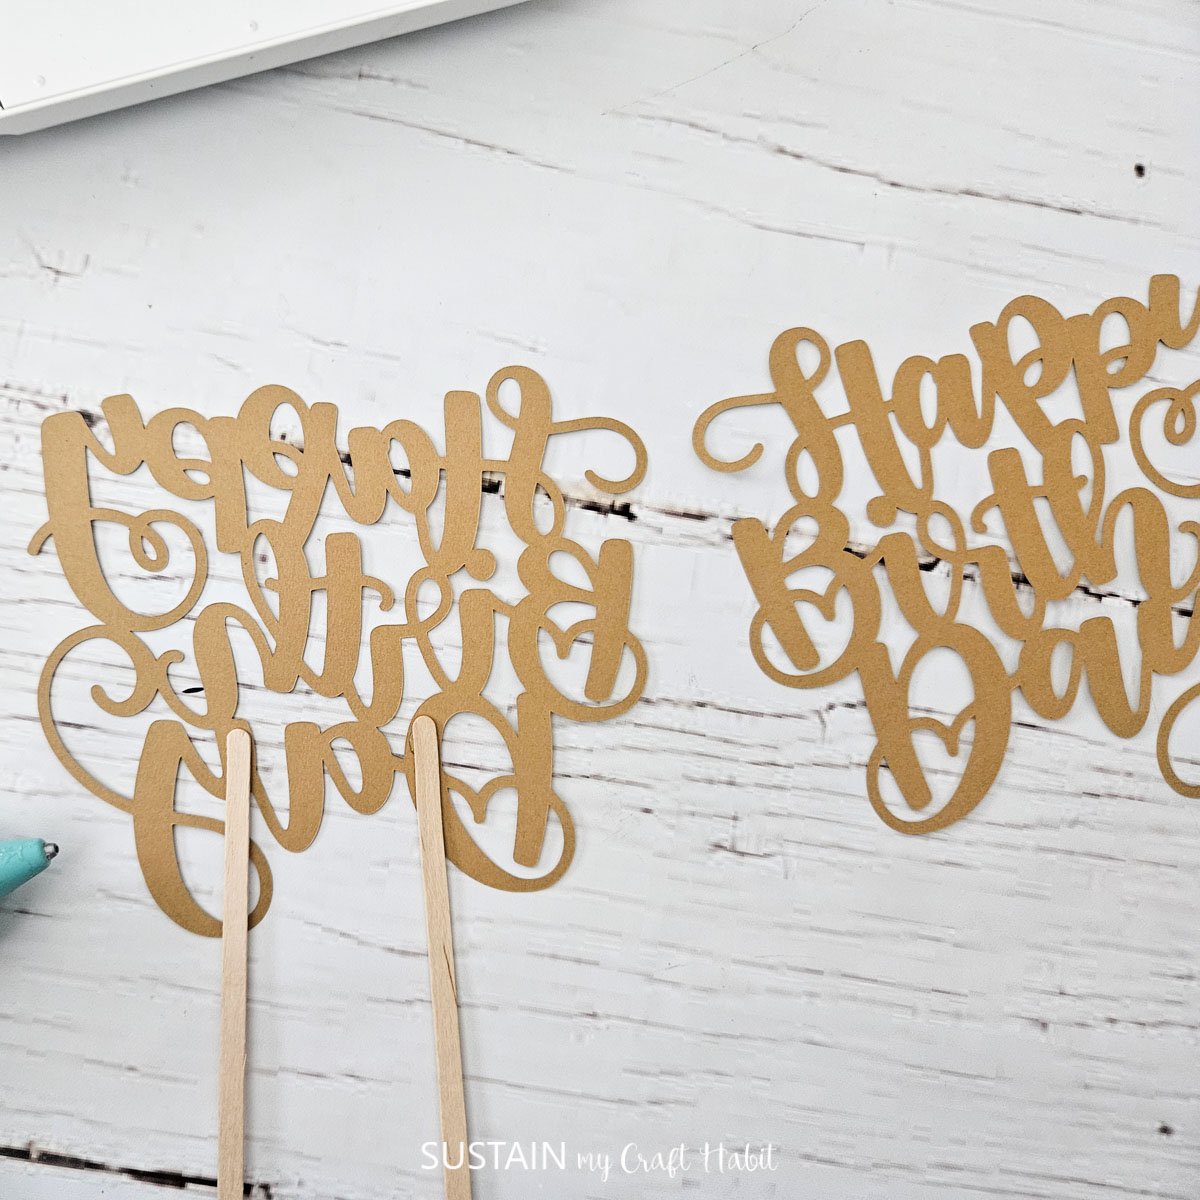
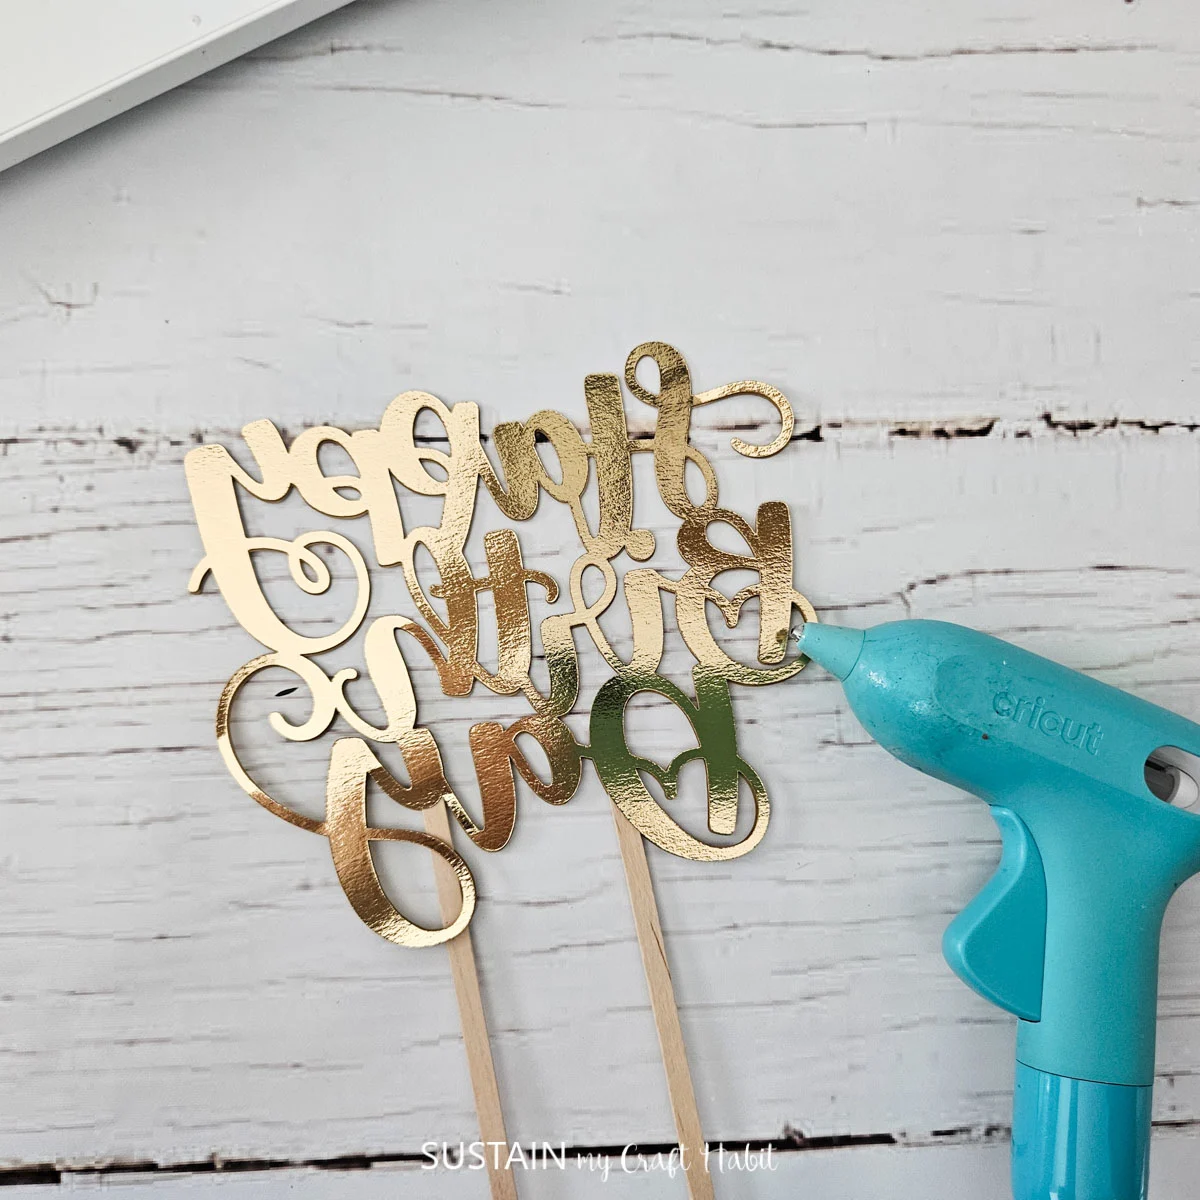
Glue to the wrong sides of the cut-outs together being careful to align them perfectly.
Best to work small sections at a time since hot glue cools quickly.
it’s possible for you to also use regular craft glue to join the two back sides together.
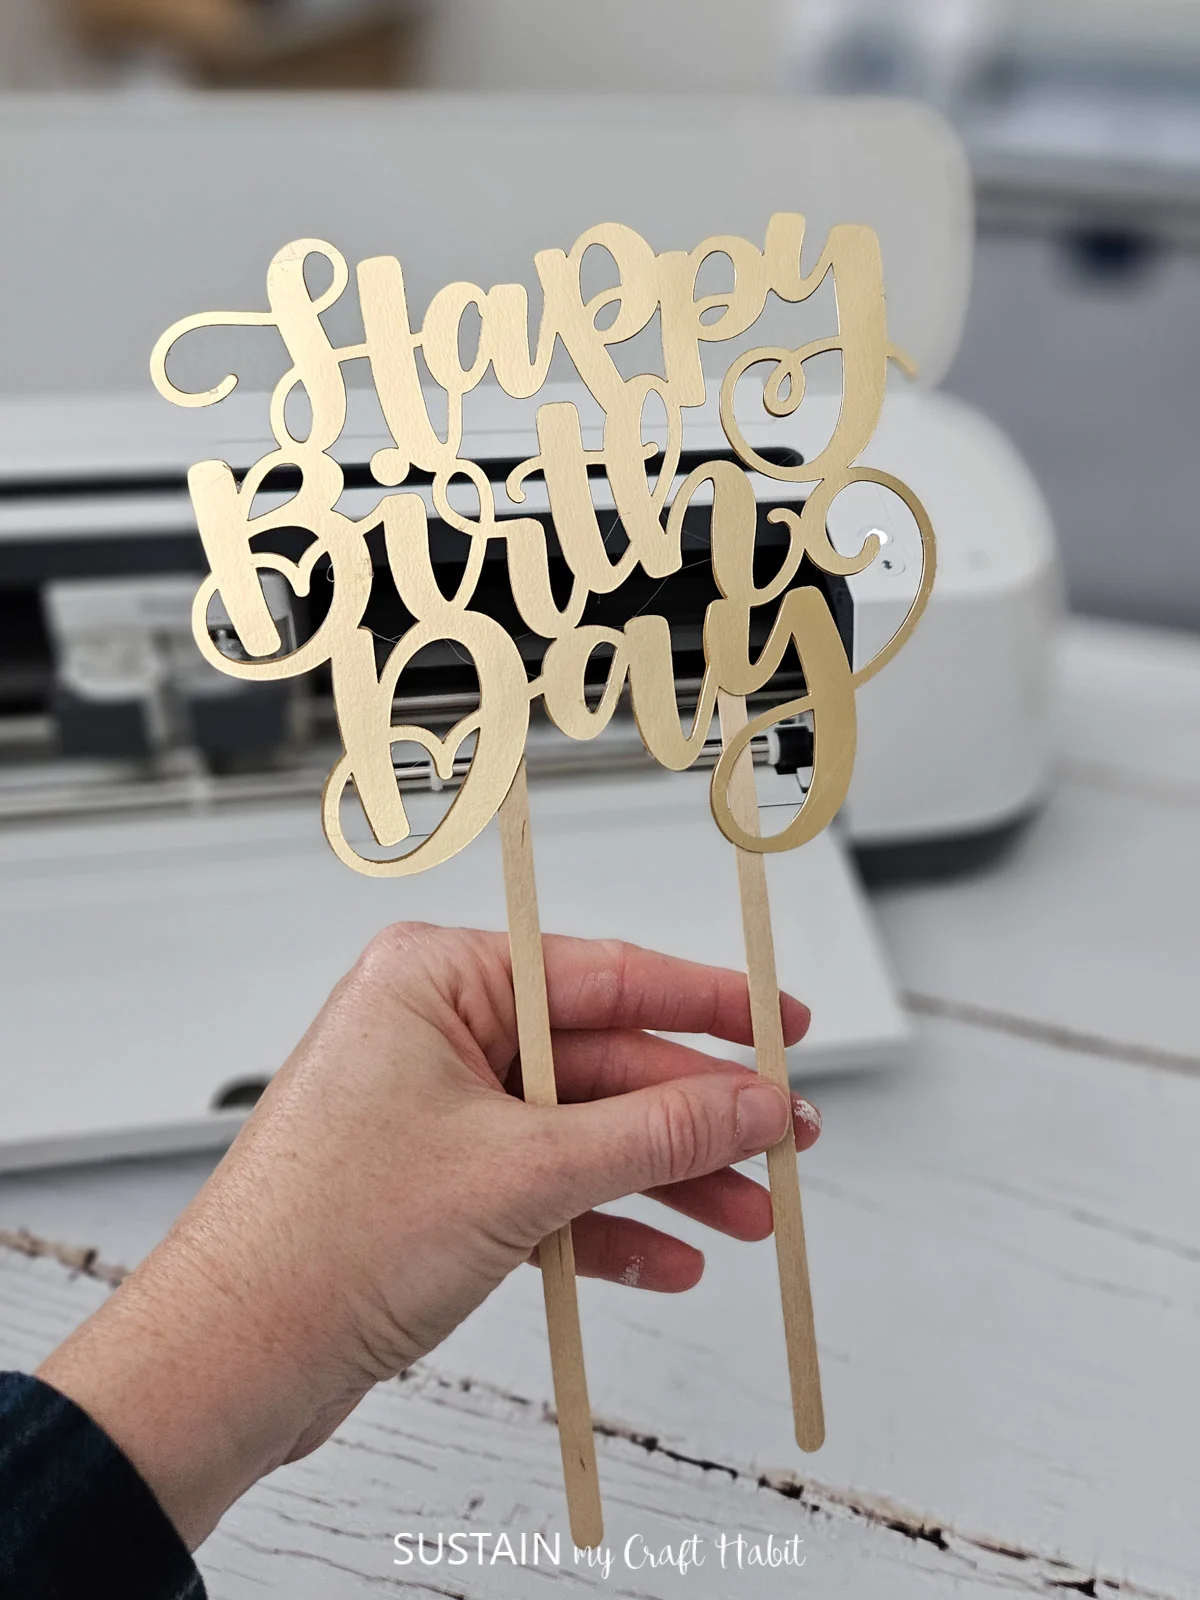
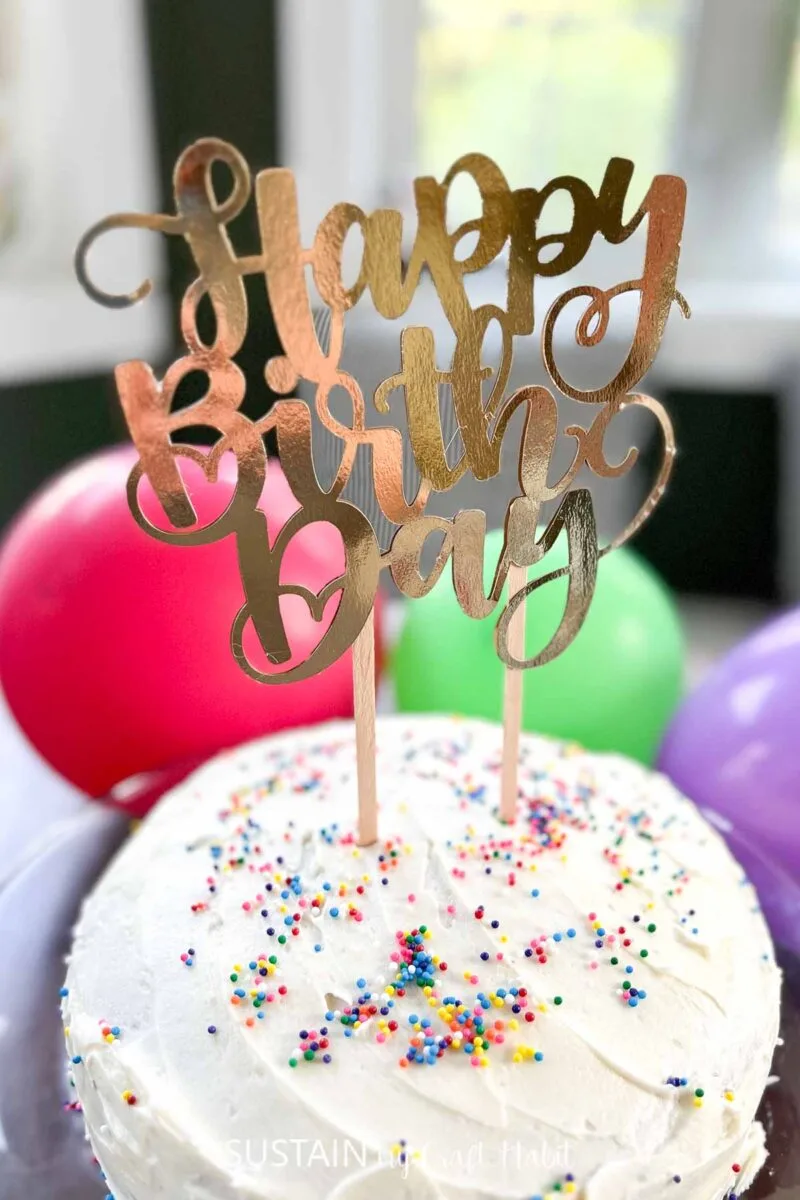
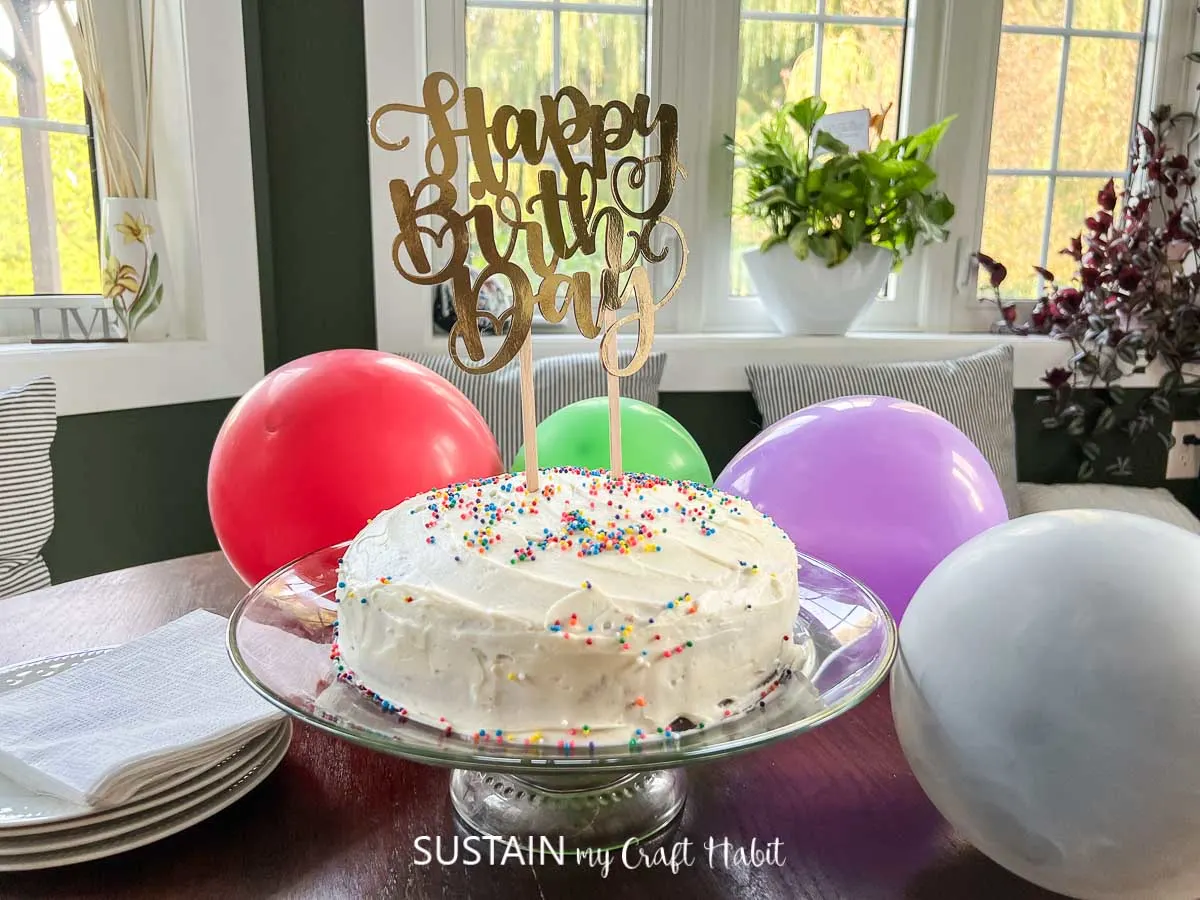
Insert ends of craft sticks into cake to complete the look.
Get ready to wow your guests and create unforgettable memories with this fun and rewarding craft.
We promise to send you only the good stuff!
Pin it for later!

DIY Birthday Cake Topper with Cricut
Materials
Instructions