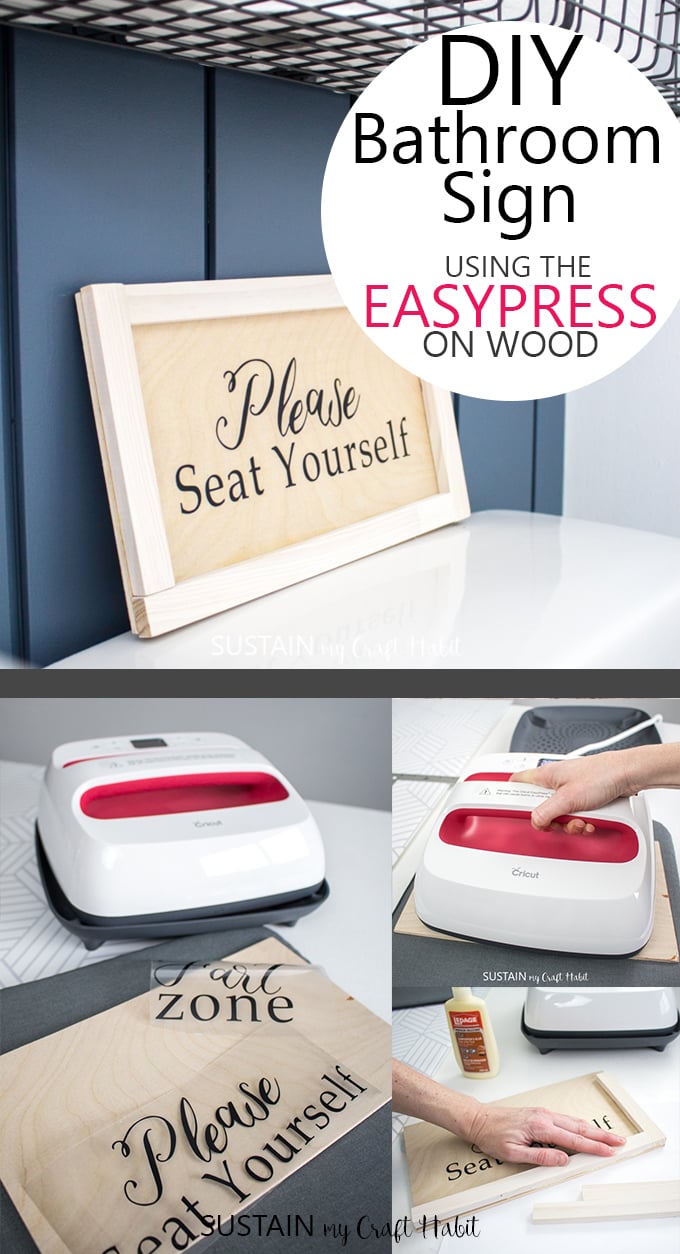
You might be asking yourself why use the EasyPress on wood?.
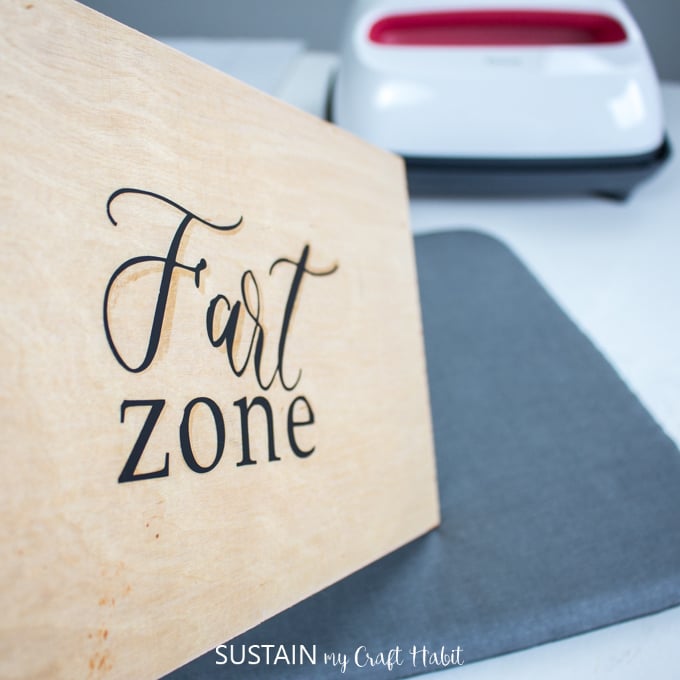
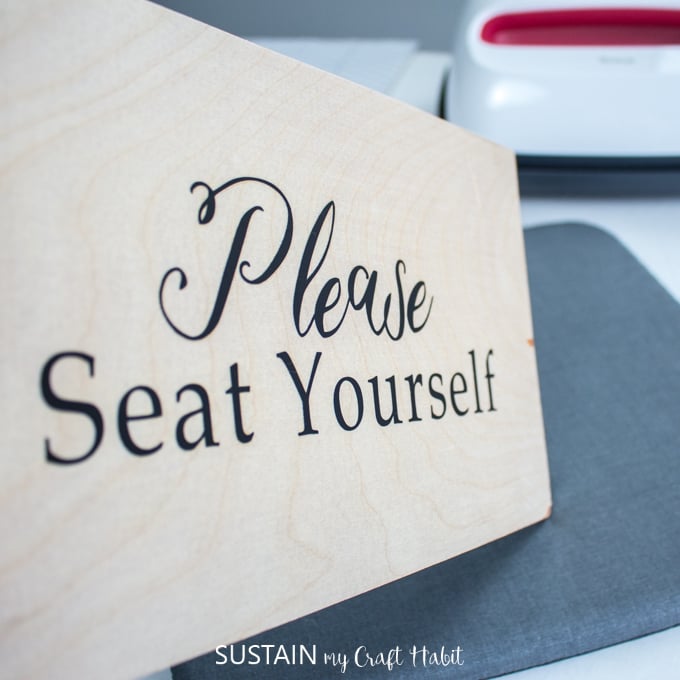
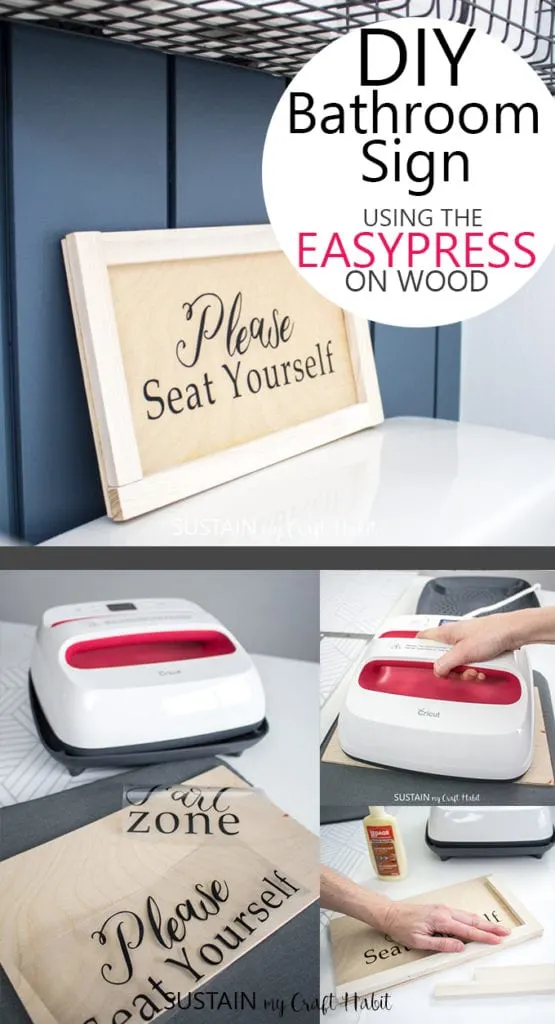
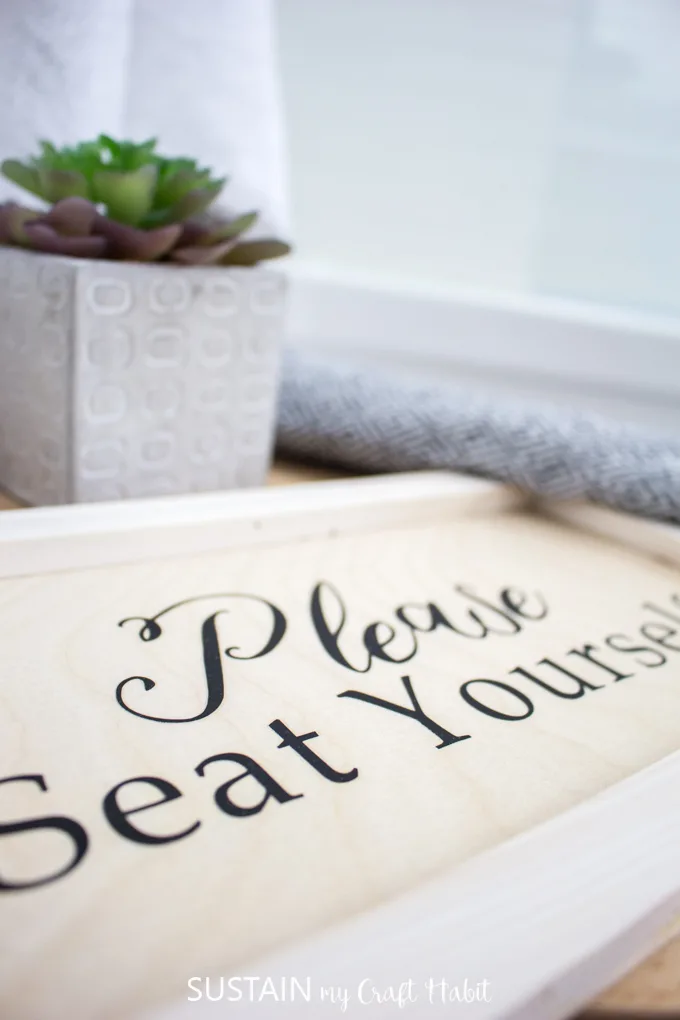
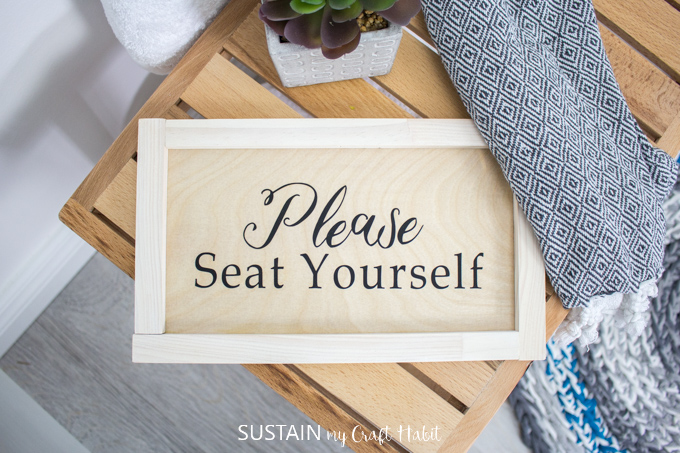
I used some leftover scrap wood I found in the garage and made this silly bathroom sign.
Ive seen these sorts of signs in little boutiques and shops and was excited to make my own.

Since getting our first Cricut Maker a few months ago, weve enjoyed experimenting with different crafts and materials.
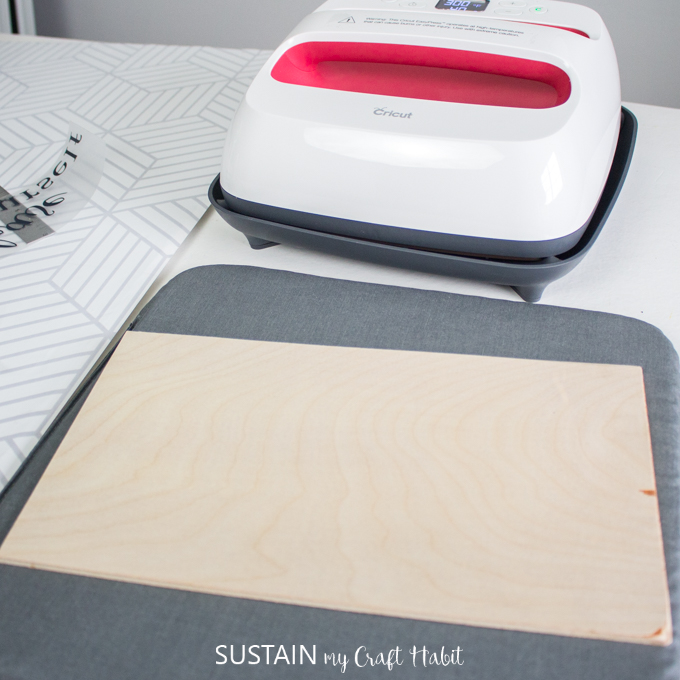
Sand edges and surface of plywood and trim and then clean off all the loose dust.
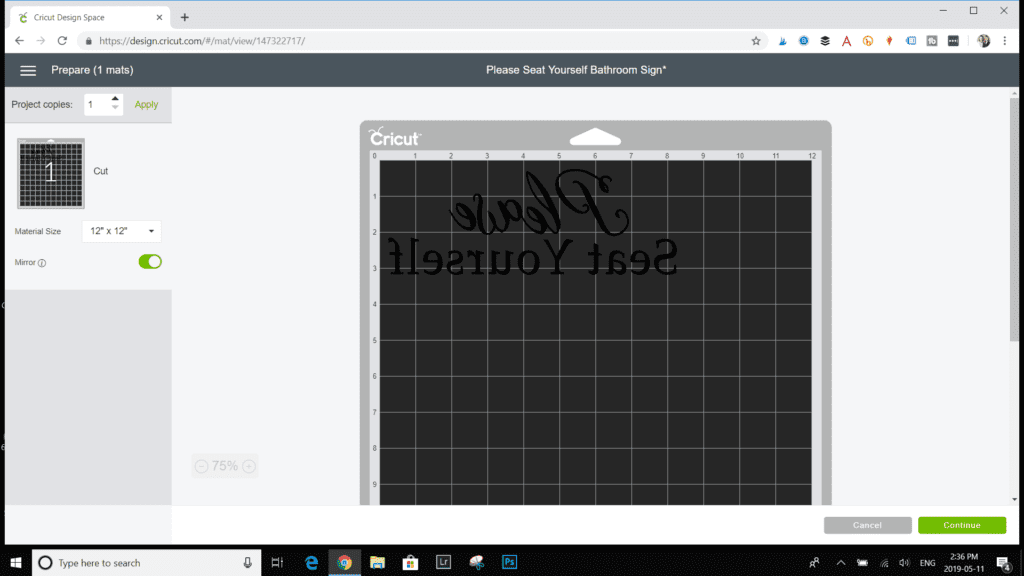
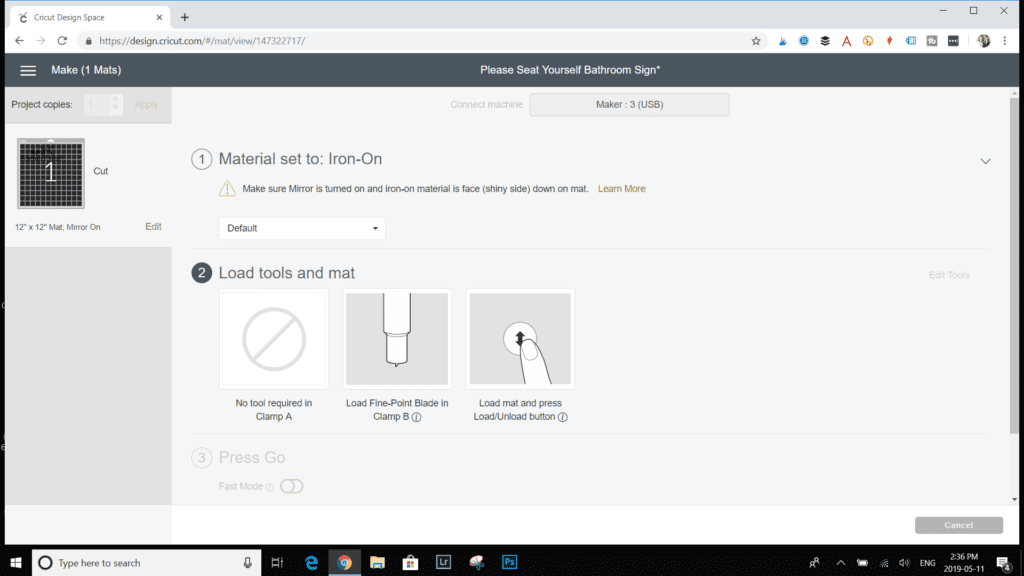
On the cutting mat screen, snag the material size of your vinyl (ie.
12x12) and turn on Mirror image toggle.
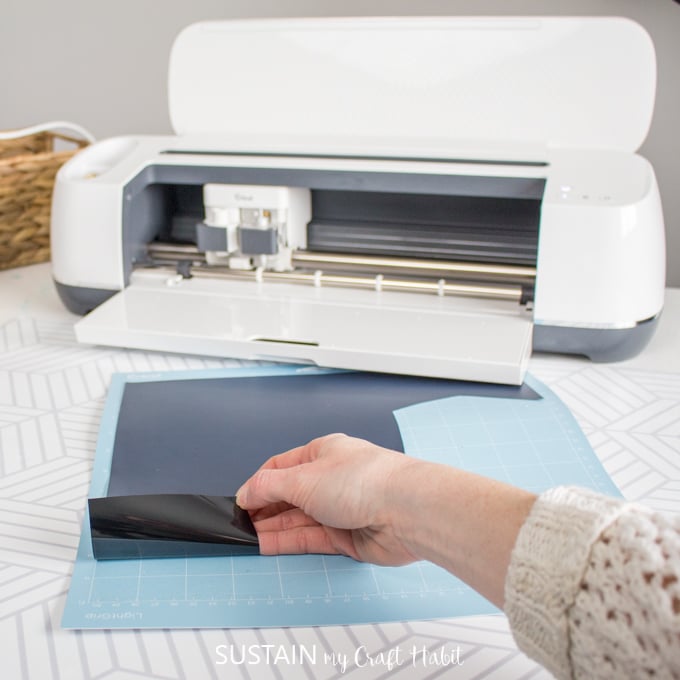
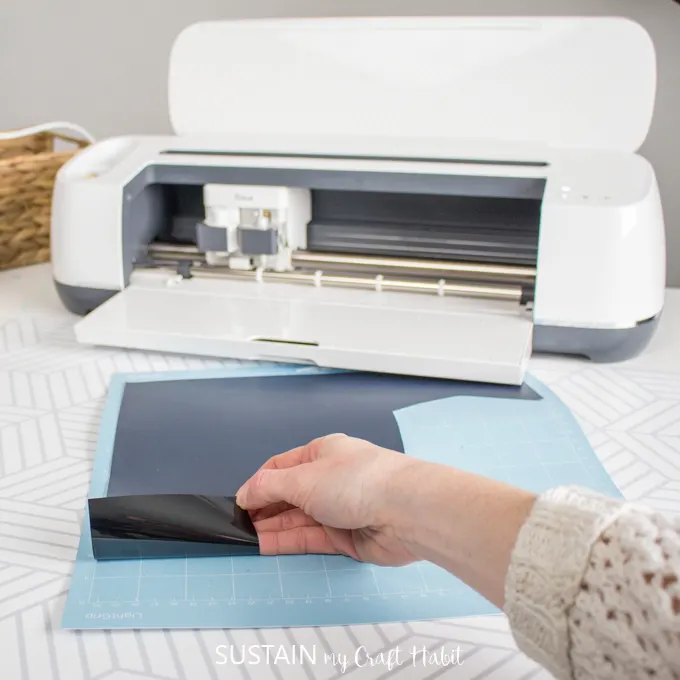
Place Everyday Iron on vinyl with shiny side down on the mat.
Set material to Iron-On.

Check and load the proper cutting tool is in place.
Load mat and choose the Load/Unload button on the Cricut Maker.
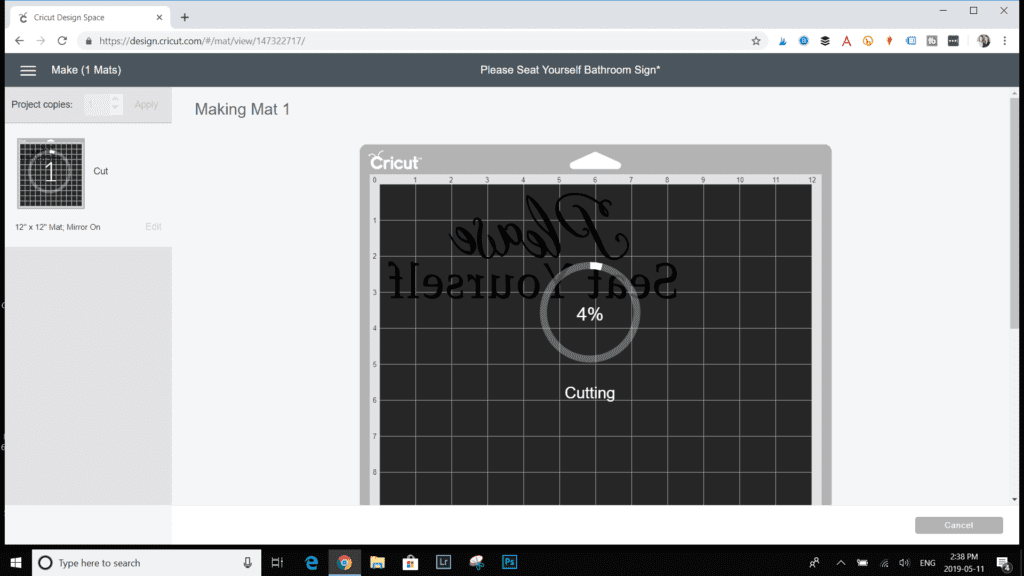
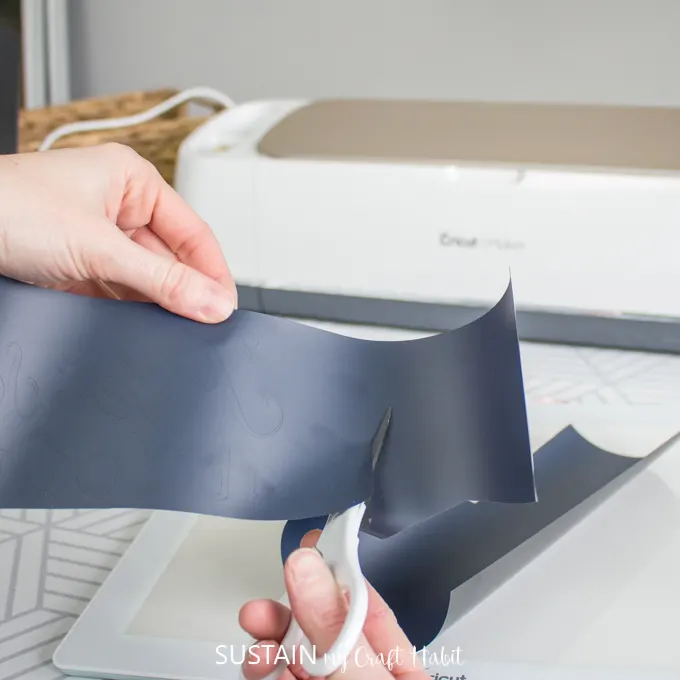
The Maker will begin cutting the vinyl as it is displayed on your screen.
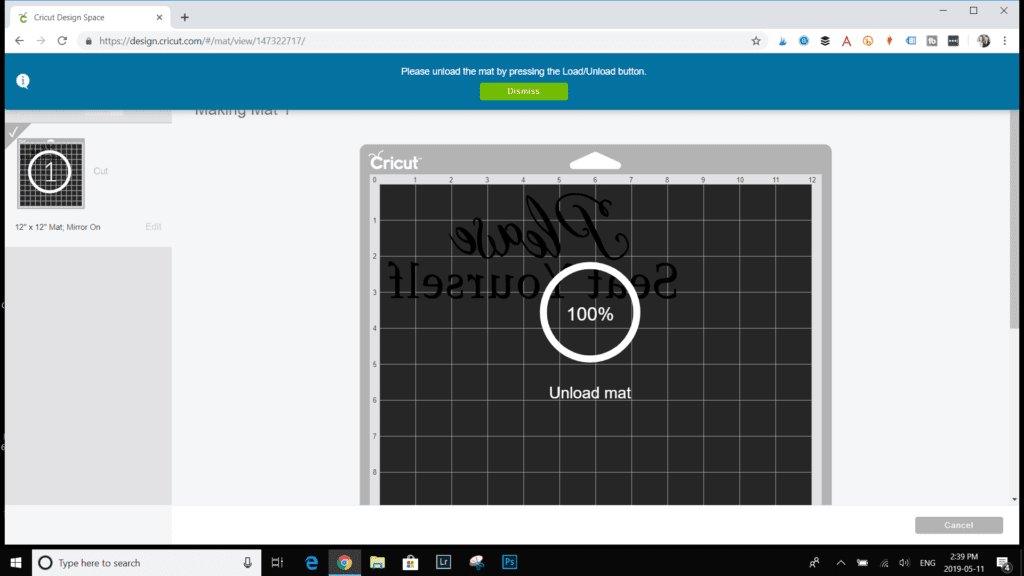
When cutting is at 100%, itll prompt you to unload the mat.
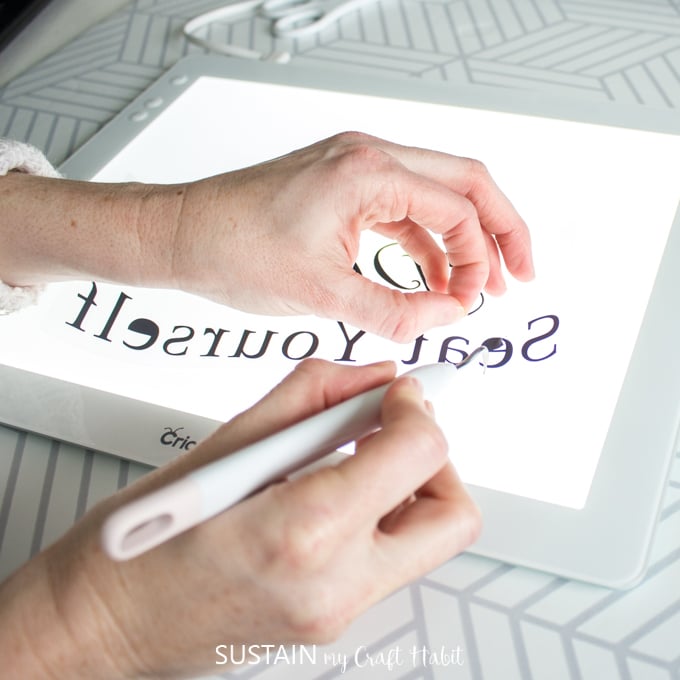
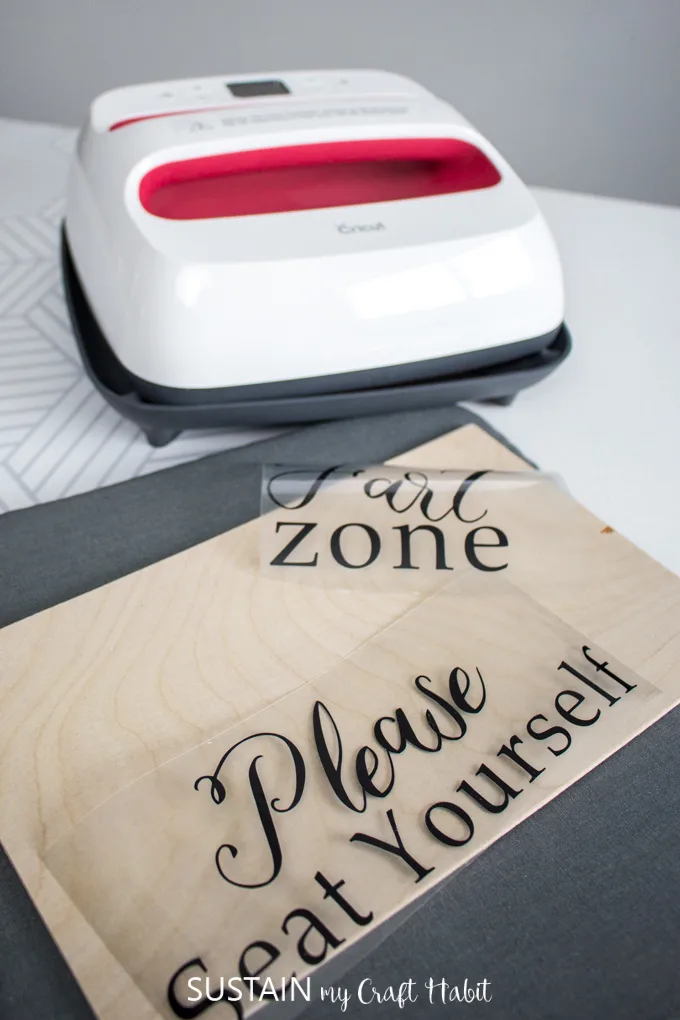
Peel the vinyl away from the cutting mat and put aside.
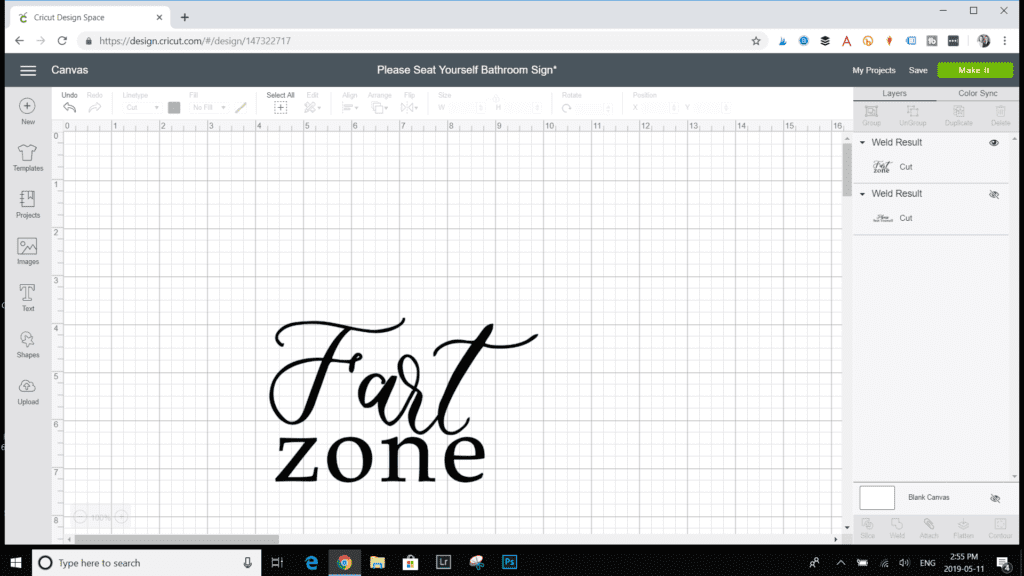
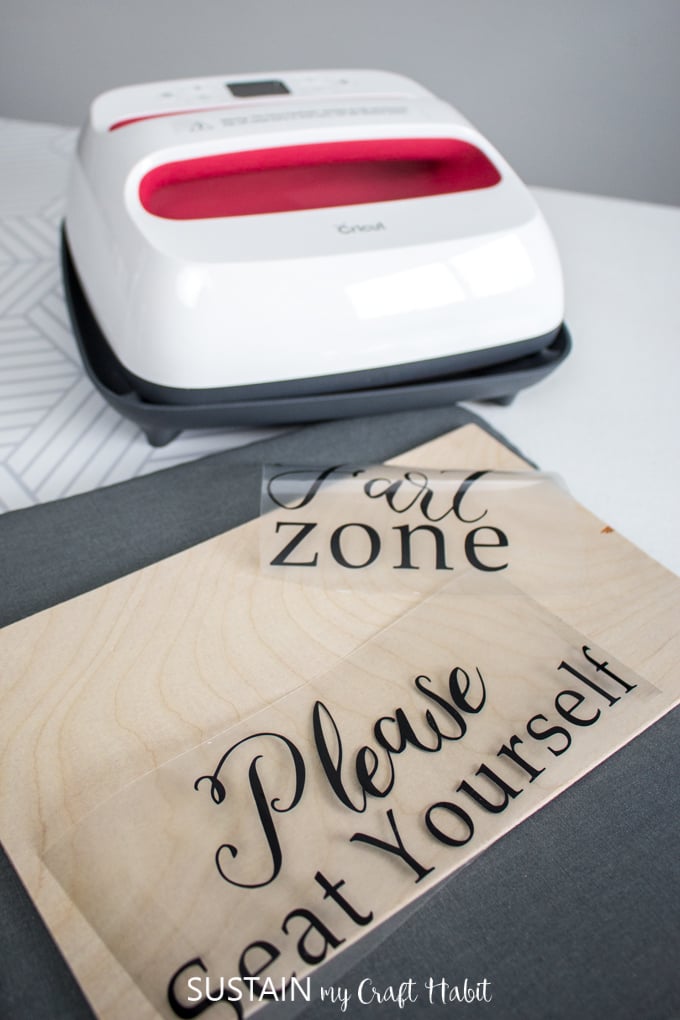
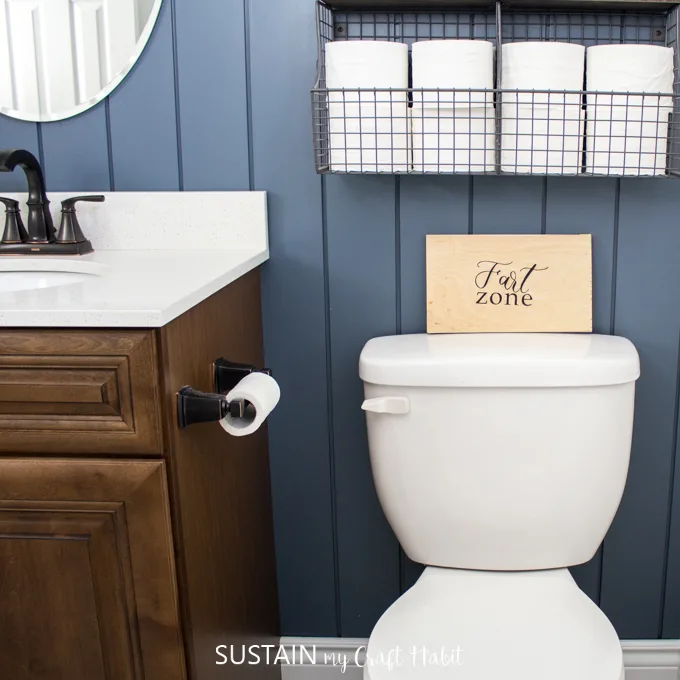
At this stage, I decided to create another sign on the reverse side that read fart zone.
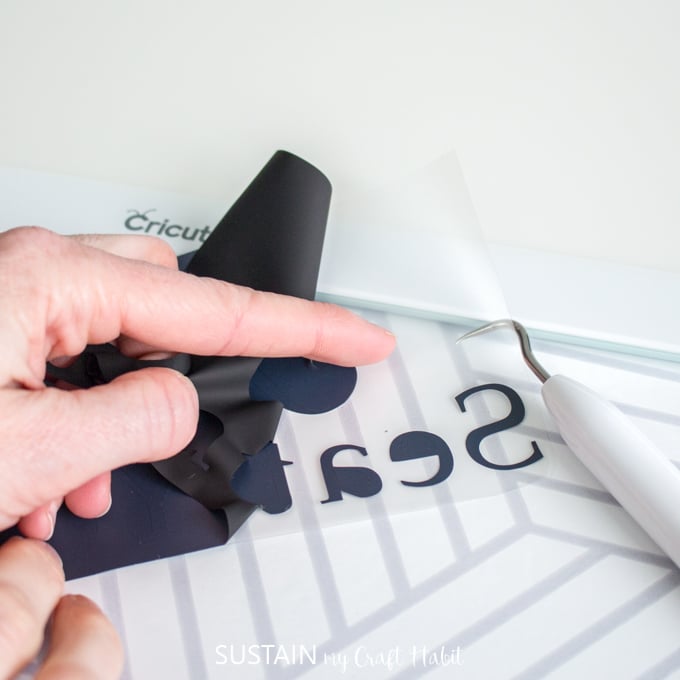
The weeder is an essential tool for cutting vinyl as its intended for easily removing tiny cuts.
It illuminates every detail of the Cricut cut vinyl making it easier to peel away the excess.
These are the weeded vinyl phrases ready to be heat pressed on to the wood.

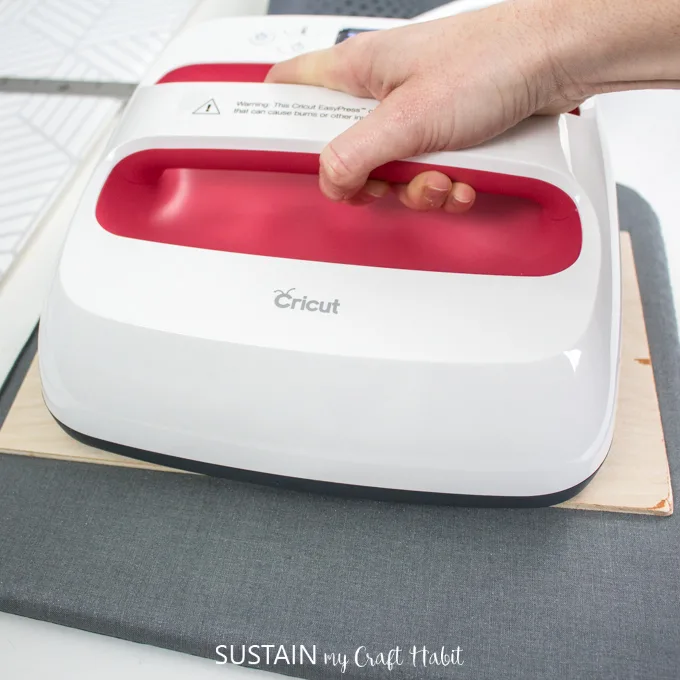
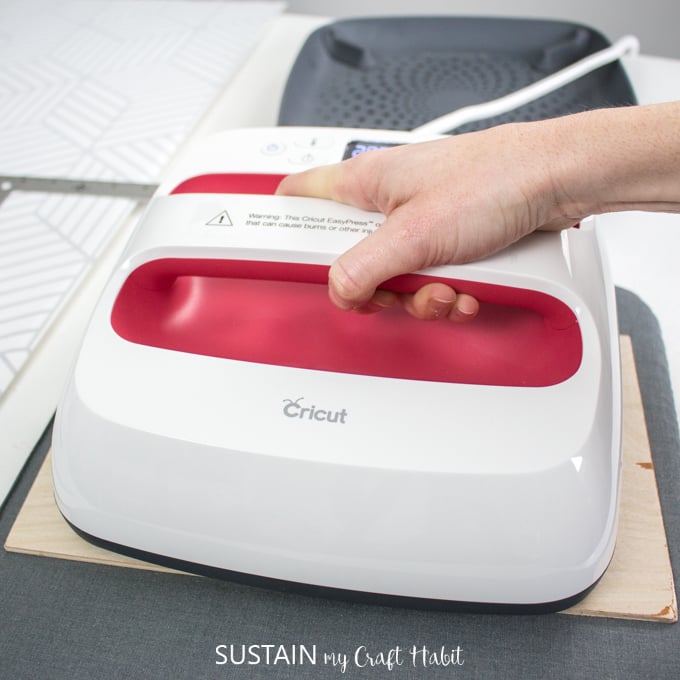
Place the prepared piece of plywood on matte (https://cricut.com/en_us/cricut-easypress-mat-20-x-16.html) or towel.
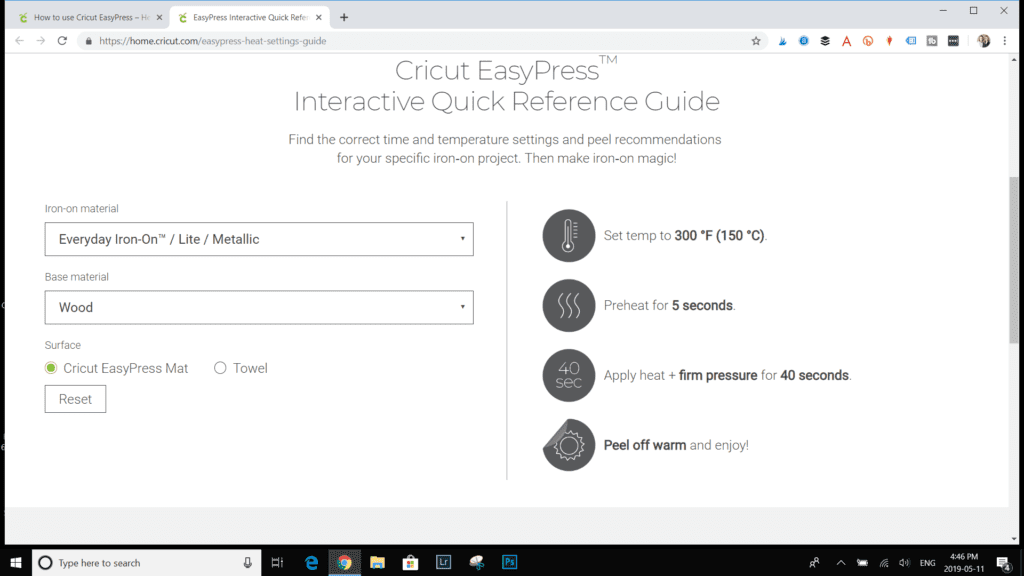
Prepare the EasyPress using the Cricut EasyPress Interactive Quick Reference Guide.
Set the temp to 300F.

Set the time to 30 seconds.Preheat the plywood for 5 seconds.
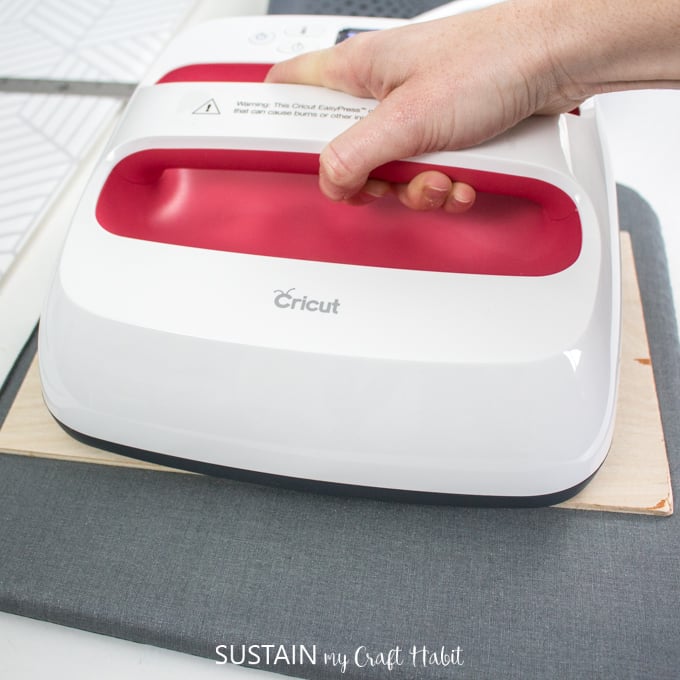
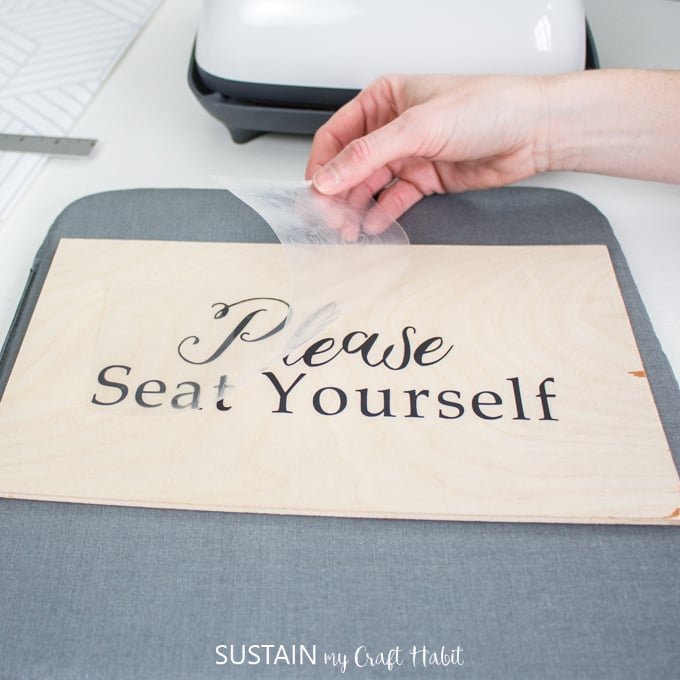
Place the prepared vinyl on the preheated wood.
Apply the heat for 40 seconds with firm pressure.
Be careful not to shift your work when pressing.
After 40 seconds, check the work to see if the vinyl has adhered to the wood.
Repeat these steps for the cut vinyl on the back side of the wood sign.

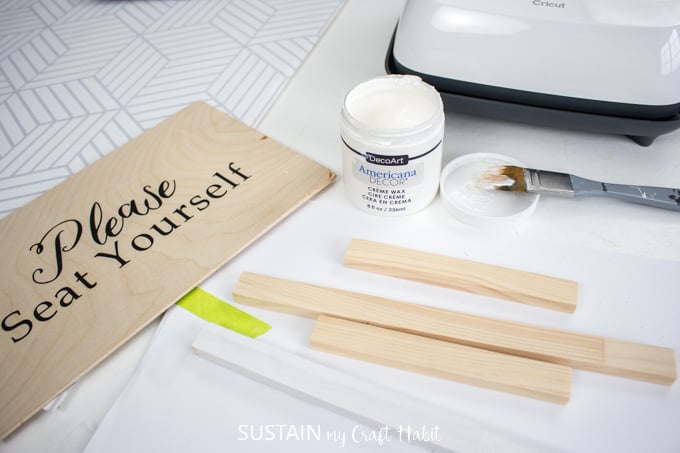
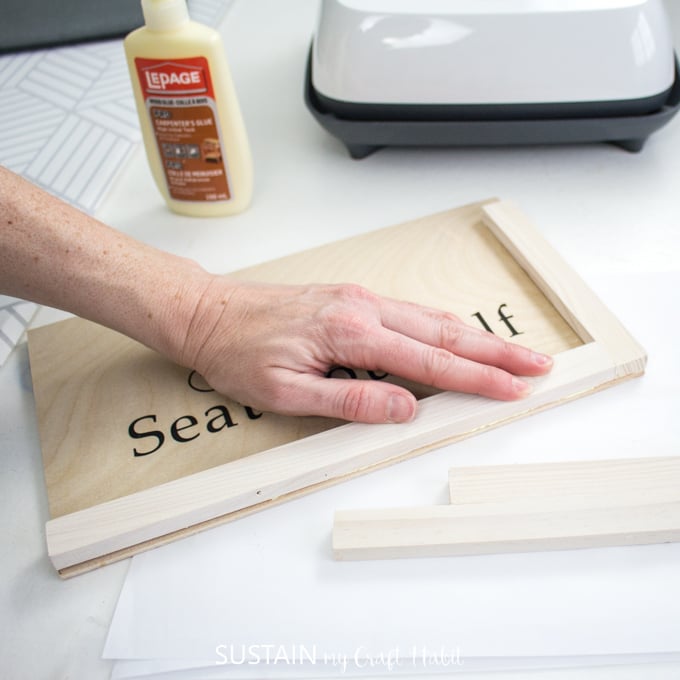
Gather the rest of the needed supplies to finish the bathroom sign.
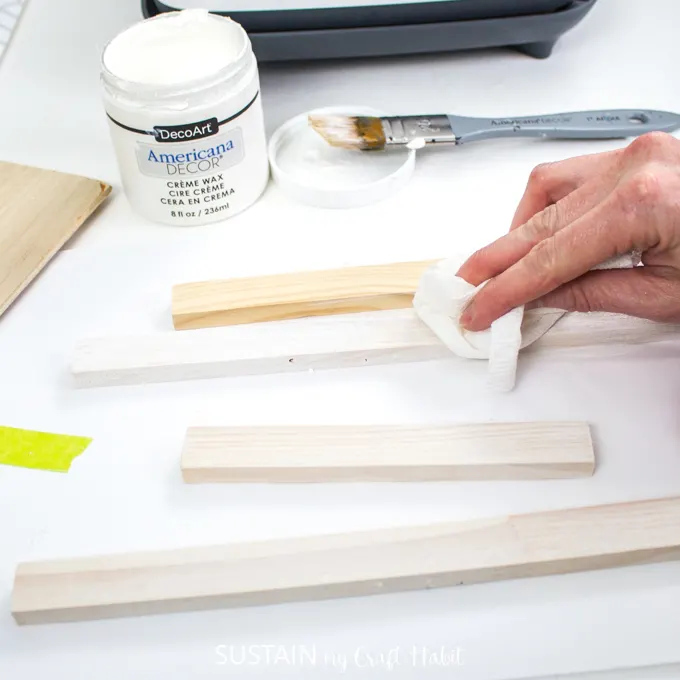
Paint the visible edges of the wood trim with Americana Decor Creme Wax.
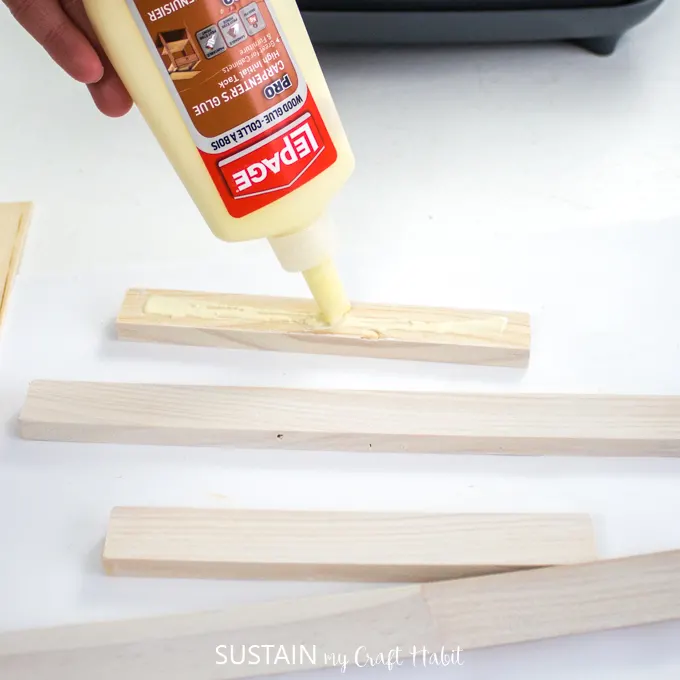
Press the trim onto the edges of the plywood to create the frame.
Repeat with the remaining 3 sides.
Place a heavy object over top of the glued trim and leave it until it dries fully before using.
What silly saying would you like to have on your DIY bathroom sign?
Pin it for Later!