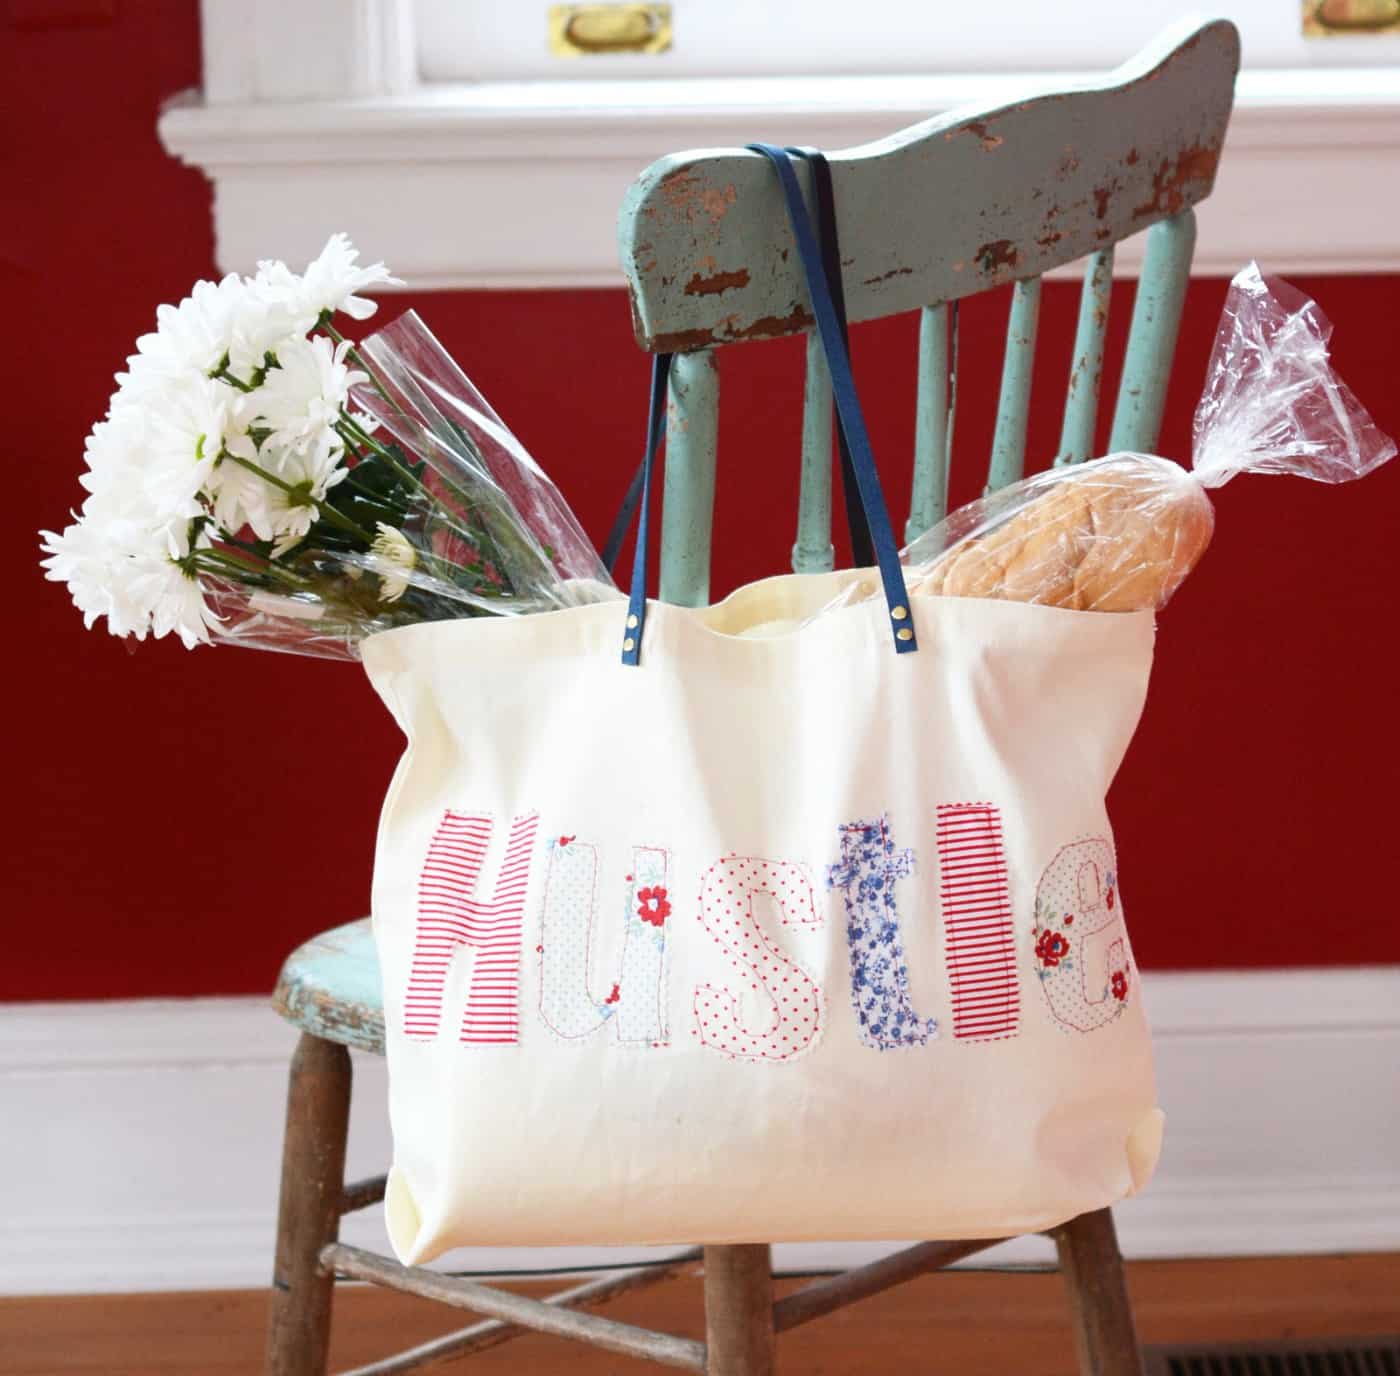
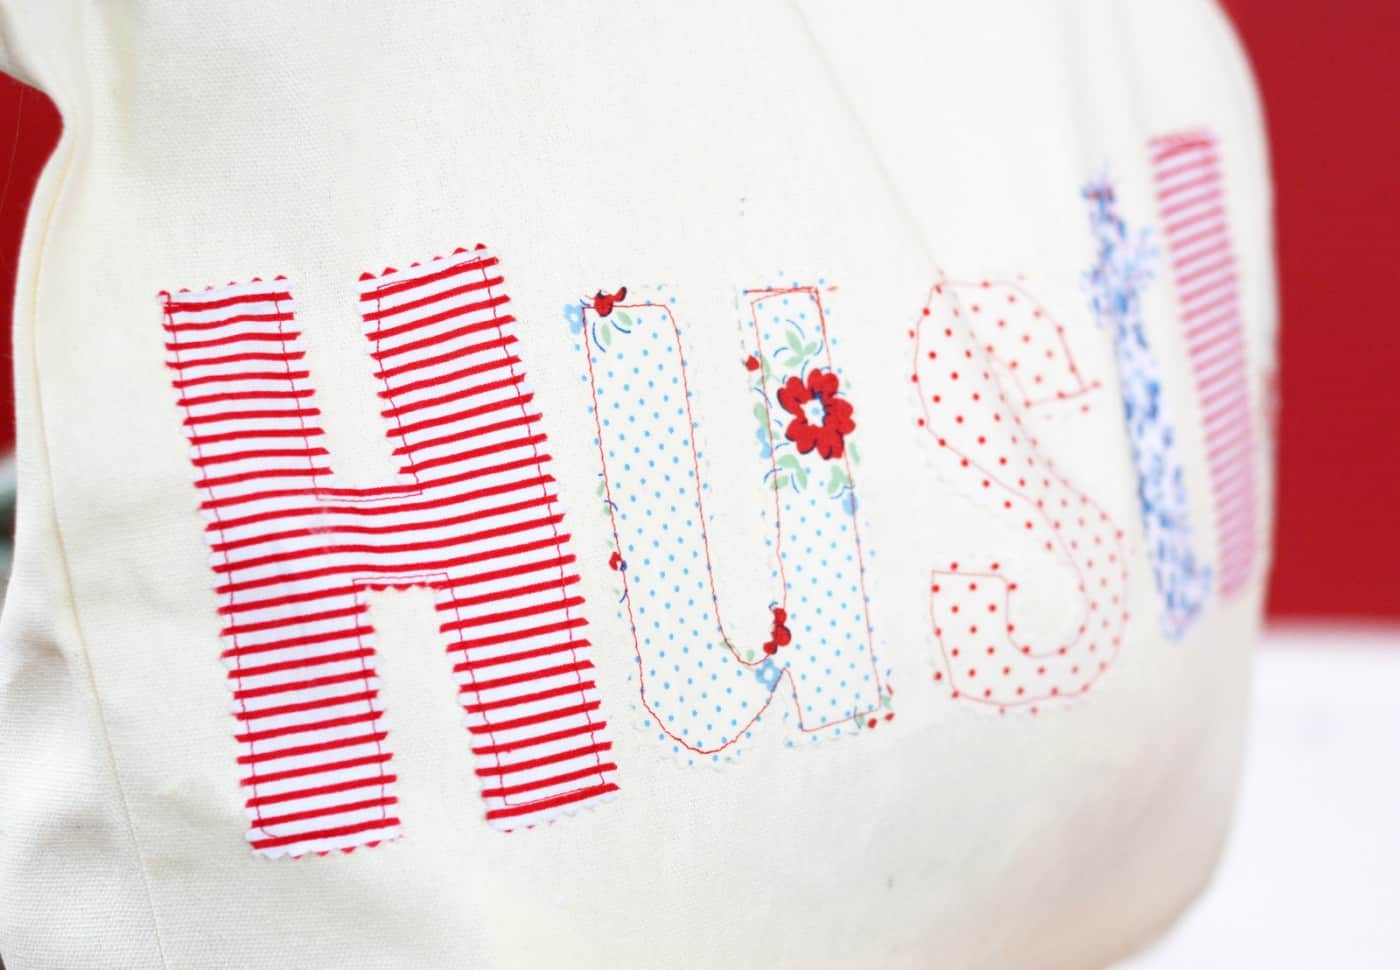
Learn how to make a DIY applique tote with your favorite fabrics!
you’re able to use any word you like.
This is a great beginner sewing project.
Skills Required: Beginner.Youll be doing some basic sewing of various cut fabrics onto the front of a tote.
Youll need a basic knowledge of a sewing machine.
I love applique and it is reallya lot easierthan most people think.
So I decided to make my own DIY tote with an applique.
This is avery easy sewing project!
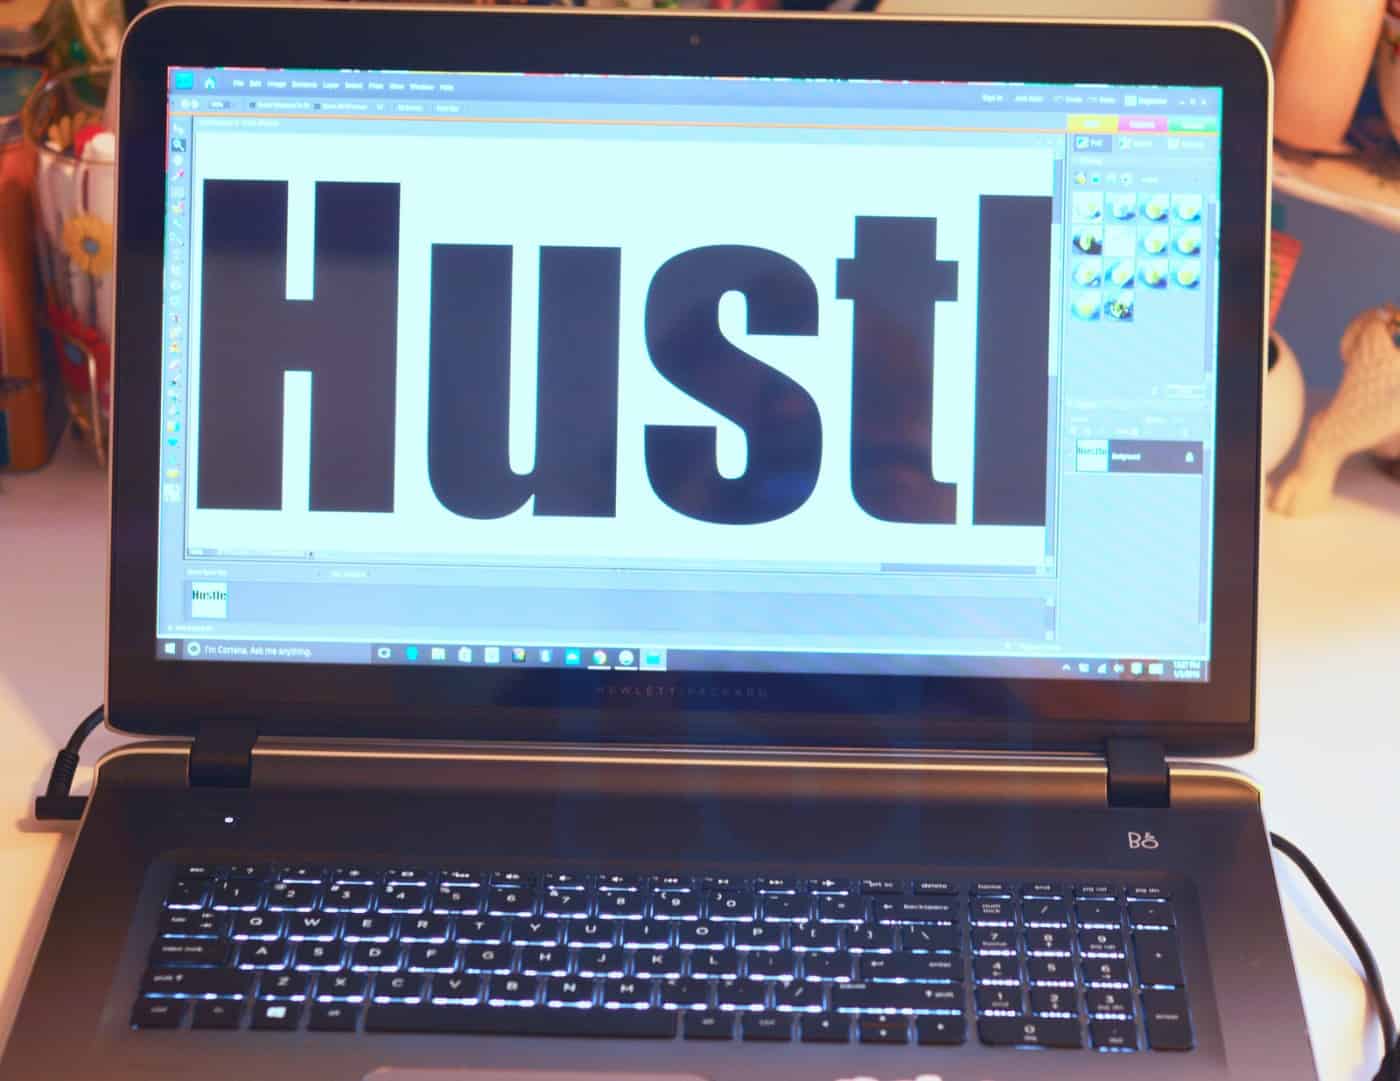
jot down out the word you want in the font you want on your setup.
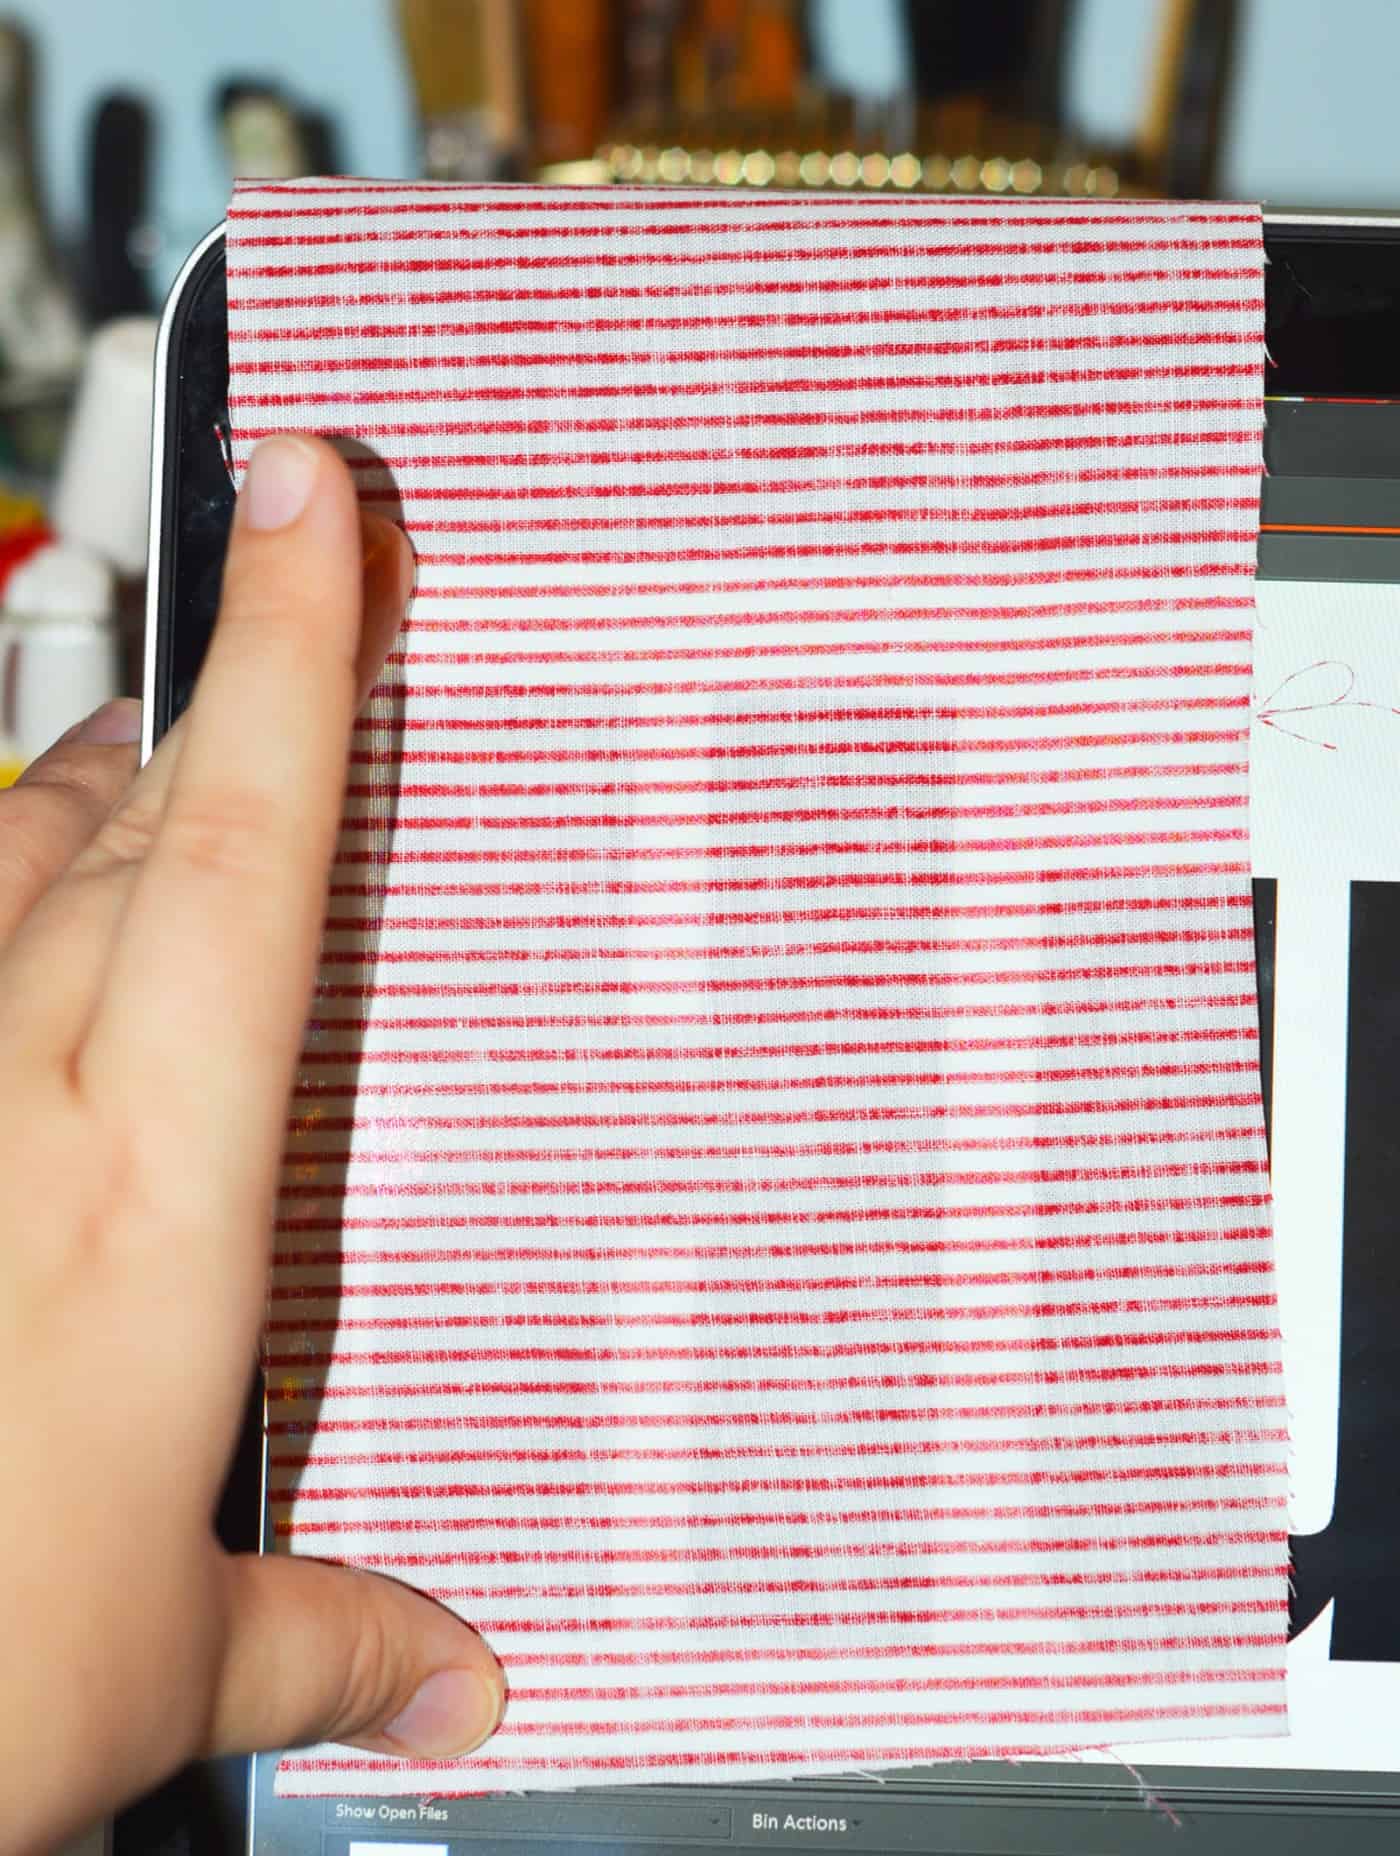
Resize the font to be the size you want for your tote.
it’s possible for you to also print out and use the paper templates if you like.
Ill leave that up to you!
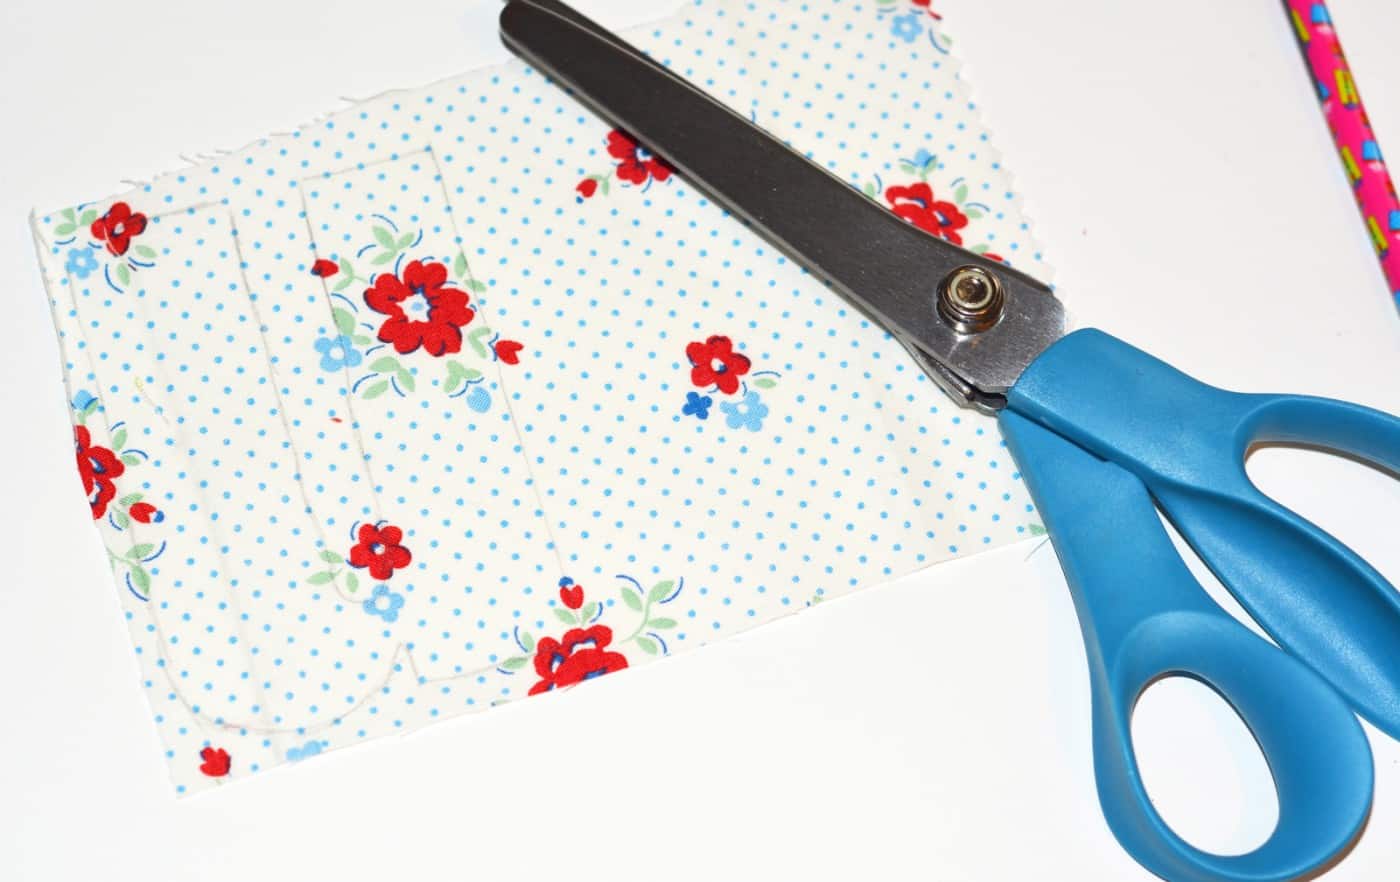
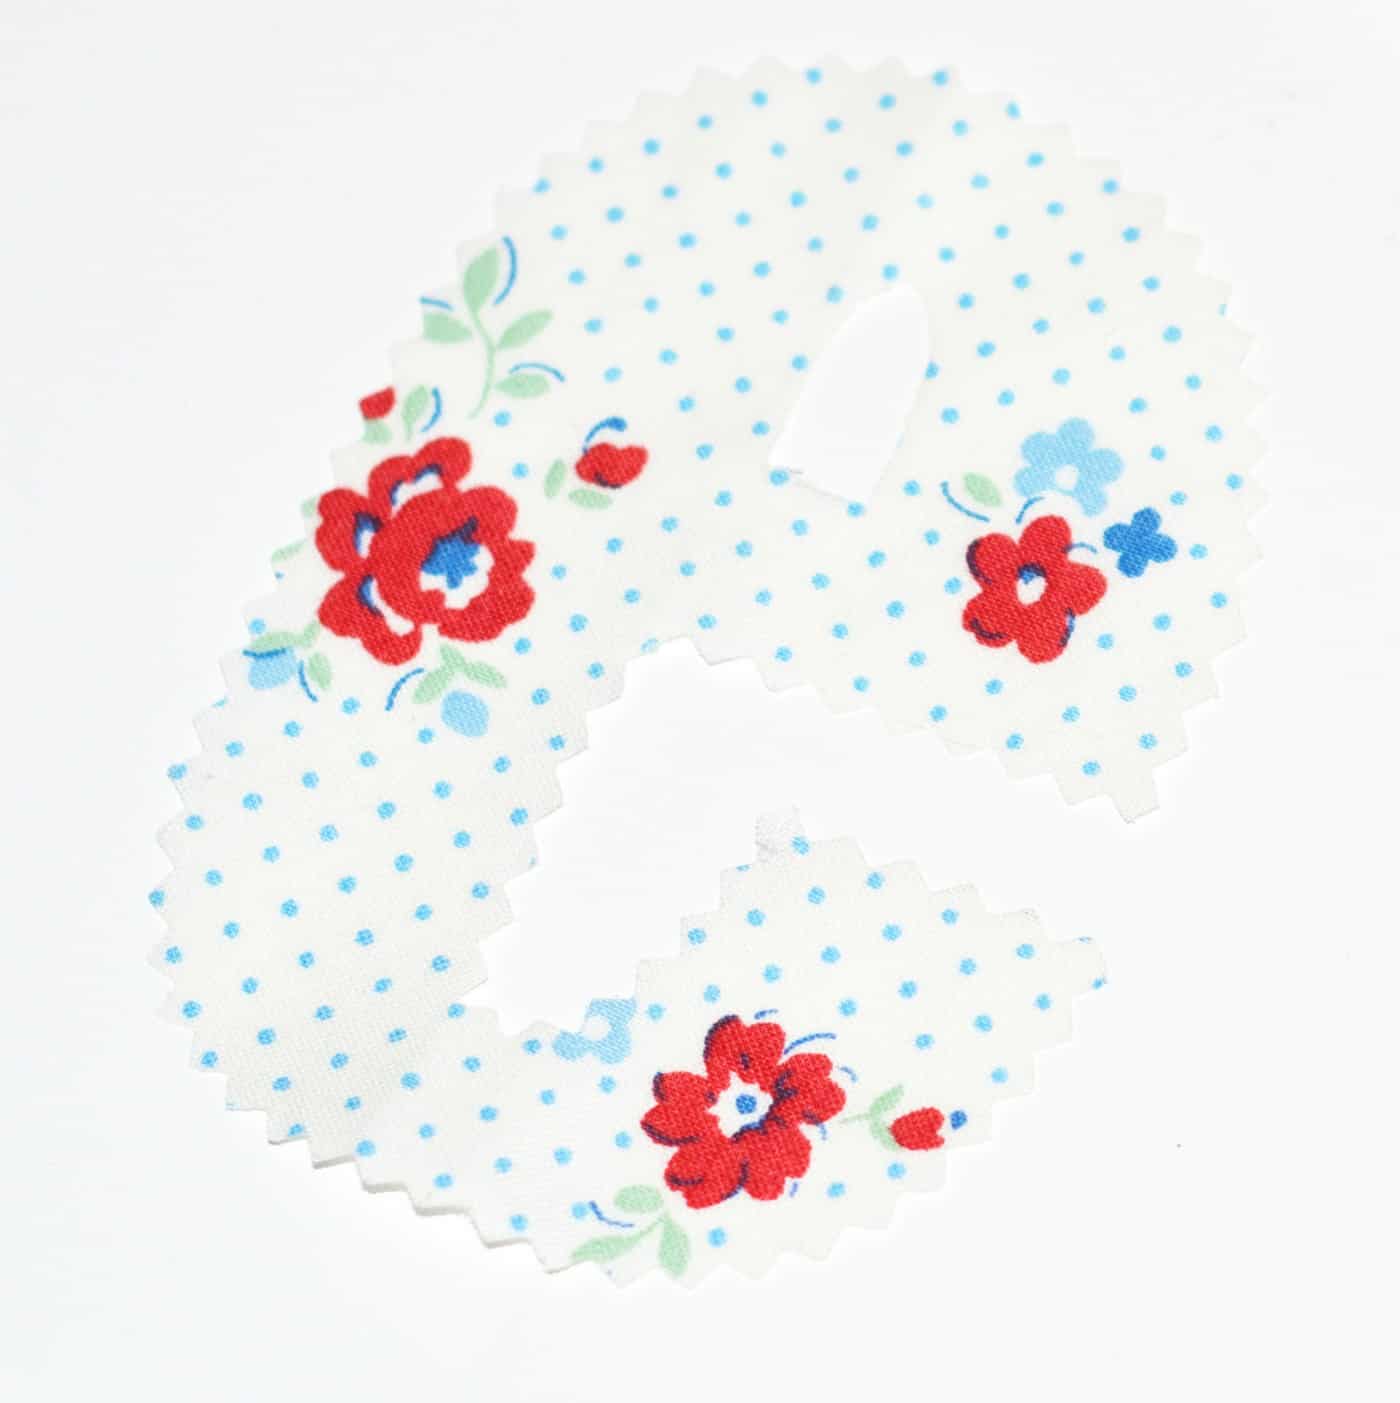
Cut out your letters with pinking shears or scissors.
The pinking shears just give a fun little edge to the project.
Use a pair of detail scissors for the inside pieces.
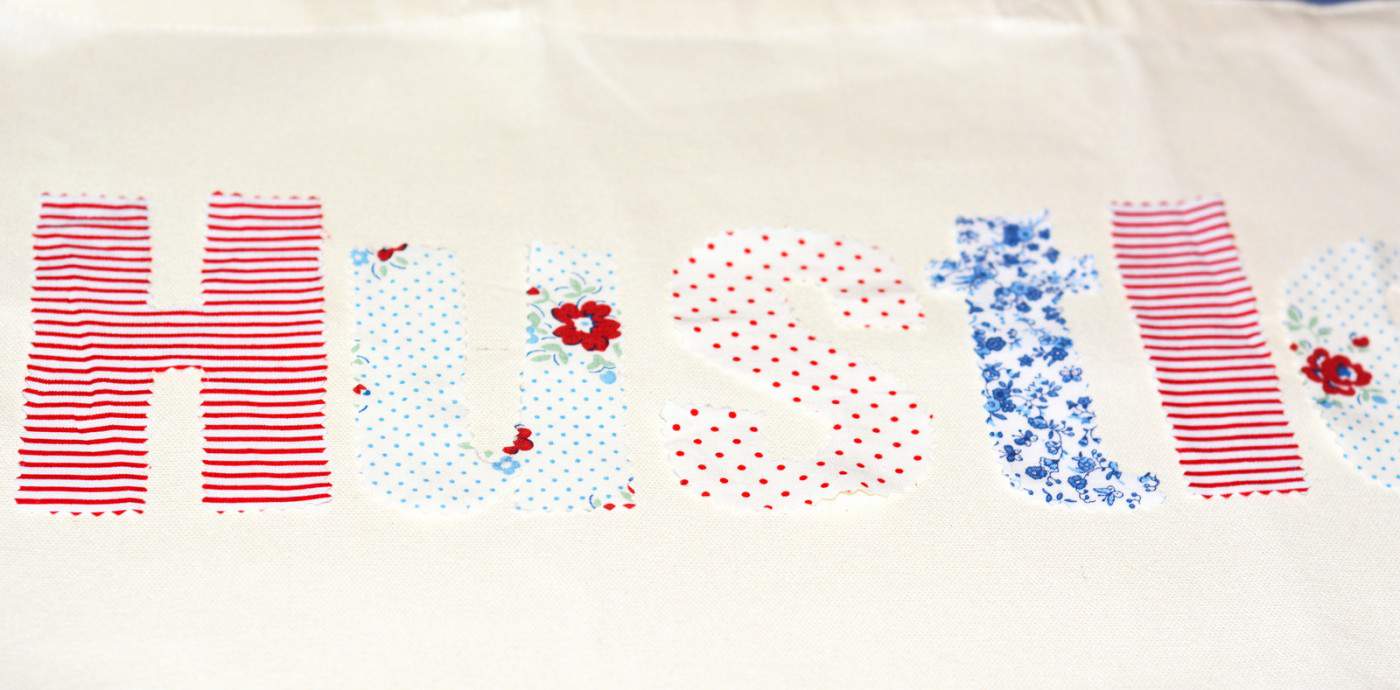
Attach the Letters
Now it’s crucial that you apply them to the tote.
A ruler will help keep them in line.
Go ahead and cut your handles off.
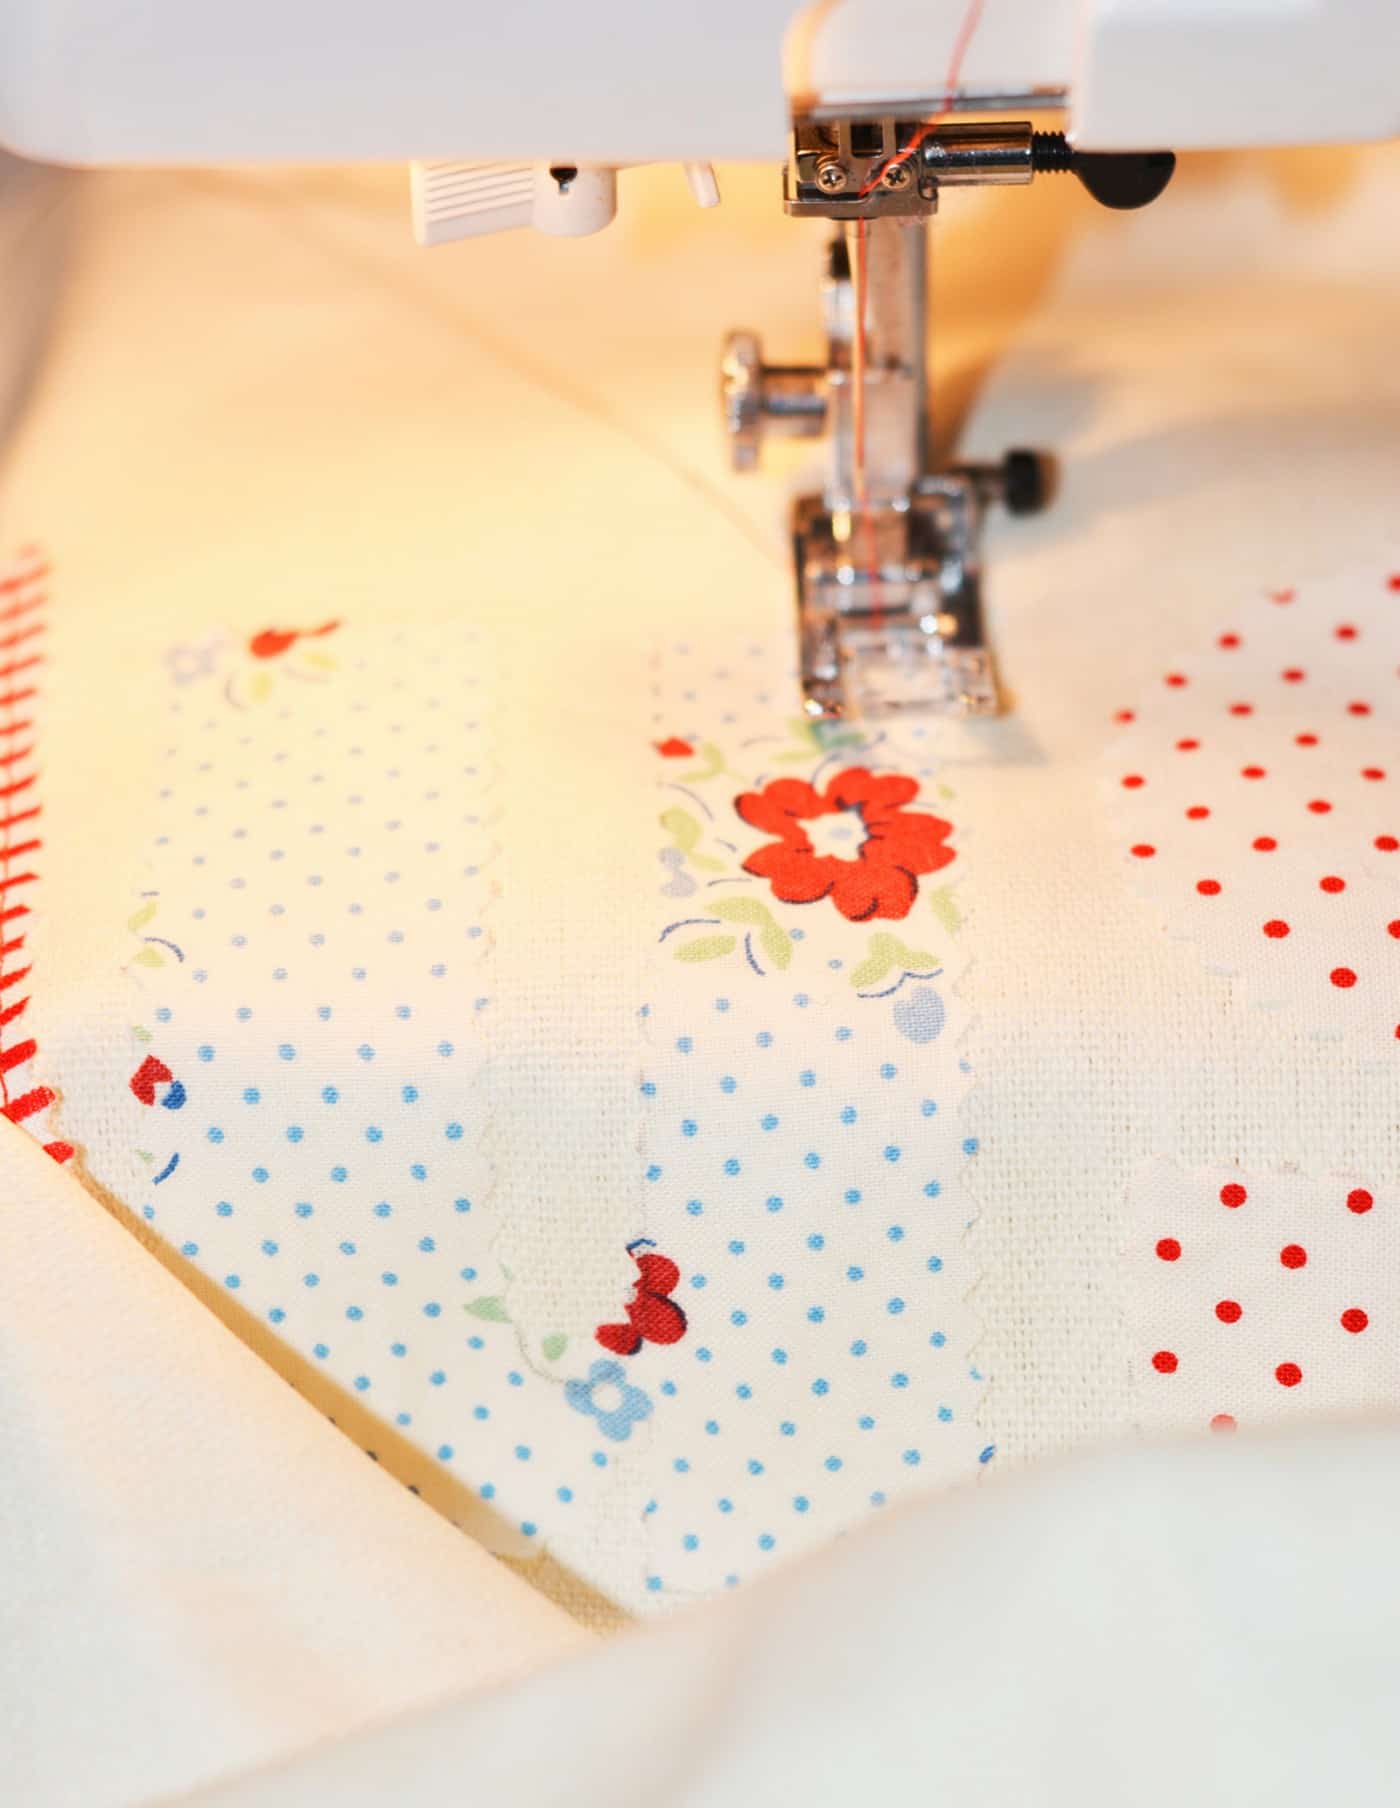
Now you better stitch the letters onto the tote.
Top stitch each letter.
Stitch about an eighth inside the edge outlining each letter.
Back stitch at the beginning and end of each letter.
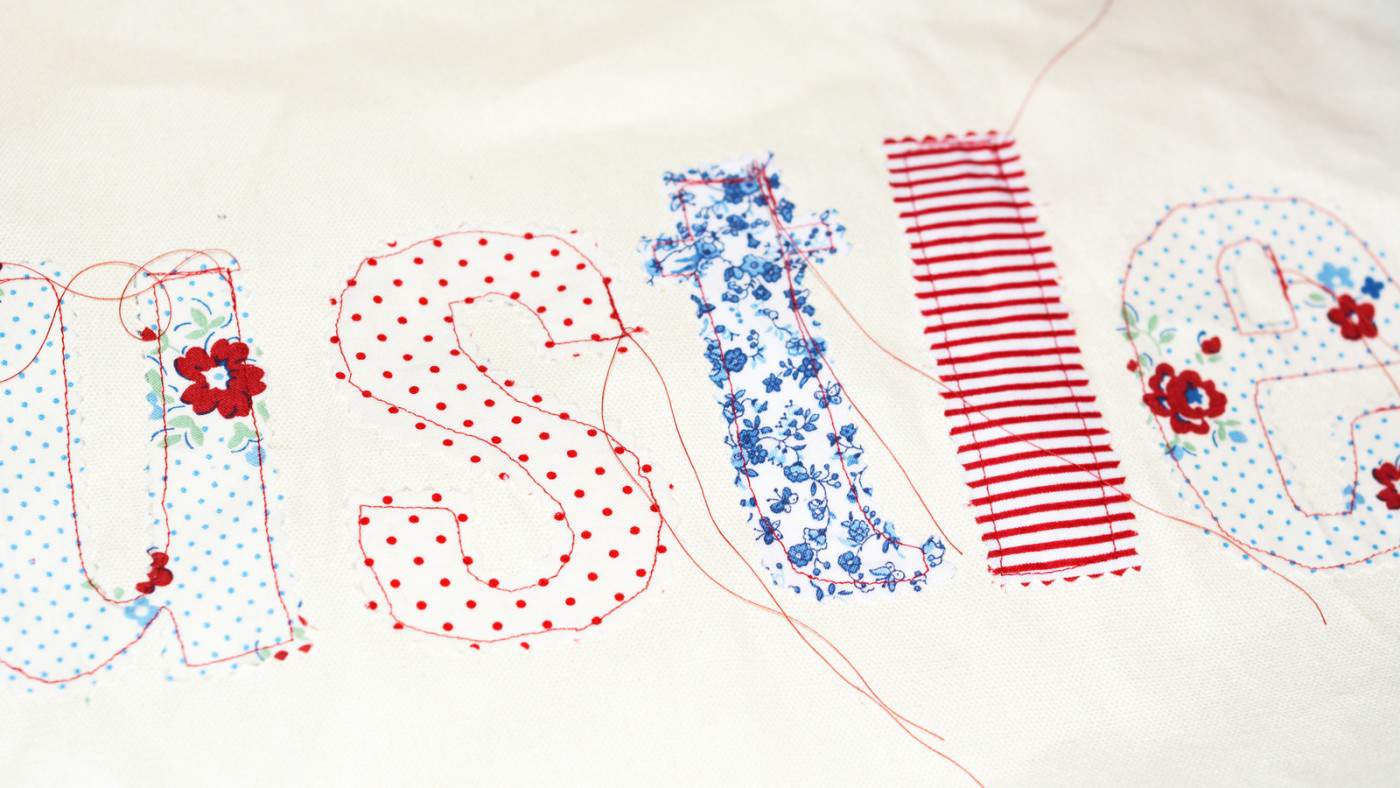
Then remove it from the machine and then insert it again and begin on the next letter.
Stitch all your letters down and then clip all excess threads.
Make and Attach the Handle
Now you are ready to add the handles.
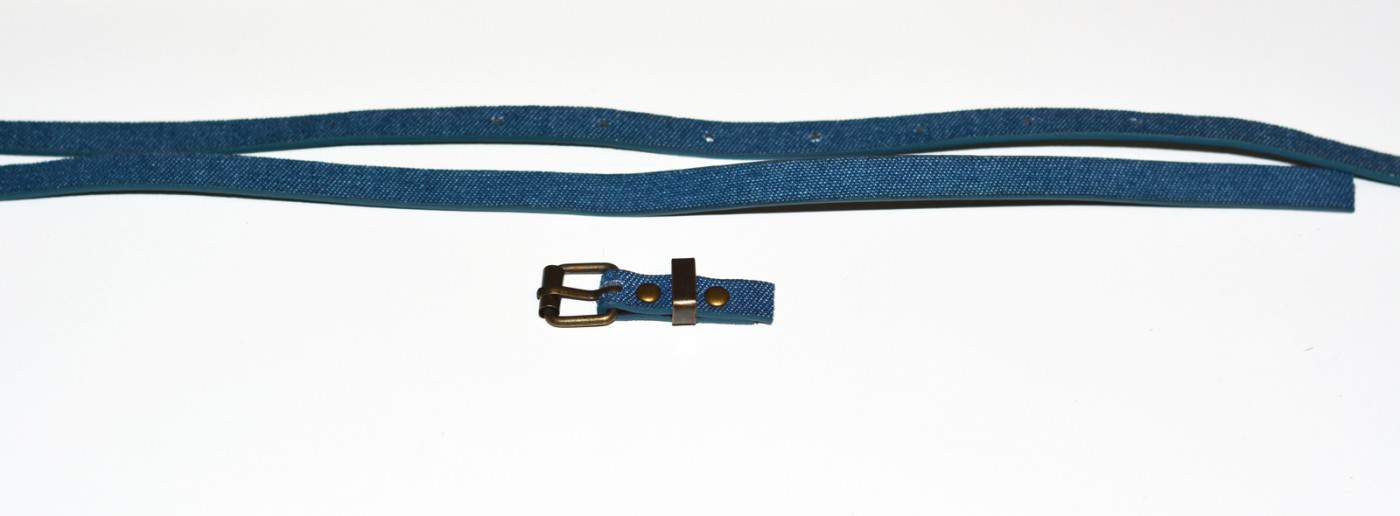
I used a long belt I picked up at the thrift store.
Snip the ends off of the belt.
Then fold it in half and cut it in half.
These will be your new handles.
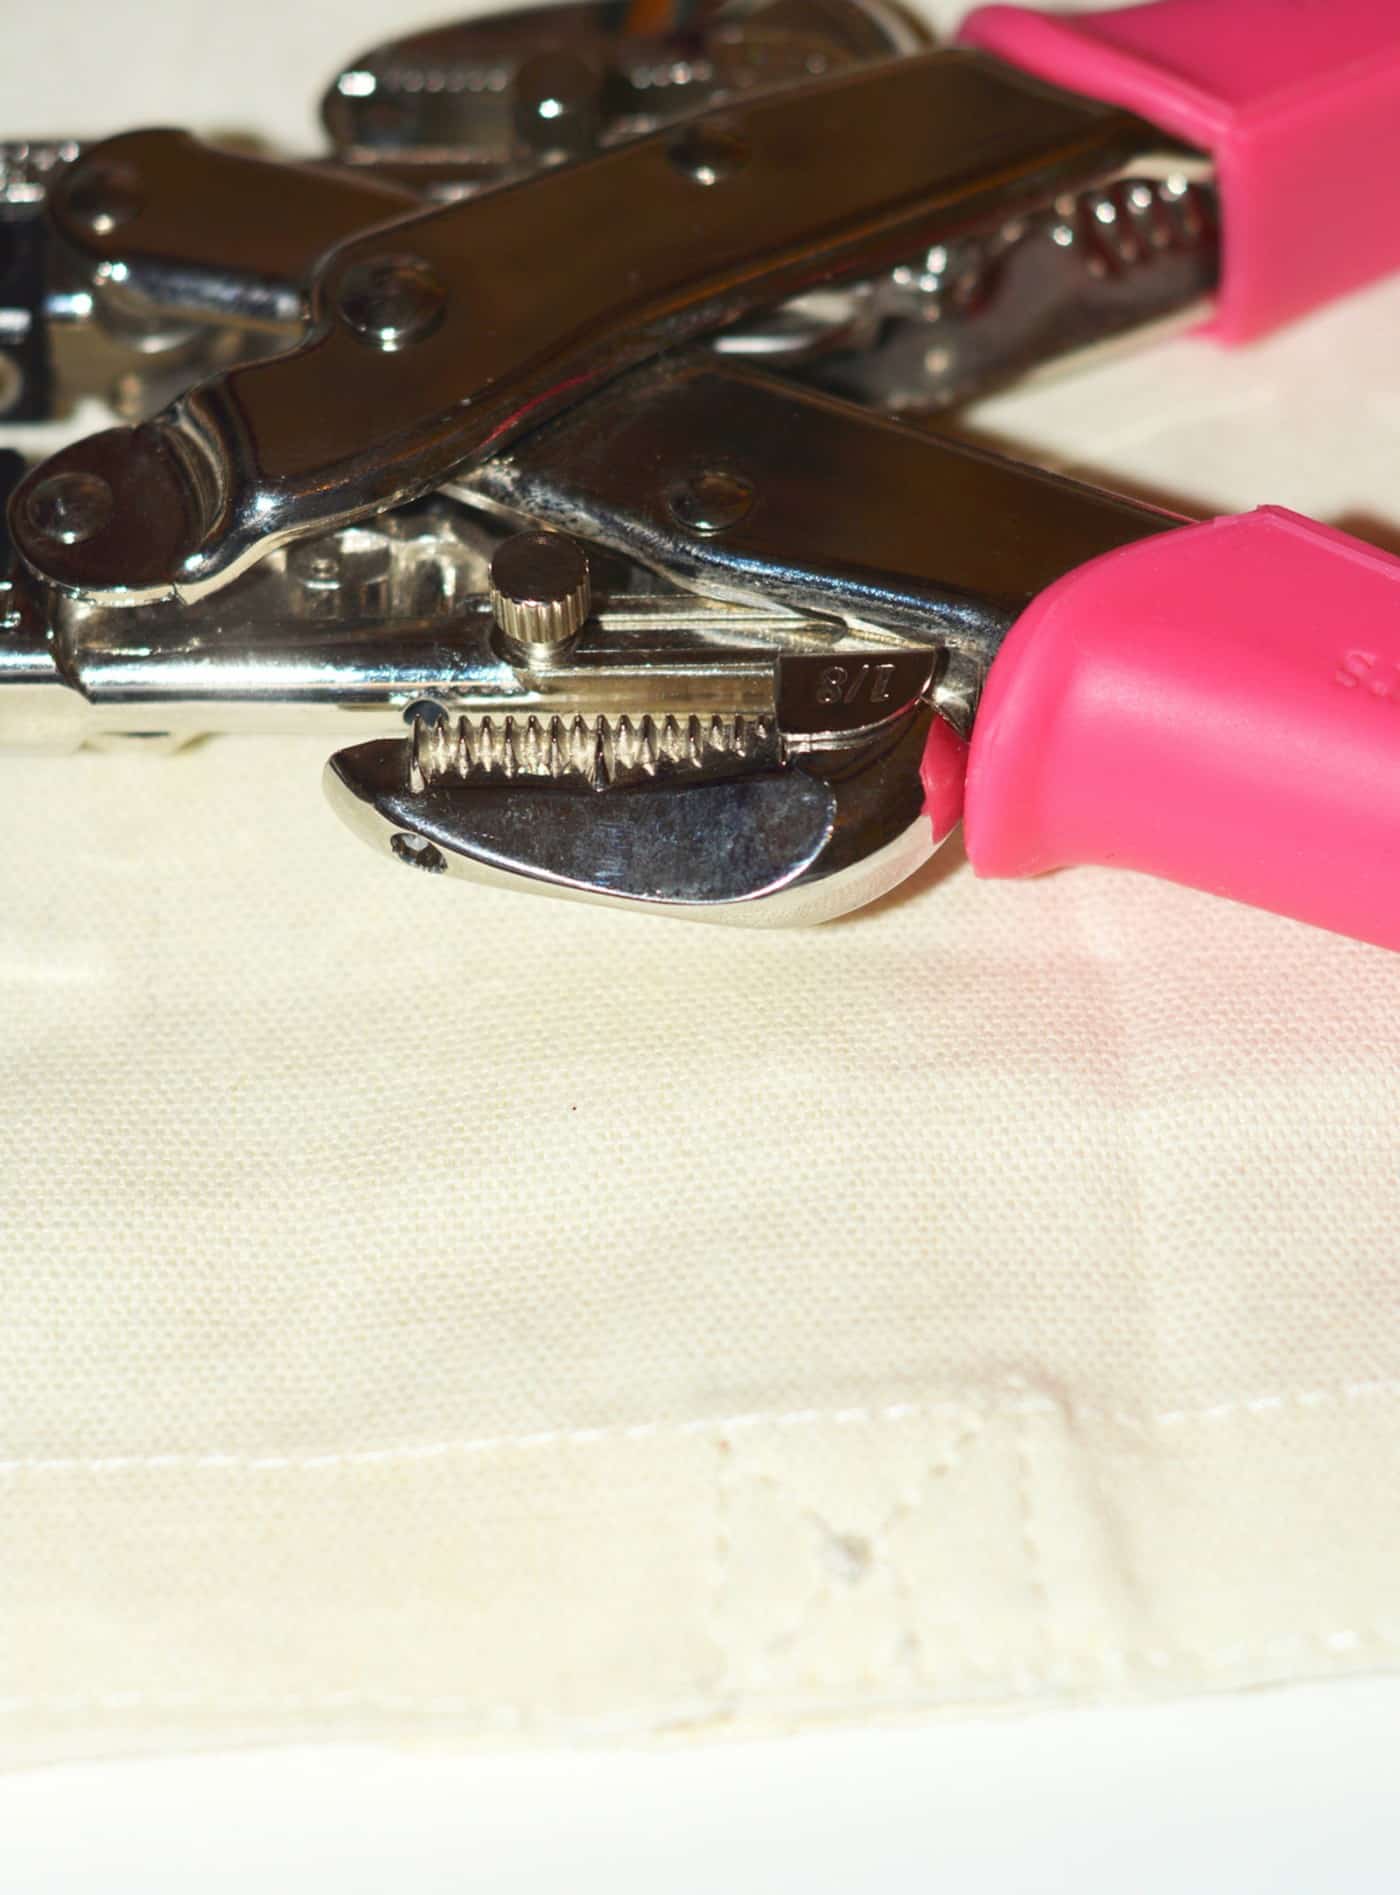
Mark where your rivets will go with a pen.
Then punch your holes with your punch.
I used my Crop-A-Dile.
It needs to be the same size as your rivet package says.
You will need to punch your holes in the handles and in the bag.
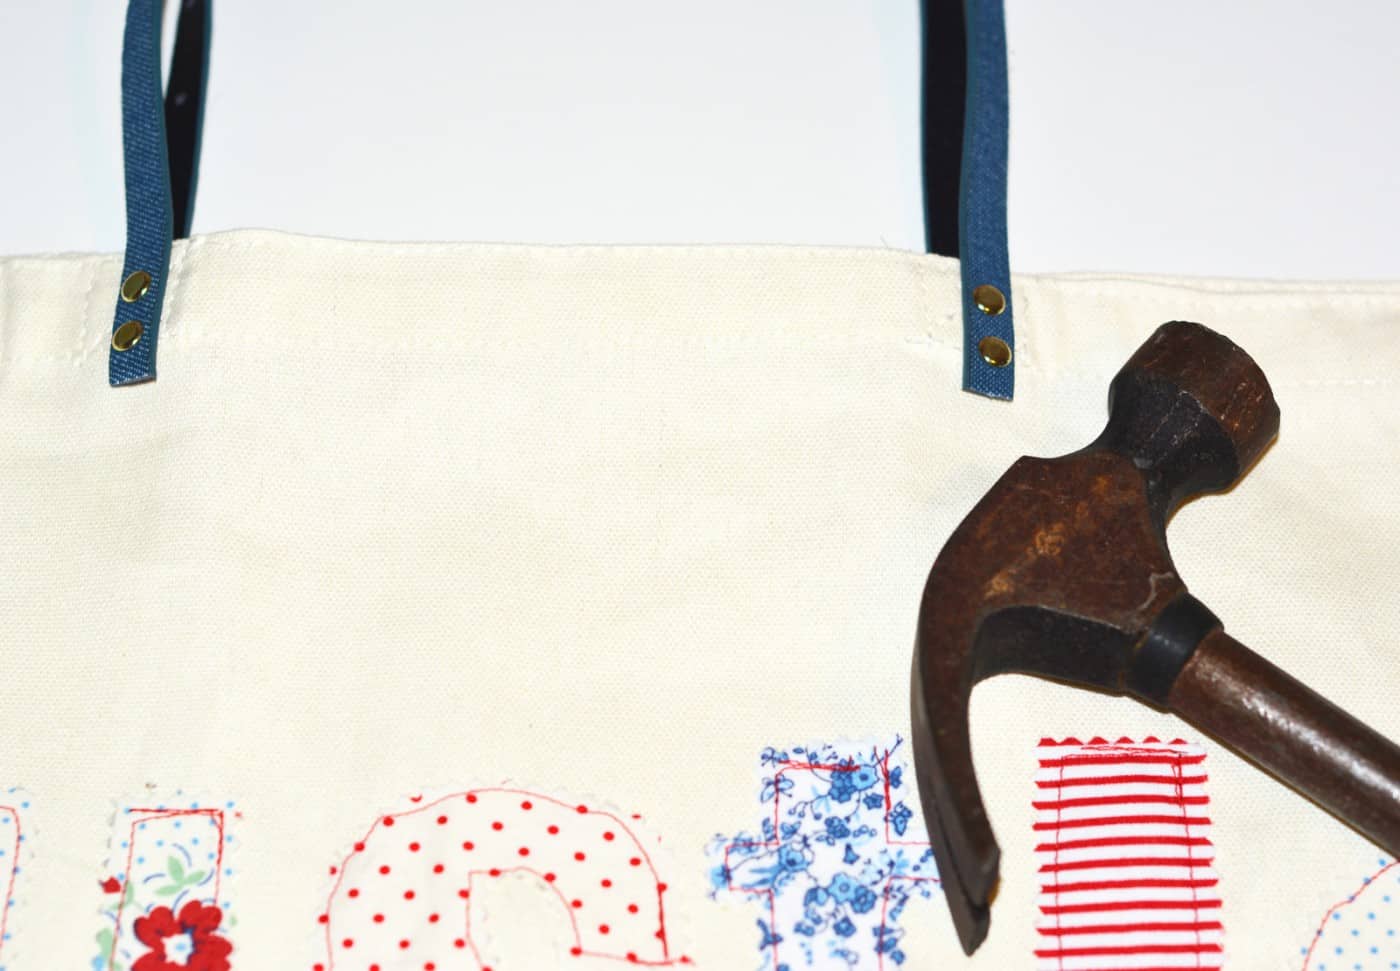
Do the same thing with the rest of the rivets.
To finish off, hammer down the rivets on a smooth sturdy surface.
What do you think of my applique tote?
Its pretty fun, right?!
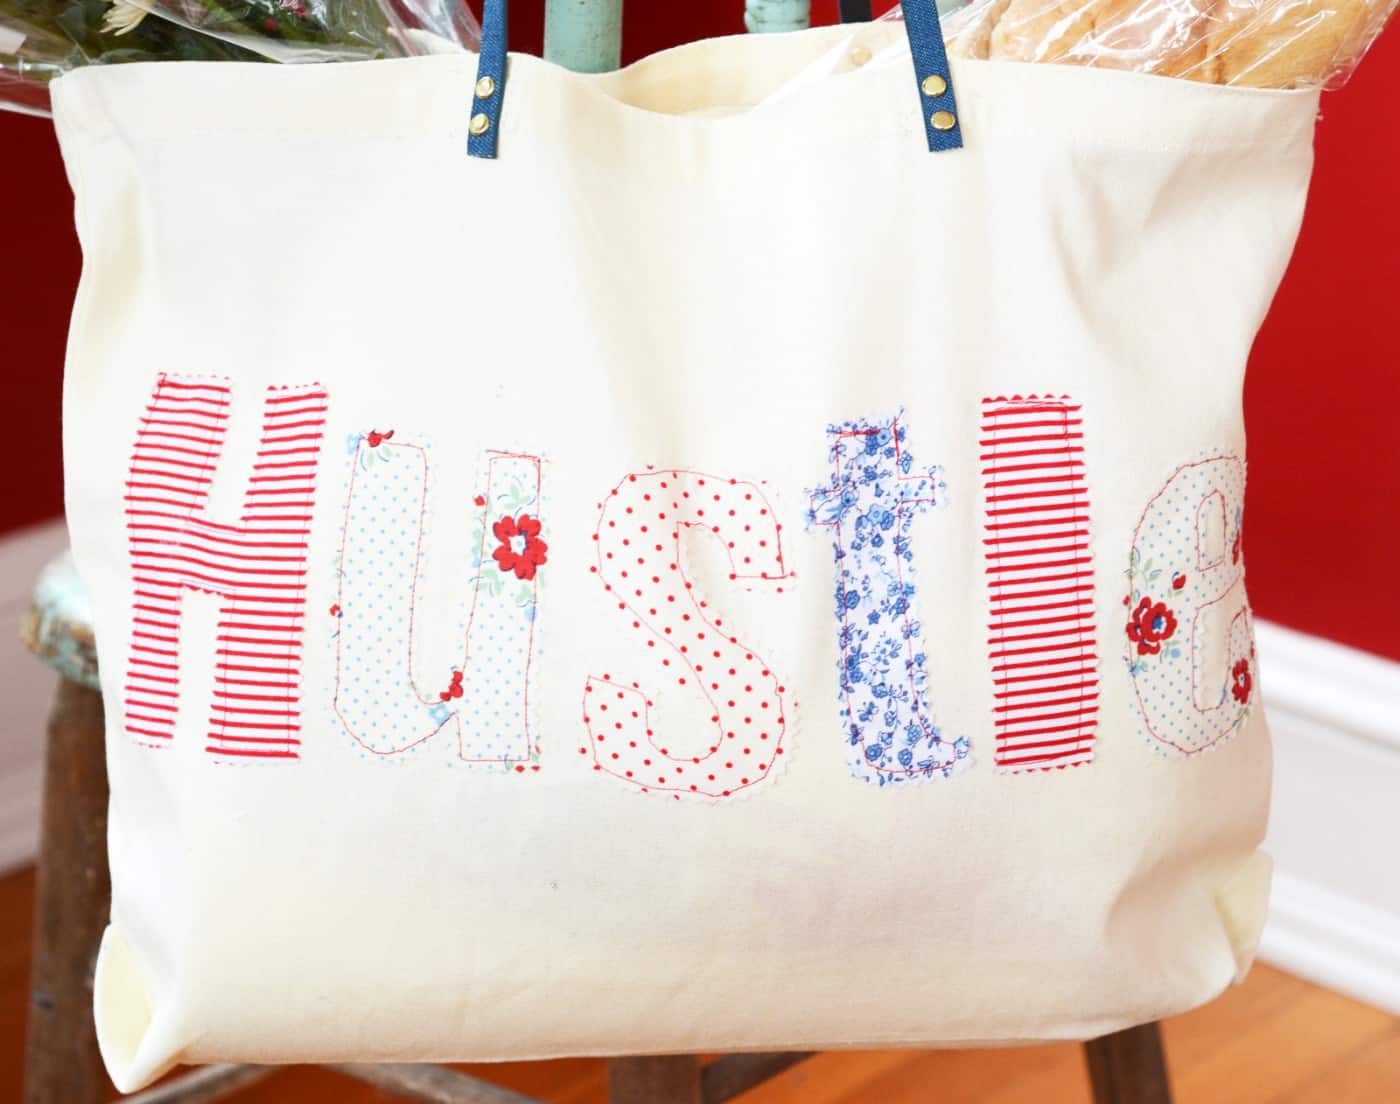
I used a pretty boxy font.
The more straight lines your font has, the easier it will be to stitch across.
Just a note for you!
I love how versatile this project is.

I hope you all will give it a try sometime.
Youll have a blast!
Id also love for you to check out the following posts from me and my friends: