What are Diamond Dotz?
Find out how to create sparkly art pieces in this fun and relaxing craft!
Get the ultimate diamond painting guide plus tips and tricks for success.
My friends, Ive developed a new crafting obsession that Im excited to introduce to you:Diamond Dotz!
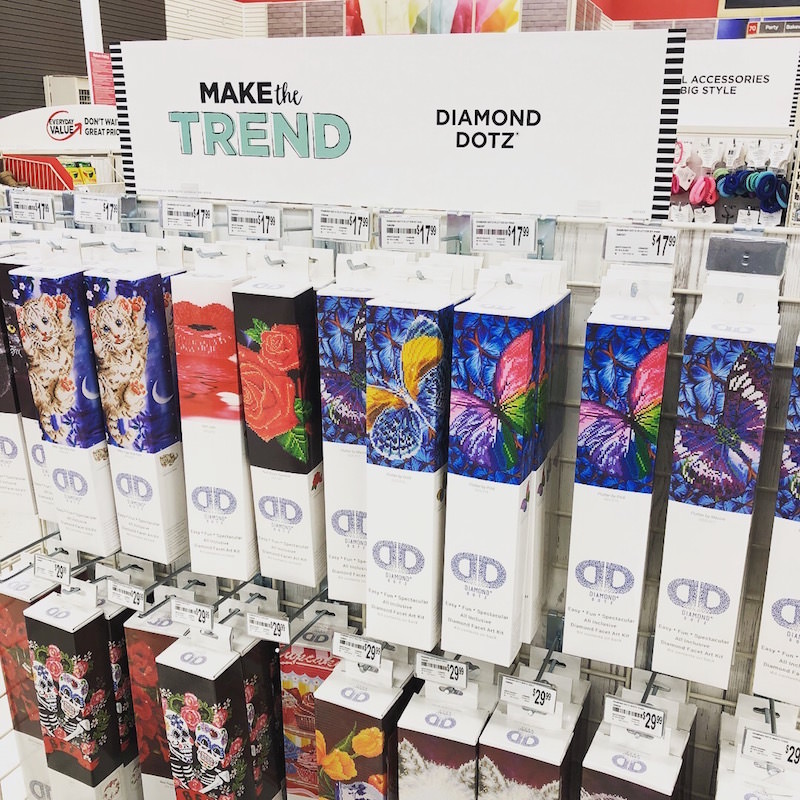
It was an interest that started when I walked into Michaels and saw the display above.
Plus I was totally in the mood to try something new.

The box also said easy, fun, spectacular, and all inclusive.
It was basically a paint by numbers or cross stitch but with square diamonds.
It intrigued me enough that I purchased two different designs that day (!
There are two types of designs: partial drill and full drill.
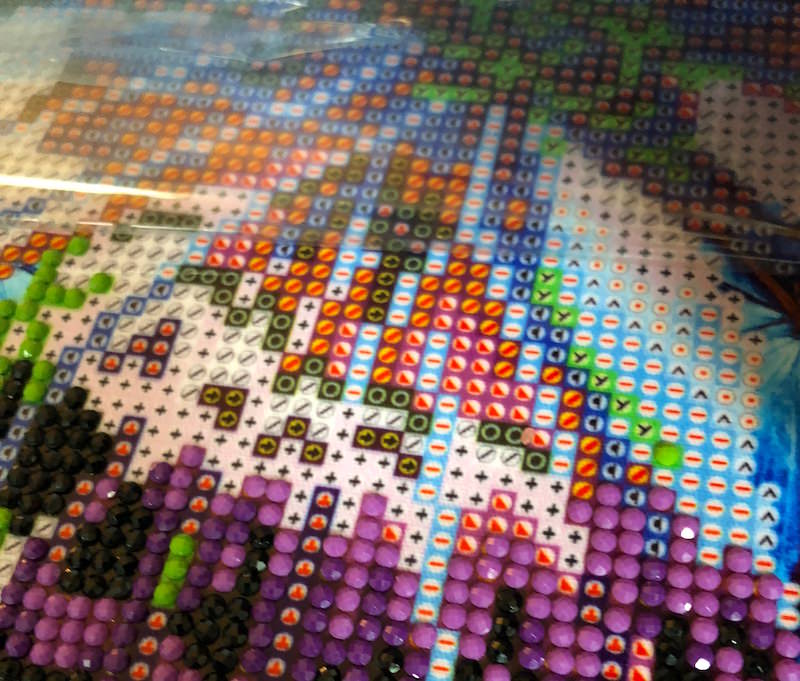
The diamonds are the design!
Keep that in mind as you proceed.
What Are Diamond Dotz?
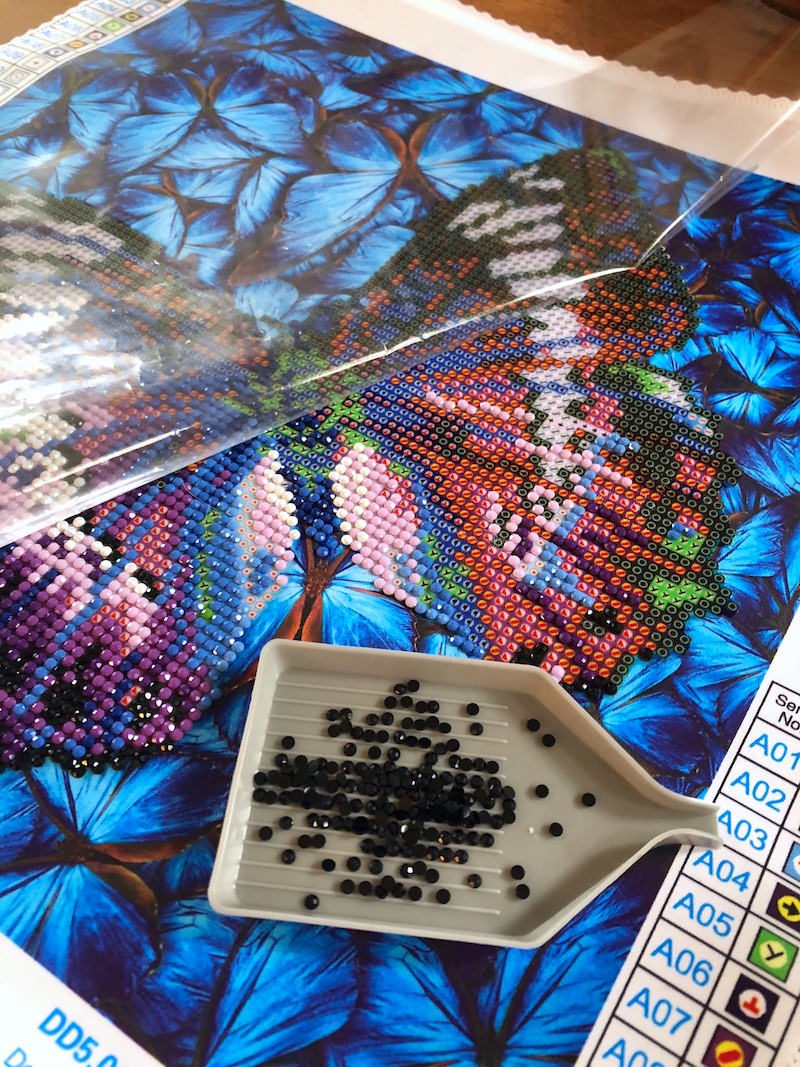
Diamond Dotz are sparkly little dots that you will place on the sticky fabric using the enclosed stylus.
The individual dots are very similar to rhinestones in their look, round, and about 2.5mm in diameter.
They are shiny and faceted on top which gives the awesome sparkle to the entire piece as its assembled.
Ive heard this craft referred to as diamondembroidery and also diamond painting.
The whole process sounds simple right?
But its also awesomely fun and most importantly (at least for me!
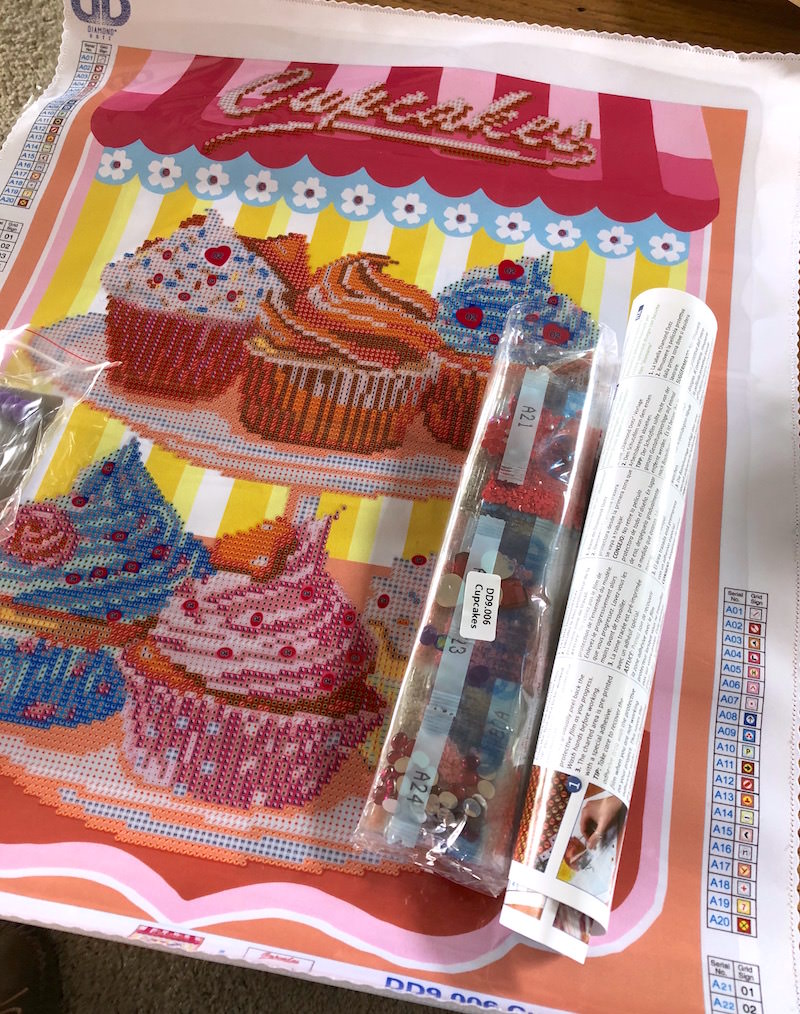
Whats in the Box?
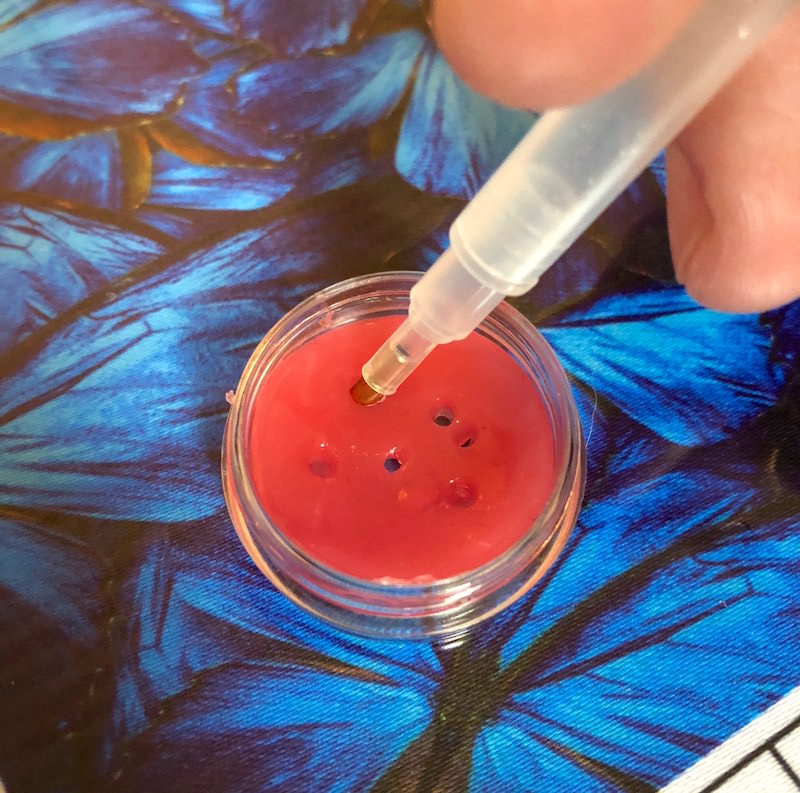
Its basically an adhesive canvas on which youll be placing the Dotz.
This fabric has a cellophane film over the top to protect that adhesive area.
Theres a color/number grid on each side that shows you which colors to place where.
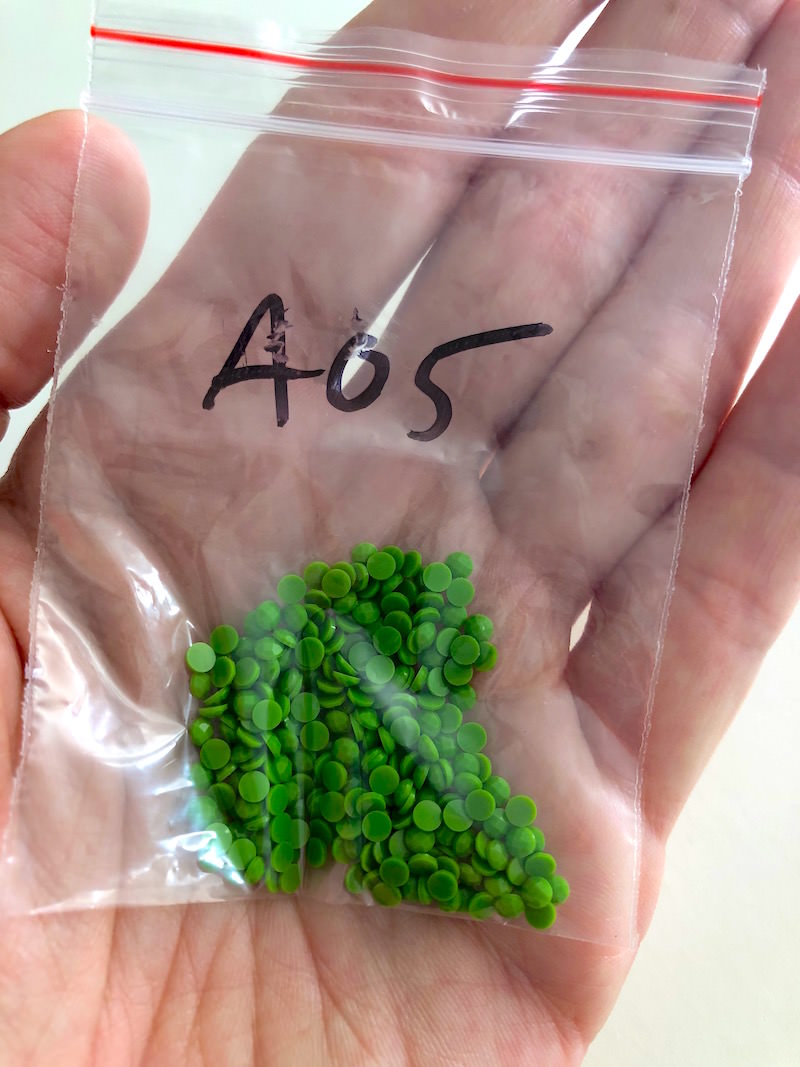
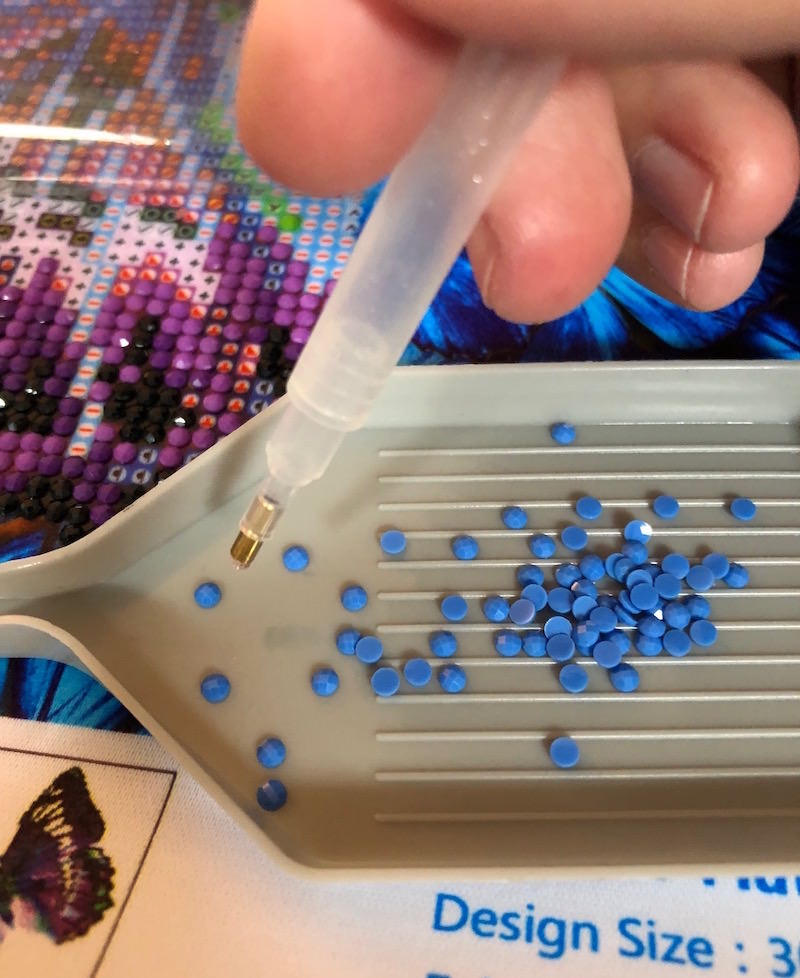
Multiple packages of Dotz that are sorted by color and coded.These are your resin diamonds.
Color instructions in multiple languages.
Youre going to start by opening the box and sorting your supplies.
I like to start by taking all of my Dotz and putting them in small, labeled plastic bags.
you could tape the corners down to a surface with stencil tape if you like.
Then its time to get started!
I promise you especially if you have pets!
They tend to get their hair in your design (I have a shedding pug!).
It will remain sticky as long as you keep it covered.
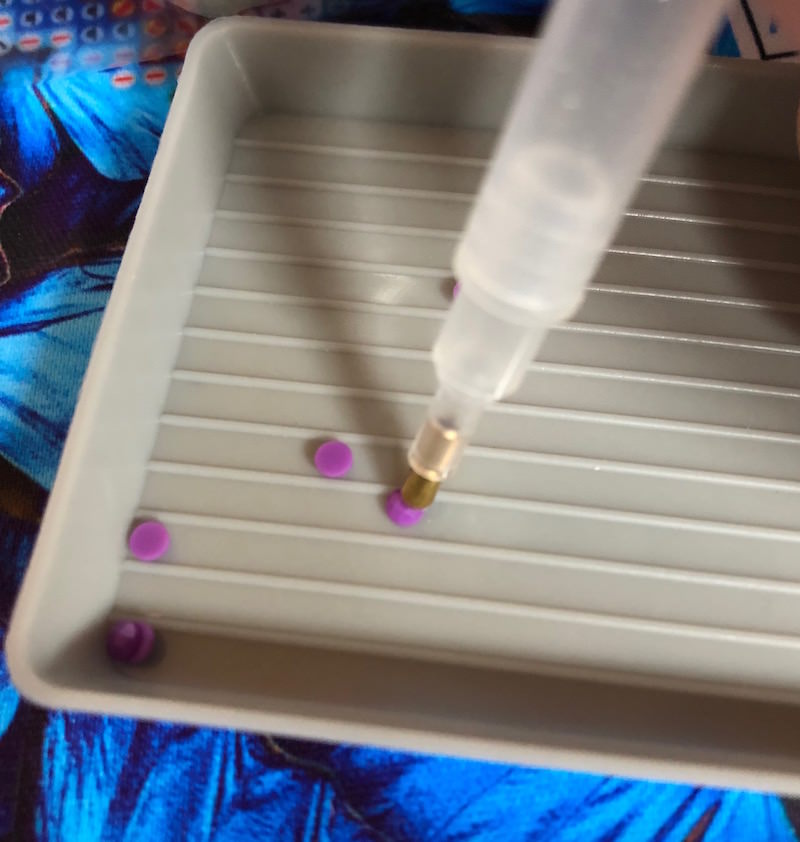
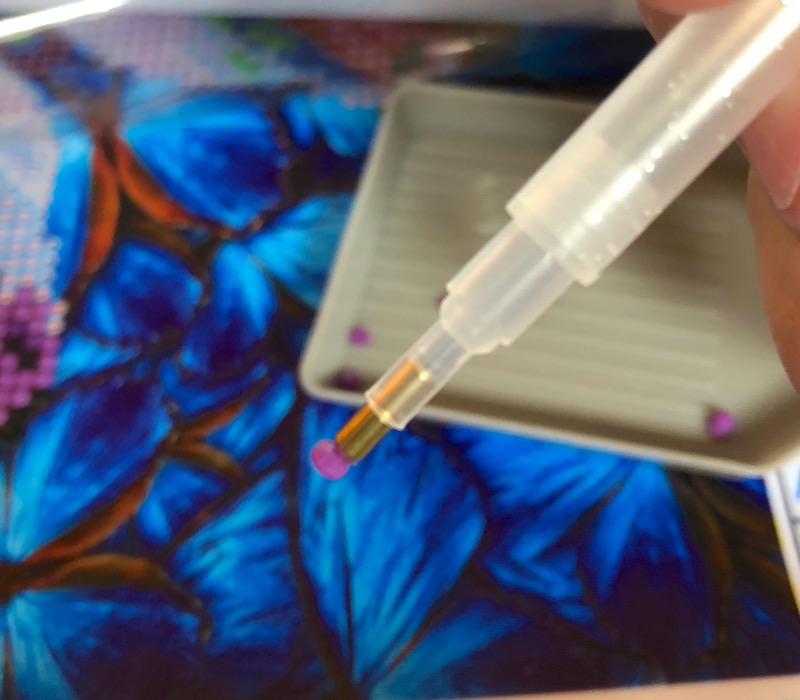
I dont pour the entire package in the tray, but maybe about 50 Dotz at a time.
That way if my tray spills foranyreason, I wont have to pick up too many dots.
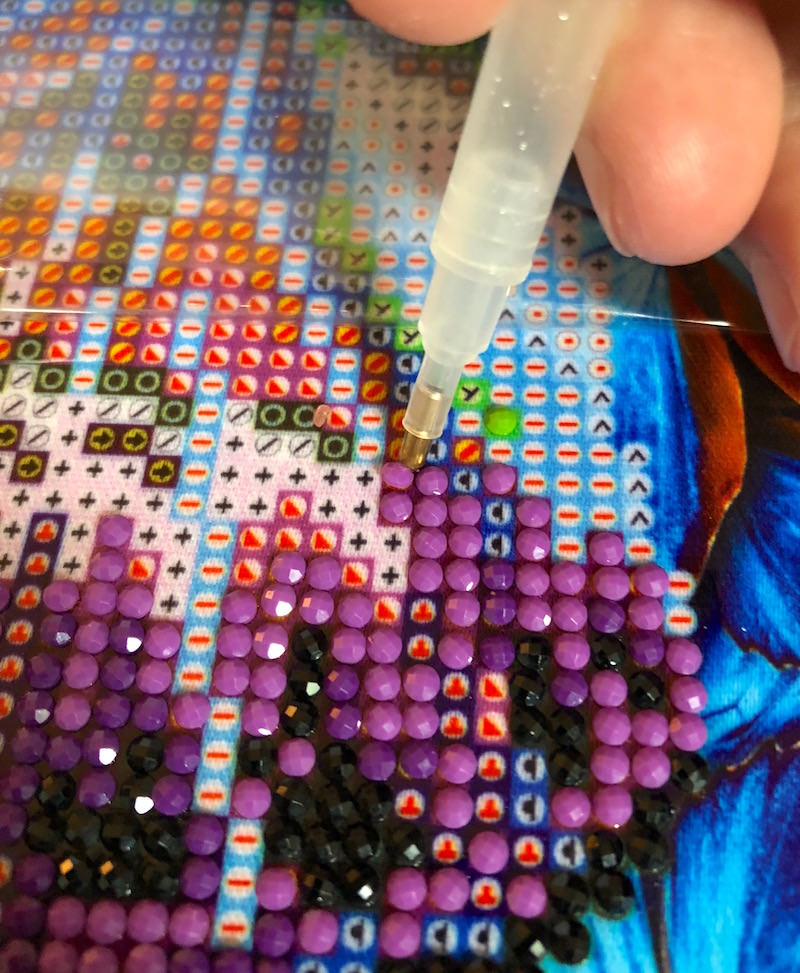
This tells you where to place your dots.
you might kind of move it around from side to side a bit.

Once you coat the stylus tip well, you wont need to do it again very often.
Pick it up its going to look like this from the side:
Now youre going to start!
Find the symbol we talked about before, and place the dot right down on top of that symbol.
The flat side should go right into the adhesive.
Continue the Diamond Dotz process, working one shade at a time, until your design is complete.
I work several colors at once, but thats just how my mind works.
It might be easier for you to work one color at a time!
When youre done, youll have a beautiful design!
you could see mine below.
it’s possible for you to also see more designshere.
Thats the process in a nutshell!
Now that weve review it, I want to share my top tips with you for success.
These are the things Ive learned over time that I find the most useful.
My Top Tips for Diamond Embroidery
And finally .
.HAVE FUN!Diamond Dotz is such a relaxing, easy activity.
Its a great way to get someone into crafts that wants instant success.
Theres absolutely NO learning curve and thats one reason I love it.
Where to Buy Diamond Dotz
The company has a distributor list on their websitehere.
Ill continue adding retailers to the list as I see them.
