HomeArts and Crafts IdeasCricut CraftsCustom DIY Product Tags with the New Cricut Maker Tools!
Those personal yet professional details can make all the difference in a small business.
The opinions and text are all mine.
Currently, we have some simple tags which we print out on paper or cardstock and cut them out.
Weve looked into ordering tags elsewhere, but have found them to be quite expensive.
So when Cricut announcedtheir new line of tools for the Maker, inspiration struck!

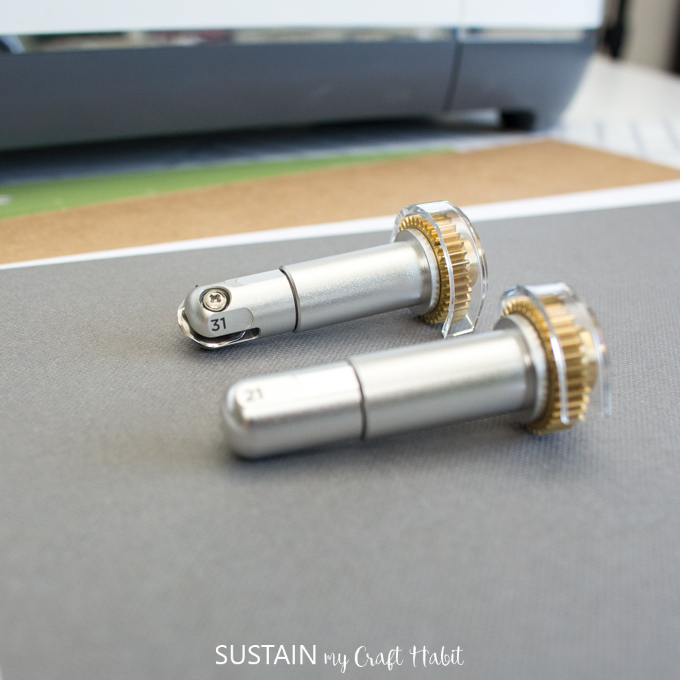
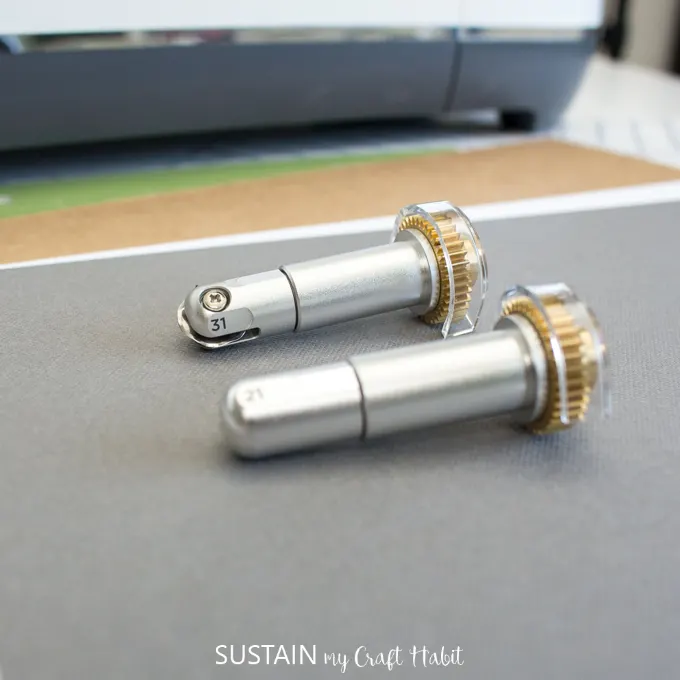
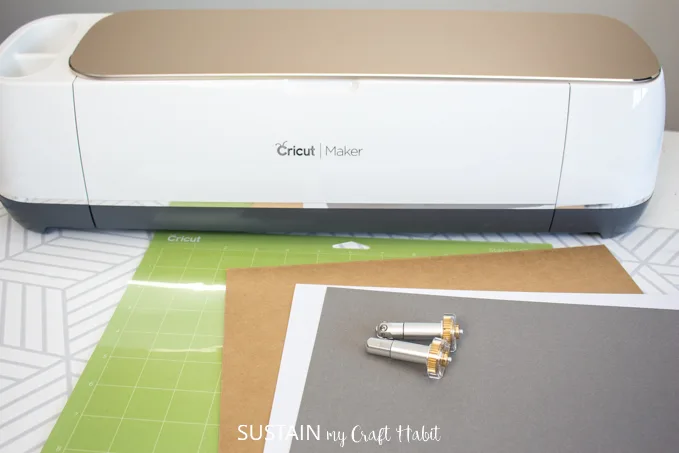
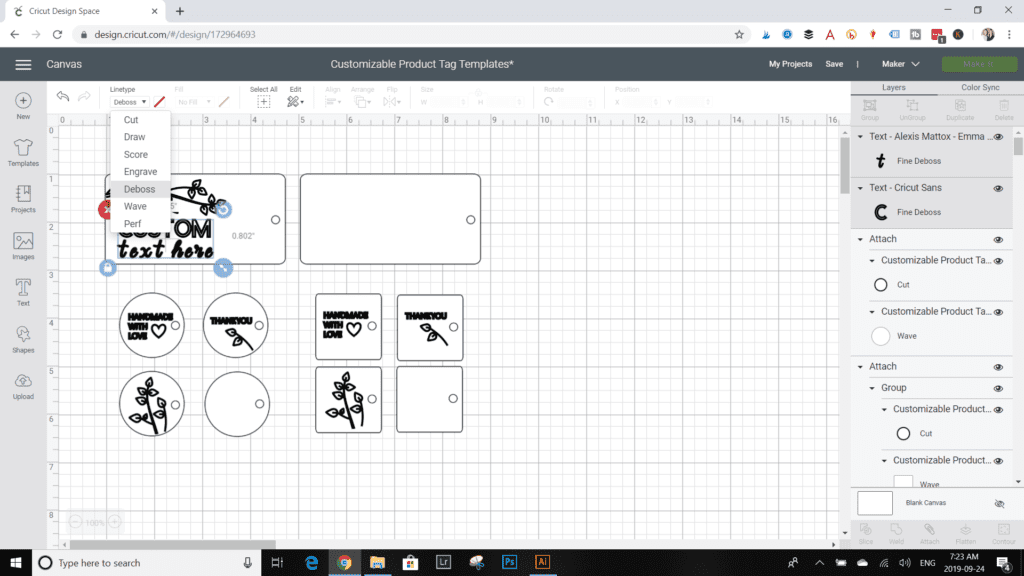
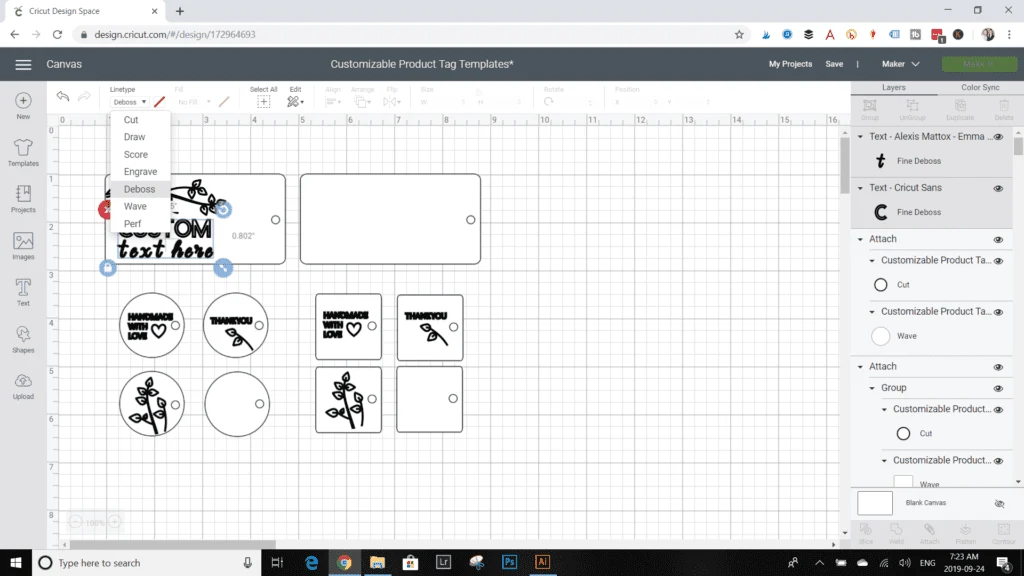
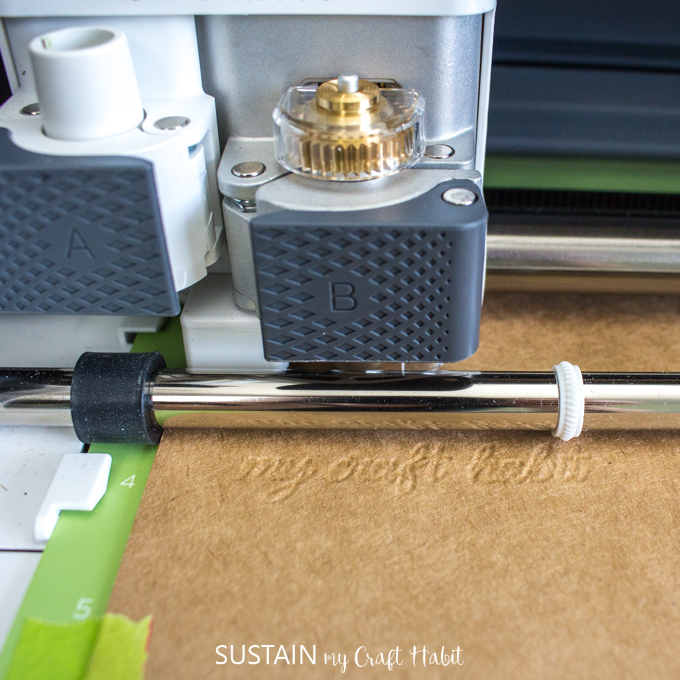
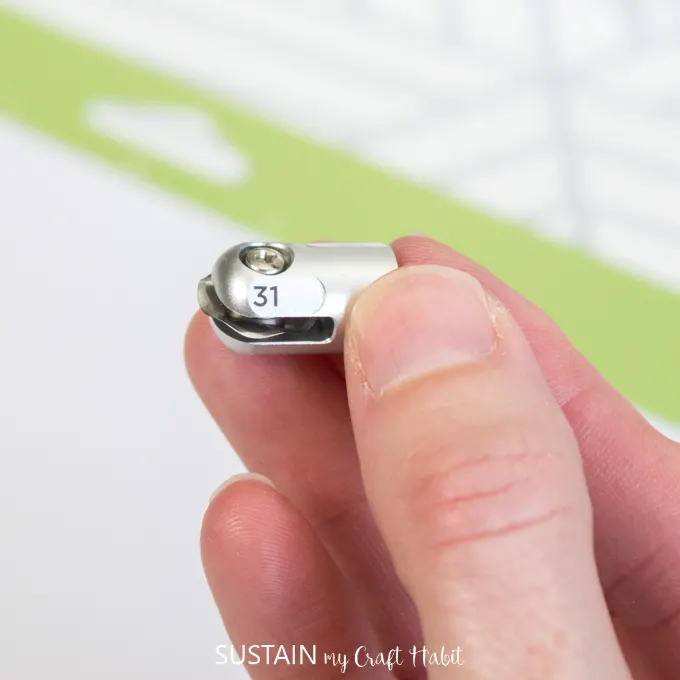
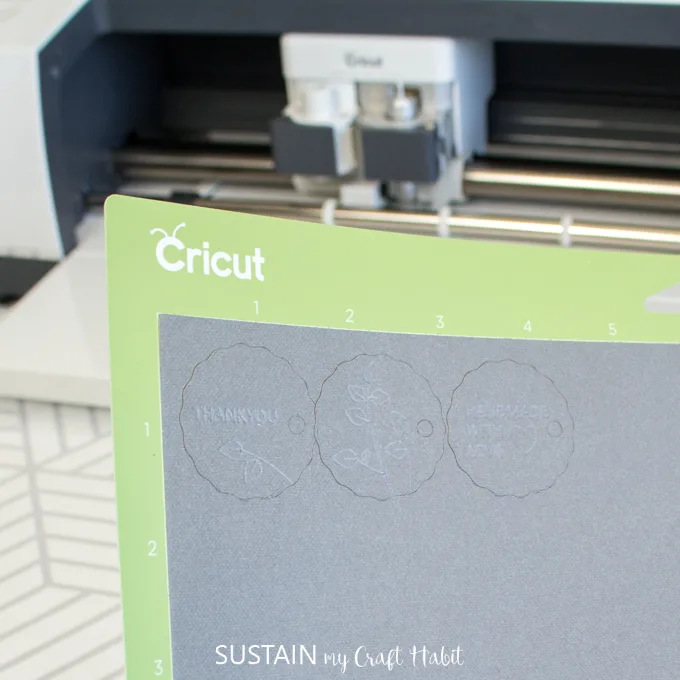
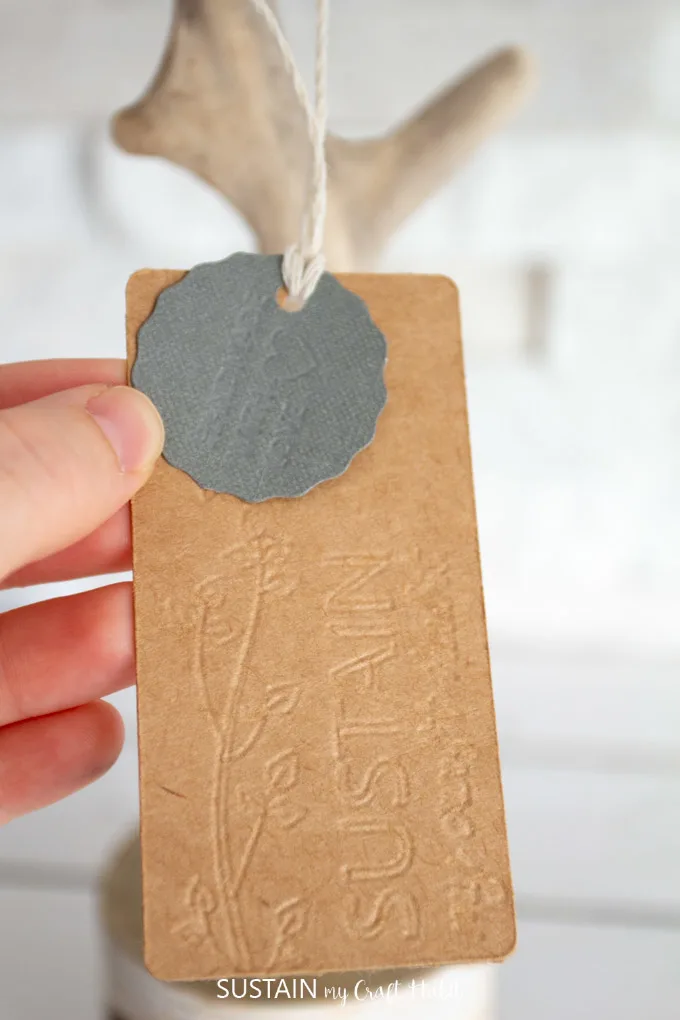
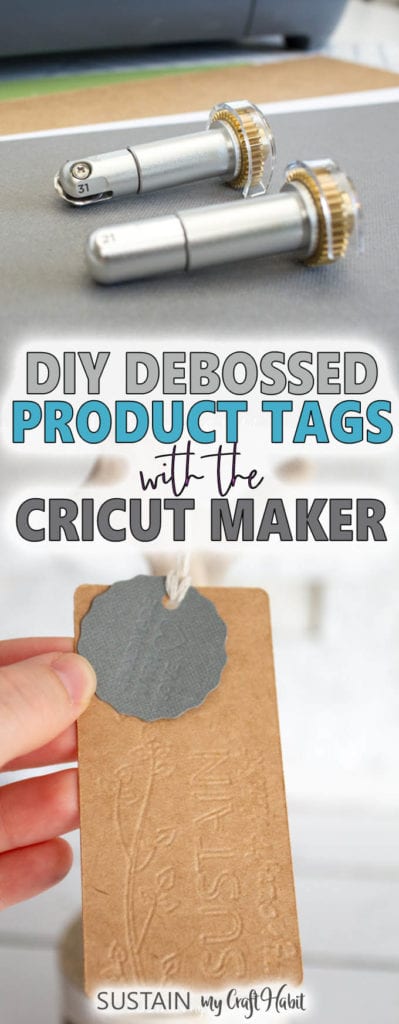
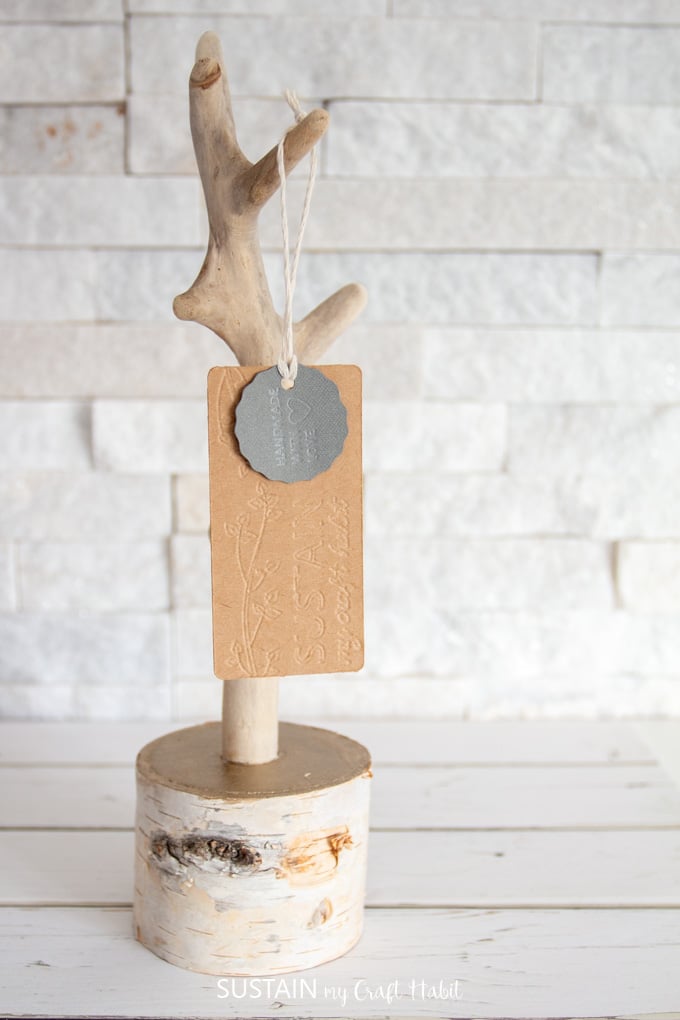
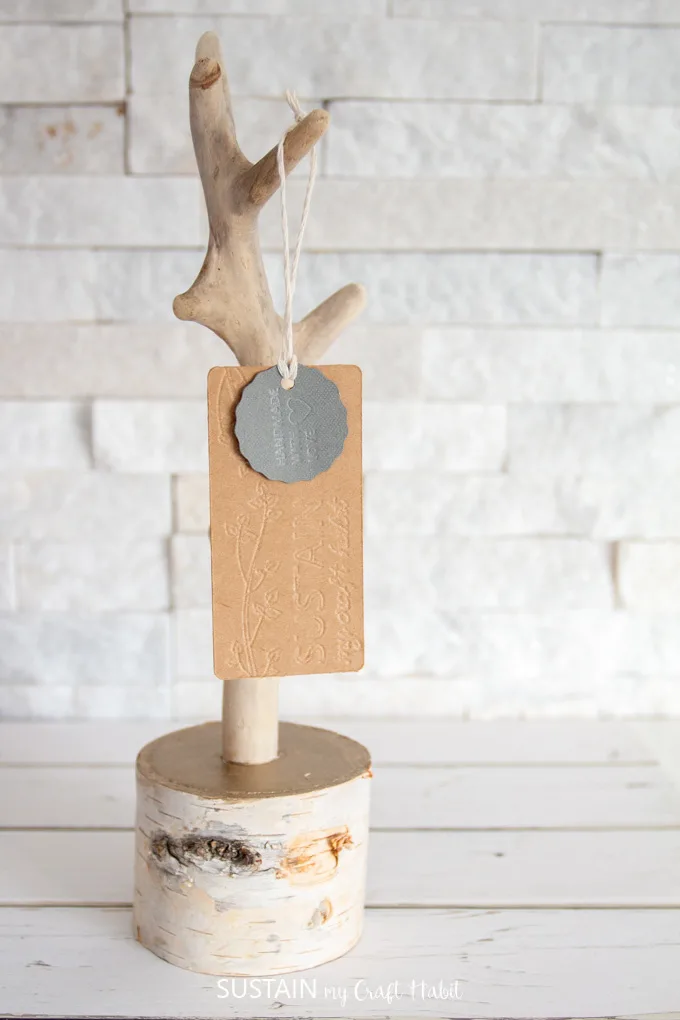
For our new product tags we decided to use thefine debossing tipandwavy blade.
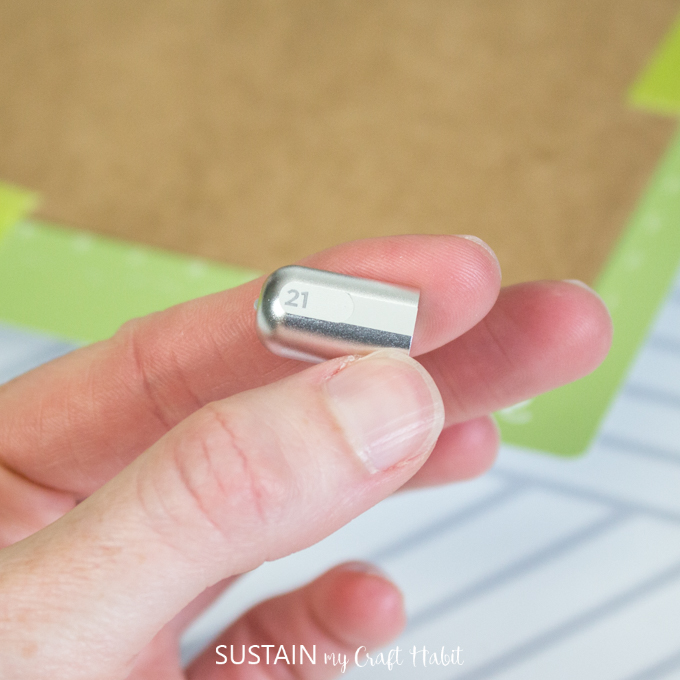
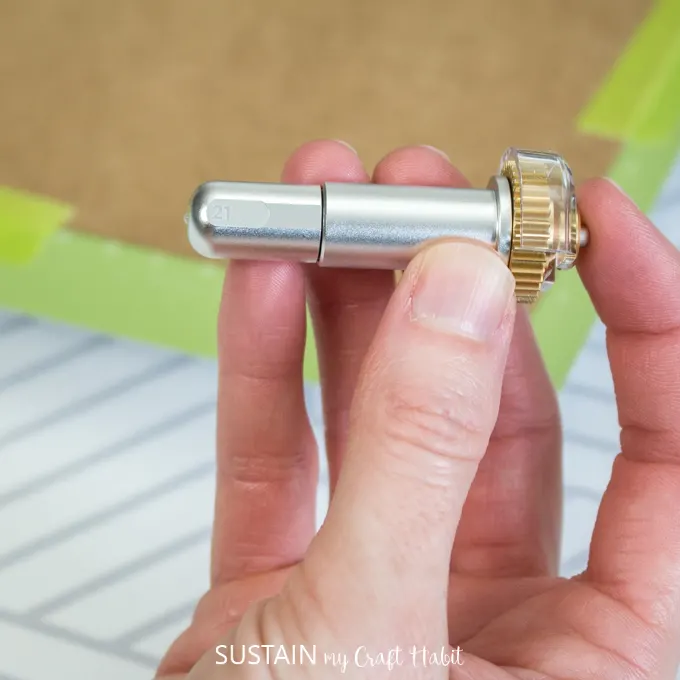
The tools are all super easy to switch out using the QuickSwap housing unit.
I was surprised at how intricate of a design the rolling debossing ball was able to achieve.
As for the wavy tool, it adds that extra bit of playfulness to a design.
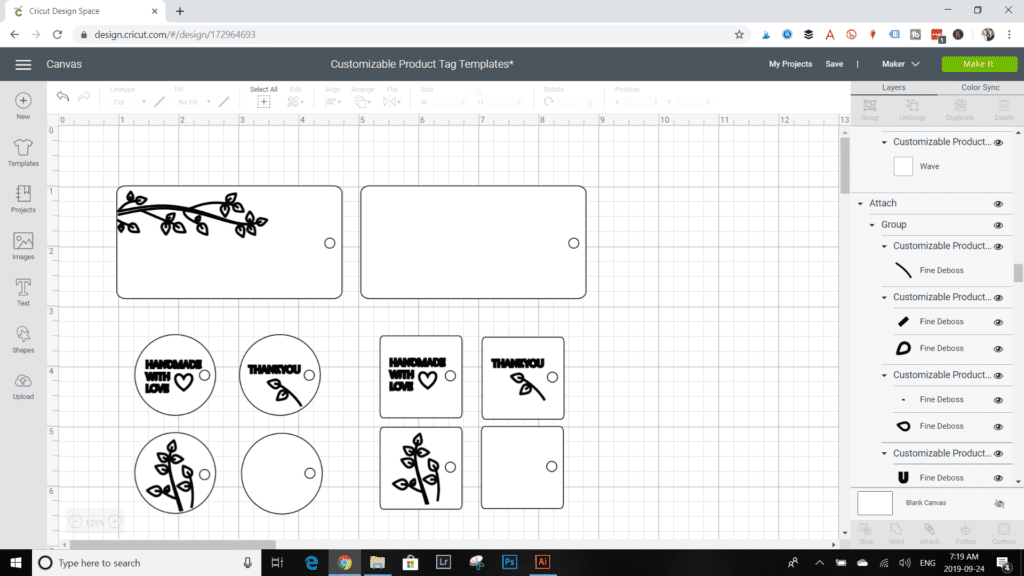
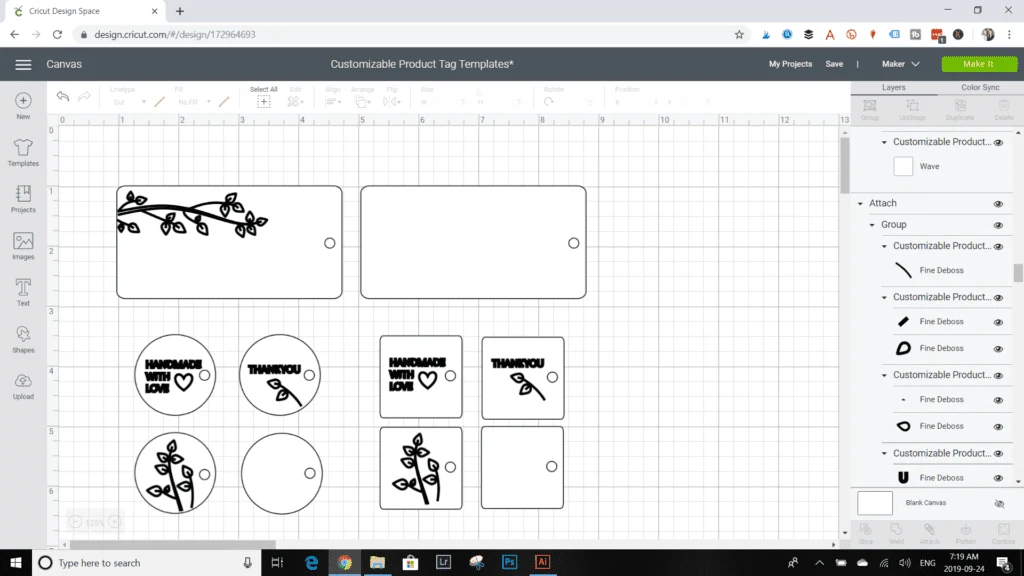
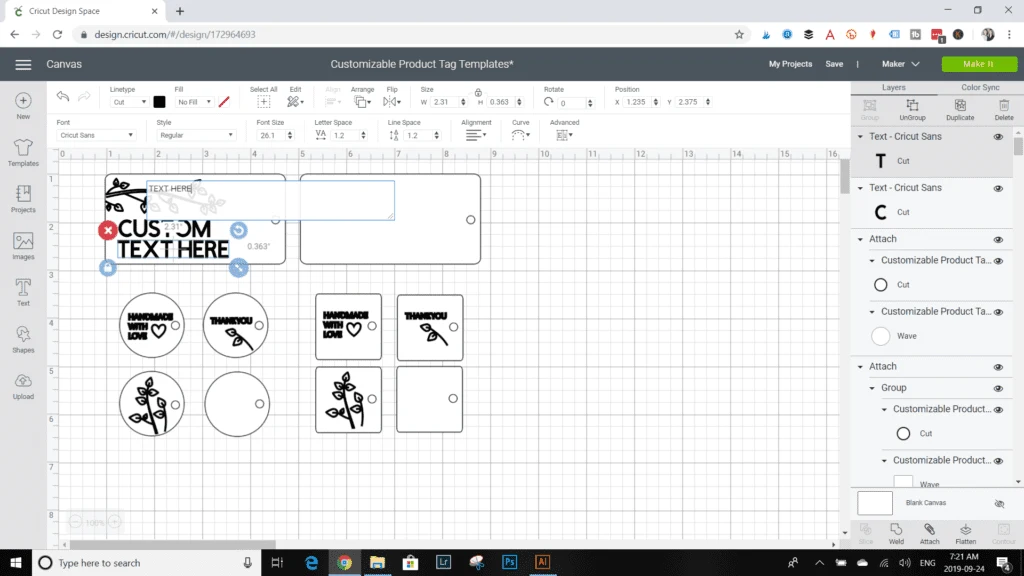
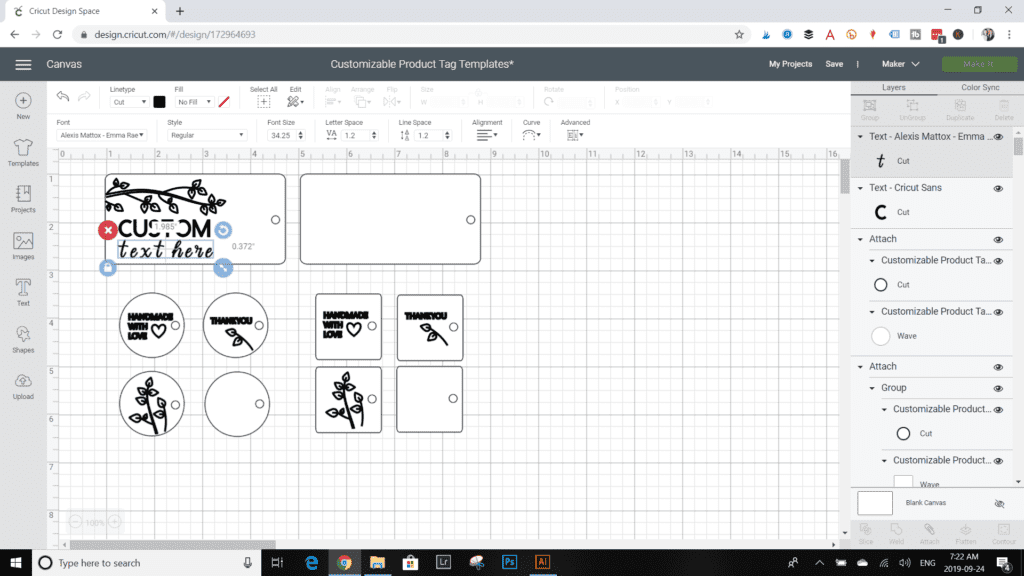
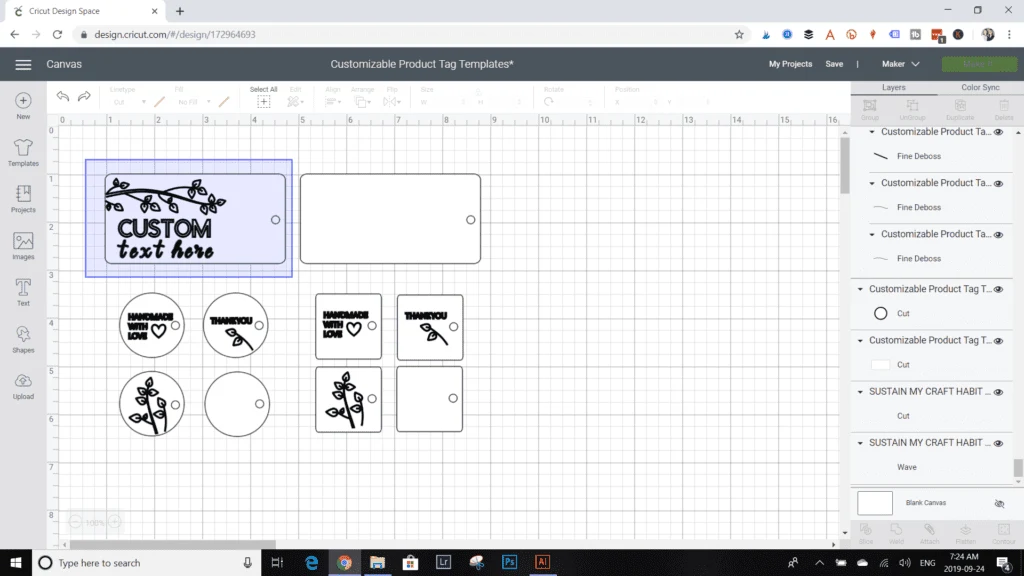
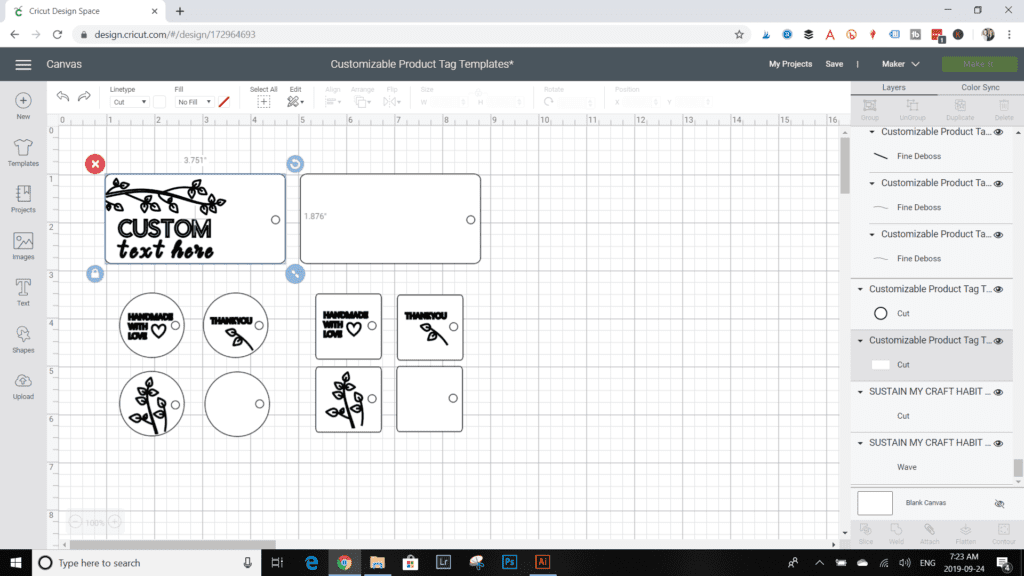
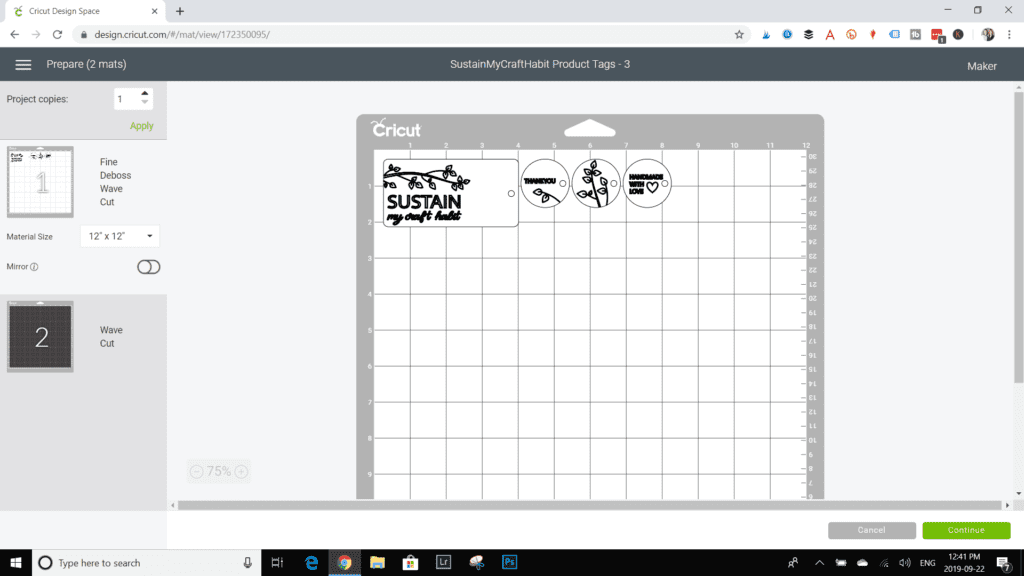
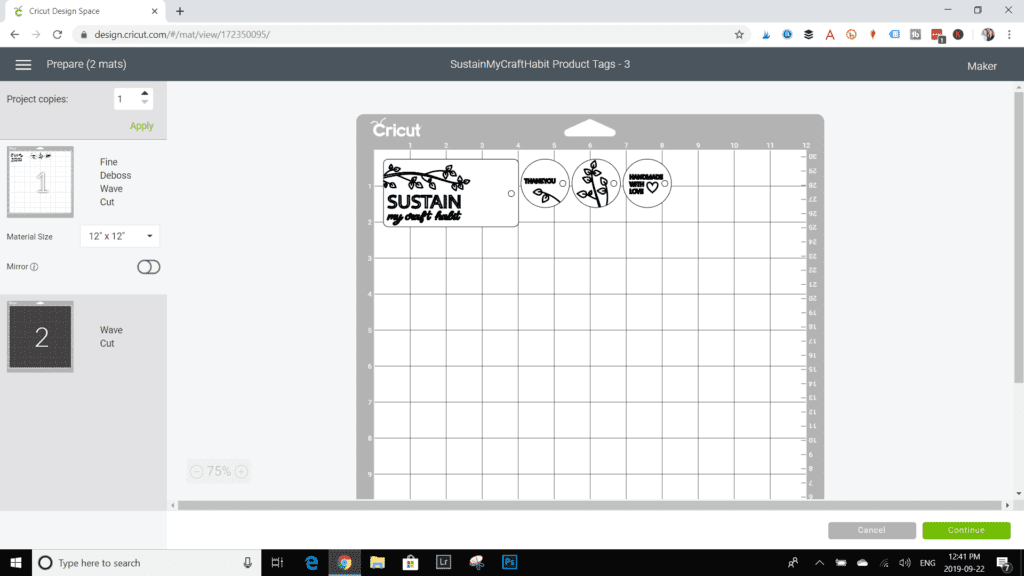
go for the customize button and youll see the blank tag templates we created on the canvas.
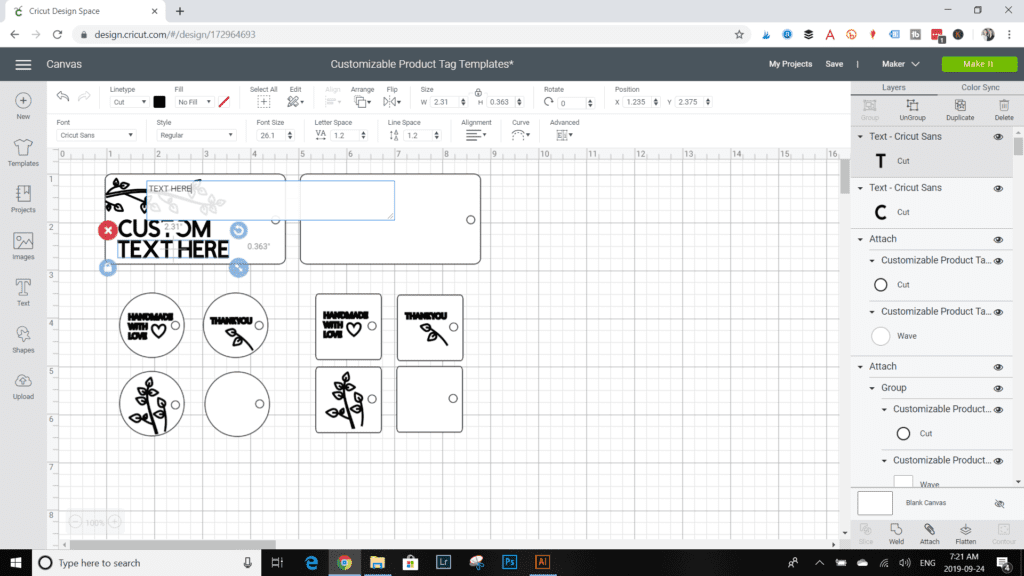
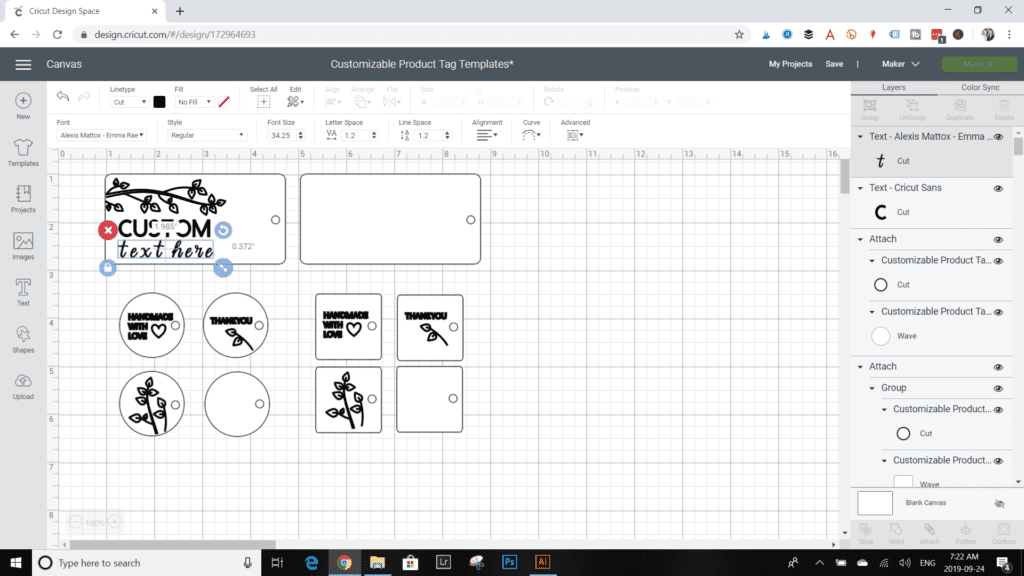
Begin typing out your text and resizing it to fit within the product tag.
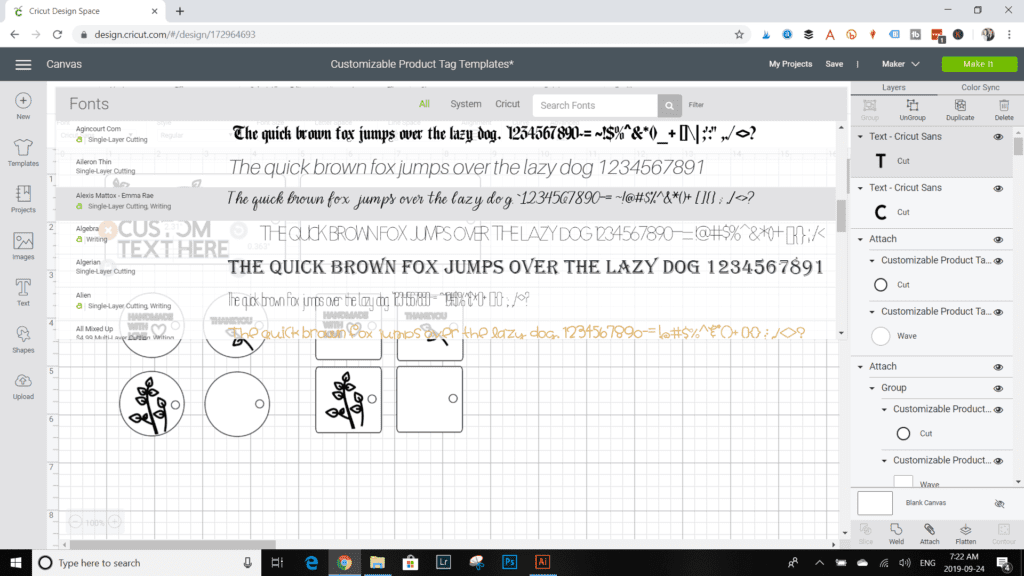
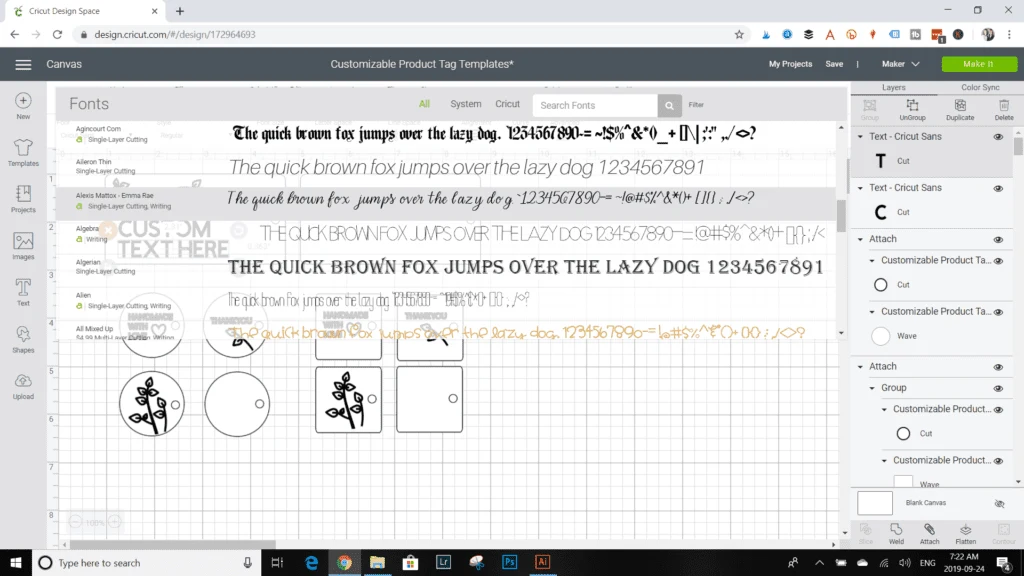
Choose a font you like from the Font drop down menu along the top bar of the canvas.
Adjust the size again as needed so it fits inside the tag.
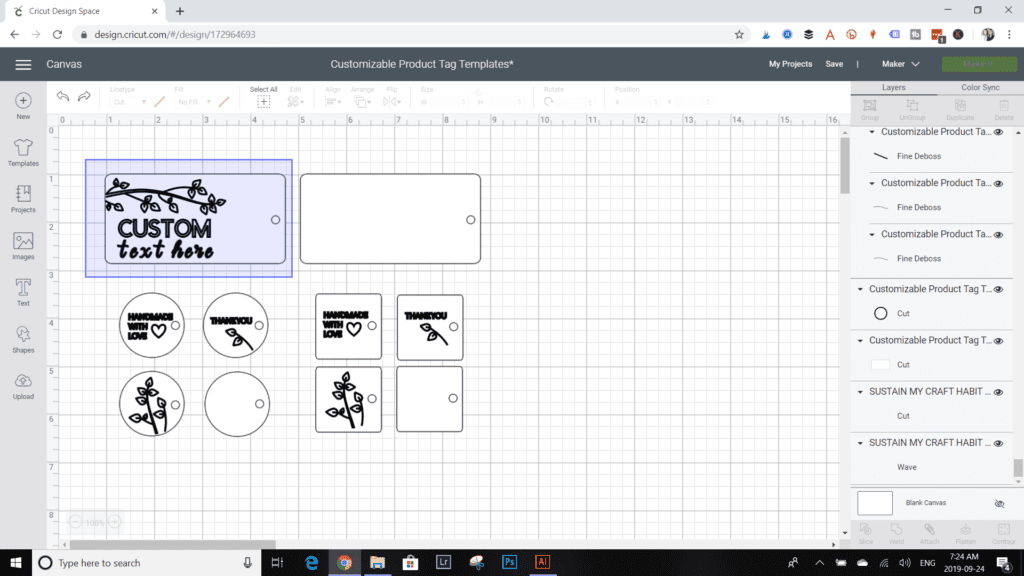
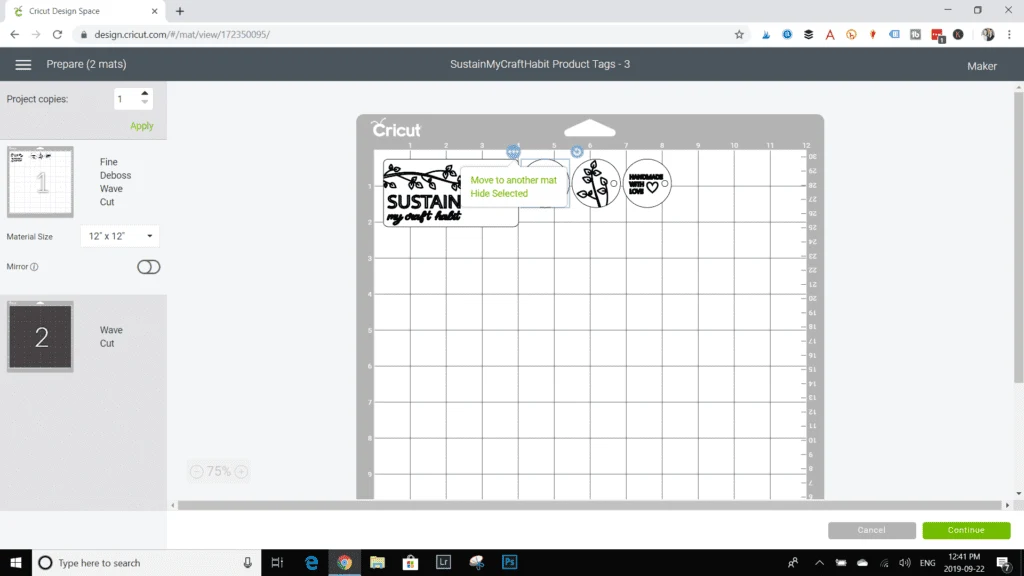
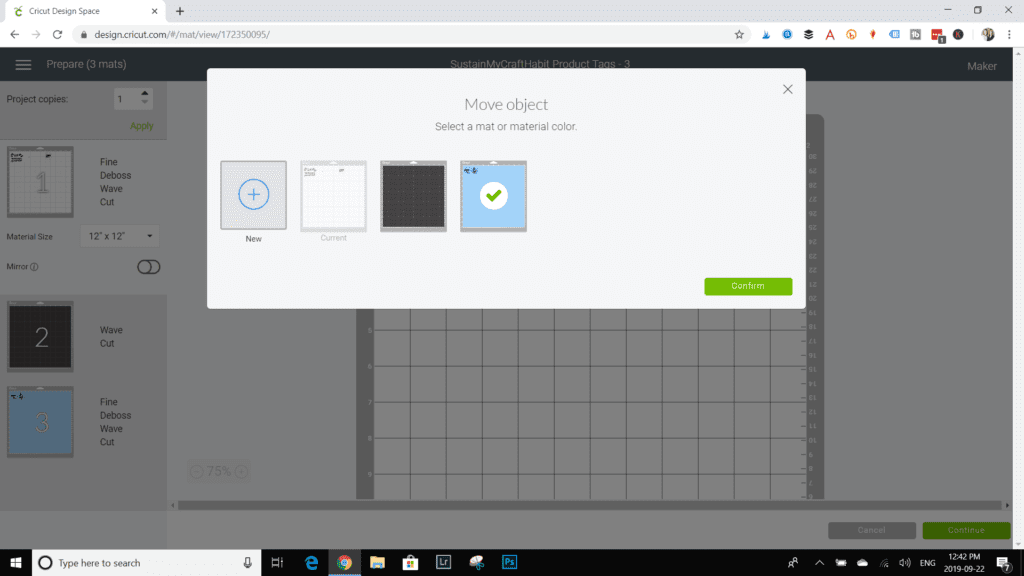
Next, highlight the entire tag including the text and shapes within.
snag the Attach button at the button right corner.
This lets the Maker know to treat that product tag as its own separate design.
Feel free to customize the smaller product tags with other text or shapes within the tag.

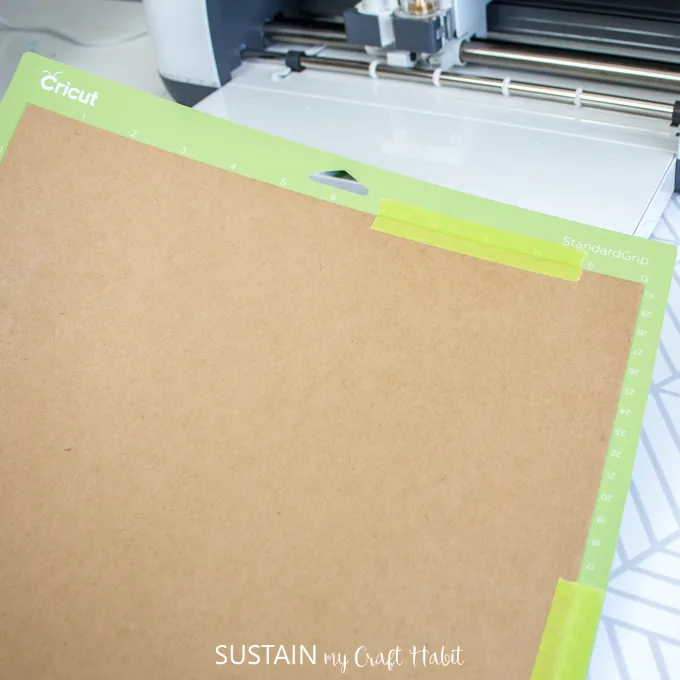
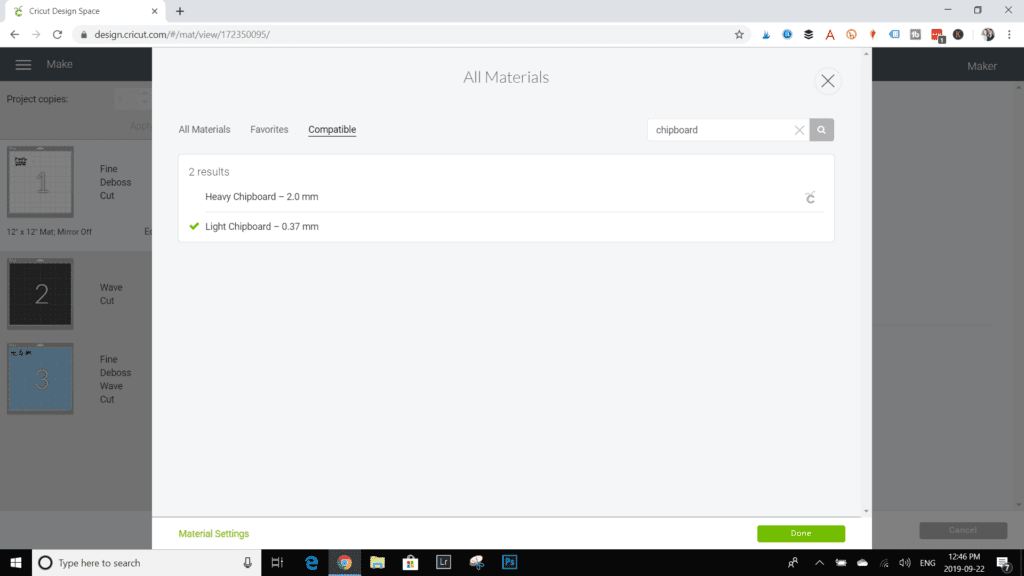
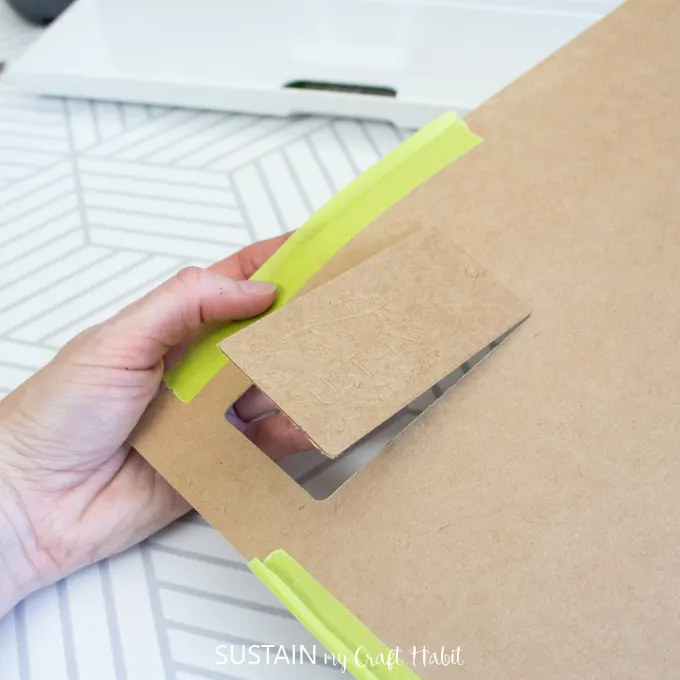
Temporarily tape the chip board in place along all four sides to prevent it from shifting during cutting.
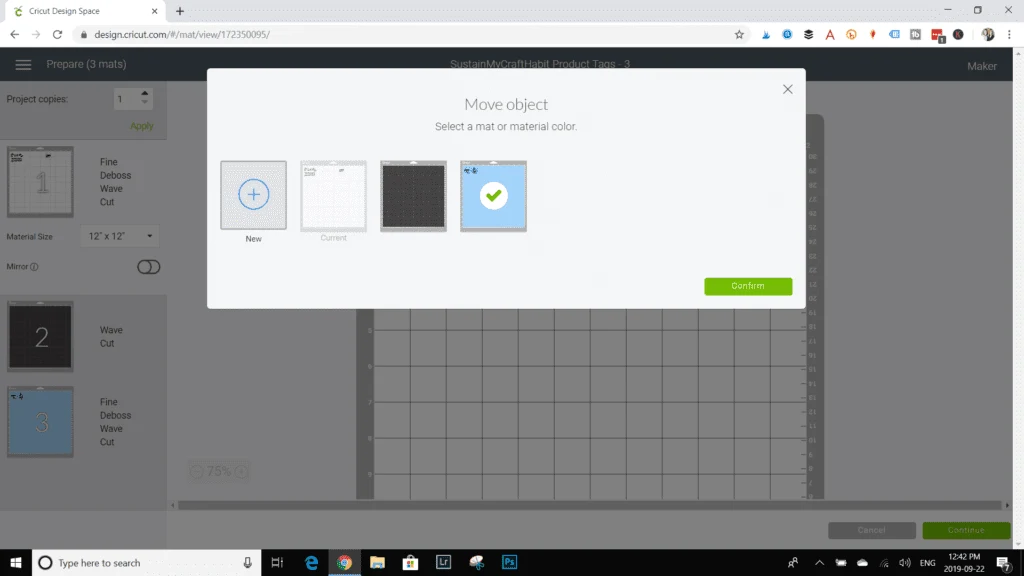
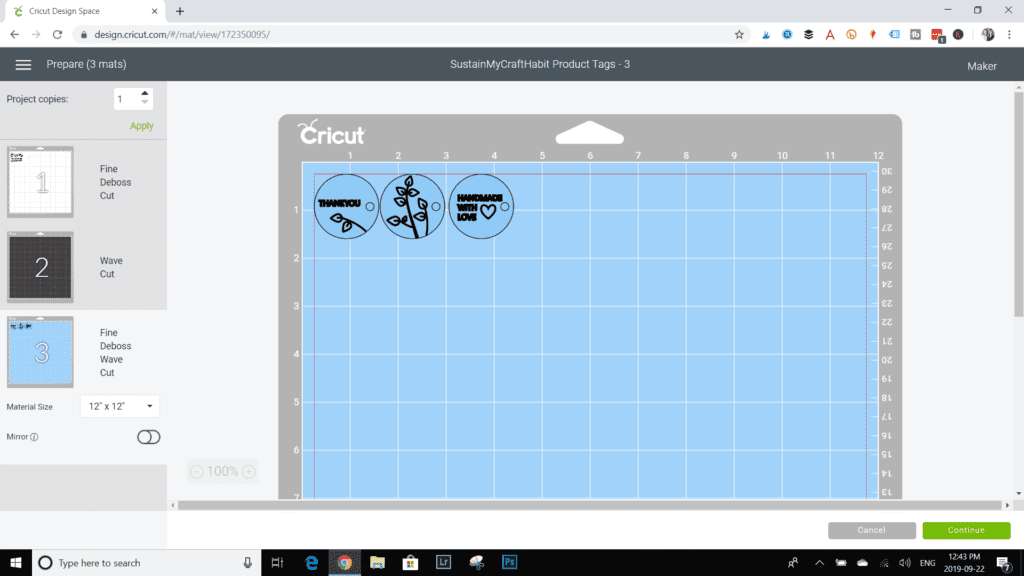
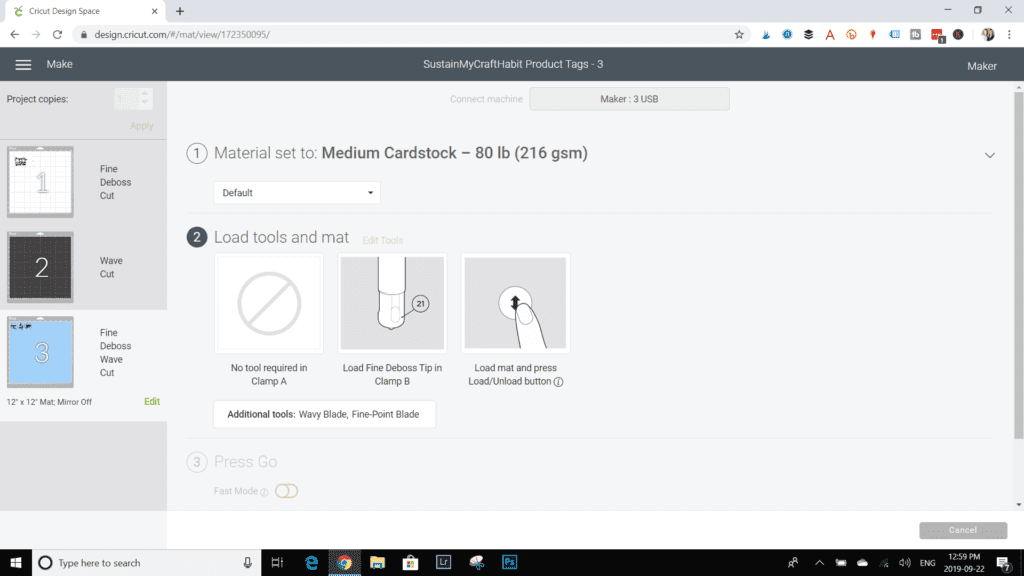
Select Make It on the prepared canvas.
And watch as it debosses your design!
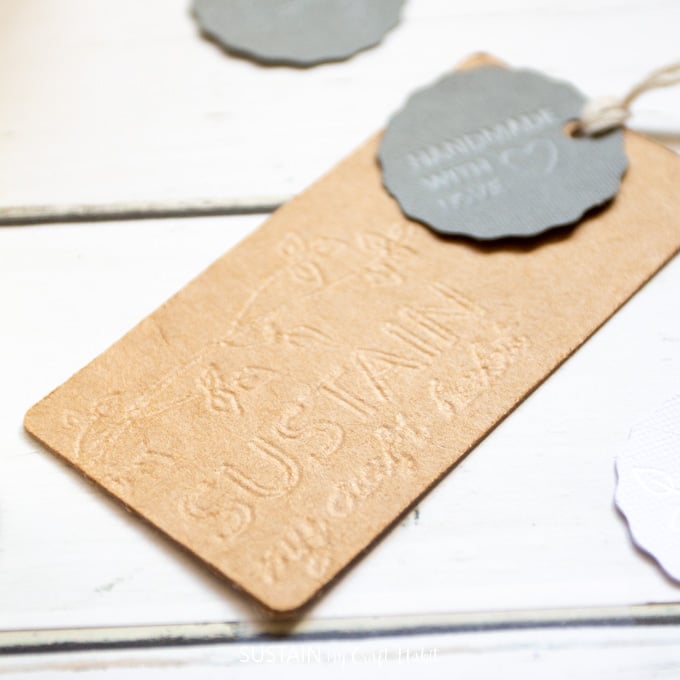
How cool is this?
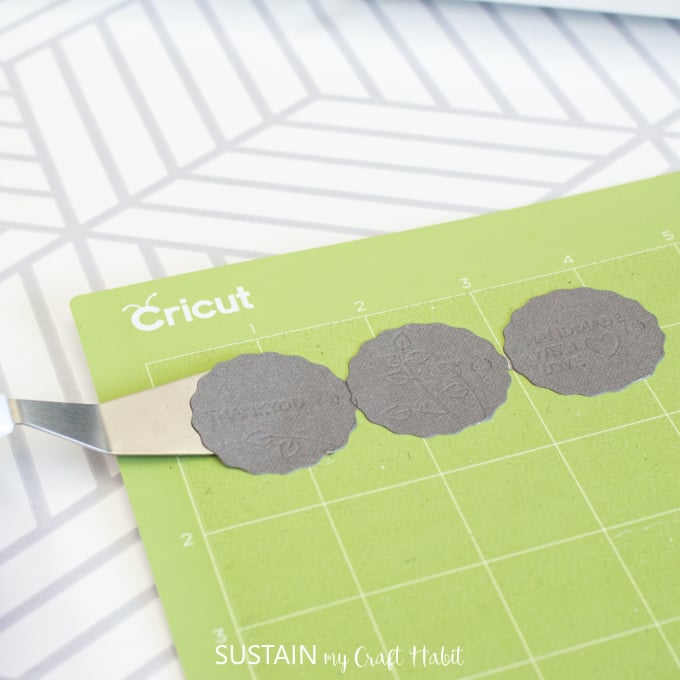
Switch to the fine point blade when prompted to finish cutting the product tag.
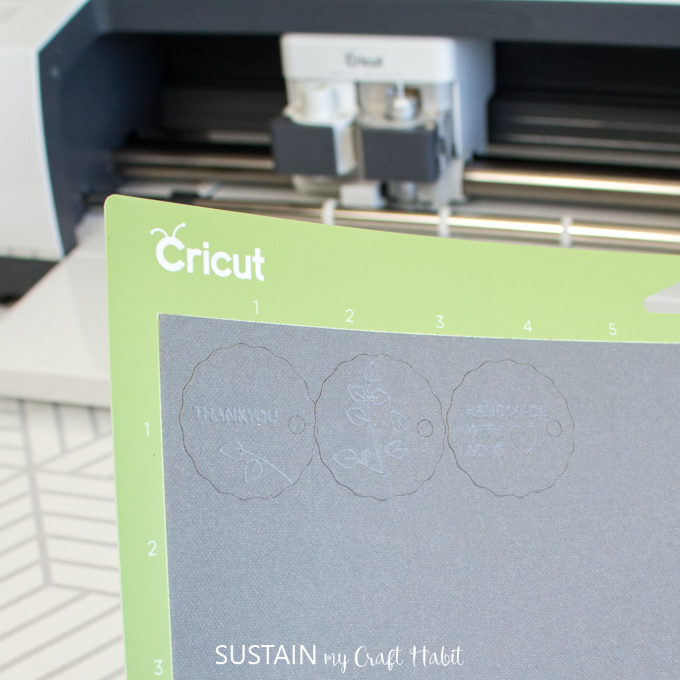
Unload the mat and remove the tag.

Trim any uncut edges using a pair of Cricut scissors.
Insert the tools as prompted starting the withFine Debossing Tip.
Switch tothe Wavy Bladewhen prompted.
Unload the mat when finished and peel them off of the grip mat using a spatula.
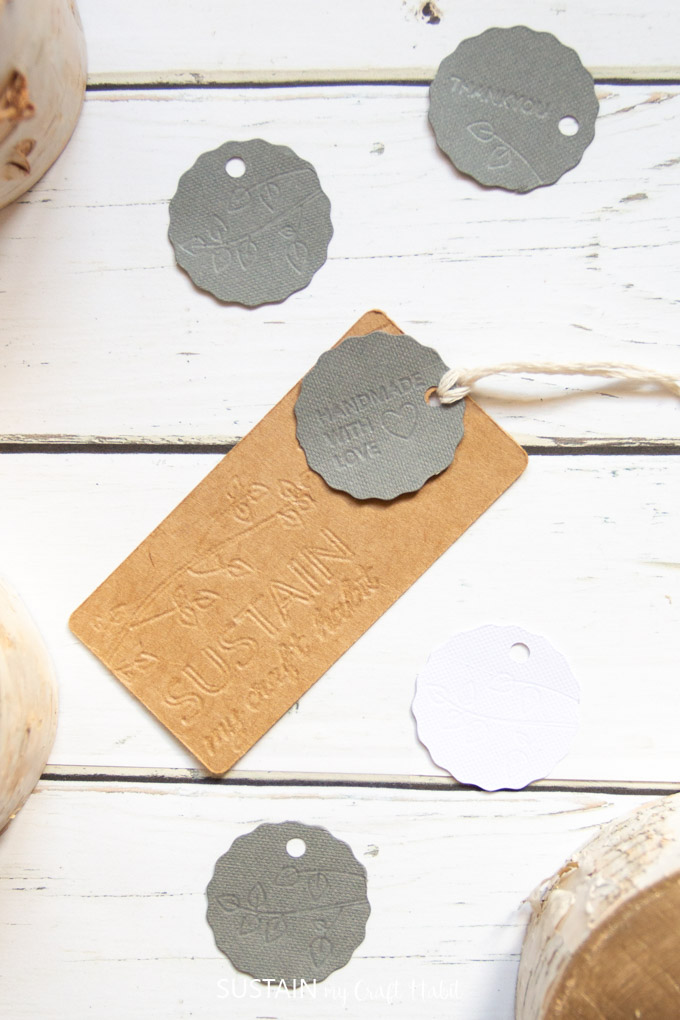
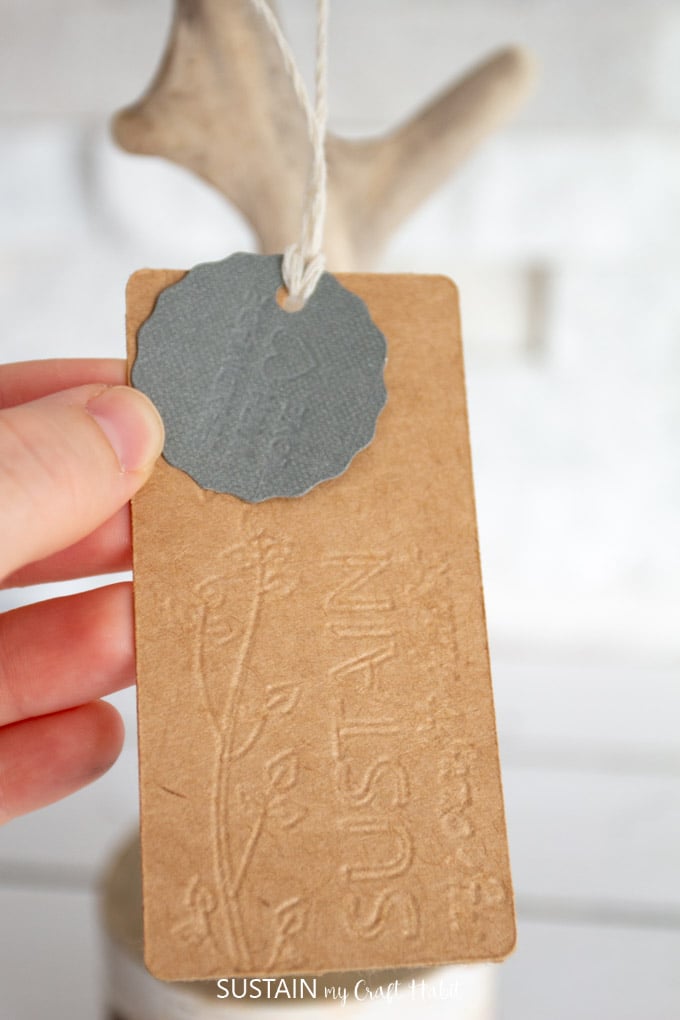
And there you go!
Beautiful and professional DIY product tags which youll be proud to add to all of your creations.

Check out our review fromwhen we opened the boxfor the first time!
Pin it for later!