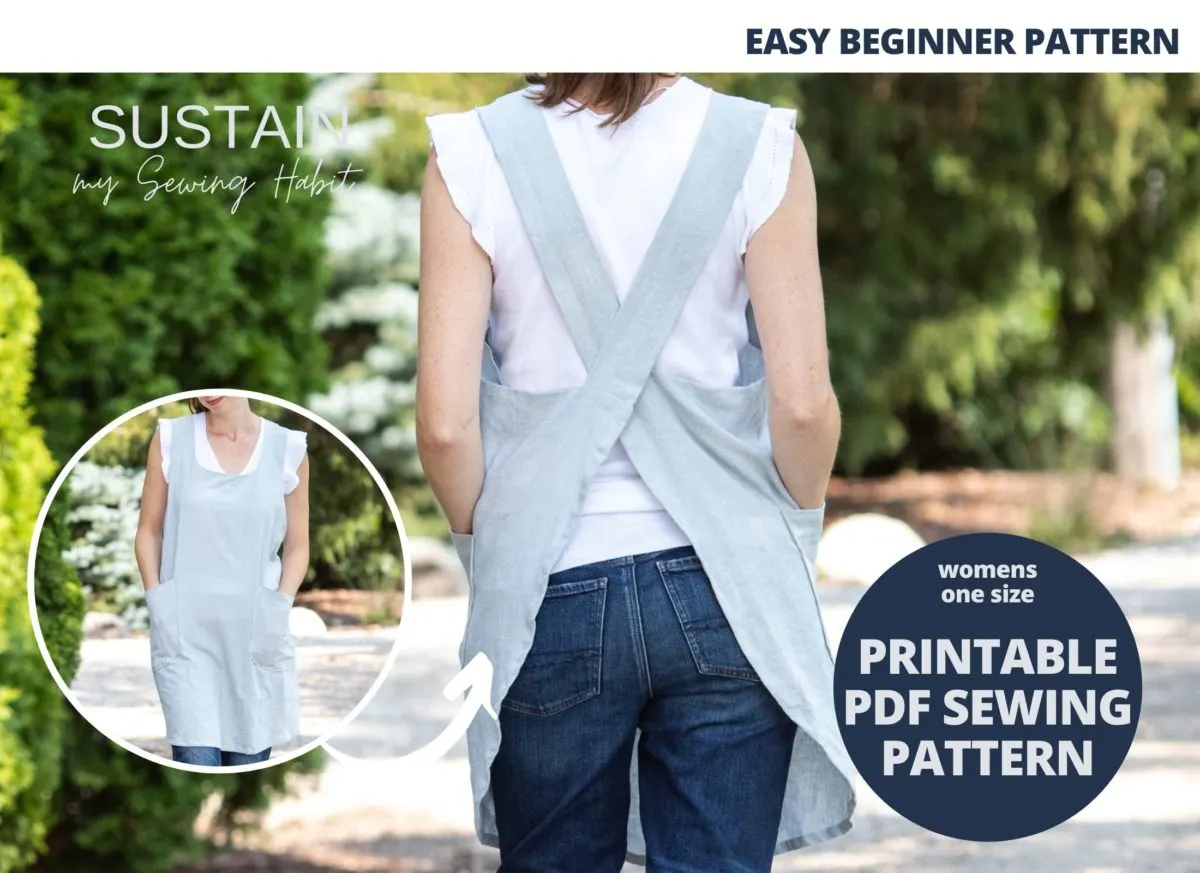
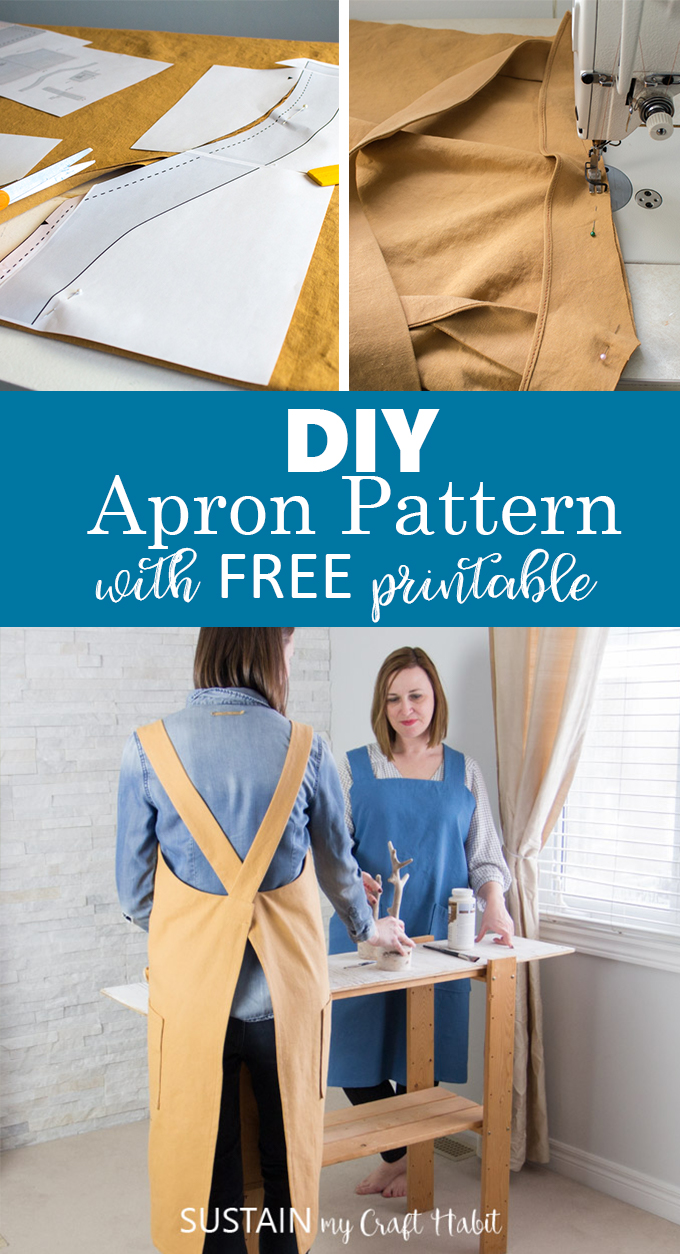
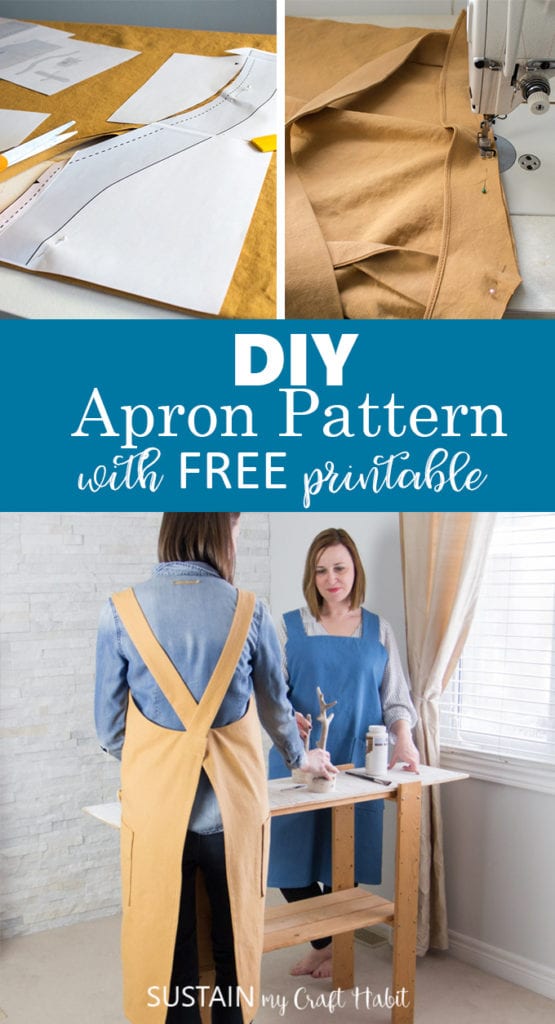
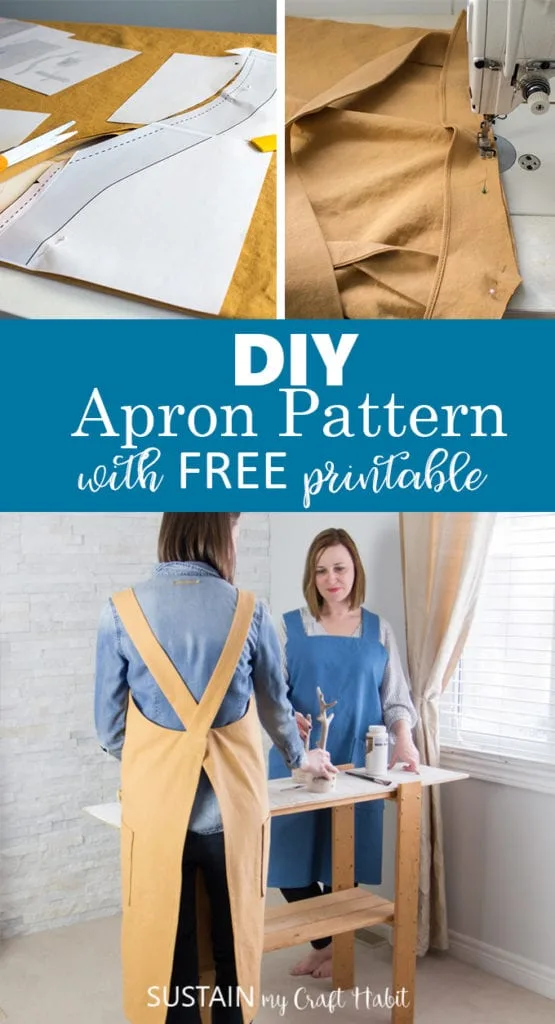
And now you as well, can match along with us by following thisDIYapron pattern.
All opinions are our own.
Also, this post contains affiliate links for you shopping convenience.
you might read ourfull disclosure statement here.
you could also make the matchingkids apron pattern.
Pre-wash and dry thecotton canvasprior to cutting and sewing.
Remove it promptly from the dryer to minimize wrinkles and creases.
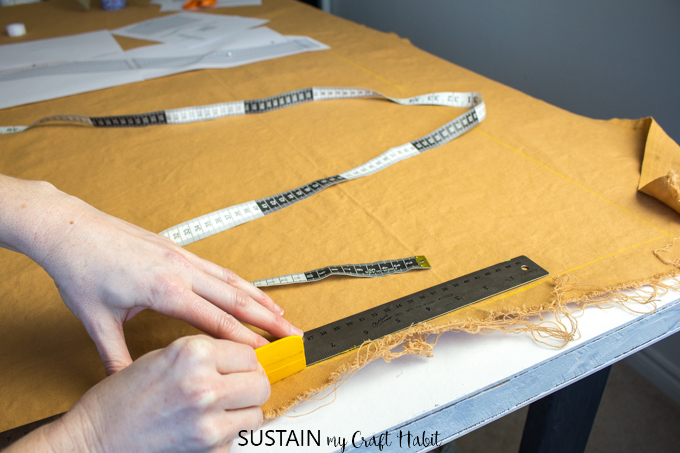
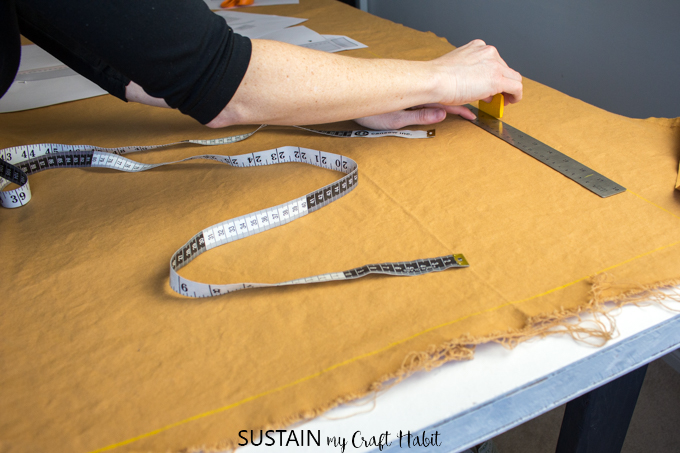
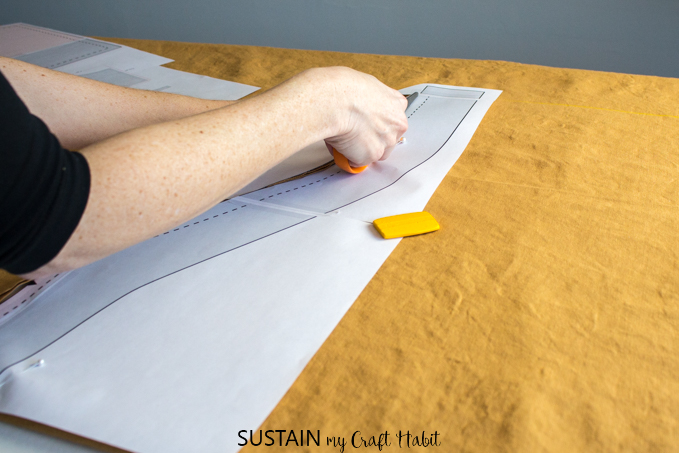
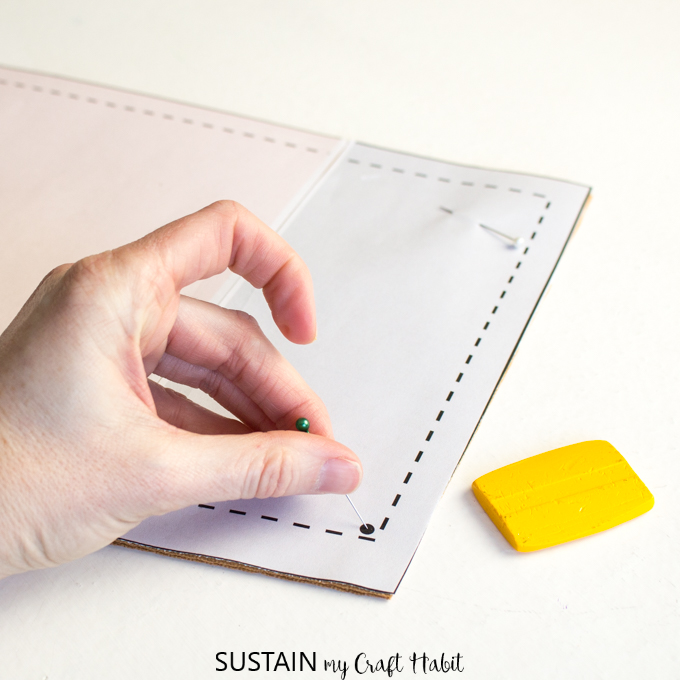
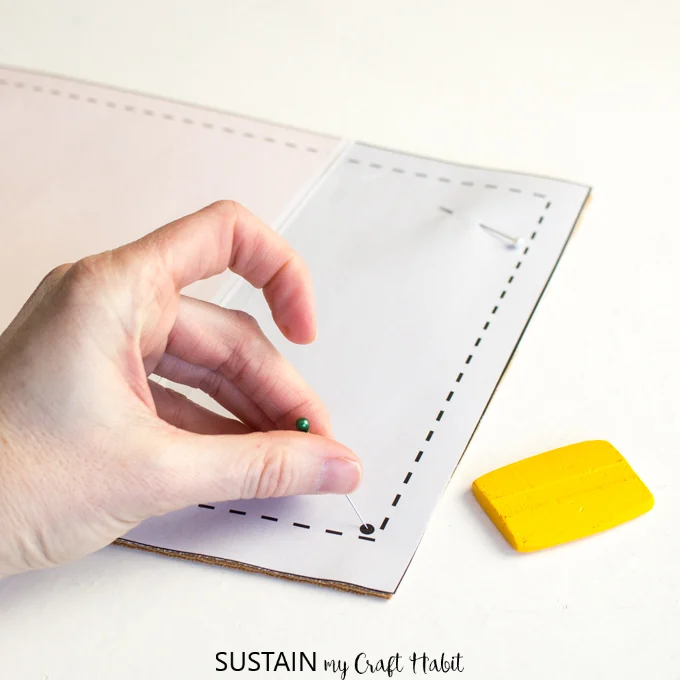
As always, take your time with this step to avoid any mistakes in cutting.
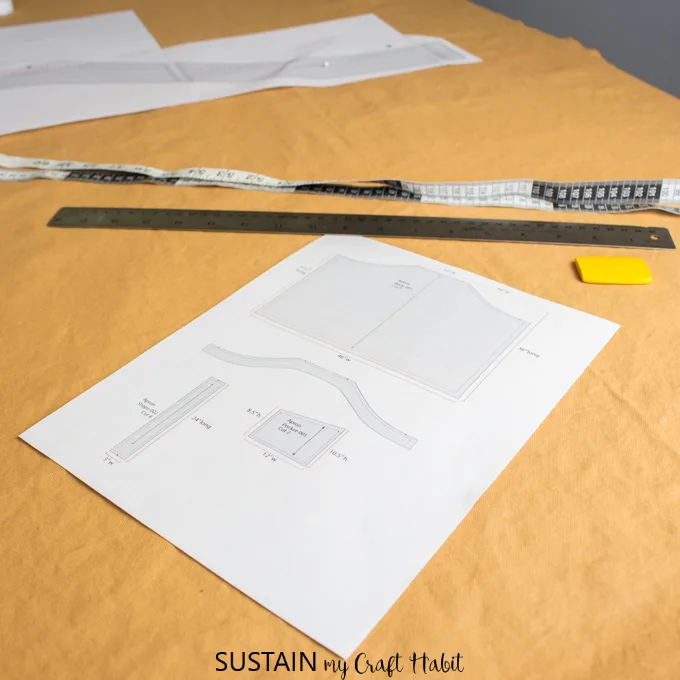
Alternatively you canprint out the patternonto 8.5 x 11 sheets of paperand tape together.
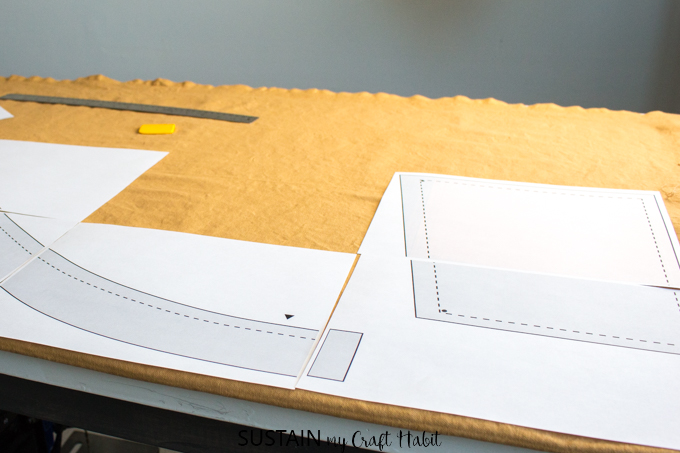
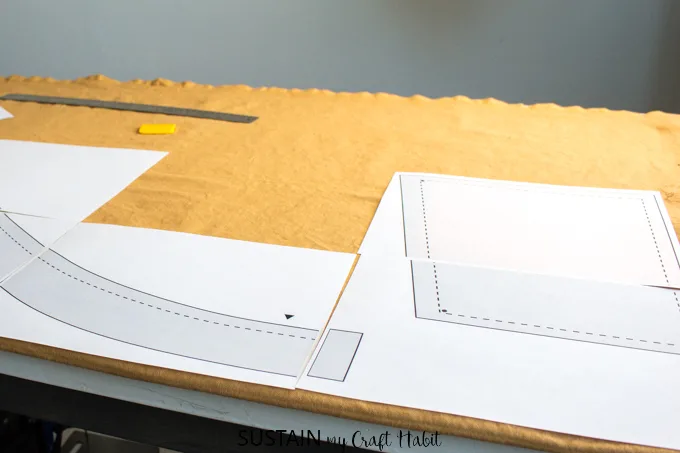
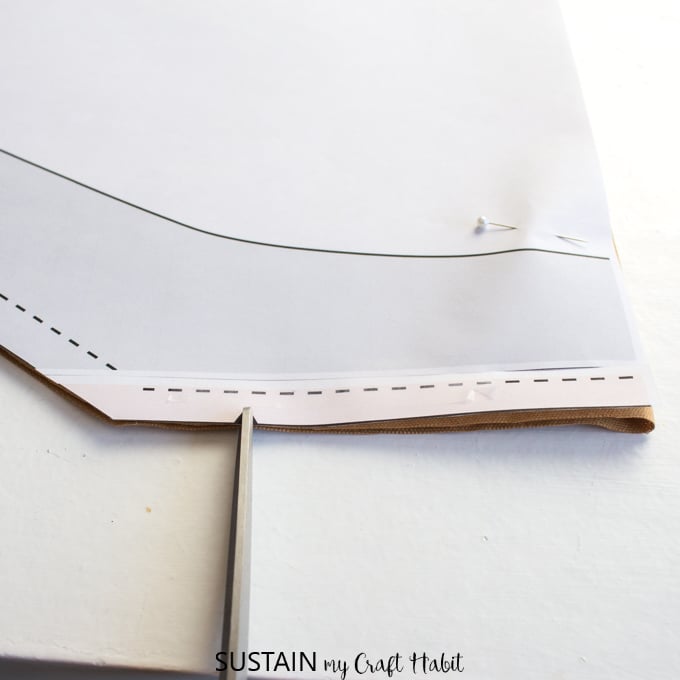
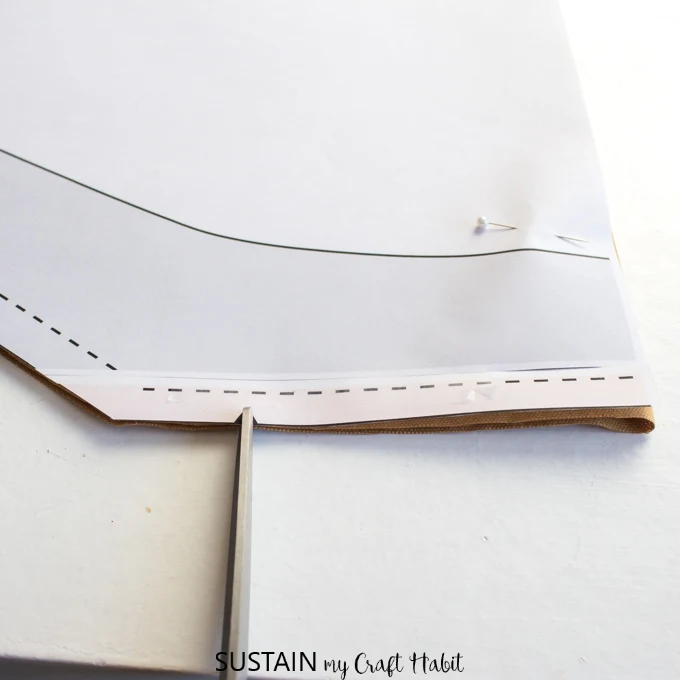
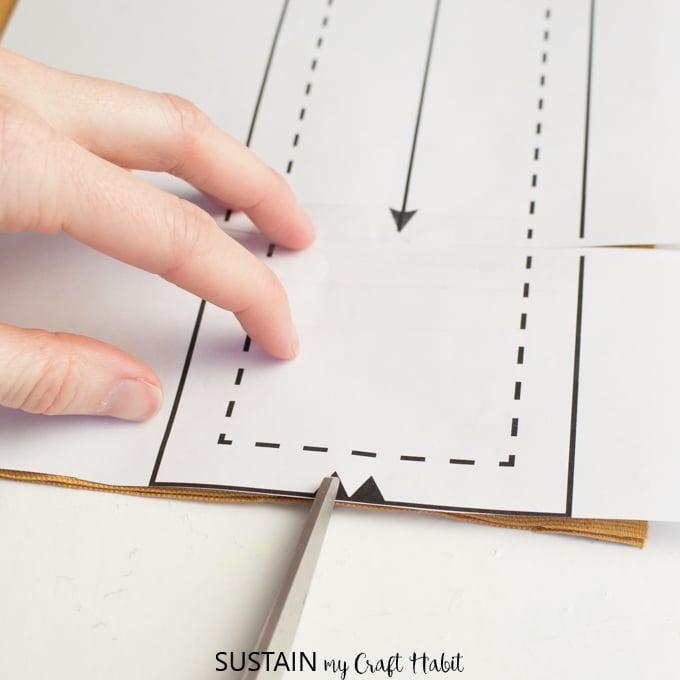
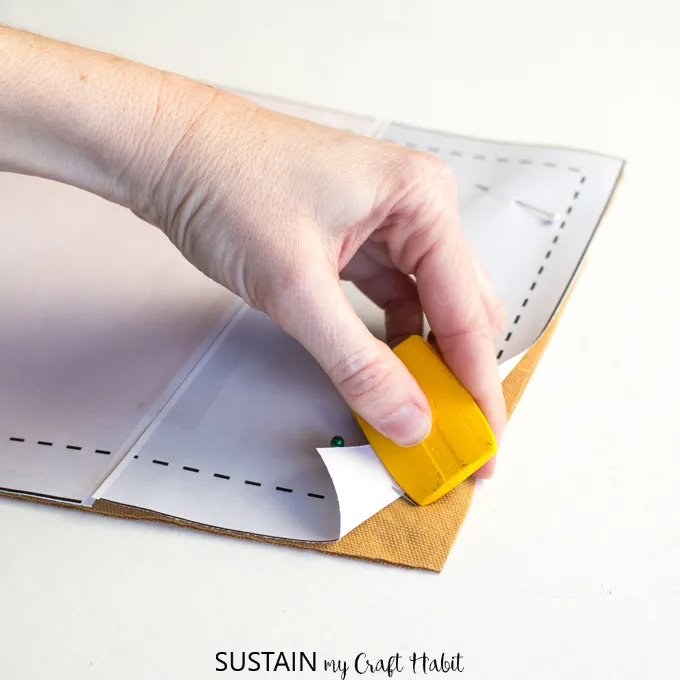
Cut along all the solid lines (the dash lines represent the sew lines).
Be sure to mark the notches for the strap placement along the top edge of the body pattern.
Single notches represent the front and double notches represent the back.

This step will help you position the pockets properly later on.
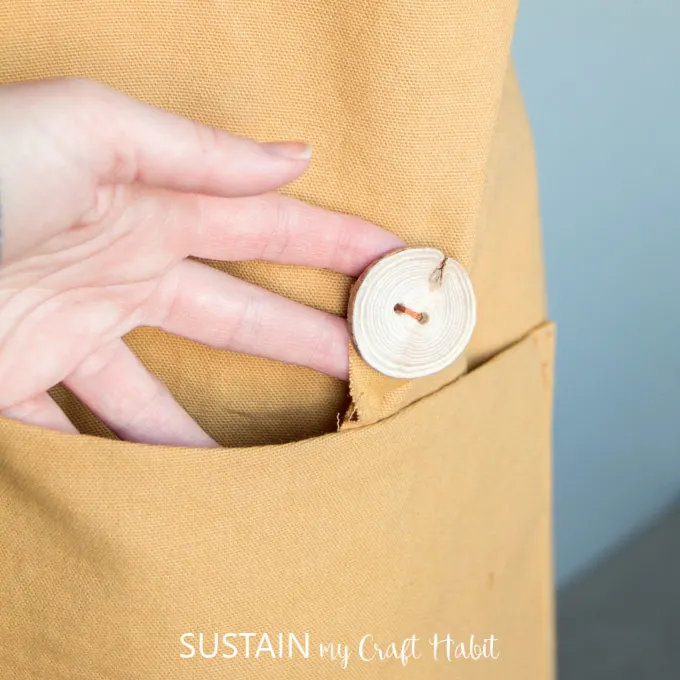
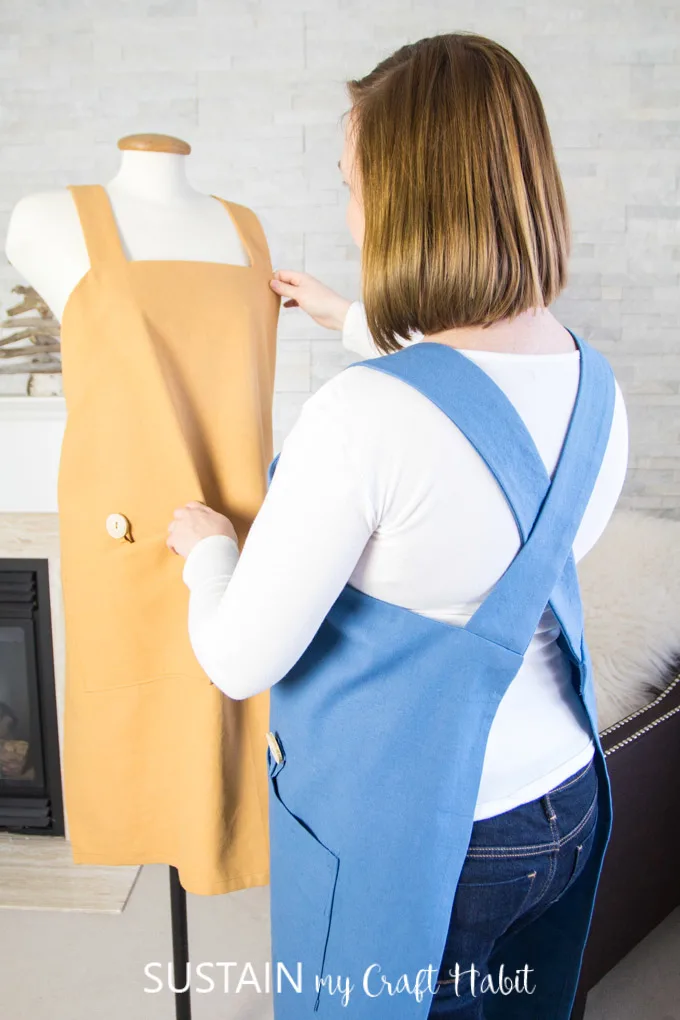
Optional: you’re able to also add a decorative button to each pocket opening.
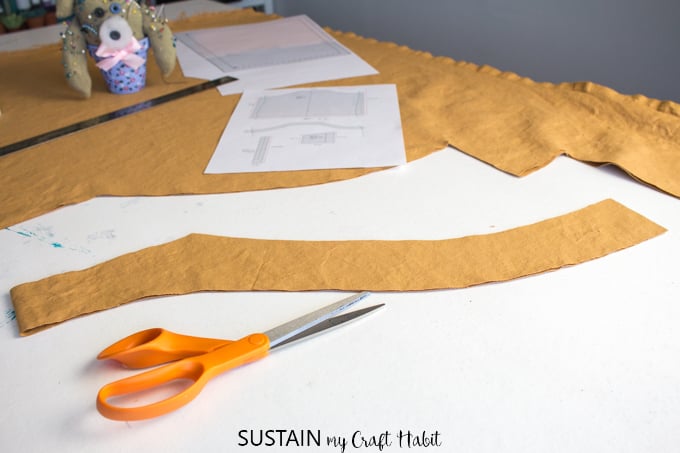
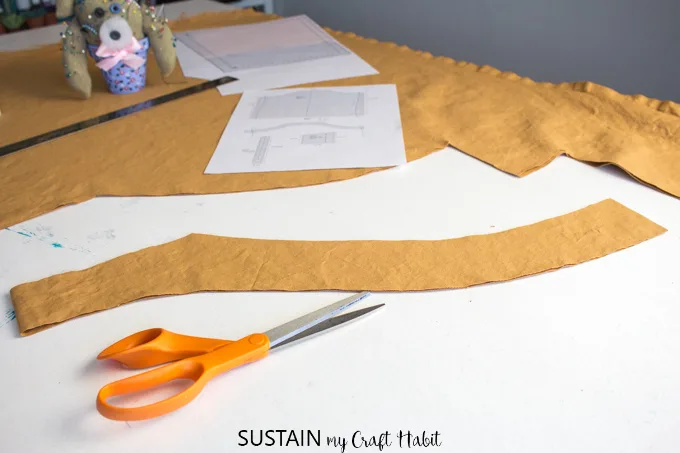
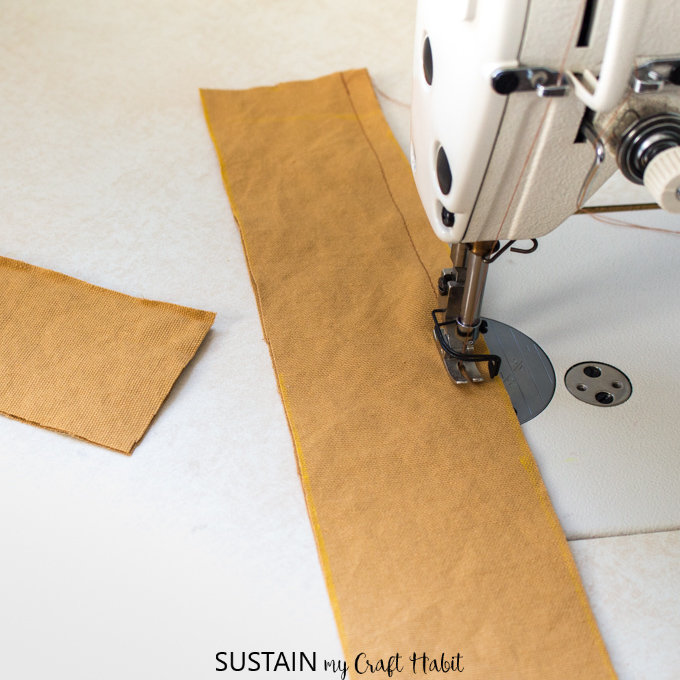
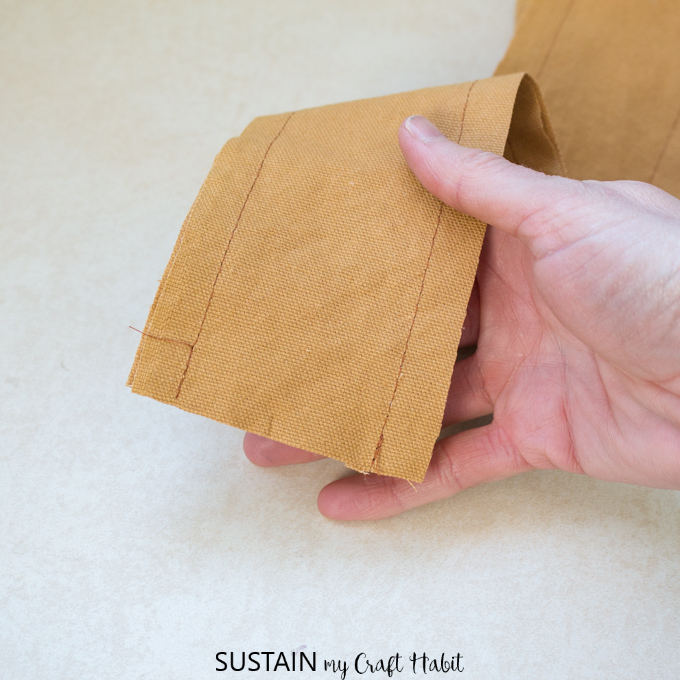
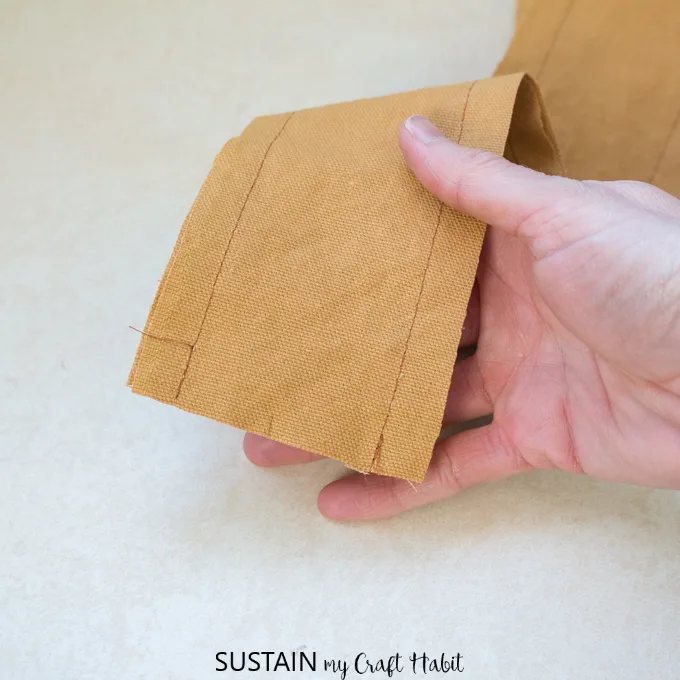
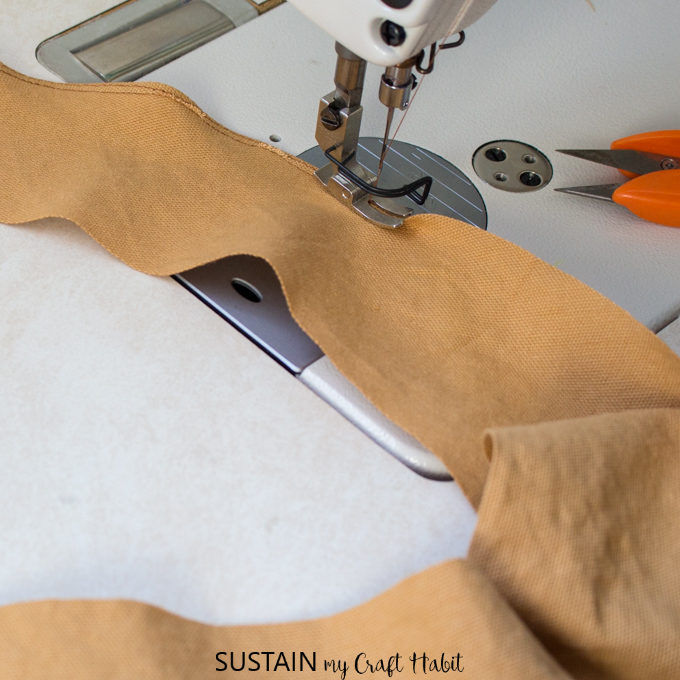
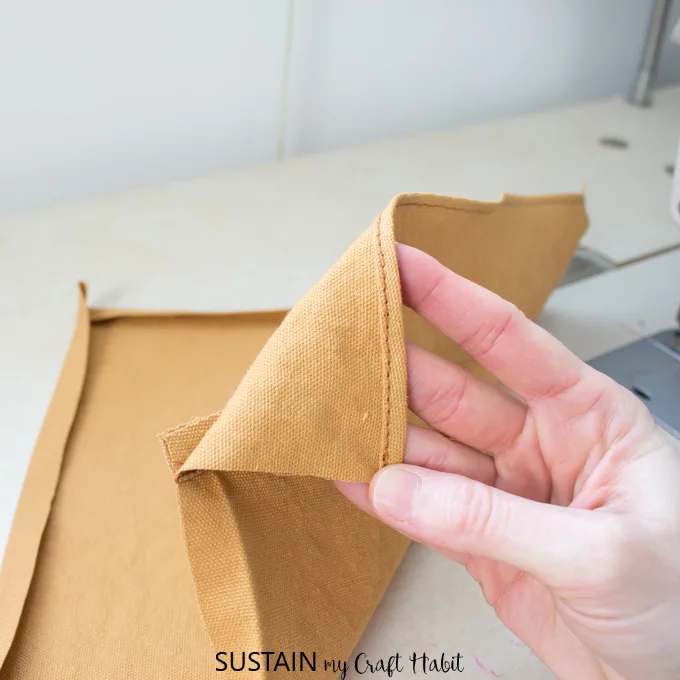
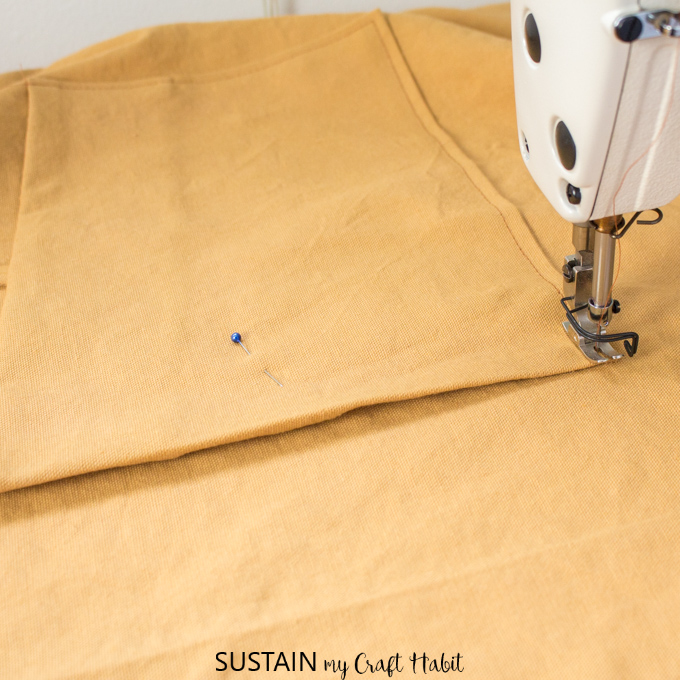
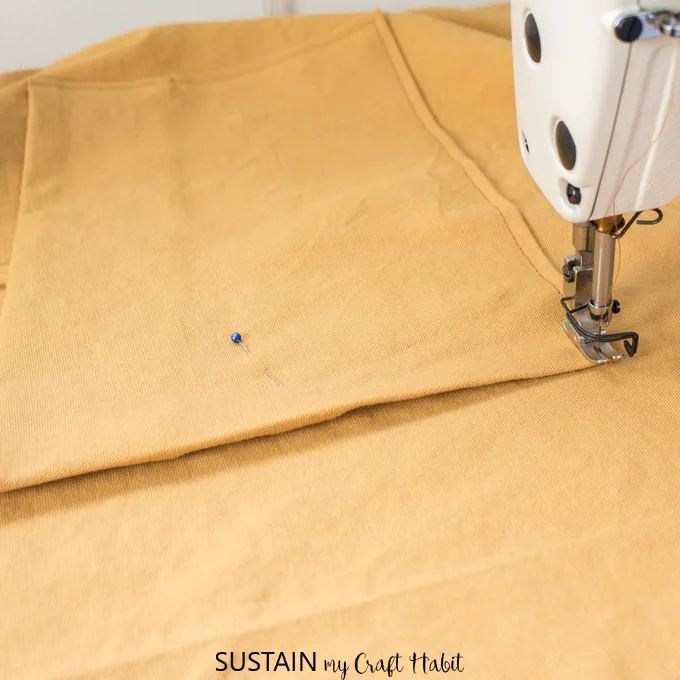
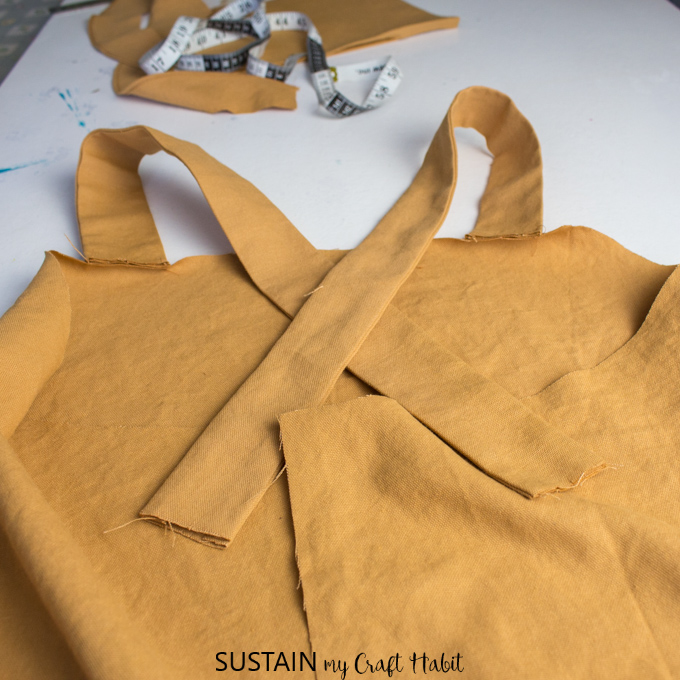
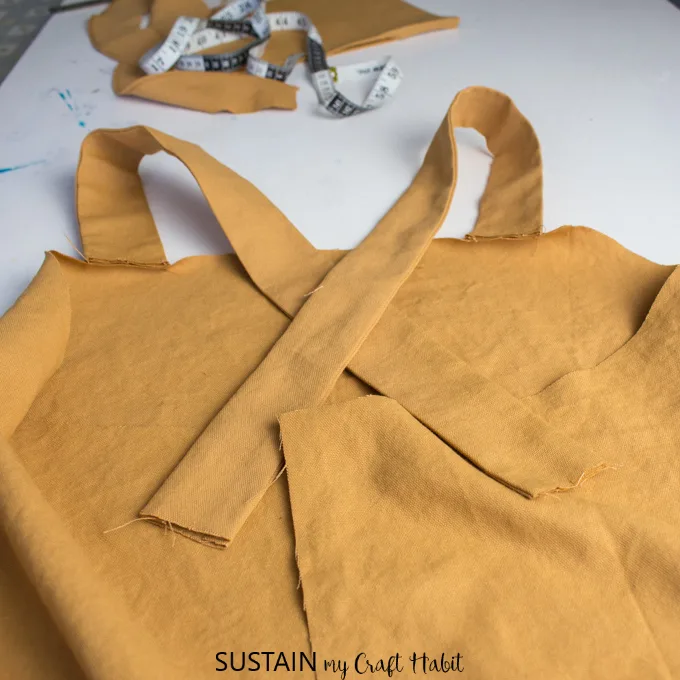
With right sides together, sew the two sides of each shoulder strap together lengthwise.

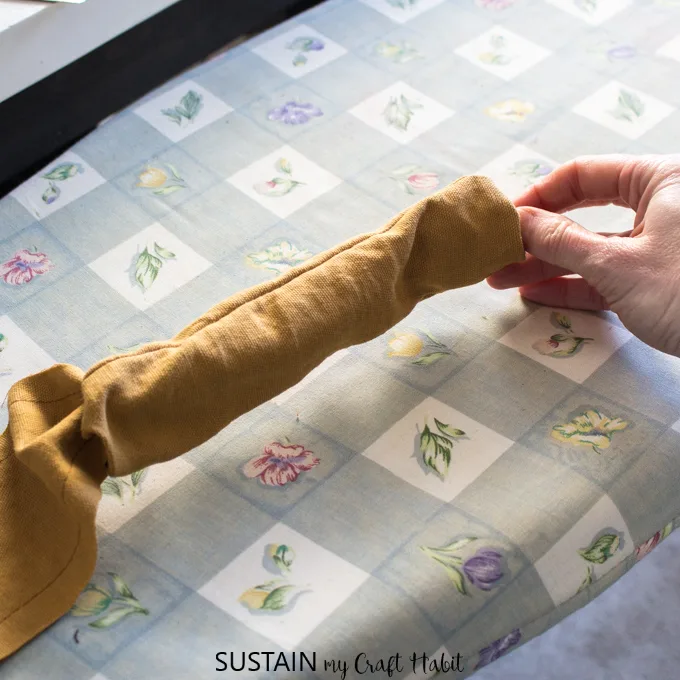
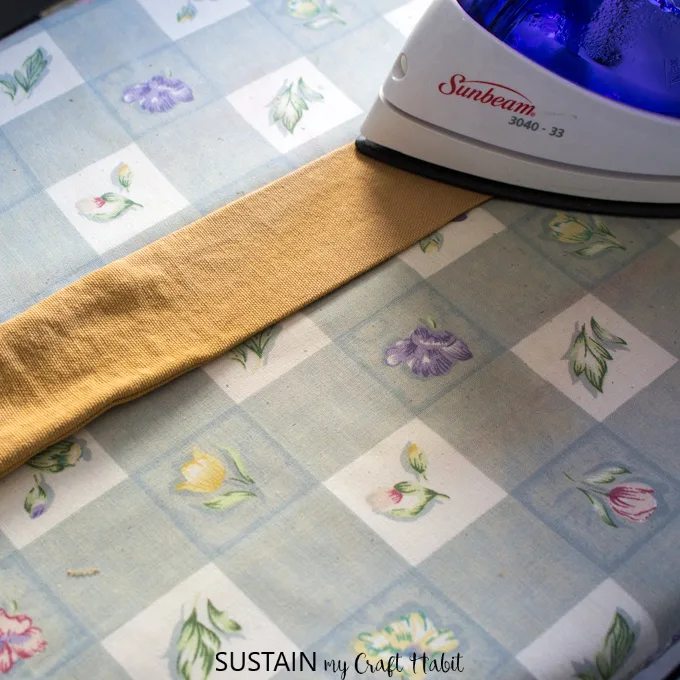
Turn stitched straps right side out and press seams flat.
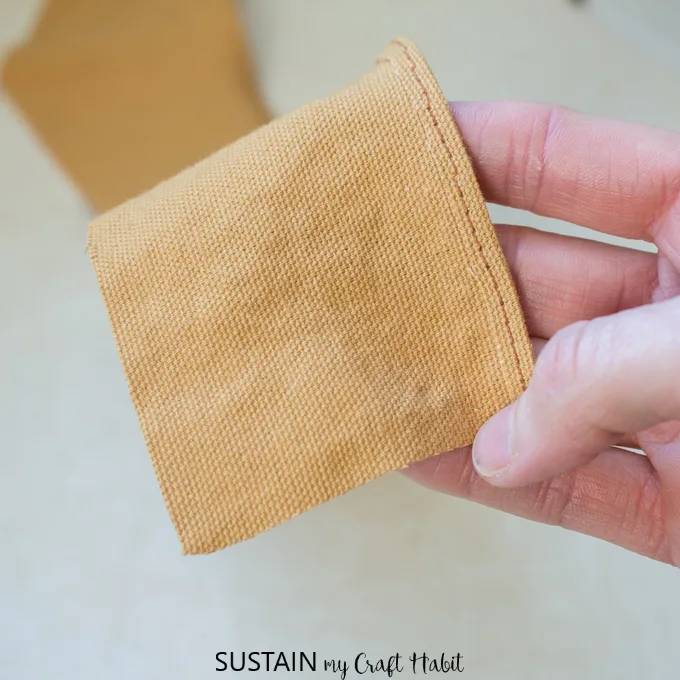
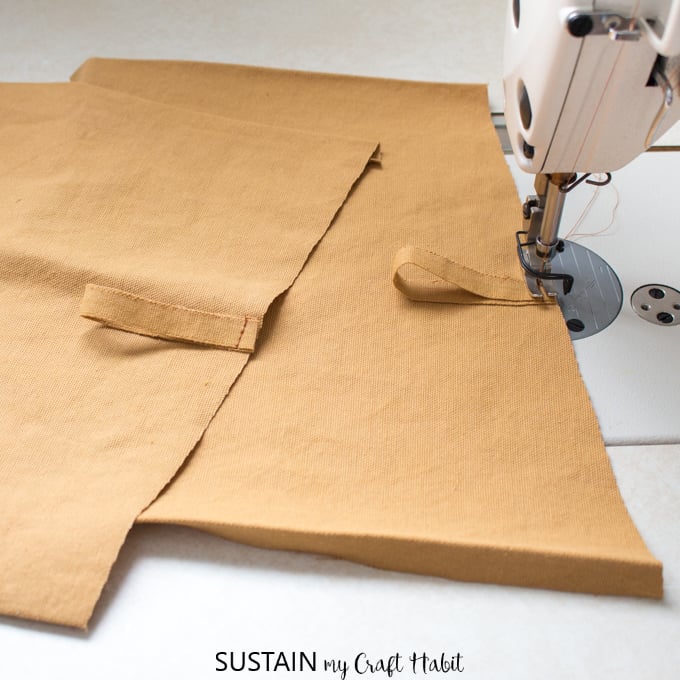
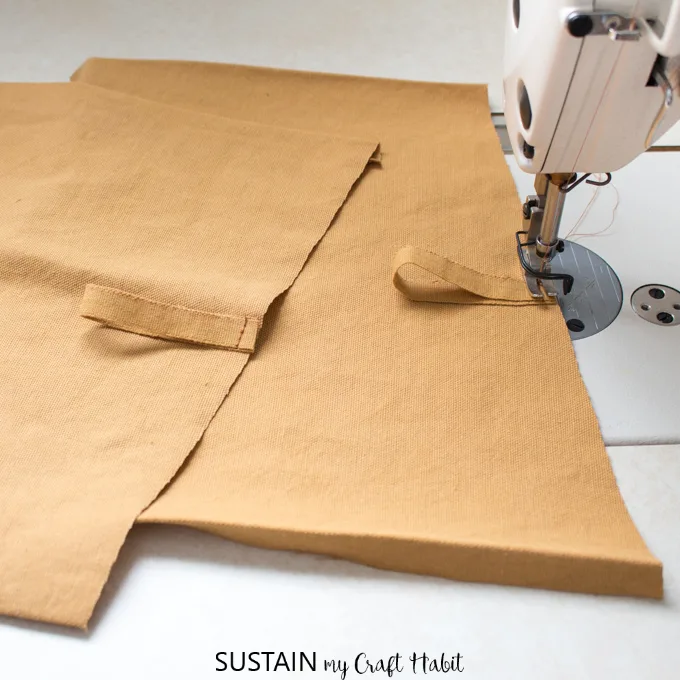
As an added touch, we added a decorative fabric loop to each of the pockets.
Cut two strips of fabric (along the selvedge of the fabric) about 6 long.
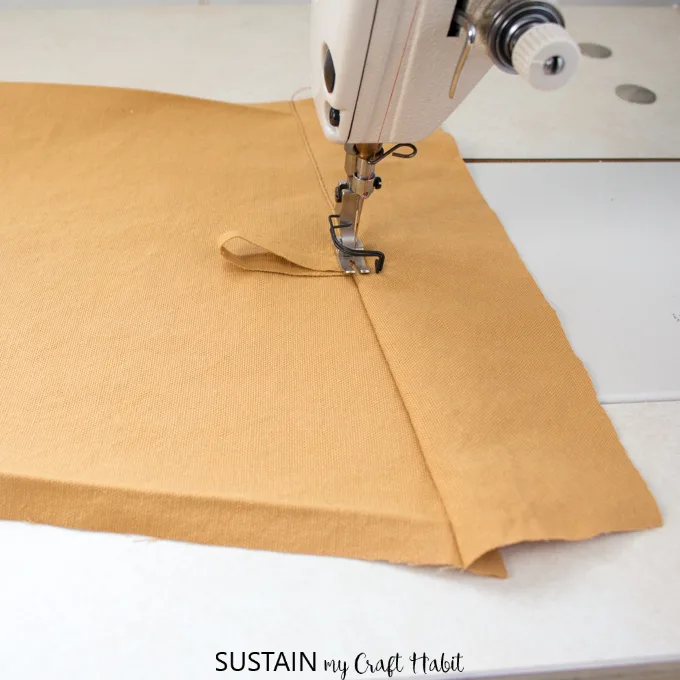
Baste stitch in place.
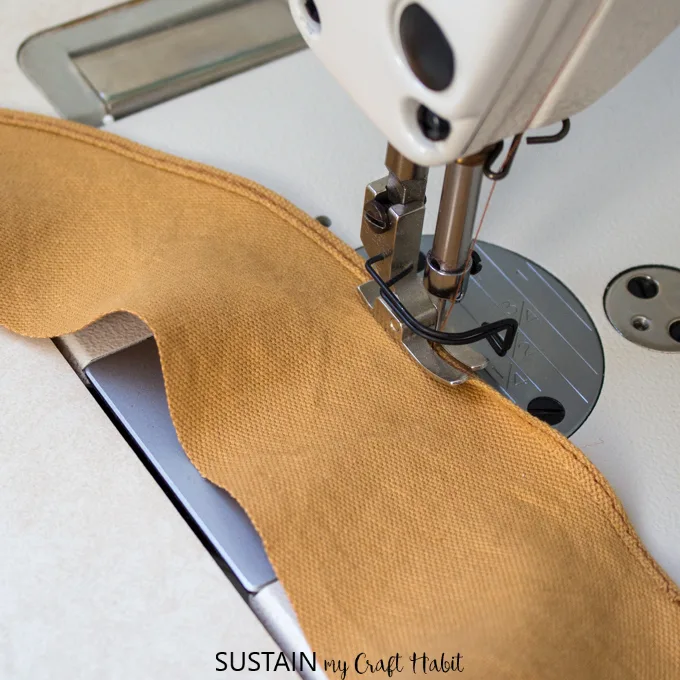
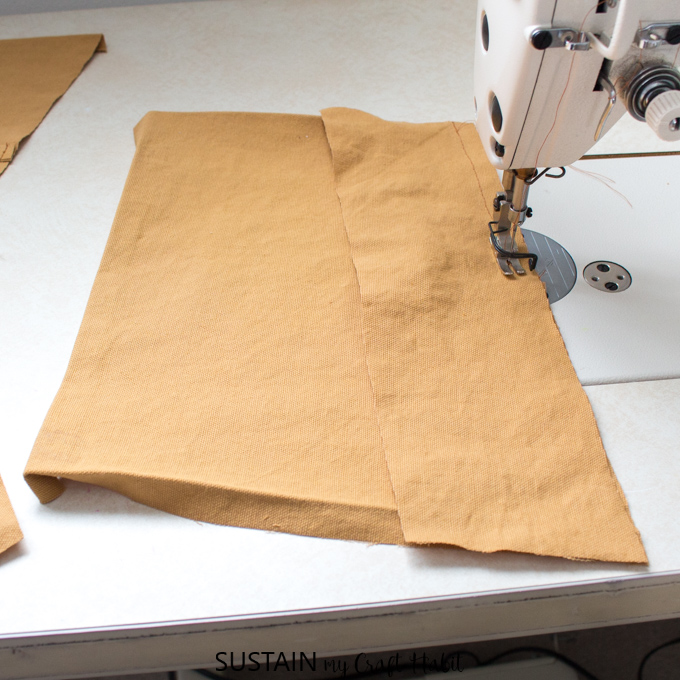
Align the pocket facing with the top edge of the pocket and sew together.
Clean finish the pocket facing edge with a narrow double turn hem.

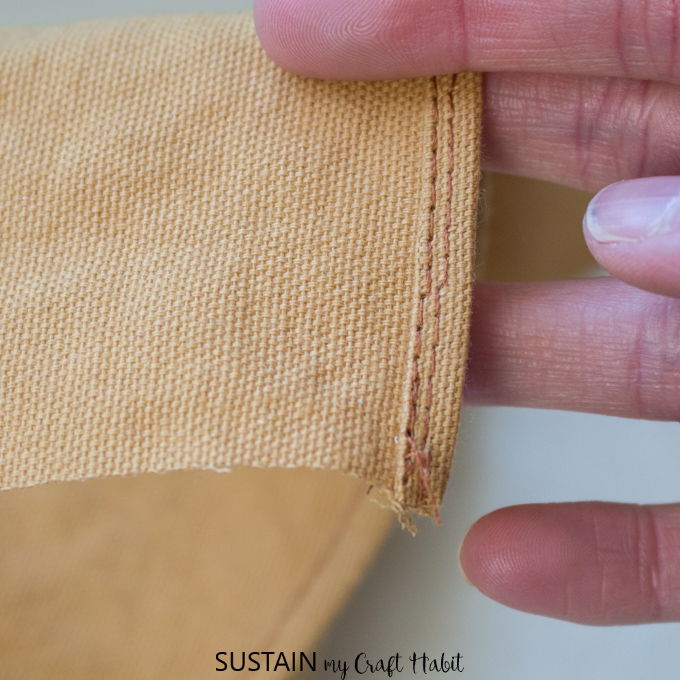
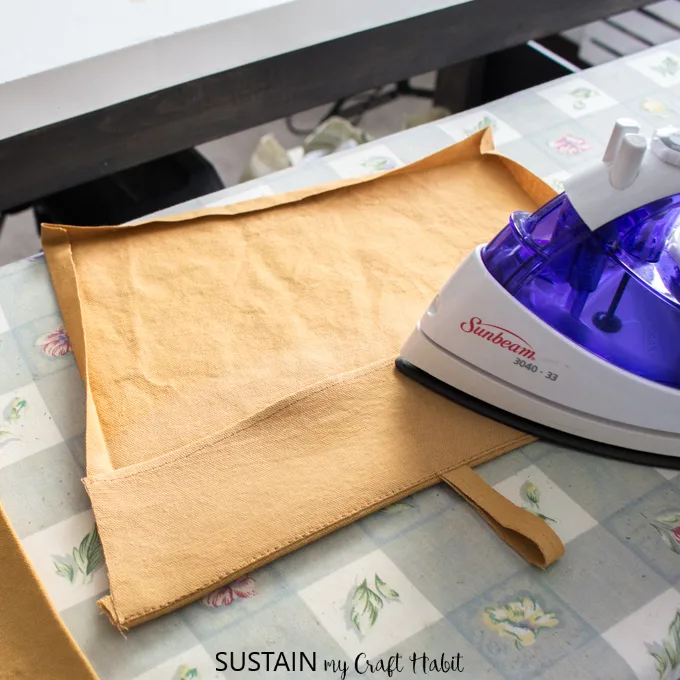
Fold in the facing along the seam and iron all other edges of the pocket in by 12.
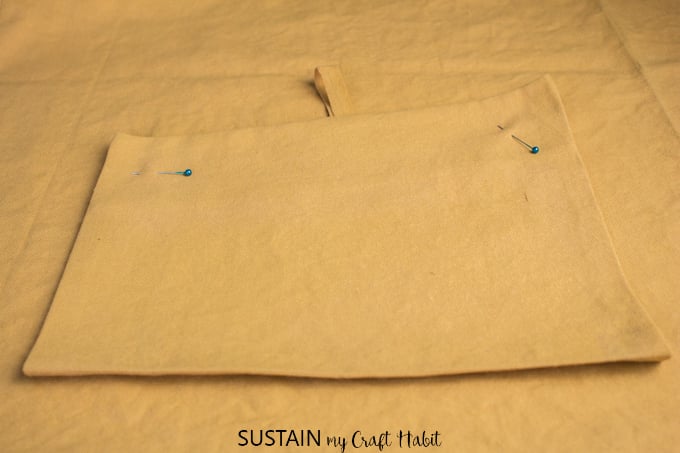
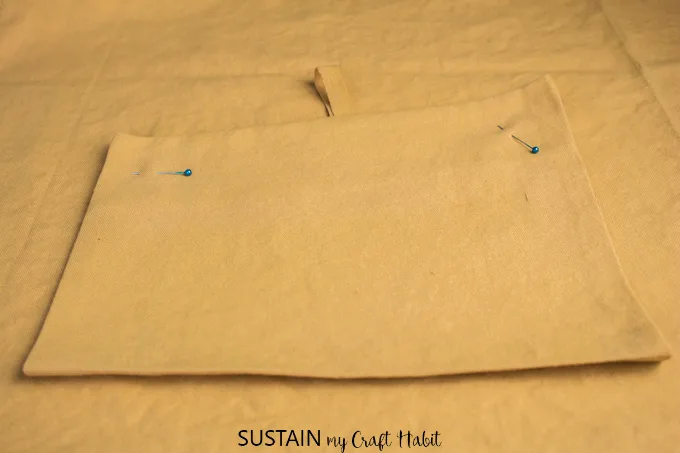
Position the pocket onto the body of the apron, with small dots aligned.
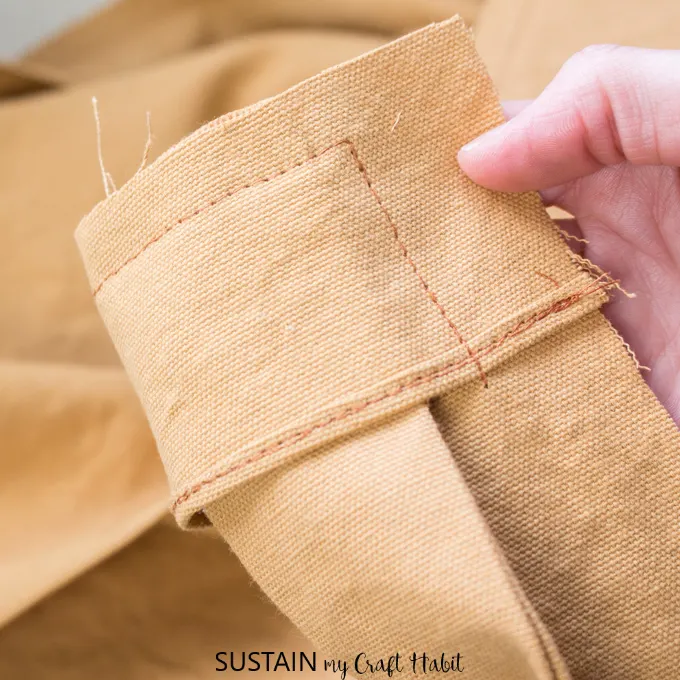
Edgestitch pocket in place along all 3 sides of the pocket.

For added reinforcement, add a triangle stitch to both corners of the pocket opening.
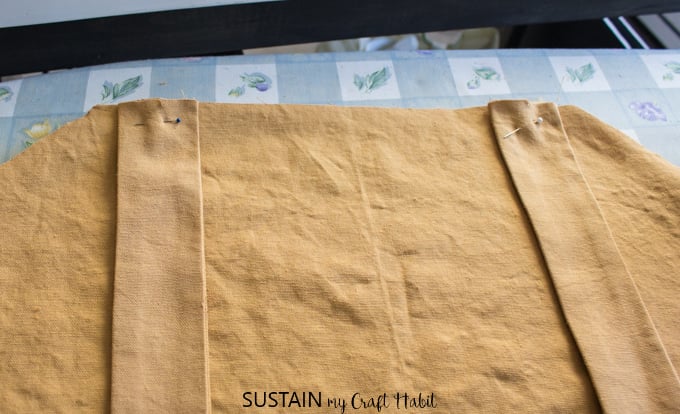
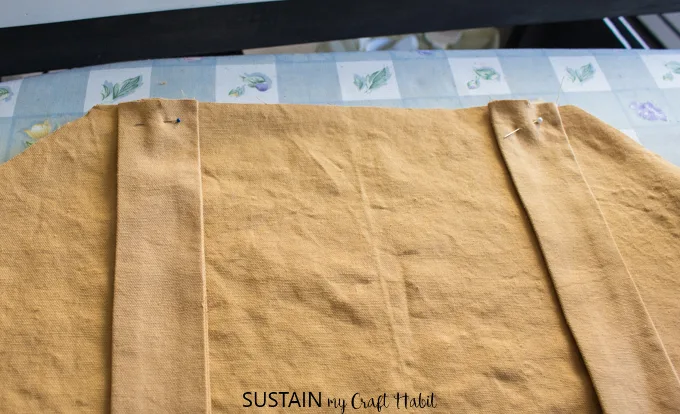
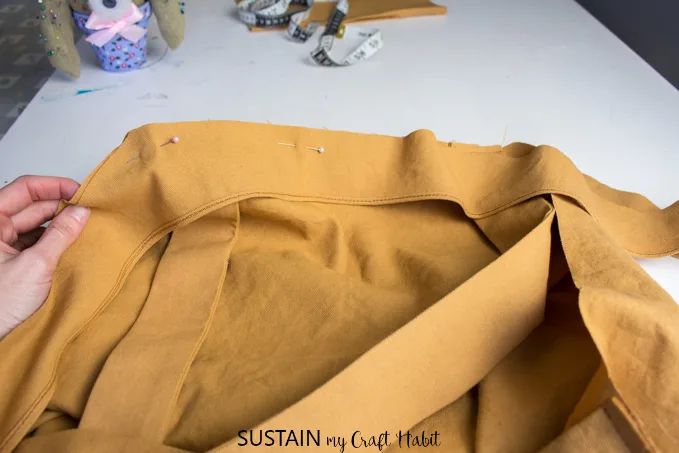
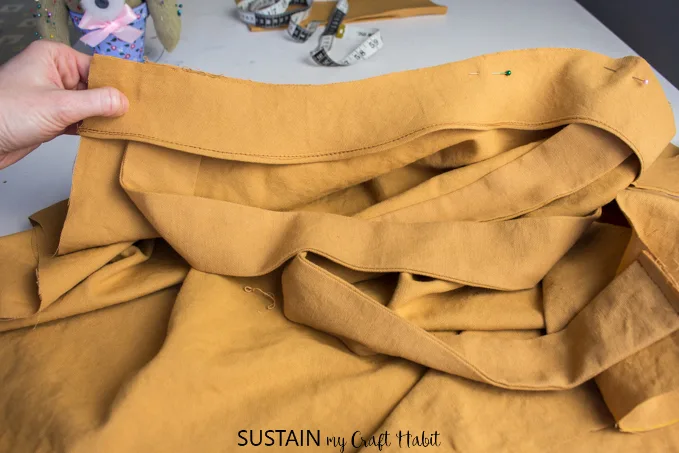
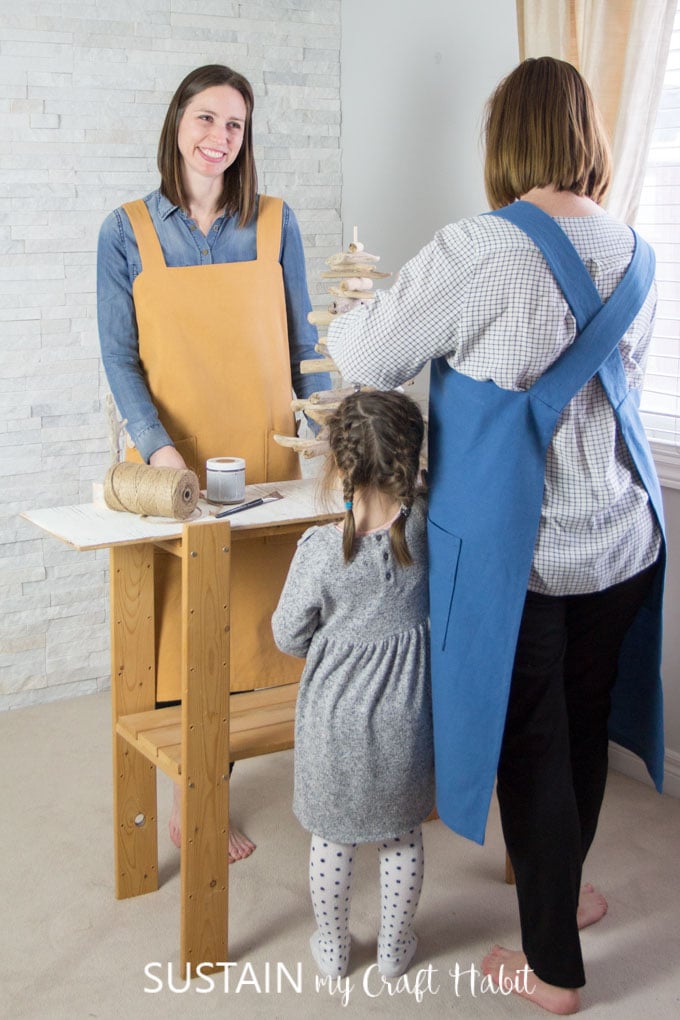
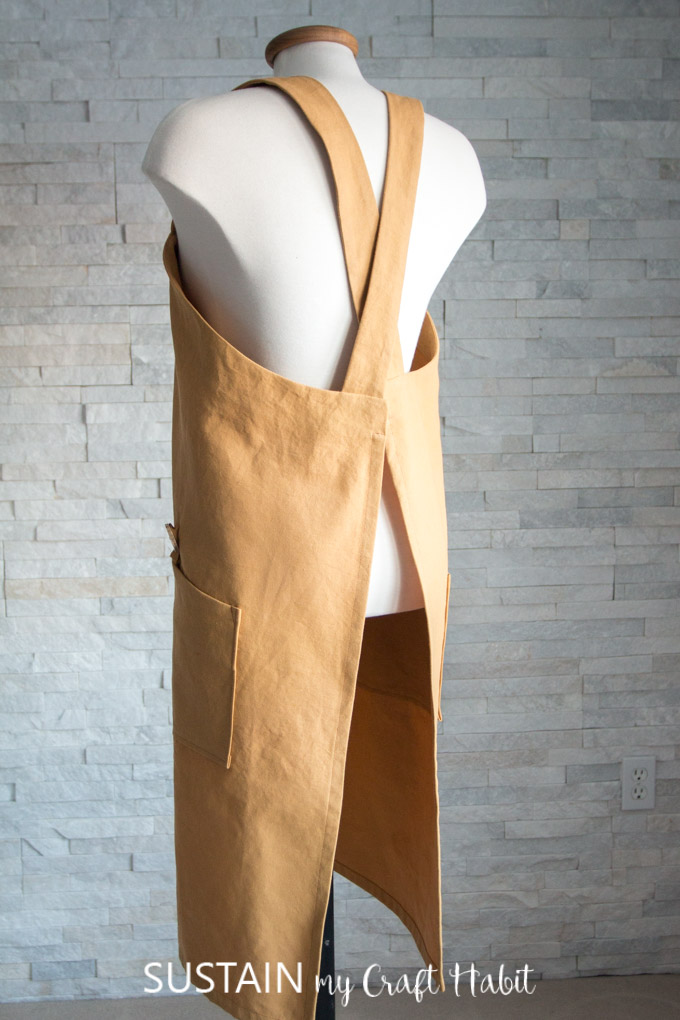
Be sure to criss-cross the straps at the back!Baste stitch straps in place.
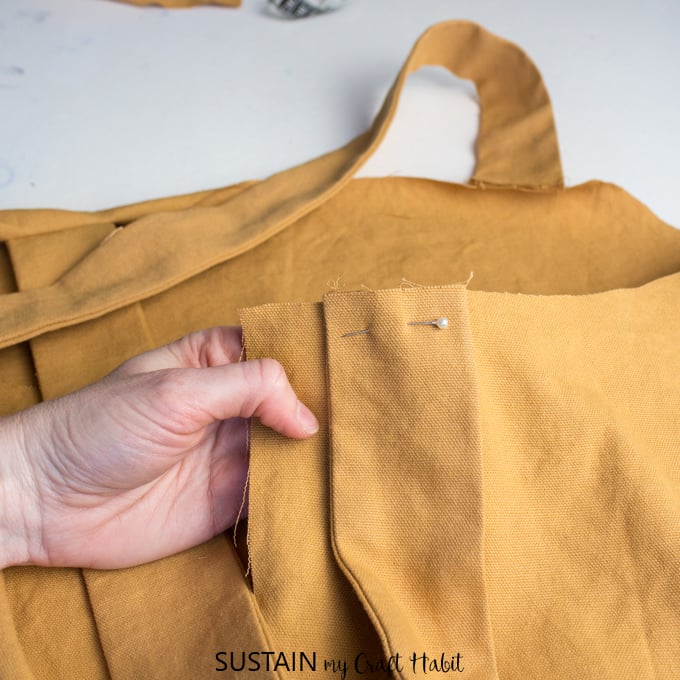
With right sides together, align the top edge of the body pattern and neck facing as shown.

Stitch together with a 12 seam allowance.
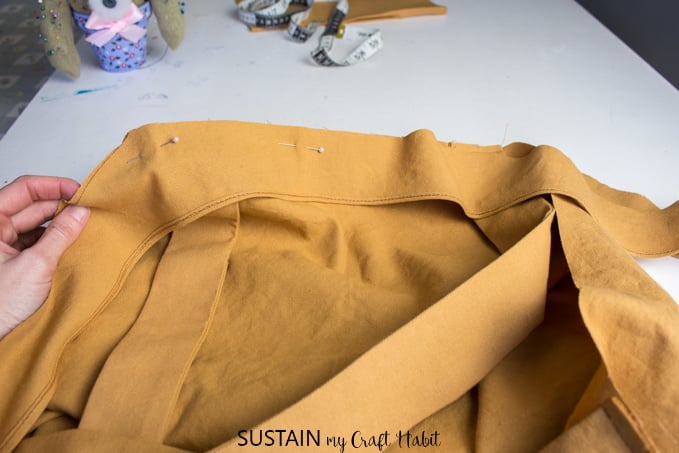
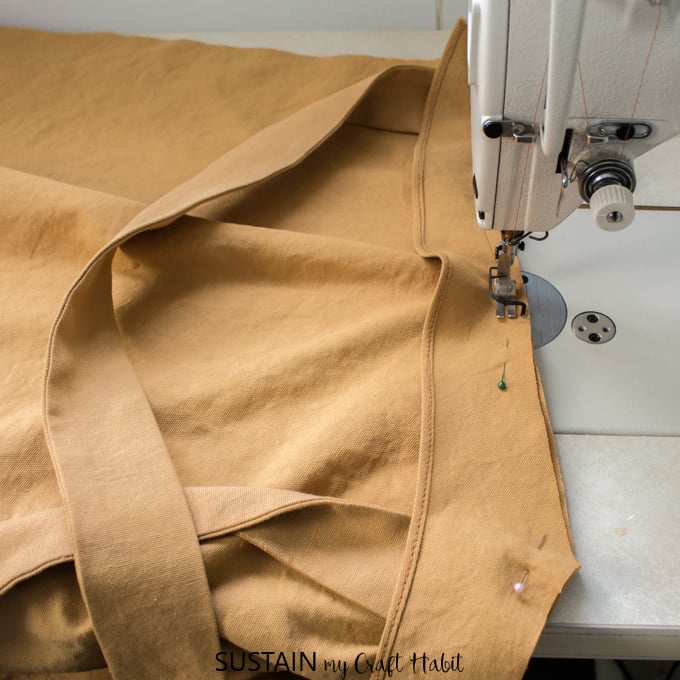
Finish with an under-stitch.
Sew the ends of the facing to the body with a 1 seam allowance.
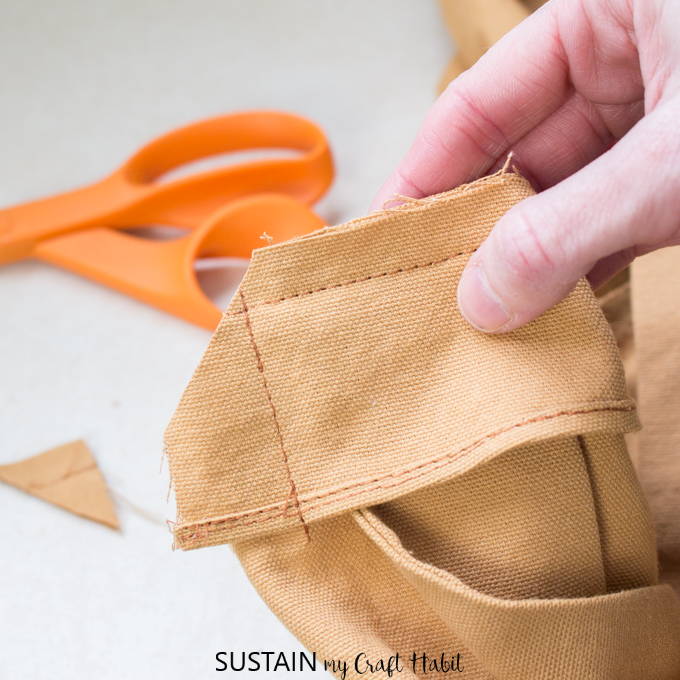
Clip the seam allowance at the corners to reduce bulkiness.
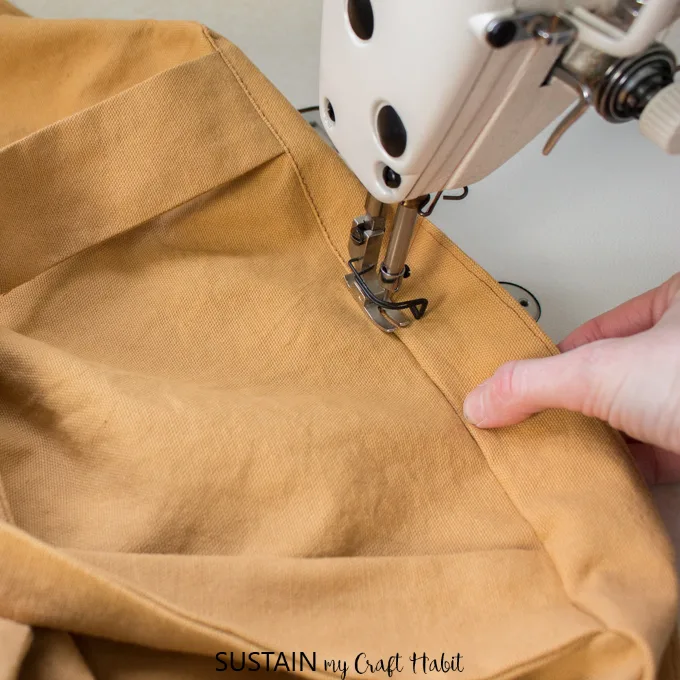
Turn facing over and press seam flat.
Finish the sides and bottom hem of the apron with a 12 double turned hem.
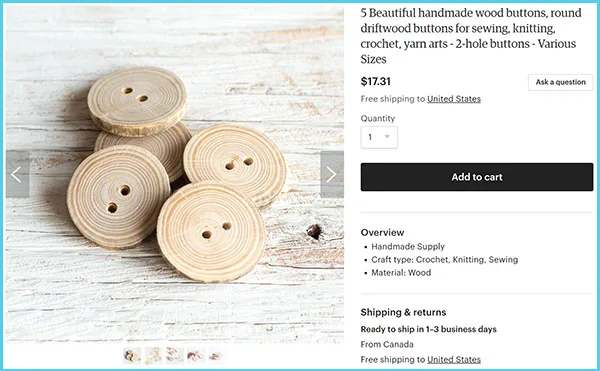
Lastly, we added driftwood buttons to each of the pockets to finish off the apron.
Using a sewing needle and matching thread, attach the button to the apron above the pocket loop.
Reinforce the back of the button with a piece of scrap fabric.

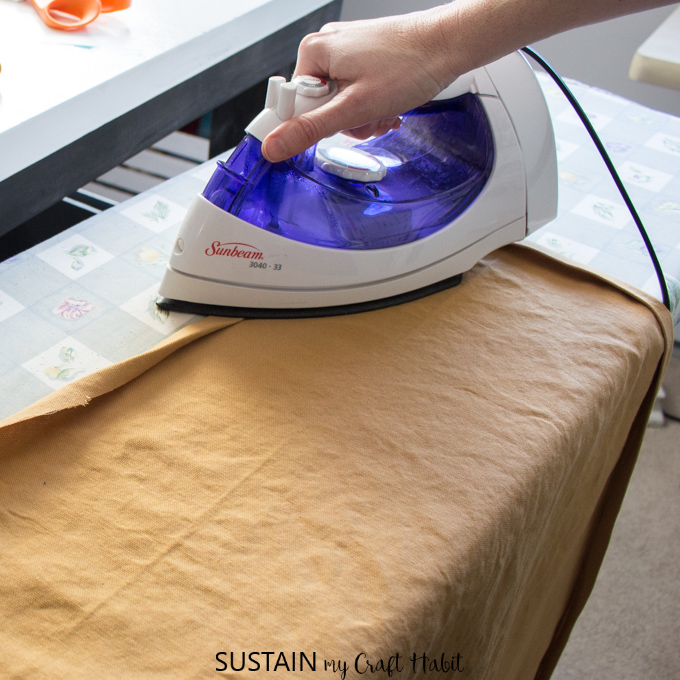
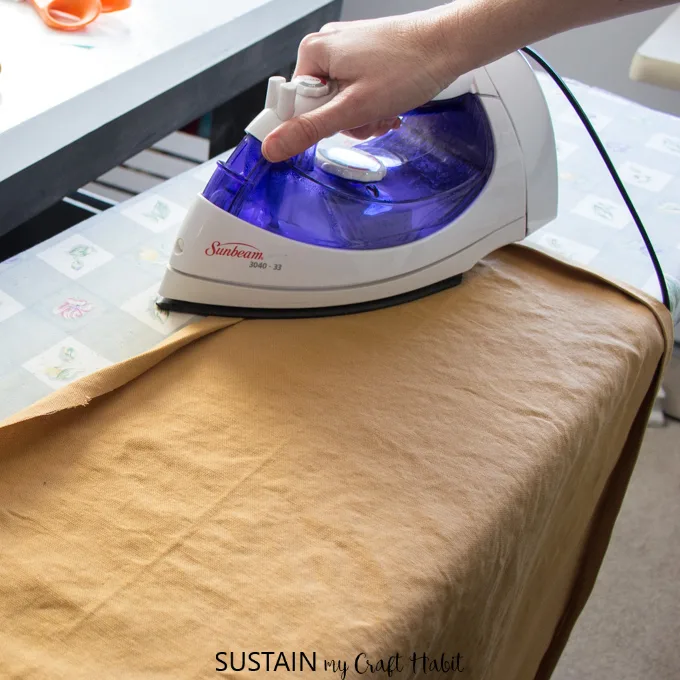
And lastly, iron all seams and stitched edges.
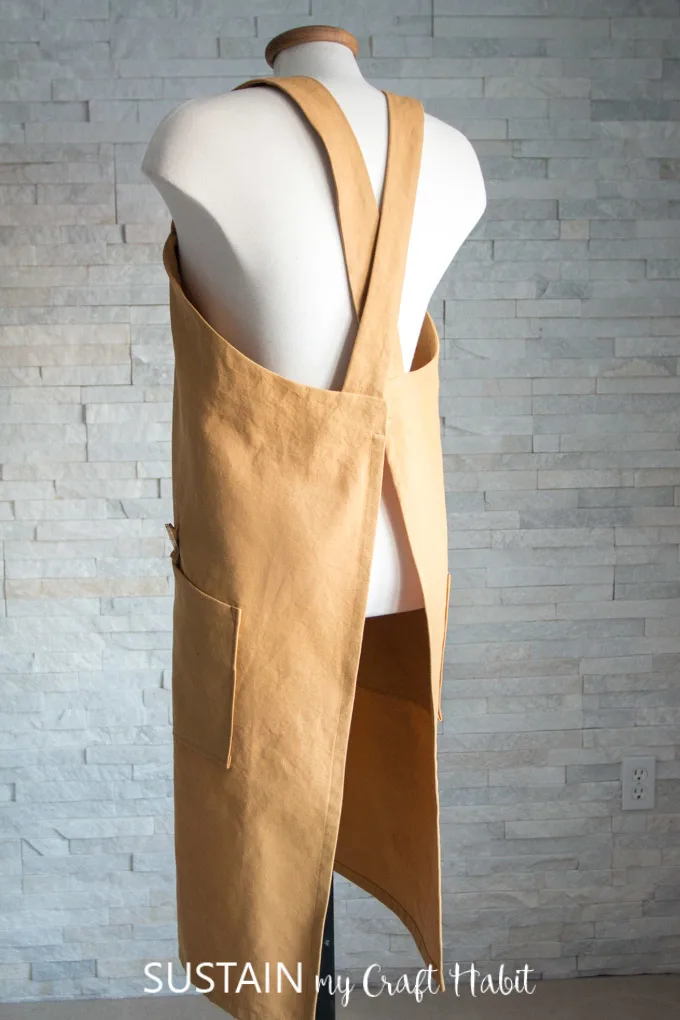
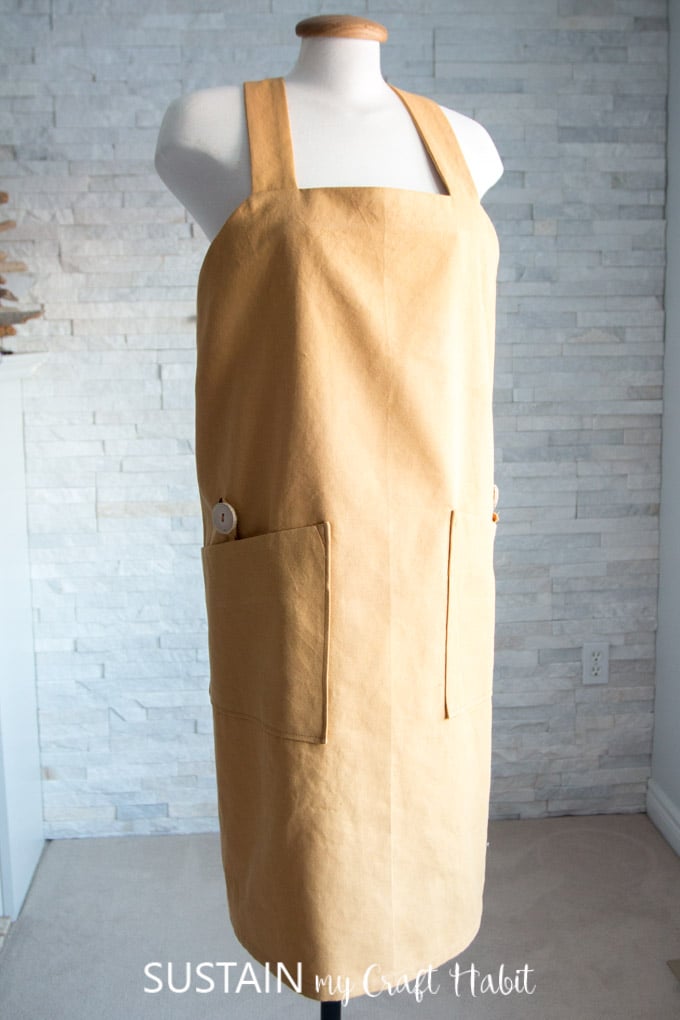
Were quite happy with how our DIY apron pattern turned out.
Theyll be perfect for crafting, in the workshop or garden.
Pin it for later!