Learn how to make a clothespin napkin holder on a budget!
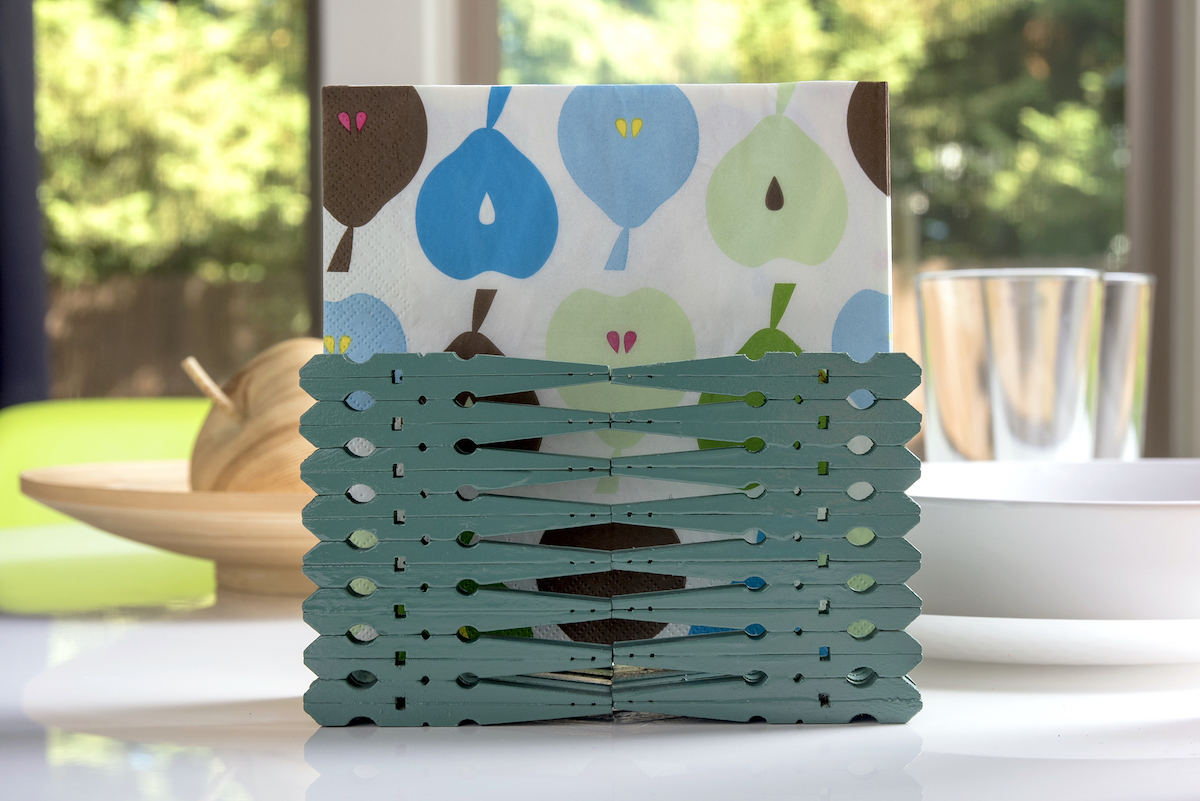
This craft was so easy to make and you might paint it any color you like.
Skills Required: None.Even if youve never crafted before, you’re free to make this napkin holder.
It only requires three supplies, and youll be gluing and spray painting.
Clothespins are so versatile, its crazy!
And as far as Im concerned, when it comes to clothespins Im completely in.
I may have gone a little overboard when buying my supplies (who, me?).
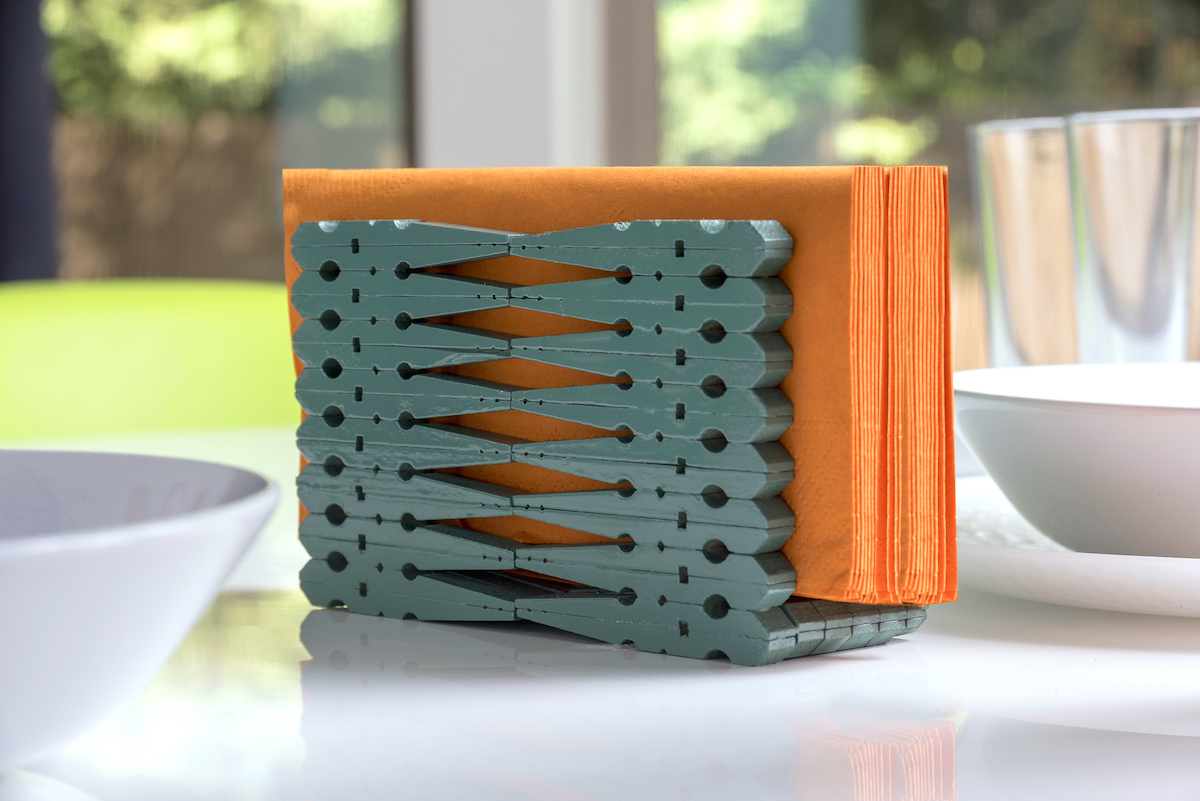
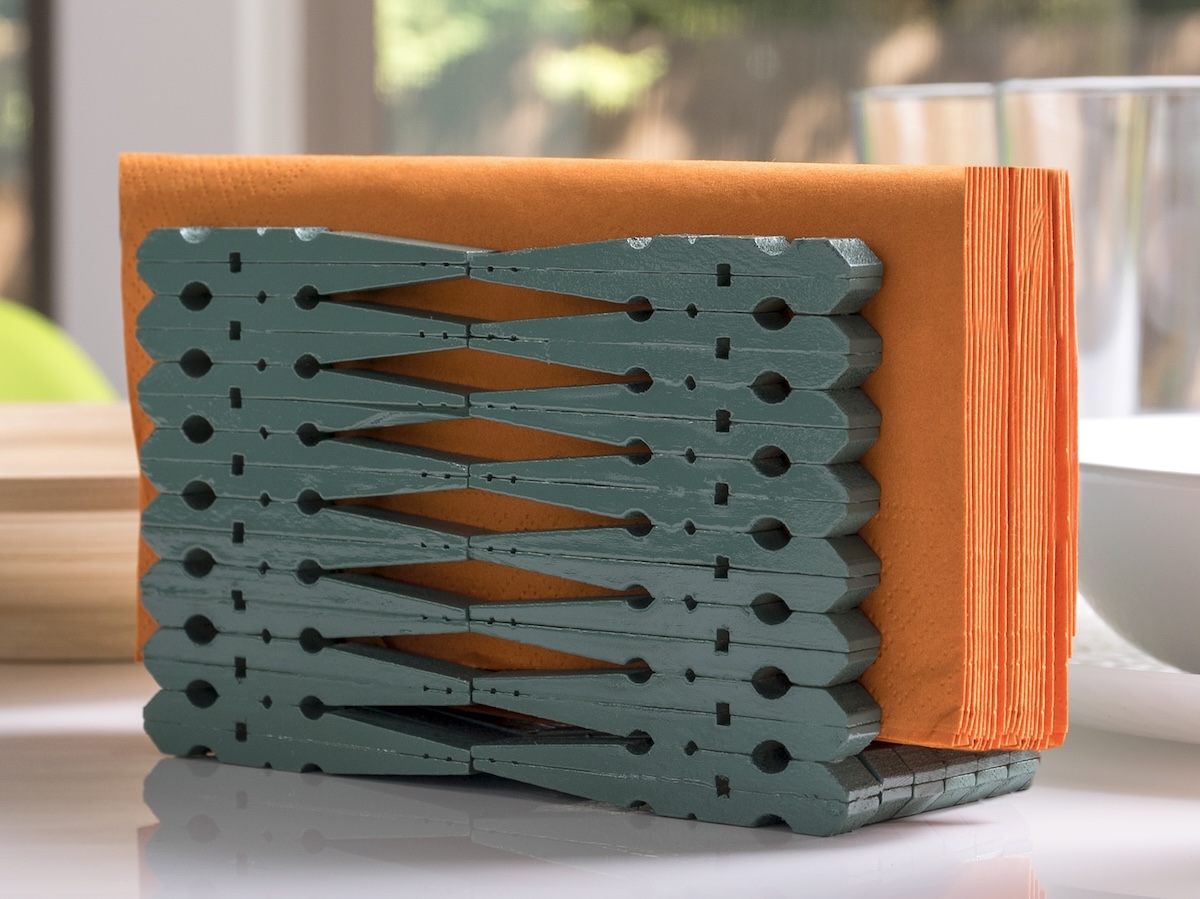
This makes a wonderfultable decorationas well as being utilitarian.
Almost like you would find something like this in a retro diner.
And I accomplished it all with just some glue!
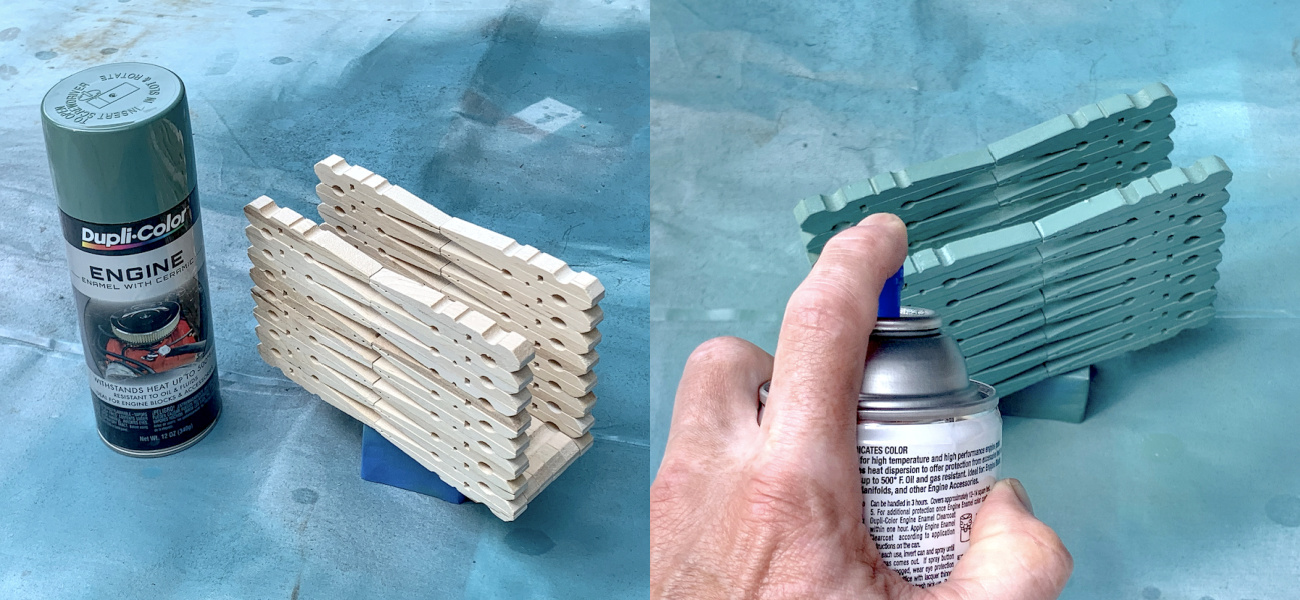
I also had what I considered to be the perfect spray paint color for my DIY napkin holder.
A bit of overkill, but its what I had and it works nicely.

This particular spray paint also happens to be highly water resistant!
If youre ready to learn how to make a napkin holder for yourkitchen, heres the tutorial.
It only uses three supplies which is really nice.
Especially for me, I had everything on hand so this was free!
Clothespin Napkin Holder
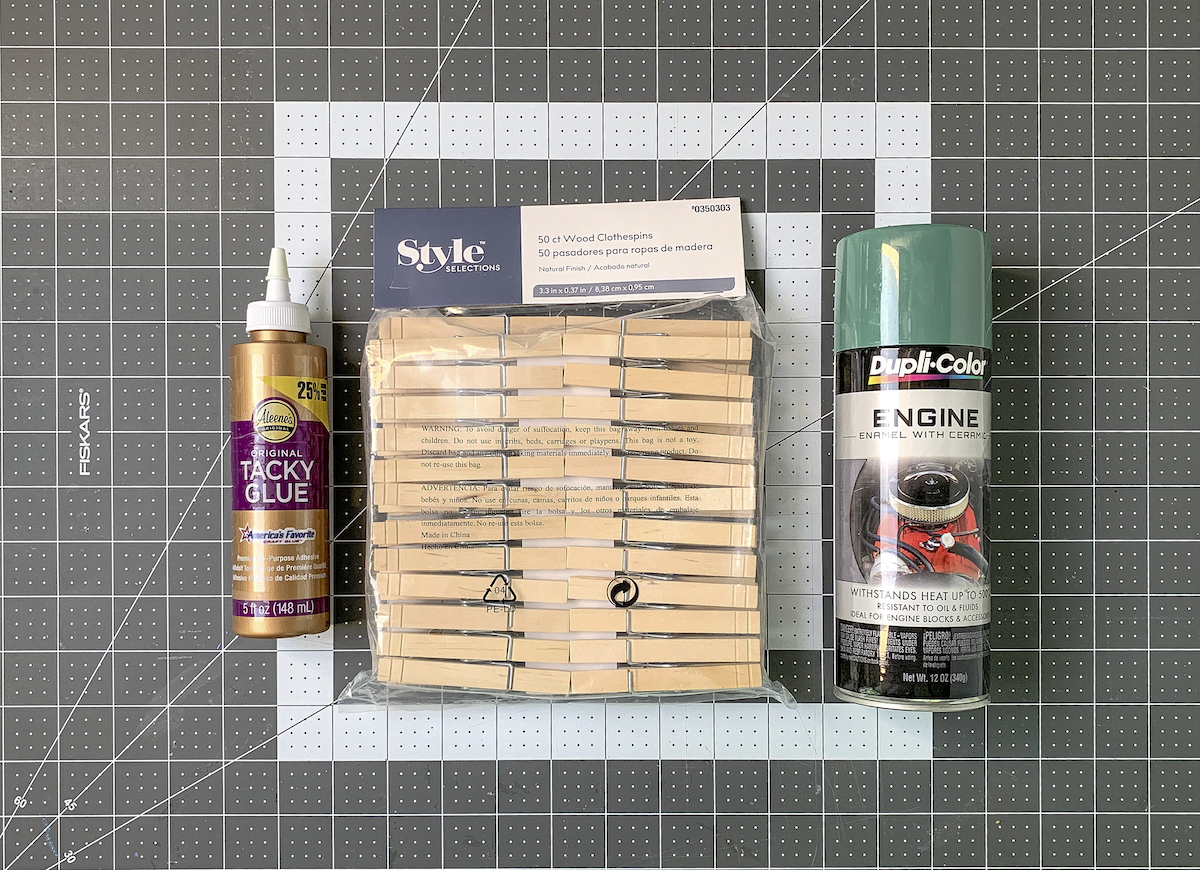
Gather These Supplies
Here are the supplies used.
Its up to you and what you’re able to find.
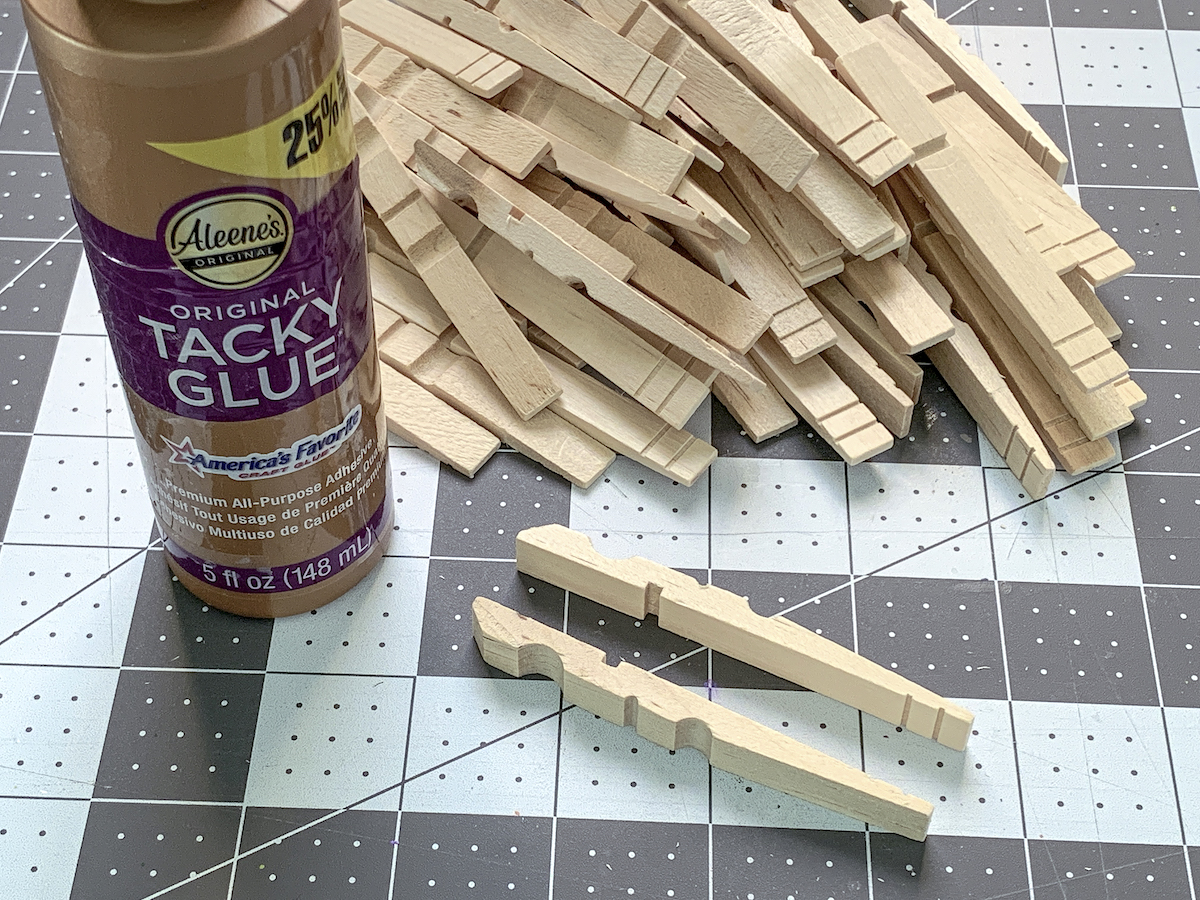
Begin by twisting the two half of the clothespin and removing one side.
Then youll easily be able to remove the clip from the other half.
Do this with 40 clothespins.
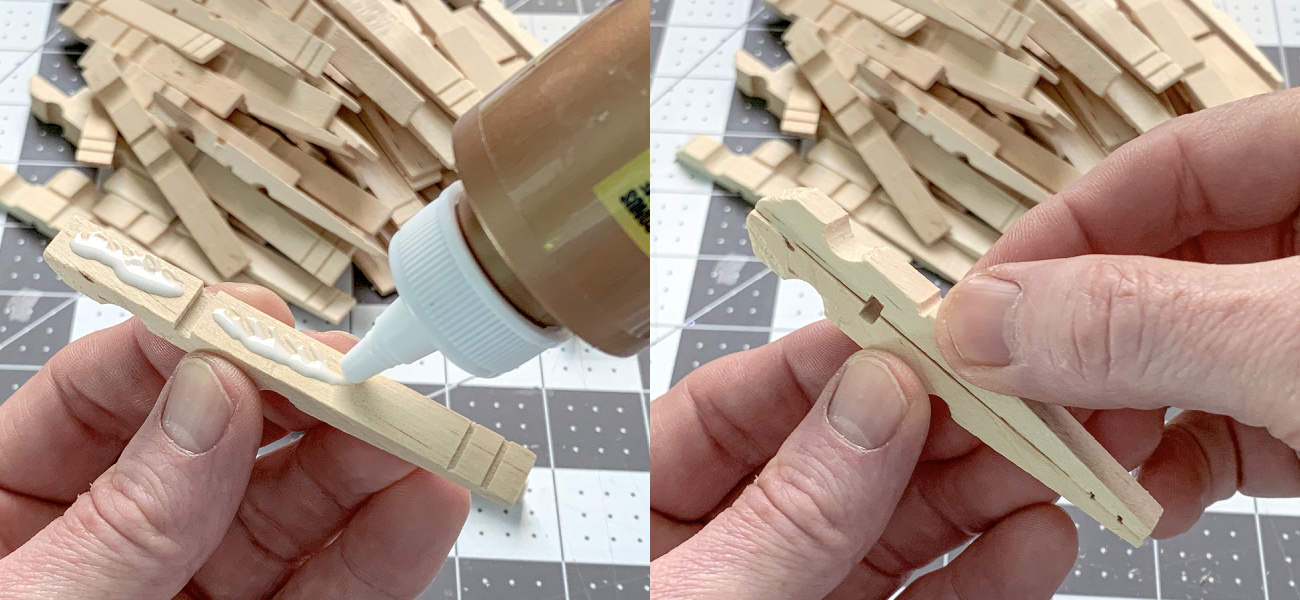
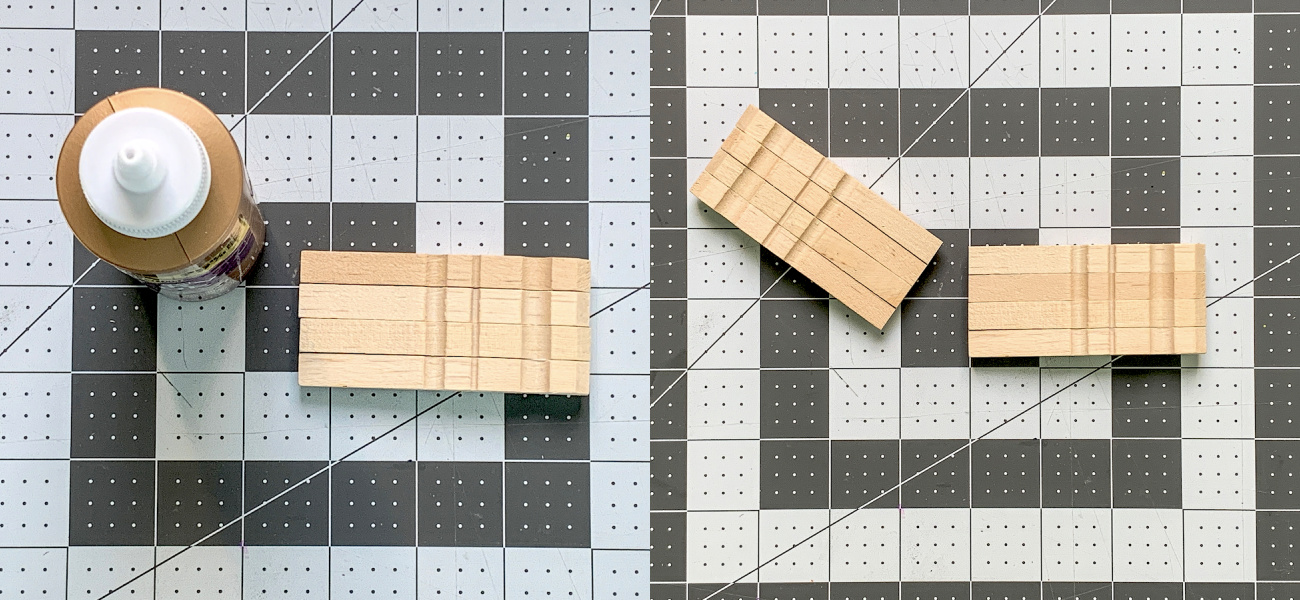
Youll start by gluing flat sides of clothespins together.
Line the flat side of the pin with glue as shown.
Then press together to the flat side of another pin and let dry.
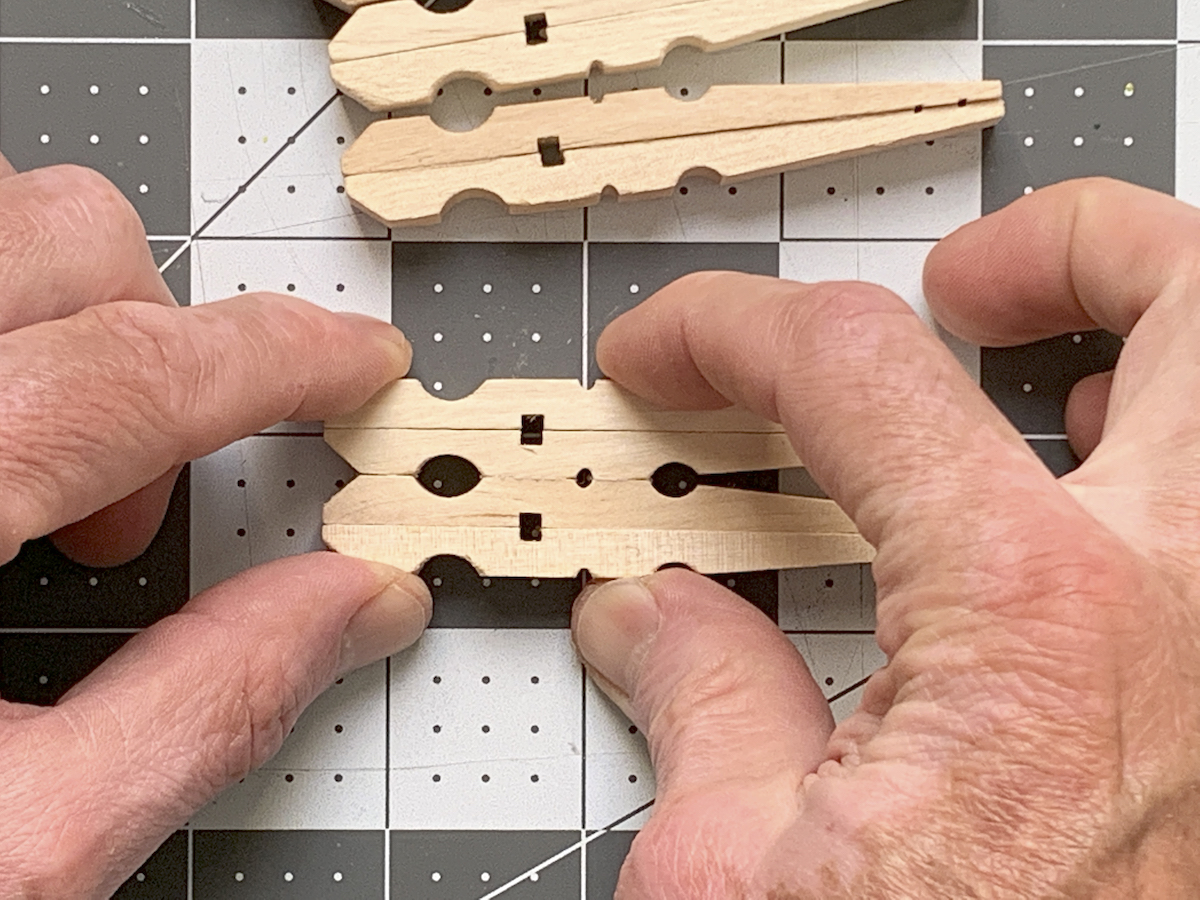
Repeat with all clothespins, until you have 20 pairs (glued together).
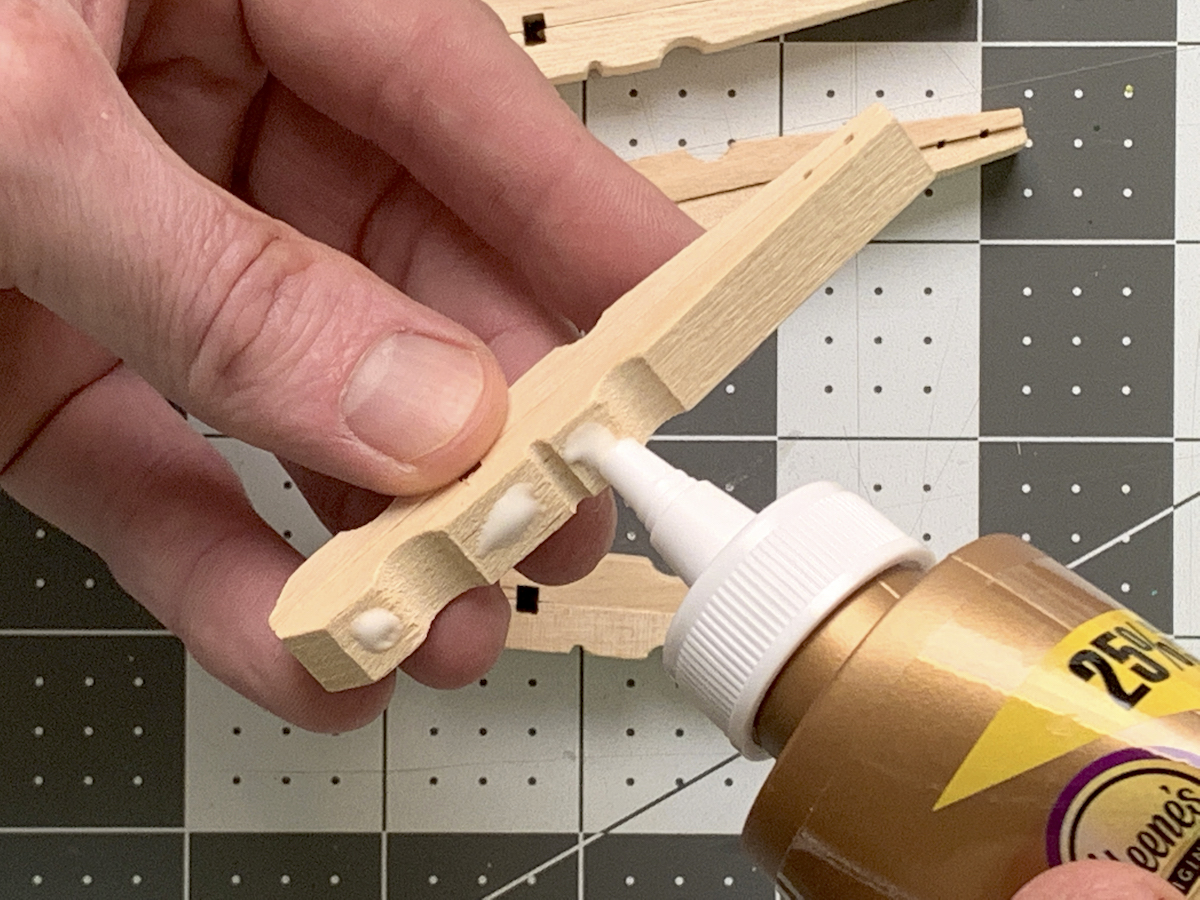
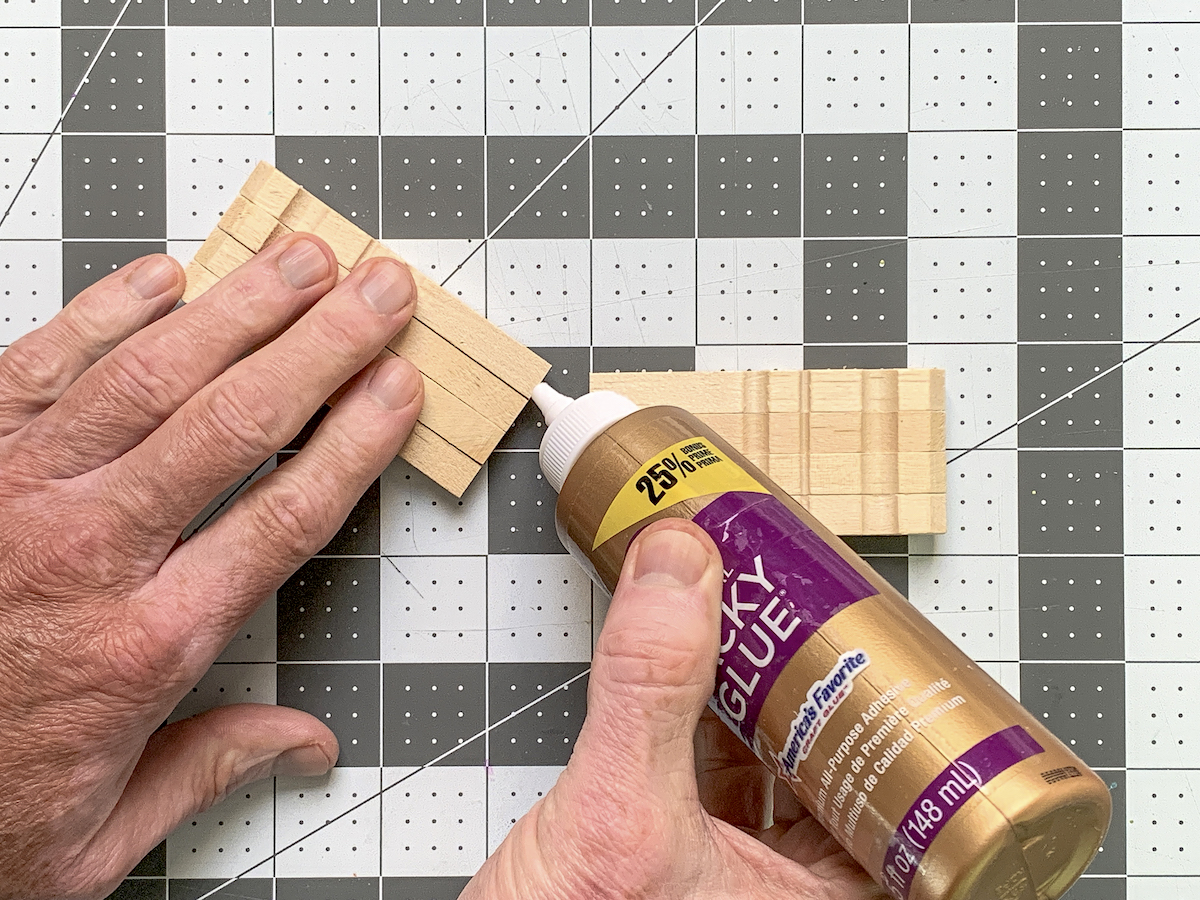
Then youre going to start gluing the pairs together.
Youll want four sets of eight total.

You will glue the flat sides together, applying glue as shown in the image above.
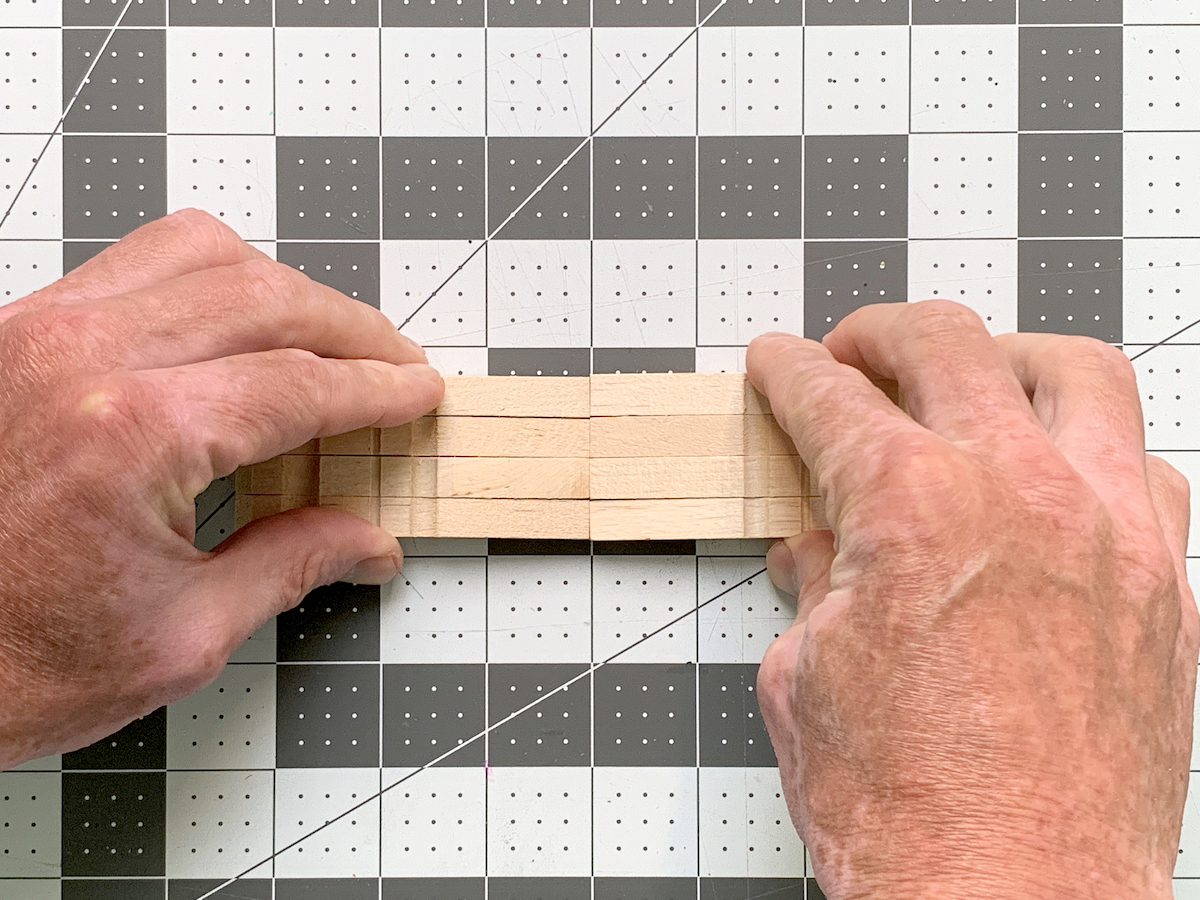
Hold them together until secure, then let dry.
Glue EIGHT clothespin pairs together like this, four times.
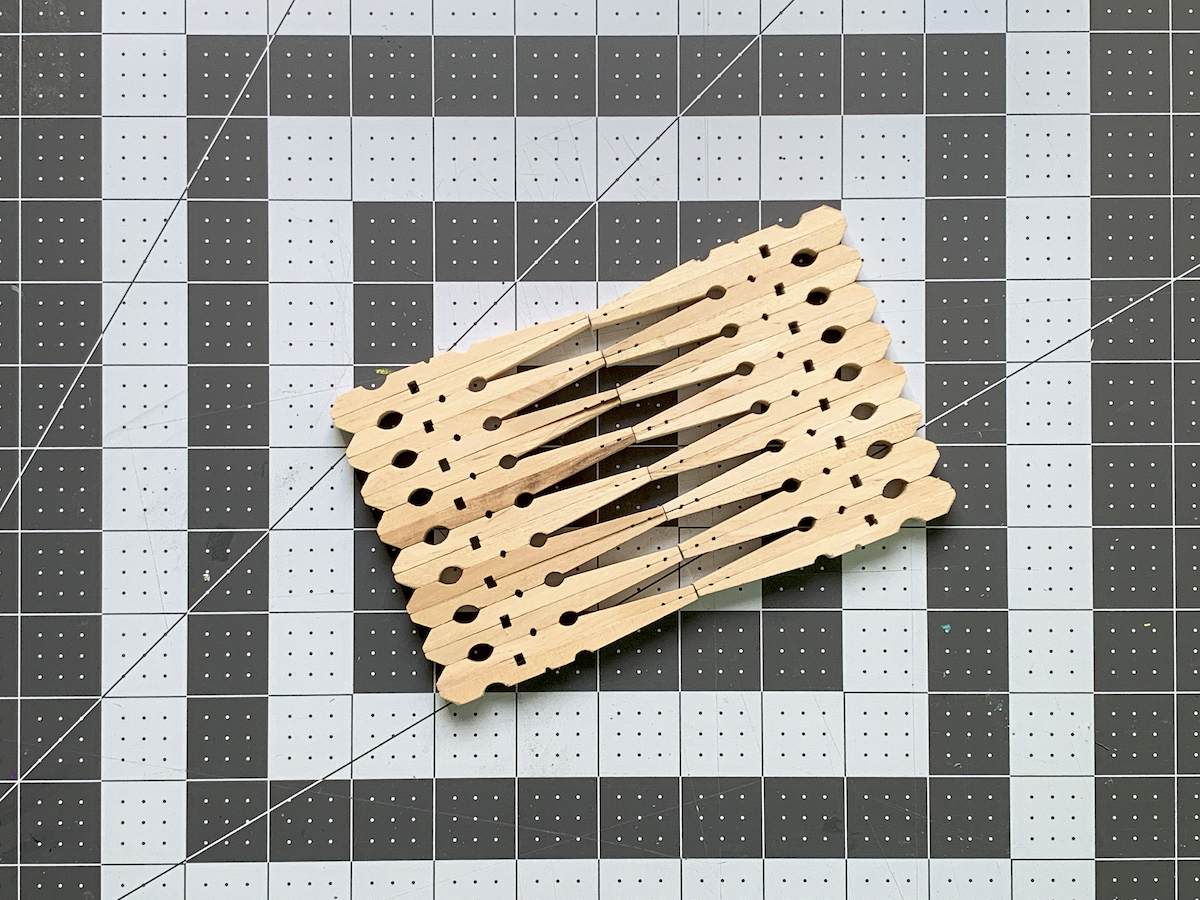
These will be the sides of your clothespin napkin holder.
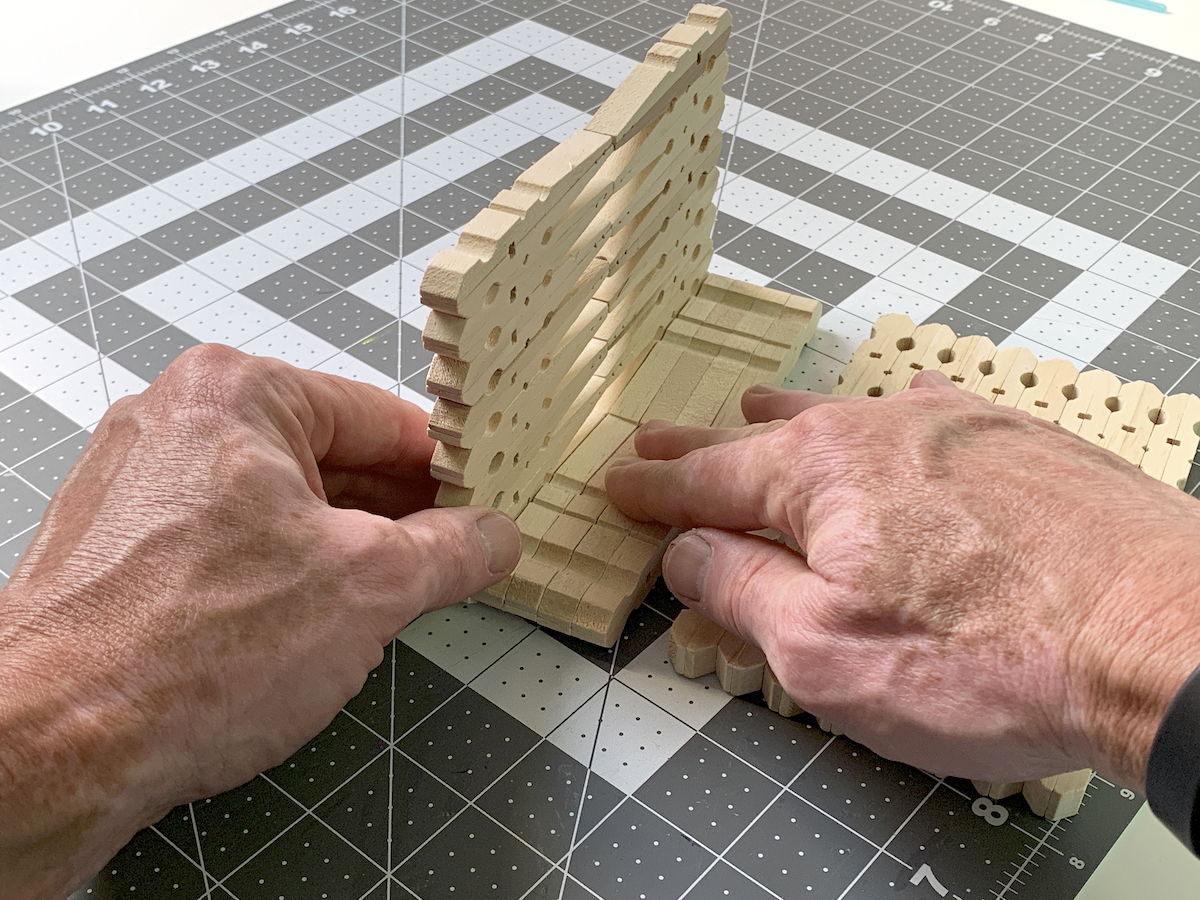
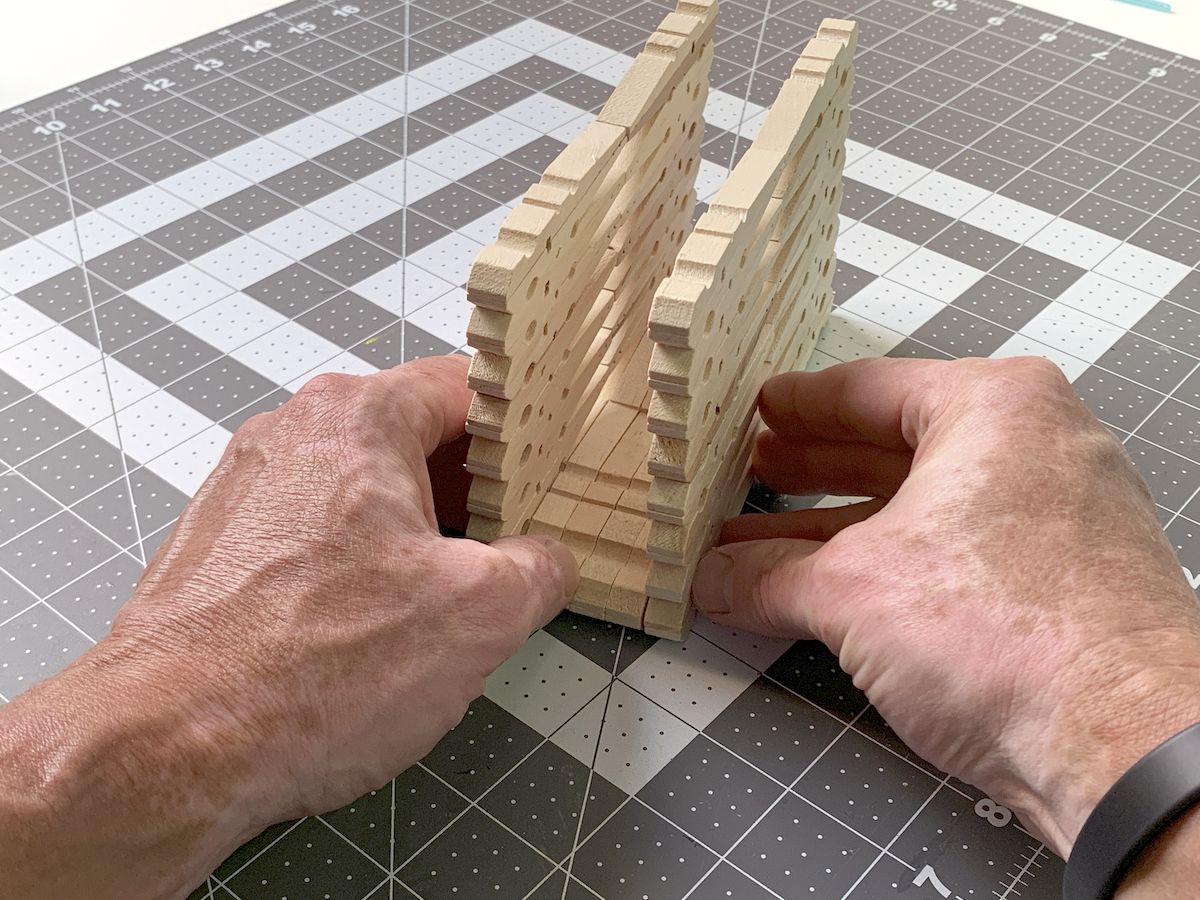
When dry, take two of the pieces and glue them together on the short end.
Youll want to hold the pins in place until secured.
Heres one side, glued and drying.
Make another one just like this.
You should have 8 pairs of clothespins left.
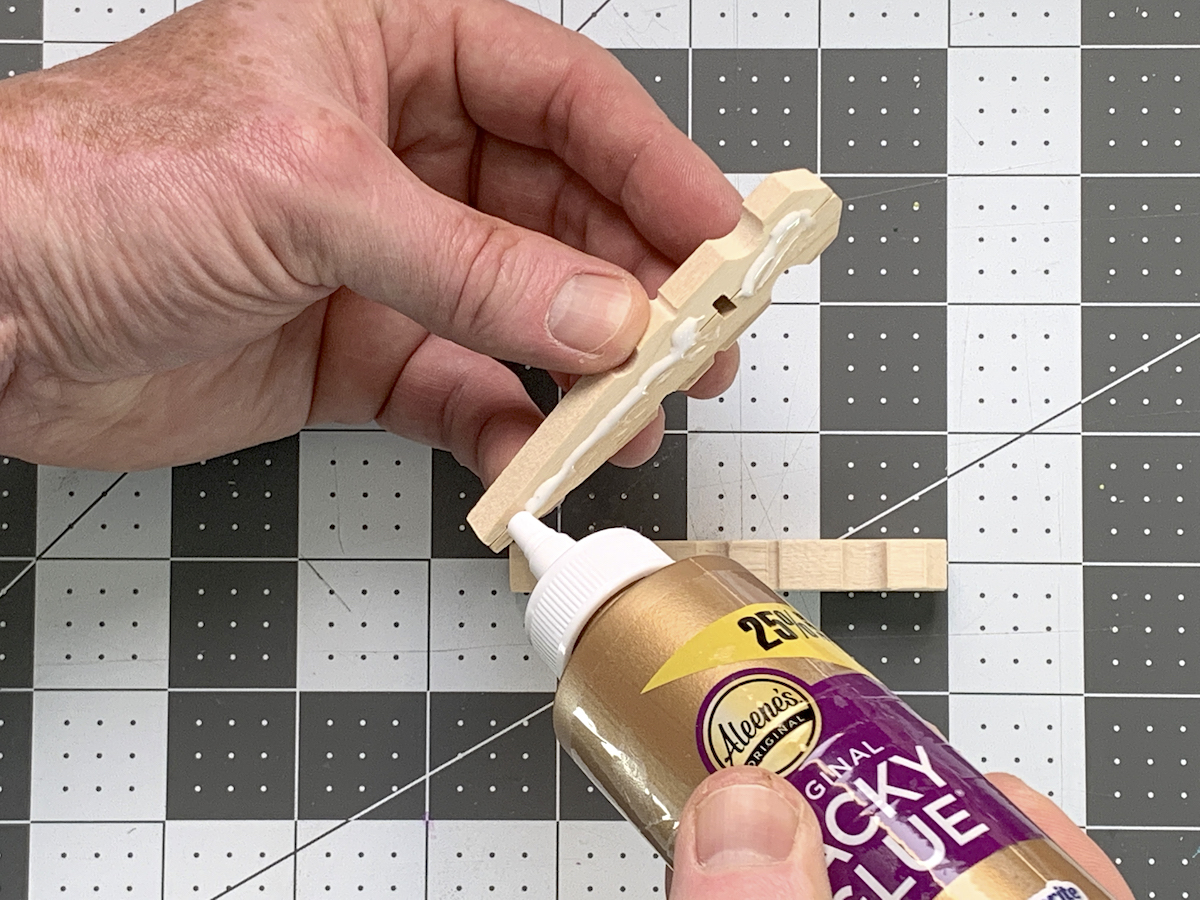
While those are drying, make the base of your napkin holder with the remaining 8 pieces.
Place glue on the side .
Then press two pins together.
Do this with four, then the other four, then let dry.
Youll have two pieces as shown above.
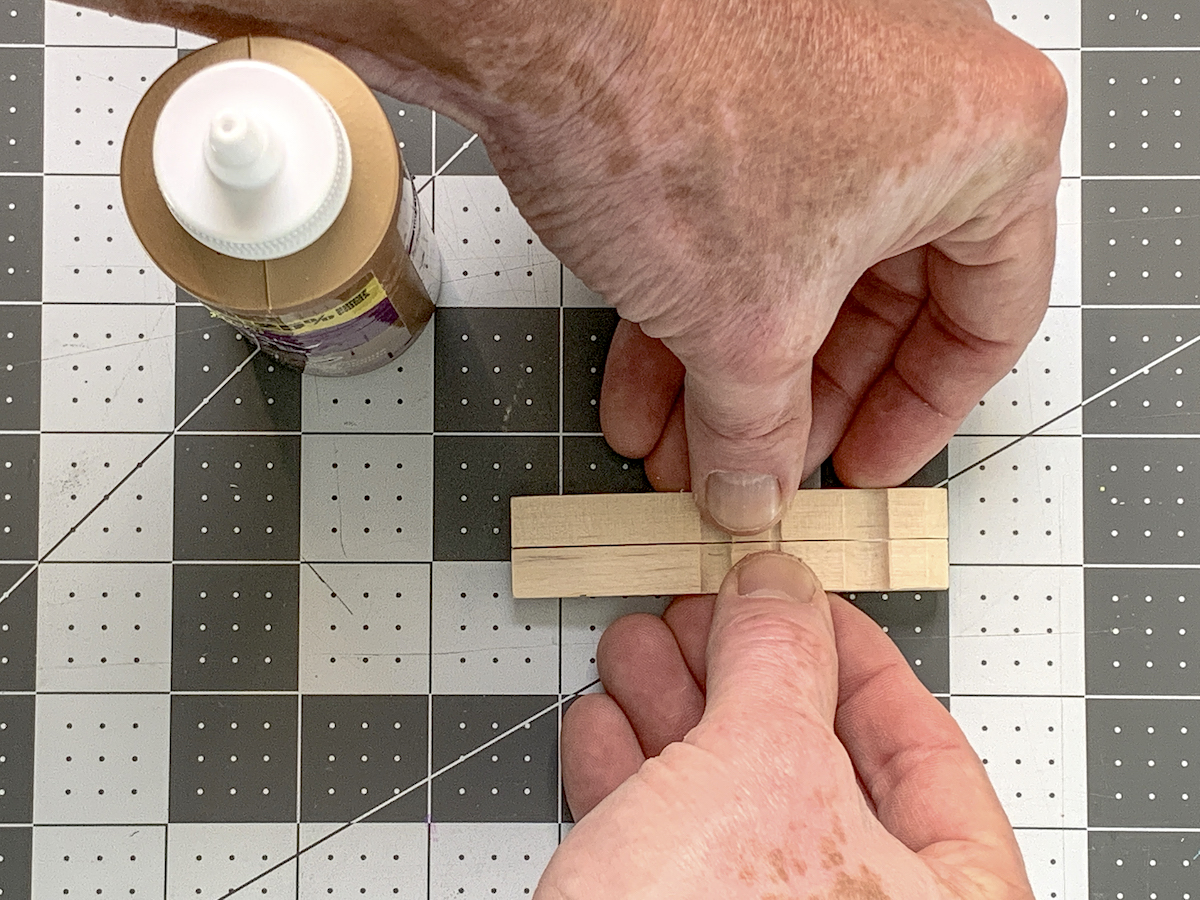
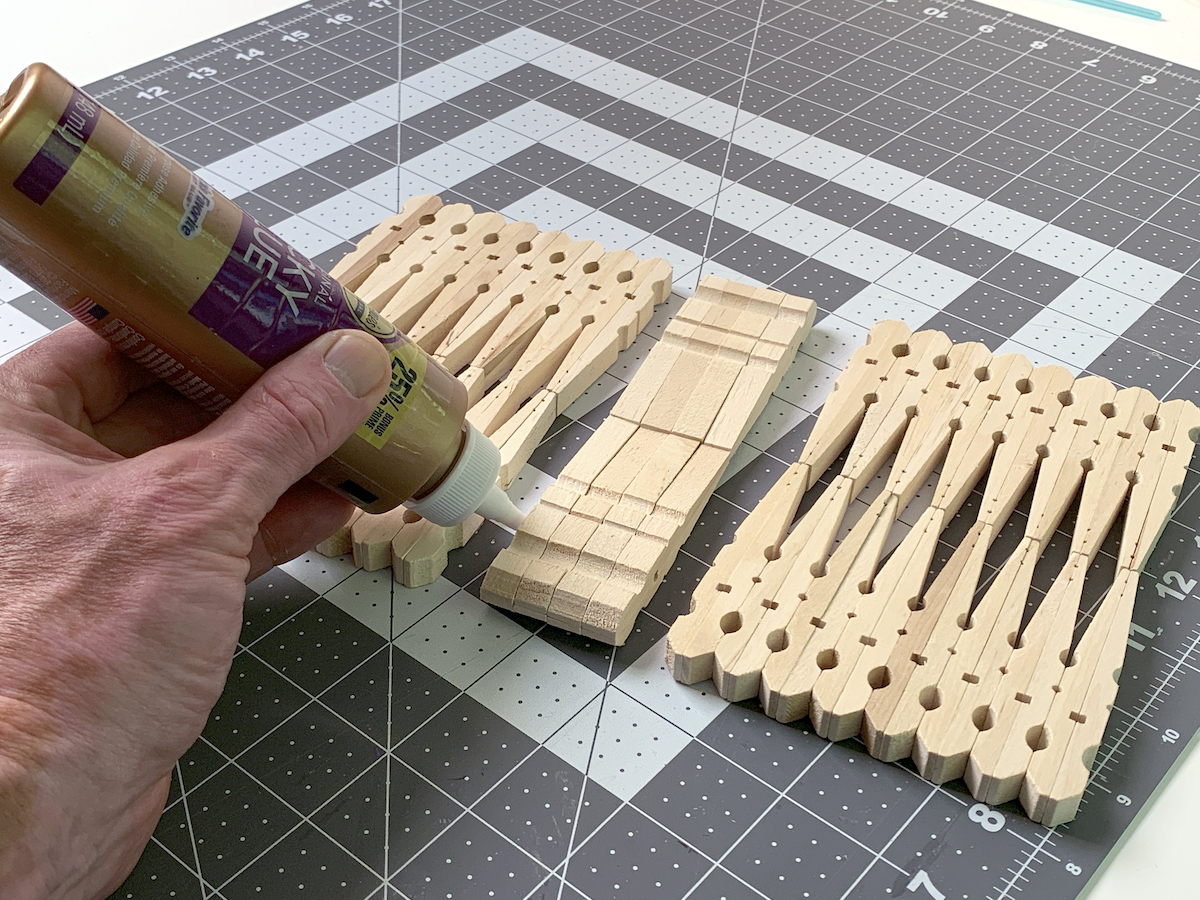
On the thin end of one of the bottom pieces, place glue.
Then glue the sets together to form the base you will let them dry.
Your DIY napkin holder is almost complete!
You just have a few more steps!
Hold the side to the base.
If you need, turn on the side and let dry.
Once the glue dries, you might move on.
Repeat this process with the other side.
Let dry completely and confirm its secure and stable before moving onto the next step.
Spray Painting the Napkin Holder
In a clean area outside, spray paint your napkin holder.
Give several light coats as opposed to a few heavy coats.
Let dry completely before using.
Once your napkin holder is dry, you’re free to place napkins in it!
Its so handy to have the napkins right on the table where you need them when eating.