Learn how to make clothespin butterflies that kids are going to love!
This is easy to make with craft paint and other simple supplies.
Youll be painting and gluing primarily.
There are some people in my family that really love butterflies!
My mother, who made thisbutterfly coloring page box, has a butterfly tattoo.
My niece loves making butterfly crafts .

for example, she loves making butterfly 3-D wrapping paper.
Ive seen different versions around like those withcoffee filters,pasta, and handprints.
I wanted to make some with clothespins!

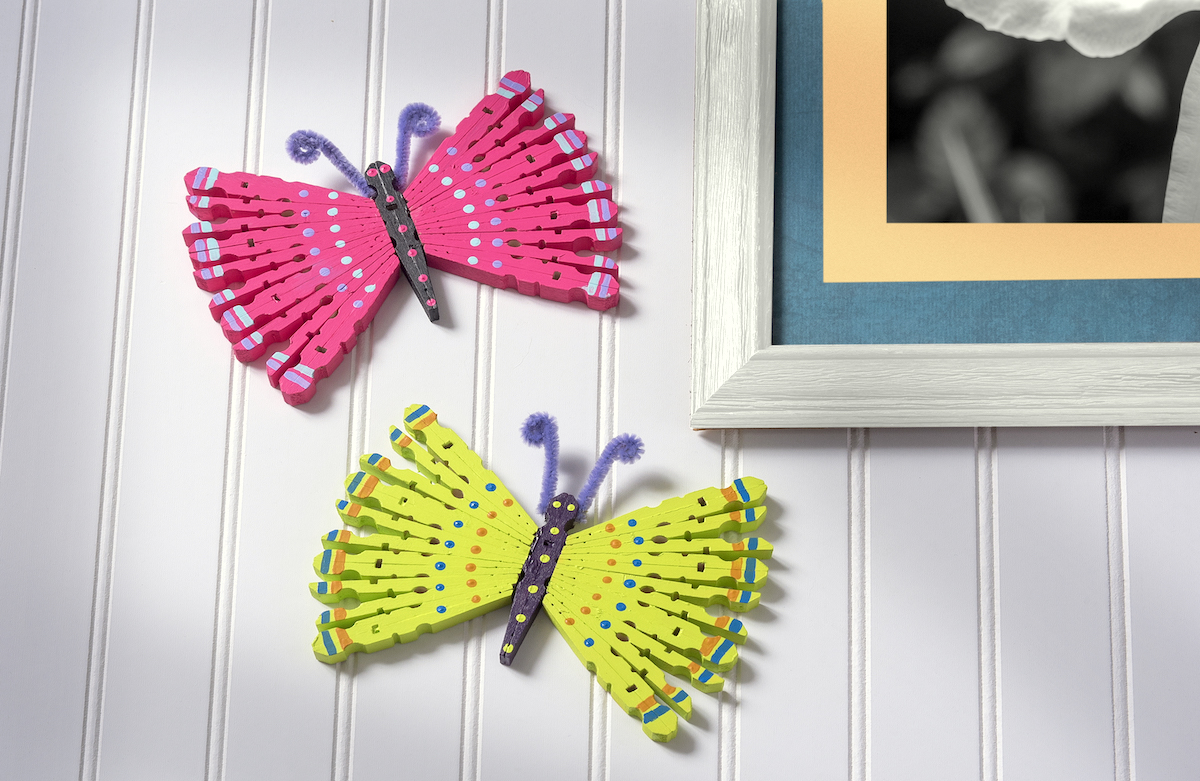
Clothespin Butterfly
If you likeclothespin crafts, youre going to love this project.
Im already thinking about what else can be made from clothespins.
But, lets not get too ahead of ourselves.
you’re able to make these clothespin butterflies with just a few simple supplies!
The main ingredients beyond clothespins are glue and paint (the Mod Podge is optional).
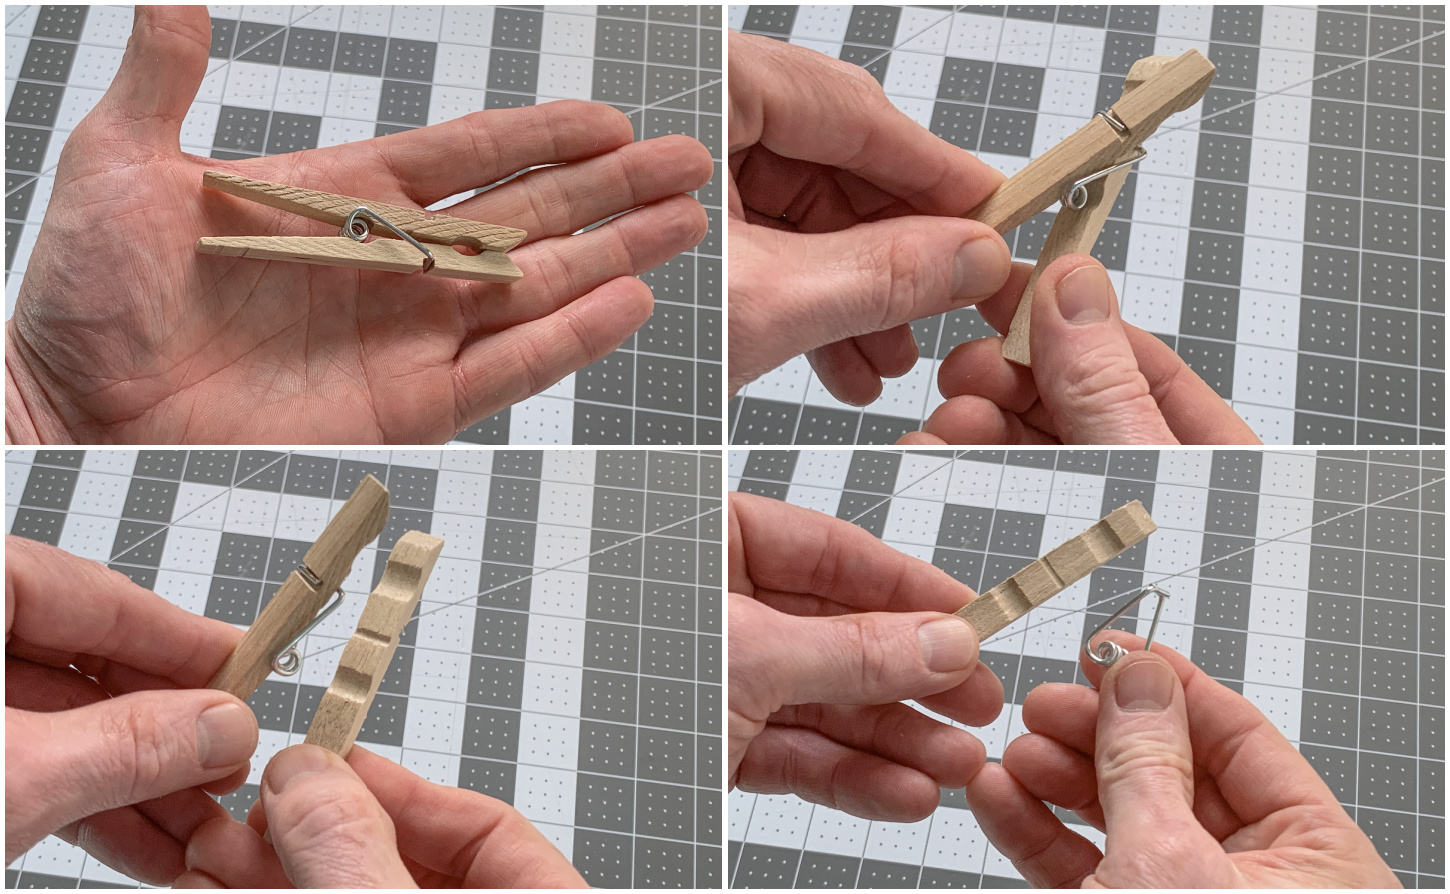
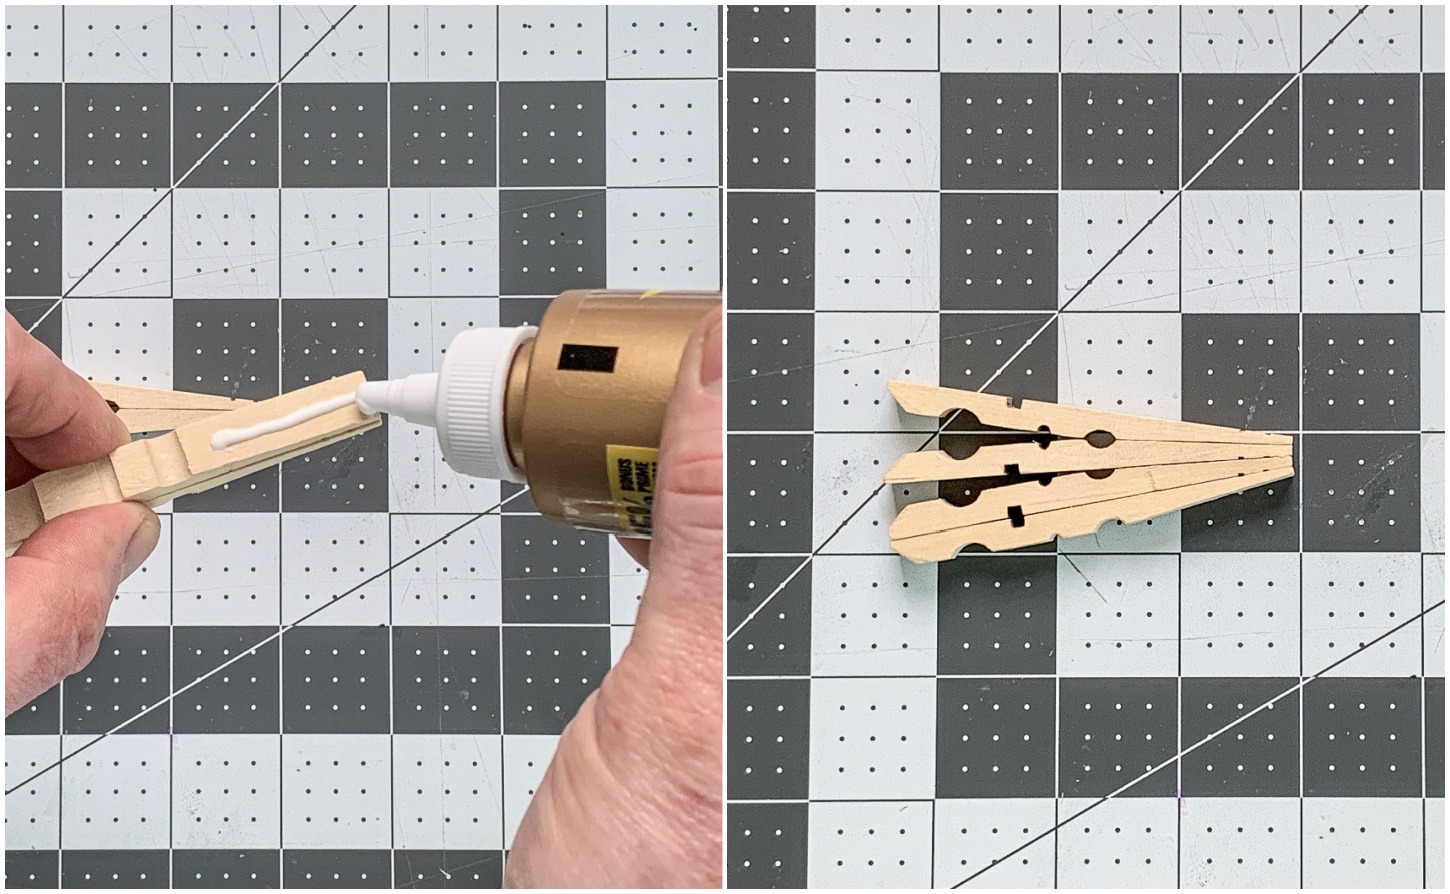
Begin by twisting the two half of the clothespin and removing one side.
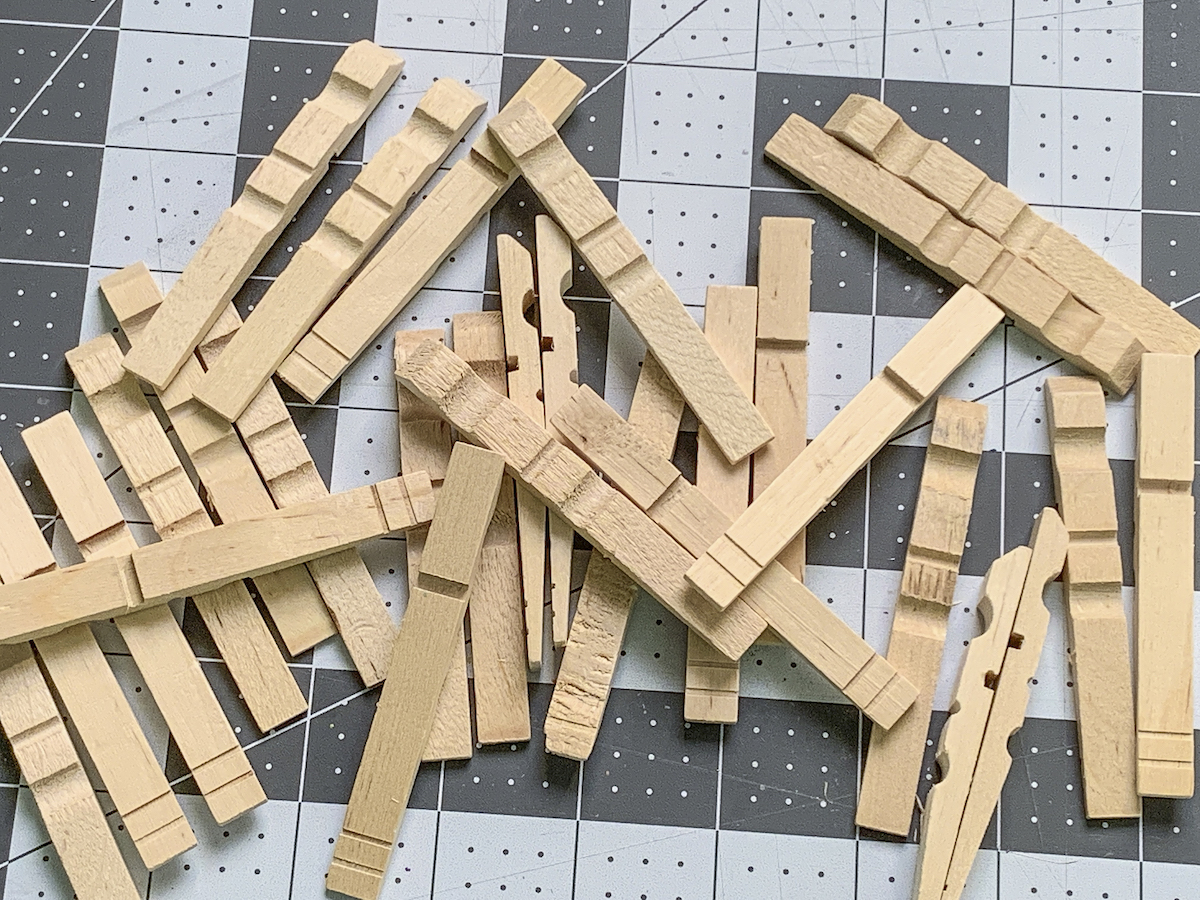
Then youll easily be able to remove the clip from the other half.
Do this with 15 clothespins (per butterfly).
Pretty soon youll end up with a pile of wood pieces.
Parents will likely need to do this for the young kids.
see to it the older kids are careful of their fingers!
I removed mine without an issue.
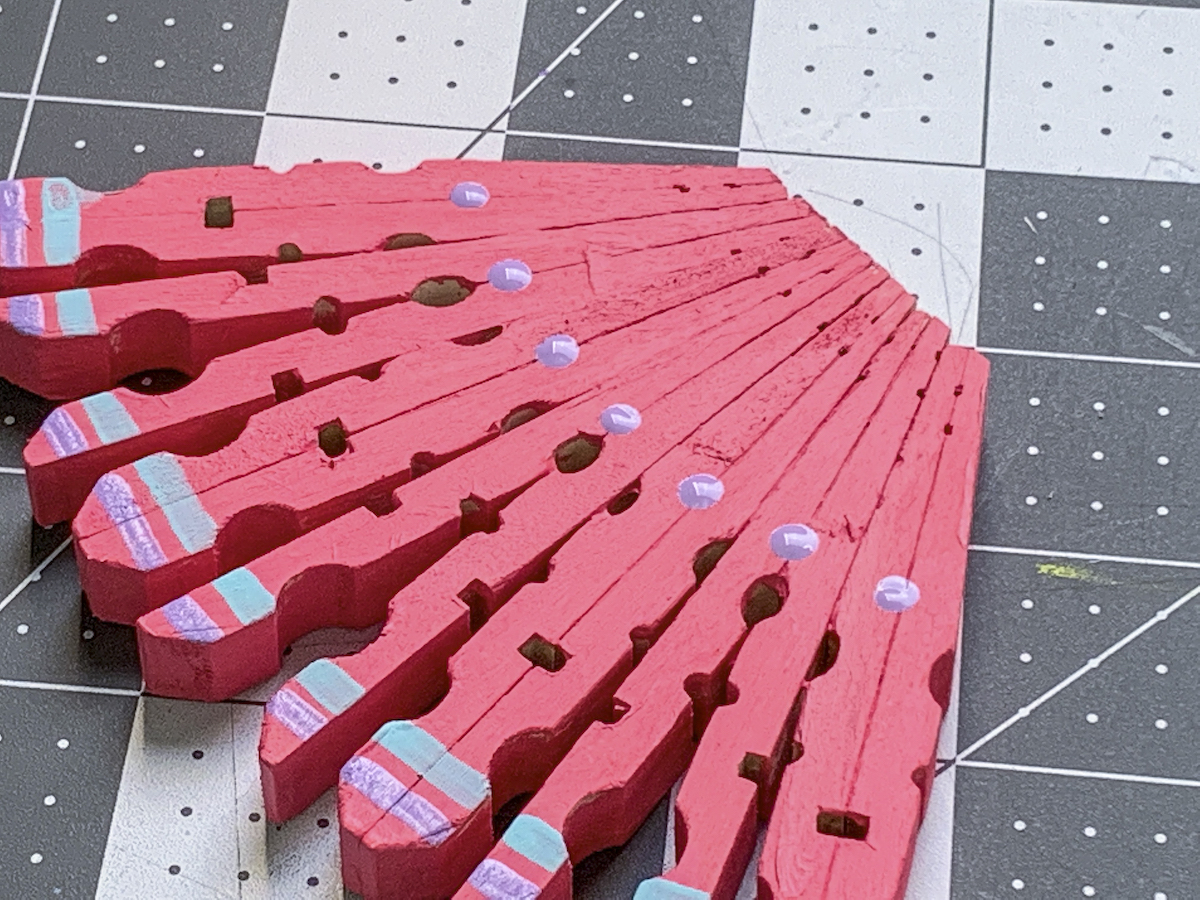
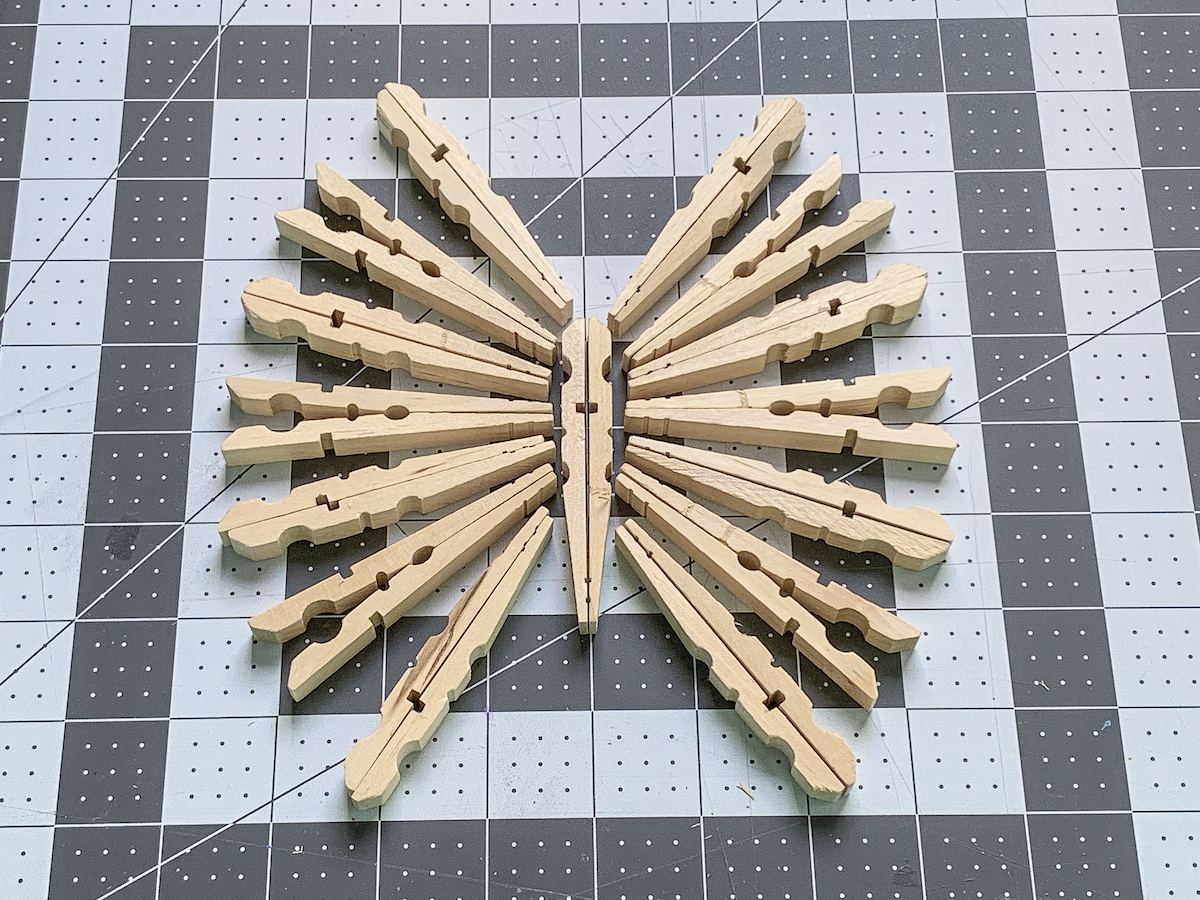
See my diagram above for a sample.
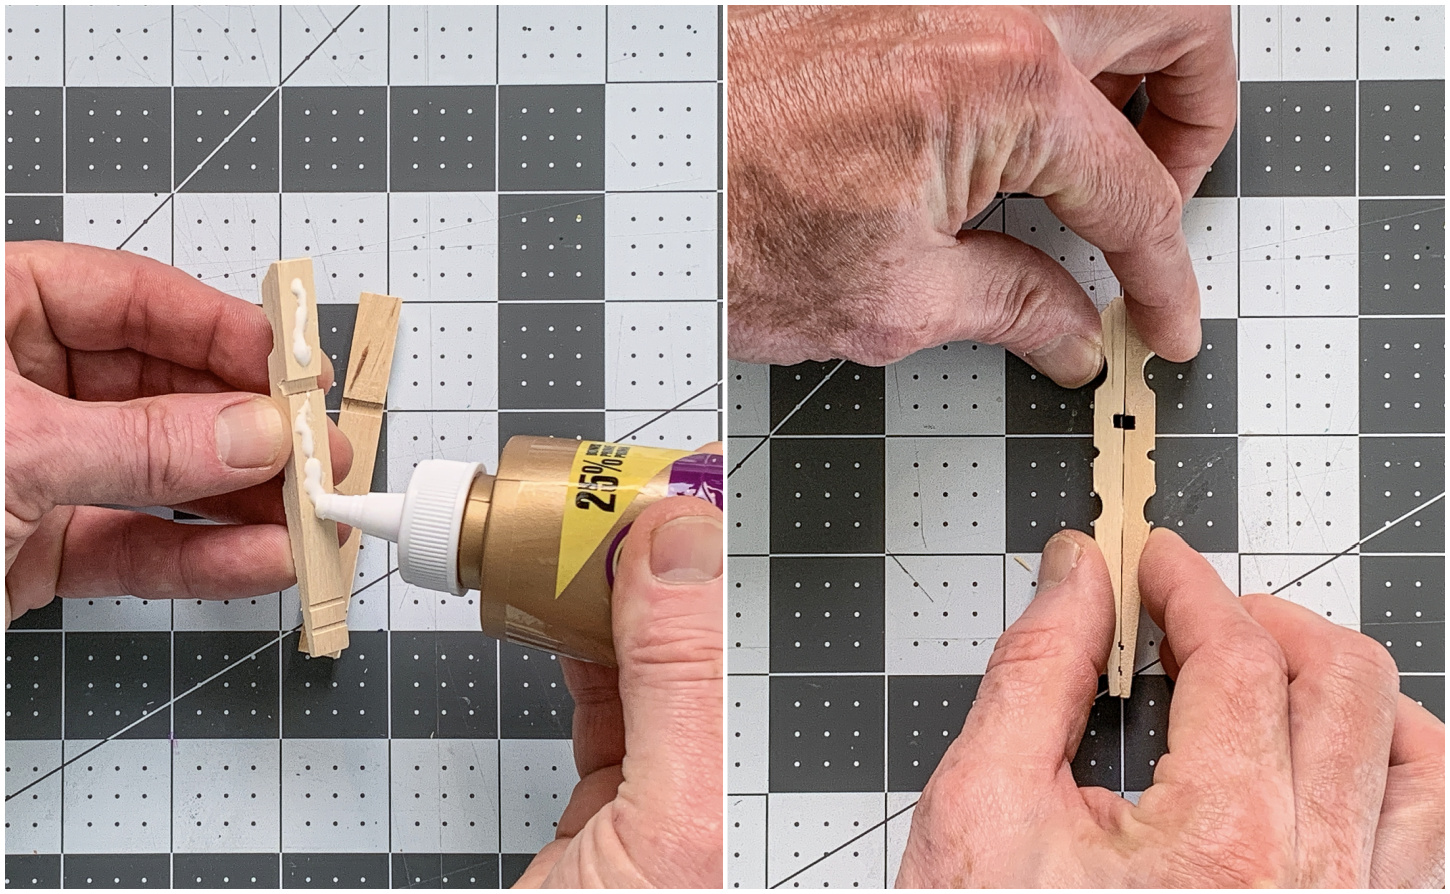
Once the butterfly is laid out, youll use the craft glue to begin adhering the pins together.
Start with the body in the center.
Hold the clothespins together for a moment to ensure they are secure, then let them dry.
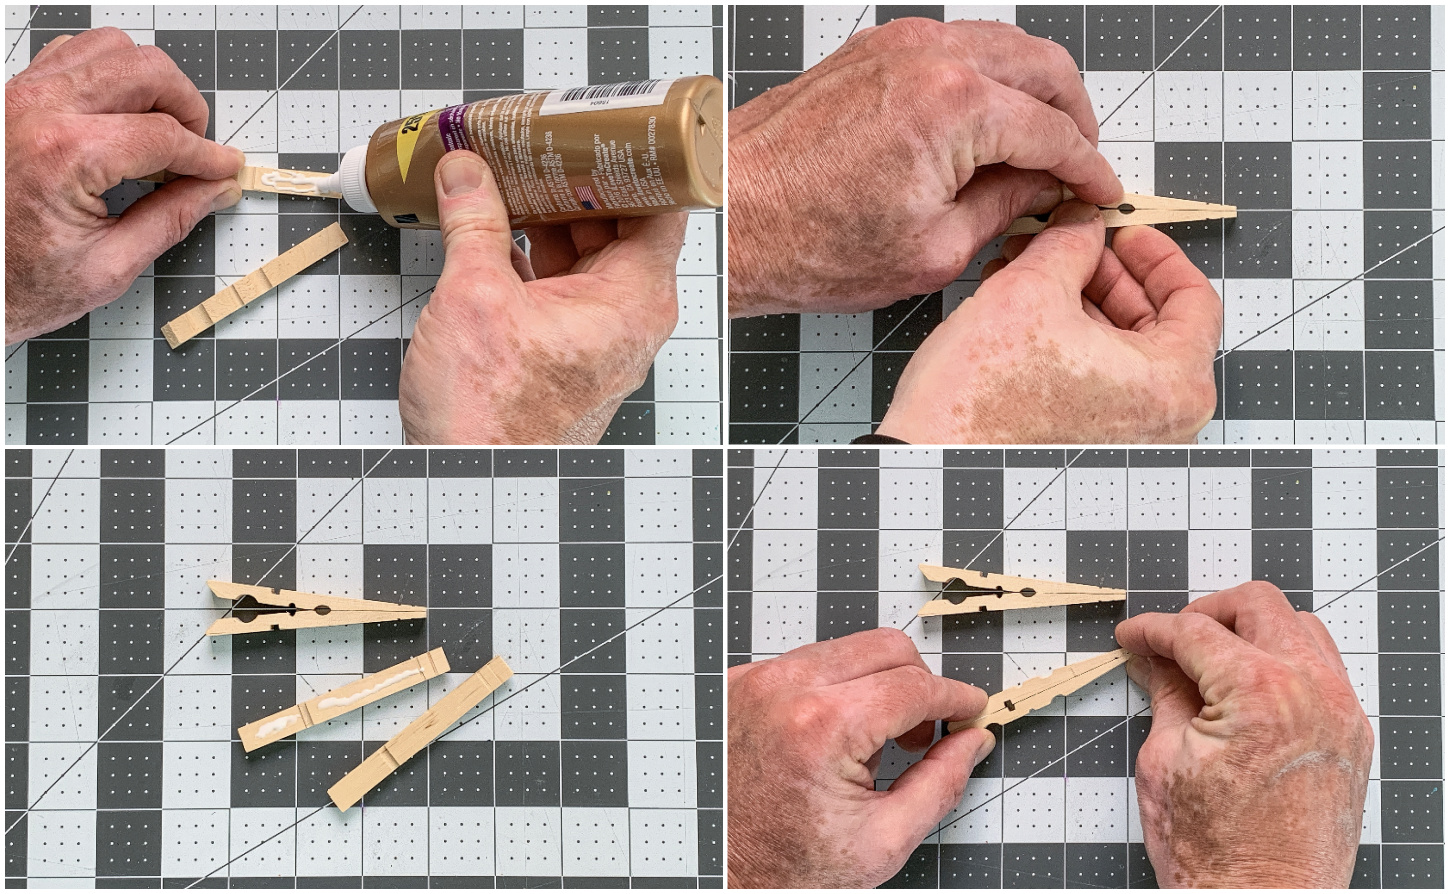
Once the body is glued, begin gluing the wings.
Again, place the glue down, hold the pins together, and then let them dry.
Glue them two at a time, and then glue the pairs together as shown.
Your clothespin butterfly is coming together!
Continue assembling the wings until you have a wing on each side.
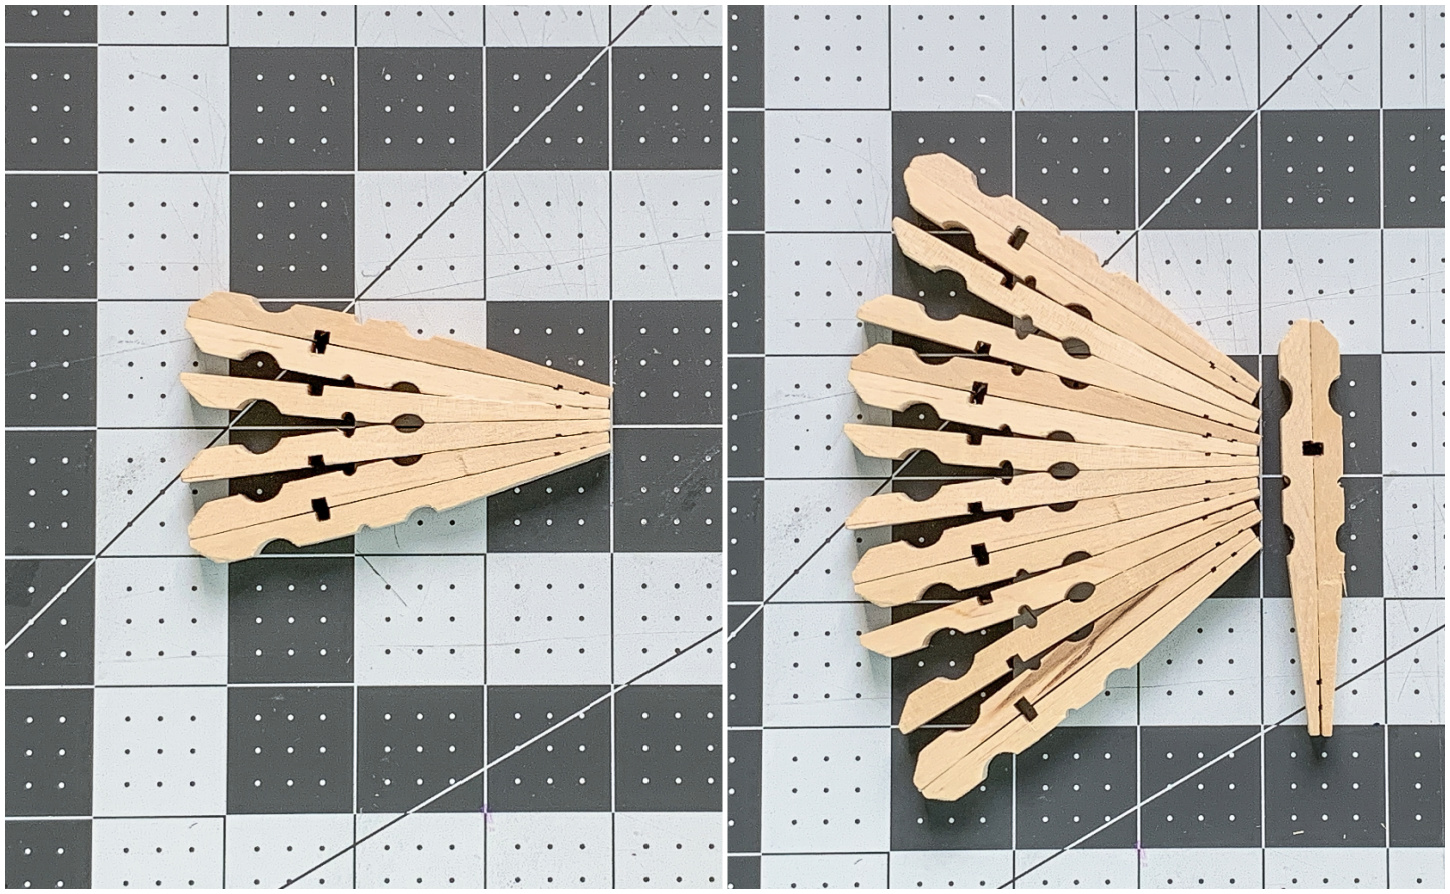
Dont glue the wings to the body yet.
Paint and Decorate
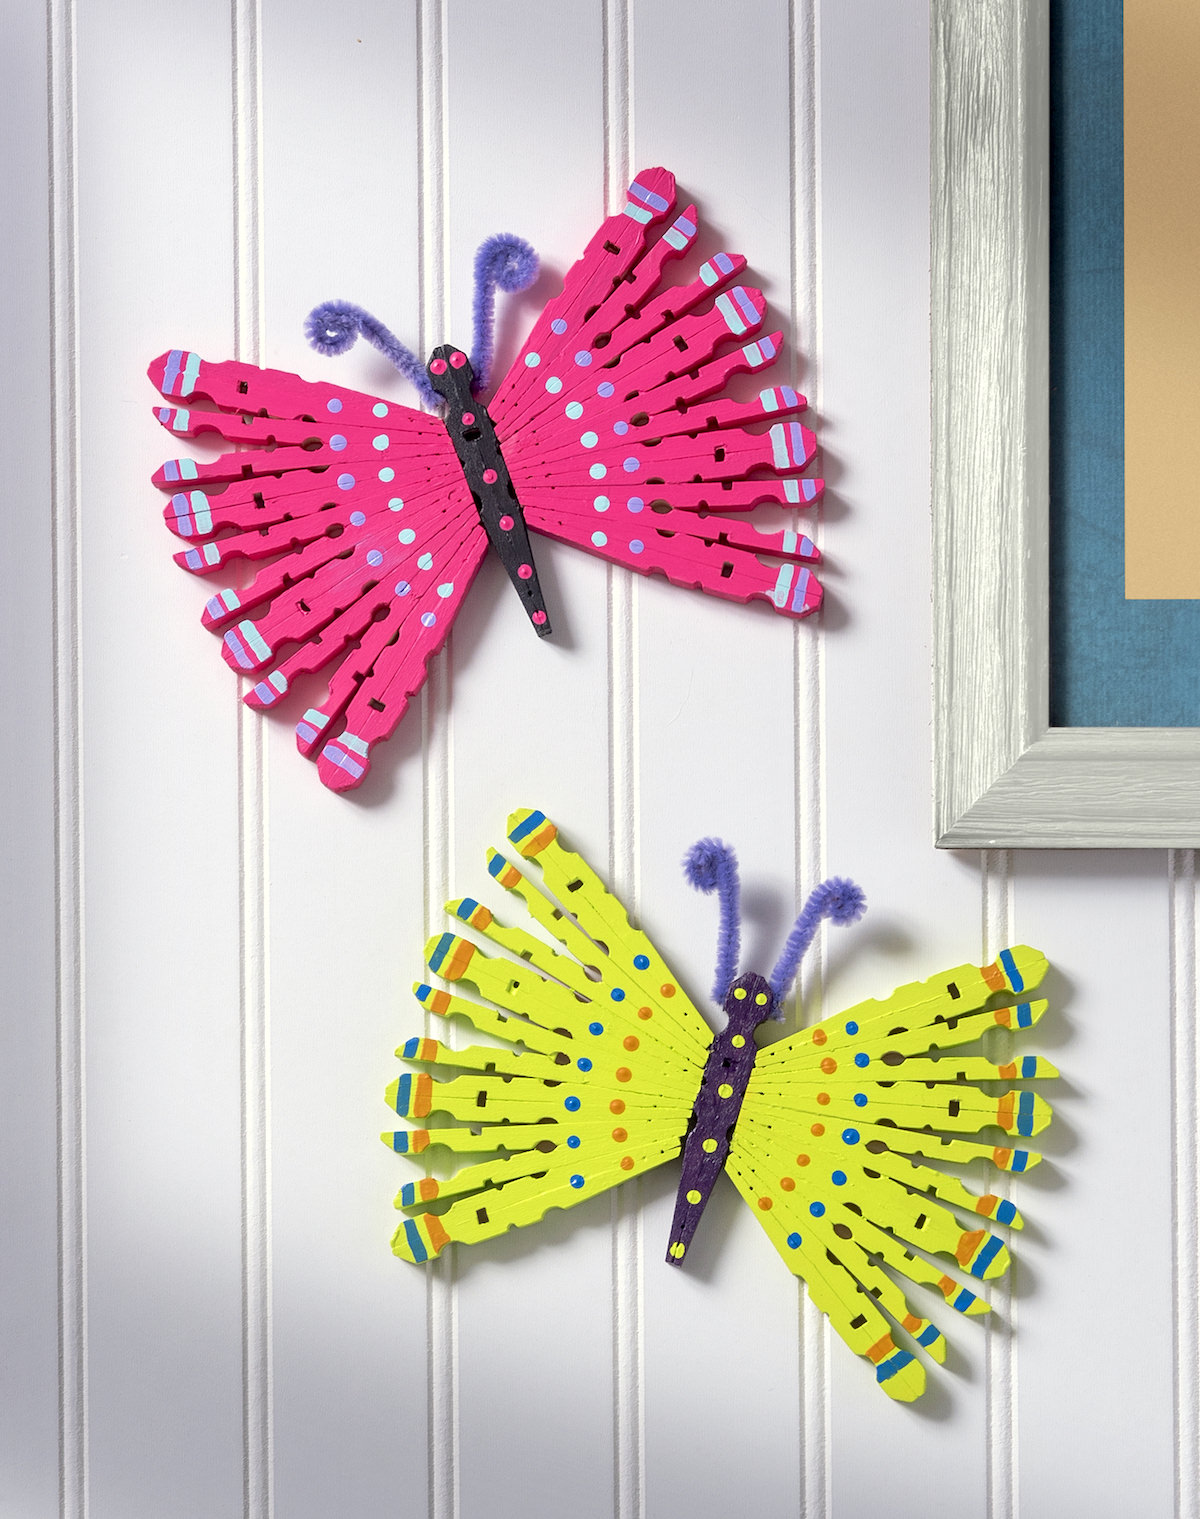
Select paint colors for the wings, bodies, and accents.
I chose four colors todal for each butterfly.
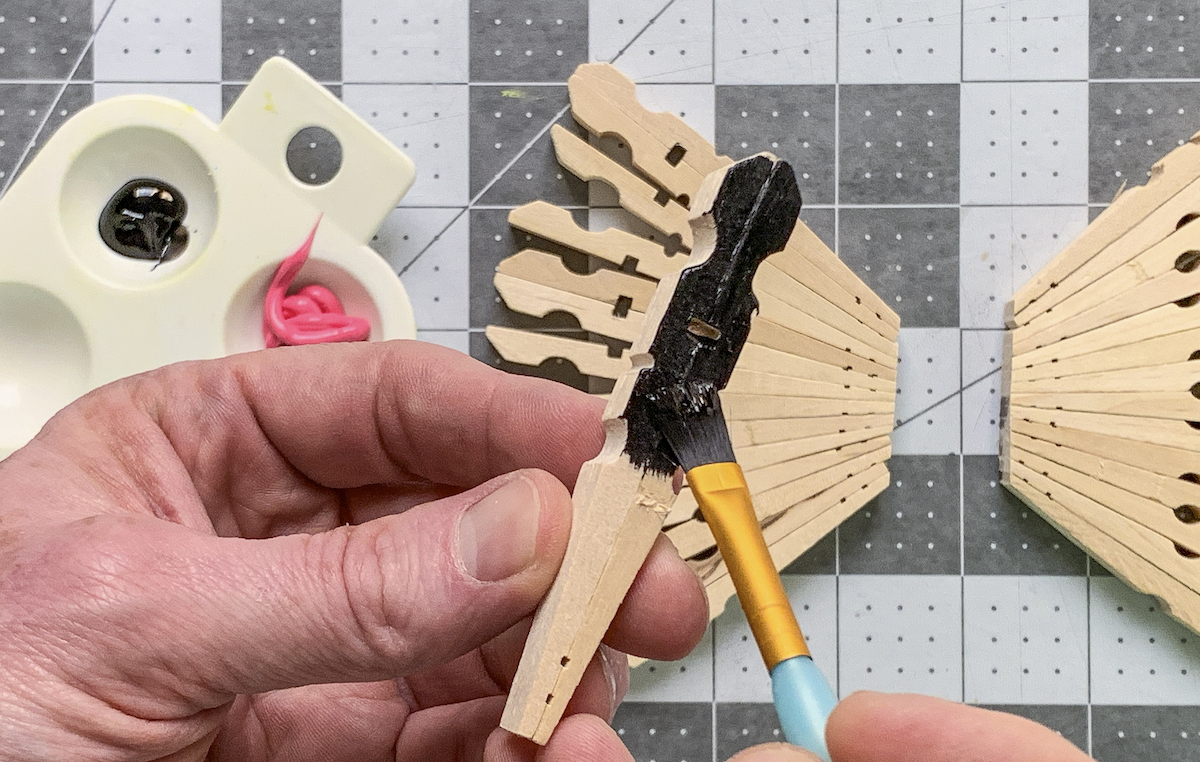
Paint the body with one of the acrylic paint colors.
Use a complimentary color to paint both of the wings.
Add accent colors to the ends of both of the wings with smaller brushes.

Have you ever made dots with the end of a paintbrush?
Youll dip in the paint and press down onto the surface.
Then repeat (practice if youve never done it before).
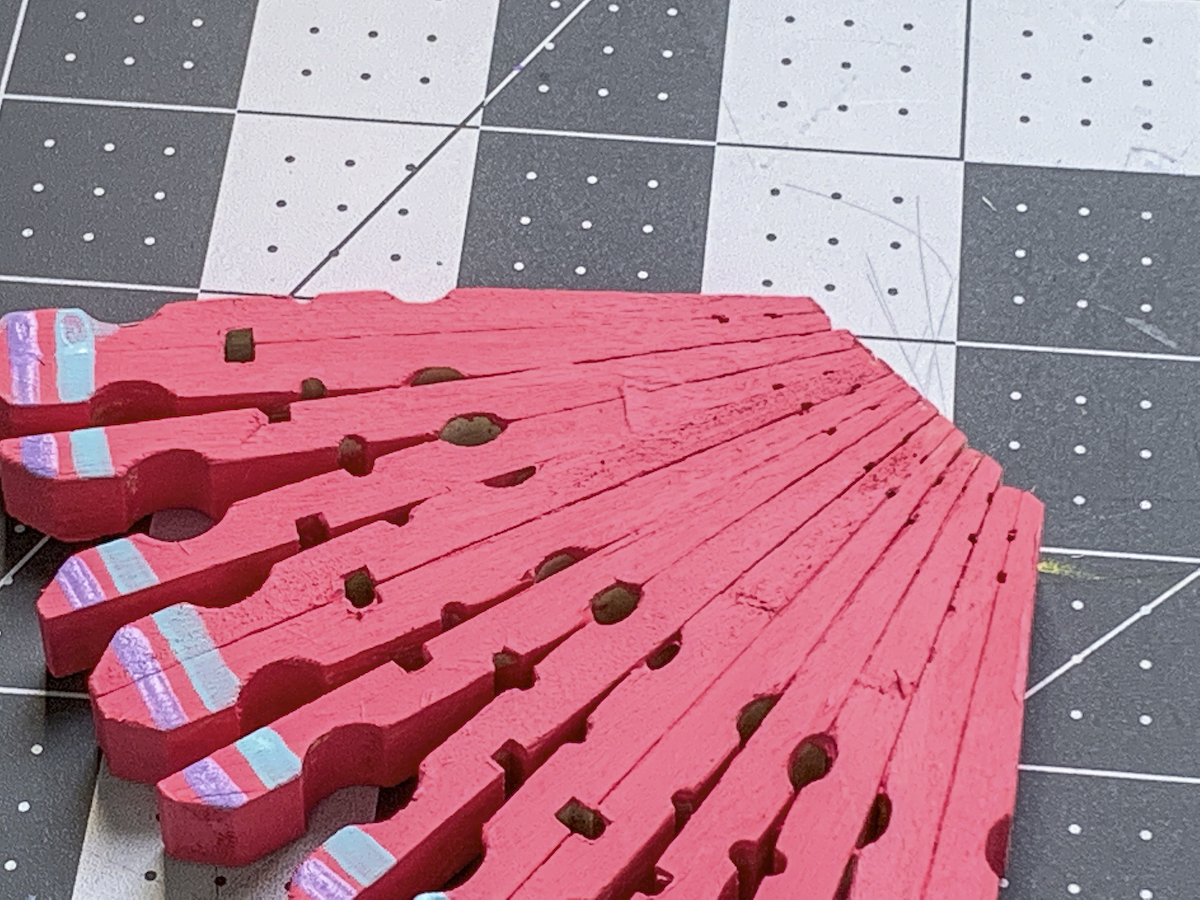
Dot the wings with paint, then let dry.
Then glue the wings to the bodies using craft glue.
Use craft glue to adhere them to the side of the body at the head.
I added those to the instructions just in case you were interested in using those supplies.
Its up to you!
If you enjoyed these clothespin butterflies, Id love for you to check out these other craft ideas: