Can I tell you how excited I am for fall?
The cool weather cannot come quickly enough for me!
Im of Norwegian heritage .
and I think you fellow Scandahoovians will know what Im talking about.
), so Im already well into myfall decor projects.
it’s possible for you to use this for a planter, for a candy holder, etc.
Im showing you how it could be displayed forHalloween.
And where did we get this idea?
The Do it Herself workshops at The Home Depot.
The Home Depot actually hosts these types of classes monthly, called Do it Herself Workshops.
They are great for anyone who wants to get the skills and confidence to be a DIYer.
Each class offers step-by-step instructions and hands on experience learning to do simple decor and easy home improvements.
Let me show you how I did it.
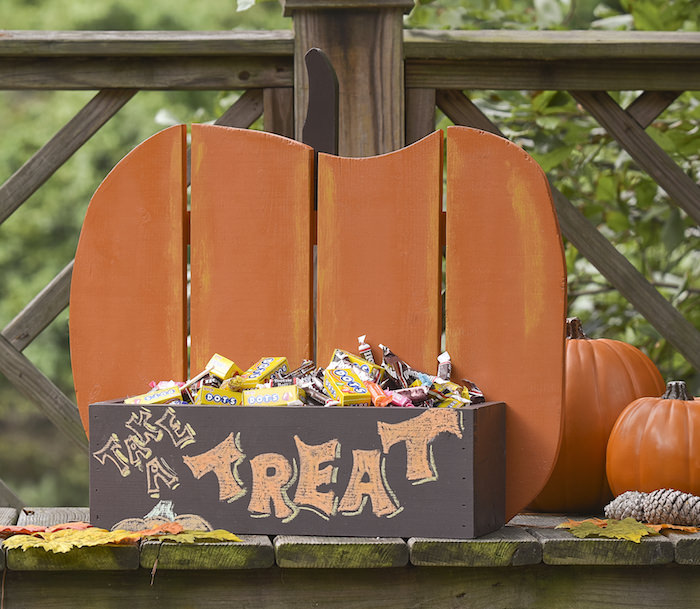
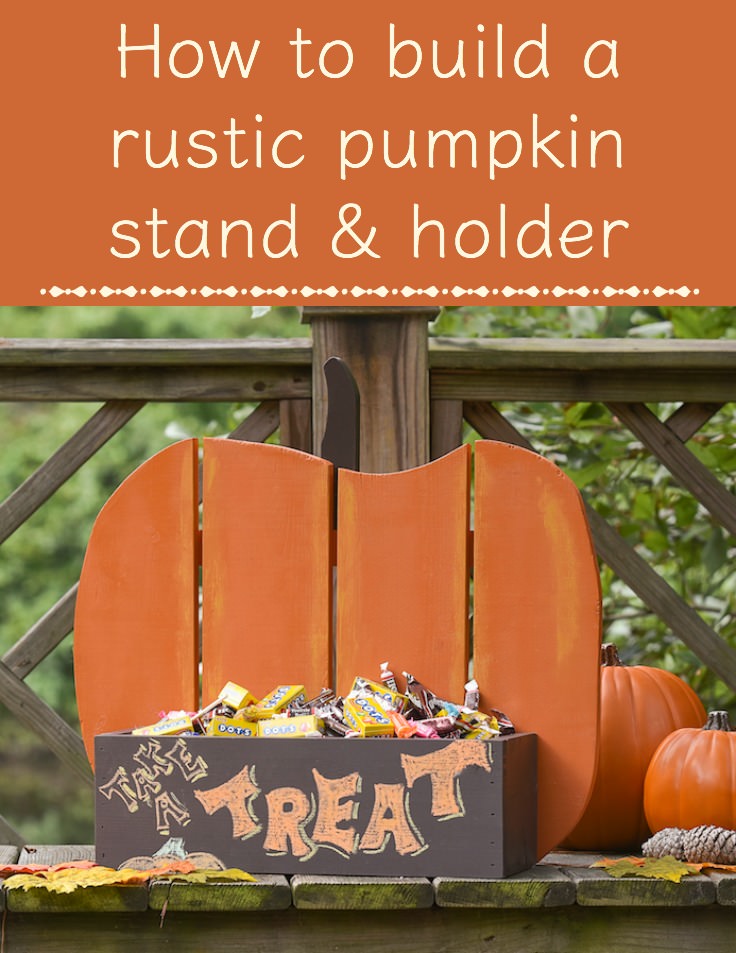
Rustic Pumpkin Stand for Fall
Gather These Supplies
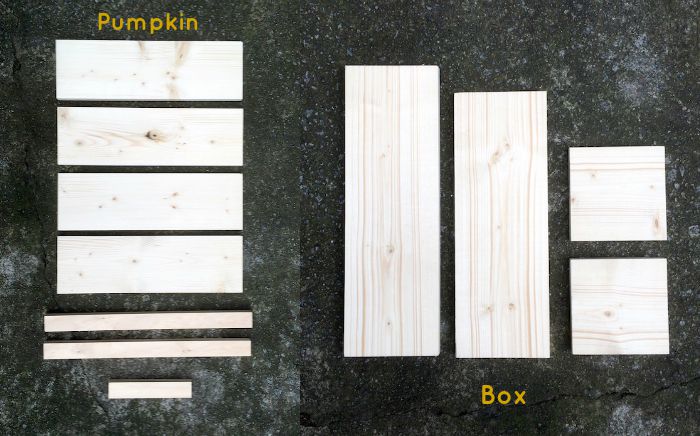
Now here are your cut lists.
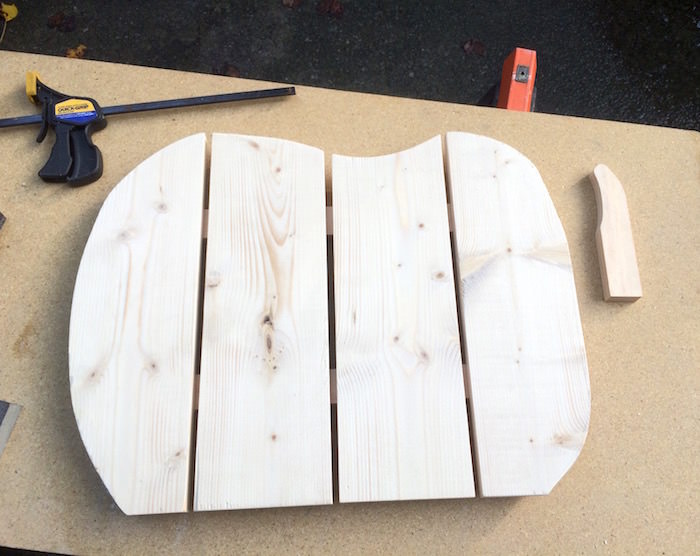
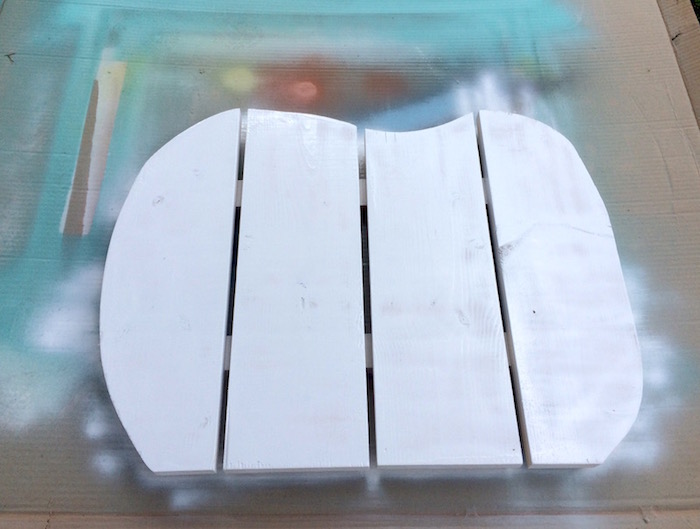
Pumpkin
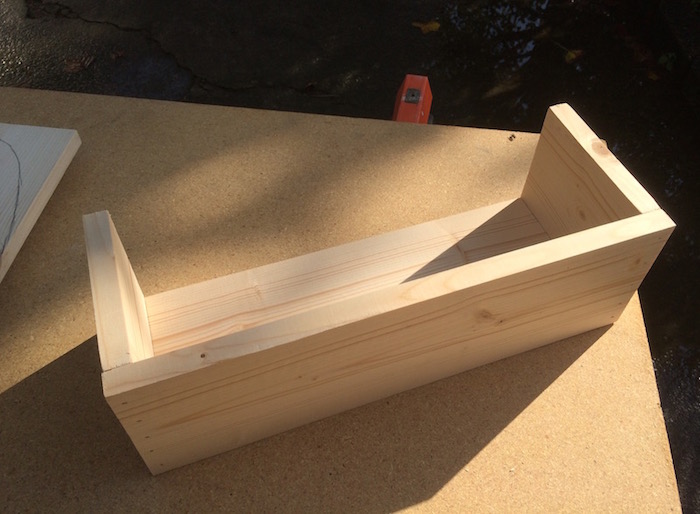
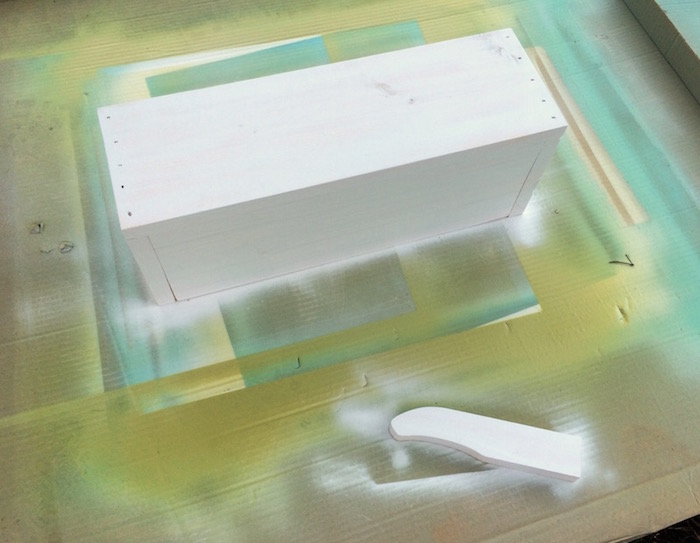
Front box
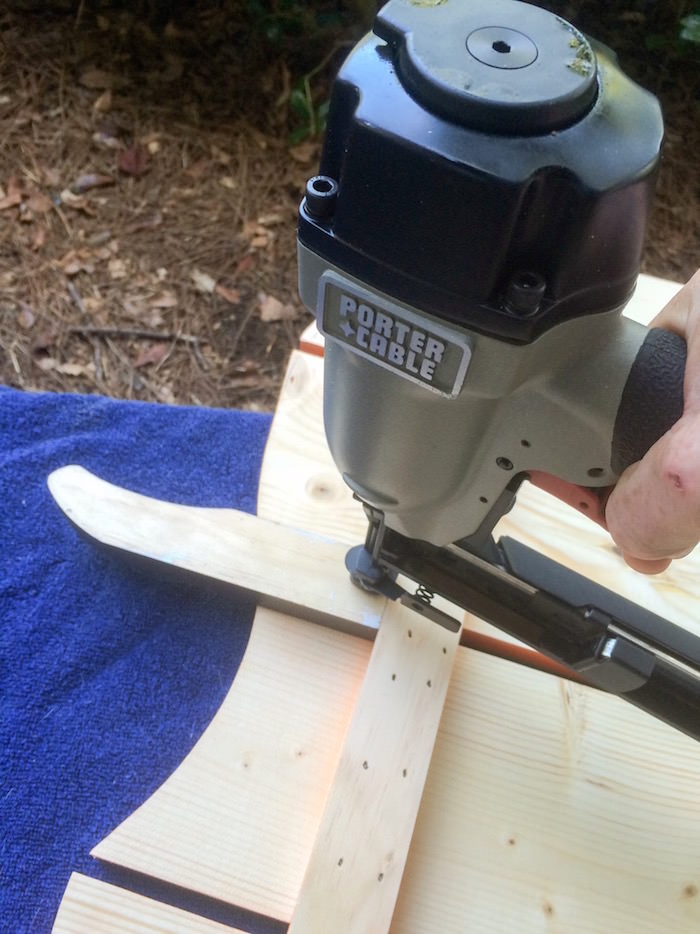
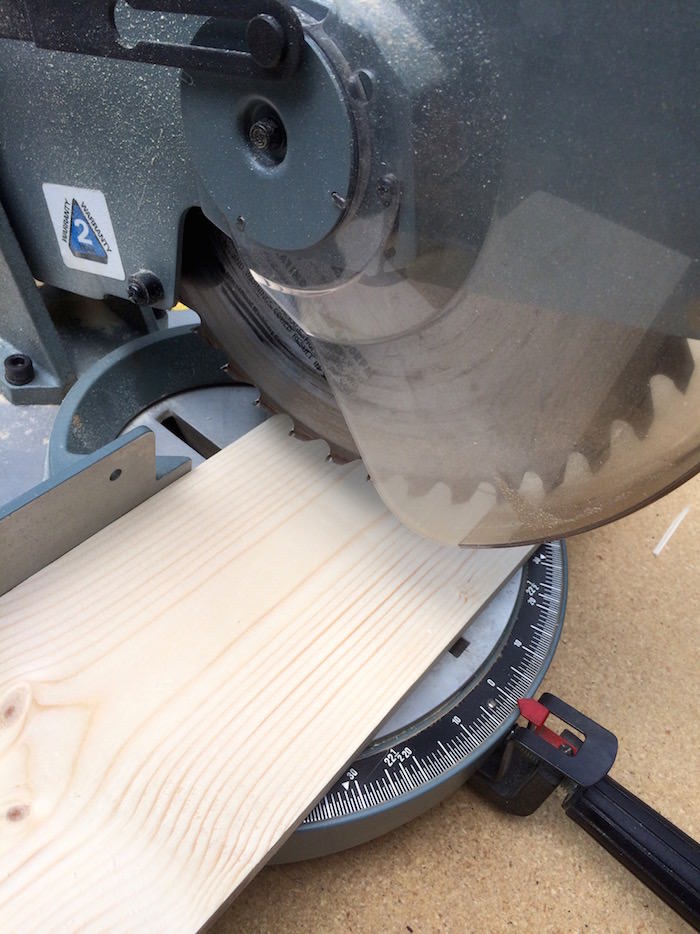
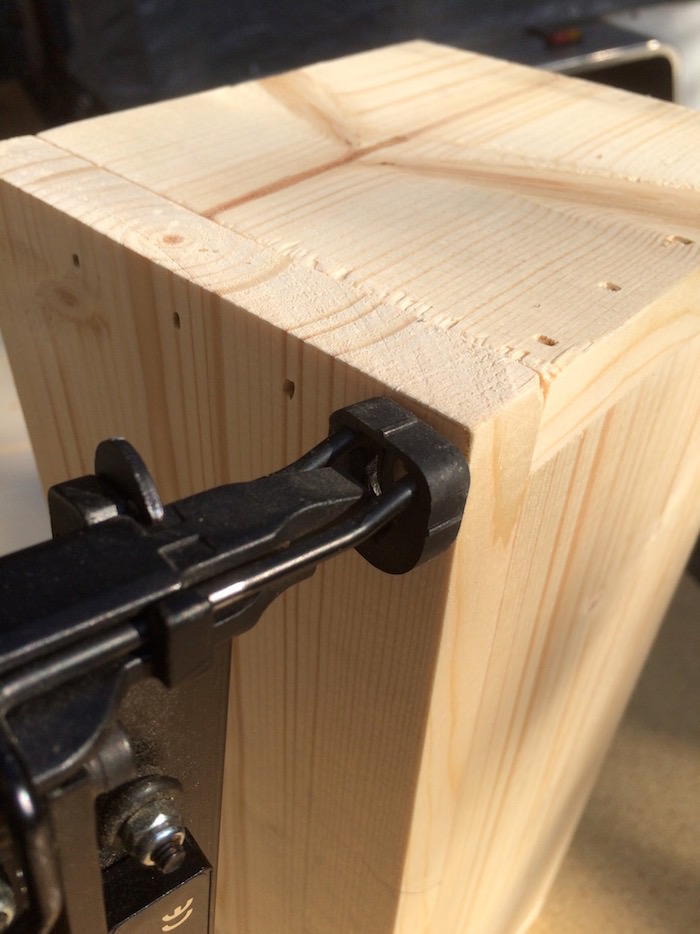
Use your circular saw to make all of the cuts on the cut list.
For the box pieces, you oughta cut very straight and accurately.
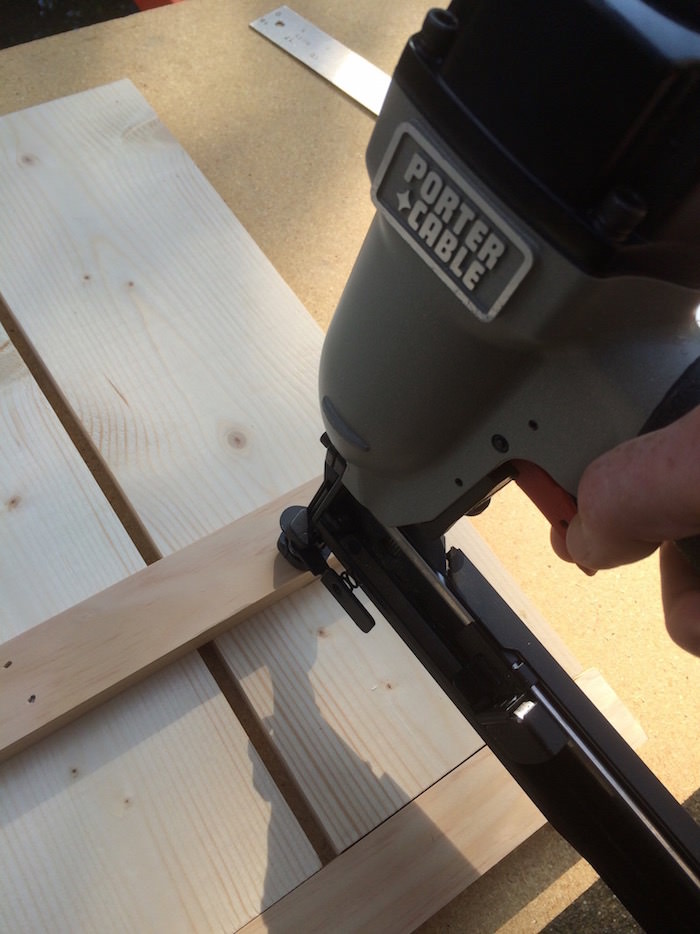
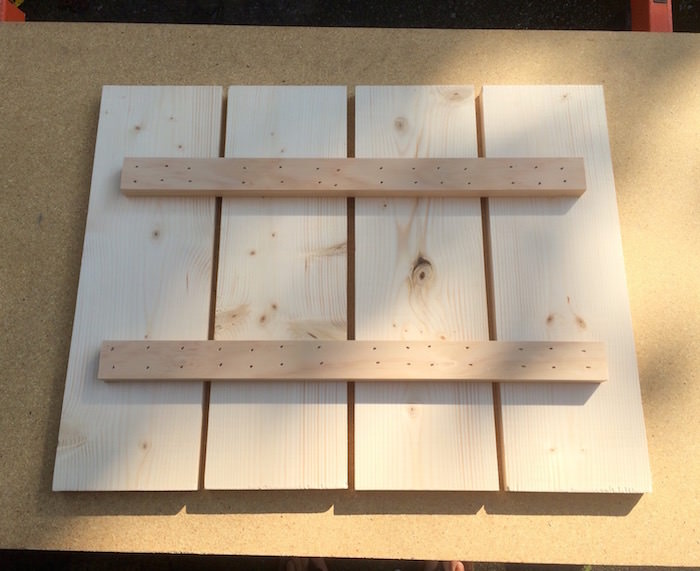
You will then lay the four fence pickets on the work surface the overall width should about 23.
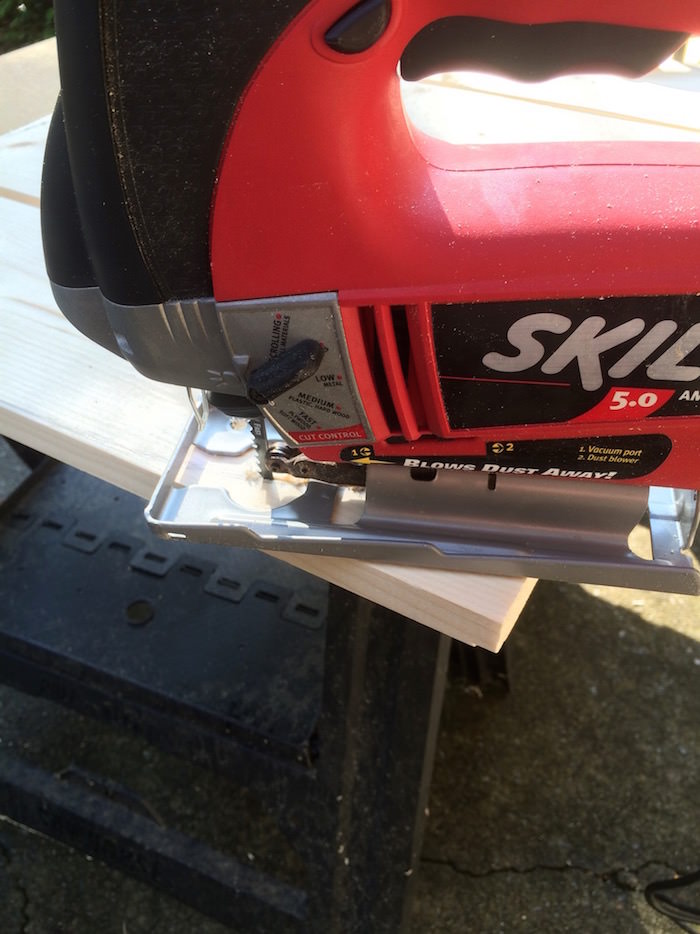
Arrange your project so that it overhangs the work surface and the jigsaw blade to cut freely.
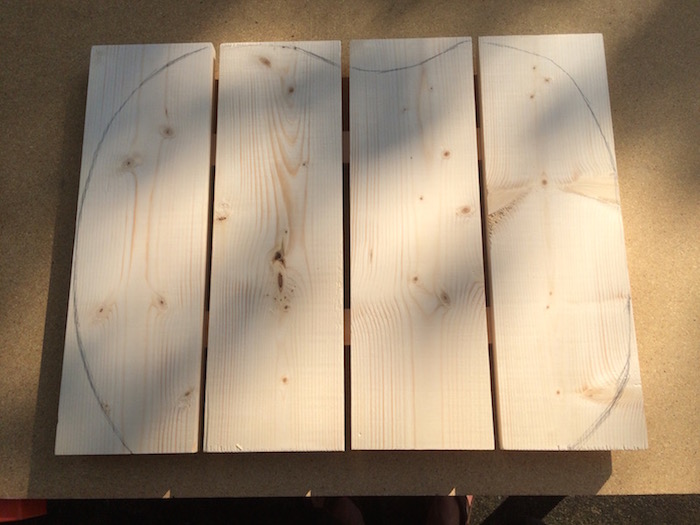
Secure the project to the work surface with two clamps.
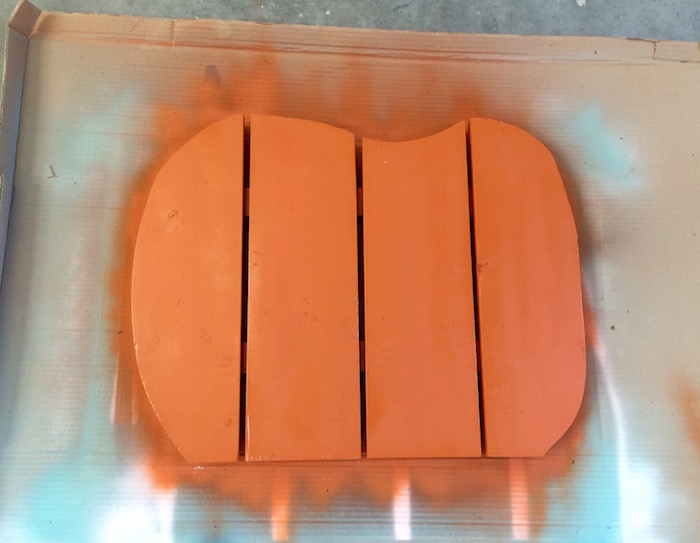
Cut your shape with the jigsaw.
Now we wanted our pumpkin stem to look organic just like our pumpkin.
Place stem in center of pumpkin and attach with glue and 2 staples.
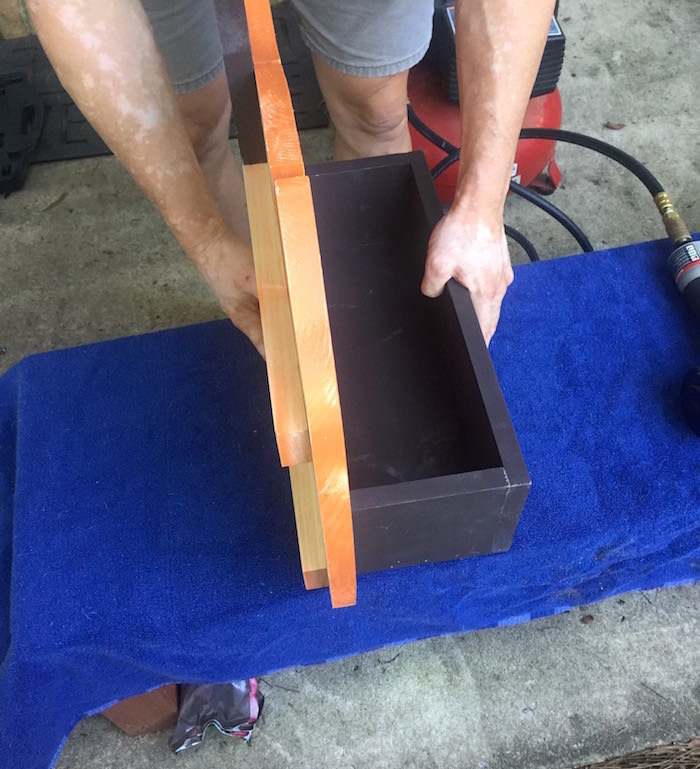
At this time we used our glue and 1 staples to assemble the box as shown above.
but the Do-it-Herself Workshops encourage you to add your own personal touch!
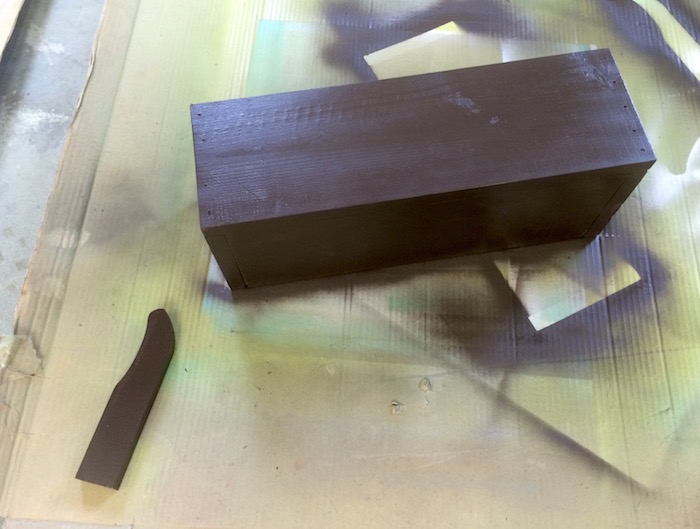
We sprayed the stem and the box brown .
And the pumpkin orange.
If its visible, I recommend painting it.
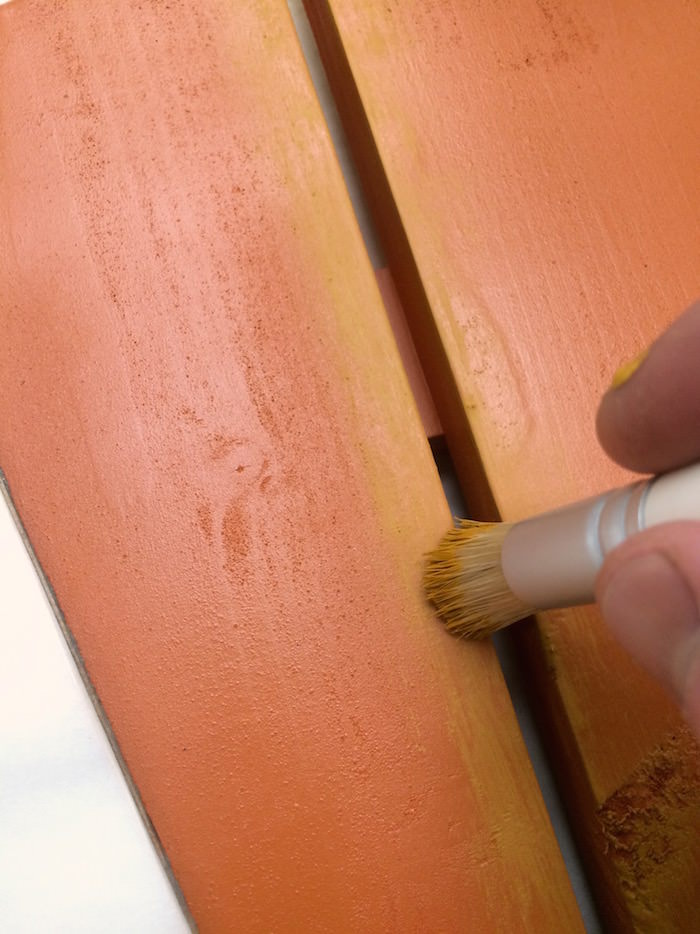
On the pumpkin we added some fun little rustic accents with golden acrylic paint and a stencil brush.
To finish, youll assemble everything with glue and your staple gun.
Let everything set for 24 hours.
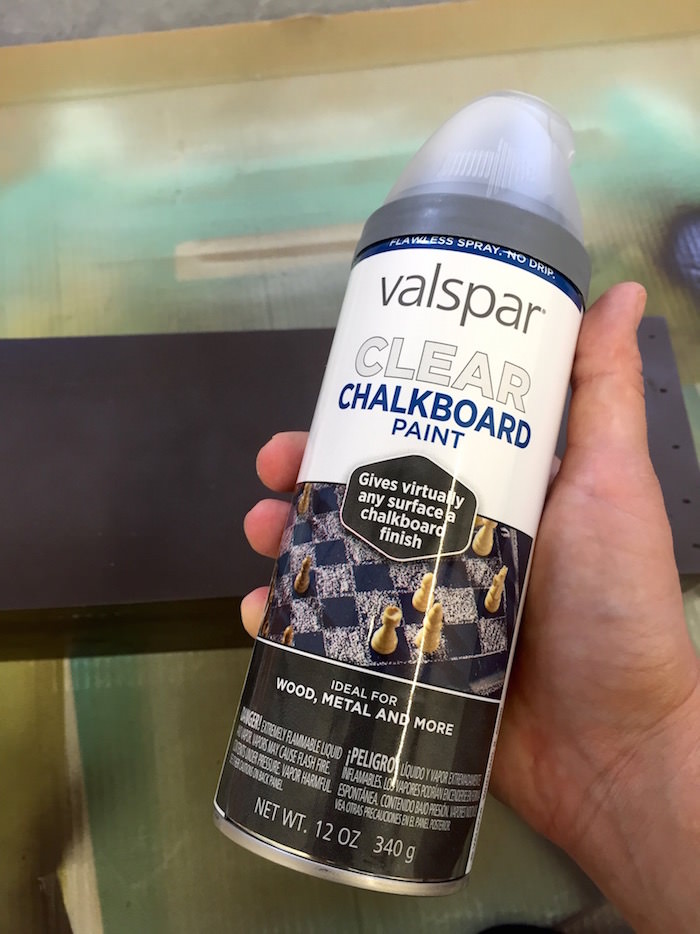
Add an awesome message to the front of your pumpkin stand using chalk!
or for when I know neighbors are coming over.
They can grab a piece (or 10!)
as they walk in the door!
When the holiday is over .
Ill turn it into a seasonal planter.
Can I tell you how much I love my pumpkin?
I cant wait toDIYsomething else!
Get the info from Home Depot for this projecthere.
Check out thepaver planterandoutdoor serving stationwe did with the help of the DIH workshop as well!