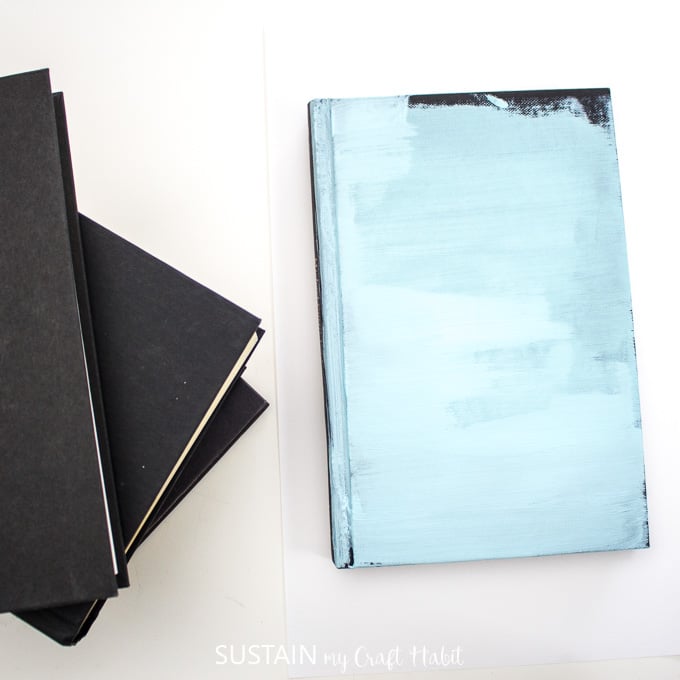
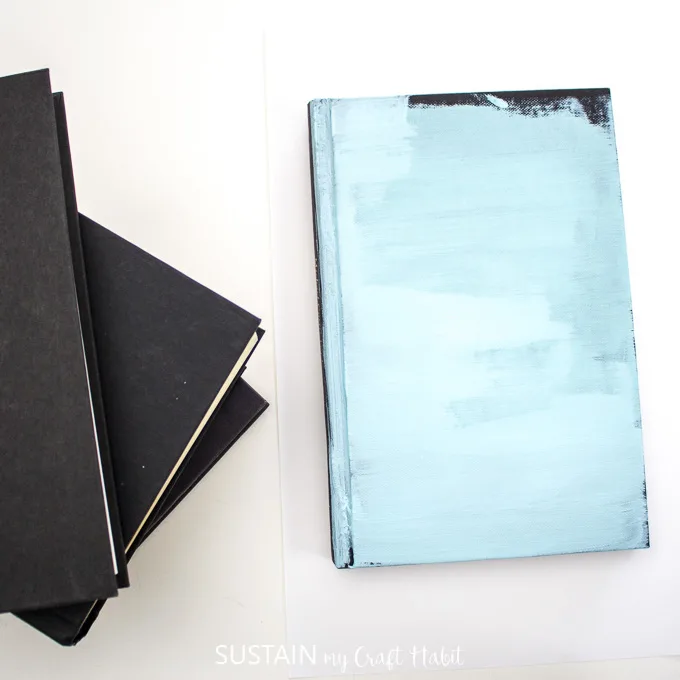
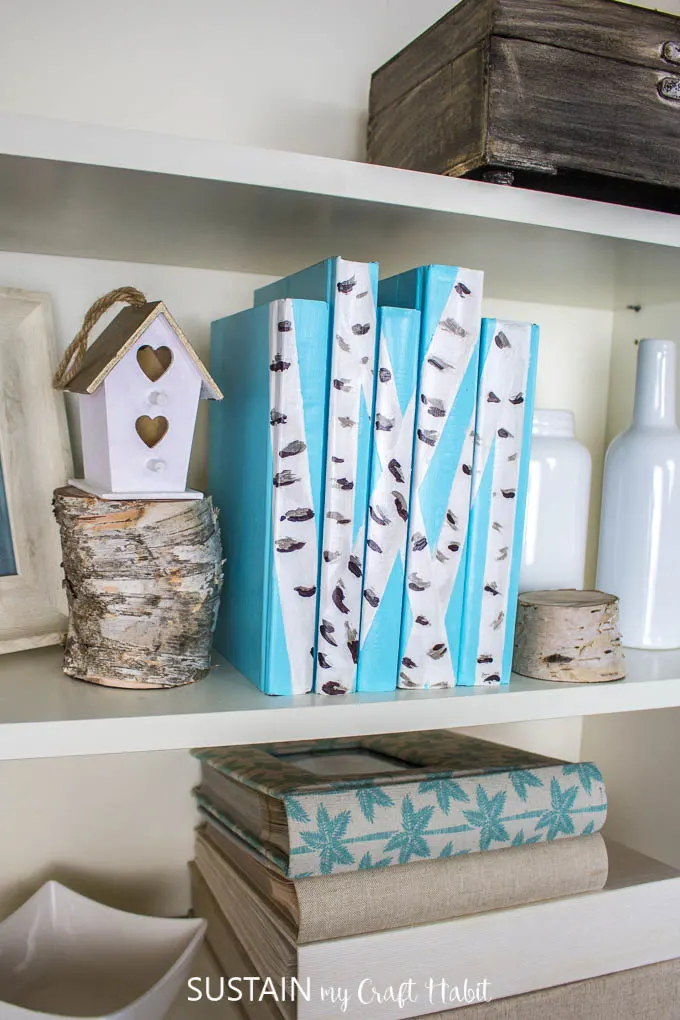
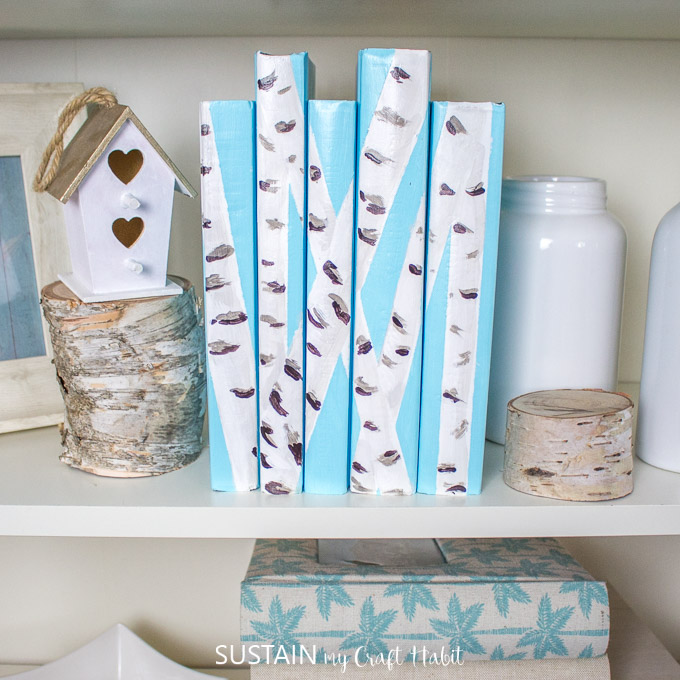
Painting book covers was a brand new crafting experience.
Book covers make for a great surface to paint on, they are smooth, flat and easily paintable.
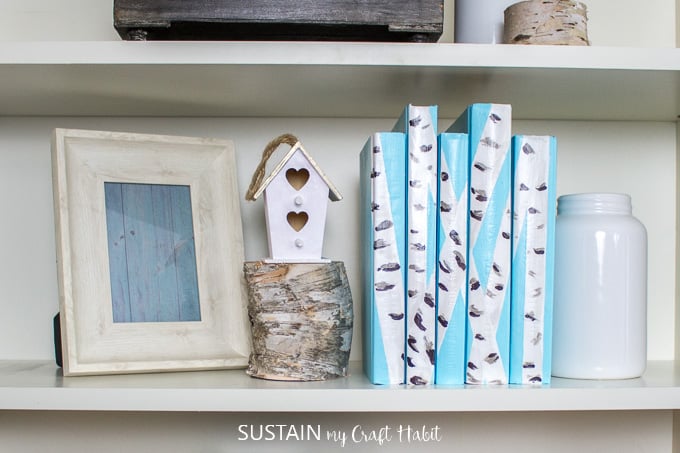
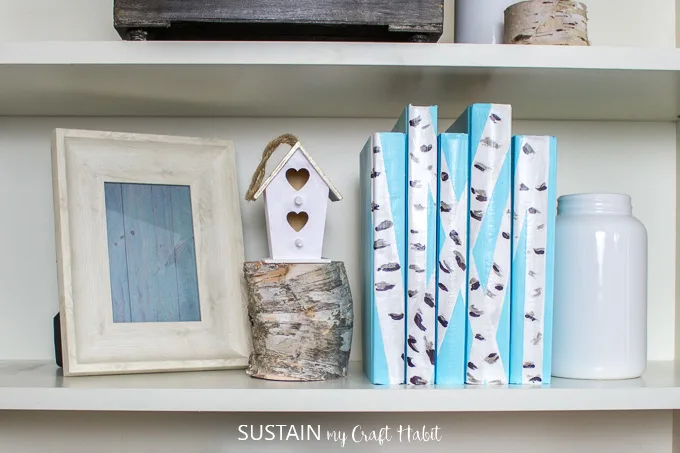
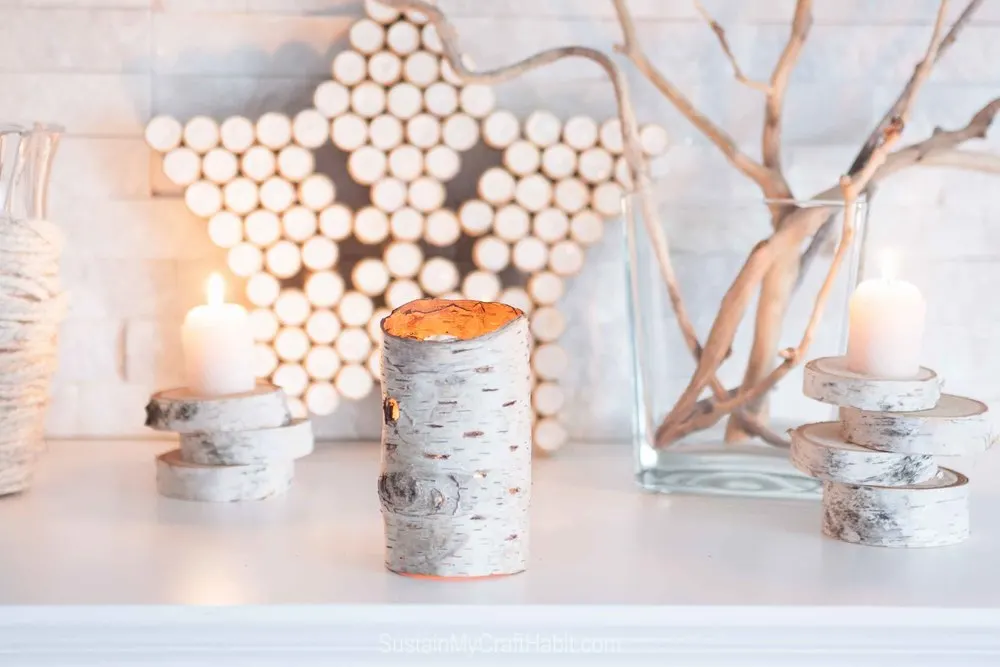
There is something very special about birch trees that we are drawn to.

Birch Candle Holder
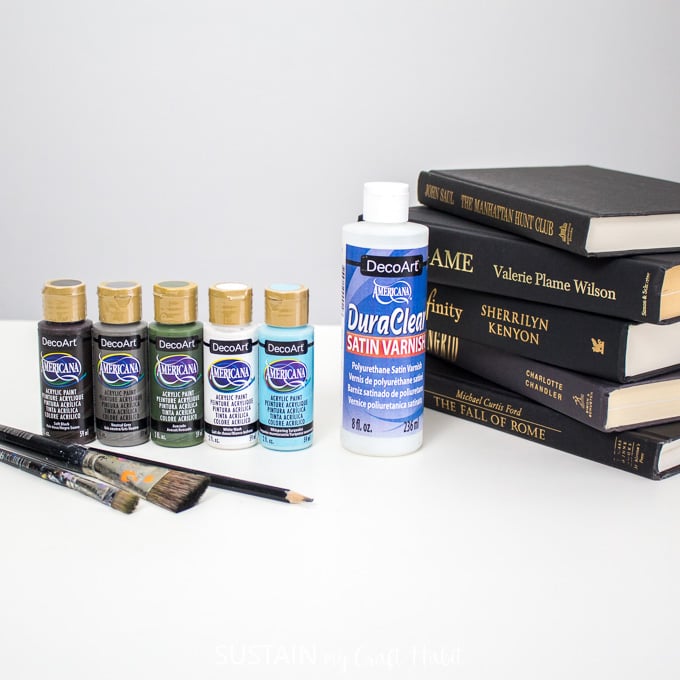
Materials Needed:
Disclosure: This post contains affiliate links for your shopping convenience.
you might readour full disclosure policy here.
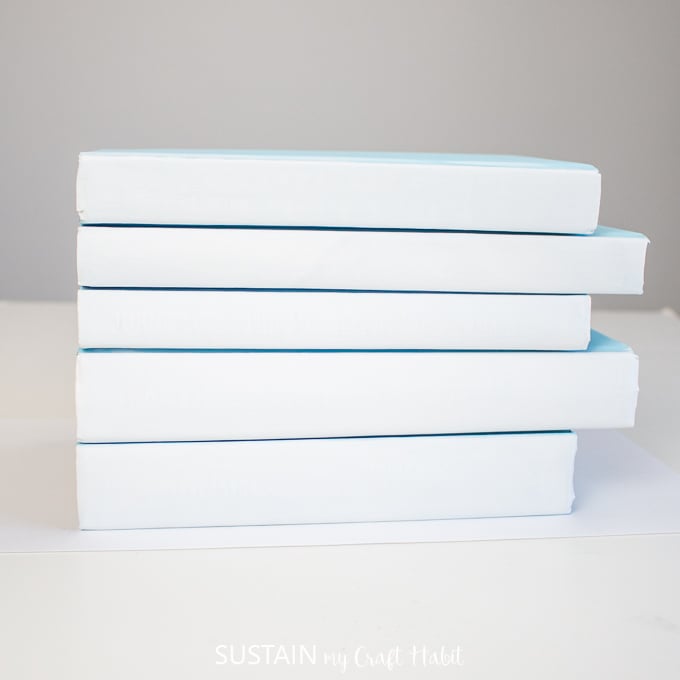
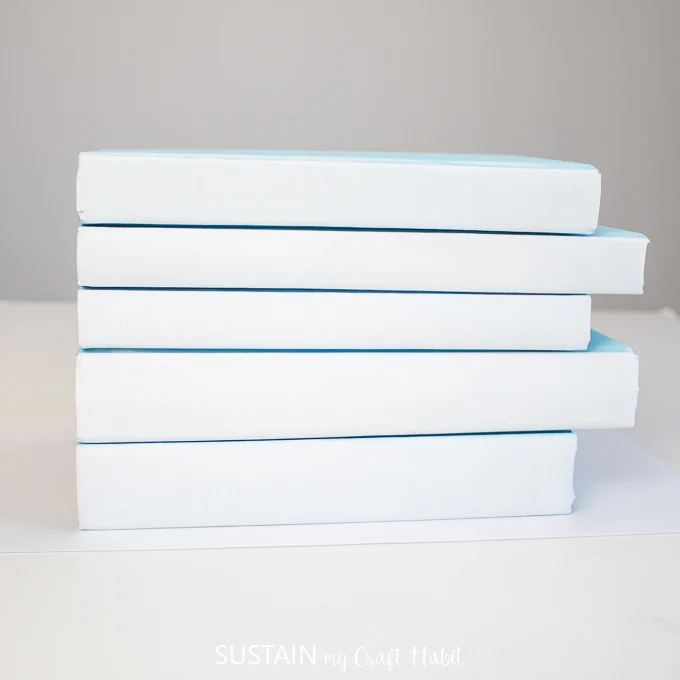
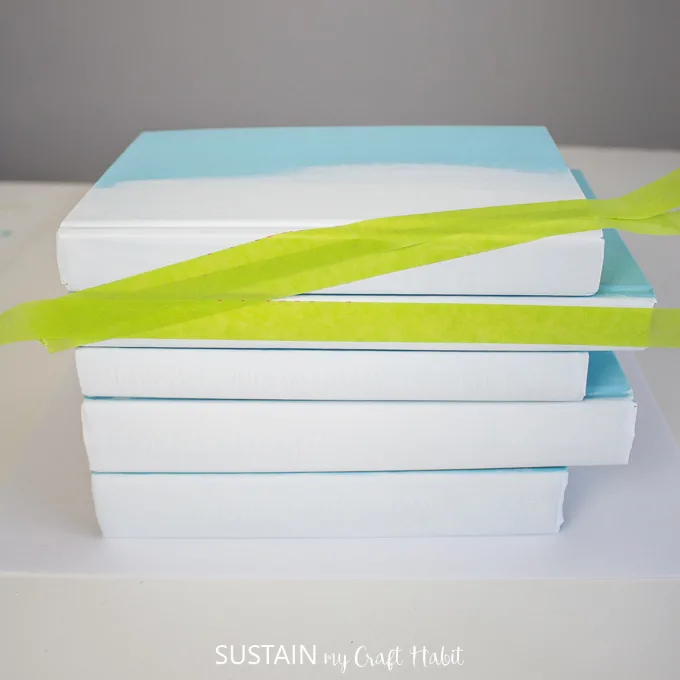
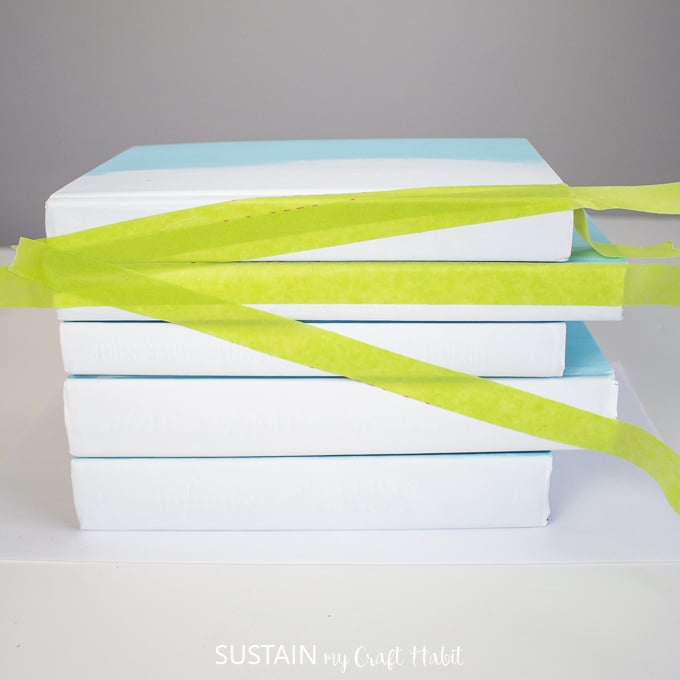
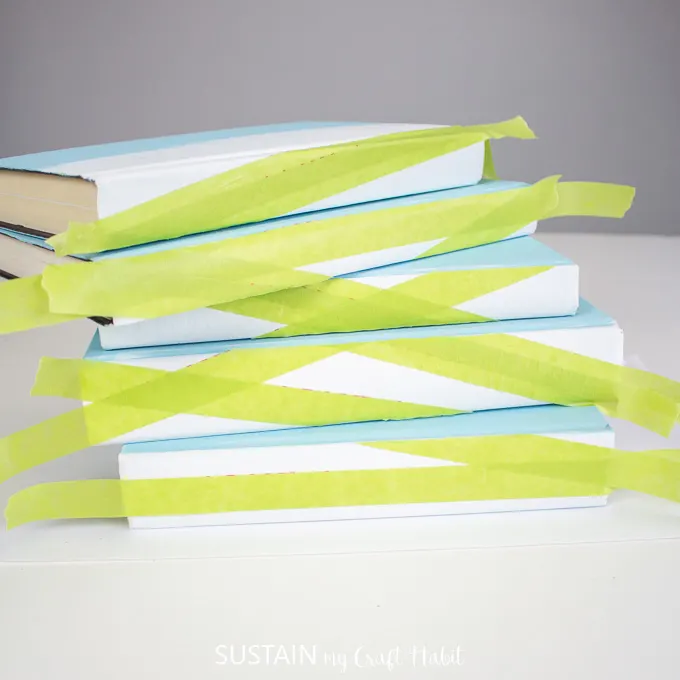
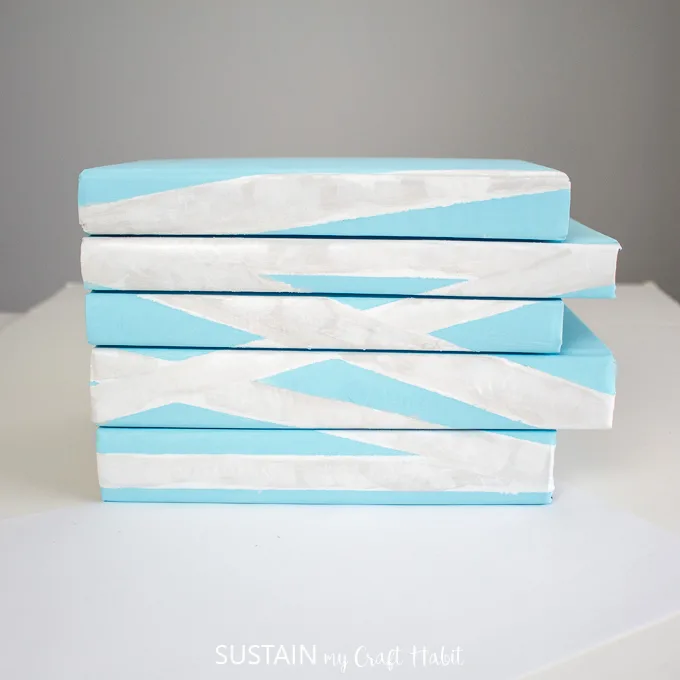
Stack the books in the order they will be displayed on your bookshelf.
Next, align the books so the spines are flush and lay the books down horizontally for easier painting.
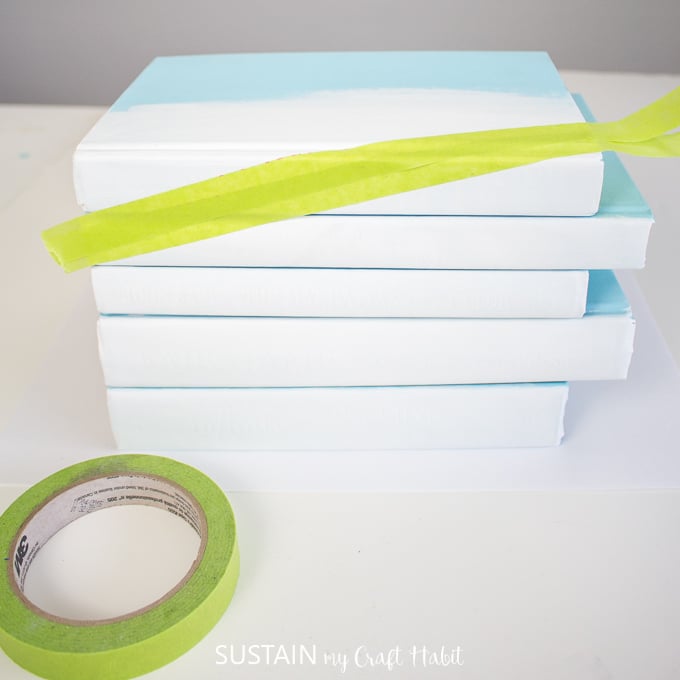
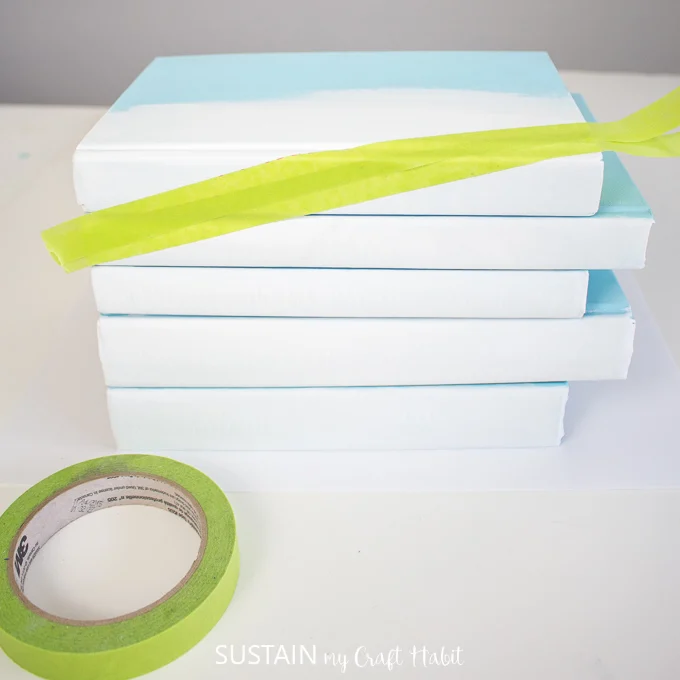
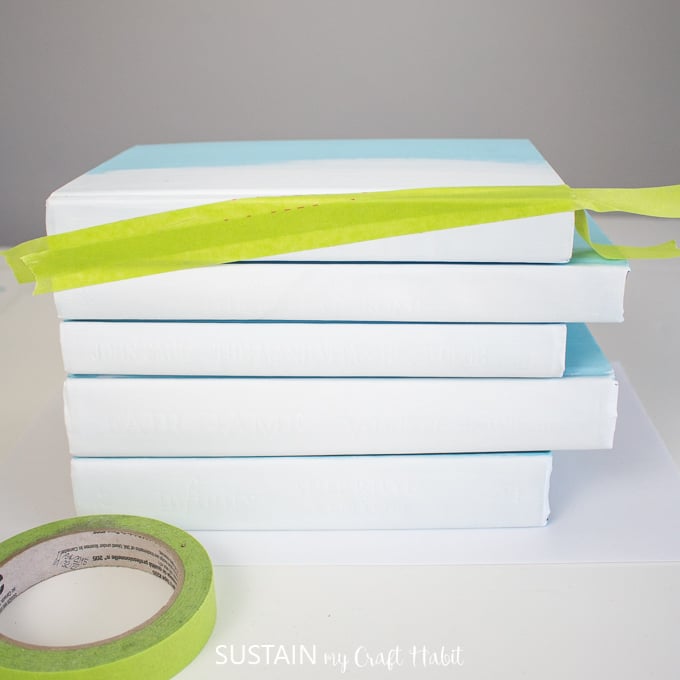
Begin to place pieces of tape along the book spines to block out the birch branches.
First, place a piece of painters tape on a diagonal over top of the first books spine.

Wrap it around the front of the book as well.
Apply a second piece of tape overlapping the first to make the birch branch thicker.
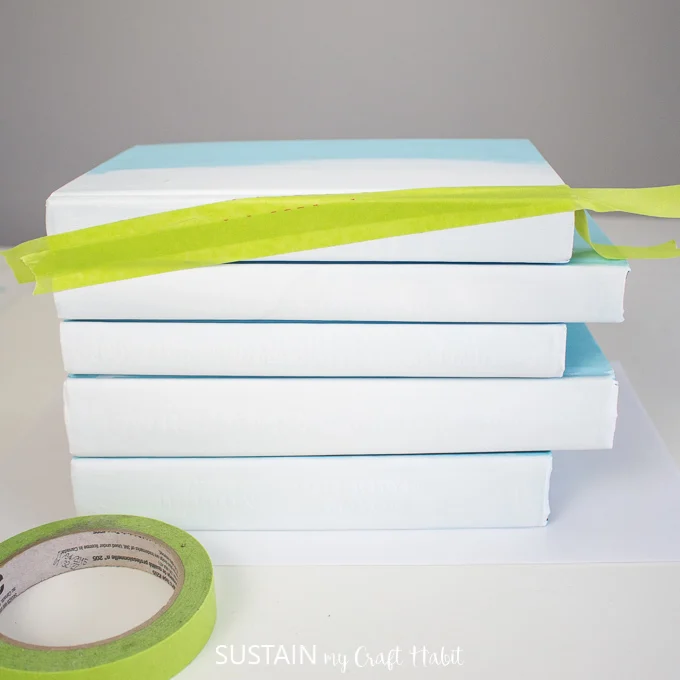
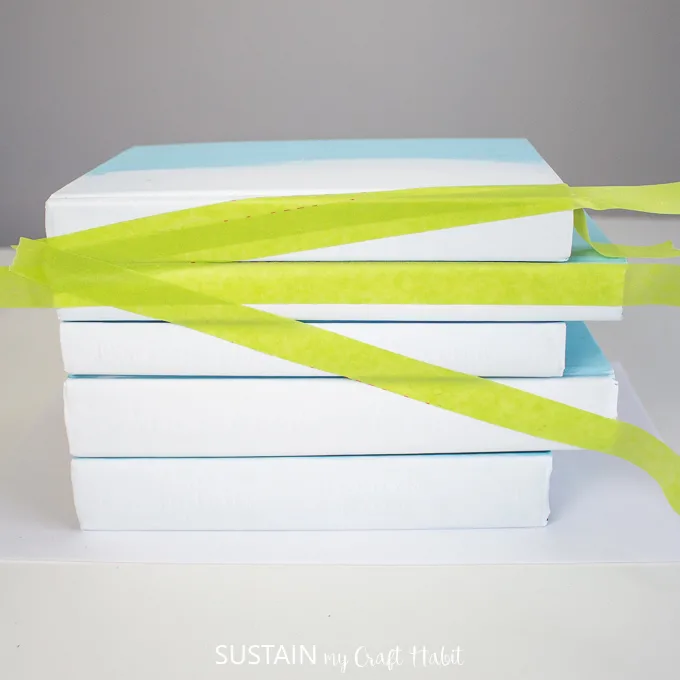
Move on to the second book and apply a piece of tape along the entire length of the spine.
Position the next piece of tape on a diagonal overlapping the third and fourth books.
Thicken the birch branch by adding a parallel piece of tape.
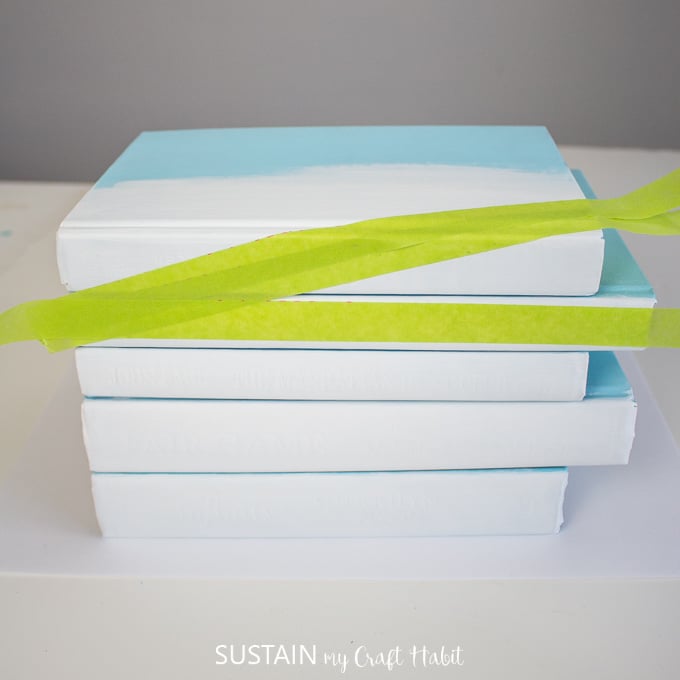
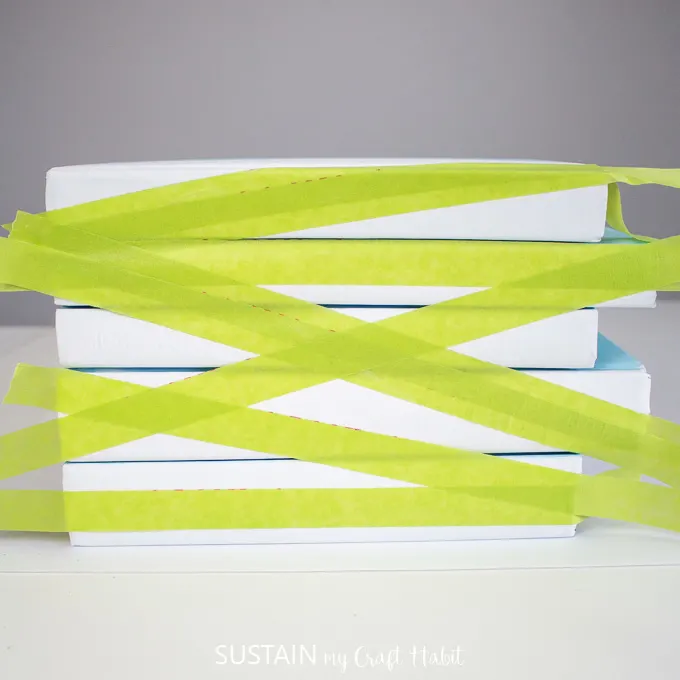
Continue with the fourth and fifth books by adding tape as shown.
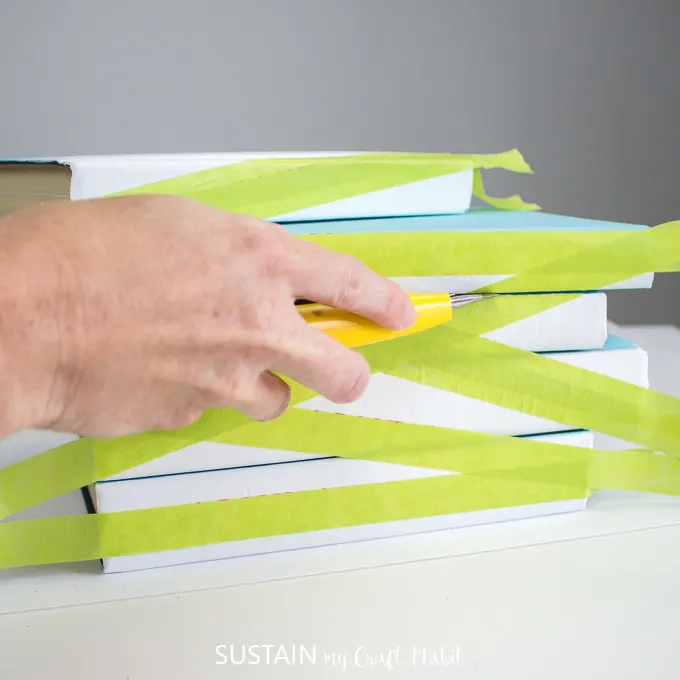
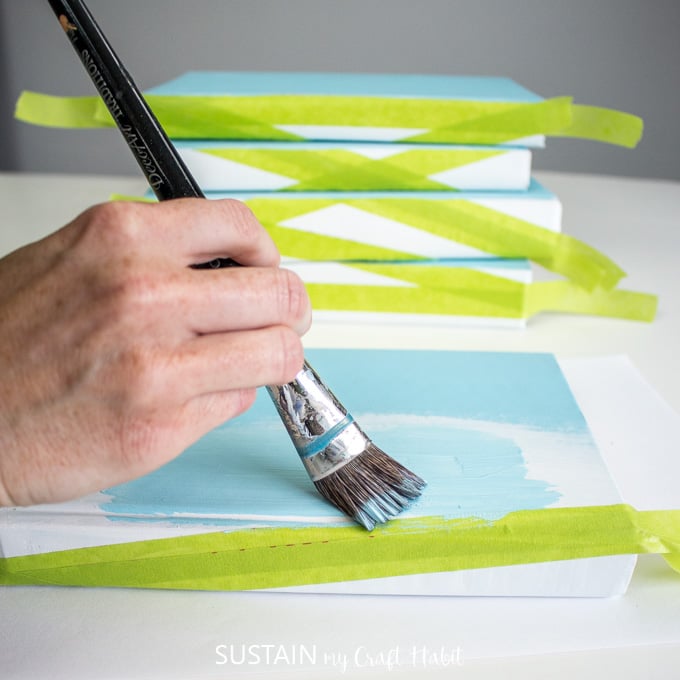
Using a utility knife, cut the tape joining the books, taking care not to cut the hardcovers.
Separate the books keeping note of the order from one to five.
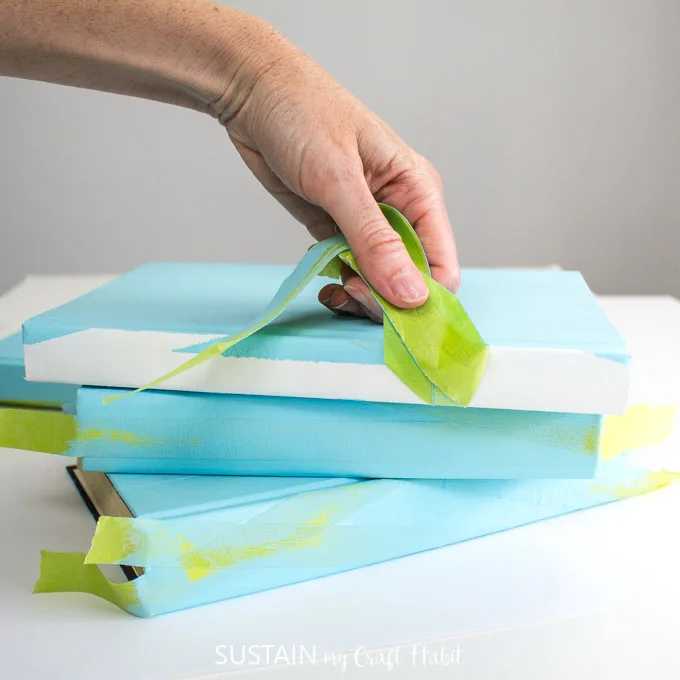
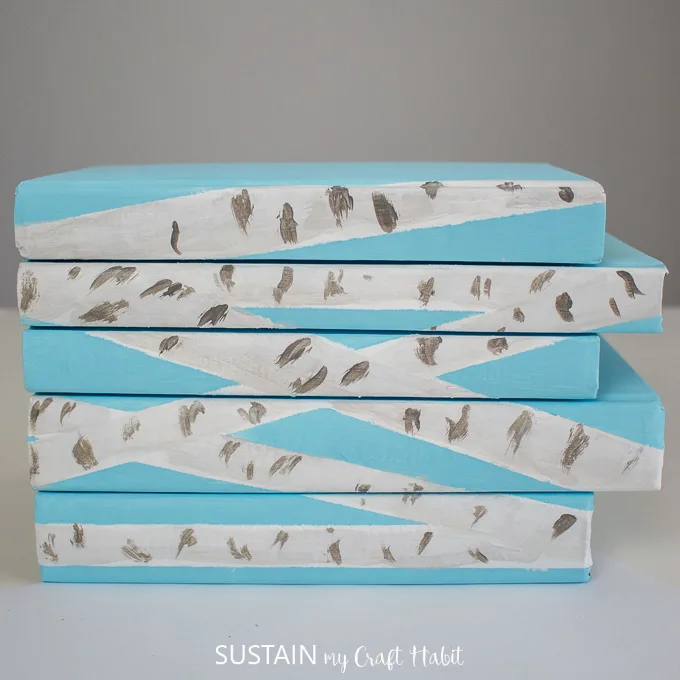
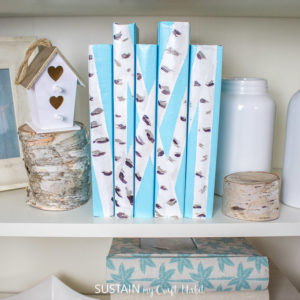
Paint over the taped spines in Whispering Turquoise covering all white painted areas.

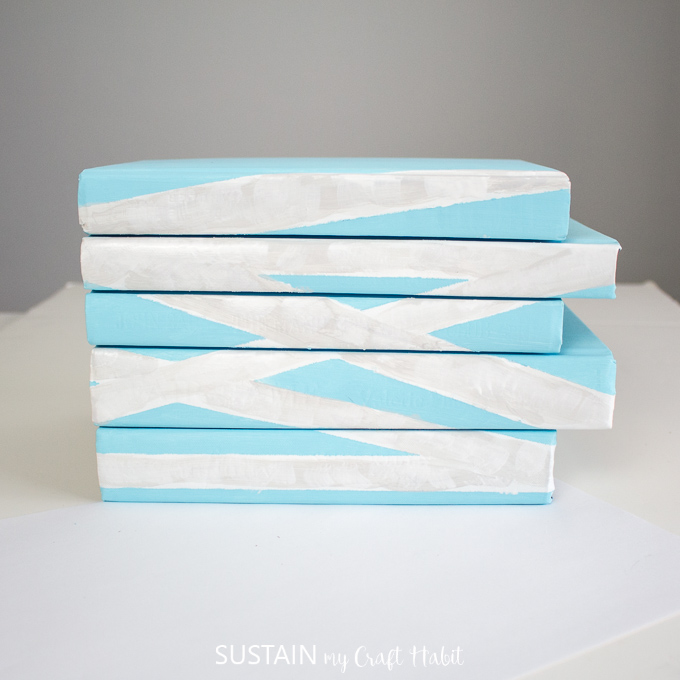
Peel away the painters tape.
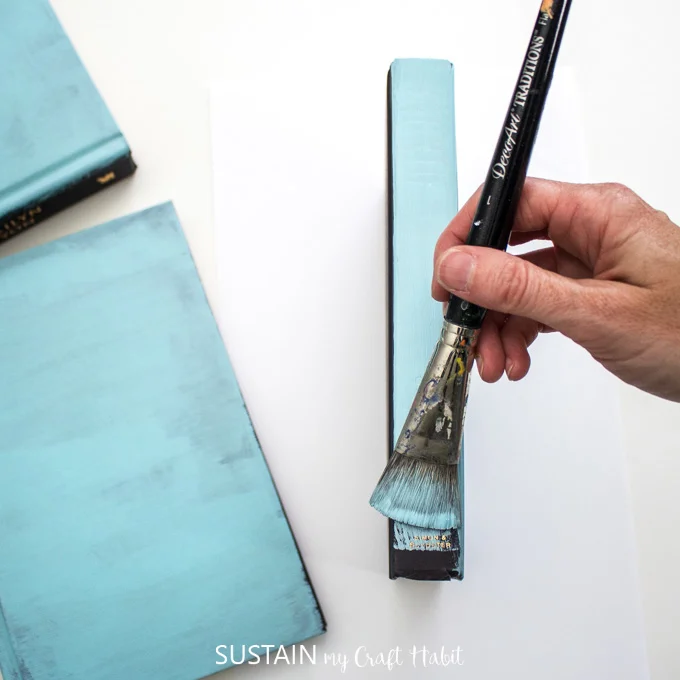
Touch up any rough edges with a fine tip paint brush in White Wash paint.
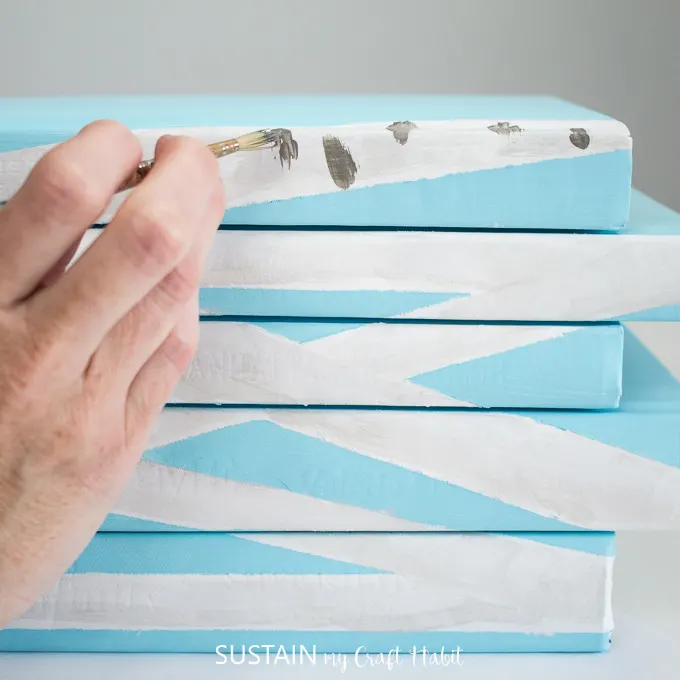
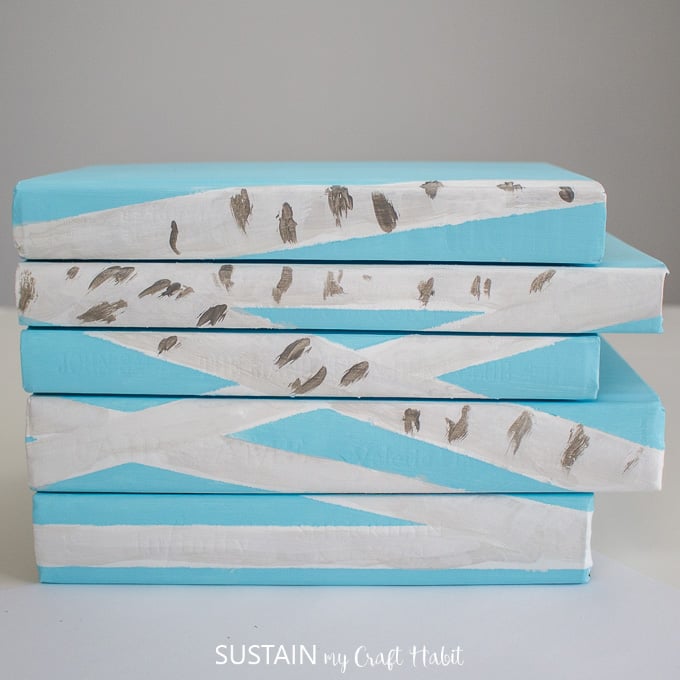
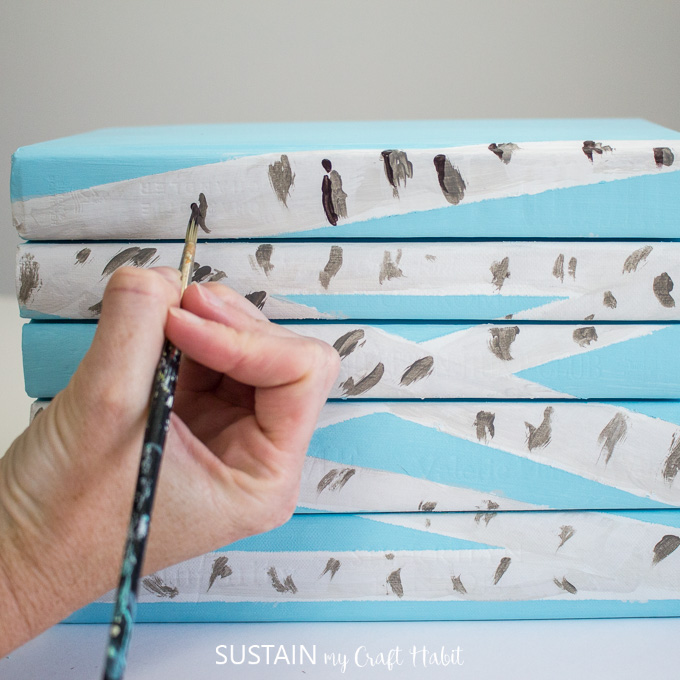
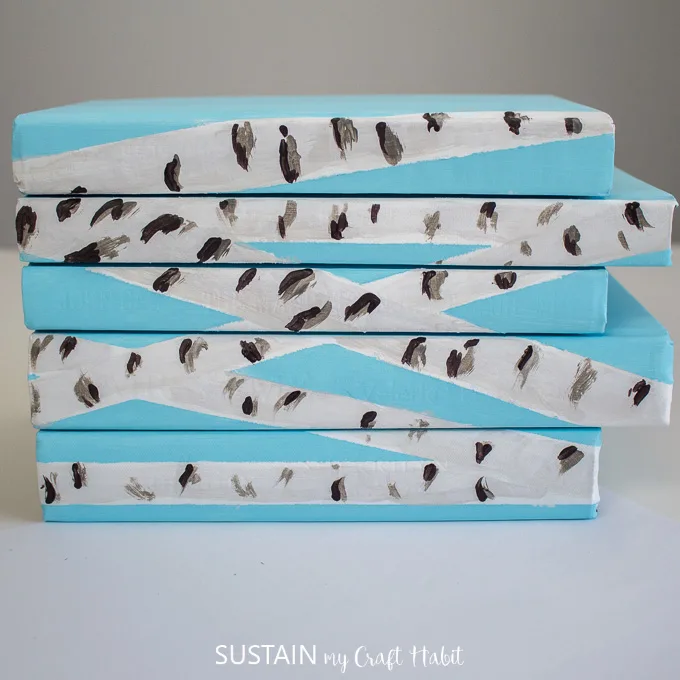
Using a fine tip paint brush, apply irregular neutral gray dashes along the lengths of each branch.
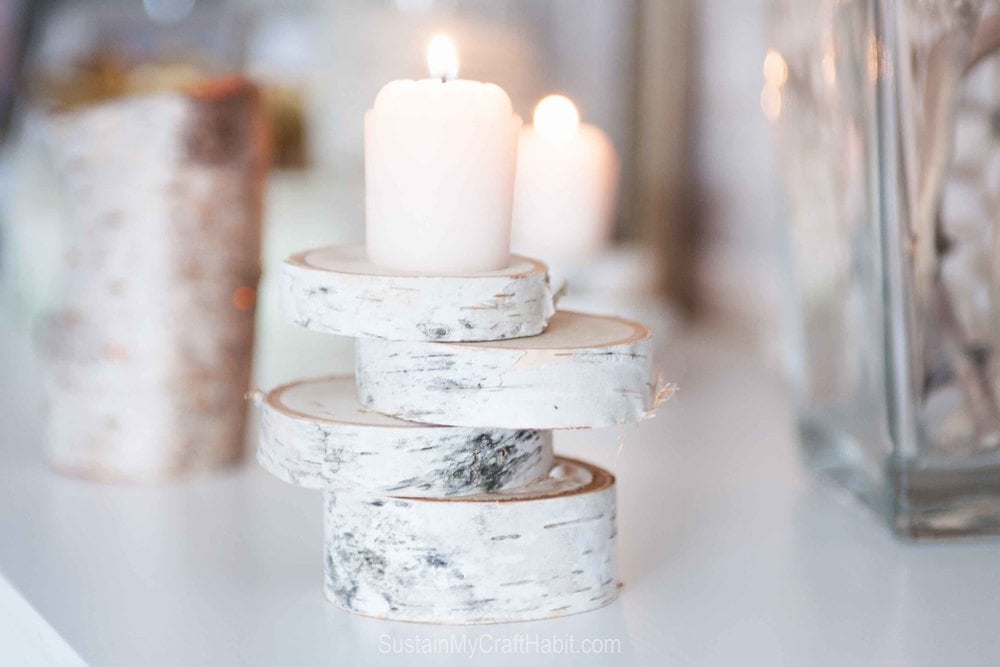
Birch Candle Holder
Continue working one branch at a time.
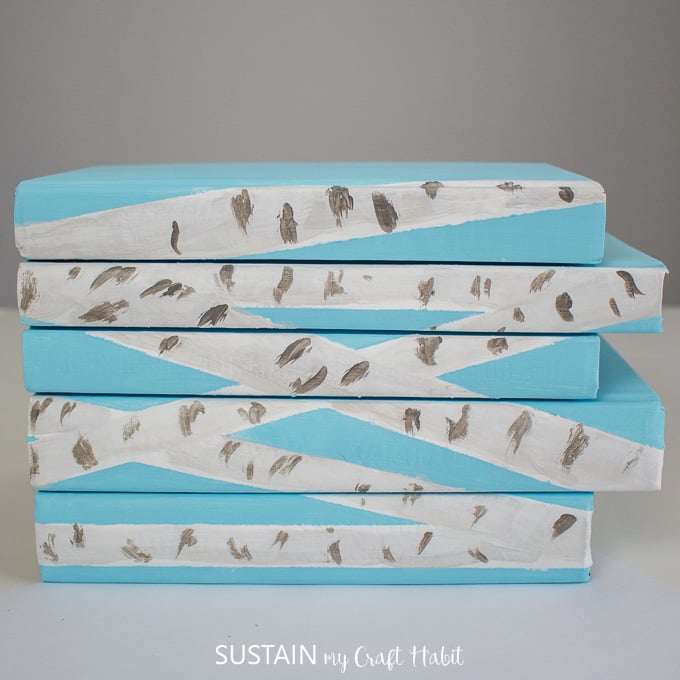
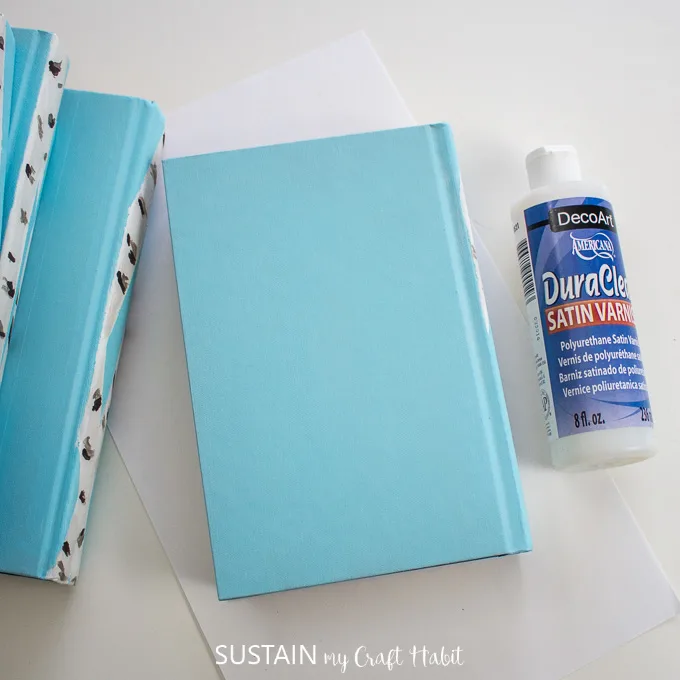
Using a large flat brush, apply Duraclear Satin Varnish over top of the painted hard covers.
Be sure to allow enough time to dry before displaying them on a bookshelf.

This project originally appeared onDecoArts project gallery
Like it?
Pin it for later!
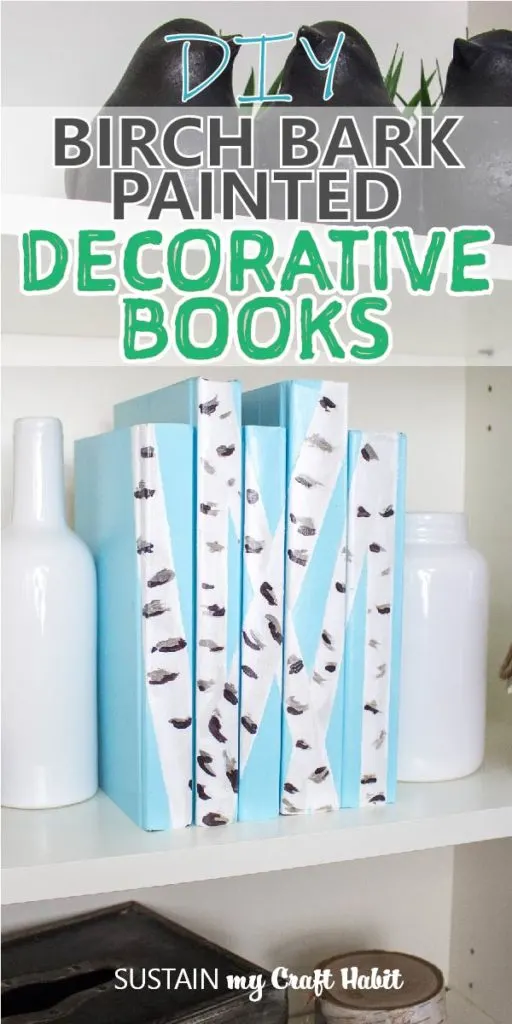
Birch Bark Painted Decorative Books
Materials
Instructions
Birch Barck Votive Holder
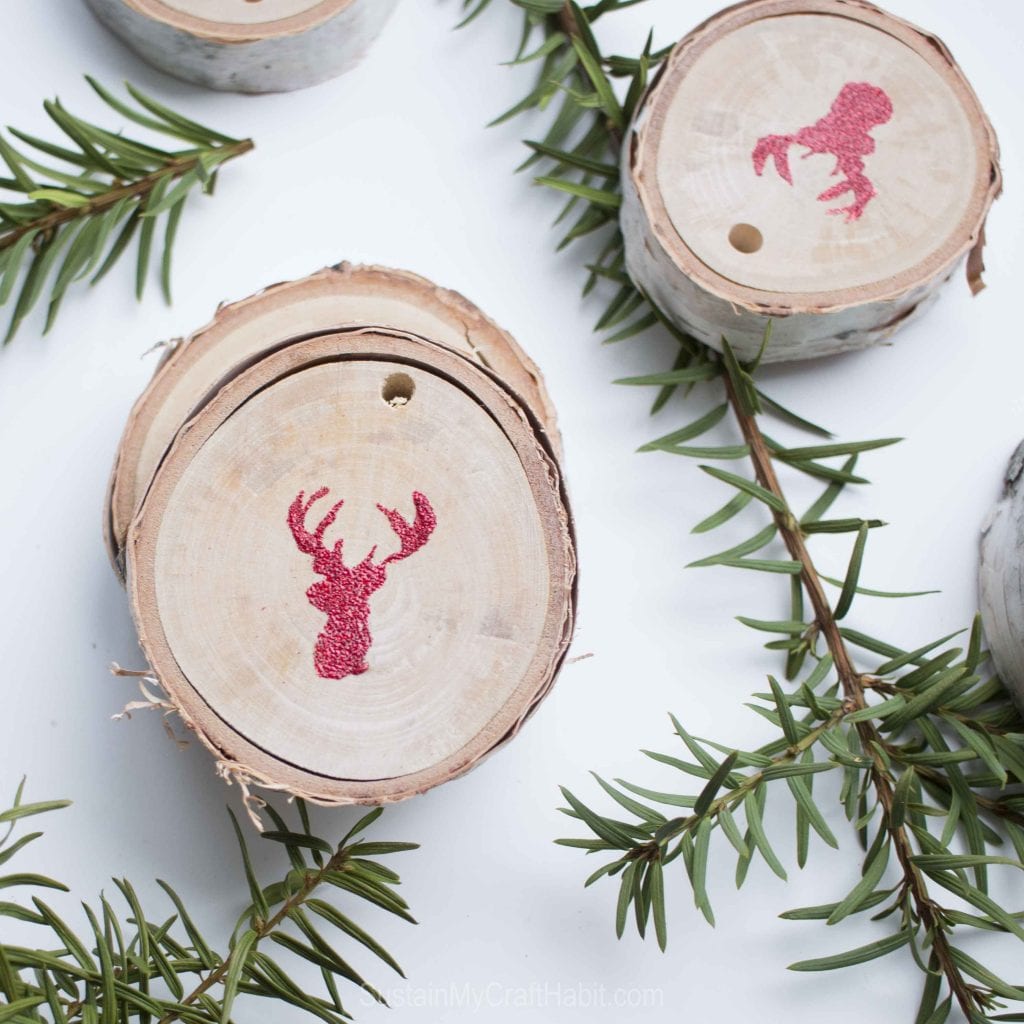
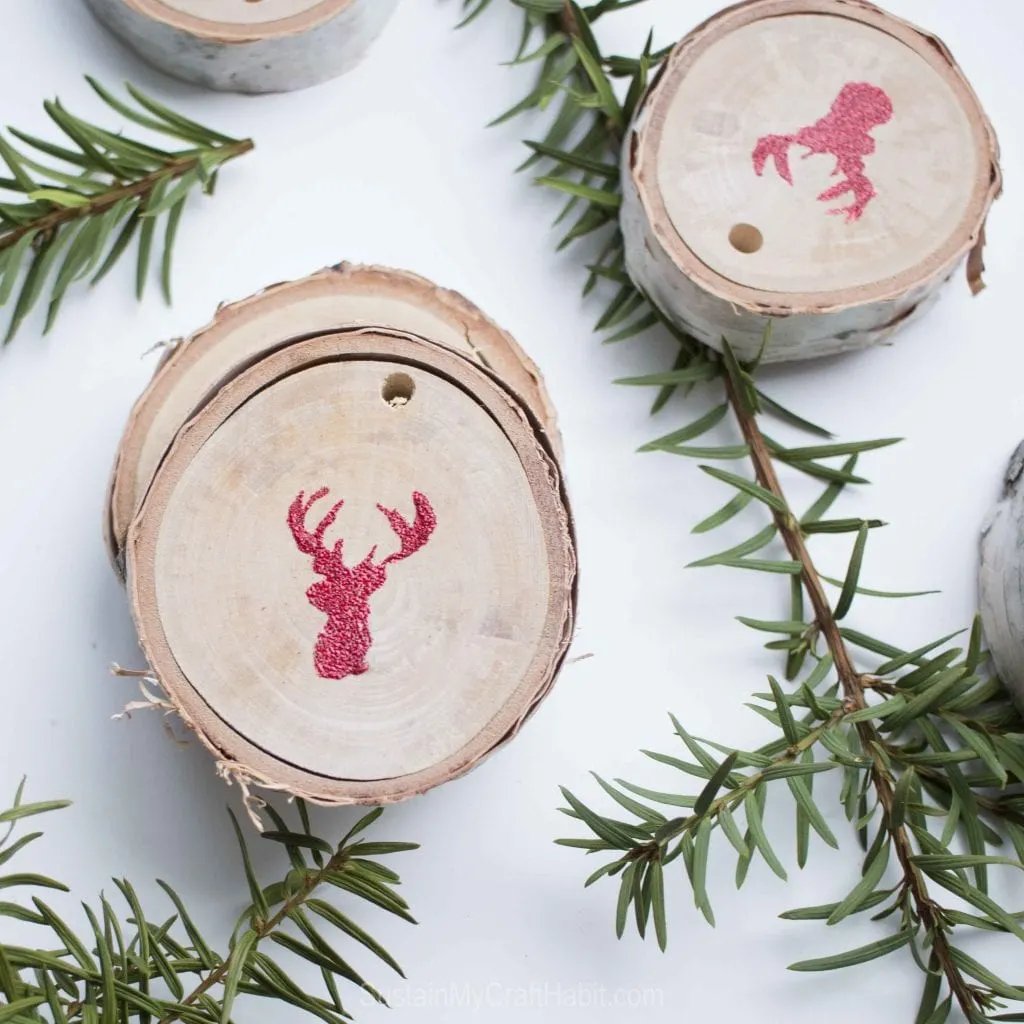
Birch Slice Ornaments

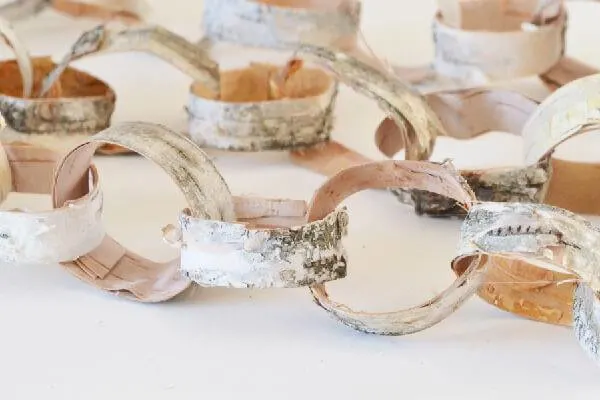
Birch Bark Garland
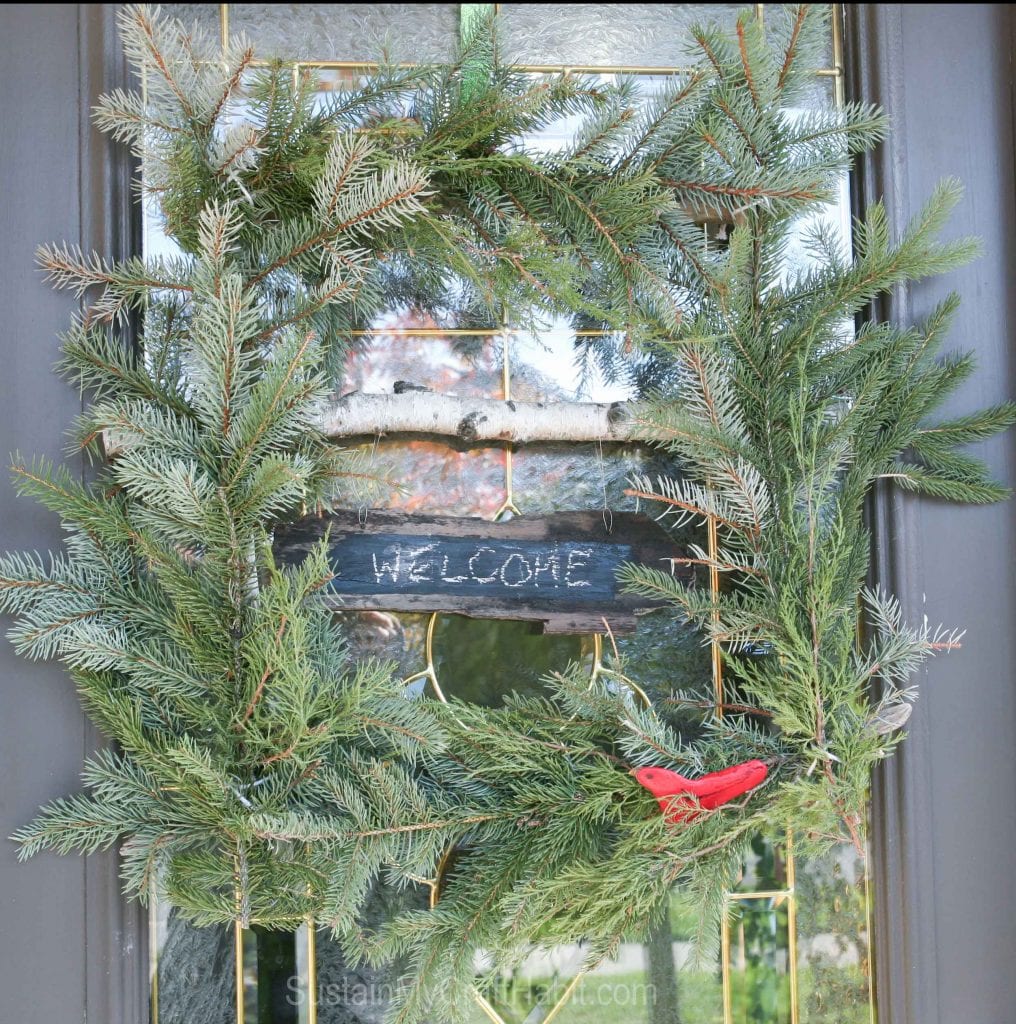
Window Wreath with Winter Greens

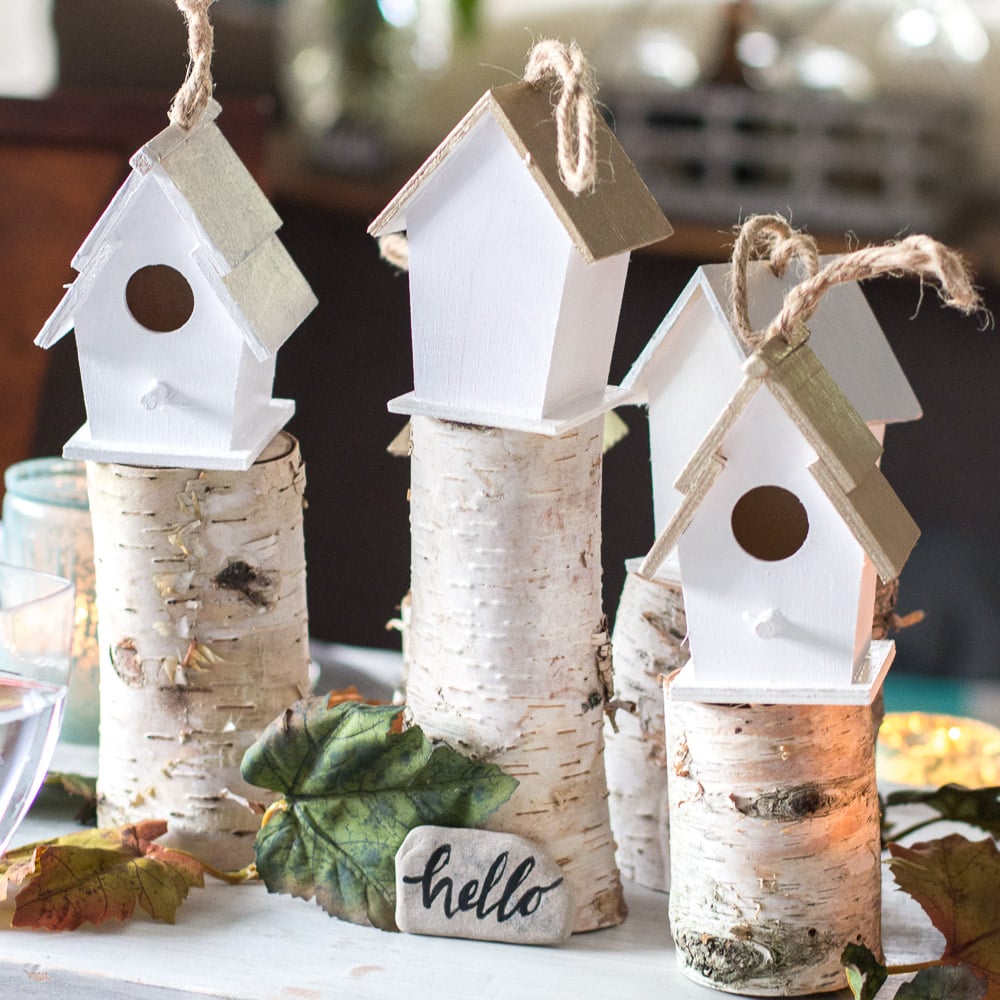
Rustic Birdhouse Centerpiece