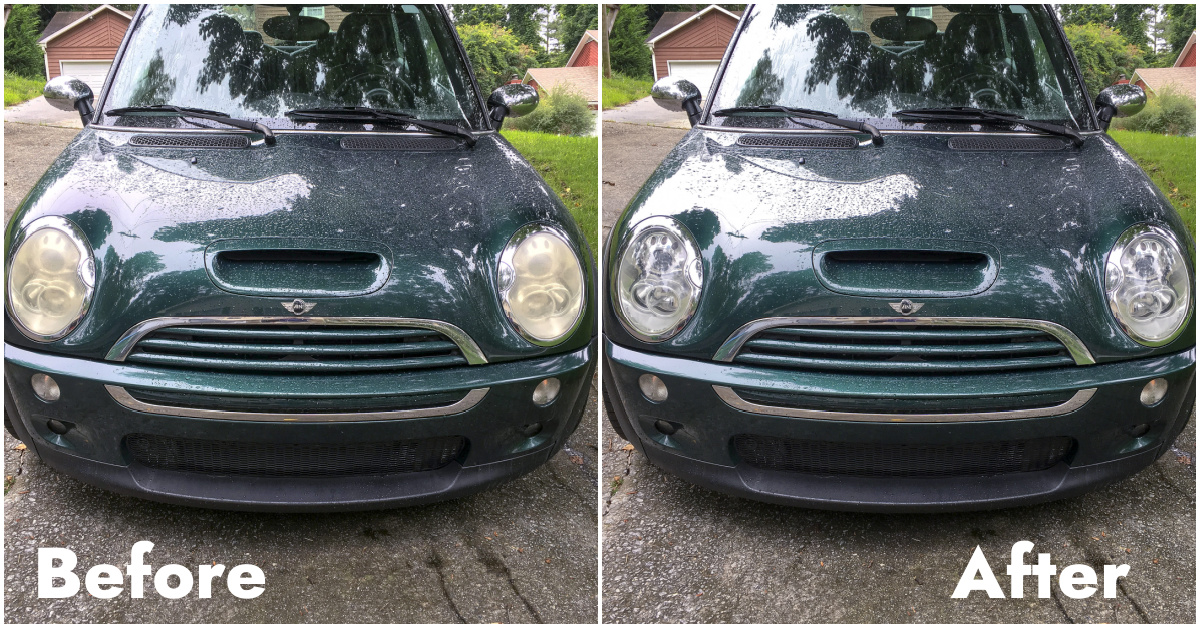
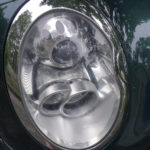
This IS the best DIY headlight restoration kit that you might buy!
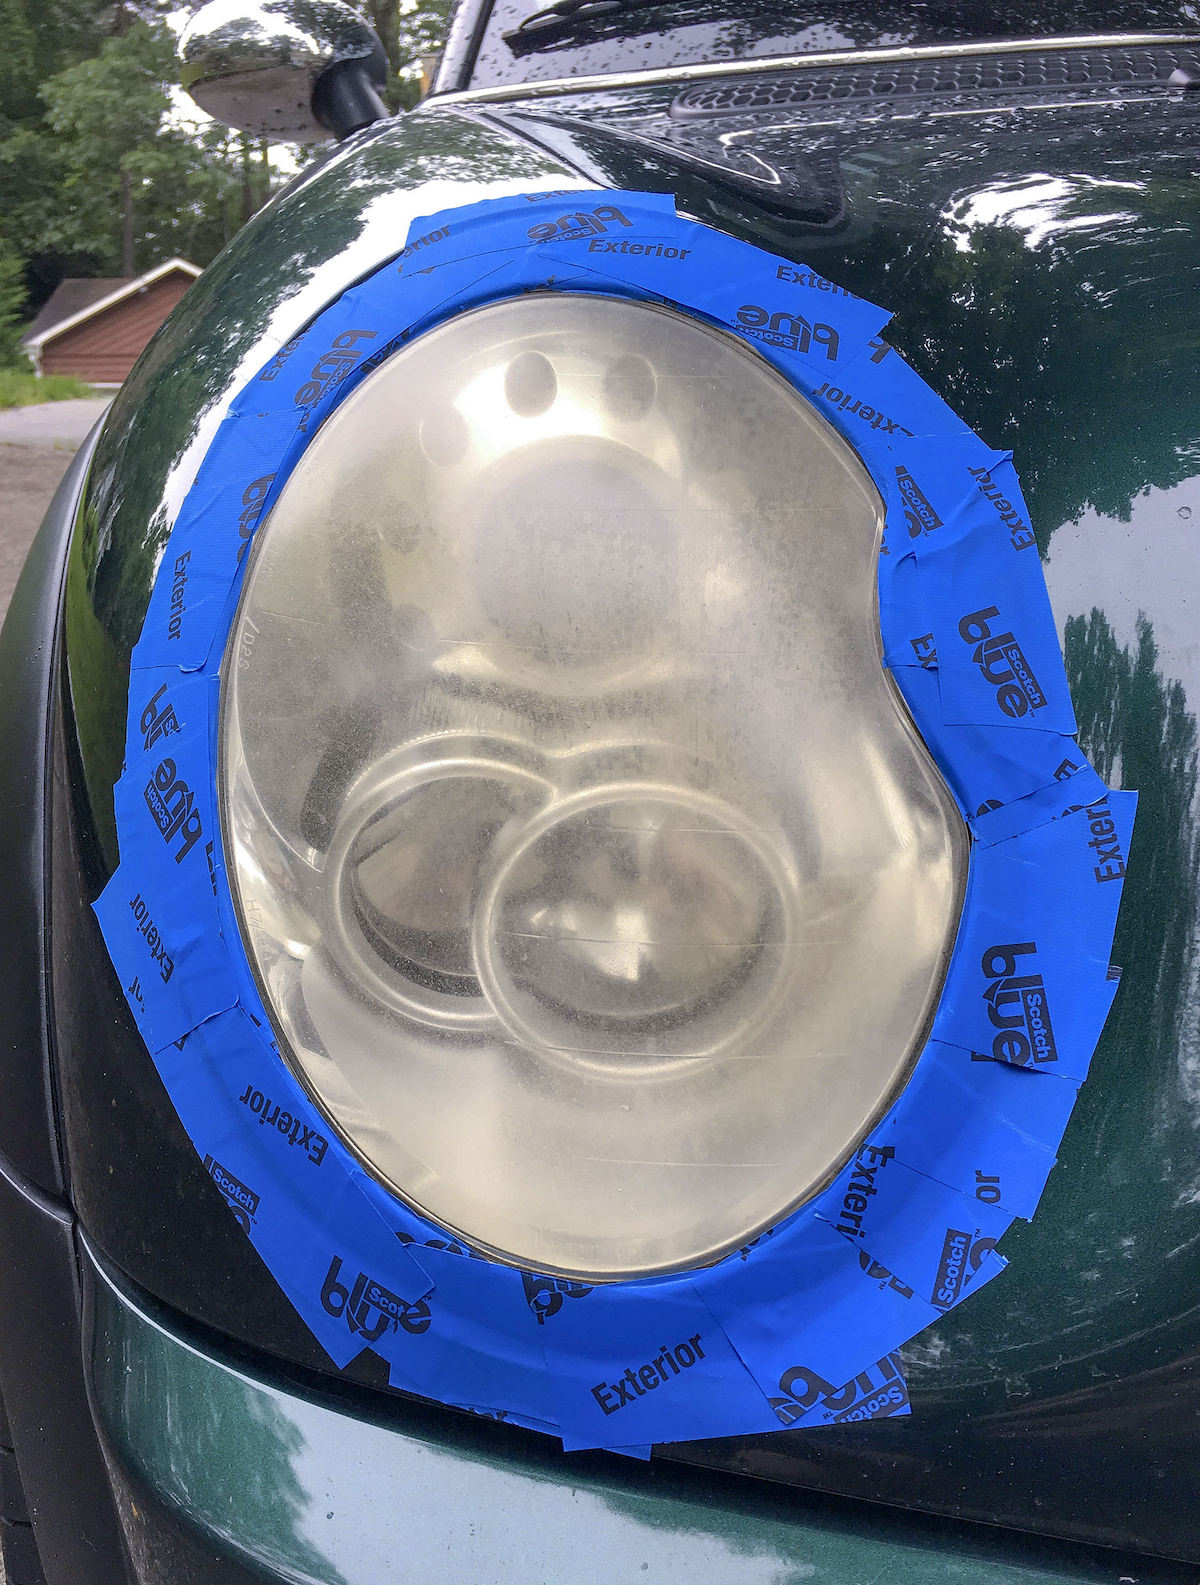
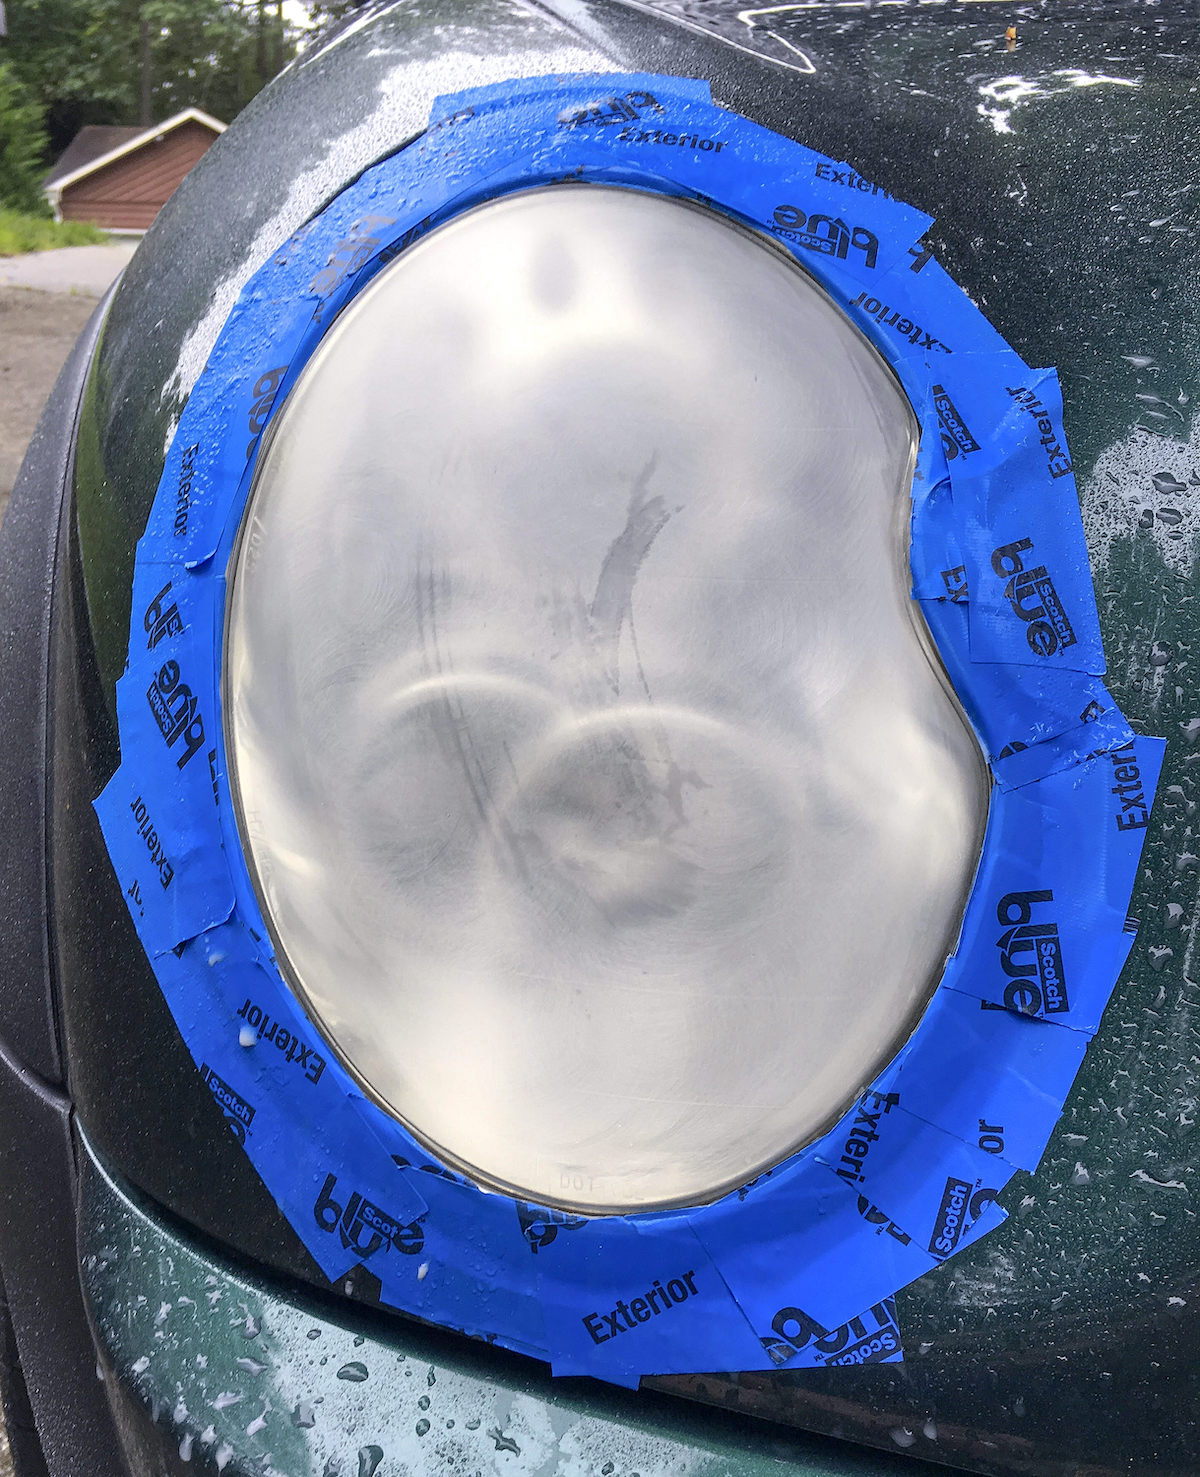
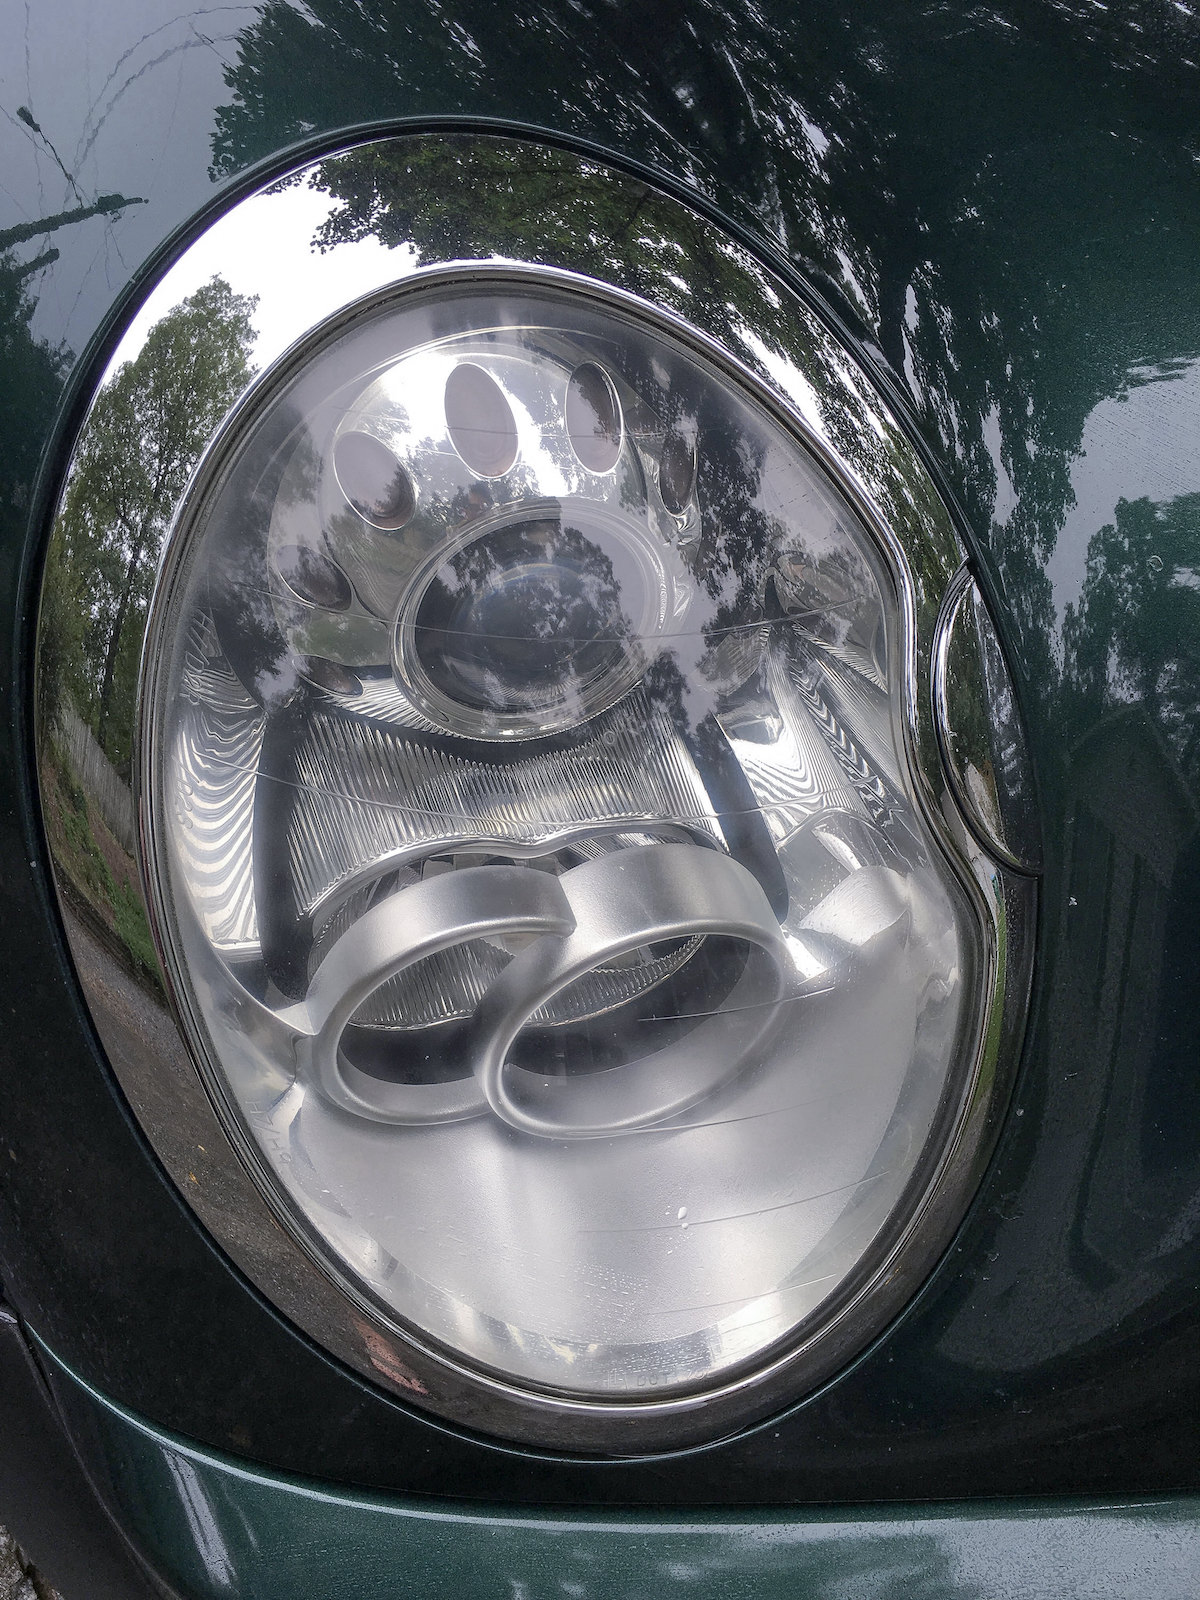
This method works every single time, even if your lights are rough.
you might save money, and be done in an hour restore your headlights with this simple DIY.
I get it headlight restoration is boring.
That is absolutelyNOT trueand you canclean your headlights yourselfusing this method.
Headlight cleanercanwork (have you seen thetoothpaste hack?
), and it’s possible for you to try that first if you like.
It depends on what you are looking to spend.
We know its going to work!
We have six cars soon to be seven.
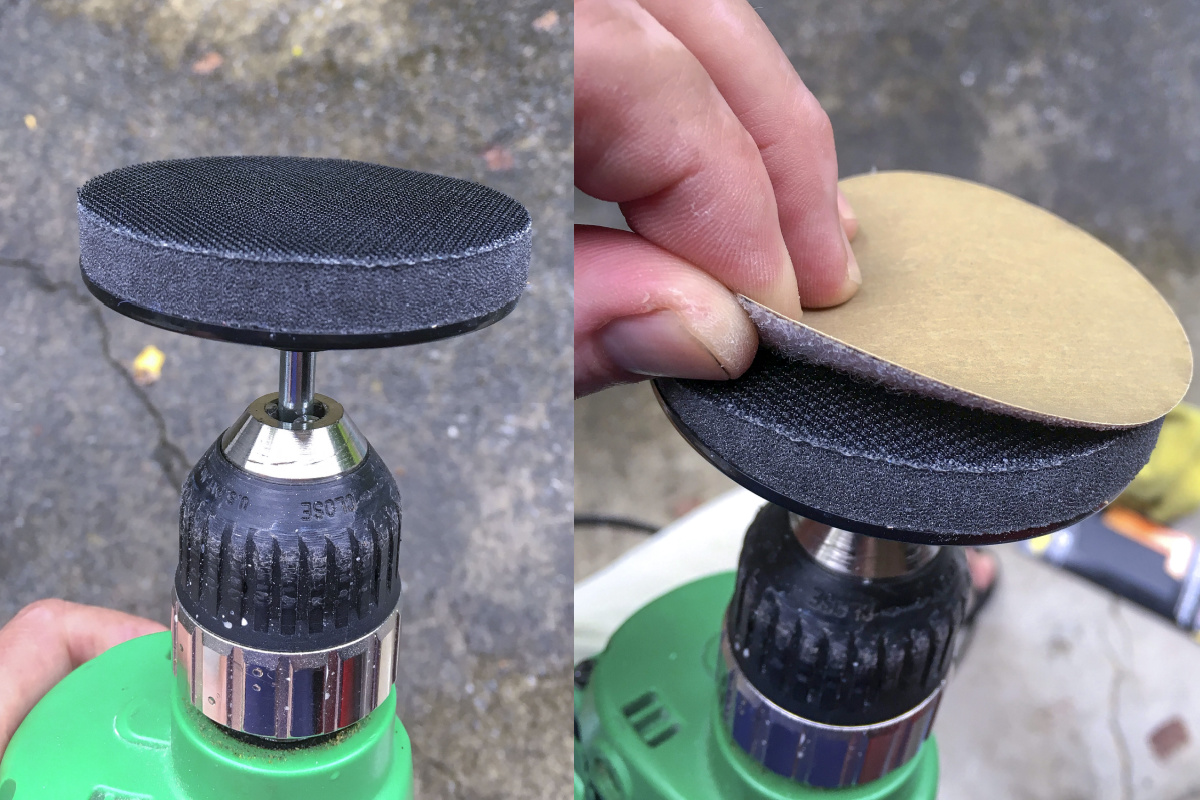
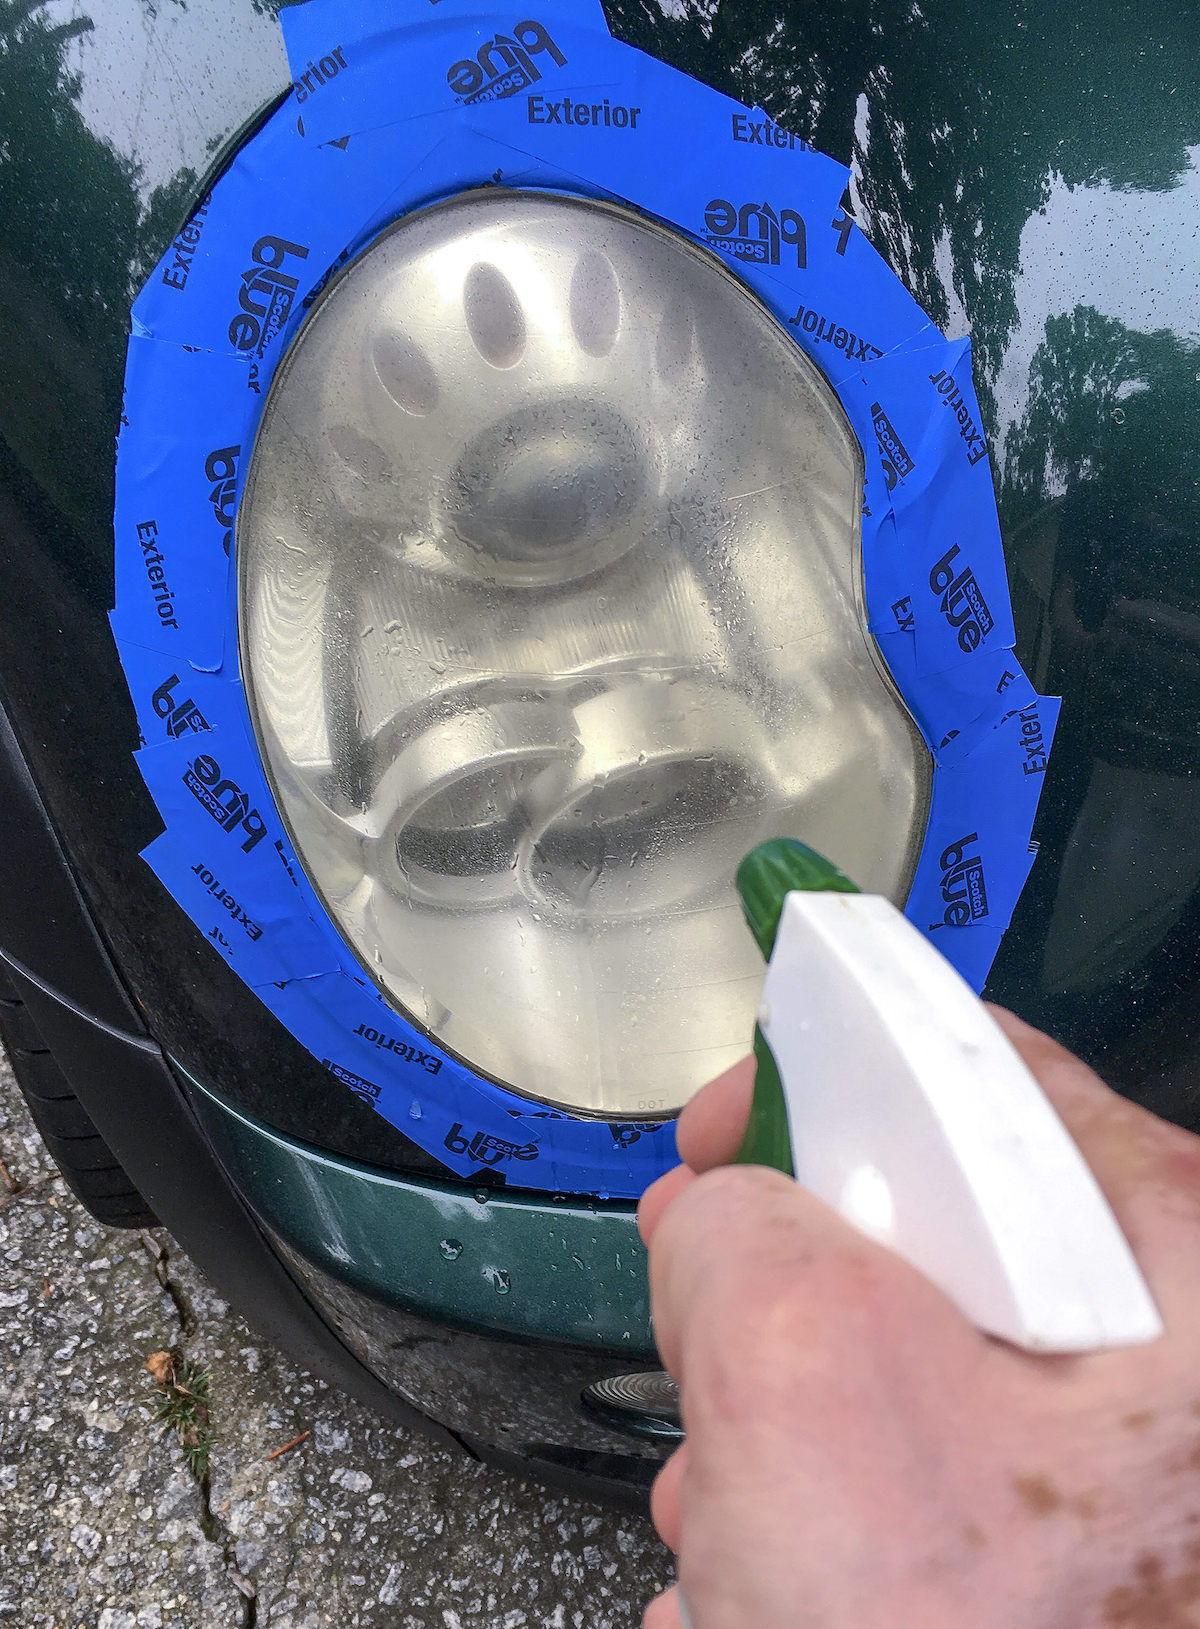
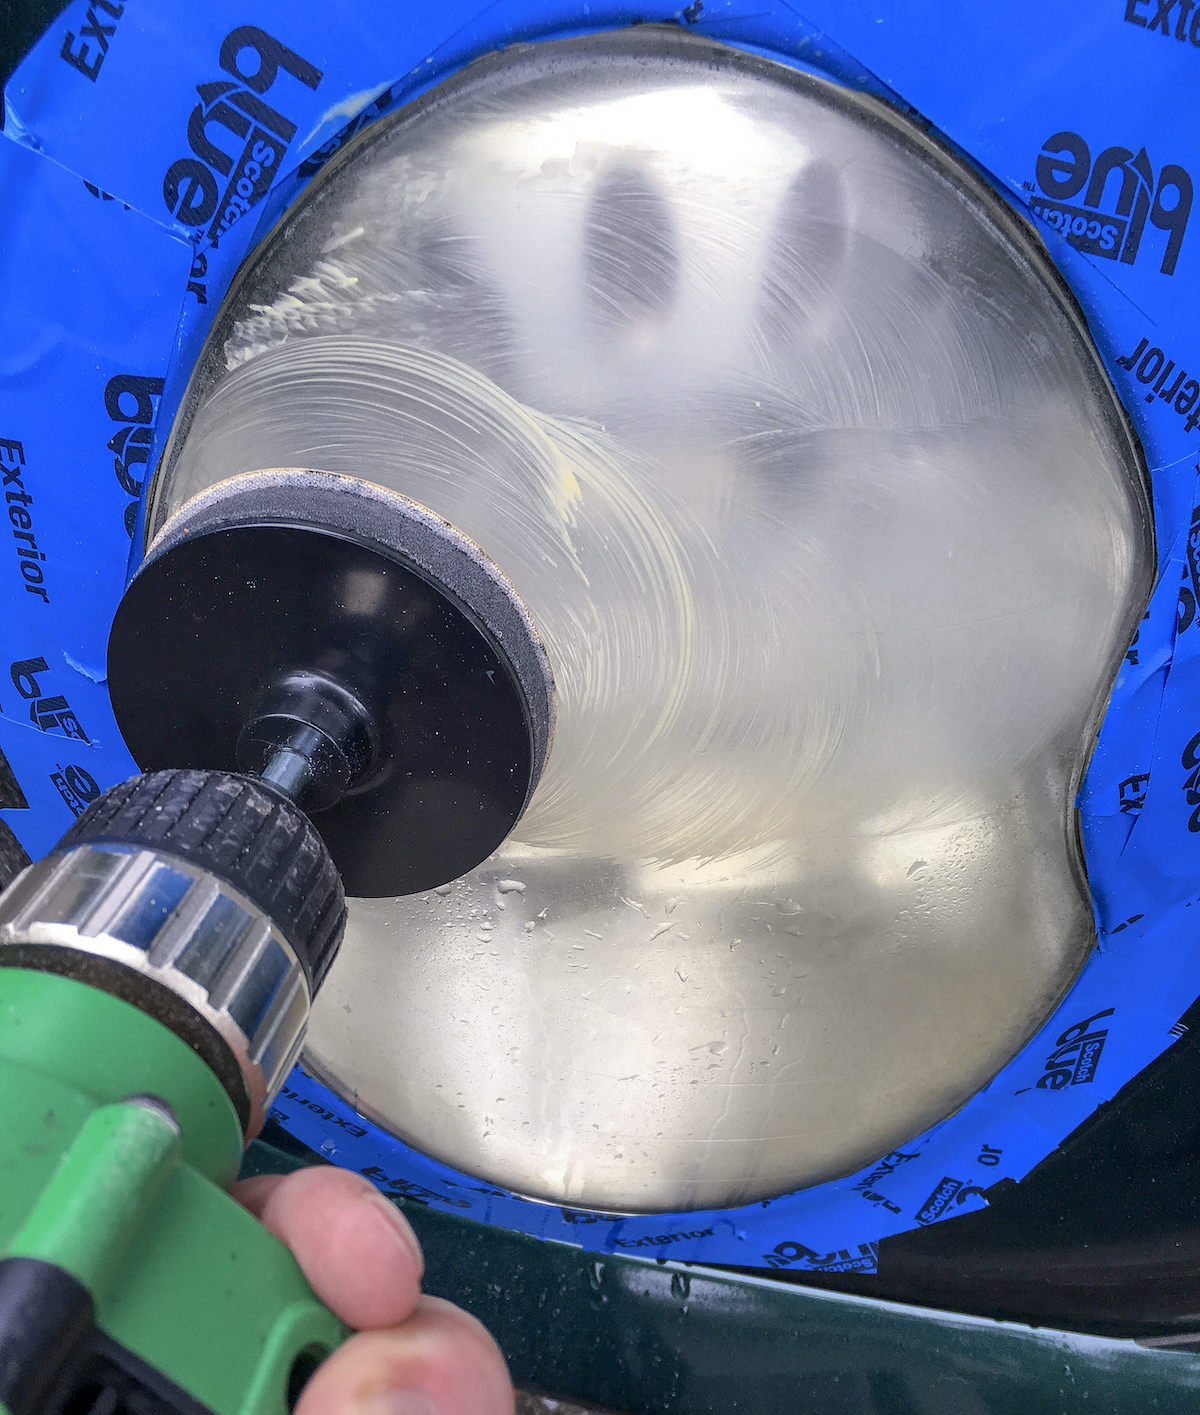
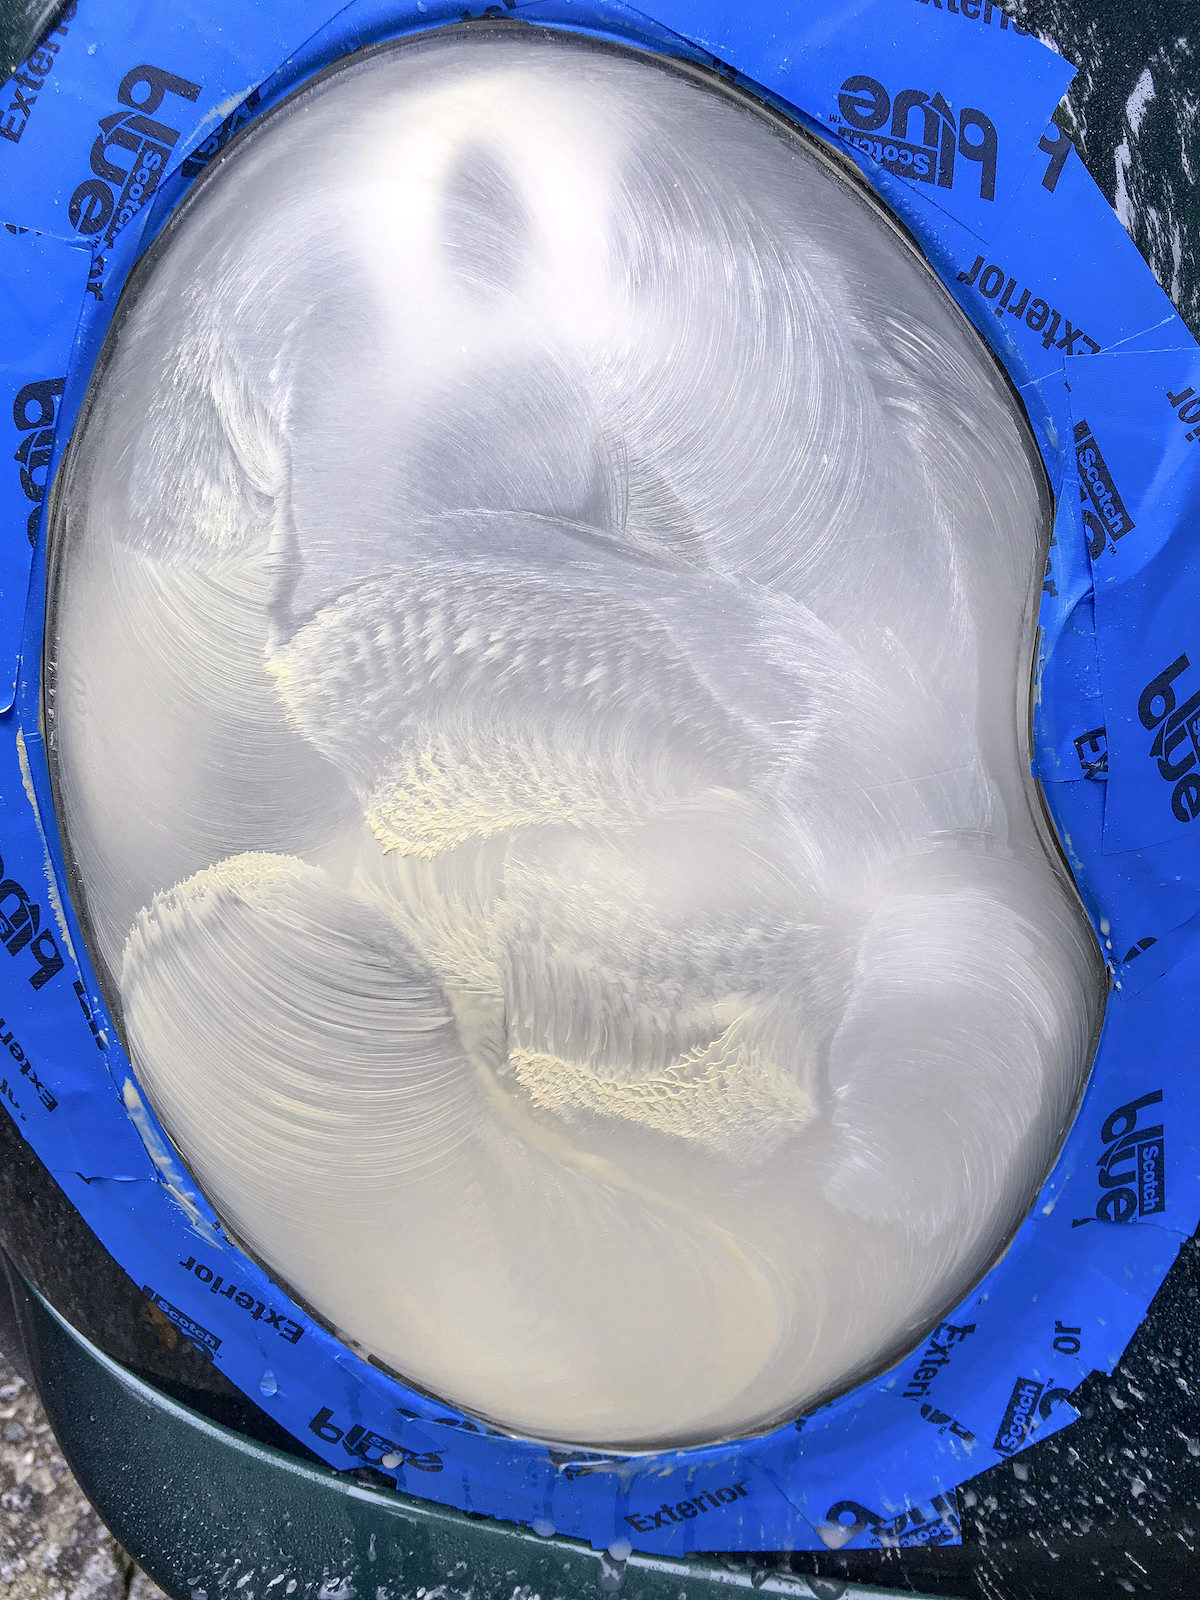
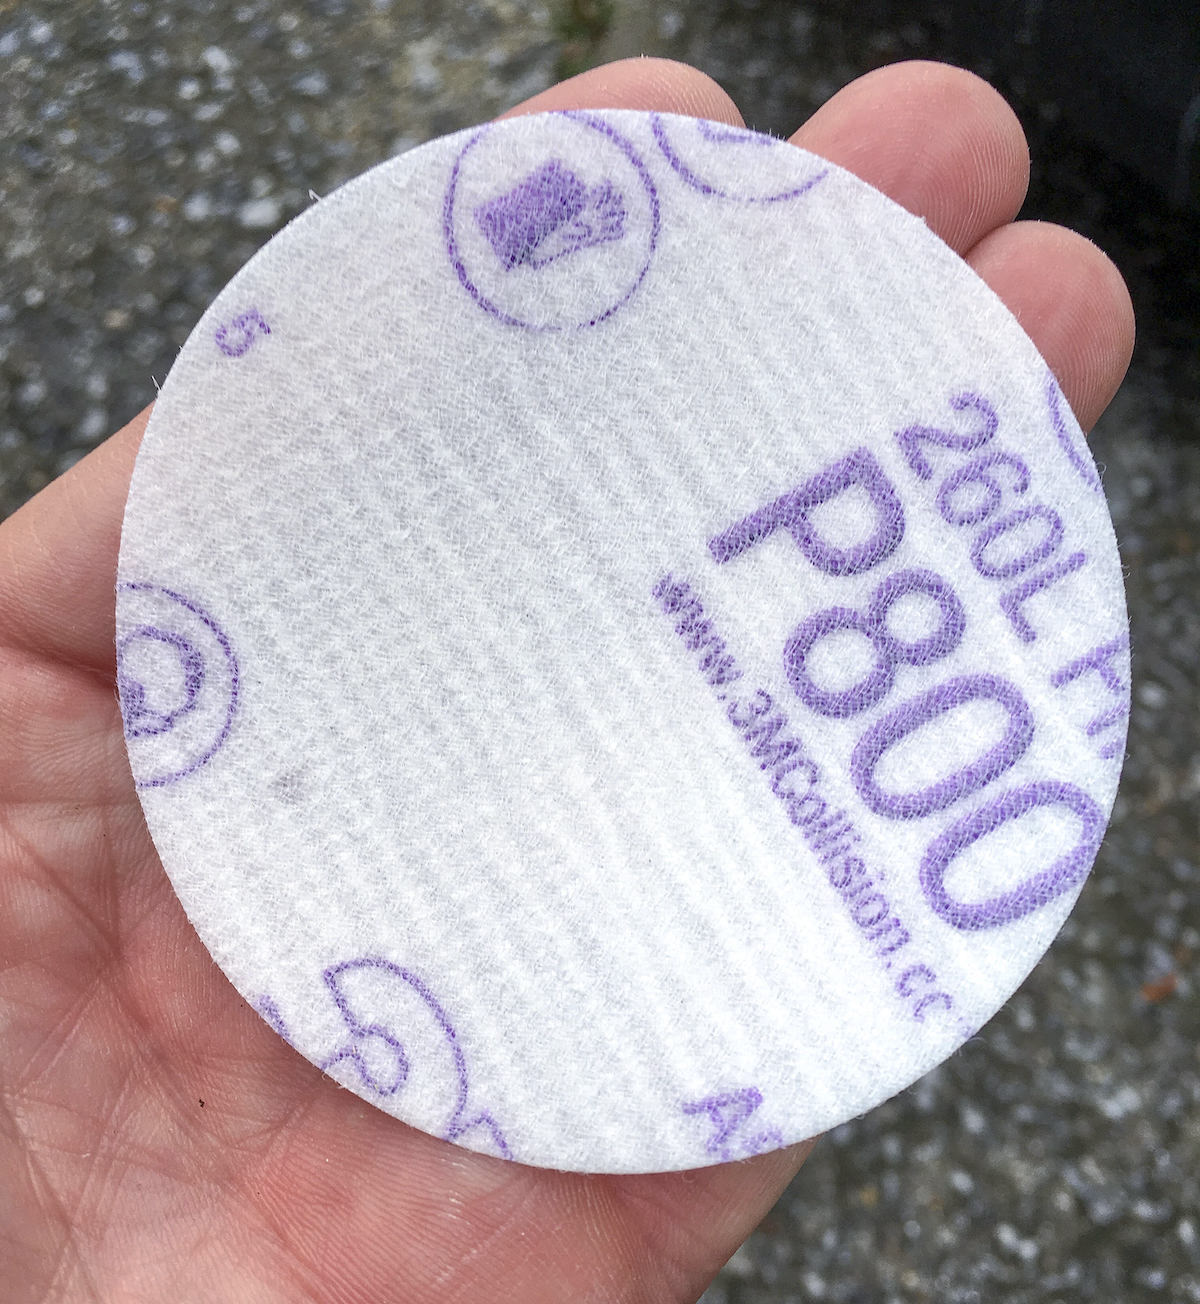
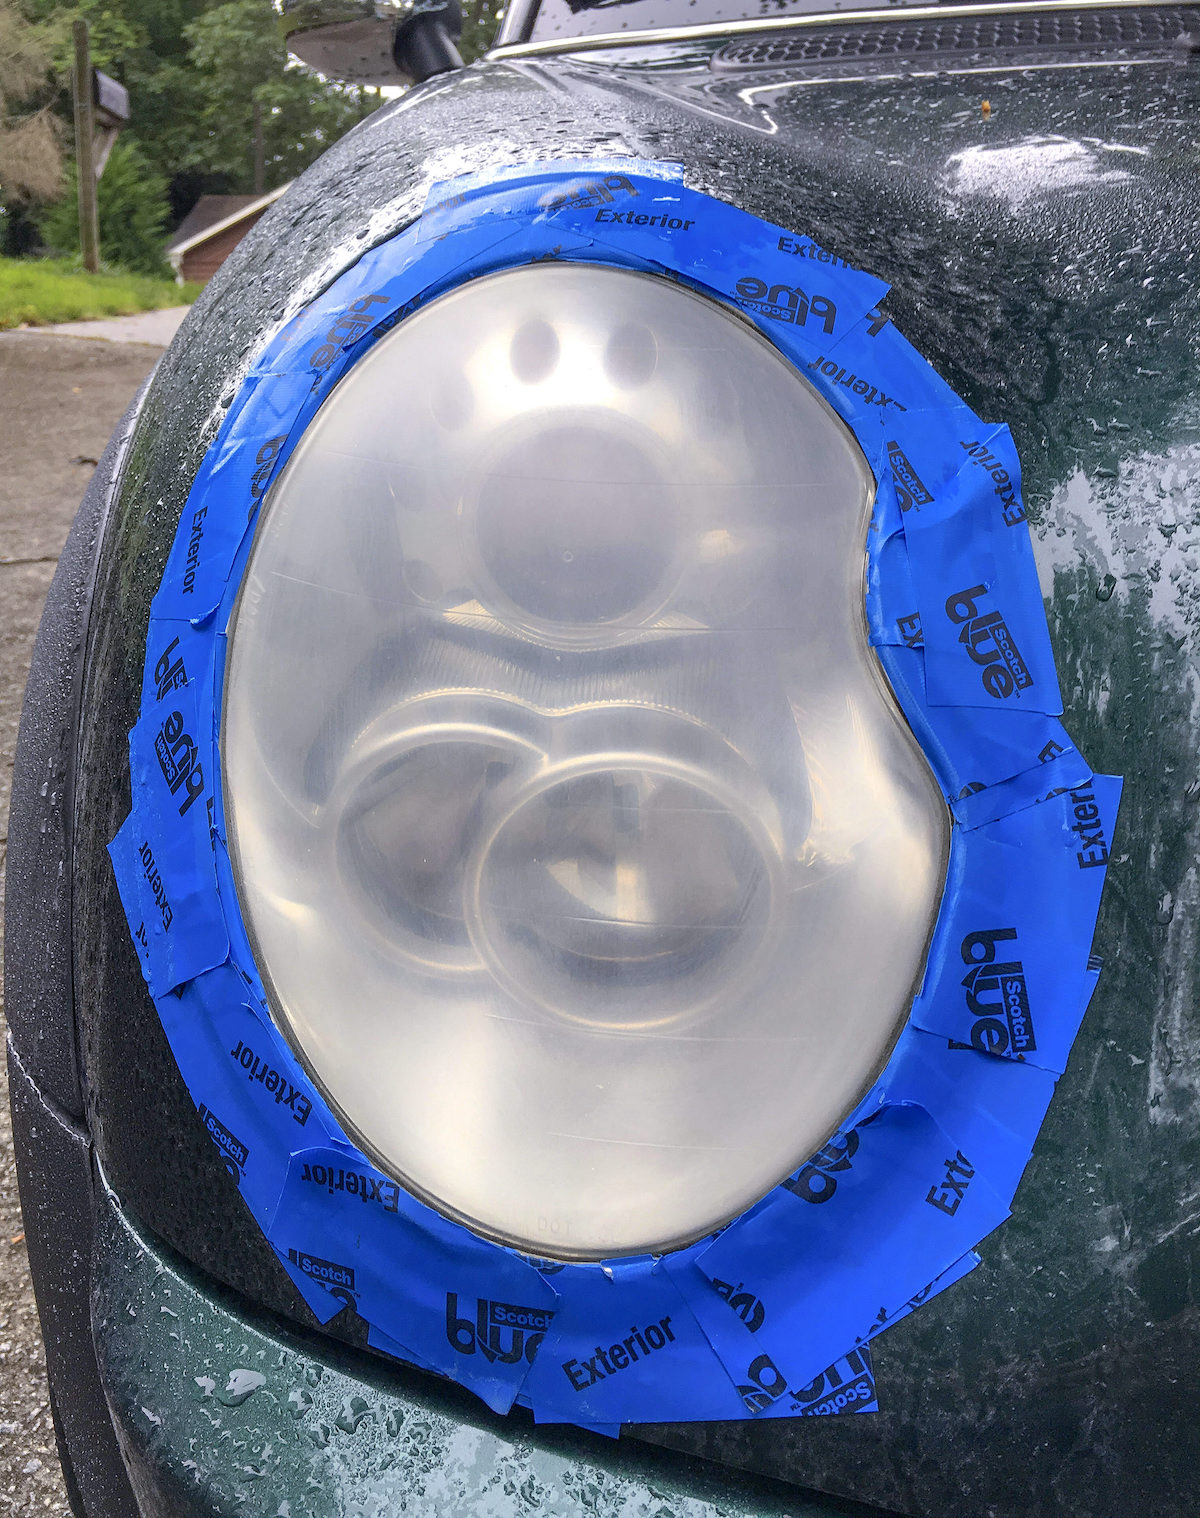
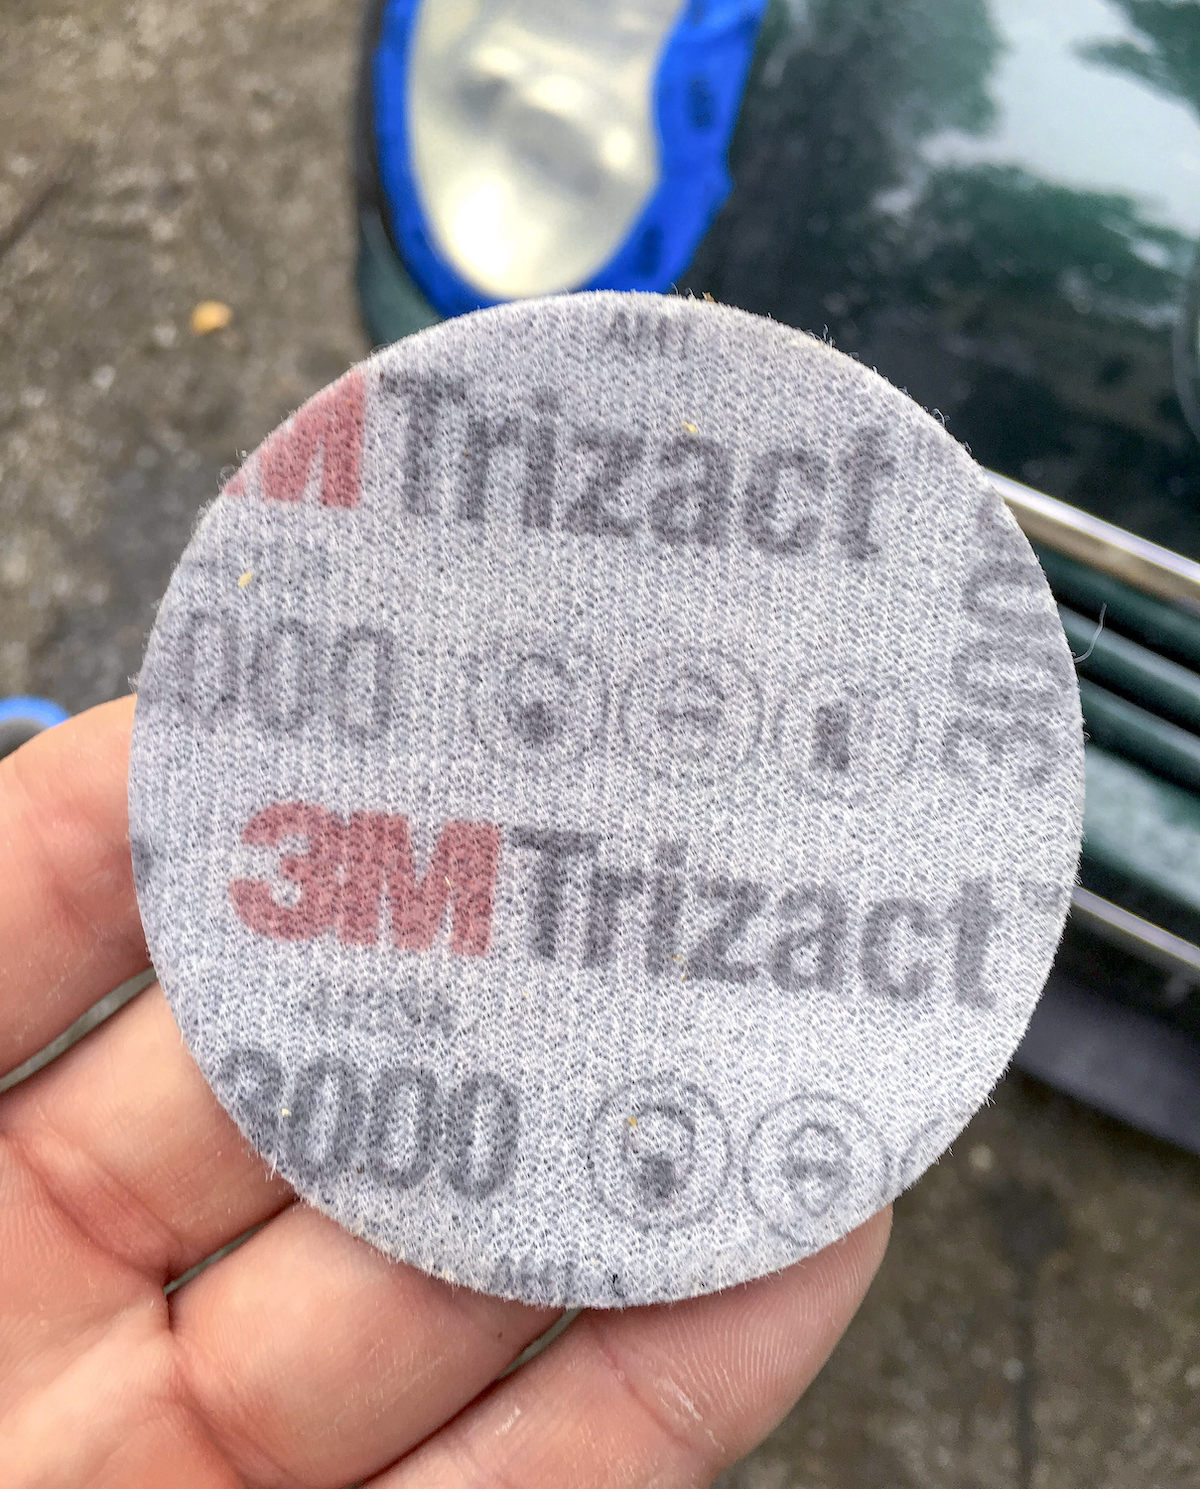
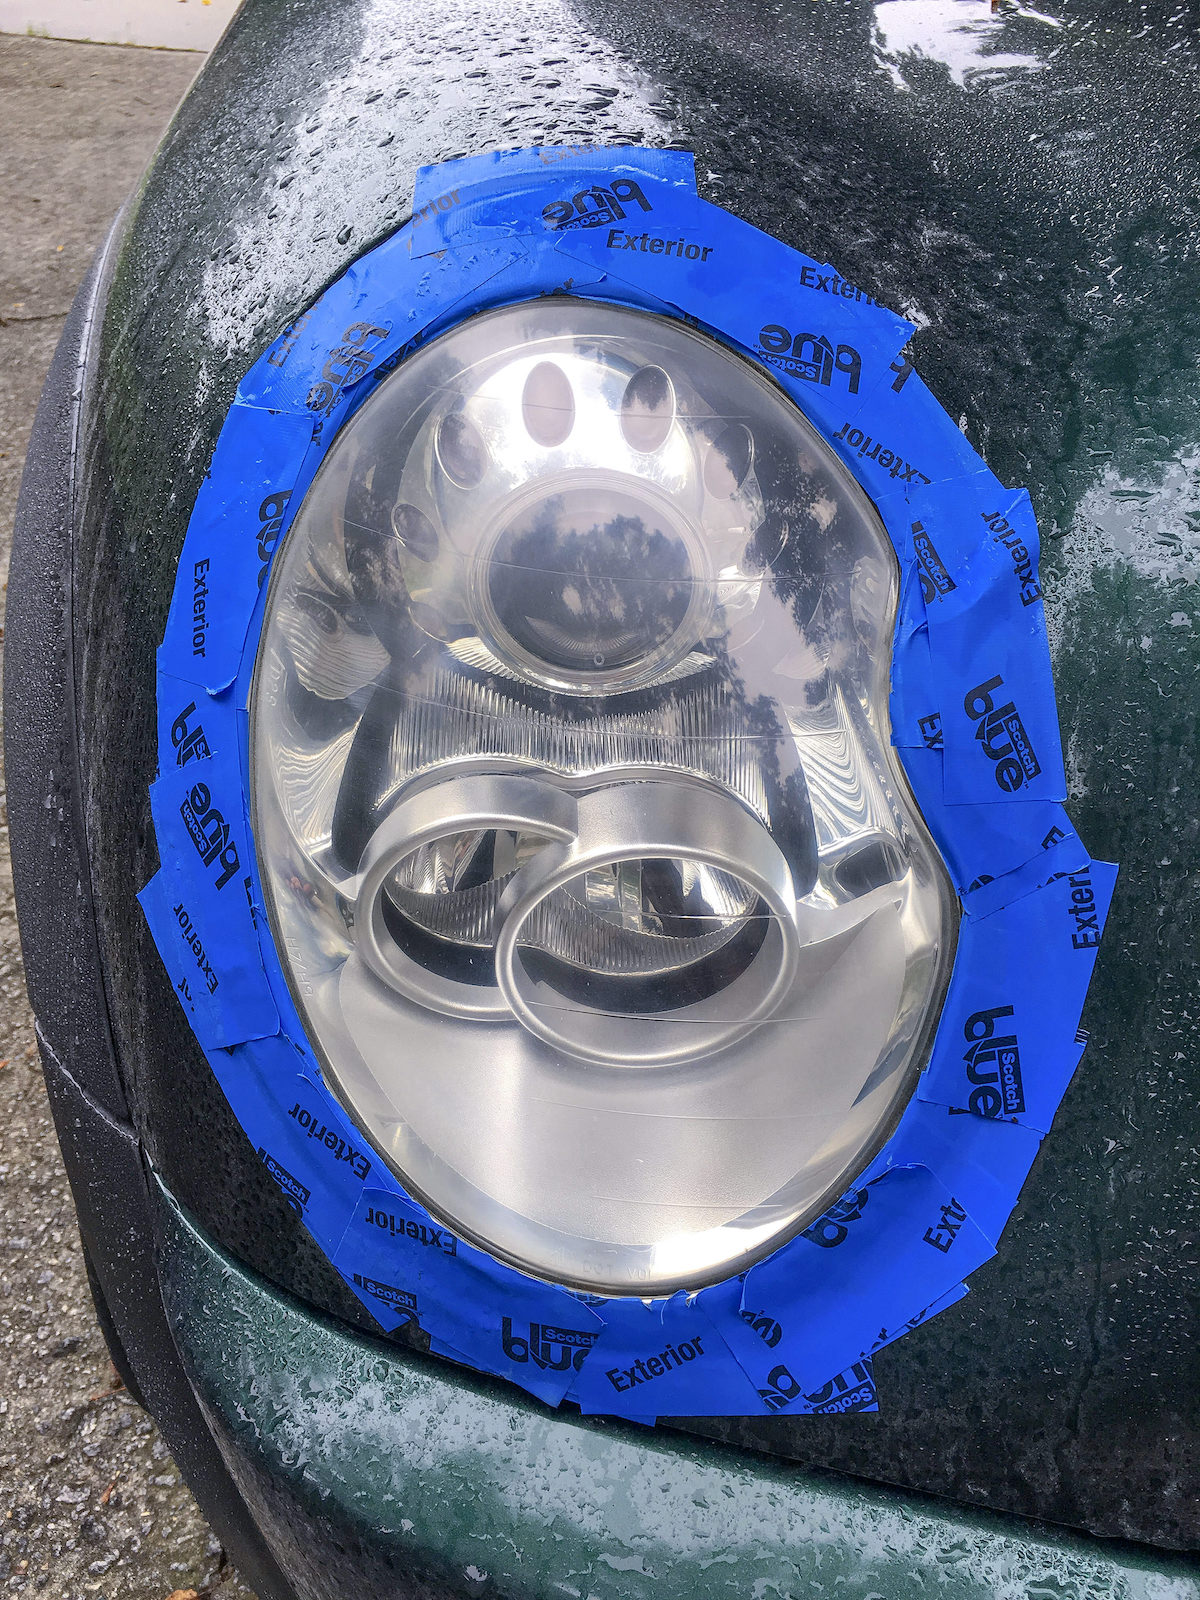
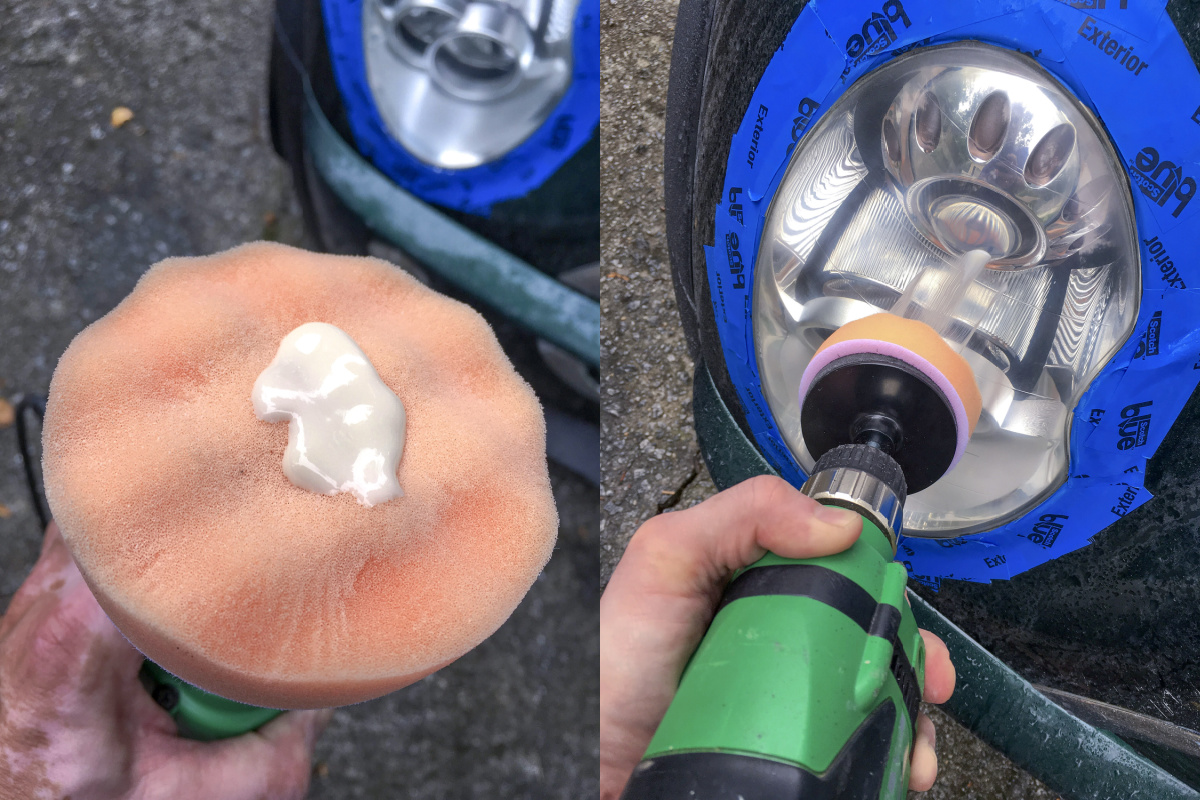
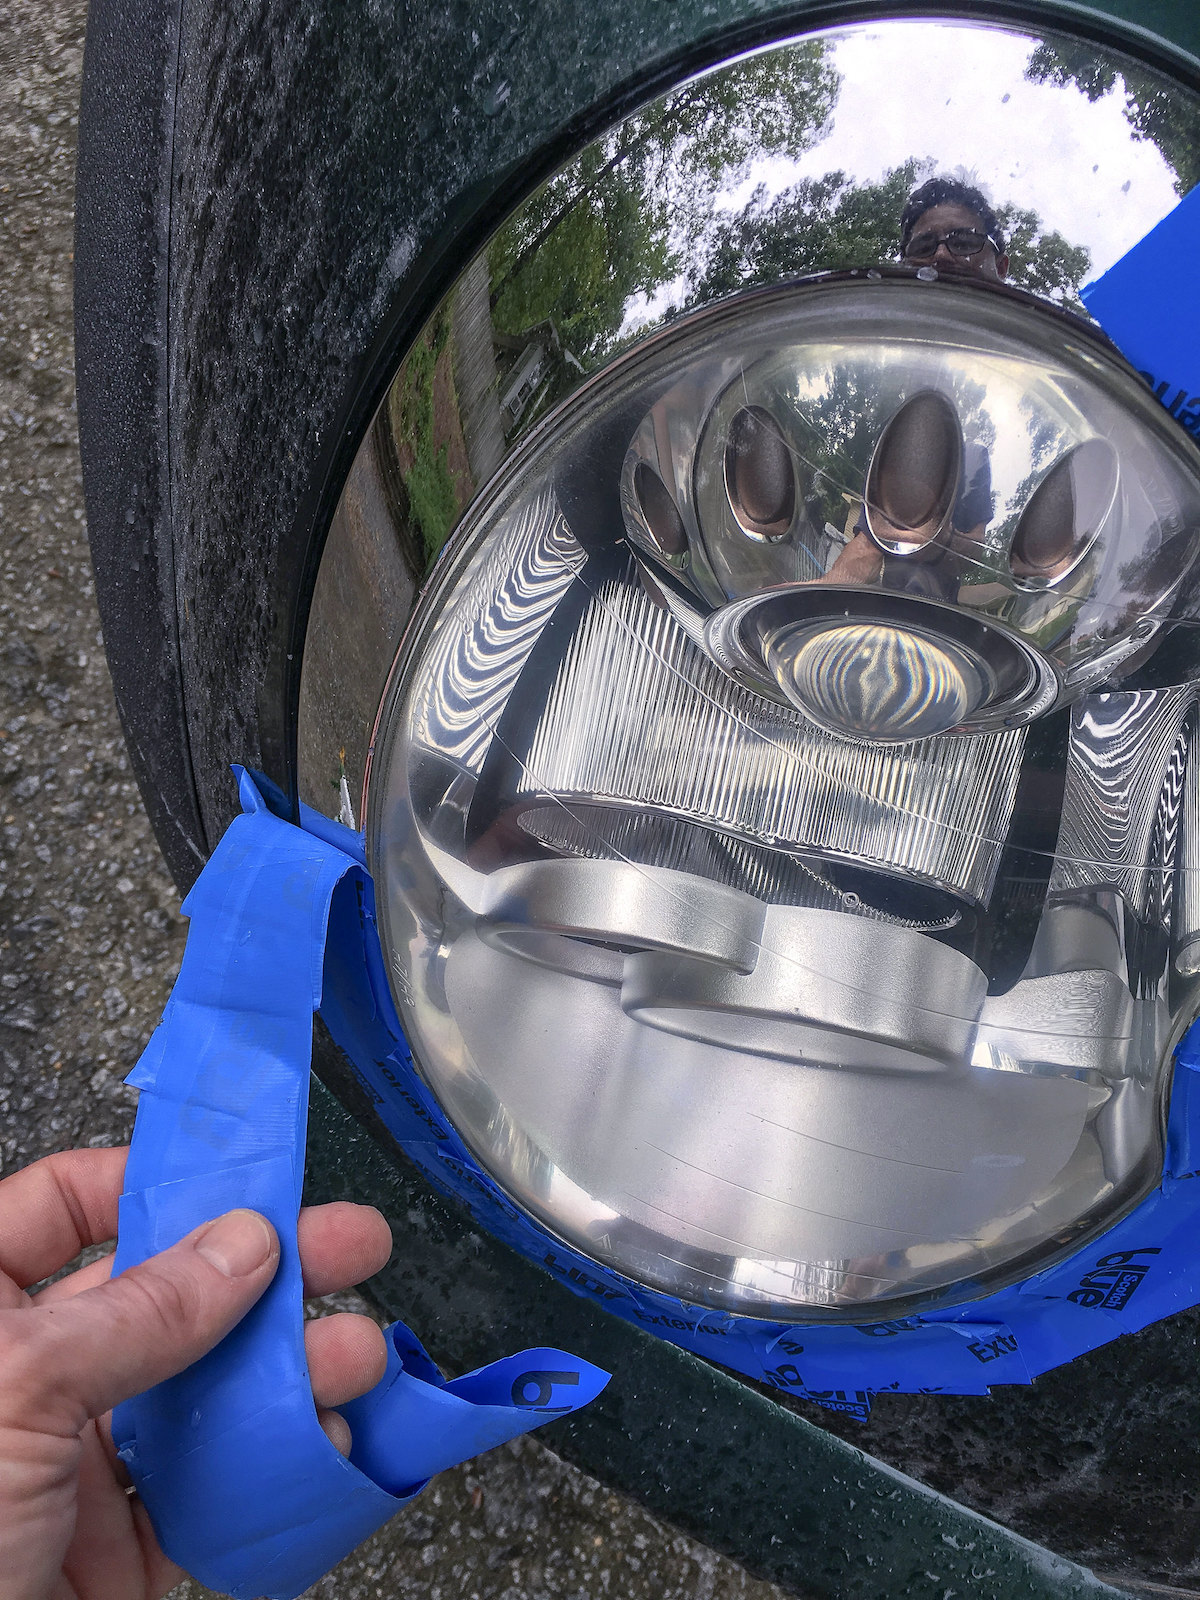
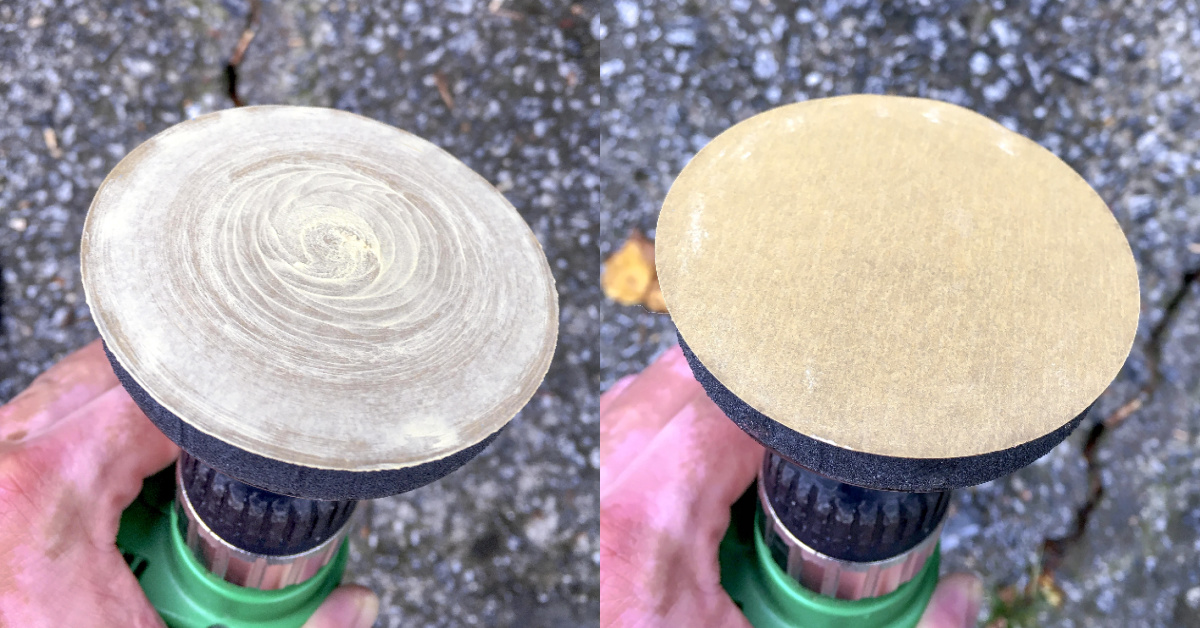
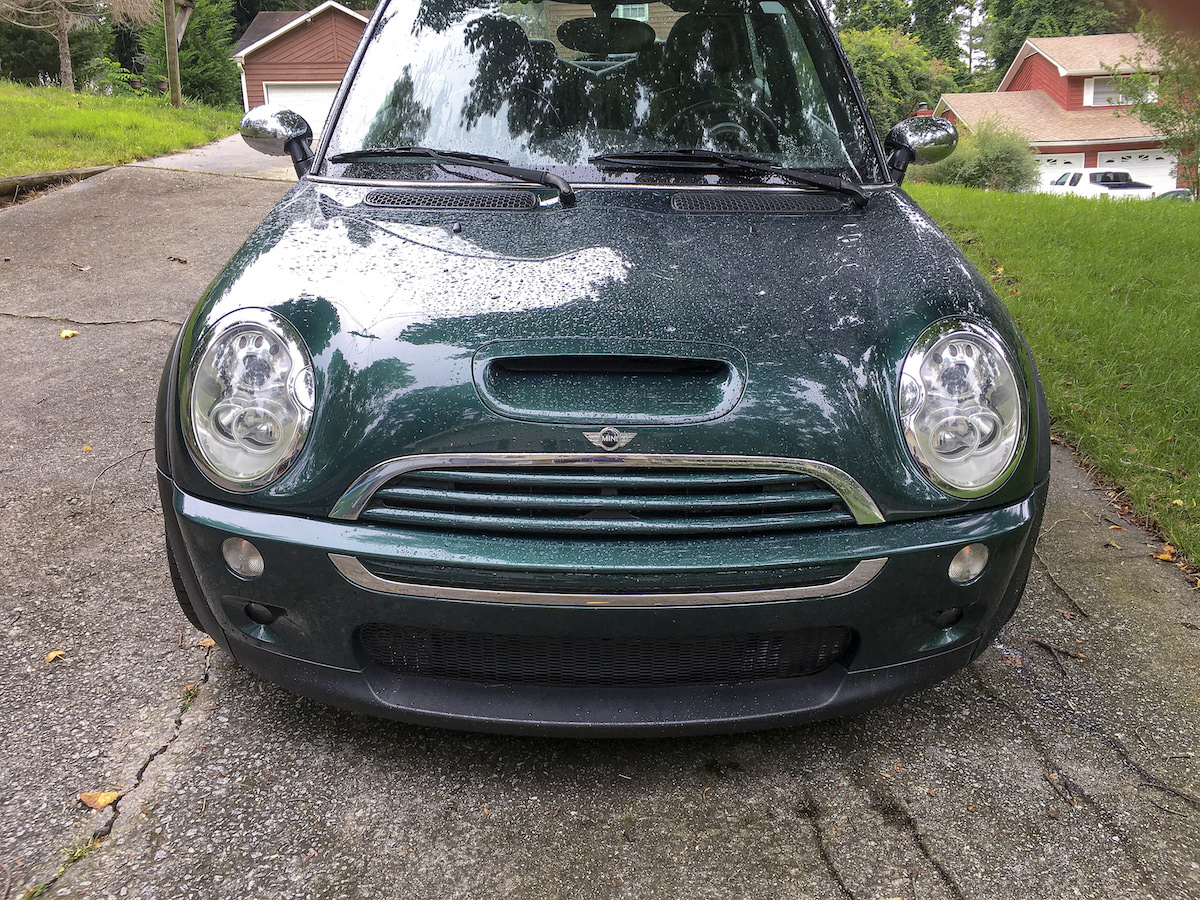
So we DIY.Using the 3M Headlight Restoration Kit.
Forget all the other products out there .
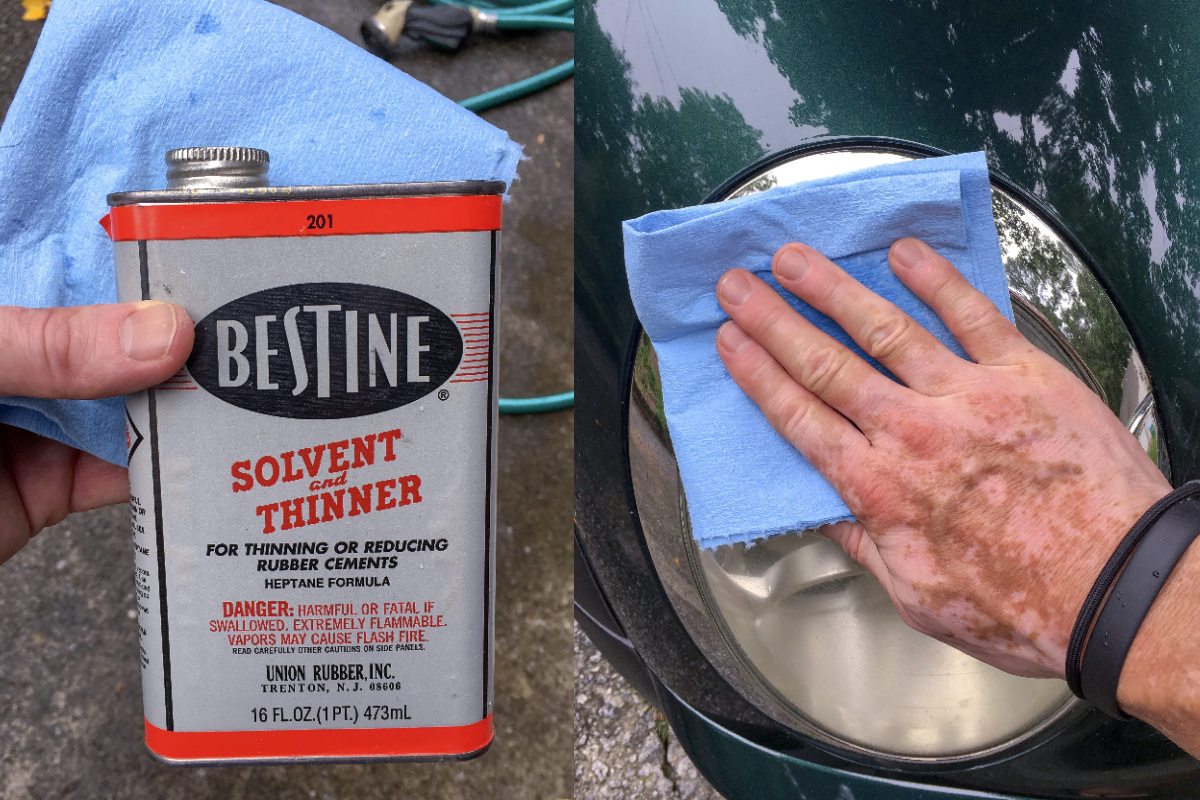
We added a couple of things to get the headlights looking as crystal clear as possible.
Are you ready to learn how to use the kit (and our modifications)?
Weve got lots of cleaning posts here on the blog, and here are some of my favorites: