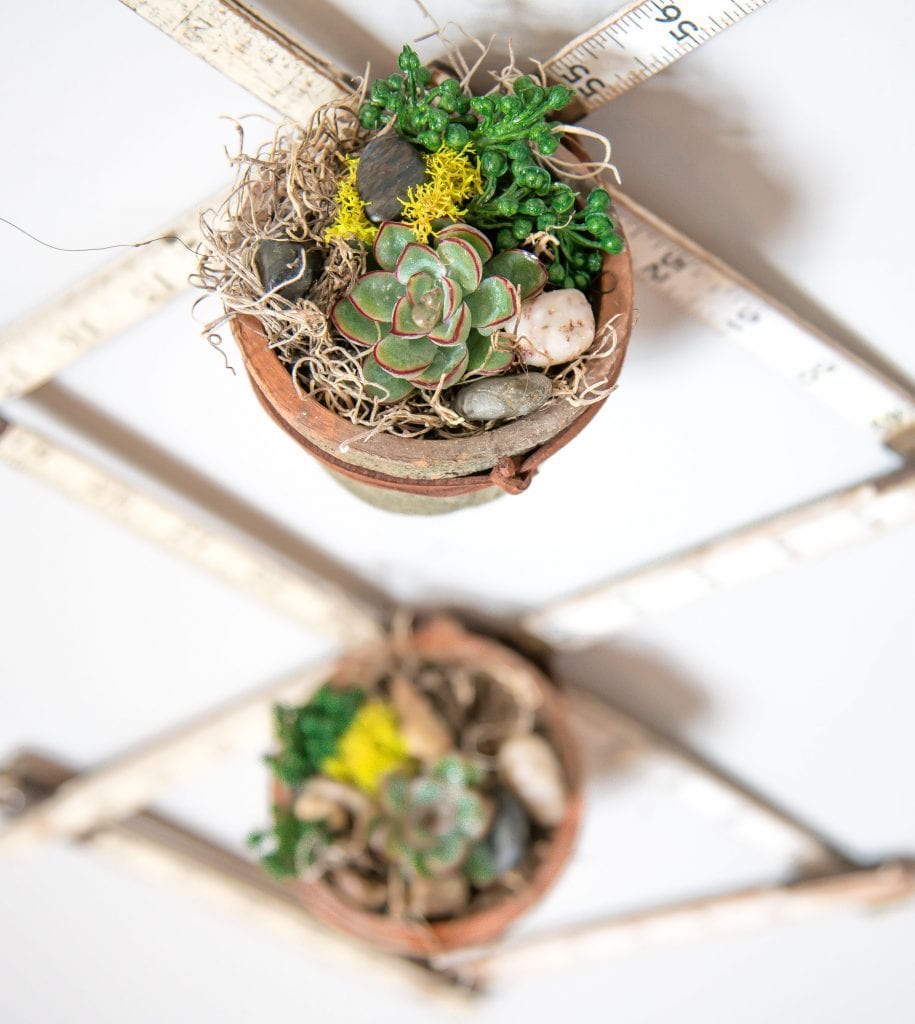
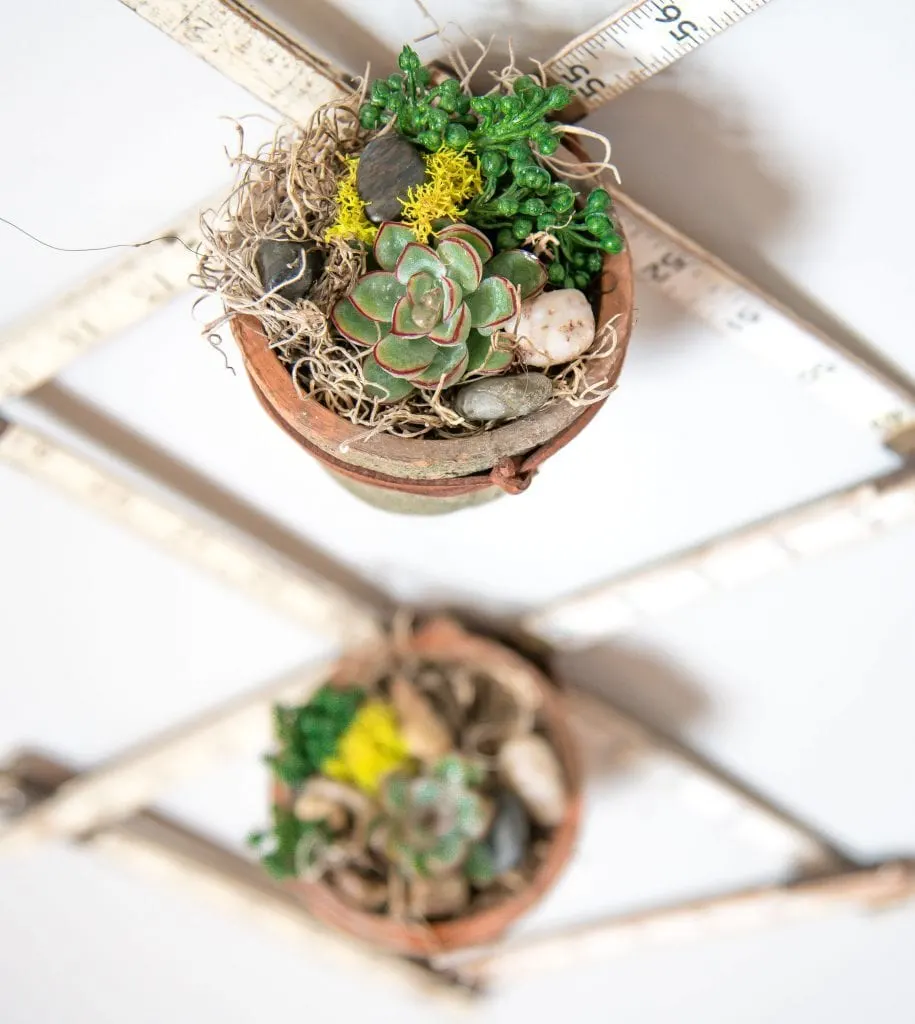
Here are some of our favourite examples of DIY succulent arrangements:
1.
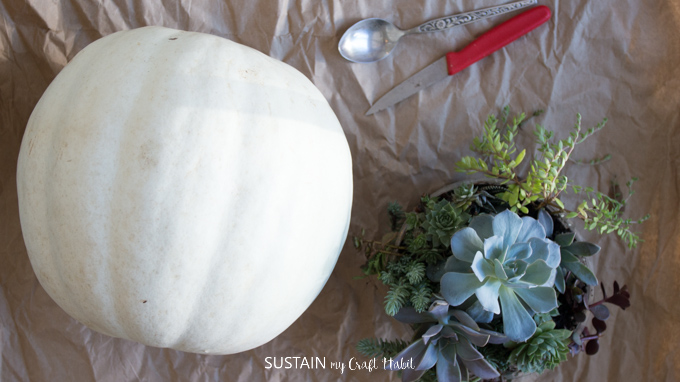
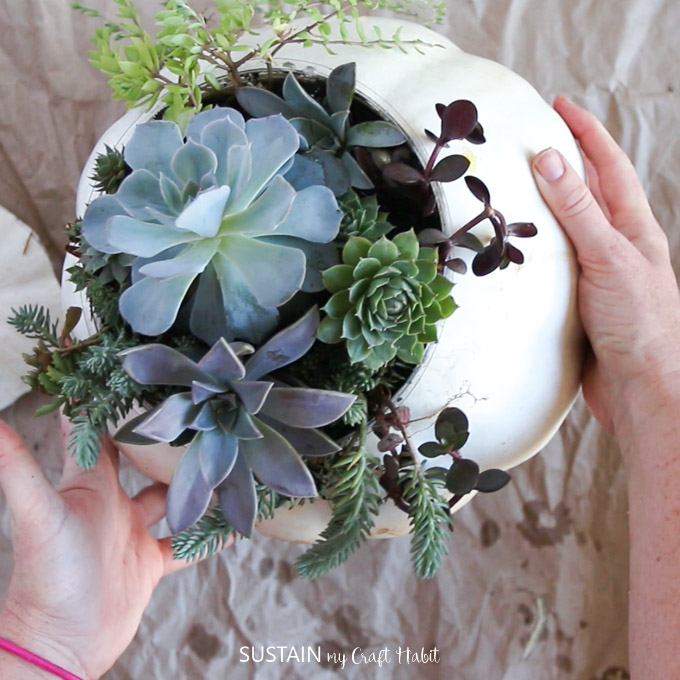
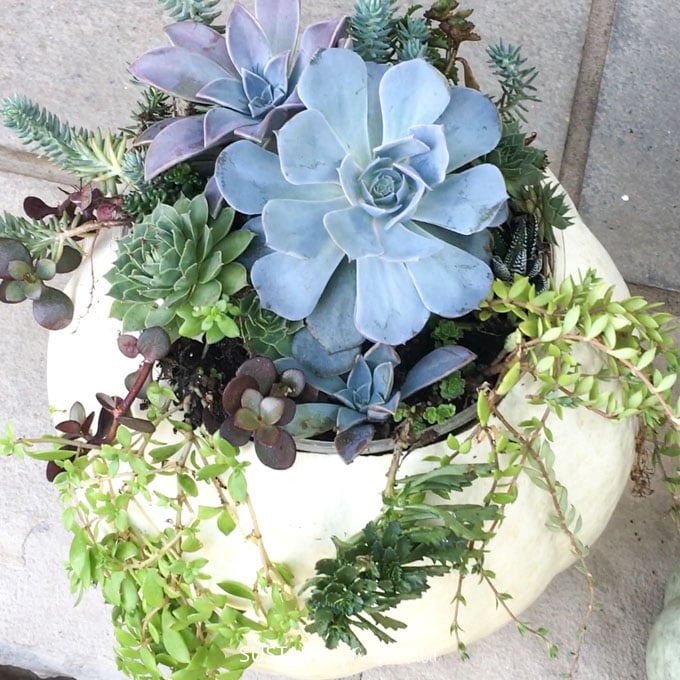
A Fresh Succulent Pumpkin Arrangement:
These pumpkin succulent arrangements turned out to be pretty magical!
Continue reading below for the full how to instructions for making your own magical arrangement.

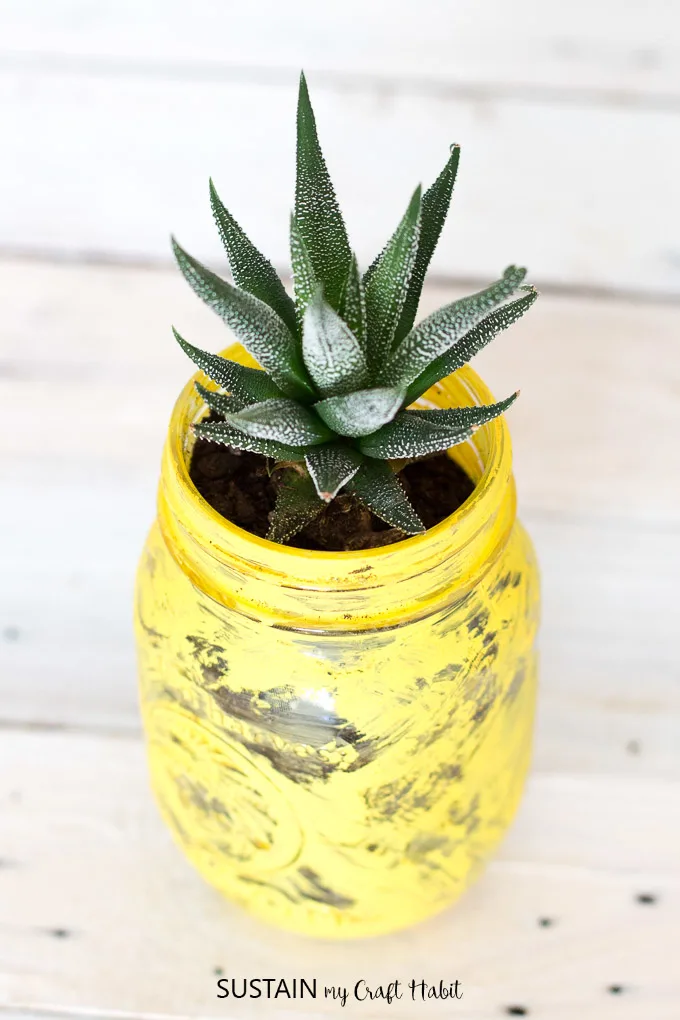
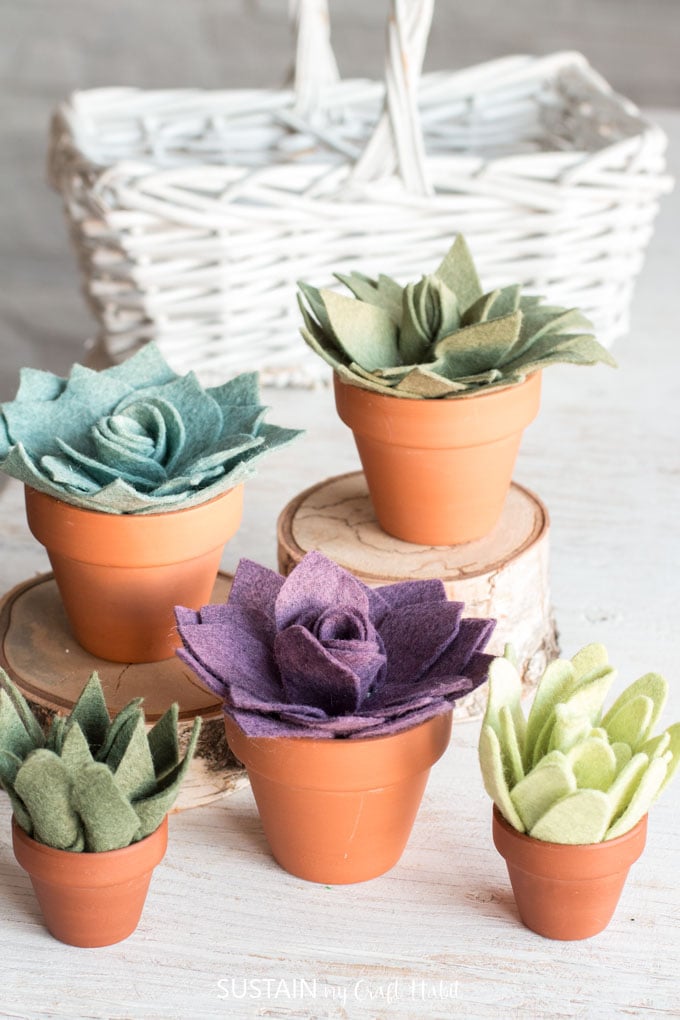
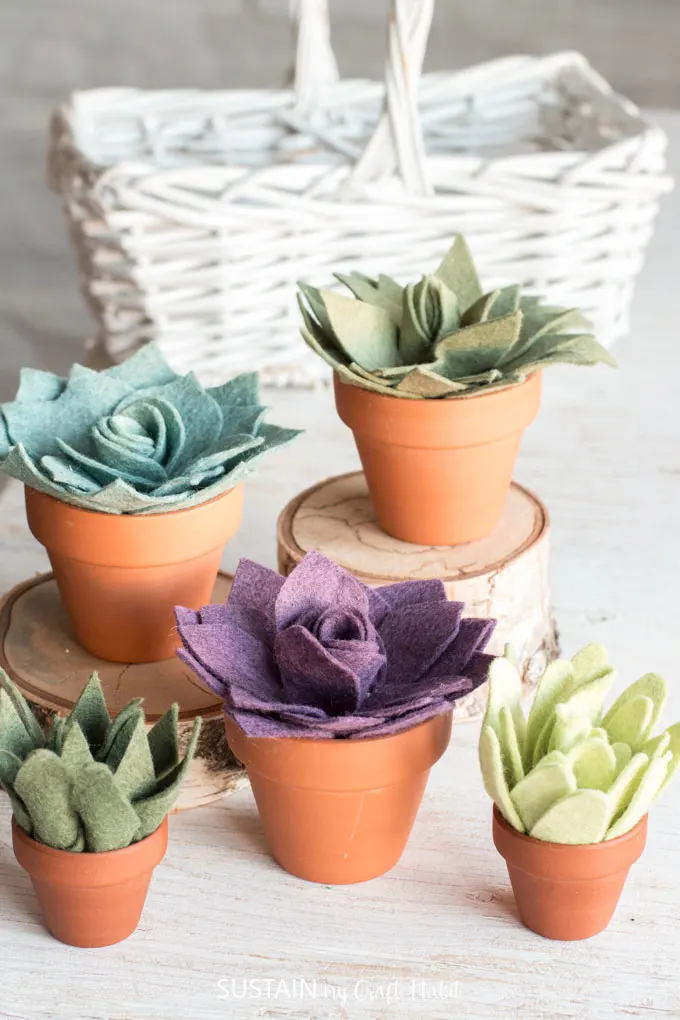
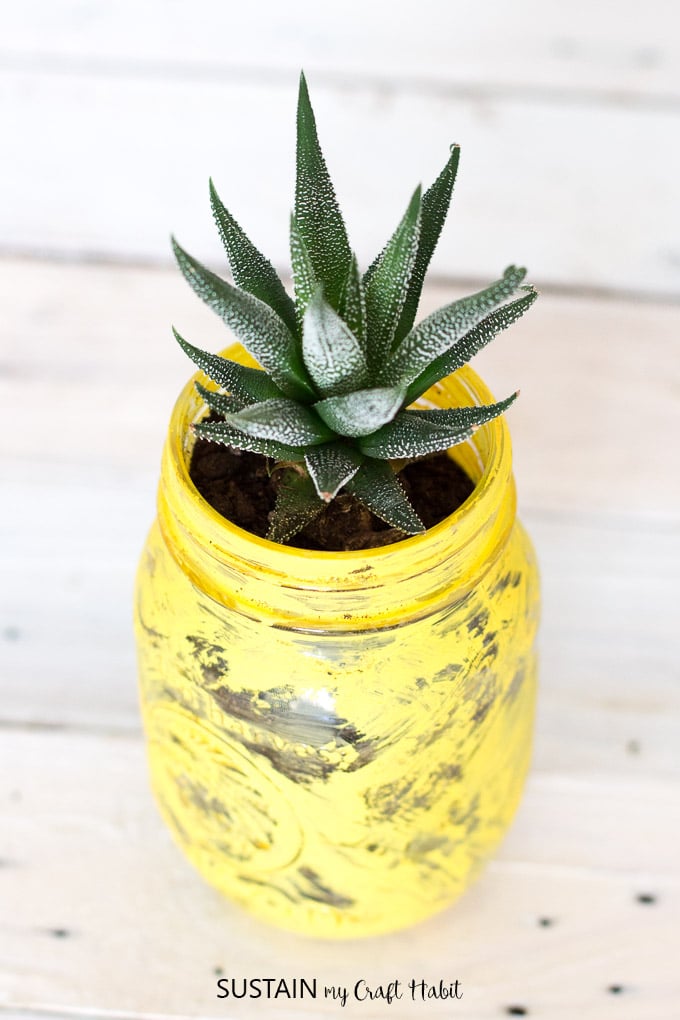
Make your ownpineapple inspired succulent planterwith a mason jar and some paint!
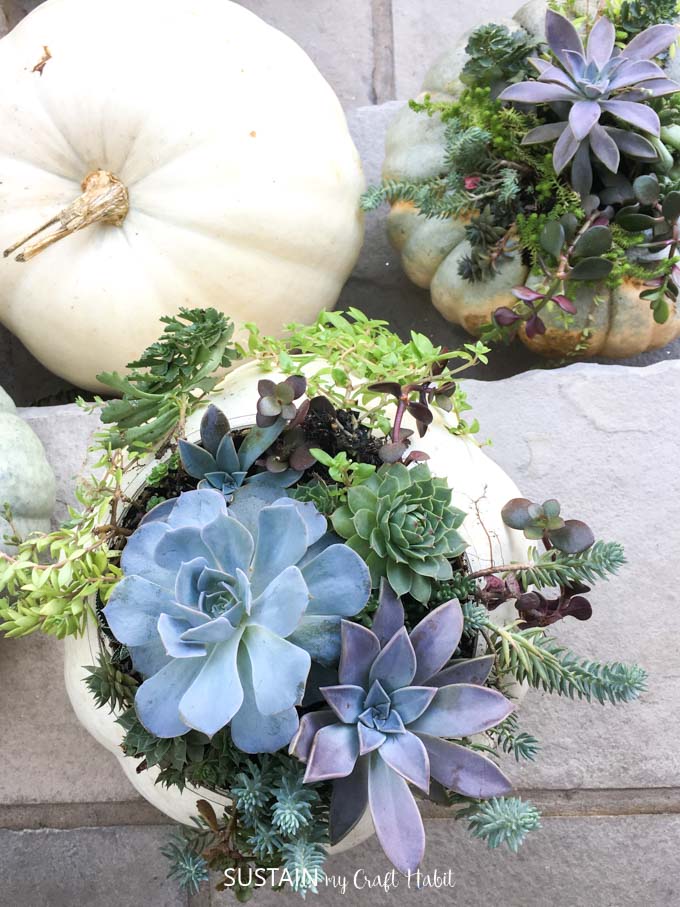
Plant one punch in of succulent or easily add in different varieties for more interest.
Begin by washing the outside surface of the pumpkin to remove any dirt and let dry.
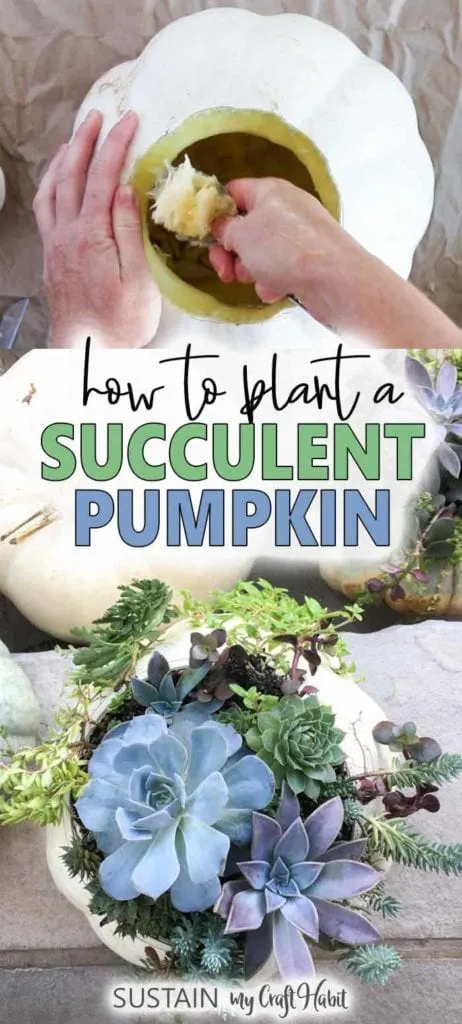
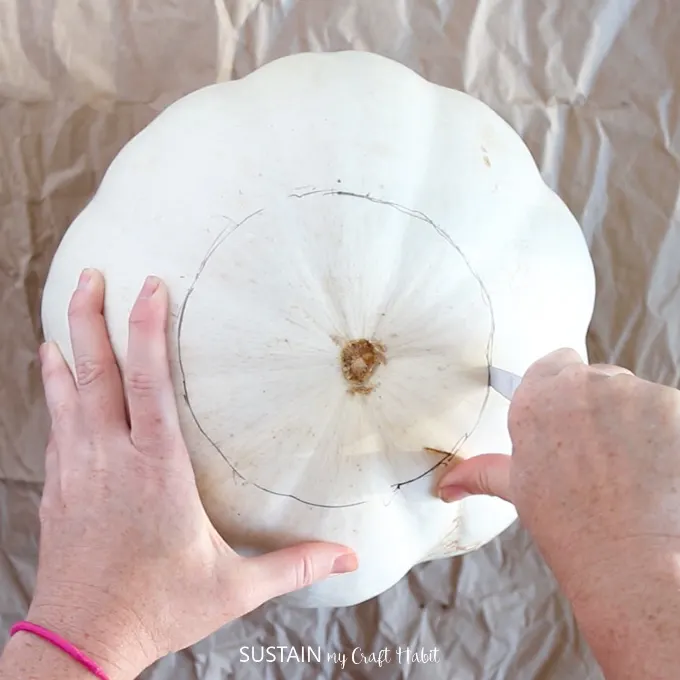
Using the paring knife carefully cut out the top of the pumpkin using your markings as a guide.
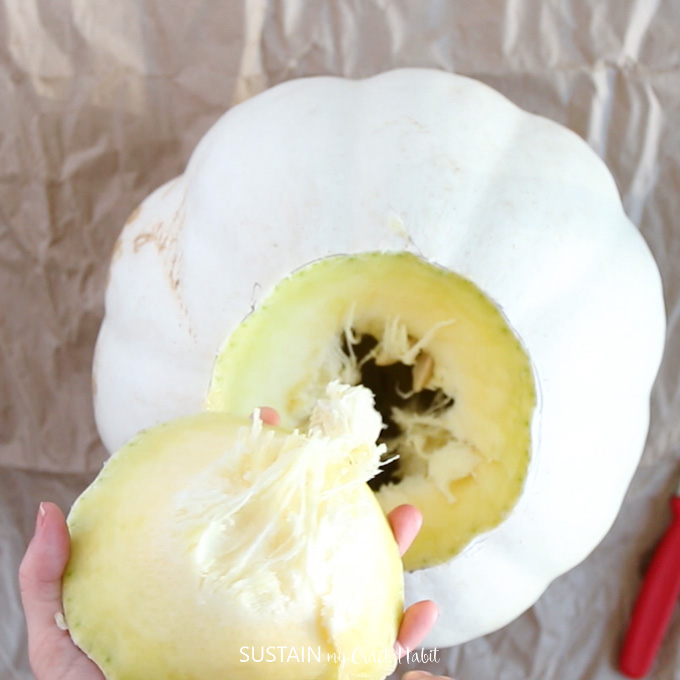
Remove the top flap of the pumpkin that you just cut out and discard.
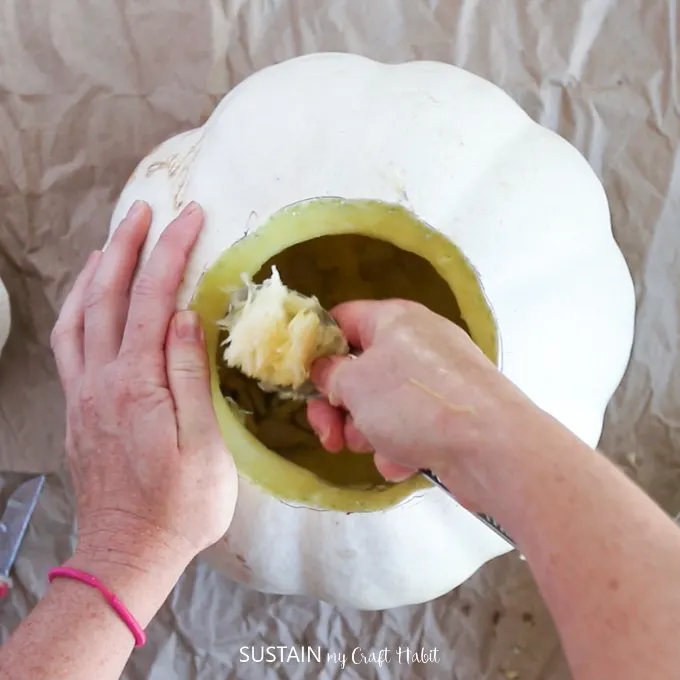
Use the spoon or your hands to scoop out all the seeds from the inside of the pumpkin.
Once the inside of the pumpkin is all cleared out place your container inside the opening.
you could place a large stone in the pumpkin if needed for height and additional weight.
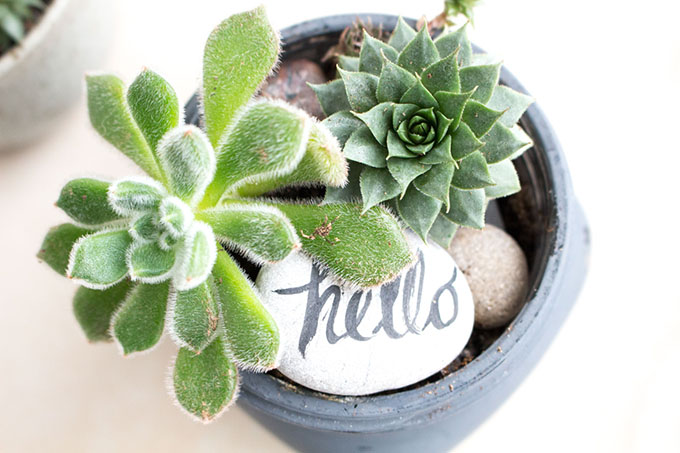
Start planting your succulent arrangement.

Begin by placing some pebbles or activated charcoal to provide drainage at the bottom of the container.
Fill the container to the top with loose succulent potting soil.
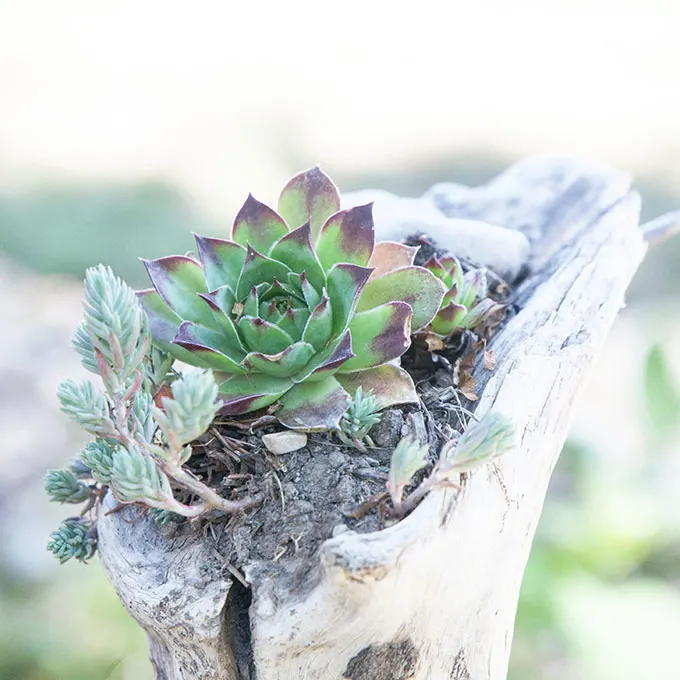
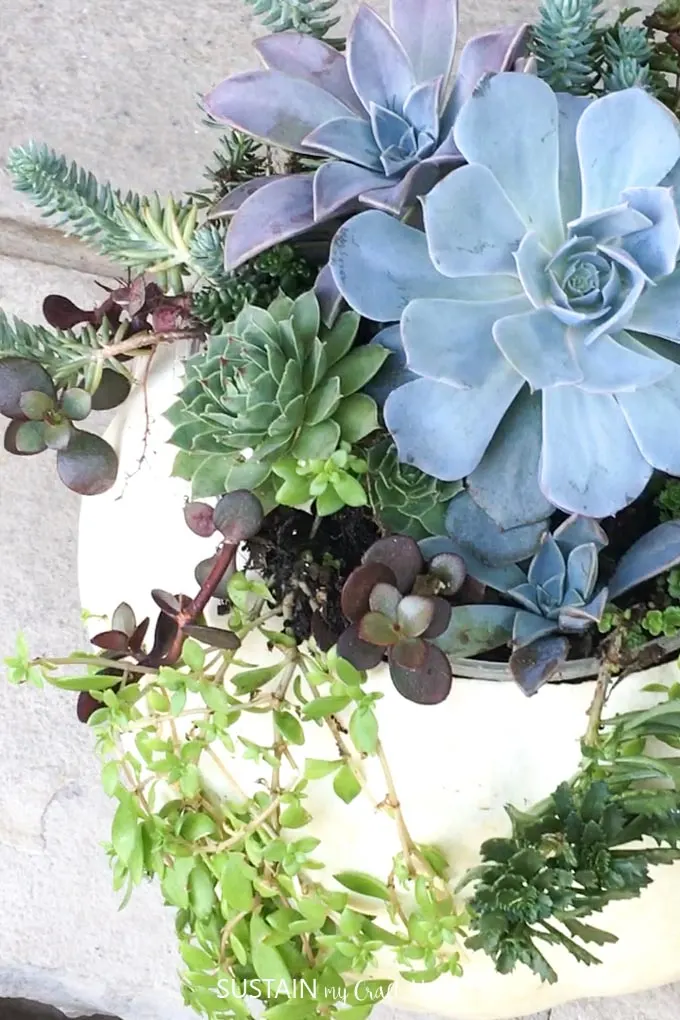
Carefully plant the largest focal point succulent into the center of the container.
Continue growing the arrangement by placing a variety of other succulents around the center one.
Thoroughly water your new succulent arrangement.
Overall, they lasted about two weeks before I had to put the pumpkins in to the compost.

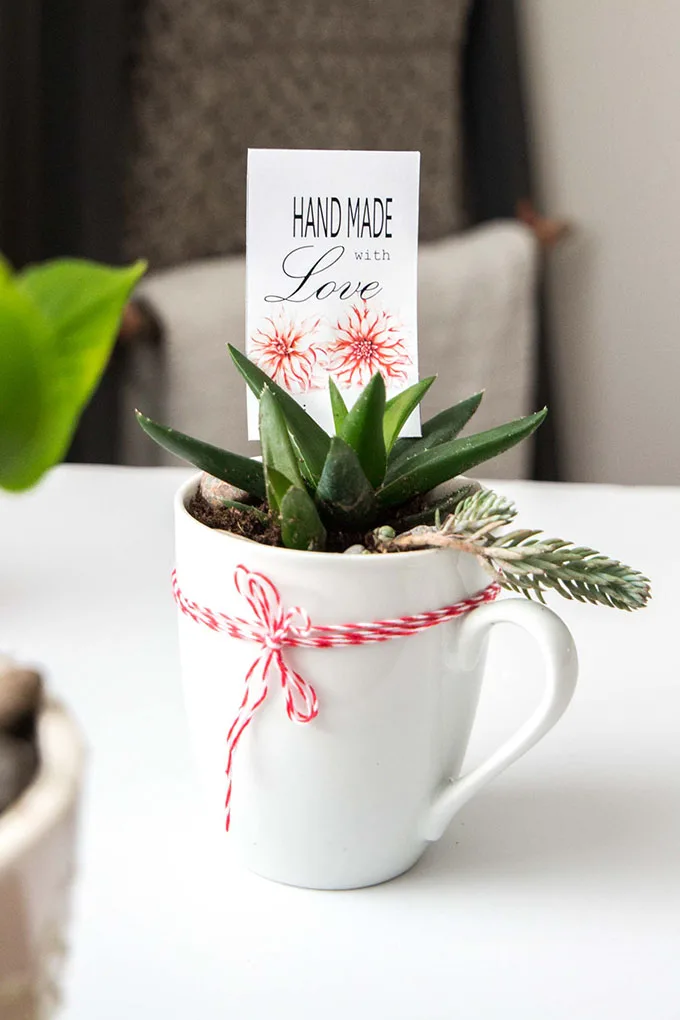
However, I was able to take the succulent arrangements and place them in different containers to continue growing.
Alternatively, for longer lasting succulent pumpkin decor you may choose to use a plastic or foam pumpkin instead.
This project originally appeared onCrafts by Amanda.
Pin it for later!
DIY Succulent Pumpkin
Materials
Instructions