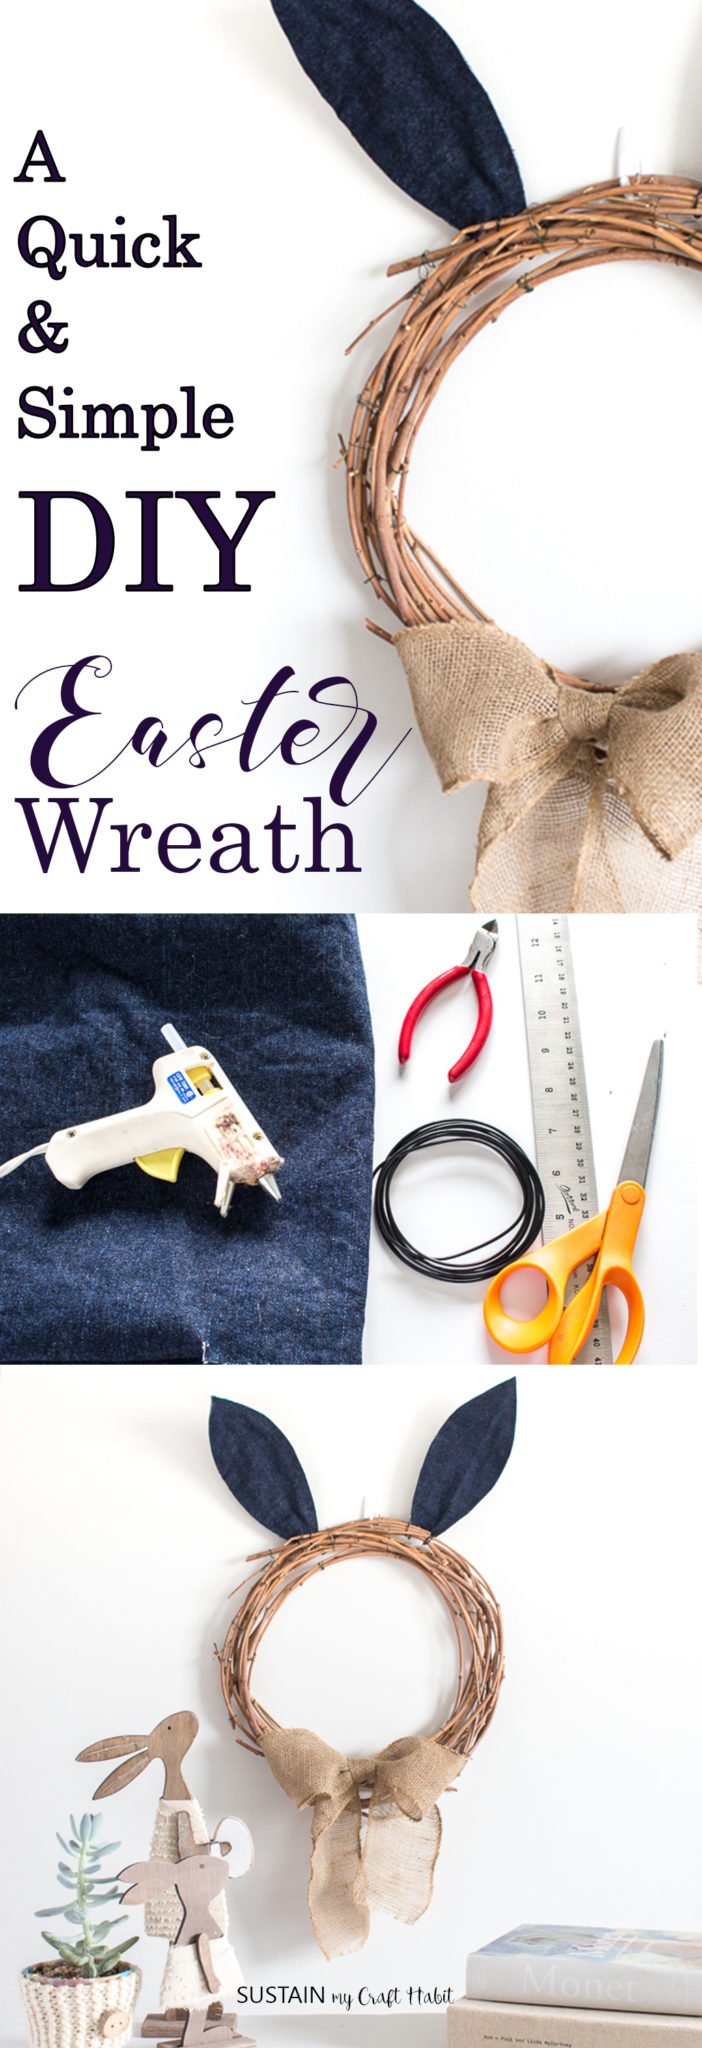
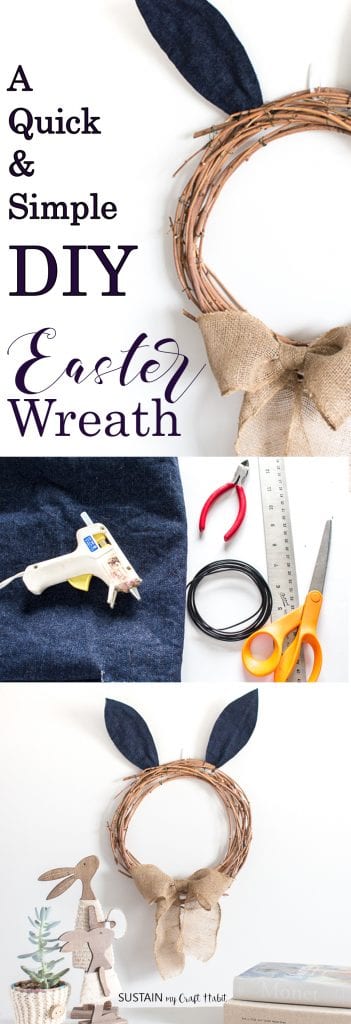
Were very happy to share this quick and simpleEaster wreathidea with you.
Growing up in our house, Easter was (and still is) abigdeal.
Even bigger than Christmas in fact!
Yet somehow, Easter seems to come around so quickly that I never find myself fully prepared.
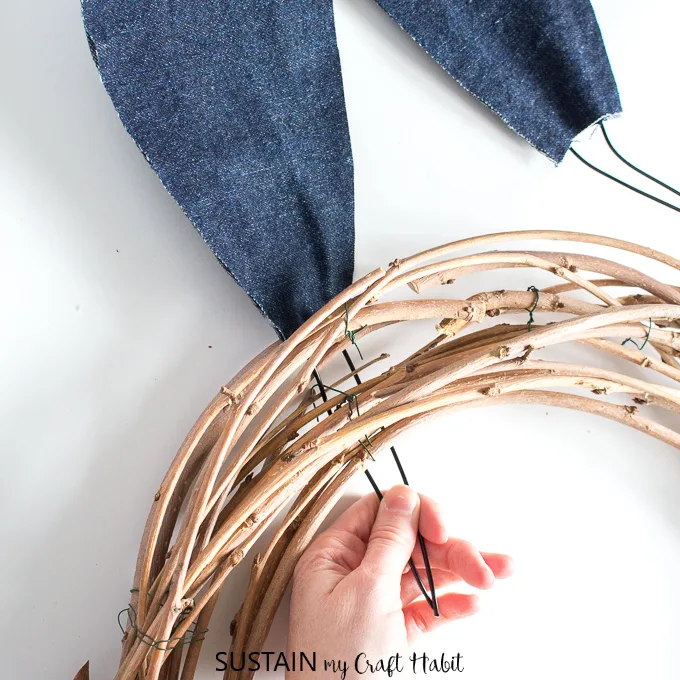
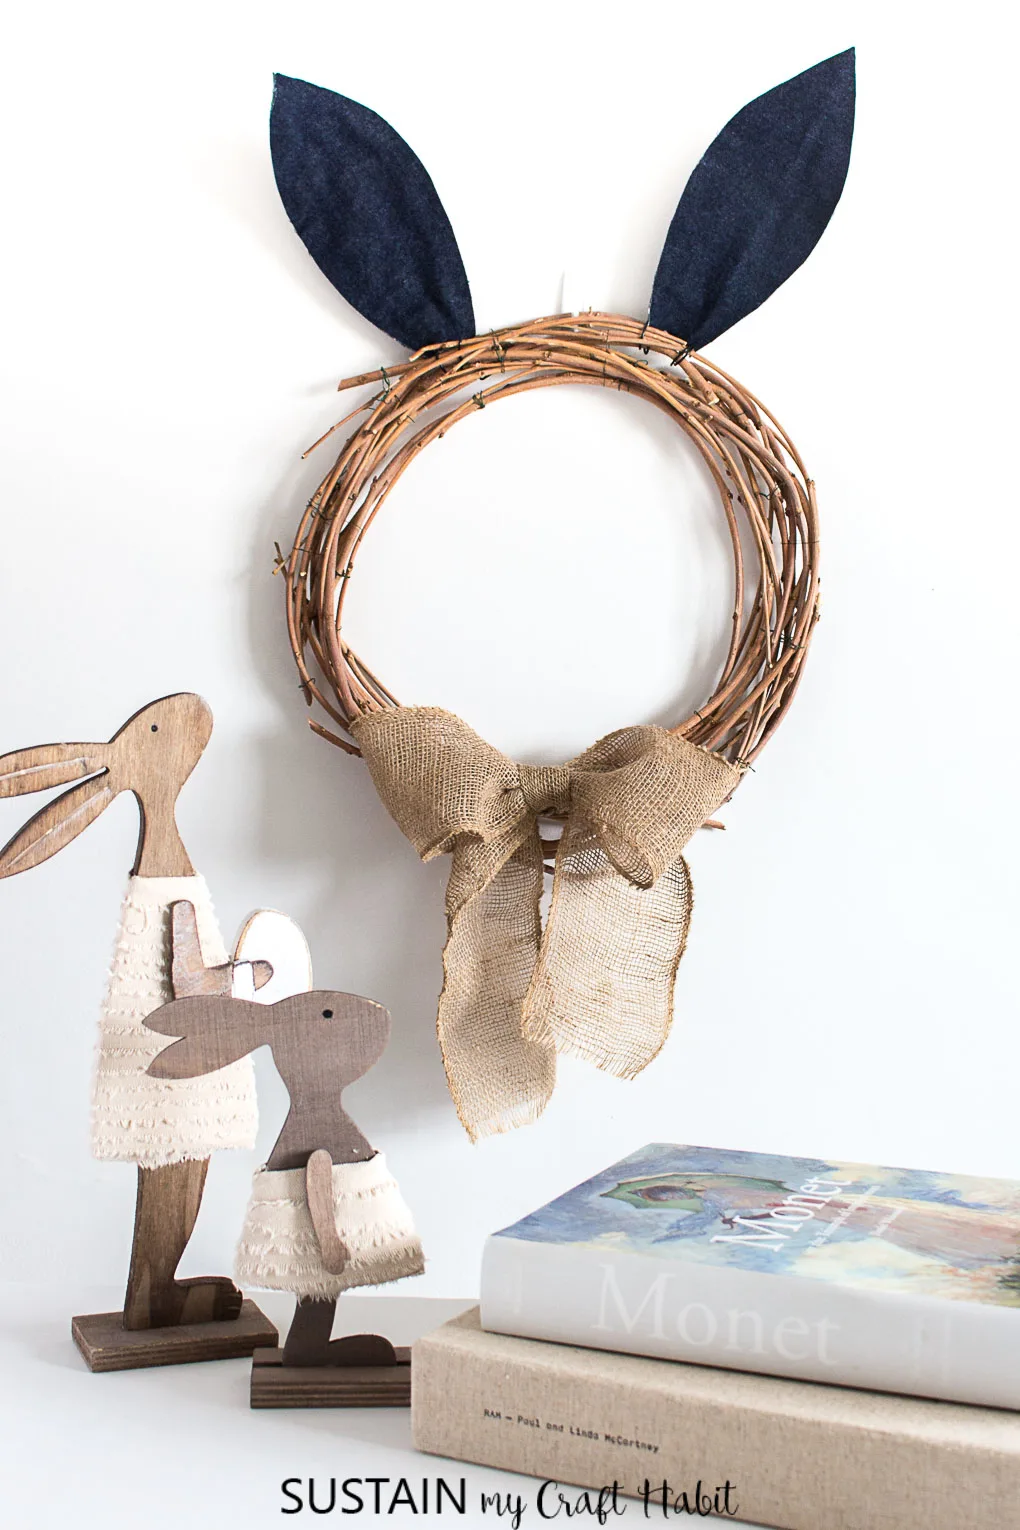
I reused themulberry vine wreathwe made several years ago to quickly assemble this simple Easter wreath.
Its true, a little bit of scrap fabric goes a long way!

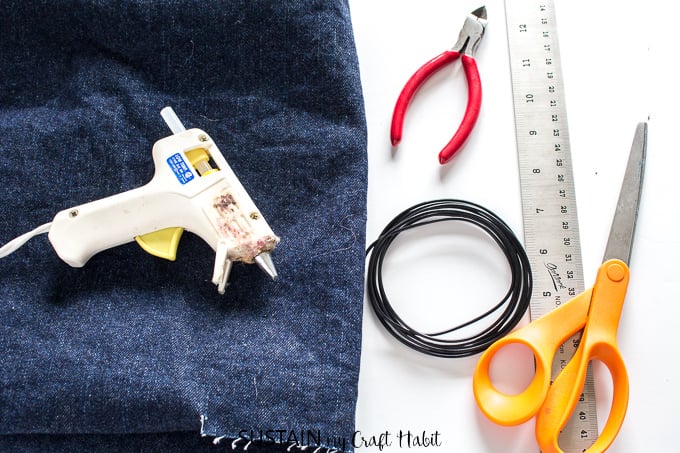
Materials Needed:
Disclosure: This post continues affiliate links for your shopping convenience.
you’re free to find ourfull disclosure policy here.
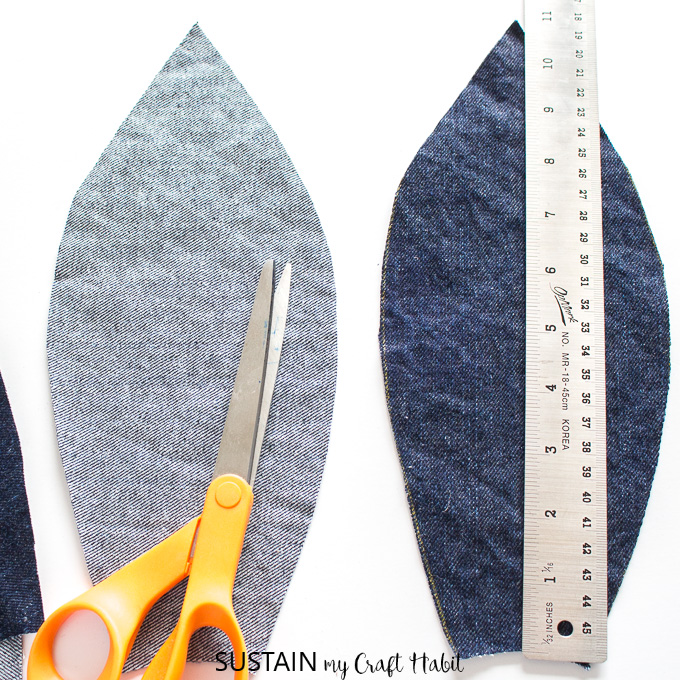
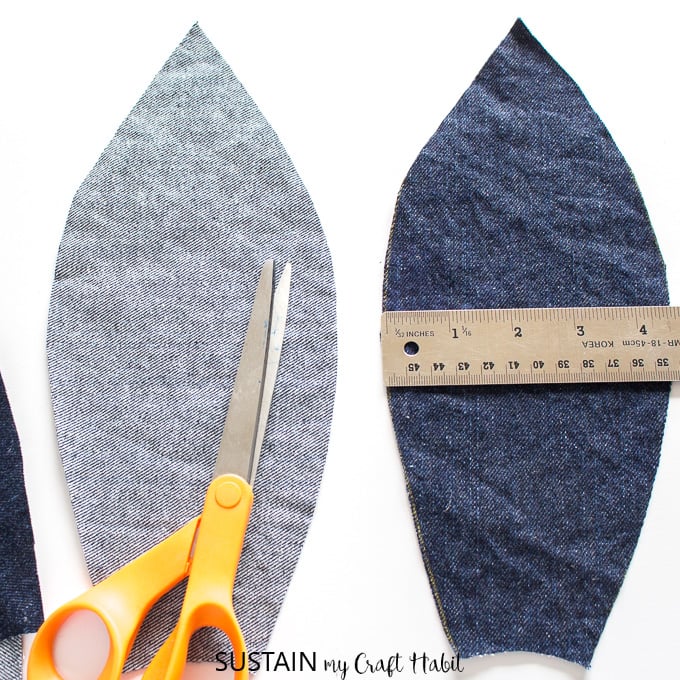
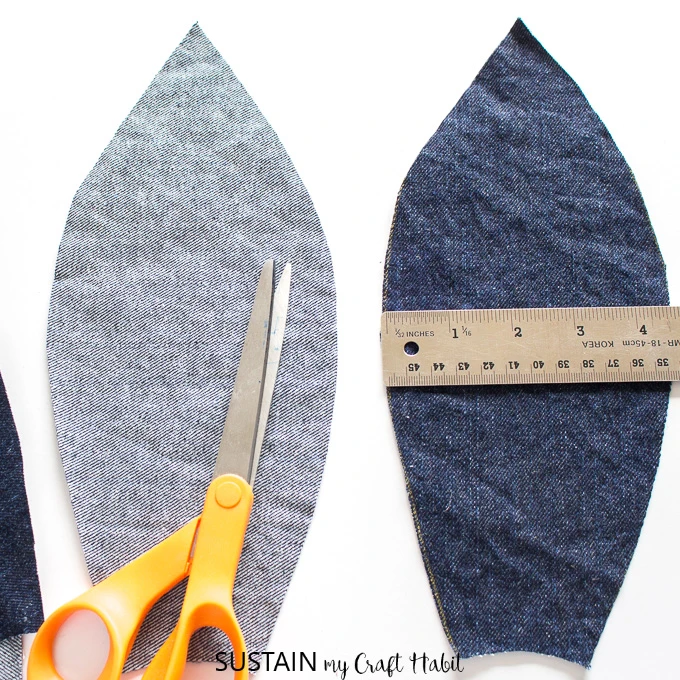
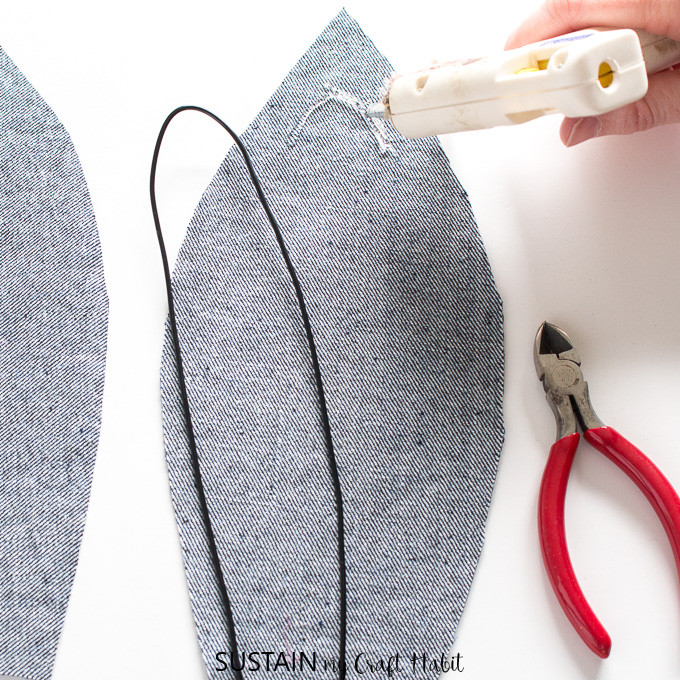
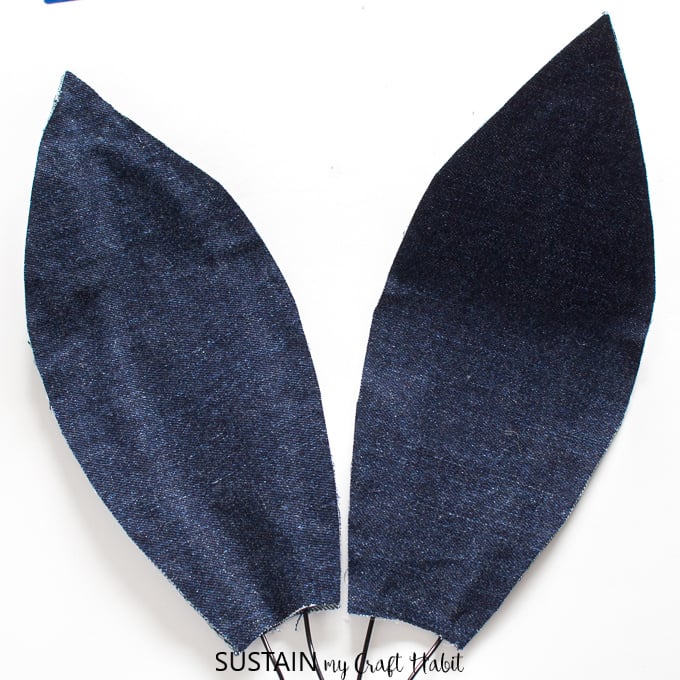
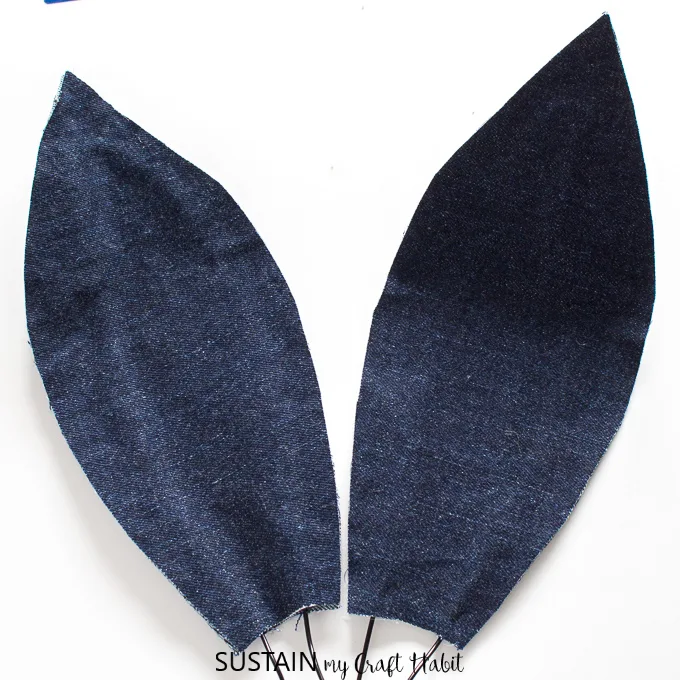
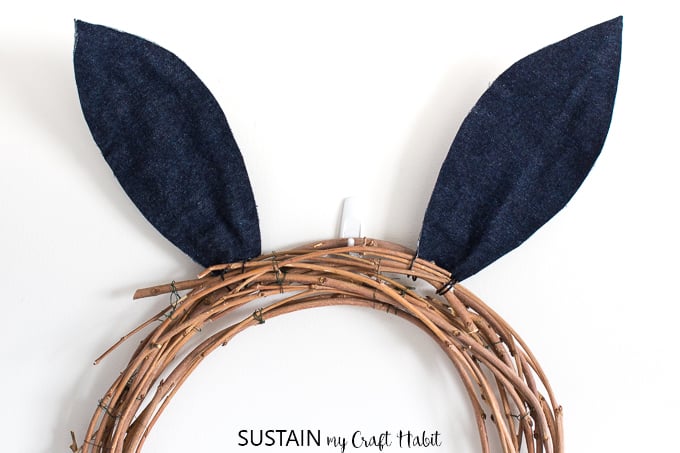
The bunny ears measure 14 long by 4.5 wide.

it’s possible for you to adjust this depending on the size of your wreath.
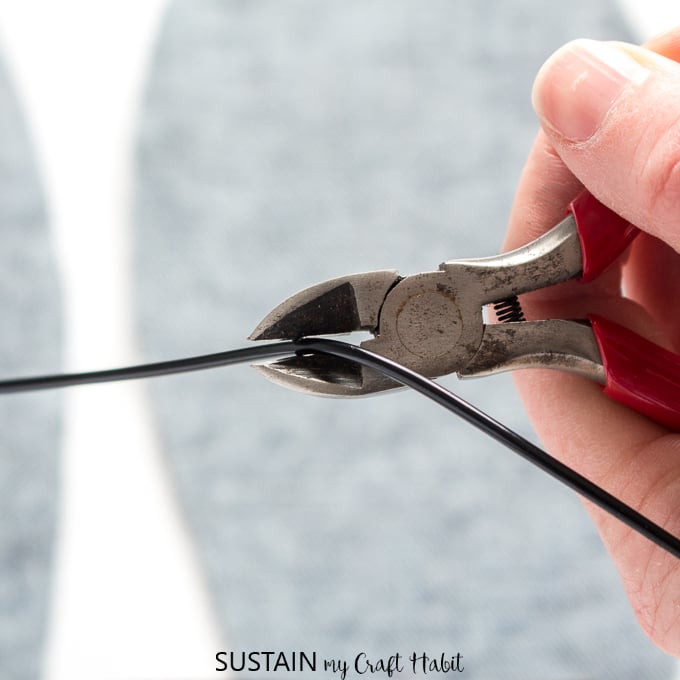
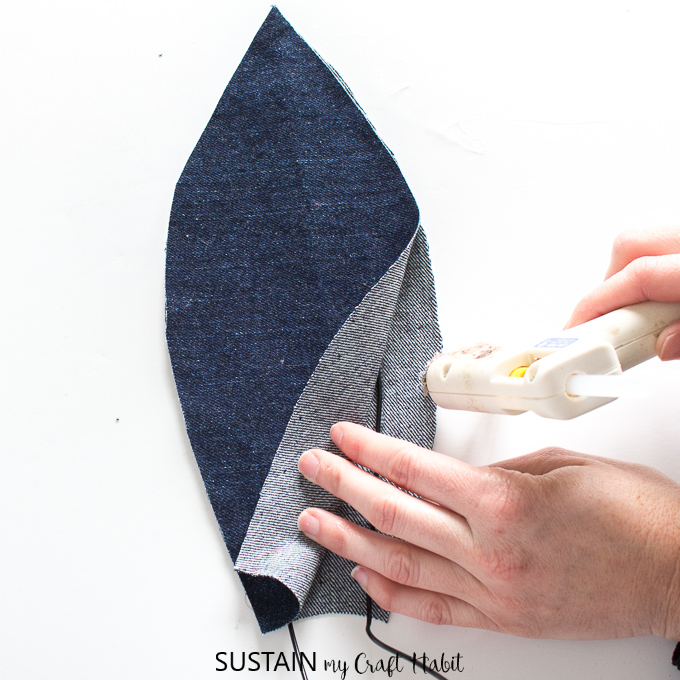
Determine the length of the wire needed.
Using wire cutters, we cut the wire at approx.
34 long (twice the length of the ears plus extra 6 to work with).
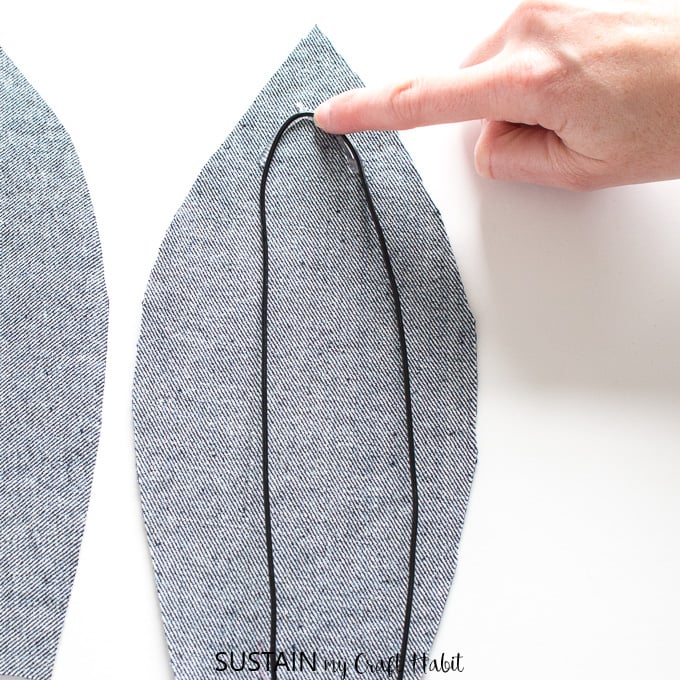
Fold the wire loosely in half.
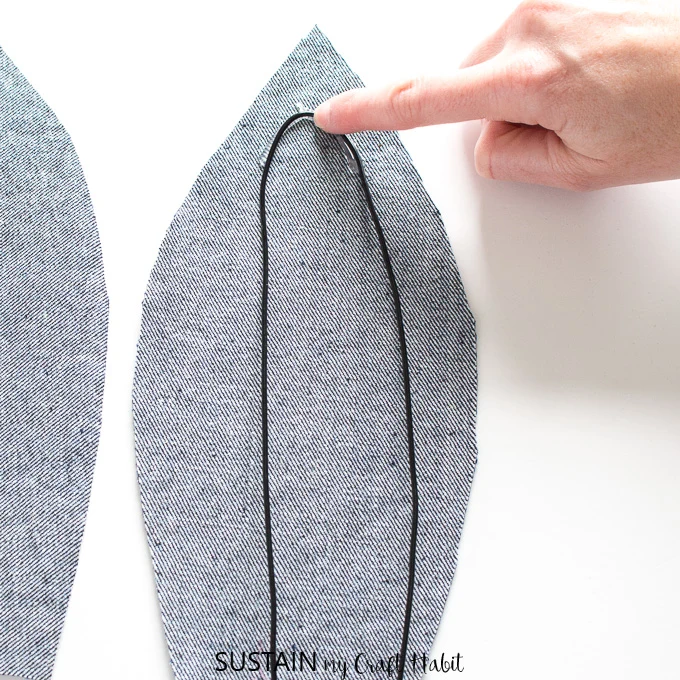
Apply glue to the wrong side of one bunny ear and press wire in place.
Be careful not to burn yourself, the glue can be very hot!
Work quickly and in small sections until the wire is secured in place.
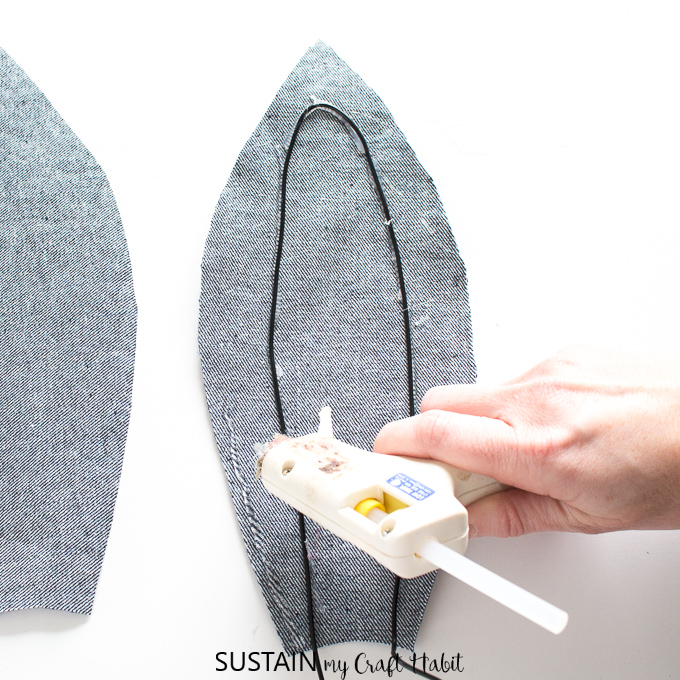
Apply hot glue around the perimeter of the bunny ear to hold together.

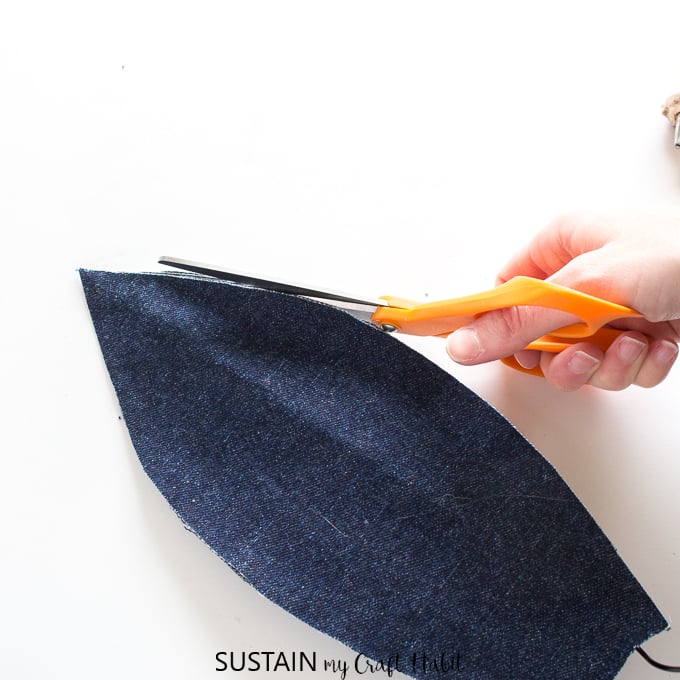
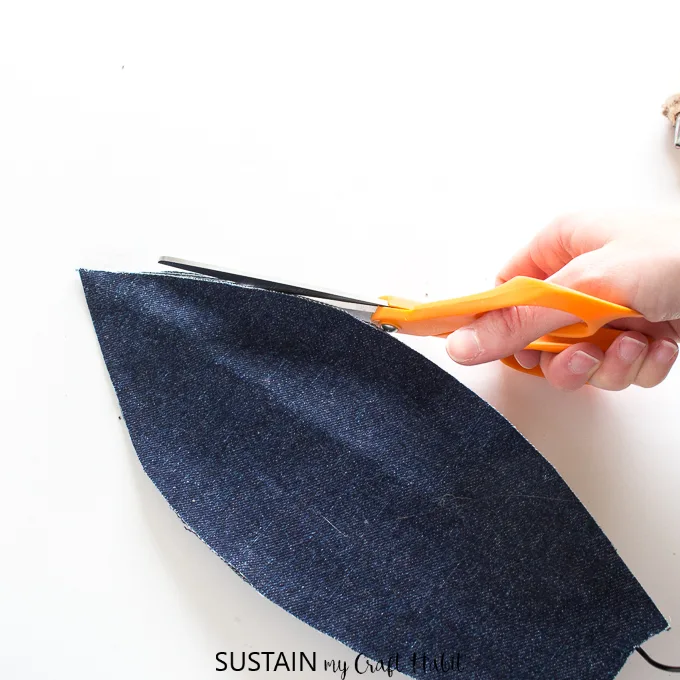
Trim away any excess fabric along the outer edges.
Repeat these steps for the other bunny ear.
How do you like to prepare for Easter?
Pin it for later!