Or someone who REALLY loves you has given you one as a gift.
First of all, congratulations!
We have no hesitation in saying youll LOOOOVE it for many years to come.
New Home, New Map!
All opinions are our own.
This post also contains affiliate links.

Should you choose to buy through these links we make a small commission at no cost to you.
You canread our full disclosure here.
It was undoubtedly the perfect piece of art for my large living room wall.
But unfortunately for them, my sister Jane had already claimed thebeautiful 3D world mapfor herself.
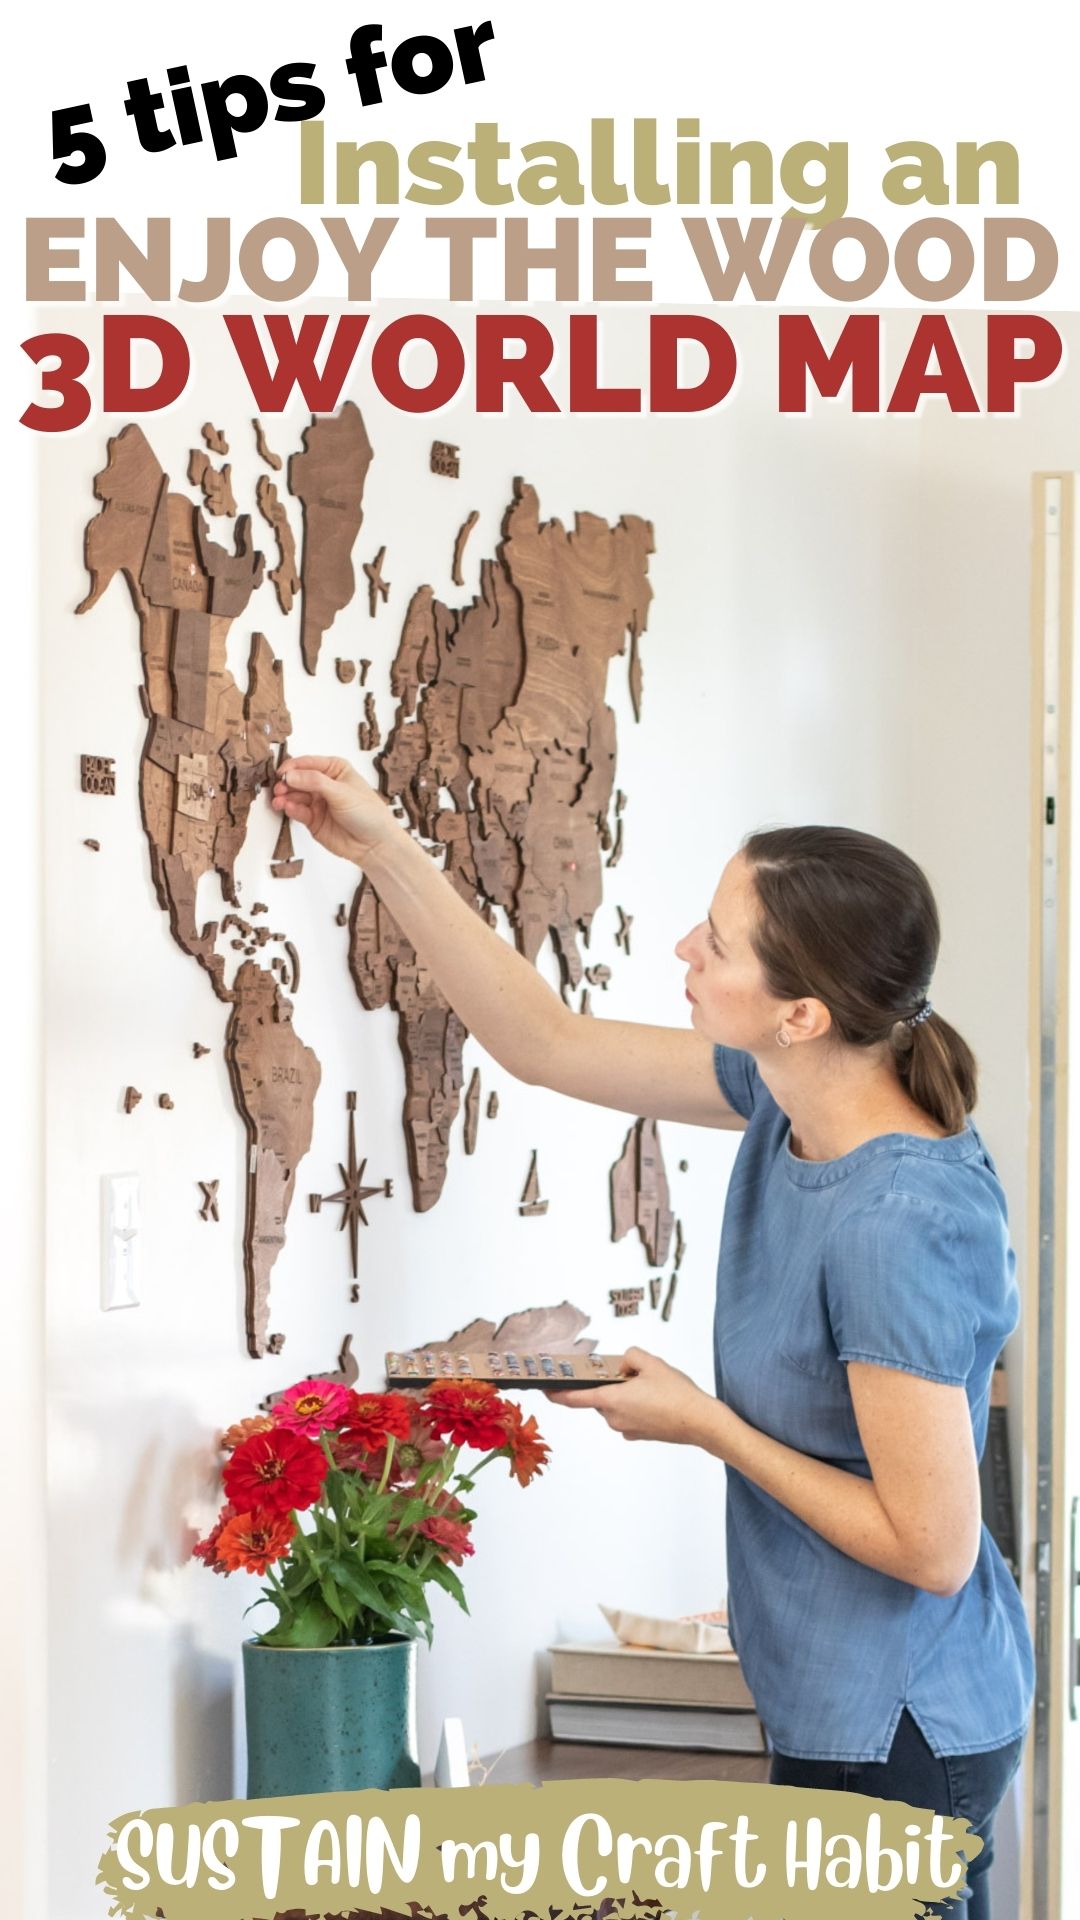
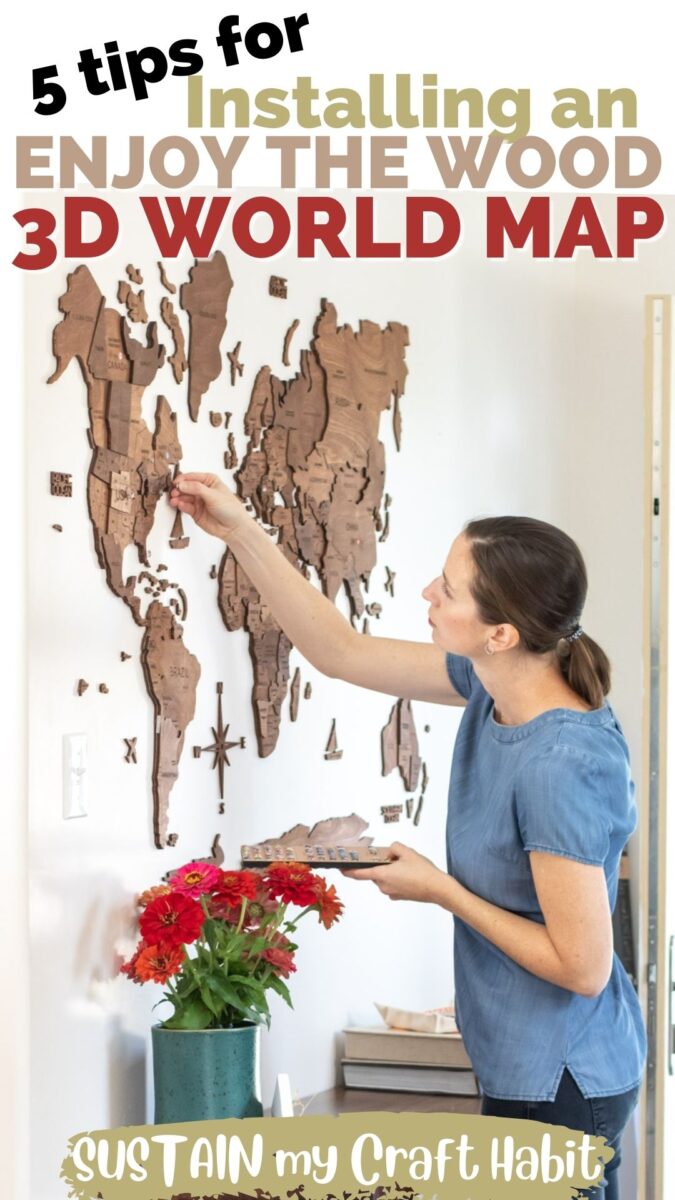
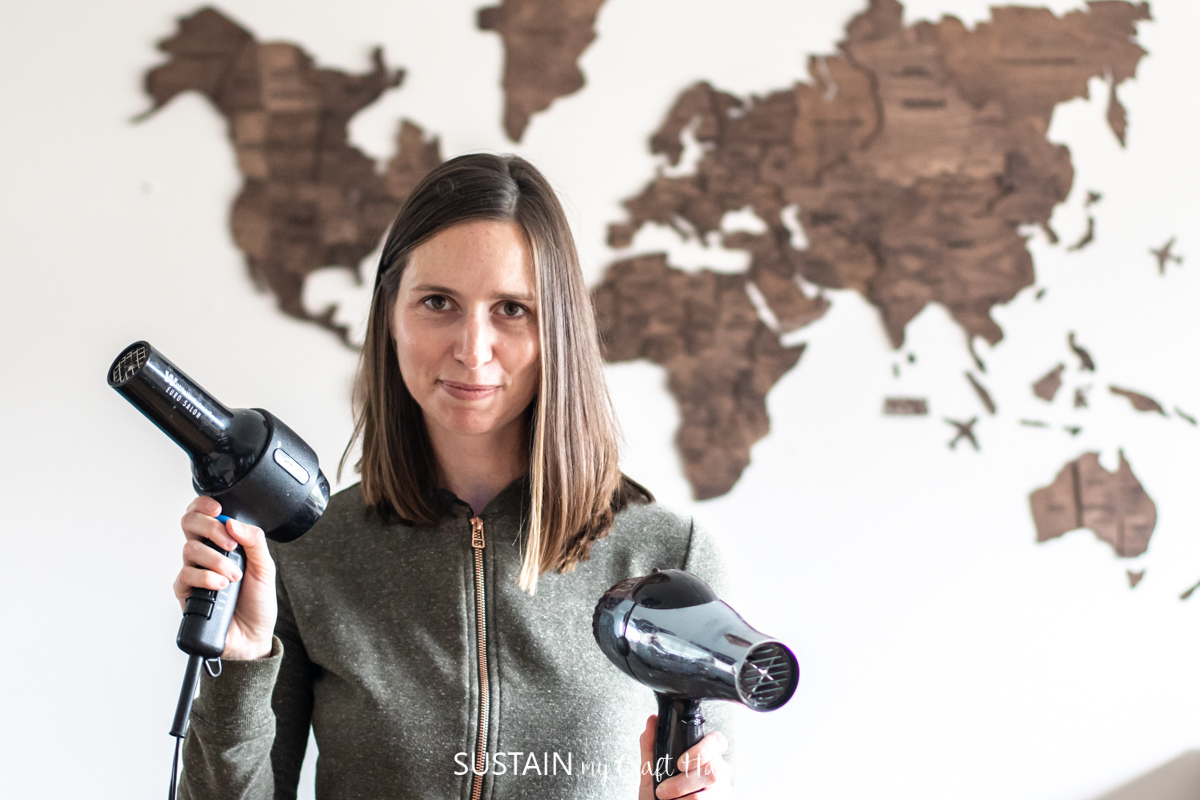
And yes…the blow dryers are a must-have tool for the removal process!
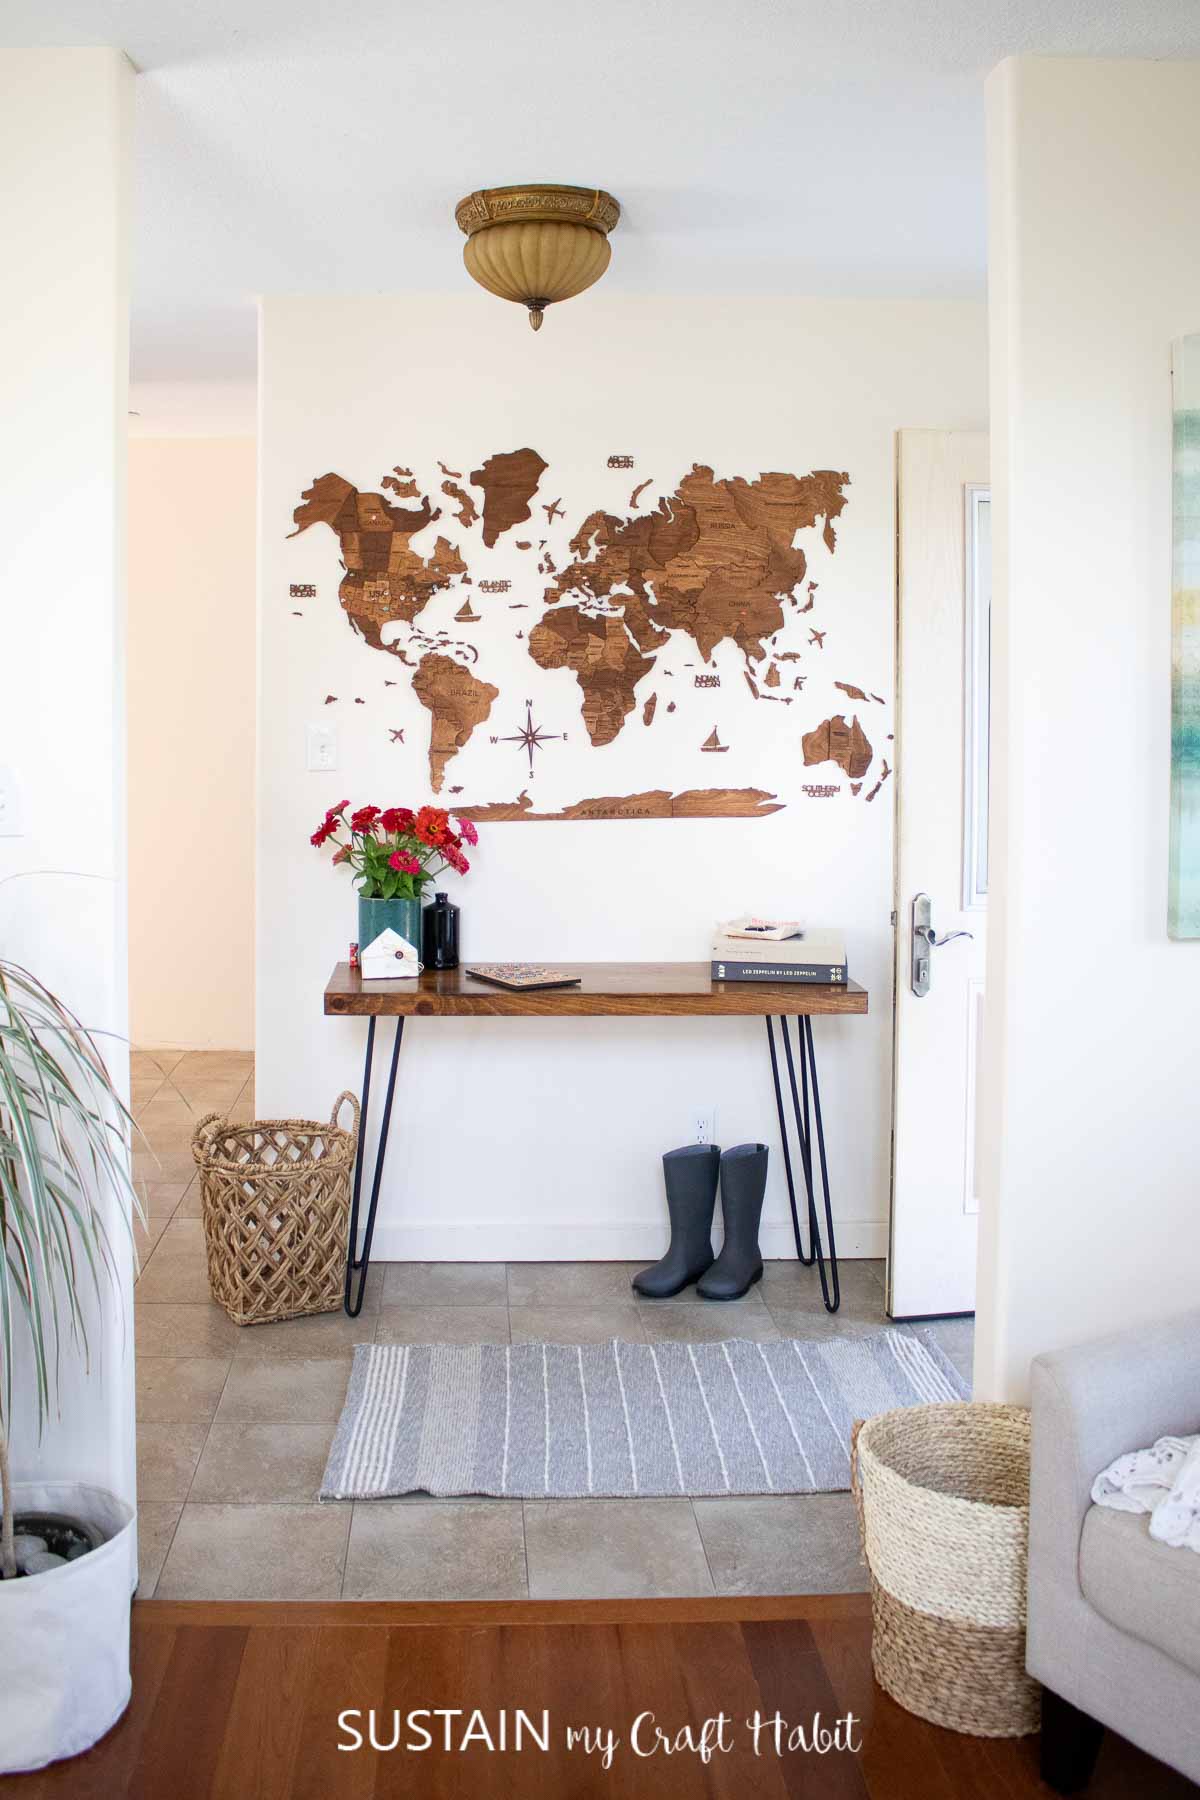
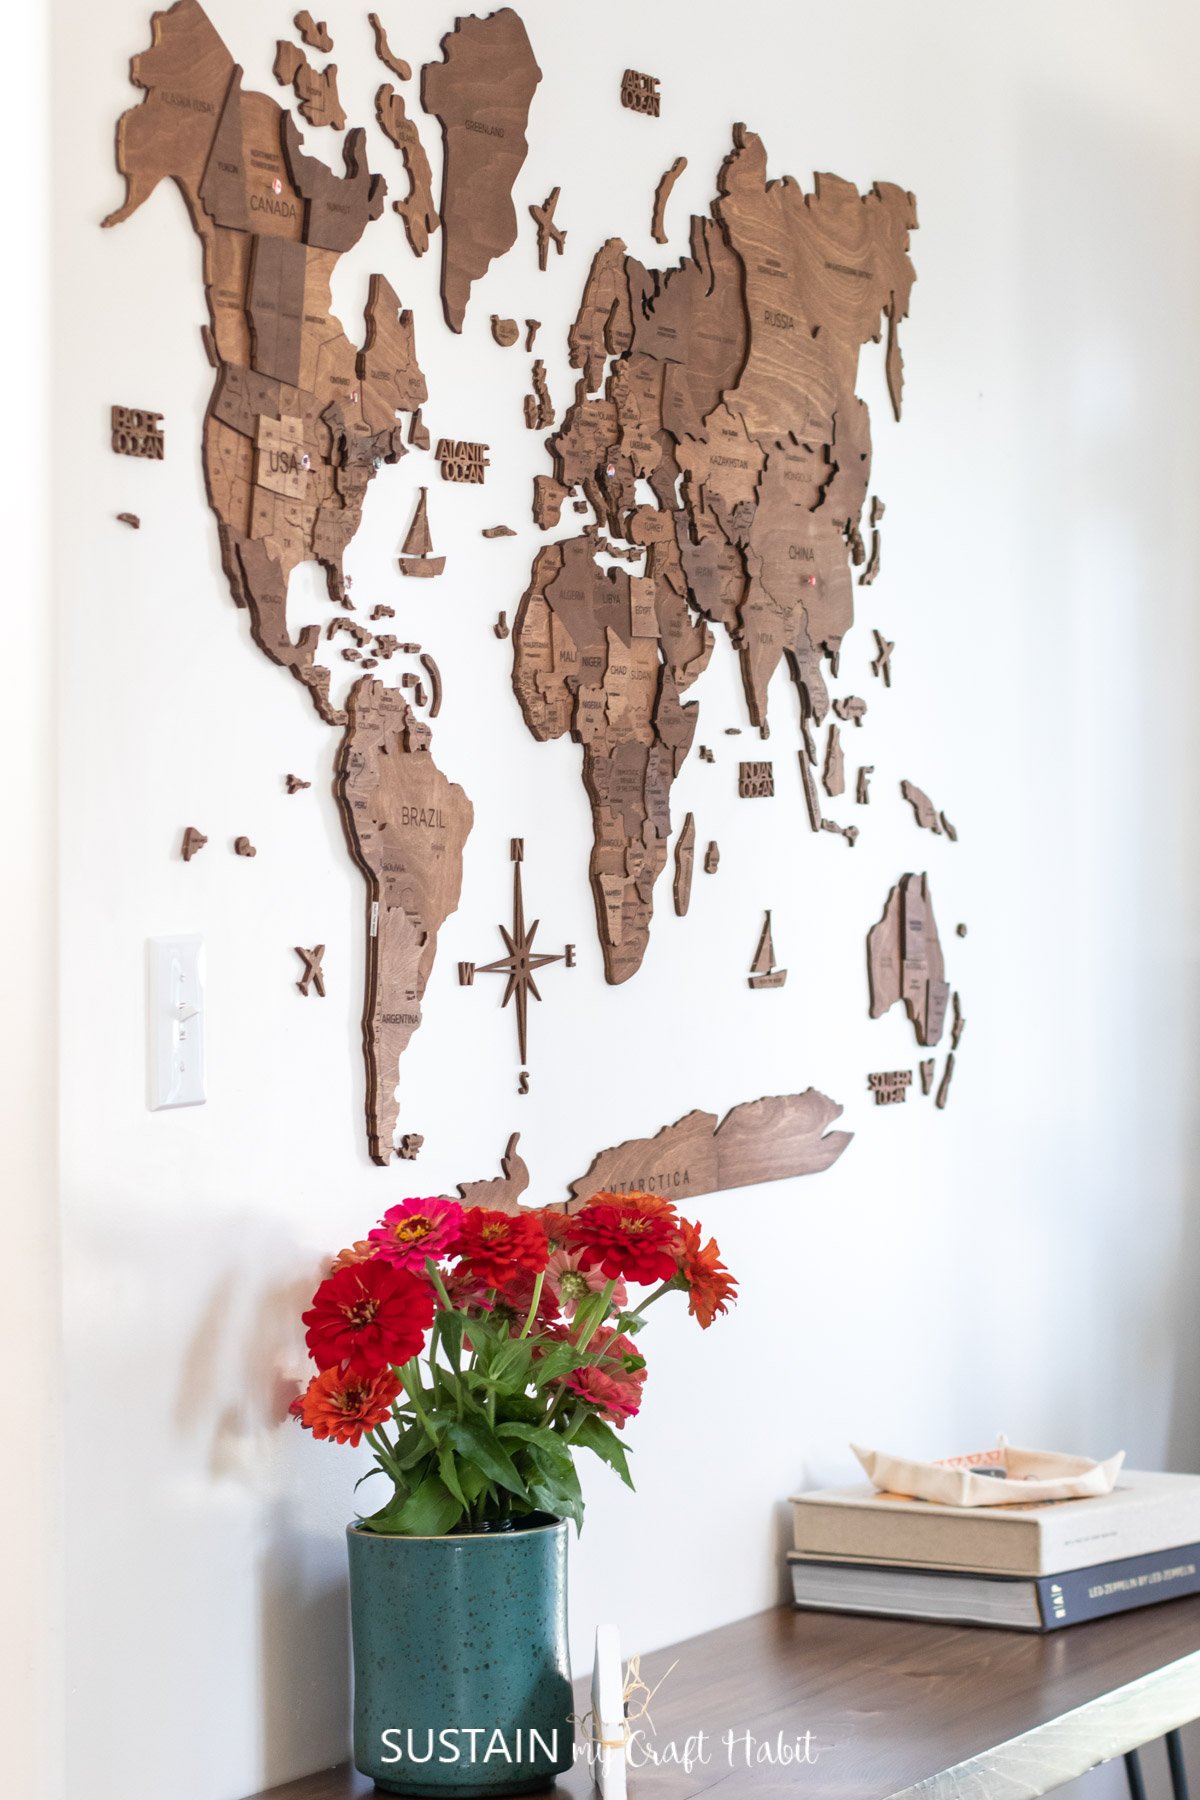
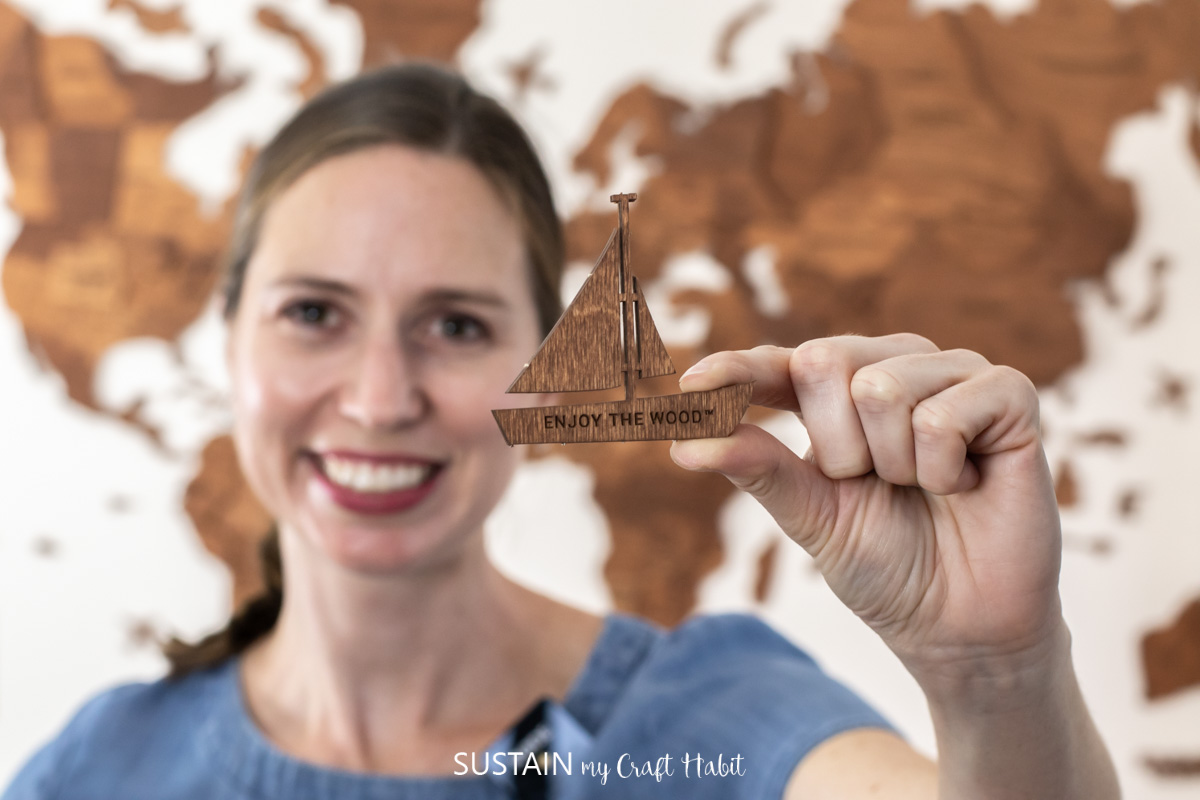
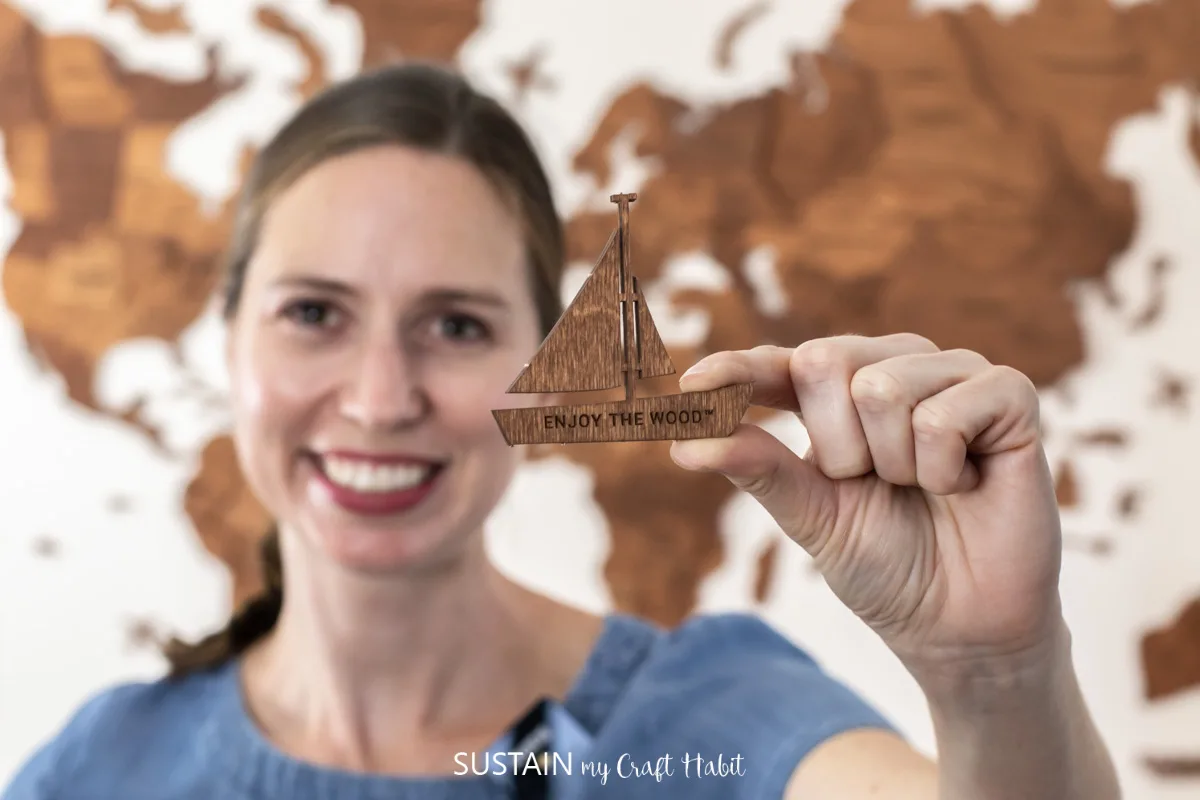
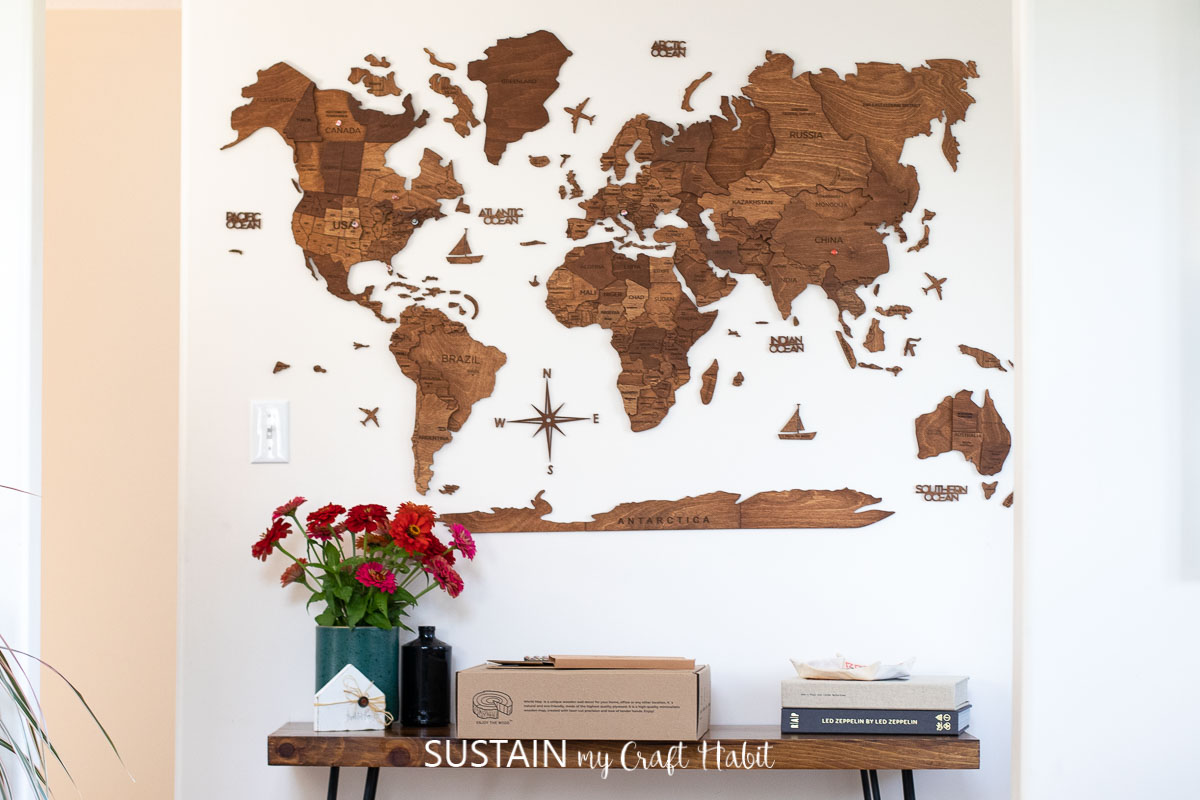
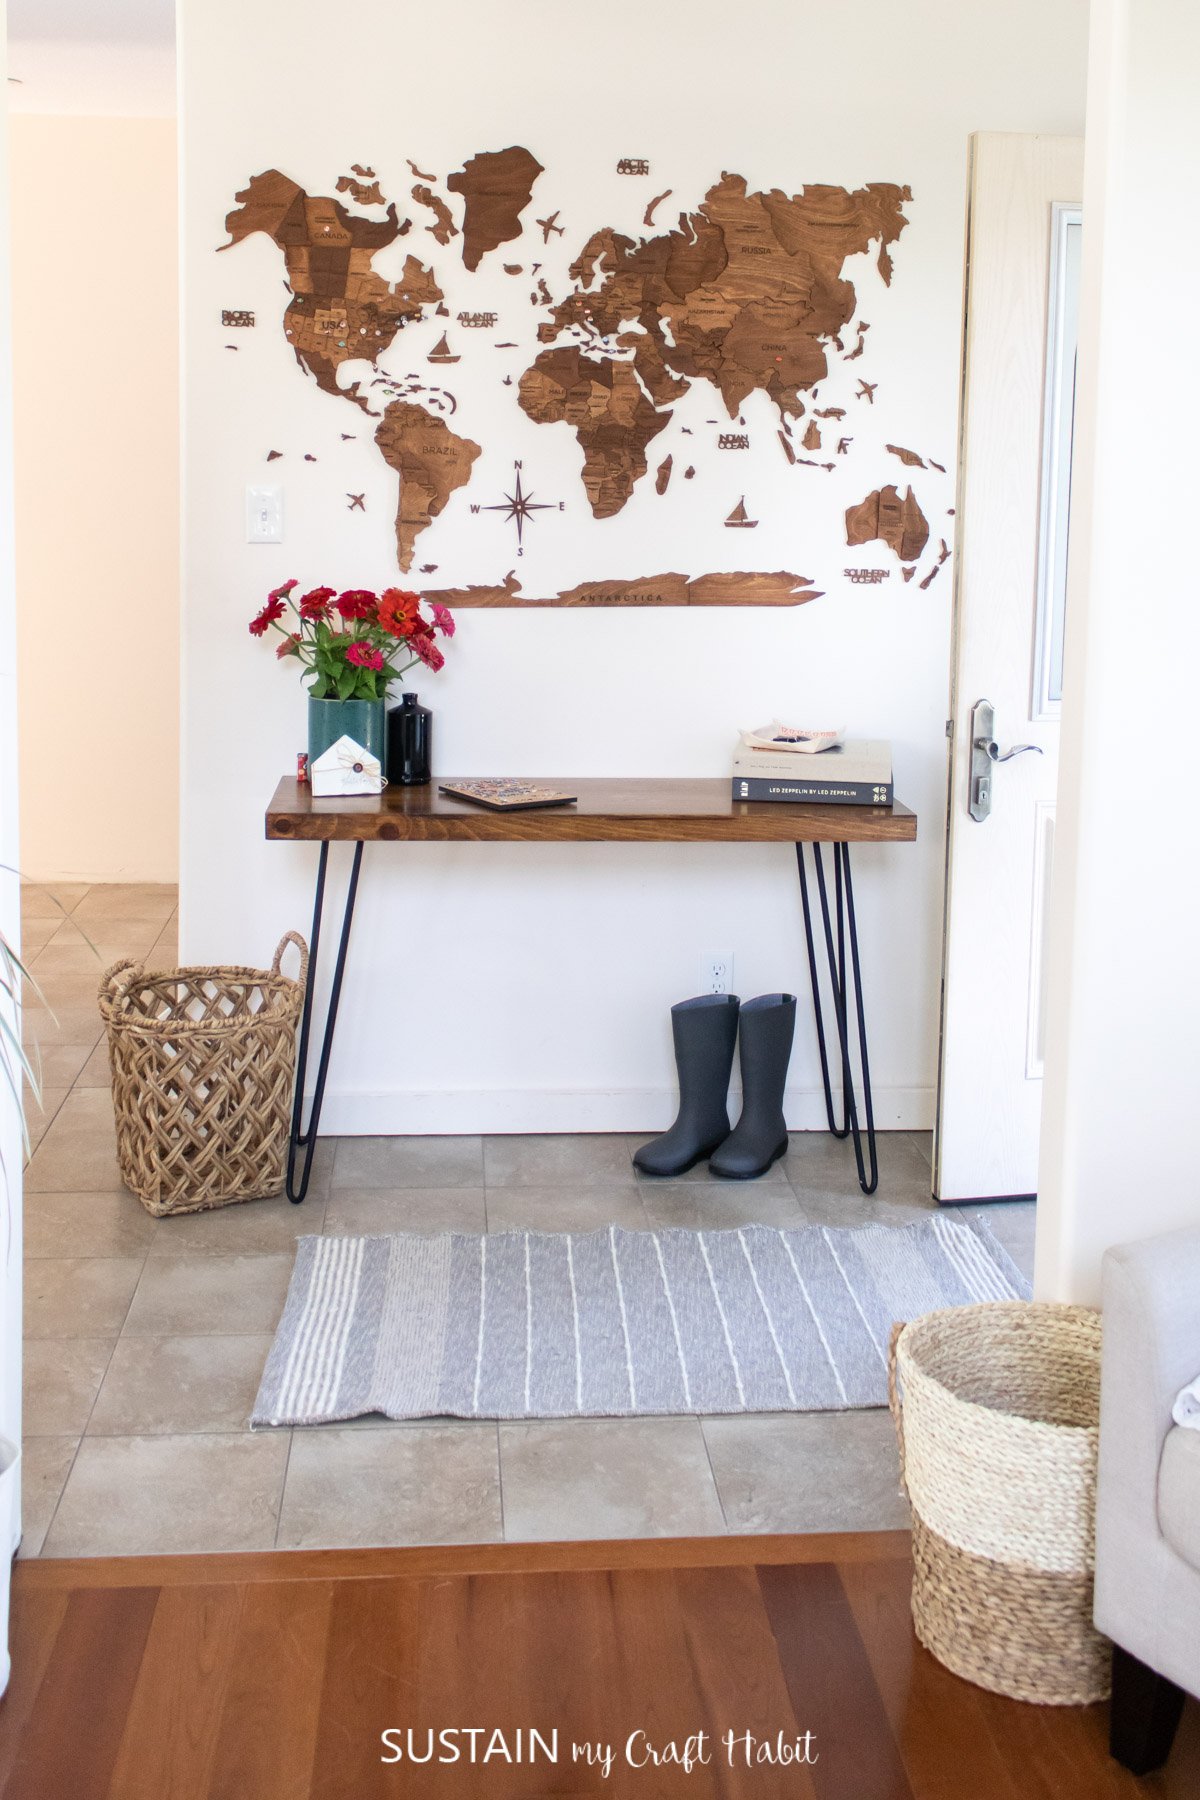
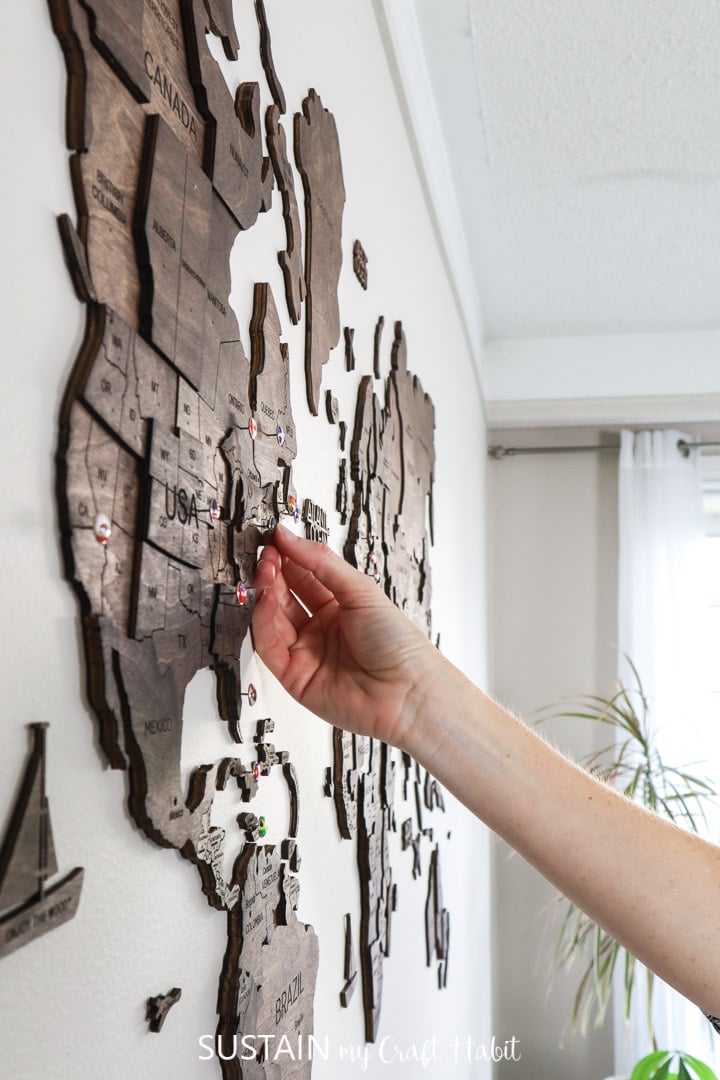
I chose the oak finish this time which coordinates wonderfully with all the wood finishes in the home.
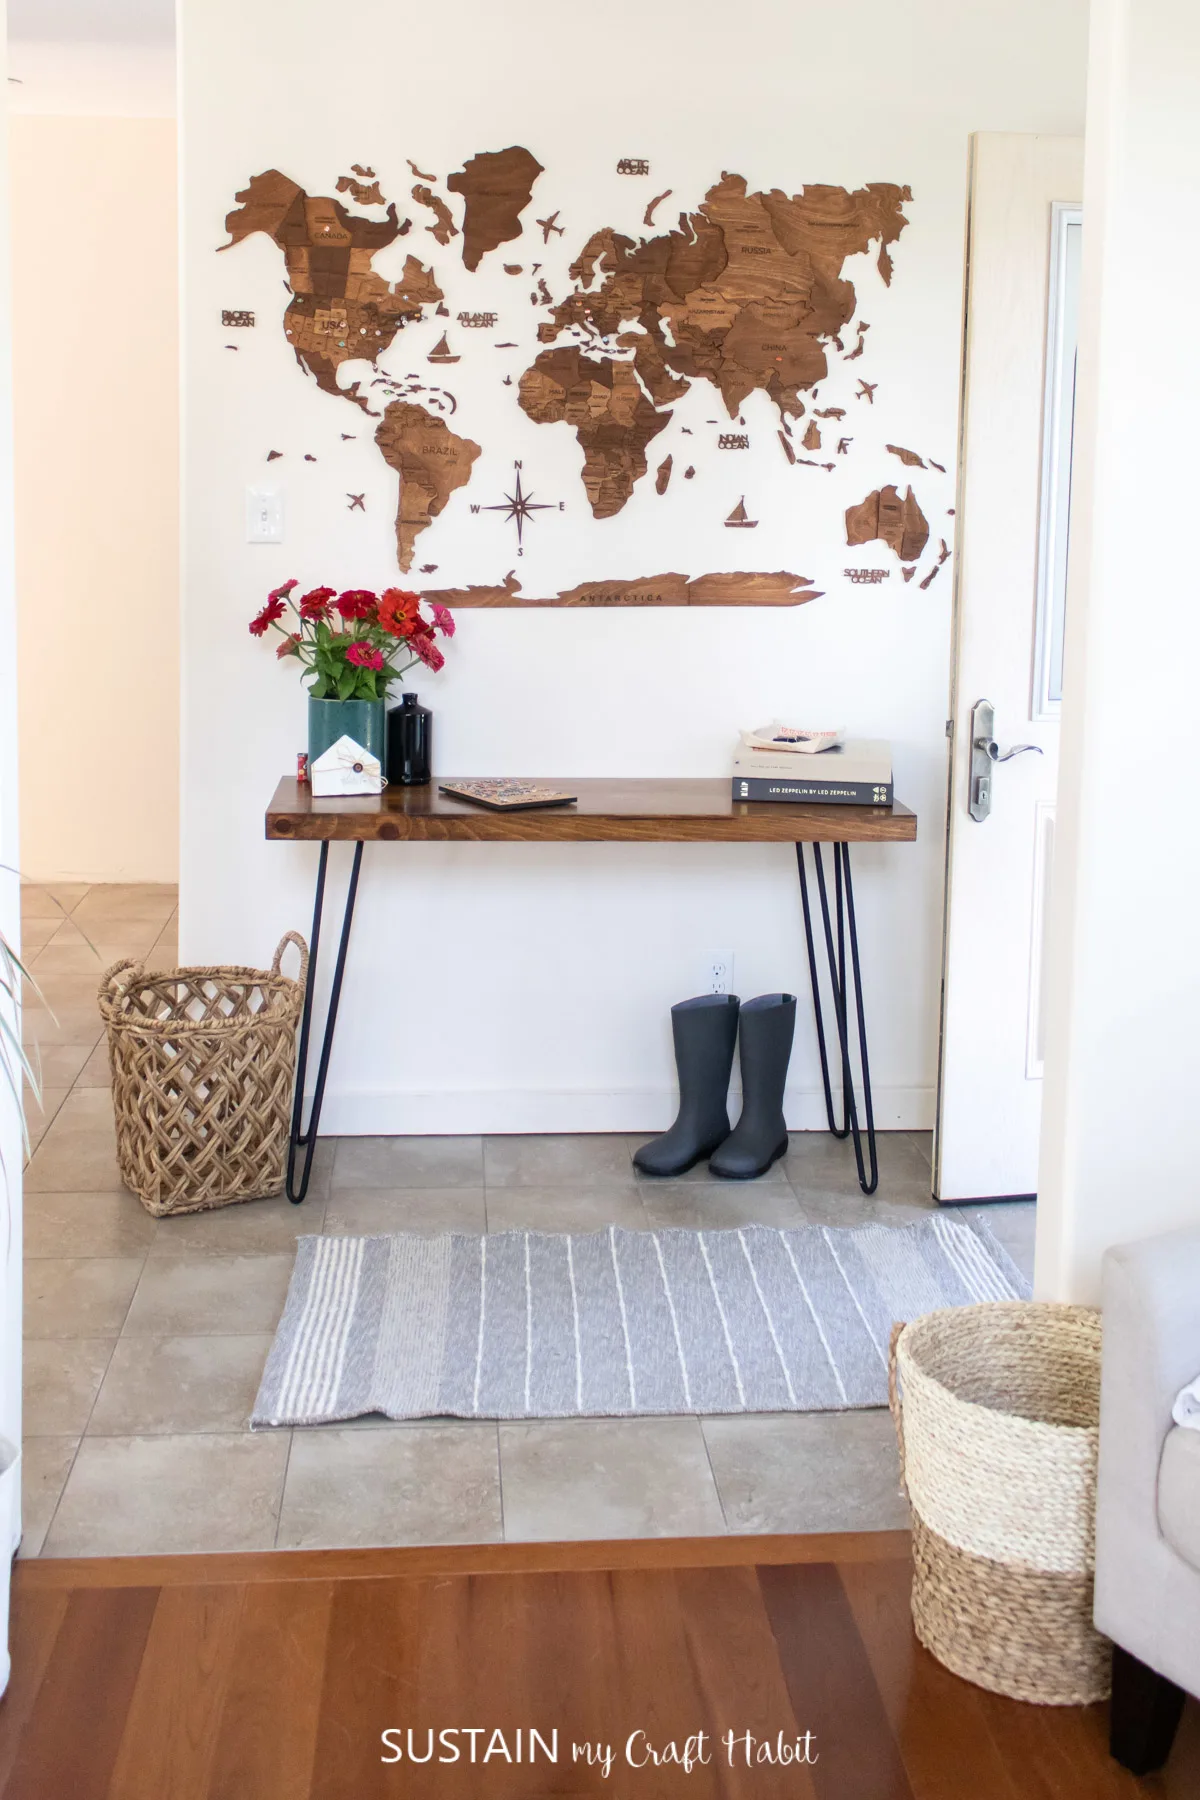
Its the same large size as the previous map which spans across 59 wide and 35 high.
The map is the very first thing I see when I walk through and out the door each day.
Its also perfectly visible from my living room couch and even the kitchen.
I didnt think I could love this map any more than my previous one, but I was wrong!
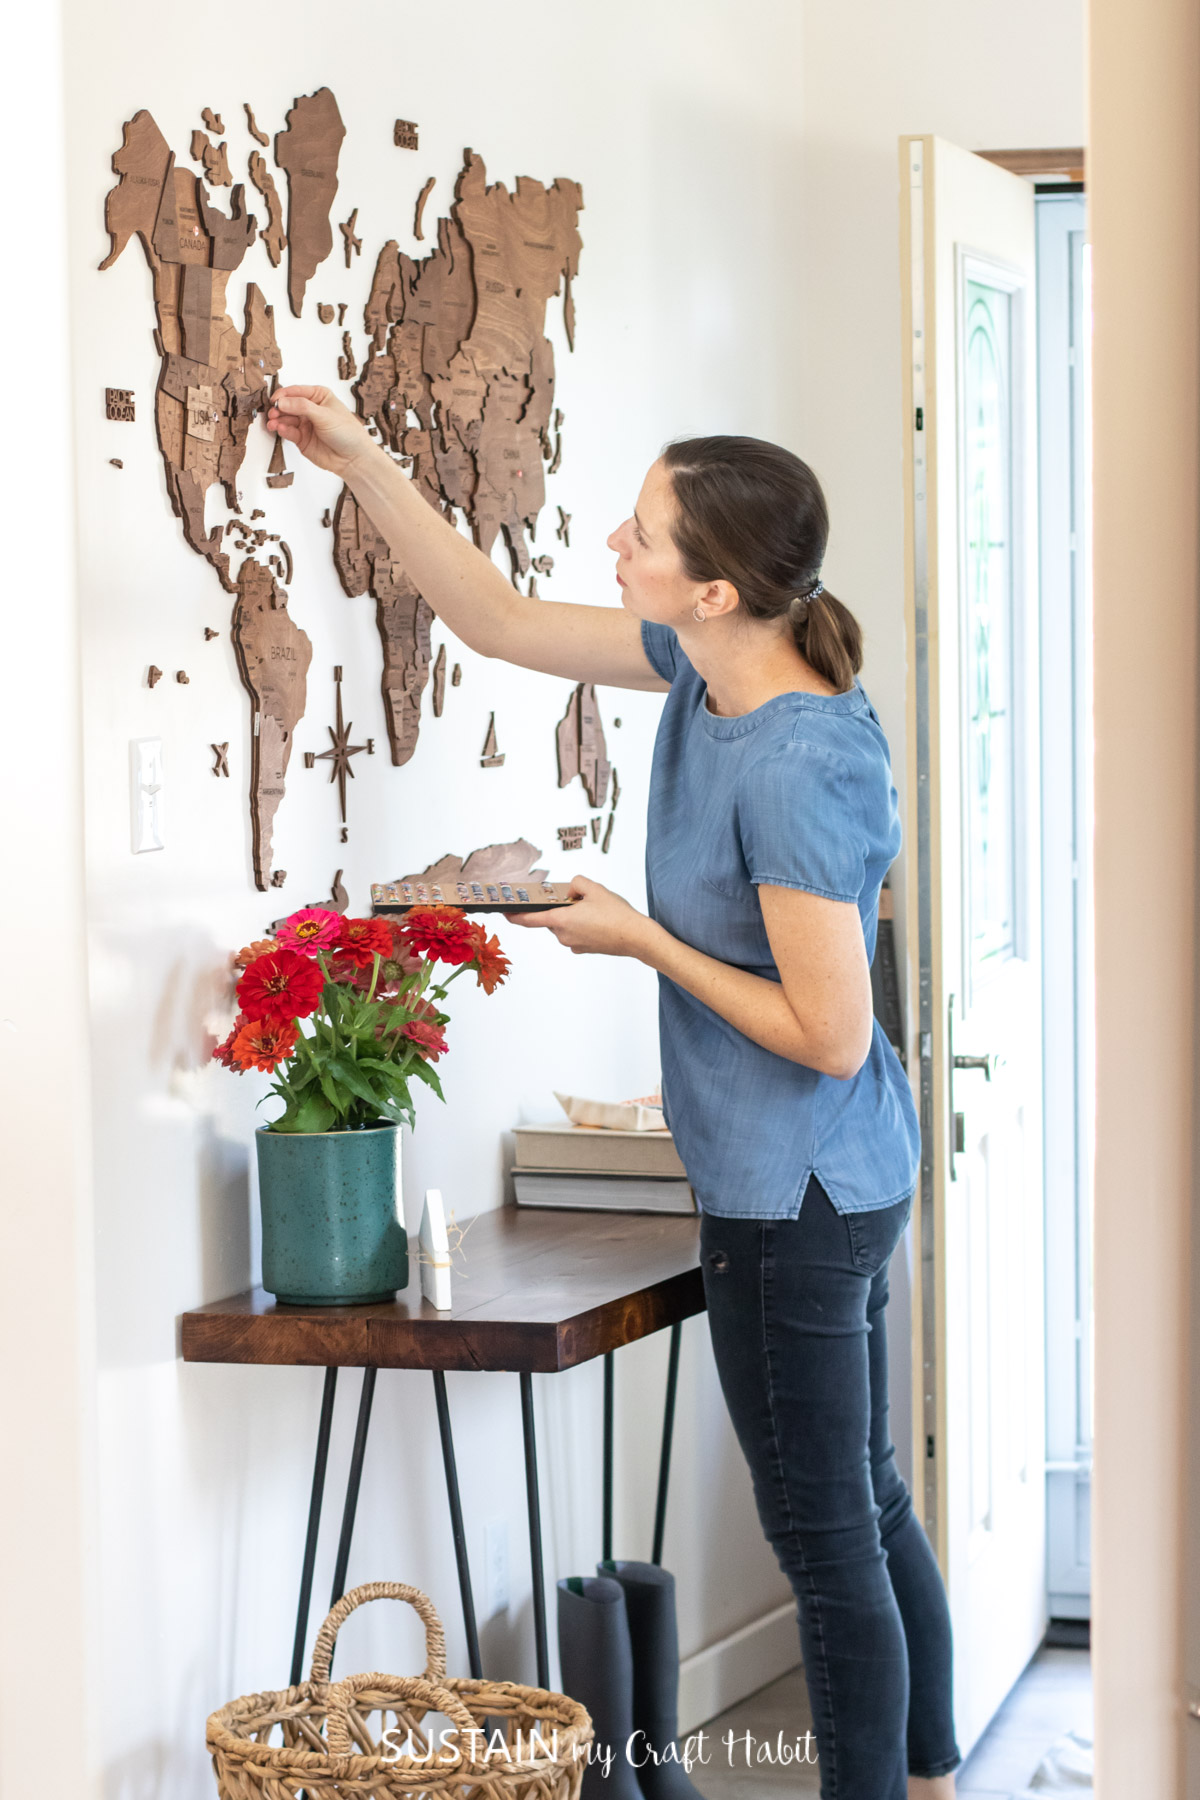
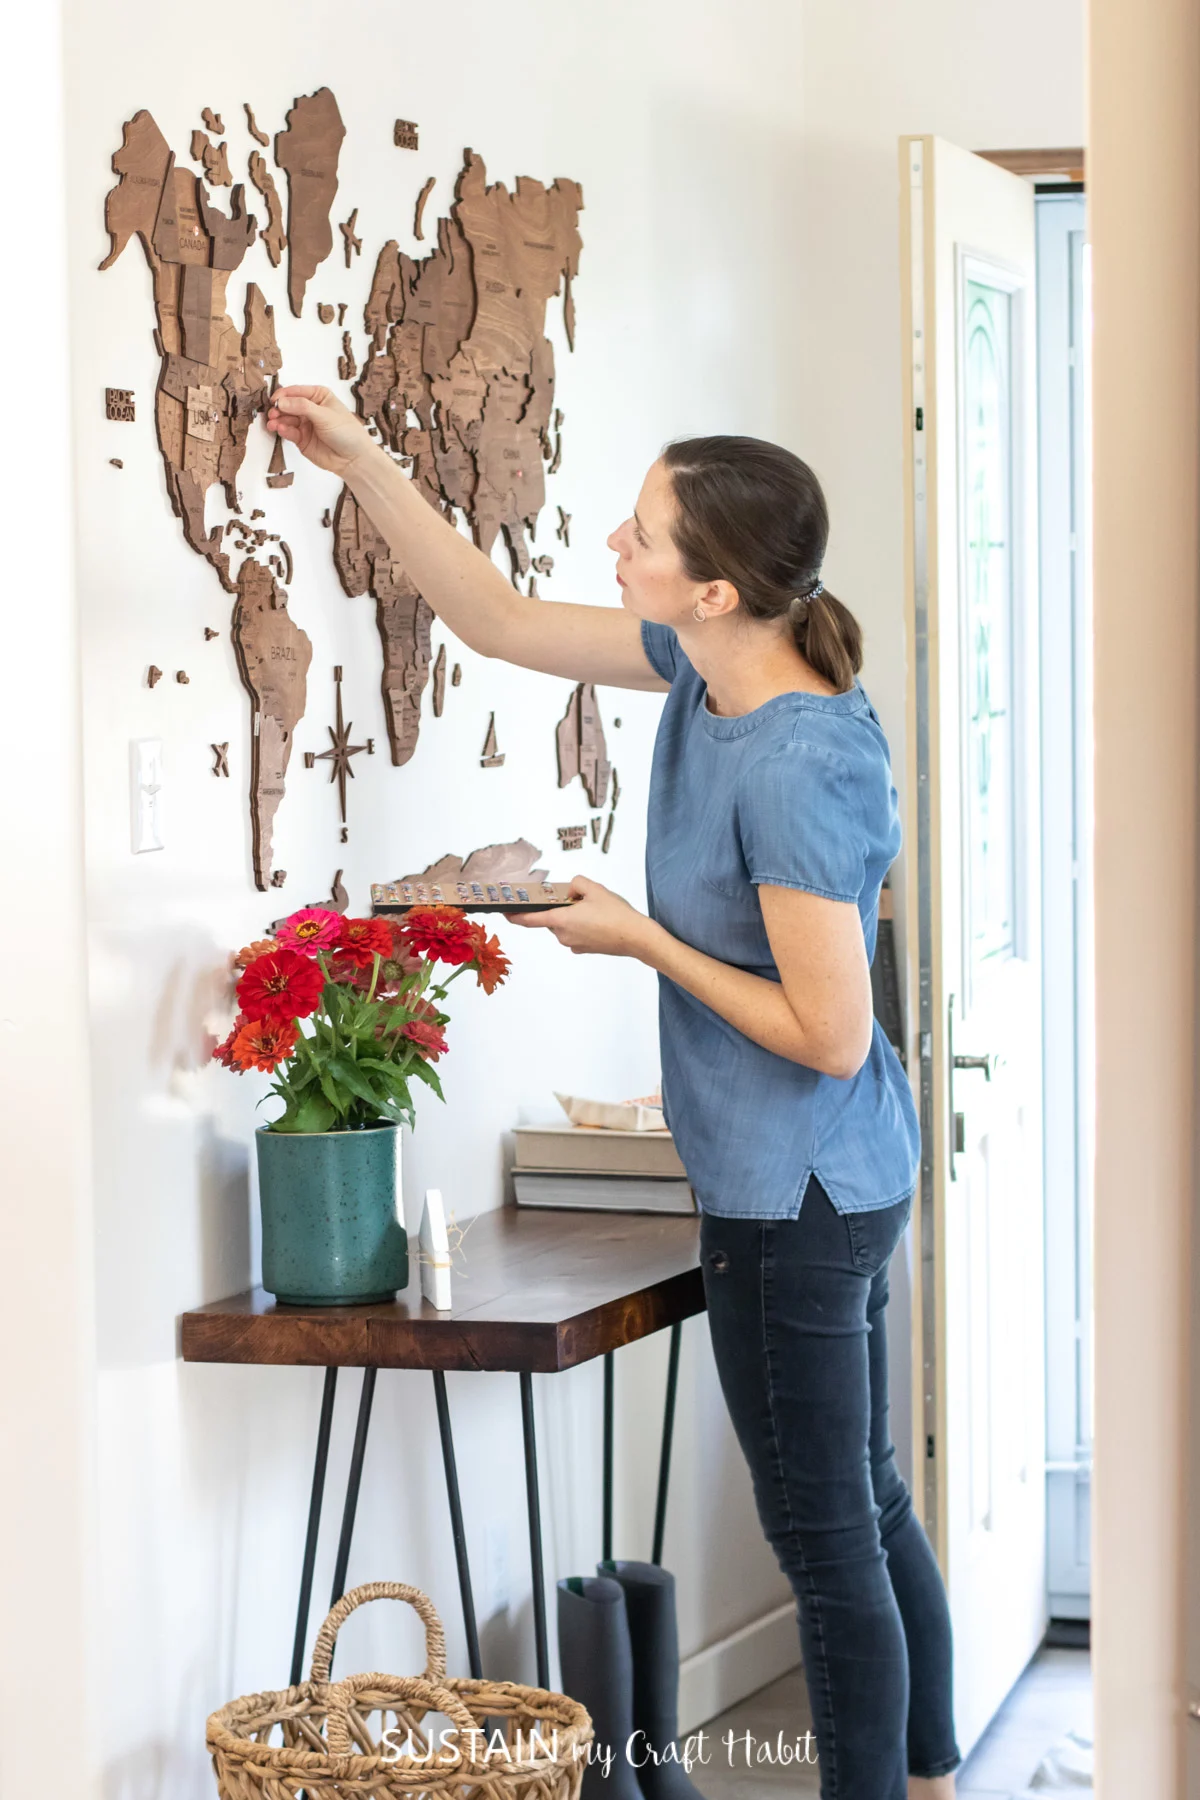
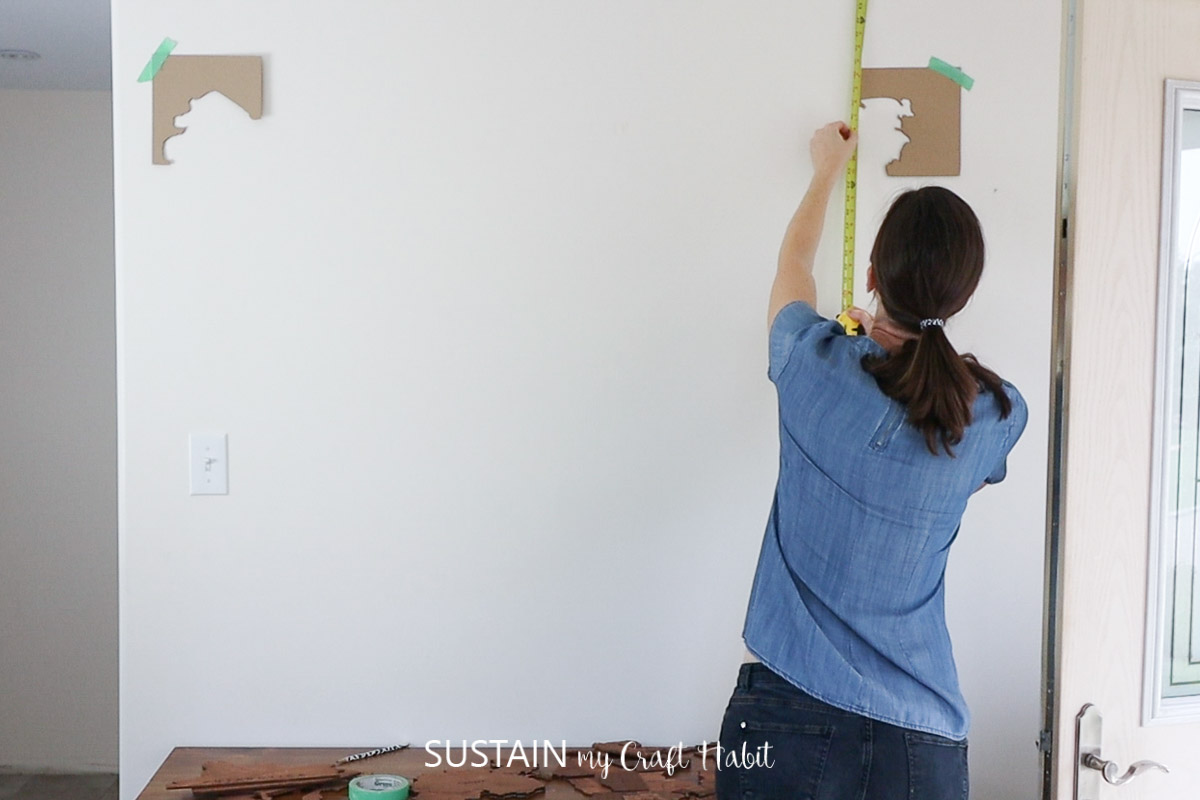
We hope you find these helpful as youre planning to put up your own map.
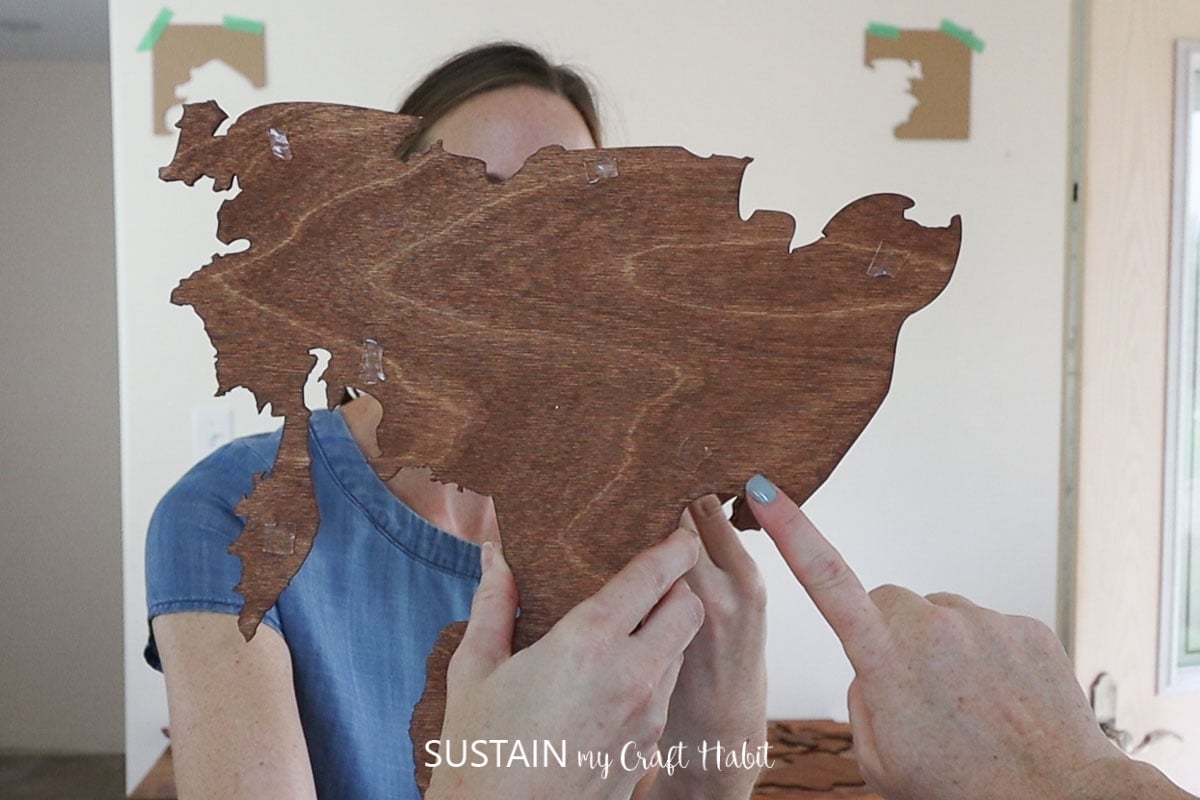
Be sure to use the corner templates when starting the process to avoid incorrectly placing the map.

Measure from the ceiling to ensure that your map will be level.
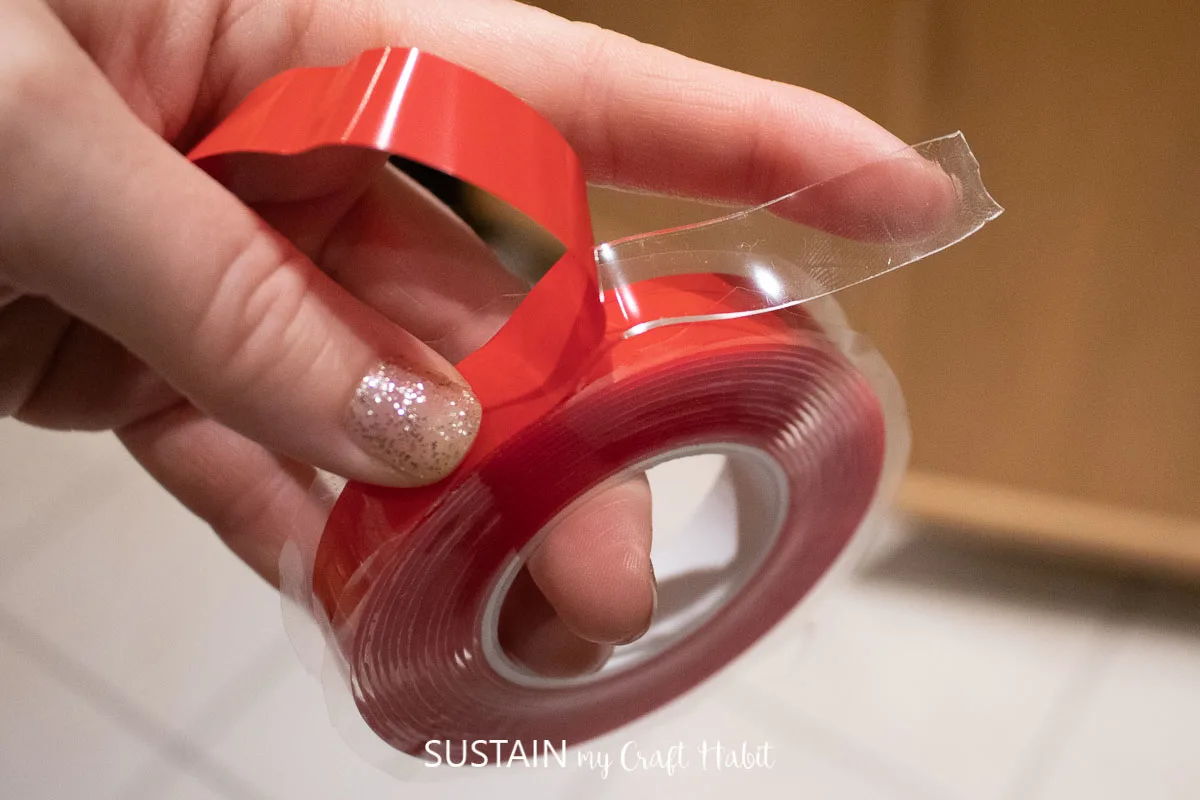
Consider taking the backing off of the double sided tape in longer sections rather than piece by piece.
Use smaller pieces of tape than indicated on the instruction sheet.
Its quite likely youll learn something along the way.
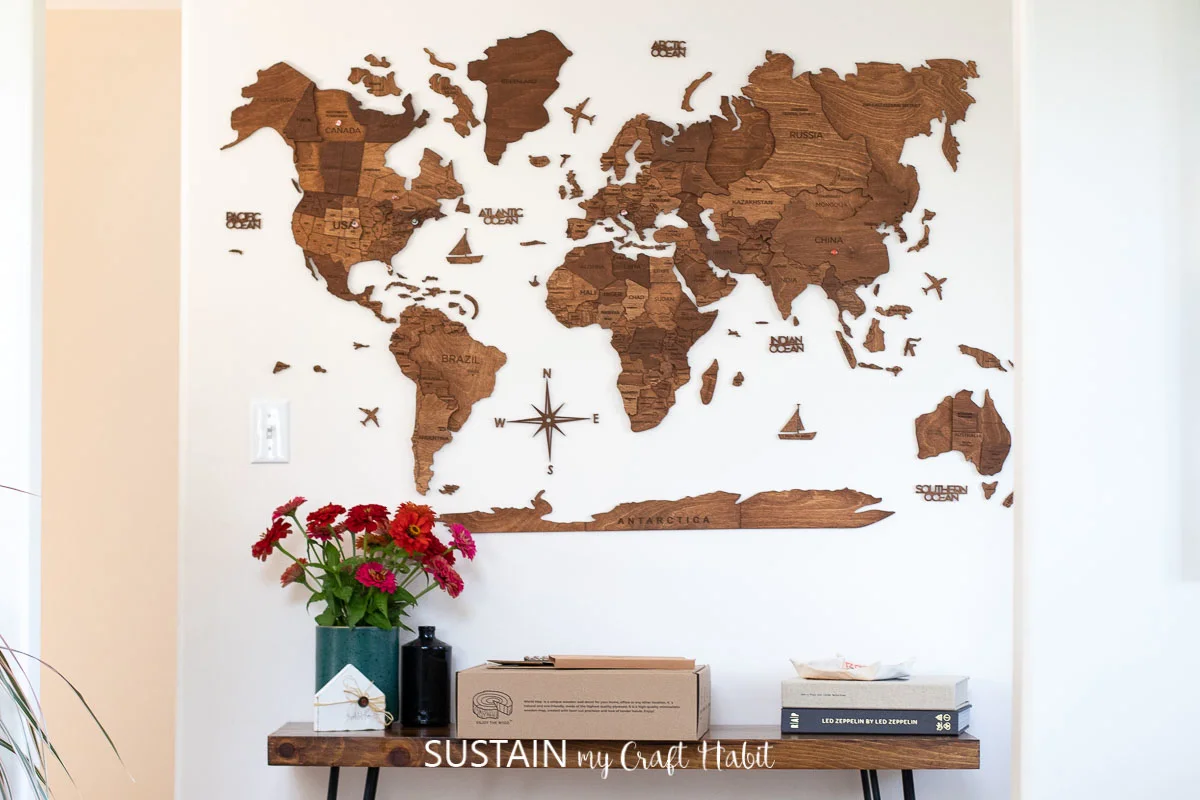
So not only is it a gorgeous piece of art, its educational as well!
I honestly couldnt be happier with the look ofthe new mapin my new house.

Pin it for later!