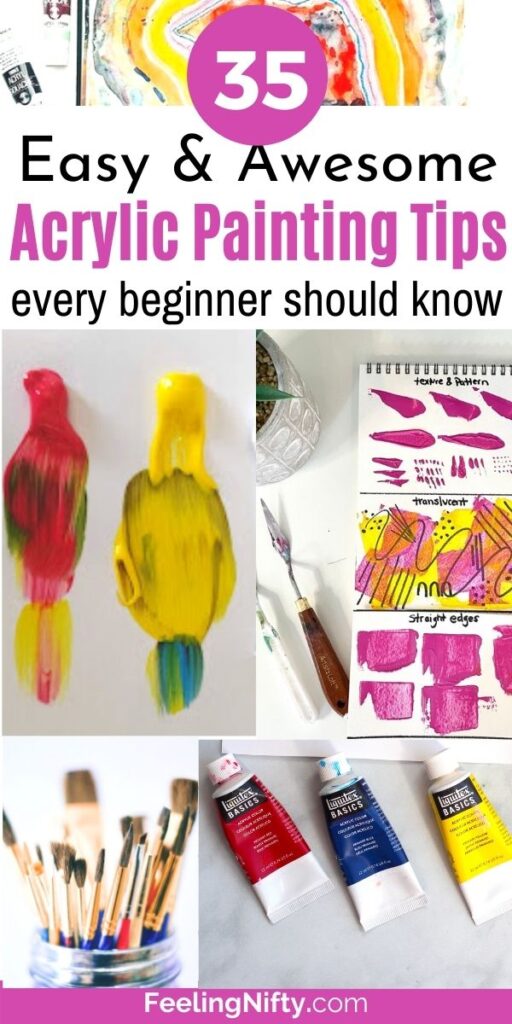
Learning to paint with acrylics can be a fun and rewarding journey.
But that journey (especially at the beginning) can seem a bit overwhelming.
It can feel like there are so many things to learn and conquer.
Small Round Brush
Maybe youve done a painting or two and they havent turned out quite as expected.
Or perhaps youre on your way- feel good about it, and just want to learn more.
And thats all you really need to move forward in this journey.

Looking for some easy beginner ideas?
If you enjoy watching video, check out my10 acrylic painting tips and tricks every beginner should knowon YouTube.
Now for some tips…
Tool Tips
1.
But unfortunately, brushes can often be intimidating for beginners and they often avoid learning about them.
I was one of them.
From different sizes, shapes and even hair types.
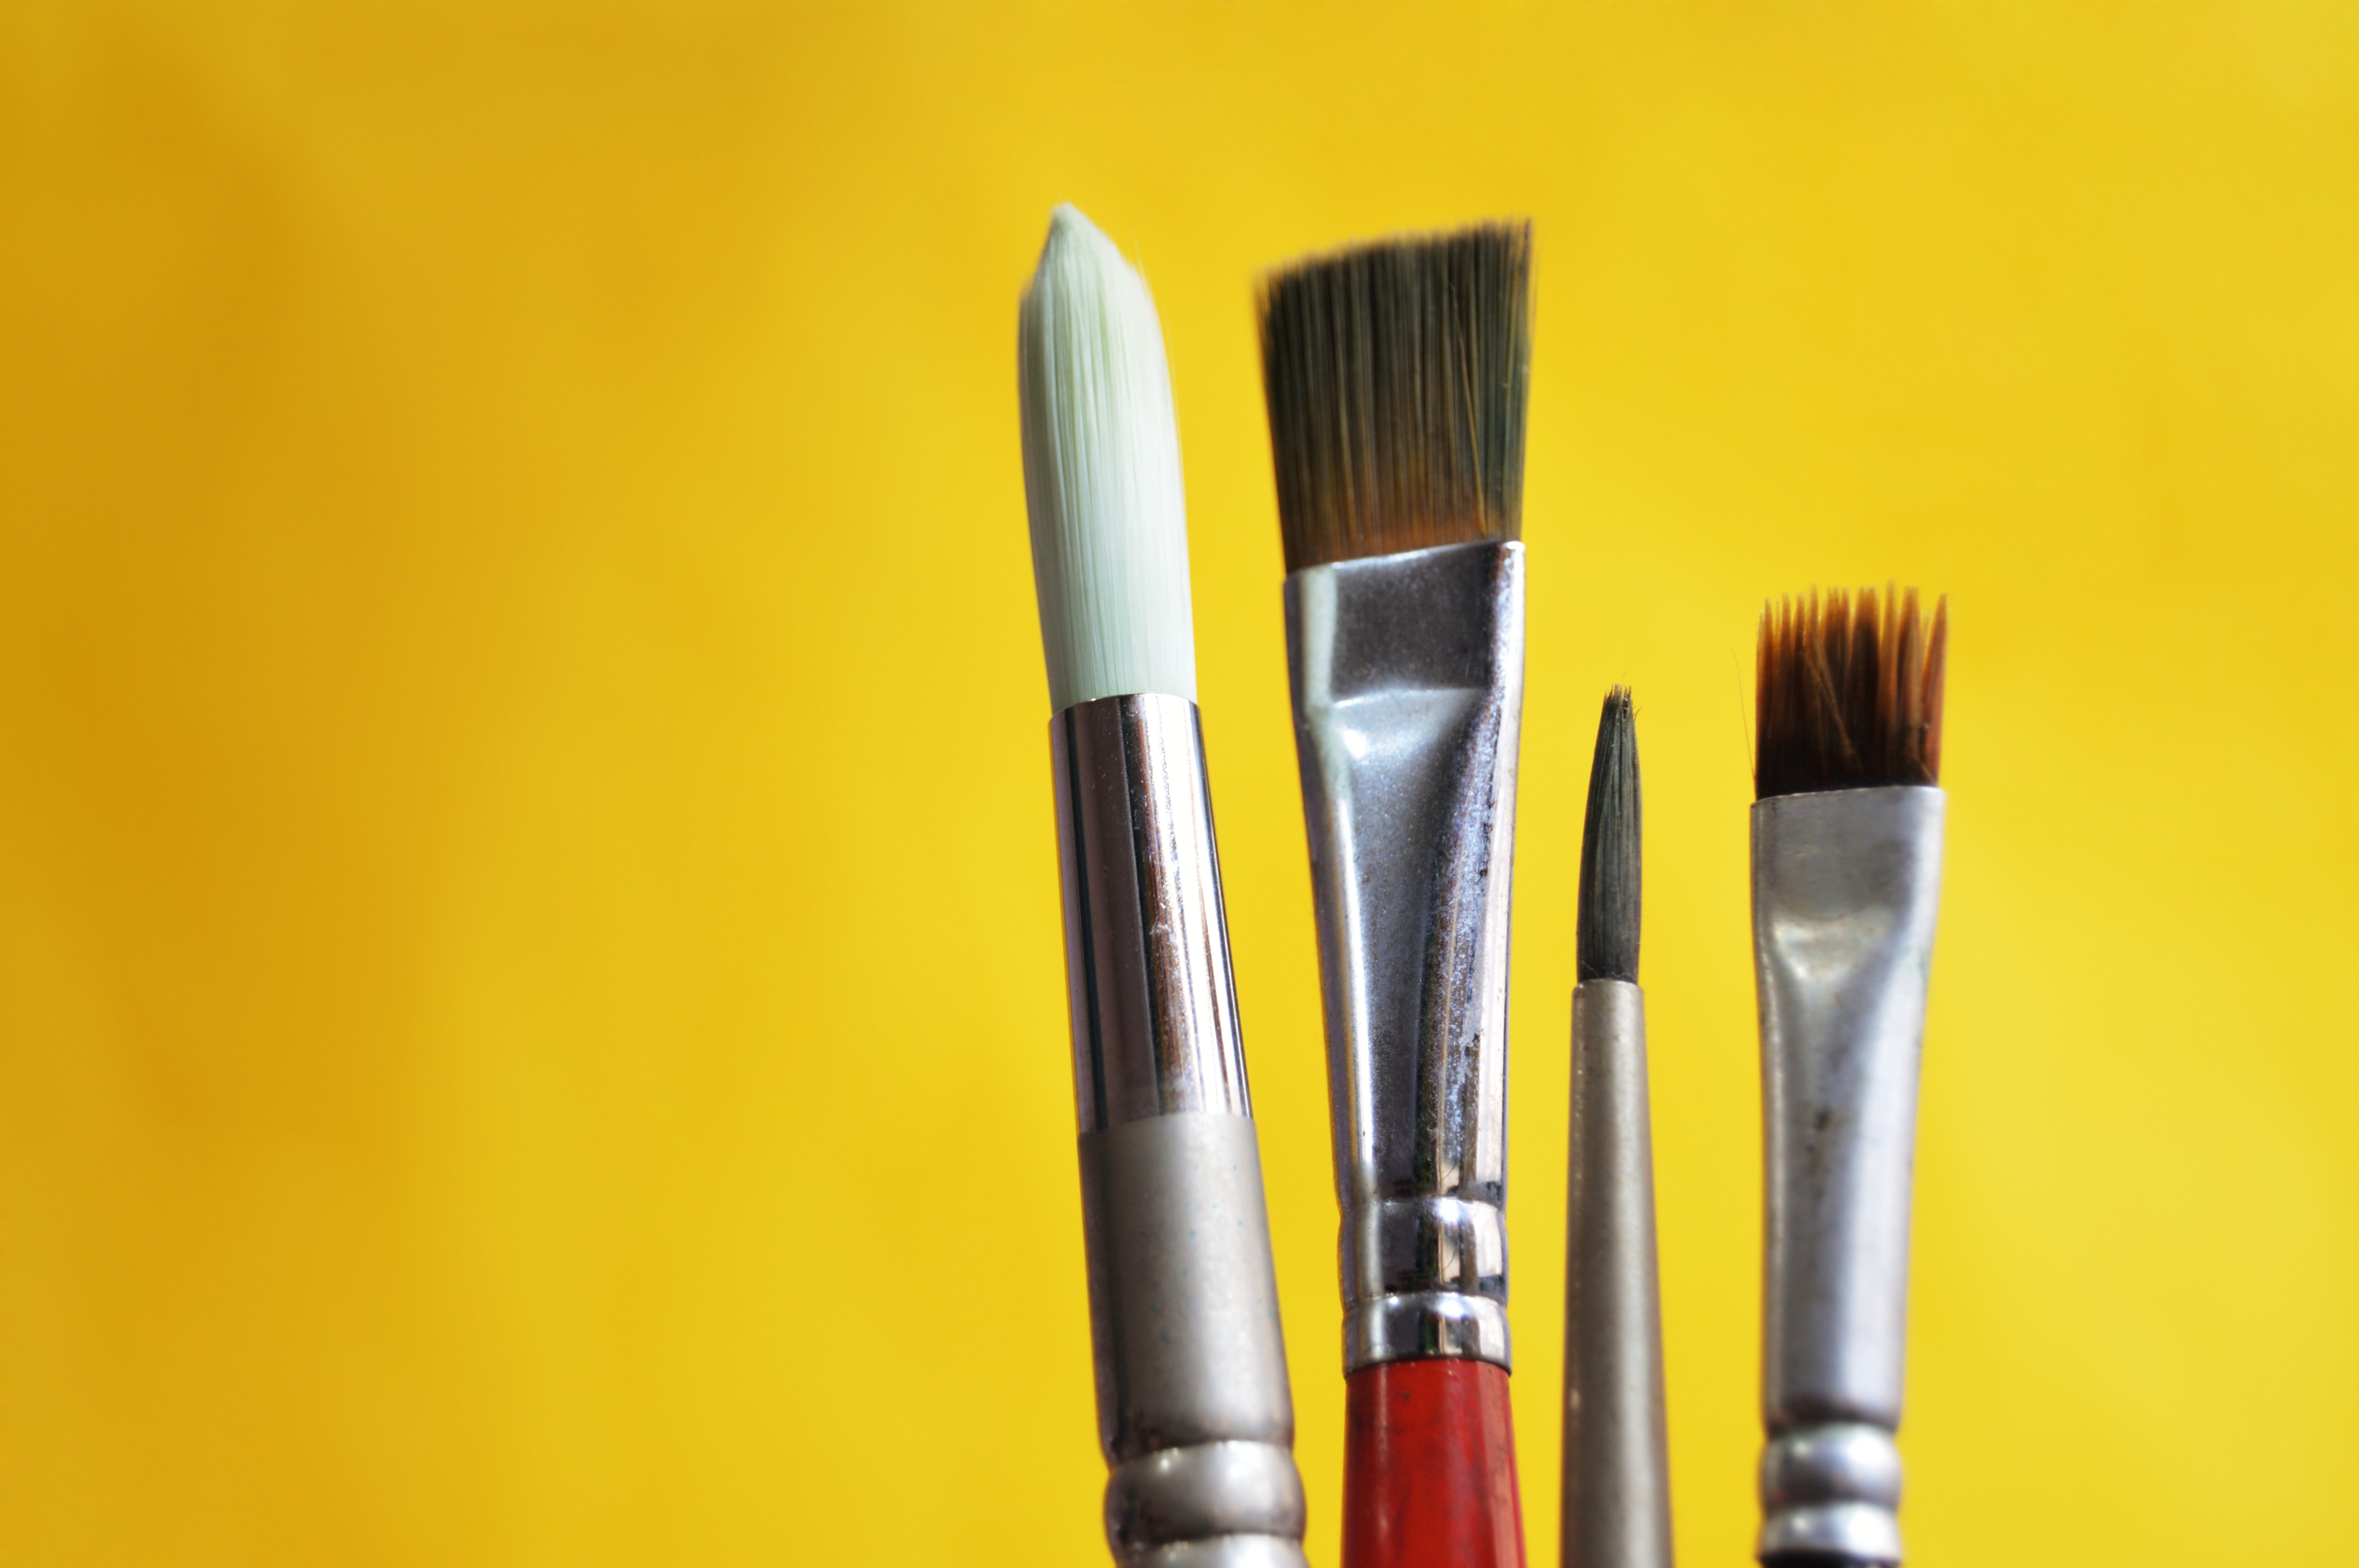
There is an overwhelming sea of different brush options.
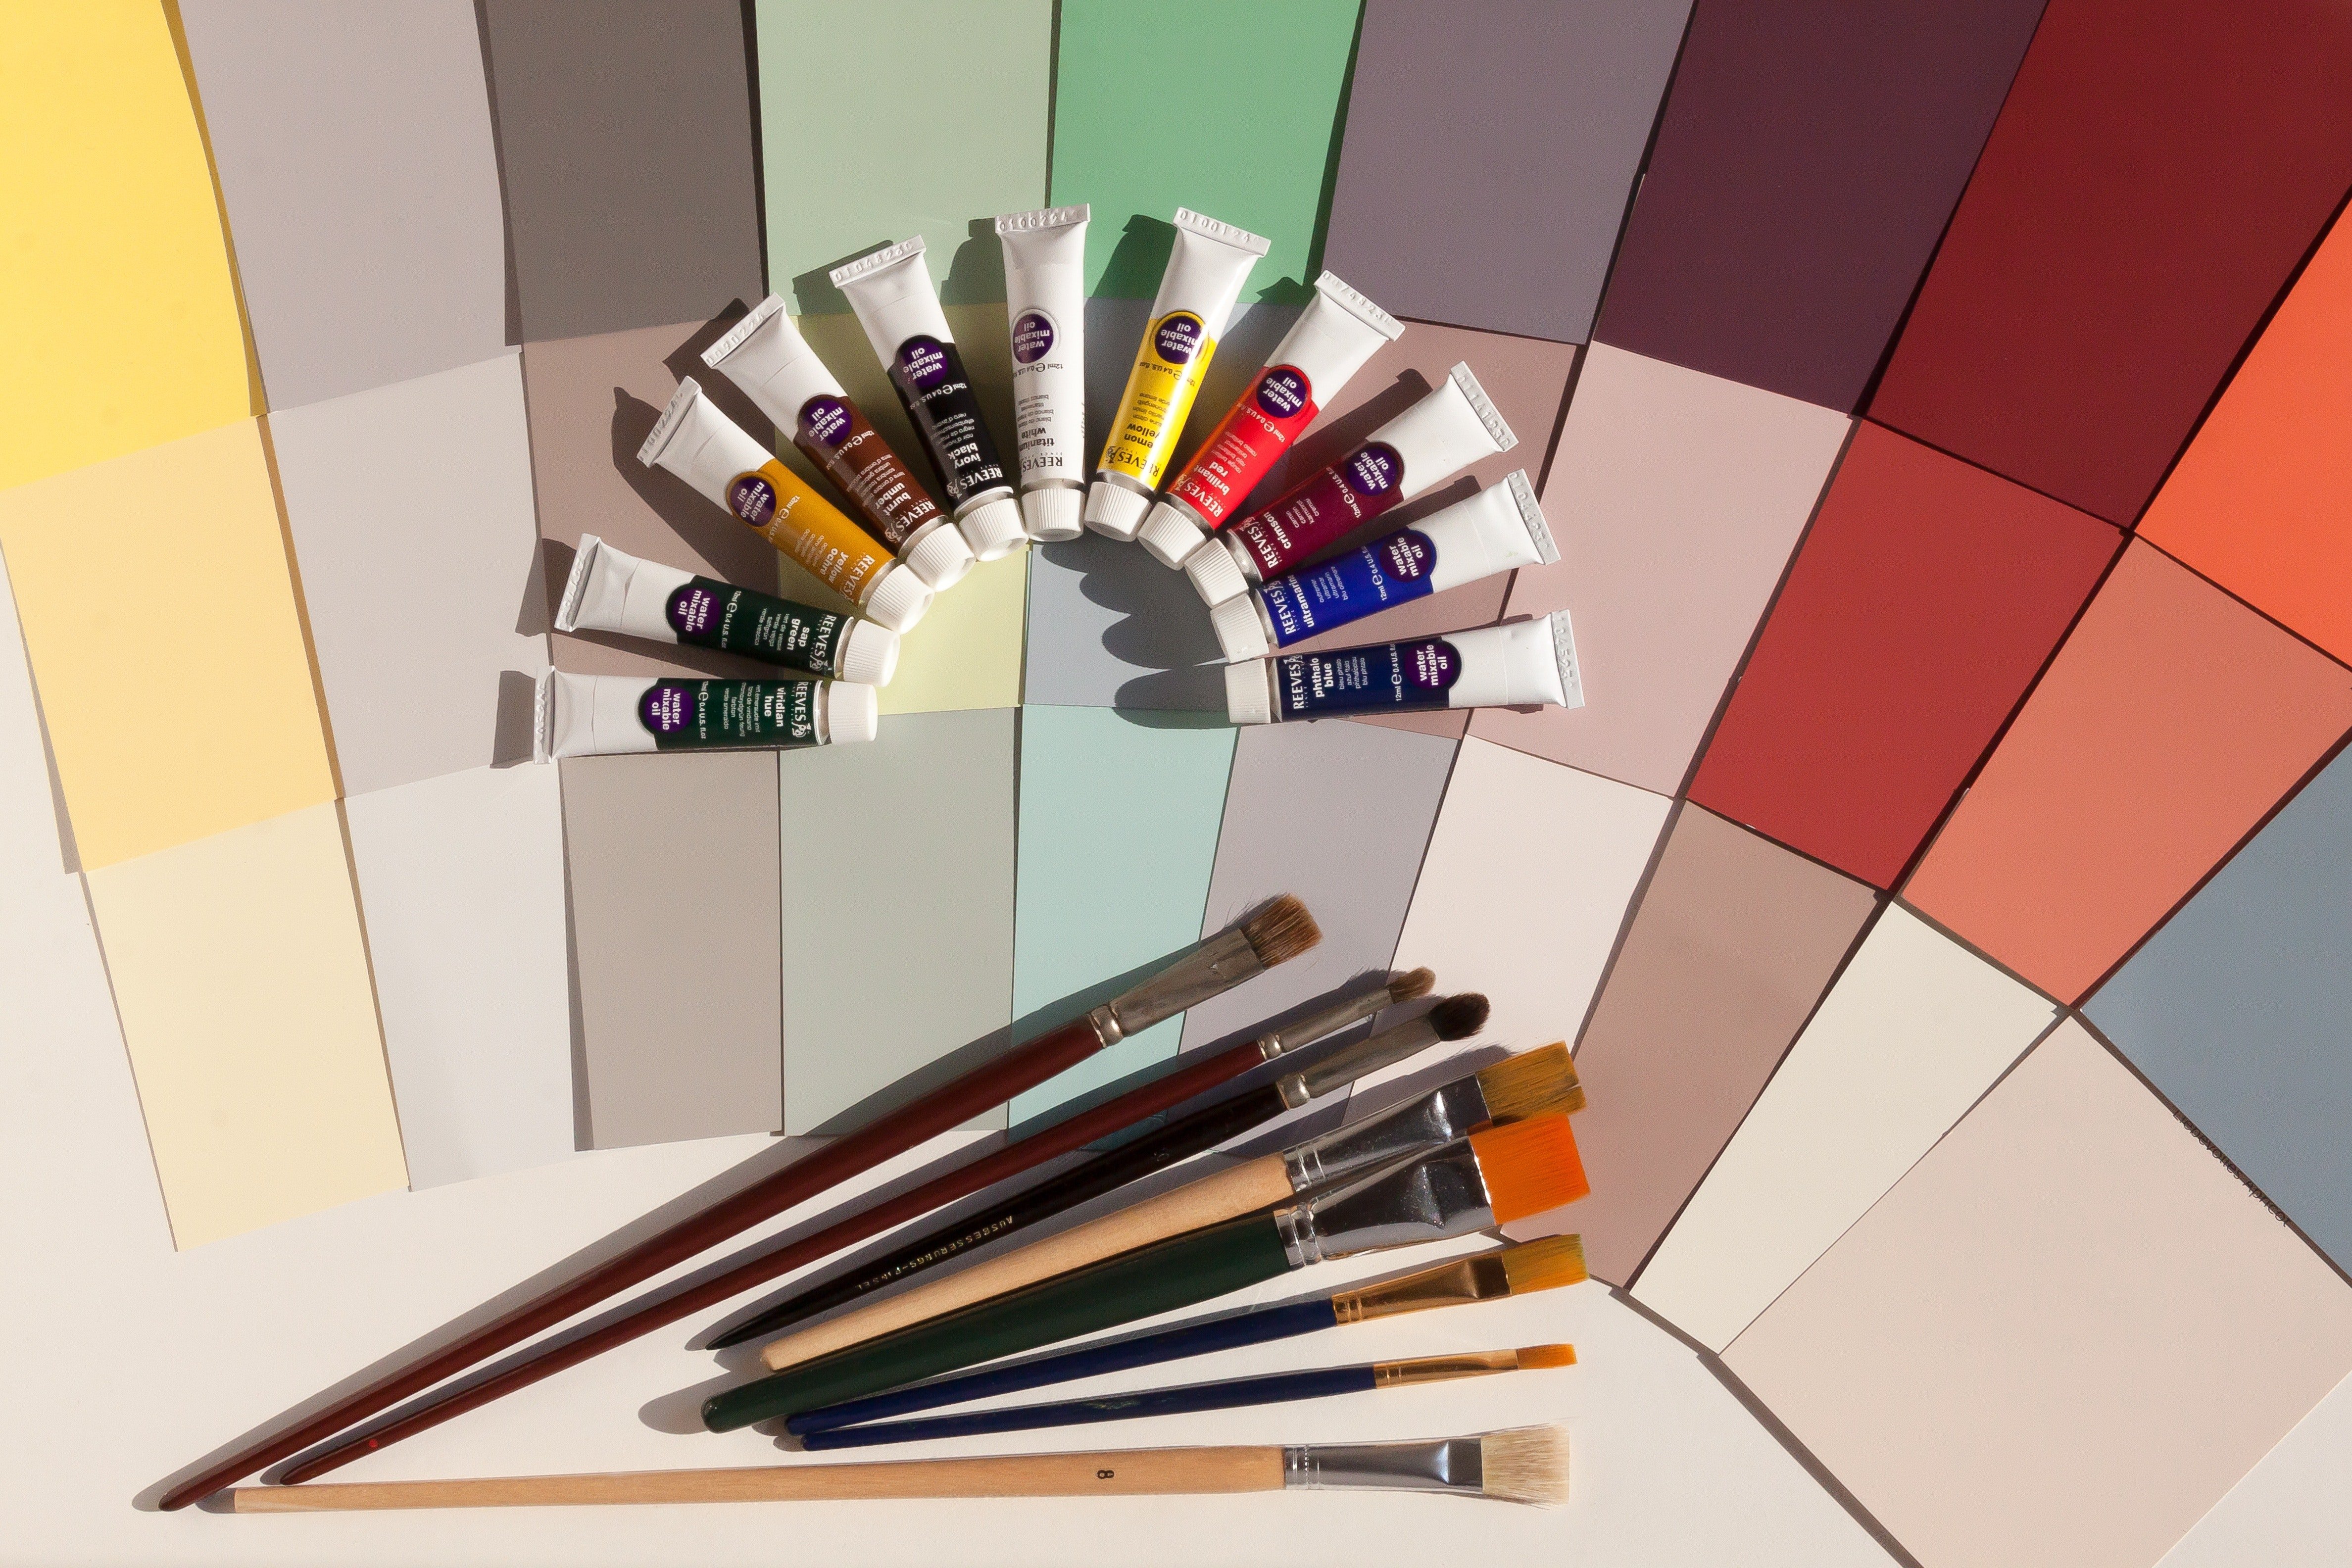
Most Acrylic Paintings can be created with only three basic brushes.
These 3 basic brushes that will give you the biggest bang for your buck.

Small Round Brush
Medium Fan Brush
3.
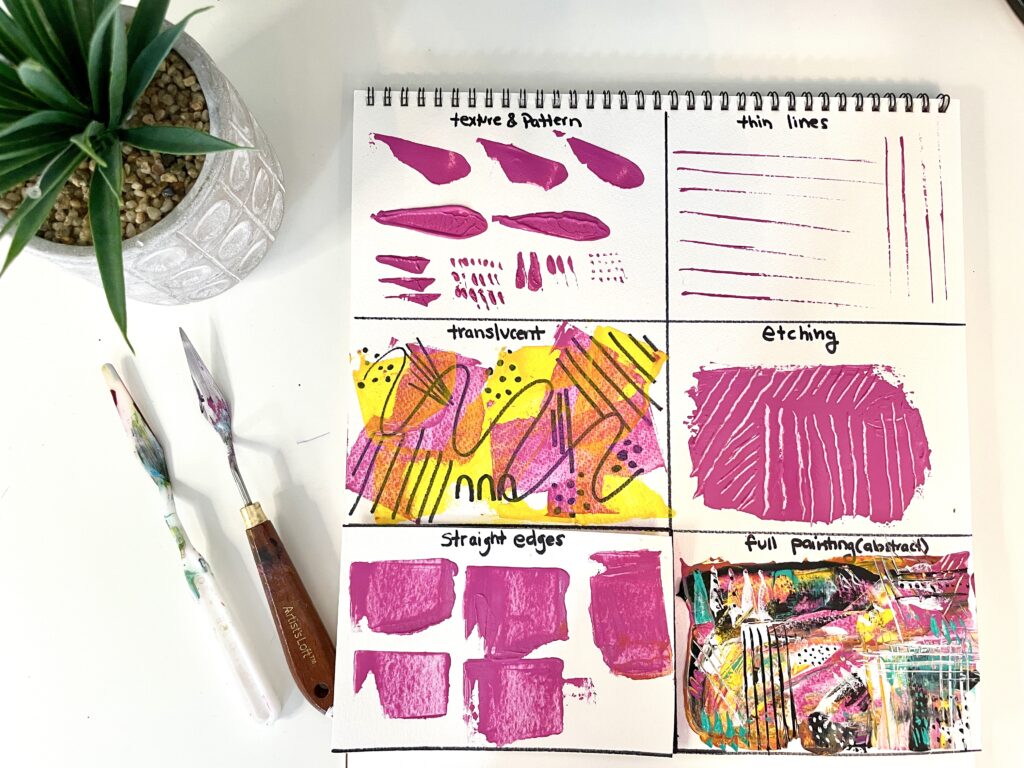
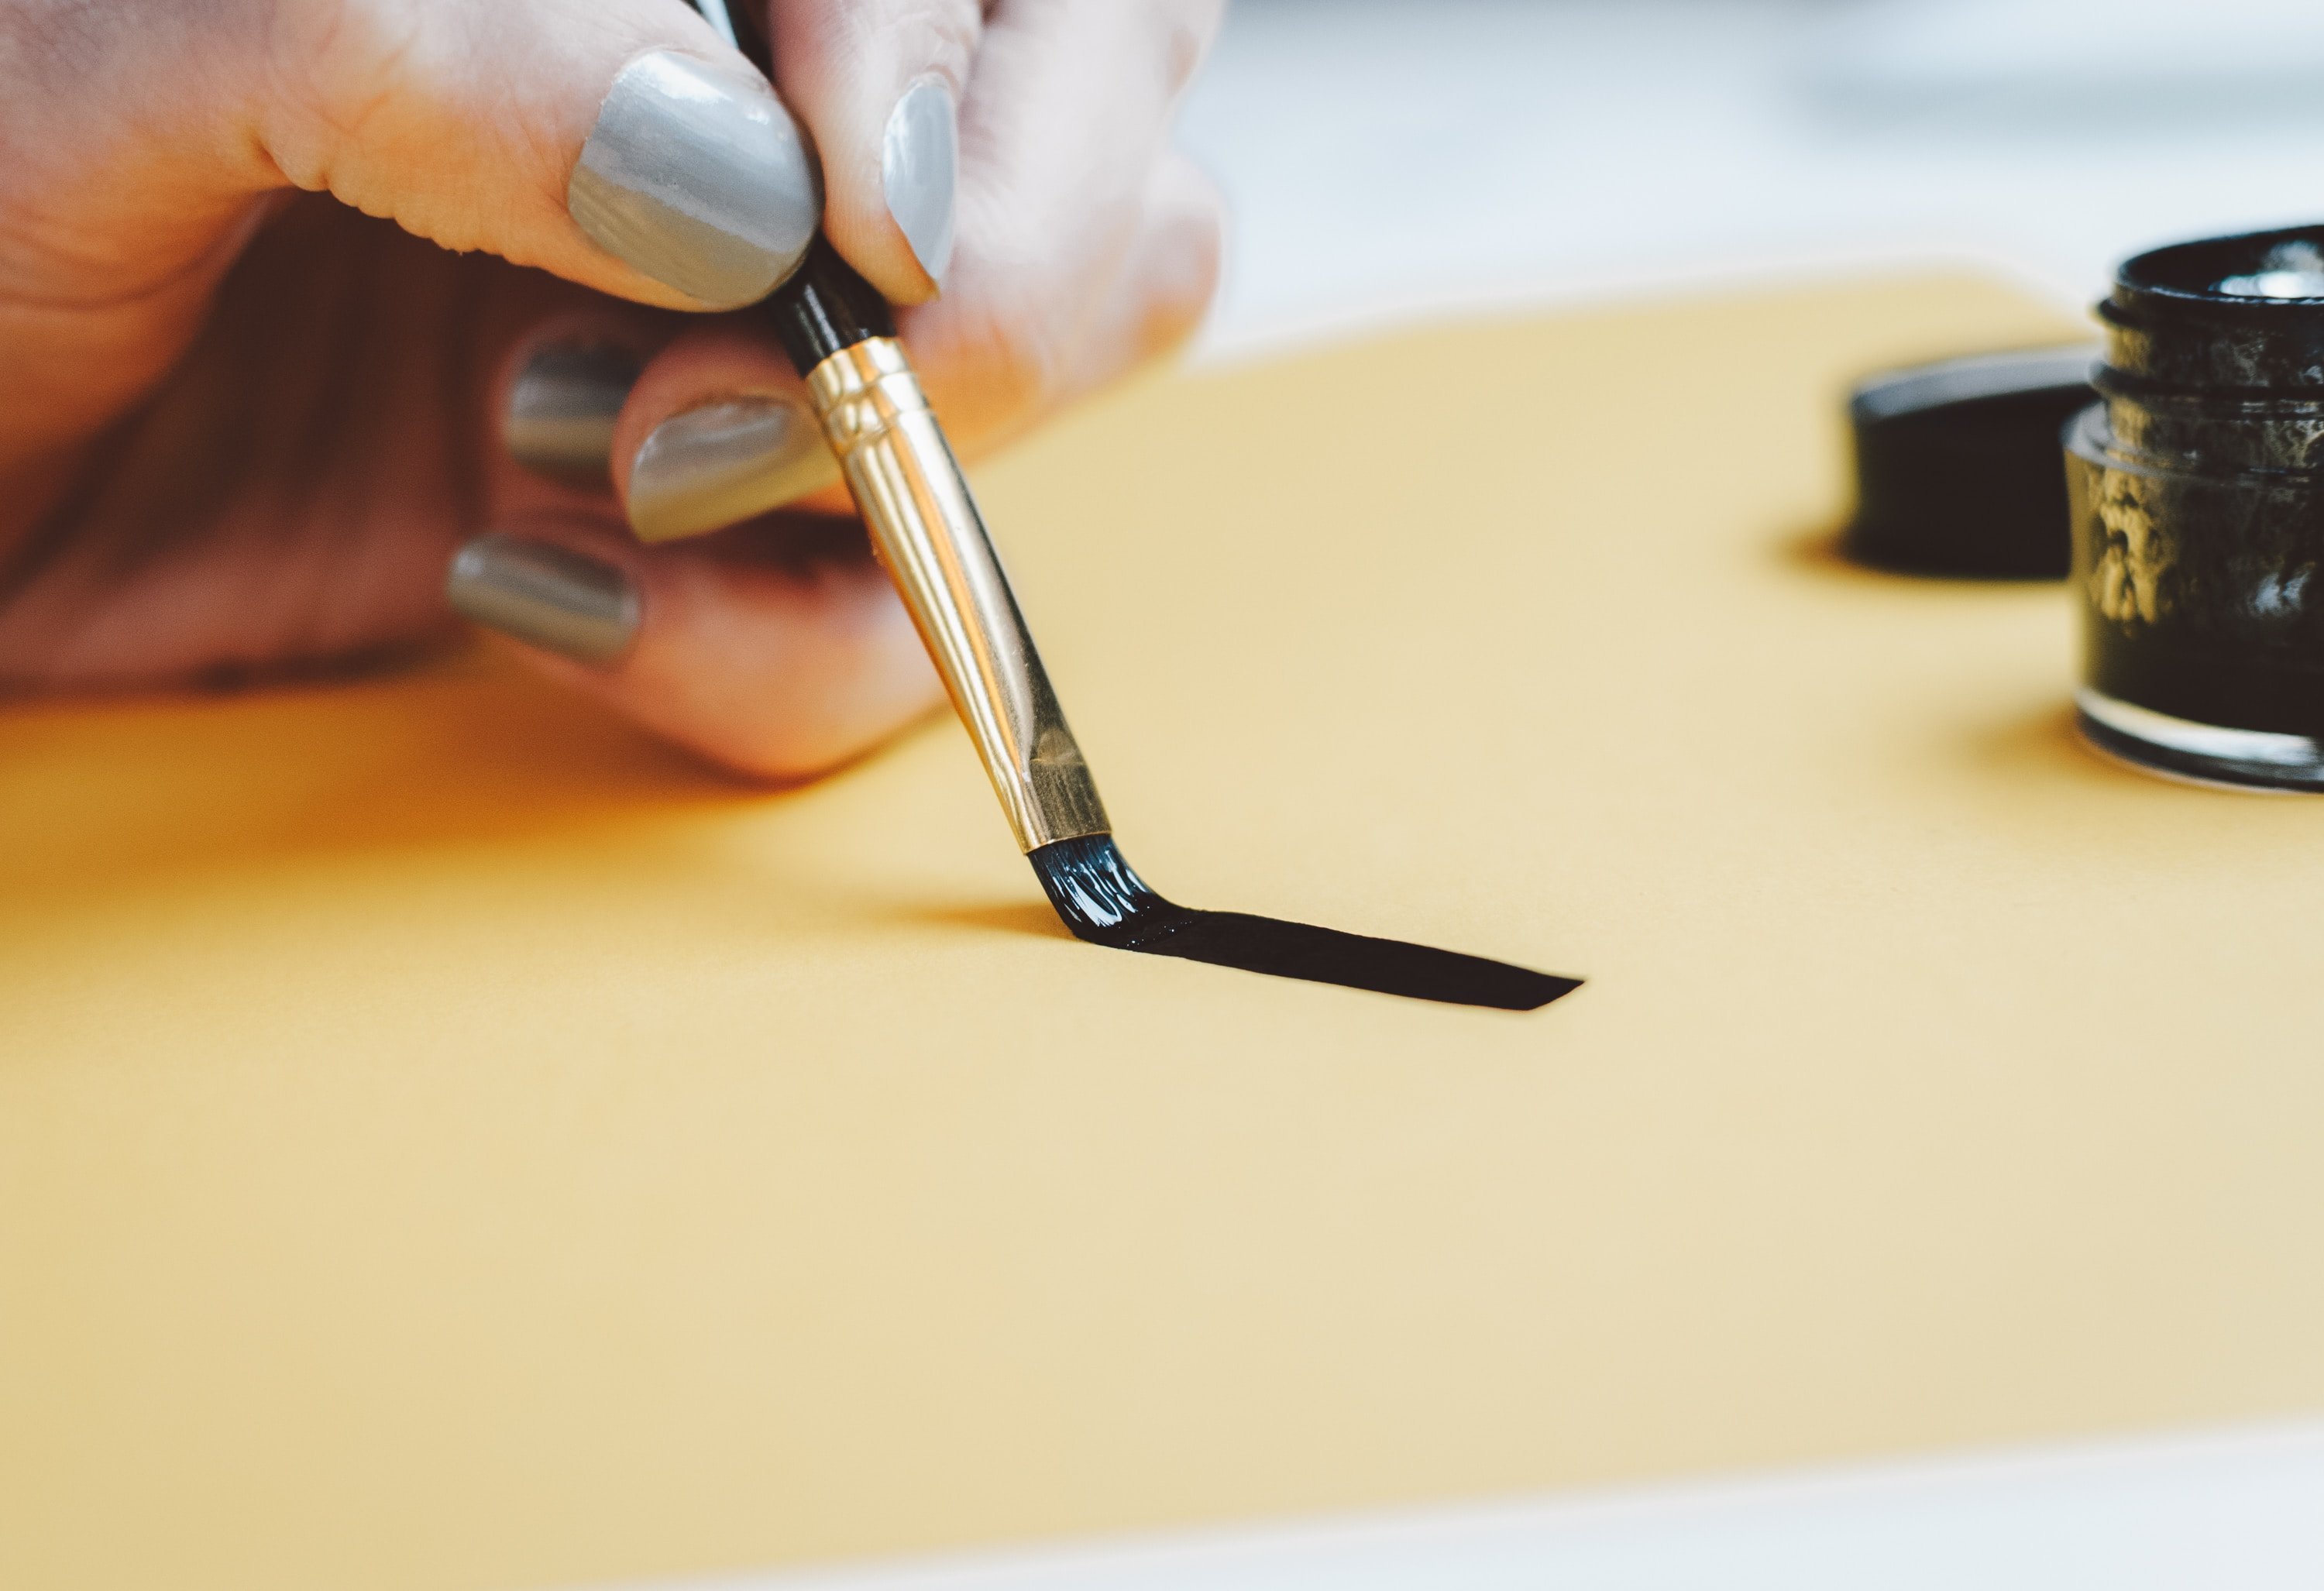
Change the texture of your strokes with a palette knife.
Palette knivescreate distinct, modern-looking strokes.
Small Round Brush
Unfortunately, most of those paints wont give you the best results.
Just keep in mind this might affect how your paintings turn out.
Use an easel
It is possible to paint without an easel.
Small Round Brush
Technique Tips
10.
What is building up paint layers and why should you care?
Simply put, it means putting multiple layers of paint or medium on your canvas.
Let each layer dry before adding the next.
Layering your paints can make landscape paintings look more realistic and make abstract art have more depth and interest.
It also makes your final painting more cohesive.
Think of it like building a house.
Tip with layering: always wait for the layer to dry BEFORE painting on top of it.
In short: have a go at paint dark to light.

Large Flat Brush
With your highlights at the very end.
Which is a shame because it can really take your painting to the next level.
It makes paintings more eye appealing and interesting.
Large Flat Brush
And its NOT even complicated!
As an example: In front of you are 2 paintings of an apple on a table.
Everything about the 2 paintings are the same- identical colors, size, etc..
The only difference is this: the first painting the apple is directly in the center of the canvas.
In the second painting, the apple is painted on the bottom right of the canvas.
Which painting is more eye catching and appealing?
The second painting with the apple off centered at the bottom of the canvas.
Essentially, the rule of the thirds guides you to where to paint your objects of interest (I.e.
the objects or things that eyes go to first in your painting).

Read more on how to apply therule of the thirds here.
But uncertainty shows in a painters strokes.Even if you do the wrong thing, do it the right way!
Do it once or twice and then go for it.Make your move in a firm fluid motion!
Which is one of the most amazing qualities of acrylics.
But it can also be its weakness.
Especially when it comes to keep acrylic paint wet on canvas when blending (see below).
And when wanting to keep premixed paint on your palette workable over multiple days.
You cannot re-work them.
Another option is to mix anacrylic retardant paint mediumwith your paint.
Flip your painting upside down to figure out whats off.
Which is frustrating- take it from someone whos spent hours trying to figure it out!
One trick I learned AFTER wasting multiple hours is: Look at your painting upside down.

And nope, you dont have to stand on your head!
Just in case youre wondering
Just flip your canvas upside down and take a look.
You will be AMAZED at the different things you end up noticing.
Look at your painting in a mirror to figure out whats wrong.
Using a mirror is a little known trick that many painters find invaluable.
So acrylic paints do darken as they dry.
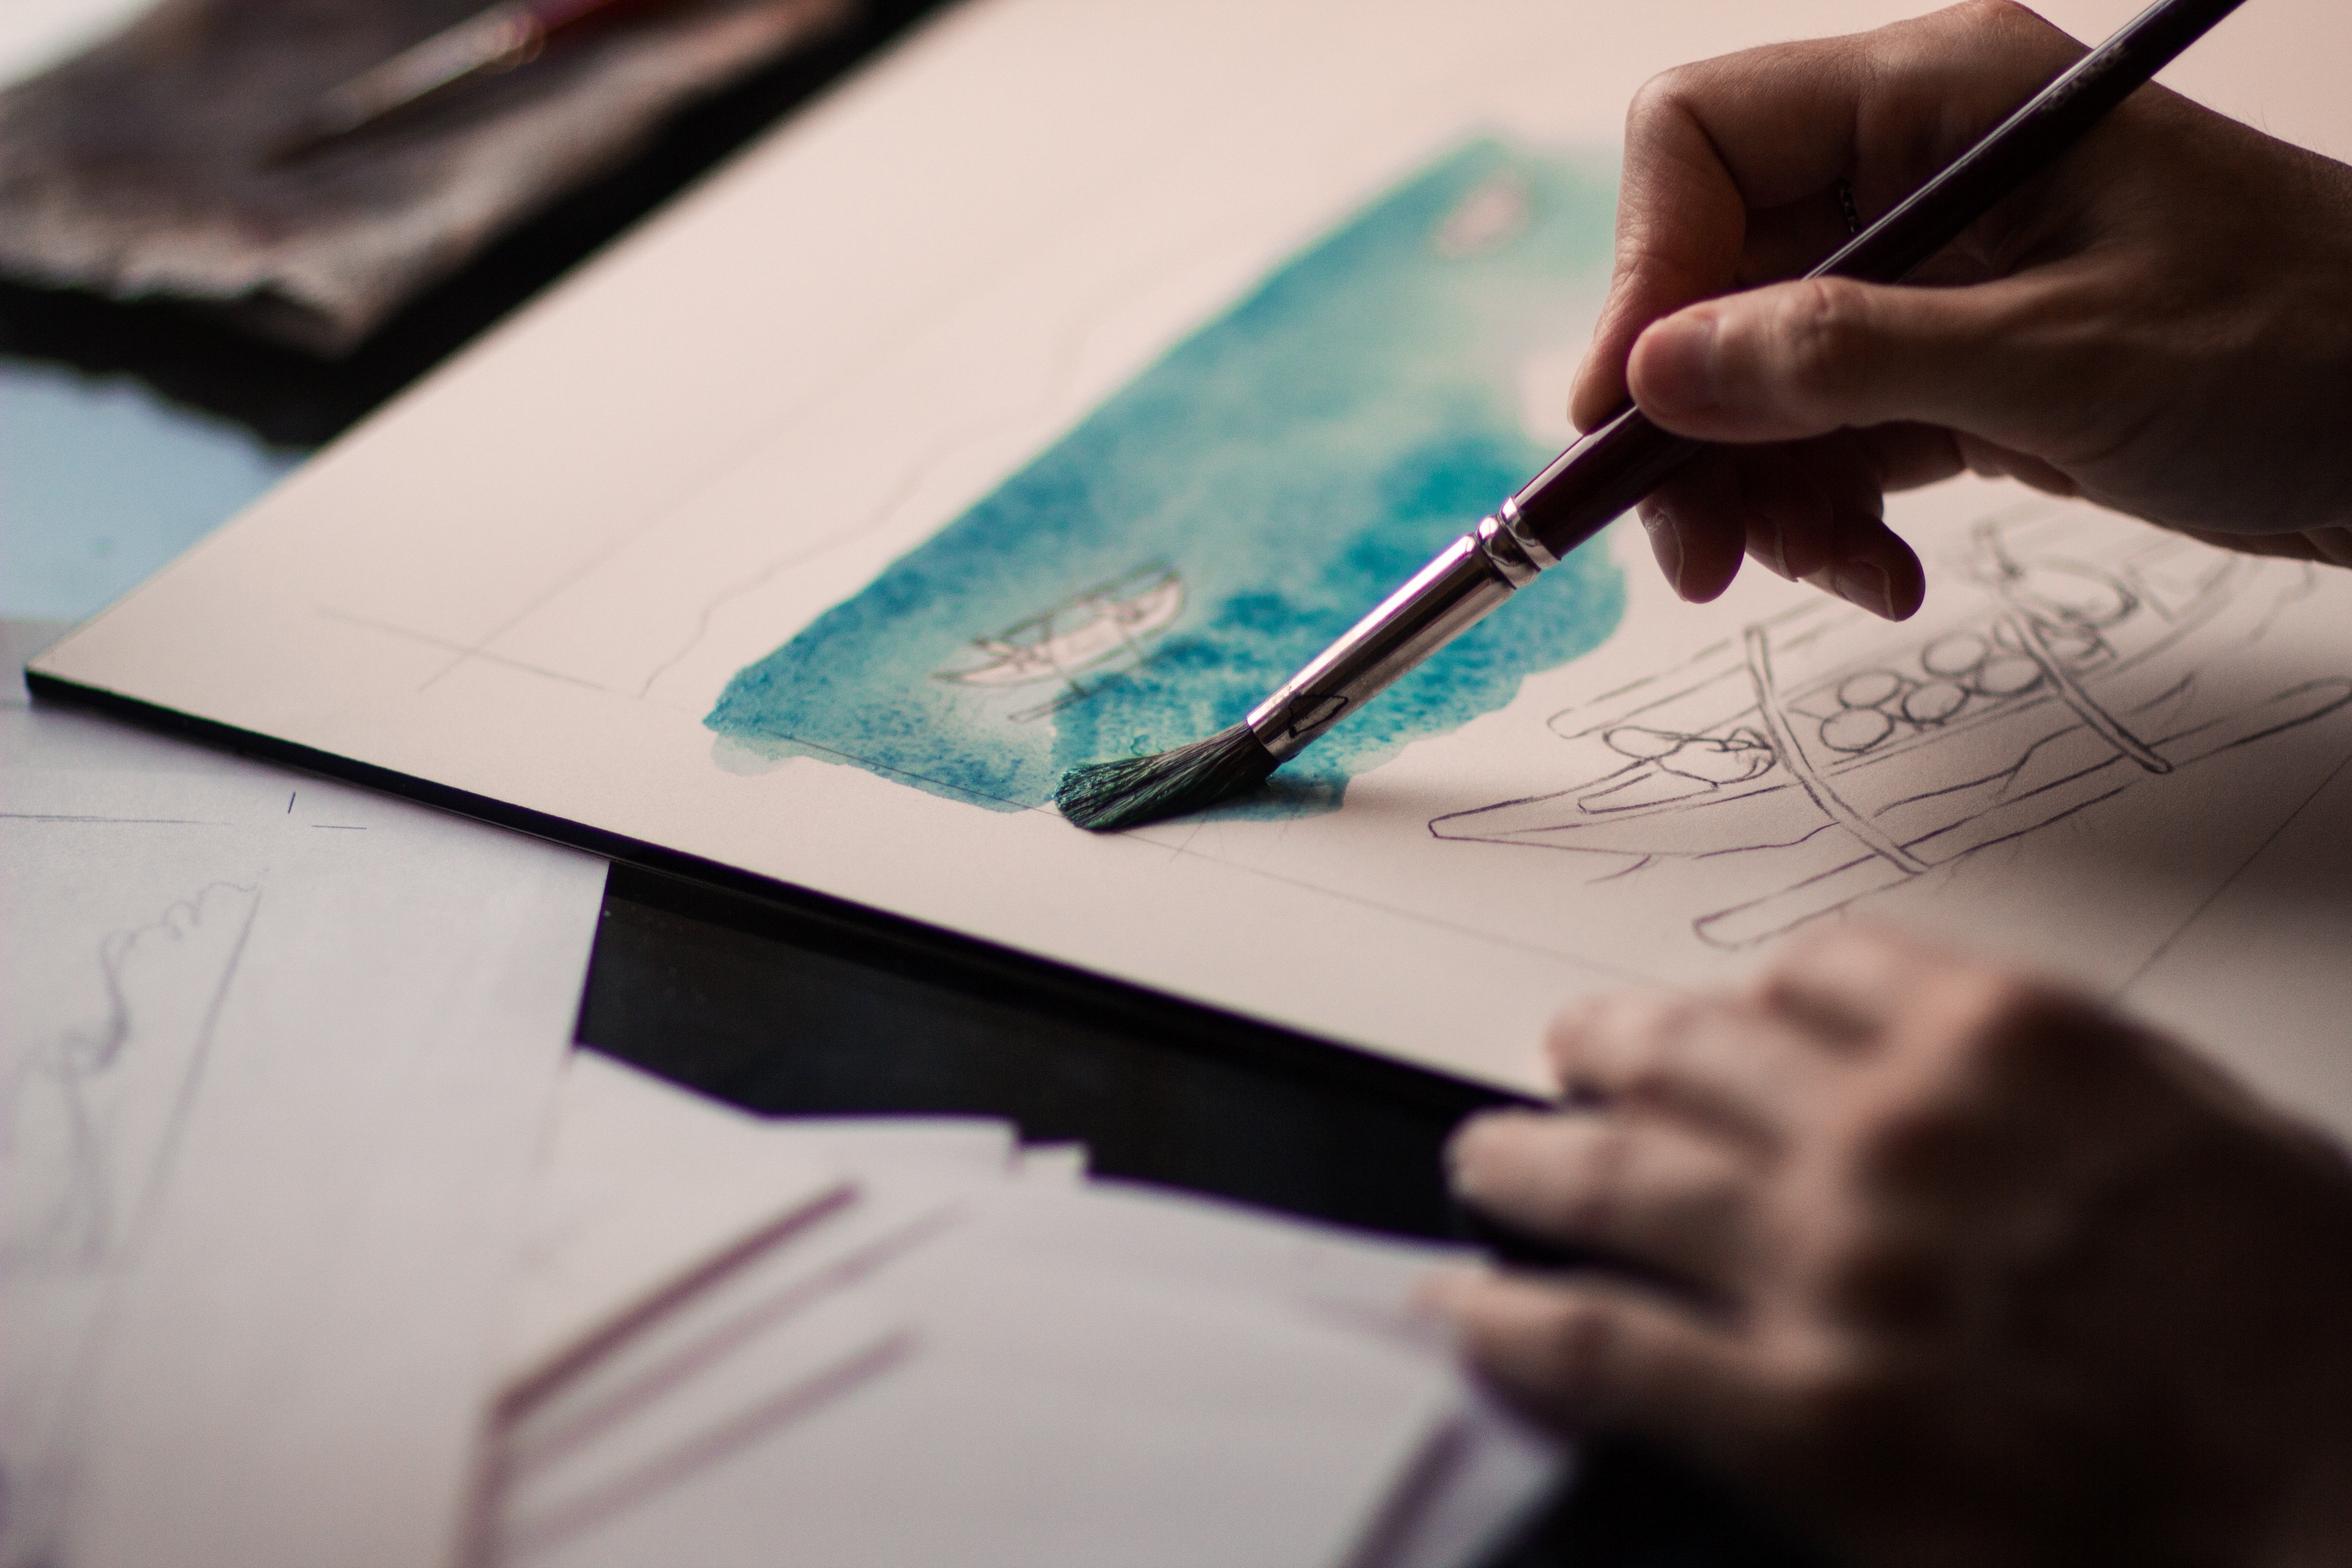
Photo byNik MacMillanonUnsplash
Good news: you’re able to totally overcome this!
Color Tips
24. to be able to color mix- you will need to learn some basics on color theory.
They both cover similar but different topics at different depths, so I would recommend watching both.
If youre new to color mixing, consider this a must!
Use contrasting colors to create depth.
Professional artists even use this color contrasting trick to create the illusion of depth in their paintings.

They add cooler colors in their background and add touches of warm colors in the foreground.
What a cool trick to add warm colors!
Dont mix colors in a separate container.
One mistake that almost all beginning painters make is that they mix colors in a separate bowl.
This will leave anything remaining of the original color to be used for more mixing later on.
You dont want to end up with a puddle of mud on your palette.
Add tiny bits of color and mix completely until there are no streaks left in your paint.
This works especially well for large areas of paint that you want to blend.
White paint has magical properties.
Okay, maybe thats a bit dramatic.
But adding a tiny bit of pure white will give you a dramatic highlighted effect.
This will give you painting a sun-kissed, nostalgic feeling.
Admit it… thats kind of magical right?
Clean-up Tips
31.
Clean your Brushes with water and gentle soap.
Dont store your brushes bristles down.
When you are putting your brushes away, double-check to store them with the bristles pointing up.
Removing acrylics with simple water/soap before they have a chance to dry is the easiest way.

Once acrylics dry, its a bit more challenging to remove them from clothing, but not impossible.
Finishing Tips
34.
Sign and date your artwork
It may feel a bit silly to sign and date your artwork early on.
Small Round Brush
But dont skip this step!
Right now at the beginning of your journey, it may feel silly to take pictures of paintings.
Move Past Failure
With learning any new skill there is one thing you cannot avoid: failure.
Large Flat Brush
Everyone (have yet to meet someone who hasnt) will fail at some point.
And many times- especially at the beginning- it will happen frequently.
In painting it could be a bad or ugly painting (or two, or three).
Or it could be a paint technique you learned but you cant seem to get the hang of it.
The thing that matters isnt the failure itself, but the permission you give yourself to continue past it.
Which is totally OK.
Try another technique, move on to another painting, or try a different tutorial.
There are many, many options that let you move forward that dont involve throwing in the towel.
And if you let yourself continue, you will be even better tomorrow
JUST KEEP PAINTING…. Remember- even the tiniest baby steps forward will eventually lead you to your art-goals.
Be proud- youre getting there!
Just keep painting, youre doing great things!
xoxo
Jasmine
